Rope Rug How To

This page gives instructions of how to make a spiral-style rope rug from old climbing ropes.
Enjoying my old climbing ropes for years to come.

Intro

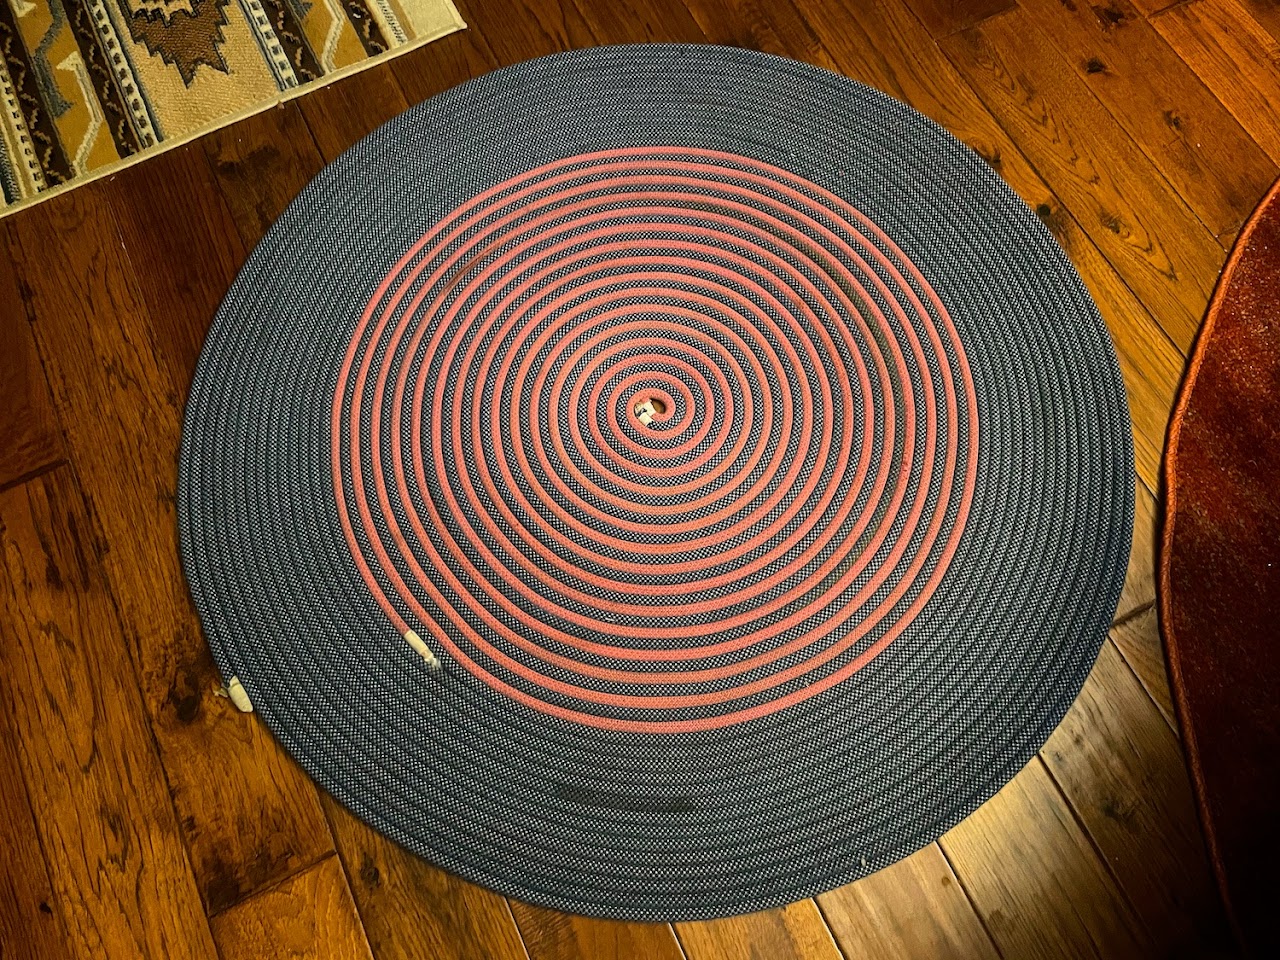
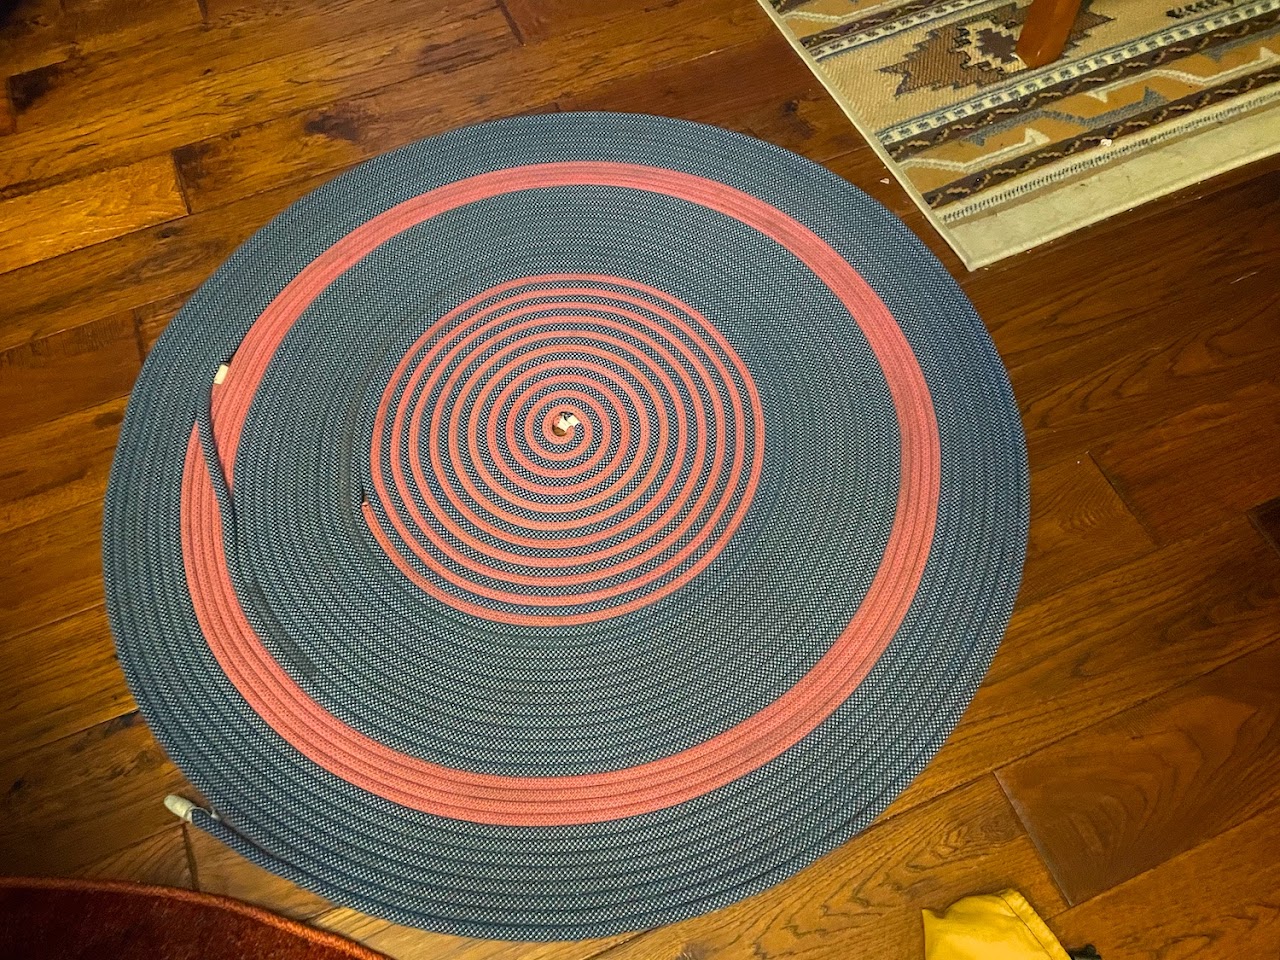
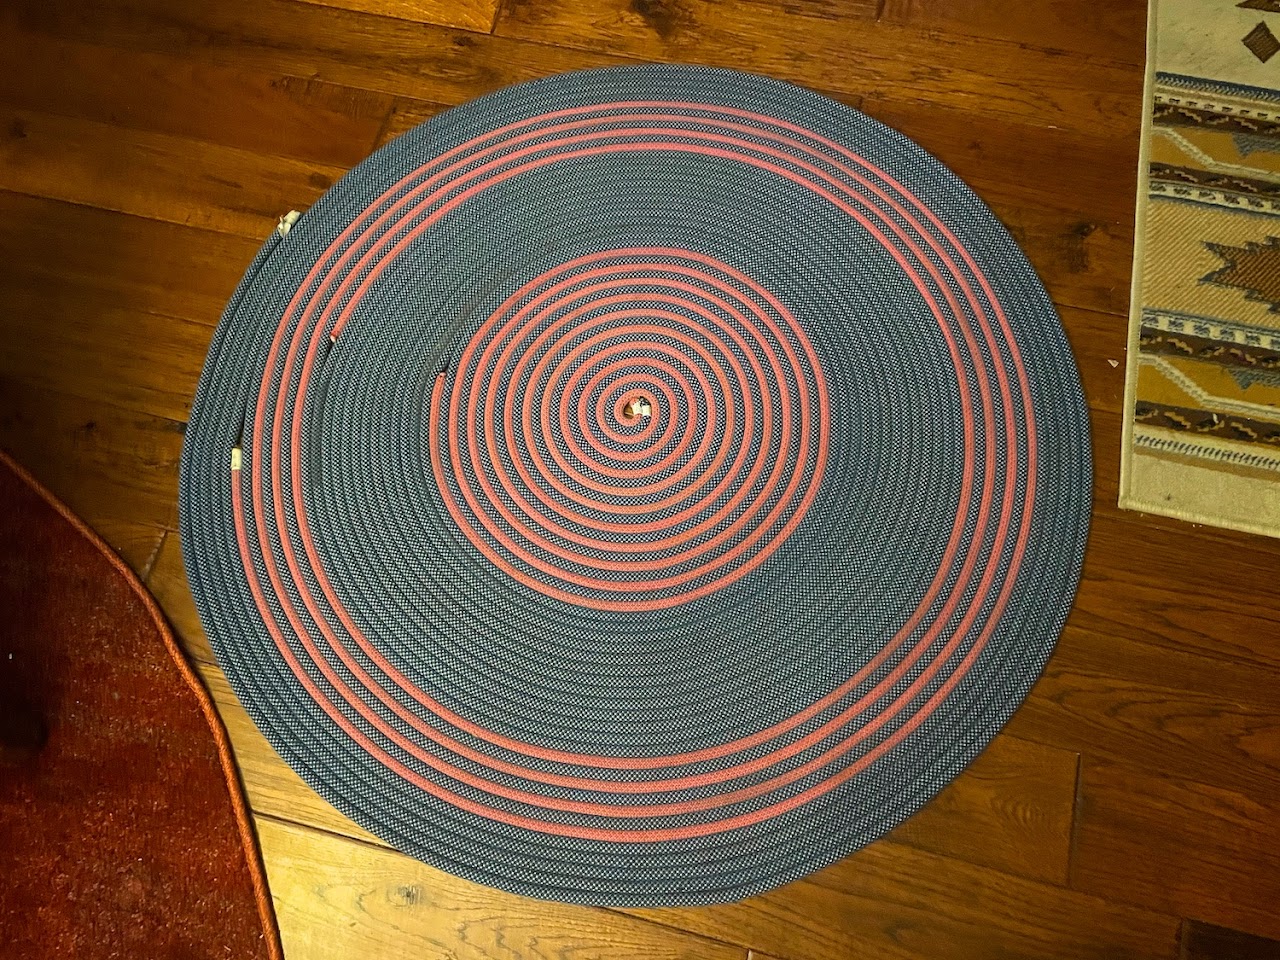
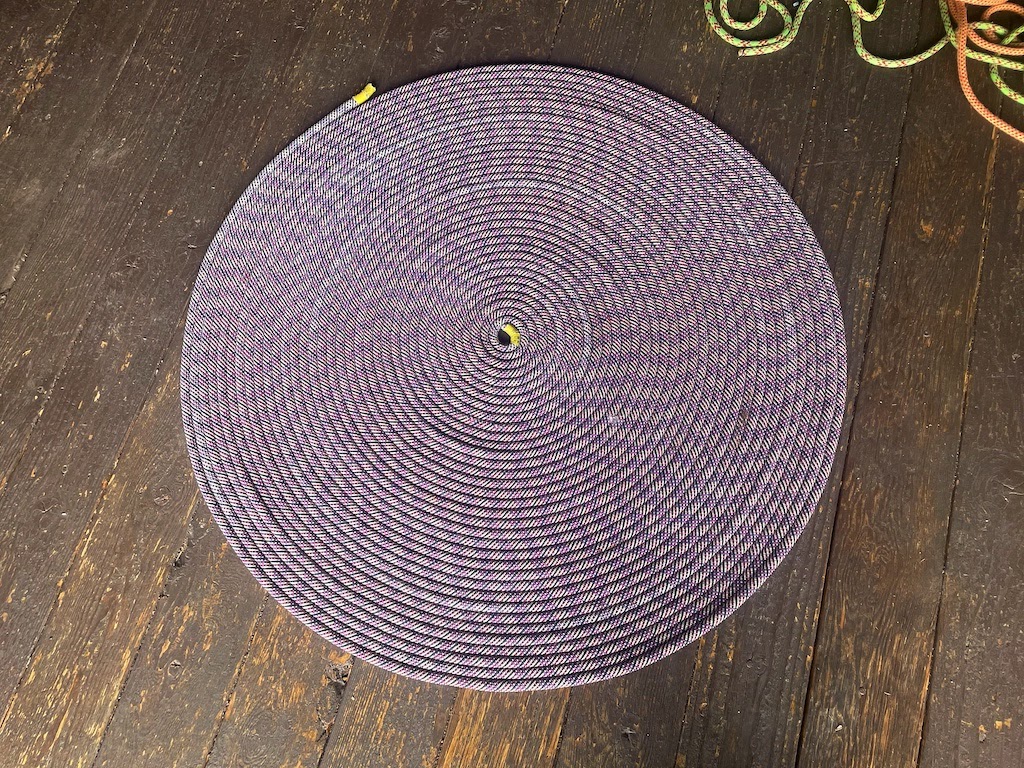
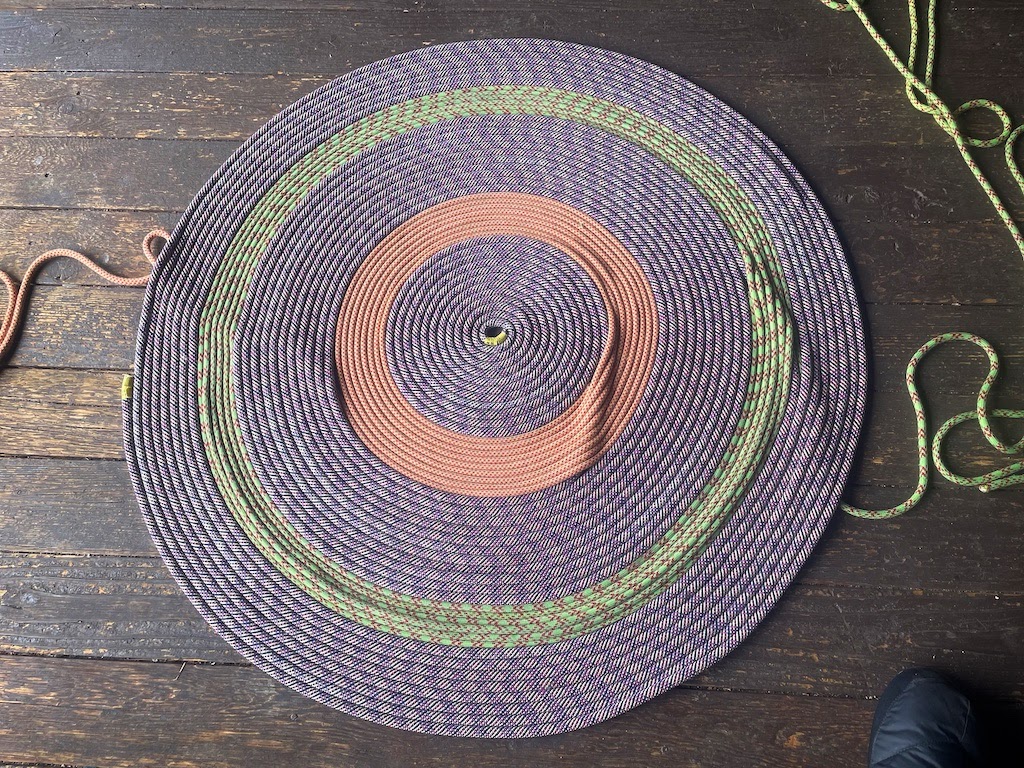
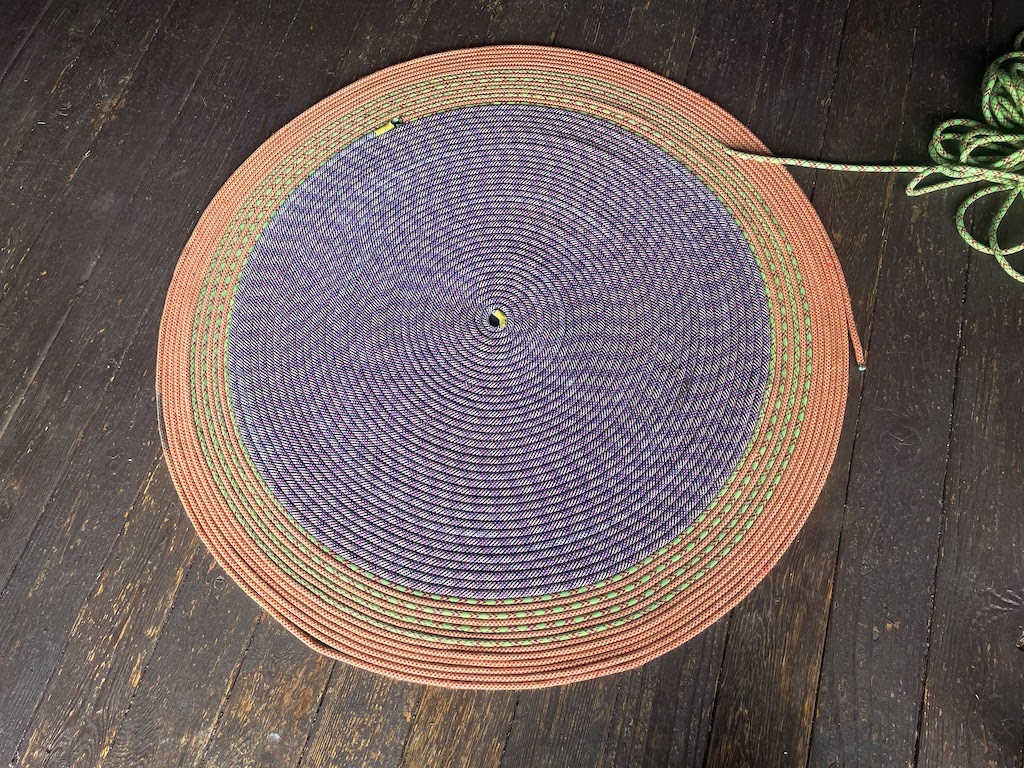
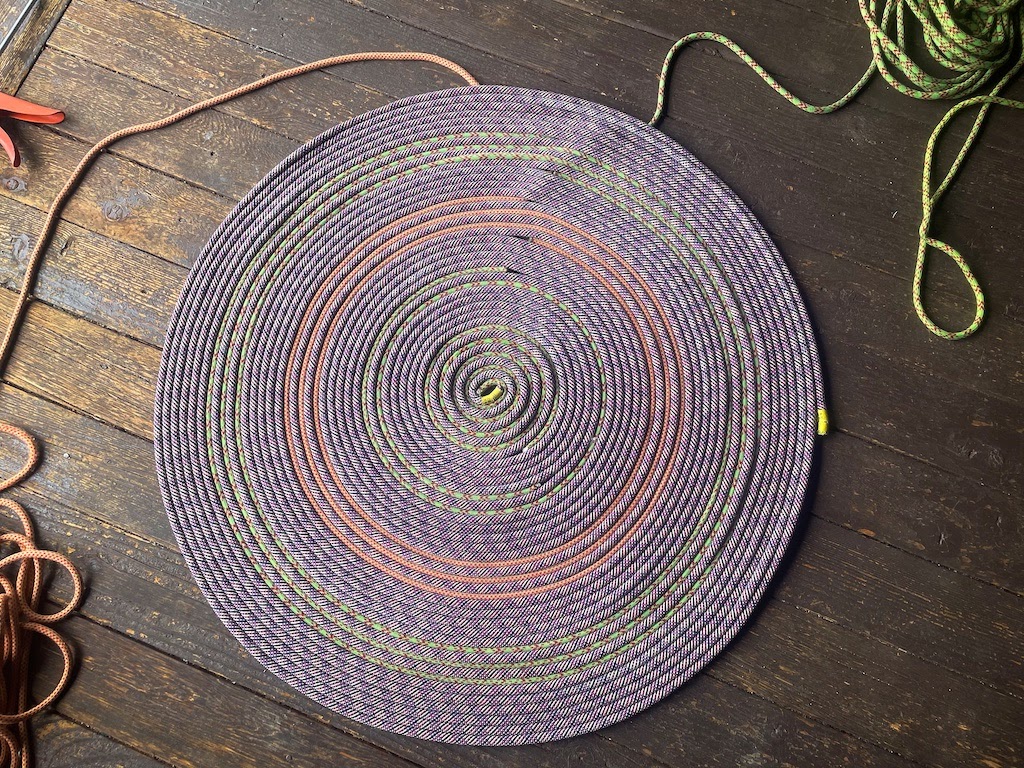
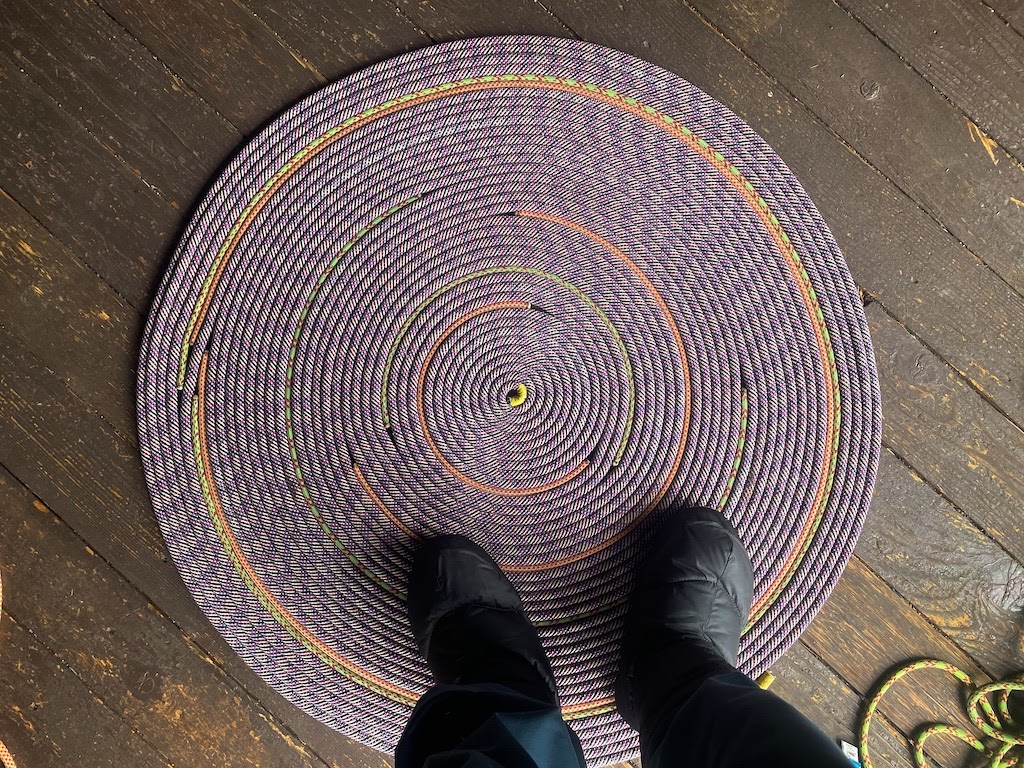
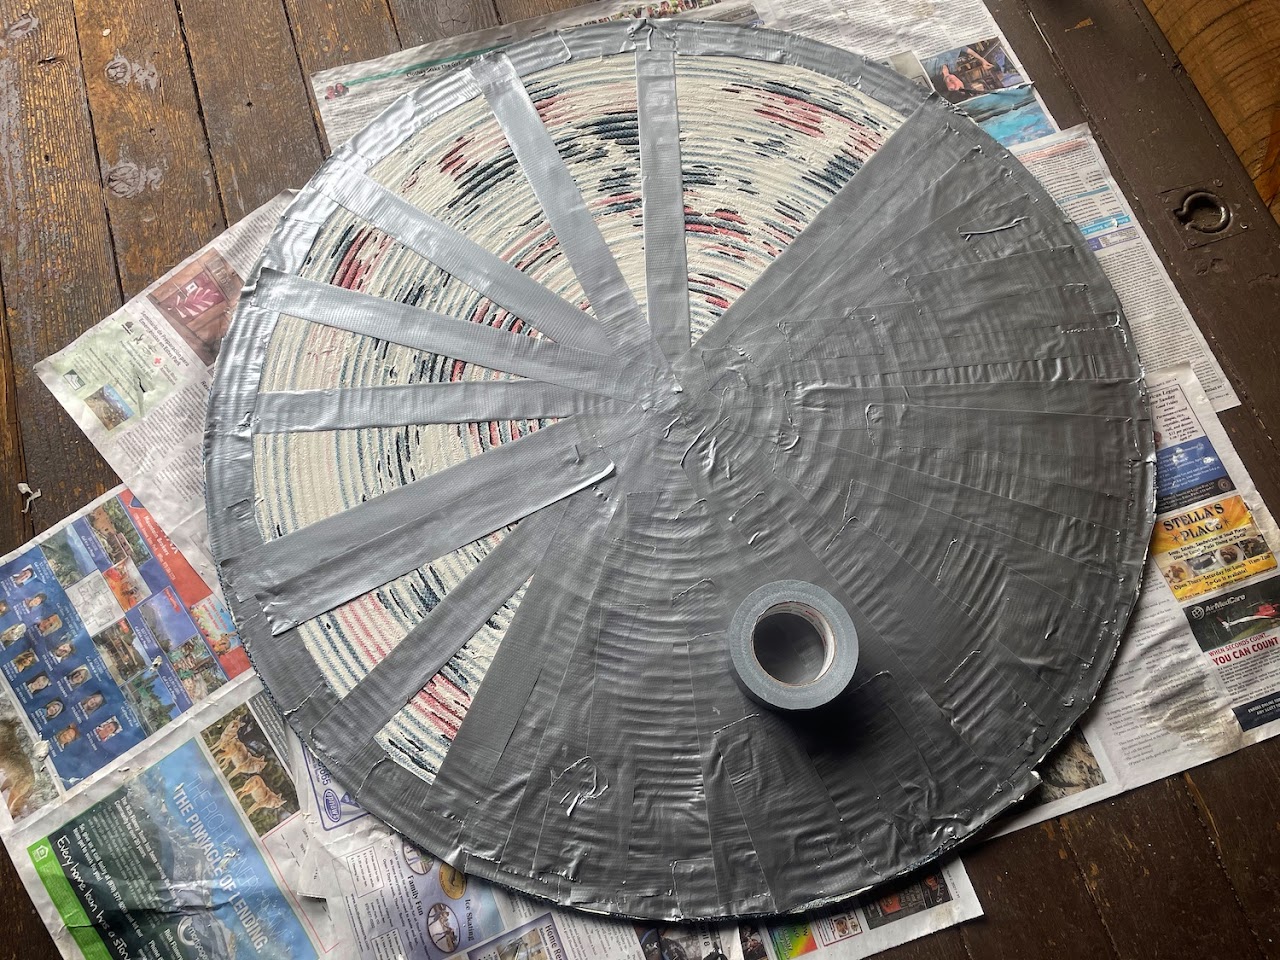
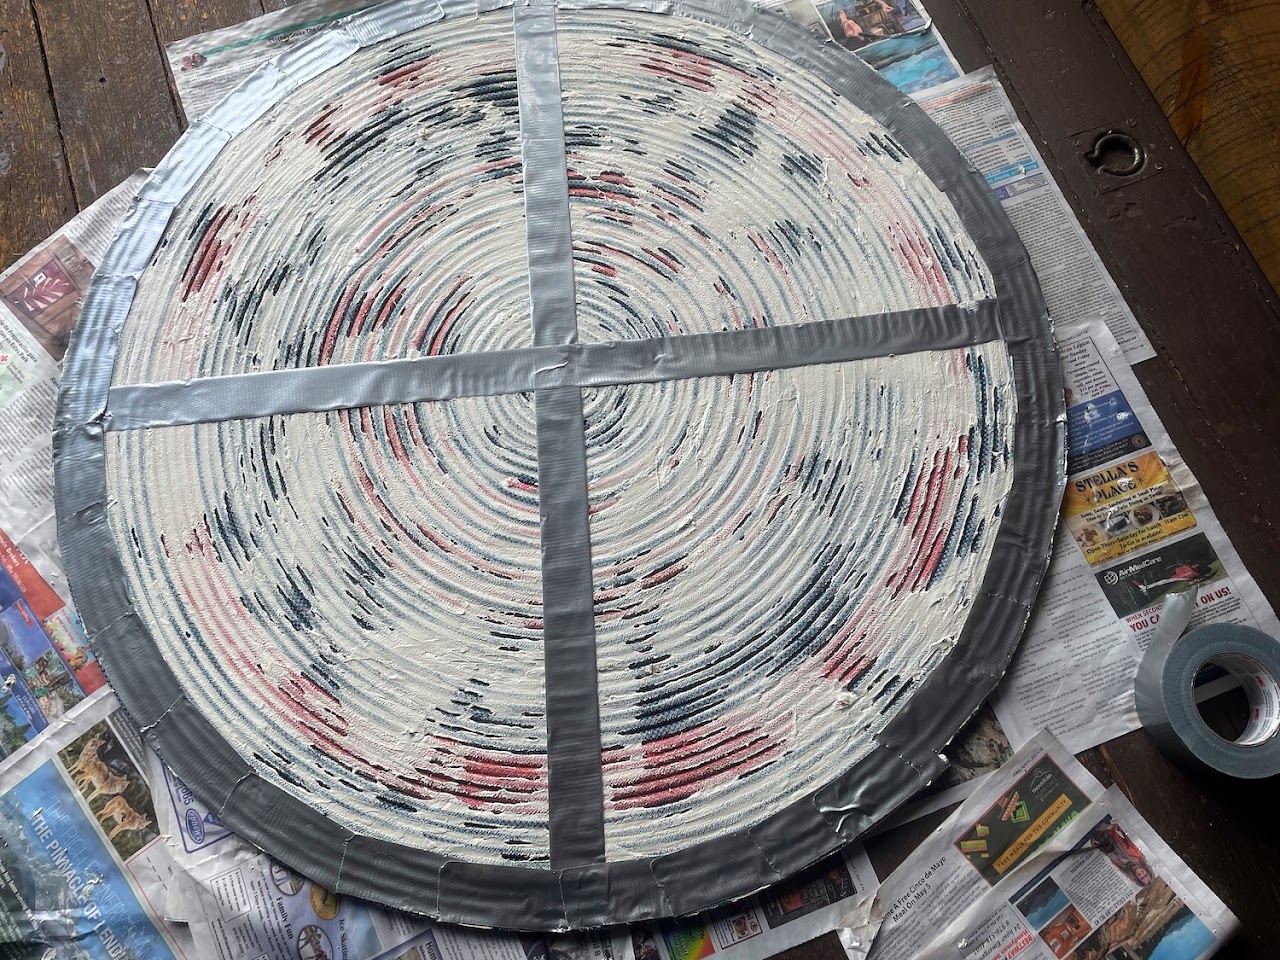
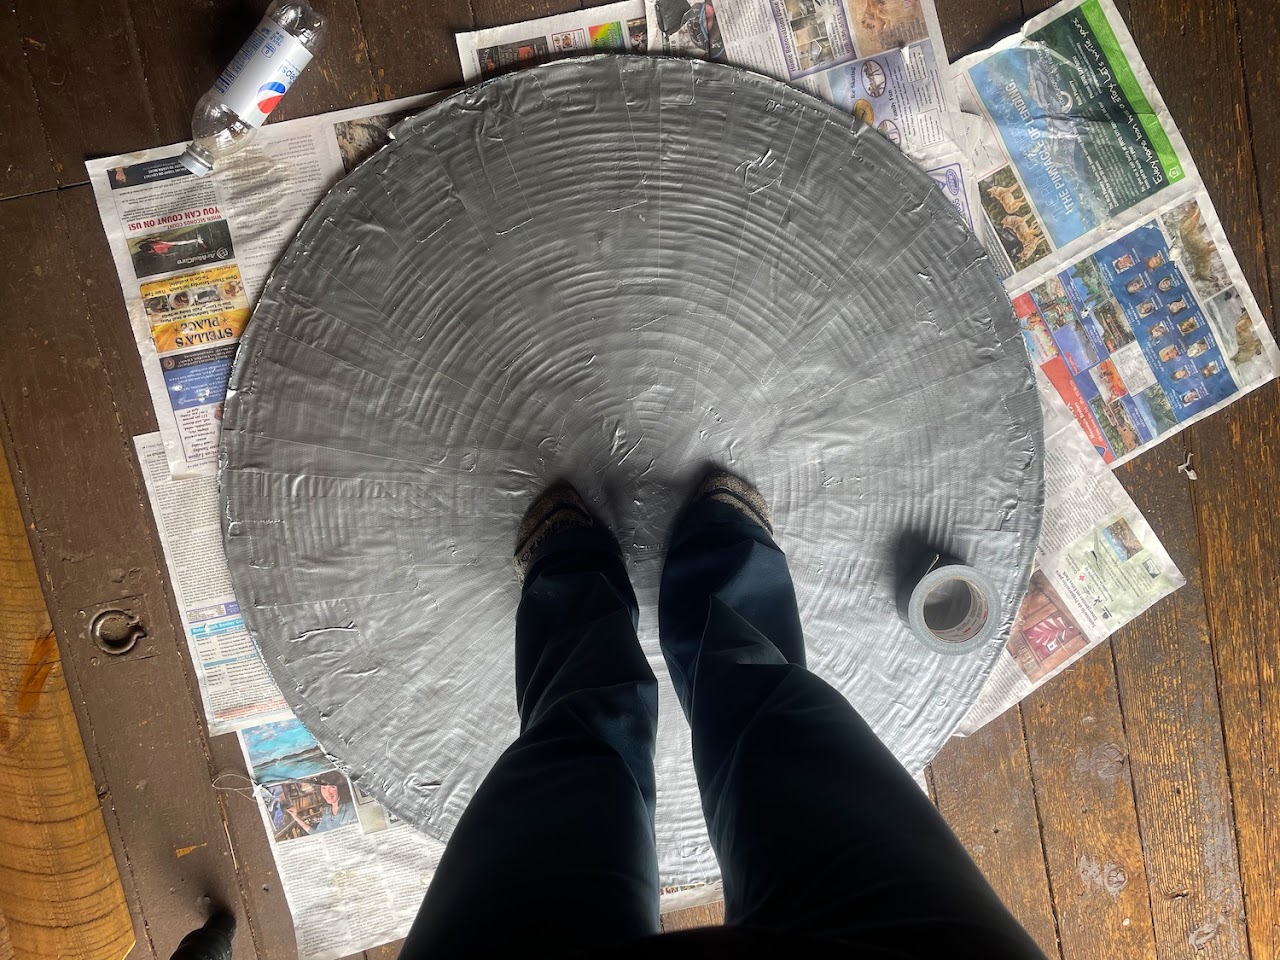
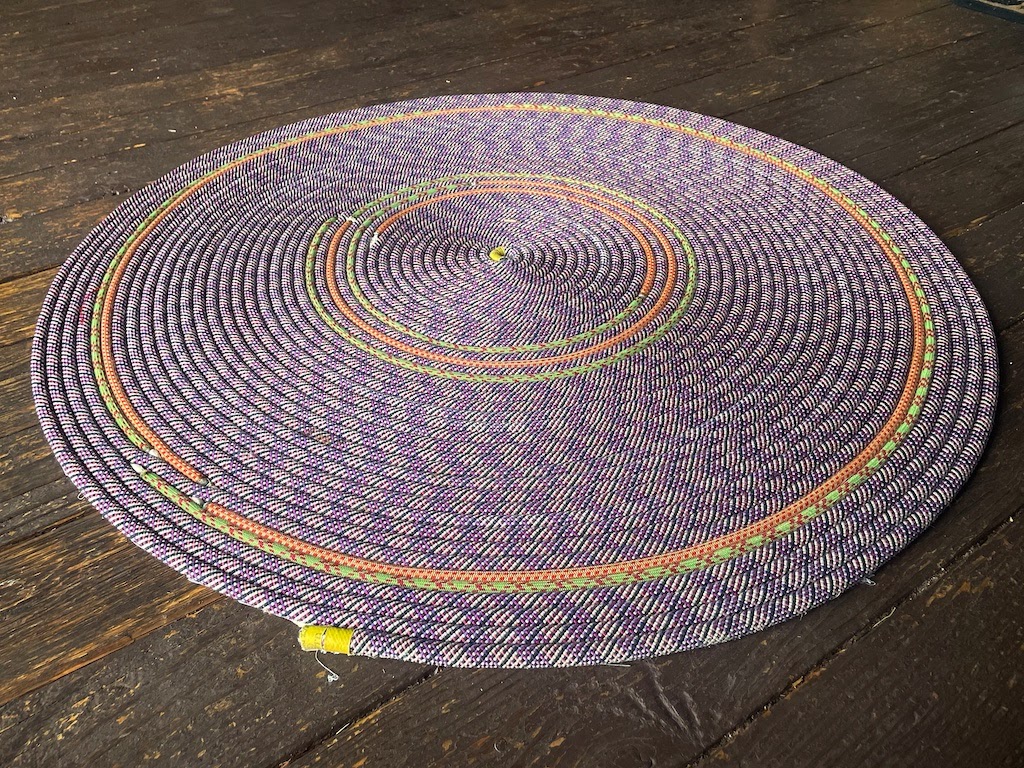
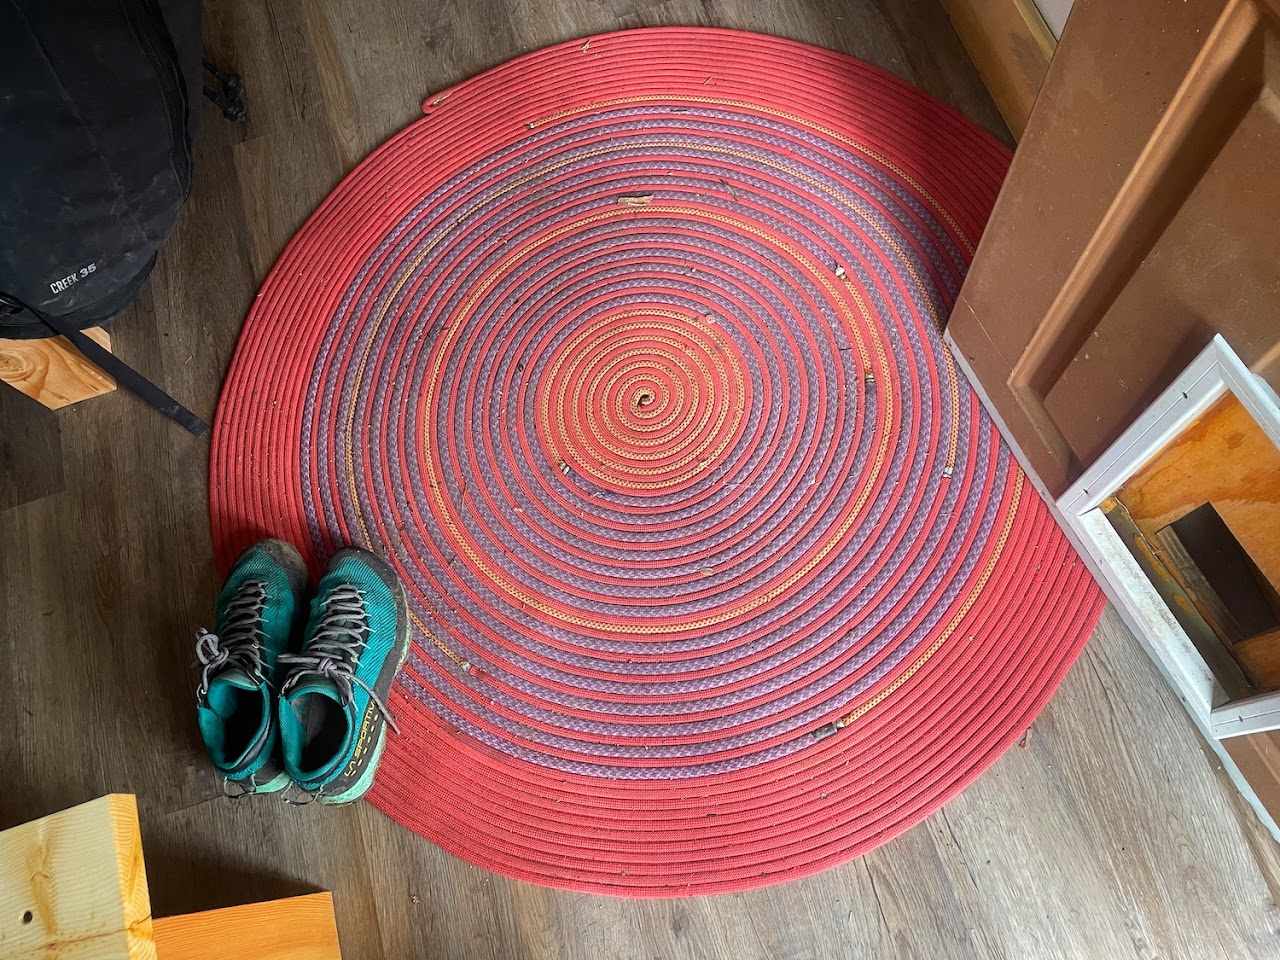
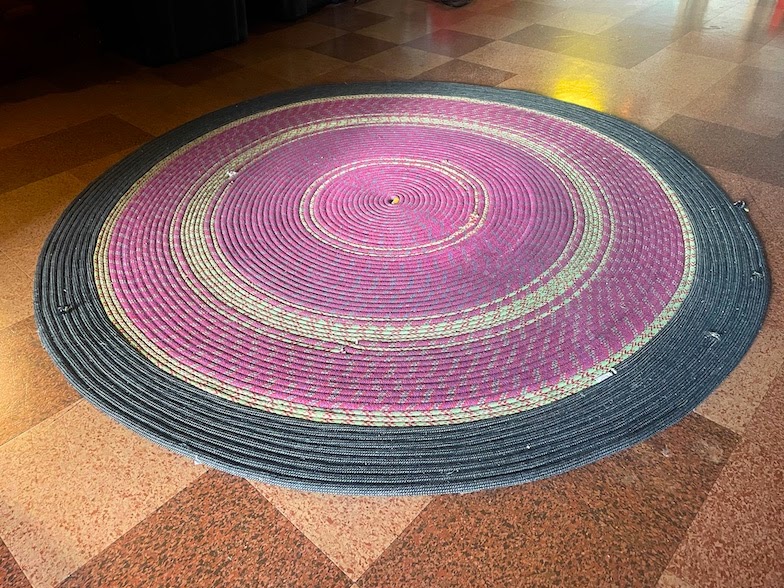
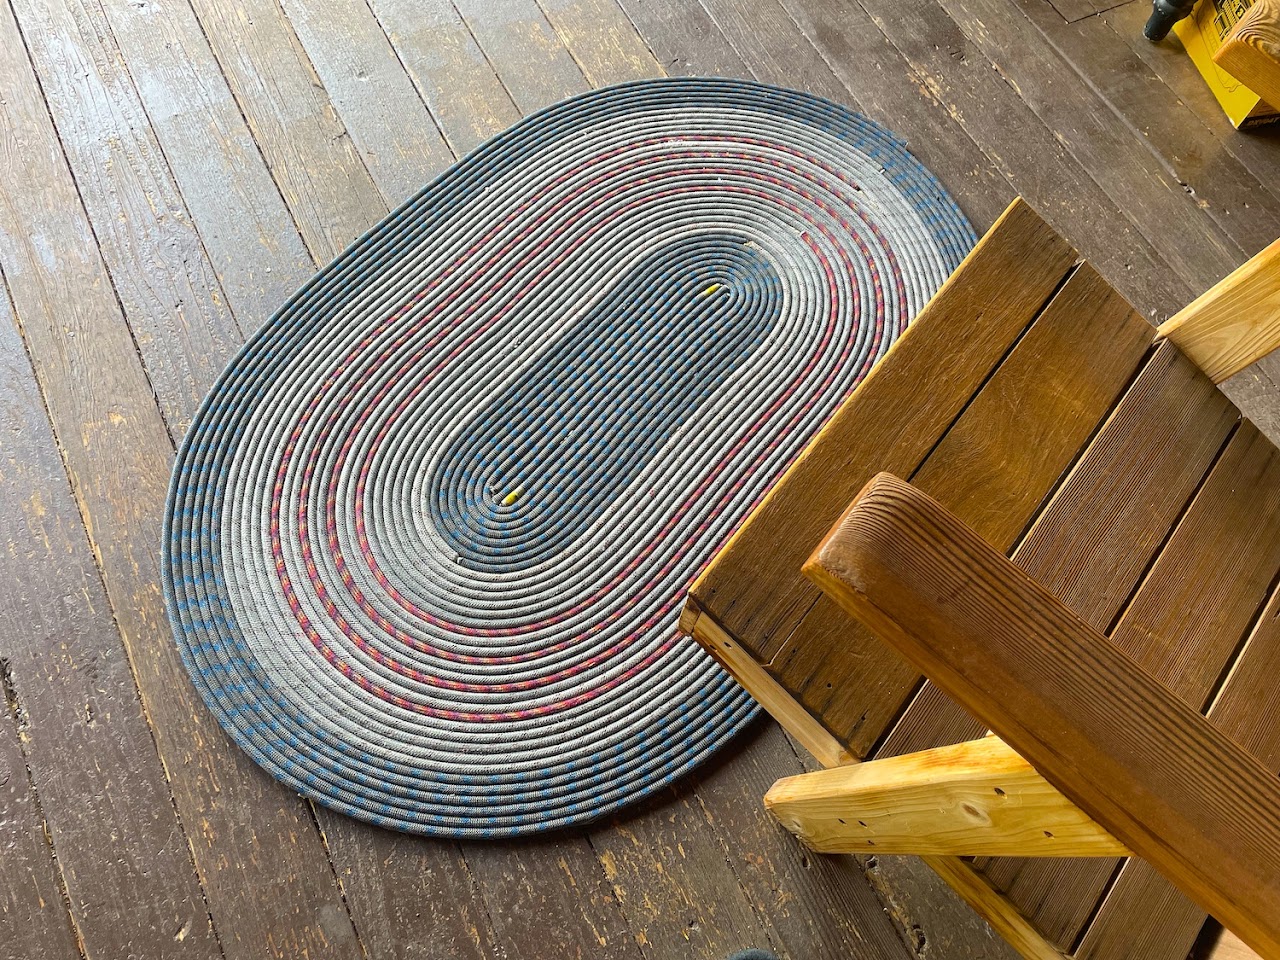
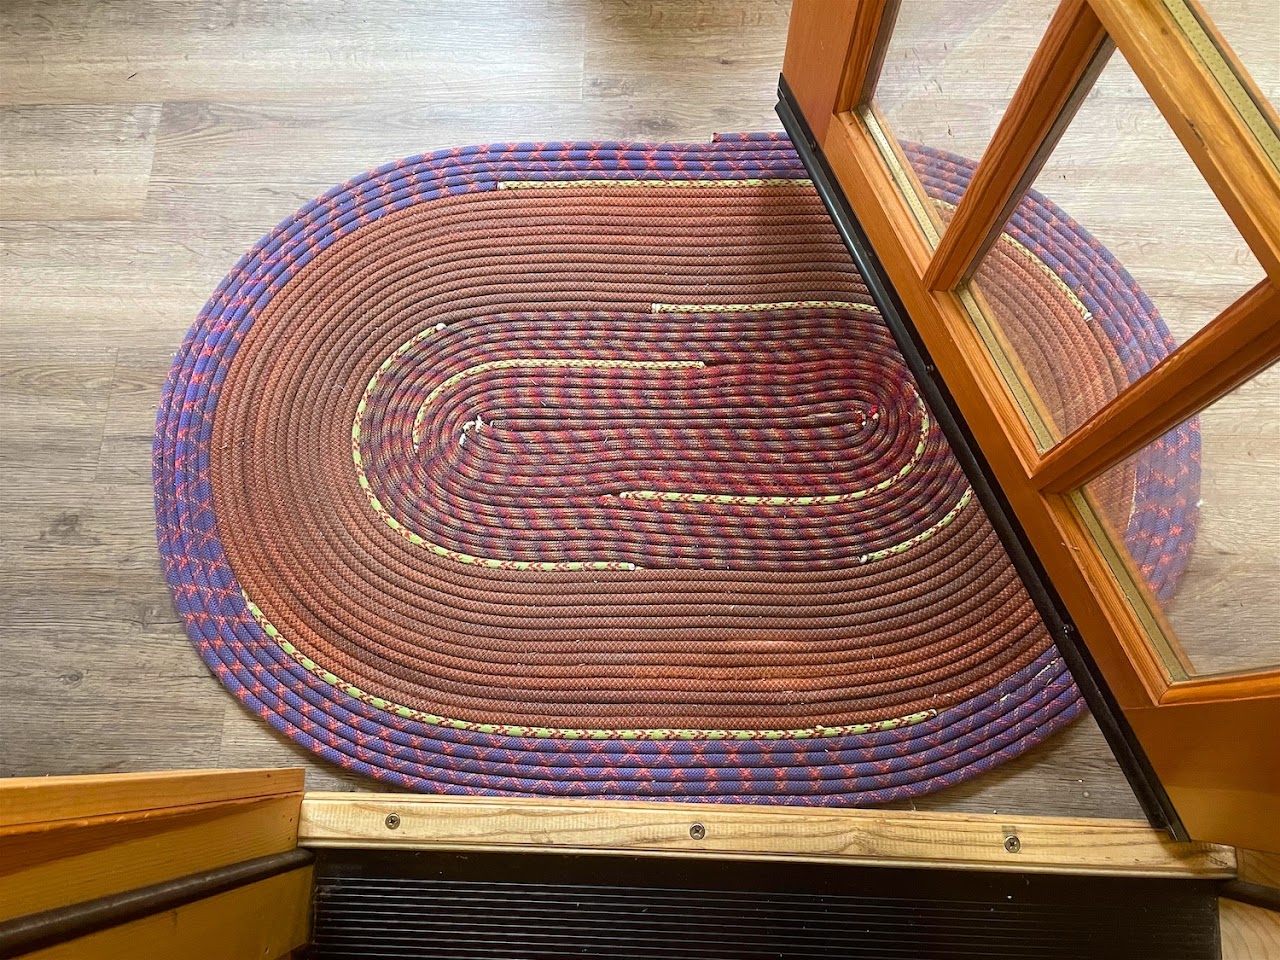
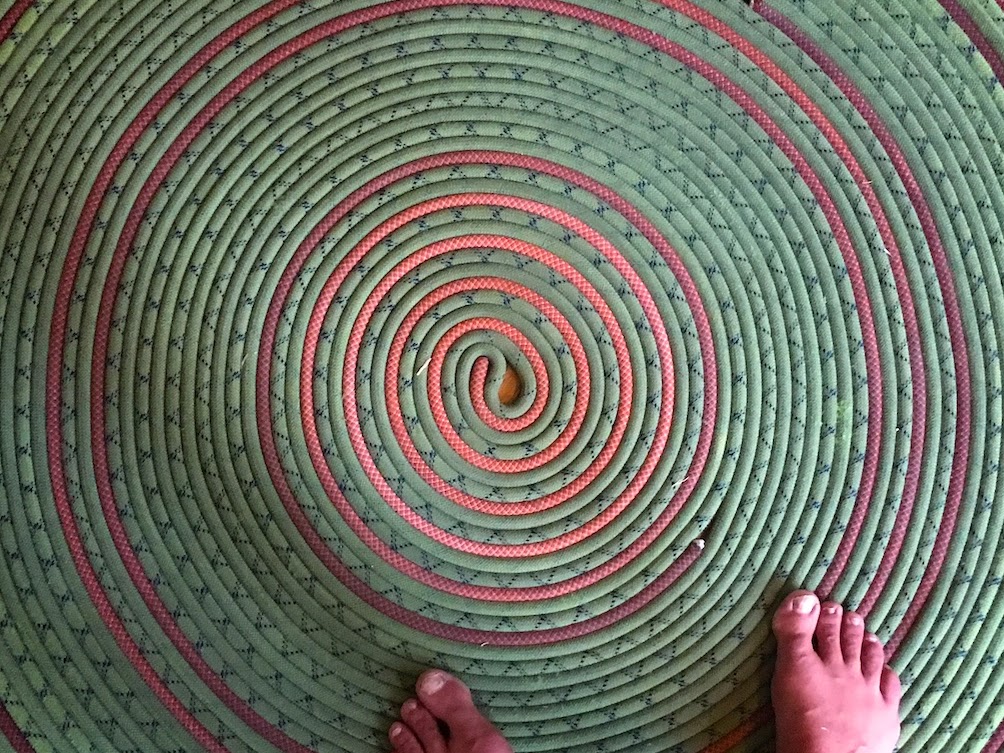
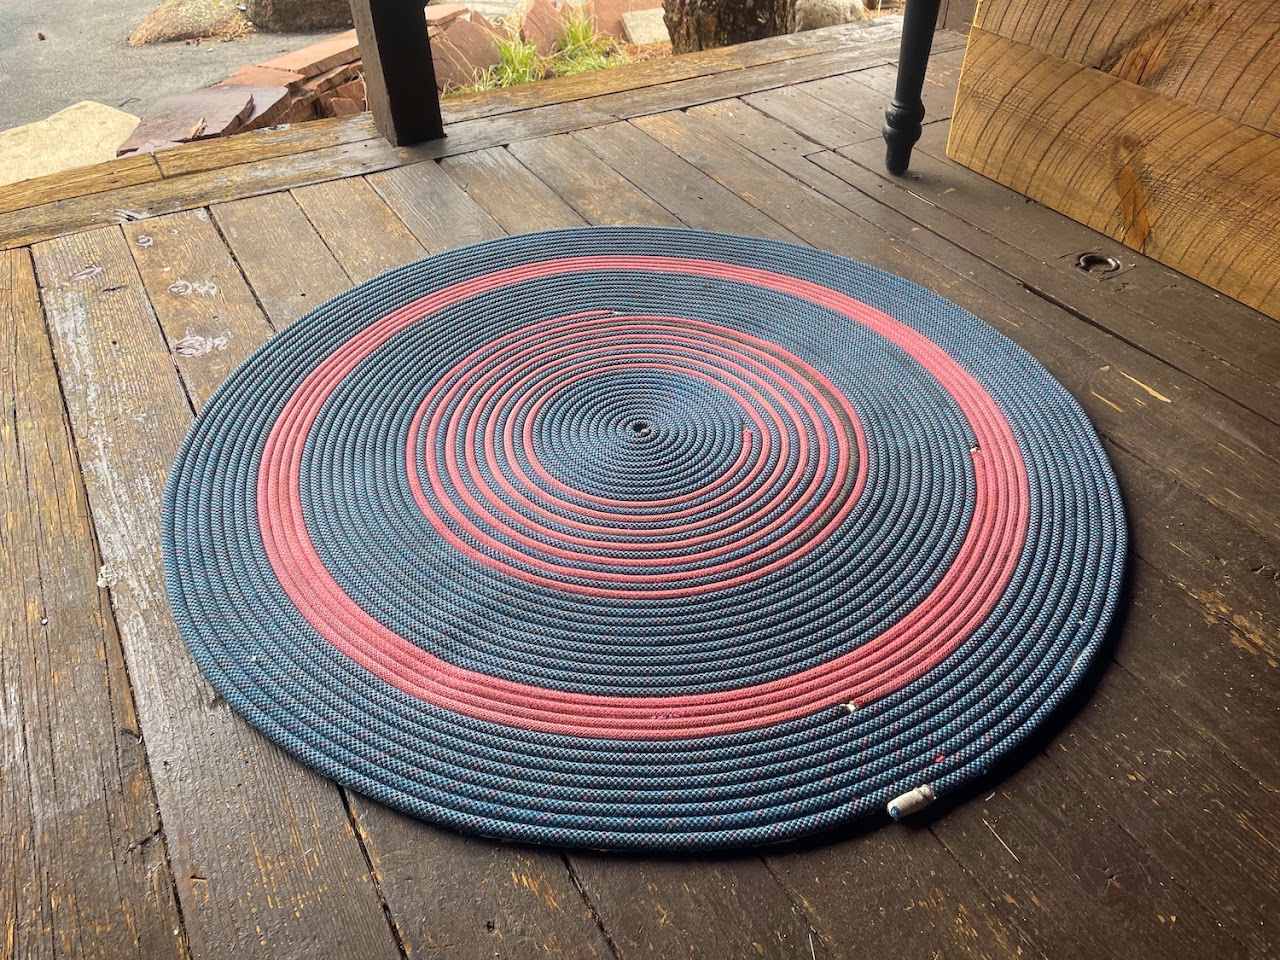
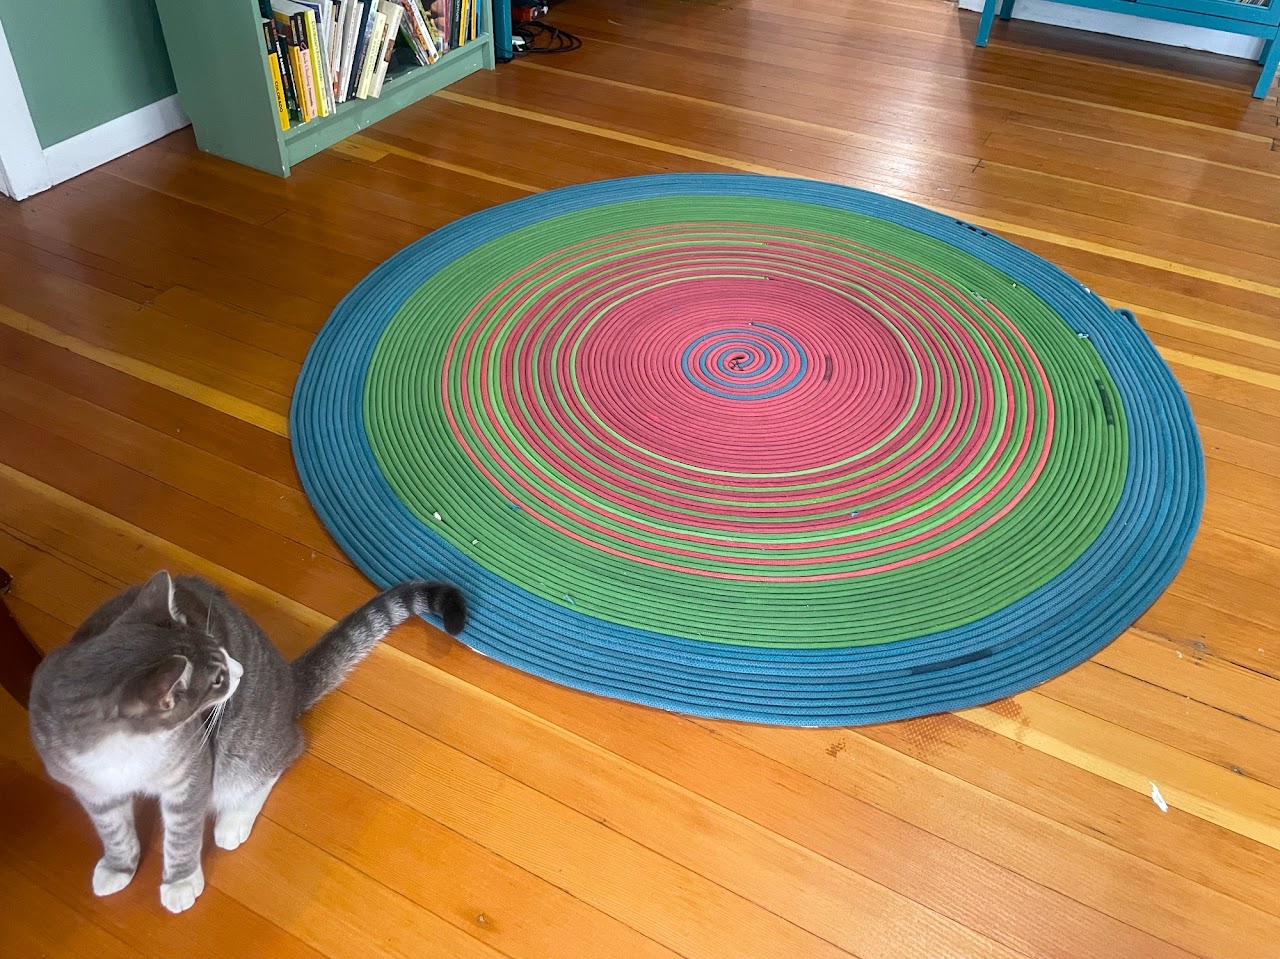
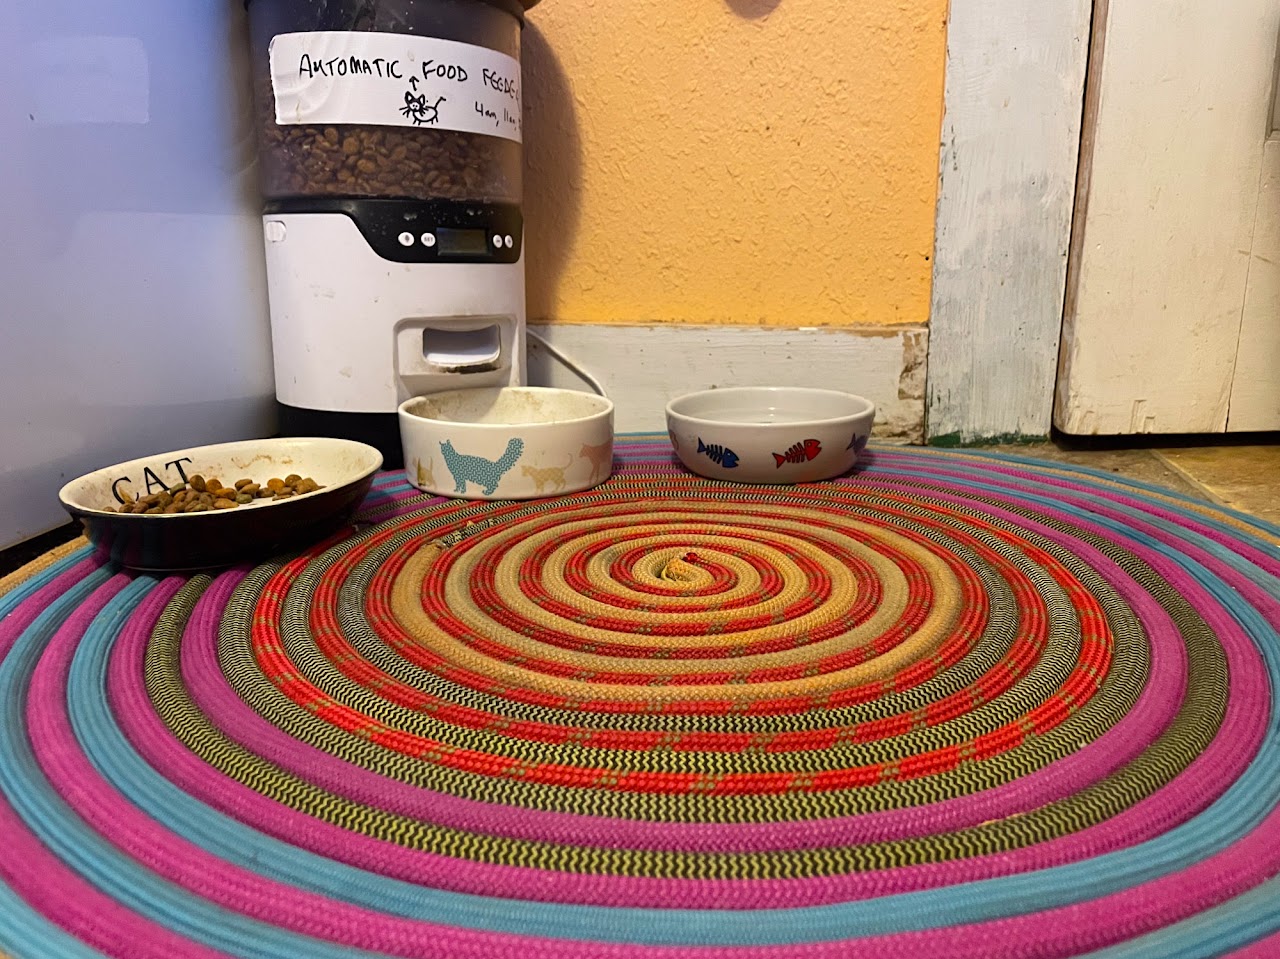
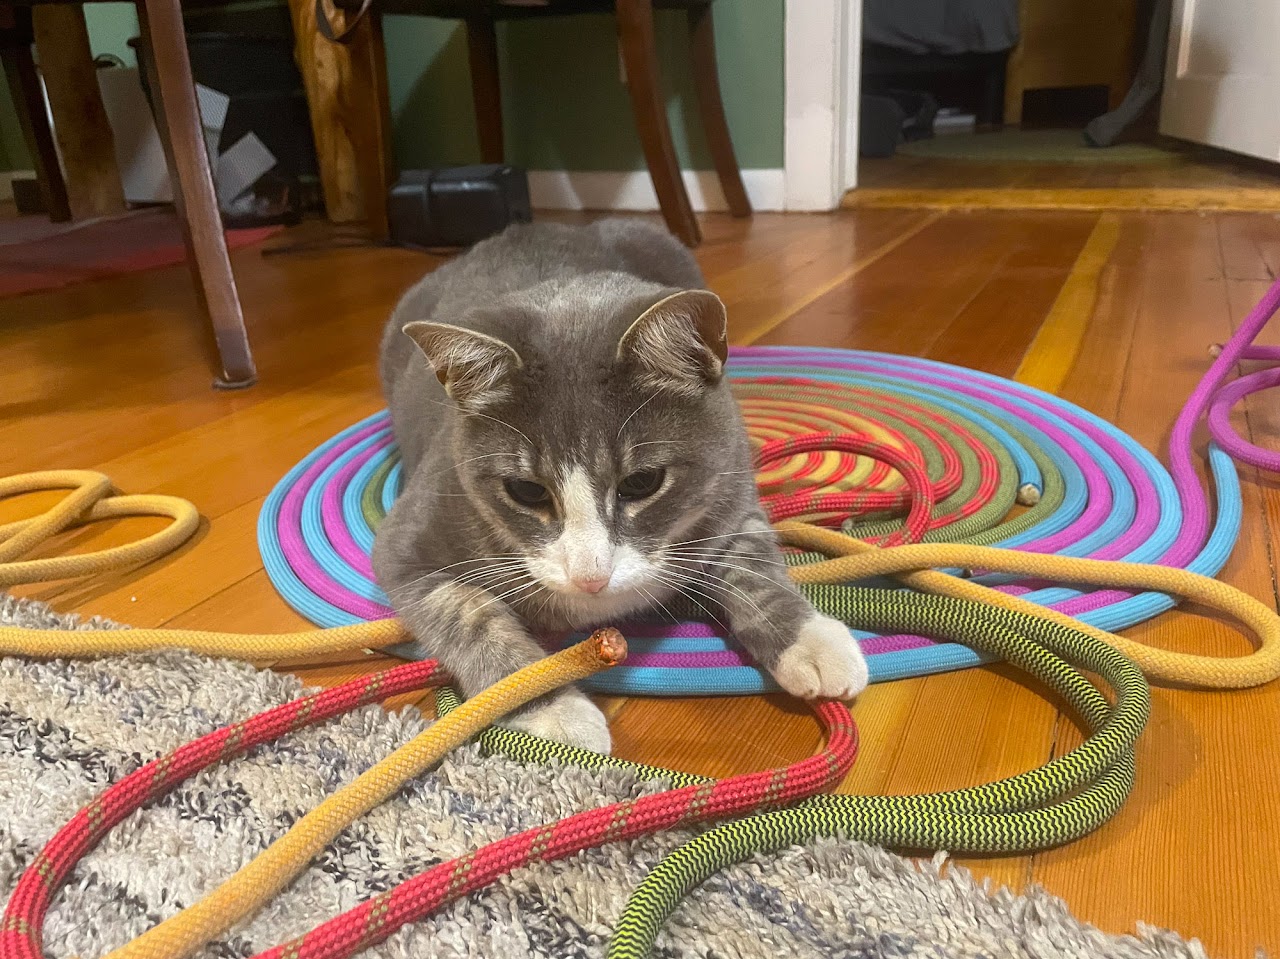
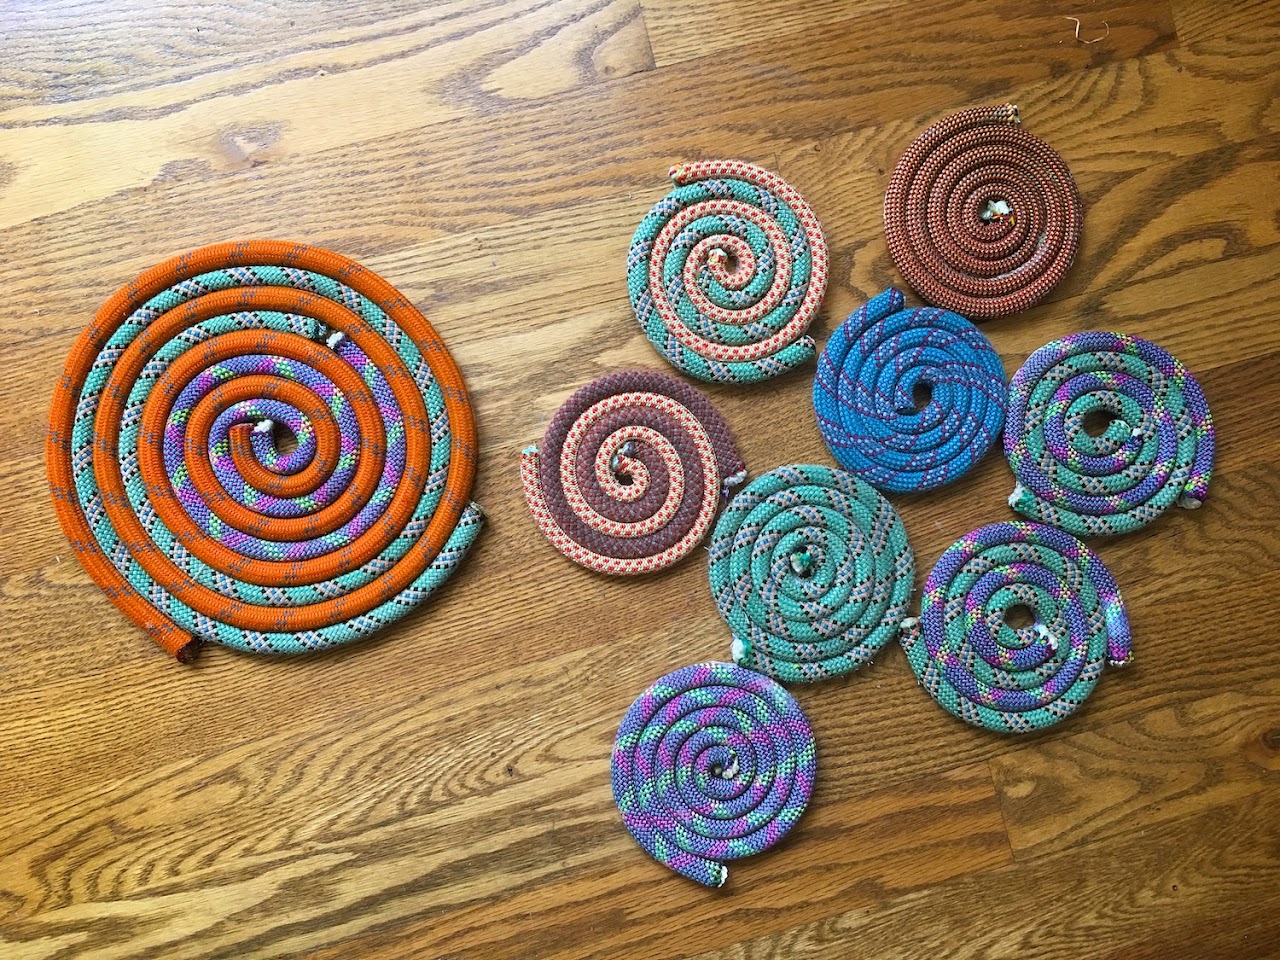
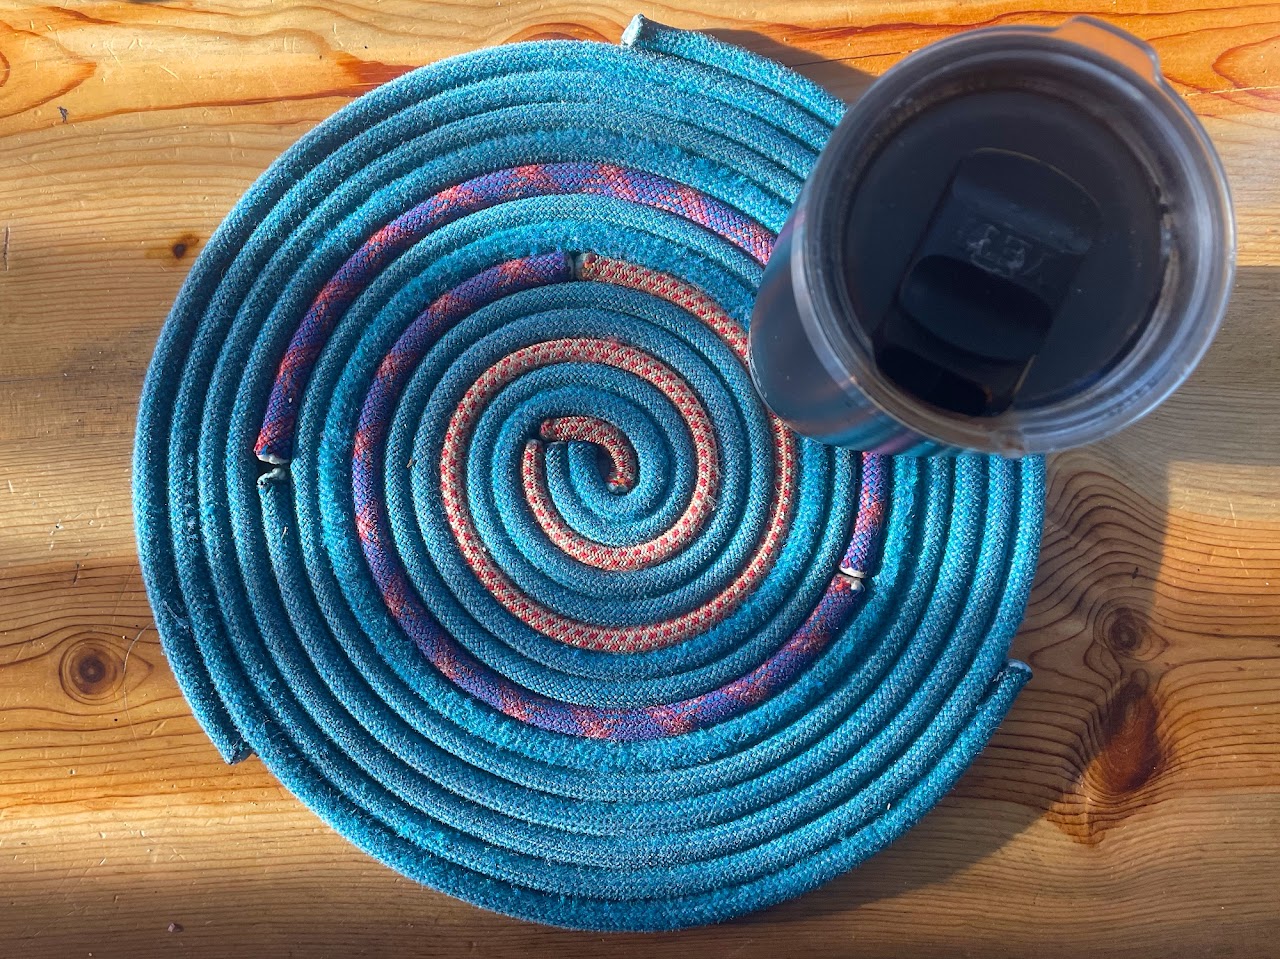
This page gives step-by-step instructions of how to make a spiral-style rope rug from your old climbing ropes. There are also some photos of examples of rope rugs I have created. This is my favorite way to retire a climbing rope. 
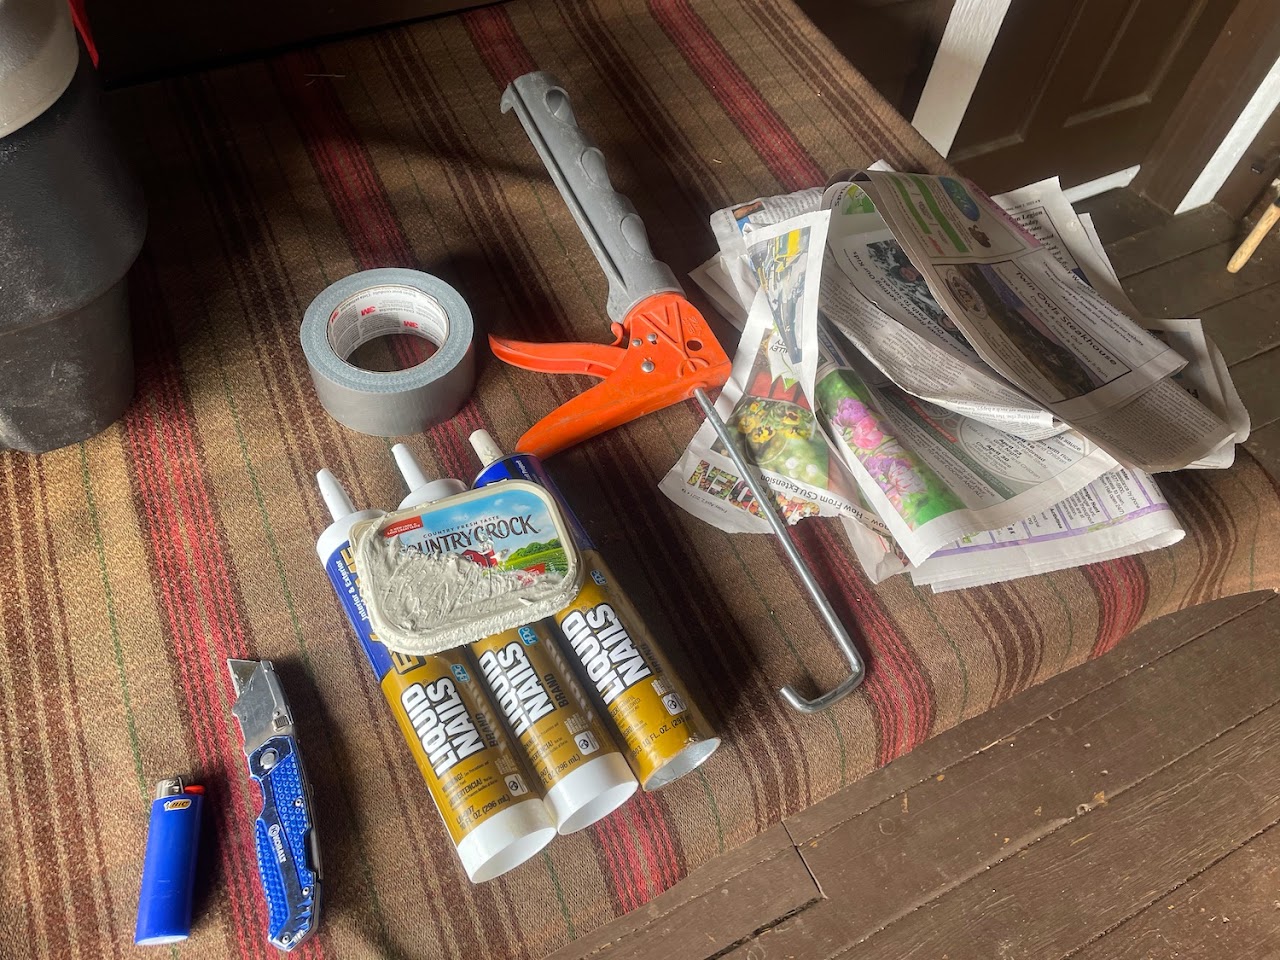
Materials

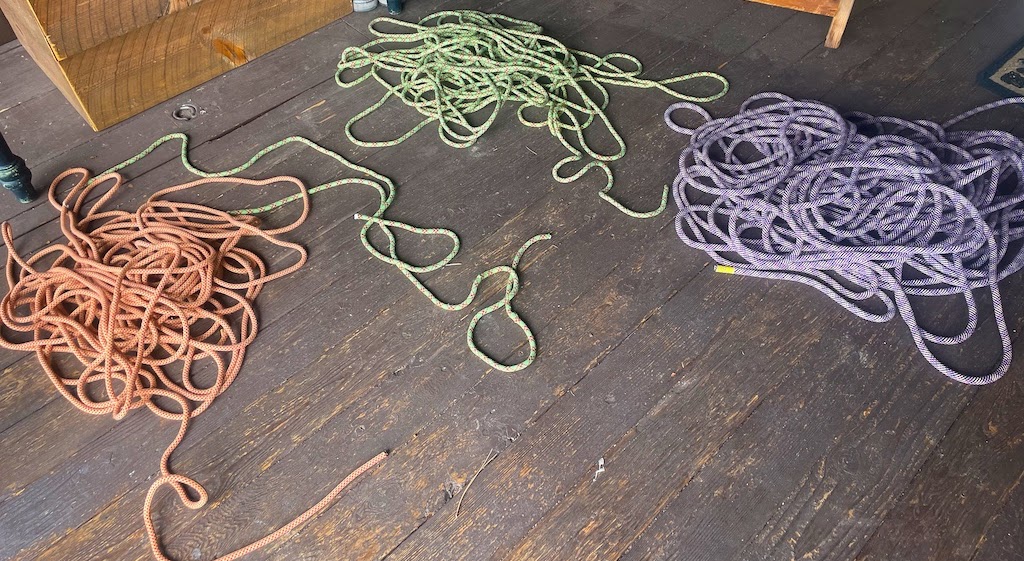
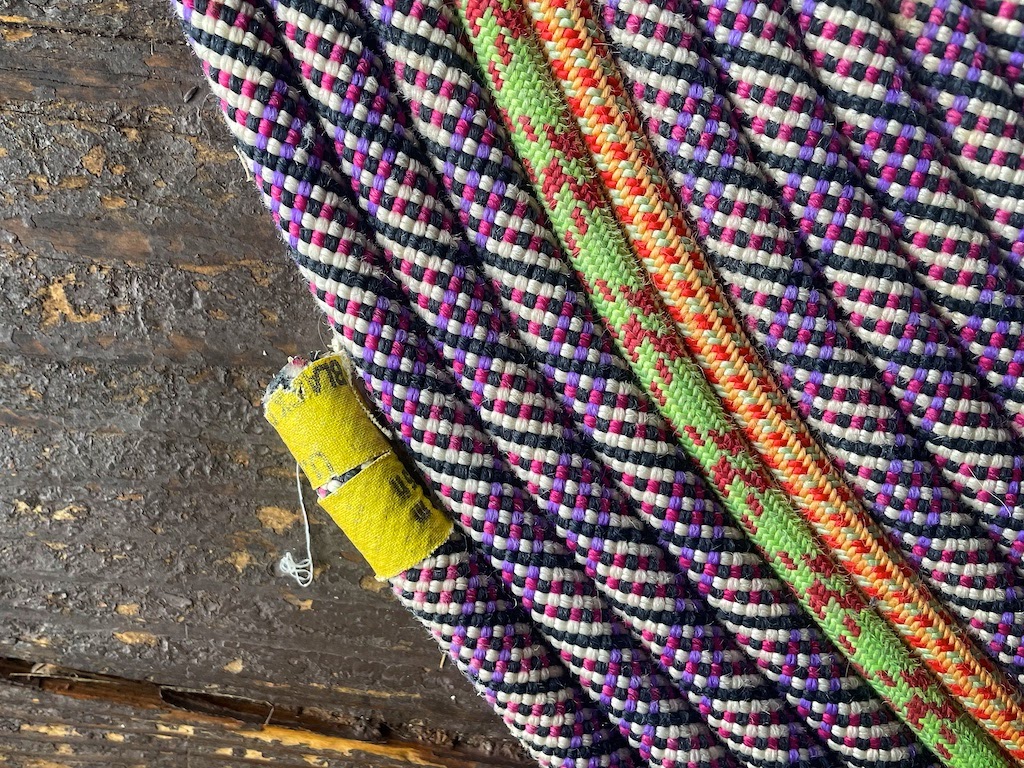
  • Old rope or ropes (60 m of rope will make a rope rug that is approximately 3 feet in diameter, but I usually use a couple of rope colors and make a slightly bigger and prettier rug; also, I've created rugs where the ropes have different diameters and that seems to be okay)
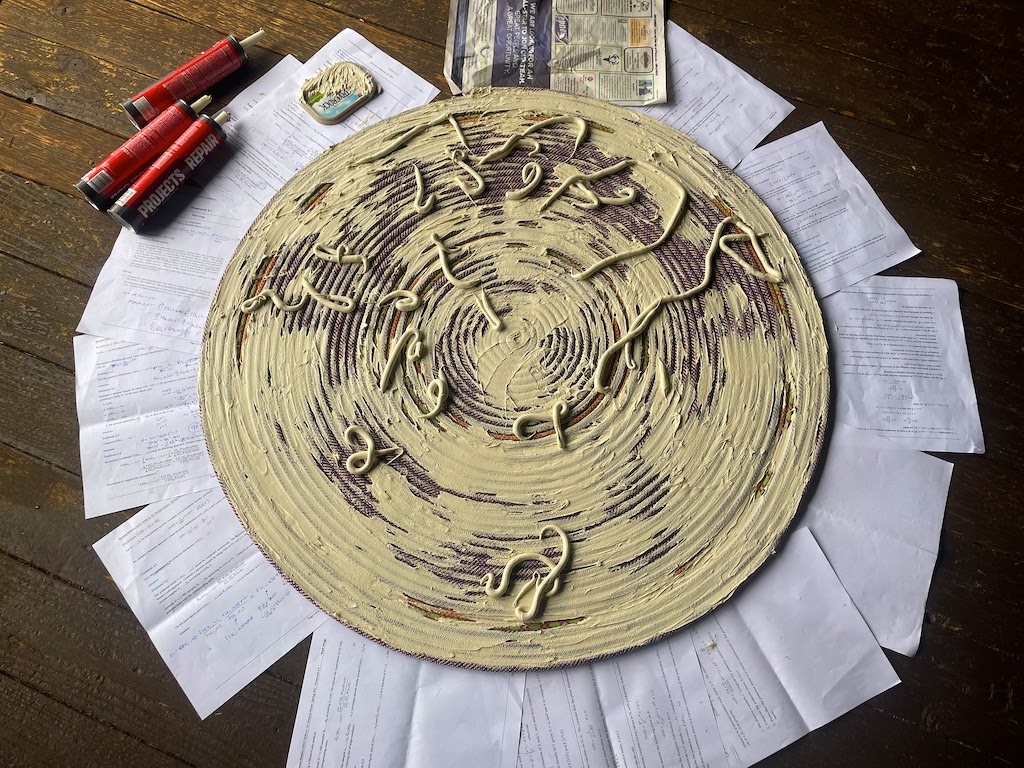
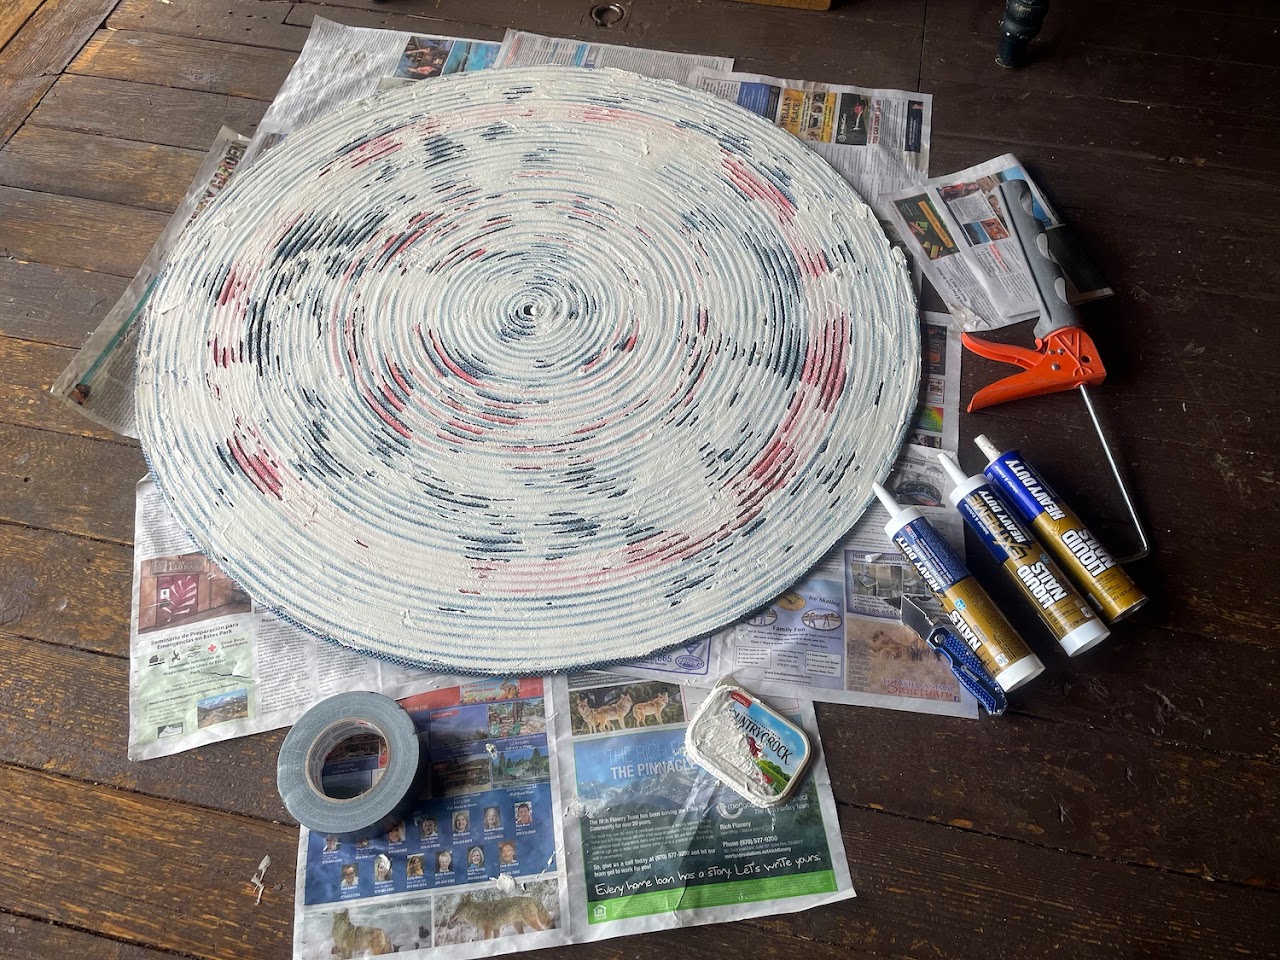
  • Some sort of adhesive, like Liquid Nails (3 tubes for a 60m rope; clear adhesive may be best in case any leaks through the cracks, but I've always used white adhesive)
  • Caulking gun (to apply adhesive)
  • Duct tape (large roll for a rug made with a 60m rope)
  • Knife (to cut rope or adhesive container tips)
  • Lighter (for burning rope ends if you use more than one rope)
  • Newspaper (to protect surface below rug when using adhesive)
  • Something to spread liquid nails with (for example, a plastic container top you'll throw away works just fine) 

Step-By-Step Process of How I Make a Rope Rug

Step 1
30 min to several hours.....
Play around with different designs until you find one you like. The possibilities can be somewhat endless here if you have multiple ropes you want to incorporate.

Burn any cut ends of rope so they don't fray.

Make sure that the rope spirals are neat and snug.

In Example 1, the blue rope is a 60m 10mm rope and the pink rope is perhaps 20m. The final rug is about 4-feet in diameter. In Example 2, the purple rope is a 50m 11mm and the final rope (with some additional rope spiraled in) is about 4-feet in diameter.
Rope Rug Example 1
Rope Rug Example 2
Step 2
< 30 min
Put newspaper below the rug to protect the surface below. If you've made the spirals neat and snug, adhesive should not make its way to the main surface of the rug.

Cover the rope in adhesive. This will be the underside of the rug. I apply the adhesive and then spread it on with something flat (like a plastic lid as shown in photo).

It is okay to have some spots with a low amount of adhesive, but make sure that the outer edge of the rug is nicely bonded, as the outer edge is the most likely to be pulled loose over time.

In the pictured example representing a 4-foot rug, I used three containers of liquid nails to cover the back of rug.
Step 3
< 30 min
Cover the adhesive side of the rug with duct tape. I have always begun the duct tape process immediately after finishing smearing on the adhesive, so I don't wait for the adhesive to dry.

I usually start by taping the edges and then work around in pie shapes. Trim the tape at the edge of the rug if needed.

It is important to fully cover the rope with duct tape as this will protect any surface below the rug from the adhesive, which becomes rough when it dries.

In the pictured example representing a 4-foot rug, I used half a large roll of duct tape to cover the back of the rug.
Step 4
~5 sec
Flip and admire!

I always flip it while the adhesive is still drying, out of impatience to see the final result and also I figure the weight of the rug will help bond the duct tape to the adhesive.

Gallery of Some More Rope Rugs I've Made