Lone Pine Peak
Route:
North Ridge
5.5
A fun ridge solo.
Region: California
Elev: 12,944 ft
Rock: Granite
Mode:

Date(s): July 1, 2018 (Sun)
Partner(s): solo


| Photos: |
Photo descriptions: | |
|
Approach
|
1.
 2.
 3.
 4.
 5.
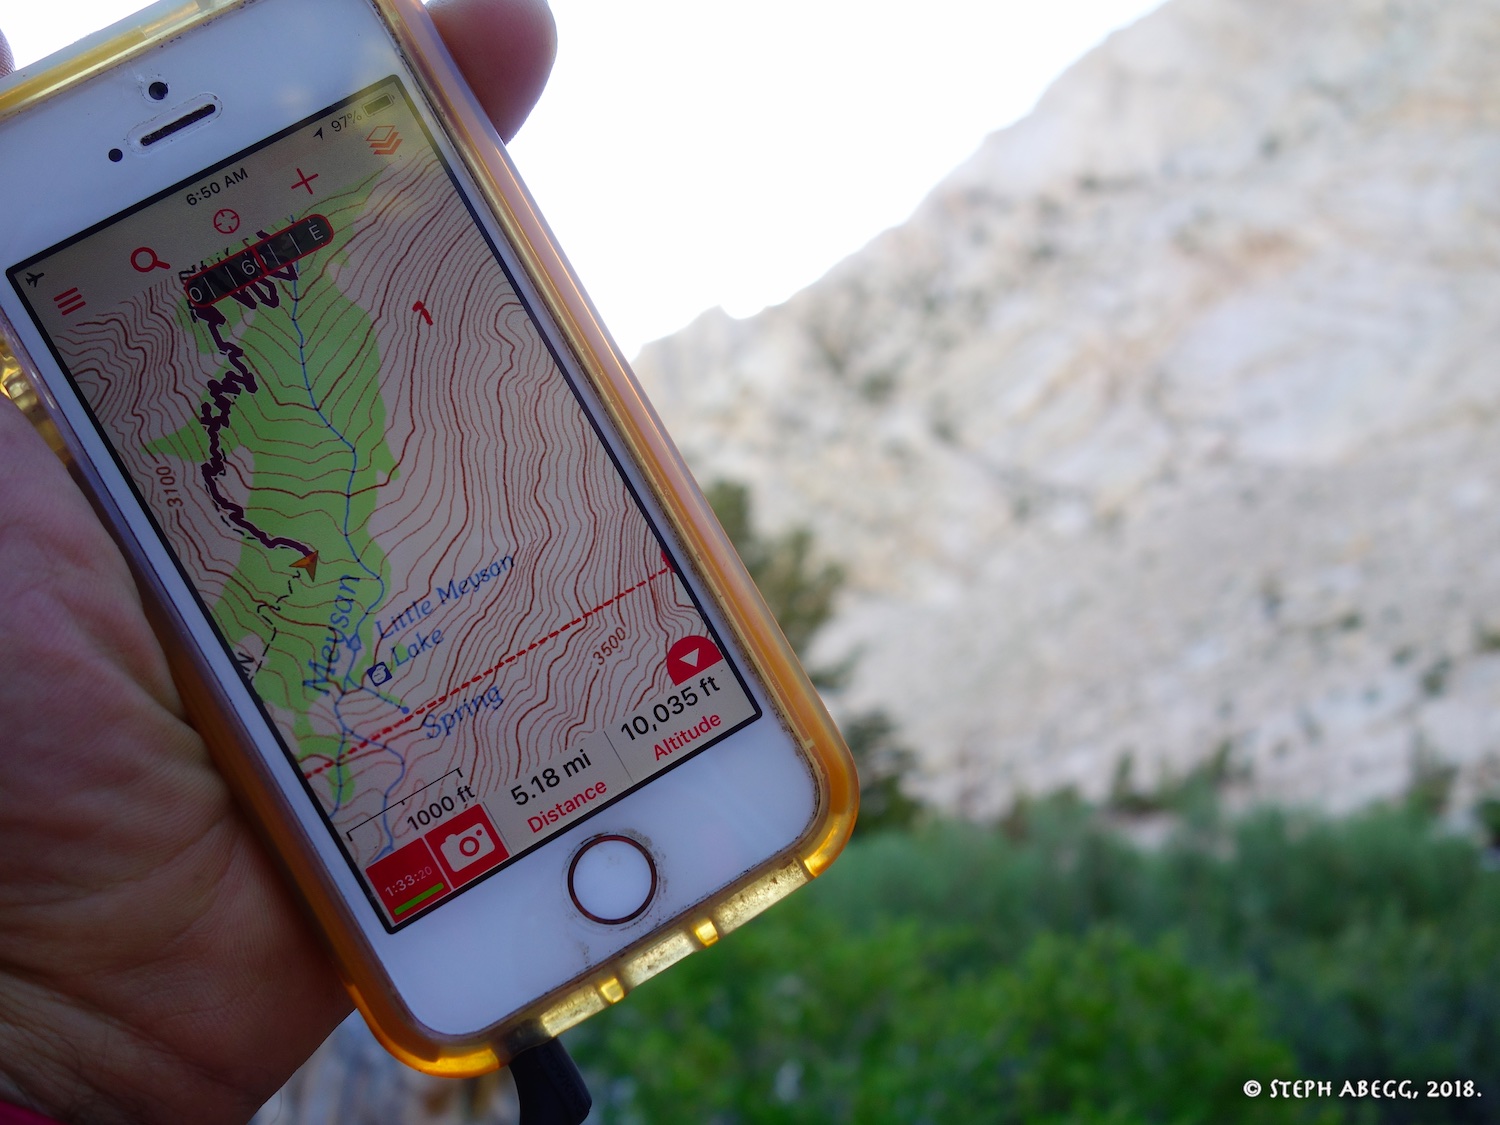 |
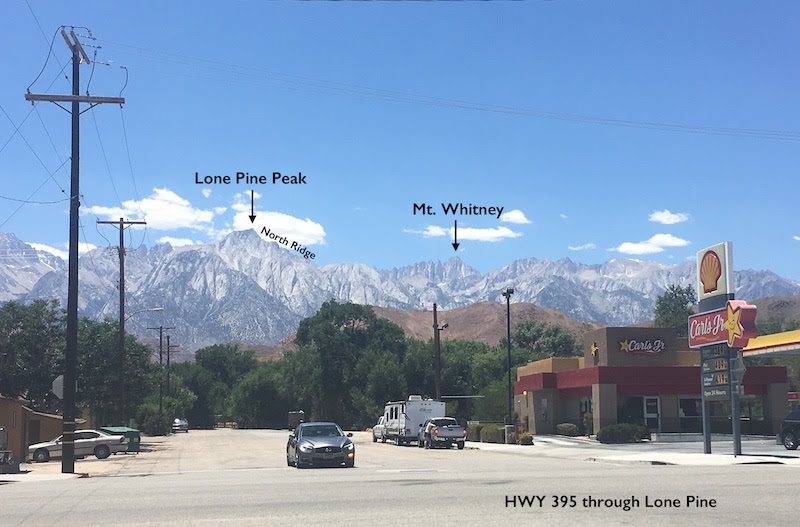
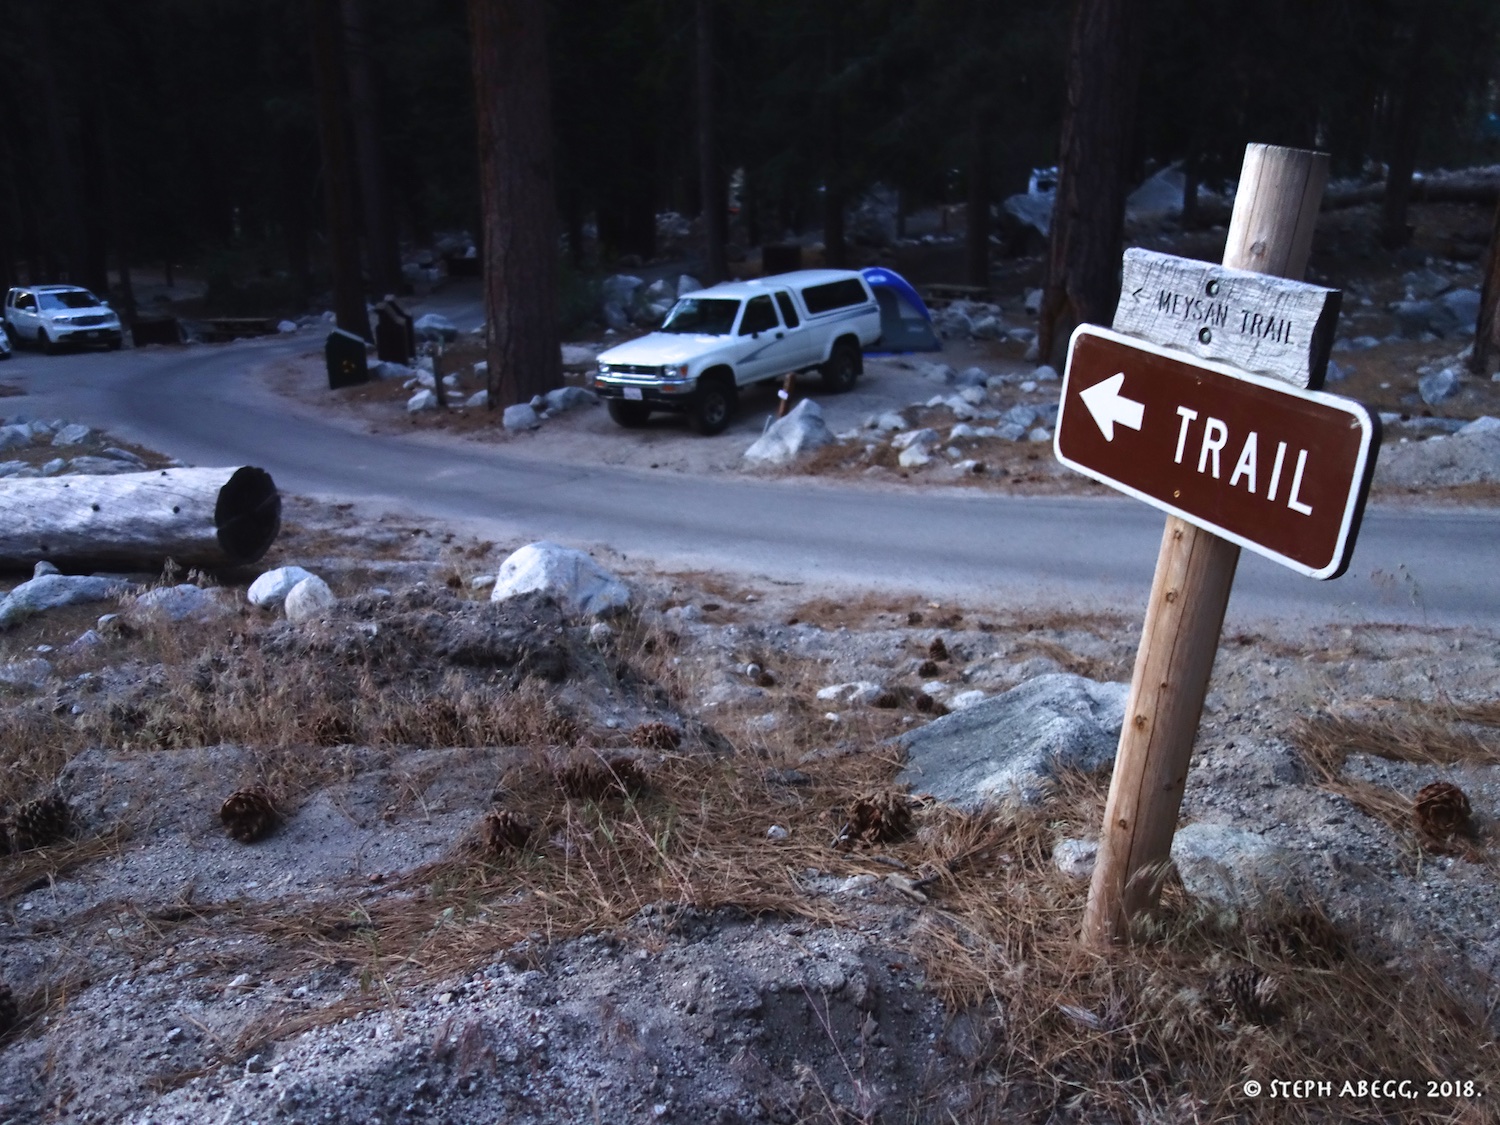
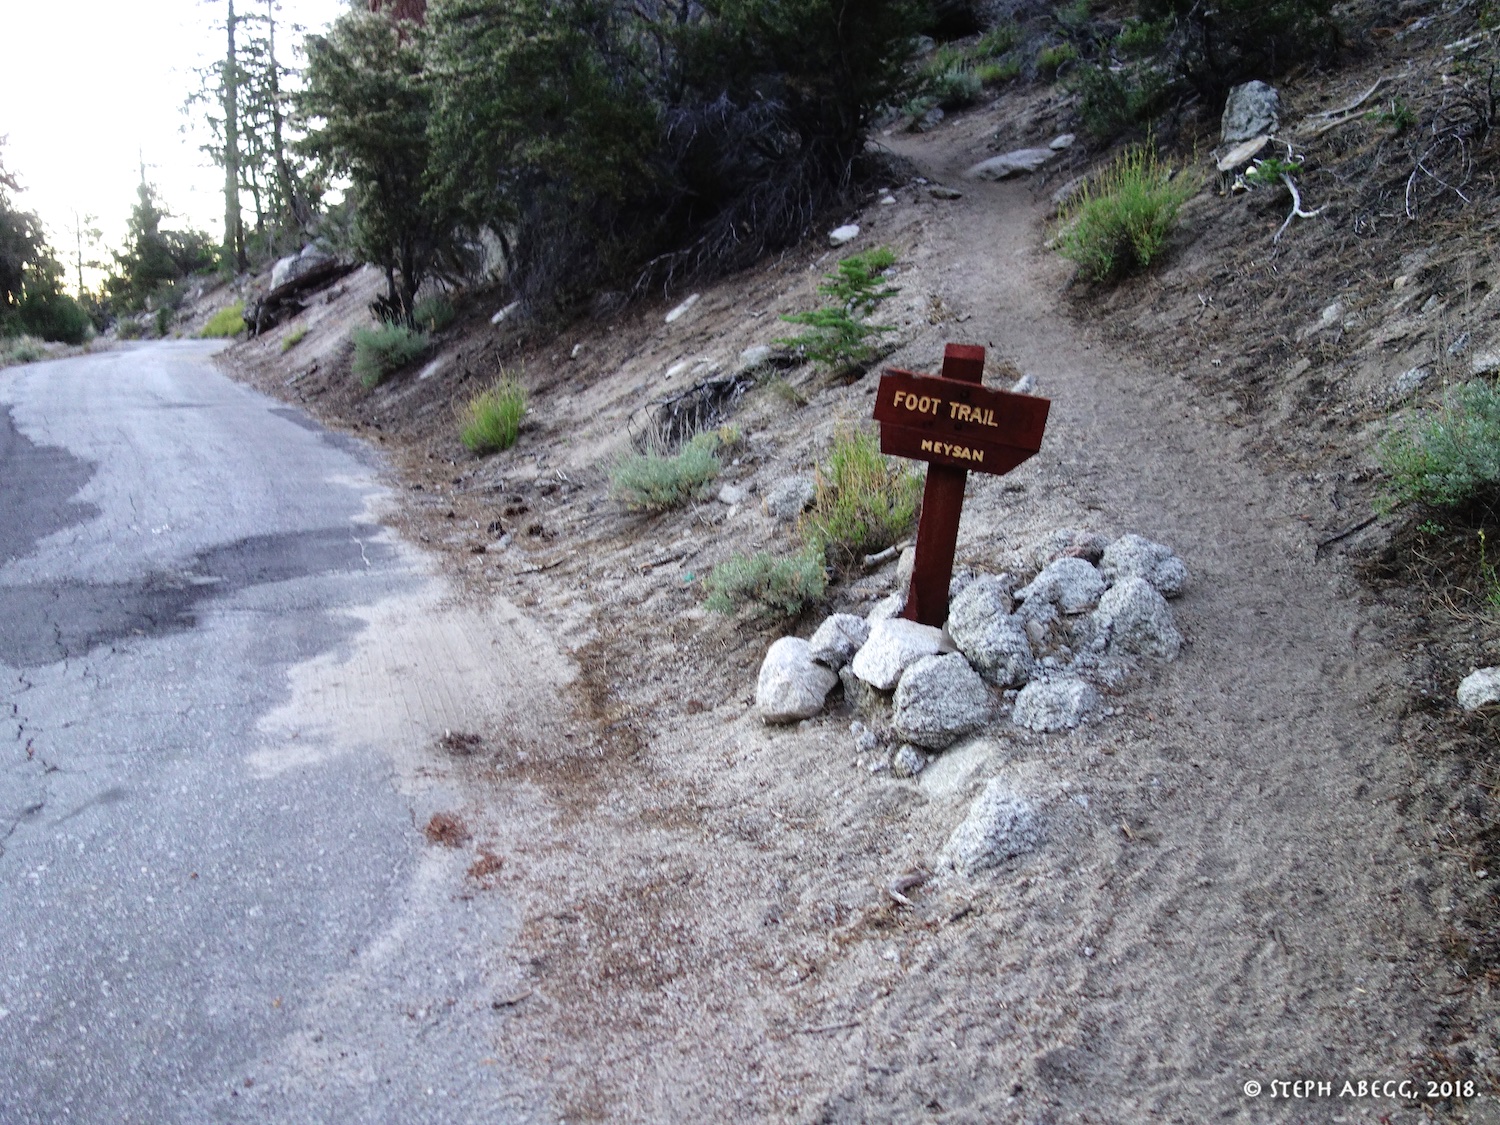
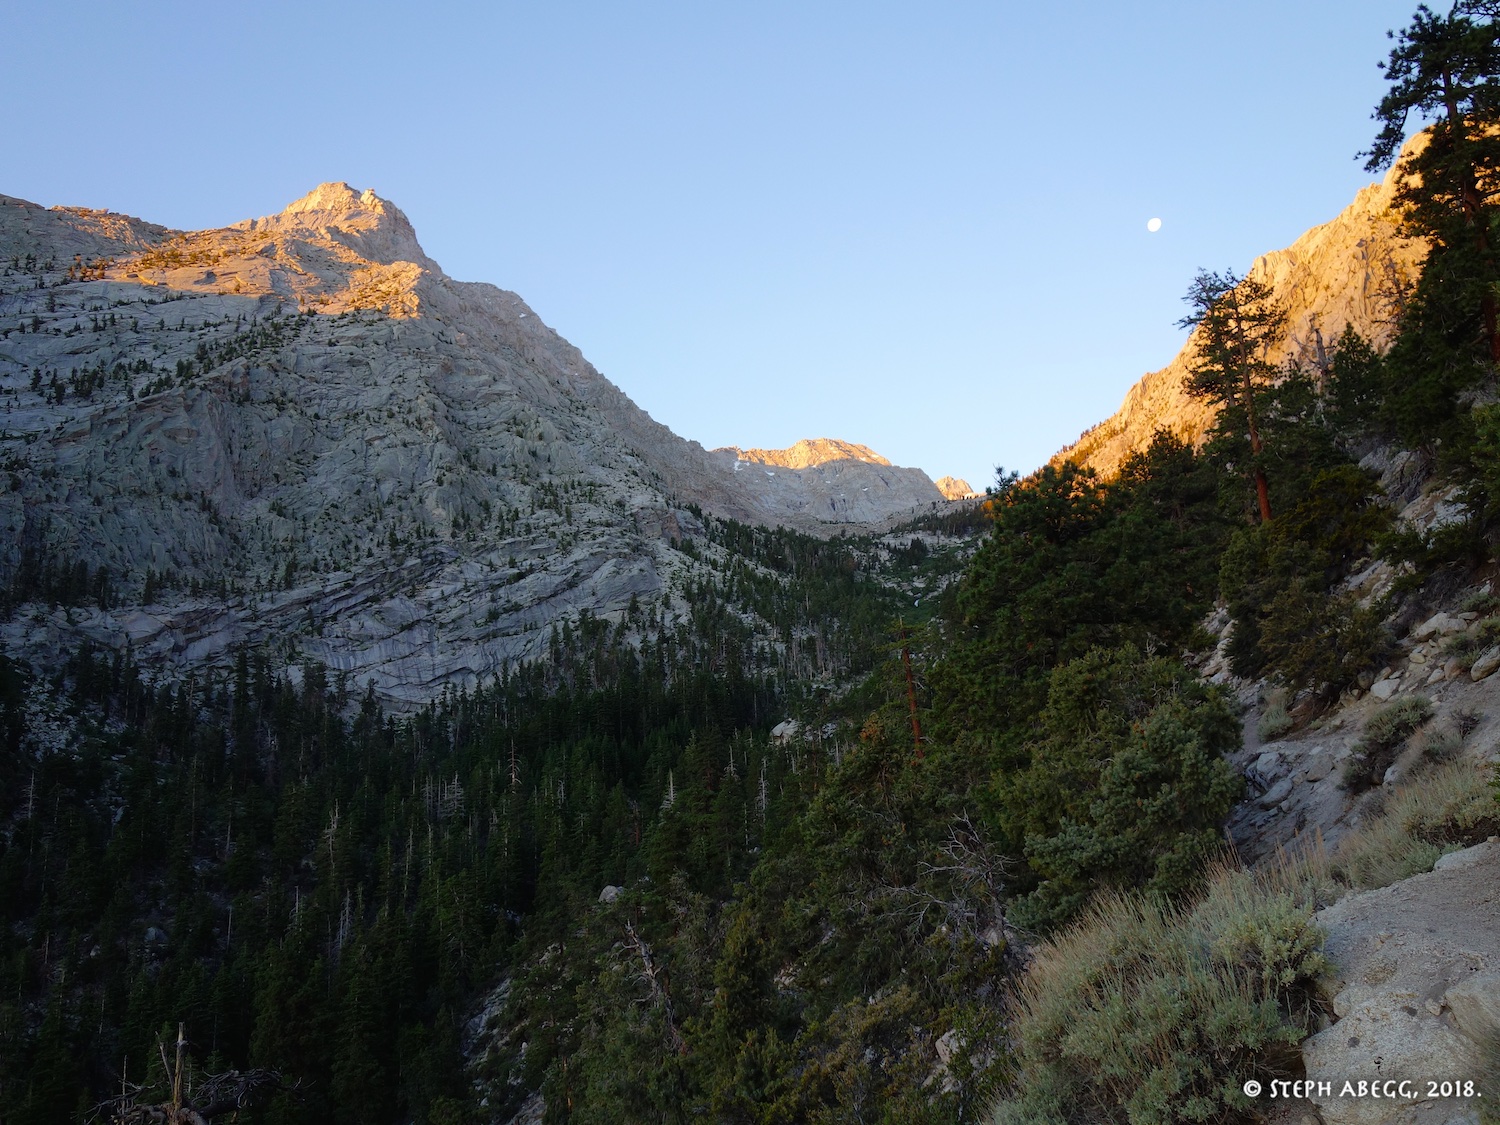
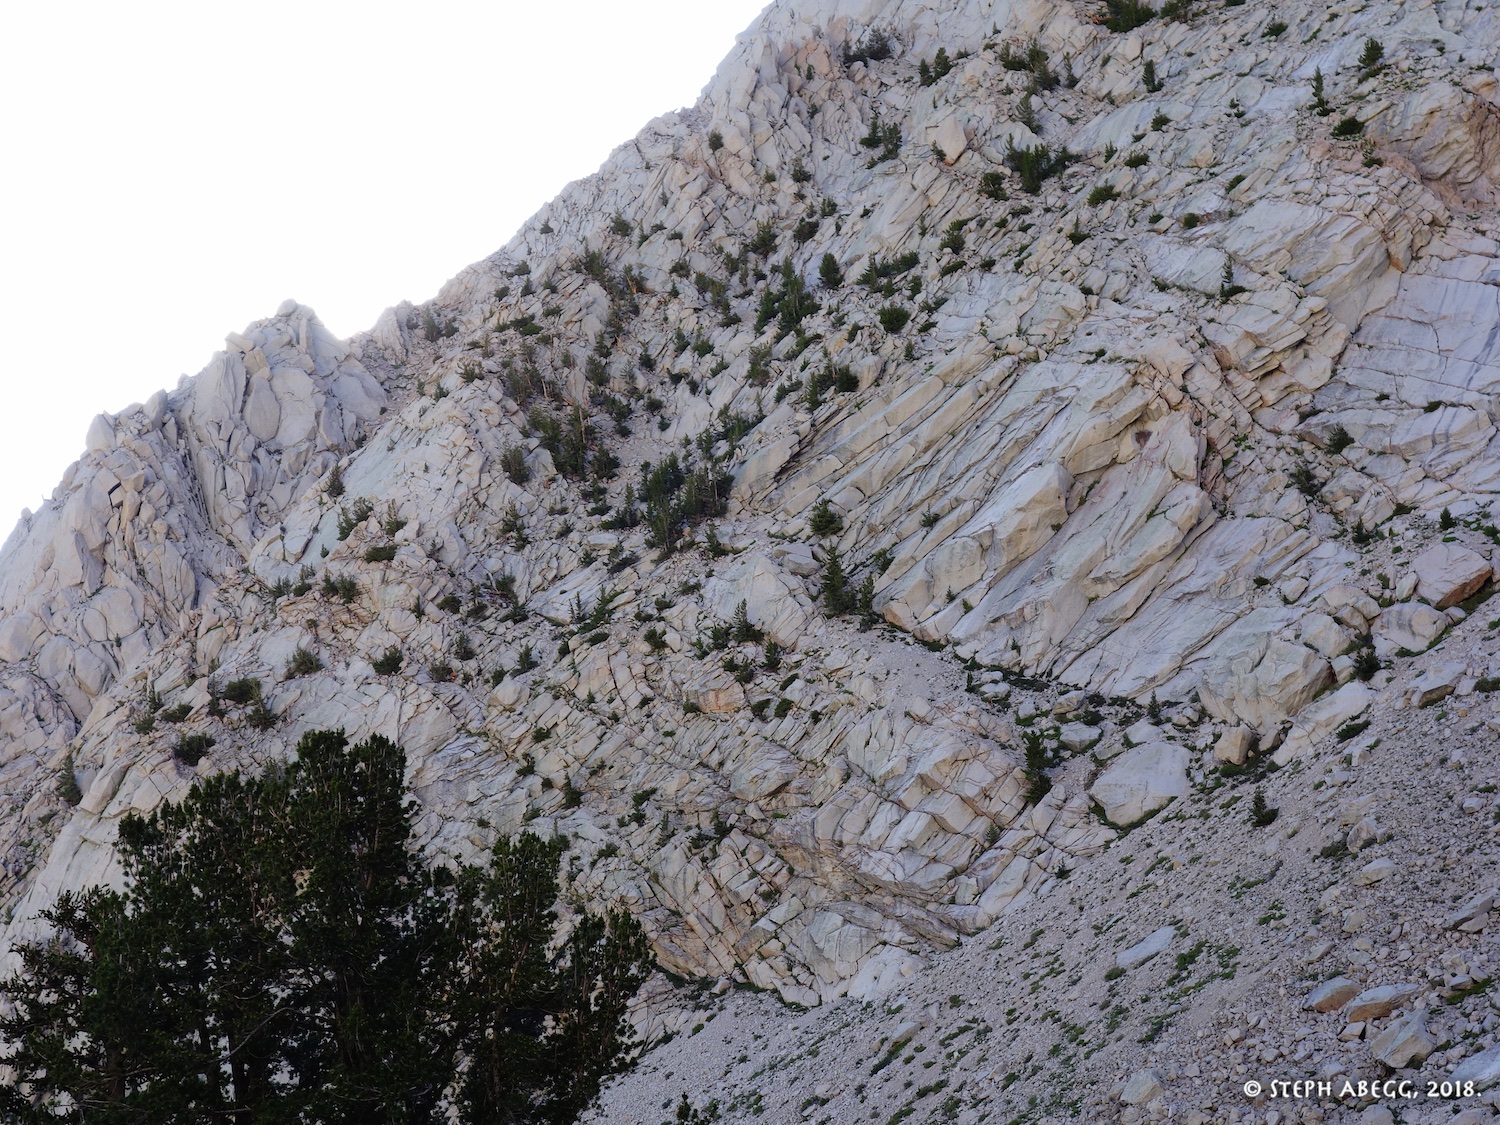
1-2. The Meysan Trail is well-signed and easy to follow through the campground and summer homes. 3. Lone Pine Peak as seen on the approach. 4. The ramp to the notch in the North Ridge. 5. I turned off the trail at 10,000 feet, as suggested by the Croft guide description. The approach ramp is in the background. |
|
Climb
|
6.
 7.
 8.
 9.
 10.
 11.
 12.
 13.
 14.
 15.
 16.
 17.
 18.
 19.
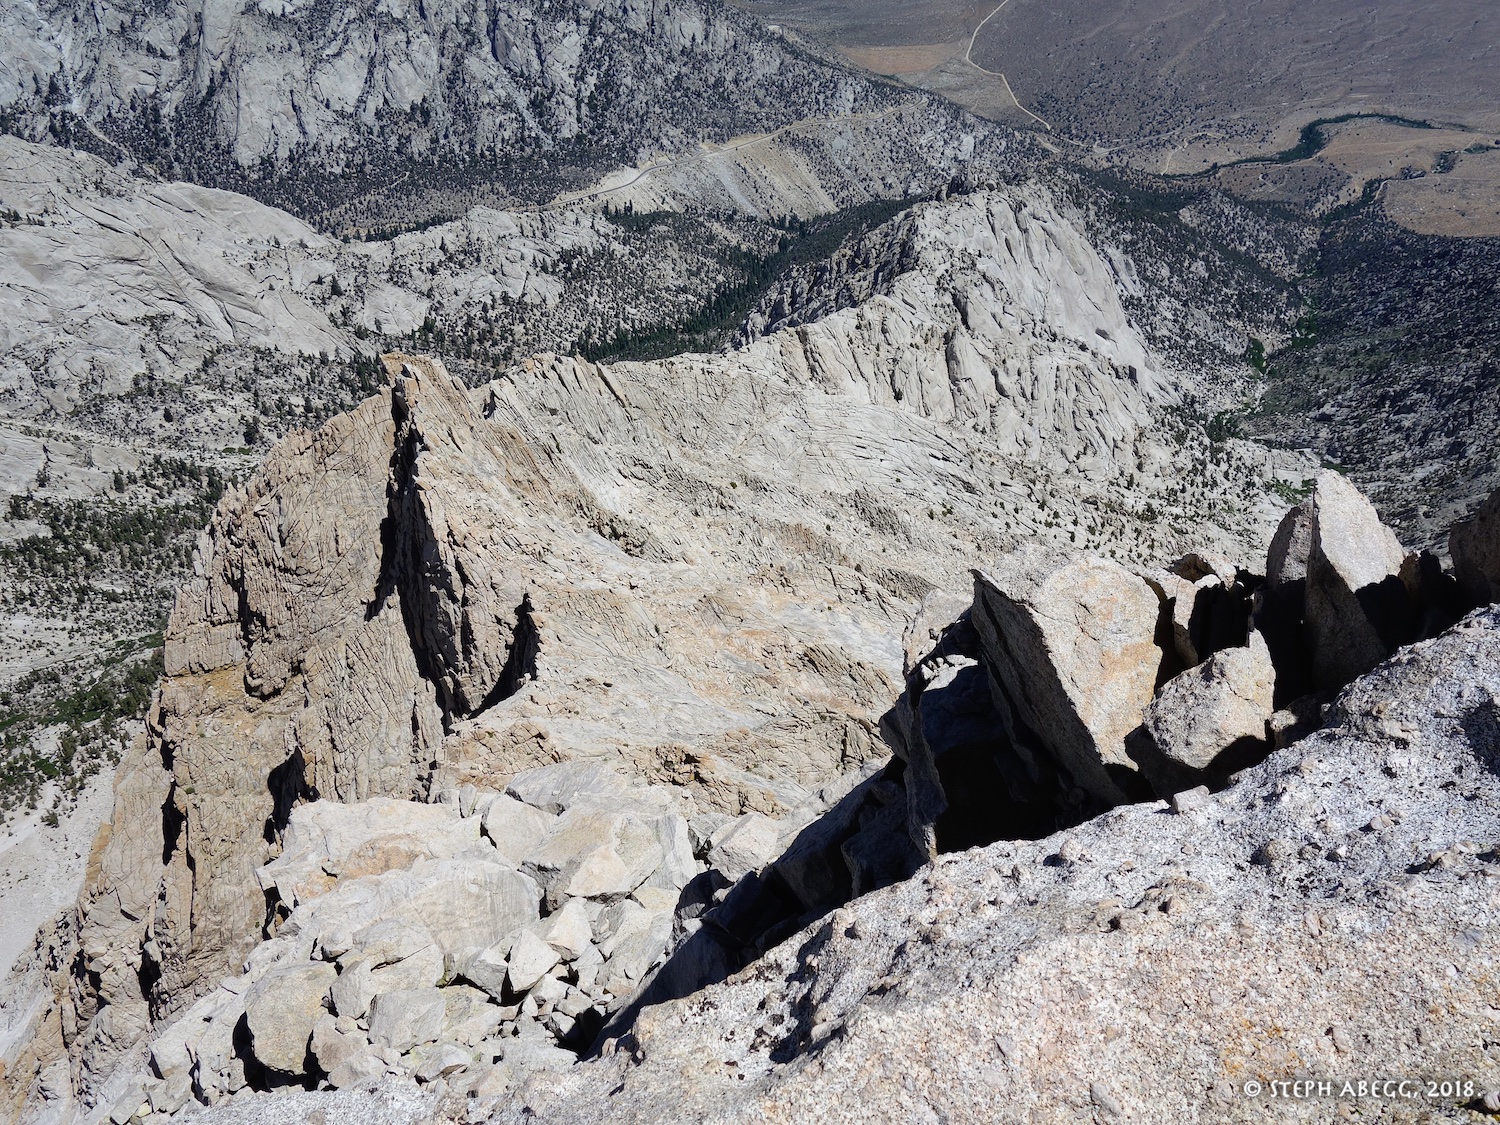 |
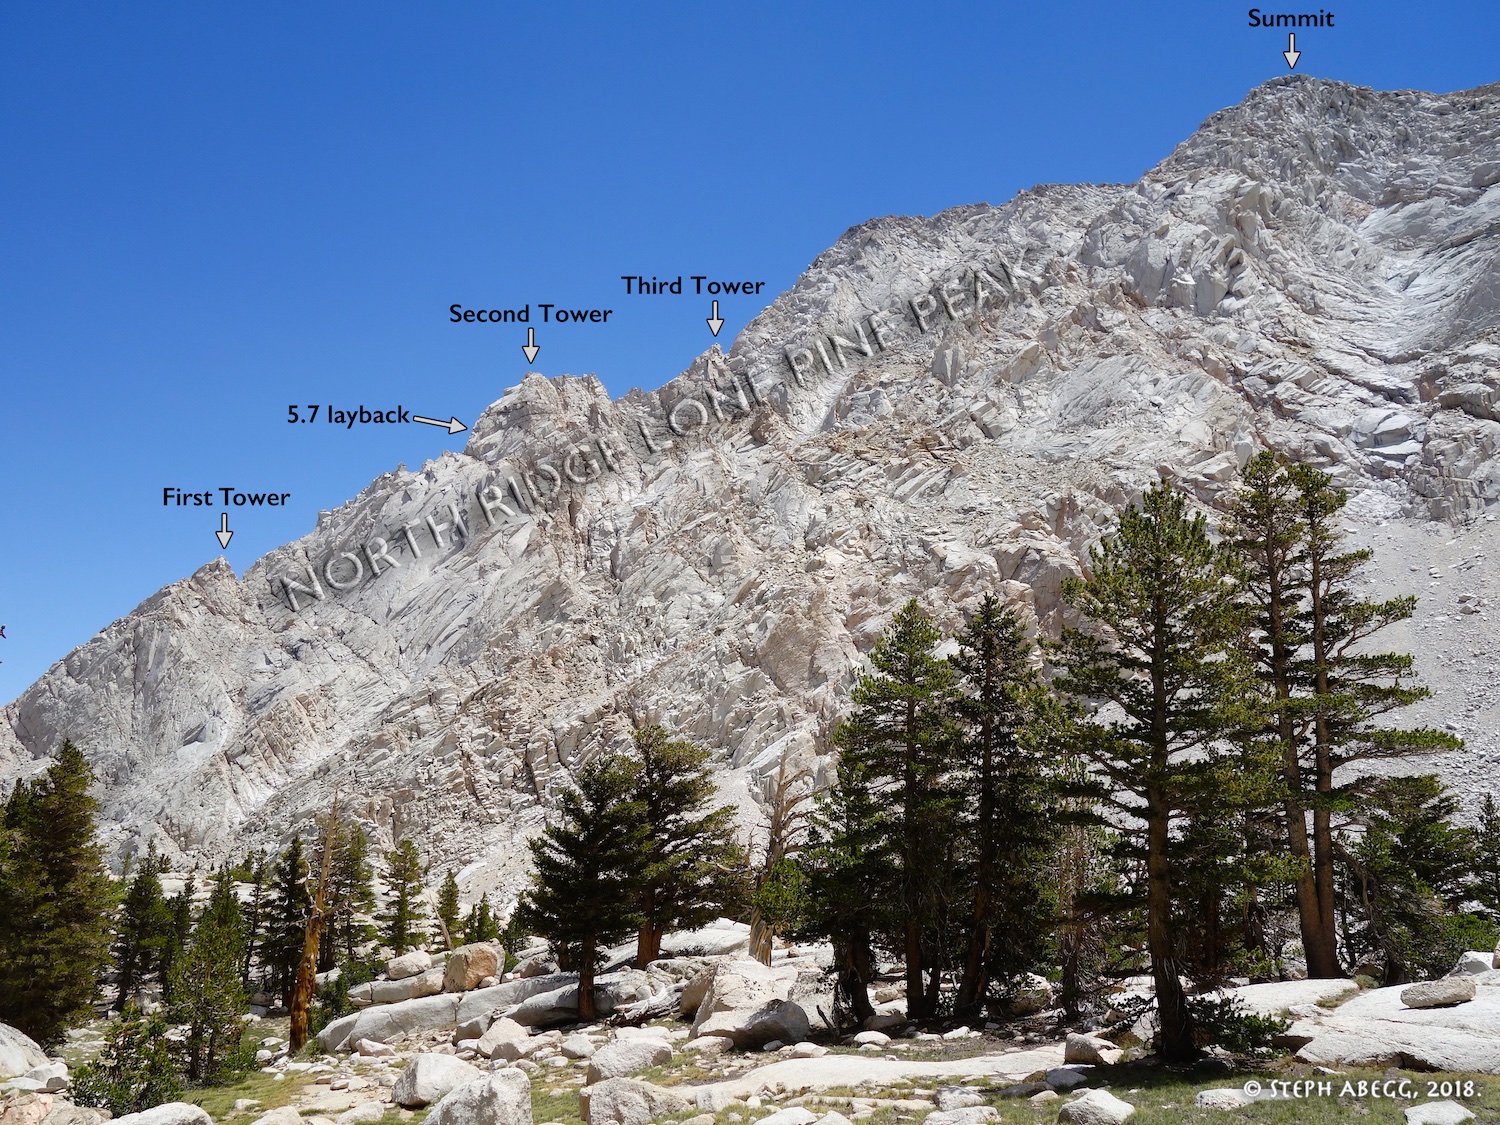
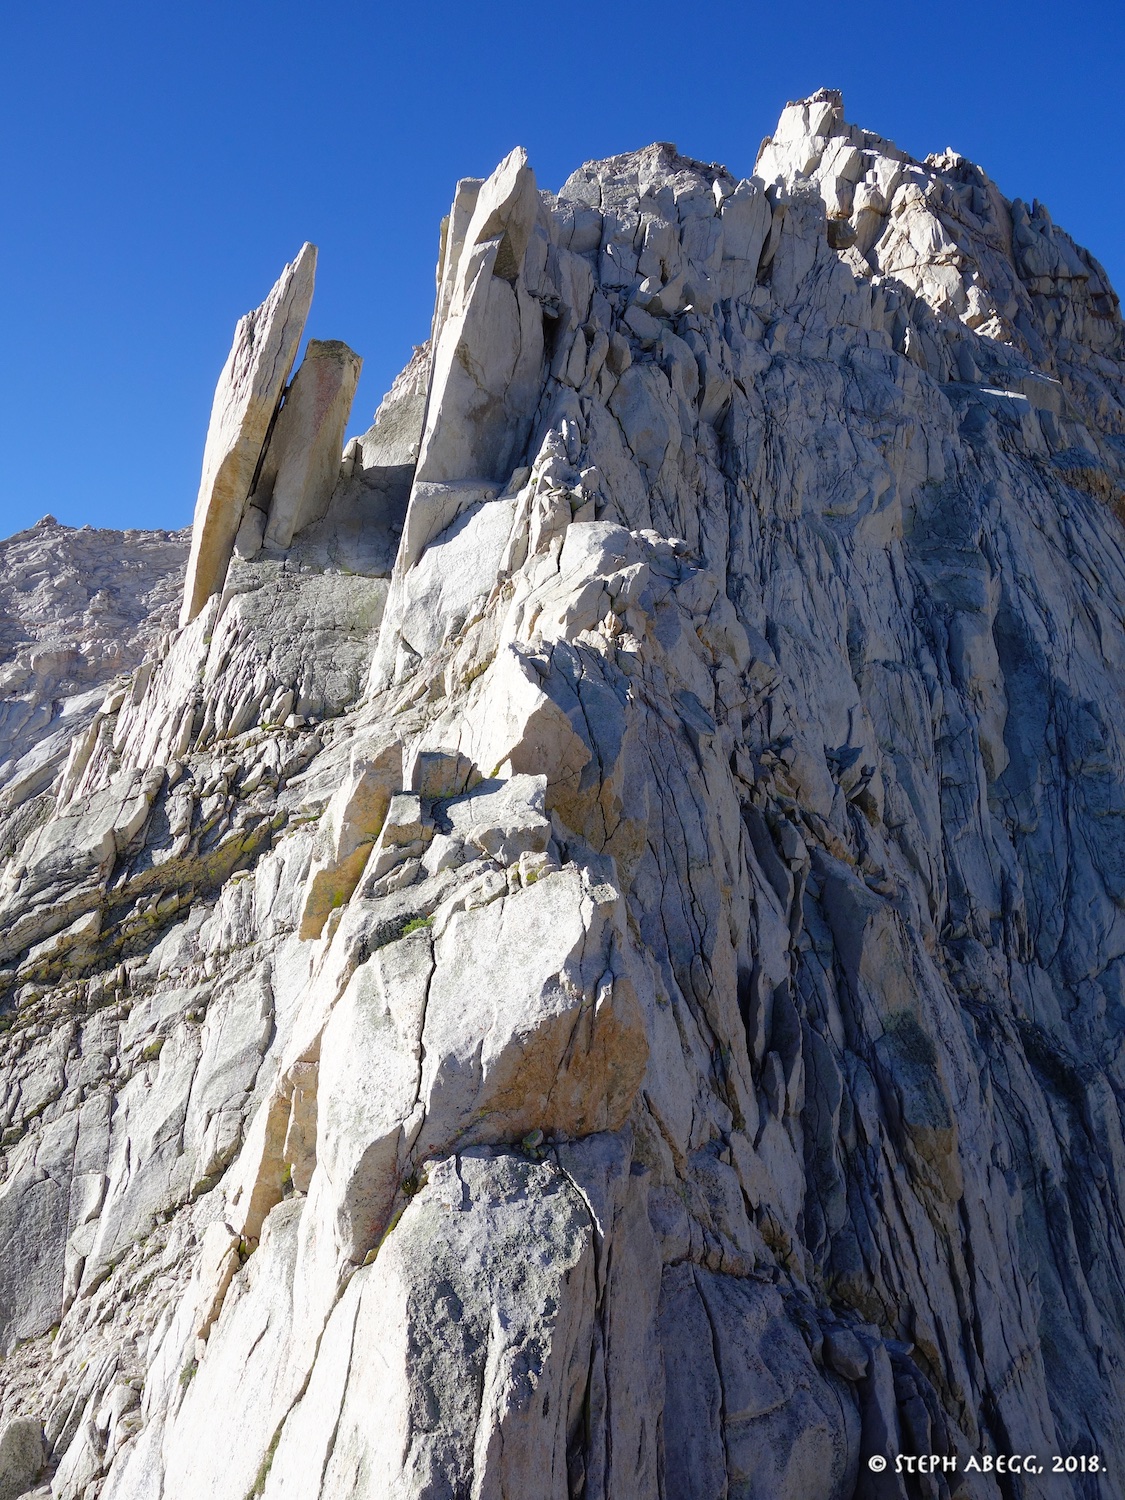
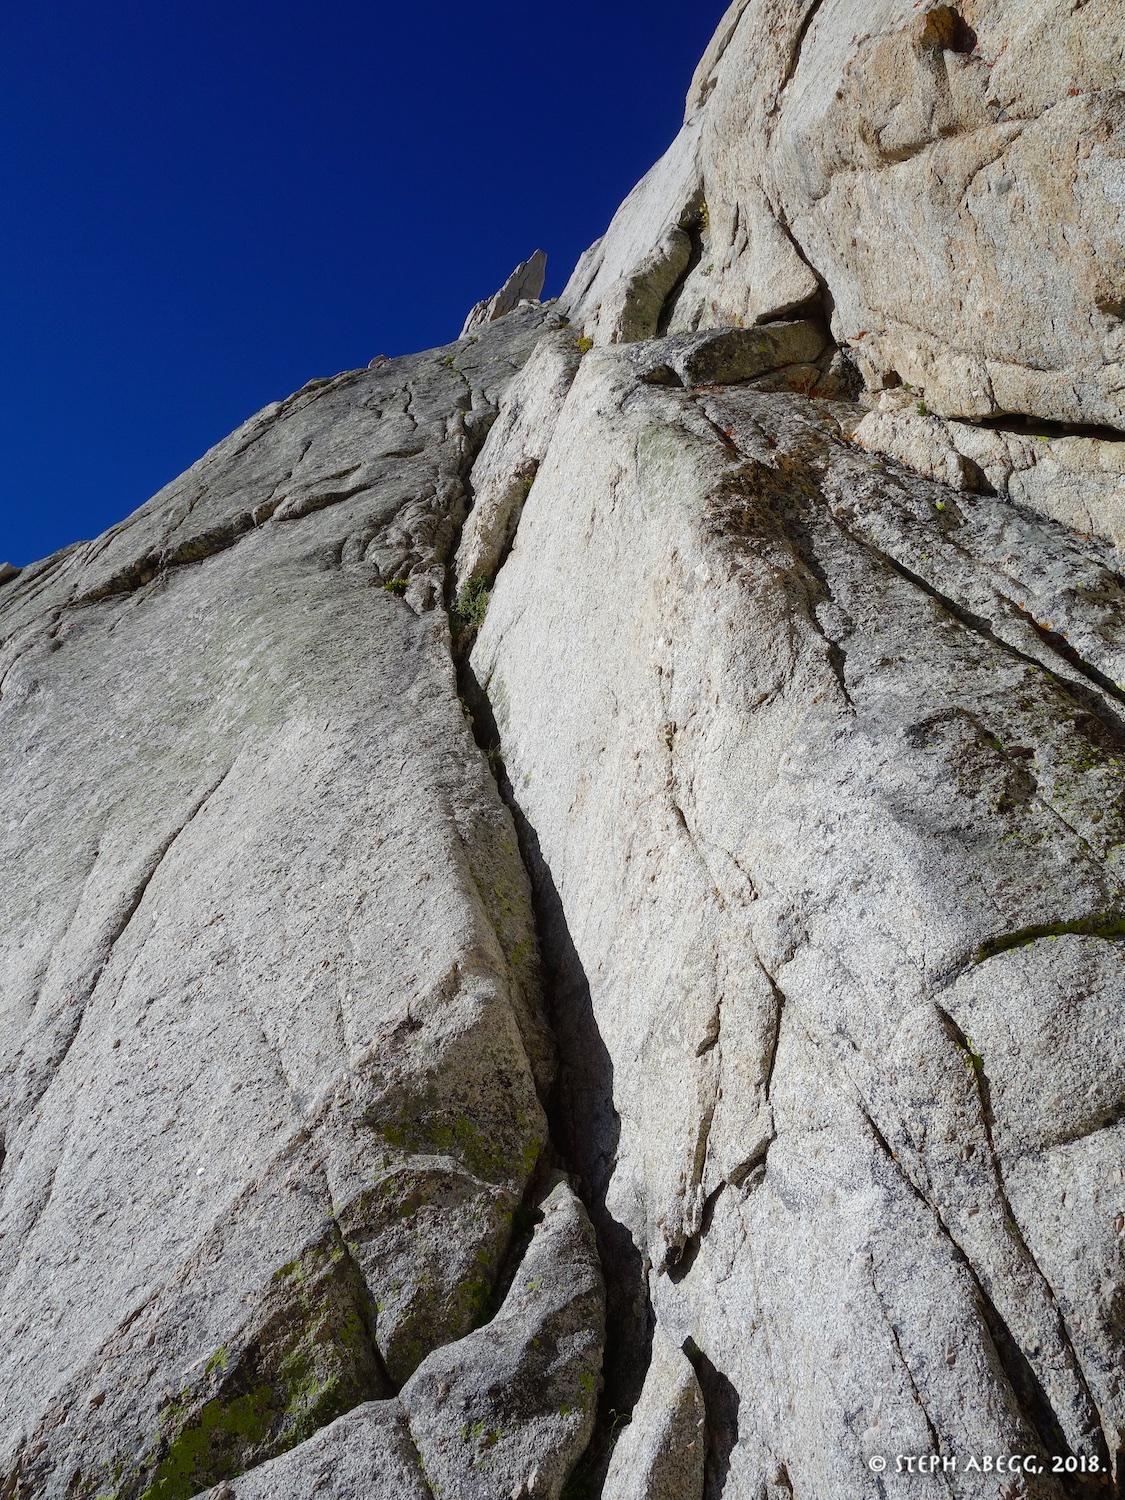
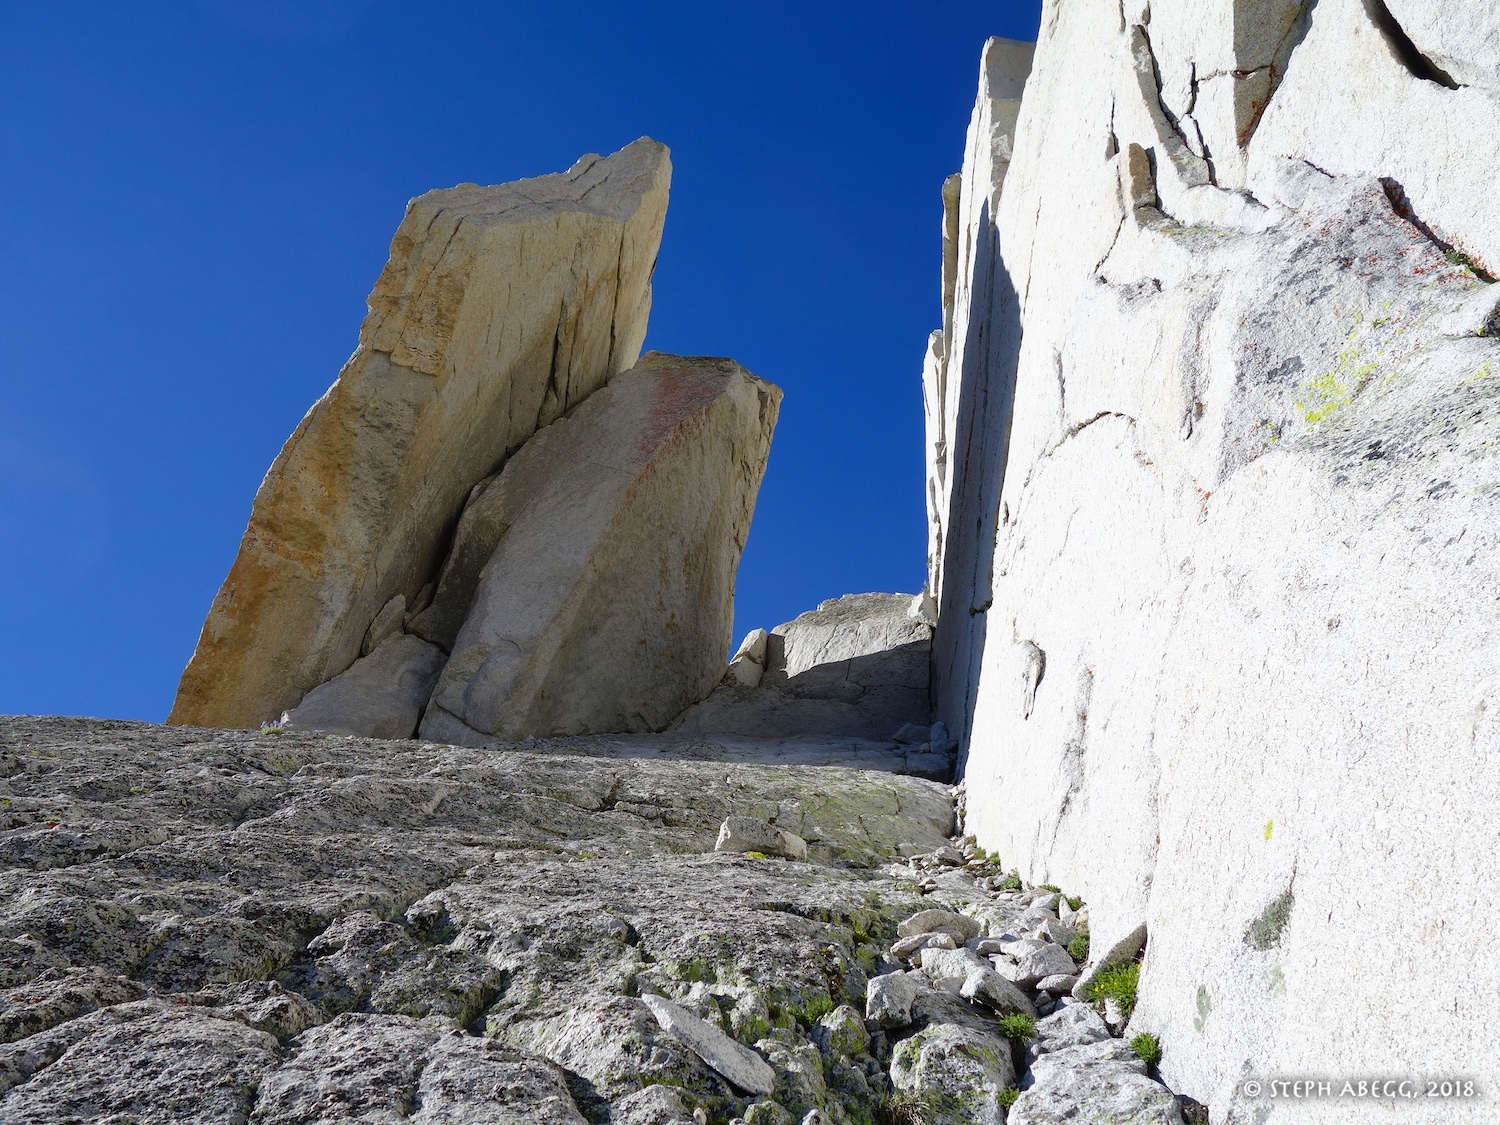
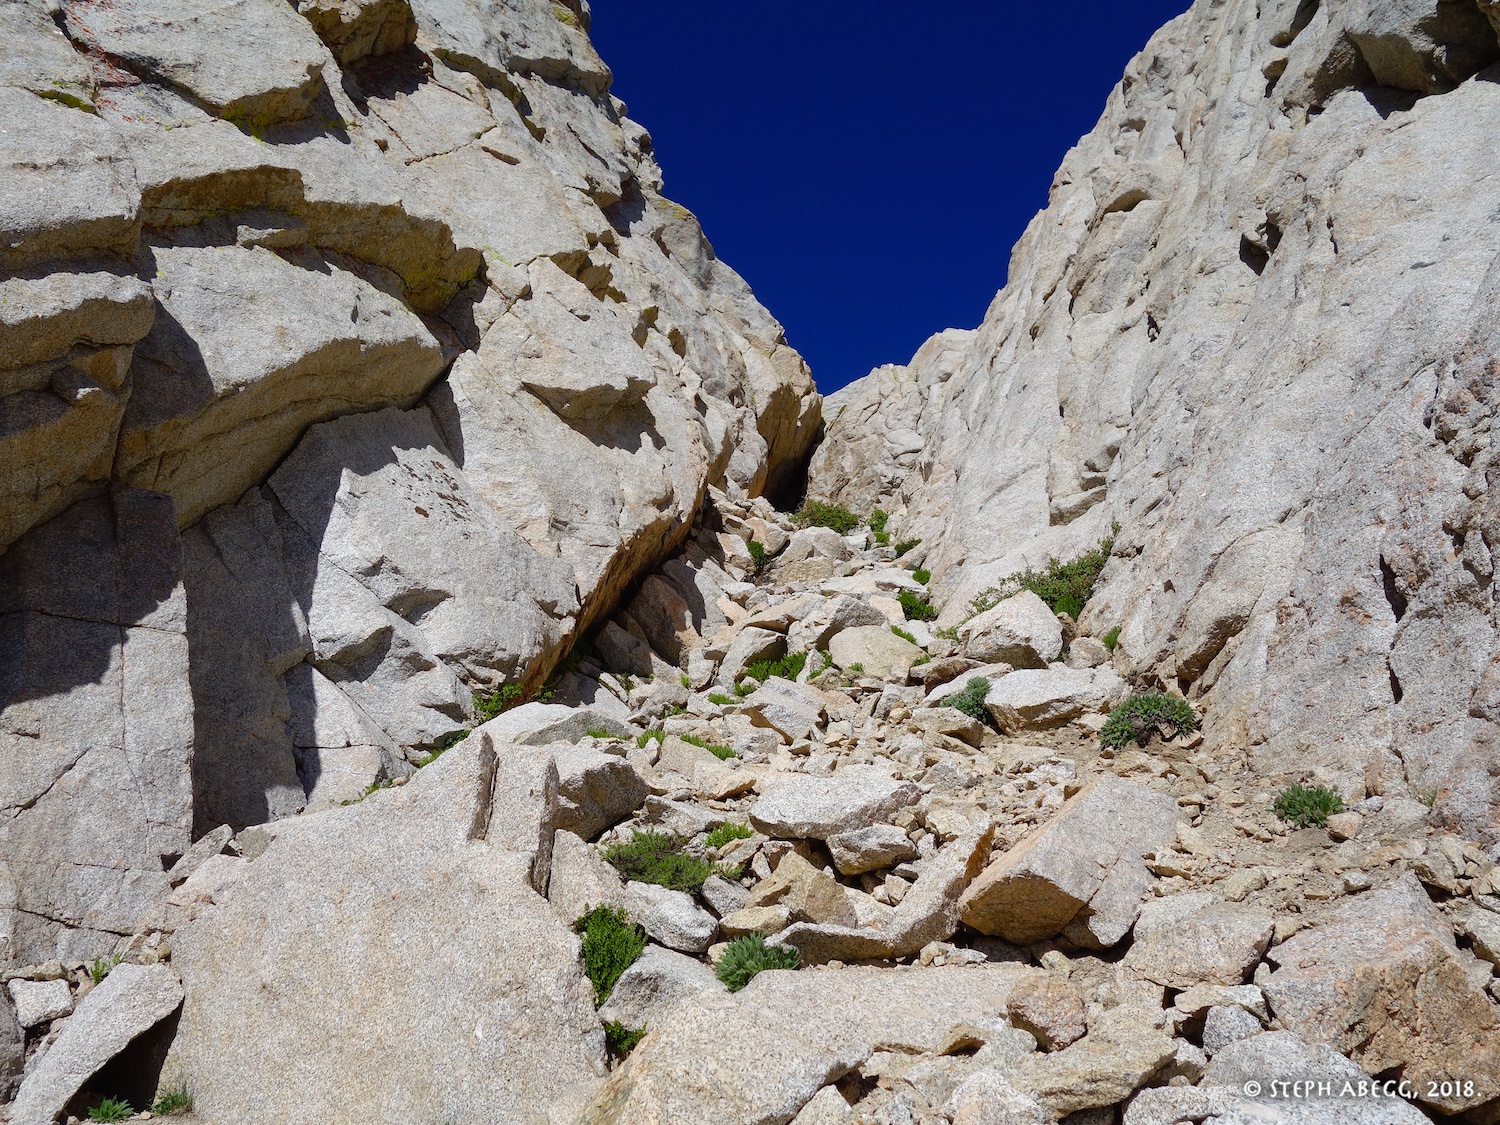
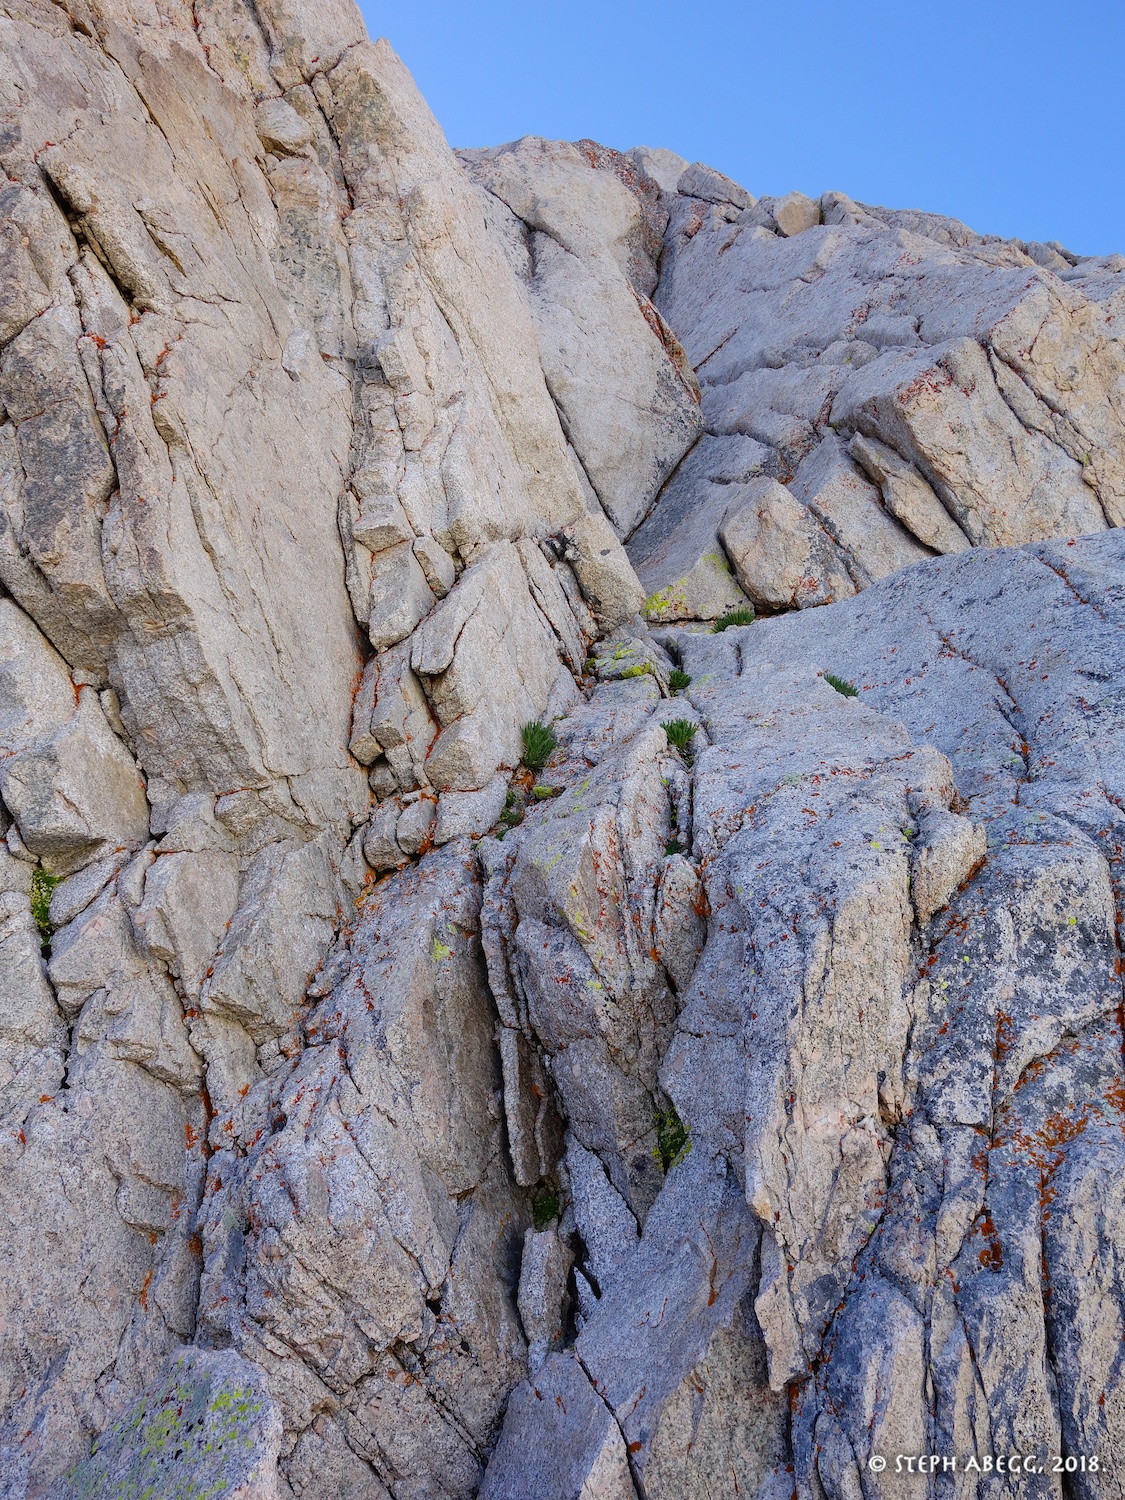
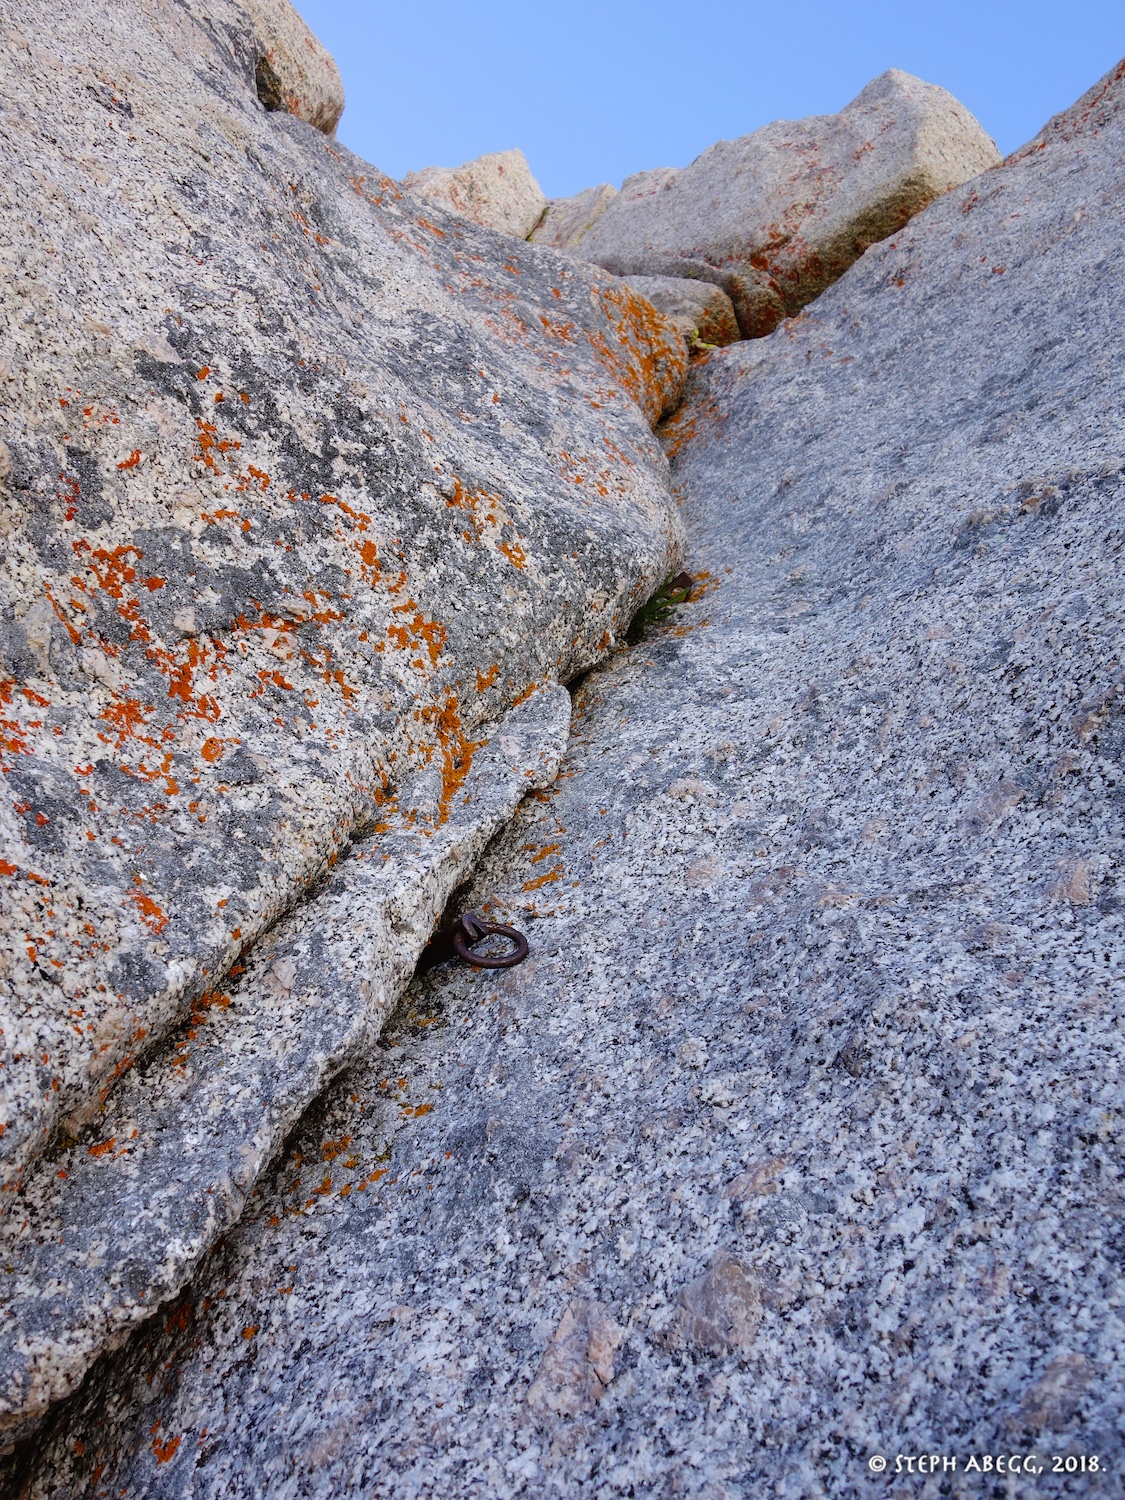
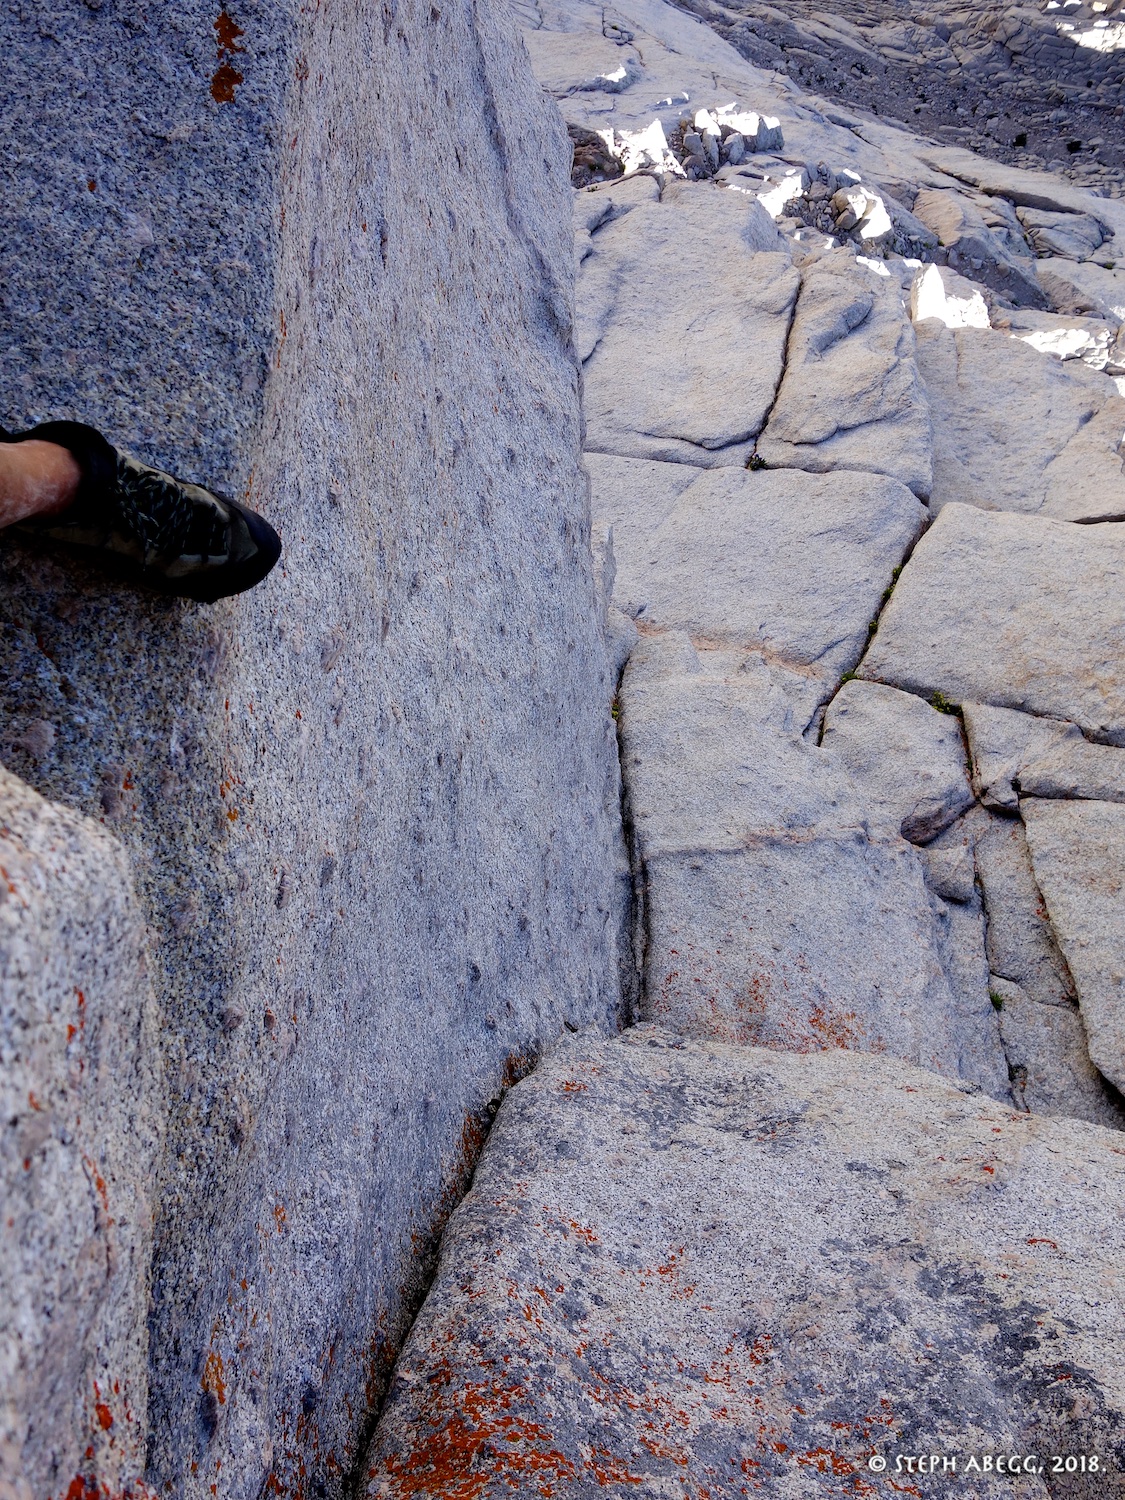
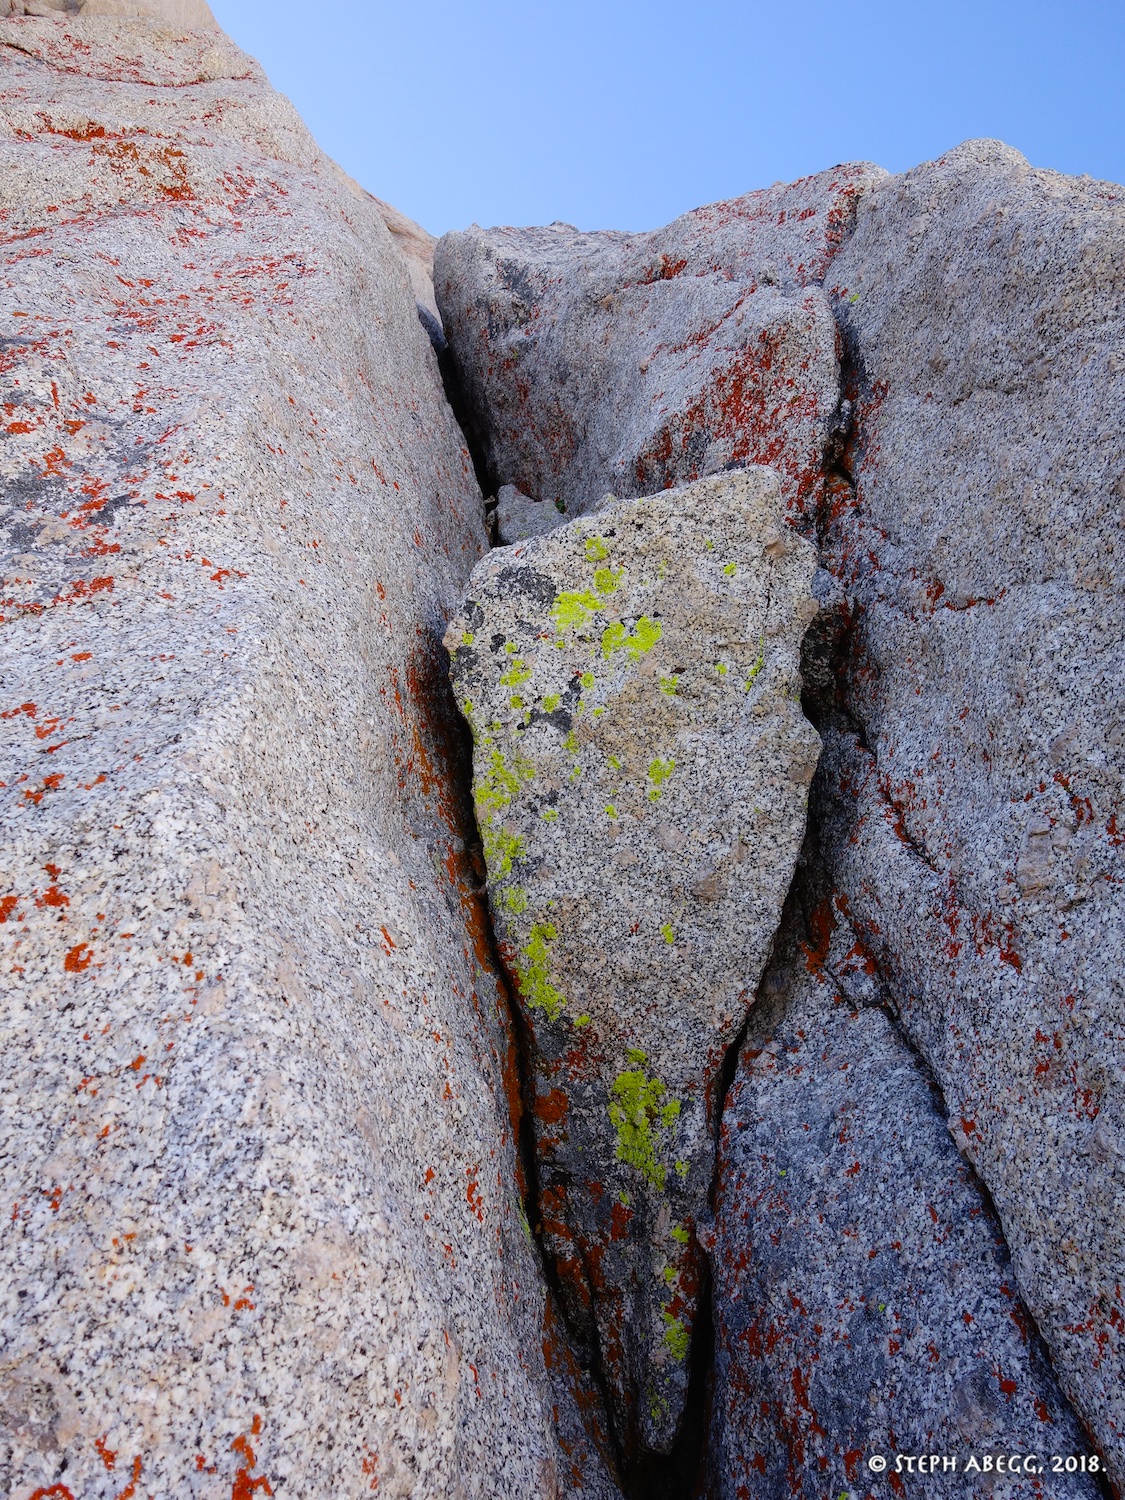
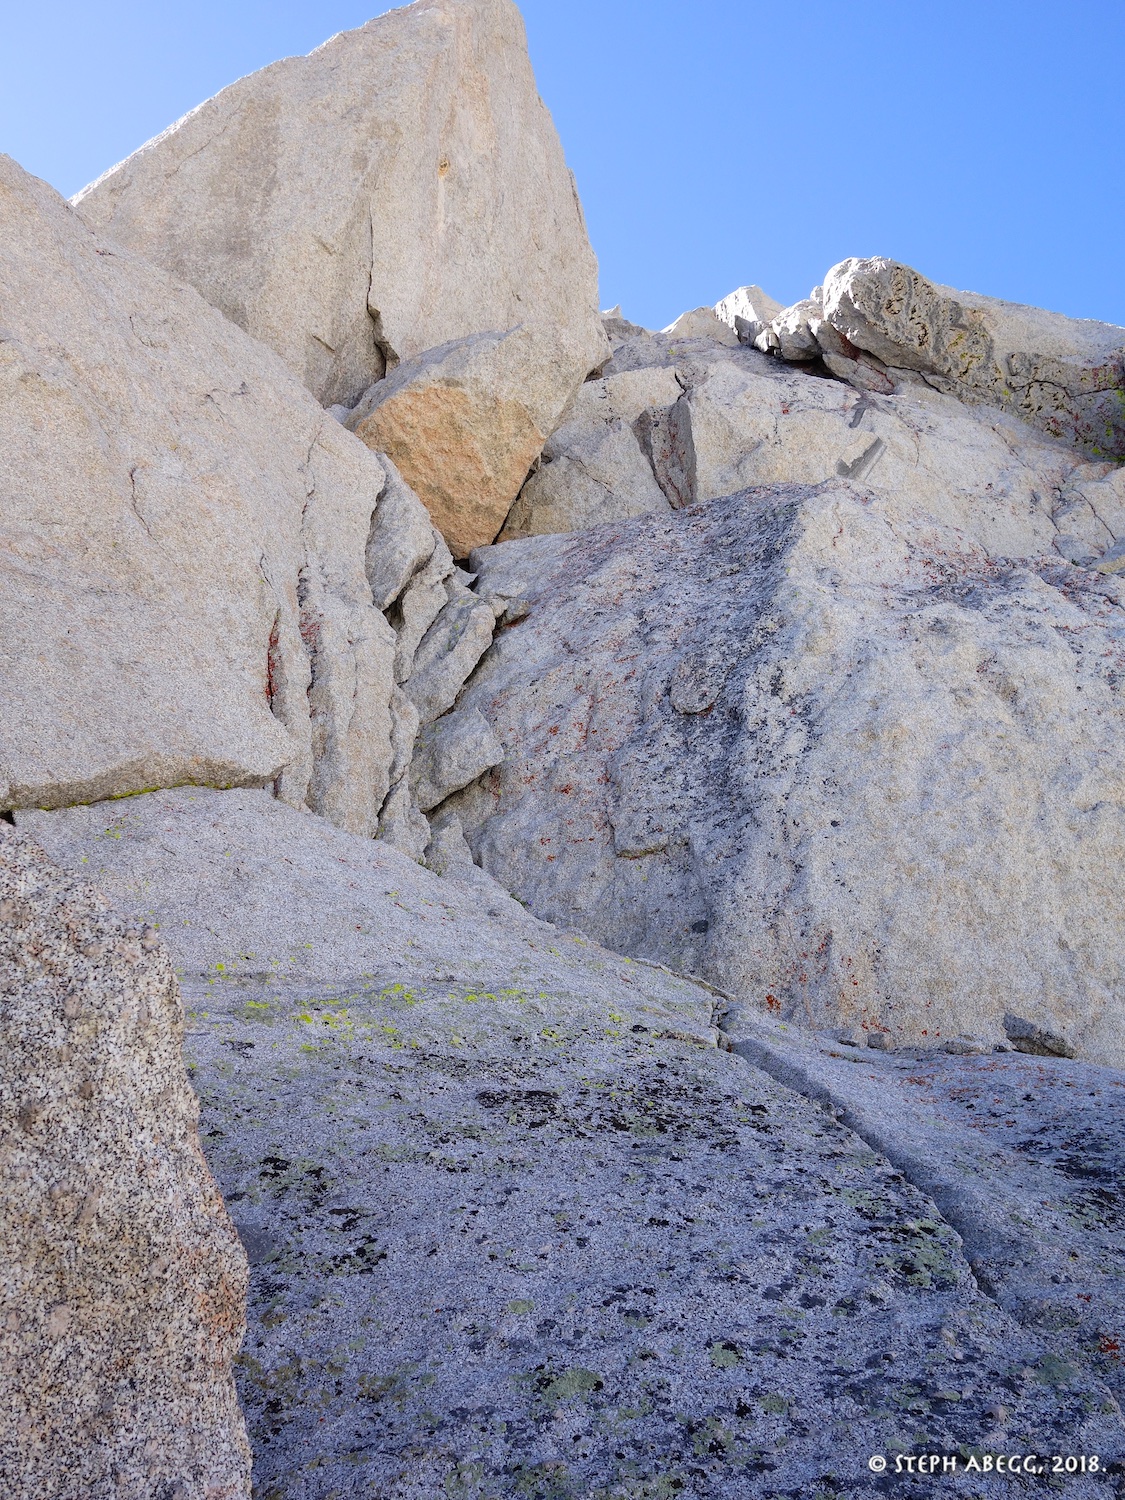
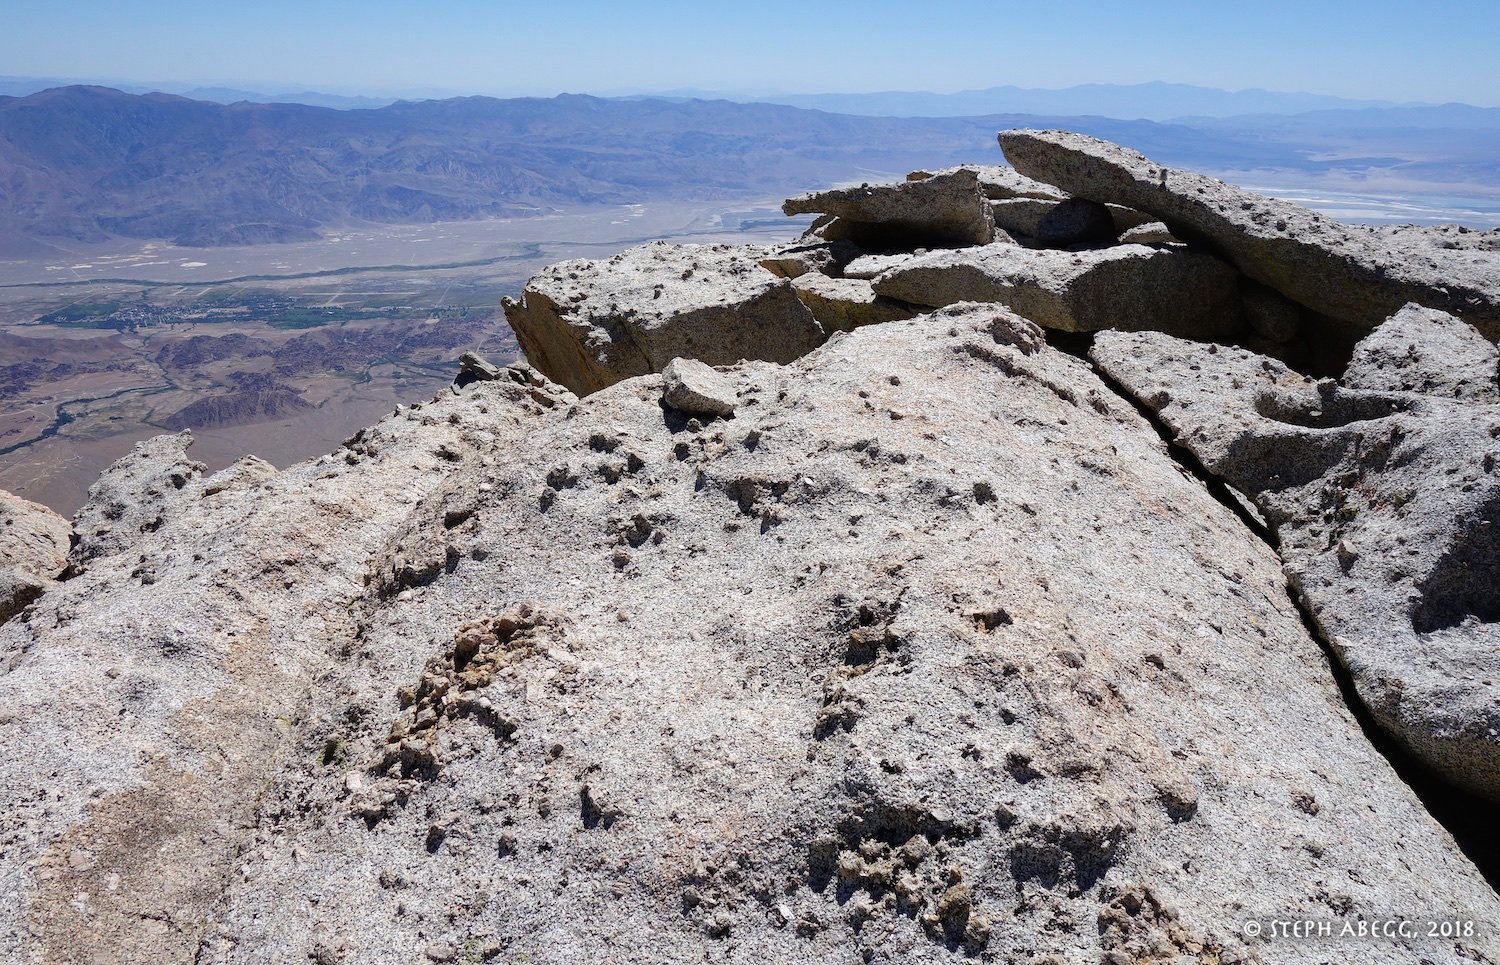
6. Looking at the First Tower. Notice the "huge sharp flake" which is a distinctive feature. 7. The first crux of the route. "From the notch [beneath the First Tower], go down and left about 40 feet, then climb a class 5 crack that slants to the left." I found this crack to be pretty easy in approach shoes. Felt about 5.5. 8. The passageway between the flake and the wall. 9. The 4th class downclimb from the top of the First Tower. 10. The notch at the base of the Second Tower. 11. This is NOT the layback. I thought this was the 5.7 layback and went this way, but it got hard and dirty and I backed down. This might indeed be the "5th class ramp 50 feet below the notch" that leads to the layback, but after about 45 minutes of trying various options, I found the easiest way to get to the layback was to just climb blocky terrain directly above the notch. 12. This IS the layback. You cannot see this from the ground. As mentioned above, after 45 minutes of trying various options, I found the easiest way to get to the layback was to just climb blocky terrain directly above the notch. 13. There are two fixed pins in the layback. 14. Looking down the layback. I had a photo like this loaded on my iphone, and by looking at the terrain below the rock, I was able to identify the approximate location the layback should be. As I mentioned, you cannot see it from the ground. 15. The 5.7 off-width above the layback. I found a #3 cam was nice to have for protection (i.e. hand-hold) given that I was soloing. 16. Looking towards the summit from around the top of the Second Tower. The Third Tower blends in with the summit headwall behind. 17. 4th class climbing up to the summit. 18. On the summit. 19. Looking back down the north ridge from the summit. |
|
Descent
|
20.
 21.
 22.
 23.
 24.
 25.
 26.
 27.
 28.
 29.
 30.
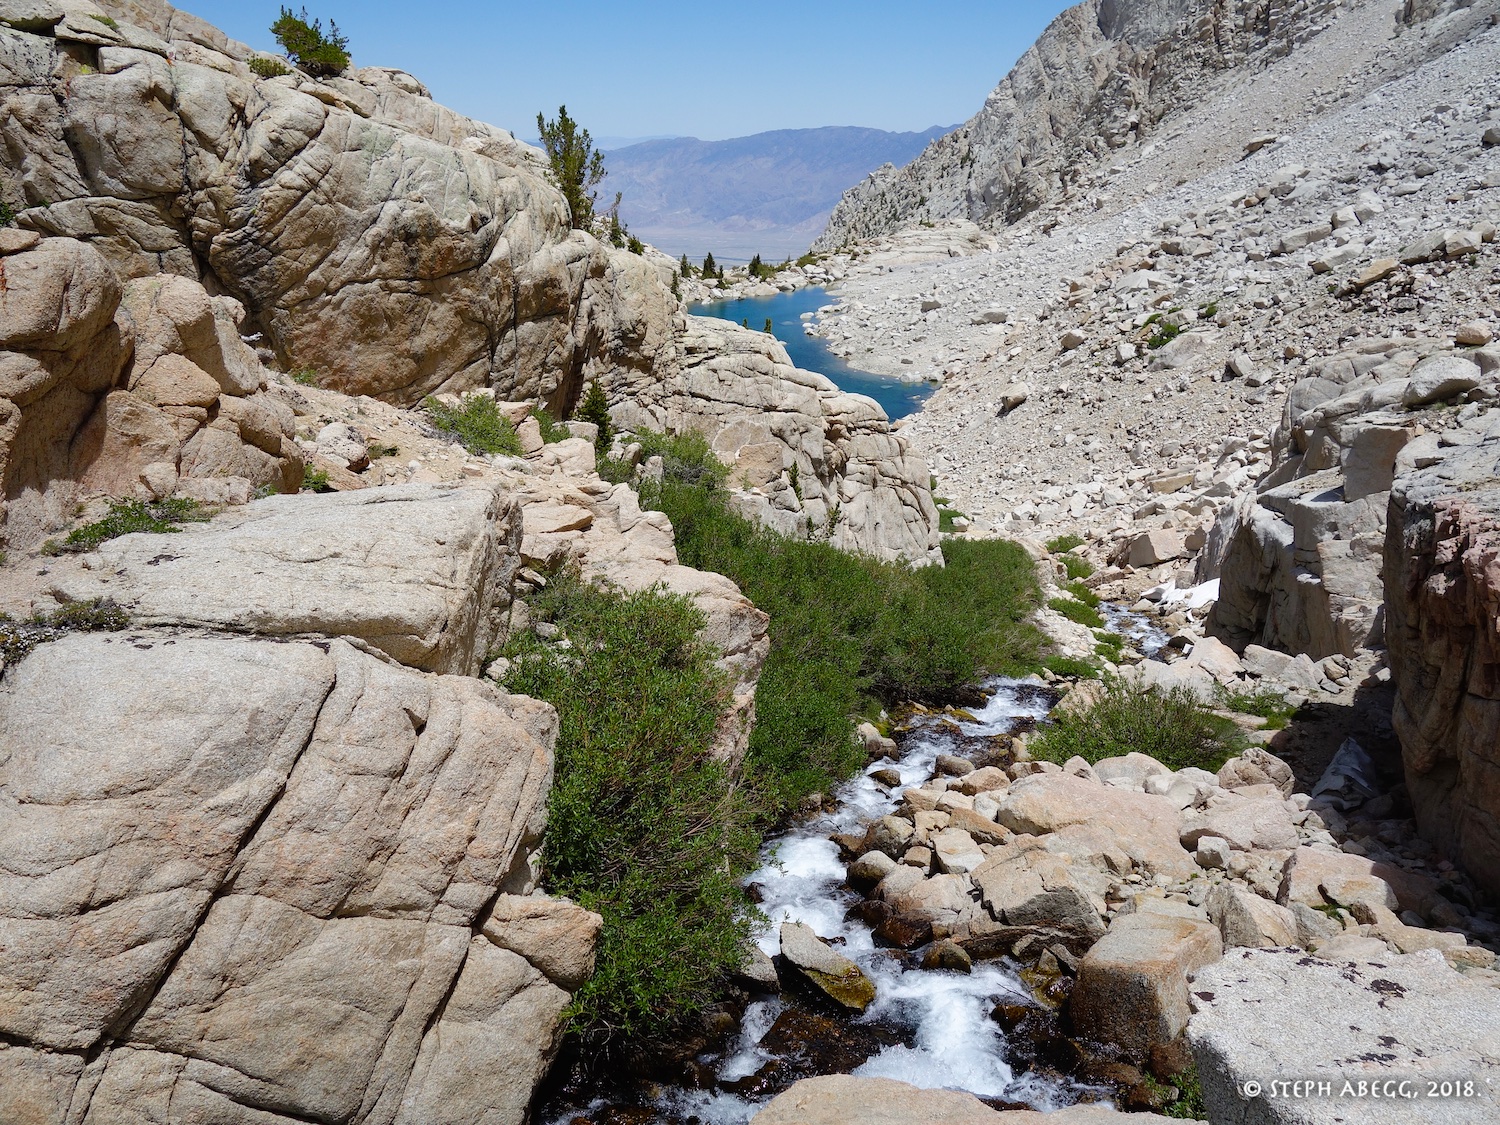 |
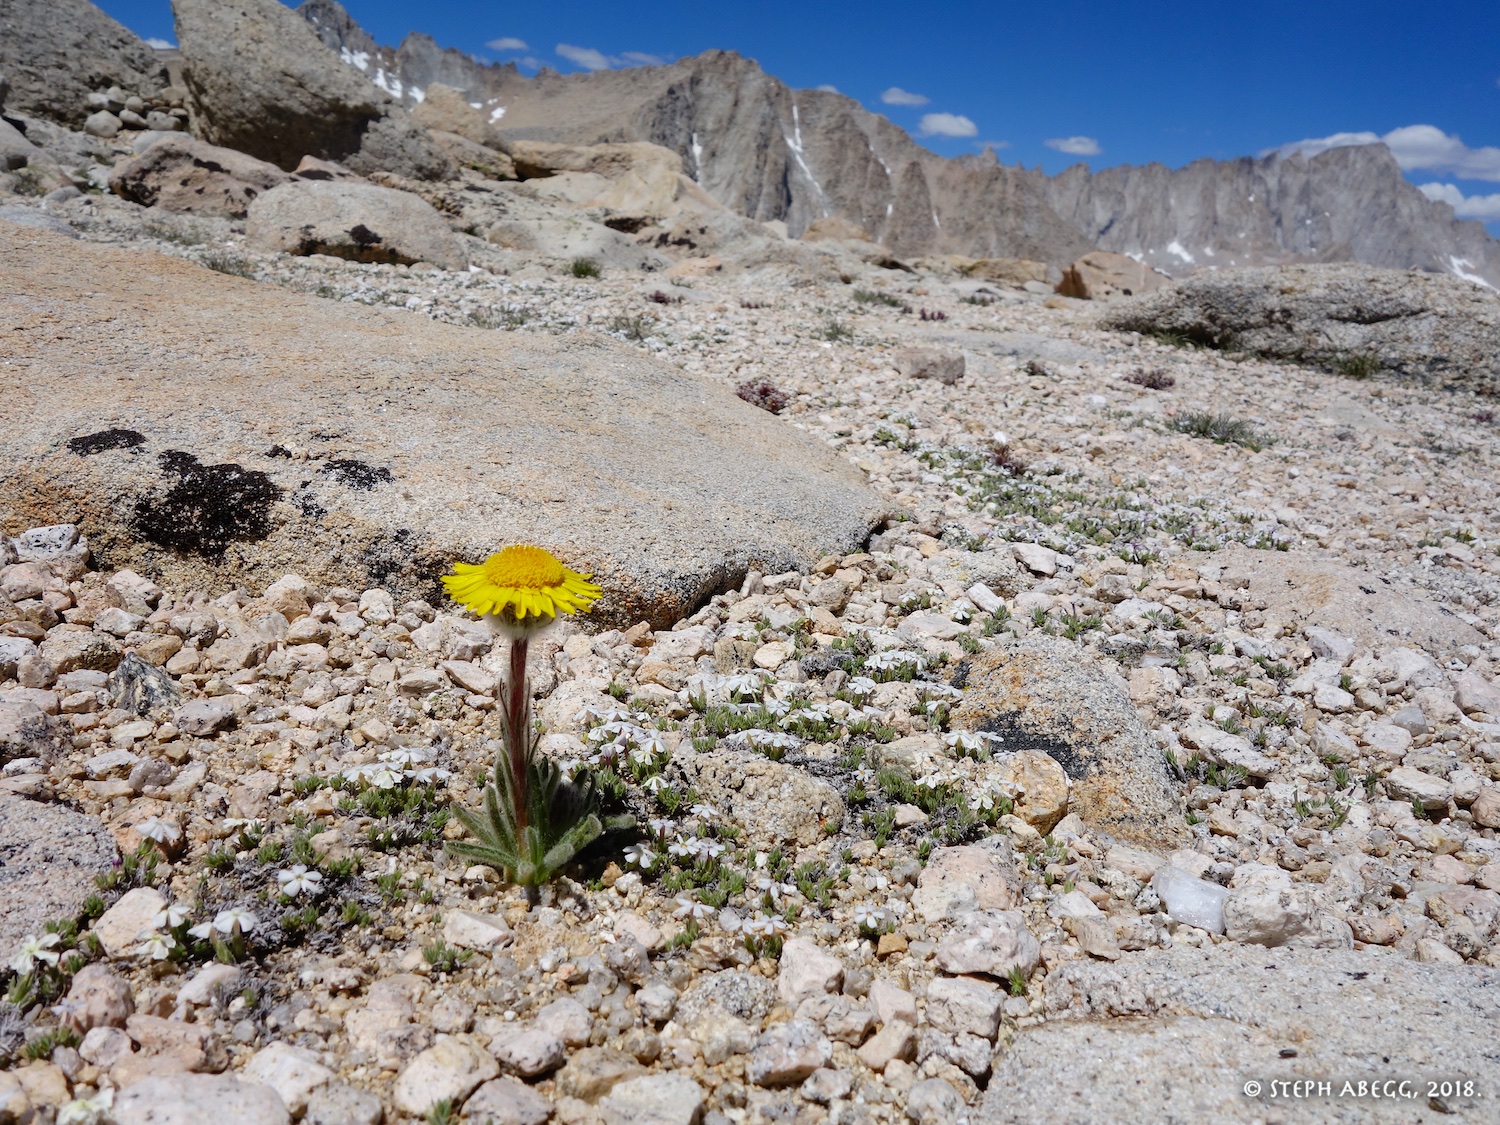
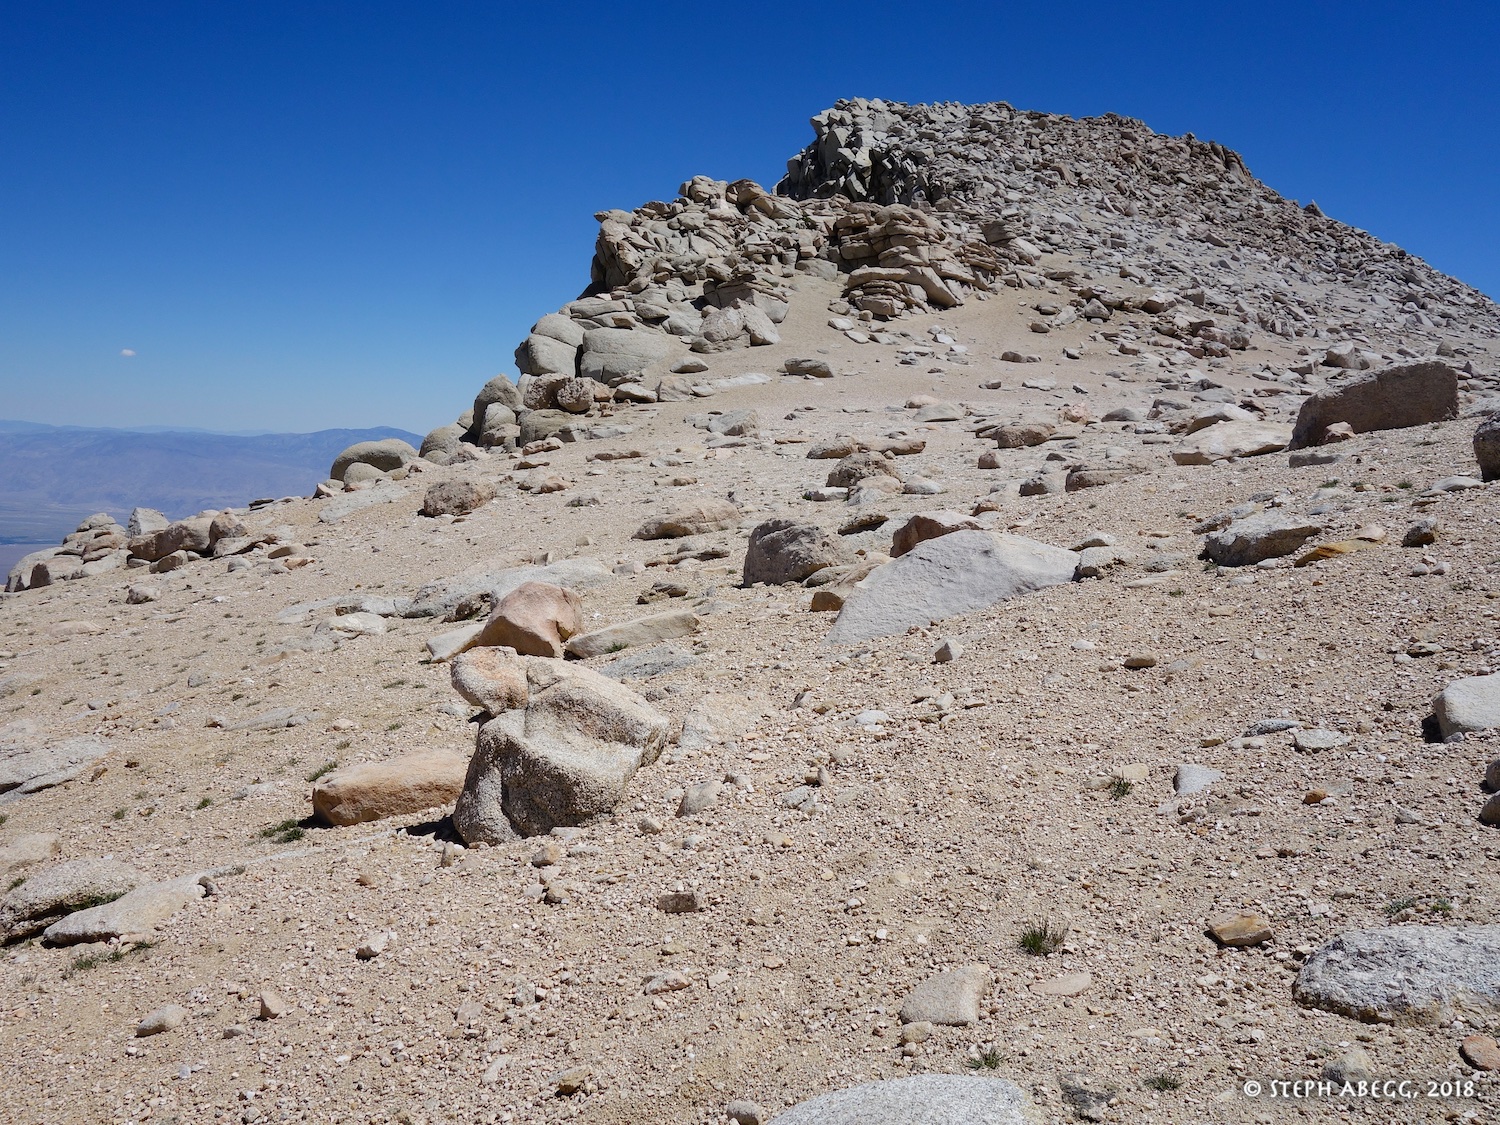
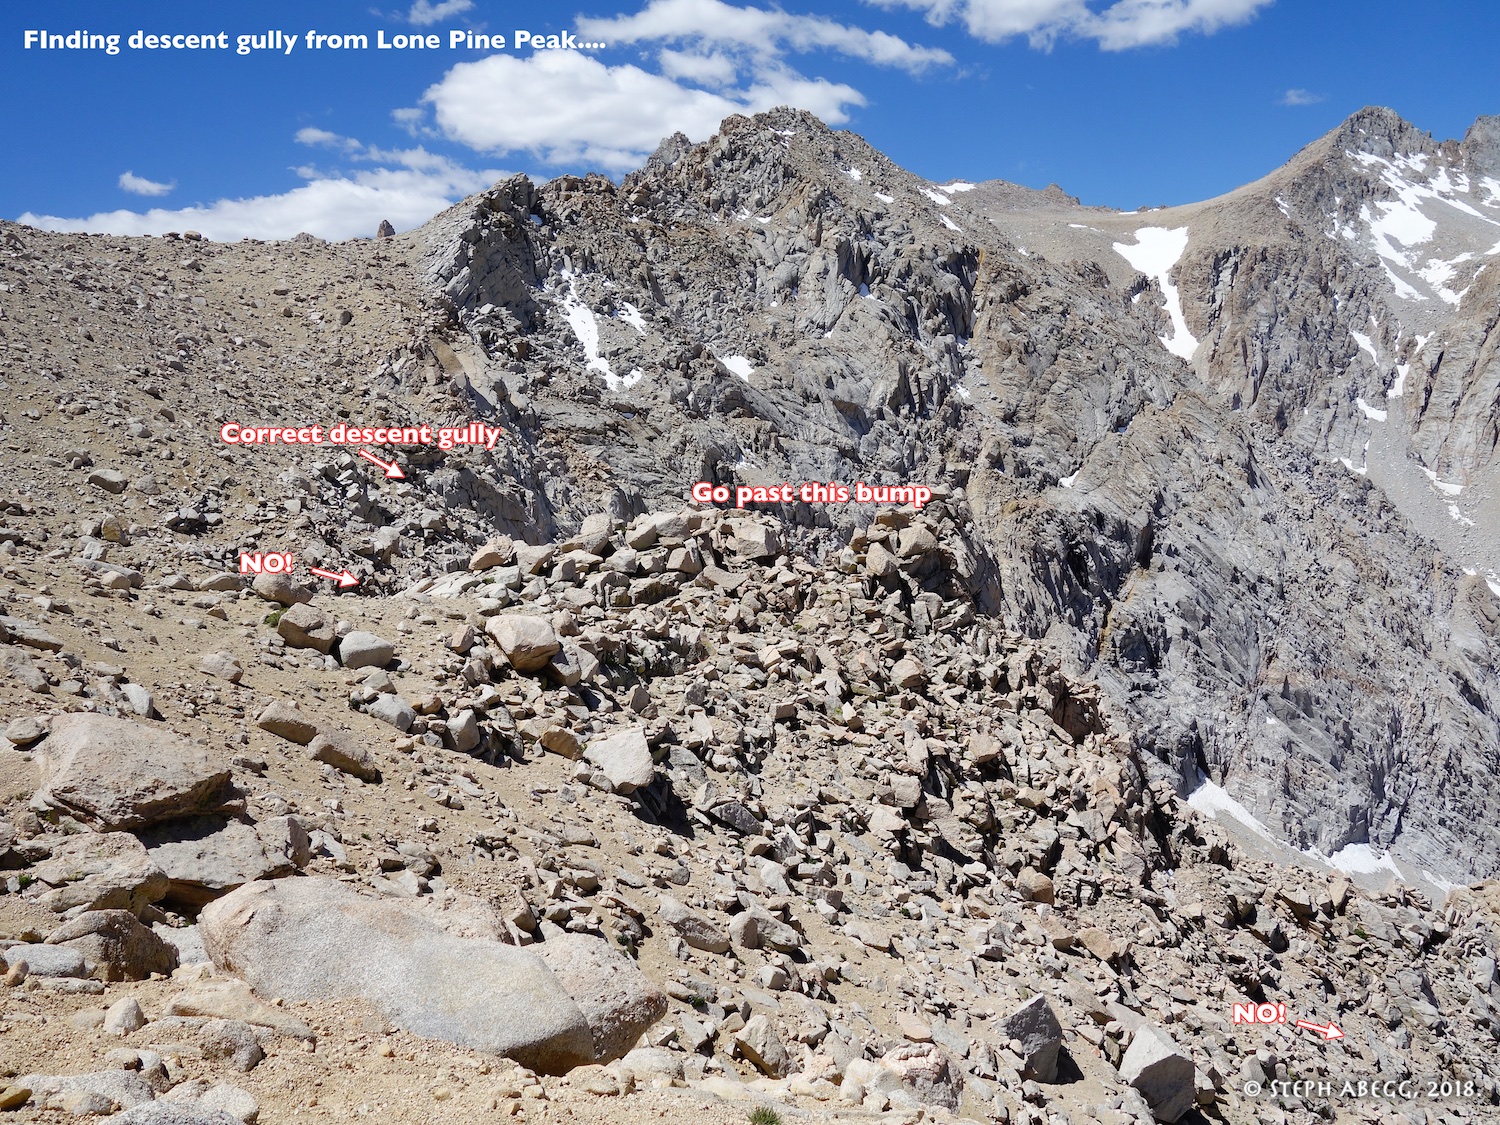
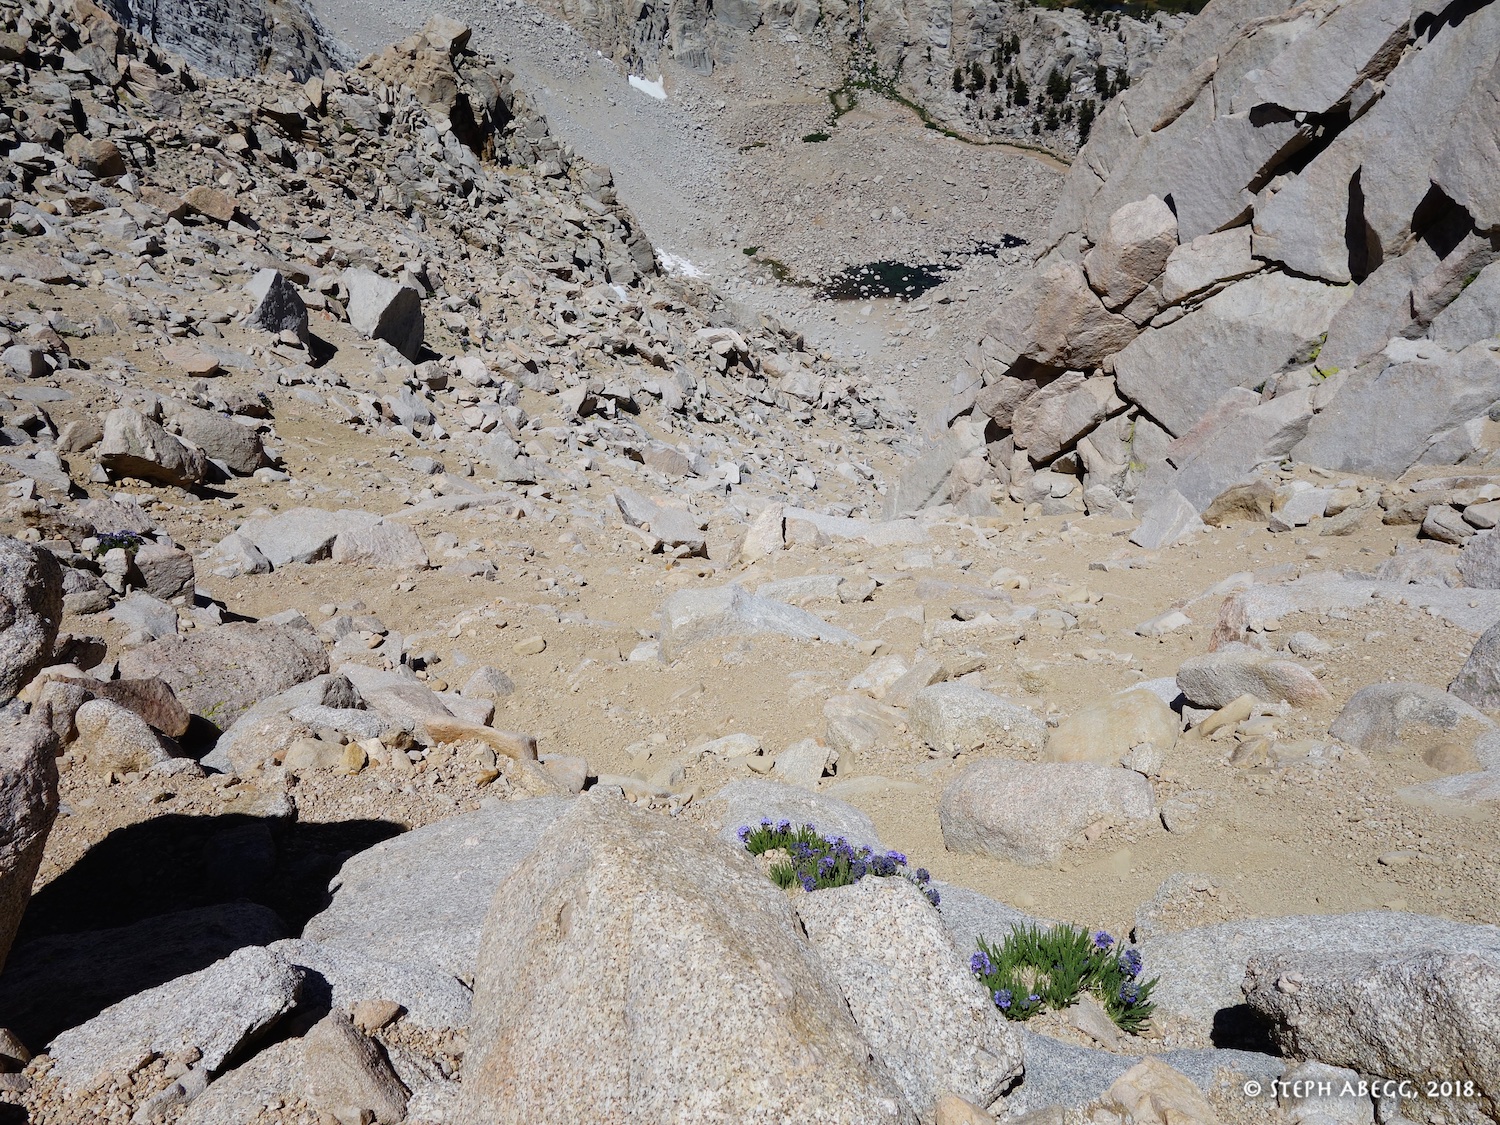
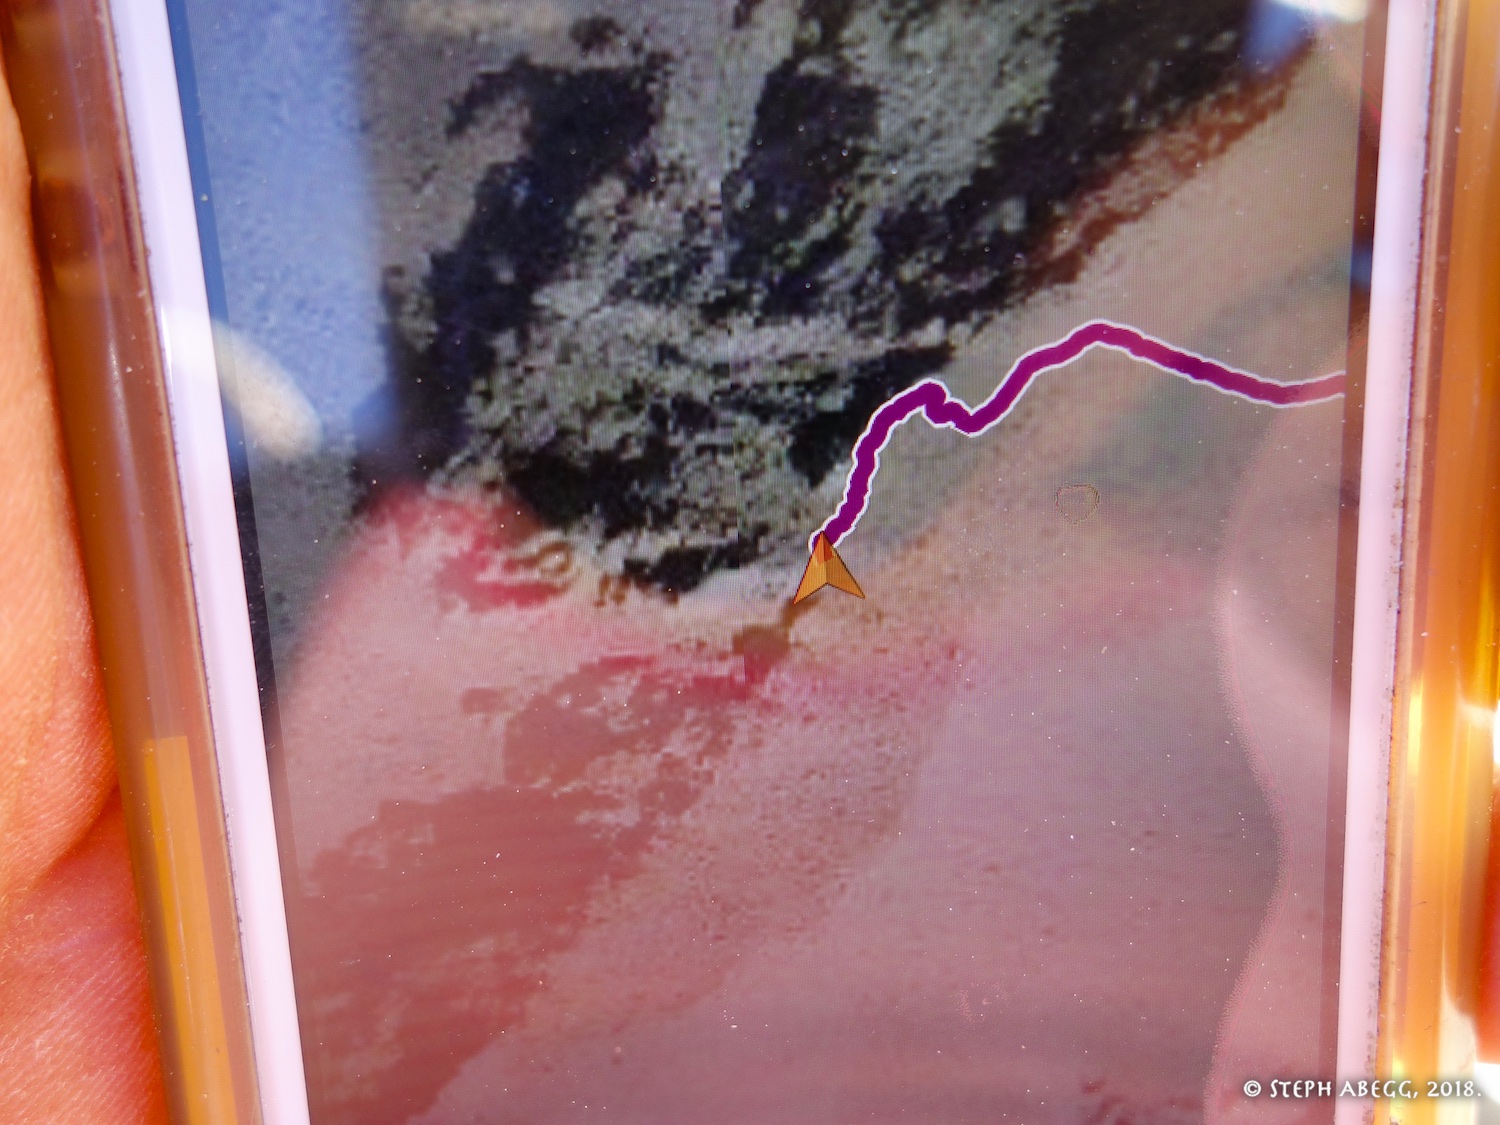
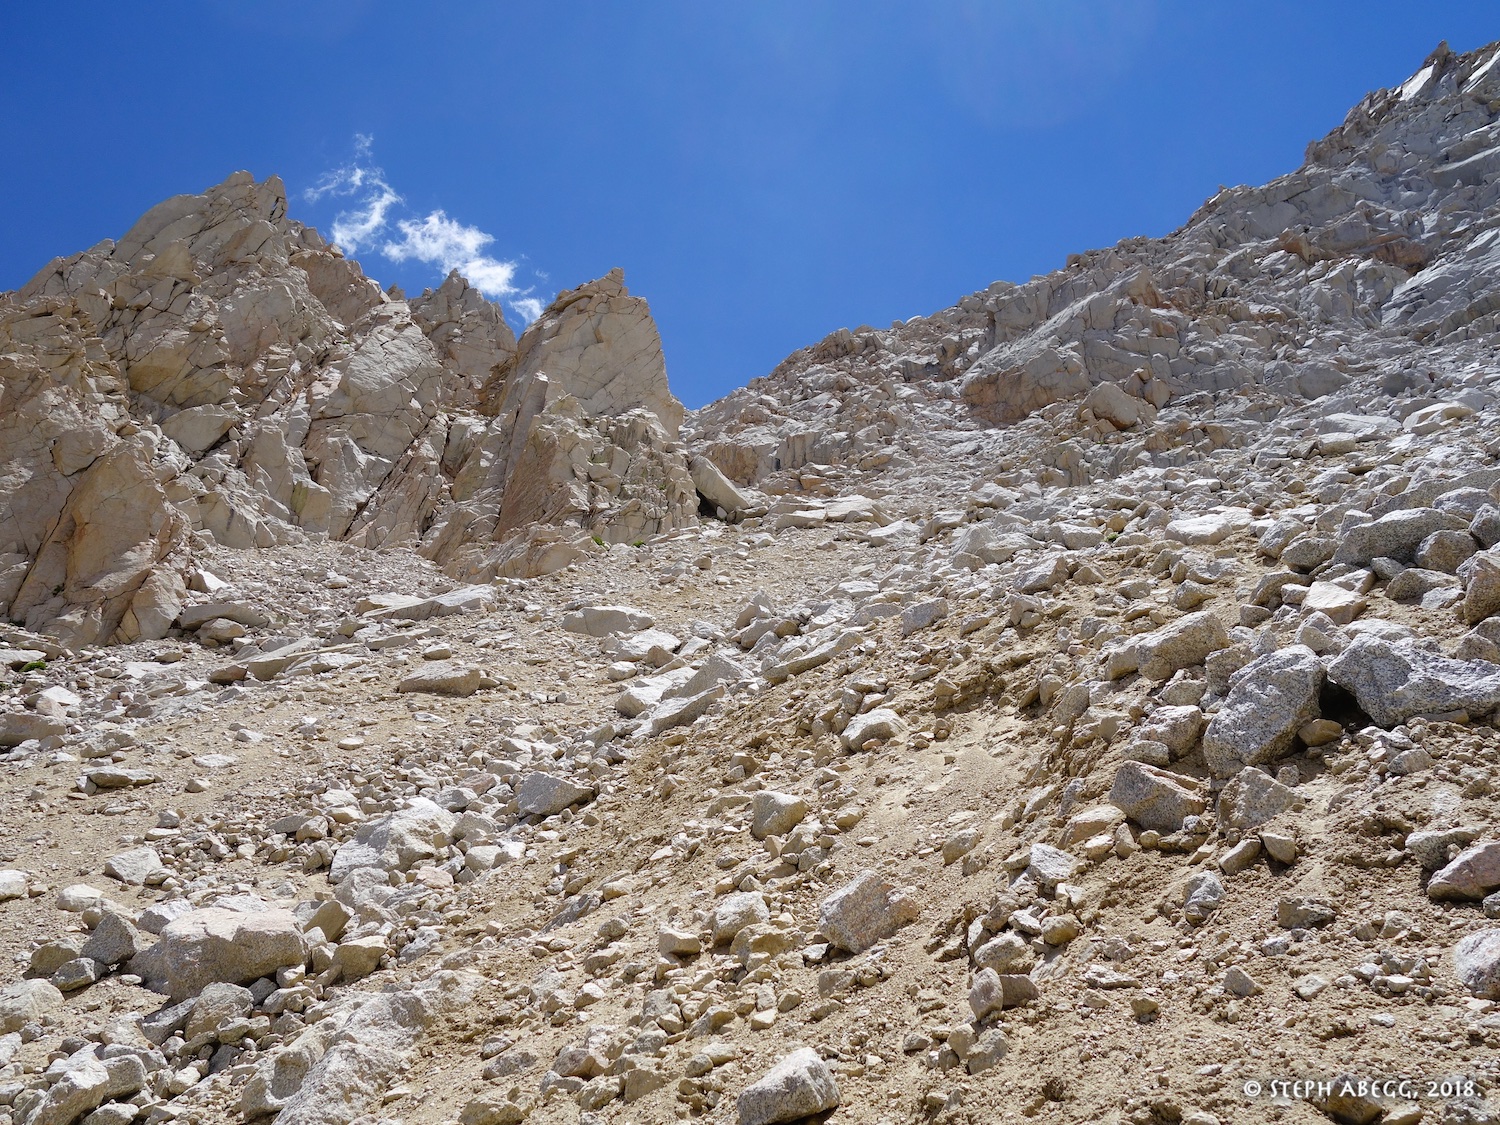
20. Beginning the descent down the SW Ridge/plateau. 21. A lone flower in a barren environment. 22. Looking back towards the summit during the descent to the SW. 23. Apparently several climbers have spent way longer on the descent than intended when they went down too soon and were cliffed out. The correct descent gully is really the last one. I have annotated this photo with the correct descent gully. 24. NOT this one. Although it even had a cairn and footprints leading down it. I am fairly sure it cliffed out eventually. 25. THIS one! 26. I had a satellite image loaded onto my GAIA app on my iPhone (very useful!), clearly showing the descent gully that goes all the way back down to the lakes. This is the only one that does not cliff out. 27. The head of the Meysan Creek Valley as seen during the descent. 28. Looking back up at the descent gully. 29. Go between Grass Lake and Peanut Lake to get back to the trail. 30. Peanut Lake. I guess it does sort of have the shape of a peanut. |