Ten 5.9-5.10 Leap classics, semi-classics, and unsung classics.
Region: California
Elev: ~7,000 ft
Rock: Granite
Mode:
Date(s): August 24-28, 2015 (Mon-Fri)
Partner(s): Dow Williams
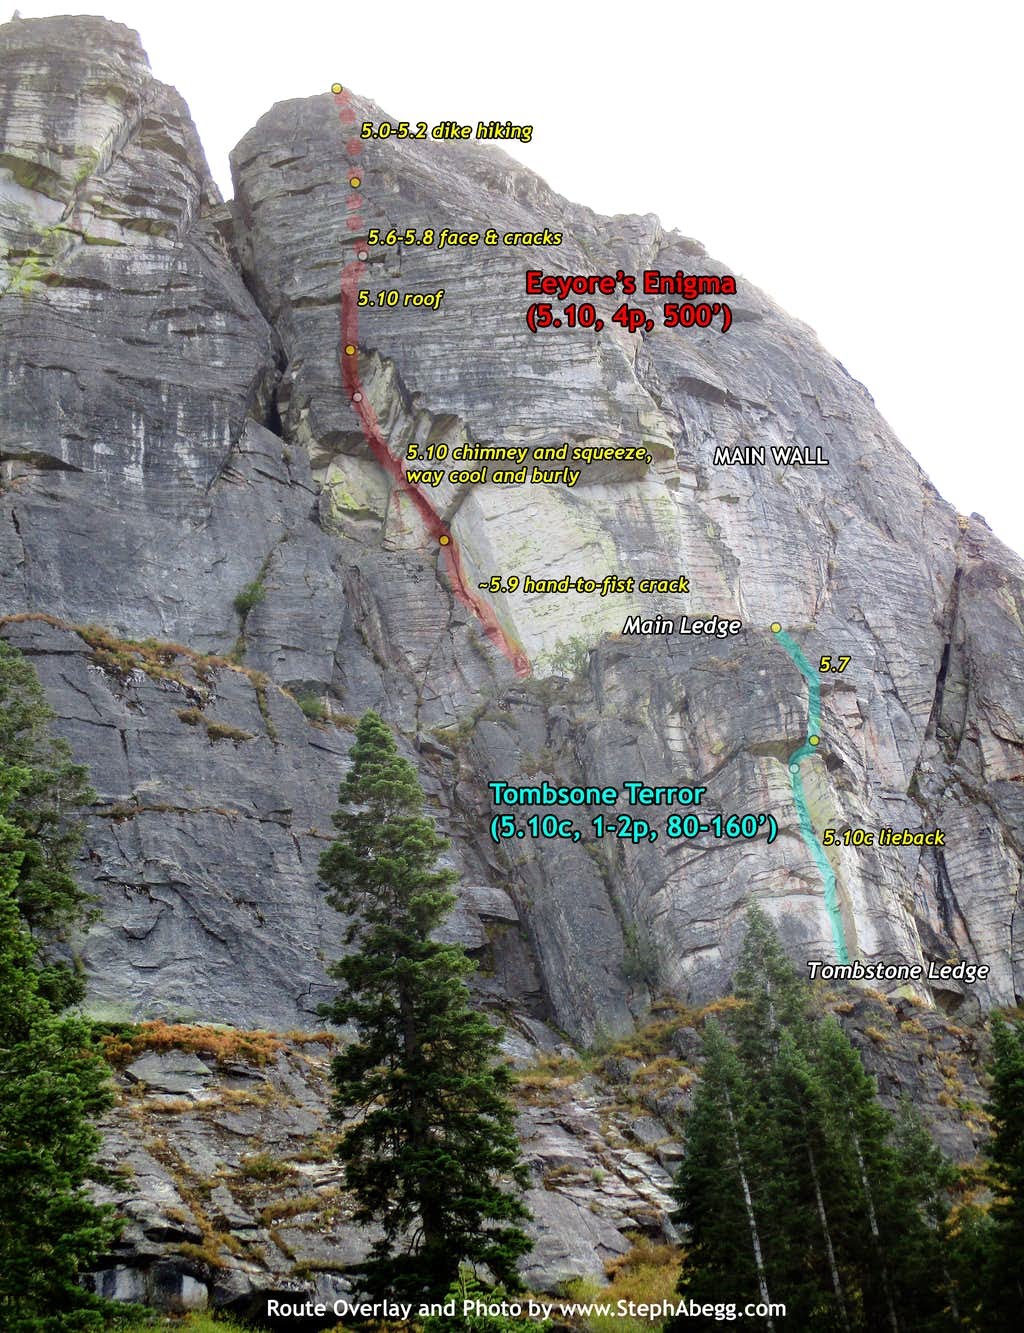
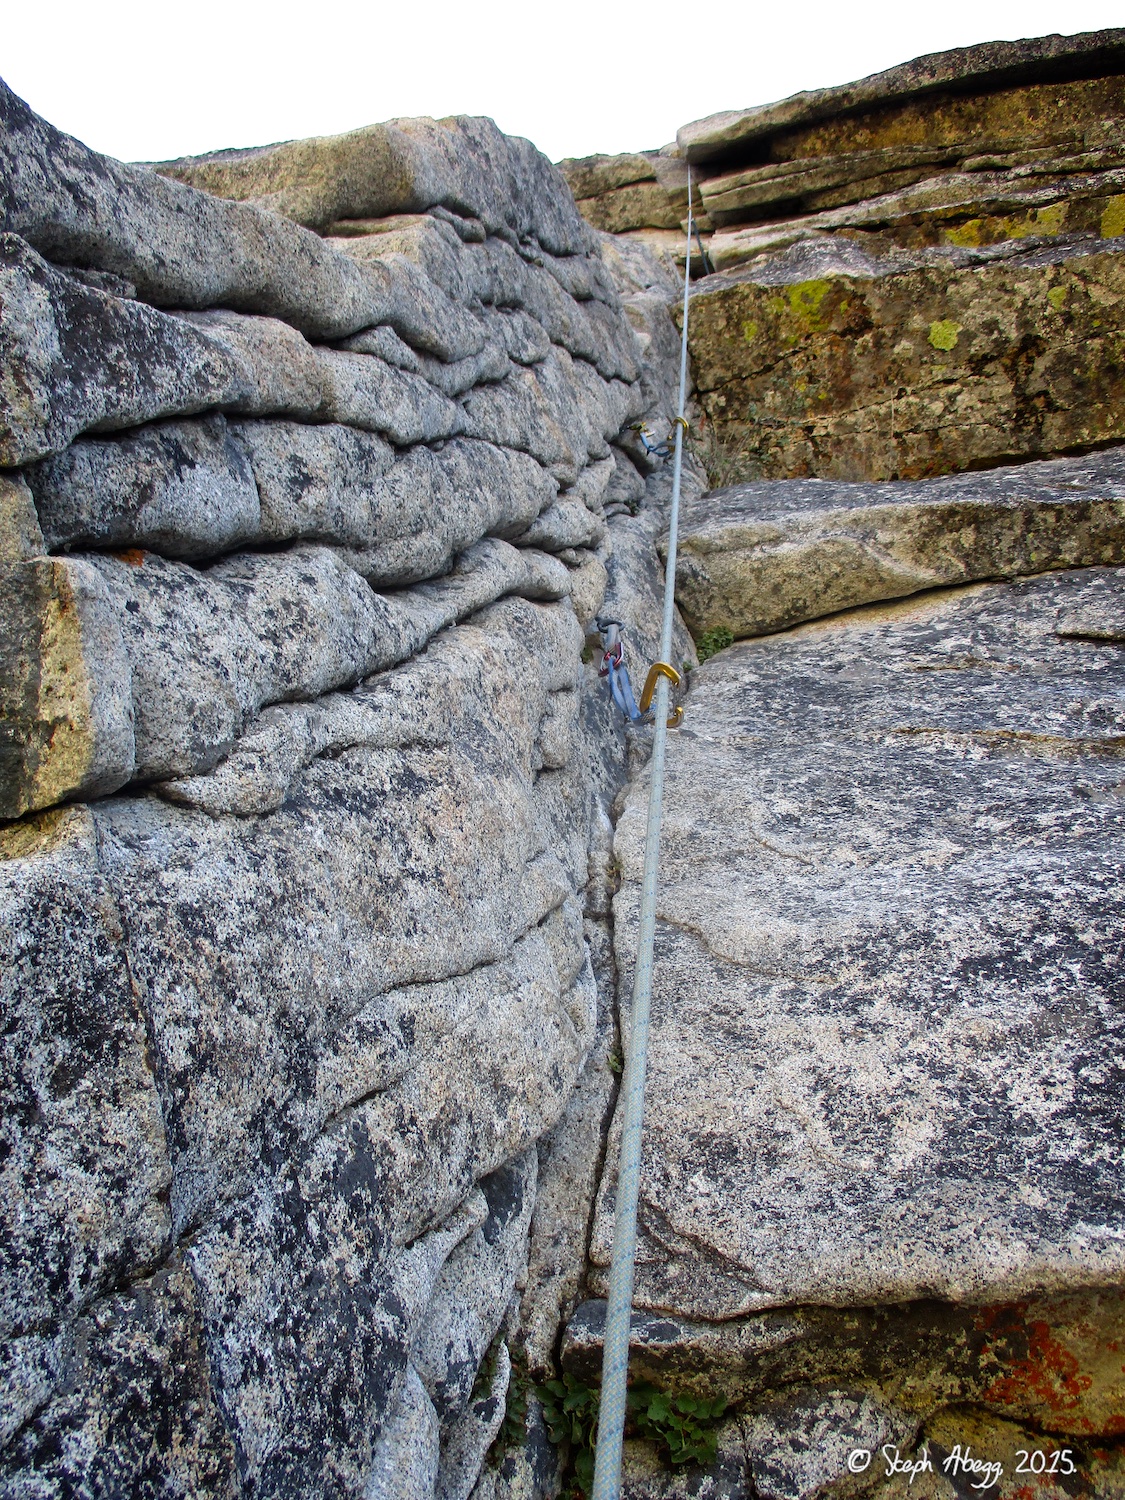
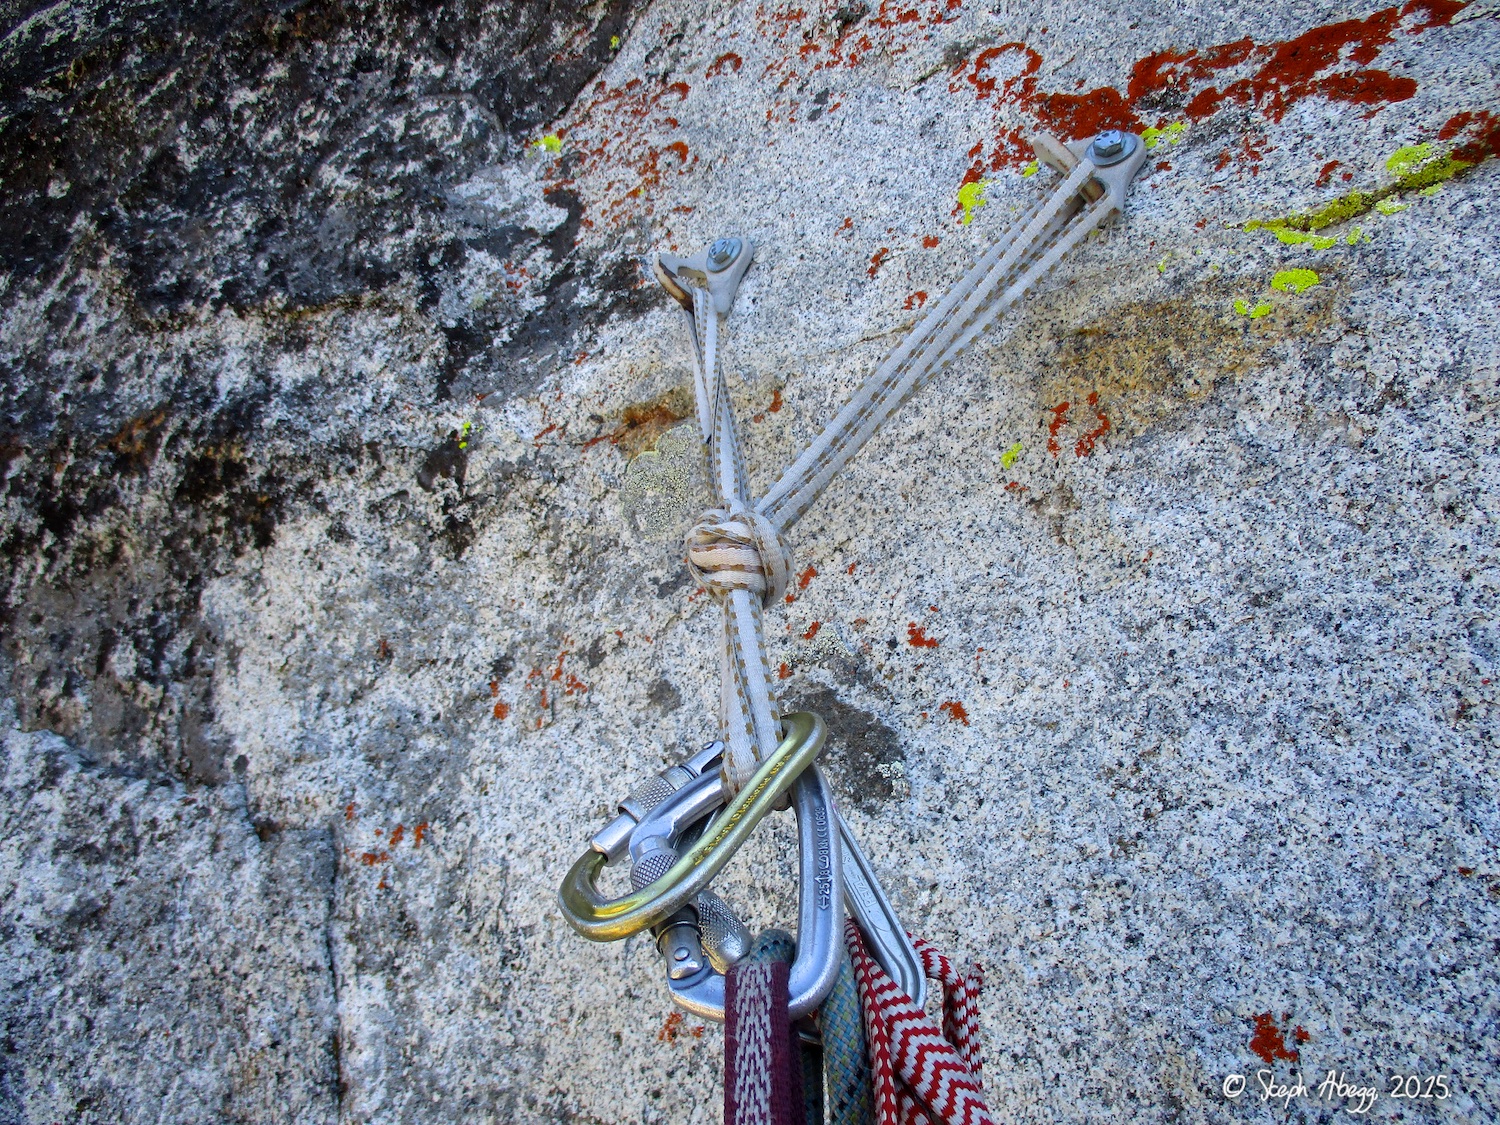
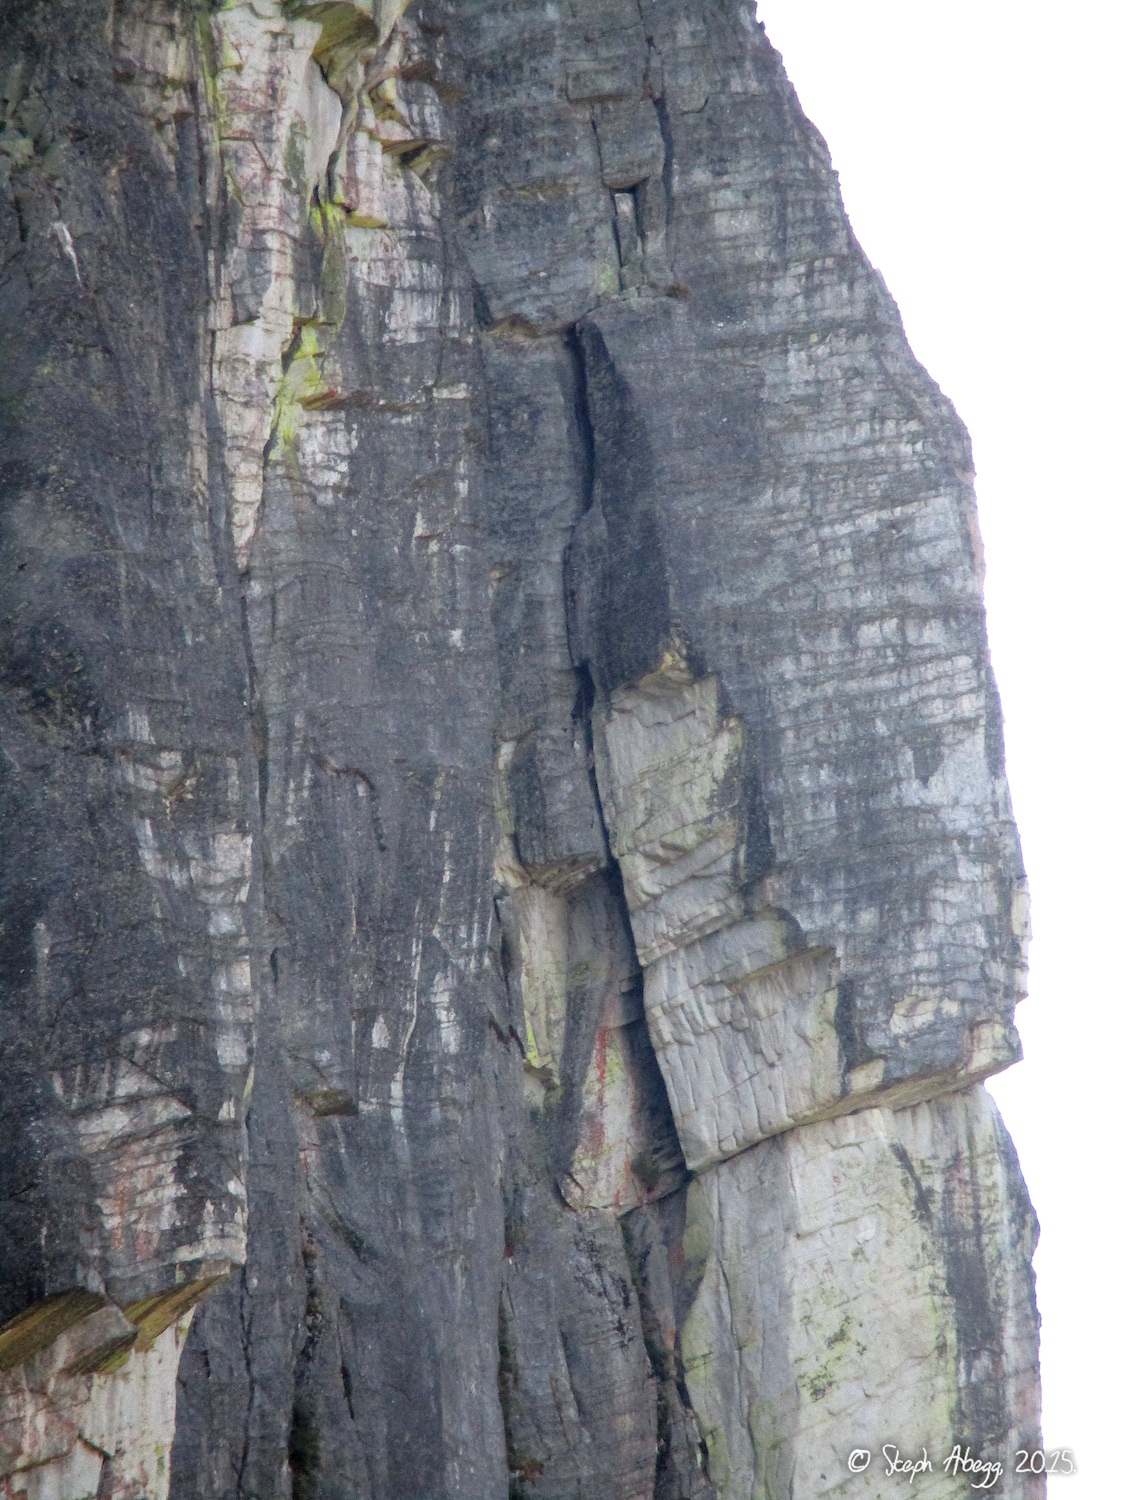
Route Overlay
For just one of the many routes we climbed....
CLICK TO ENLARGE
Intro
THIS TRIP REPORT IS STILL MOSTLY IN THE EMBEDDED HTML FORMAT OF MY OLD WEBSITE. MOBILE Tip: Try Landscape mode. It is generally more mobile friendly.
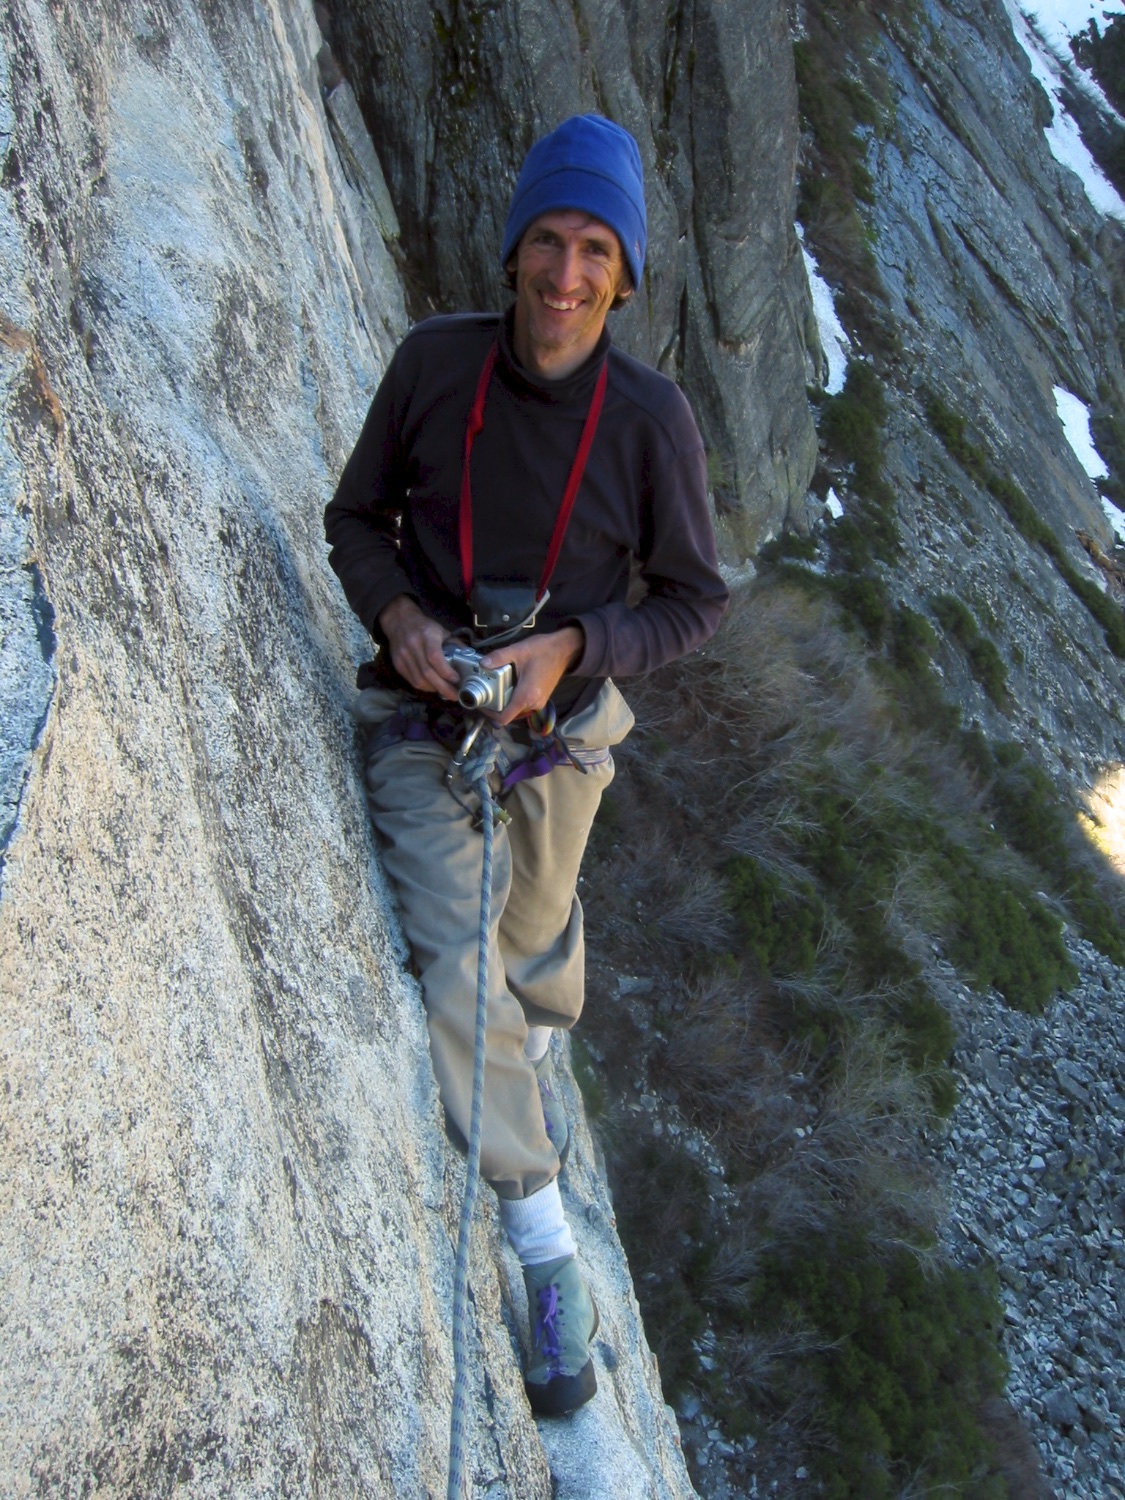
In May 2005, I signed up for a Lead Climbing Workshop with the Stanford Alpine Club. The workshop was held over a weekend at Lover's Leap. There was some instruction, and then we broke off into groups to climb with the workshop leaders. My group was led by Clint Cummins. Little did I know at the time how significant an impact Clint would have on my climbing life. Over the course of the Spring and Fall 2005, I joined a few more weekend climbing trips led by Clint, to places like Yosemite and Tollhouse. In December 2005, I graduated and moved back to Washington. Clint is originally from Washington (he had put together the original Index guidebook in fact), so Clint and I maintained contact and got together for some climbing over the next few years whenever he came north to visit family in the area....
...Back to 2005...On the second day of the Lead Climbing Workshop Clint and I climbed The Line. All I remember is thinking "wow, rock climbing is fun, I have to do more of this"....
....Fast-forward to 2015...Ten years after the Lead Climbing Workshop at the Leap, while on a 3-month climbing road-trip that had become the norm for my summers, the opportunity came to return and climb again at Lover's Leap with my friend Dow Williams. We climbed for five days at the Leap, timing our trip to be from Monday-Friday to avoid the more crowded weekends. Dow and I climbed ten routes, all 5.9-5.10, all 2-5 pitches, and a nice mix of classics, semi-classics, and unsung classics.
Clint Cummins. This photo was taken shortly after I met him on a climbing workshop at Lover's Leap. Clint played a key role in my early climbing career. Photo by Steph Abegg.
Me climbing The Line (5.9), one of my first multipitch climbs. Photo by Clint Cummins.
This page contains photos and some route detail for the routes we climbed, which are listed below (click links to jump to individual routes, or just scroll down the page):
MON, AUG 24:
Surrealistic Pillar (w/ Direct start) on Lower Buttress (5.10b, 2-3 pitches, 270')
Traveler Buttress on Main Wall (5.9, 4 pitches, 500')
TUES, AUG 25:
The Line on East Wall (5.9, 2-3 pitches, 400')
Eagle Buttress, Right on Central Wall (5.10a, 4-5 pitches, 600')
WED, AUG 26:
Hospital Corner on West Wall (5.10a, 2 pitches, 240')
Vanishing Point on West Wall (5.10b, 2+ pitches, 250')
THURS, AUG 27:
Tombstone Terror on Main Wall (5.10c, 1-2 pitches, 80-160')
Eeyore's Enigma on Main Wall (5.10, 4 pitches, 500')
FRI, AUG 28:
Scimitar on East Wall (5.9 R, 3 pitches, 300')
Fantasia on East Wall (5.9 R, 3 pitches, 300')
Climbs We Did
CLICK ON ROUTE TO DROP DOWN CONTENT
Photos
Photo descriptions
1.
2.
3.
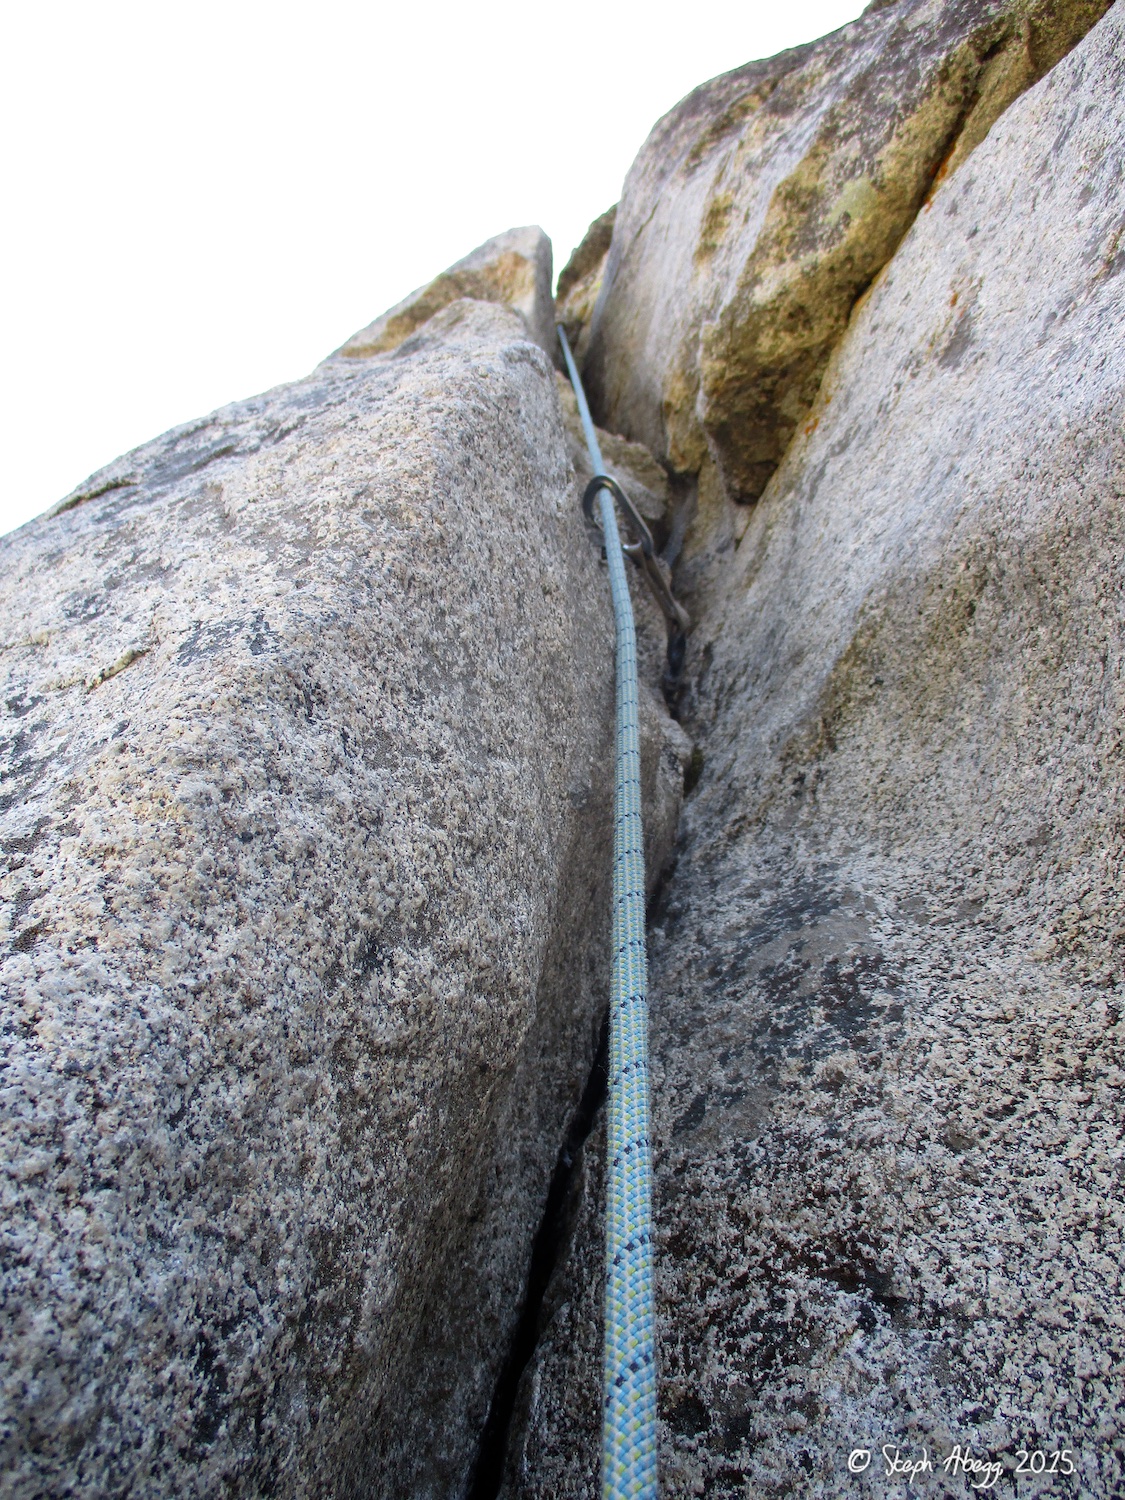
1. Photo showing Lower Buttress and Main Wall. We linked up Surrealistic Pillar on Lower Buttress with Traveler Buttress on Main Wall for a good 770' first day at the Leap, including a Fifty Classic (Traveler Buttress is one of Steck and Roper's Fifty Classic Climbs). Not bad for a 11am start (due to late arrival at the campground the night before)!
2. Looking up Surrealistic Pillar Direct, which is a 10b variation to the first pitch of Surrealistic Pillar. What a great pitch. The horizontal dikes make climbing really fun. 3. The second pitch of Surrealistic Pillar. We went up the 5.8 direct variation. The 5.7 option steps left.
link-up with
Photos
Photo descriptions
1.
2.
3.
4.
5.
6.
7.
8.
9.
10.
11.
12.
13.
14.
1. Photo showing Lower Buttress and Main Wall. We linked up Surrealistic Pillar on Lower Buttress with Traveler Buttress on Main Wall for a good 770' first day at the Leap, including a Fifty Classic (Traveler Buttress is one of Steck and Roper's Fifty Classic Climbs). Not bad for a 11am start (due to late arrival at the campground the night before)!
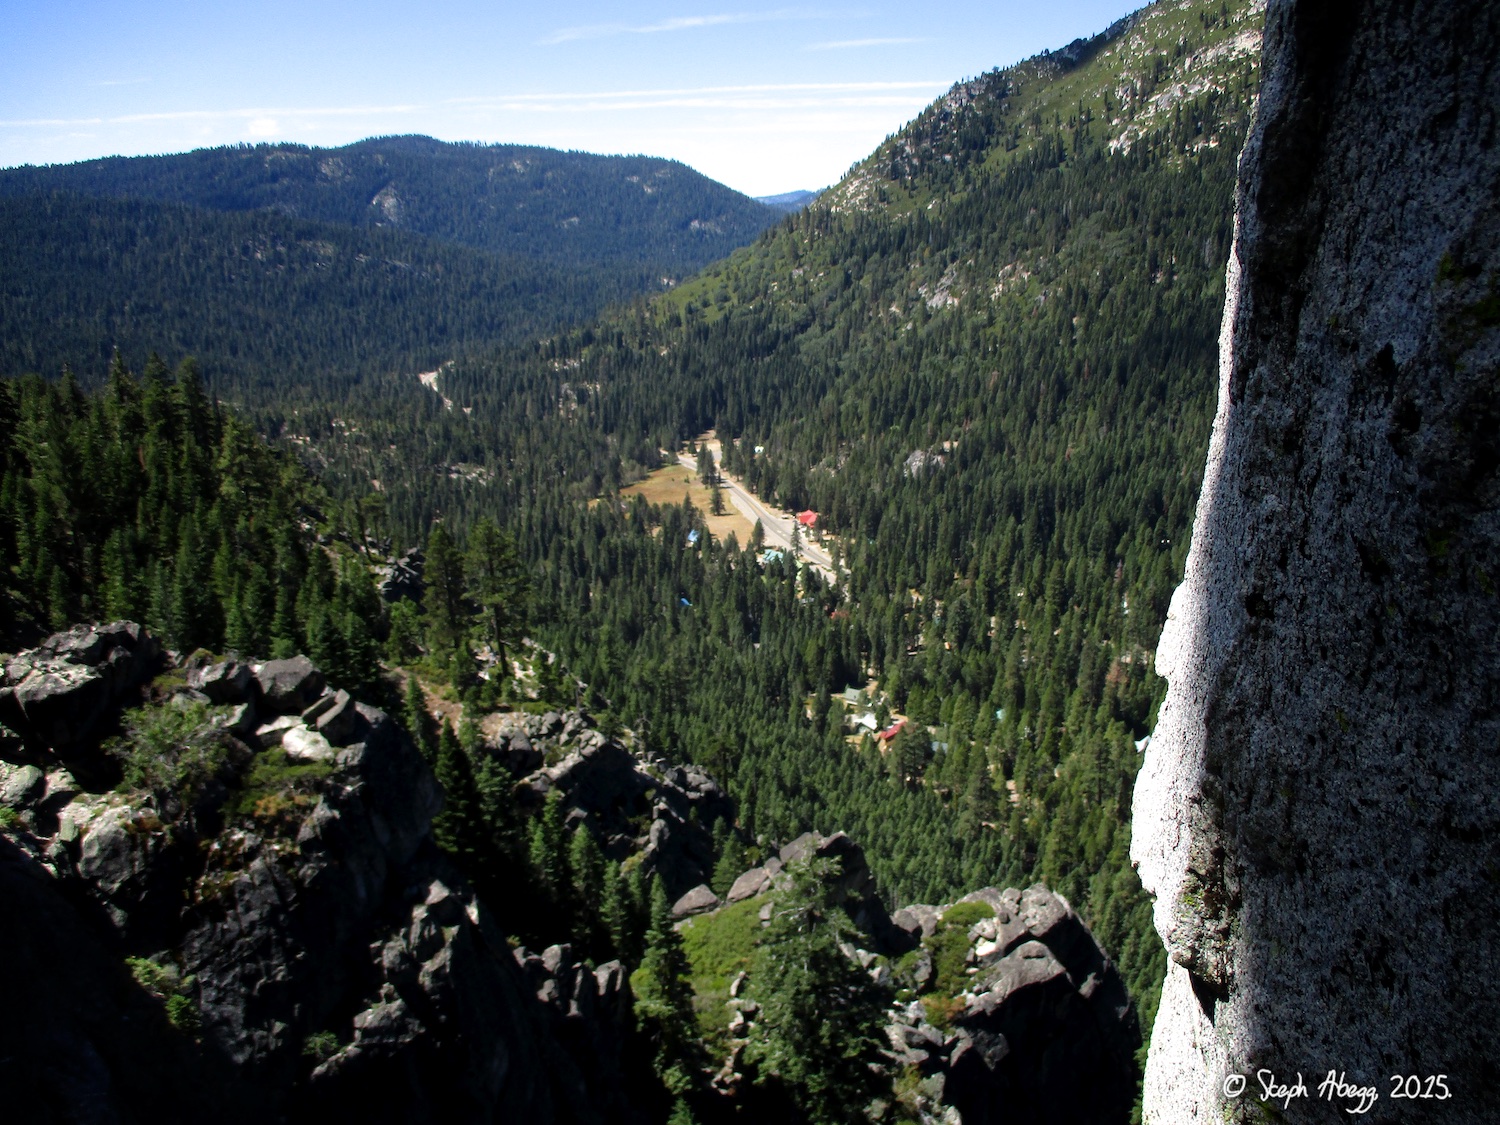
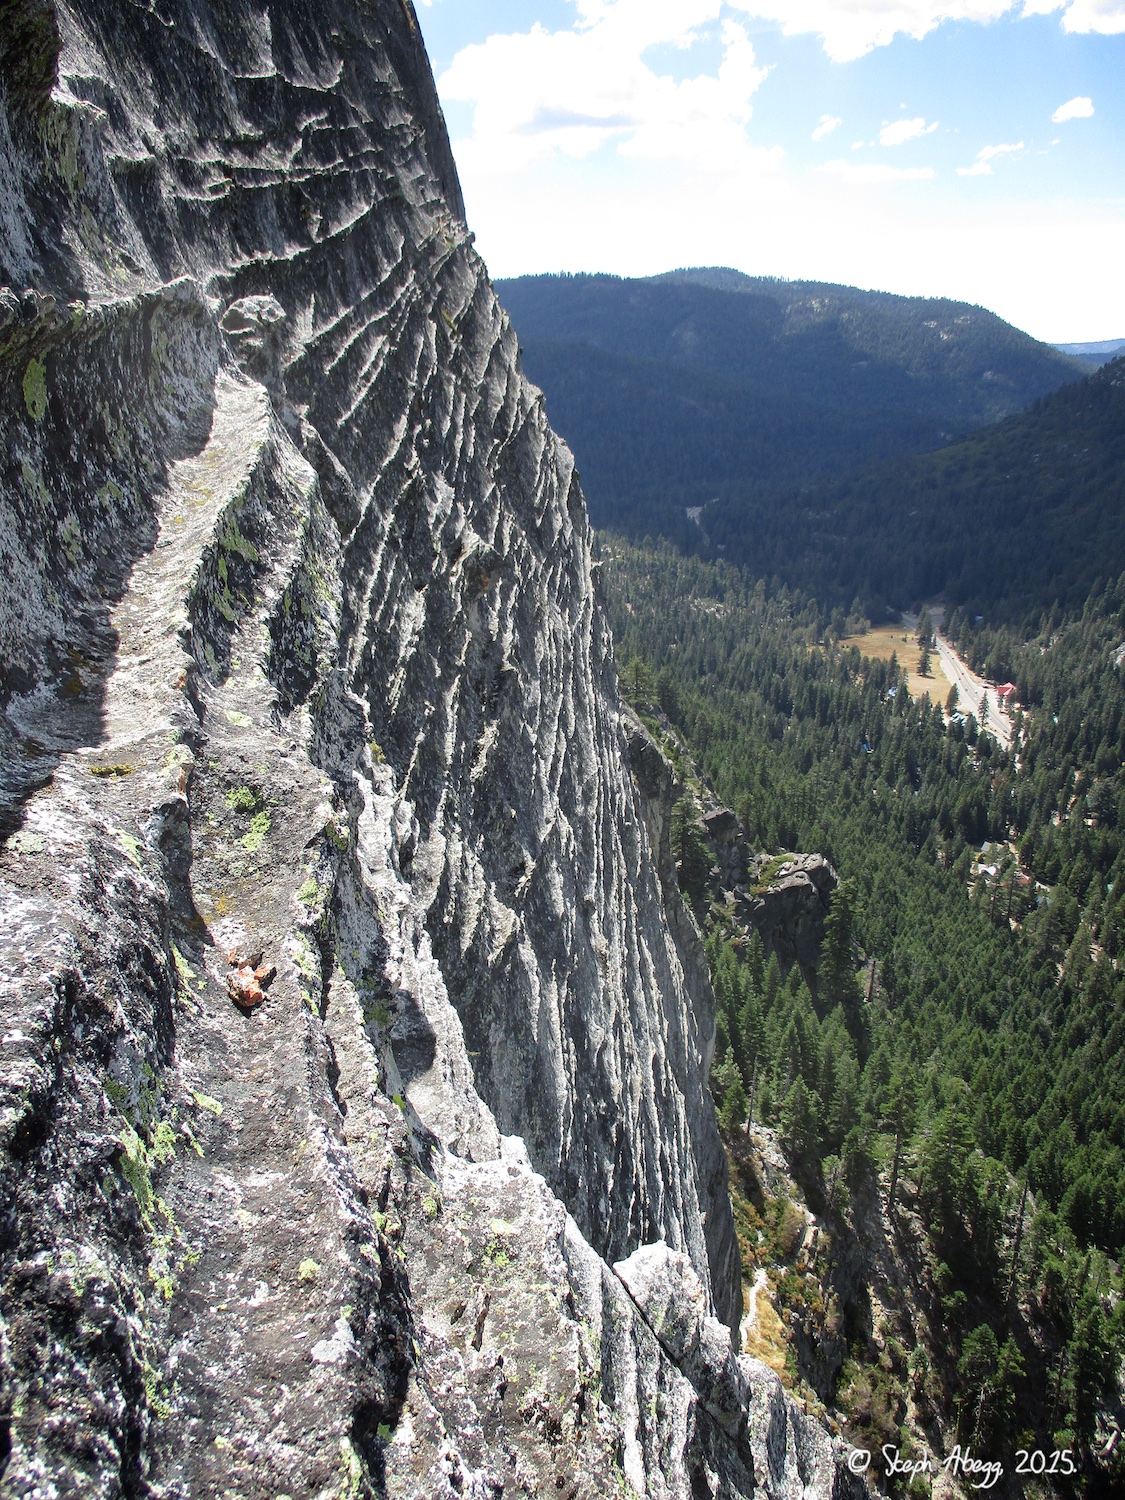
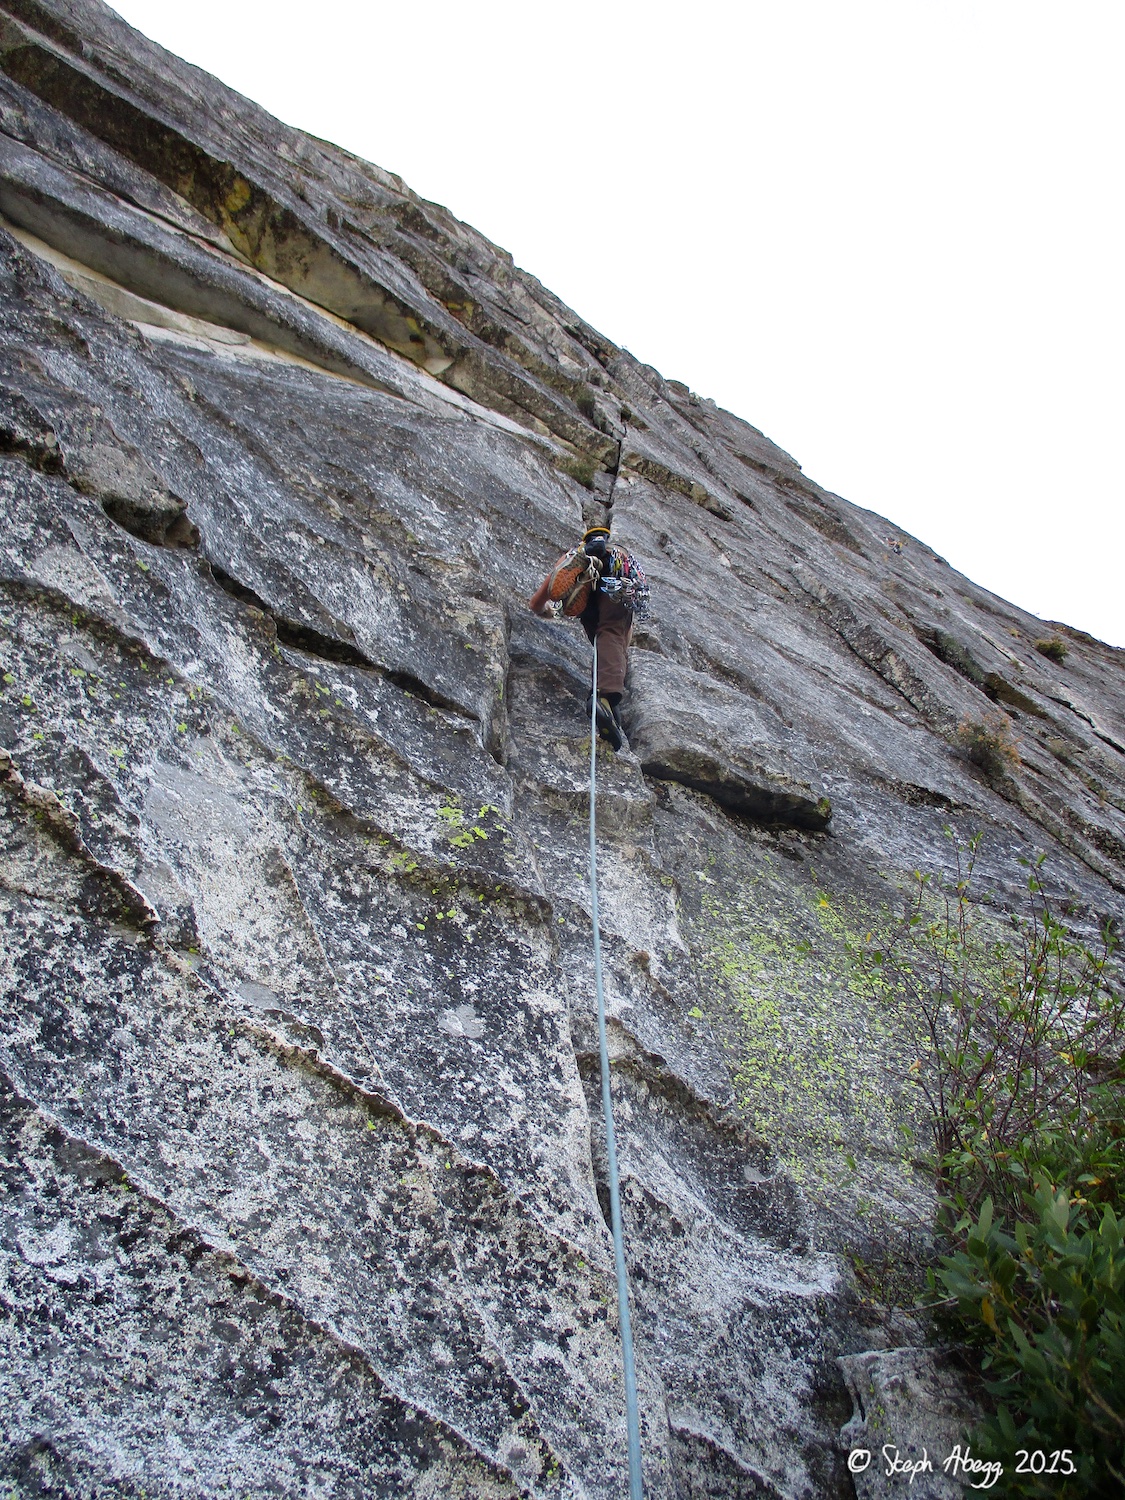
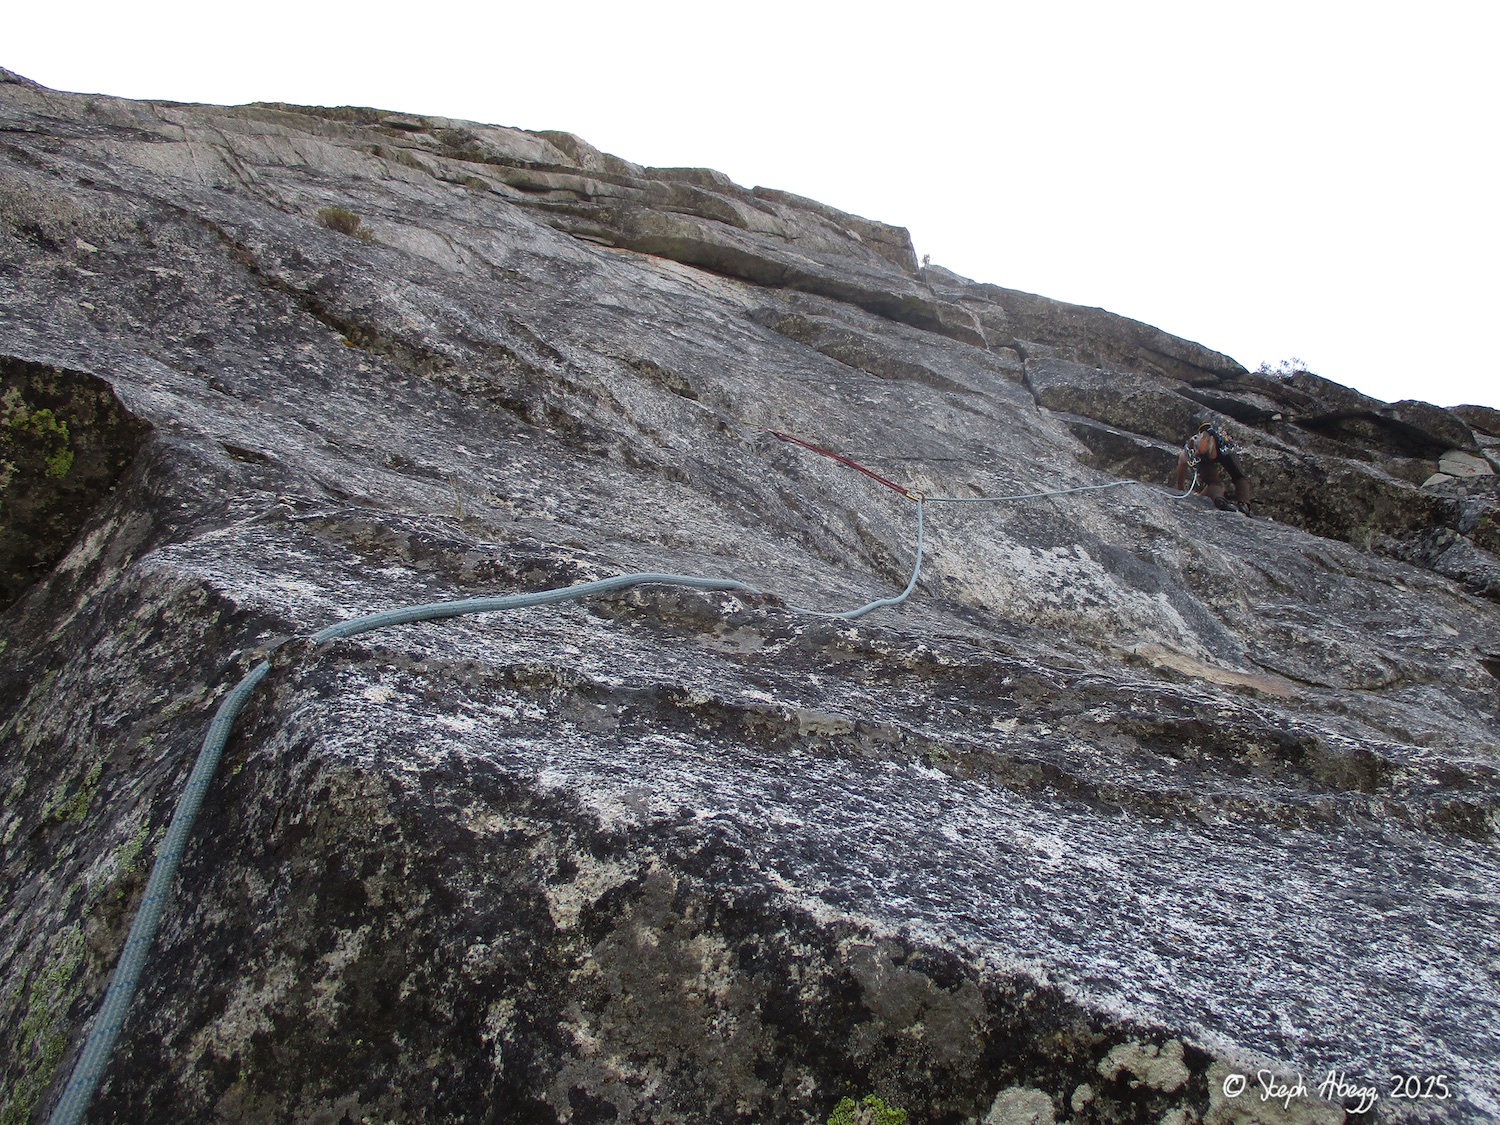
2. Looking up Pitch 1 of Traveler Buttress. You can bypass this pitch by cutting in on Main Ledge above, but this pitch is definitely worth climbing. It goes up through 5.7 flakes and a 5.8 flaring crux. 3. Looking down the 5.7 flakes on Pitch 1. 4. The 5.8 flare on Pitch 1. It protects well with offset cams so even though it has a ledge directly below it didn't seem dangerous as some reports have mentioned. 5. Dow entering the 5.9 offwidth on Pitch 2. This was stout for 5.9 since it was a bit polished. Nice lead Dow! 6. A #5 cam was useful in the offwidth on Pitch 2. 7. The wildly exposed arete on Pitch 3. The crux is a 5.8 step around the arete near the roof but that wasn't too bad. There were a couple of old pitons to clip and a couple of decent small cam placements. The main crux for me was the unpredictable gusts of wind. Our route description mentioned the winds on this pitch, so I gather that its usually pretty windy on this part of the wall. 8. Looking down from just below the 5.8 step across the arete. 9. Dow leading off the upper part of Pitch 3, which he linked into the final Pitch 4 to the top. I had set my belay at the top of Pitch 3 a bit too low when I didn't realize I needed to step left and go up this flake first. 10. The 5.5 to 5.0 "dike hiking" on the upper part of Pitch 3 and Pitch 4. These horizontal dikes are a really cool feature that rib many of the walls at the Leap, and make climbing really fun. 11. Looking left from the upper pitches of Traveler Buttress. As you can see from the photo, the wall is actually quite steep, but all the dike features make the climbing pretty moderate. East Wall can be seen below. We climbed The Line on East Wall the next day, often described as "the best 5.9" at the Leap. 12. The cliffs of Lover's Leap are right above the town of Strawberry, population 50. 13. After the day of climbing, I walked over to Strawberry Station General Store to send a postcard and check out the store. The store is about 10 min walk from the Lover's Leap Campground, and has a post office, small bike/auto repair shop, climbing gear, groceries, cold beer, homemade cookies, and more. The daily 10 minute evening walk to get a cookie became routine.... 13. Horace the Cat at the Strawberry Station General Store. He's not for sale.
NOTE 1: A #5 cam was useful in the offwidth on Pitch 2. NOTE 2: The homemade cookies at the Strawberry Station General Store are really yummy.
Photos
Photo descriptions
1.
2.
3.
4.
5.
6.
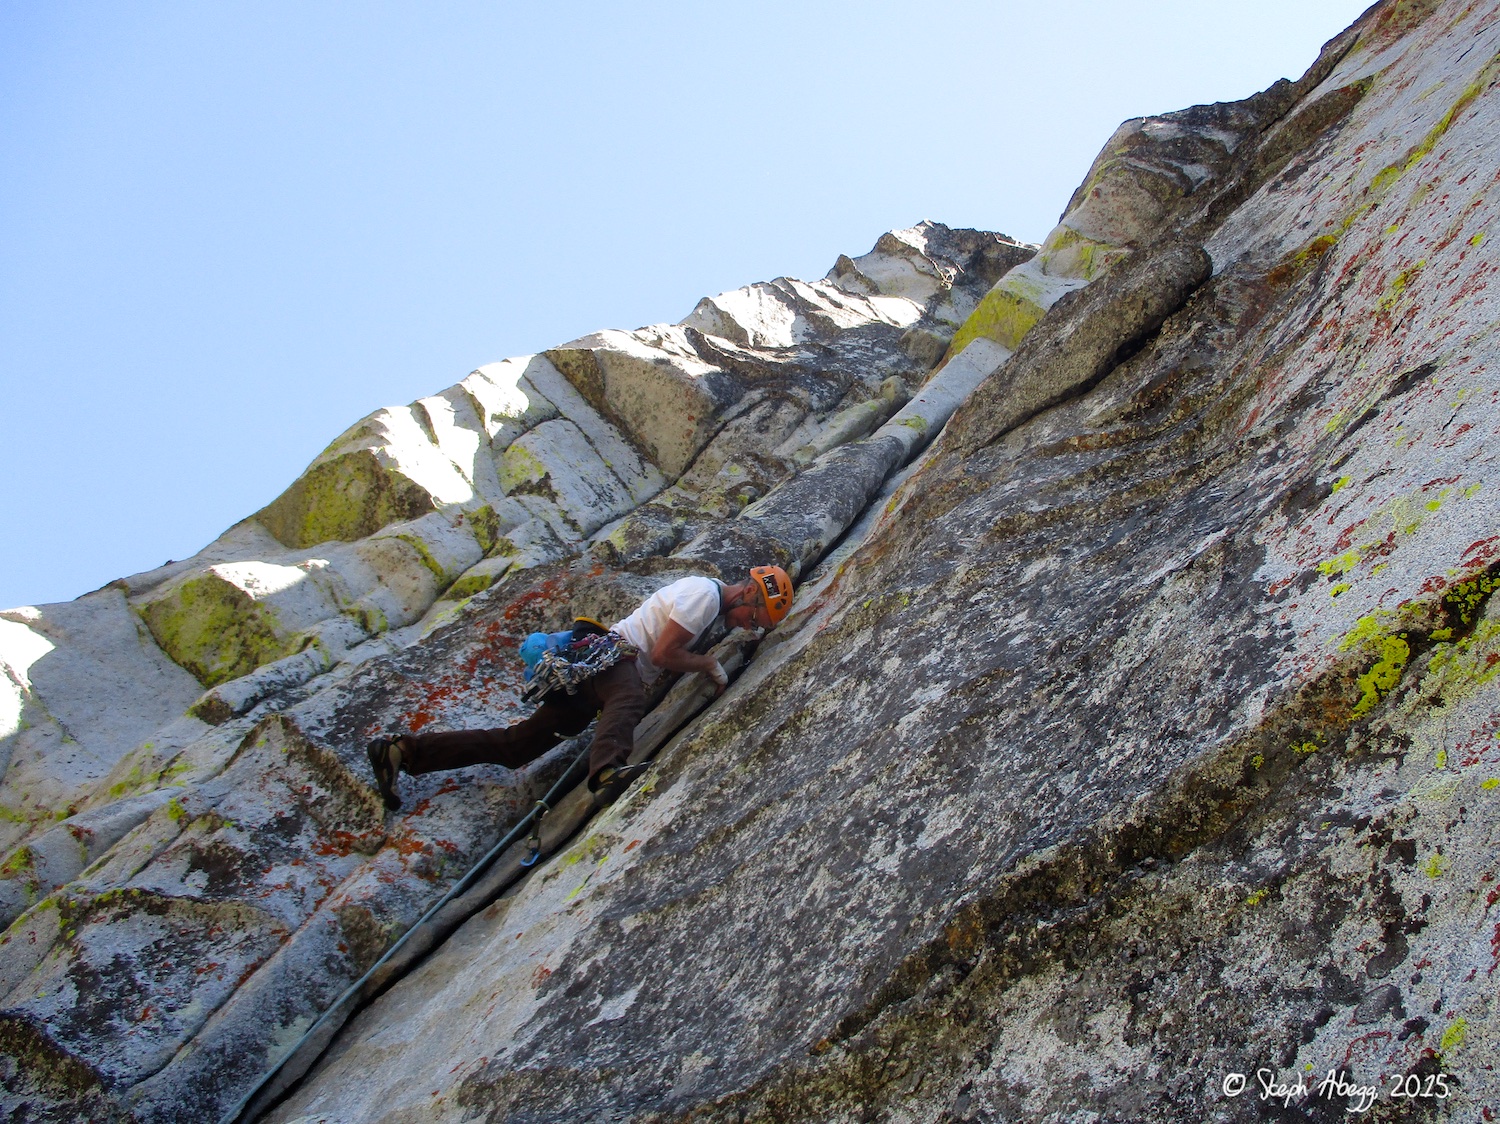
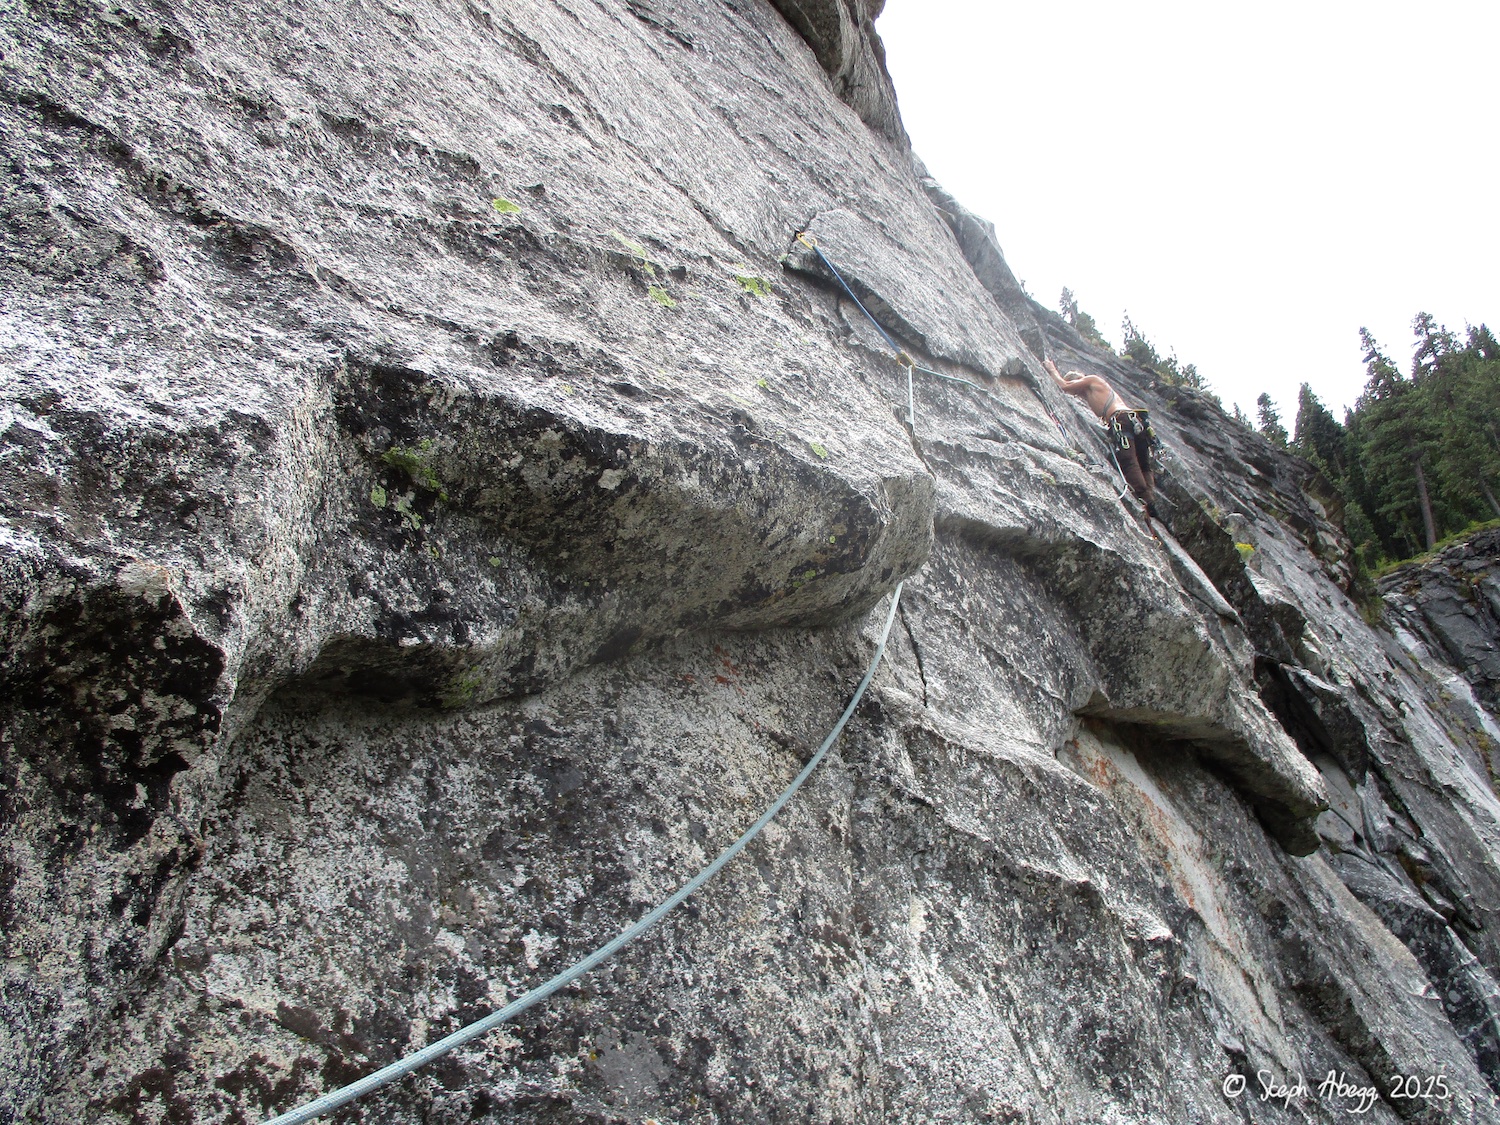
1. It was an unusual morning when there was no line on The Line, so Dow and I belined for this popular Leap classic. Often described as "the best 5.9" at the Leap, the Line takes a 400-ft plumb line to the top. I had climbed this route with Clint in 2005, and now it was finally time to return and climb it again (and lead the first pitch this time).
2. Looking down while leading Pitch 1 of The Line. Really fun 5.9 crack climbing. 3. Dow leading off Pitch 2 of The Line (which we linked easily with Pitch 3). More fun climbing, with several 5.8 bulgy moves.
4. Looking up at the 5.8 roof of Pitch 3 of The Line. Pitch 3 is really short (~50 feet) so Dow easily linked this with Pitch 2. From below it's hard to believe that the roof will only be 5.8, but it's sort of like a slightly more than vertical ladder. 5. Climbers on Pitch 1 of The Line, as seen from the Main Wall a couple of days later. 6. Climbers on Pitch 2 of The Line, as seen from the Main Wall a couple of days later.
then a short jaunt along the wall to
Photos
Photo descriptions
1.
2.
3.
4.
5.
6.
7.
8.
9.
10.
11.
12.
13.
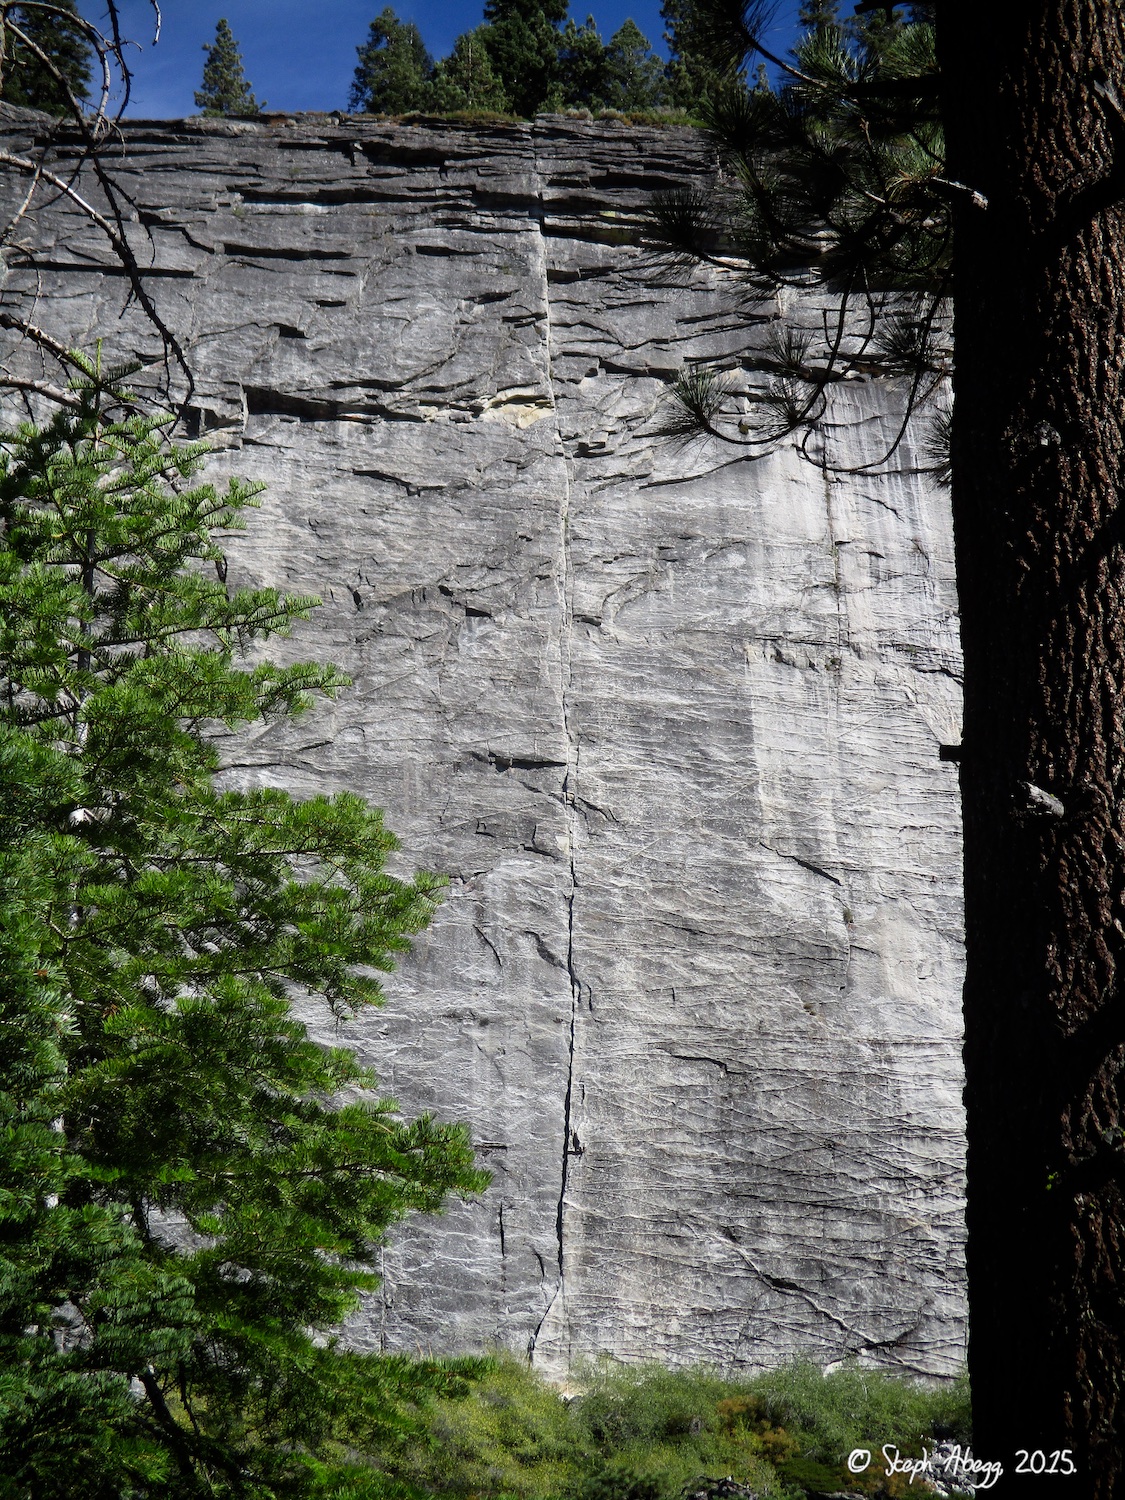
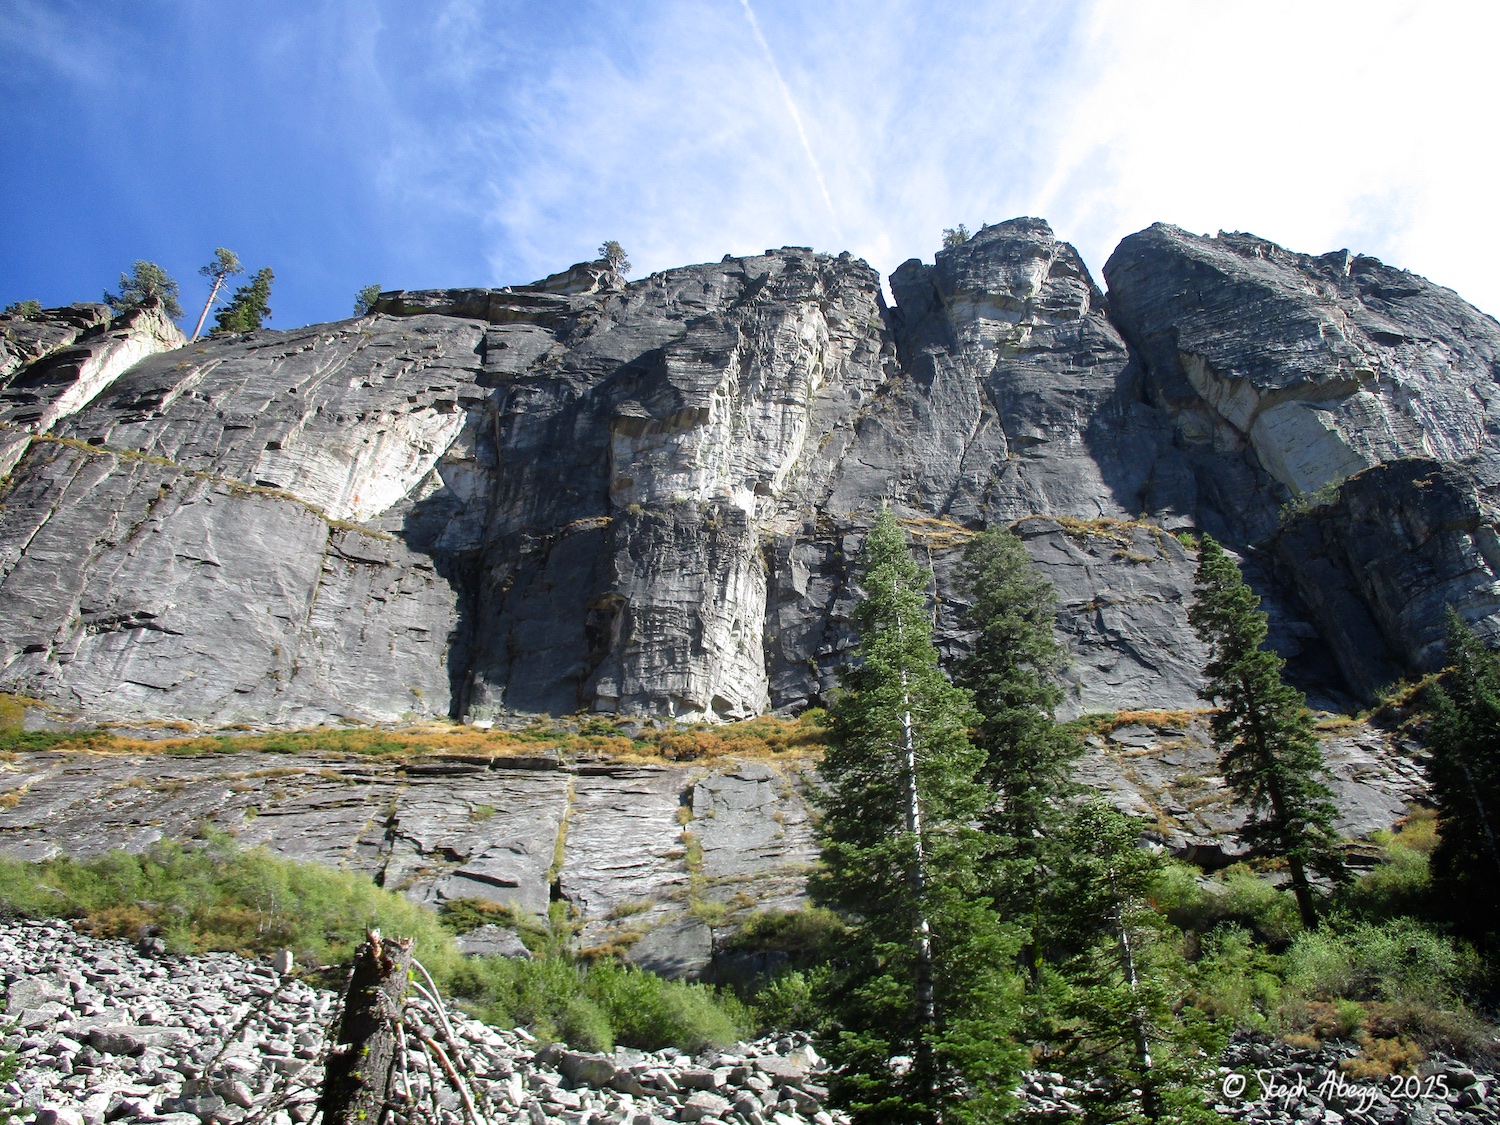
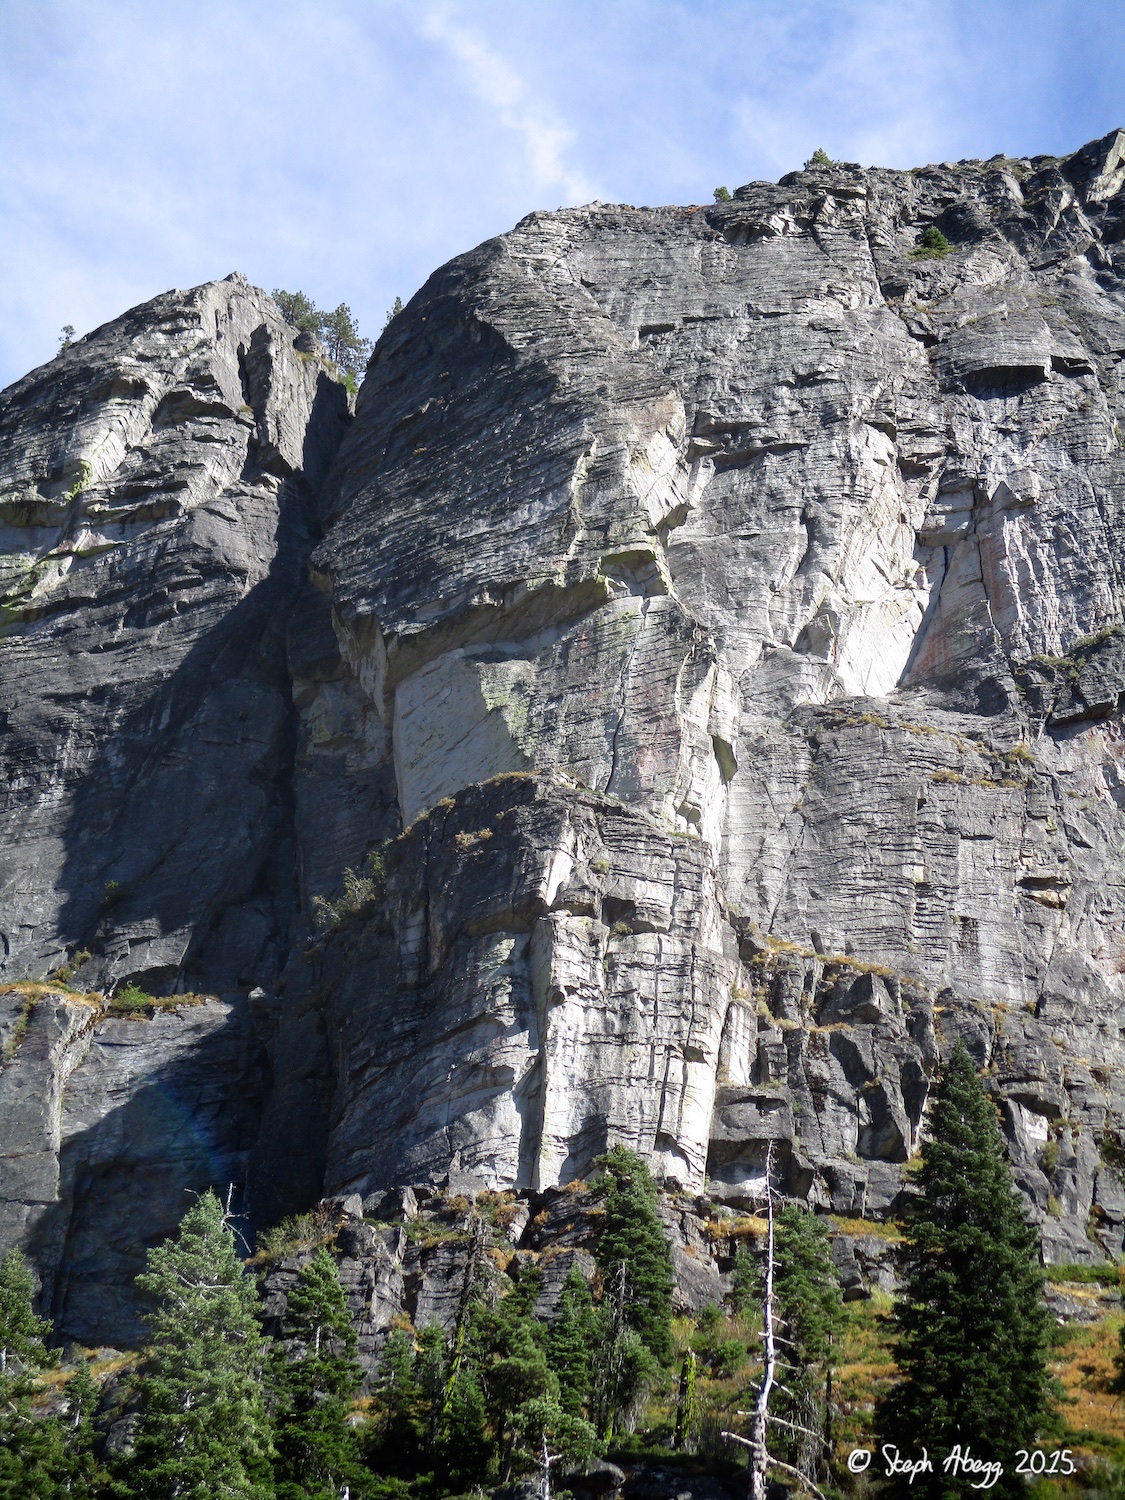
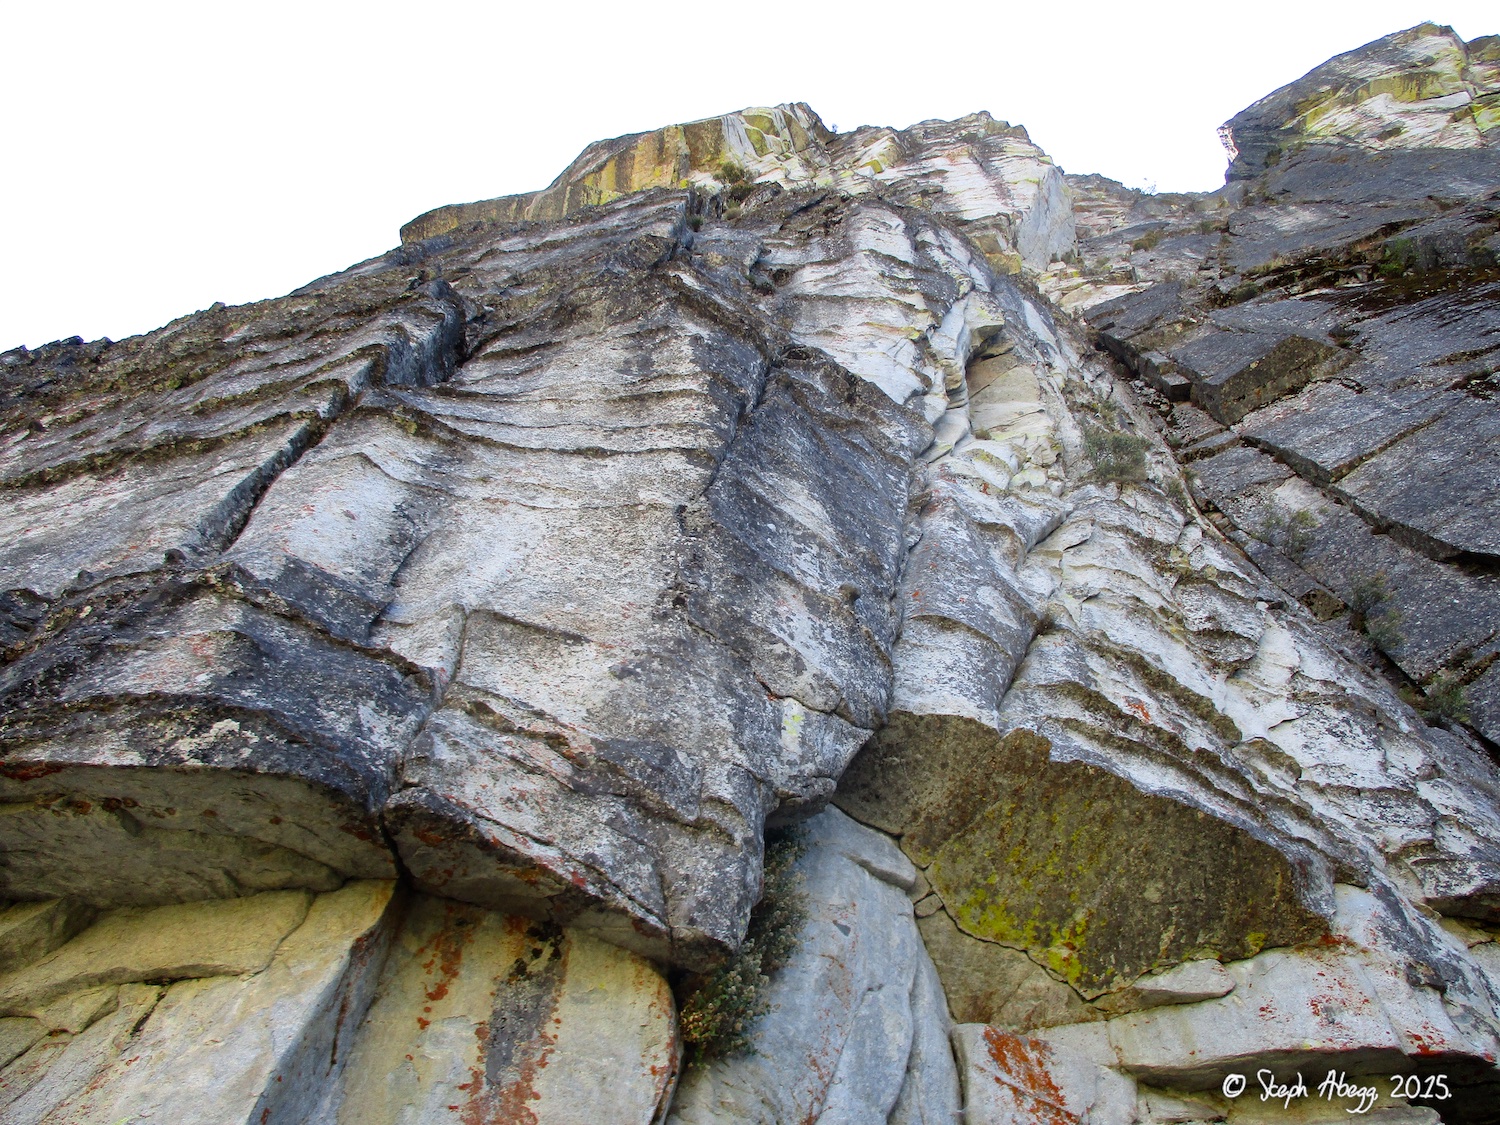
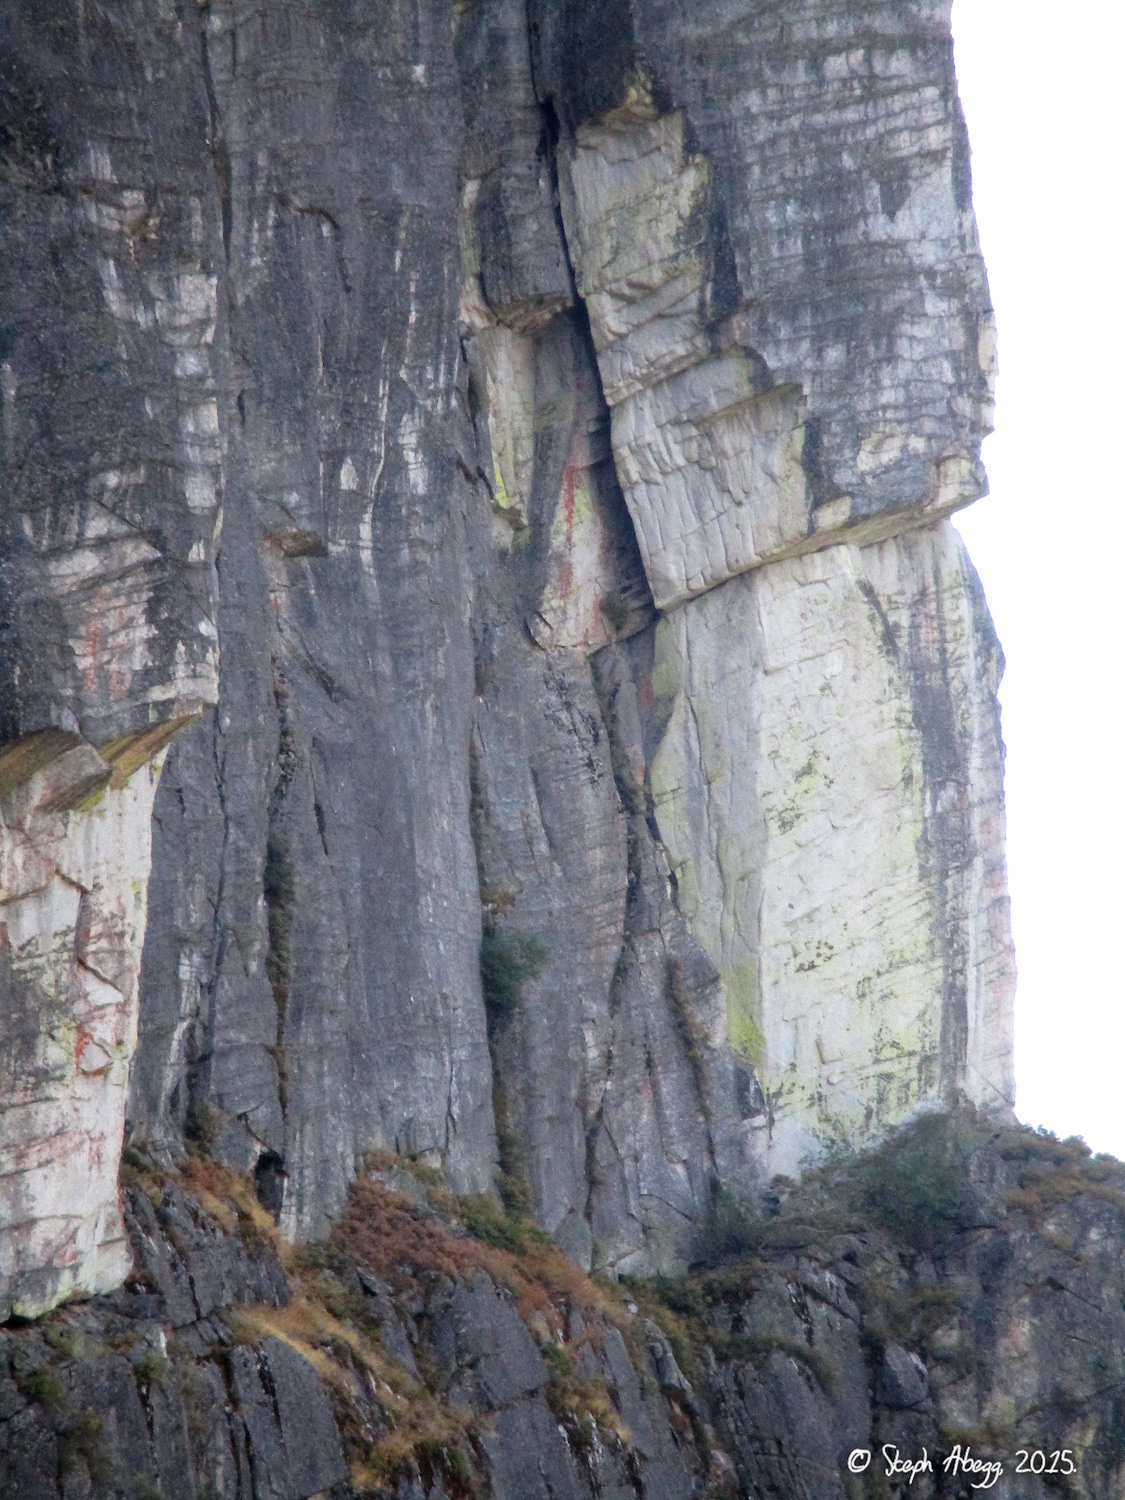
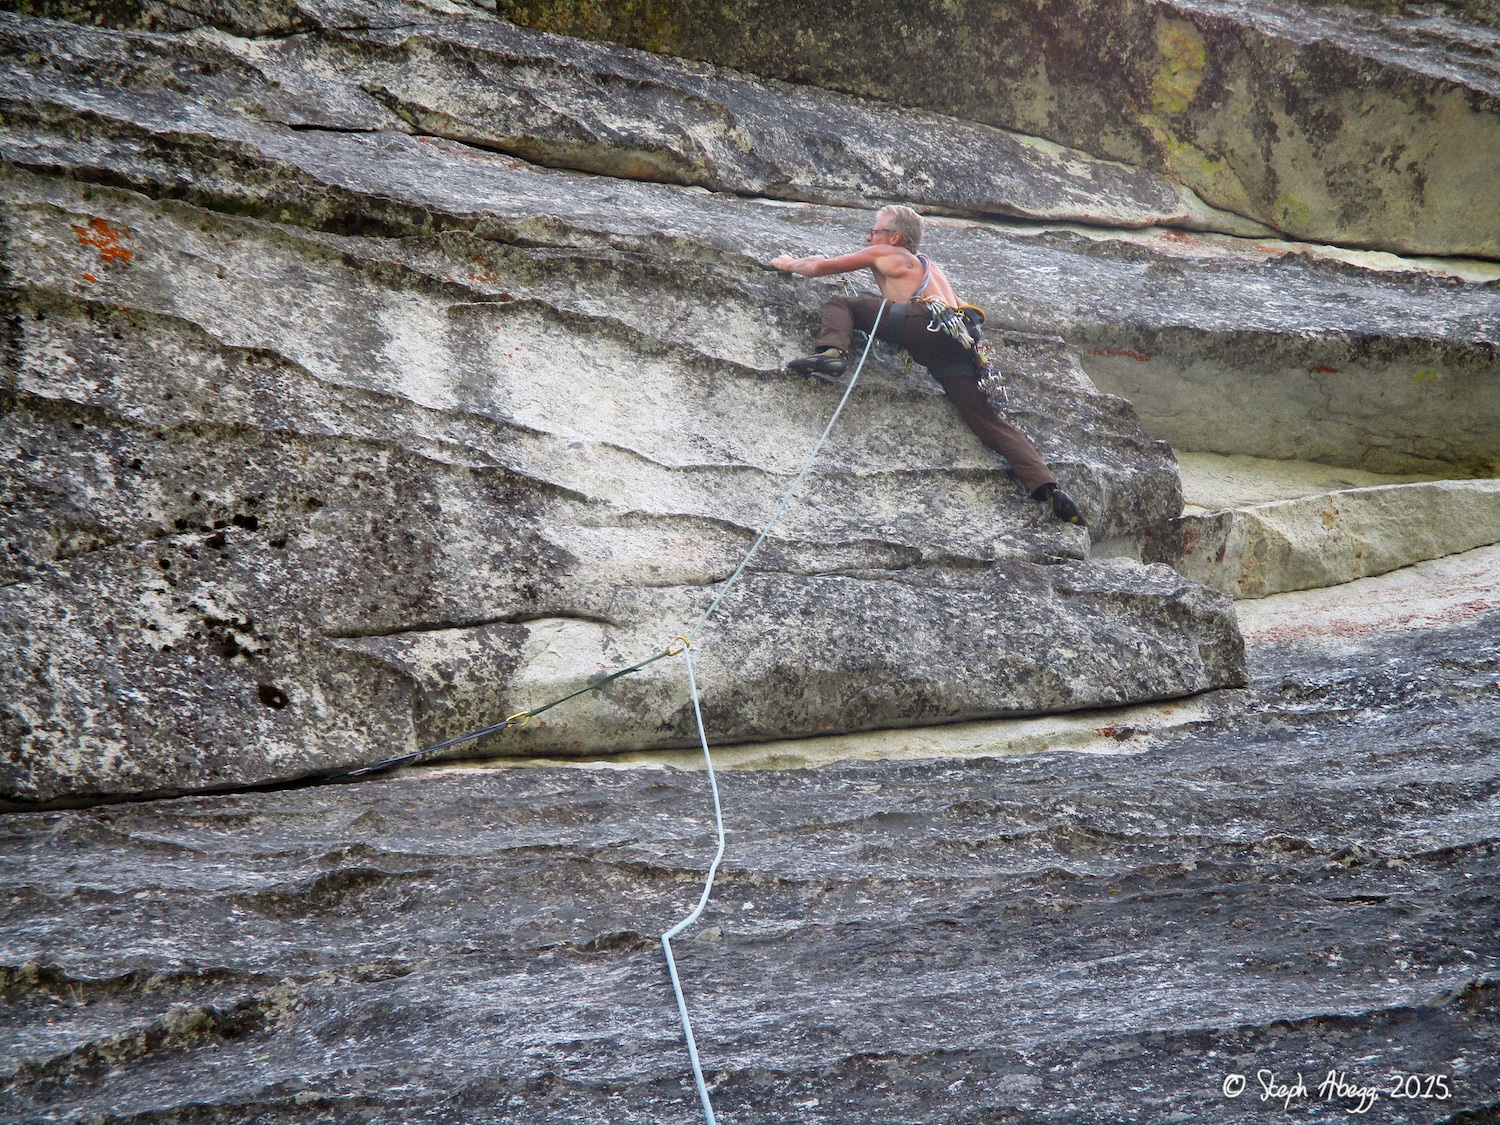
1. We figured a good follow-up to The Line would be Eagle Buttress on Central Wall, for several reasons: (1) The approach trail for Central Wall goes right back under The Line, so we were able to leave our extra food and water at the base of The Line, and collect it after climbing the route; (2) Central Wall is one of the latest walls to get sun — it does not get sun until mid-afternoon; and (3) Central Wall has an intimidating aura and tends to not to get crowded with climbers as the day progresses like the rest of the walls at the Leap. This photo shows Central Wall; Eagle Buttress is the buttress in the middle of the photo. I took this photo in the afternoon after the climb, when the buttress was in the sun.
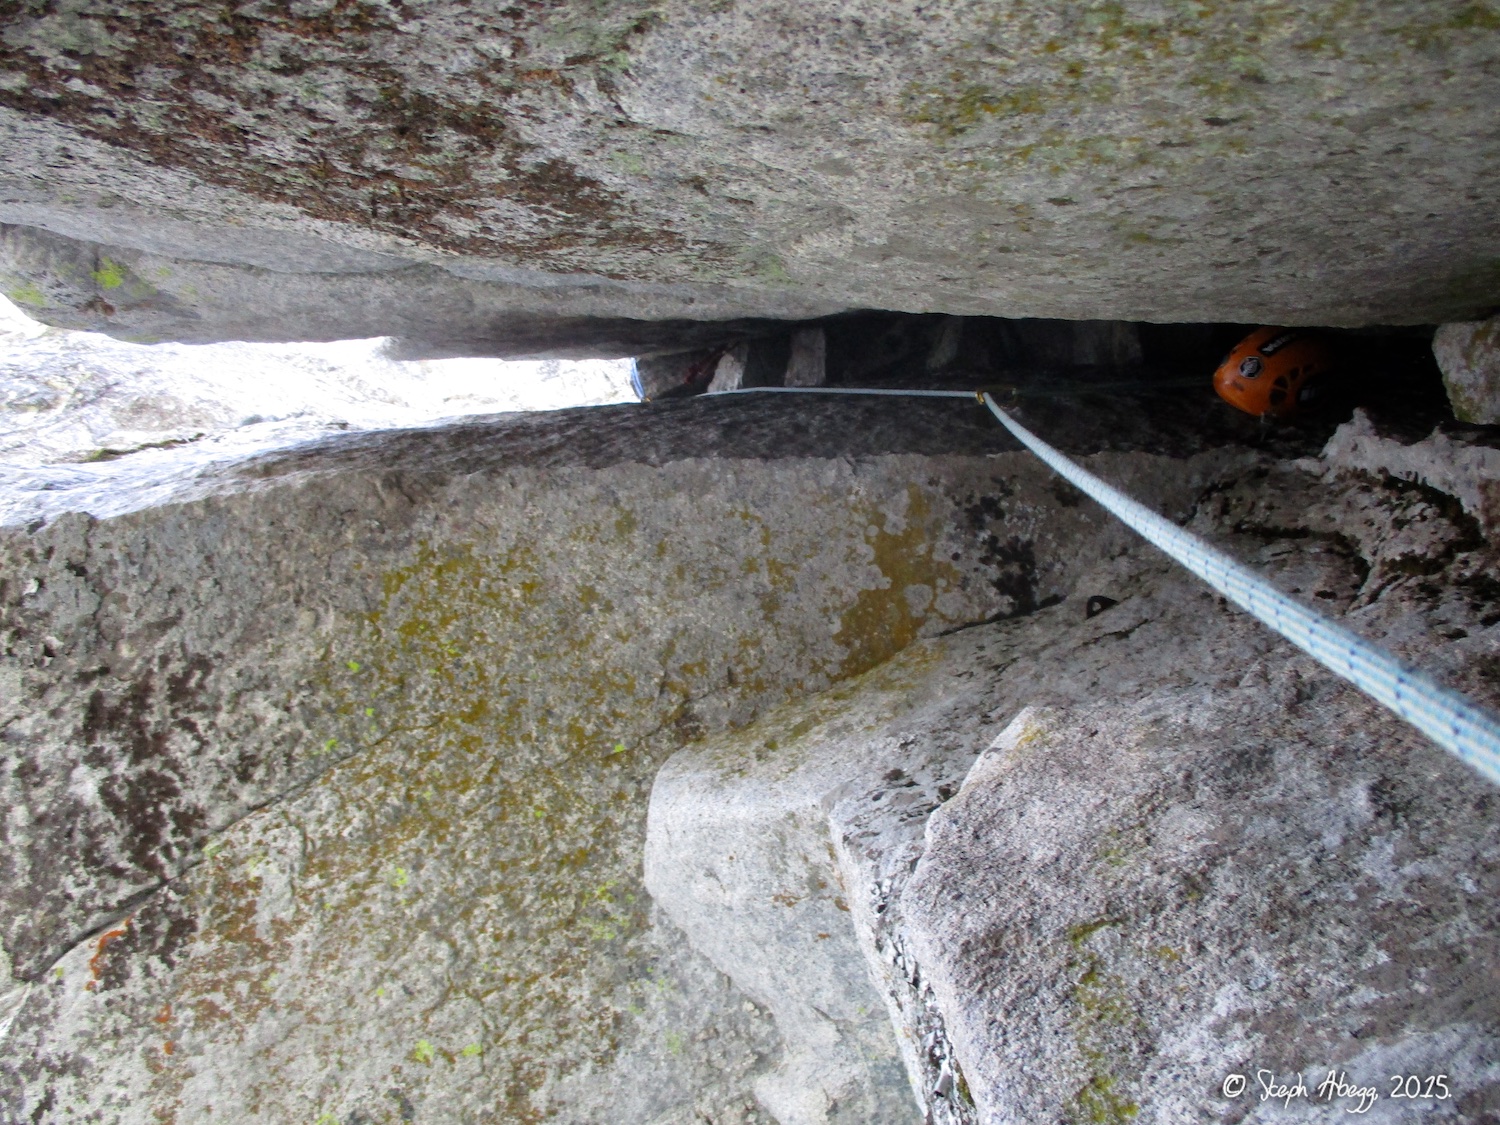
2. Another photo of Eagle Buttress. As per its name, the route we climbed goes up the right side of the buttress. It's an adventurous route, definitely not a trade route at the Leap but still a worthy adventure with some good climbin'. 3. Looking up Pitch 1 of Eagle Buttress, Right. This pitch follows a steep 5.8 ladder of dikes into a corner on the left and ends at a nice ledge. 4. Old piton on Pitch 1.
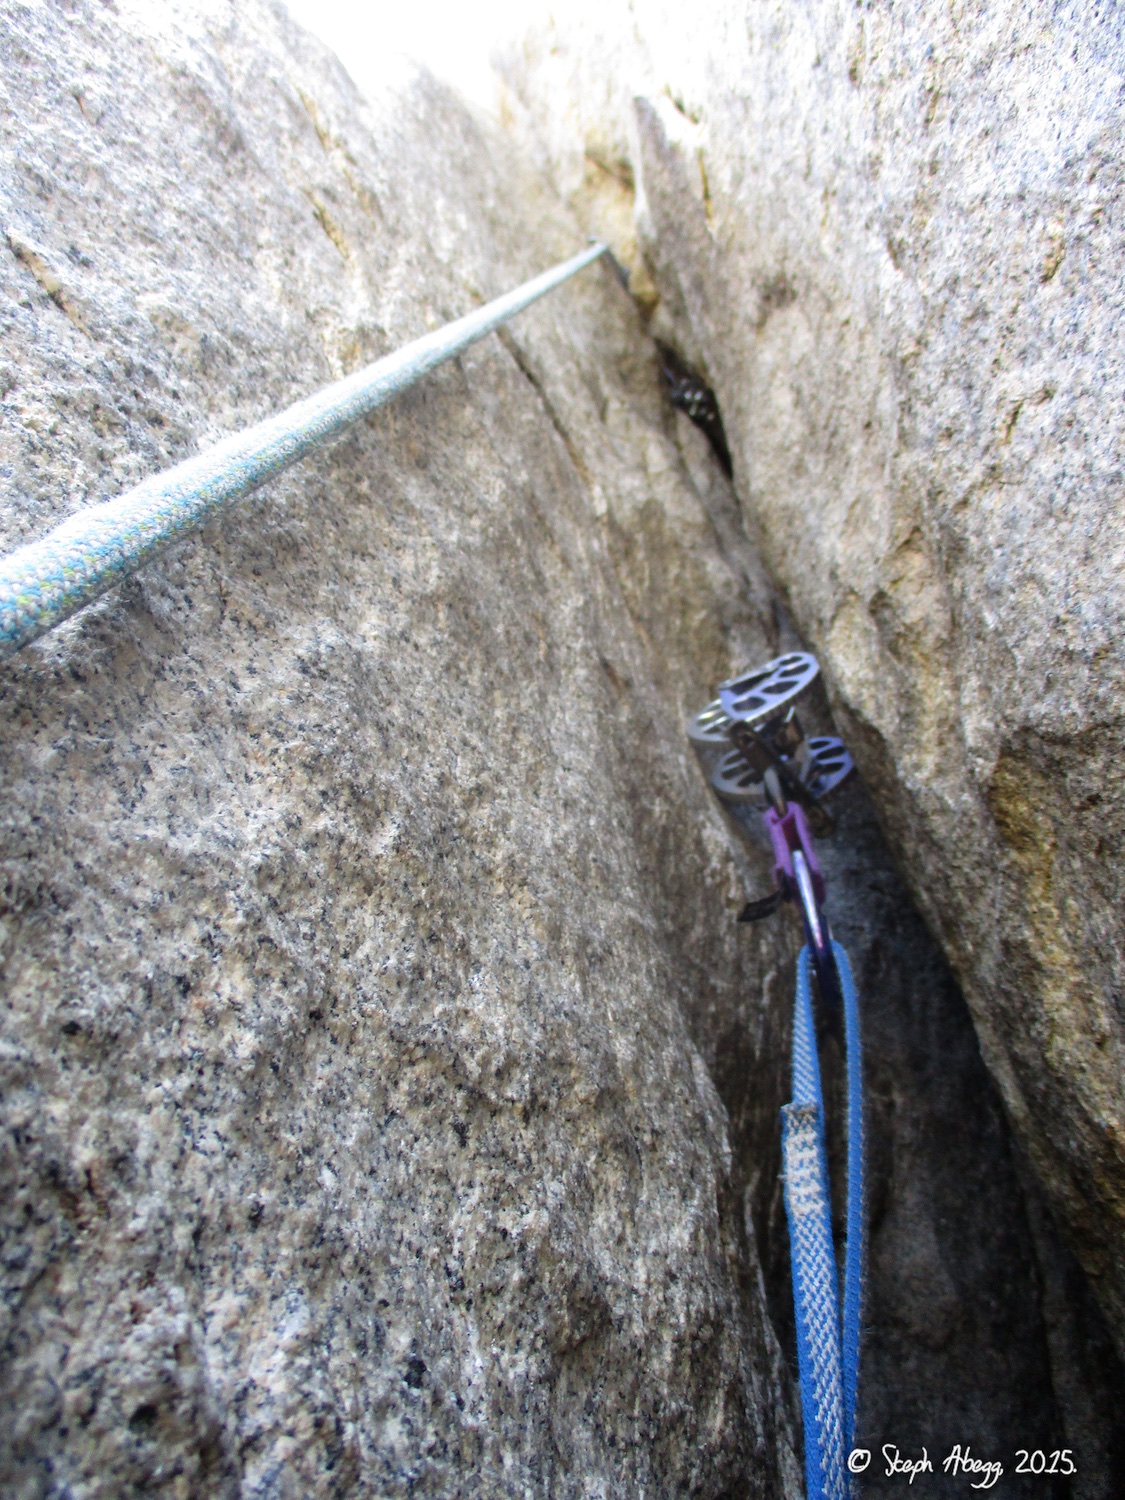
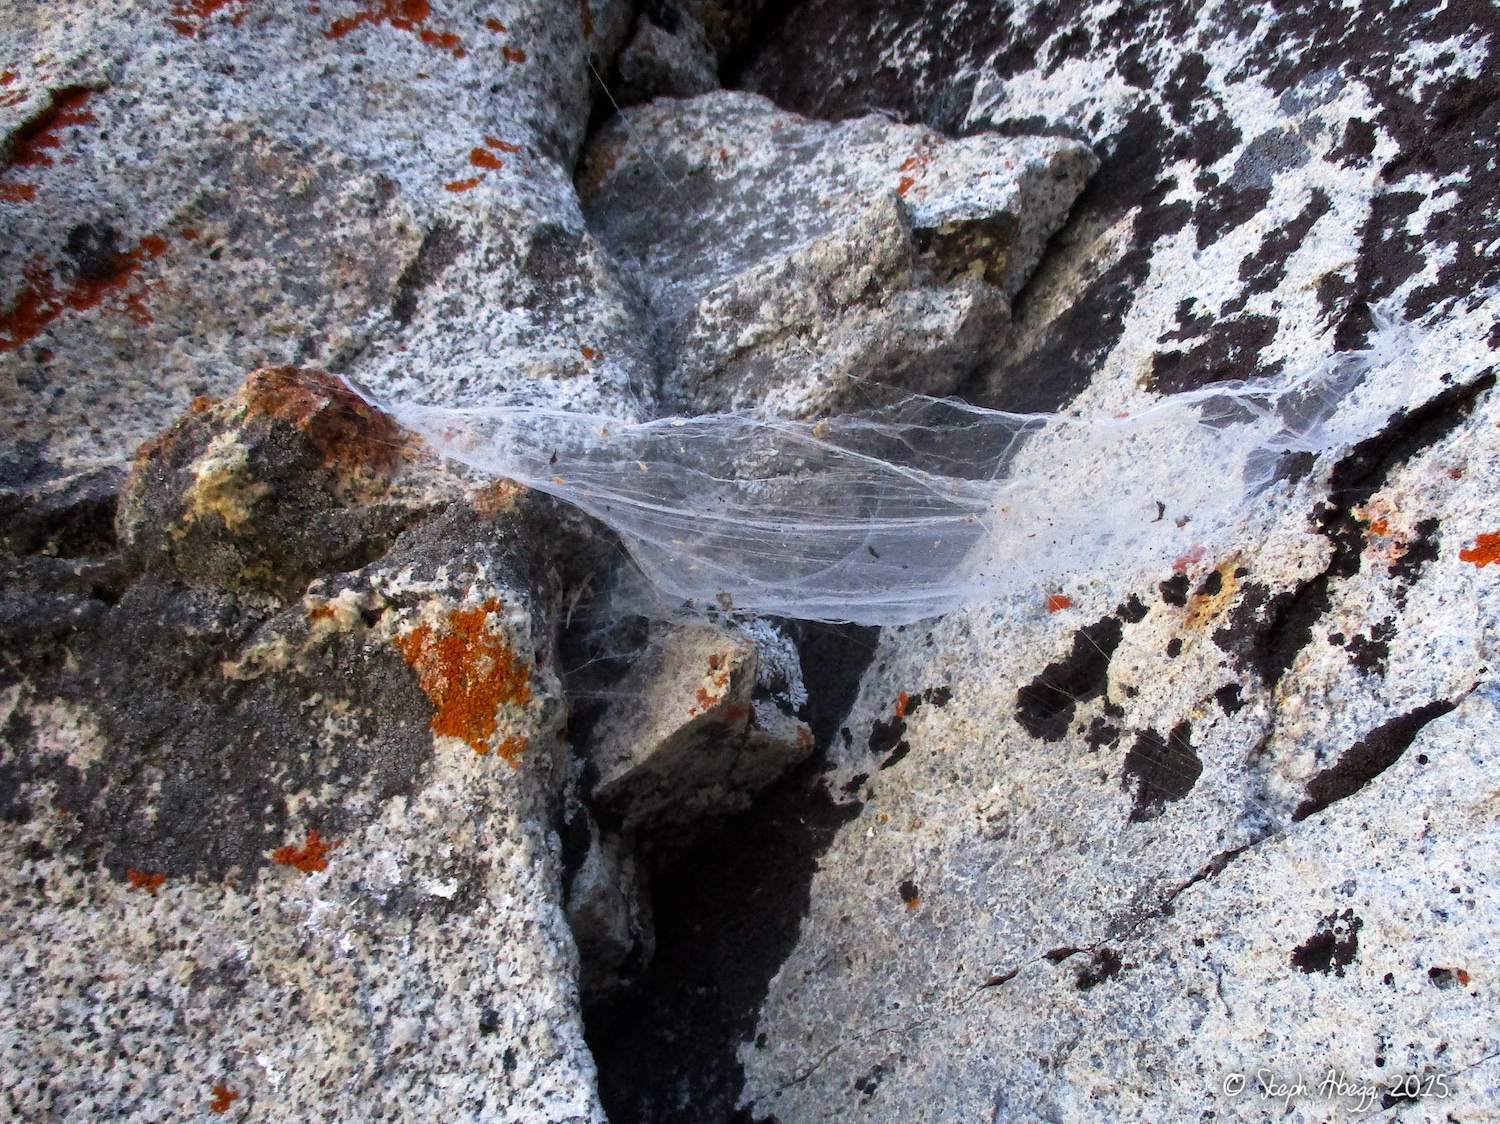
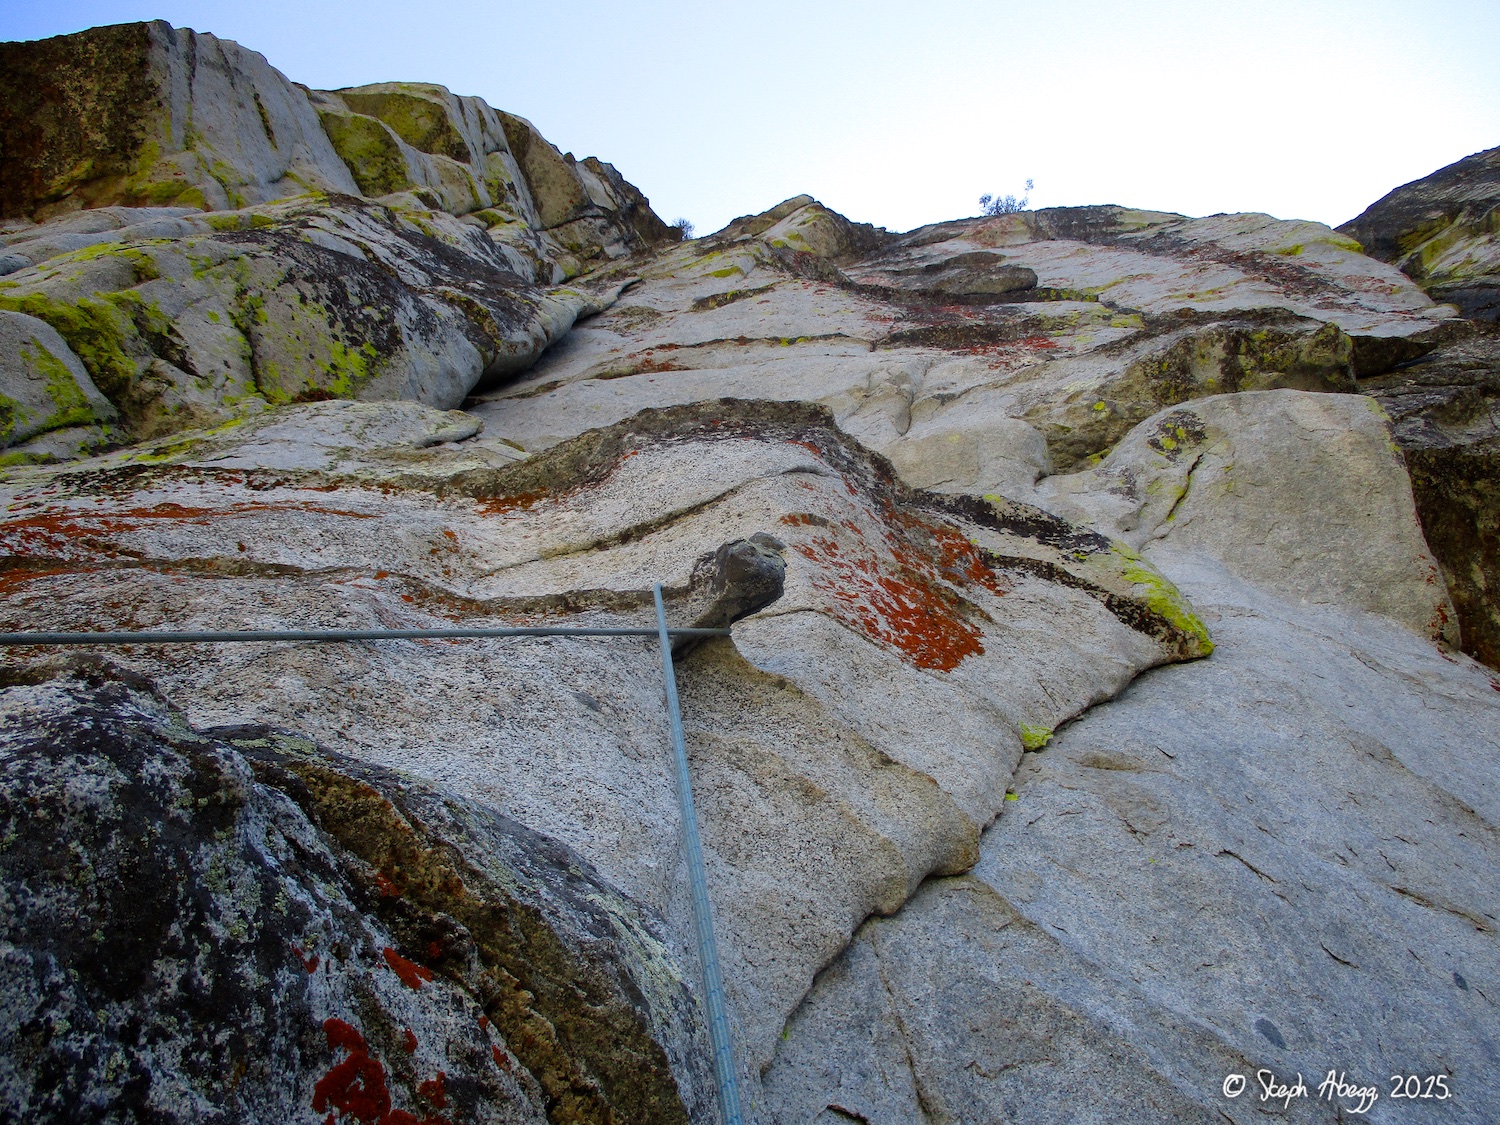
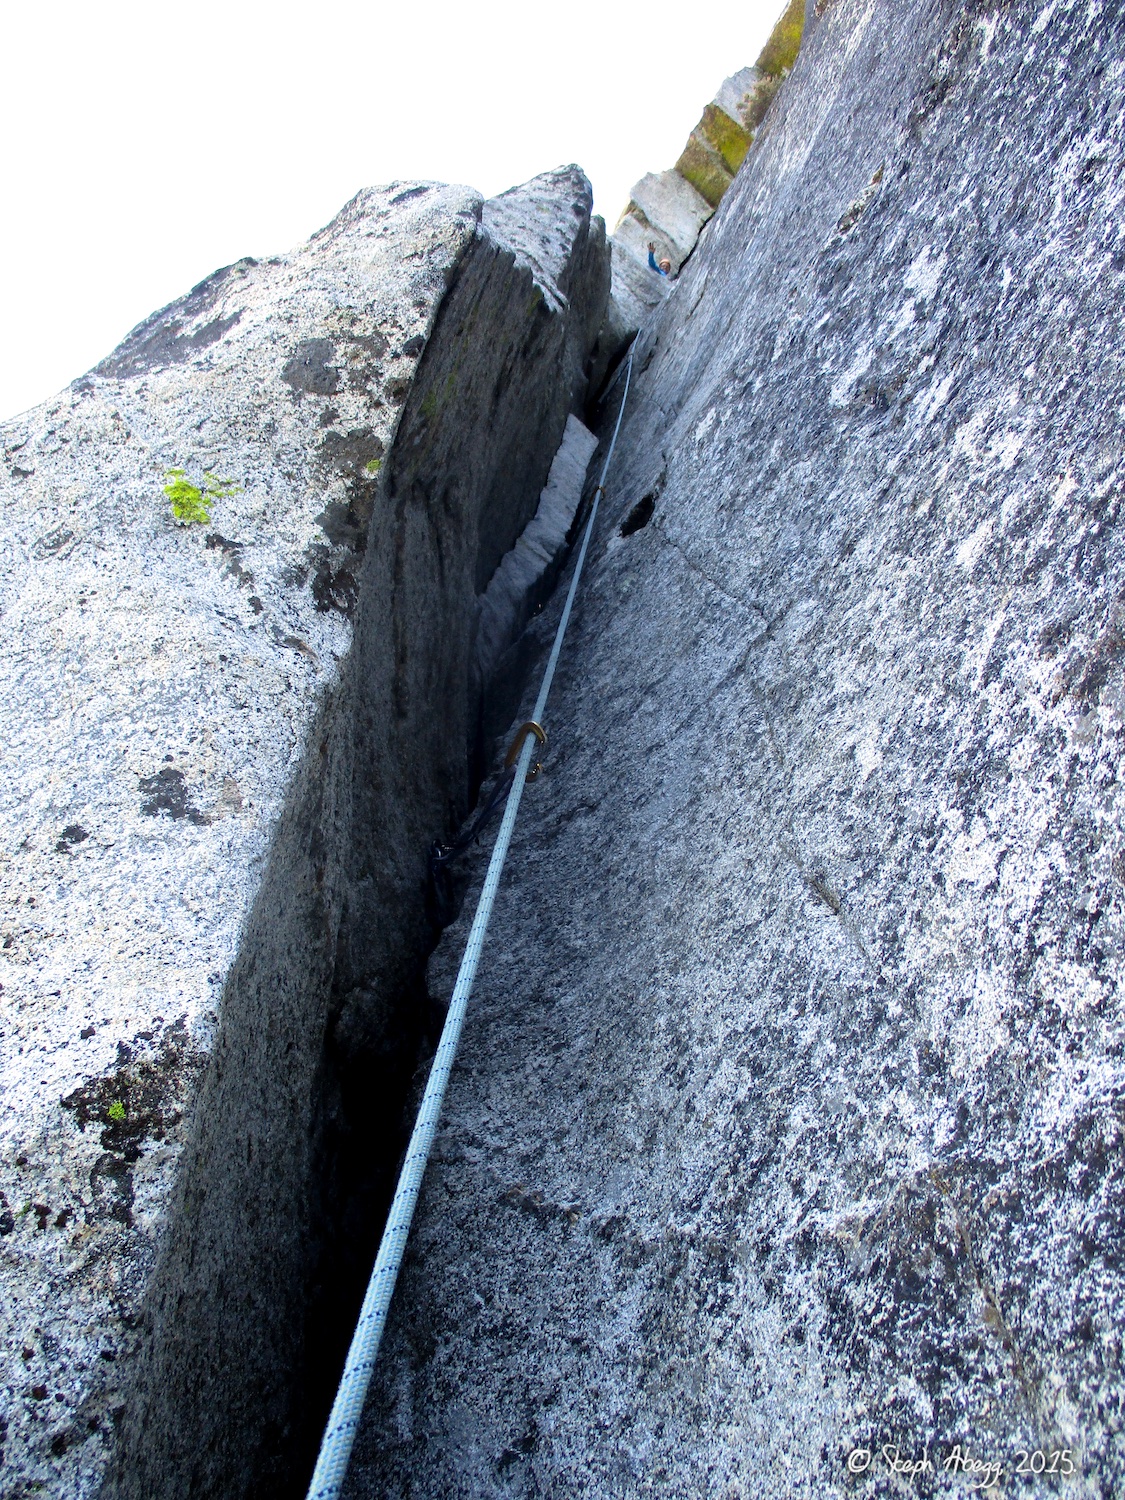
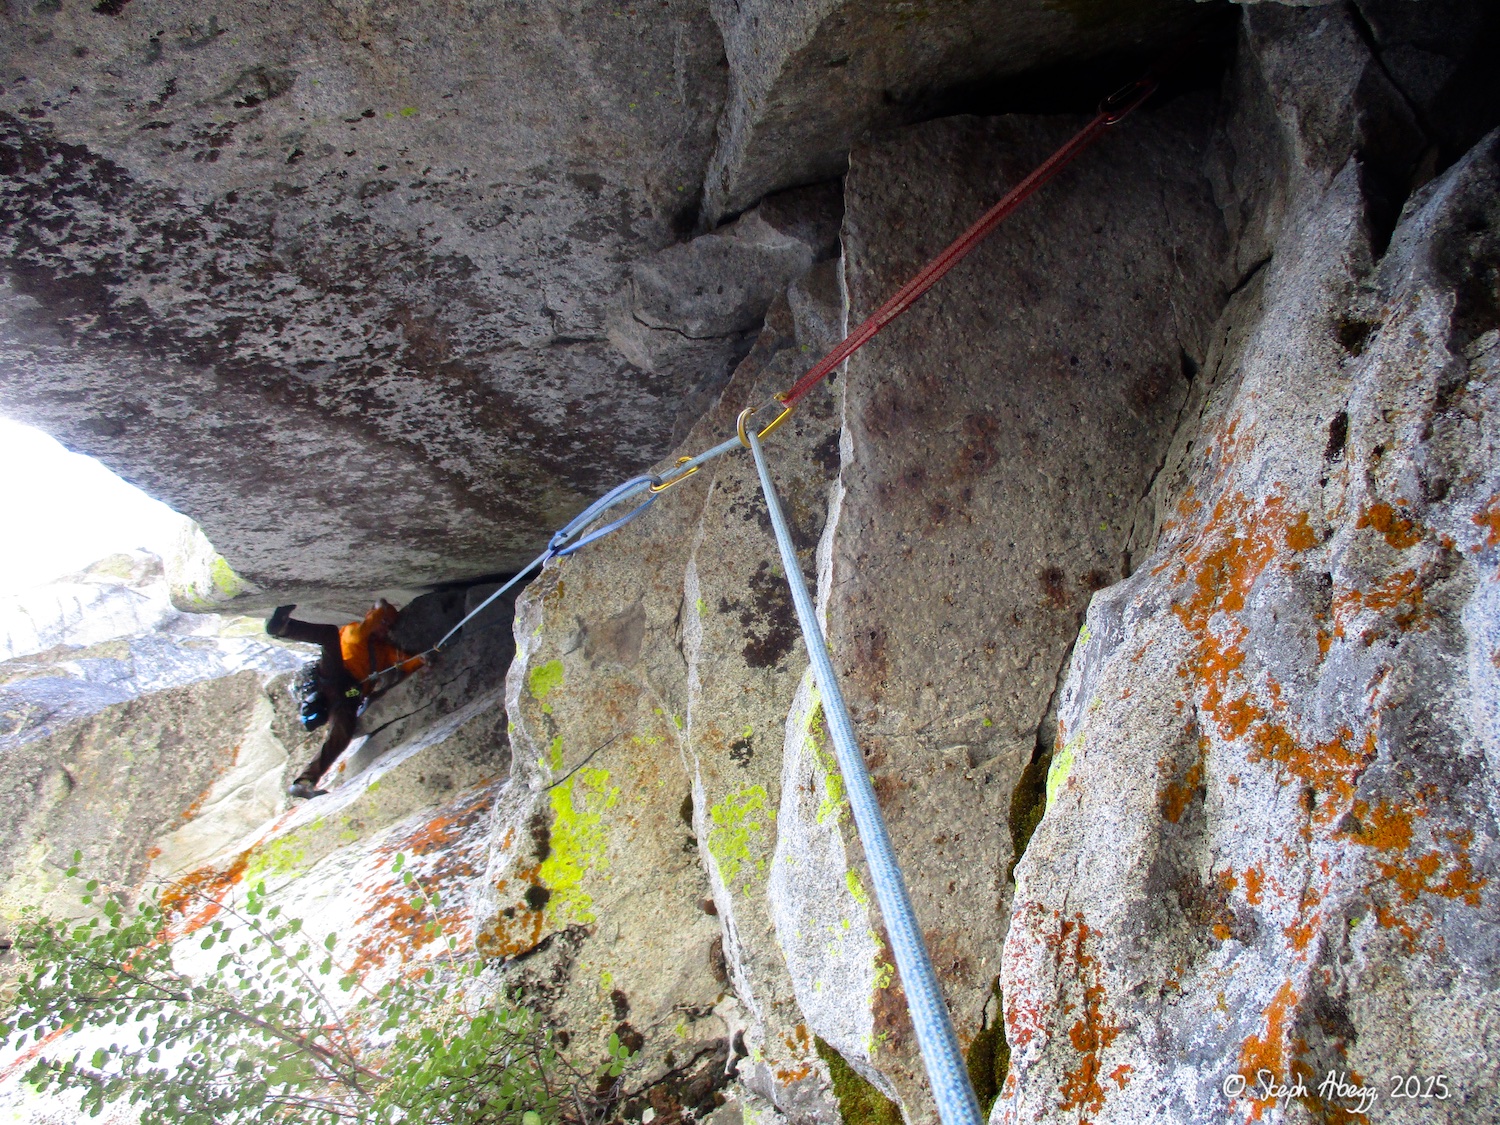
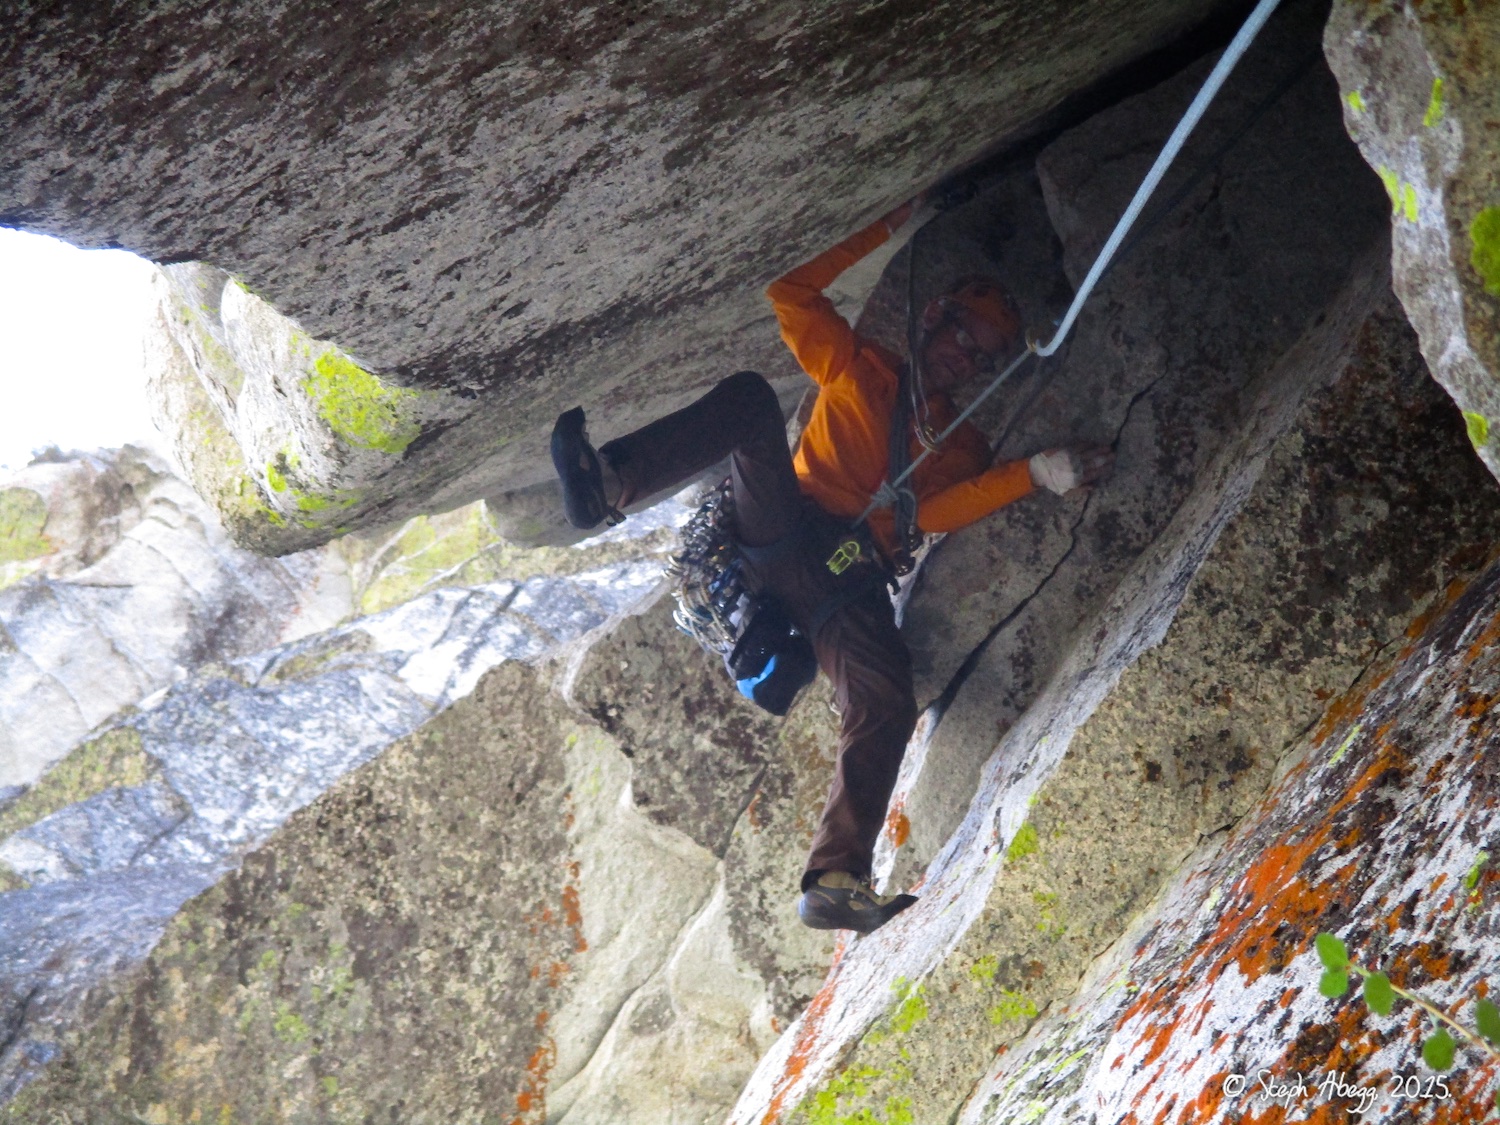
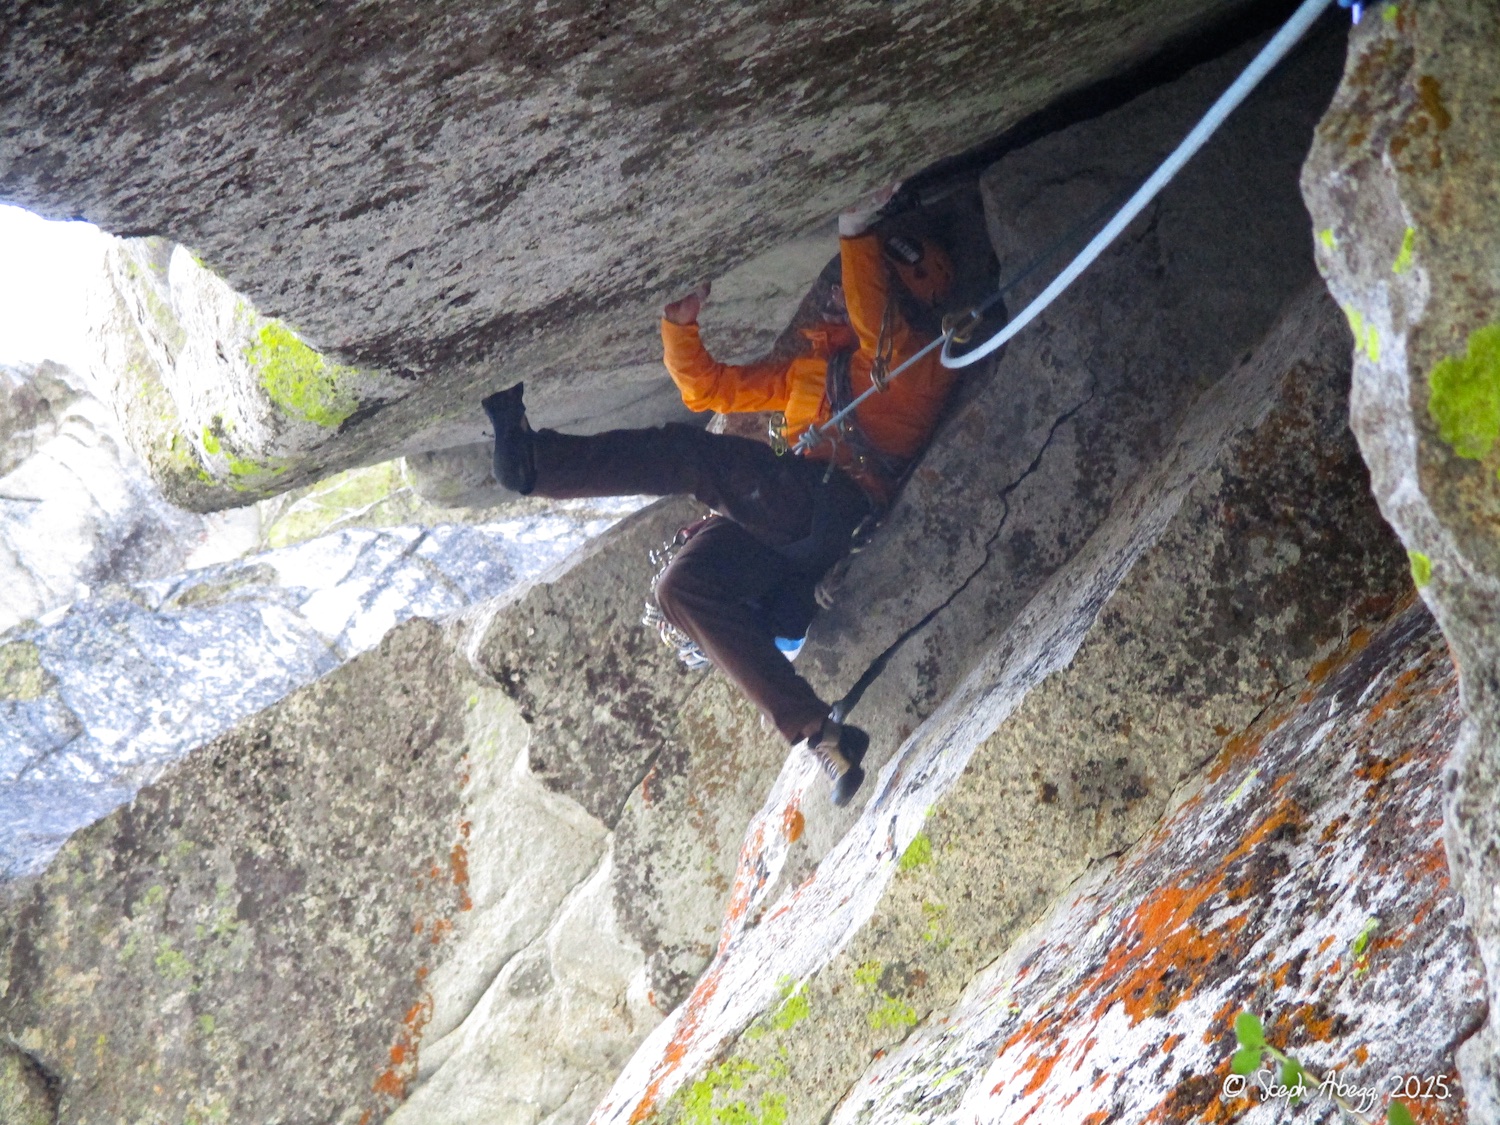
5. There were lots of cobwebs and dirt and lichen on the route, especially the first pitch. The route had just opened (the previous day I think) after its annual peregrine falcon closure so we were probably the first party of the season to climb it. 6. A peregrine feather on the ledge at the top of Pitch 1. We did not see any peregrines still nesting on the route but we saw evidence that they had been there not too long before. 7. We lassoed the knob at the beginning of Pitch 2 for protection. Dow got it on his very first try. Once a cowboy, always a cowboy!
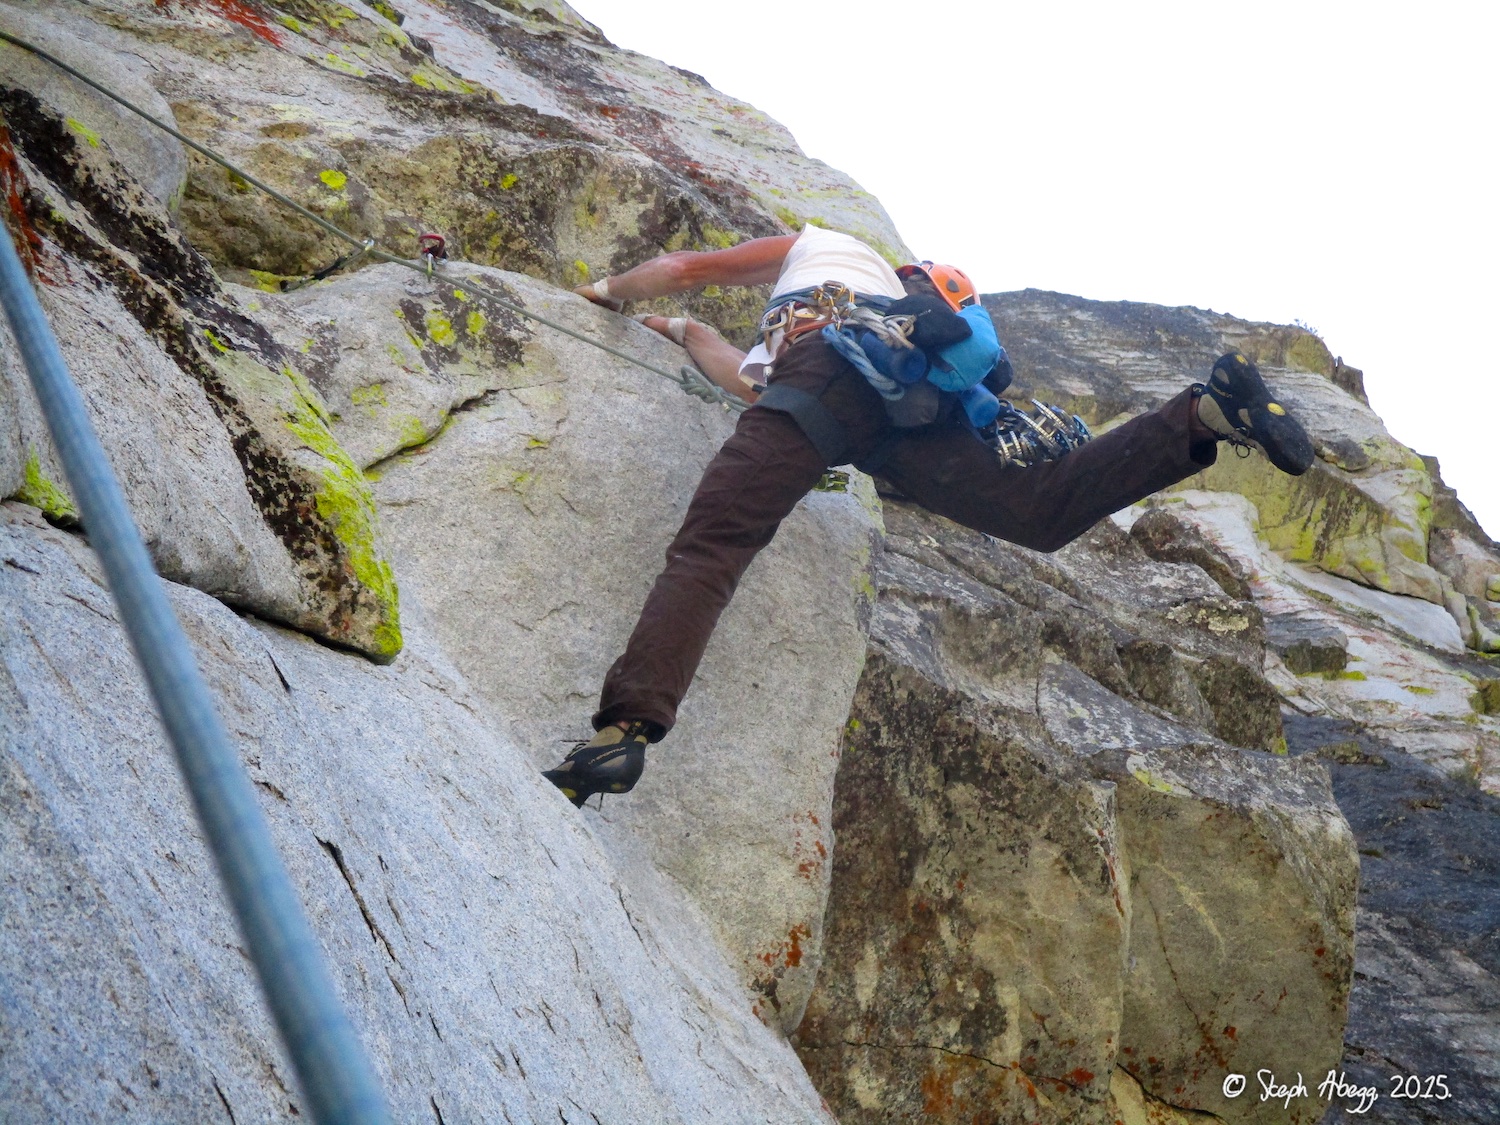
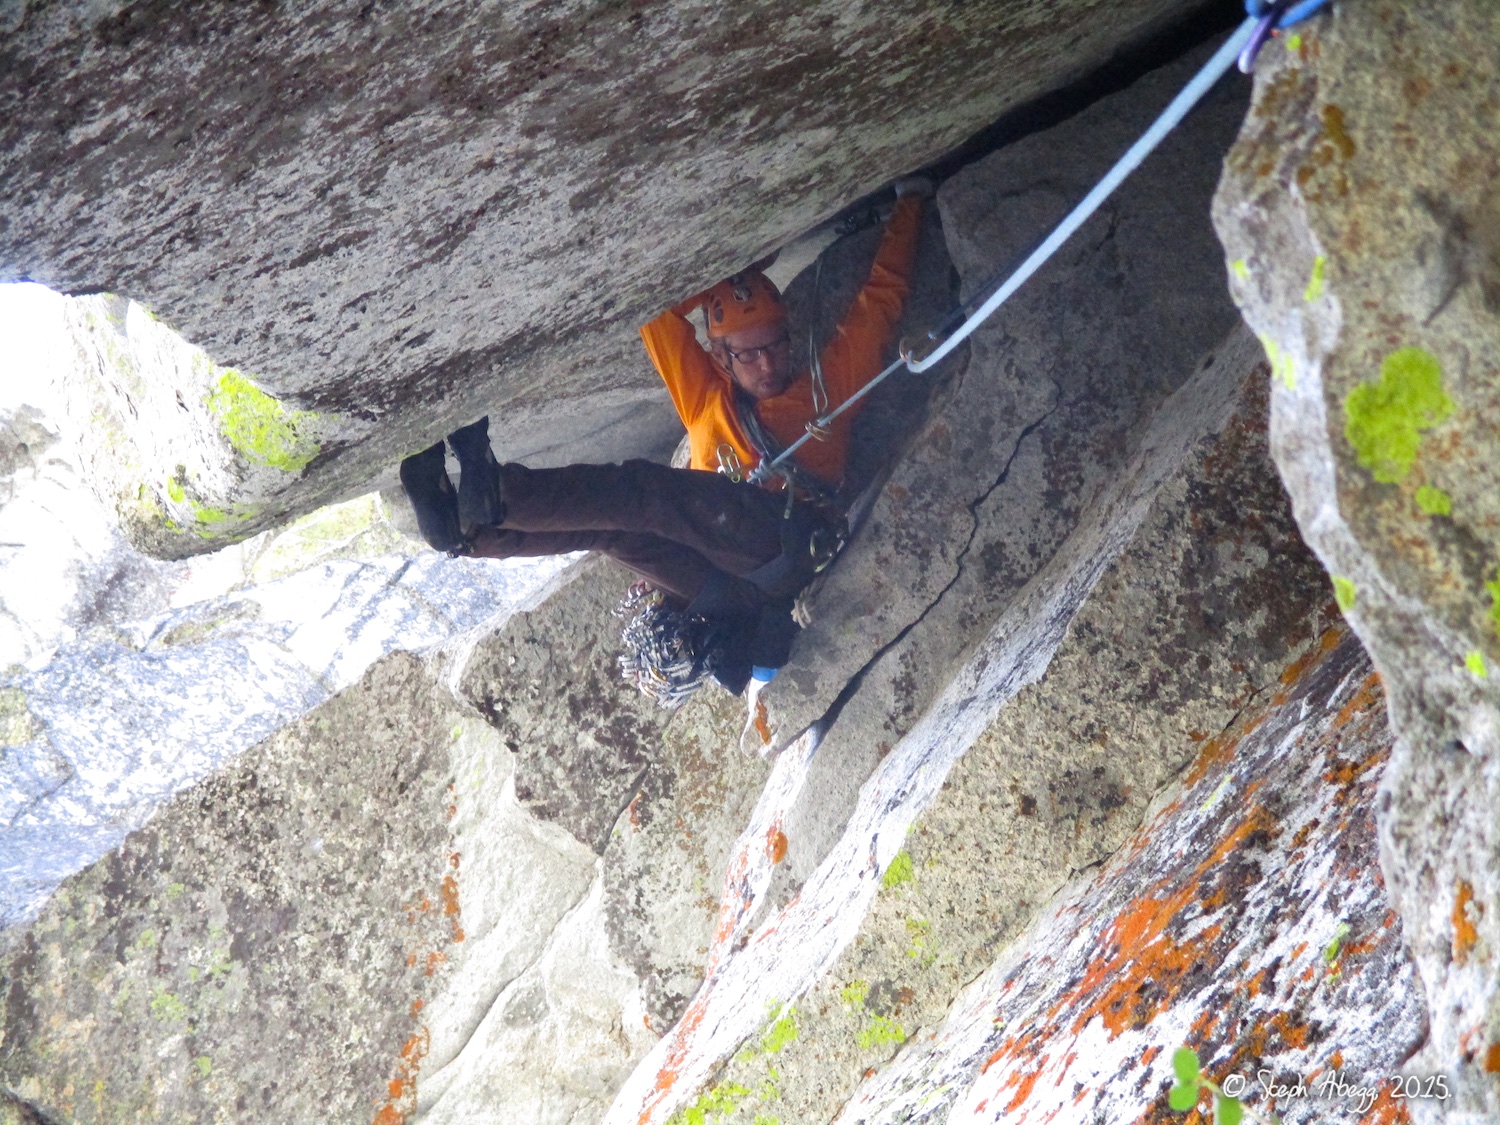
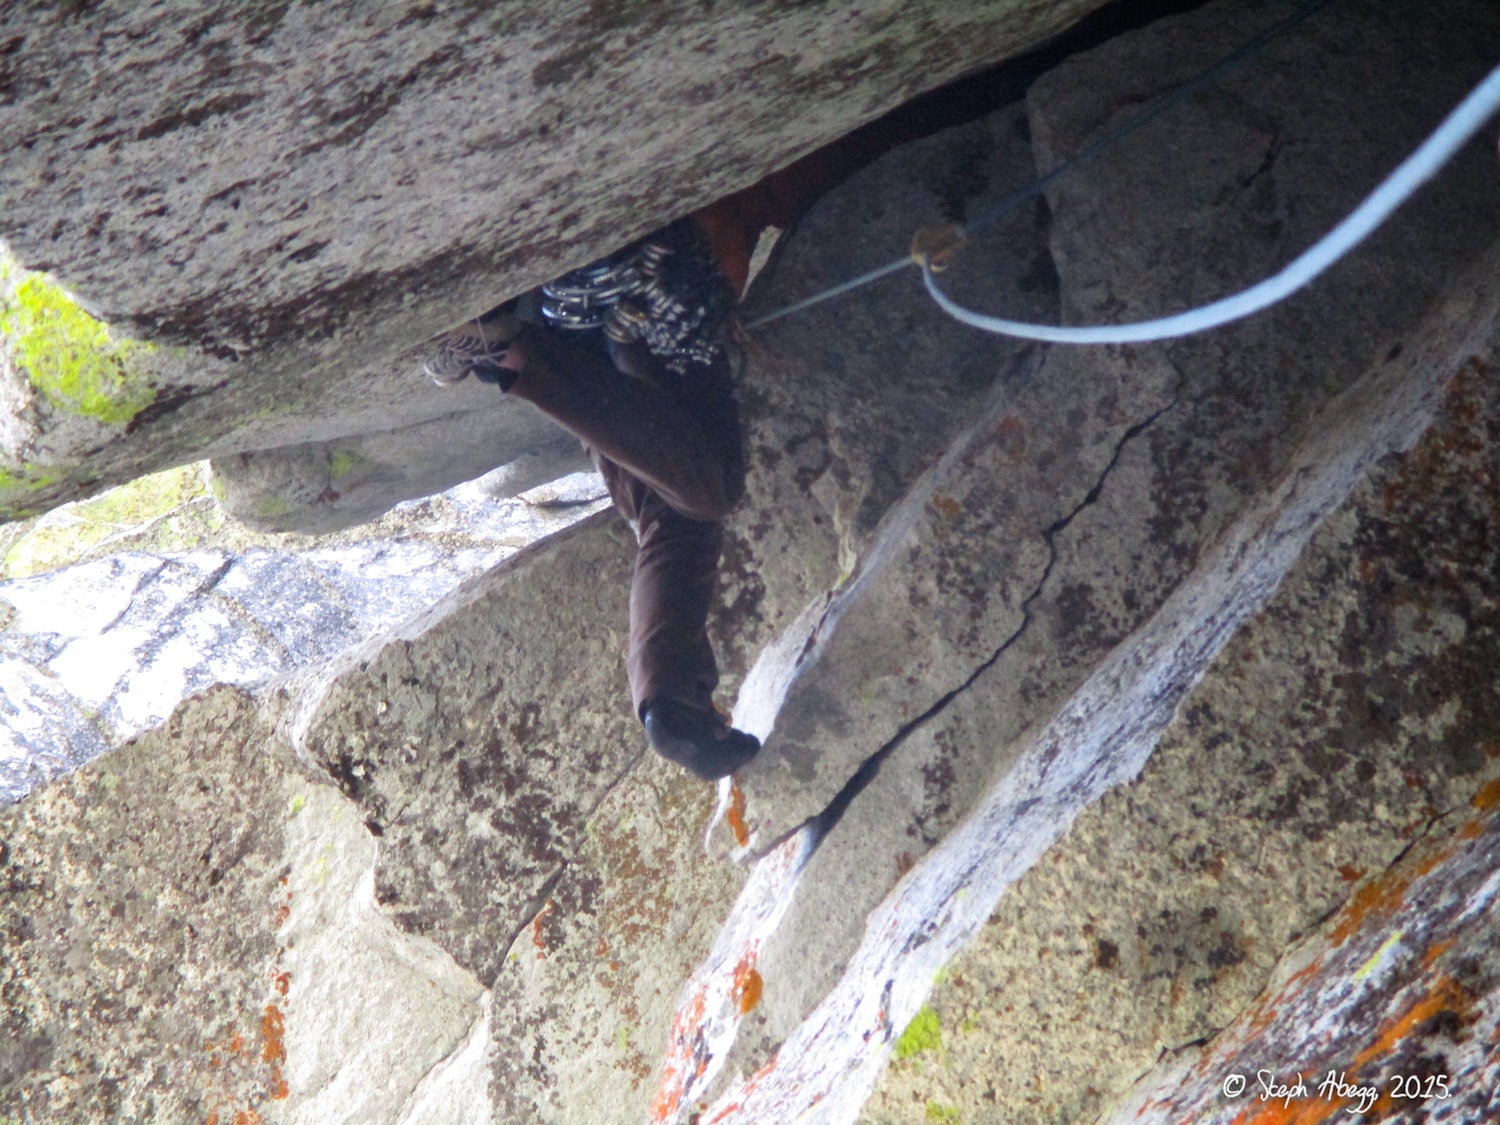
8. Looking up Pitch 2. The SuperTopo route beta for this pitch is as follows: "Climb up and right toward a knob...Make a 5.9 hand traverse right under a small roof, then climb sloping 5.9 dikes. Belay at an exposed stance with two bolts." We found the 5.9 move to the knob to be pretty awkward and tried a direct start right below the knob, which was pretty hard. The "5.9 hand traverse" is at the lip of dike ("small roof") in the photo. This pitch is short (40 feet), but I wouldn't advise linking with the next pitch due to rope drag. Also, this pitch is challenging and though-provoking enough that it definitely feels like it stands on its own as a pitch. 9. We found the SuperTopo route beta "5.9 hand traverse under a small roof" to be a tad misleading. As I mentioned above, this hand traverse is at the lip of dike. But we mistook where Dow is in this photo for the hand traverse under a roof. Instead, we should have gone straight up from the left side of this roof onto the "5.9 sloping dikes." There is a piton here to clip. Basically just go up from the piton, not right like we did. Anyway, Dow did go the way shown in the photo way but it was hard (probably 5.10+, no good feet, very dynamic) and we both resorted to stepping in a sling. Nice lead Dow. 10. There are nice bolts anchors at the ledge at the top of Pitches 1 and 2. There is also a bolted station about a rope length down, so you could rappel from here and make it to the ground in two rappels.
11. Dow leading off Pitch 3. This was pretty good climbing, and felt more 5.9 than 5.10a (SuperTopo has it as 10a, MountainProject has it as 5.9). 12. Looking up Pitch 3 from directly below the crack system. 13. Pitches 4 and 5 are easy and can be linked if you don't set too much gear on Pitch 4 which weaves around a lot. Pitch 4 is mostly 3rd-4th and Pitch 5 is mostly 4th. I didn't really find the low 5th class moves shown on the topo for Pitch 5. Although the rope was annoying on these pitches, the rock was a bit dirty so it was nice to have the rope for safety.
NOTE 1: This route is closed for peregrine nesting during the summer. I'm not sure of the exact date window but I would imagine that signs are posted at the campground and on the trail during closures. NOTE 2: We found the route description a tad ambiguous for Pitch 2. Make sure you correctly identify the features on Pitch 2. See the photos and descriptions above.
Photos
Photo descriptions
1.
2.
3.
4.
5.
6.
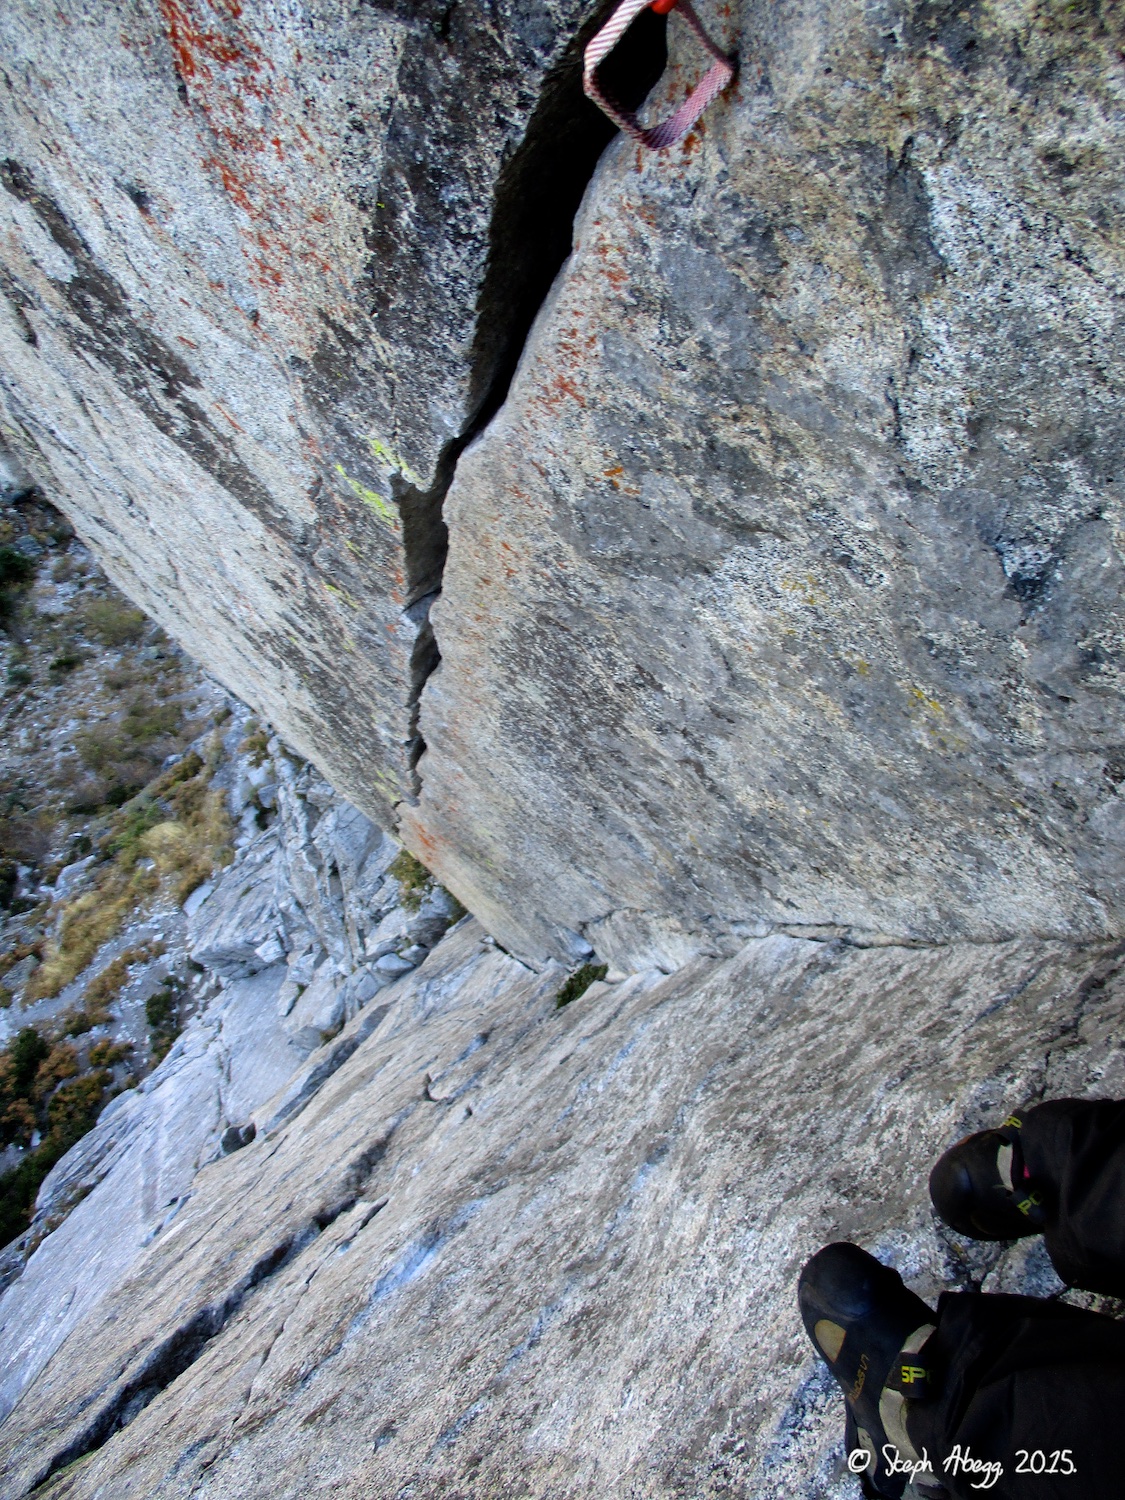
1. Hospital Corner, a Leap classic.
2. Looking up Pitch 1. Fun 5.8 climbing. 3. Dow leading Pitch 2. This is the money pitch of the route for sure.
4. Taken while climbing Pitch 2, looking up. 5. Taken while climbing Pitch 2, looking down.
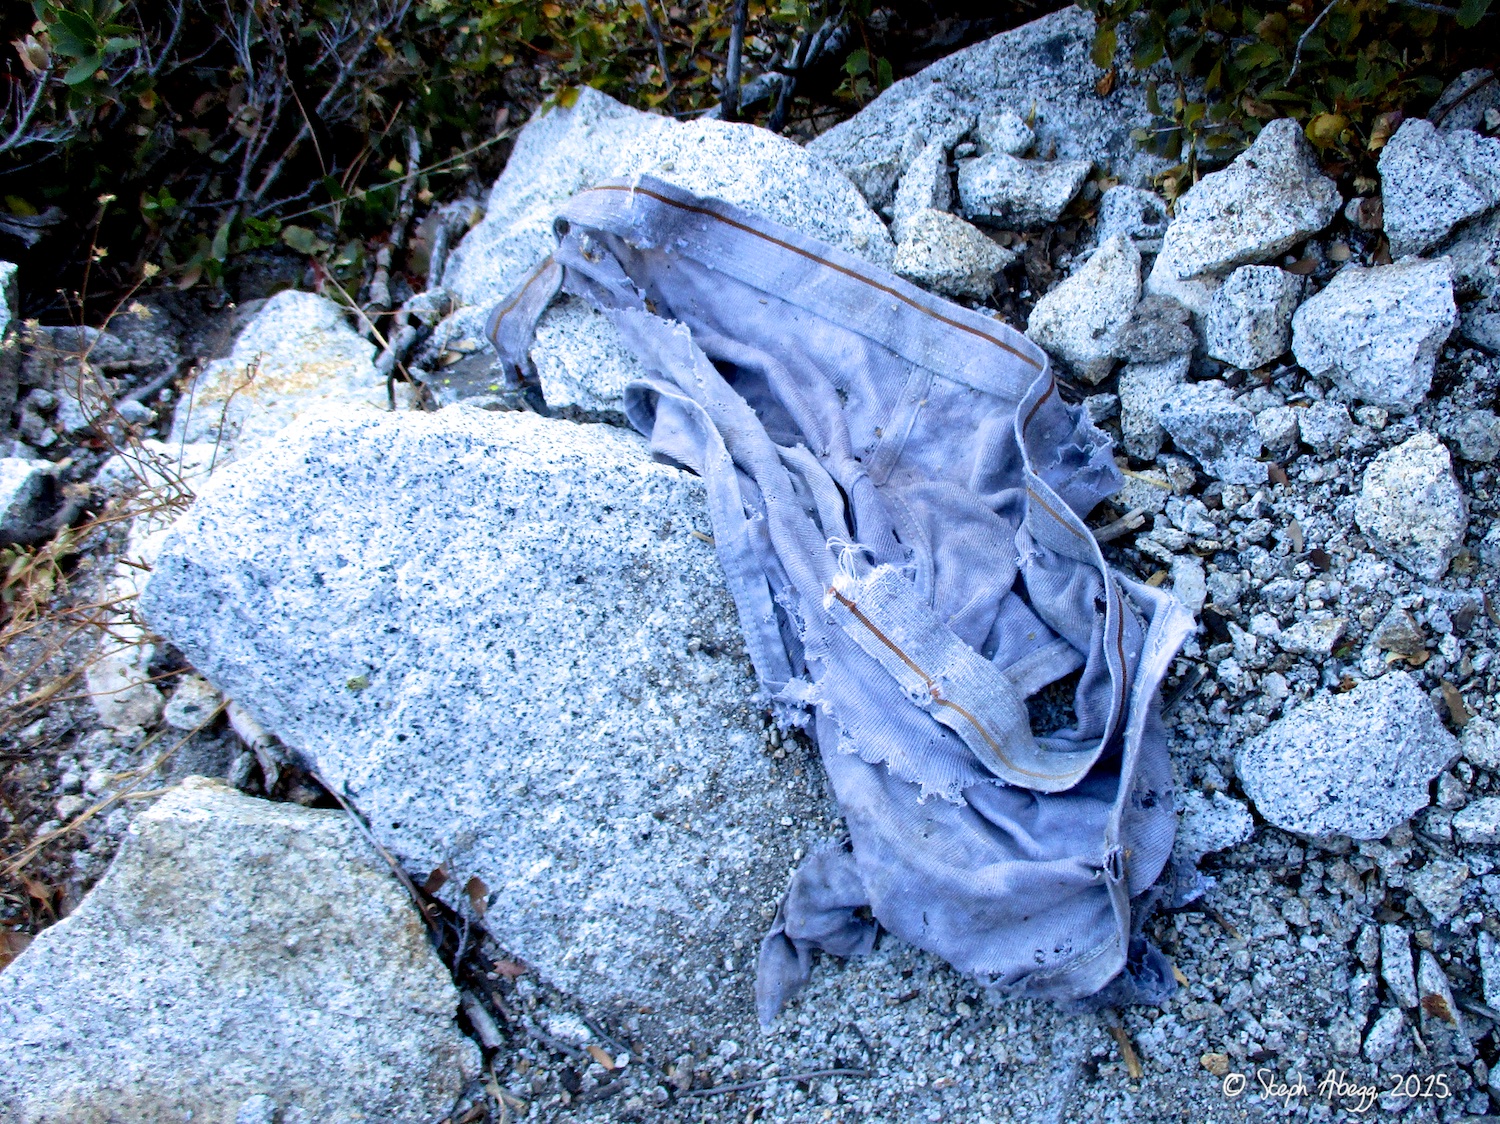
6. Someone lost their underwear.... NOTE 1: Route beta we had read suggested a double rack to #3 and perhaps even a couple of extra large pieces. However, we felt you could safely protect this route with nothing bigger than a #1. So you can triple up on smaller stuff and climb with a lighter rack if you wish. NOTE 2: Who brings an extra pair of underwear to a crag?
then move the packs a couple of hundred feet to the right to
Photos
Photo descriptions
1.
2.
3.
4.
5.
6.
7.
8.
9.
10.
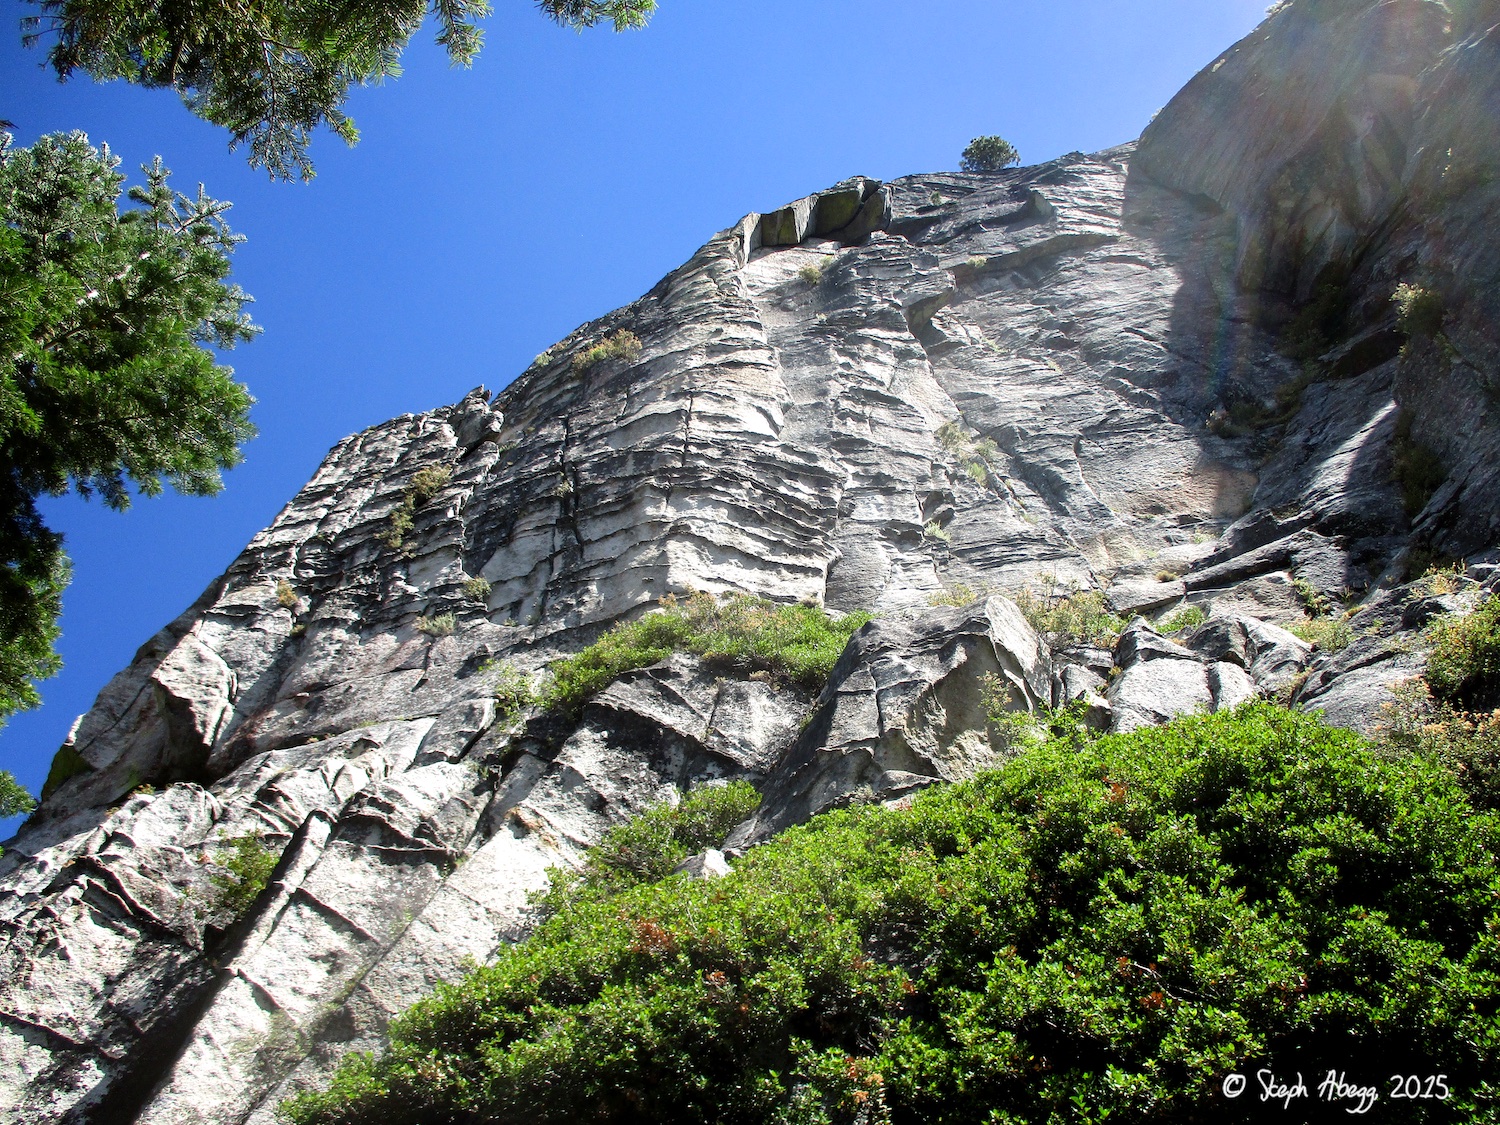
1. We figured that a good follow-up to Hospital Corner would be Vanishing Point, a short 5-minute jaunt to the right side of West Wall. Vanishing Point climbs the fin/chimney/offwidth in the center of the photo. In this photo you can see as far as the roof on Pitch 2.
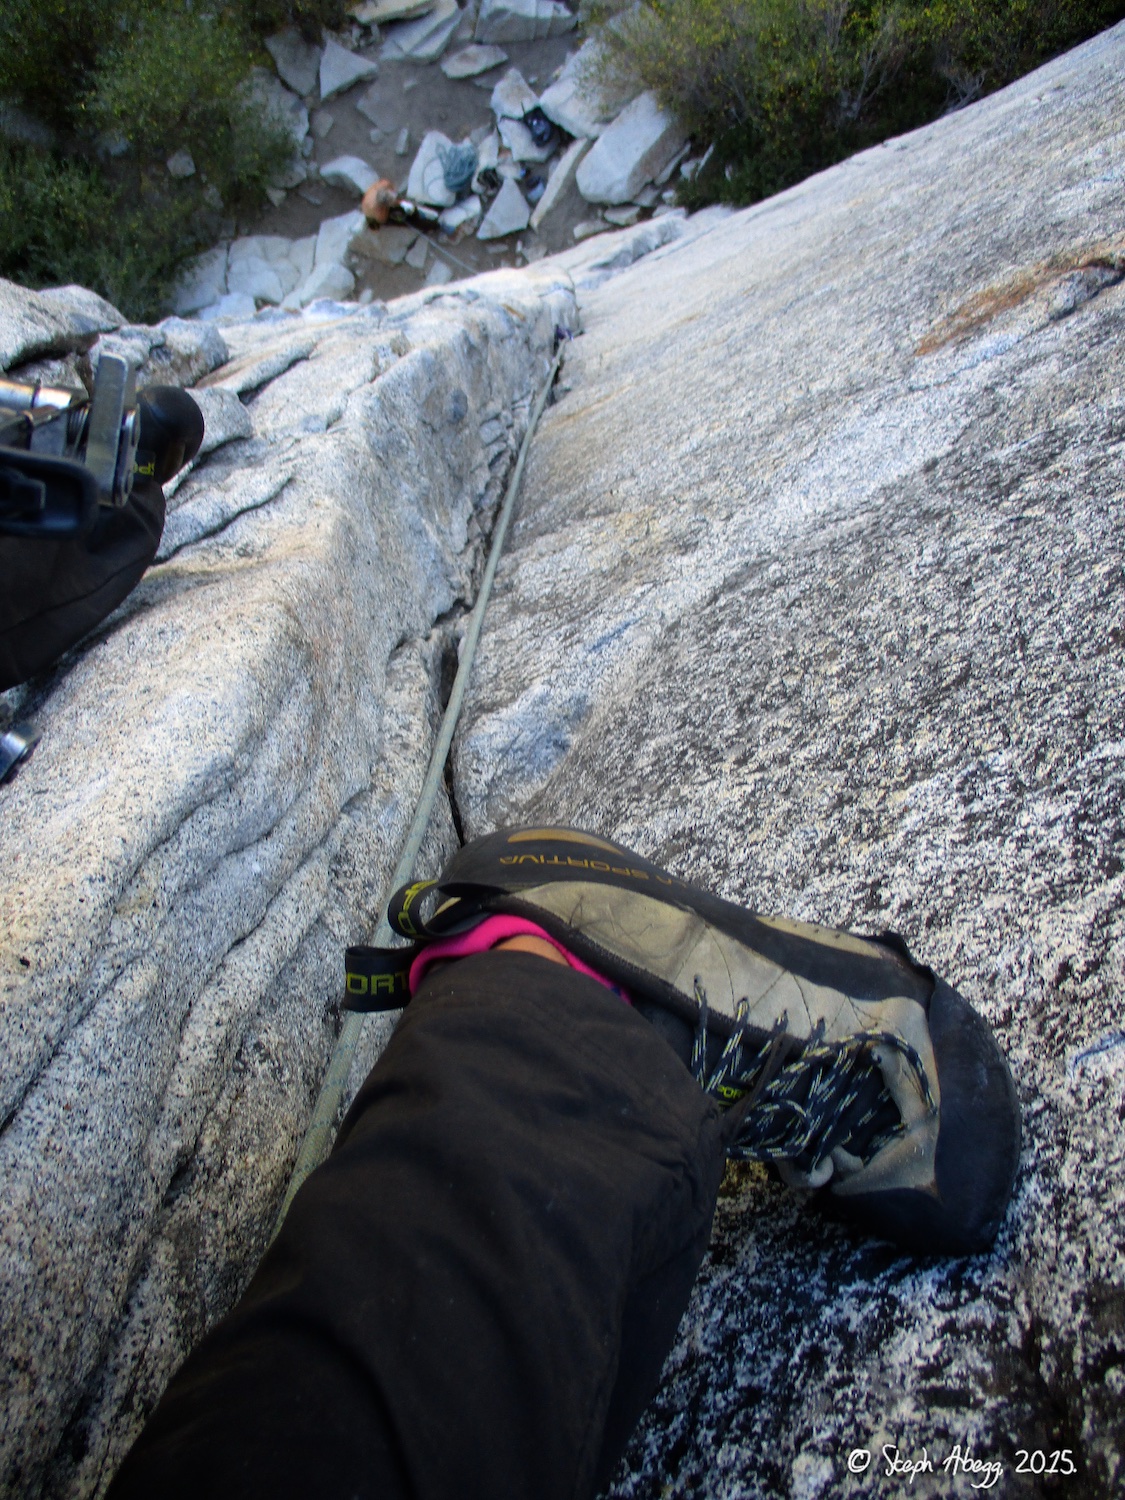
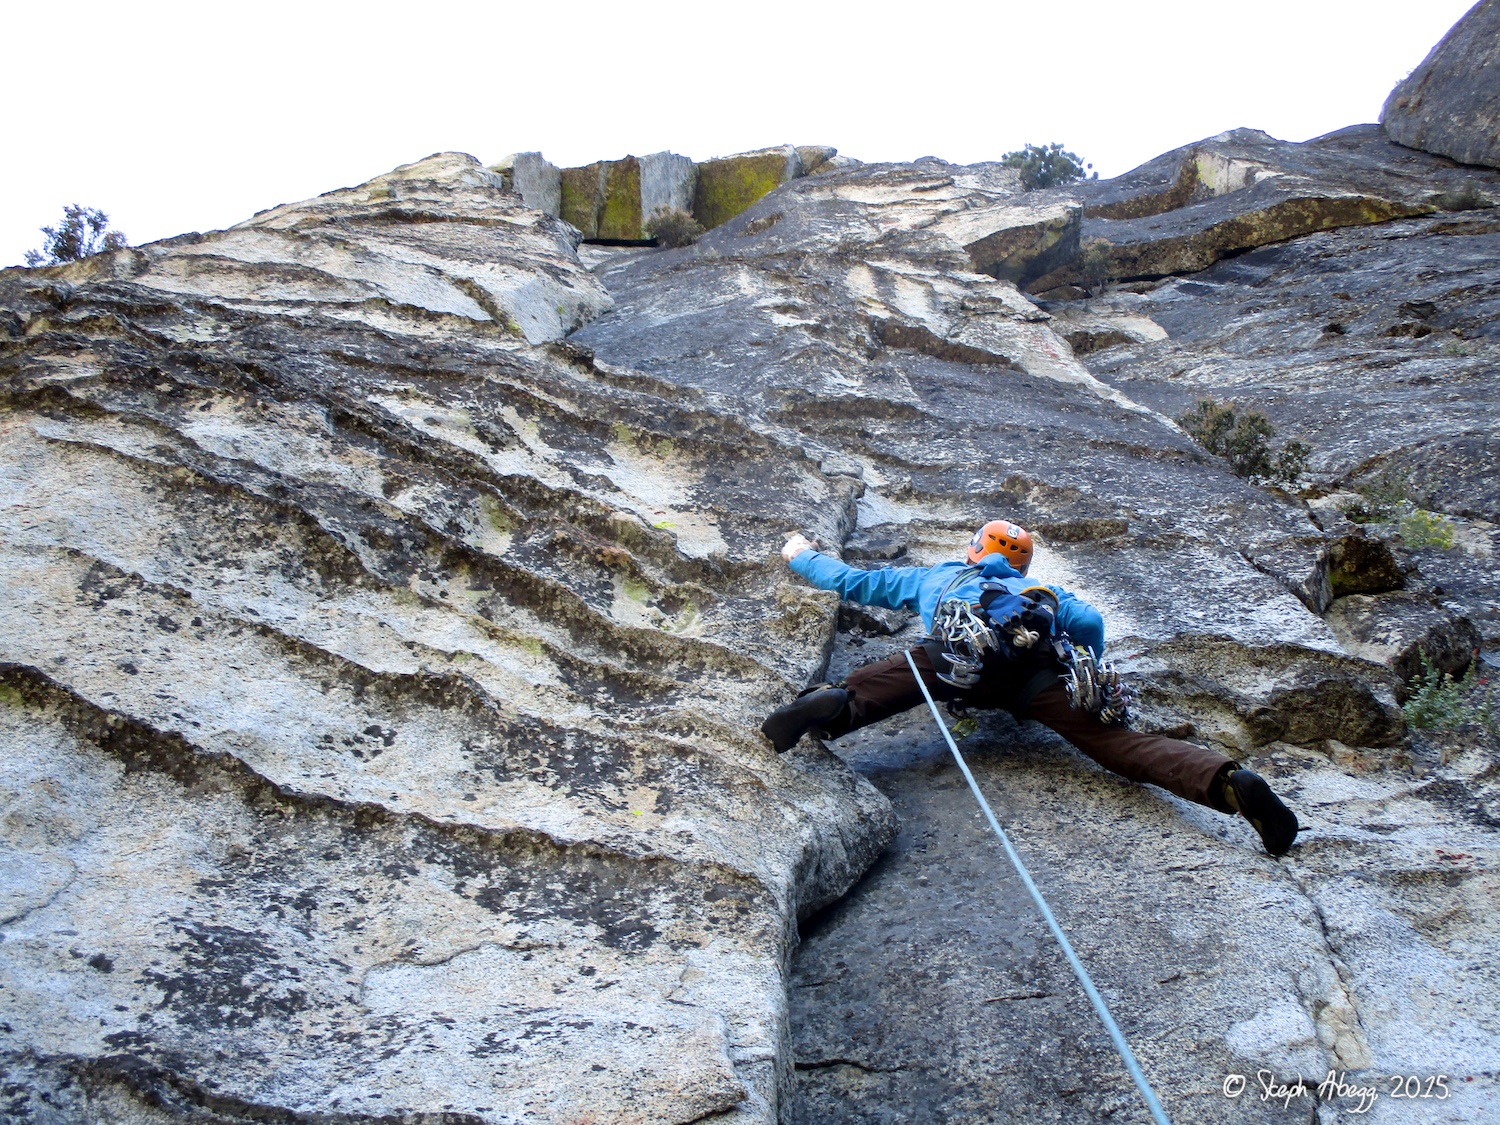
2. Dow leading off Pitch 1. We both started in the crack in the corner and both ended up climbing the dikes on the face until the ledge. Either way would work. 3. Looking up Pitch 1 from the ledge above the dikes. Chimney and then offwidth.
4. Looking down the chimney of Pitch 1. Fun stuff. 5. Looking down the #4-sized offwidth section at the top of Pitch 1. It was nice to have 3 #4's for this pitch.
6. The bolted belay station at the top of Pitch 1. You can rappel from here with a single 70m rope (but a 60m rope would not quite make it). 7. Dow leading up Pitch 2, which starts with a #4-sized offwidth and then does a wild move left around the roof. It was nice to have 3 #4s's for this pitch as well.
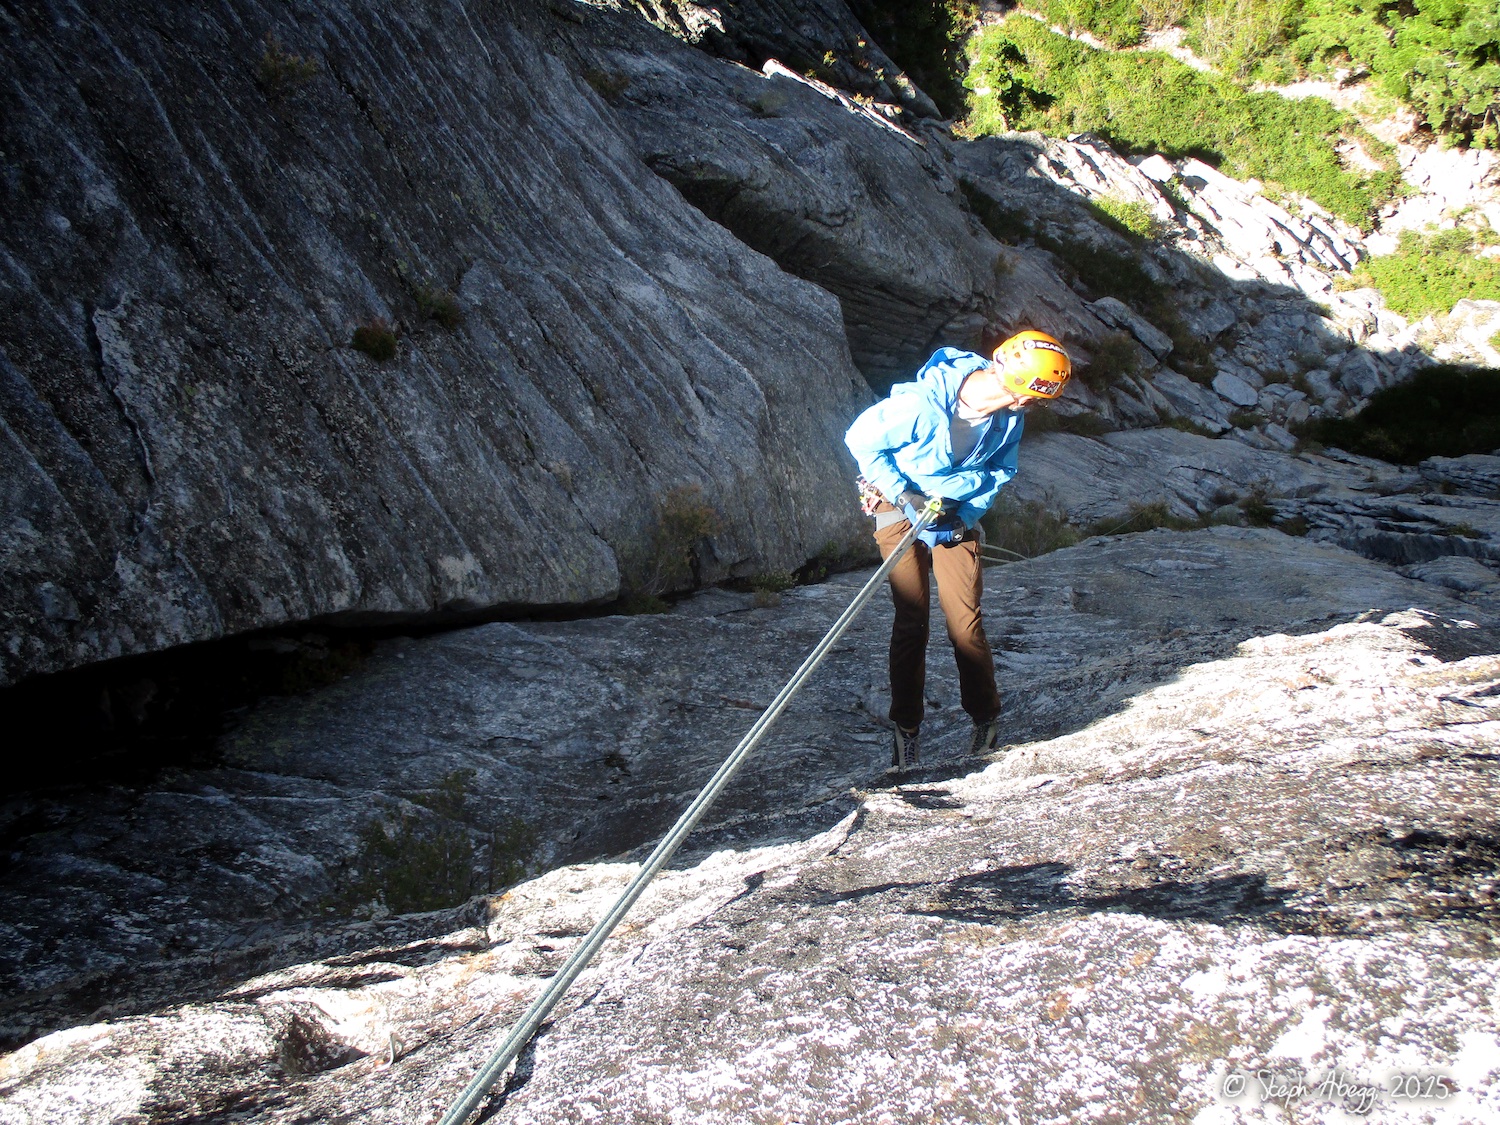
8. Dow pulling the wild move at the roof. Spoiler alert: There is a pretty good hold just past the corner, or also a block at the corner (but this looks like it might pull out so it's not as comforting to use). 9. The view of the town of Strawberry from high on the West Wall. The town consists of a general store, lodge, and a pleasant street of residences. 10. We rappelled from the top of Pitch 2. You can continue but the first two pitches are the best pitches on the route (see NOTE). Plus, we didn't feel like doing the walk-off descent for a third day in a row....and making it a short 4-pitch day meant time to go explore South Lake Tahoe (~25 min away) and a bigger day the next day, right?...
NOTE 1: Apparently you can continue this route to the top of the West Wall and walk off. We climbed the first two pitches, which are excellent. However, above this the route didn't look overly captivating and was pretty grungy. NOTE 2: We rappelled from the top of Pitch 2 to climbers' right of the route; this involved three rappels with a 70m rope: (1) slings on a tree, (2) a bolted anchor, and (3) old slings on a horn. I also spotted some bolted stations to climbers' left of the route, so you might be able to get down that way too, and it might actually be better than the way we went. I do not know about rappel options if you continue the route upwards. Also, we had a 70m rope and I wouldn't recommend trying to rappel with a 60m rope. NOTE 3: Three #4's are nice to have for this route. You don't need anything larger and you also don't need much small gear (below #1) at all. Maybe a piece or two of smaller stuff, but certainly not doubles.
Photos
Photo descriptions
1.
2.
3.
4.
1. Tombstones at the base of the route. I suppose the route name comes from the fact that a climber would be terrified of landing on these. (In actual fact, these "tombstones" are far enough to the left of the route that you really are never in danger of falling on them.)
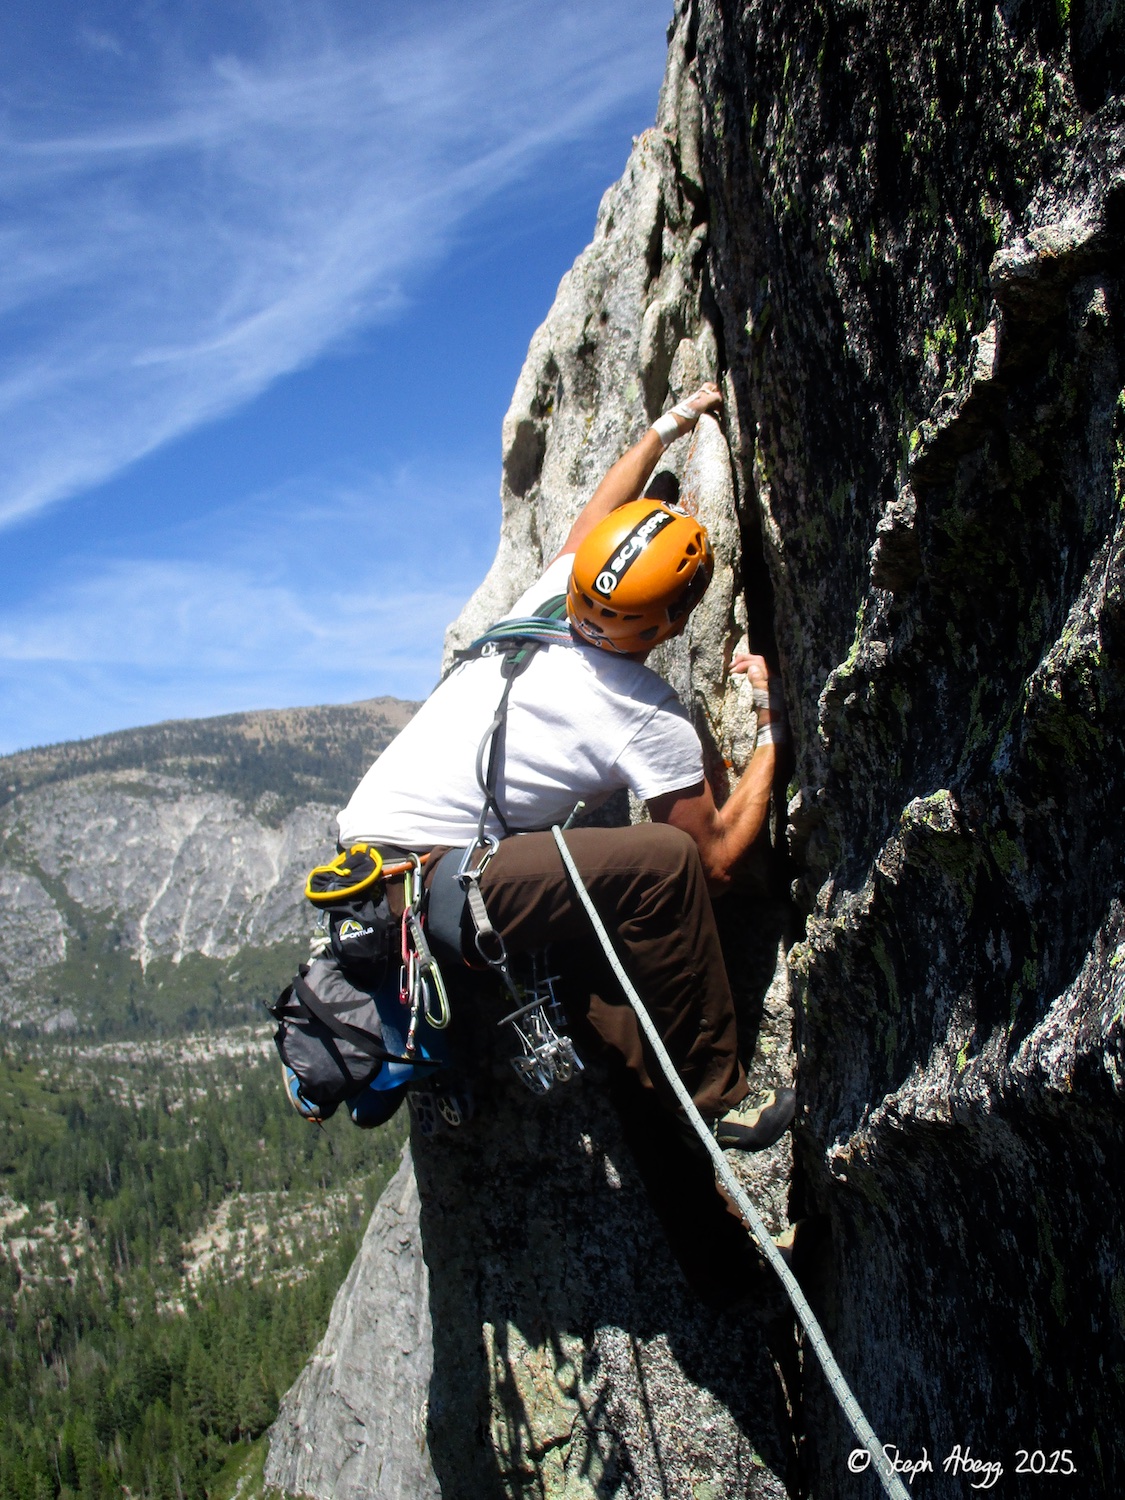
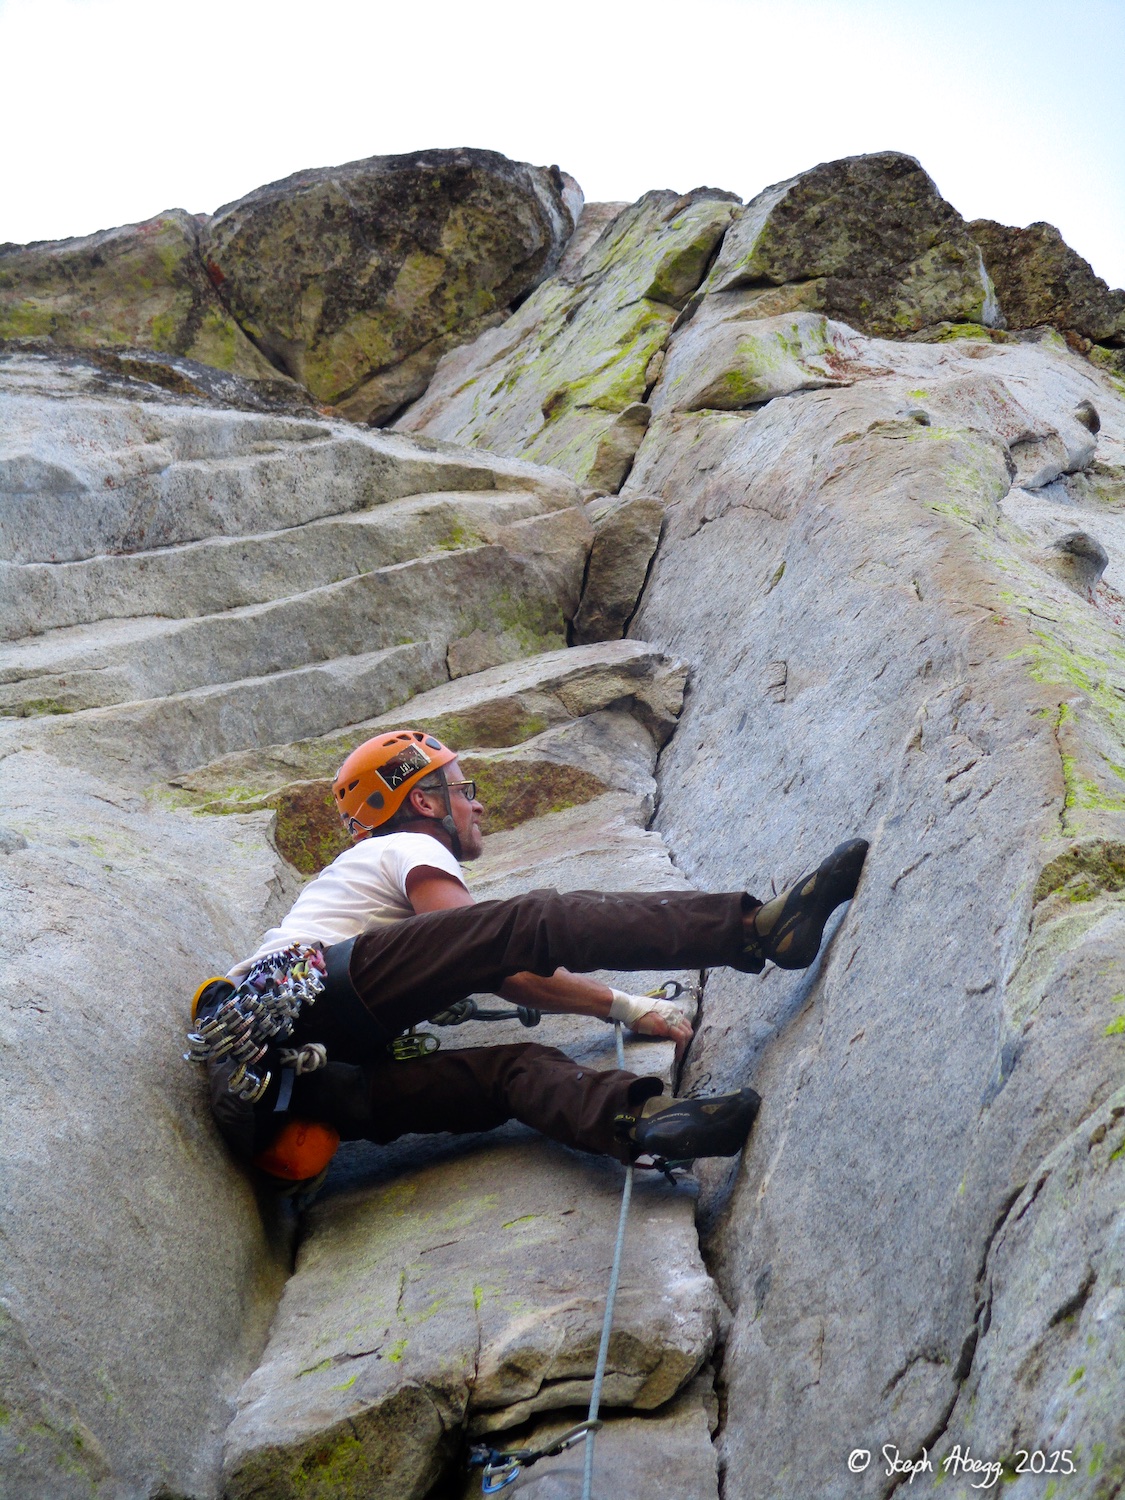
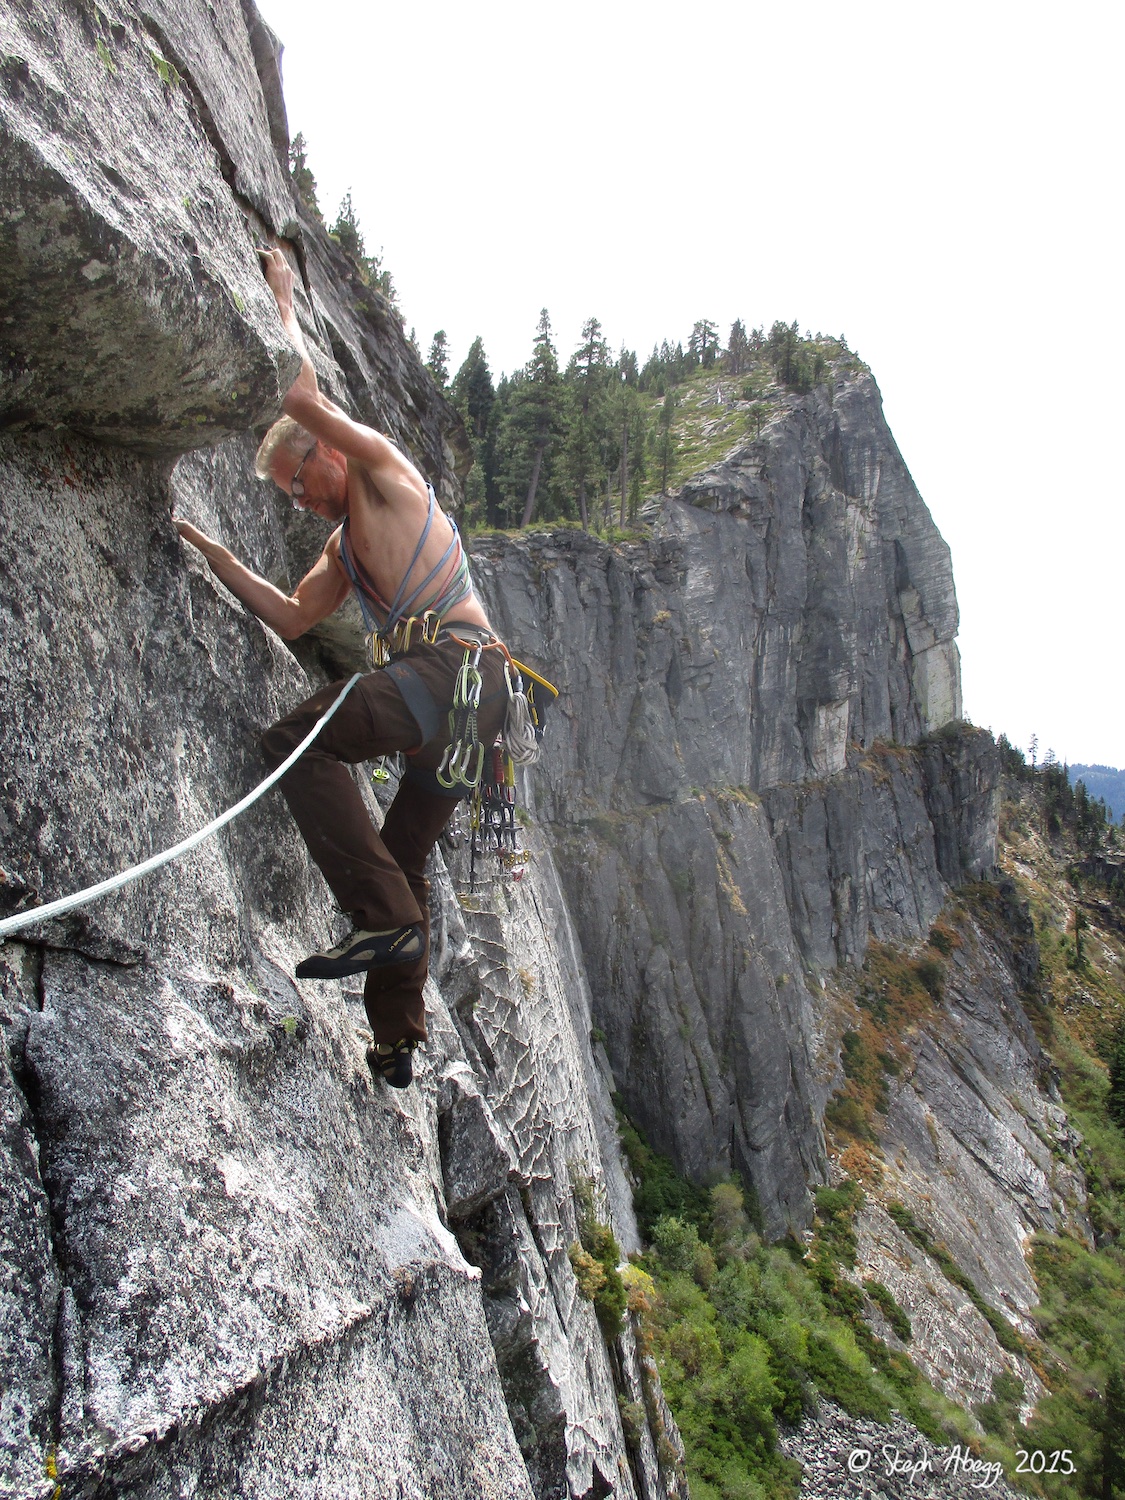
2. Dow at the start of Tombstone Terror. Really excellent climbing. This route has been referred to as the best 10c at the Leap. 3. Dow starting into the lieback 10c crux of Tombstone Terror. Bring several finger-sized pieces to sew this up.
4. Pitch 2 of Tombstone Terror is about 80' of grungy 5.7 terrain to Main Ledge. It's obvious from the thickness of the lichen that almost no one actually climbs the second pitch. But we did, since we were planning to continue on off Main Ledge to Eeyore's Enigma.
NOTE 1: You don't need anything bigger than a #2 cam and bring a lot of finger-sized pieces for the lower cruxy section.
link-up with
Photos
Photo descriptions
1.
2.
3.
4.
5.
6.
7.
8.
9.
10.
11.
12.
13.
14.
15.
16.
17.
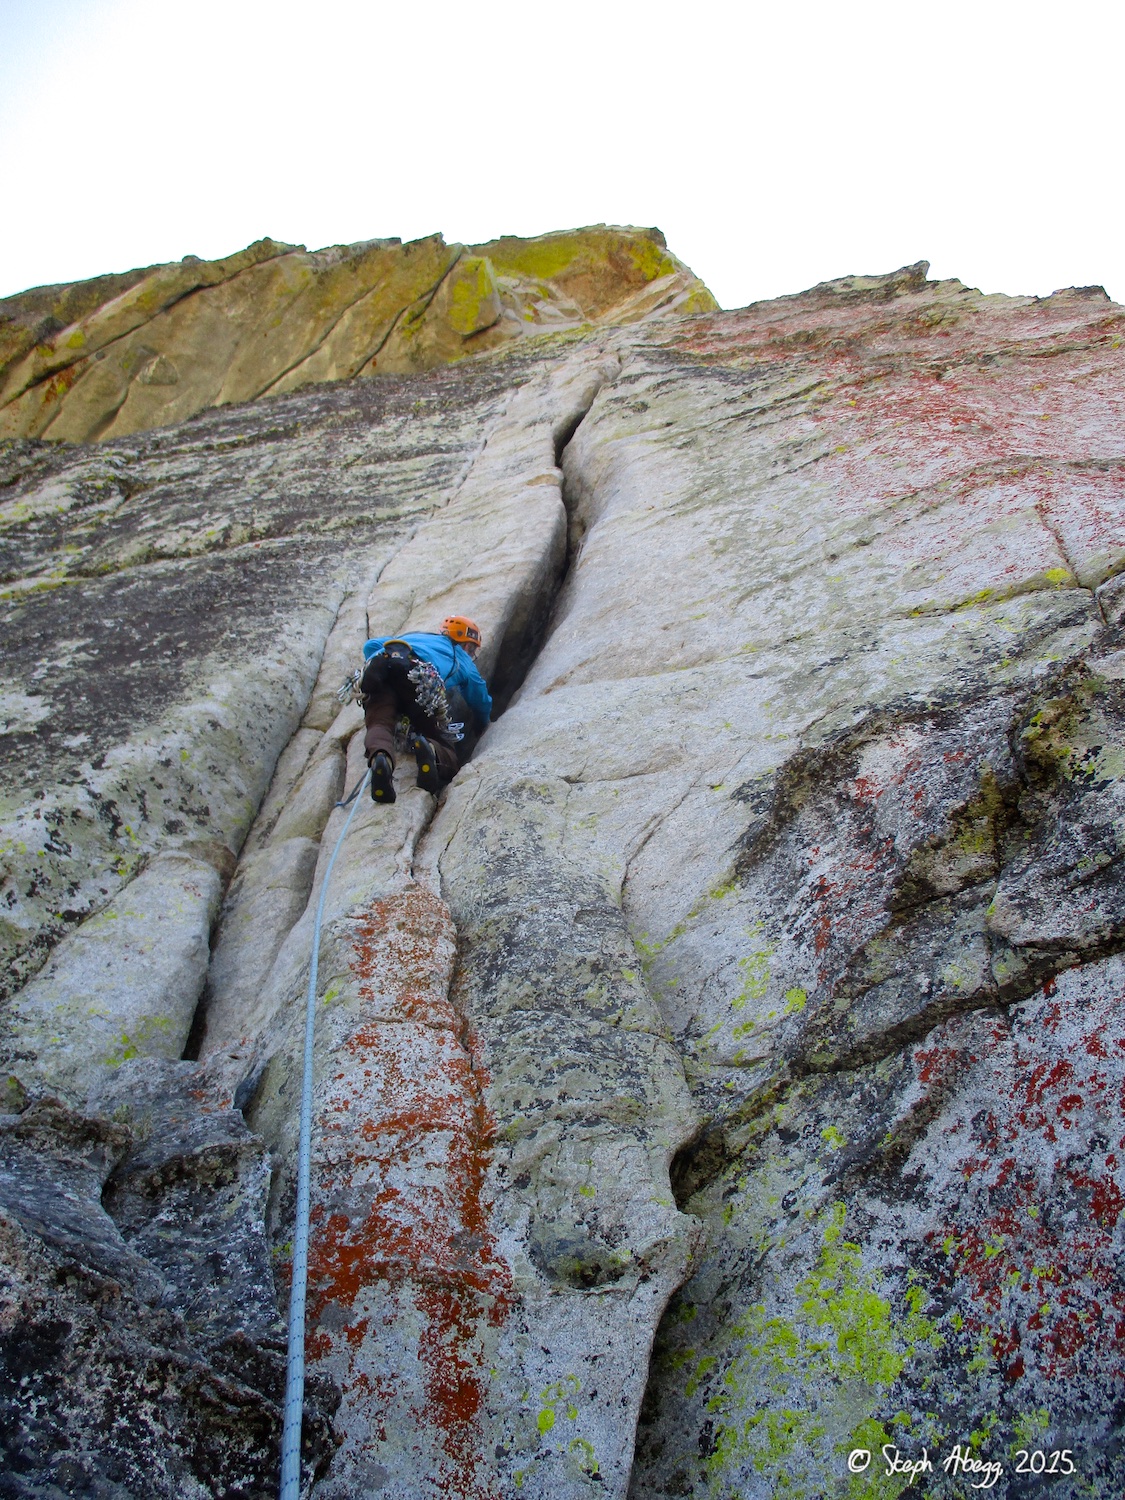
1. Route overlay for Eeyore's Enigma. Also shows Tombstone Terror, which made a nice link-up from the base of the Main Wall to the top. This route is obscure (and coo!) enough to warrant a route overlay. This route has been around for awhile, having been first climbed in 1969 by Warren Harding, TM Herbert, and Galen Rowell; but the route's intimidating and burly nature (no surprise given the identities of the first ascentionists) has kept this route a more obscure Leap gem.
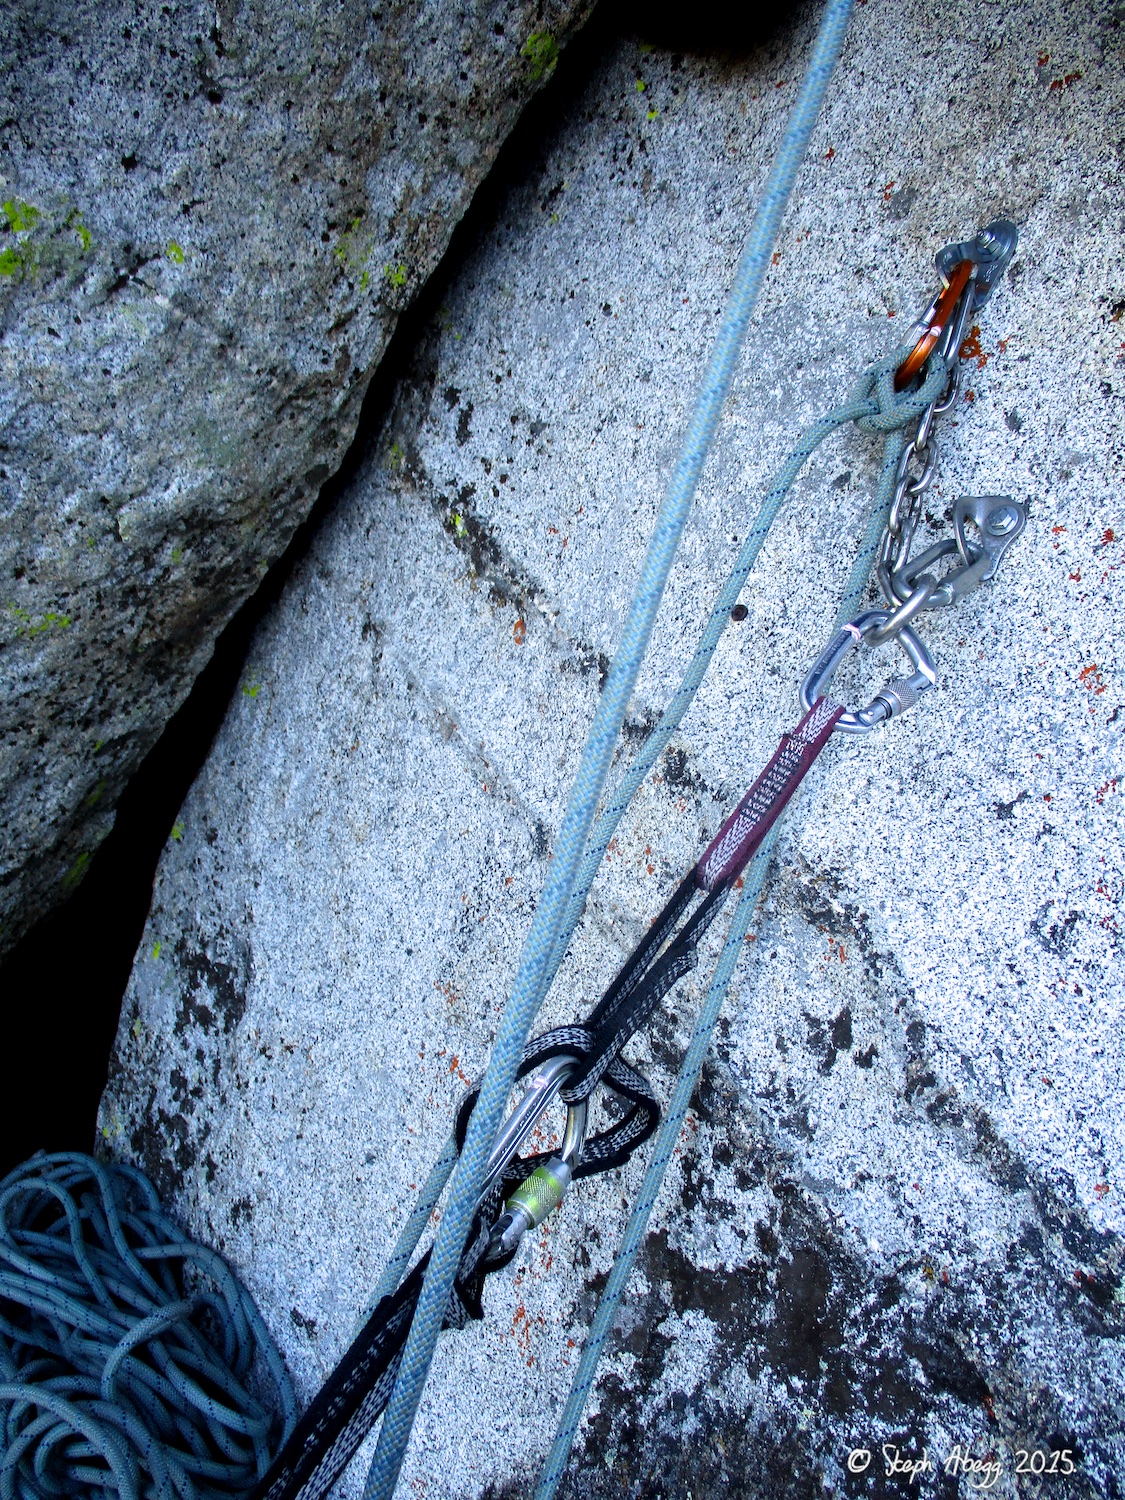
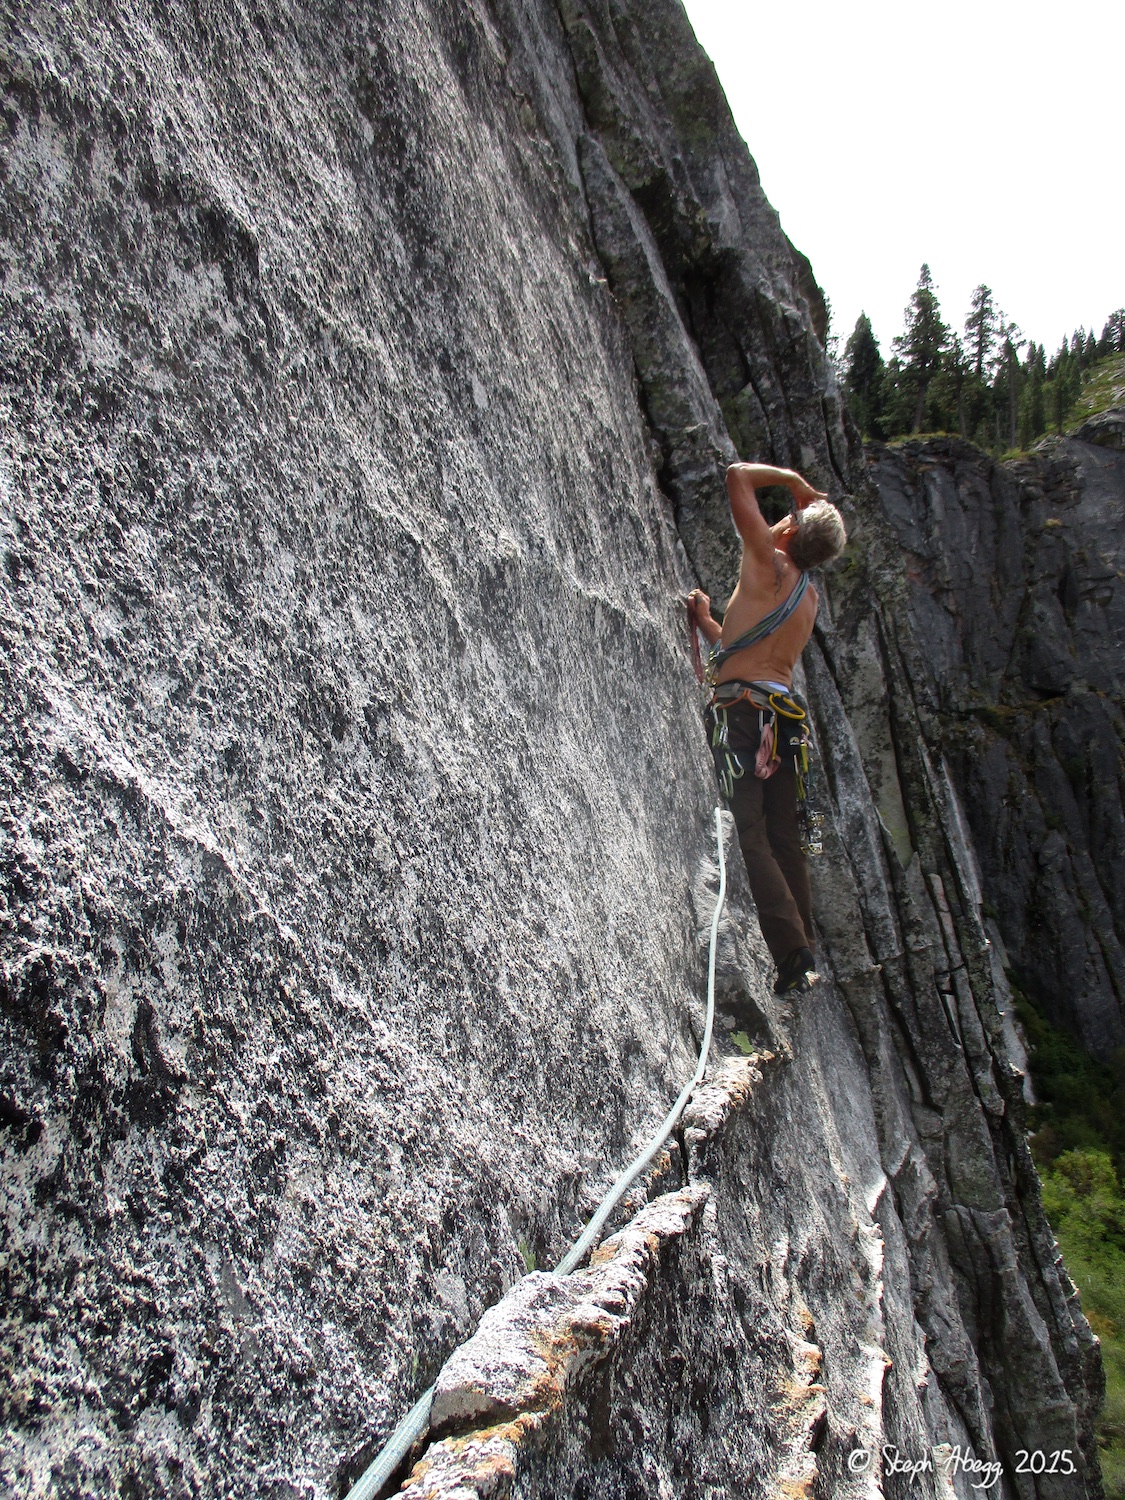
2. Looking up Eeyore's Enigma from Main Ledge. Pitch 1 is a hand crack that turns into fists (and wider) just before the ledge at the end of the pitch. This pitch felt 5.9 to me on lead. 3. Pin and nut anchor at the ledge at the top of Pitch 1.
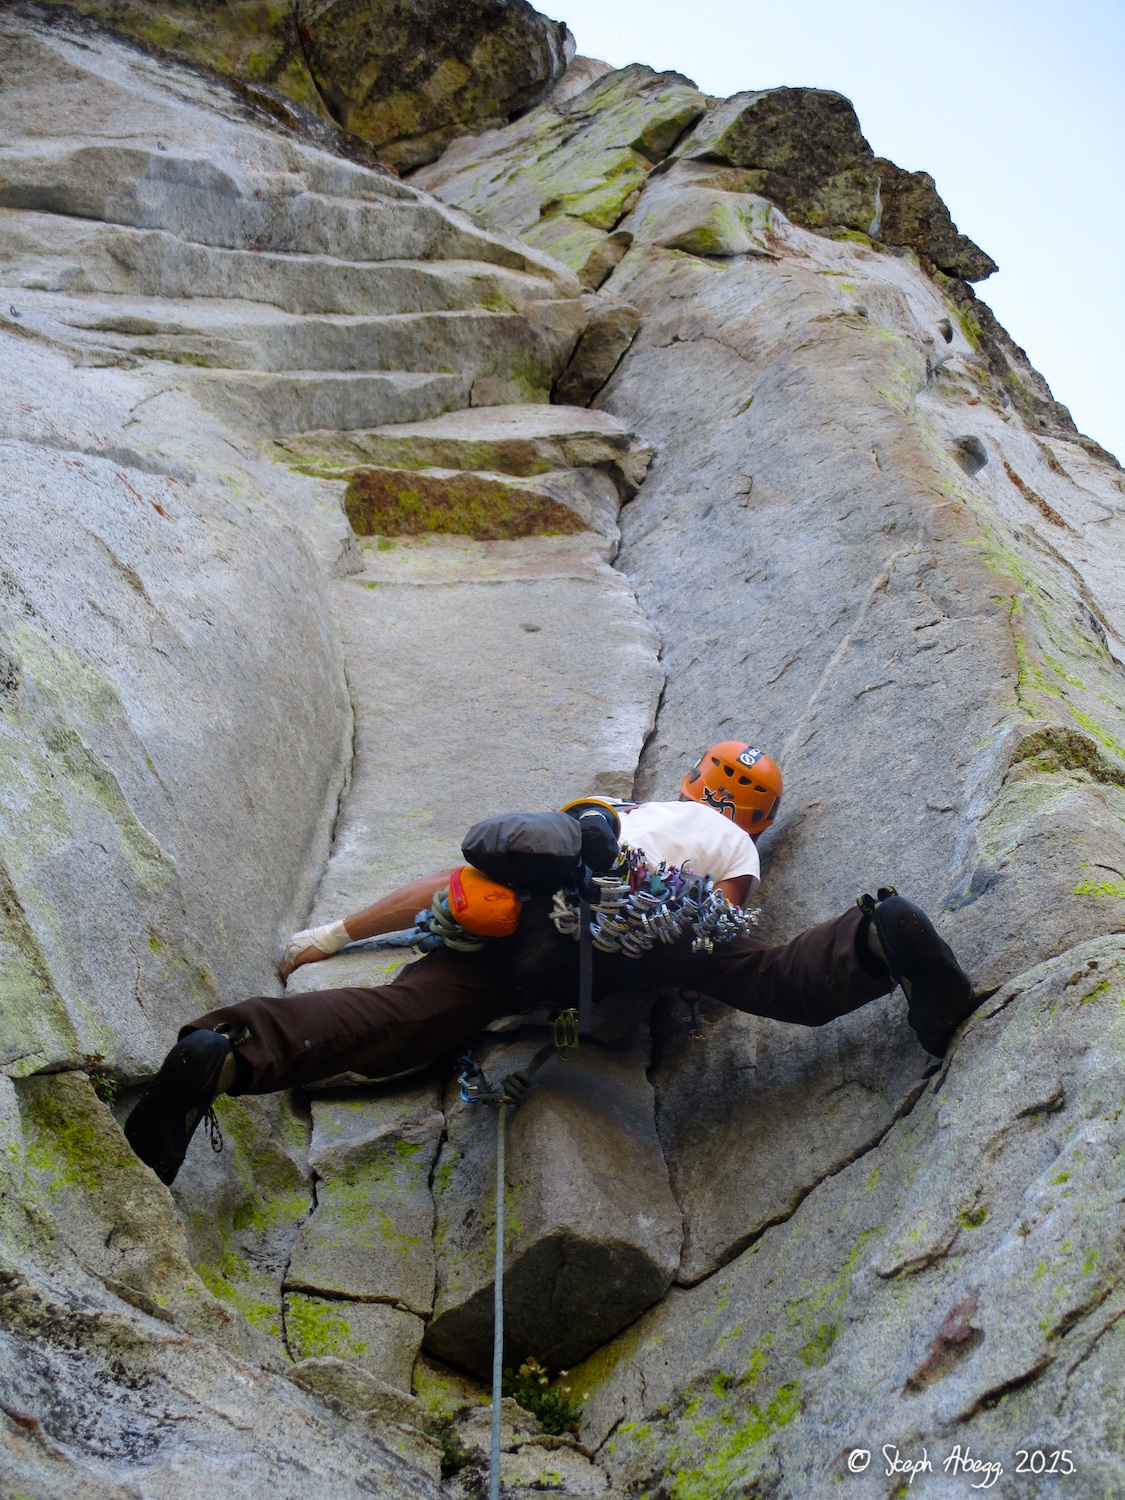
4. Dow staring up Pitch 2. Burly and cool 5.10 climbing ahead. MountainProject has some excellent detail for this pitch: "The second pitch immediately pulls a small roof to a fixed bong then out left under a long roof (crux) while underclinging an offwidth and sliding a #4 along. Don't leave gear in this roof because it will get sucked up into the crack. Now follow a chimney while arm barring a wide crack for balance. Climb up into the now obvious squeeze chimney and place a #2 up high. Drop back down to the ledge and squeeze through the chimney with your feet smearing behind you and your ass hanging out under the roof. Great exposure here. Move out around the corner on good jugs then up into a chimney. Save a #4 for the belay." 5. Dow midway up Pitch 2, figuring out how to get into the next stage of the chimney.
6. Maybe like this?... 7. ...or this?...
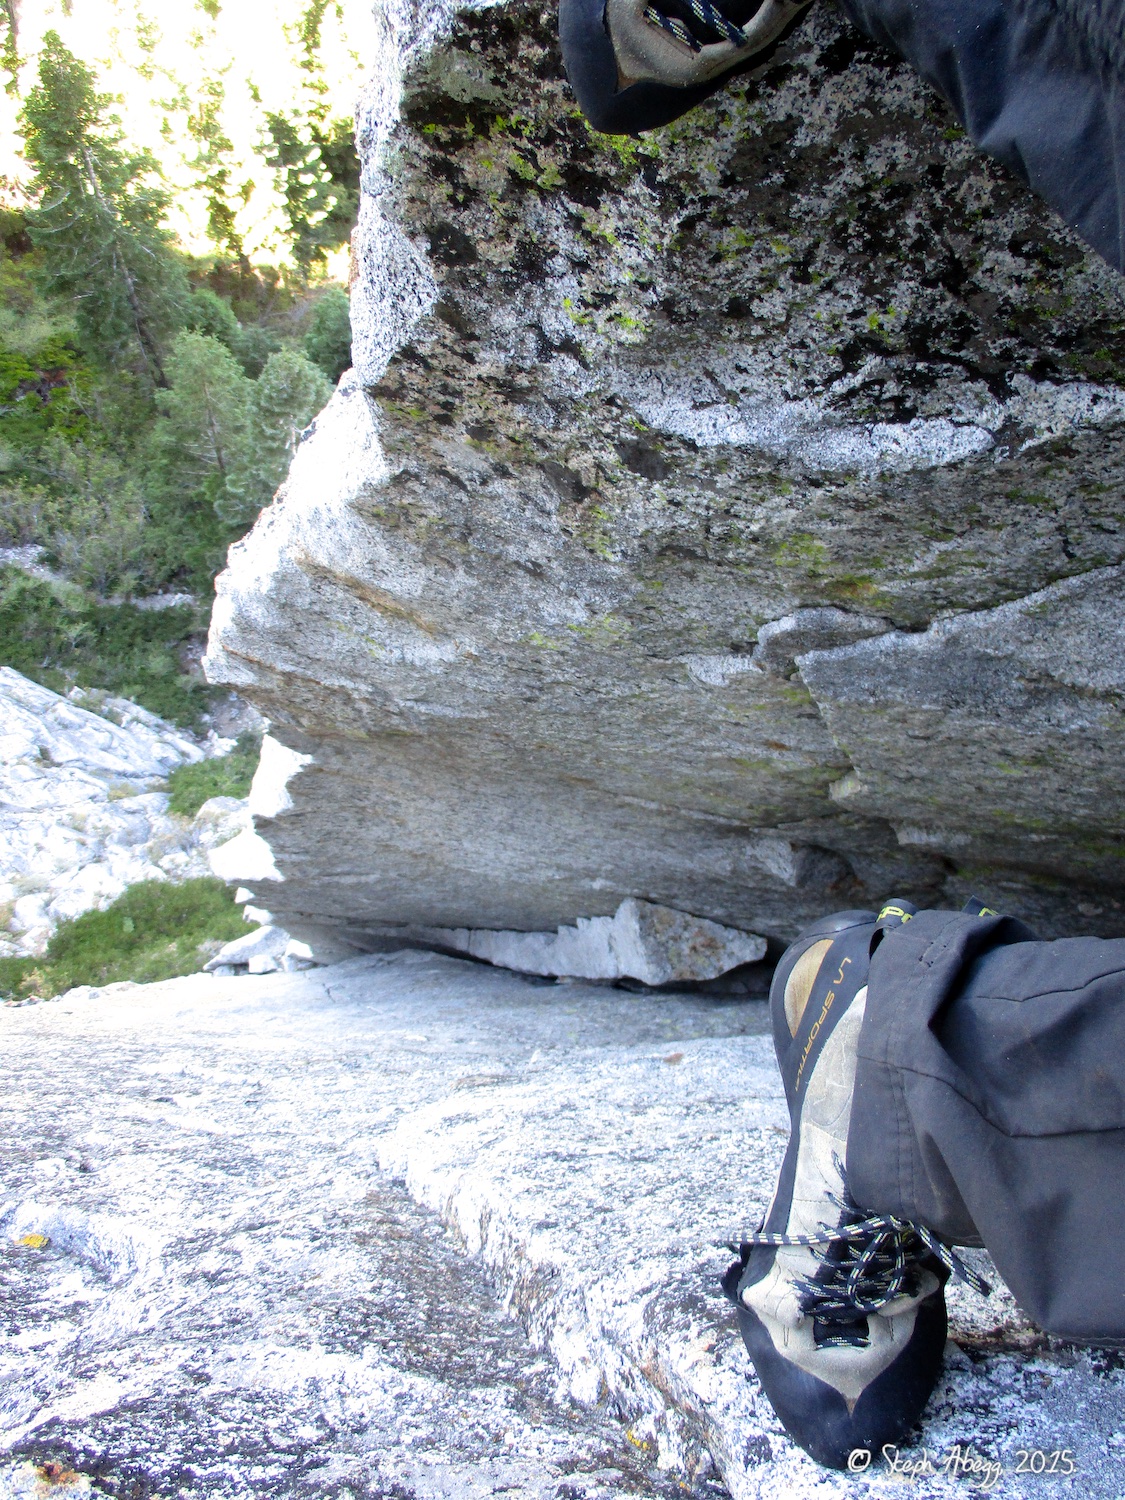
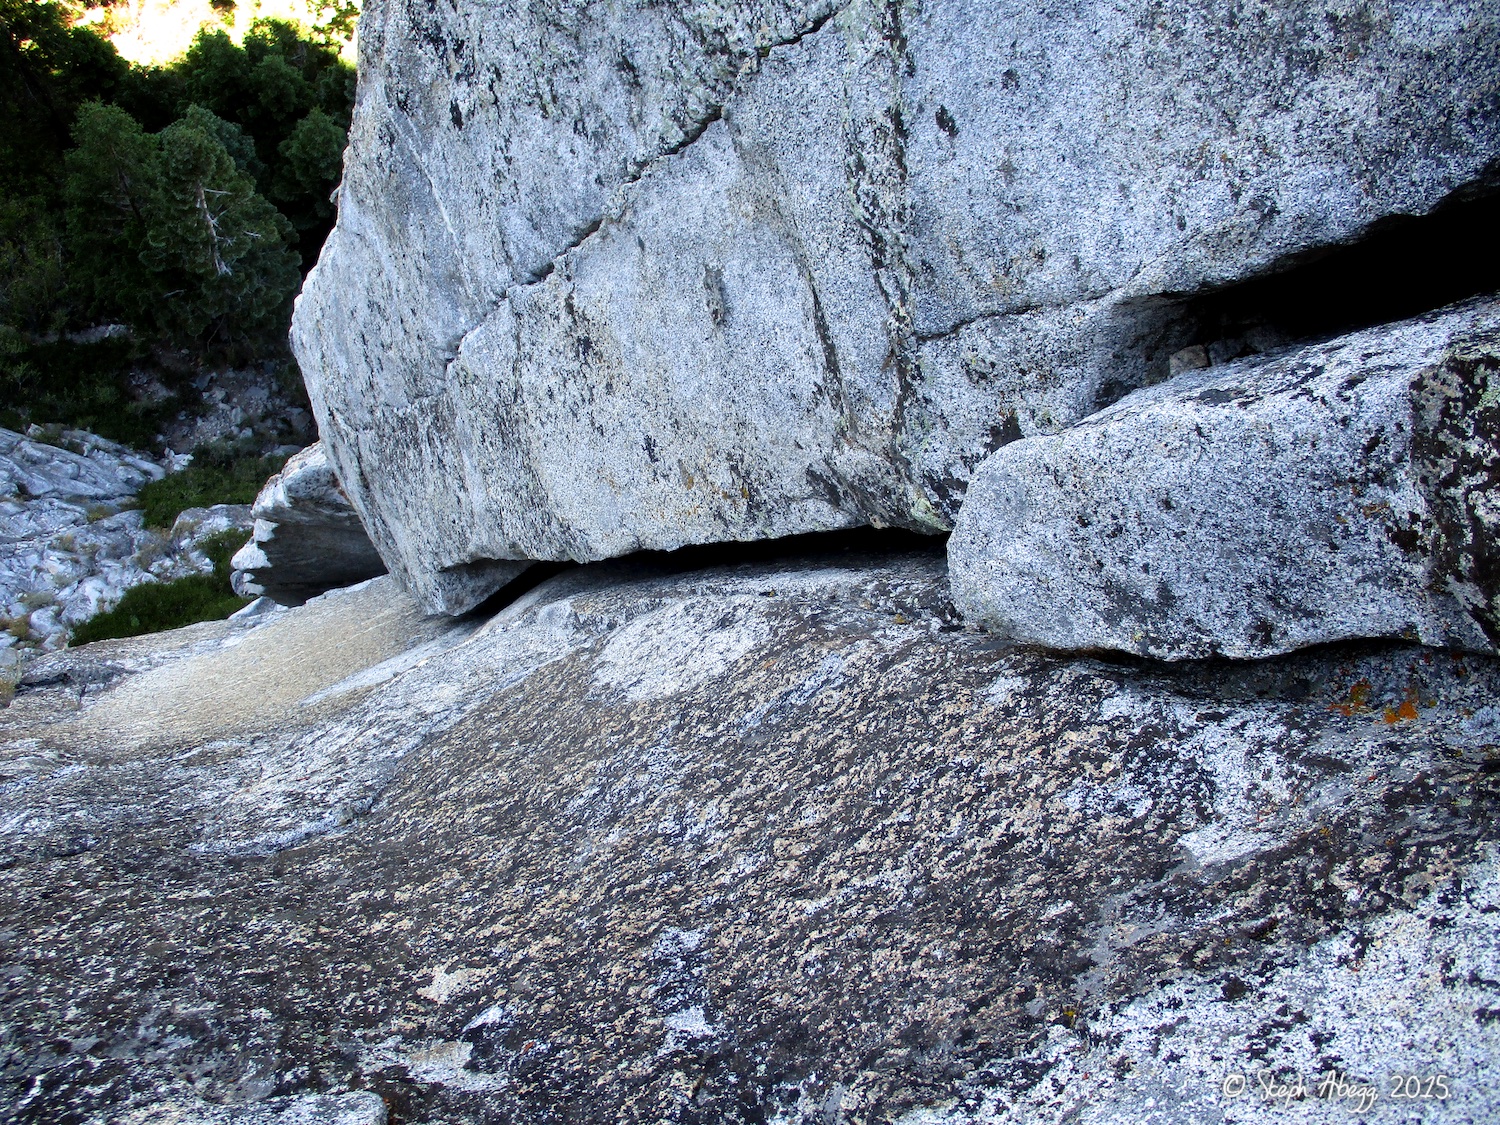
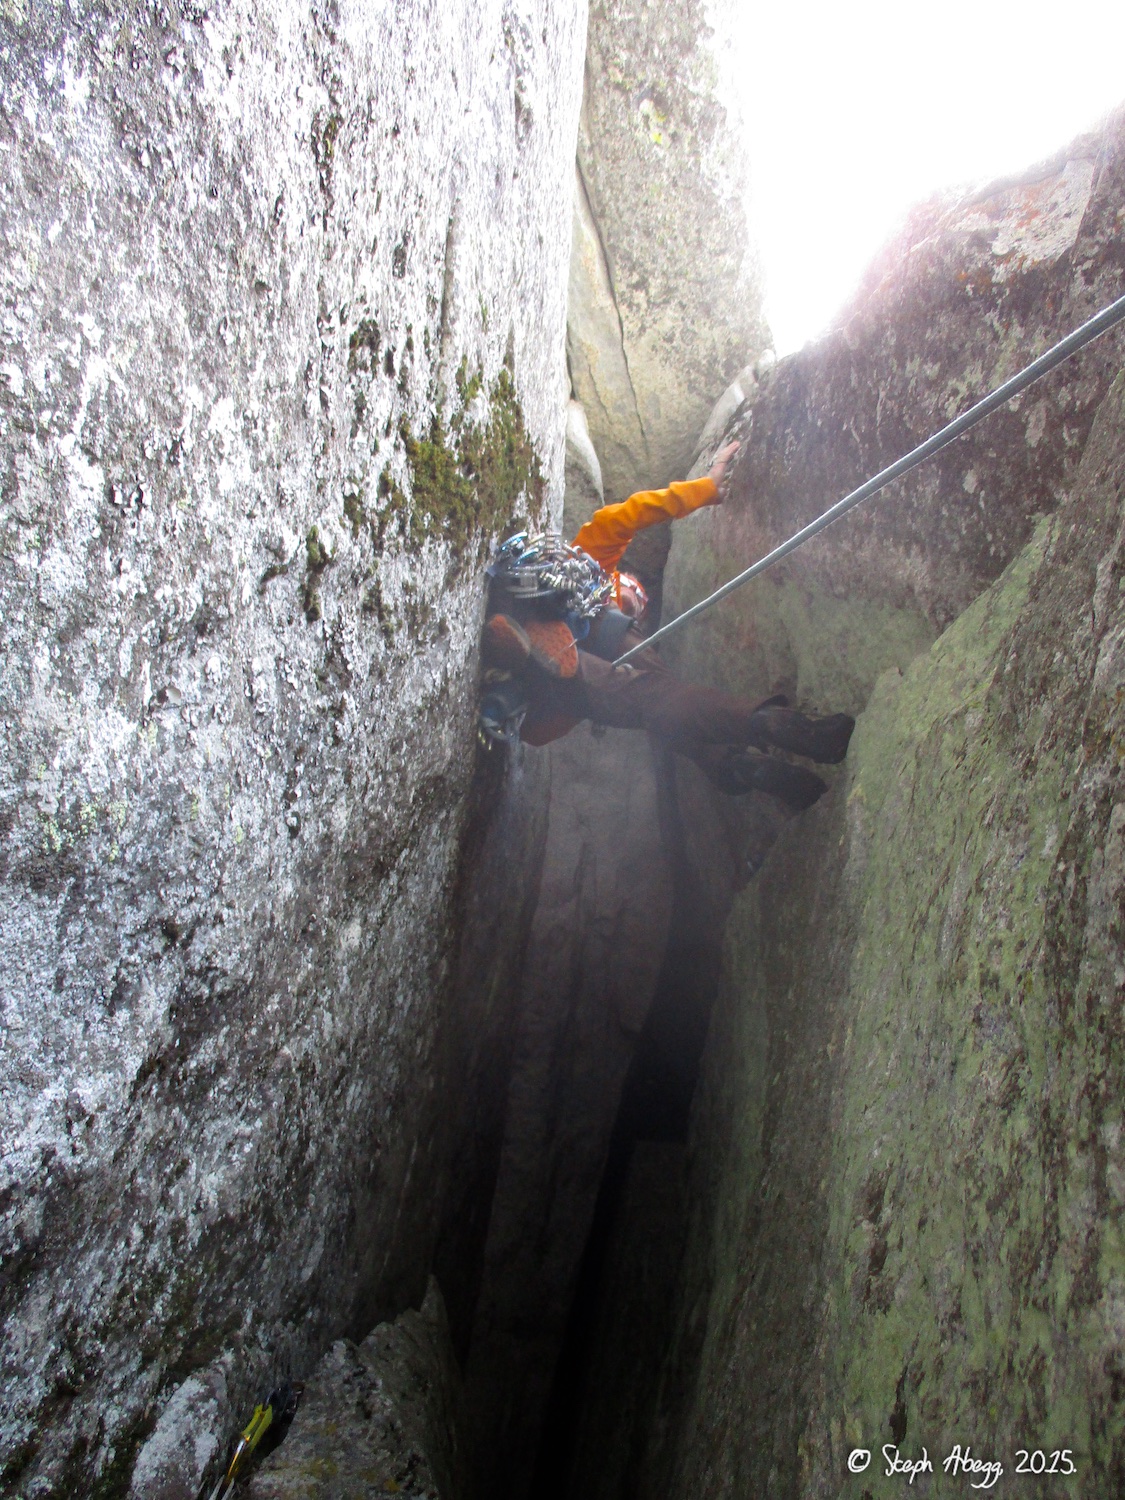
8. ...or this?... 9. ...how about this way?... 10. ...ah, got it!... 12. Dow in the squeeze part of the chimney. It was pretty tight for both of us, and both of us are pretty slight build. Dow had to take off his helmet and I had gone helmetless for this route because of this pitch.
12. Taken at the entrance of the squeeze chimney. From here you inchworm left to get out of it. This was the crux for me, since I got my foot stuck in Dow's helmet which I had hanging below me on a sling.. 13. Dow at the start of our Pitch 3. We continued all the way to the top of the chimney and pulled a roof move to exit onto the face (see NOTE).
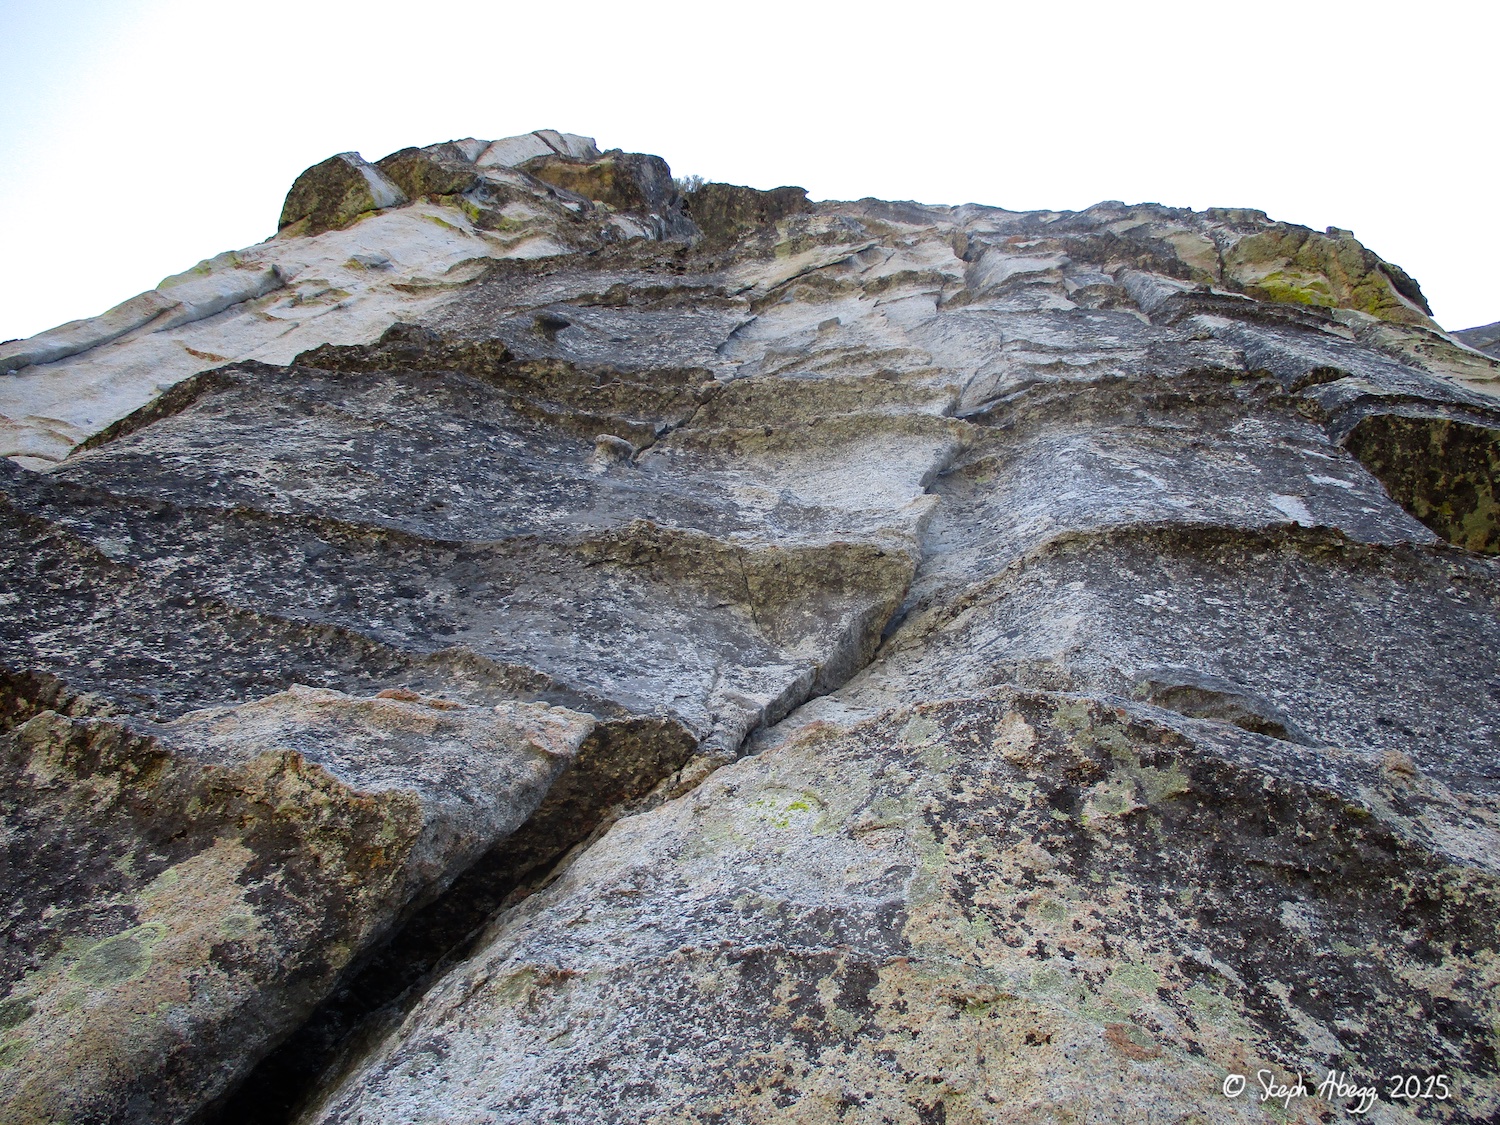
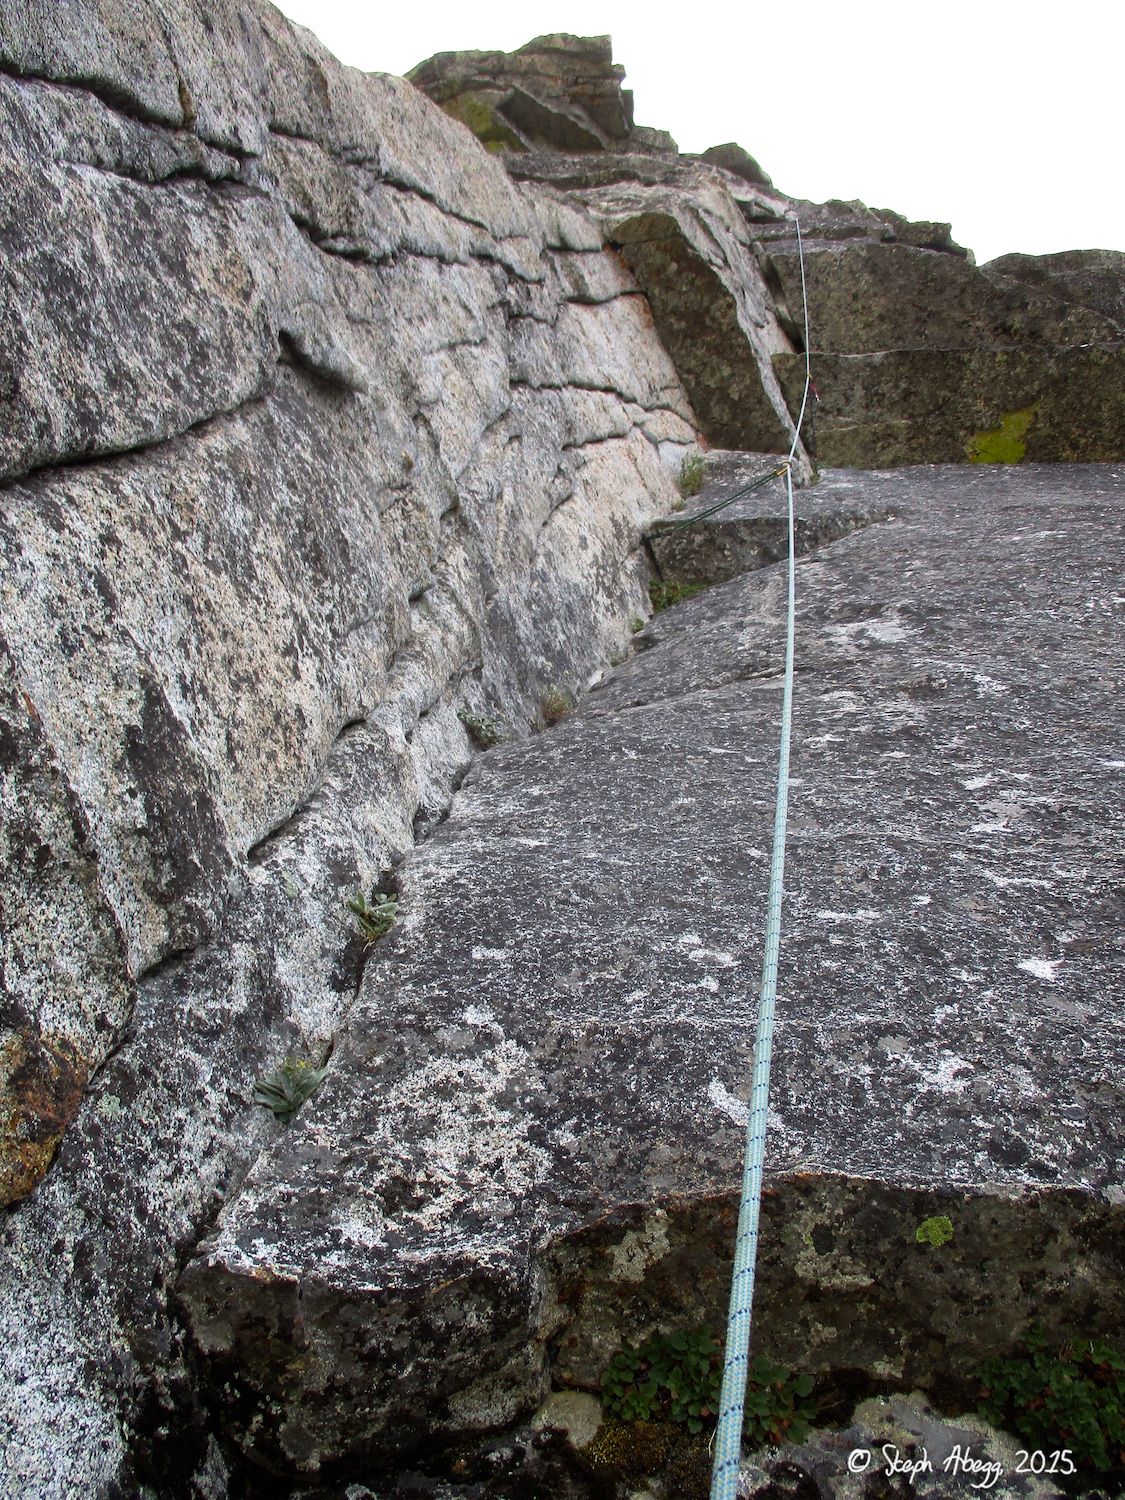
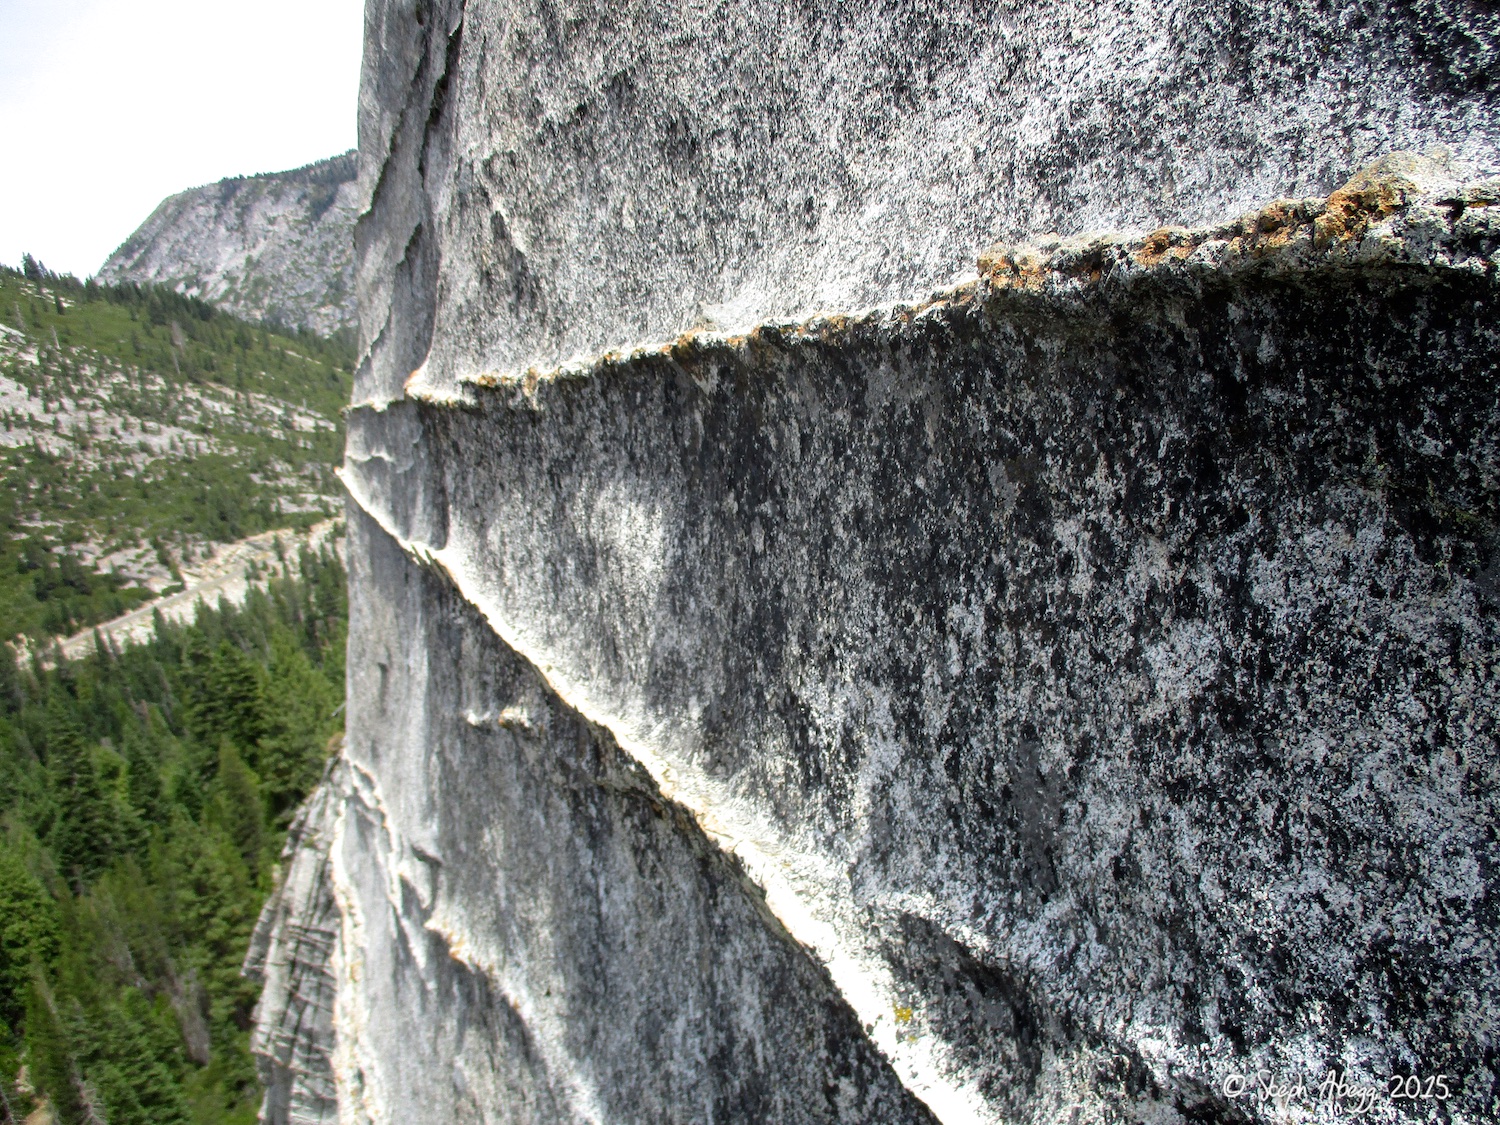
14. The 5.6-5.8 face and cracks after exiting the chimney (Pitch 3). 15. The 5.0-5.2 dike hiking that finishes the route (Pitch 4). These dikes are a unique feature of Lover's Leap. 16. The chimney system of Eeyore's Enigma as seen from East Wall the next day. This photo shows Pitch 1 off Main Ledge and most of Pitch 2 (the Pitch 2 belay is cut off). 17. The chimney system of Eeyore's Enigma as seen from East Wall the next day. This photo shows Pitch 2 and the first half of Pitch 3. Pitch 3 begins by exiting at the top of the chimney.
NOTE 1: This route is not for the meek. NOTE 2: Three #4's are nice to have for this route. NOTE 3: The squeeze chimney on Pitch 2 is tight! We found it nearly impossible with a helmet on. Also, I'd advise not bringing a bulky jacket or eating a huge meal before this route. NOTE 4: We felt that our third pitch differed a bit from the route description we had gotten off of MountainProject. We continued up the chimney to its end at a roof and then pulled the roof to exit onto the dike-rimmed face. The route description seemed to suggest exiting onto the face earlier. But it seems more true to the route line to continue up the chimney to its end, plus it was a fun exit move. NOTE 5: Our Pitch 3 took us all the way to the top. However, we ended up having to simulclimb about 20 feet of it (we had a 70m rope, so this meant the pitch was about 250 feet). During this simulclimb Dow had about a 100-ft runnout on easy dikes, while I was in the chimney at the start of the pitch, nearing the 5.10 roof exit move. This was definitely a simulclimb situation where the follower cannot afford to fall. So I would suggest breaking this final pitch into two pitches to make the route a total of four pitches.
Photos
Photo descriptions
1.
2.
3.
4.
5.
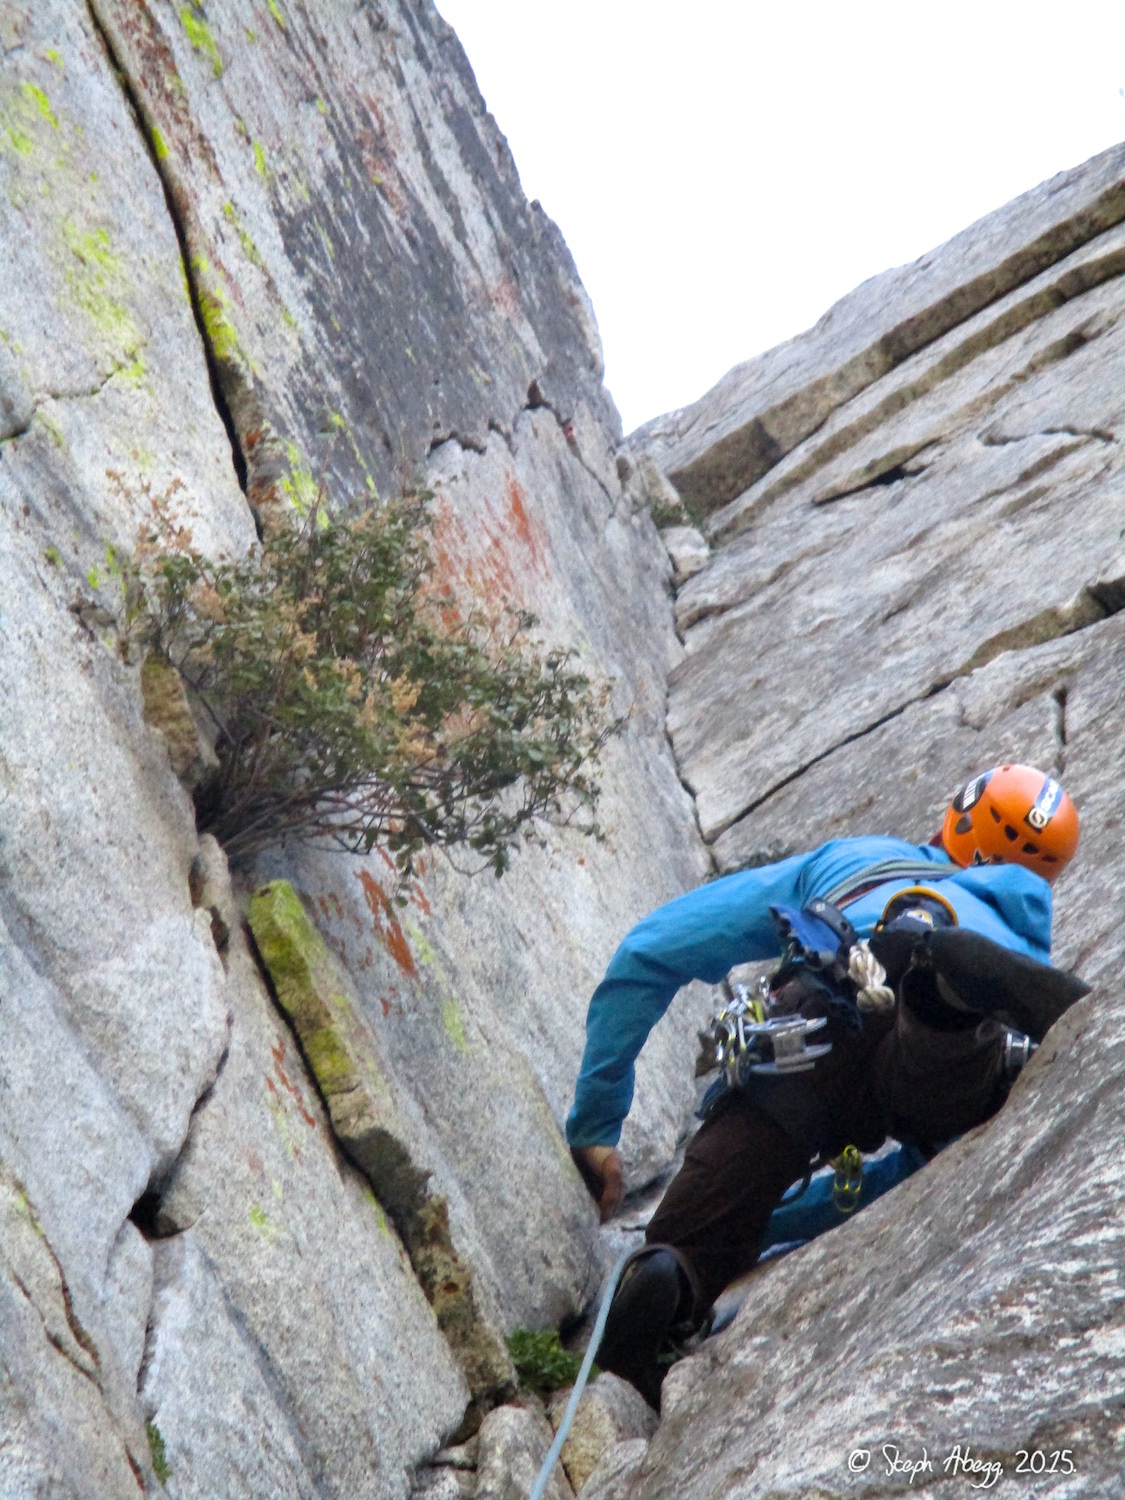
1. Dow starting up Pitch 1, which follows a crack system to an anchor about 165 feet up.
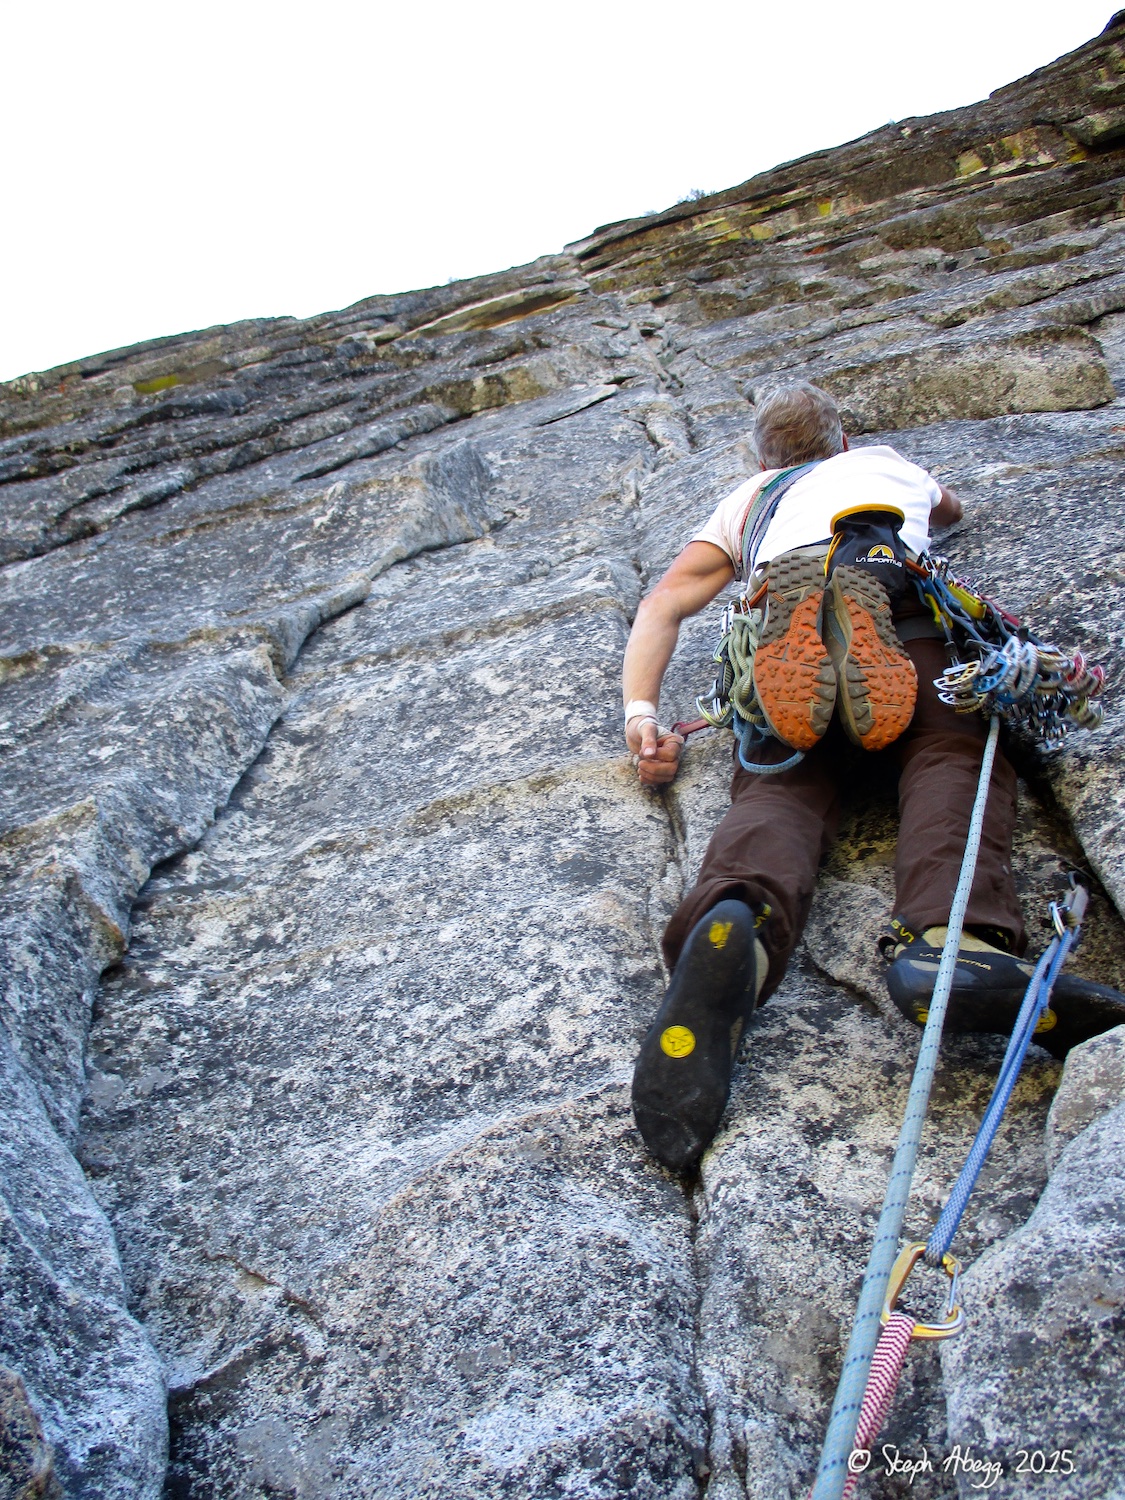
2. Nearing the 5.9 lieback crux on Pitch 1. 3. Dow leading Pitch 2. He is nearing the 5.9 bulge crux in the photo. The 40-ft 5.6 runnout is between the last piece (a nice offset cam placement) and him. I had started off leading this pitch, but had to back down when I was not comfortable with the runnout. Runnout—runnout face in particular—is not my thing, even on easy terrain. This section gives the route its R rating.
4. Pitch 3 was my favorite pitch. Pretty sustained 5.8 climbing with a 5.9 section. 5. The direct finish to the route goes through these roofs. We went right here, which is also a possible finish to the route.
then move the packs 20 feet left to the base of
Photos
Photo descriptions
1.
2.
3.
4.
5.
6.
7.
8.
9.
10.
1. Dow placing his first piece of protection on Pitch 1, 50+ feet off the ground. It is runnout, but fortunately pretty easy 5.6 dike hiking to the roof.
2. Dow on the 5.9 hand traverse of Pitch 1. This part feels pretty spooky since your gear is below you at the roof with an expanse of granite slab to cushion a fall. 3. Looking down from above the 5.9 hand traverse on Pitch 1.
4. Looking up the last part of Pitch 1. You can sling a few knobs on this route (a thinner sling would probably be your best bet for staying on the knob). 5. One of the bolts at the Pitch 1 belay is pulling out and both bolts are getting a bit rusty. This isn't too reassuring when these two bolts are all that are holding the belayer and leader on the wall when the leader has a 50+ ft runnout....
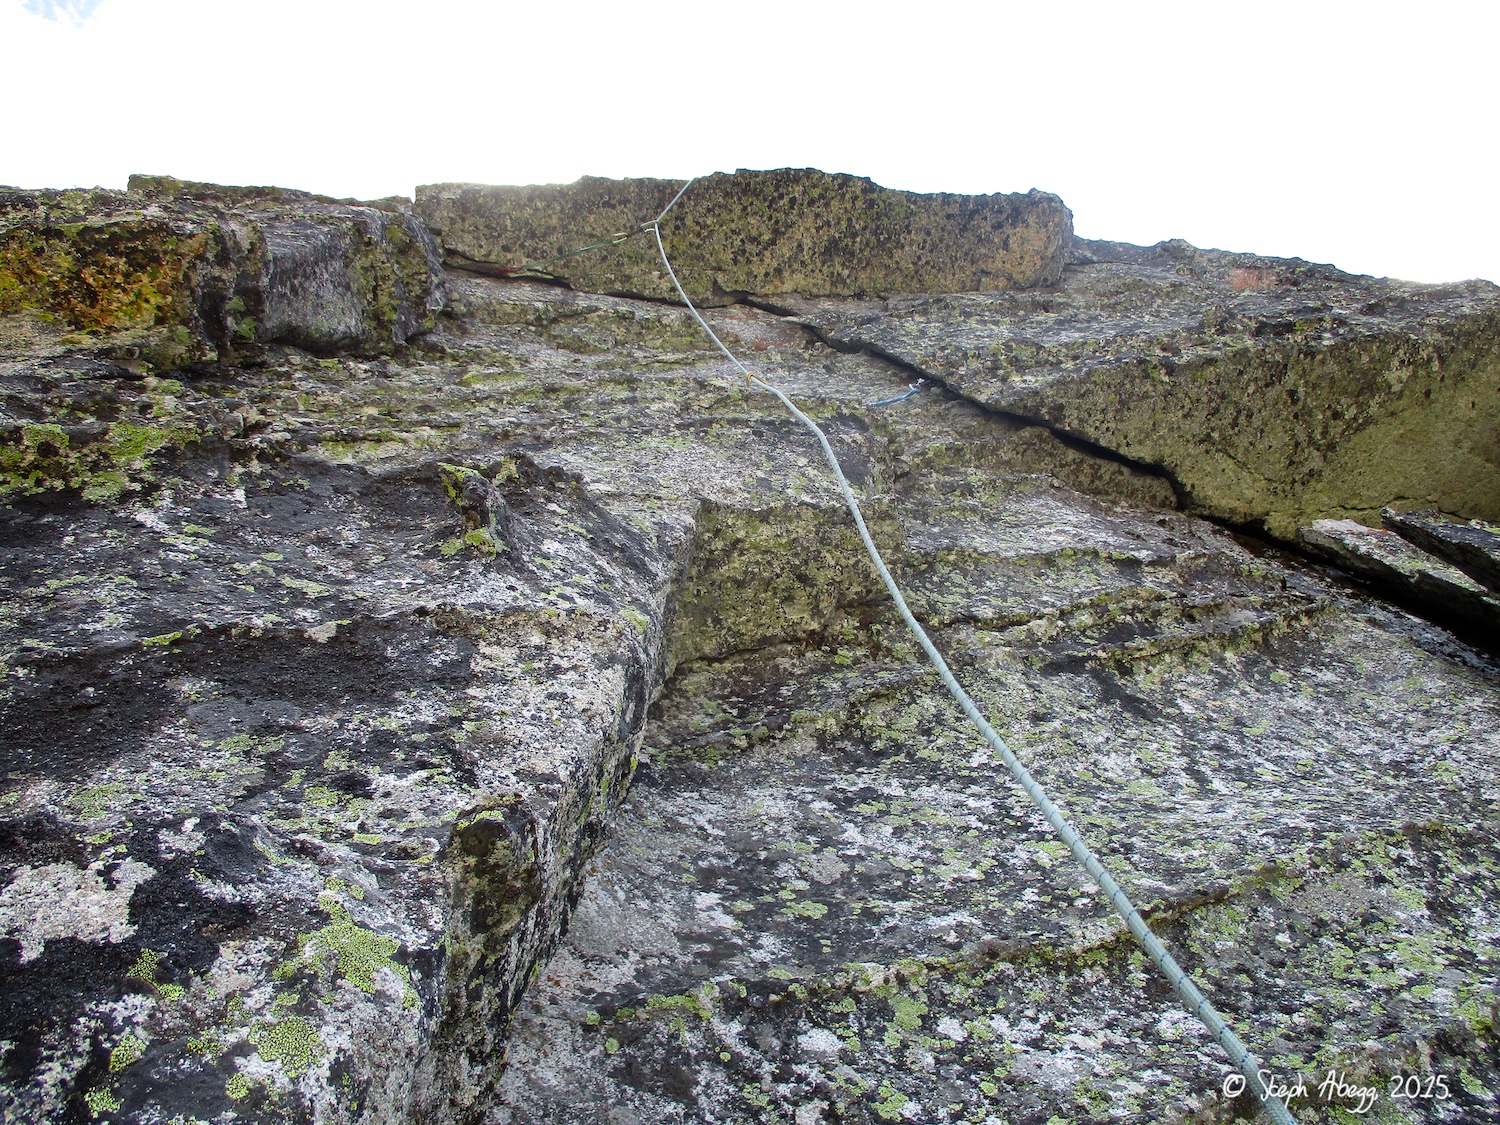
6. Dow starting off Pitch 2. My head just wasn't into leading runnout, so Dow bravely led all the pitches on this route. Here the MountainProject beta suggests moving right into a horizontal crack system to a belay, but the topo seemed to suggest going straight up, so that's the way we went...it was on juggy dikes but as was becoming the theme of the route there was nowhere to set pro for a ways.... 7. Dikes left of the belay anchor. This is basically what you are climbing much of the route. It's pretty unique.
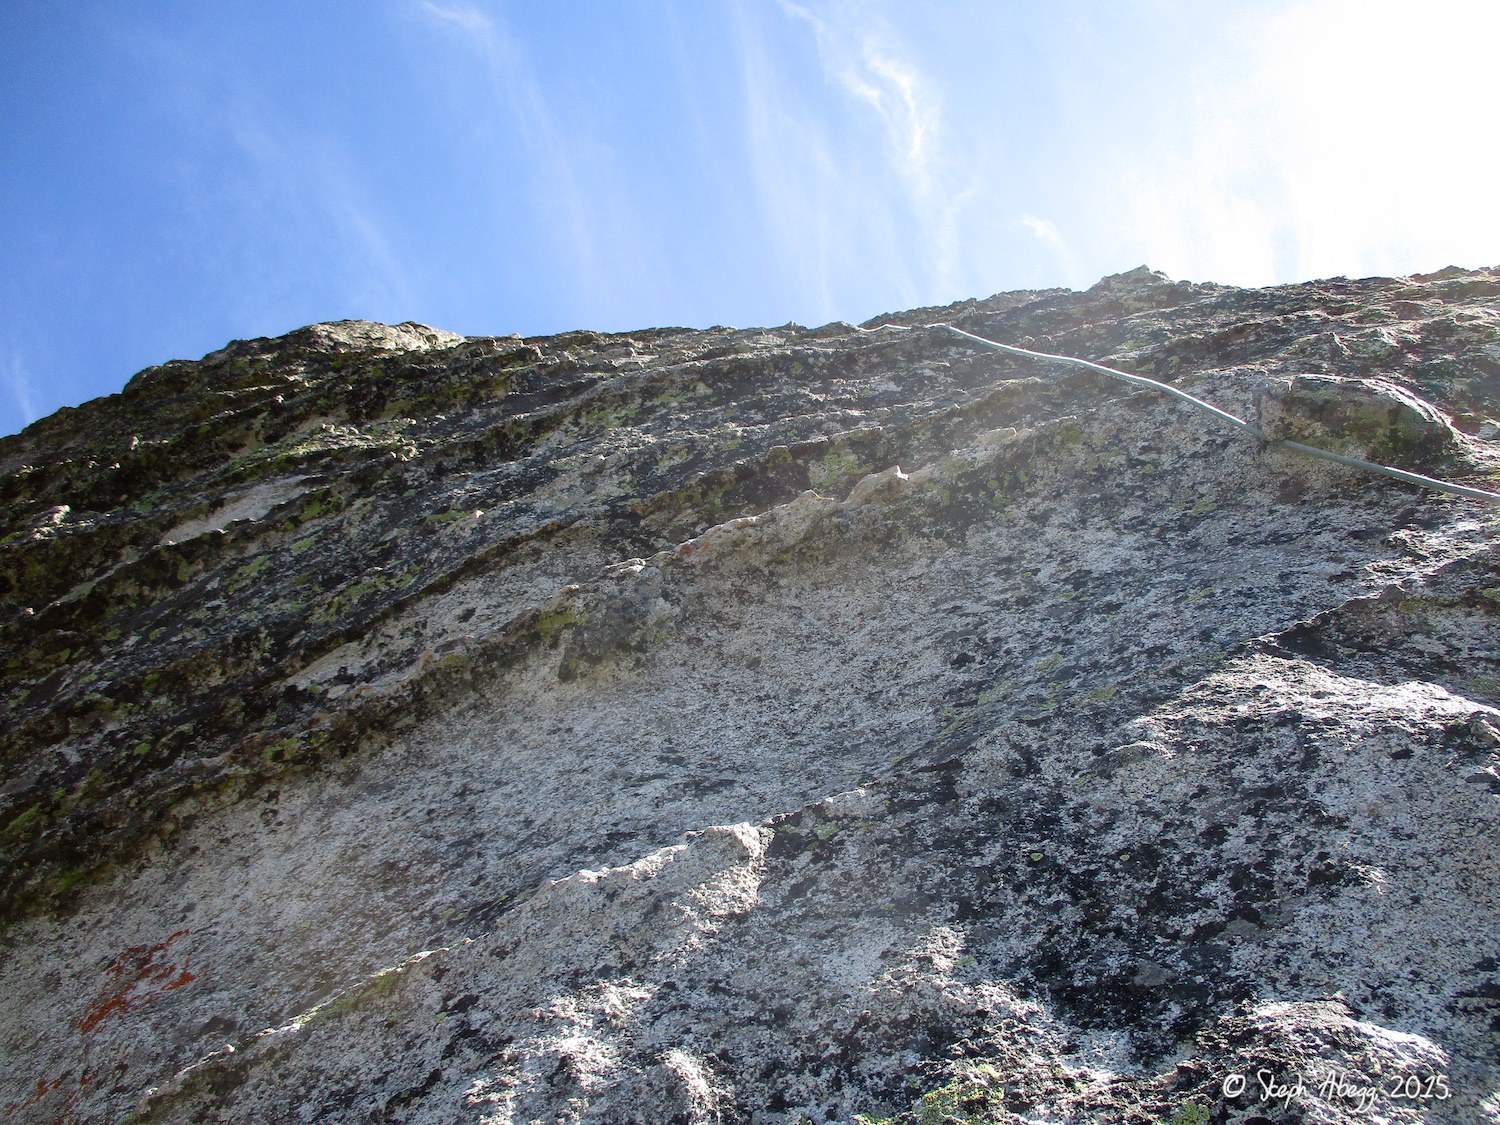
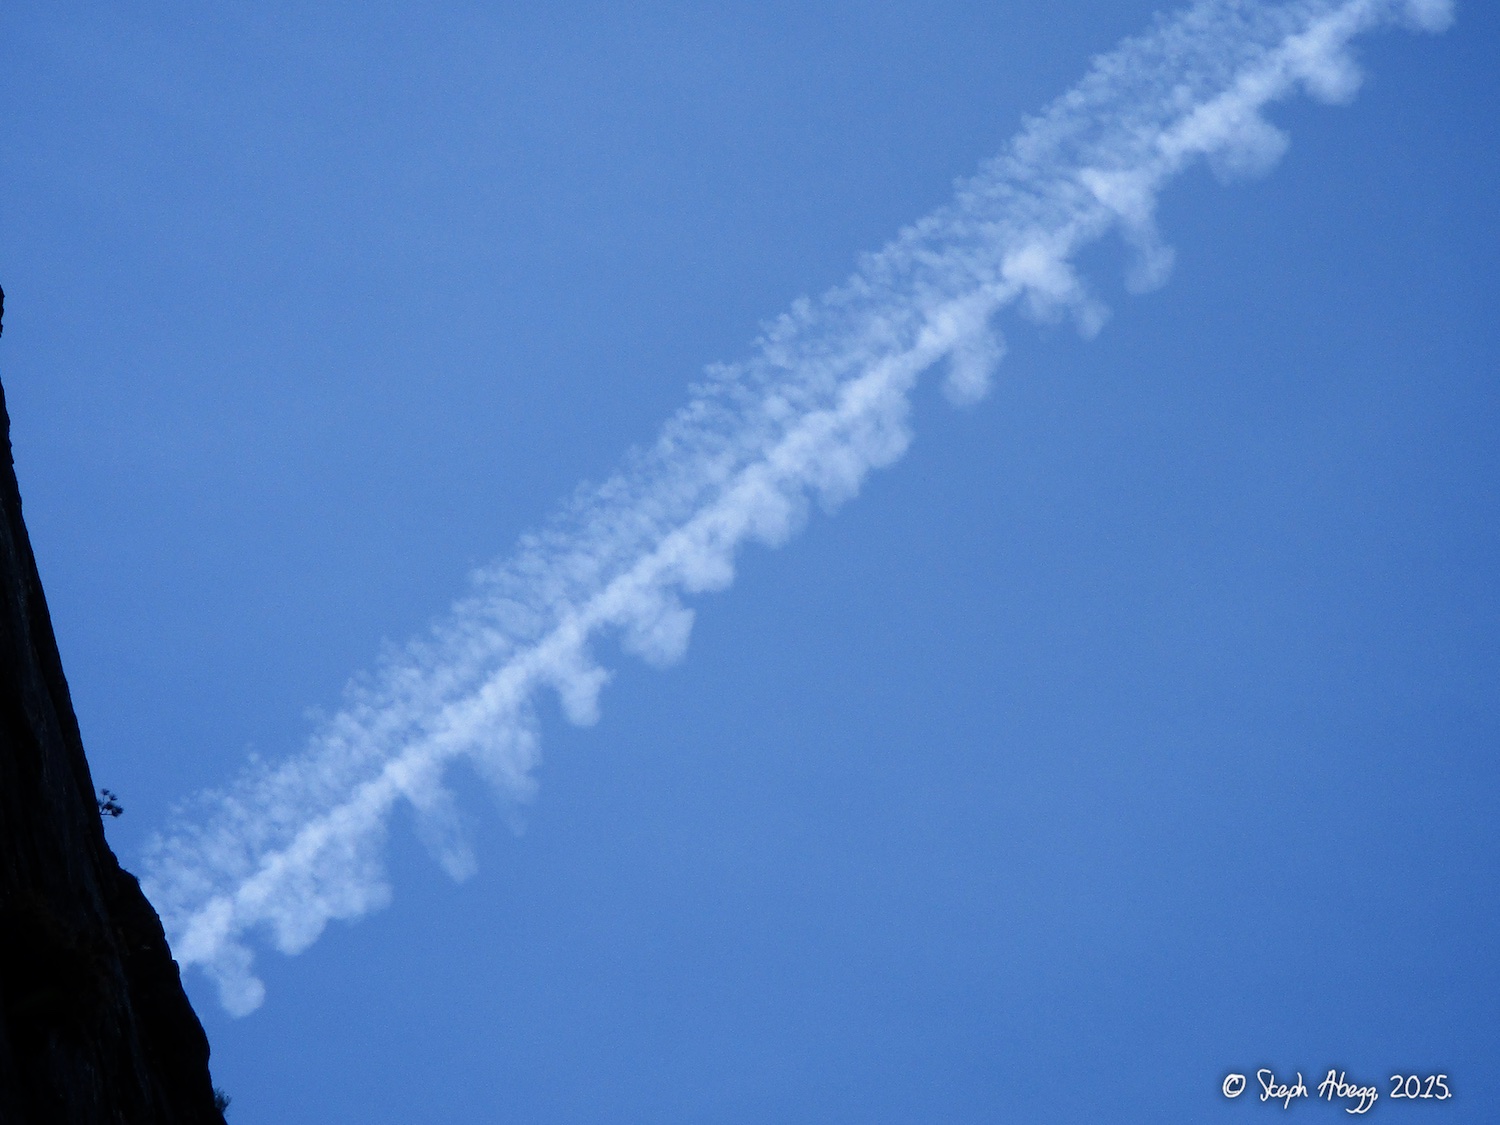
8. Dow leading off Pitch 3. The route goes up from where he is in the photo, but it looked difficult and the piton on the topo was missing, so we were not quite sure of which way to go... 9. ...We went right a bit and ended up intersecting the final pitch of Scimitar. Oops.... 10. I spotted these contrails while climbing and wondered how they formed. According to the web, it is called a "persistent spreading contrail." The "loopy" appearance of the edge of the contrail is caused by local turbulence, perhaps caused by the airplane.
NOTE 1. A single rack to #2 is sufficient, you just cannot place much gear on this route. Long slings are nice for the pieces you can place. NOTE 2. The theme of this route is runnout. But sometimes it's good to scare yourself. I suppose.
Useful beta. Updated route information. Corrections. Historical notes. Interesting facts. No fluff please. Please do not put links in your comment, as my spam filter will filter those comments out.