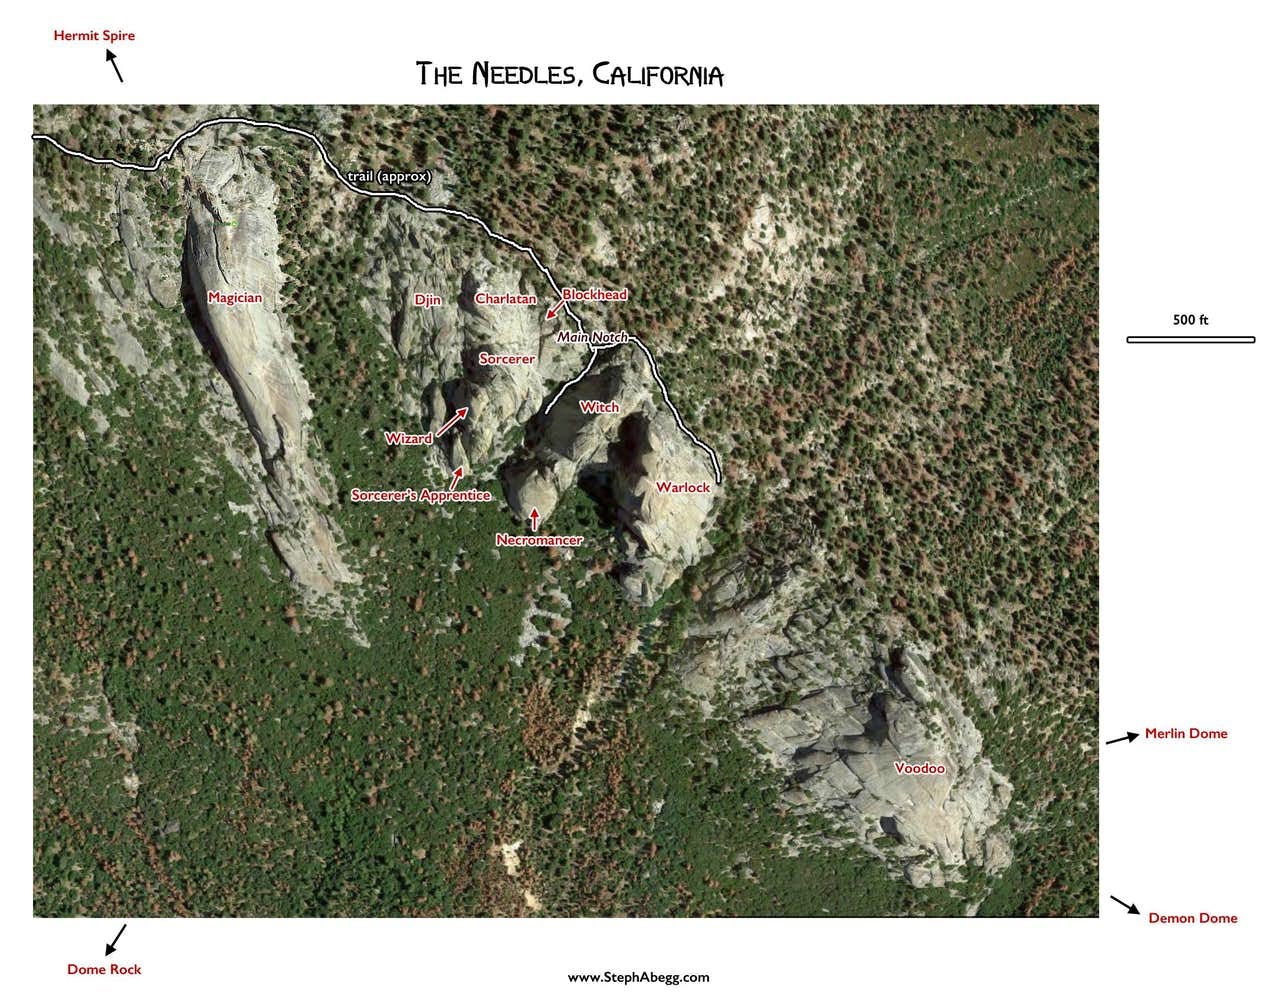
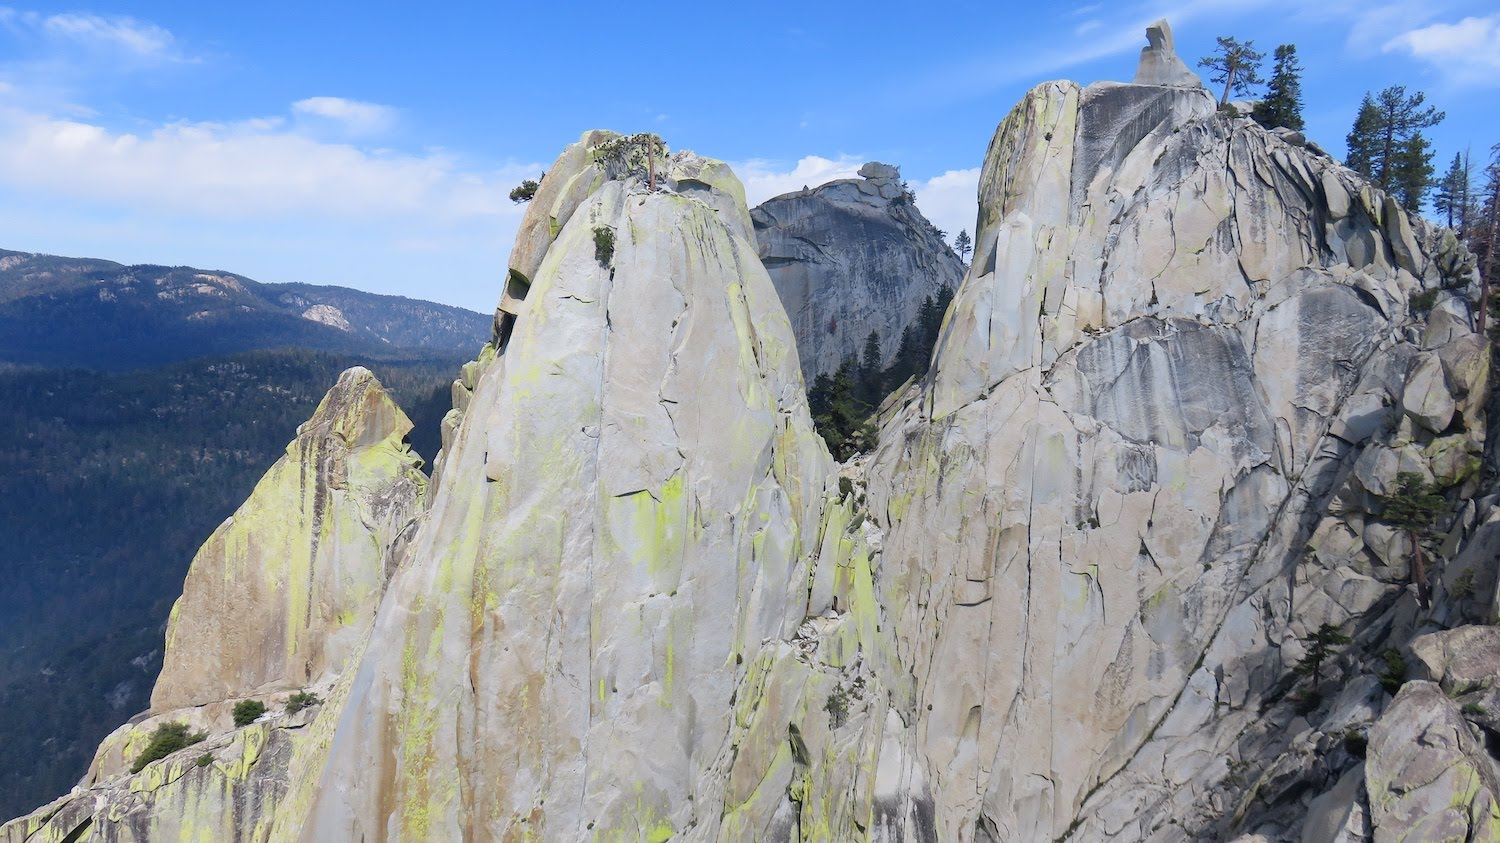
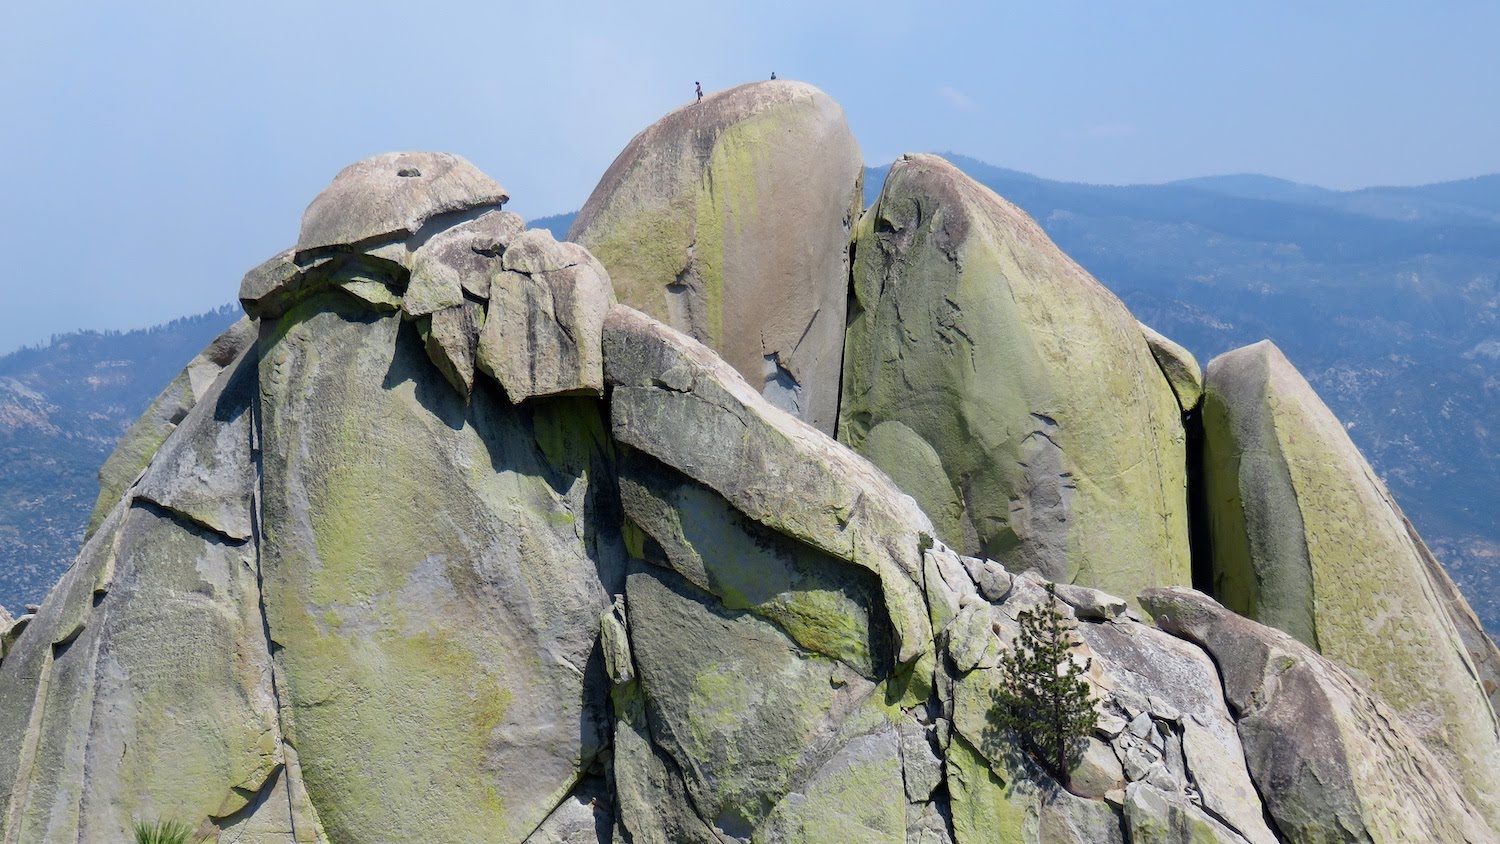
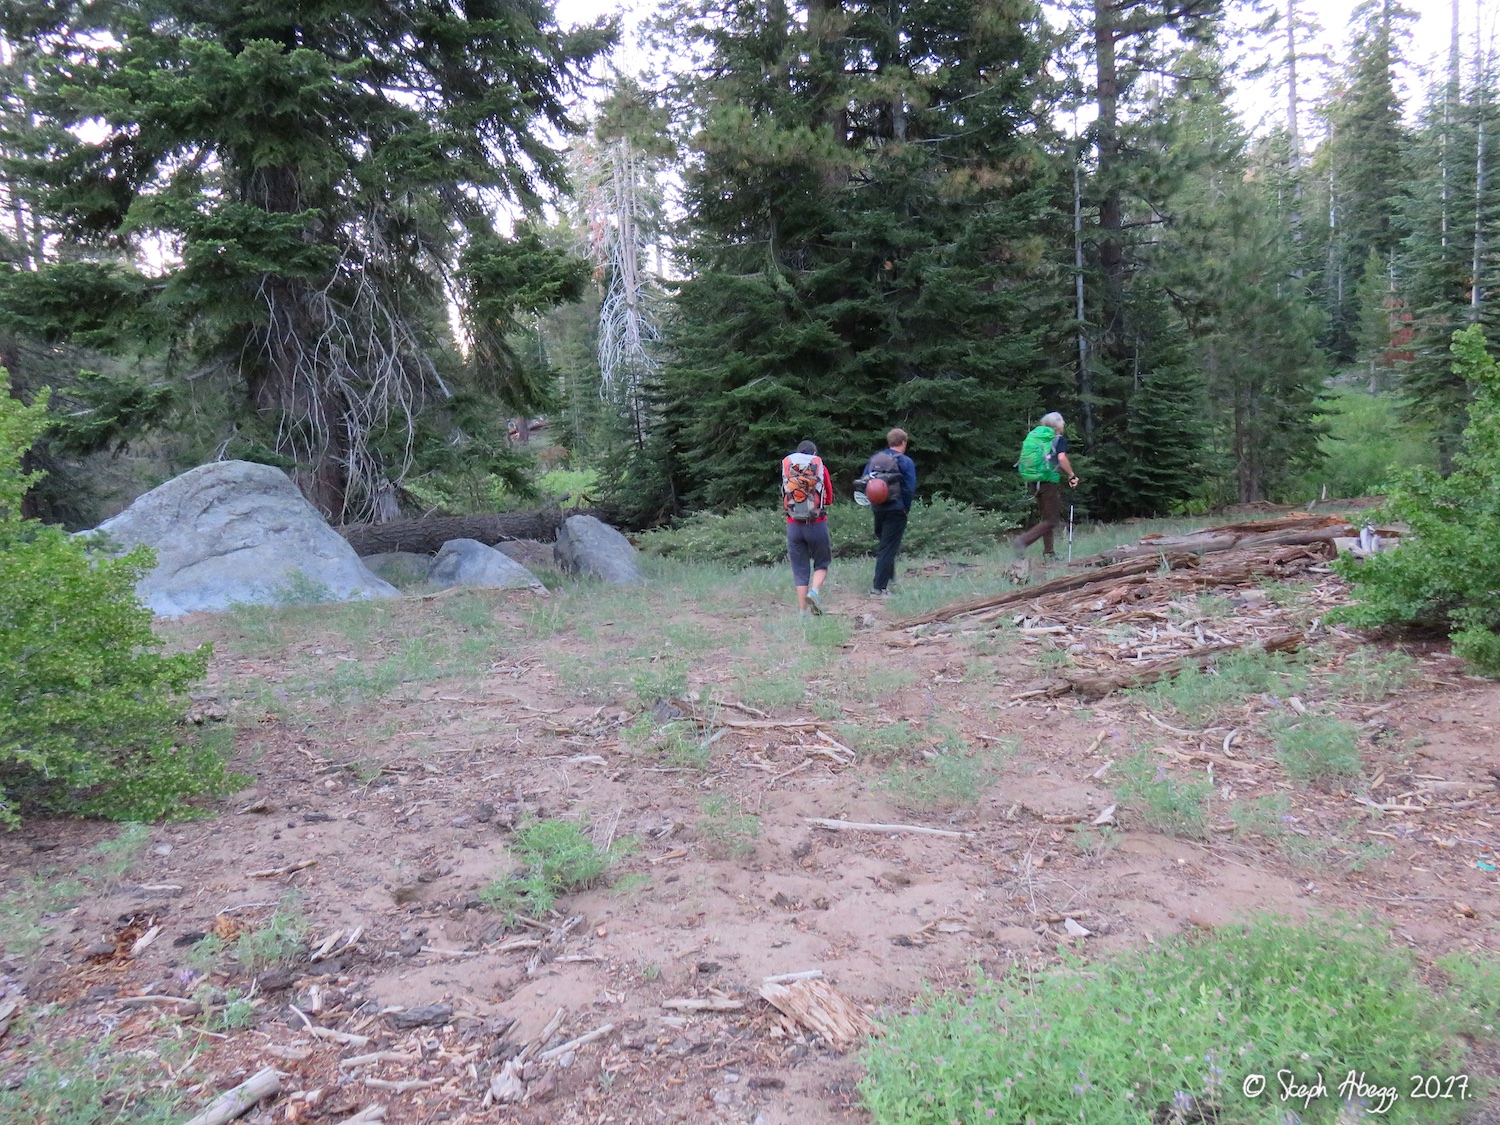
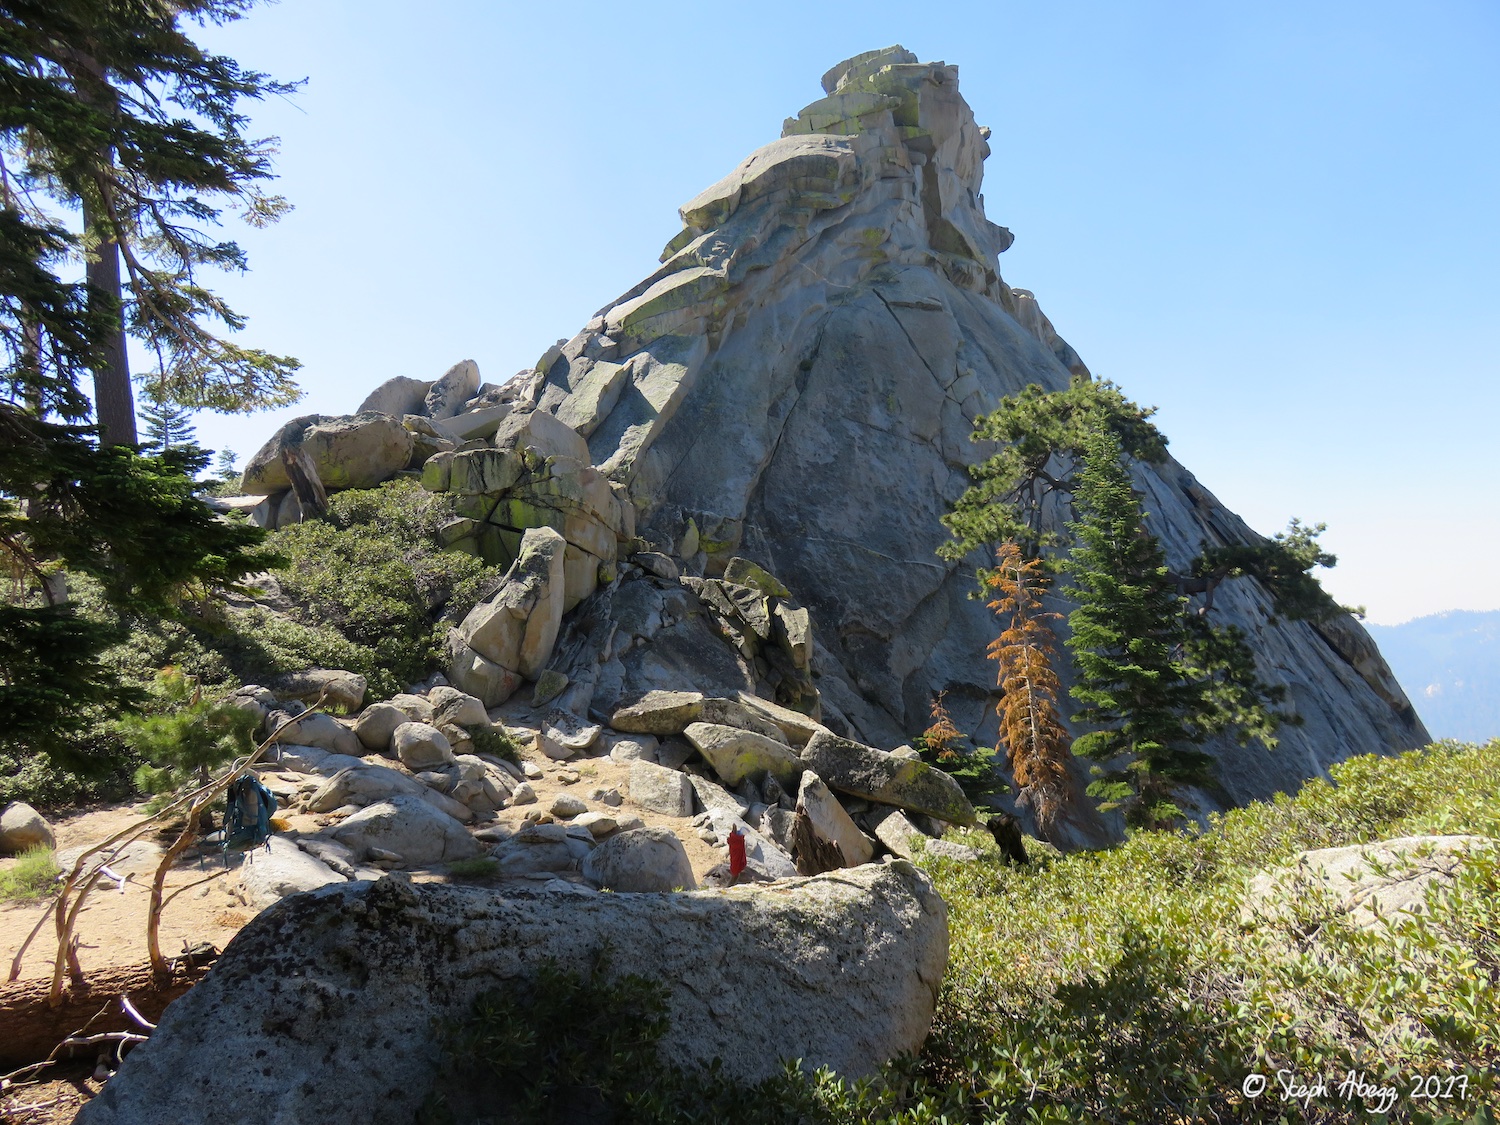
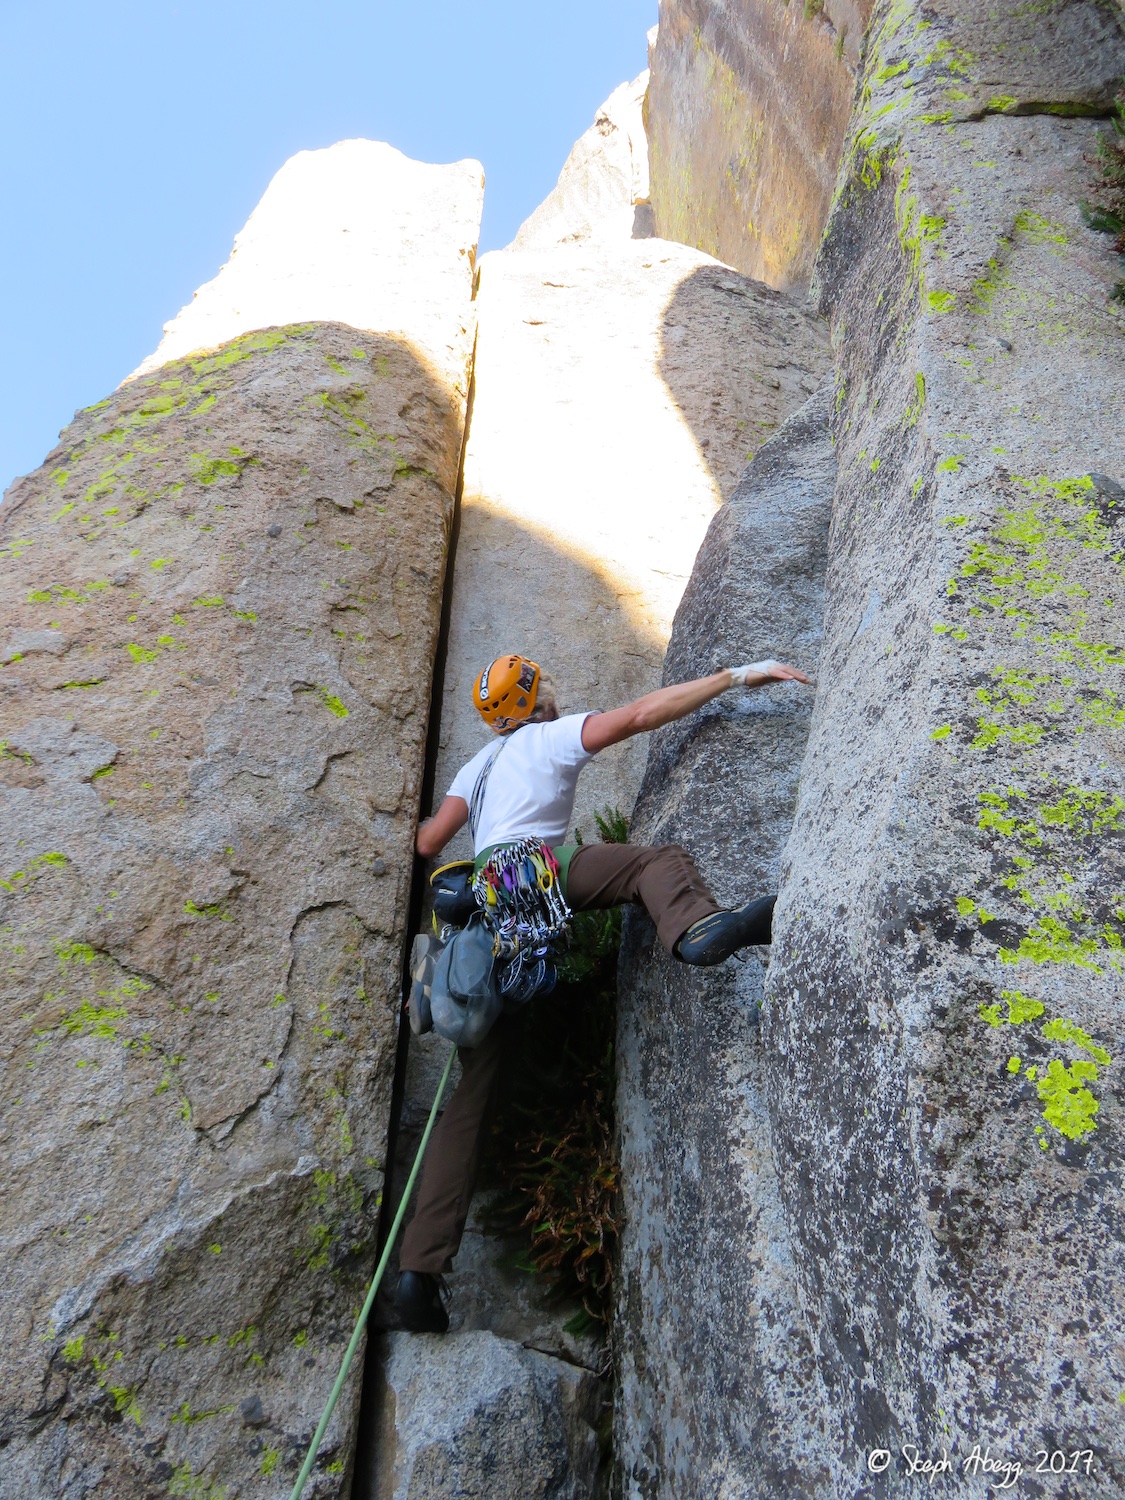
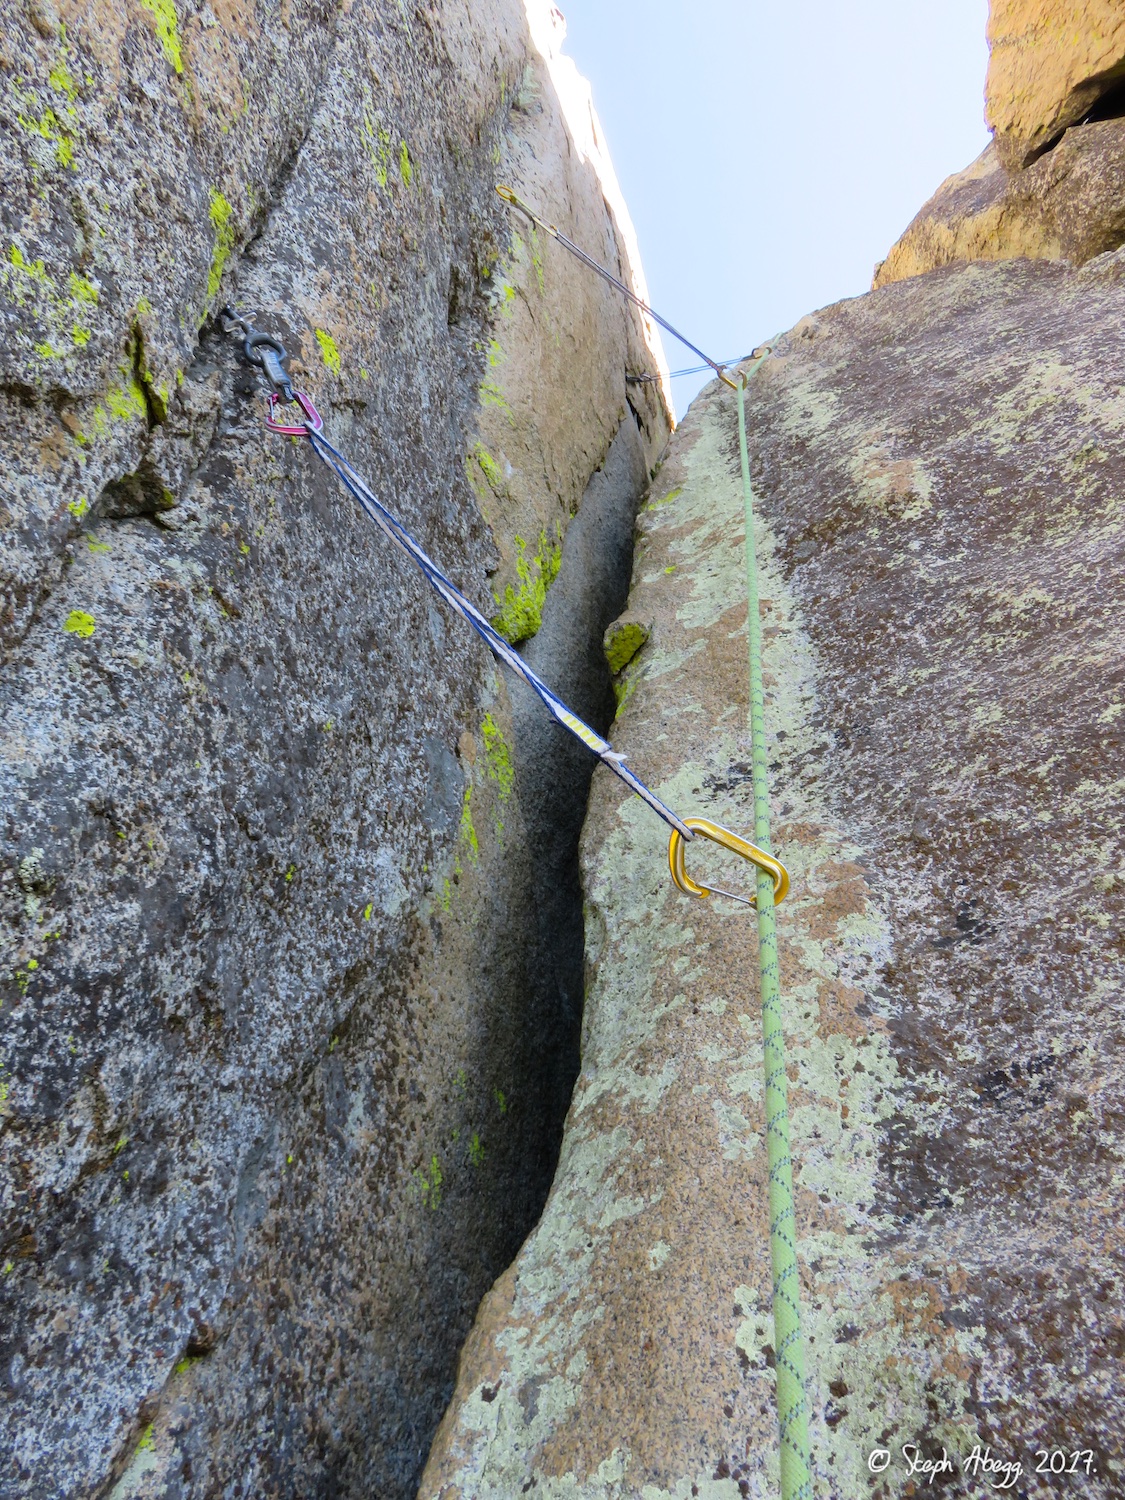
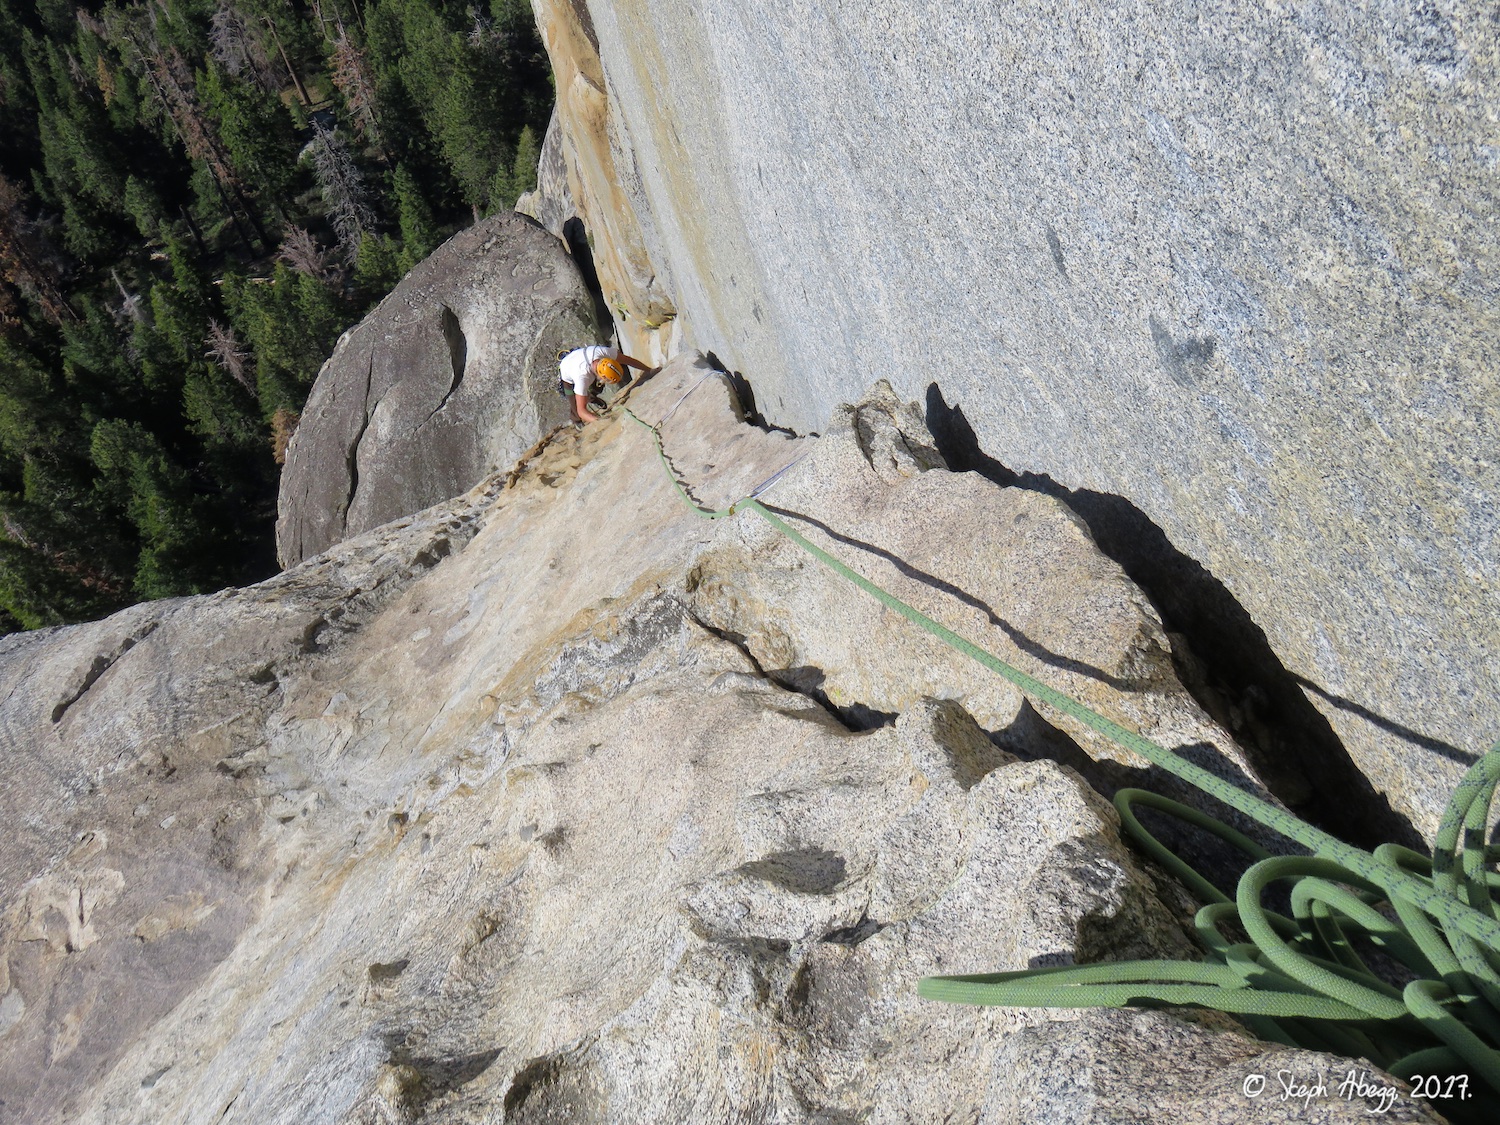
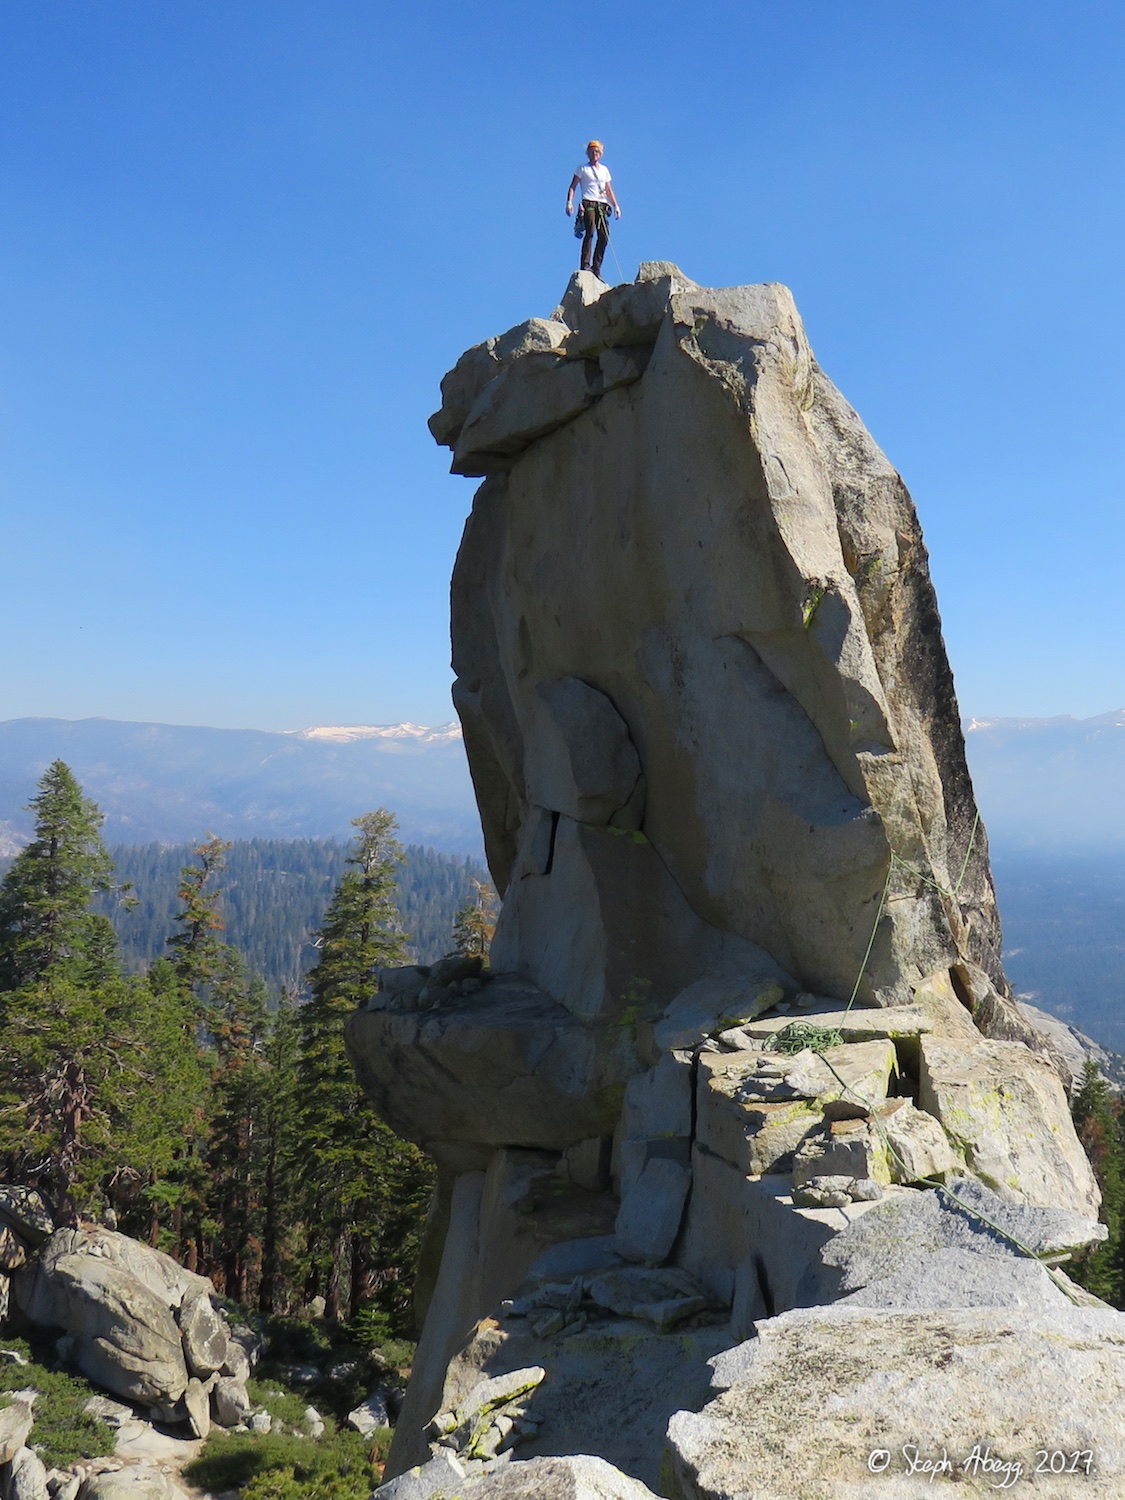
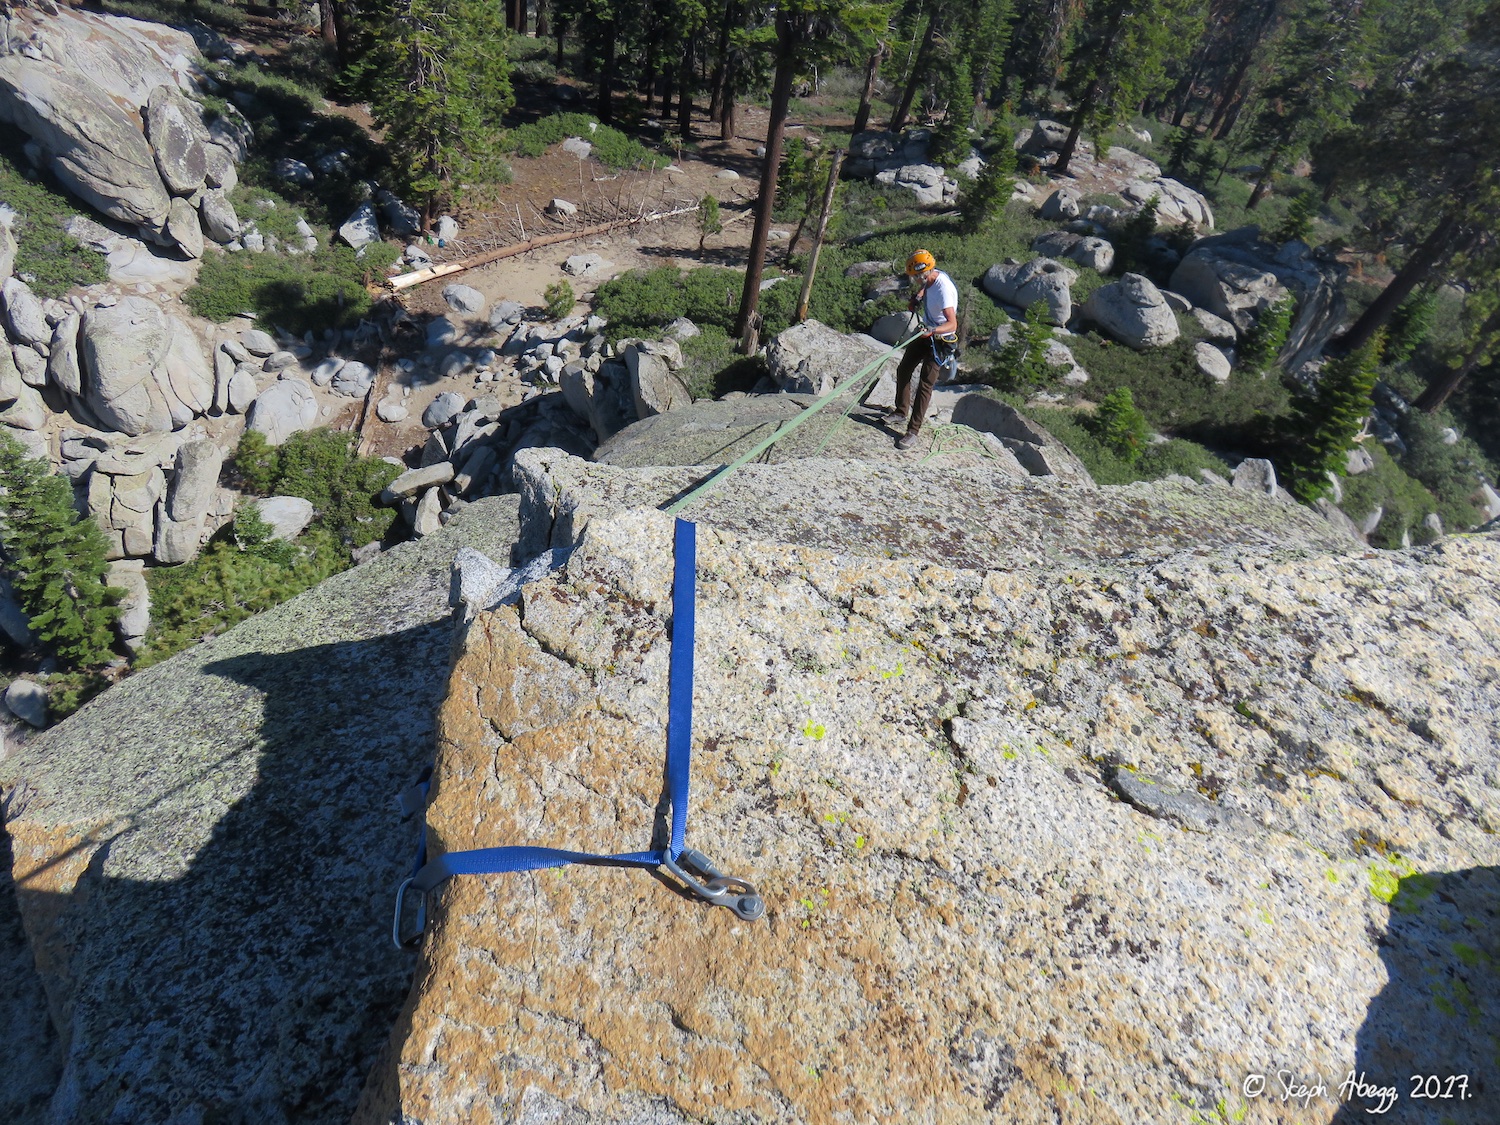
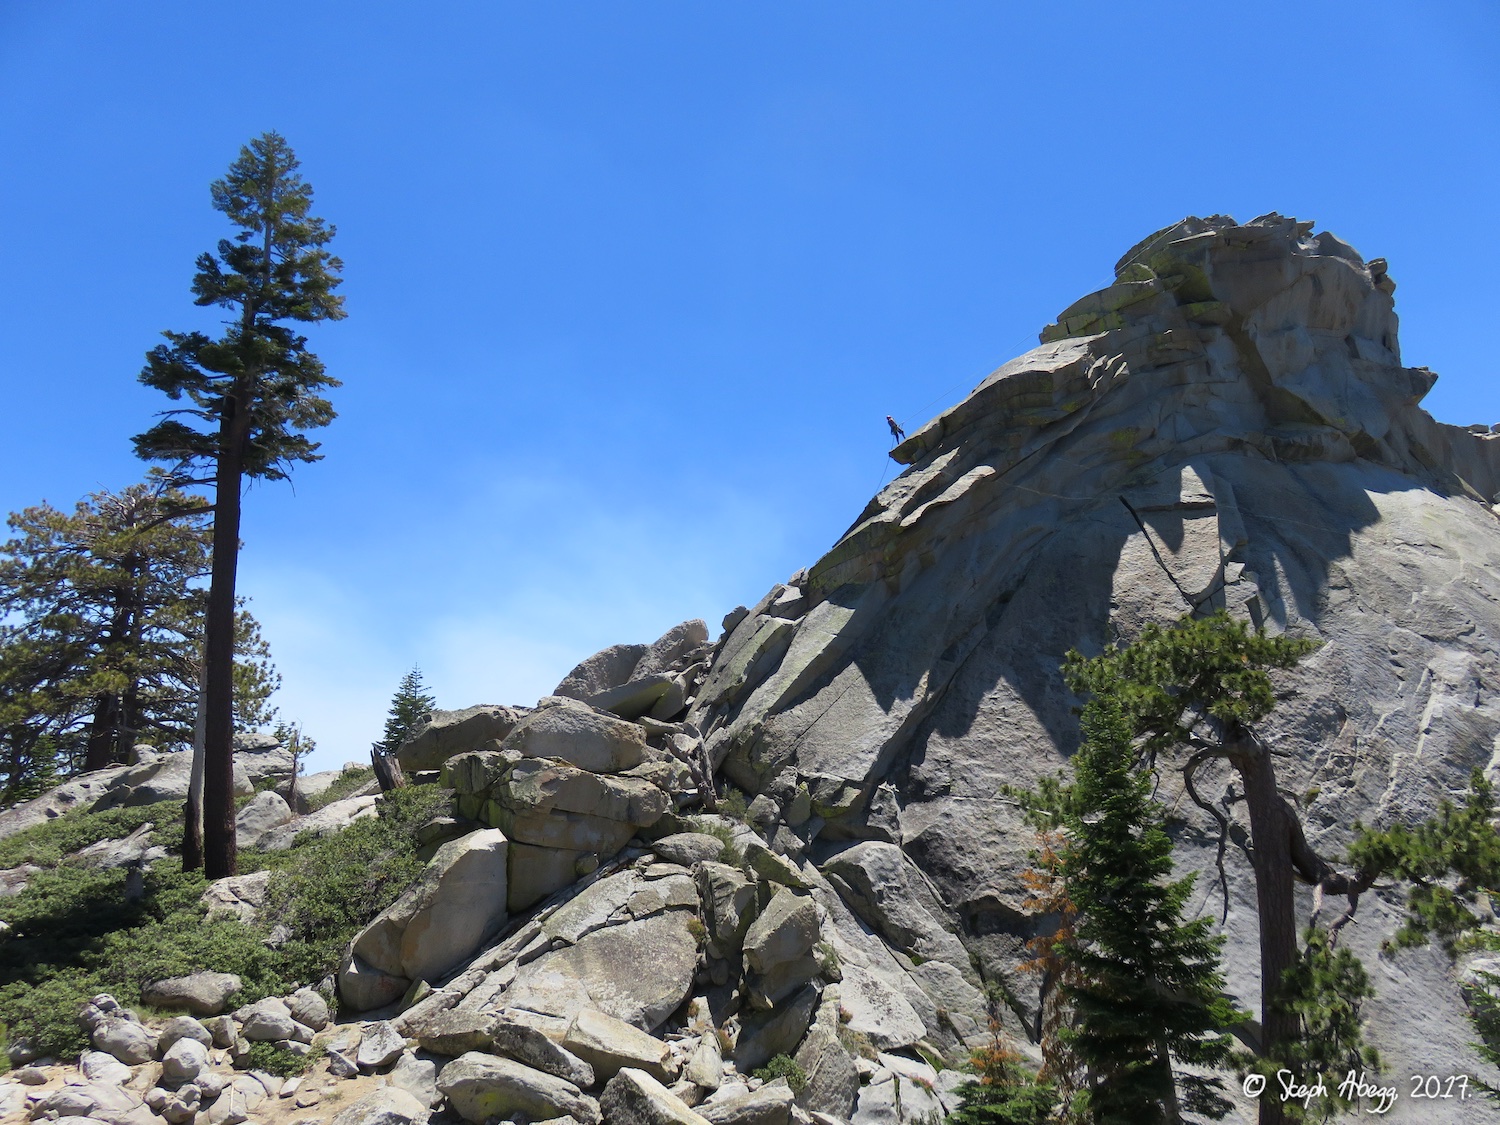
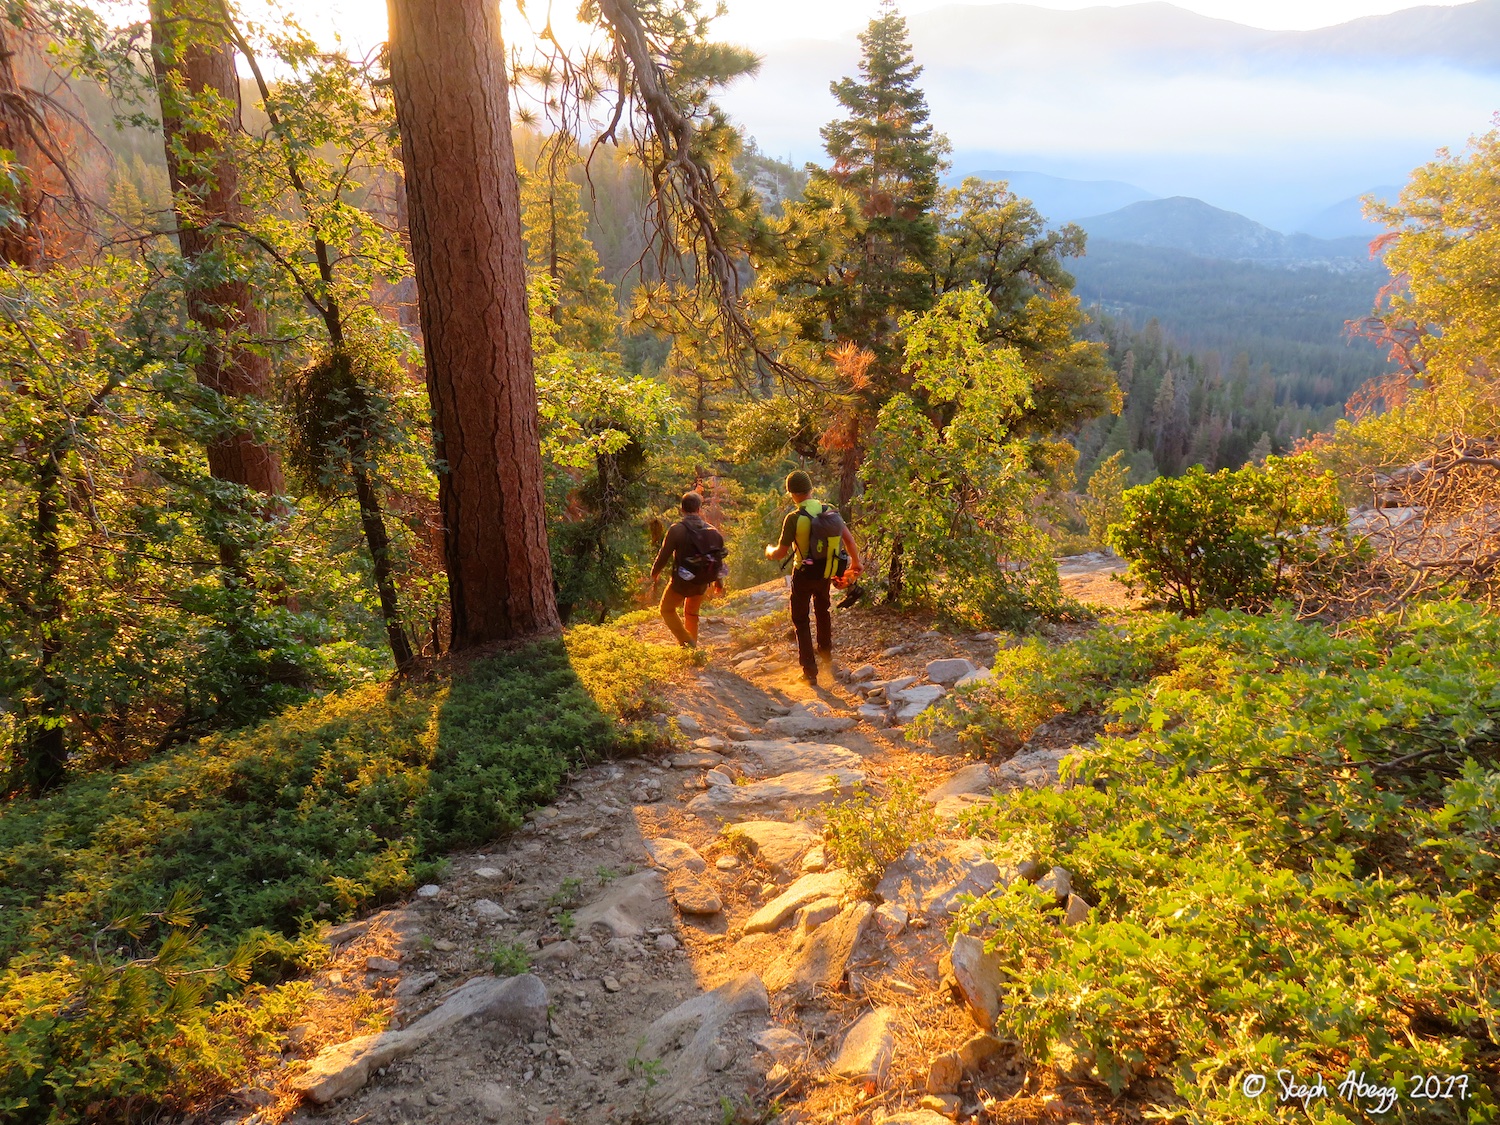
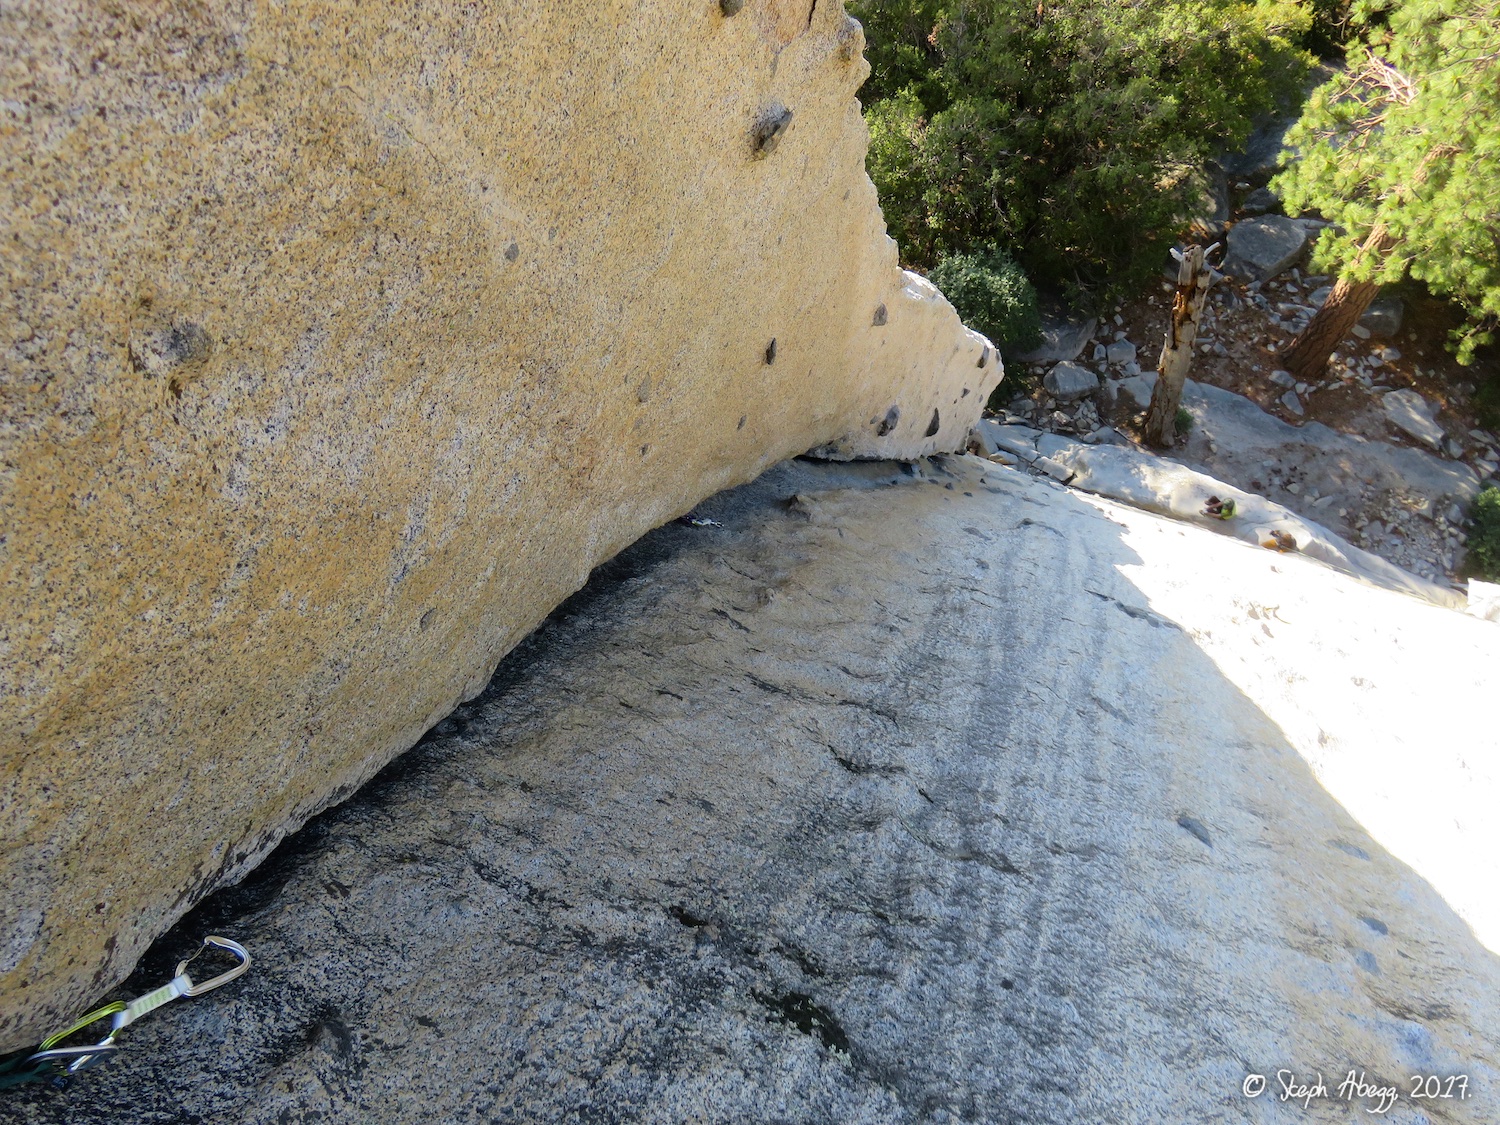
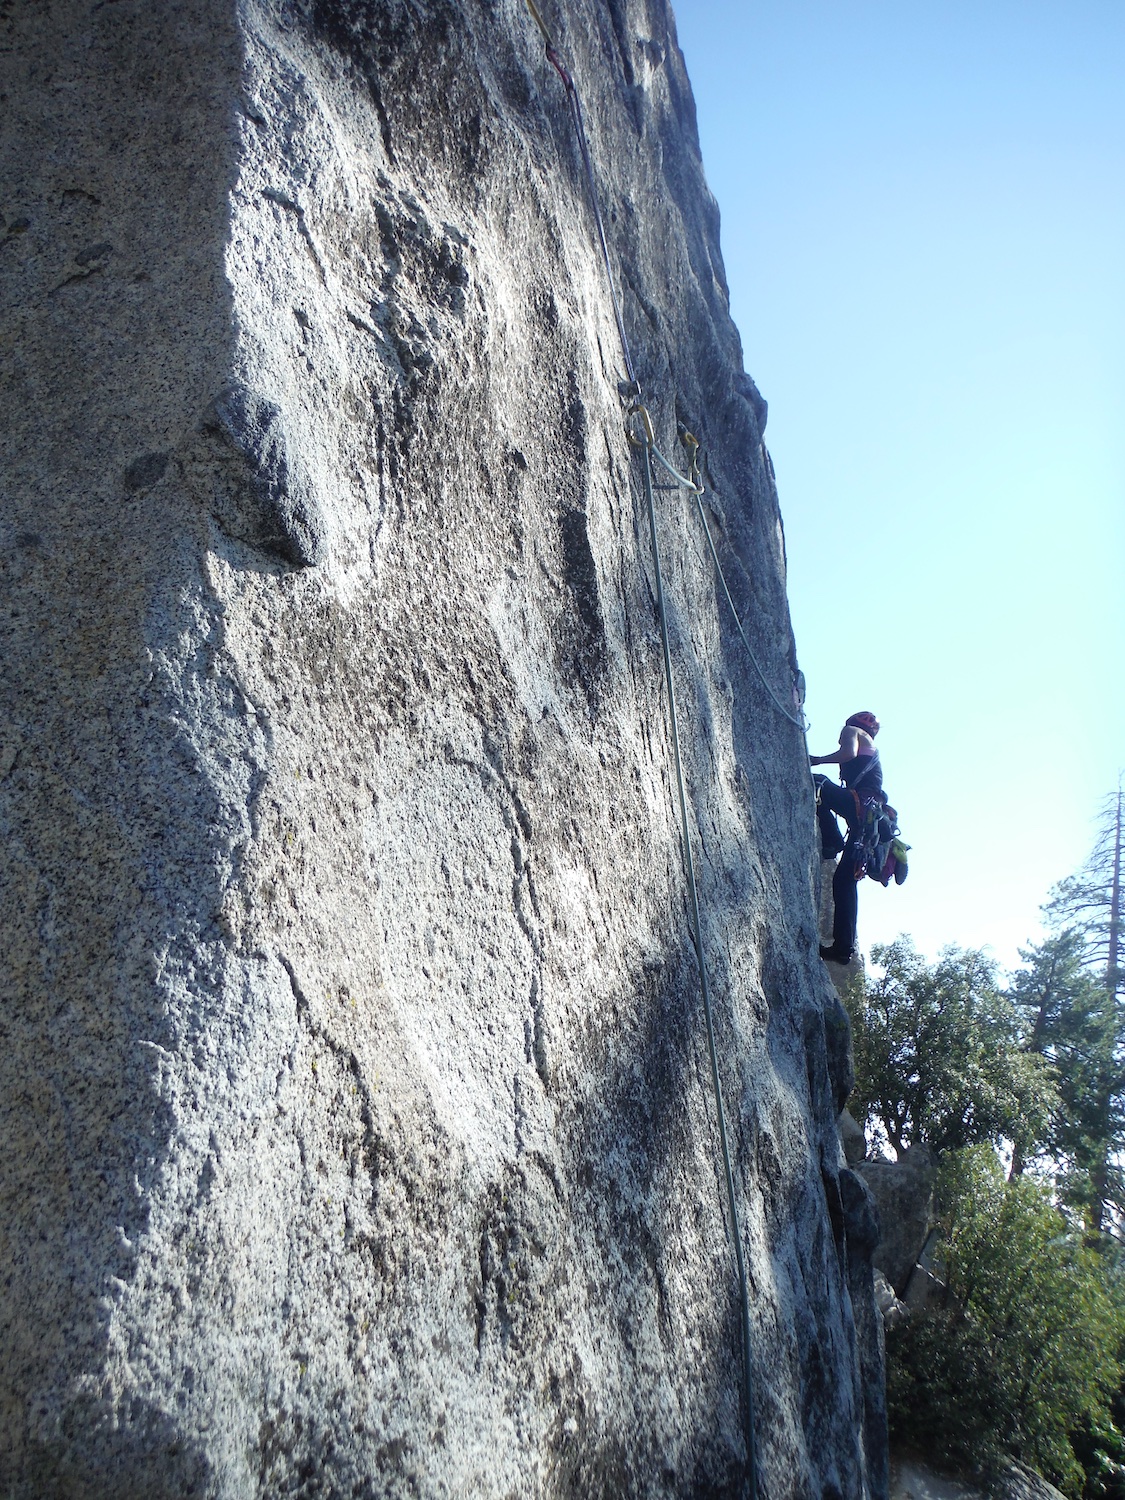
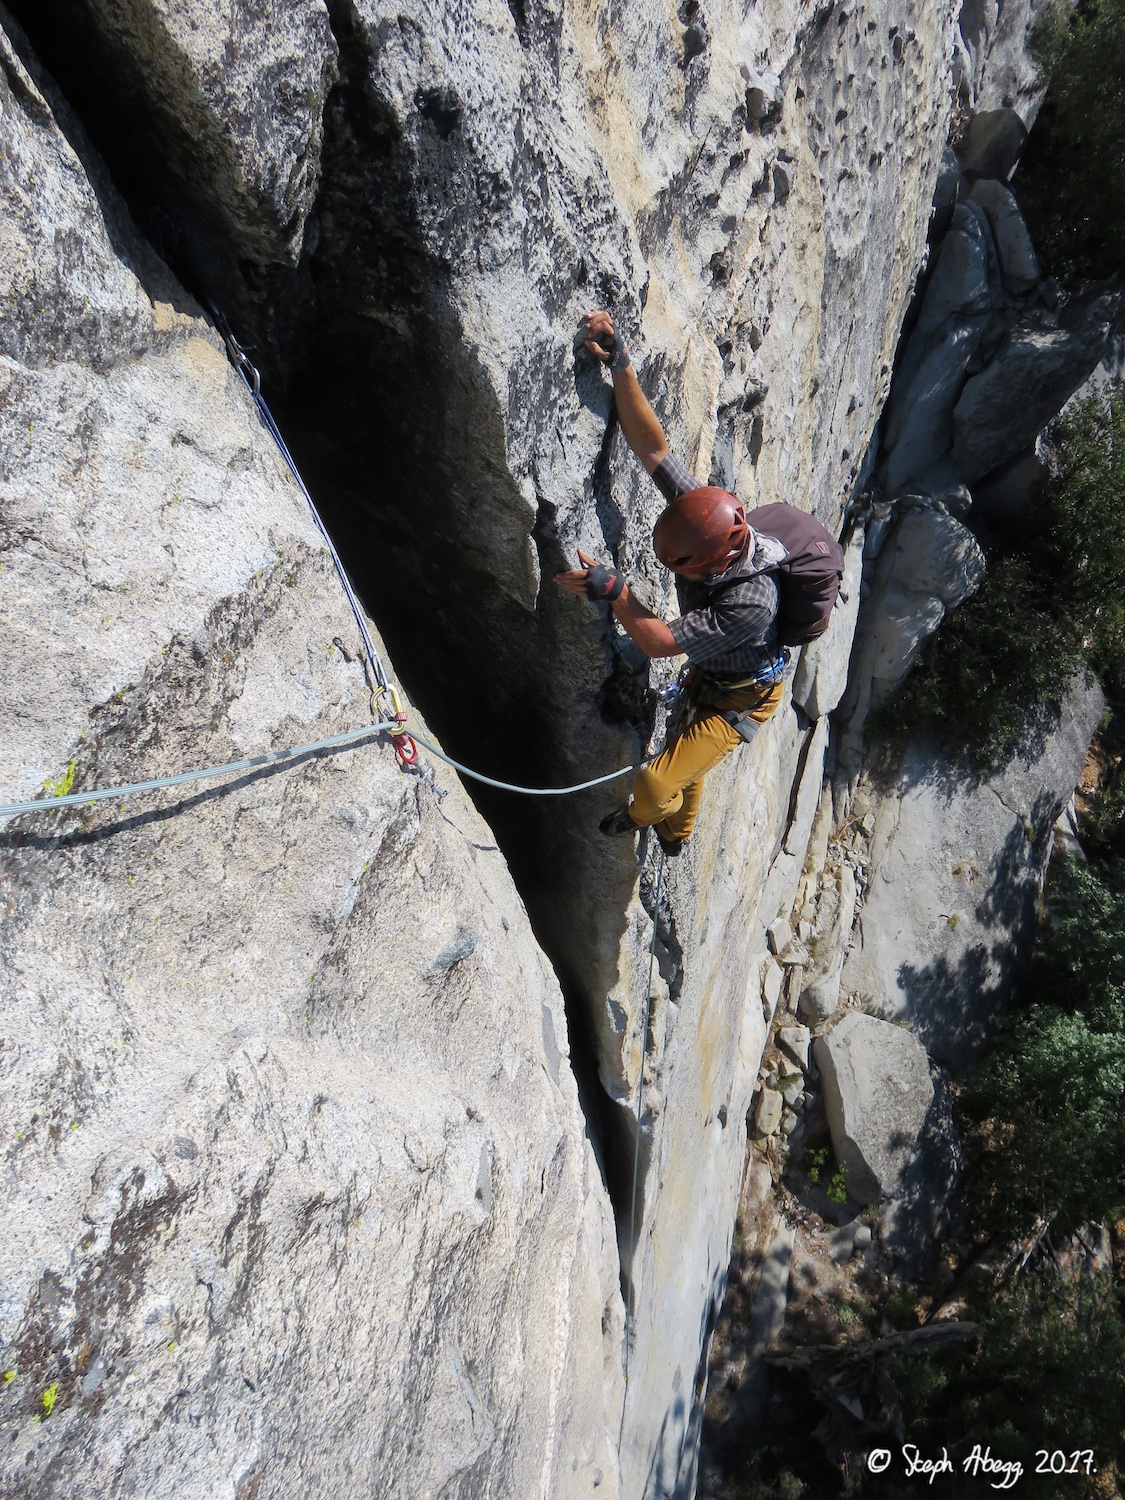
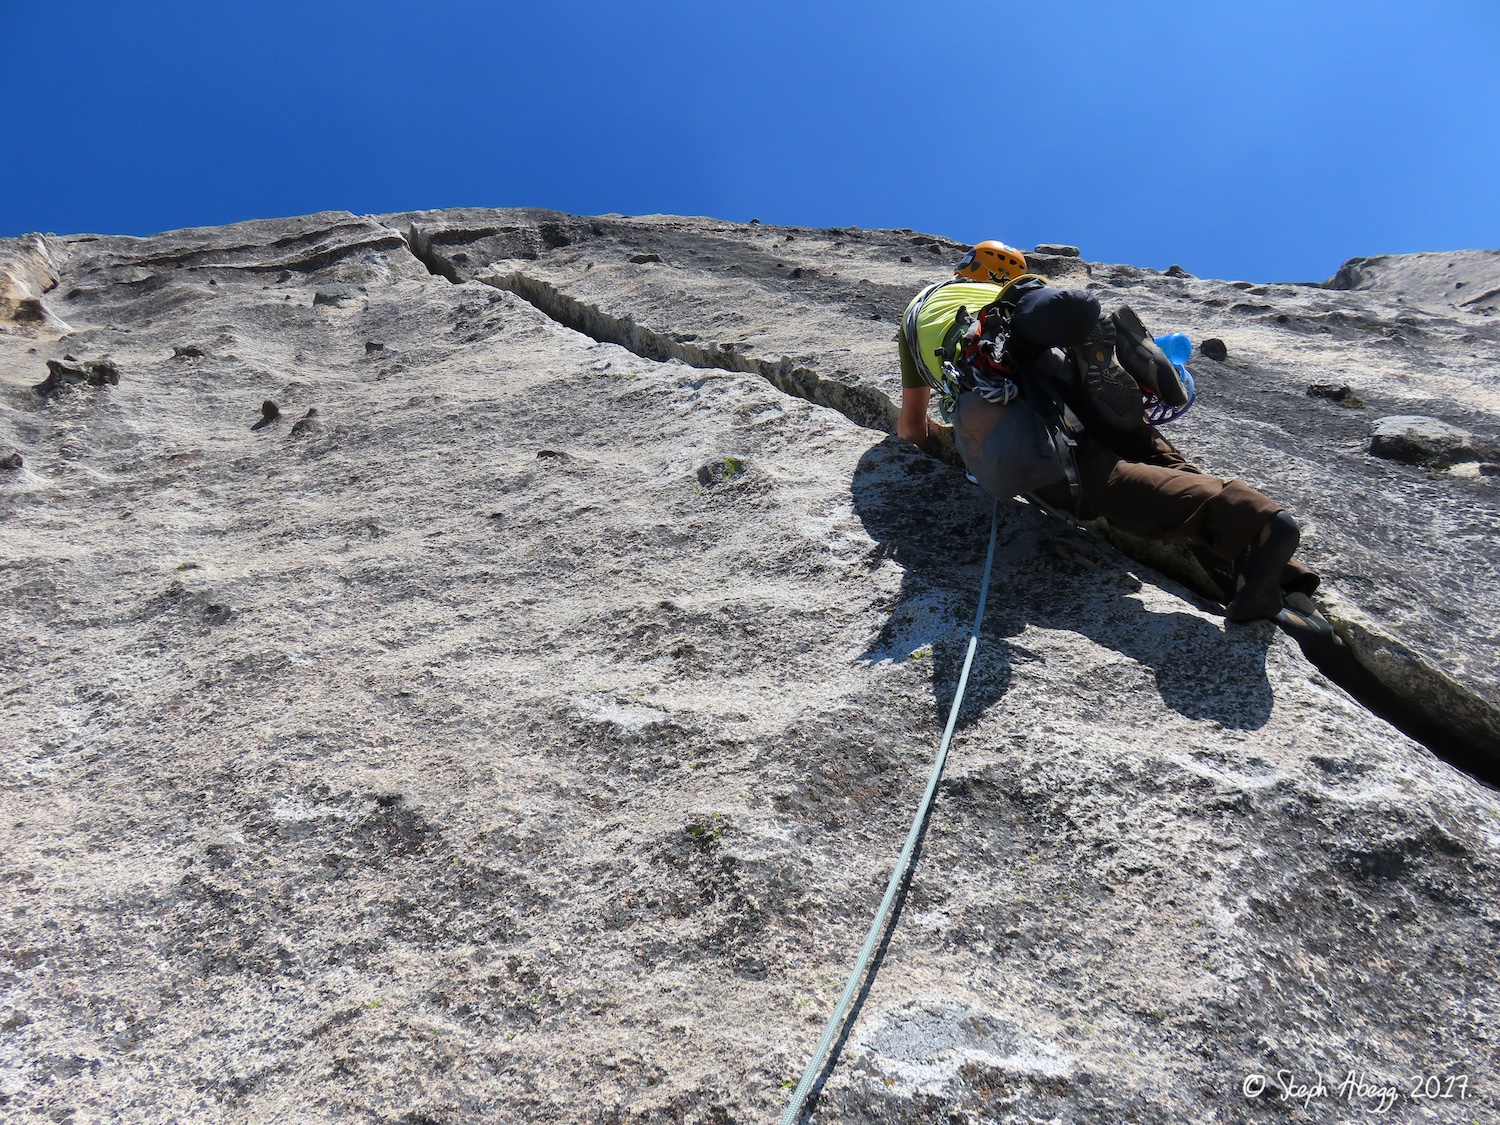
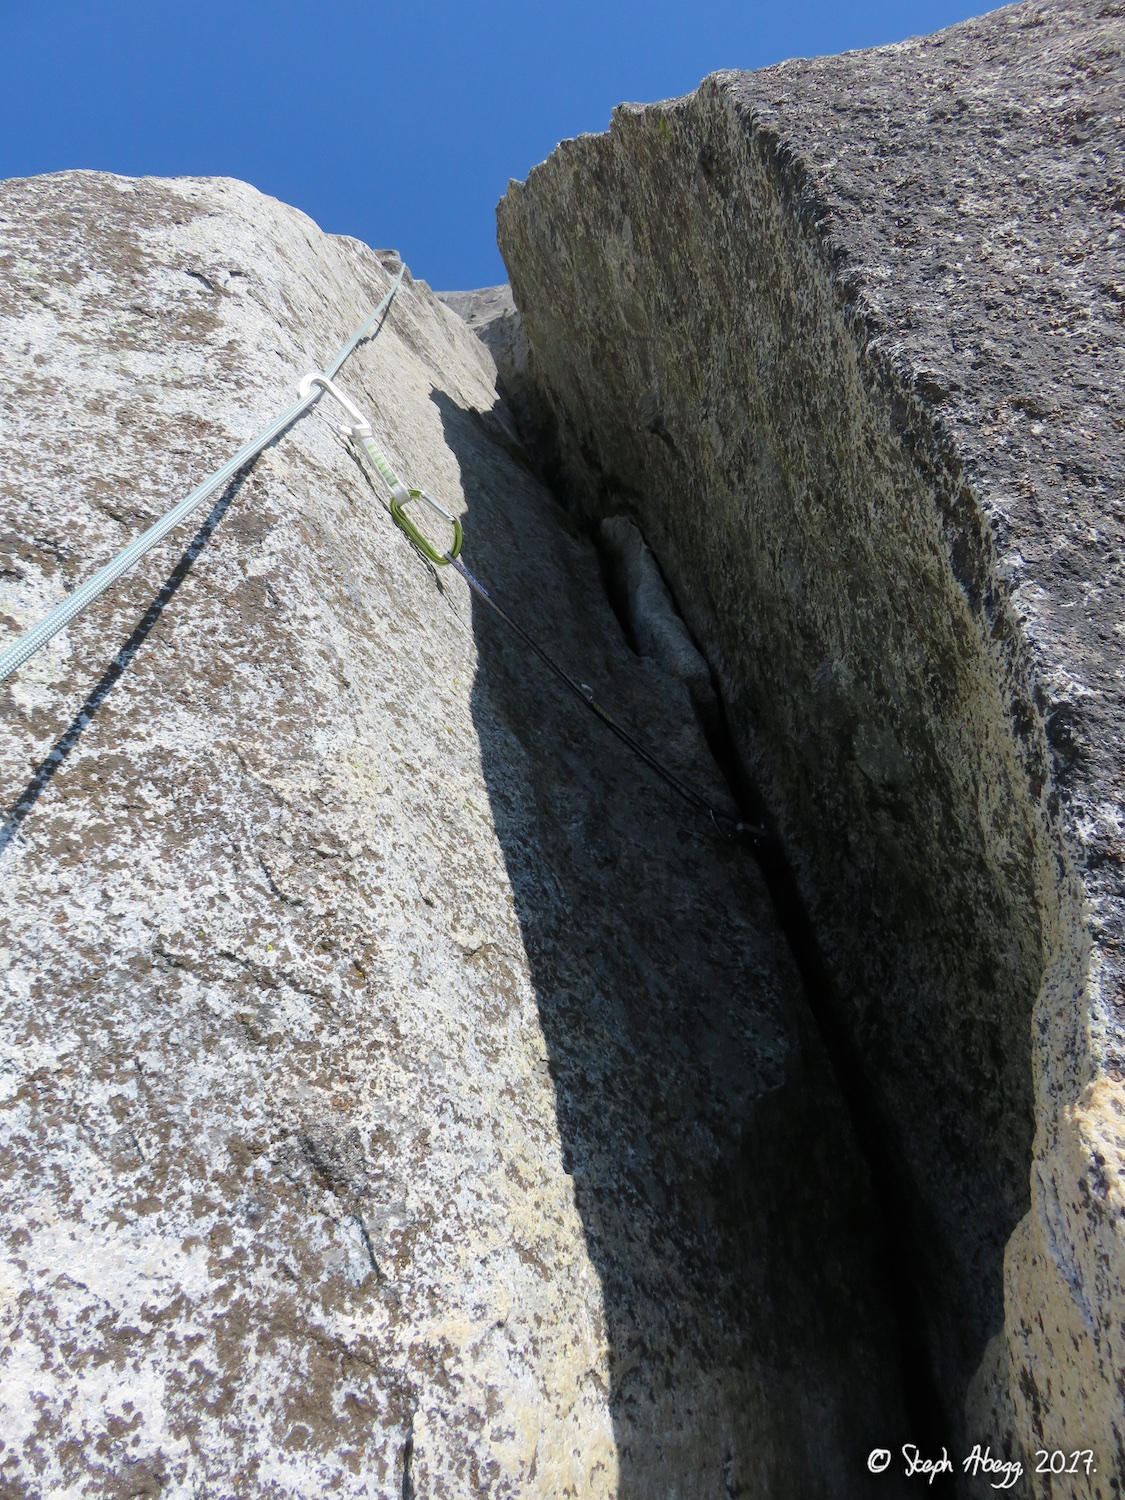
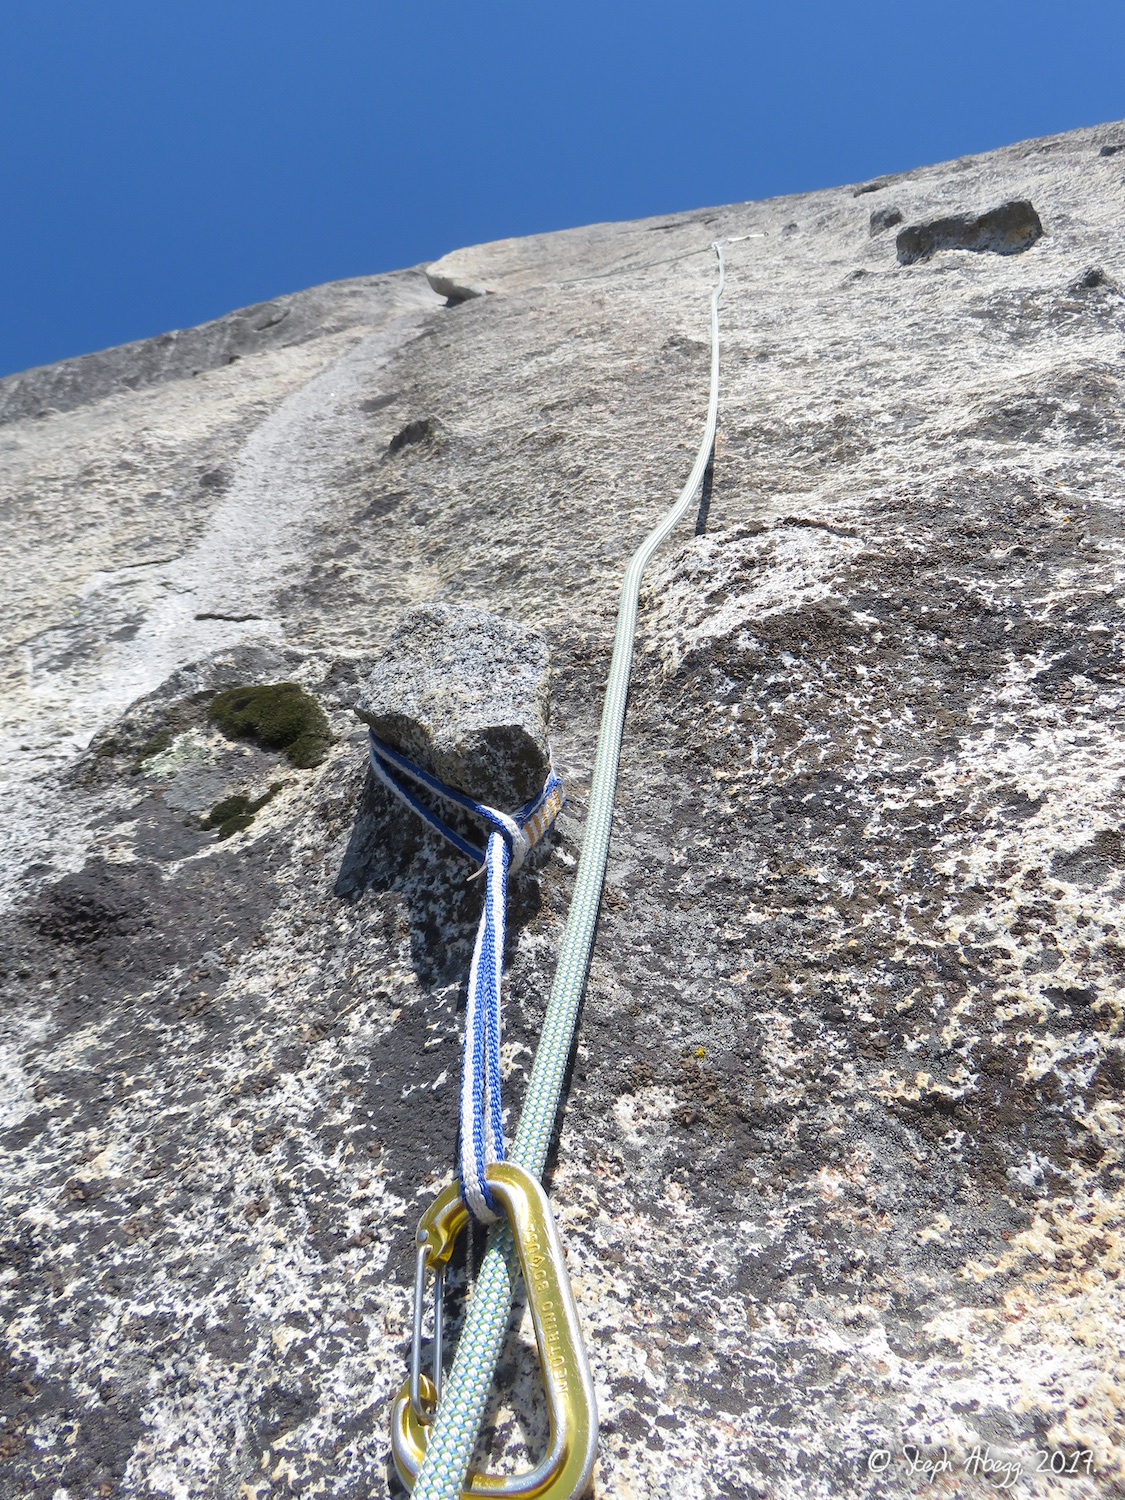
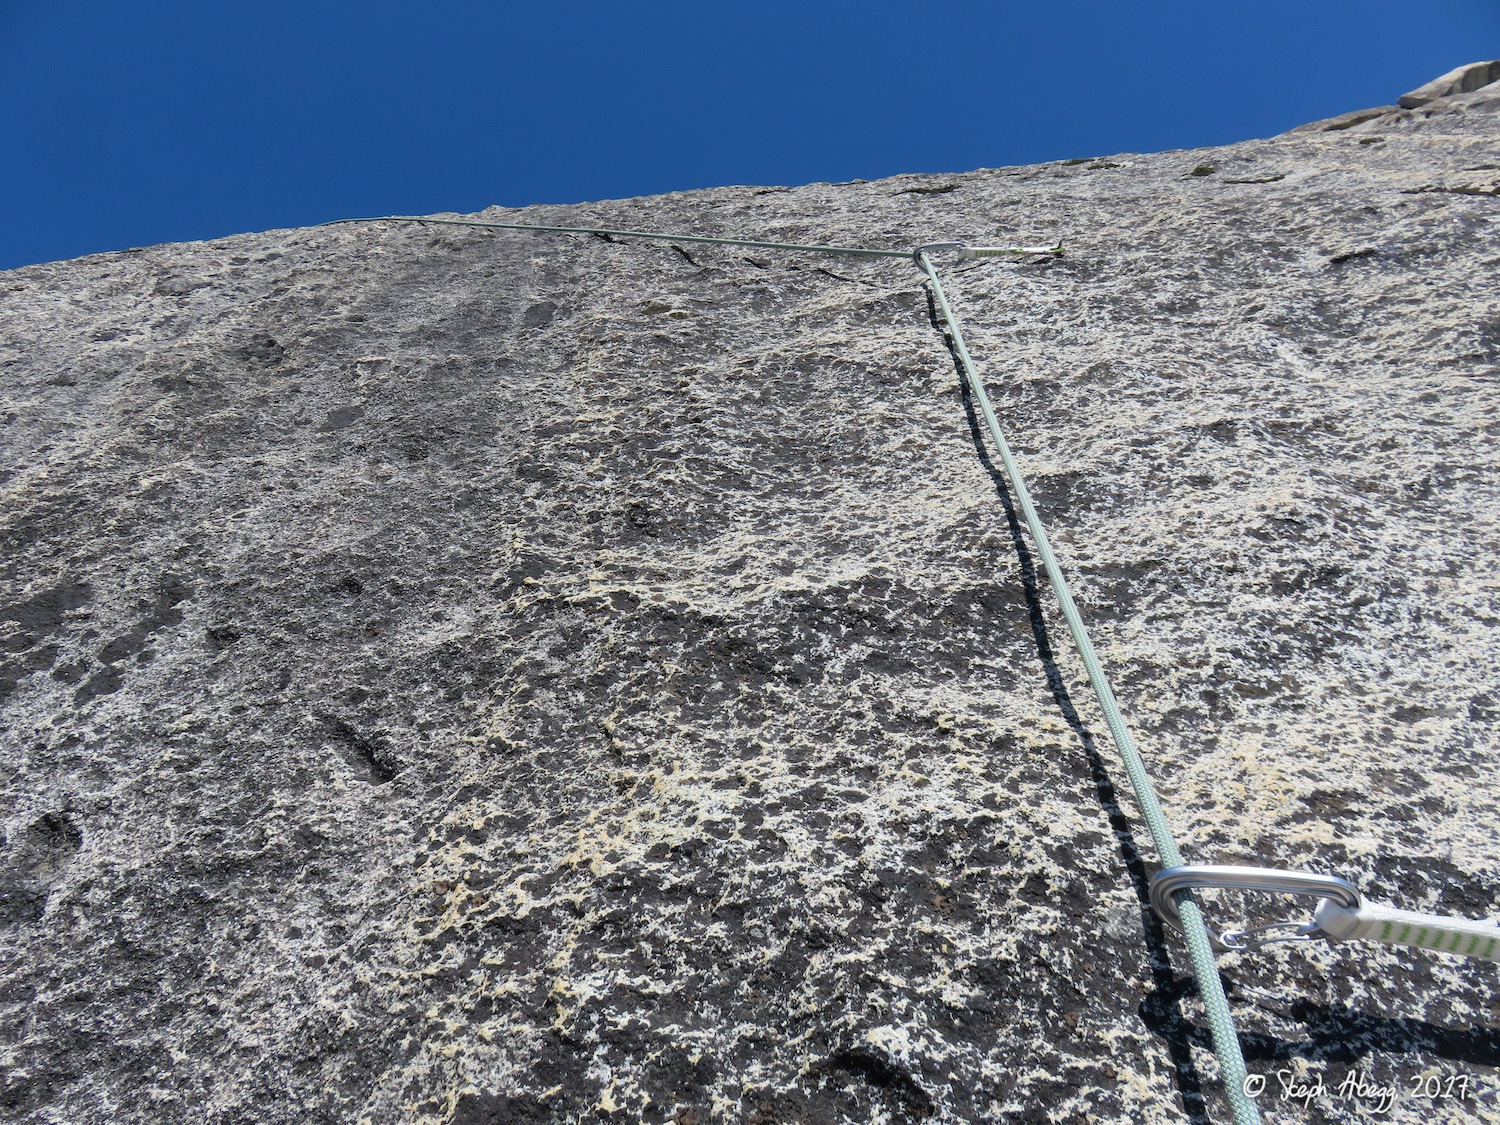
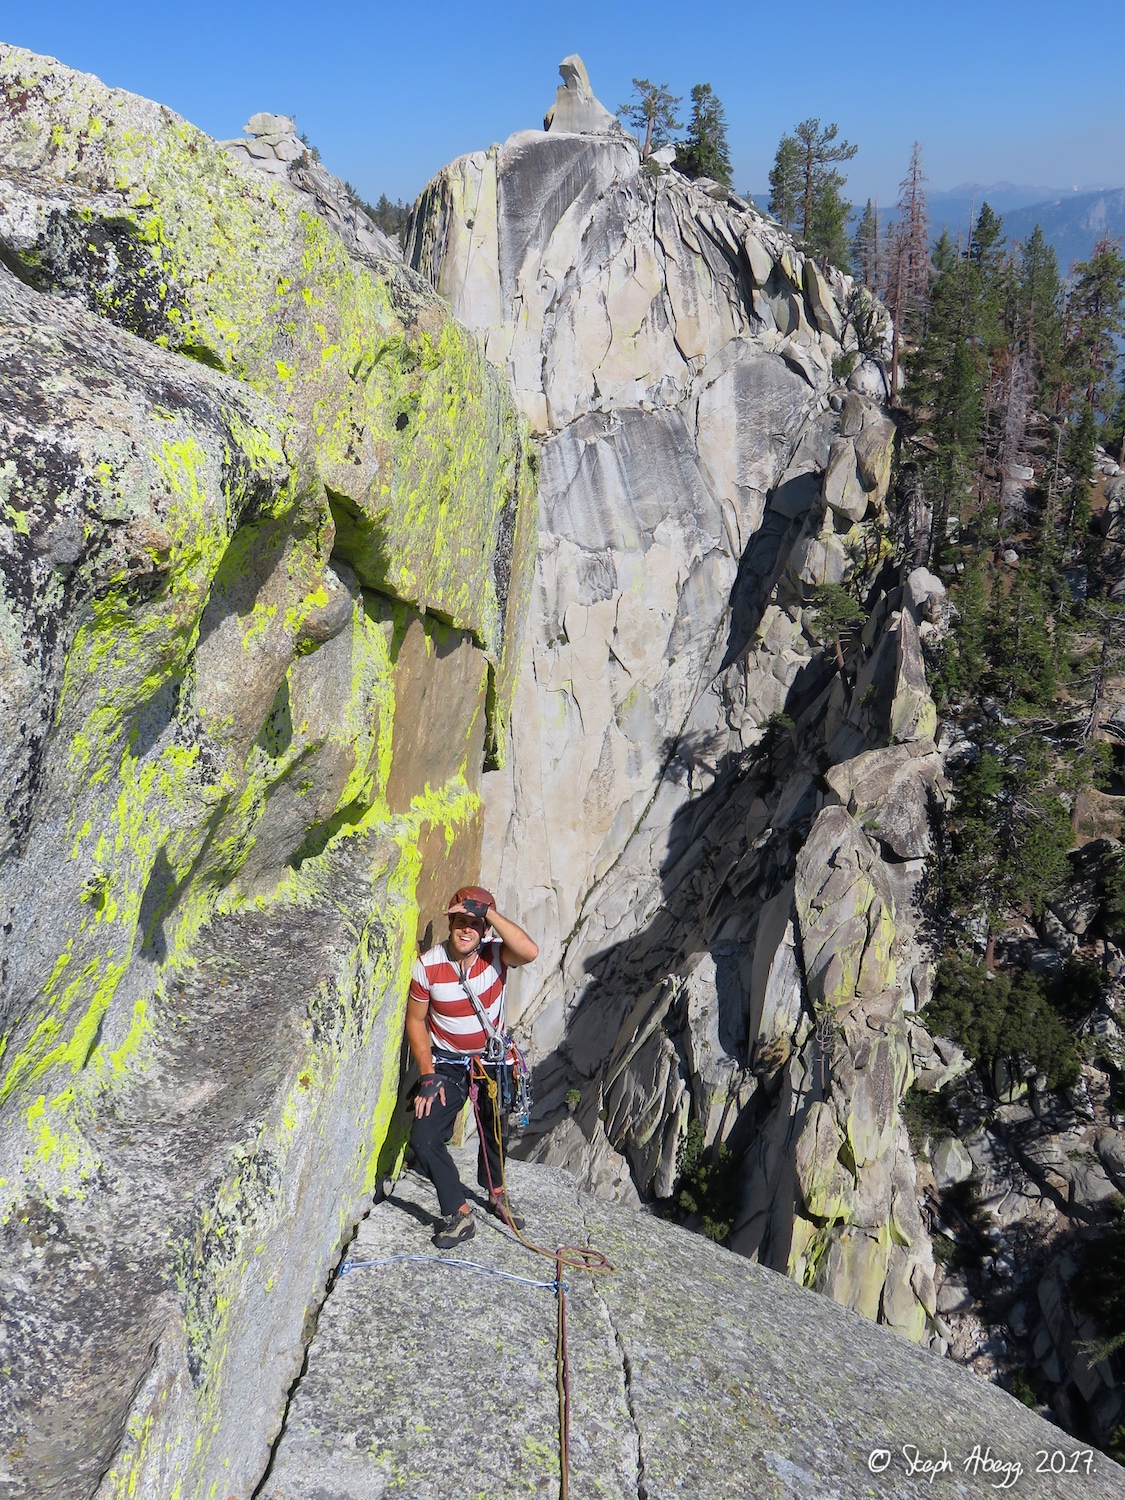
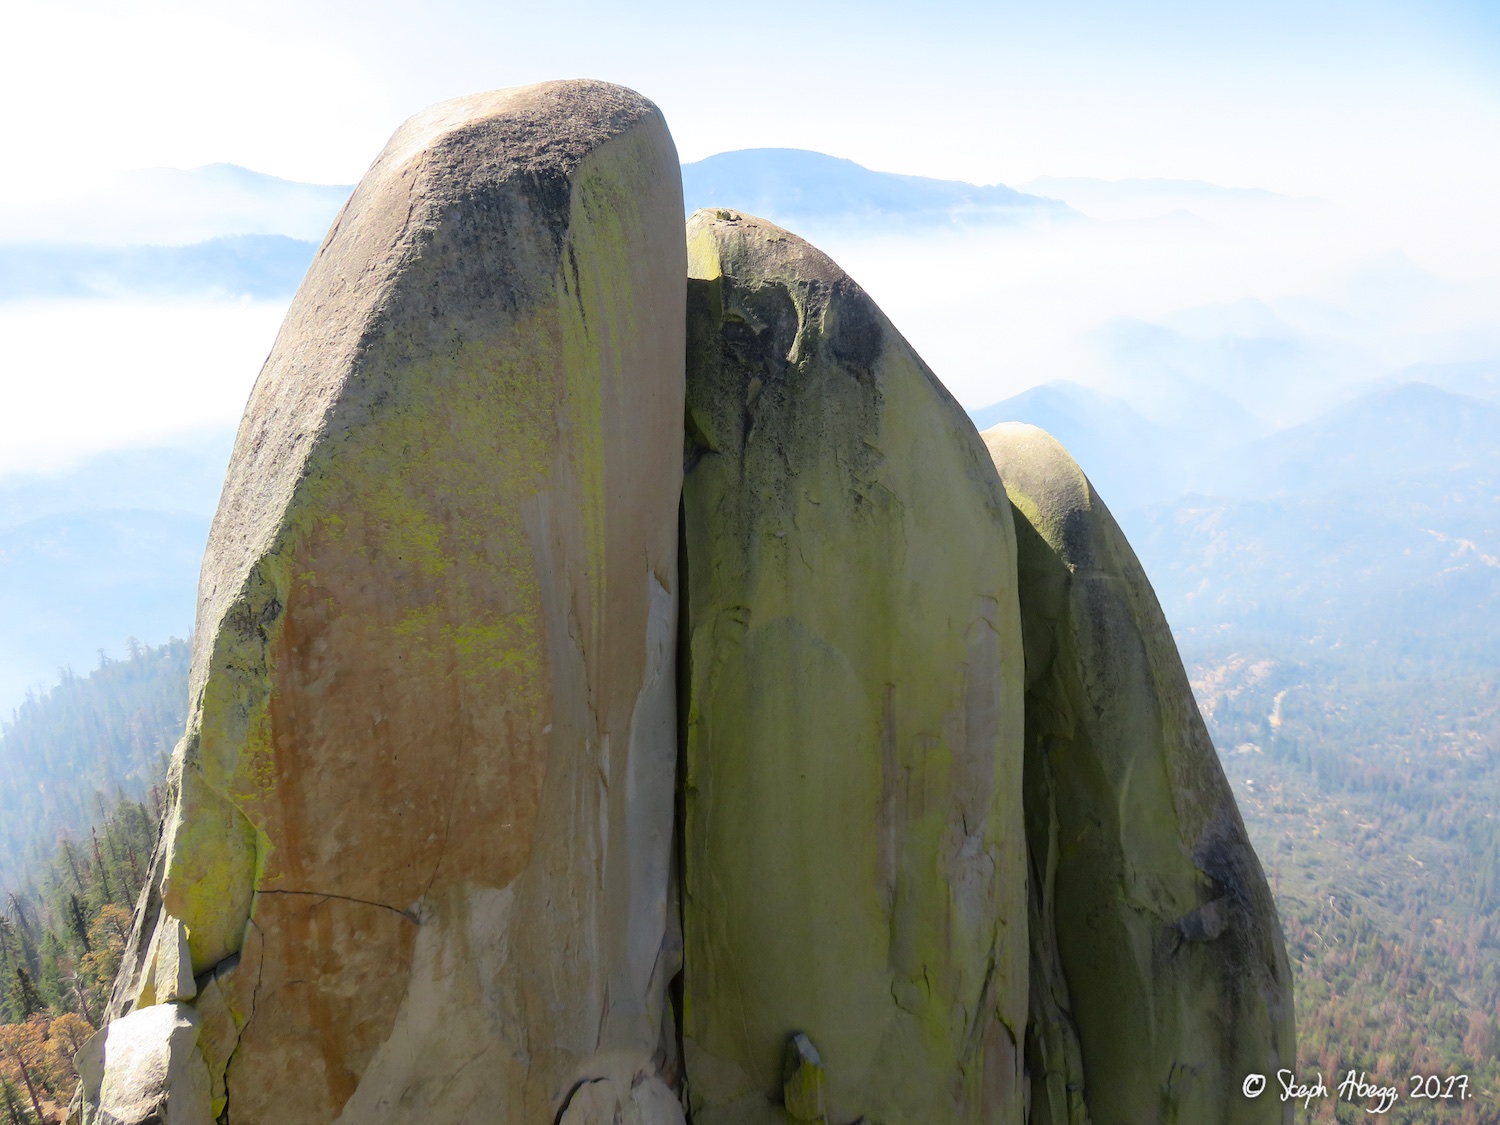
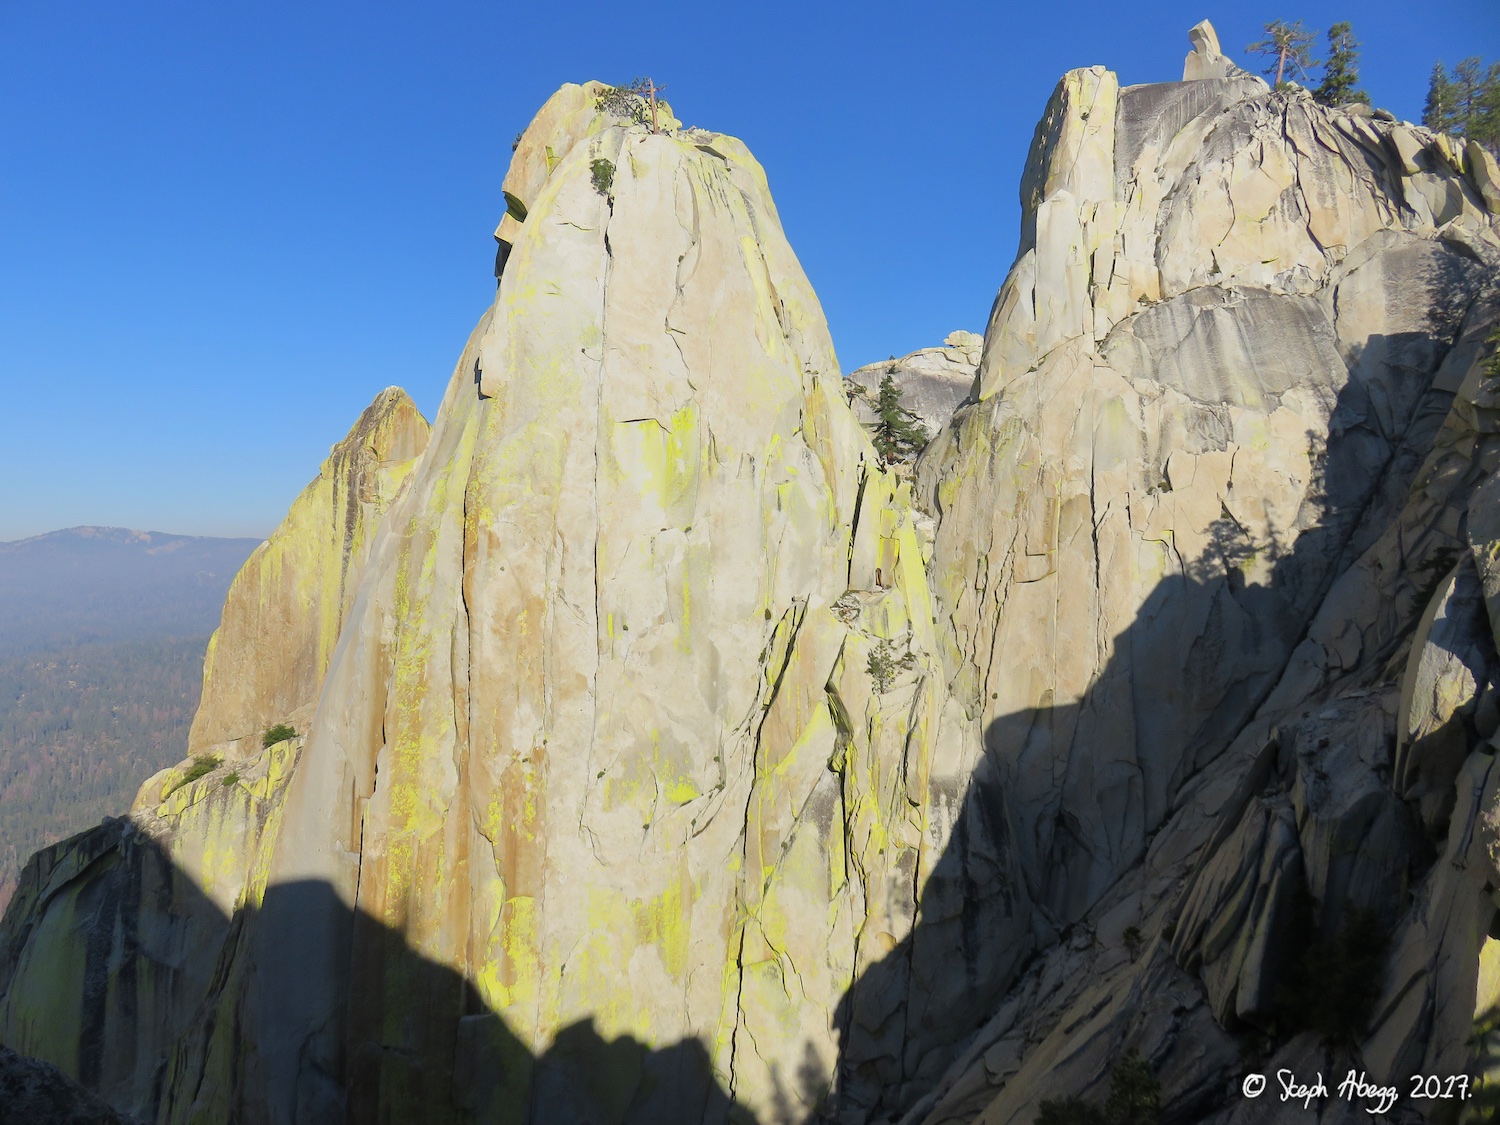
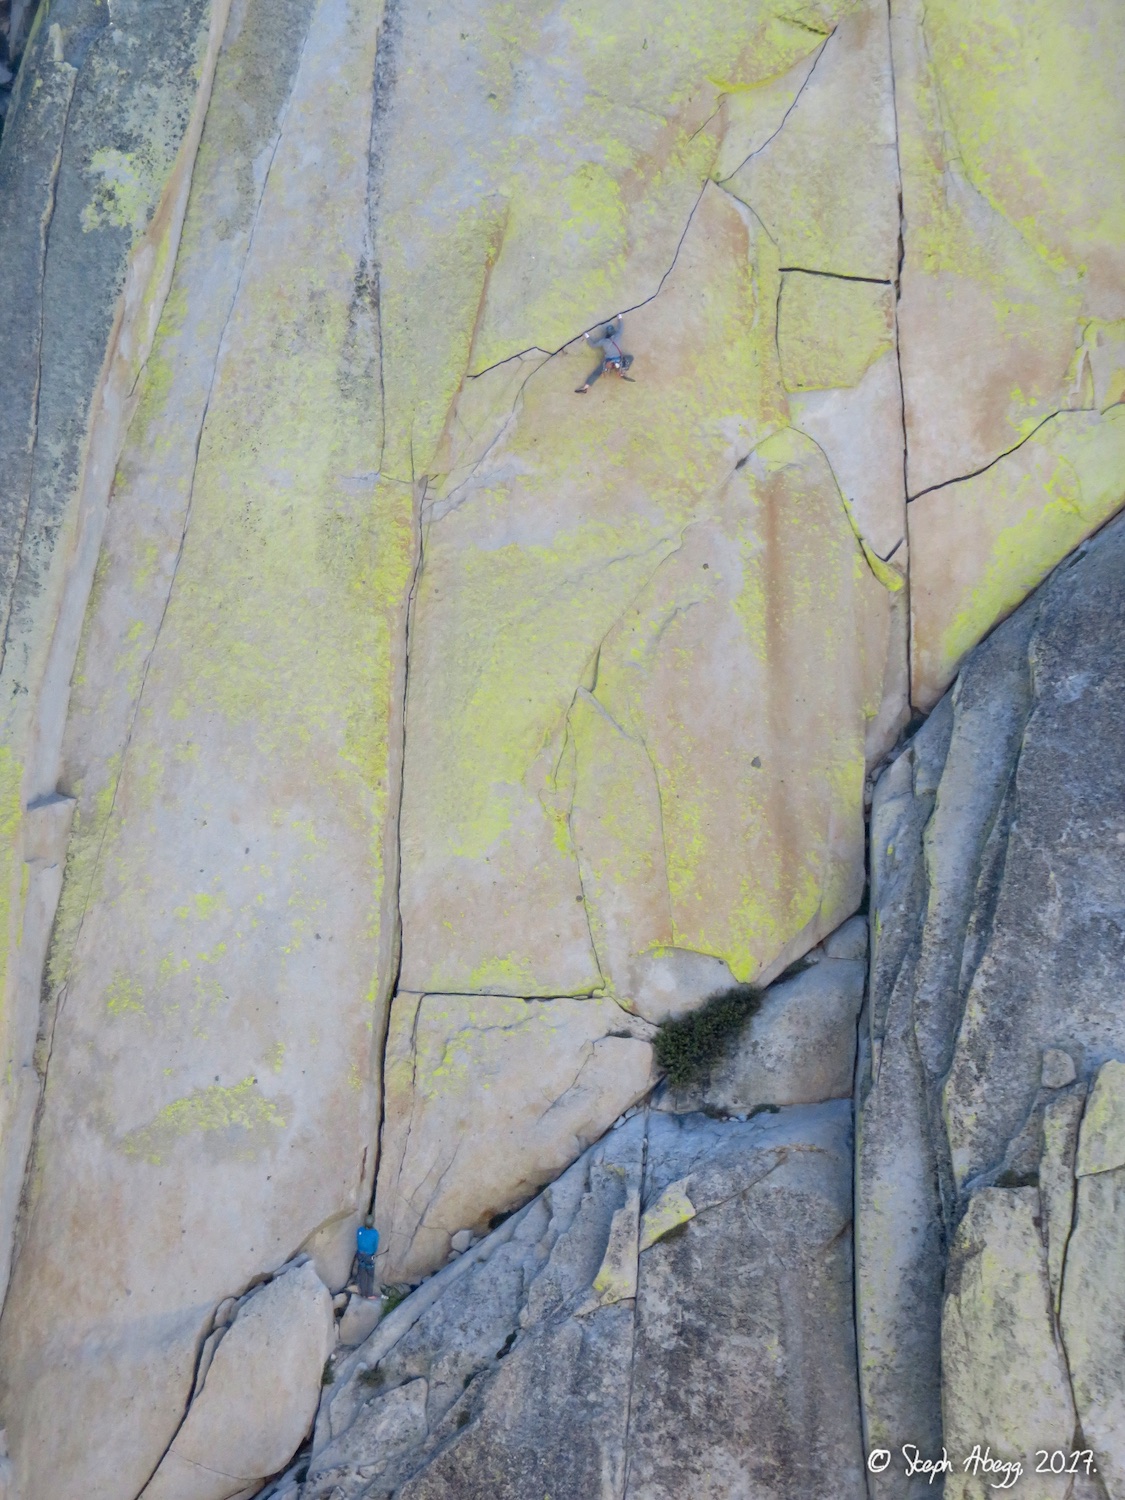
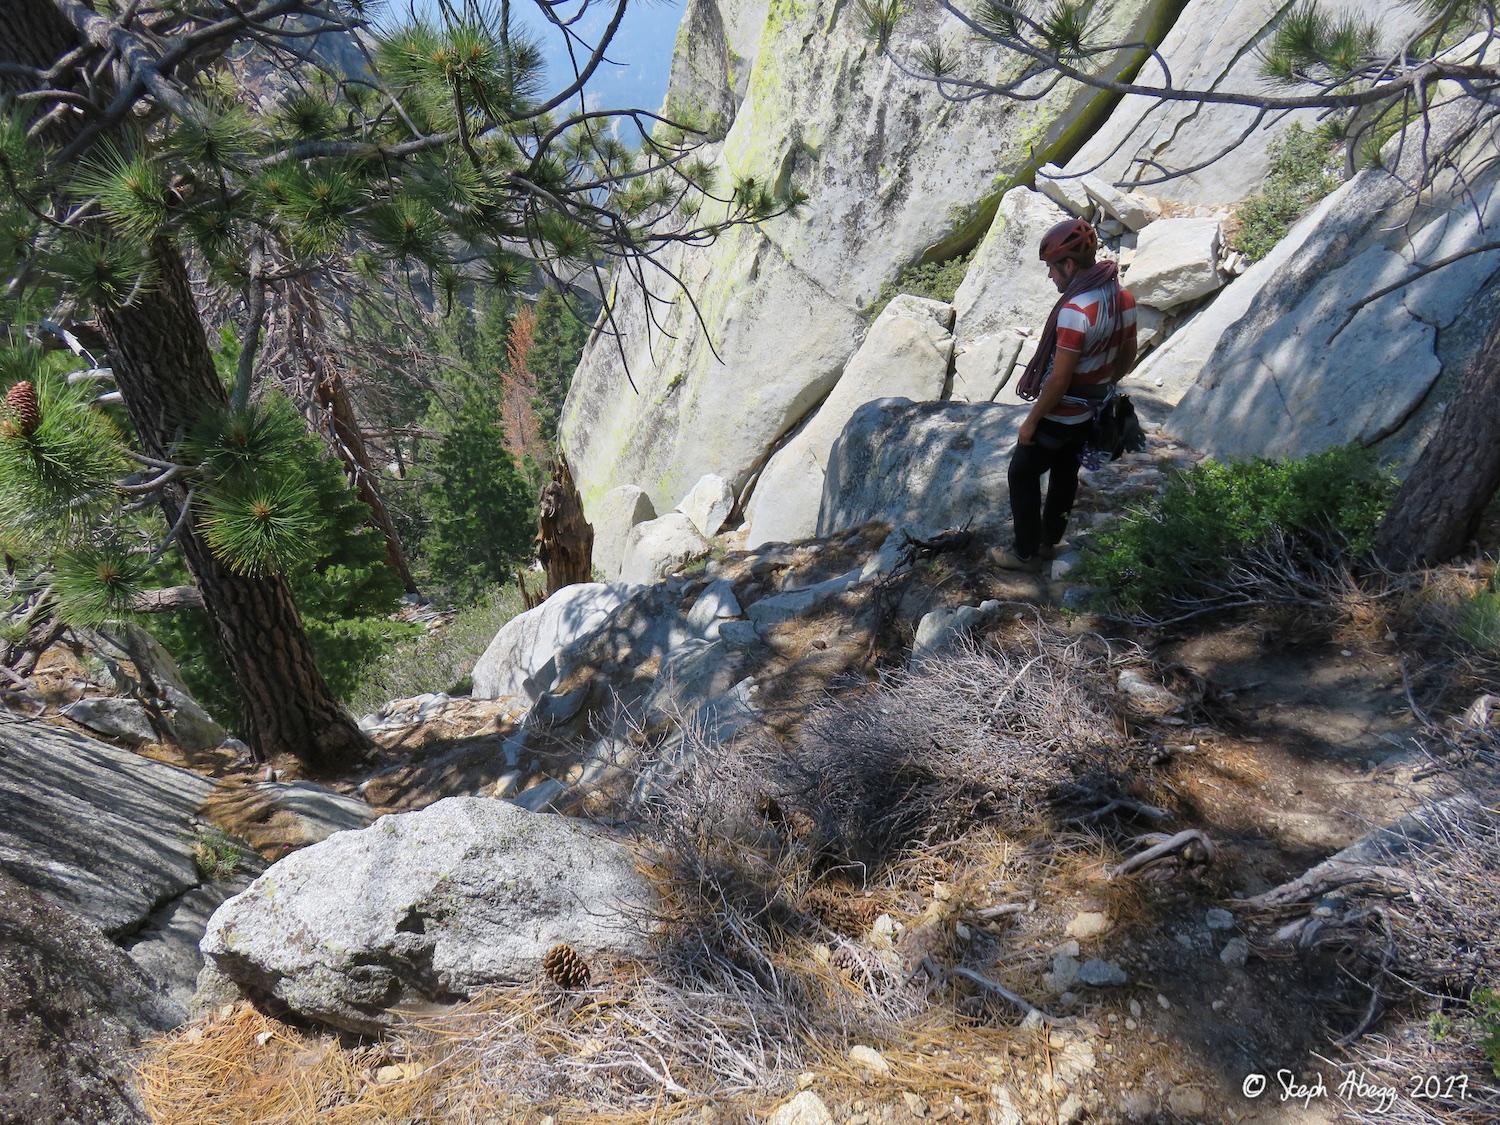
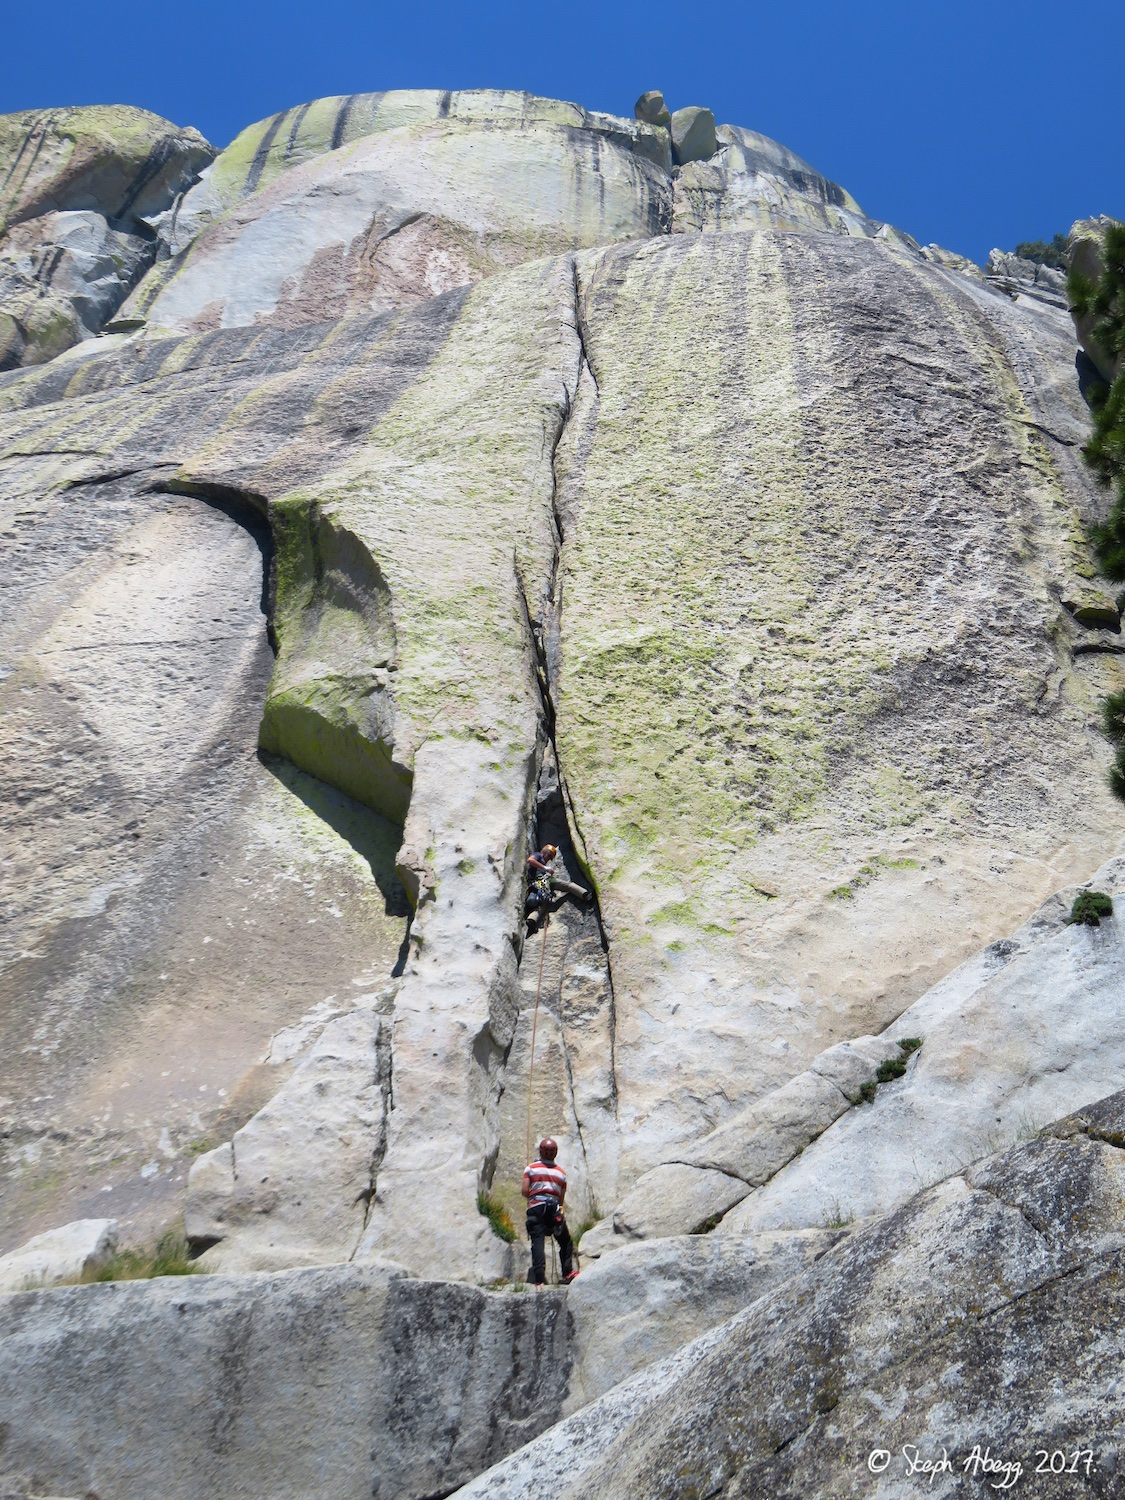
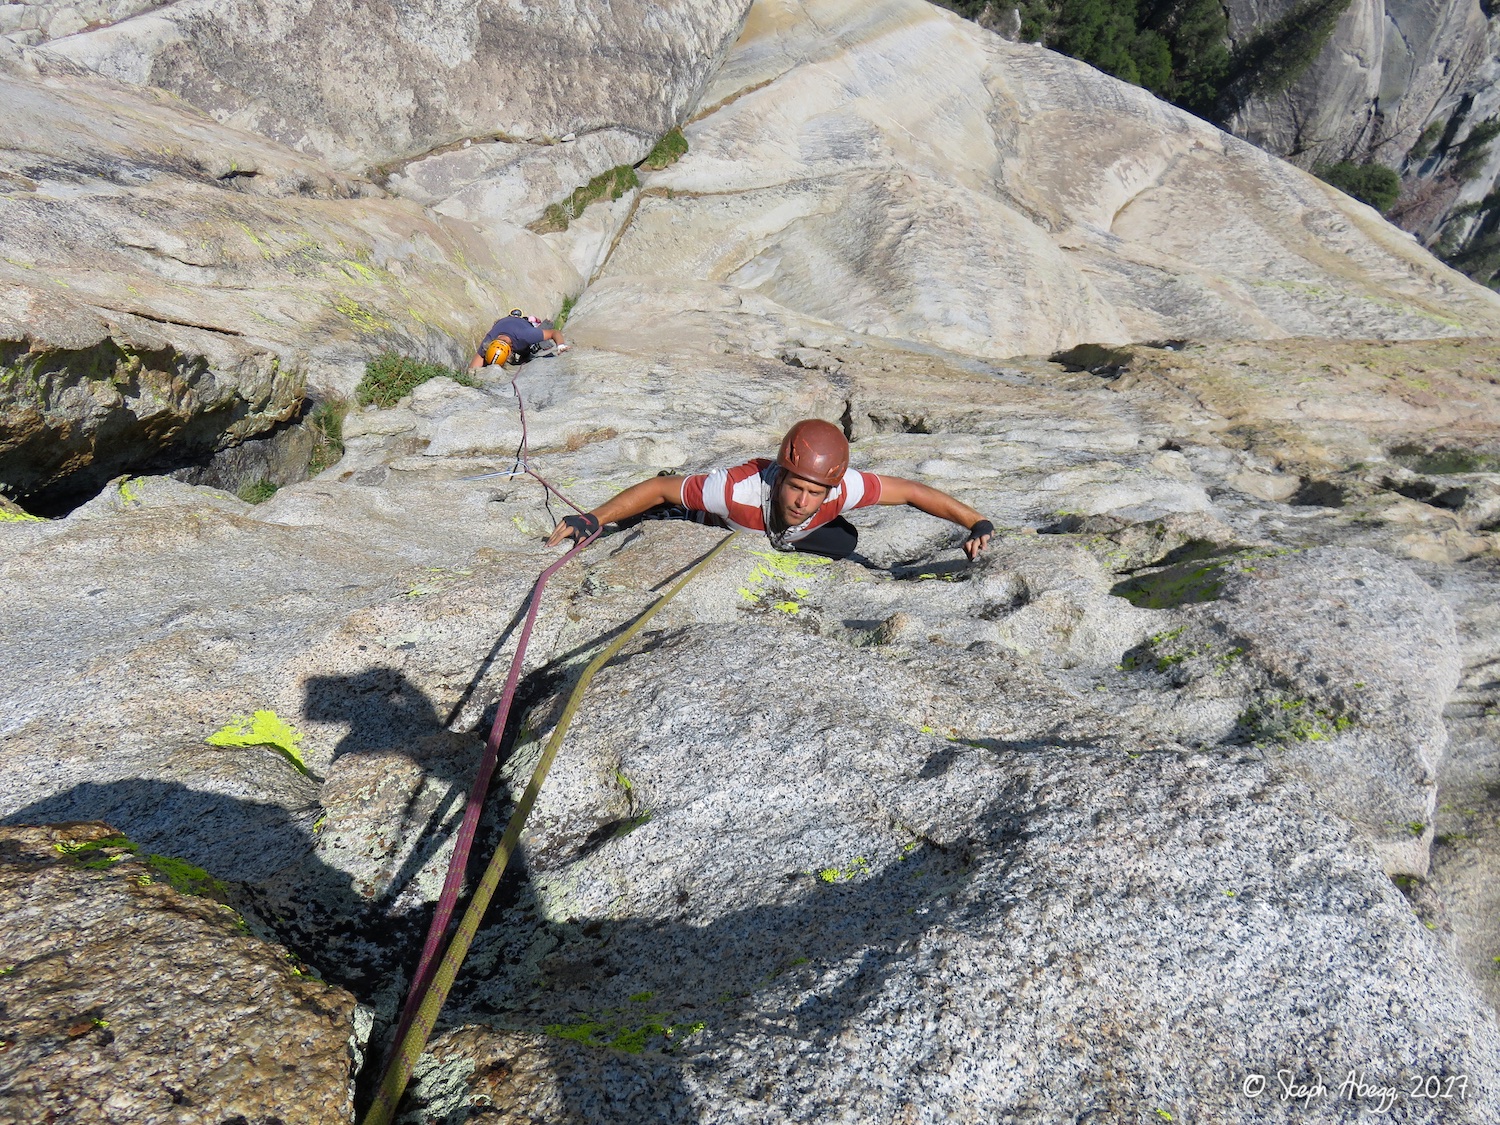
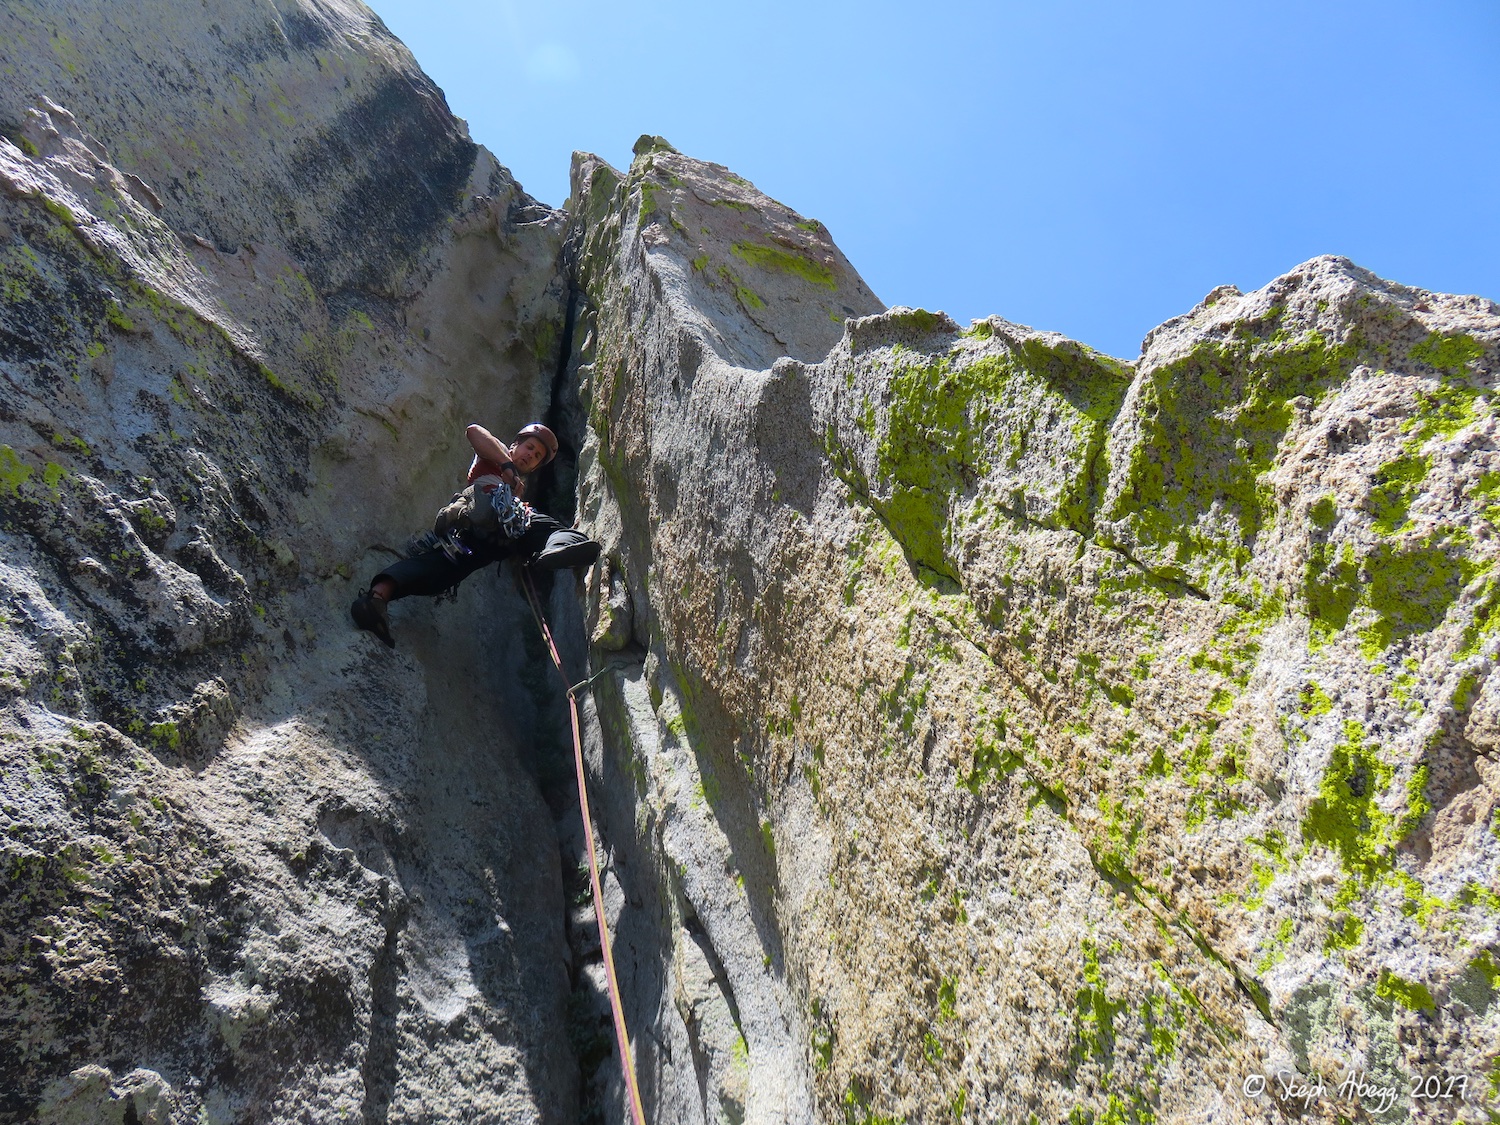
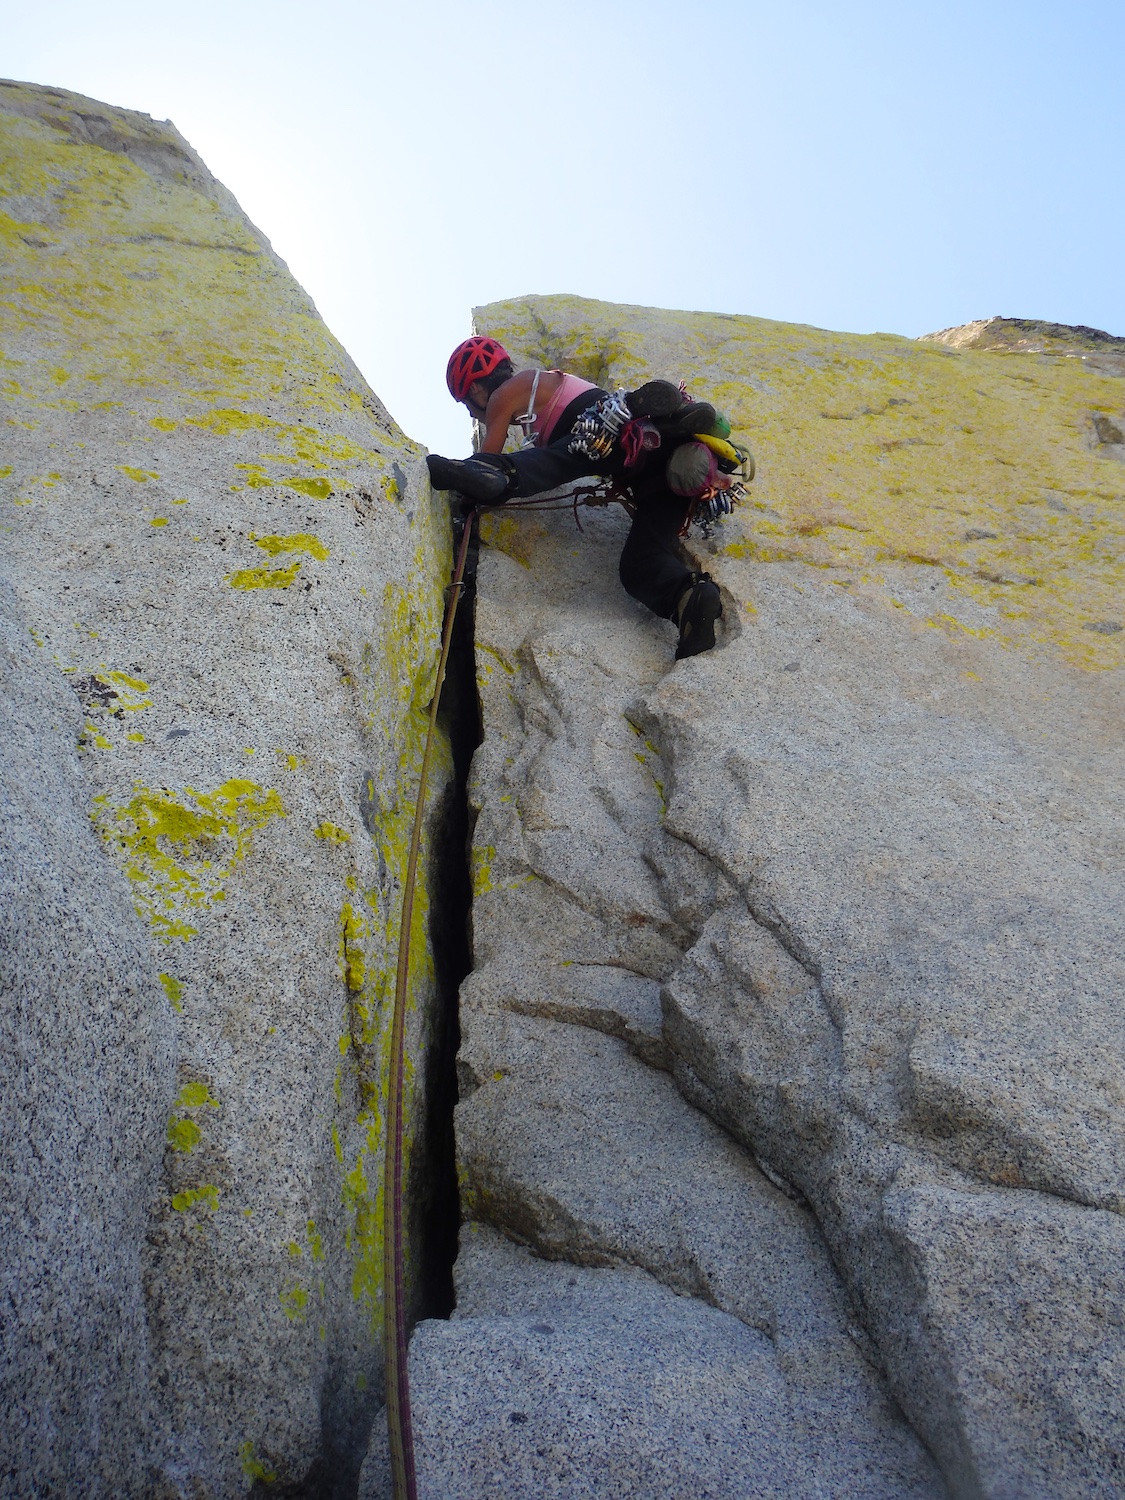
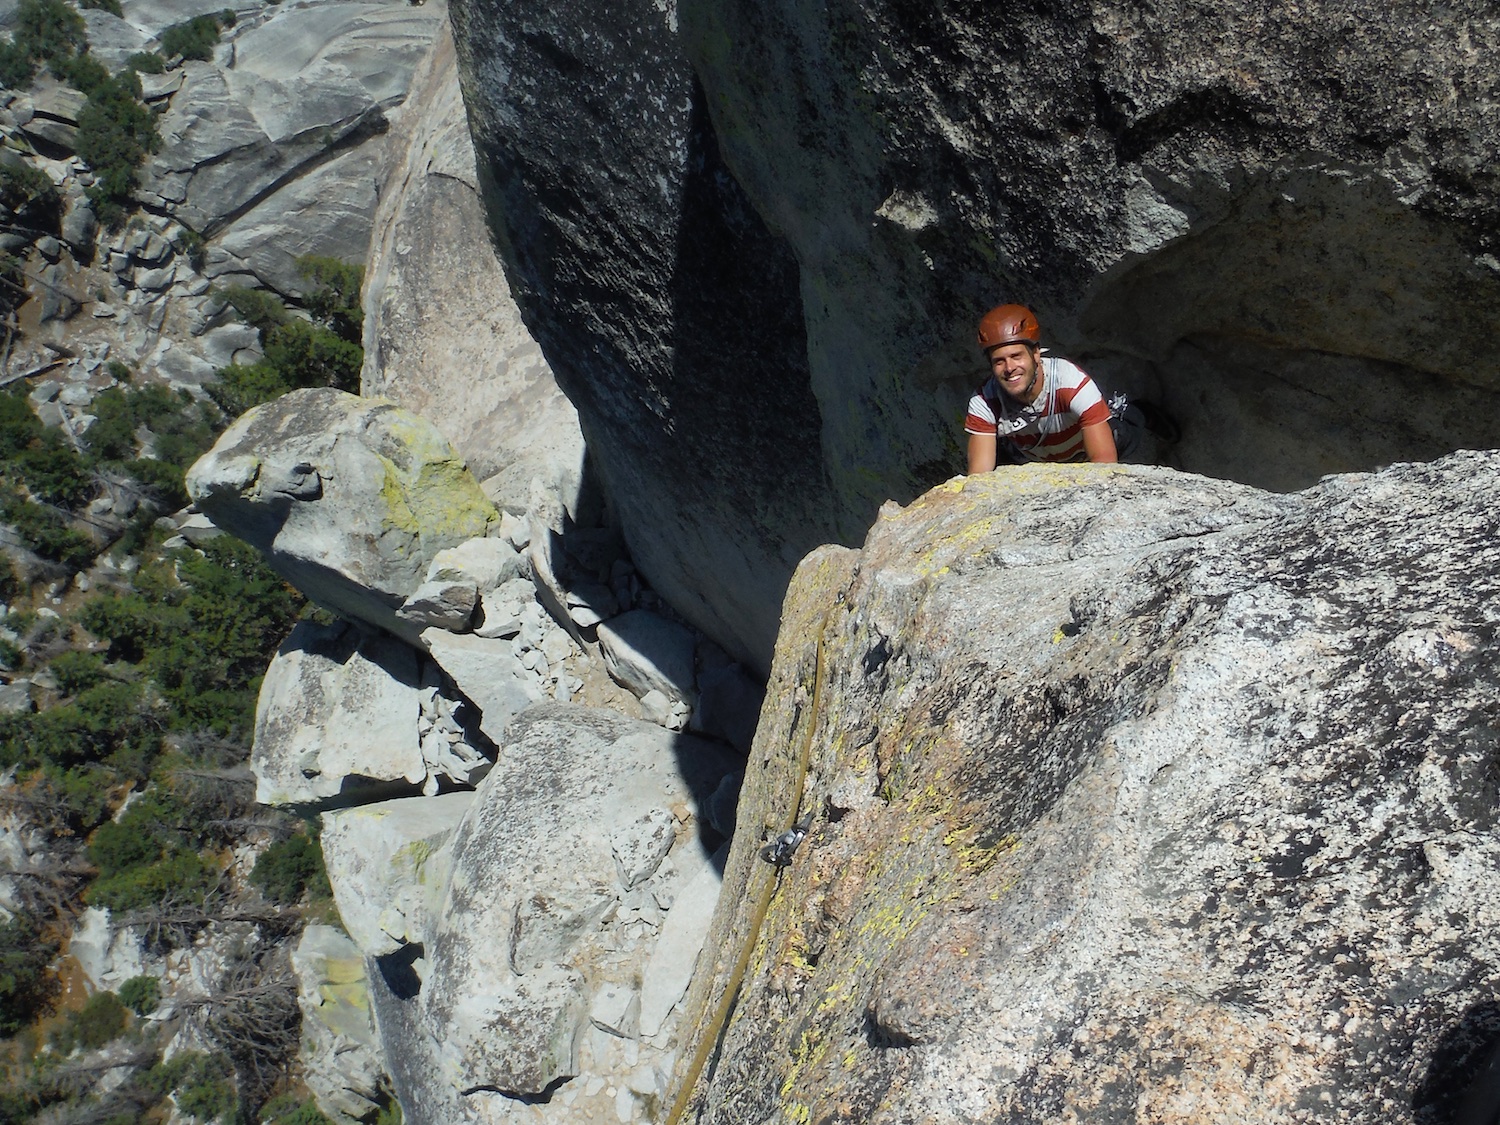
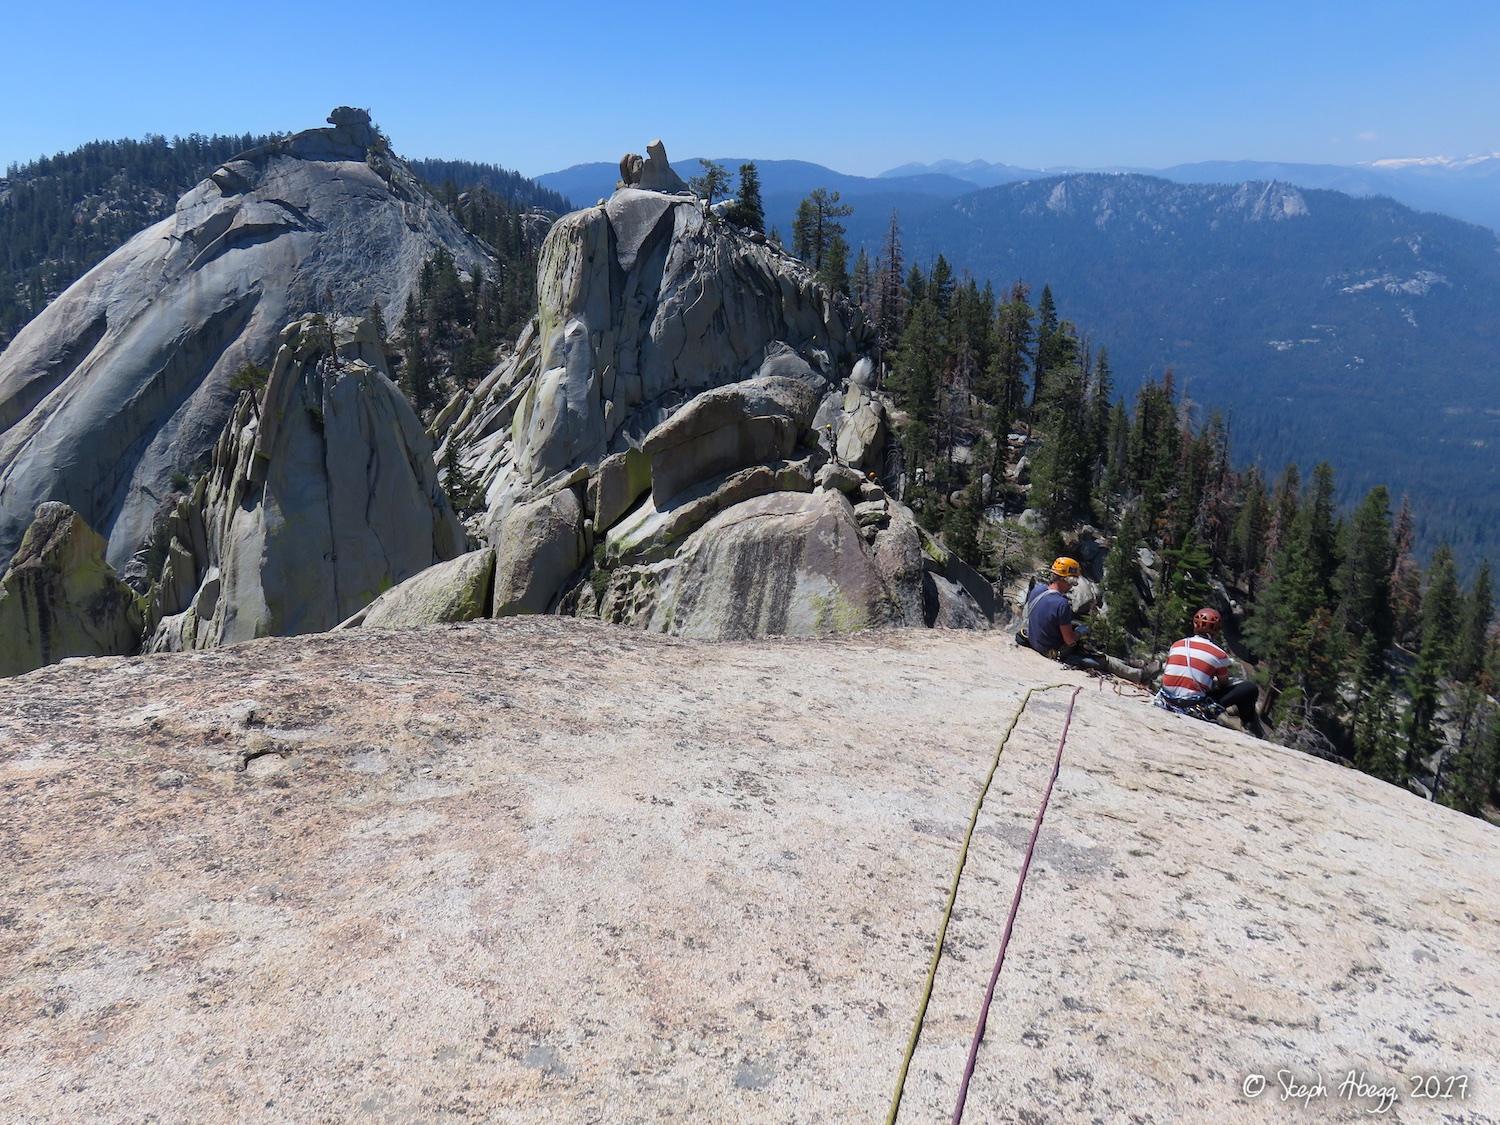
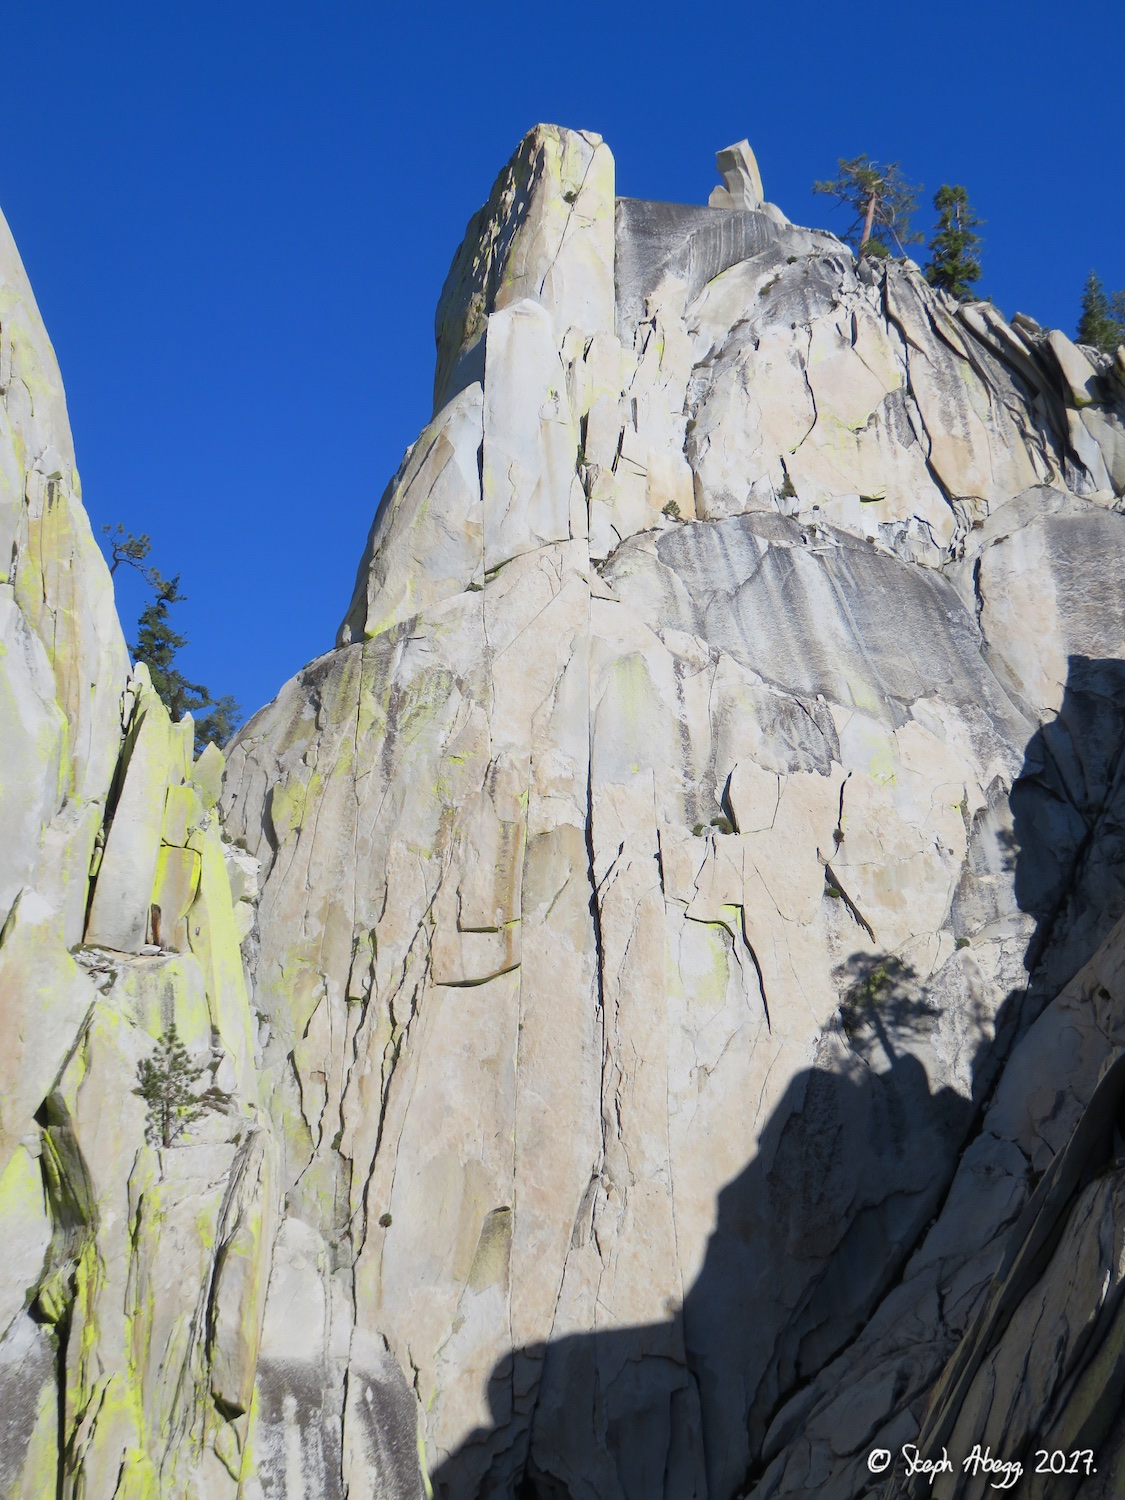
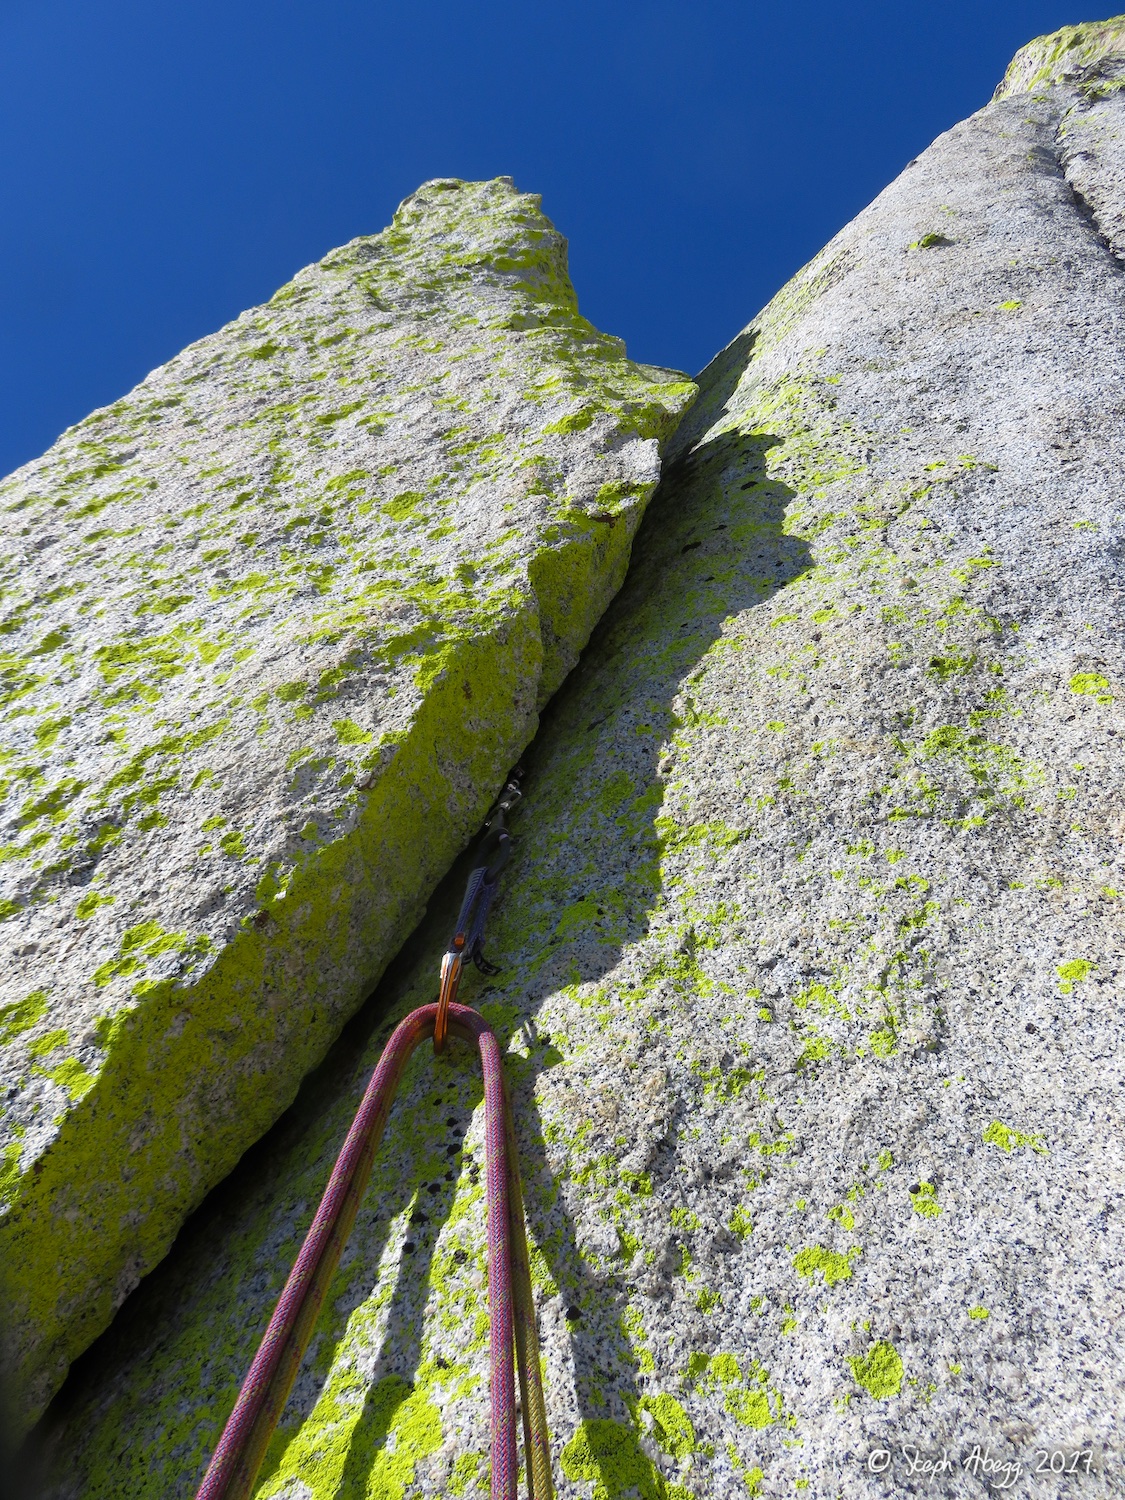
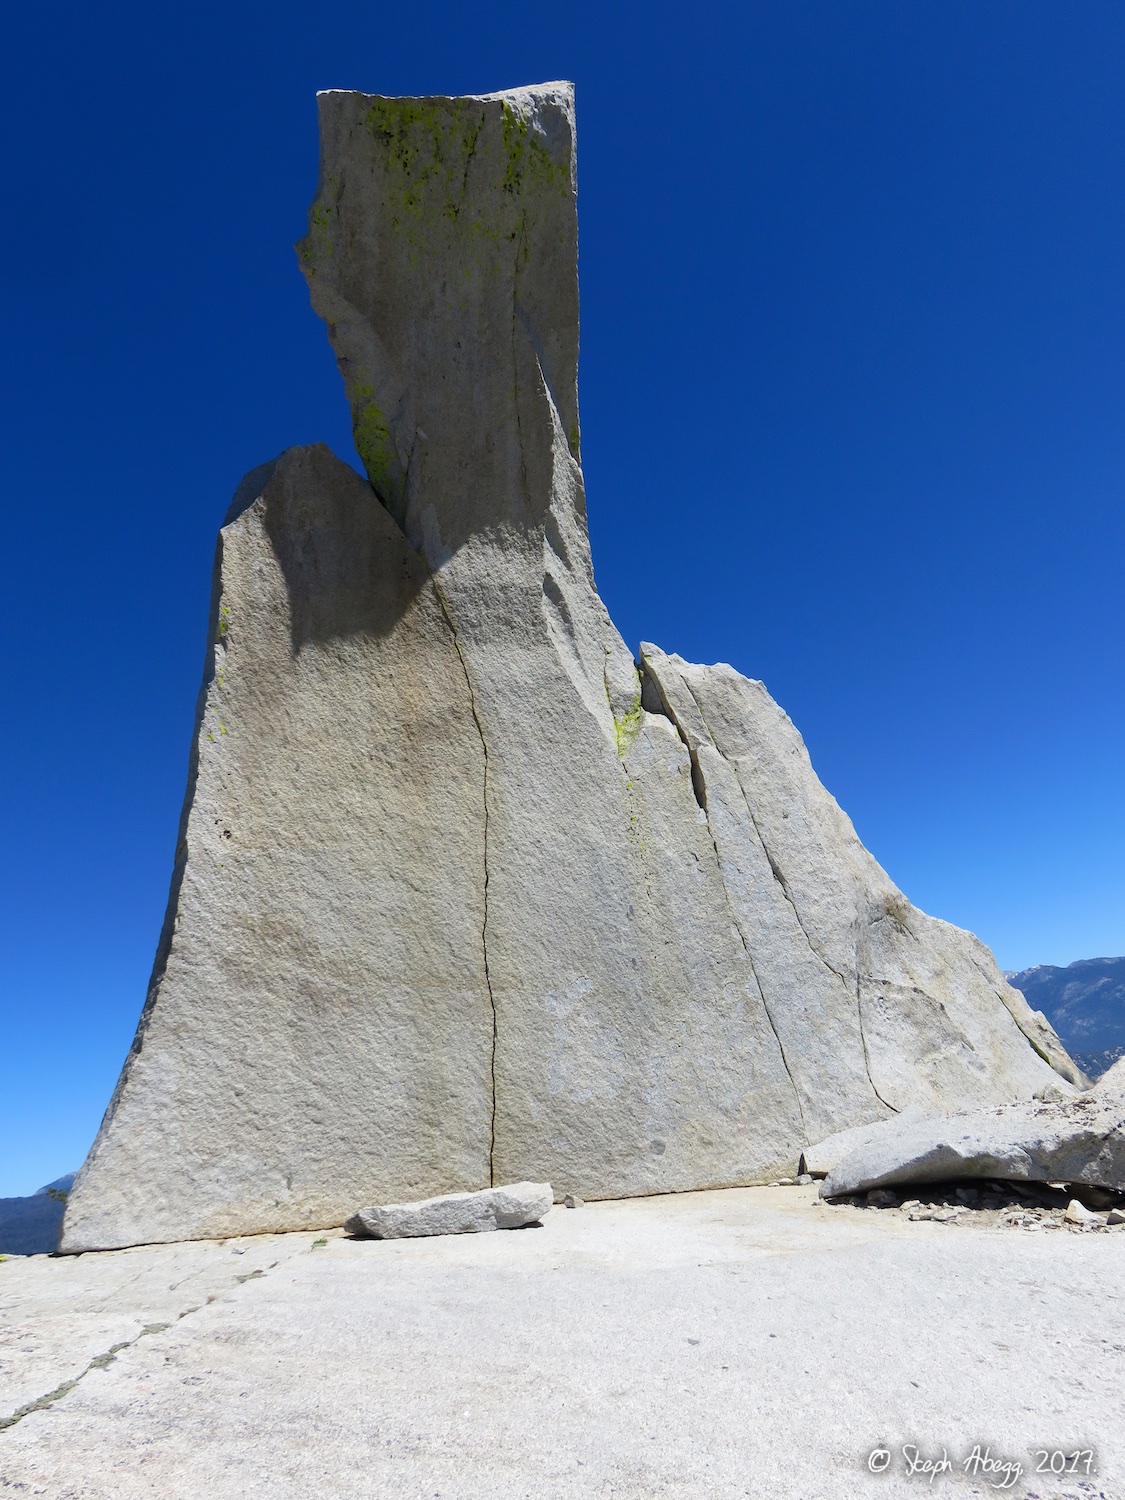
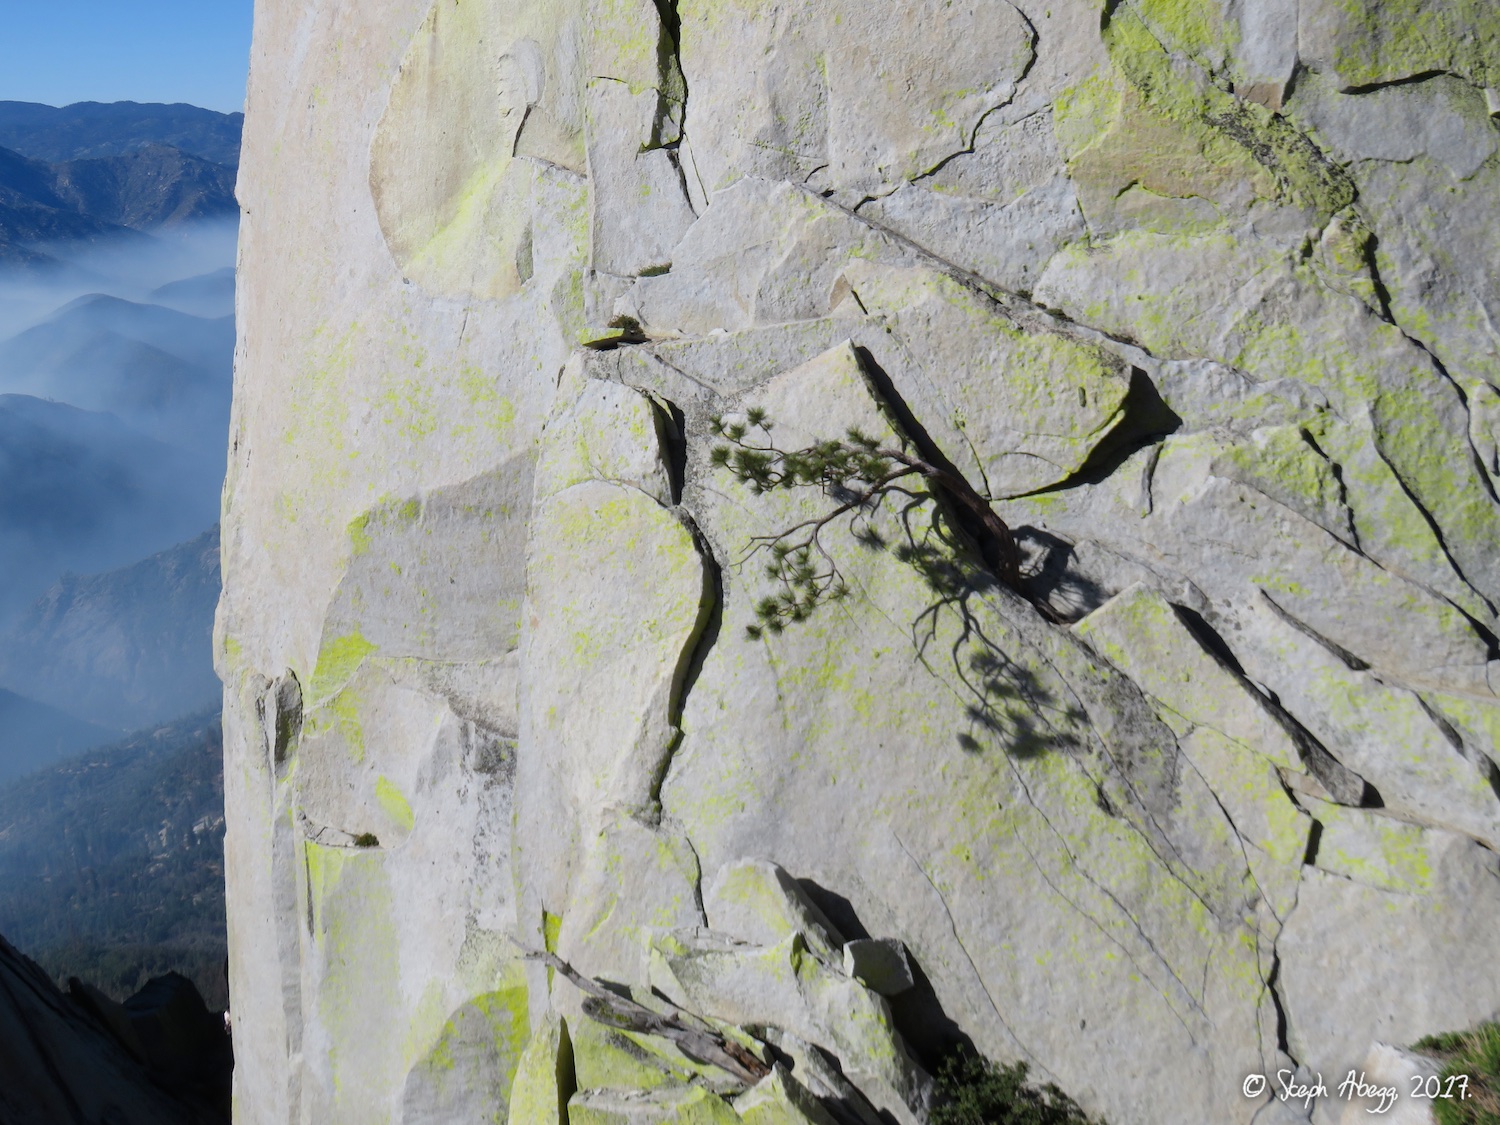
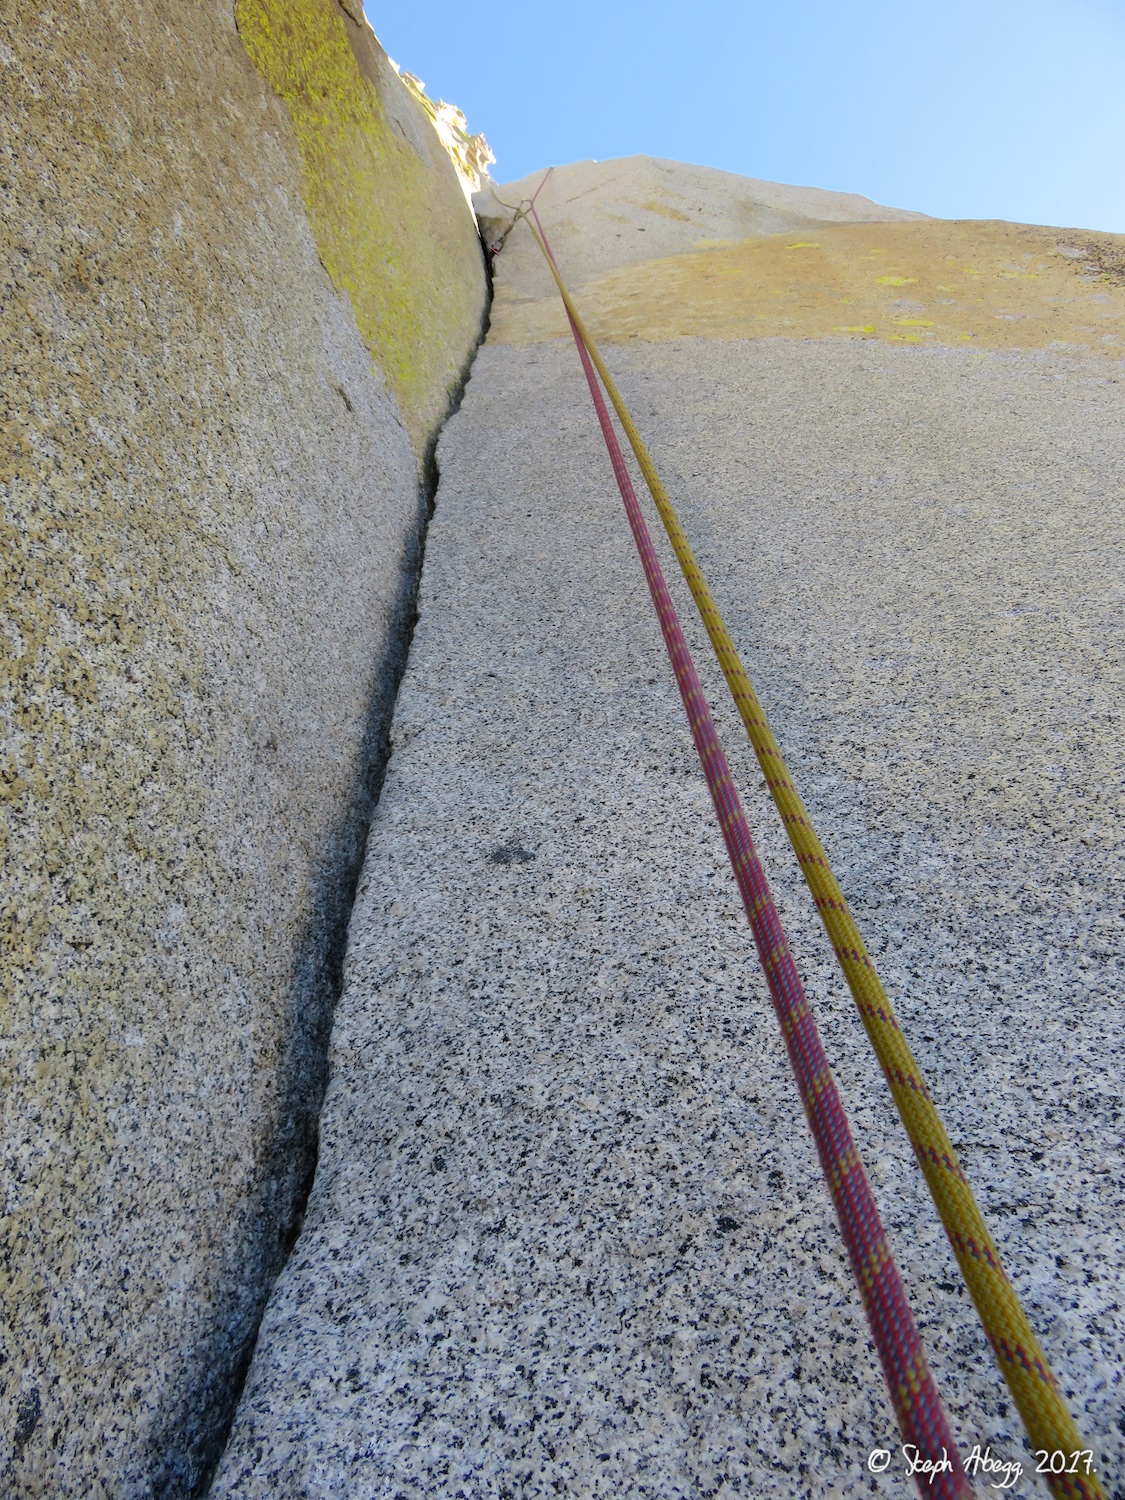
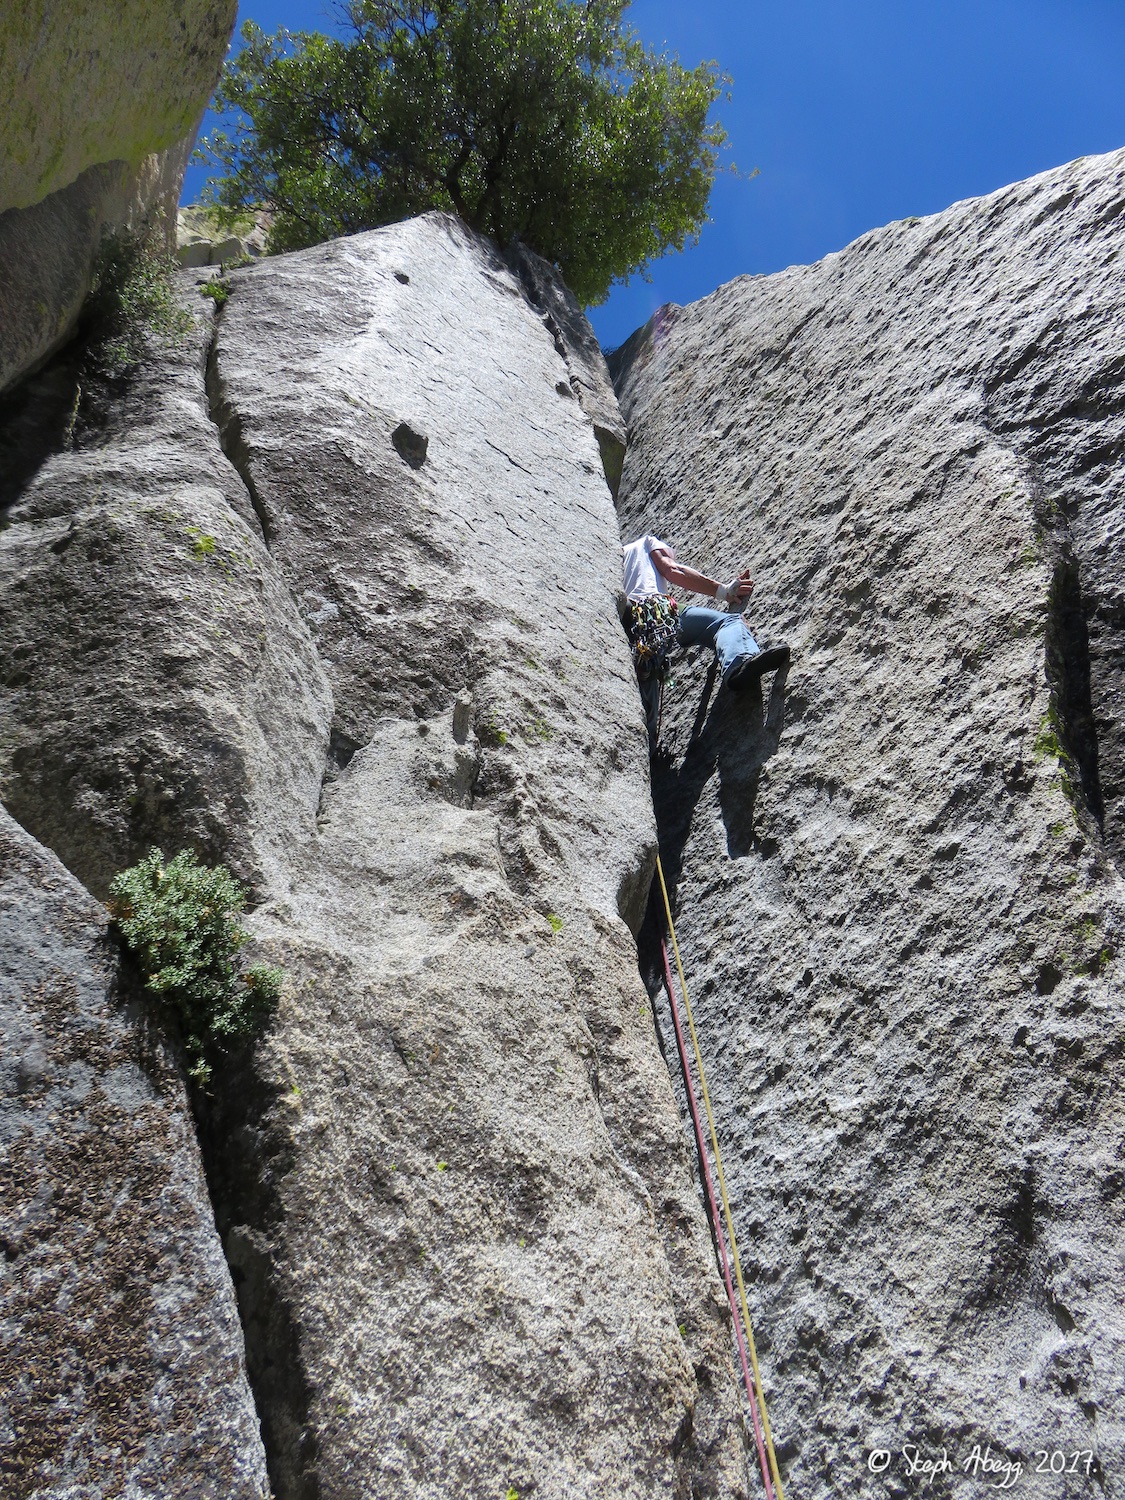
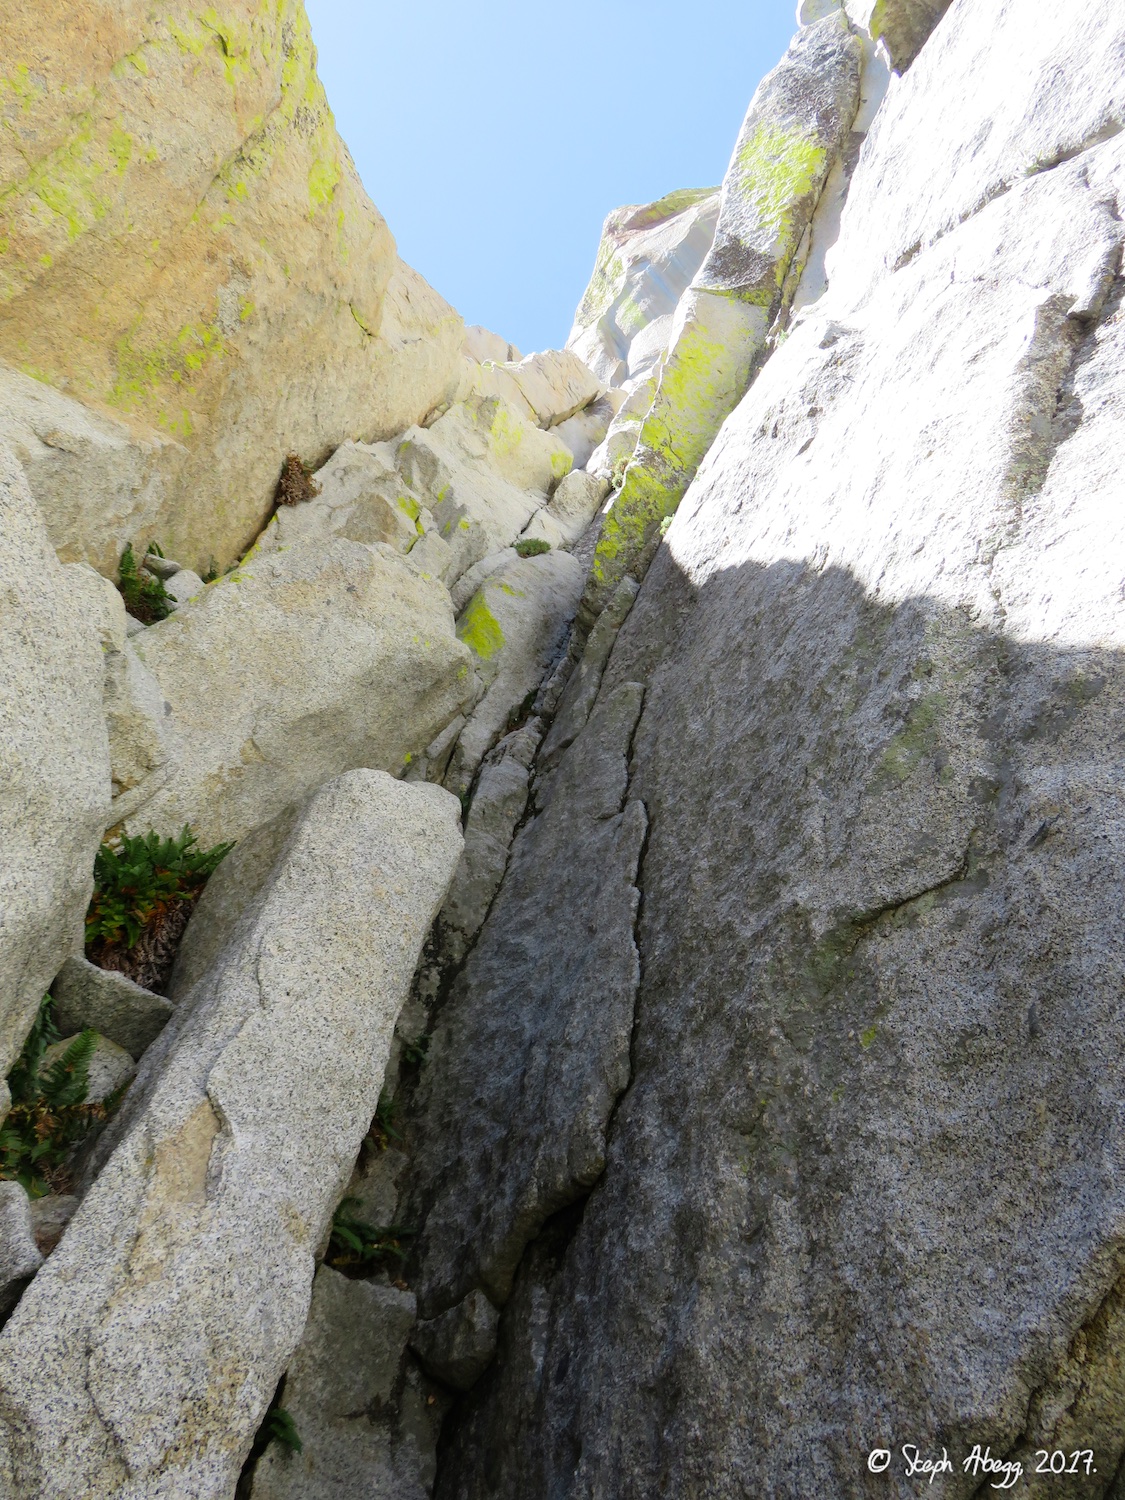
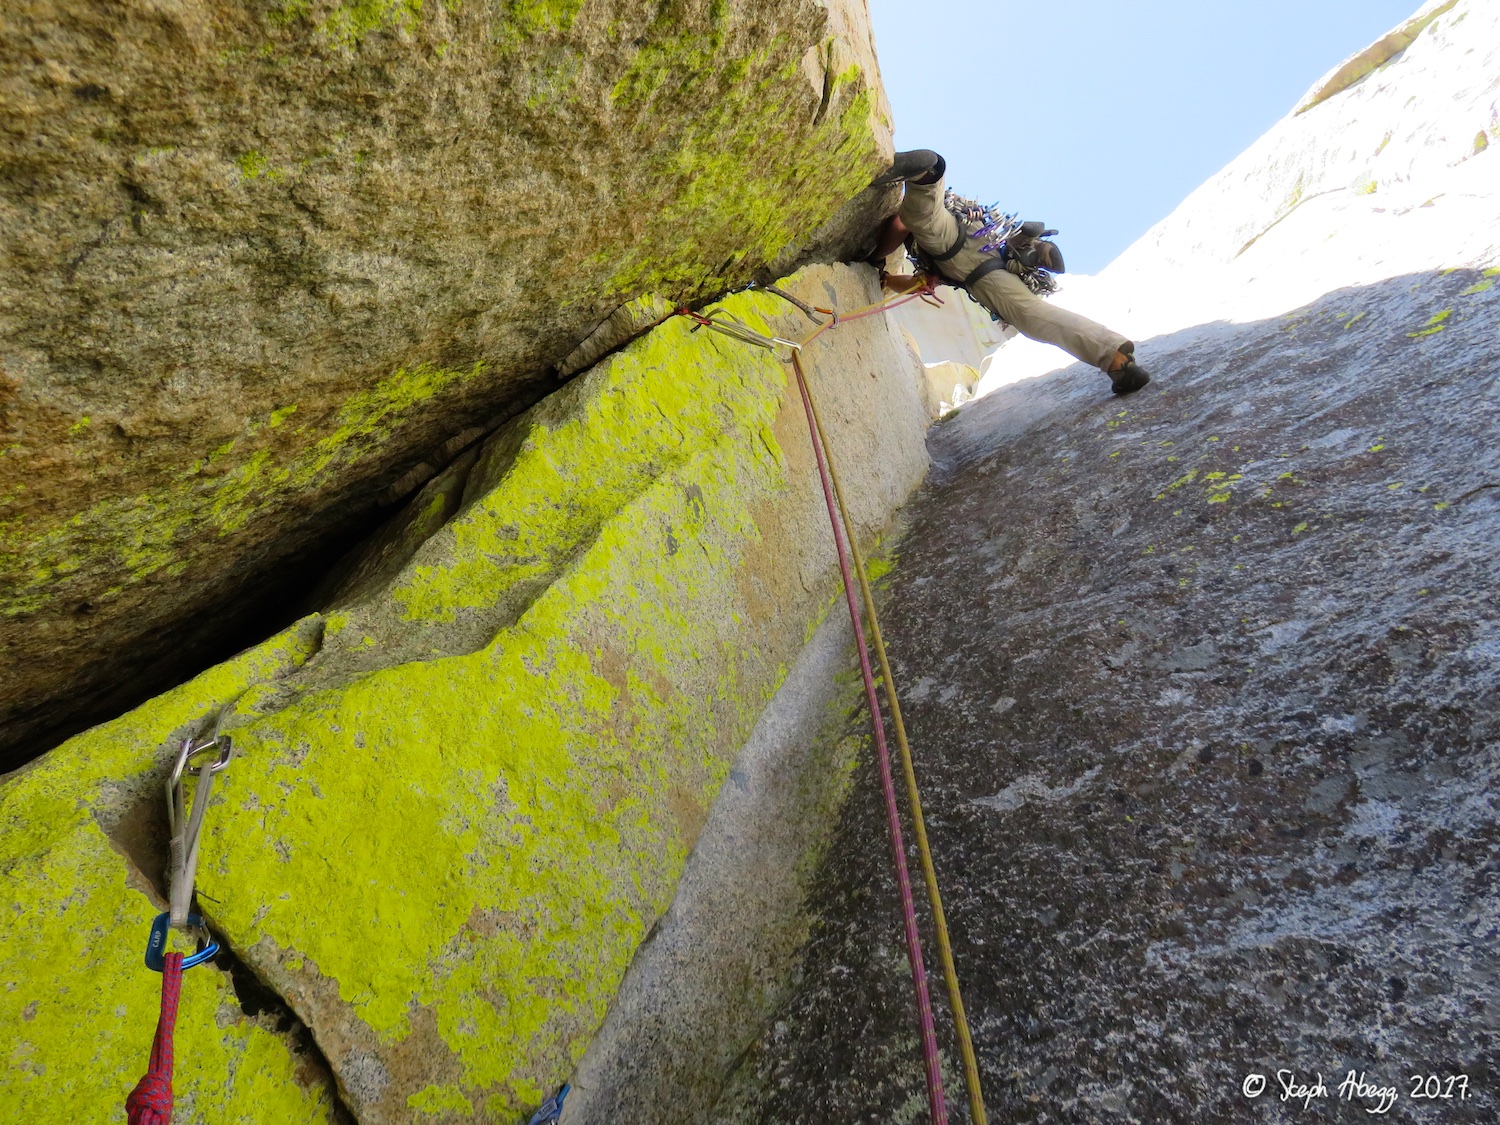
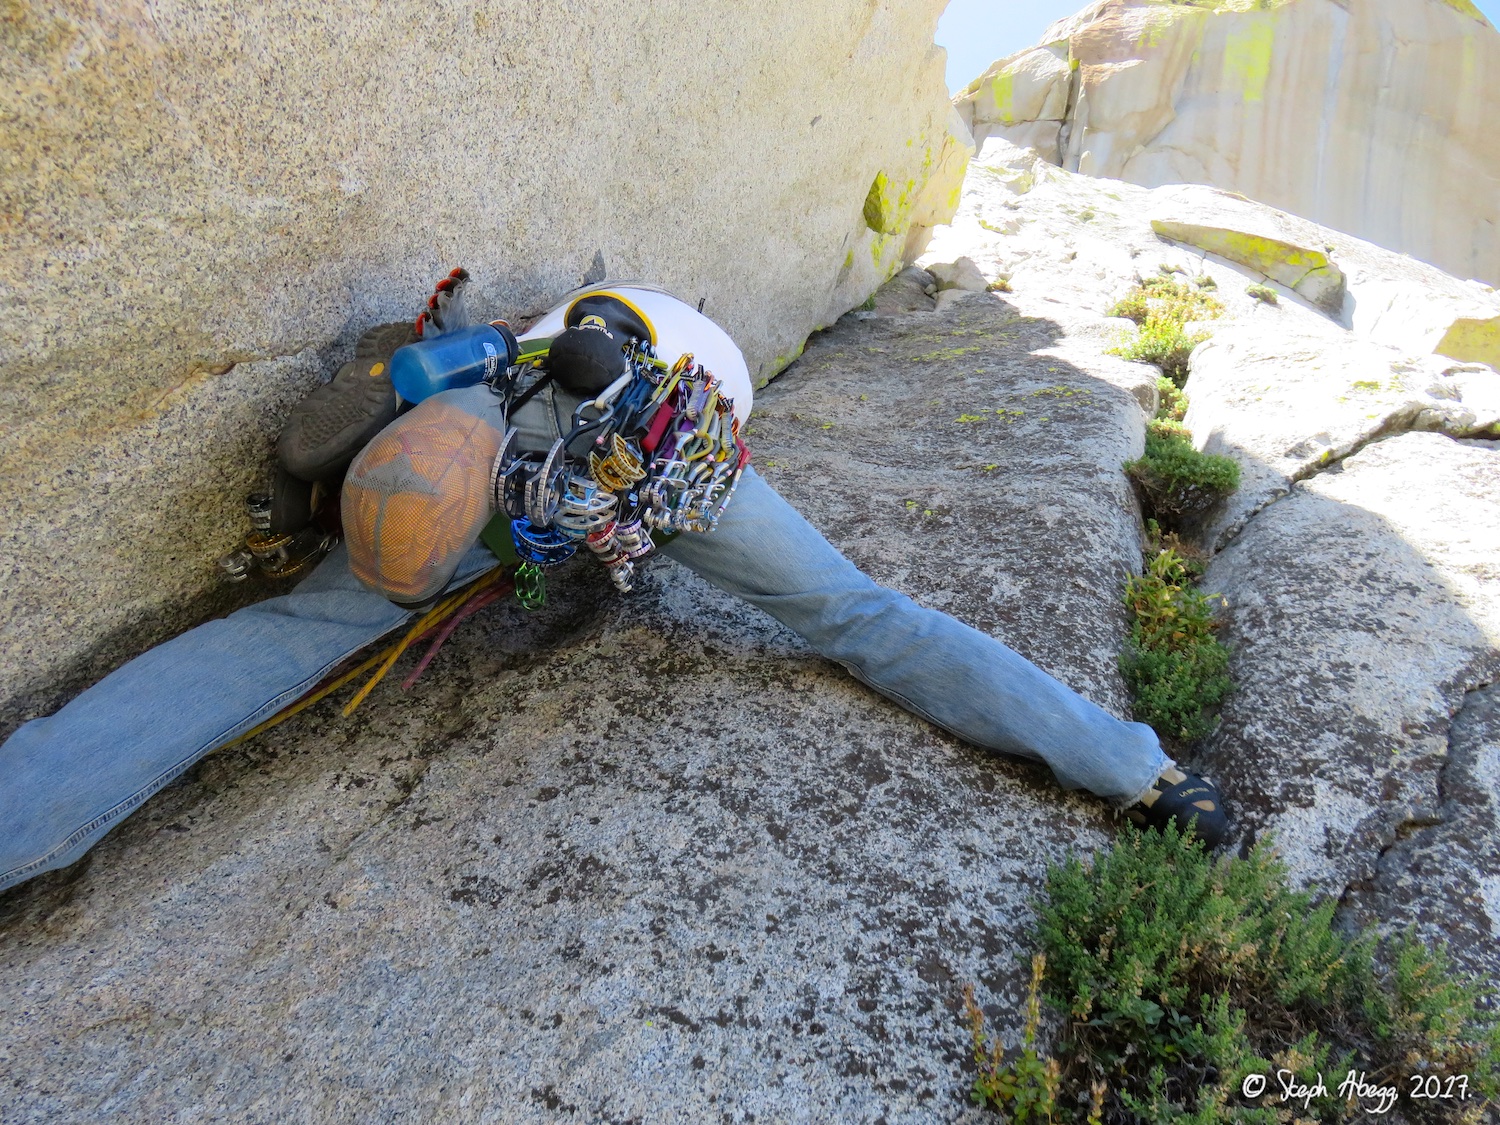
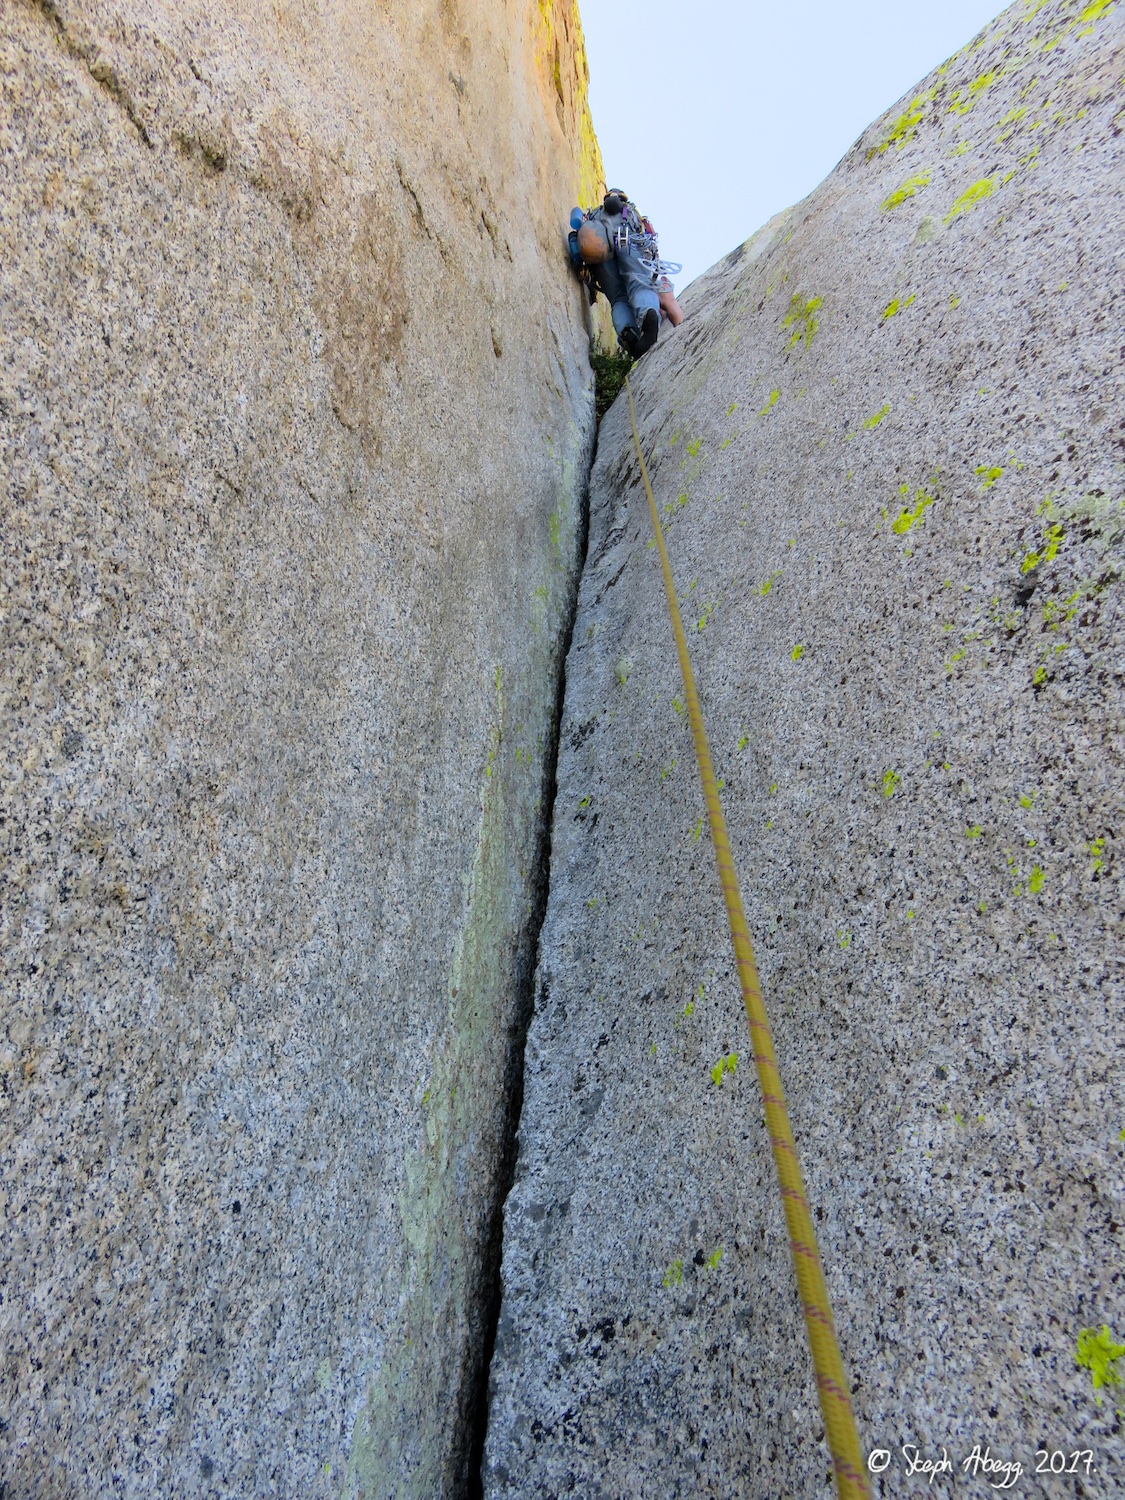
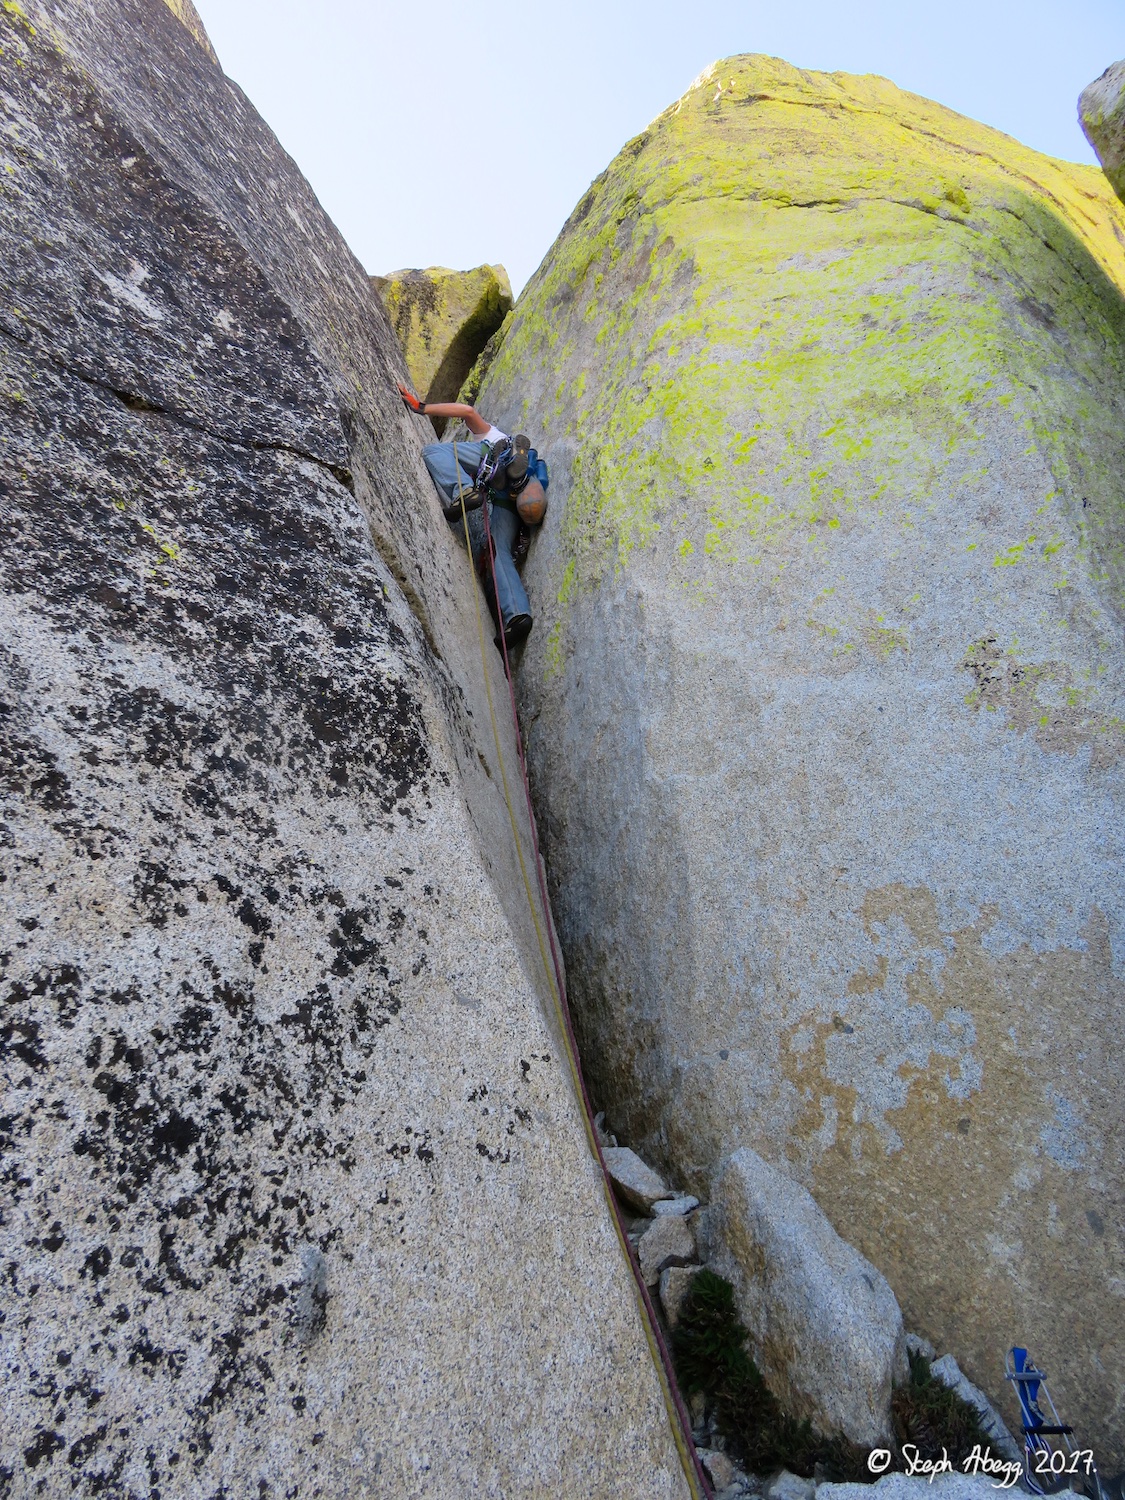
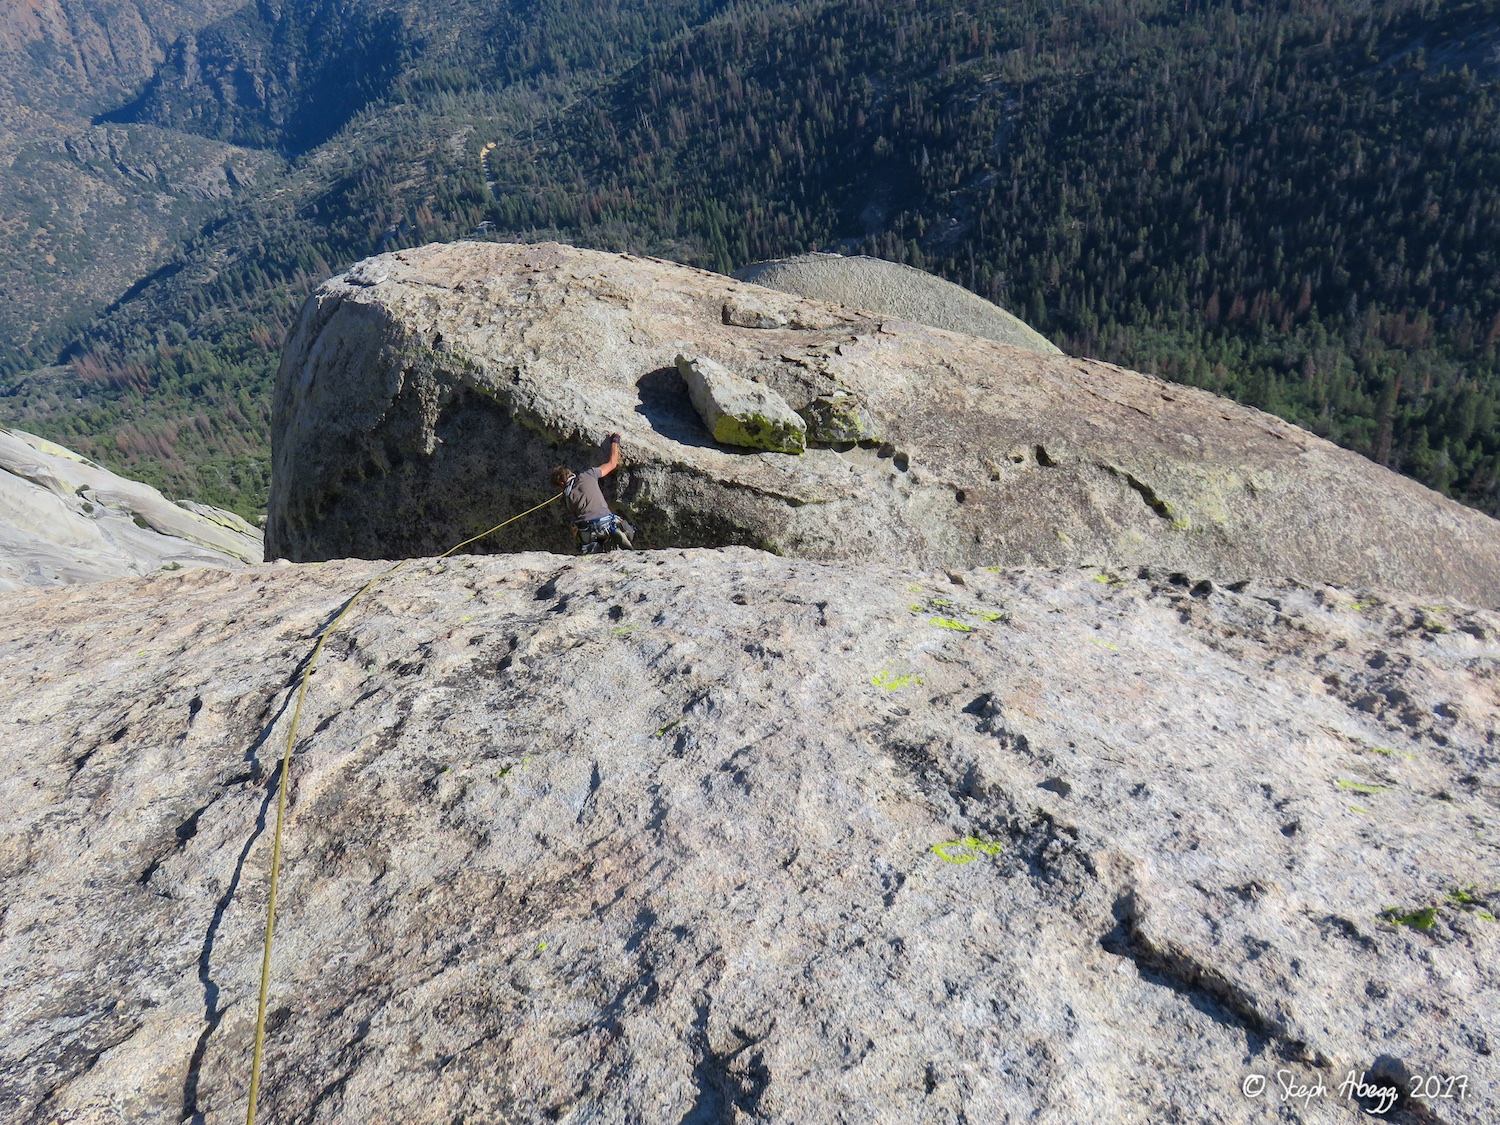
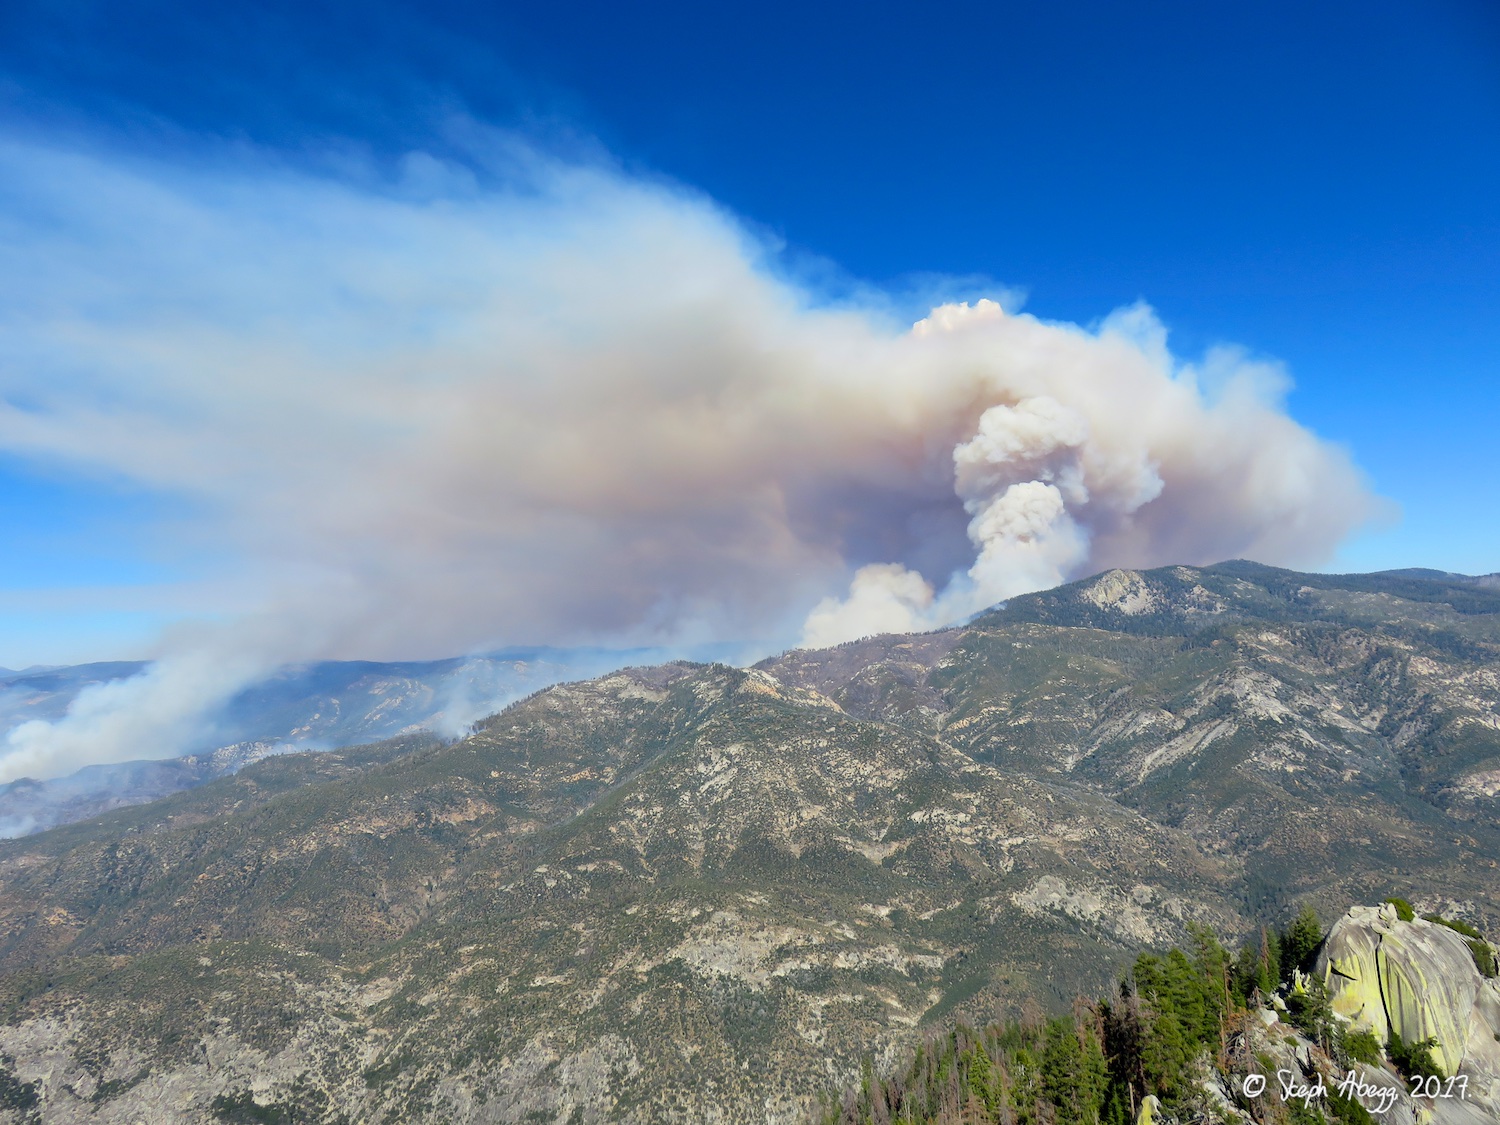
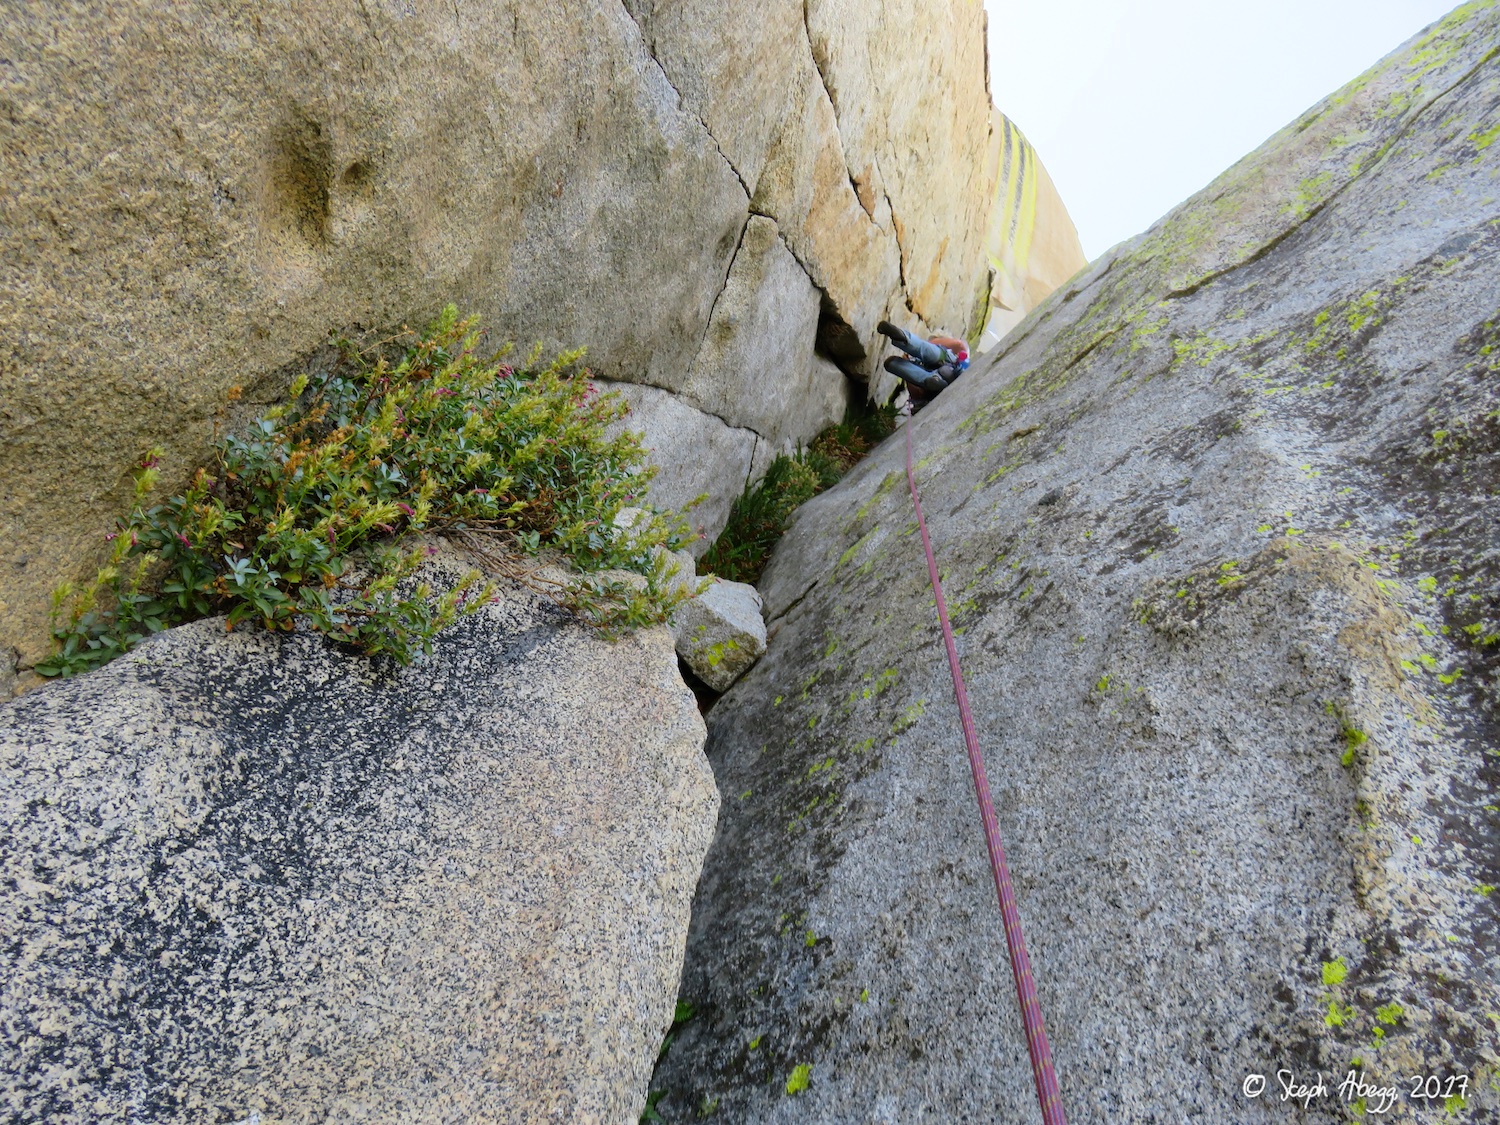
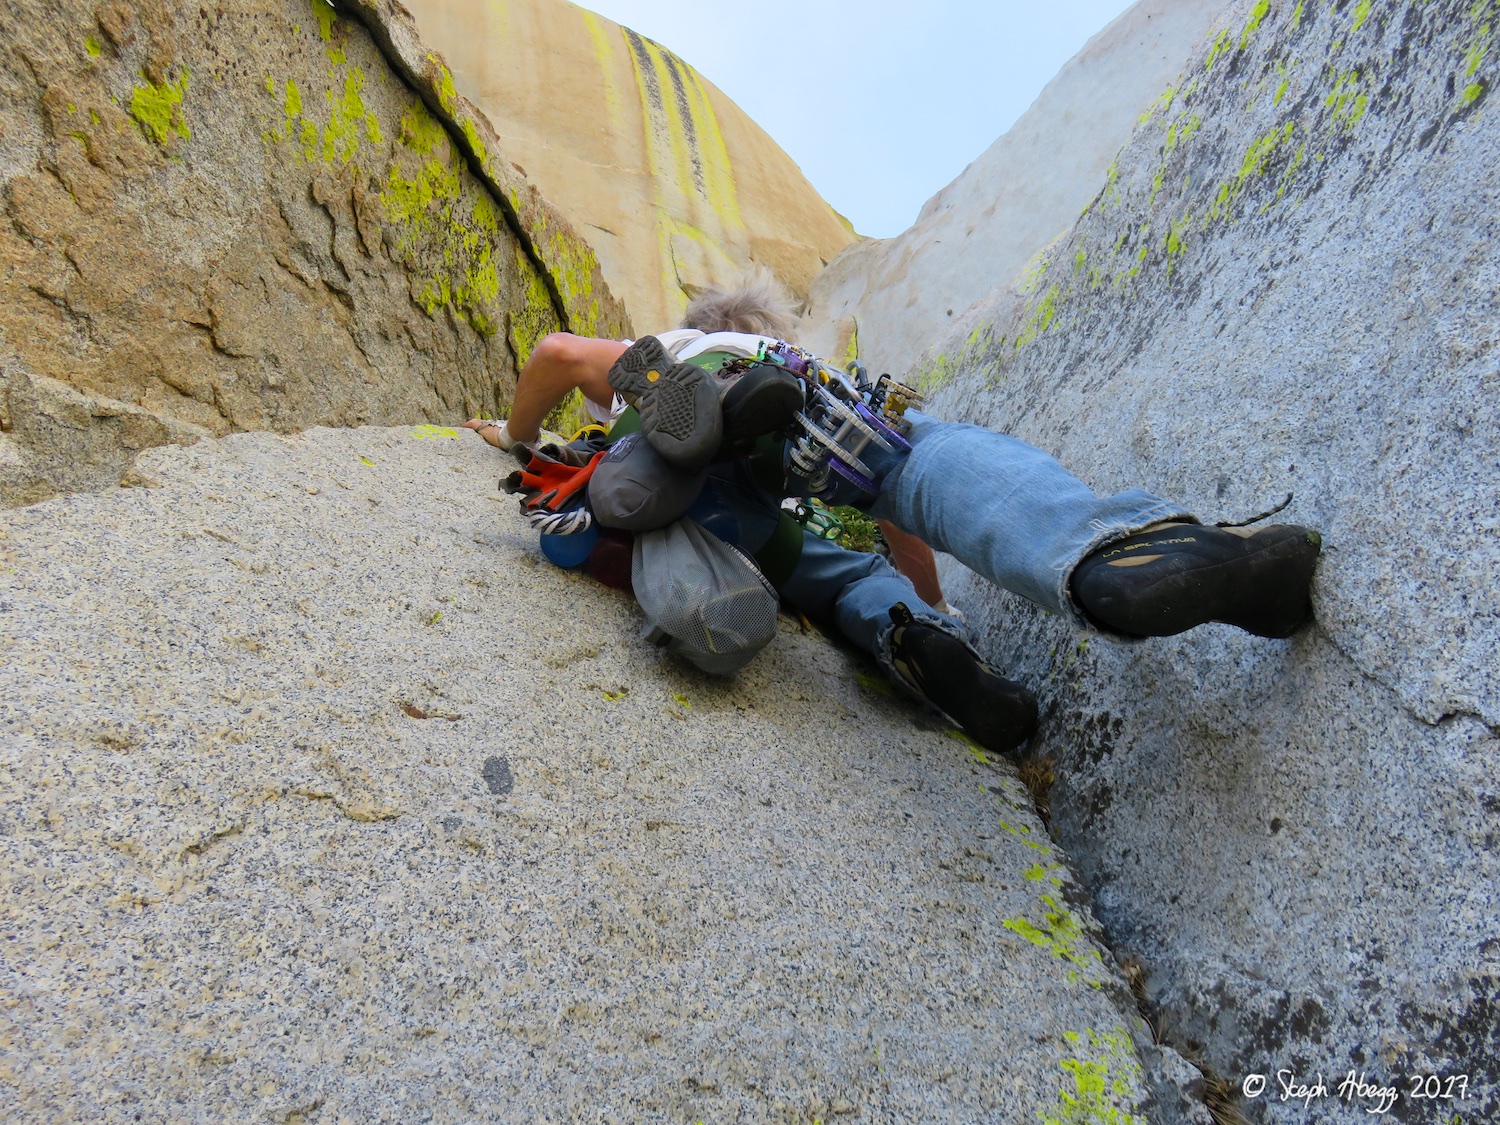
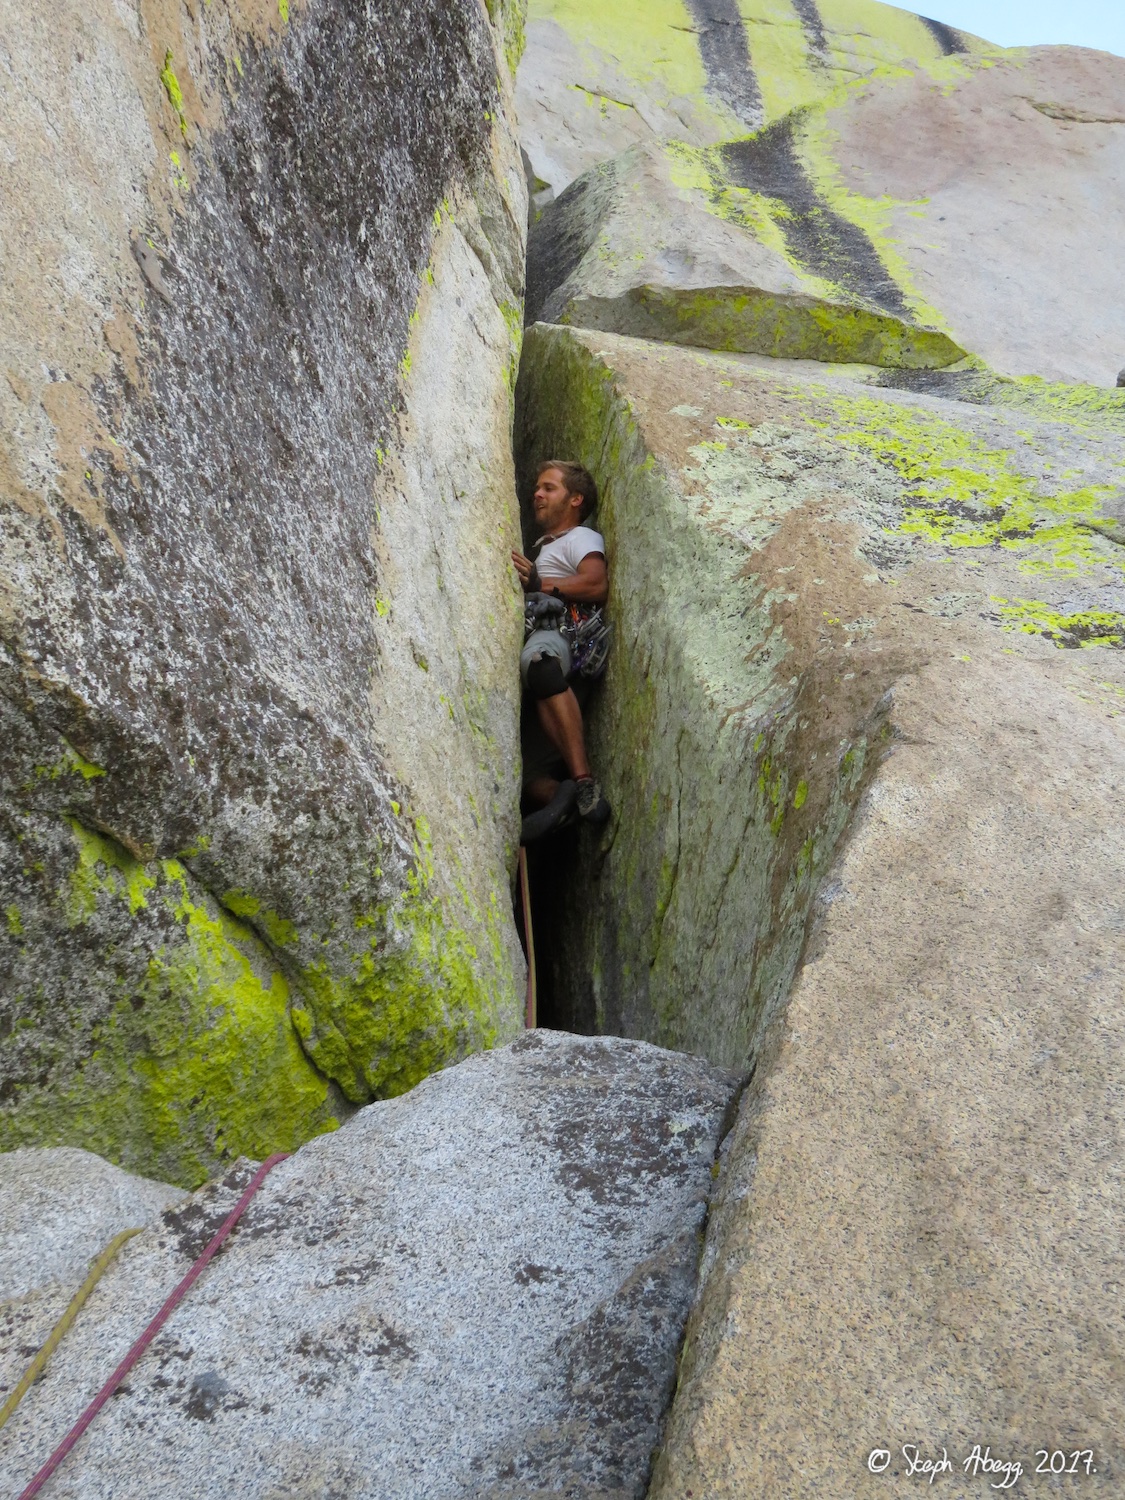
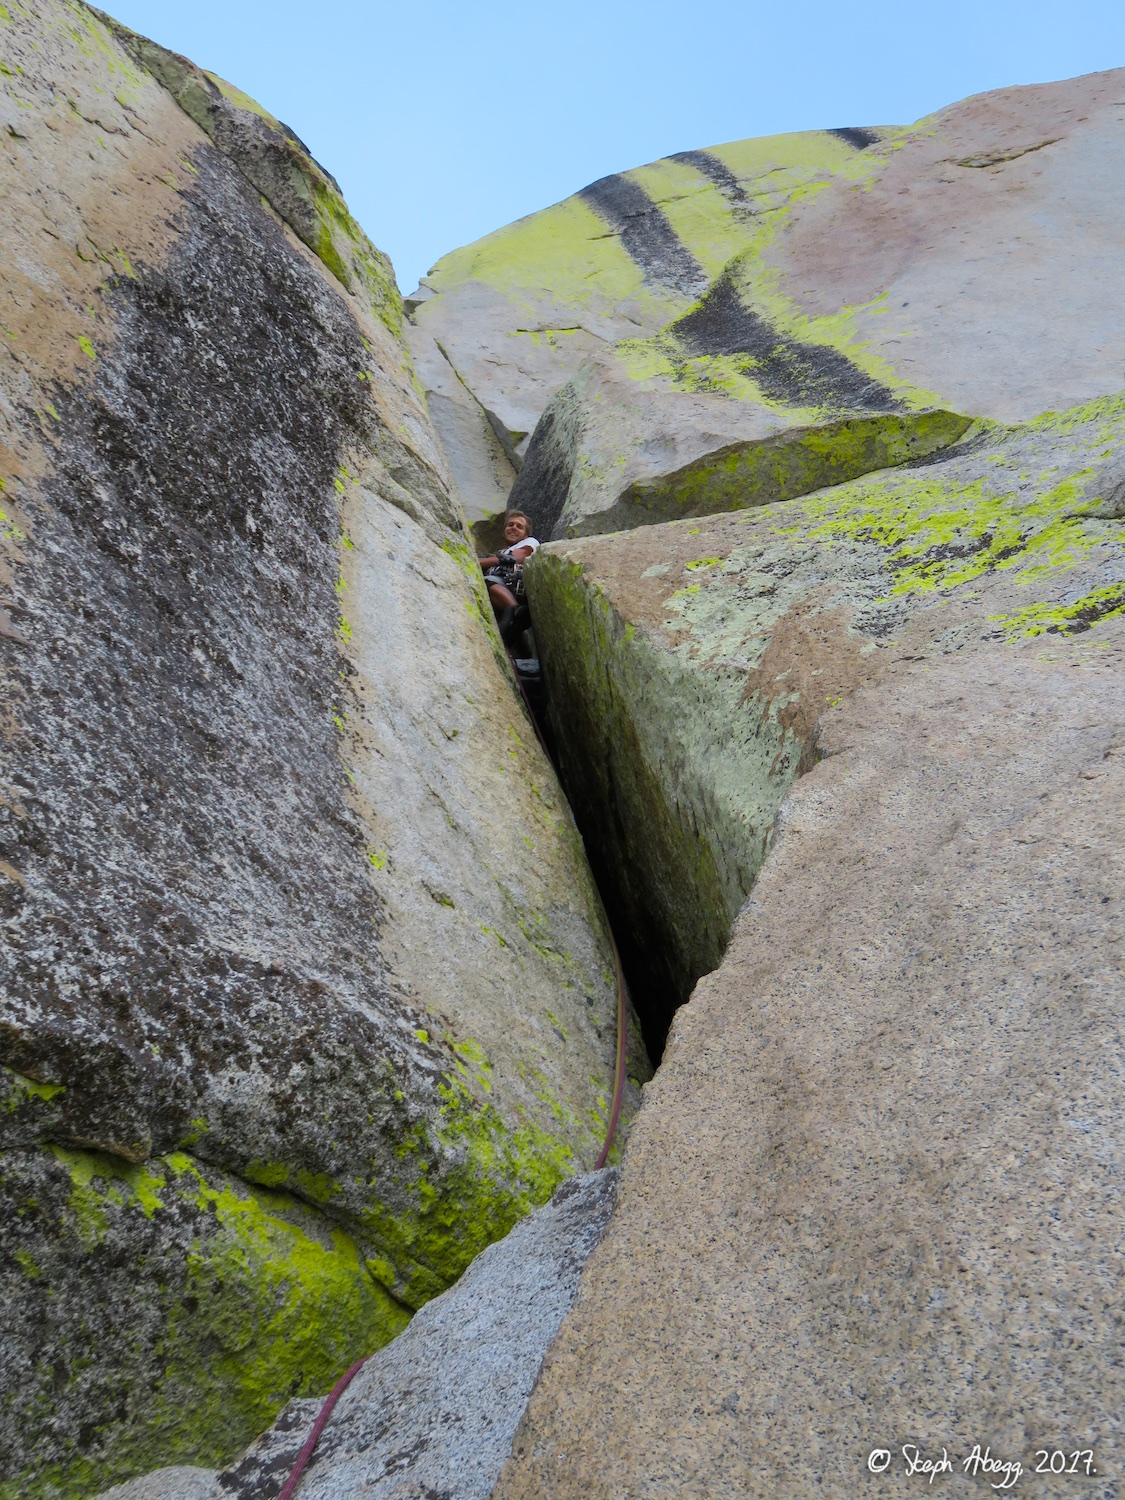
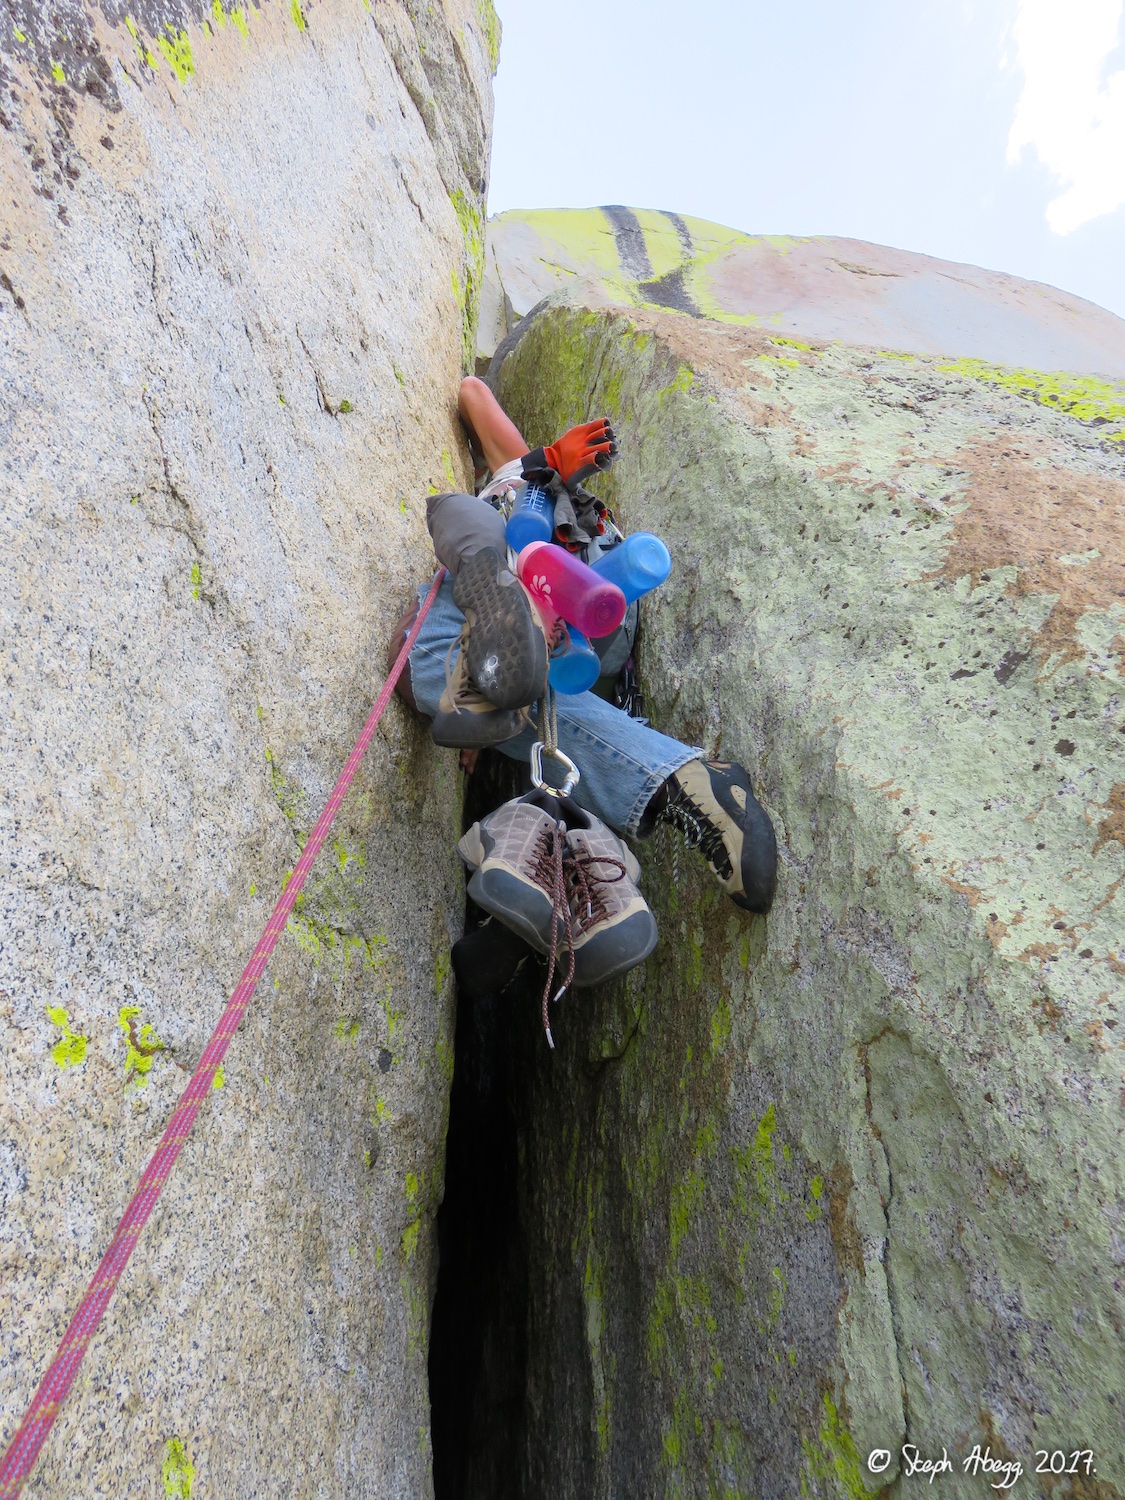
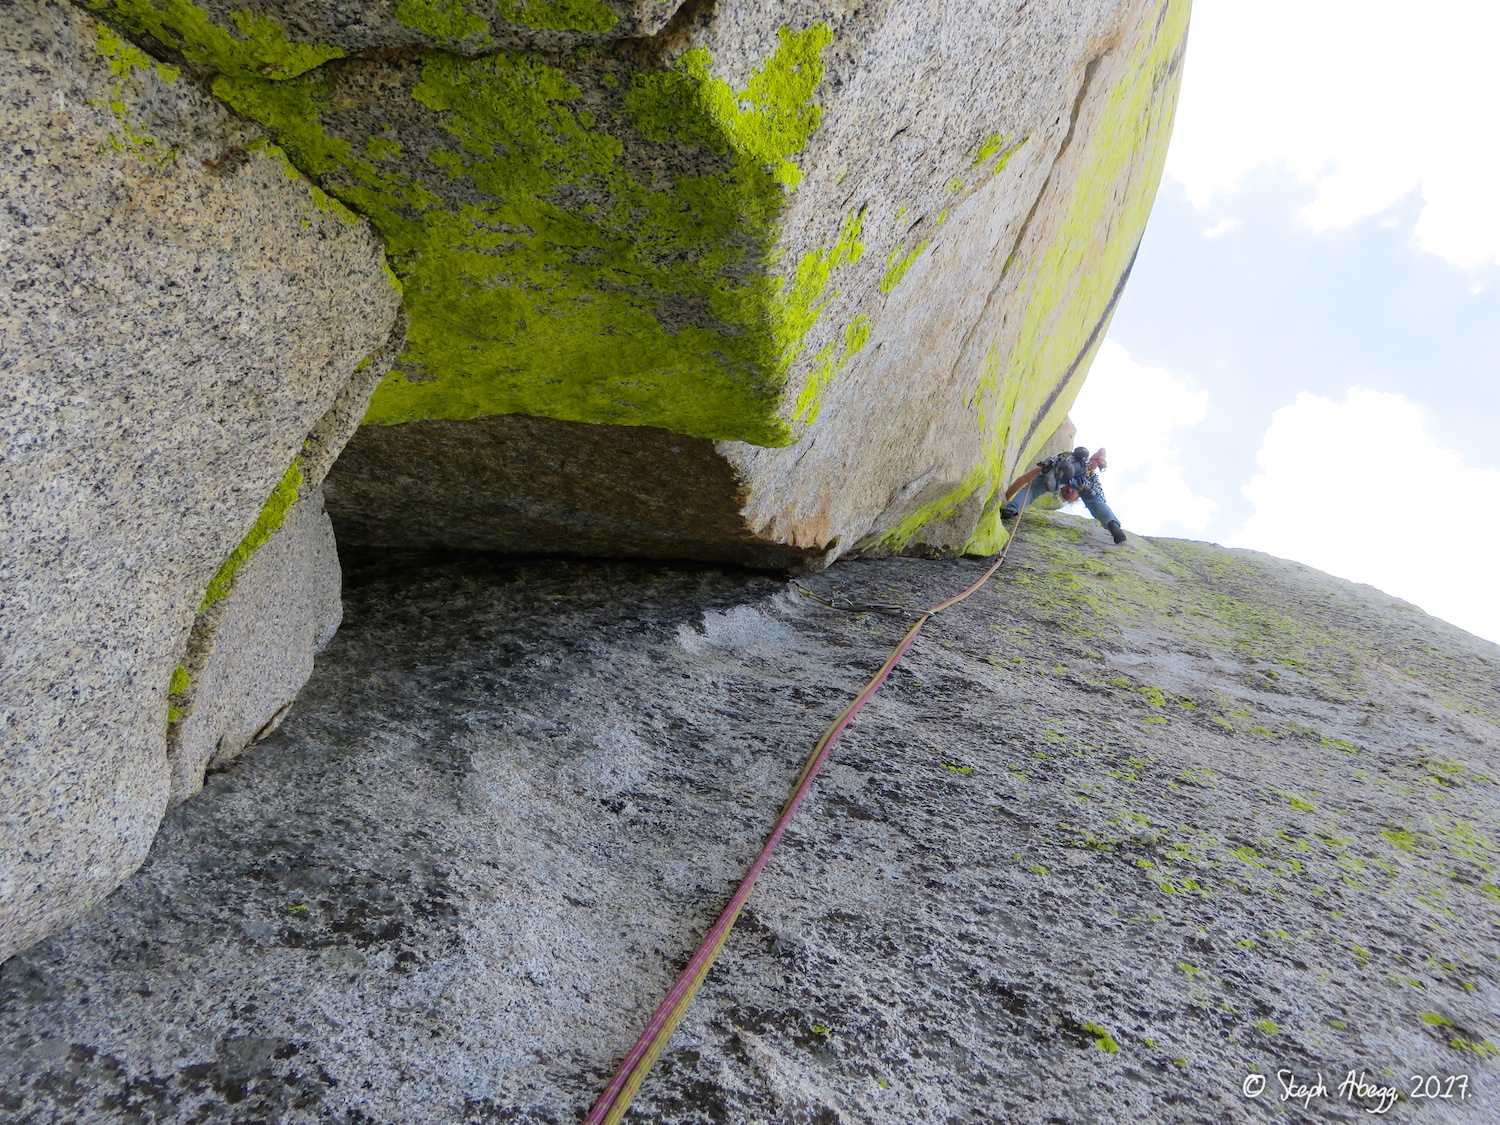
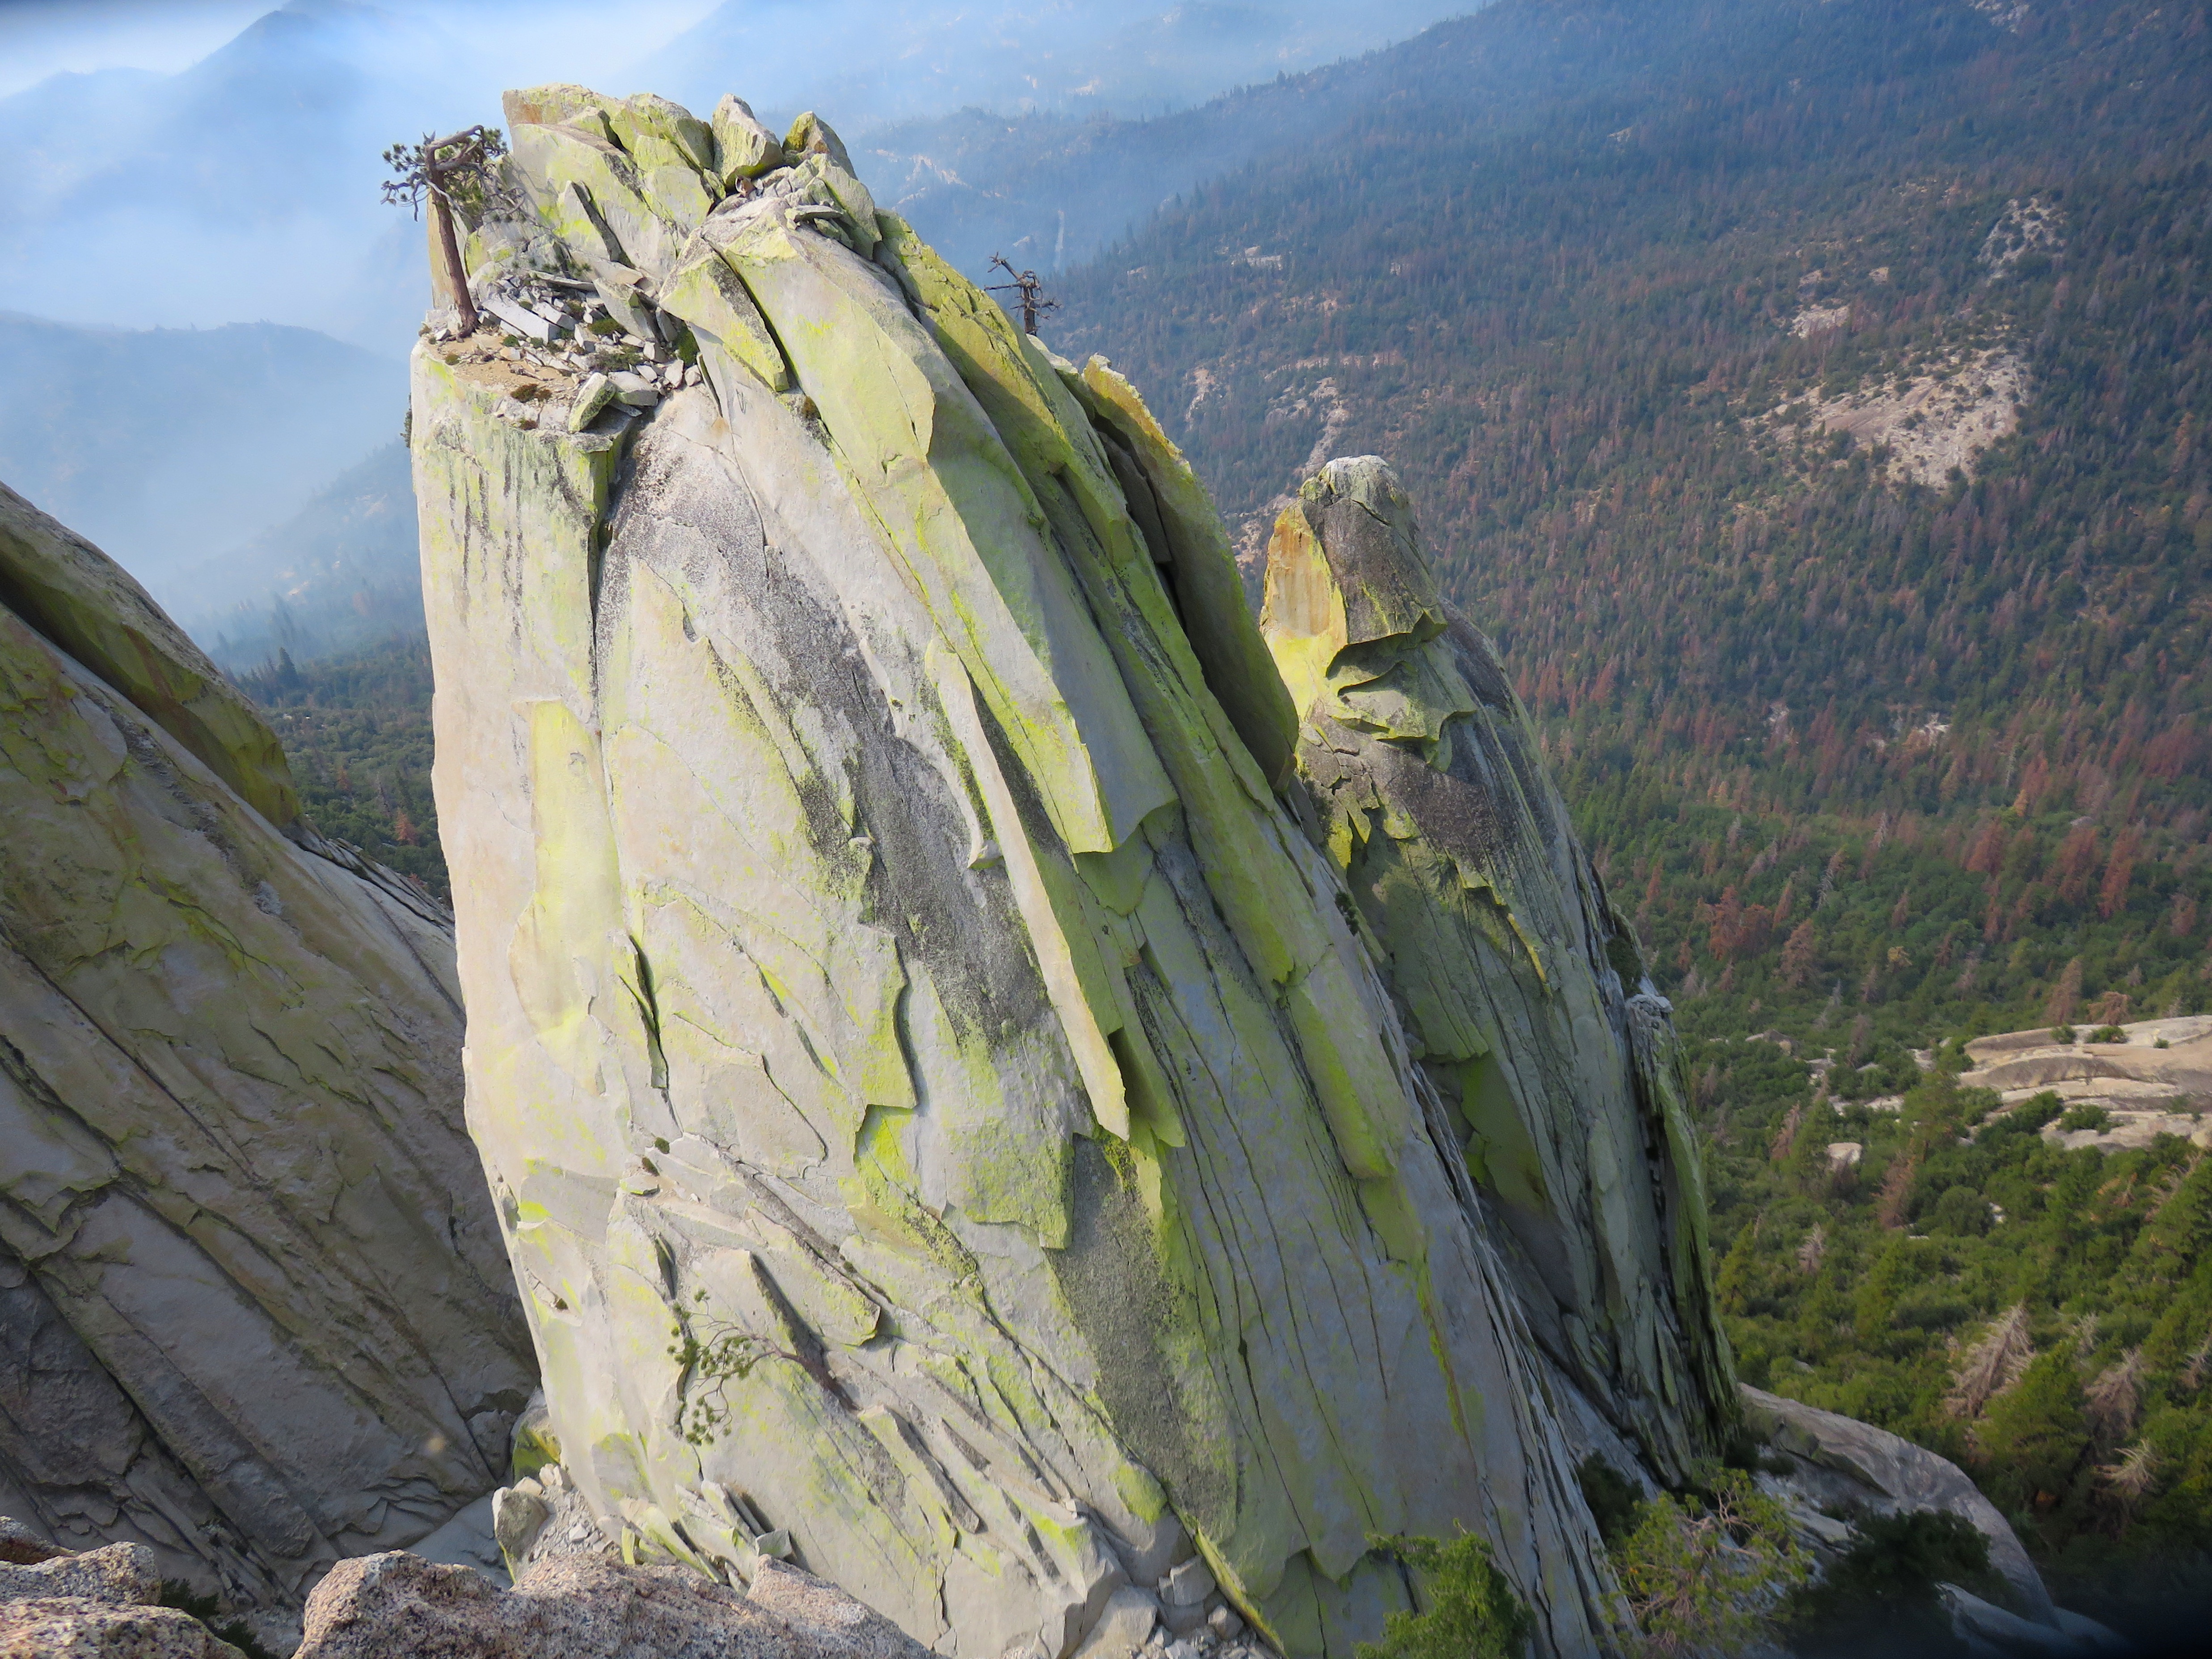
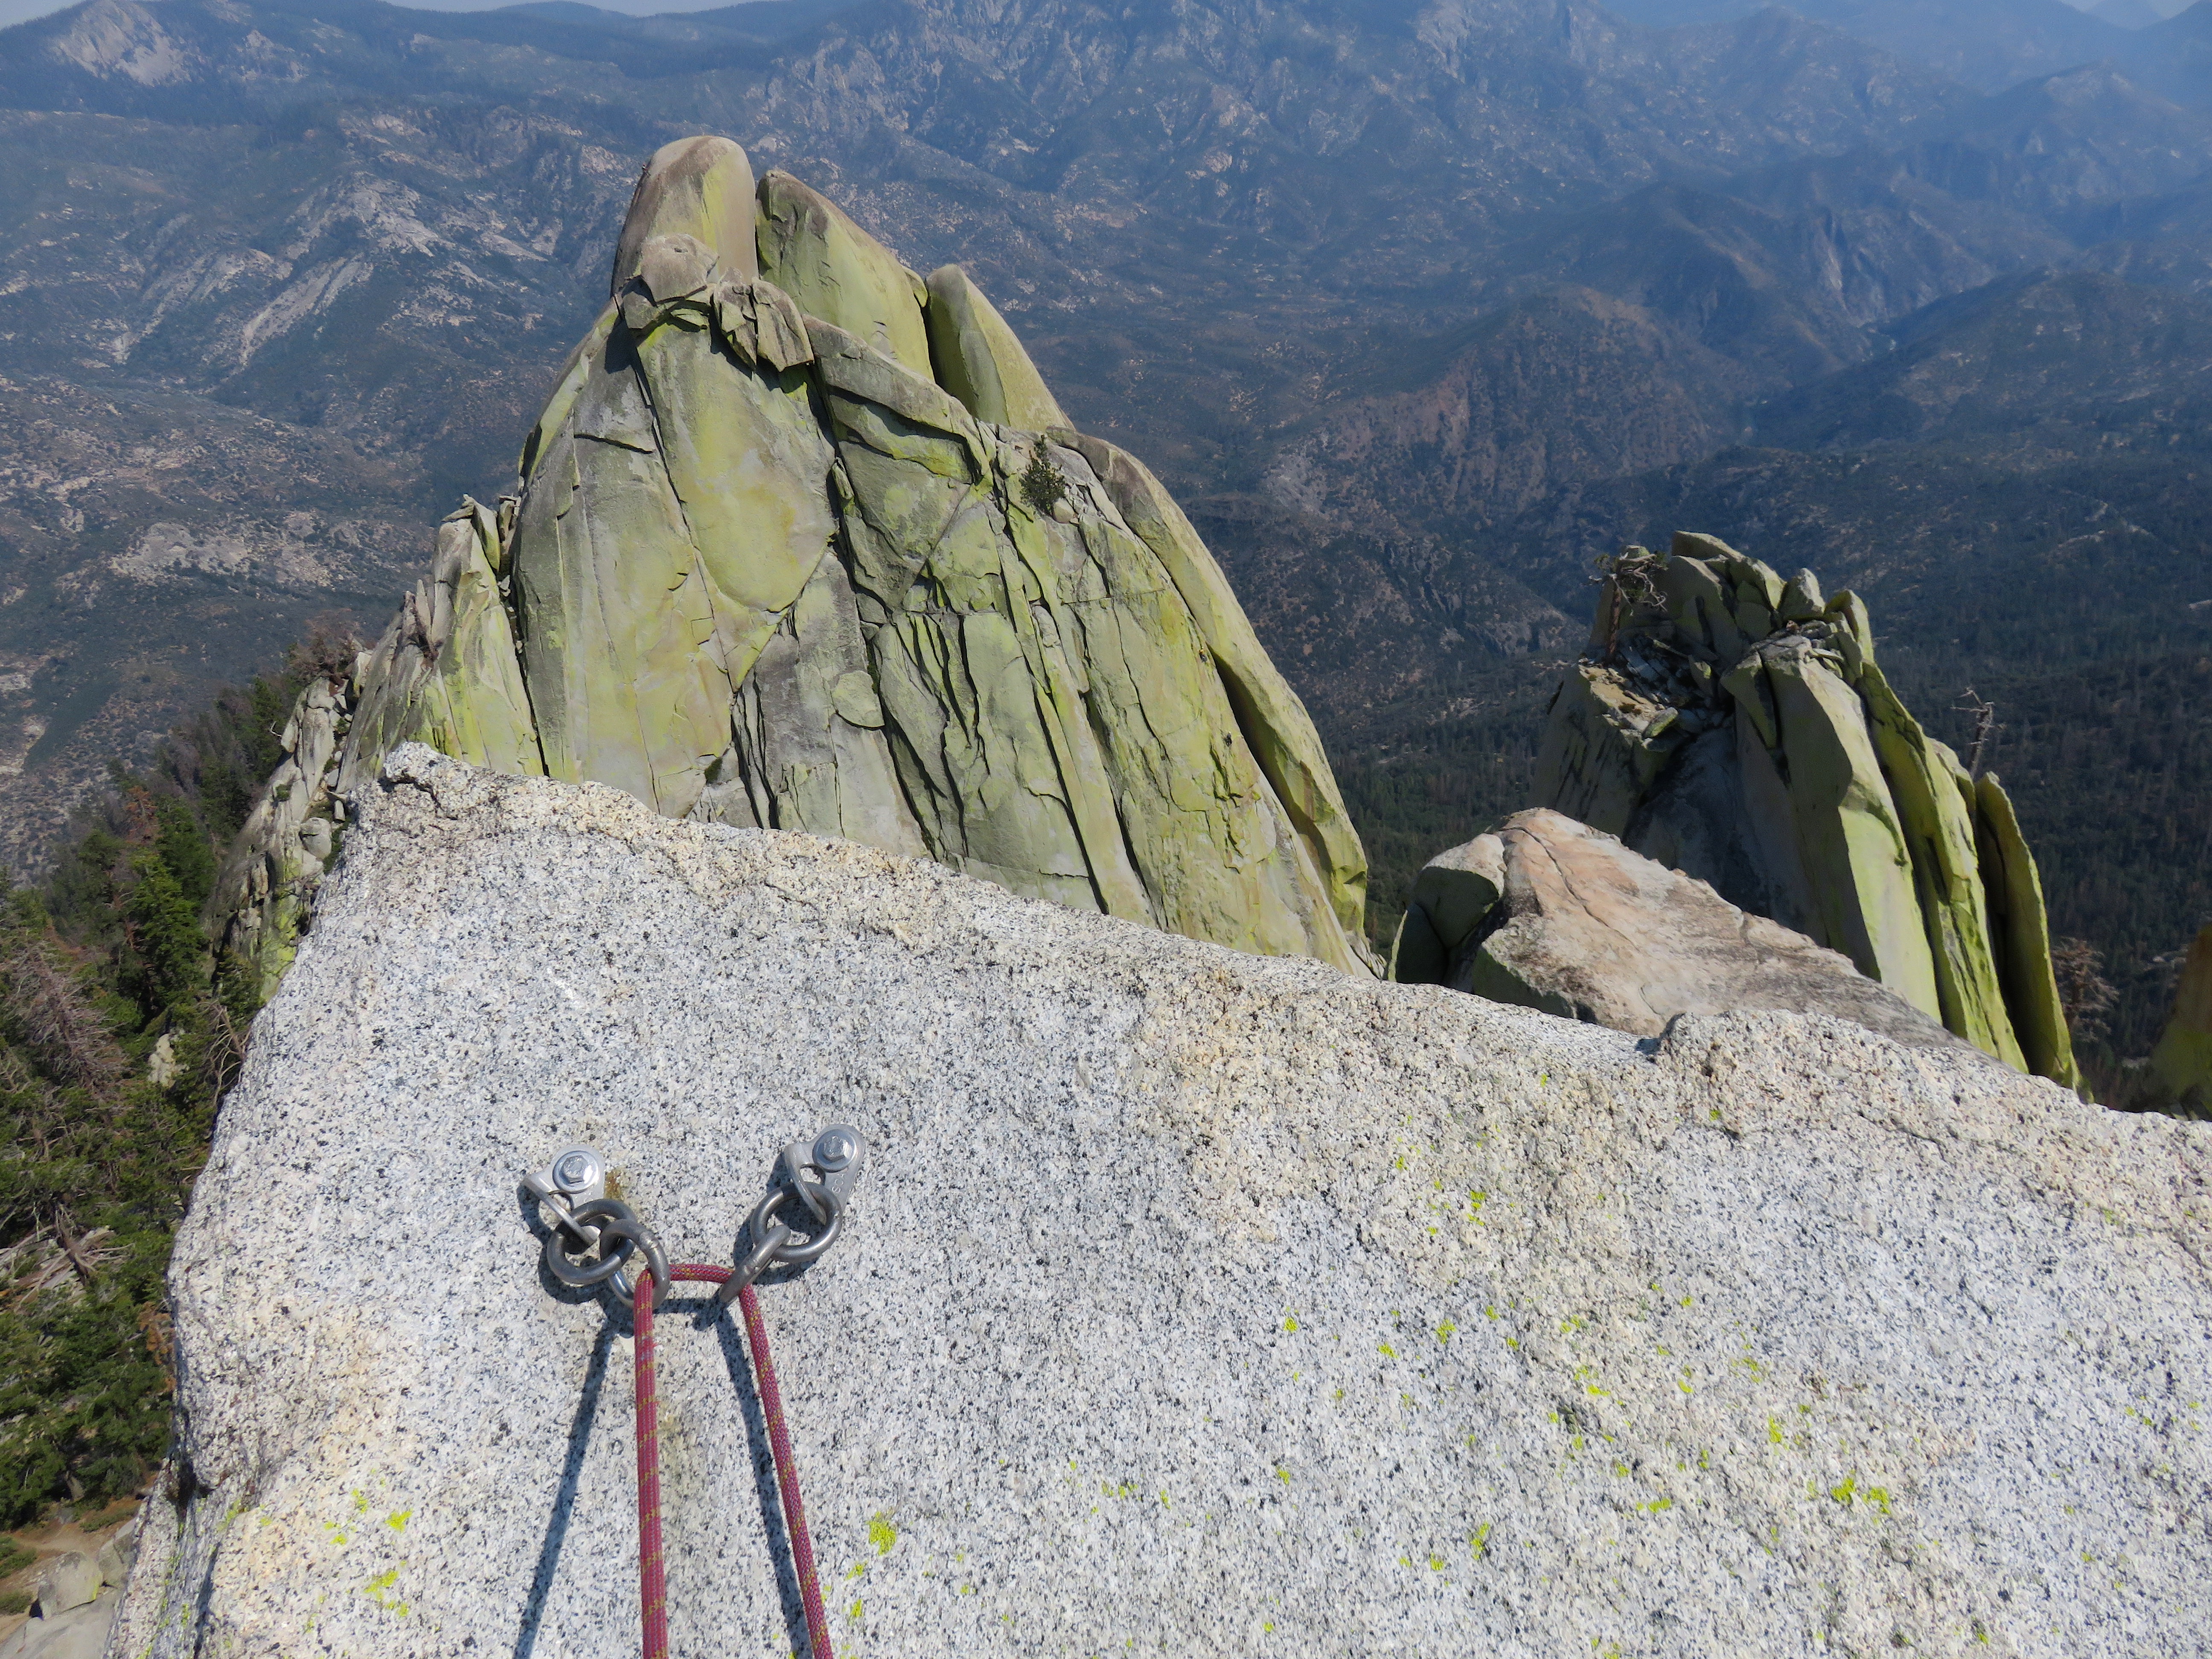
A Week at the Needles
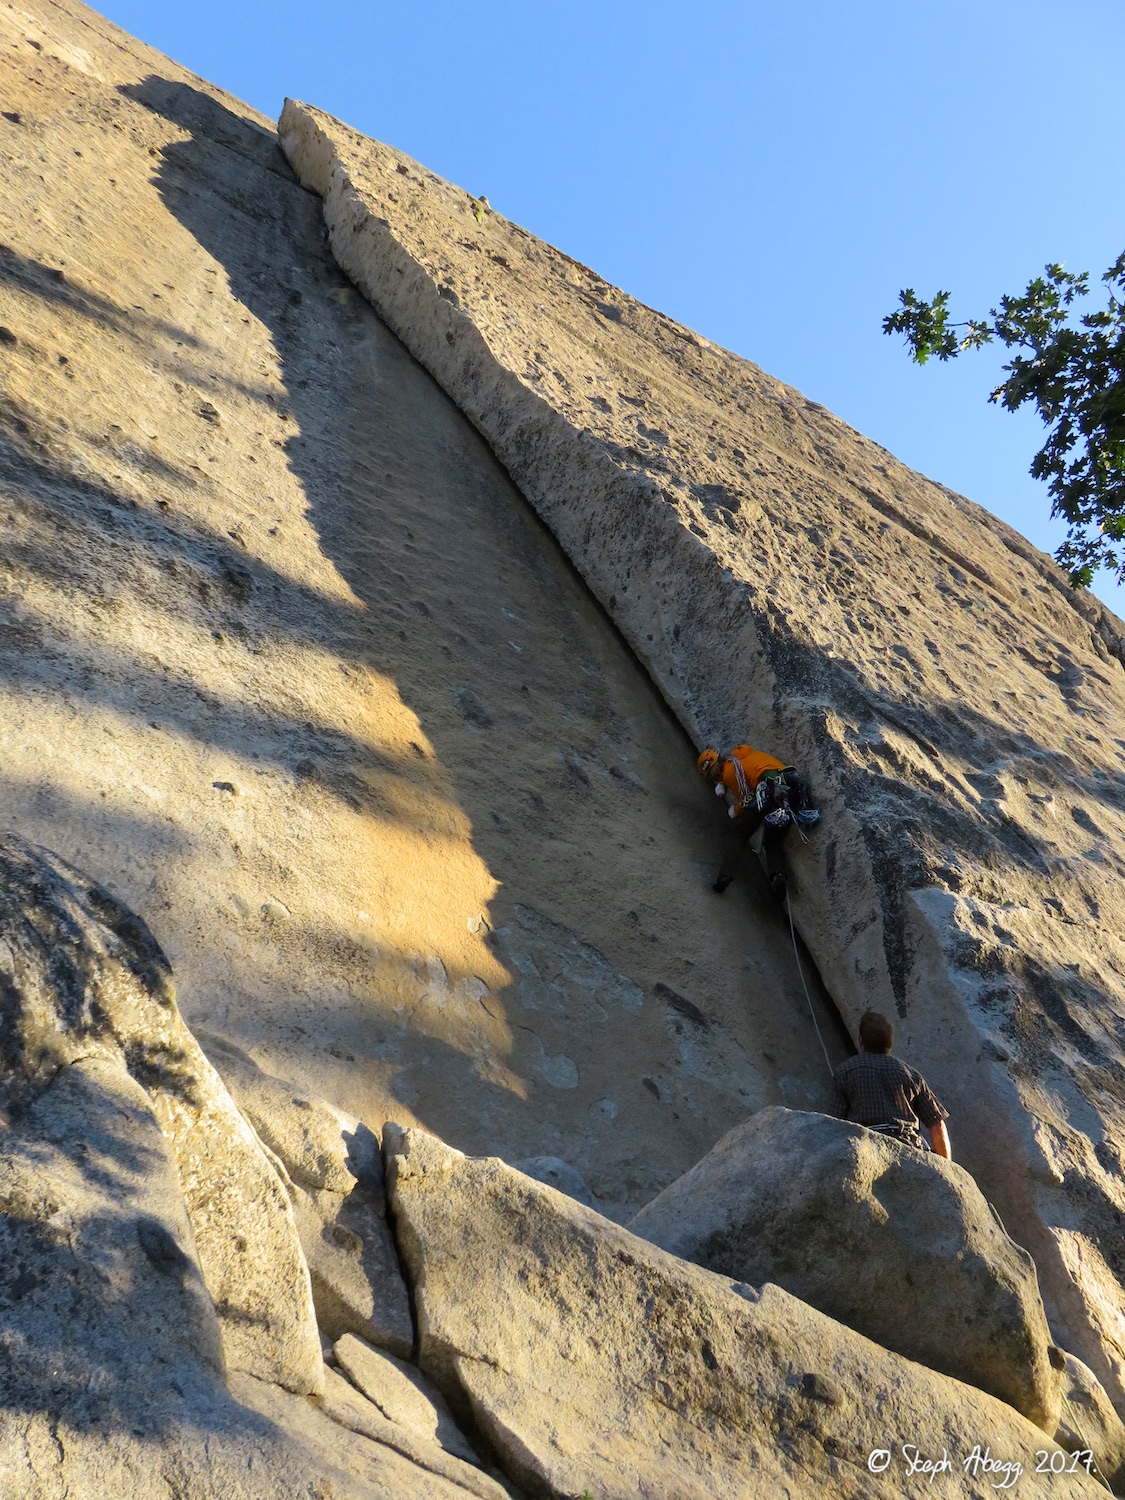
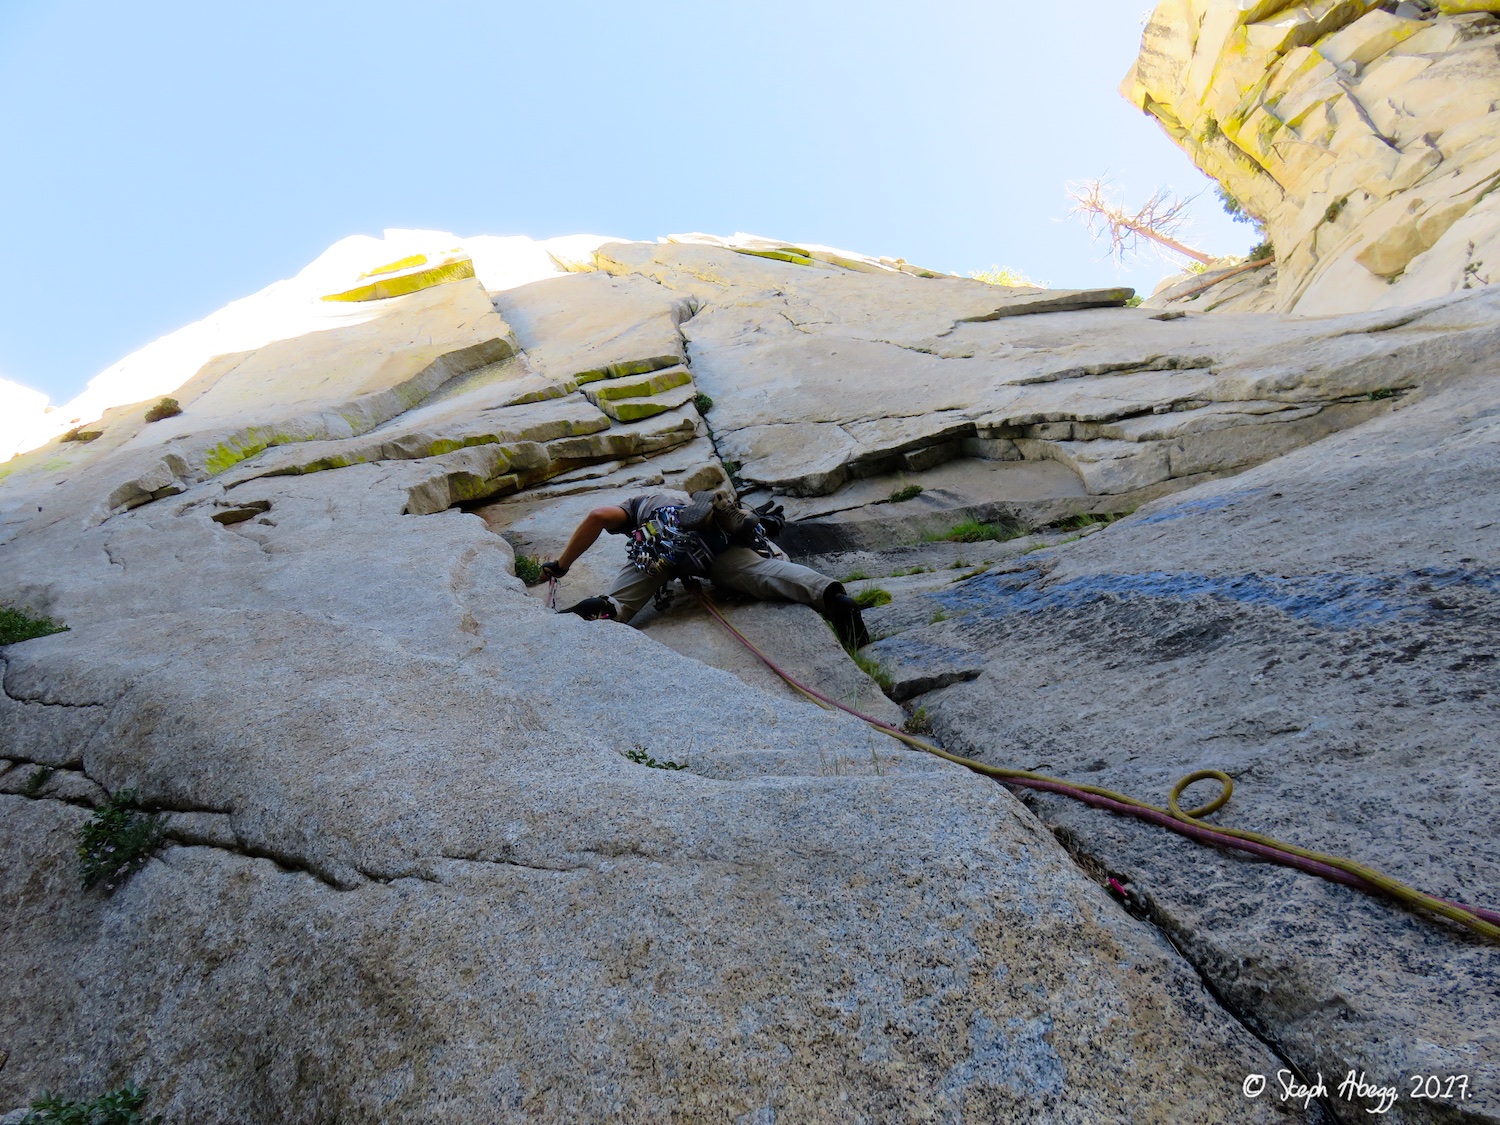
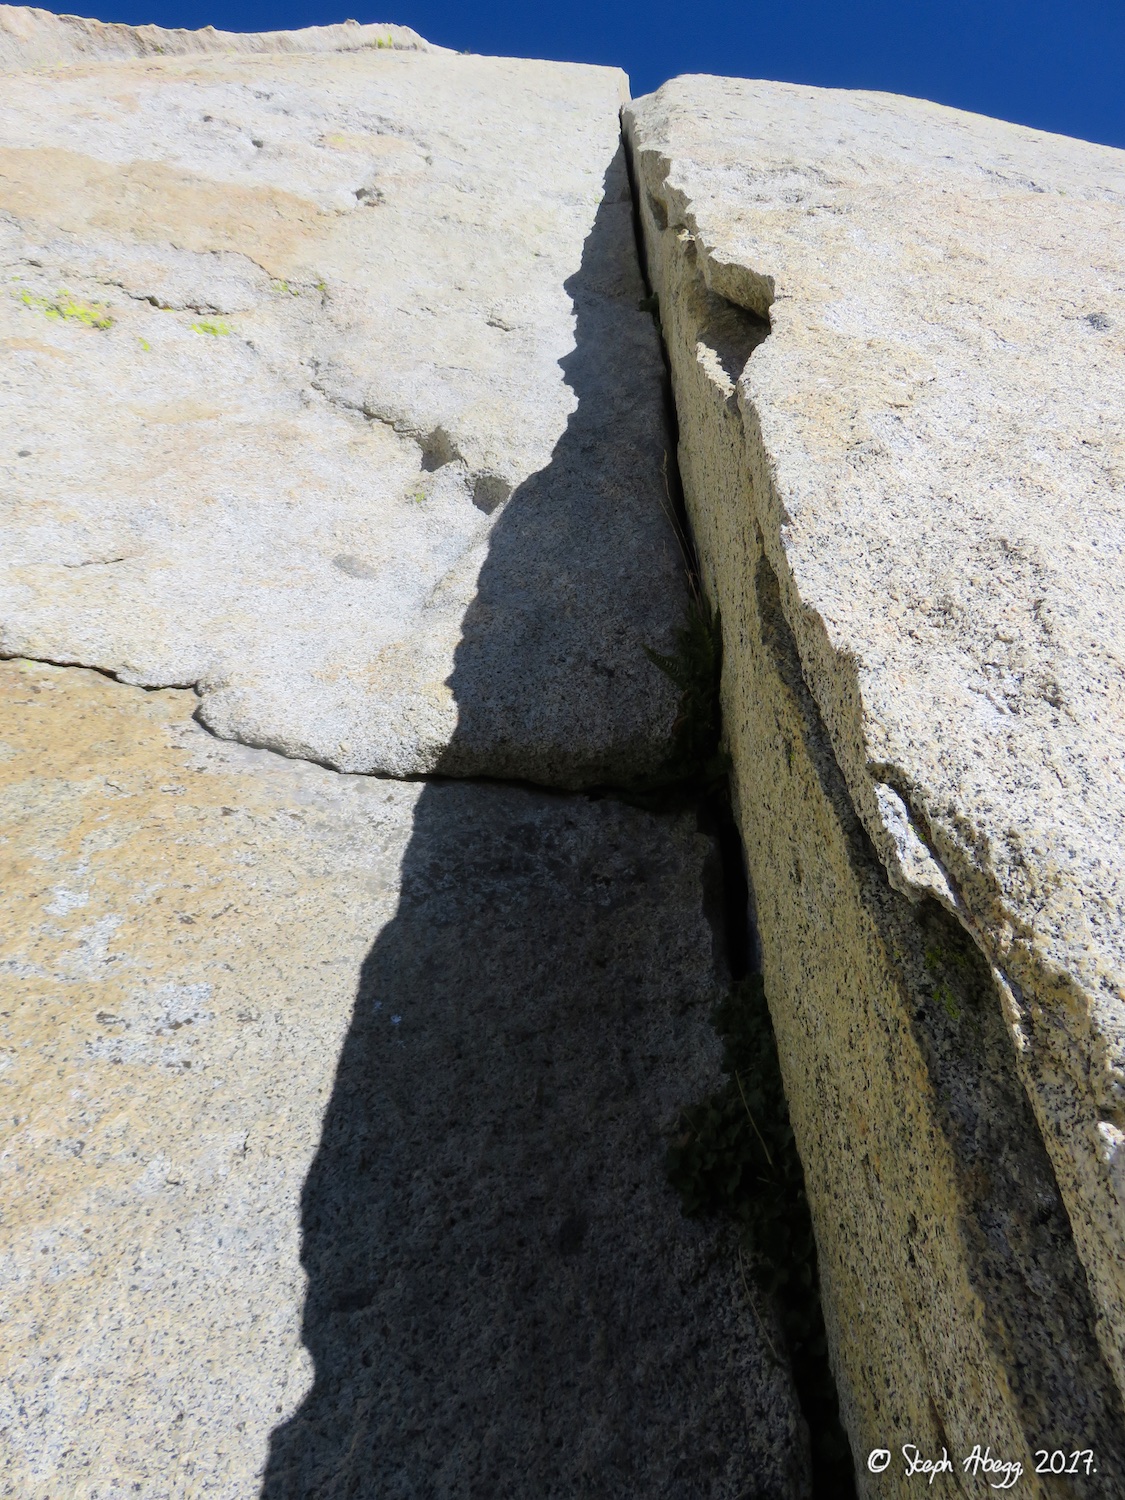
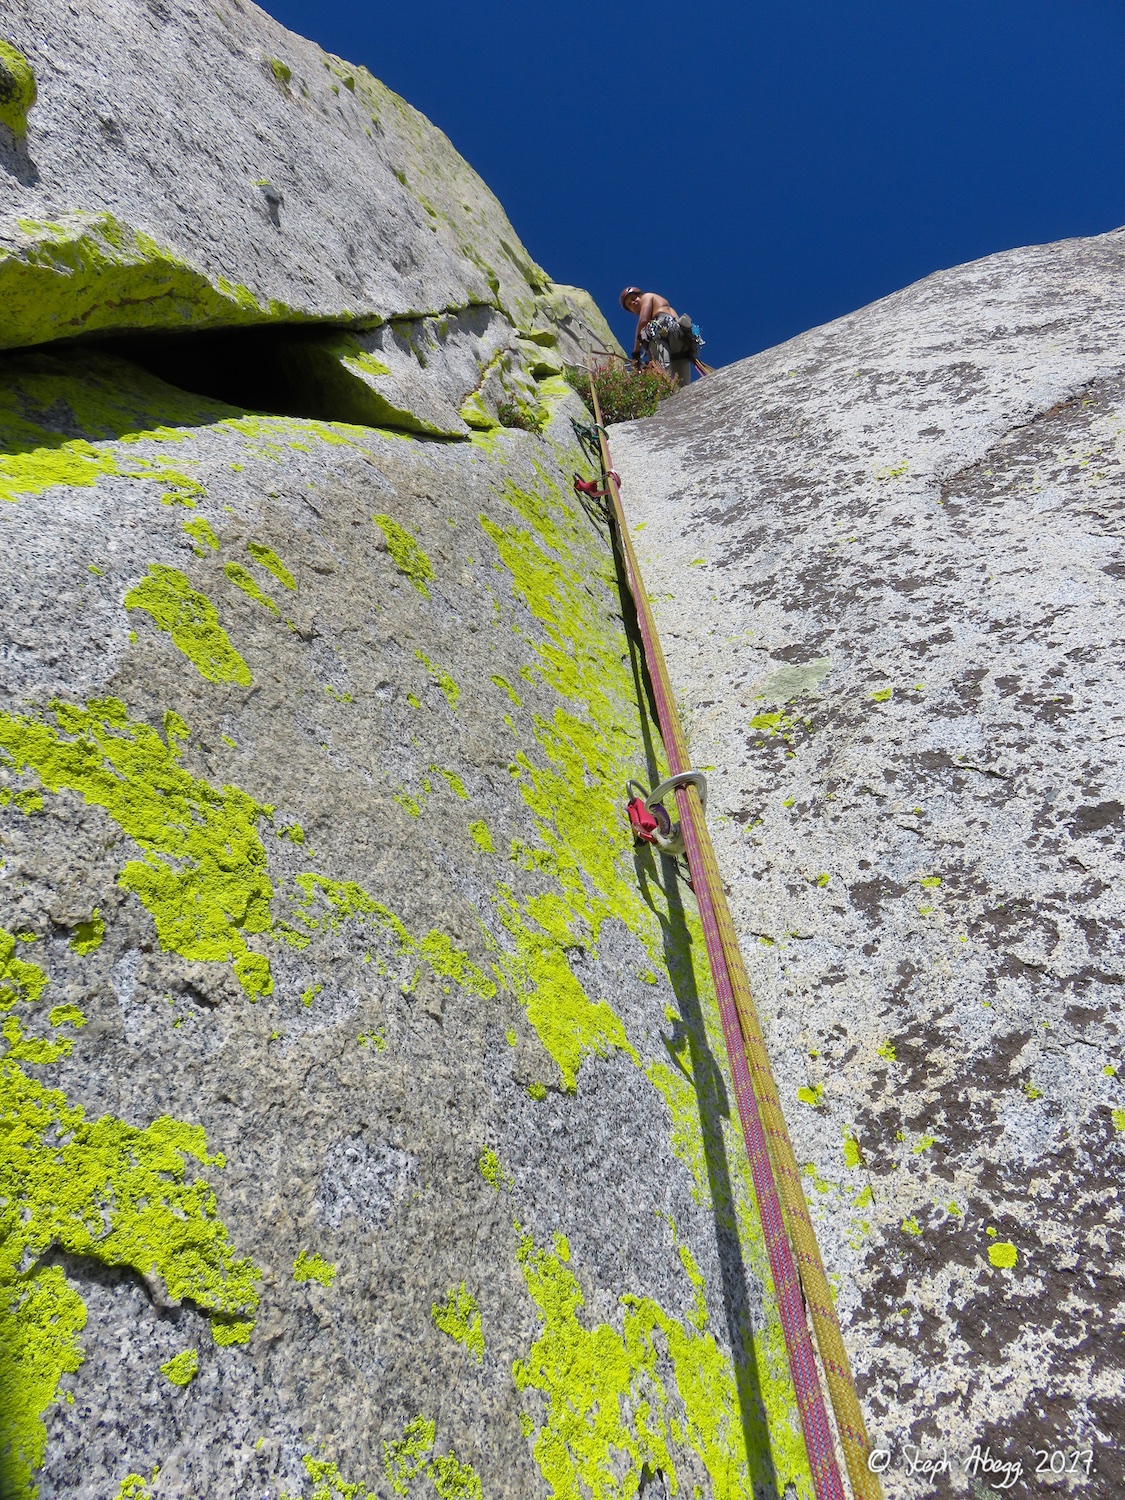
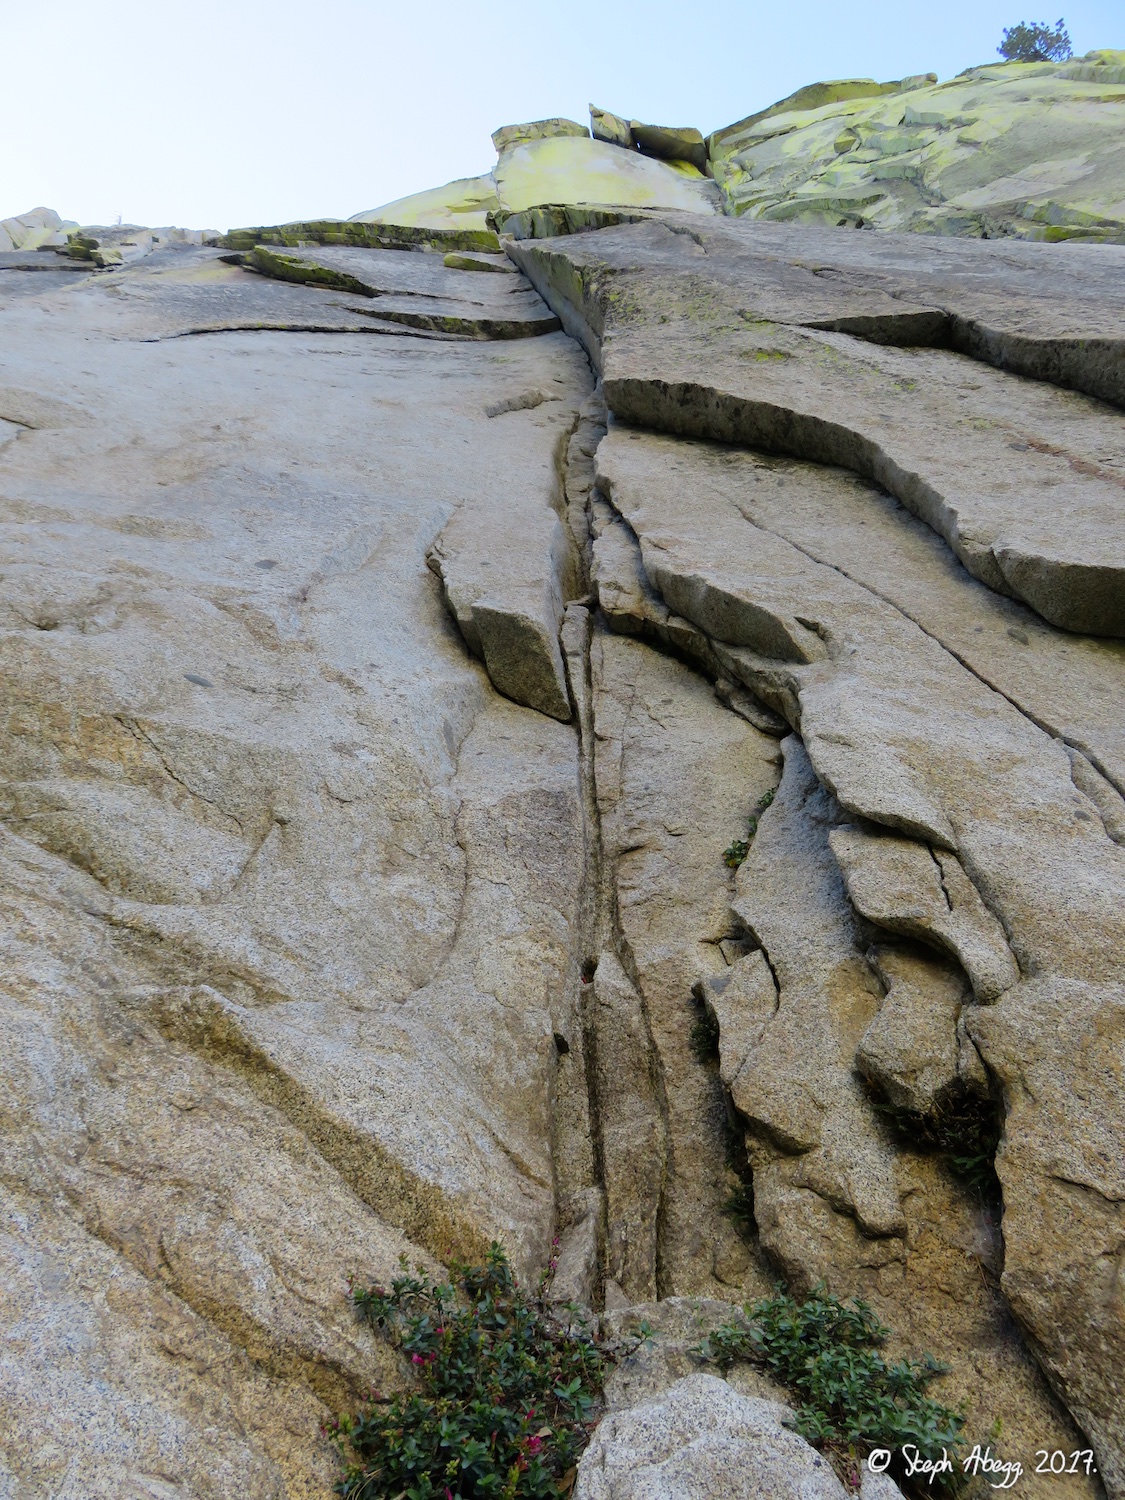
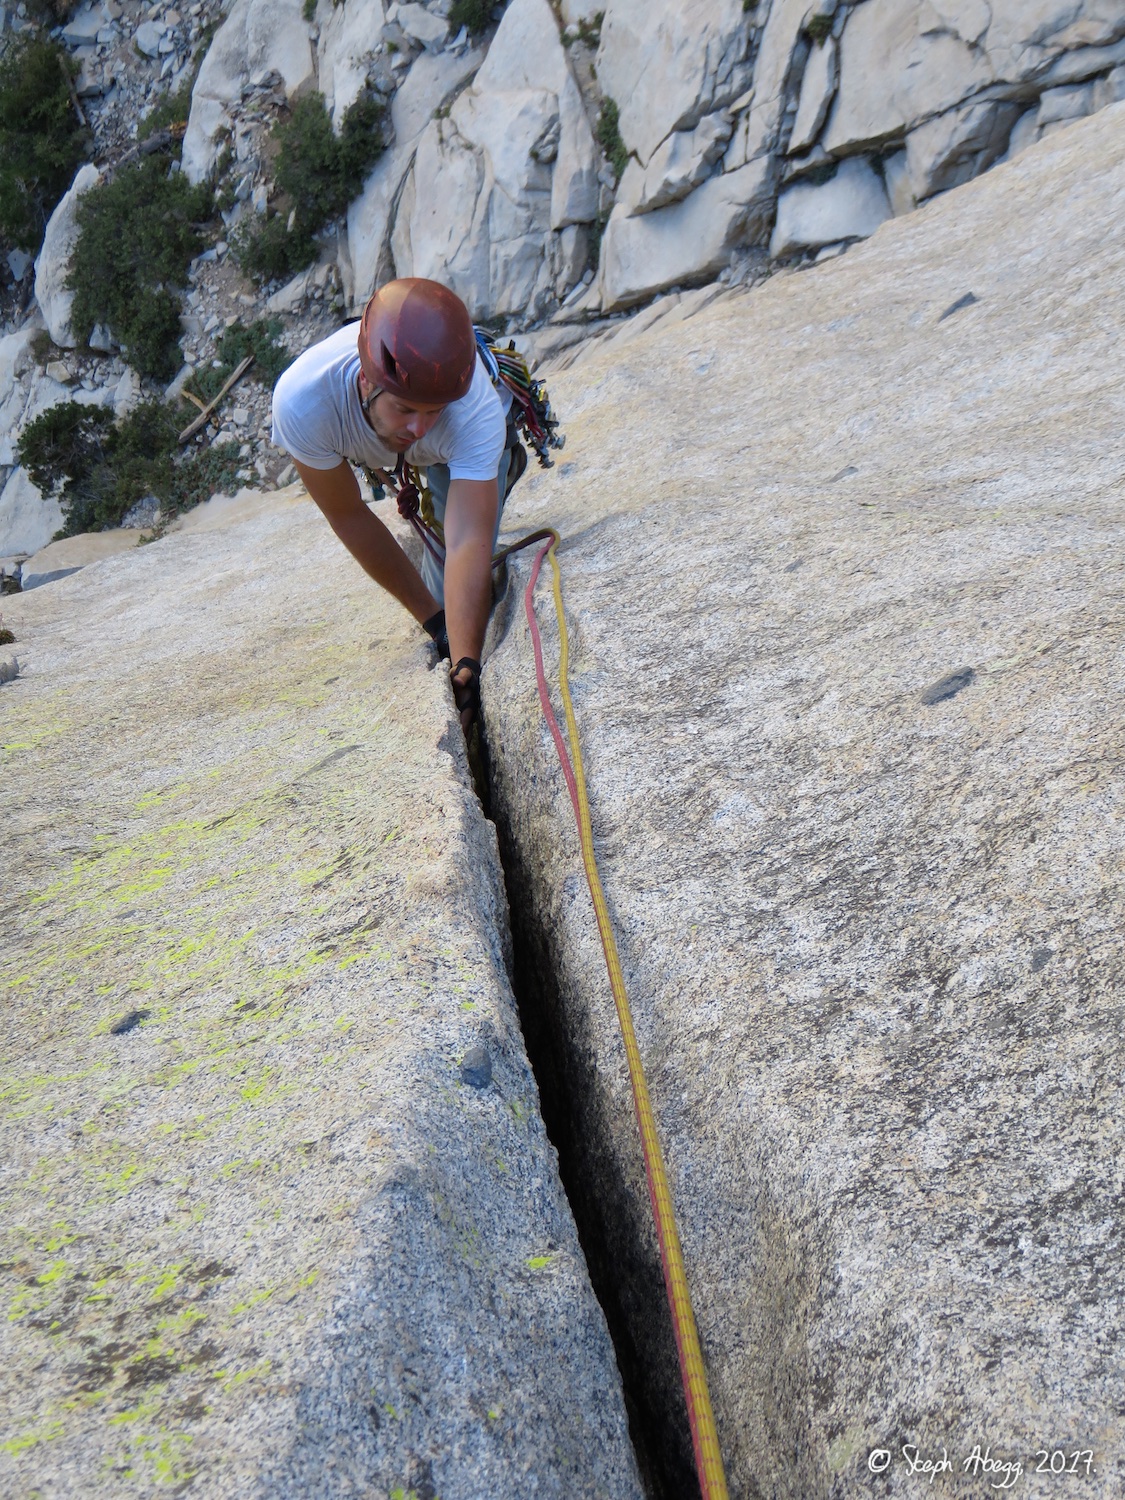
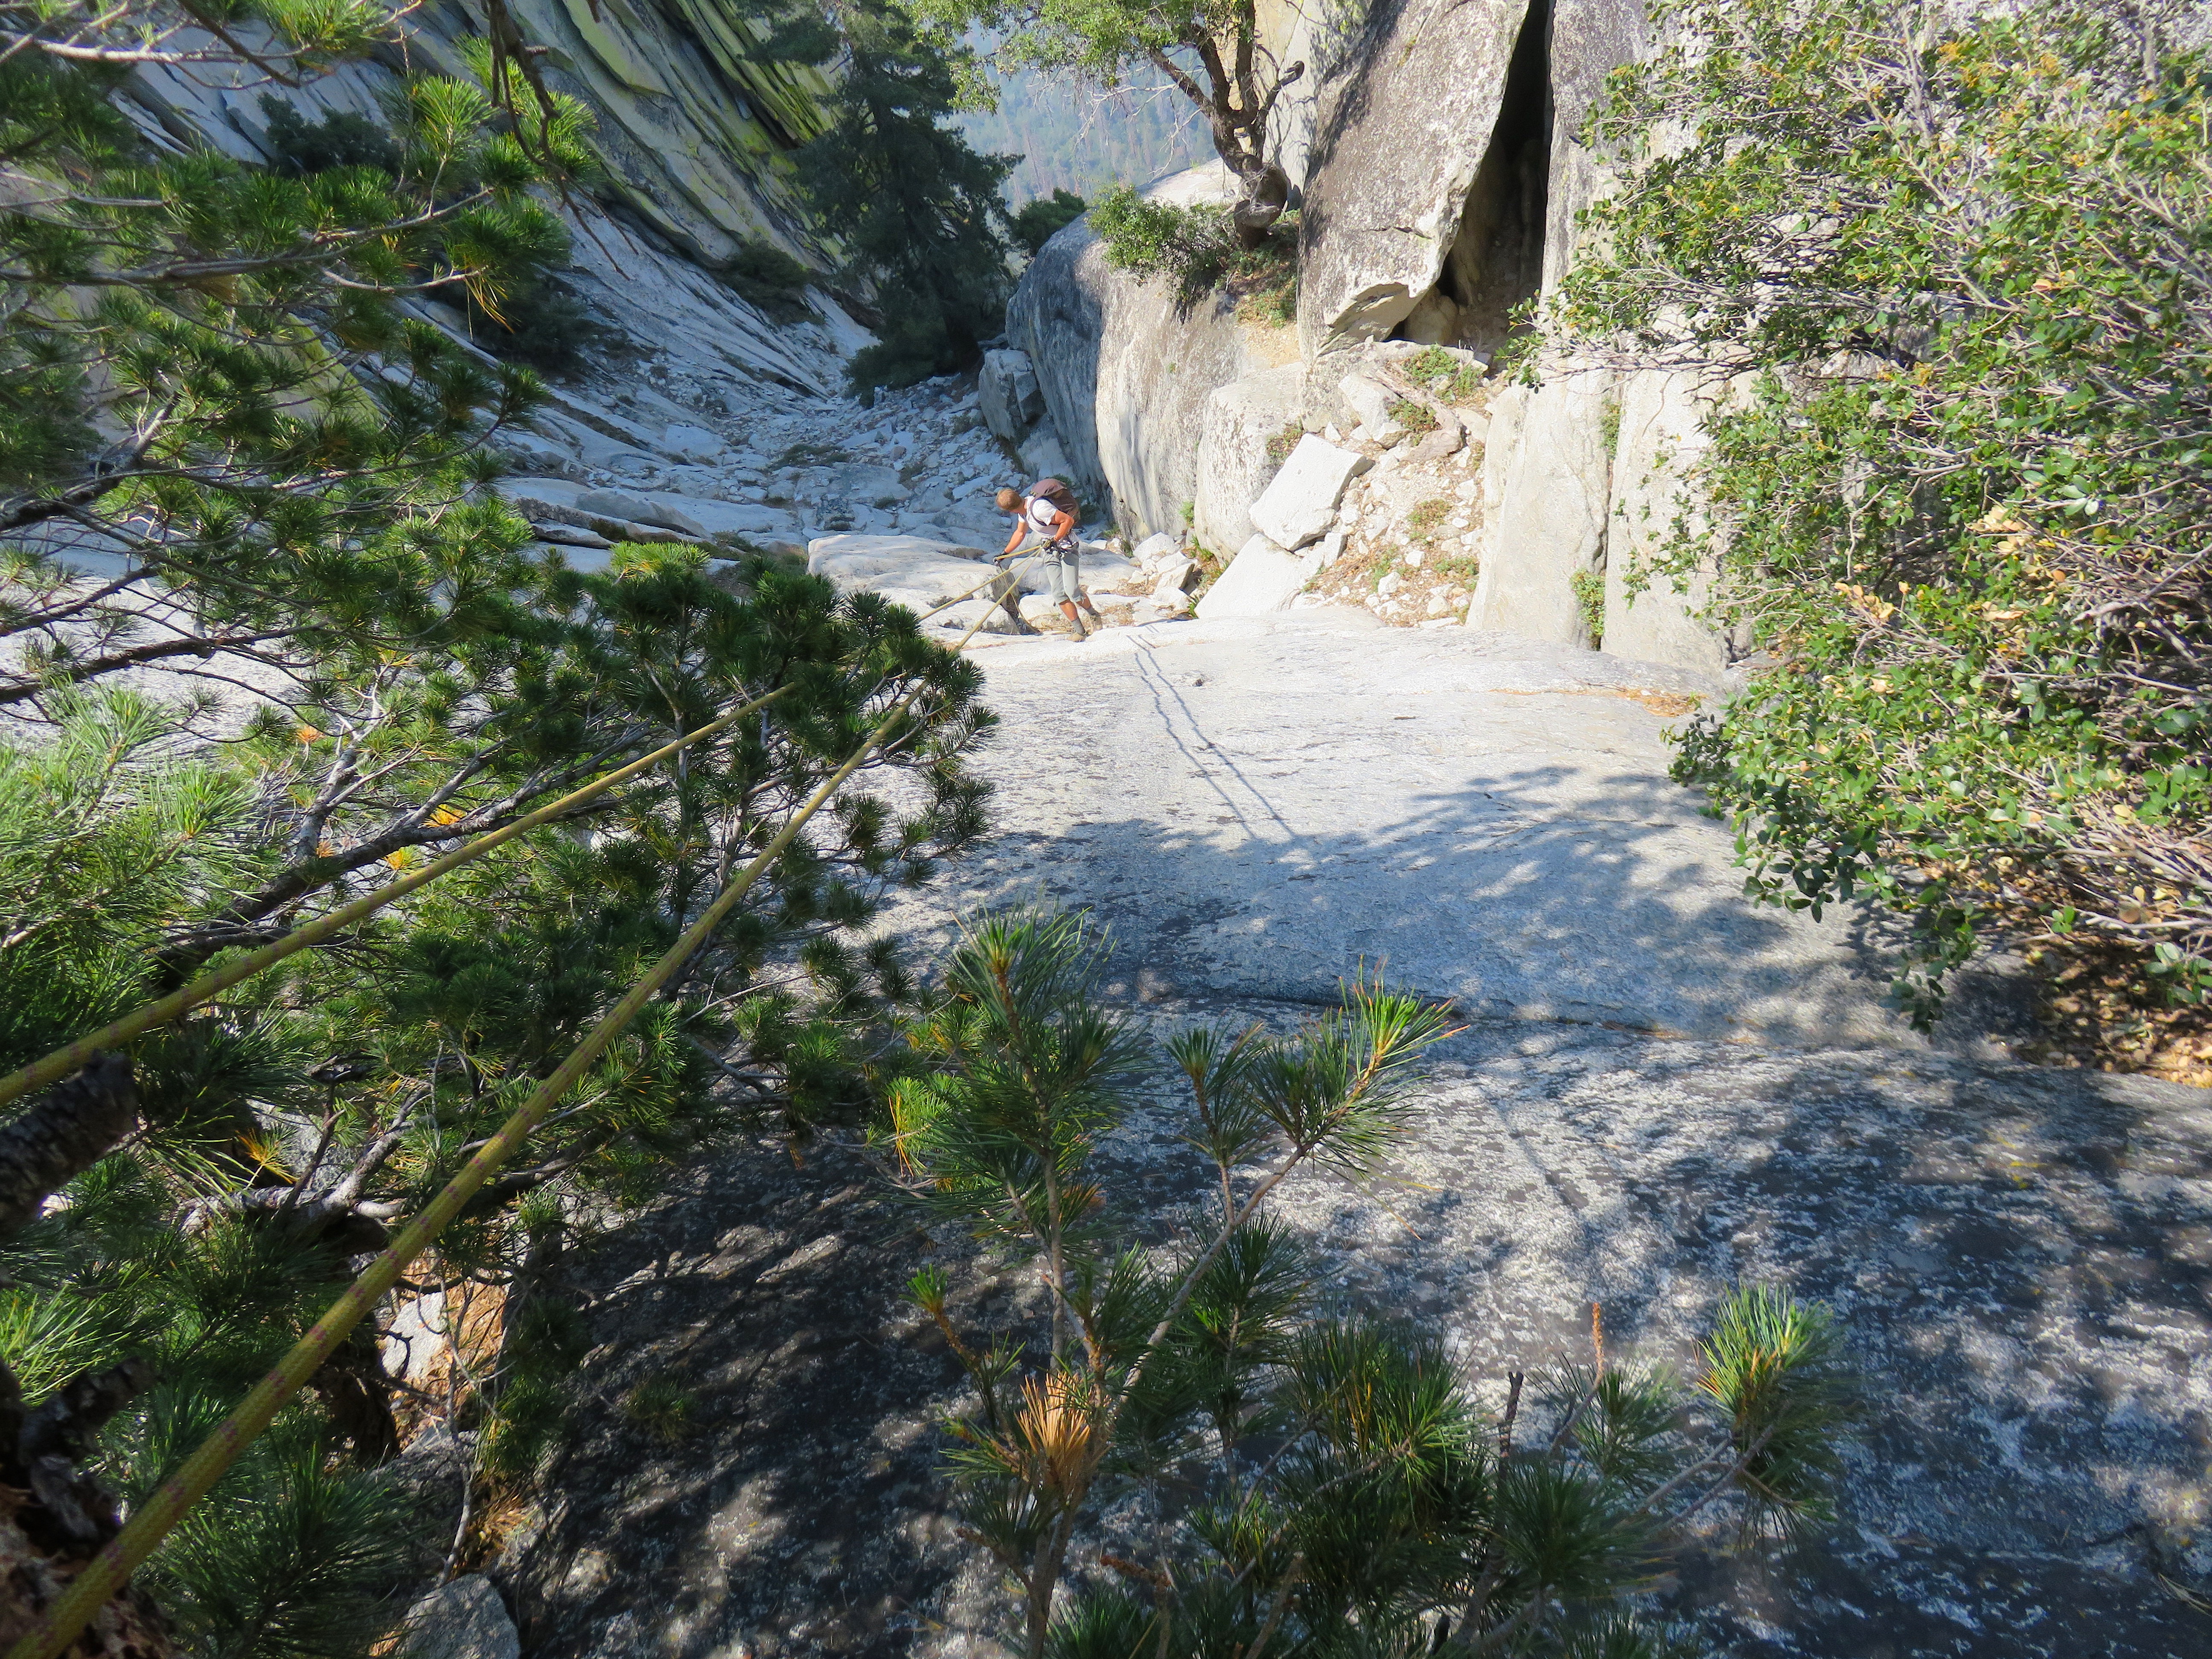
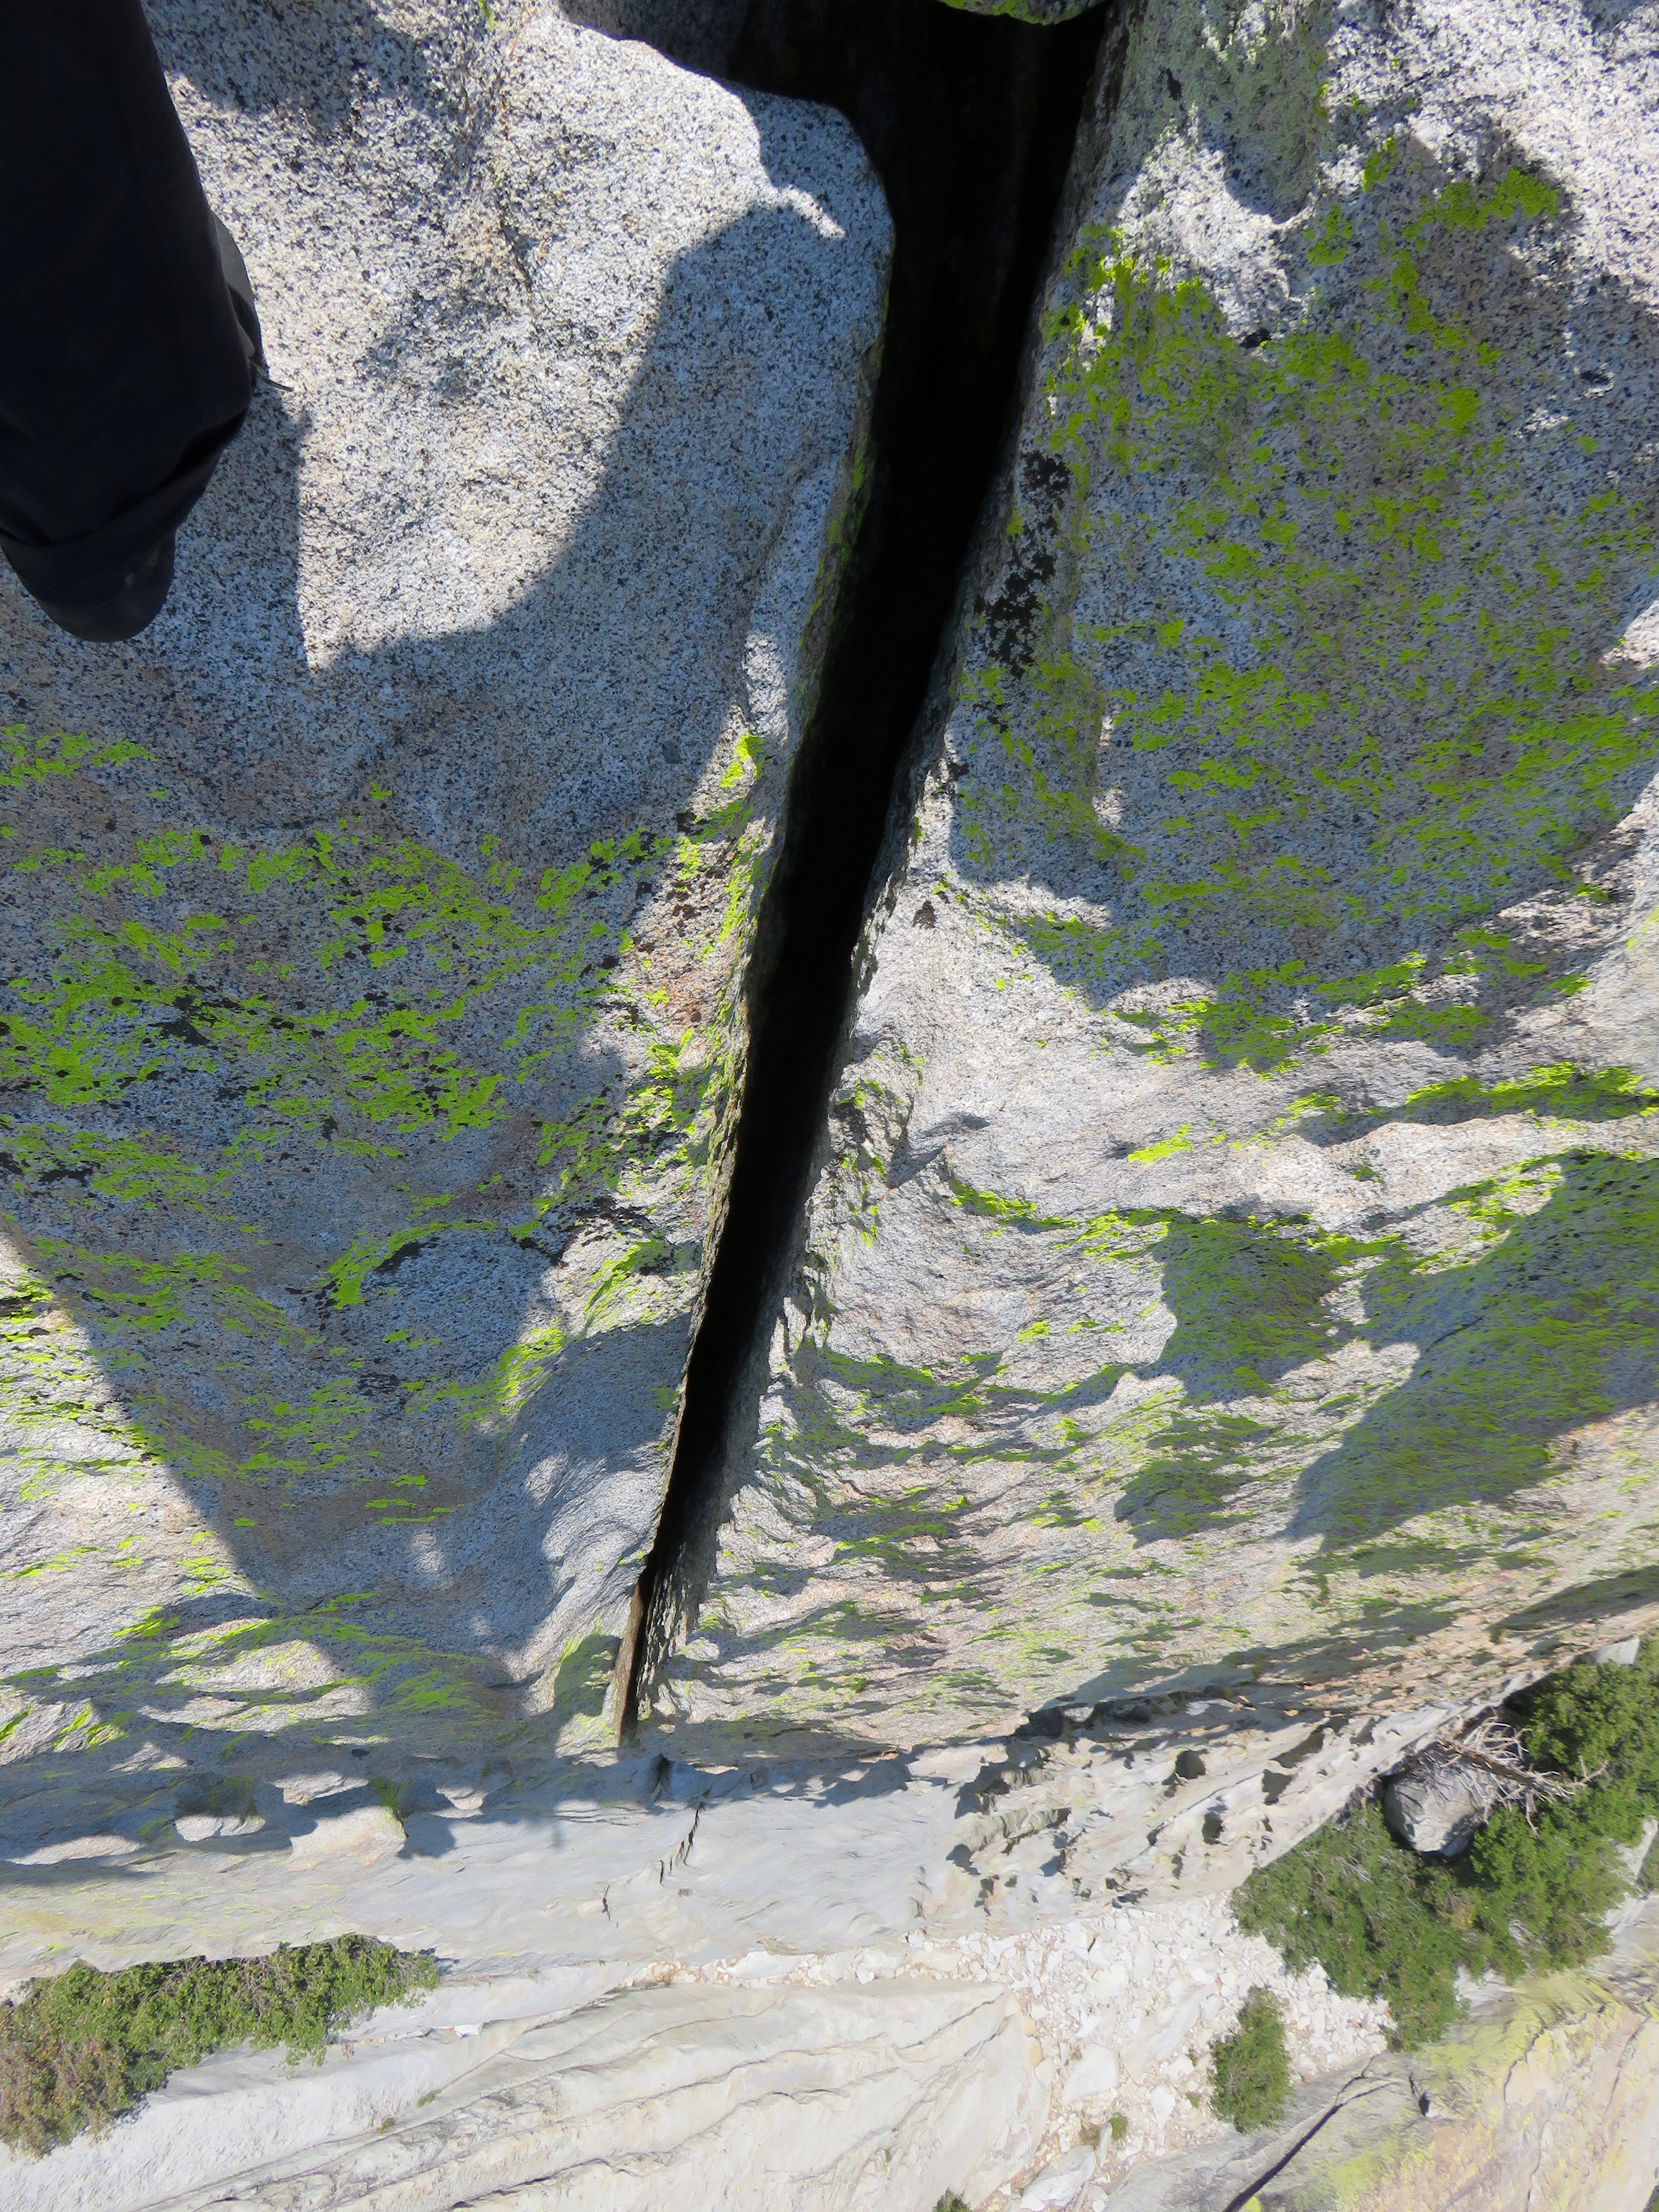
Routes:
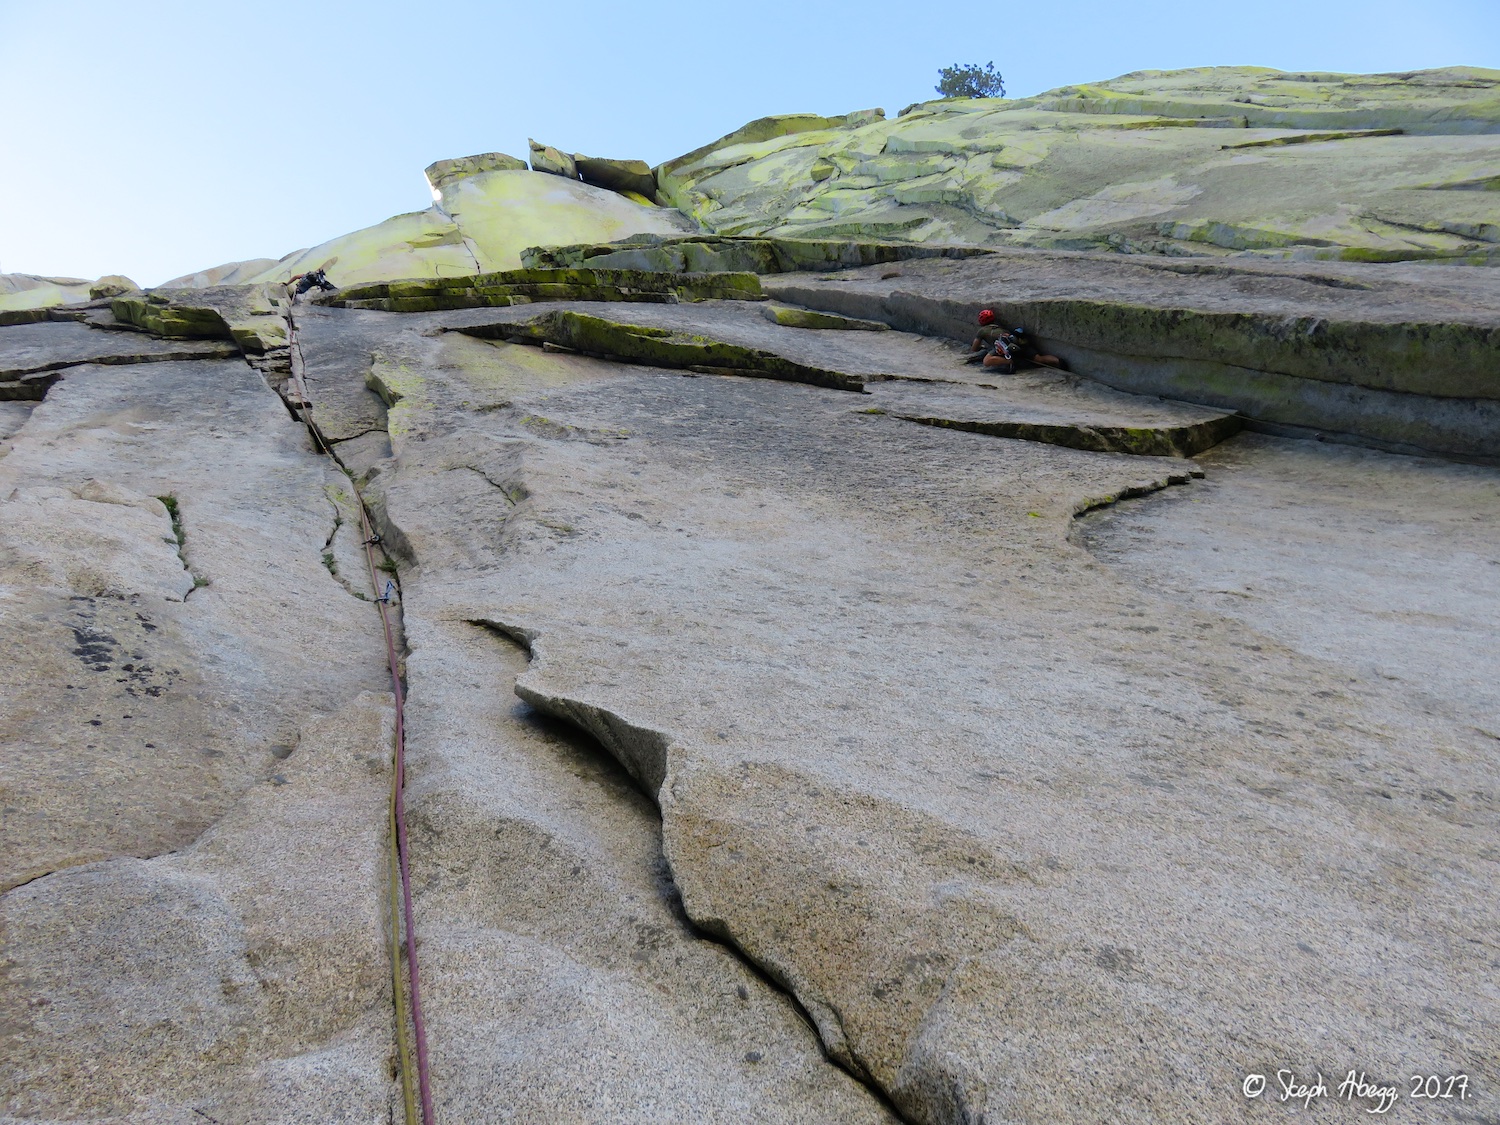
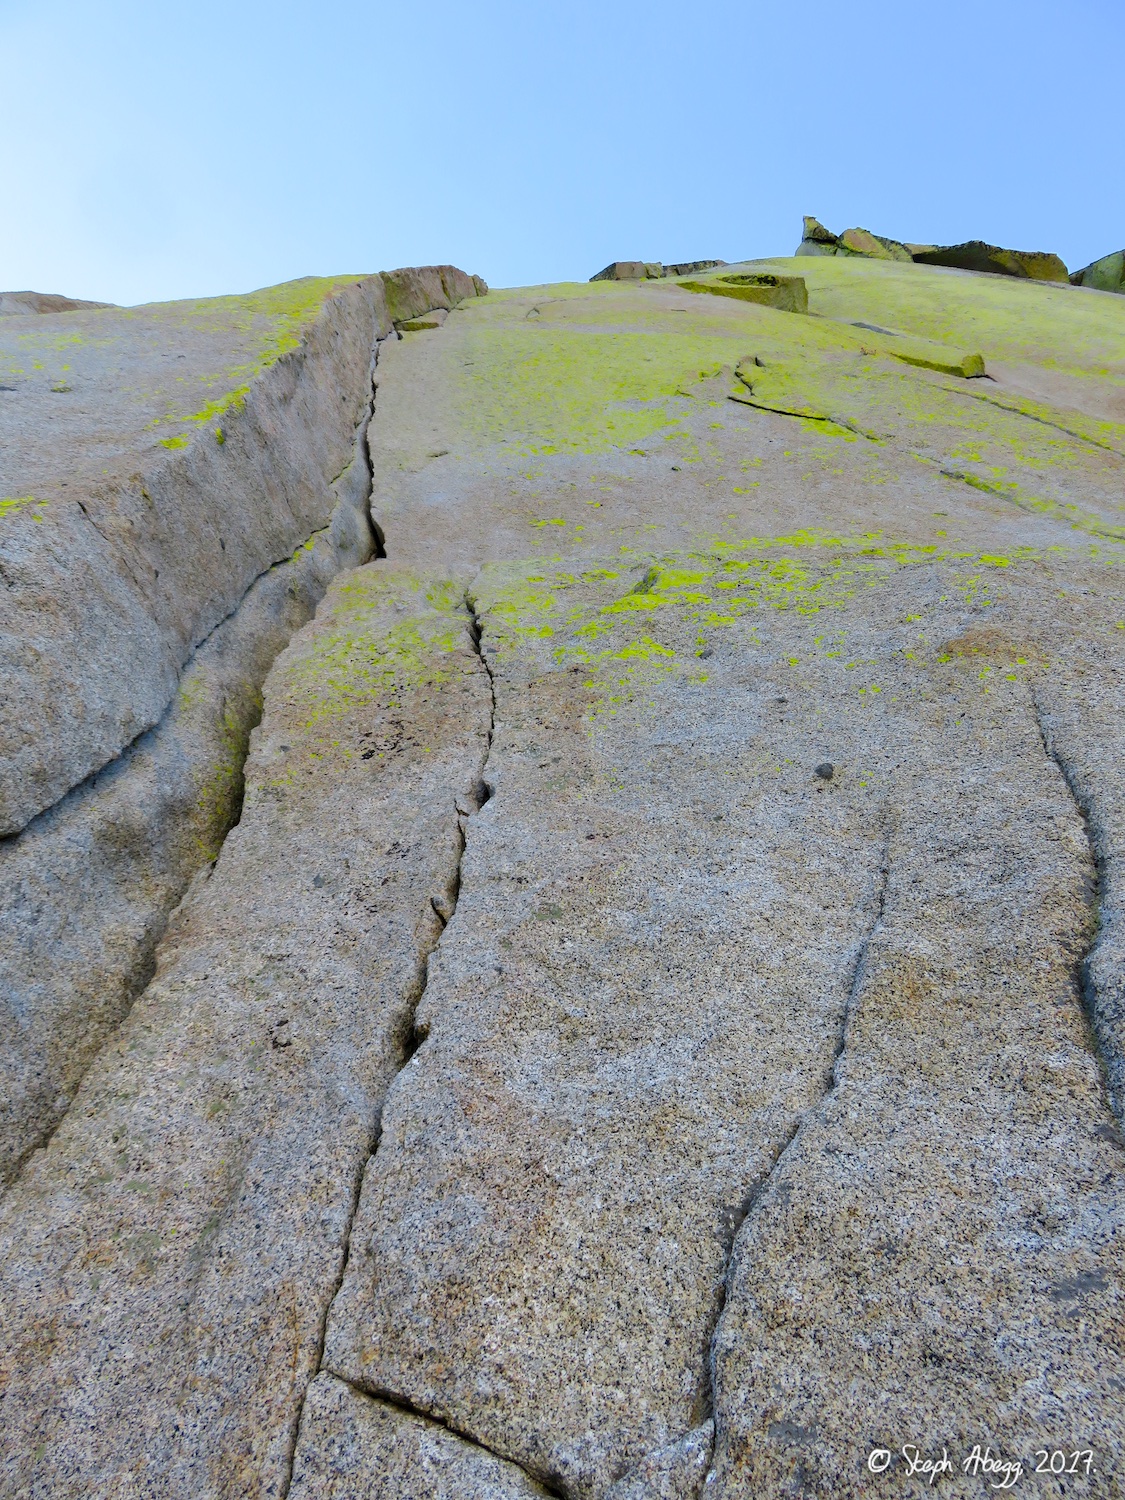
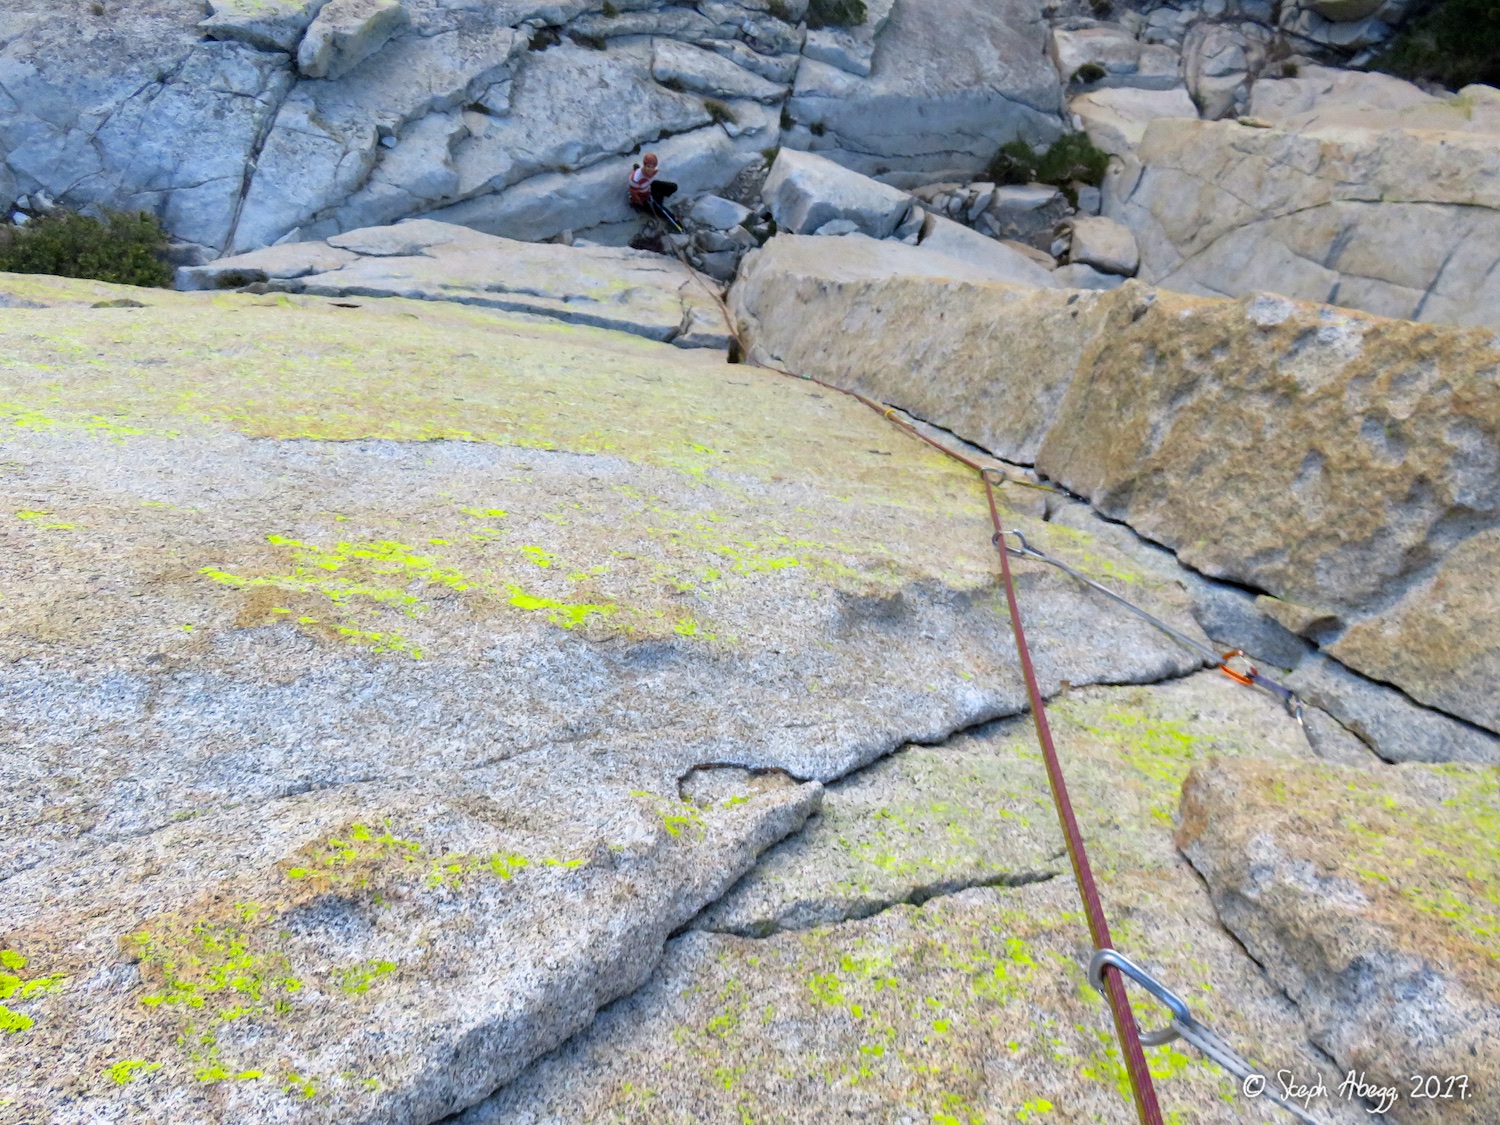
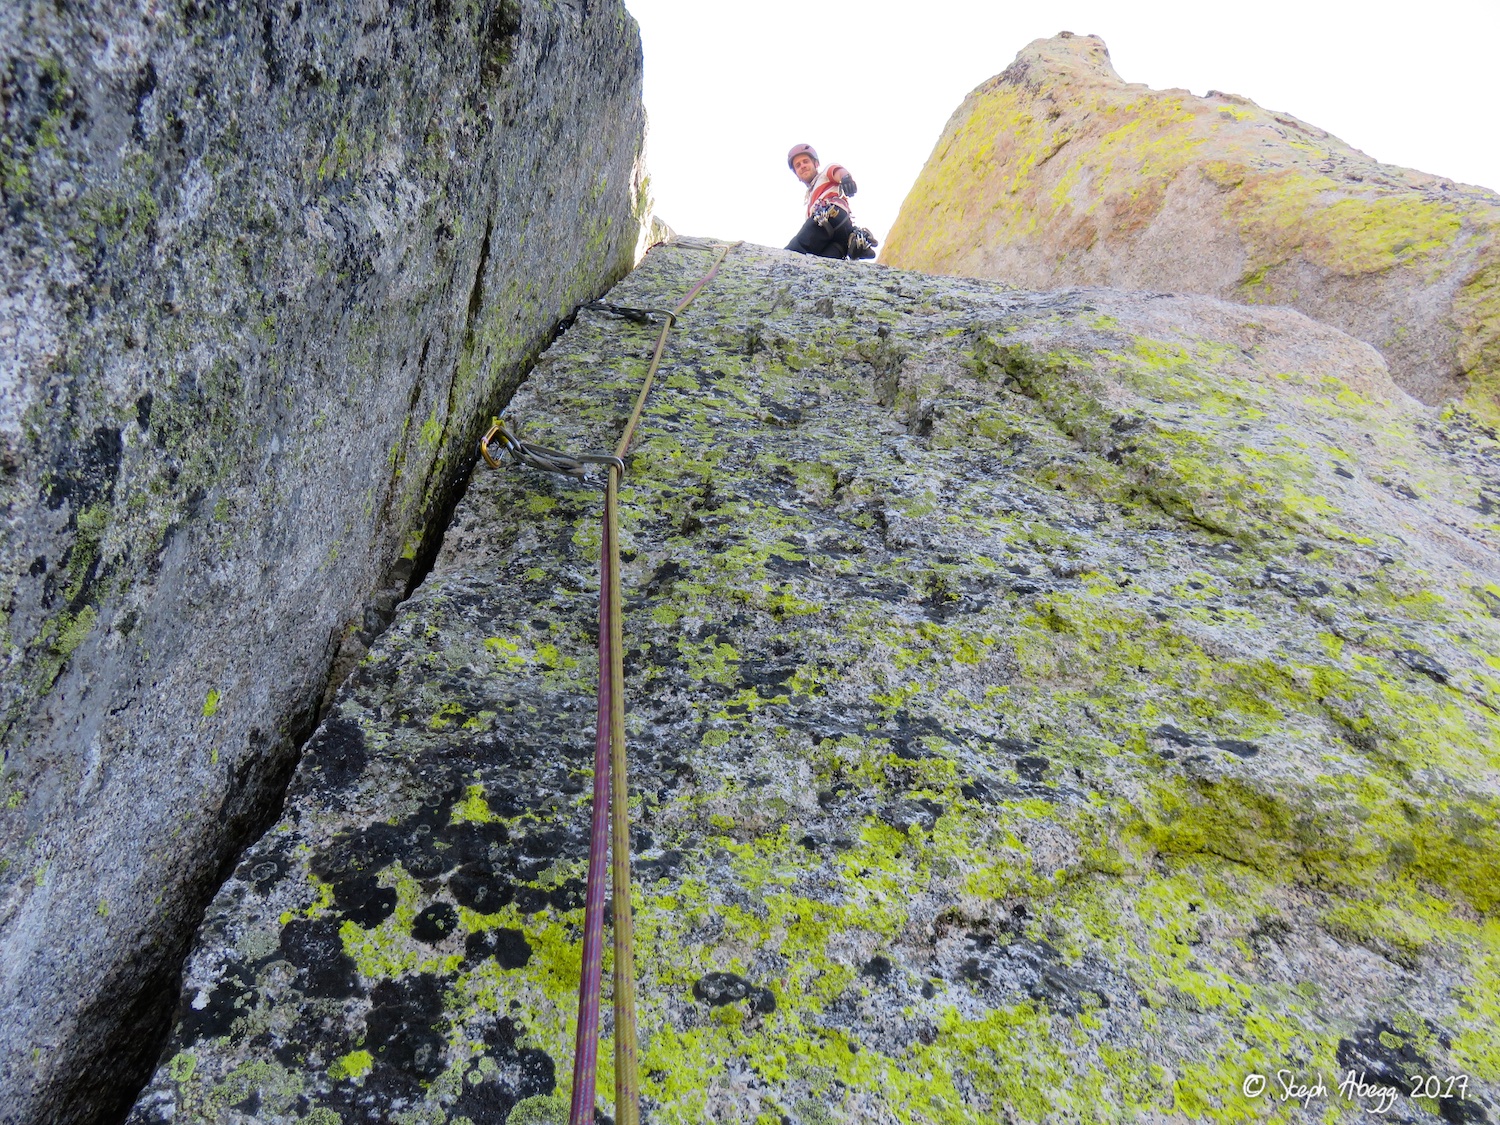
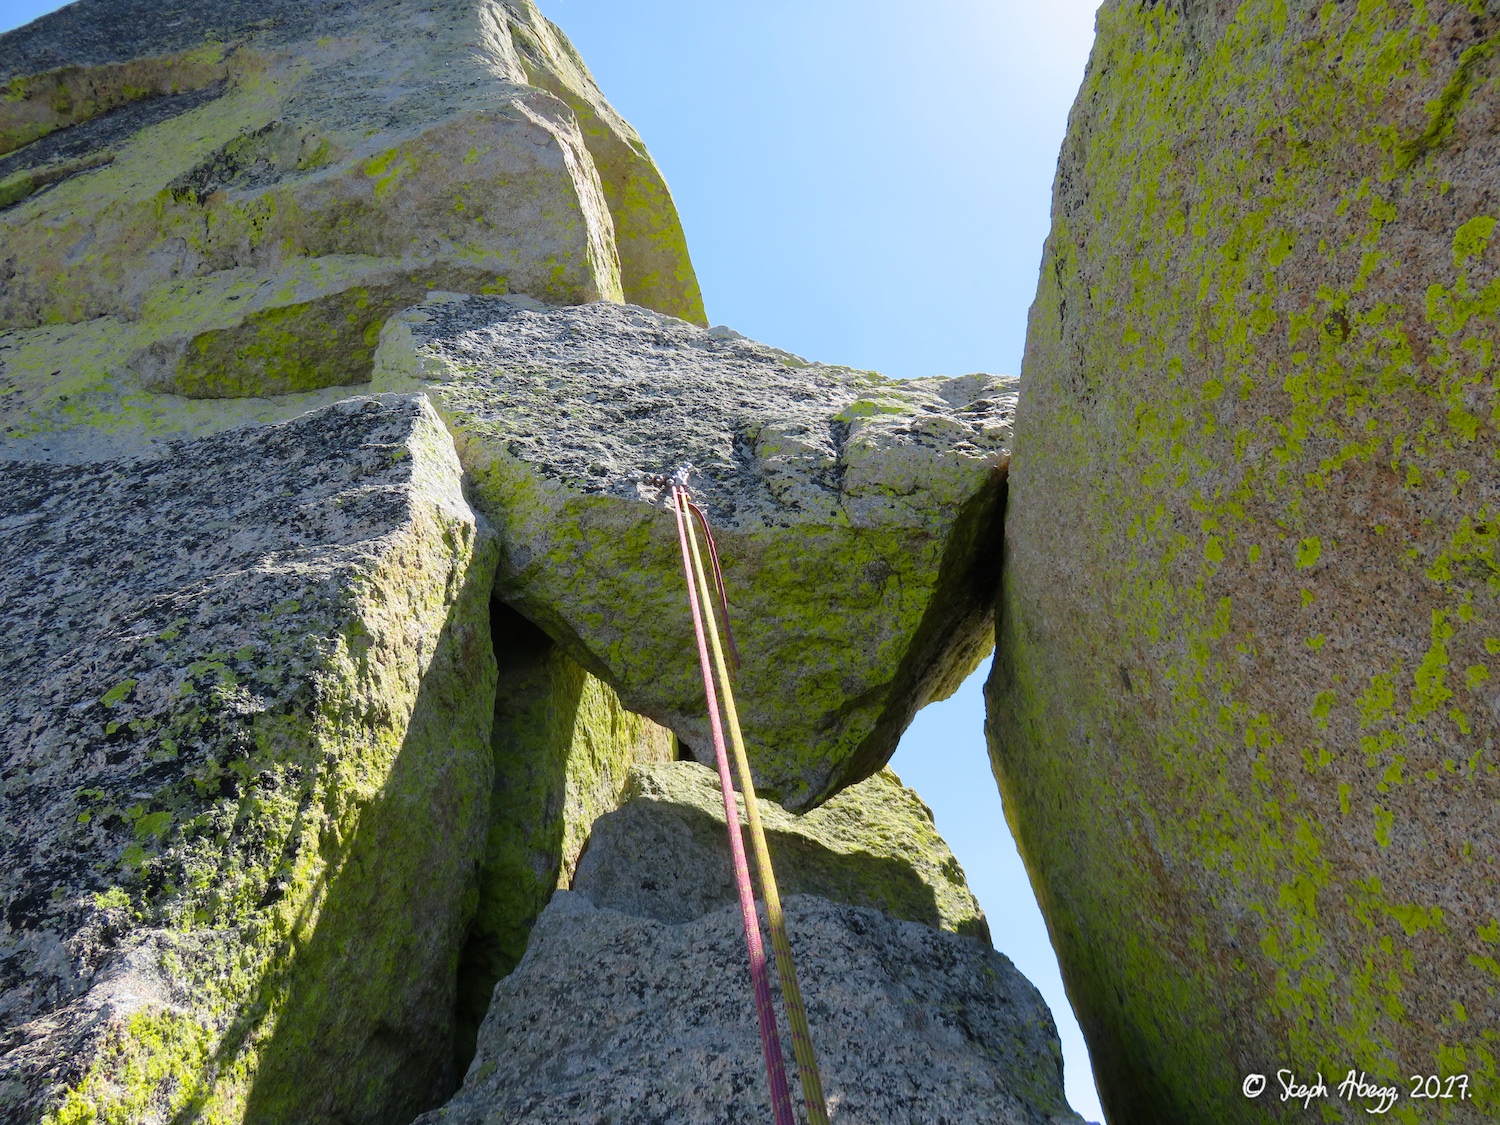
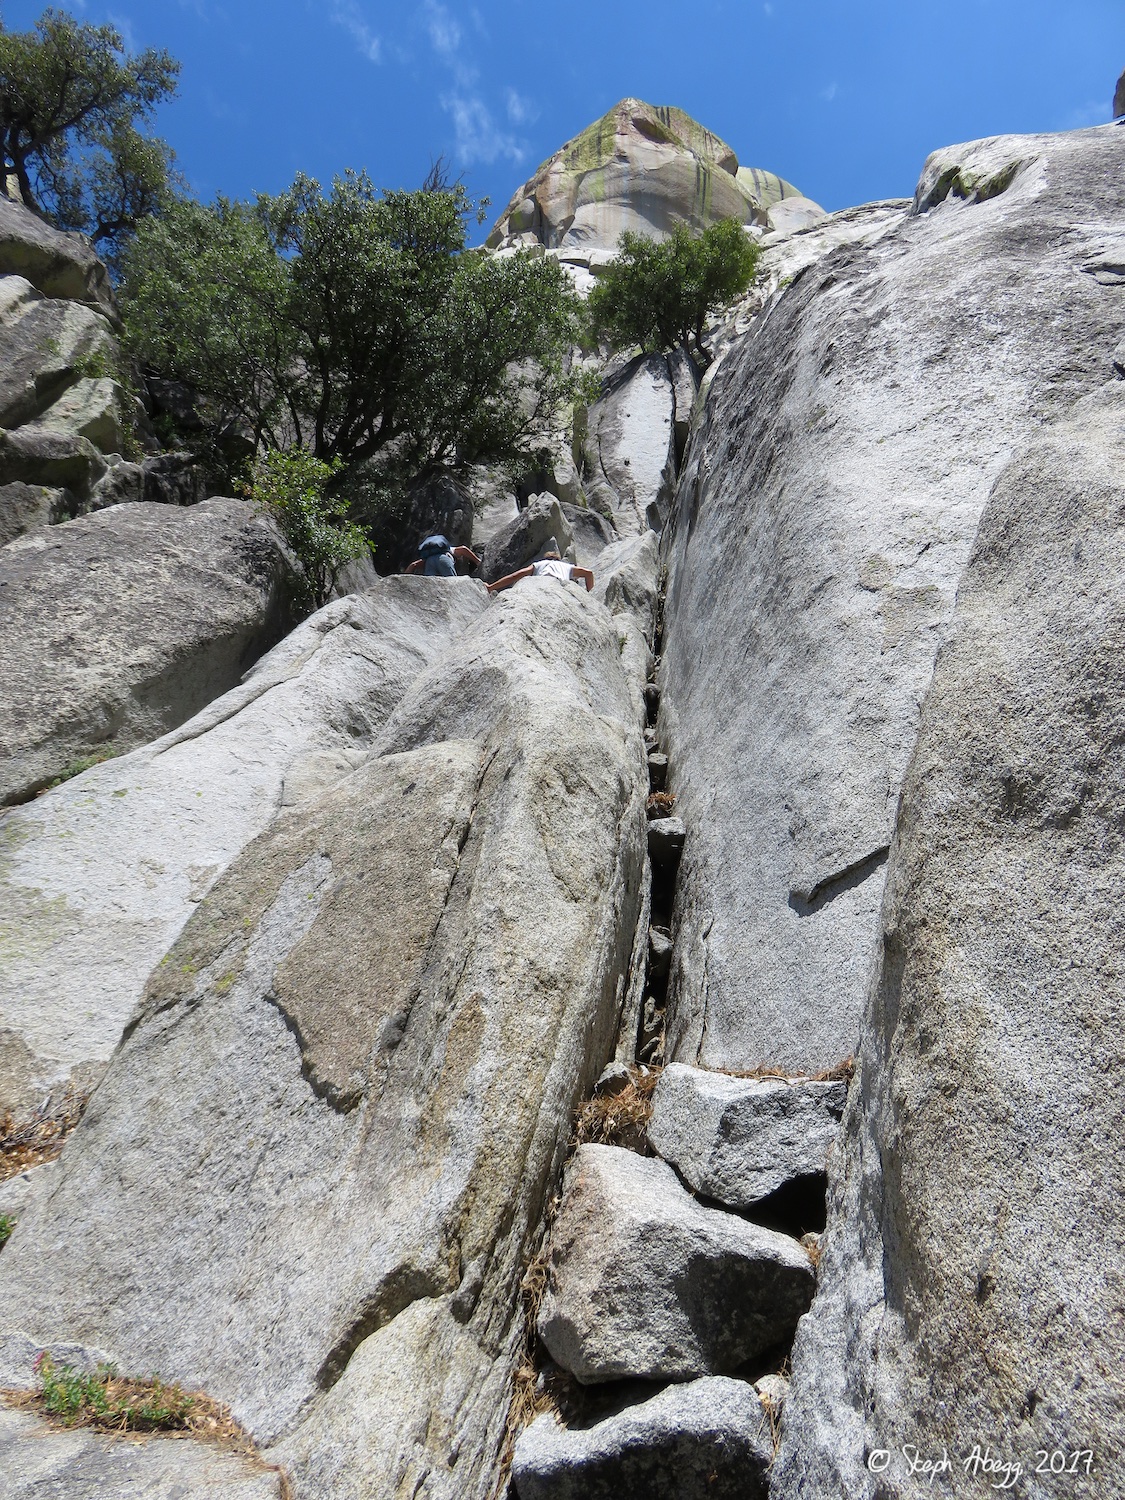
- Hermit Spire, South Face Route (5.8+, 6p, 950')
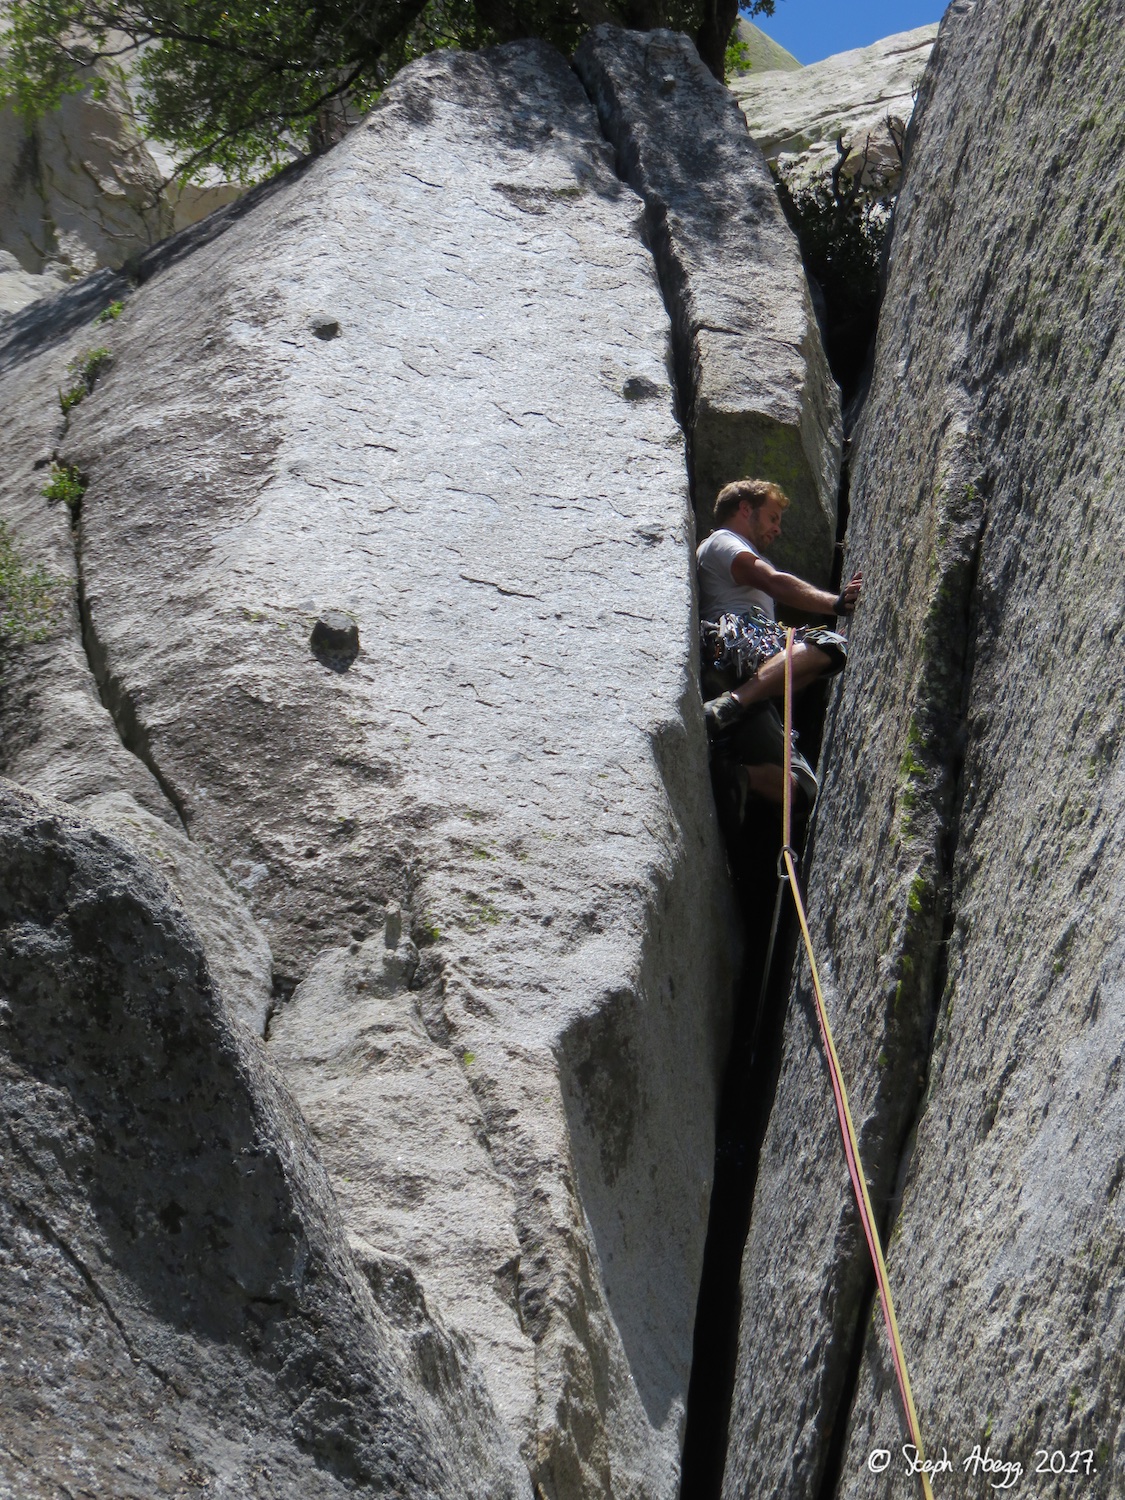
- Tobin's Dihedral (5.10+, 1p, 160')
- Arch Bitch-Up (5.8, 3p, 450')
- Airy Interlude (5.10a, 3p, 400')
- Imaginary Voyage (5.9, 4p, 600')
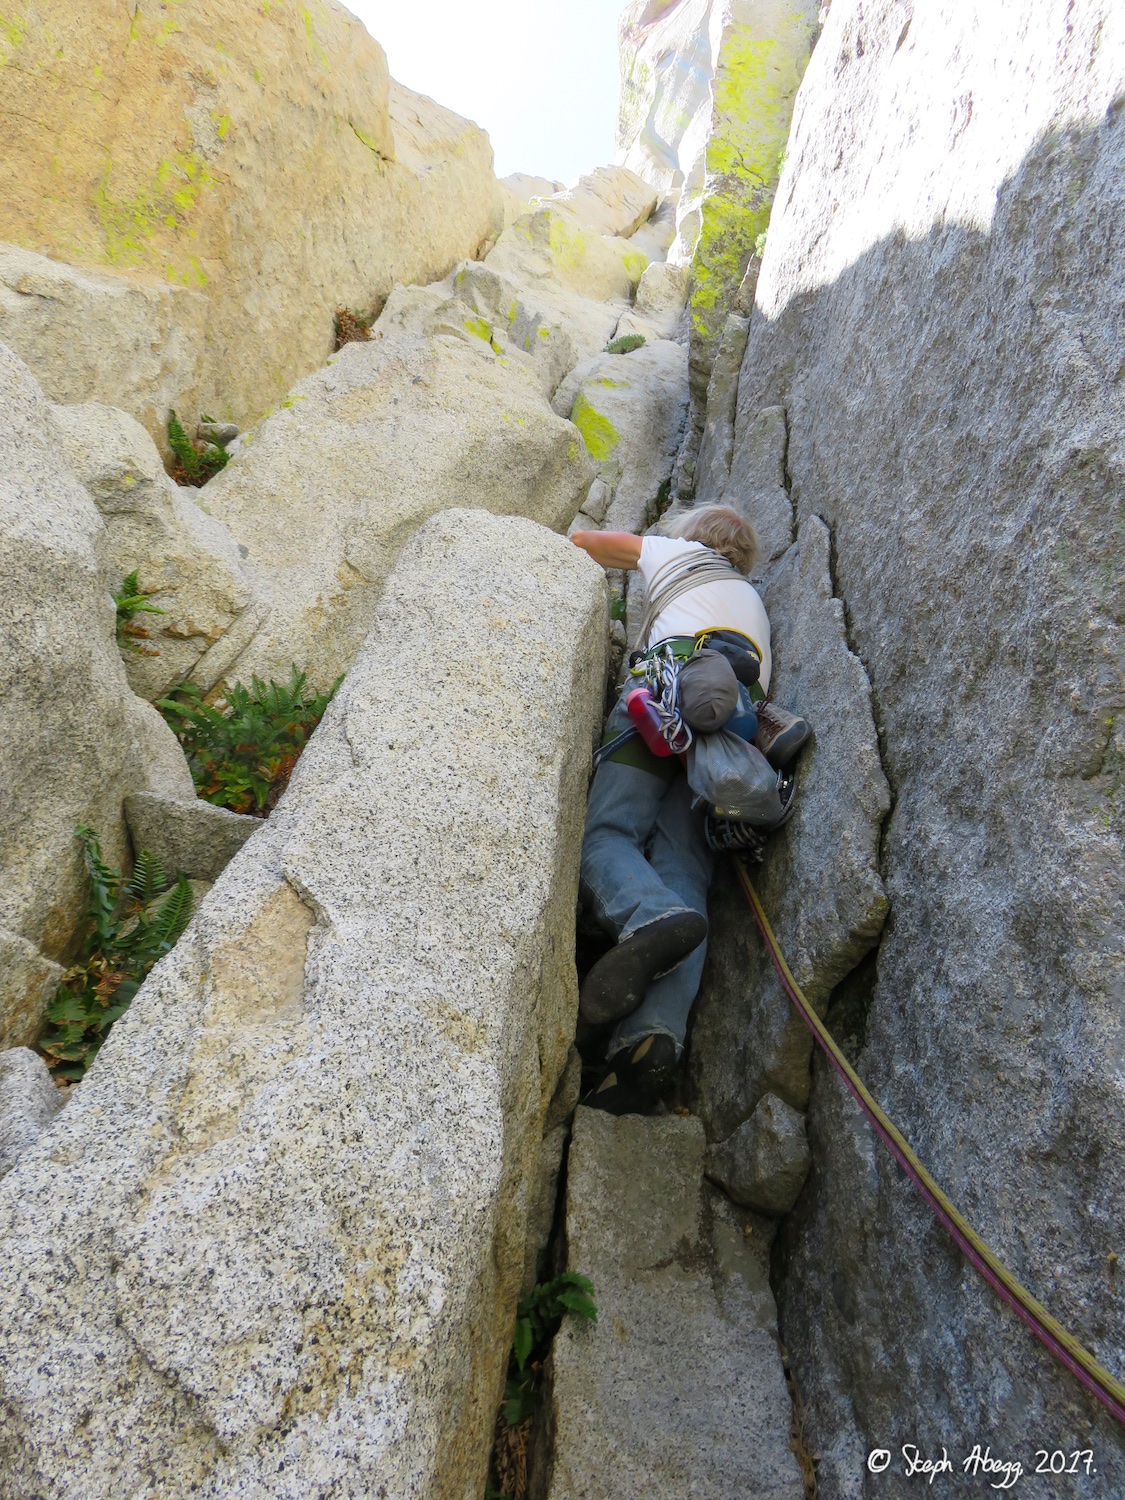
- The Howling Pitch 1 (5.9, 1p, 160')
- Fancy Free (5.10b, 3p, 400')
- Spooky (5.9, 2p, 175')
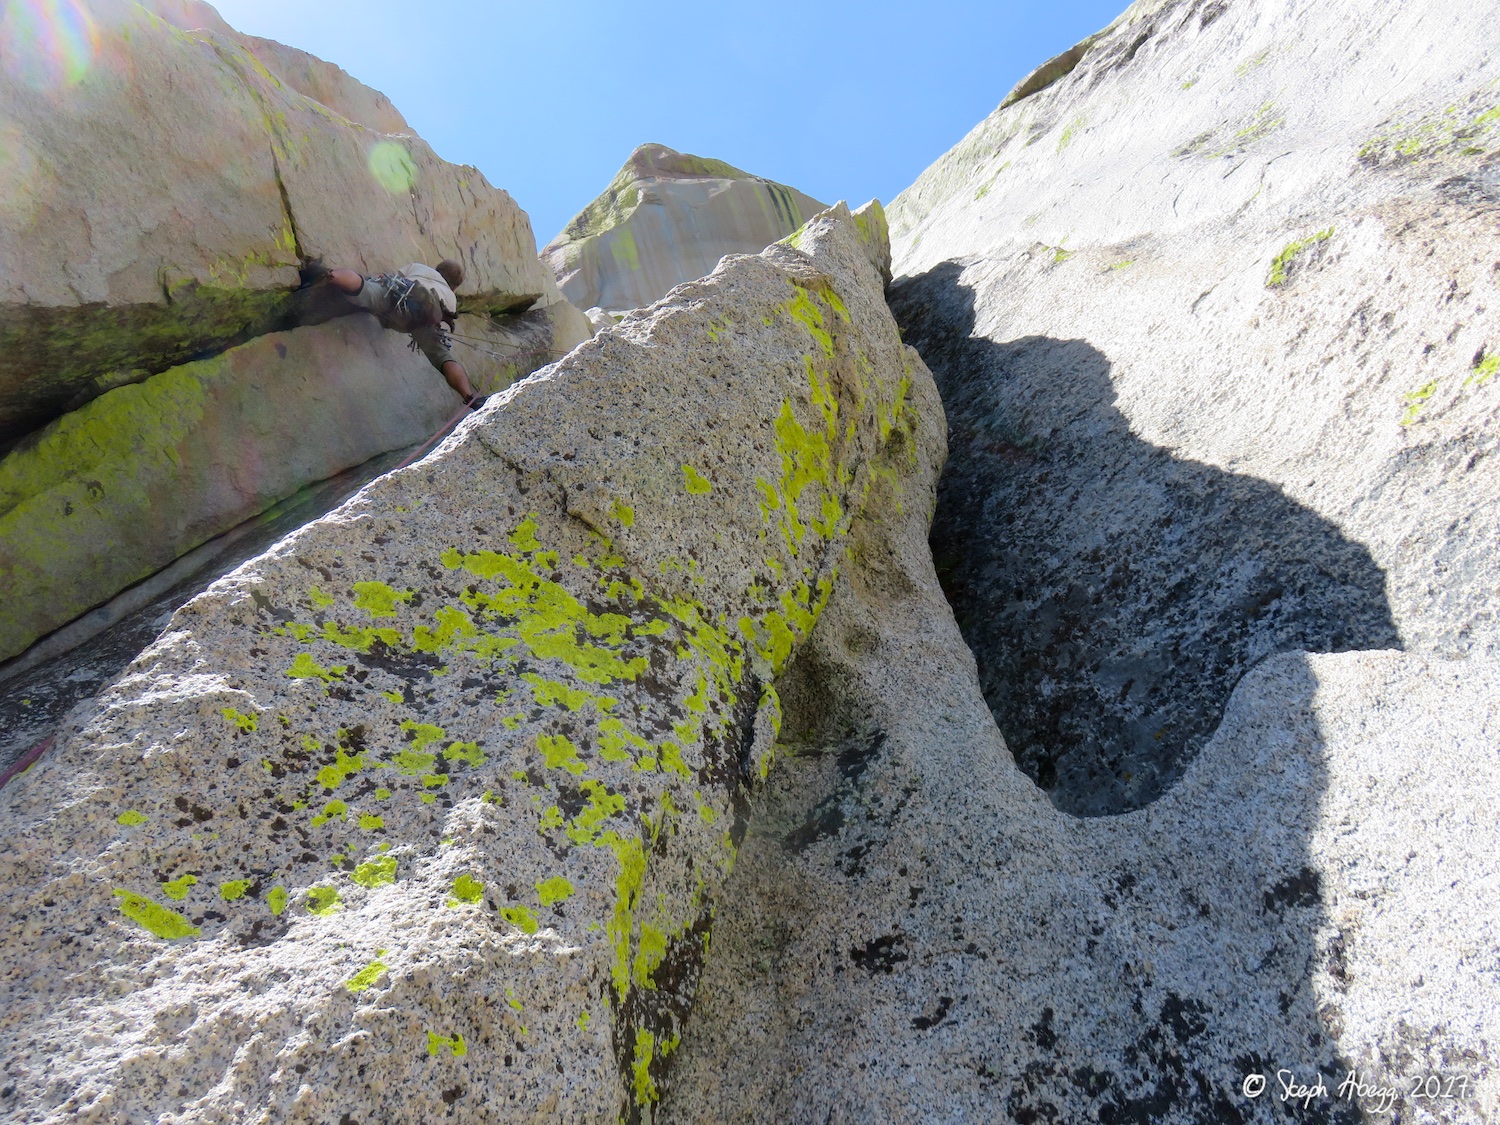
- The Warlock South Face w/ S Crack start variation (5.9+, 8p, 800')
- Igor Unchained (5.9, 4p, 400')
- The Warlock S Crack (5.10, 7-8p, 800')
- Yellow Brick Road (5.9, 3p, 300')
- Our Lady of the Needles (5.7, 1p, 45')
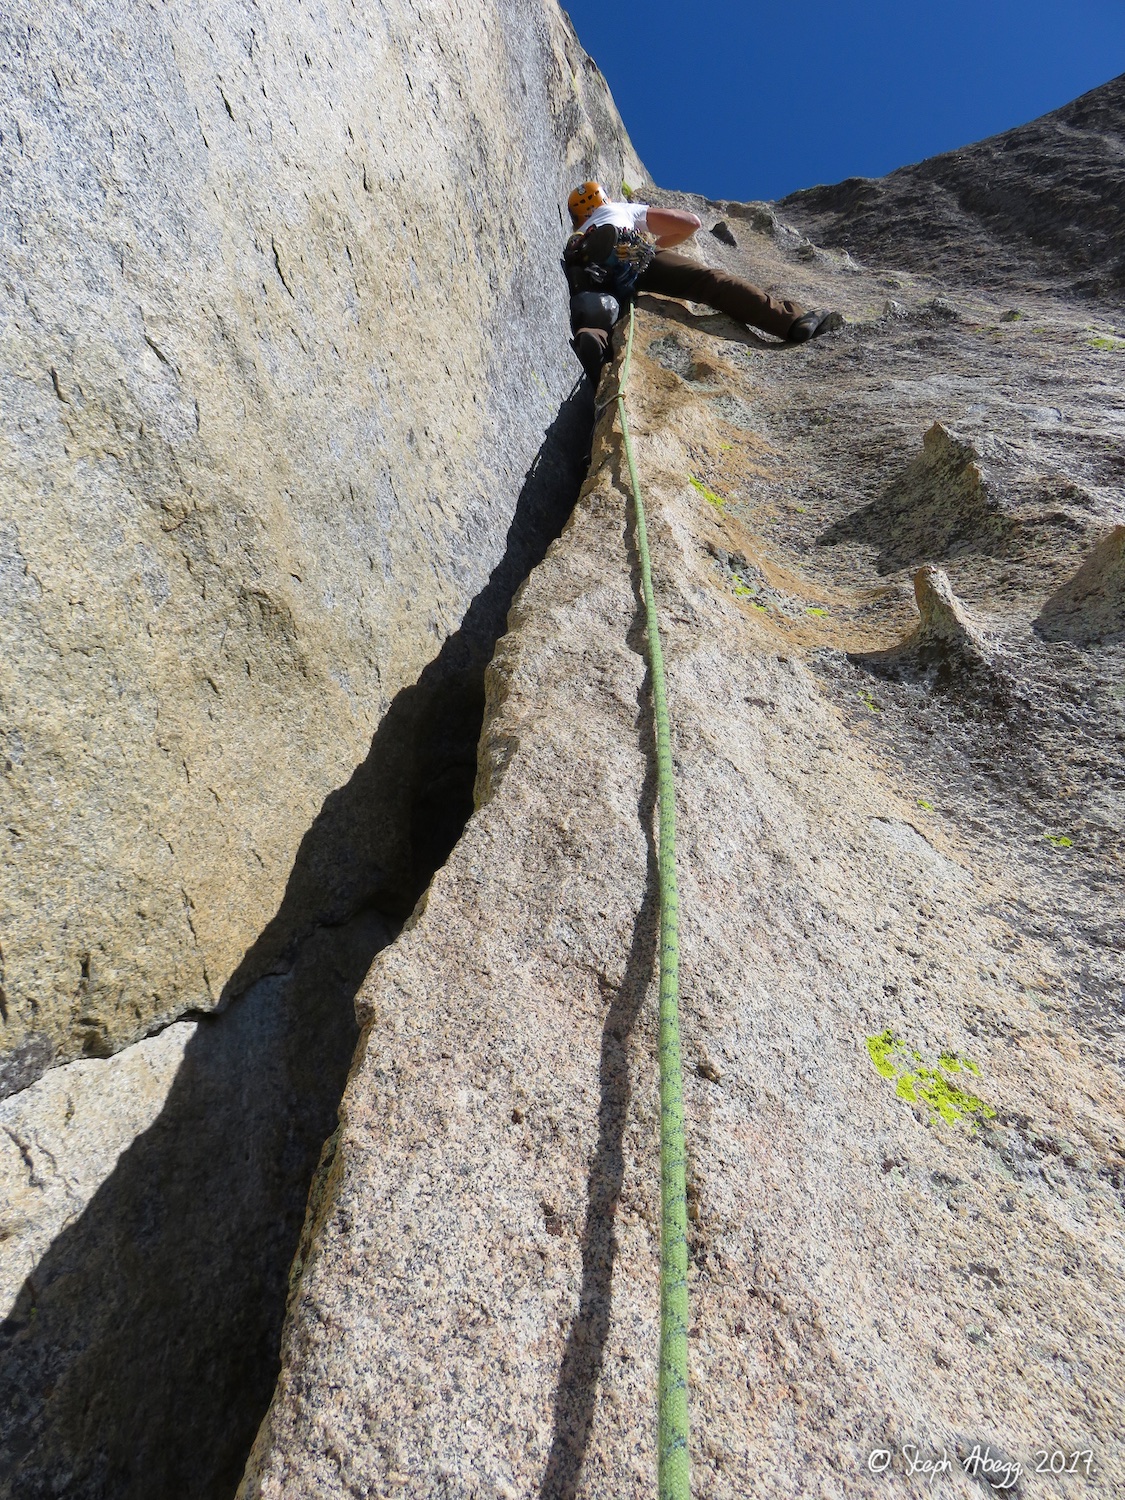
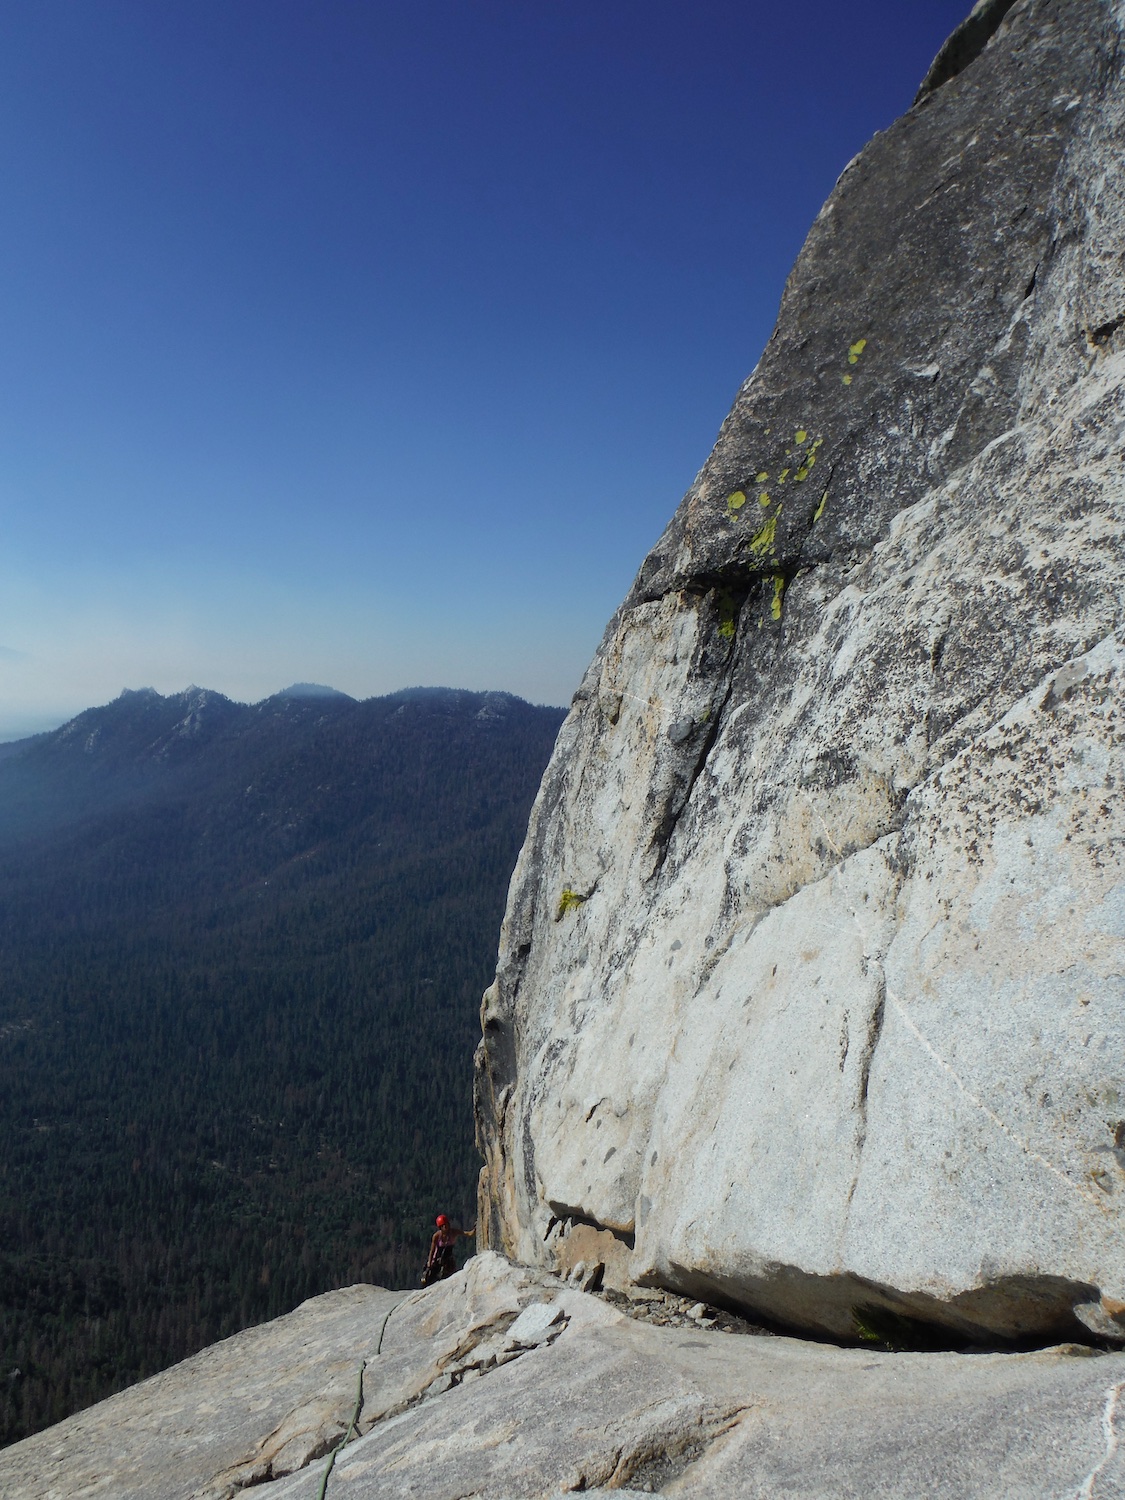
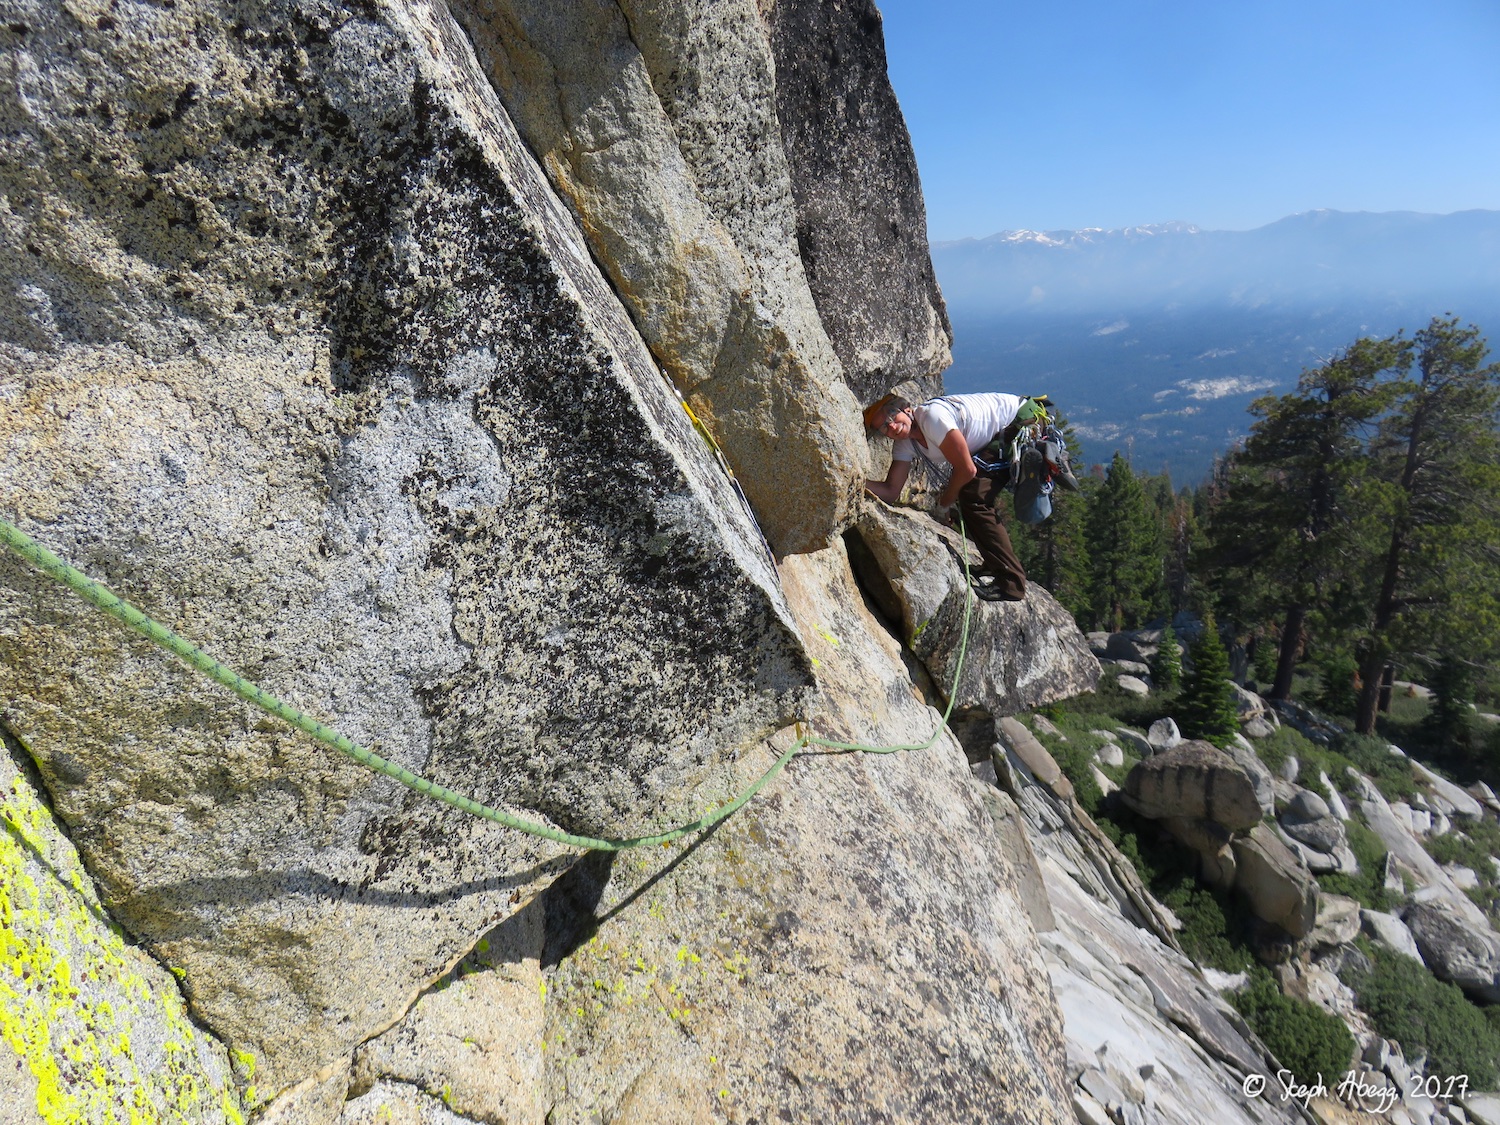
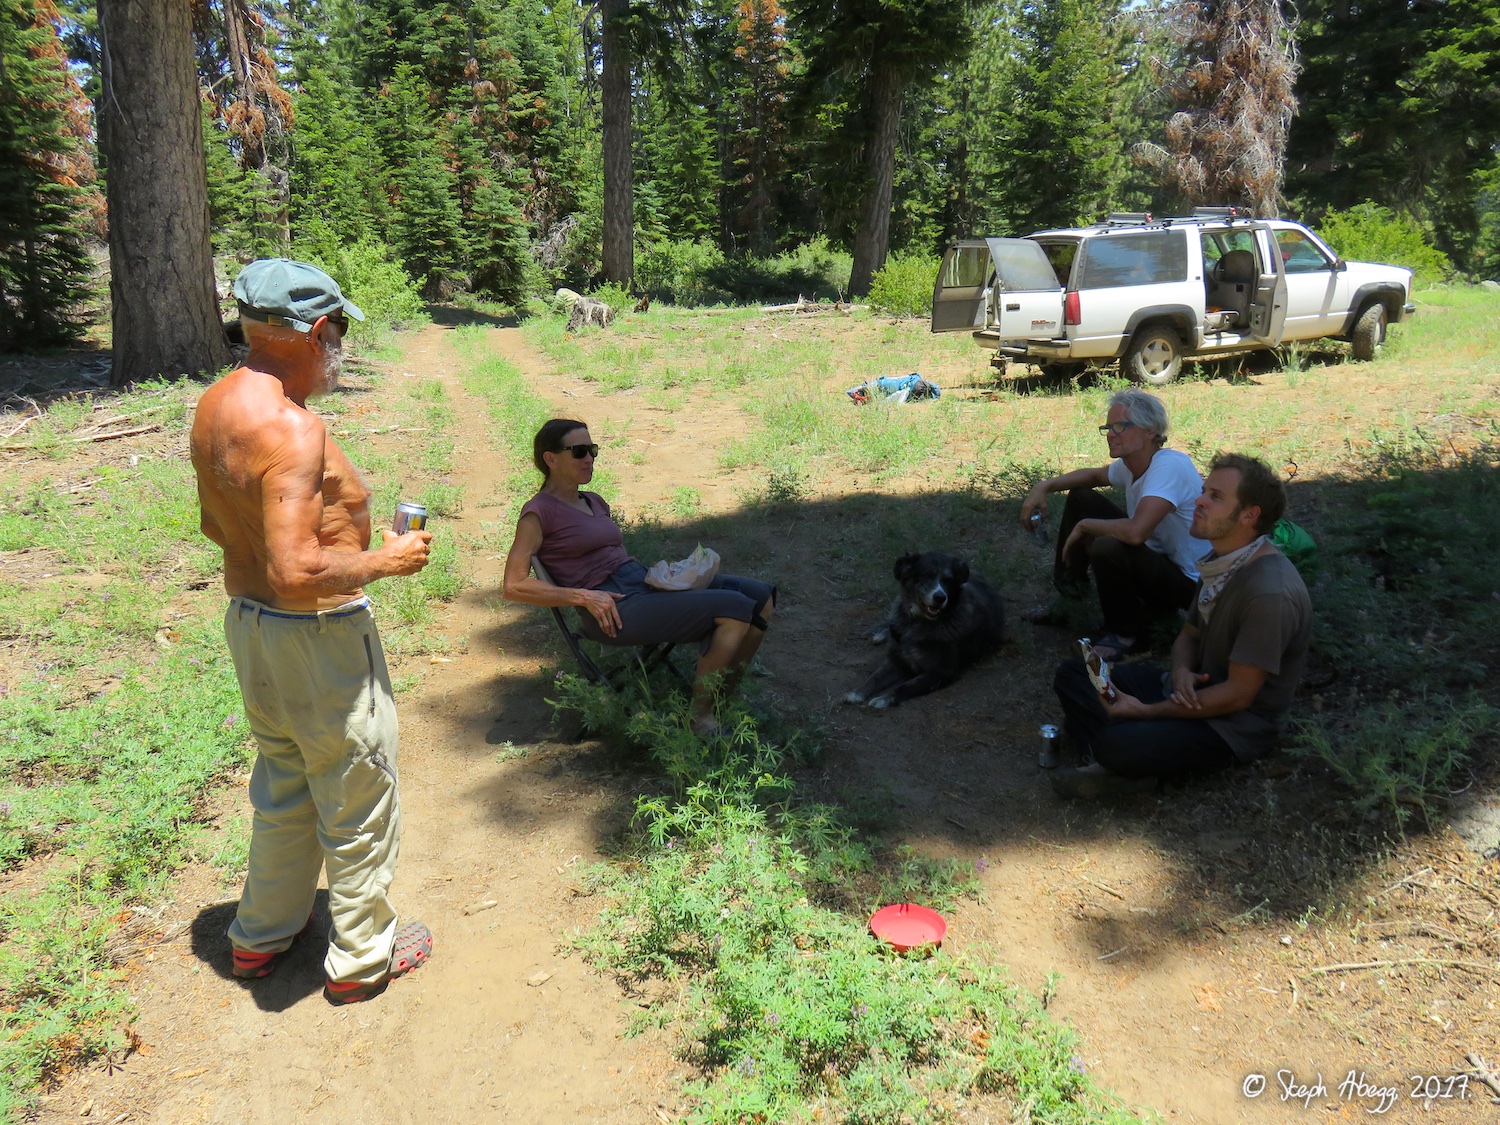
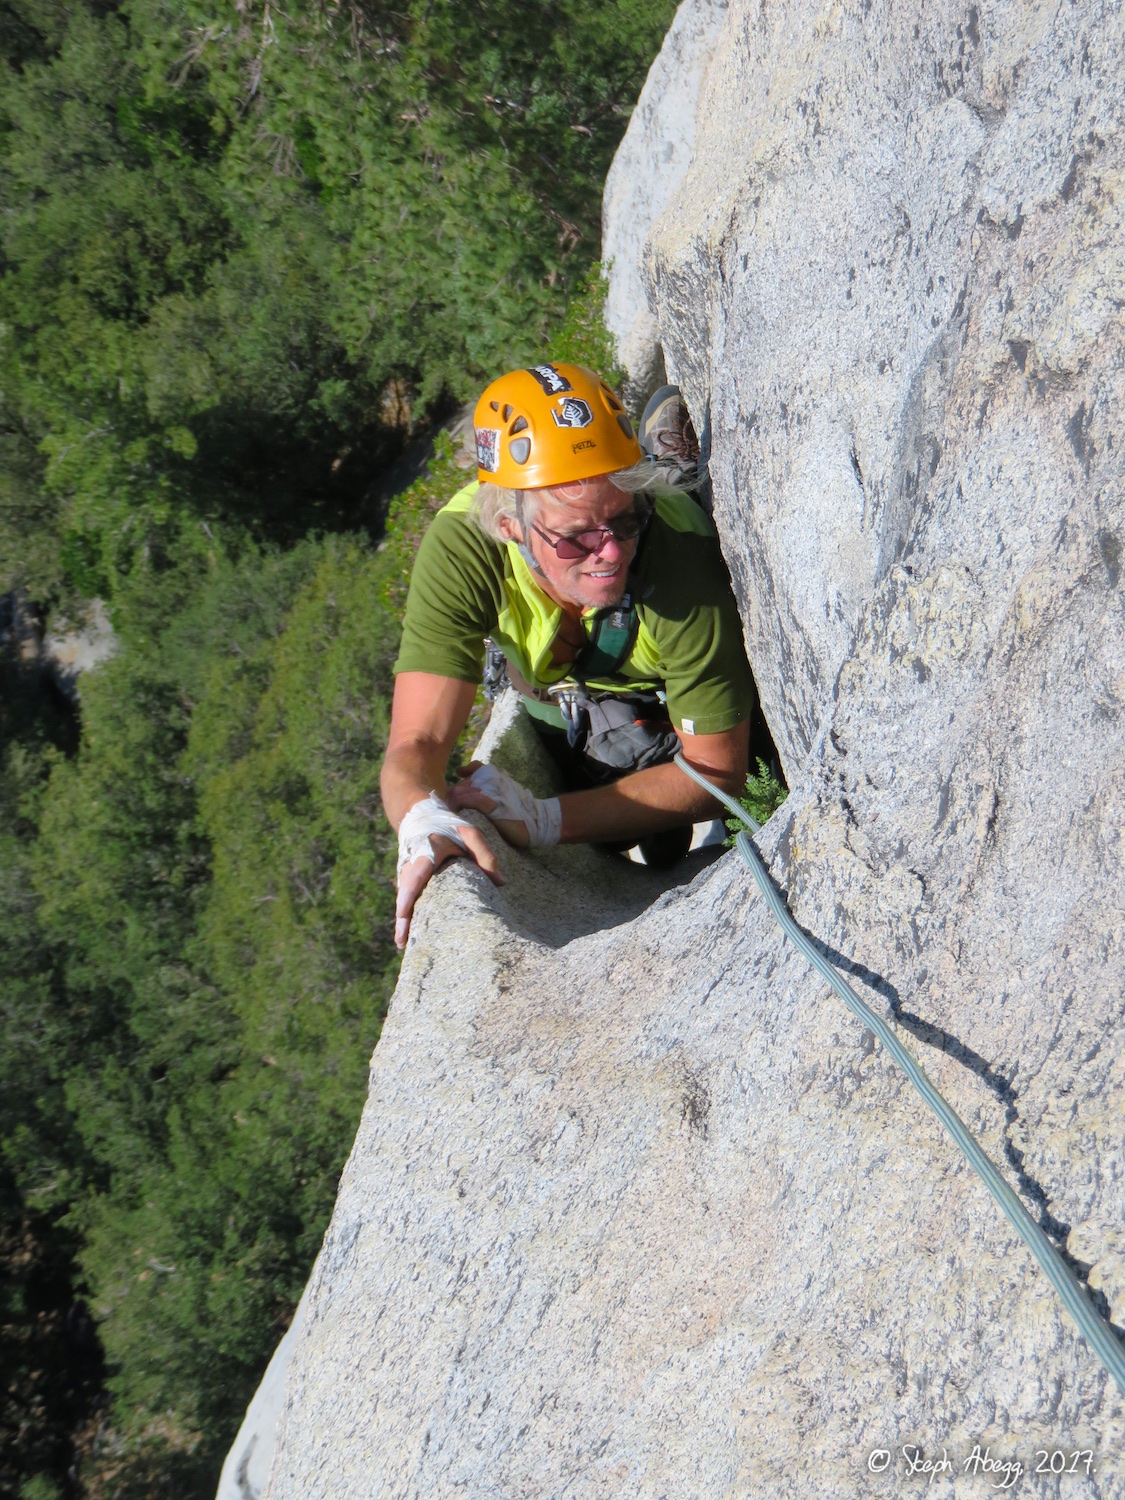
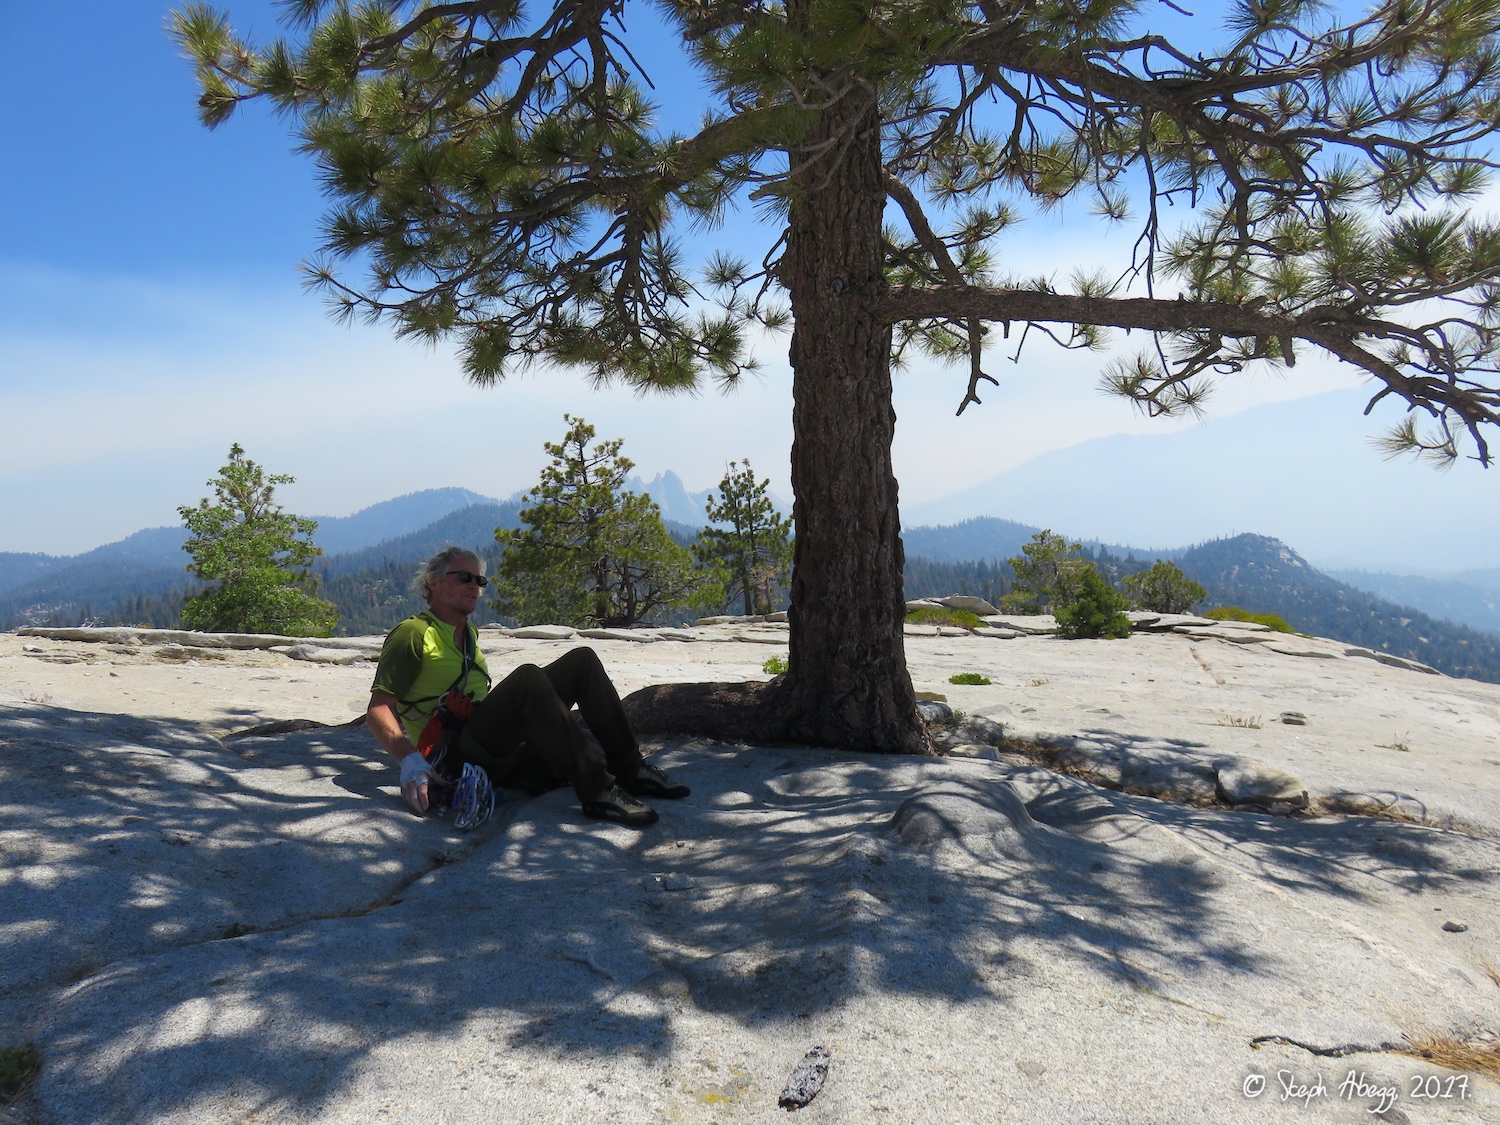
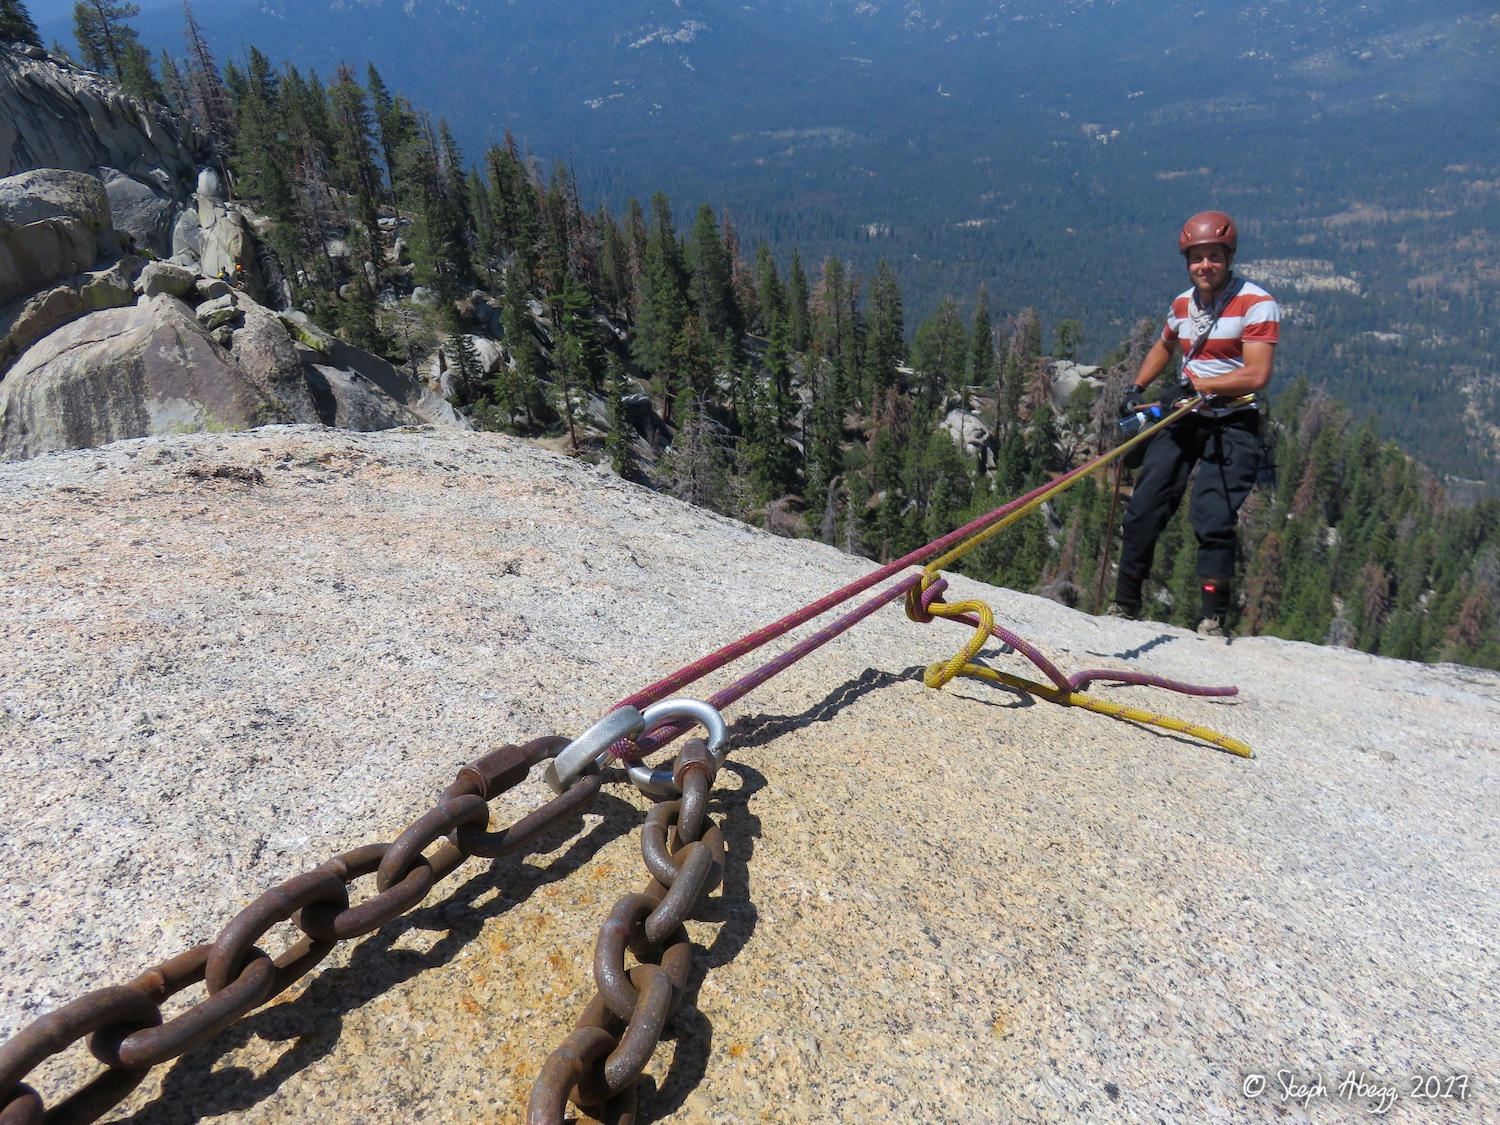
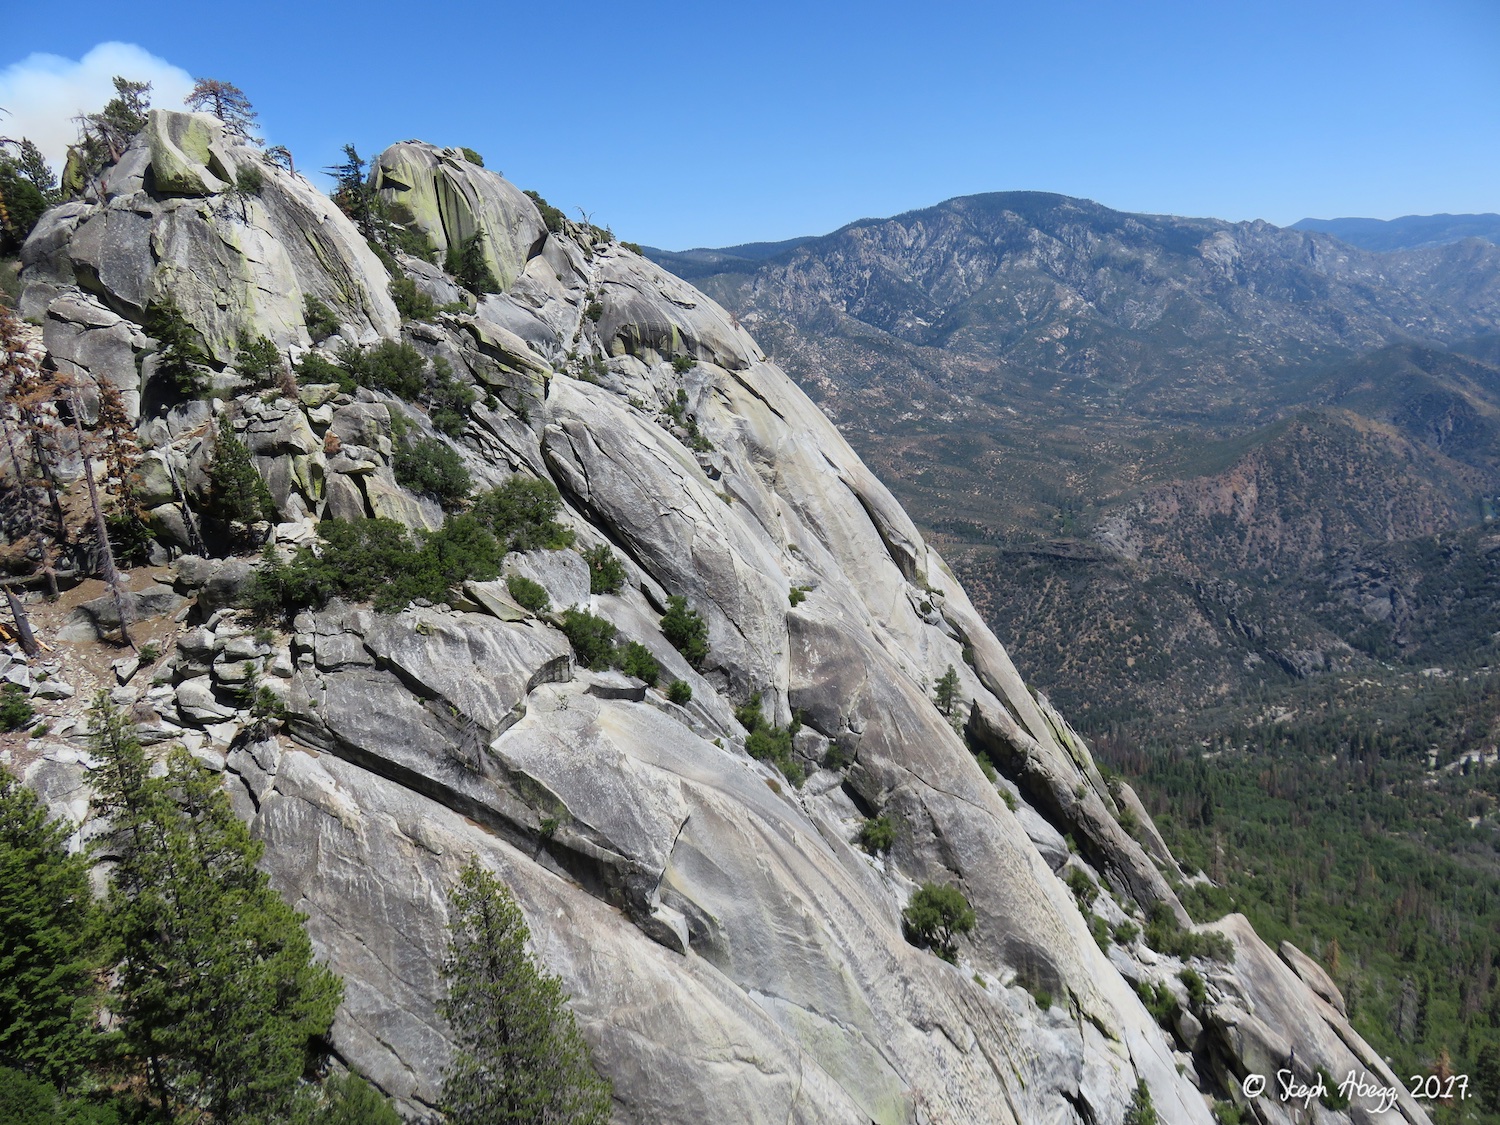
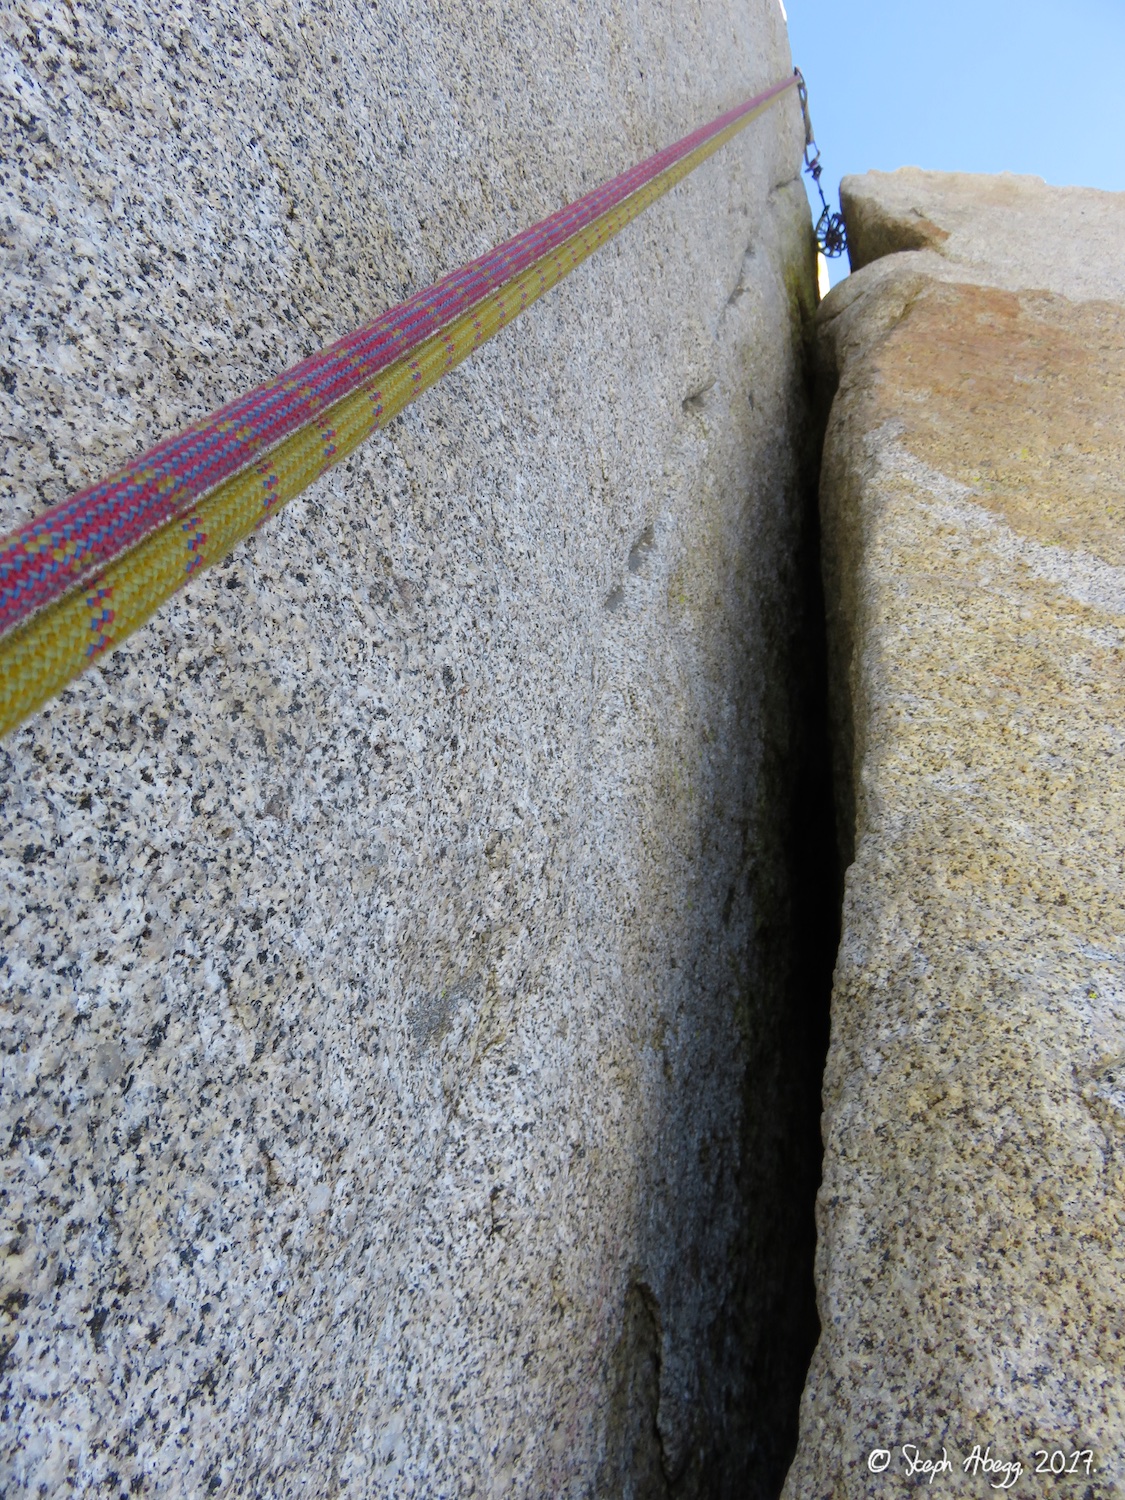
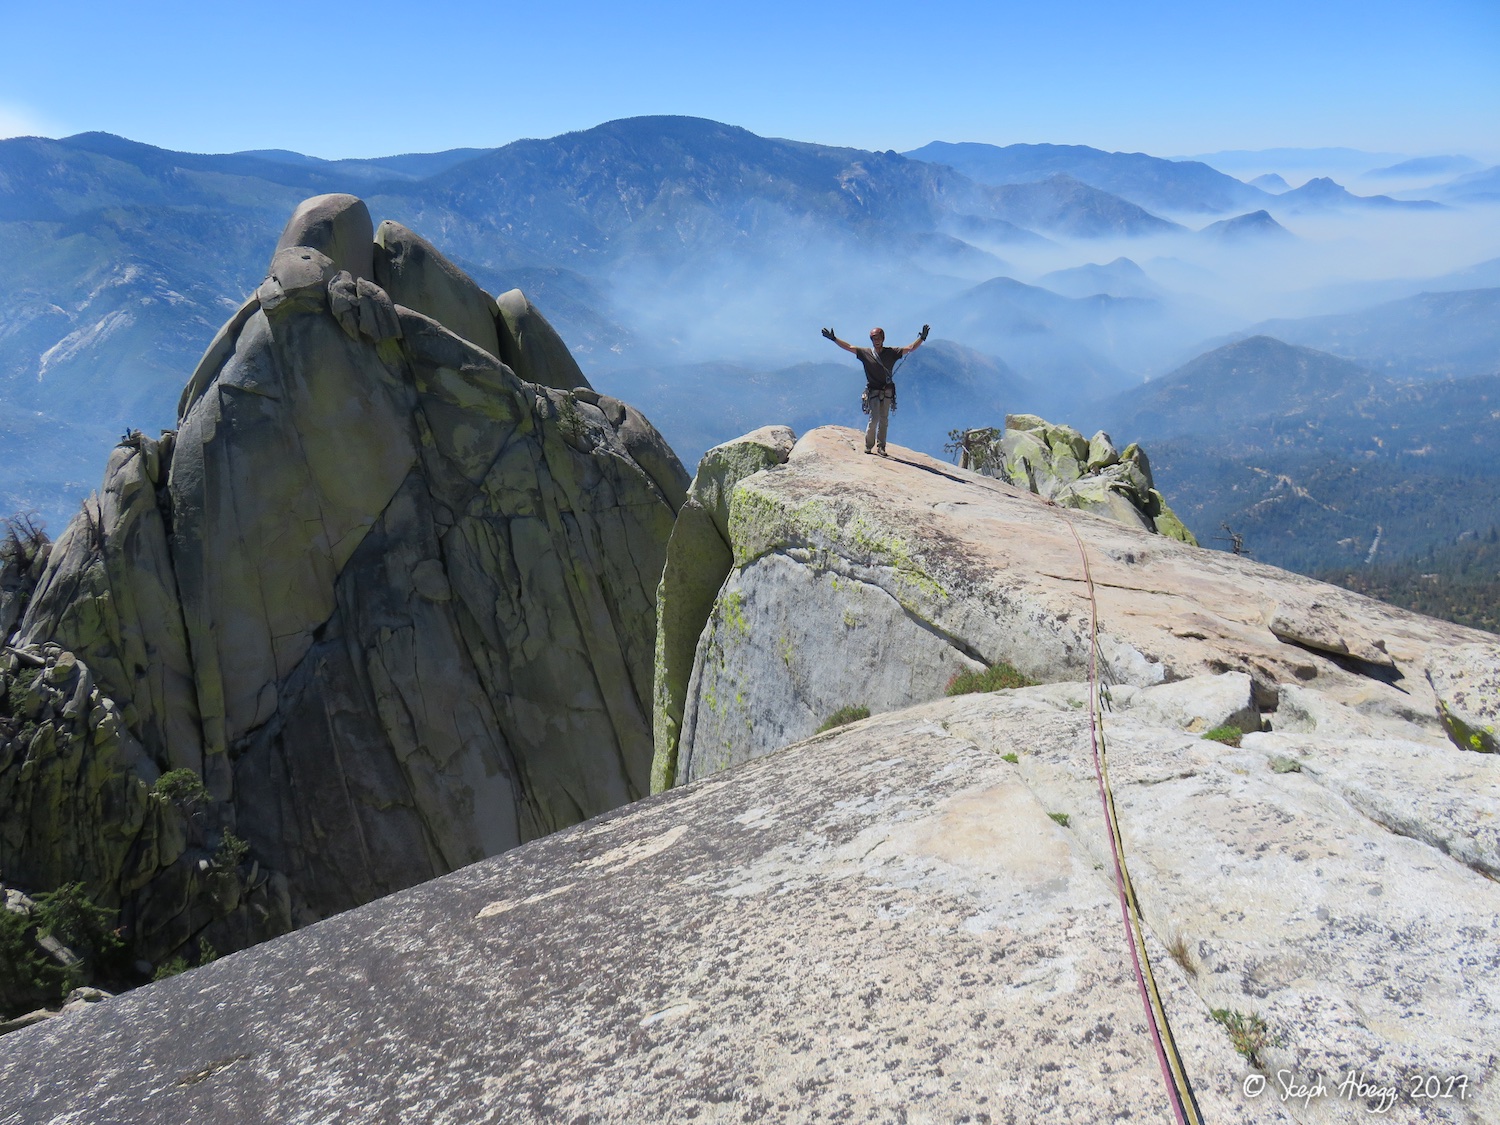
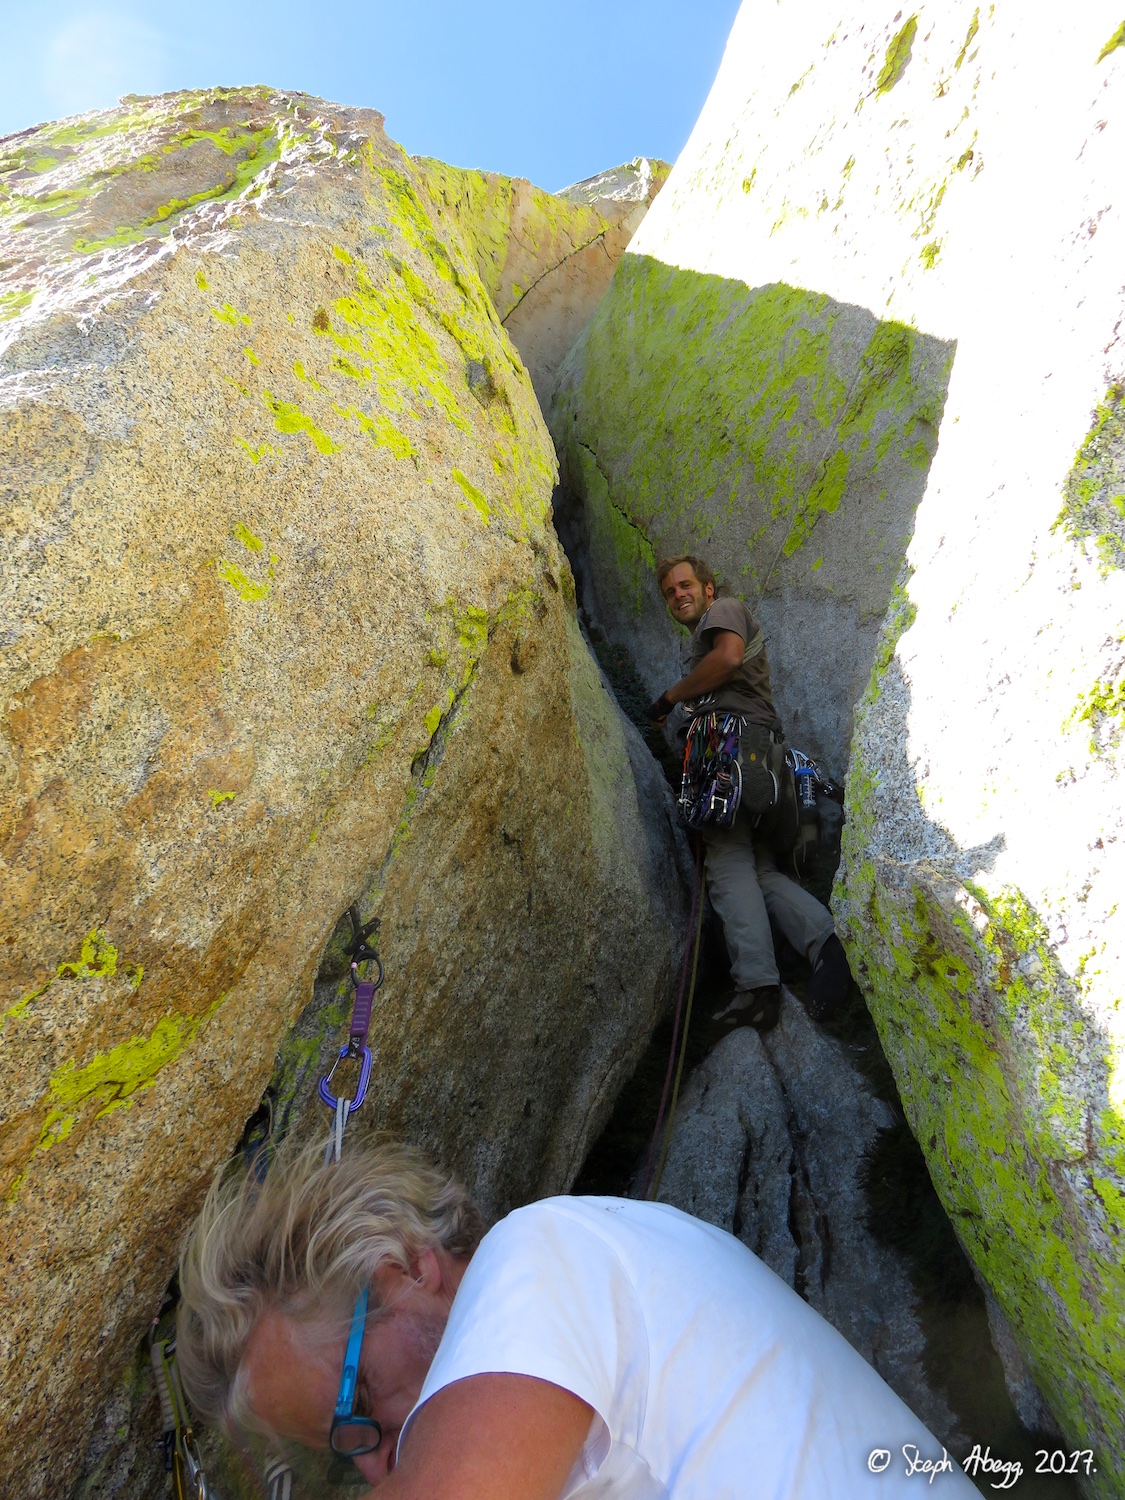
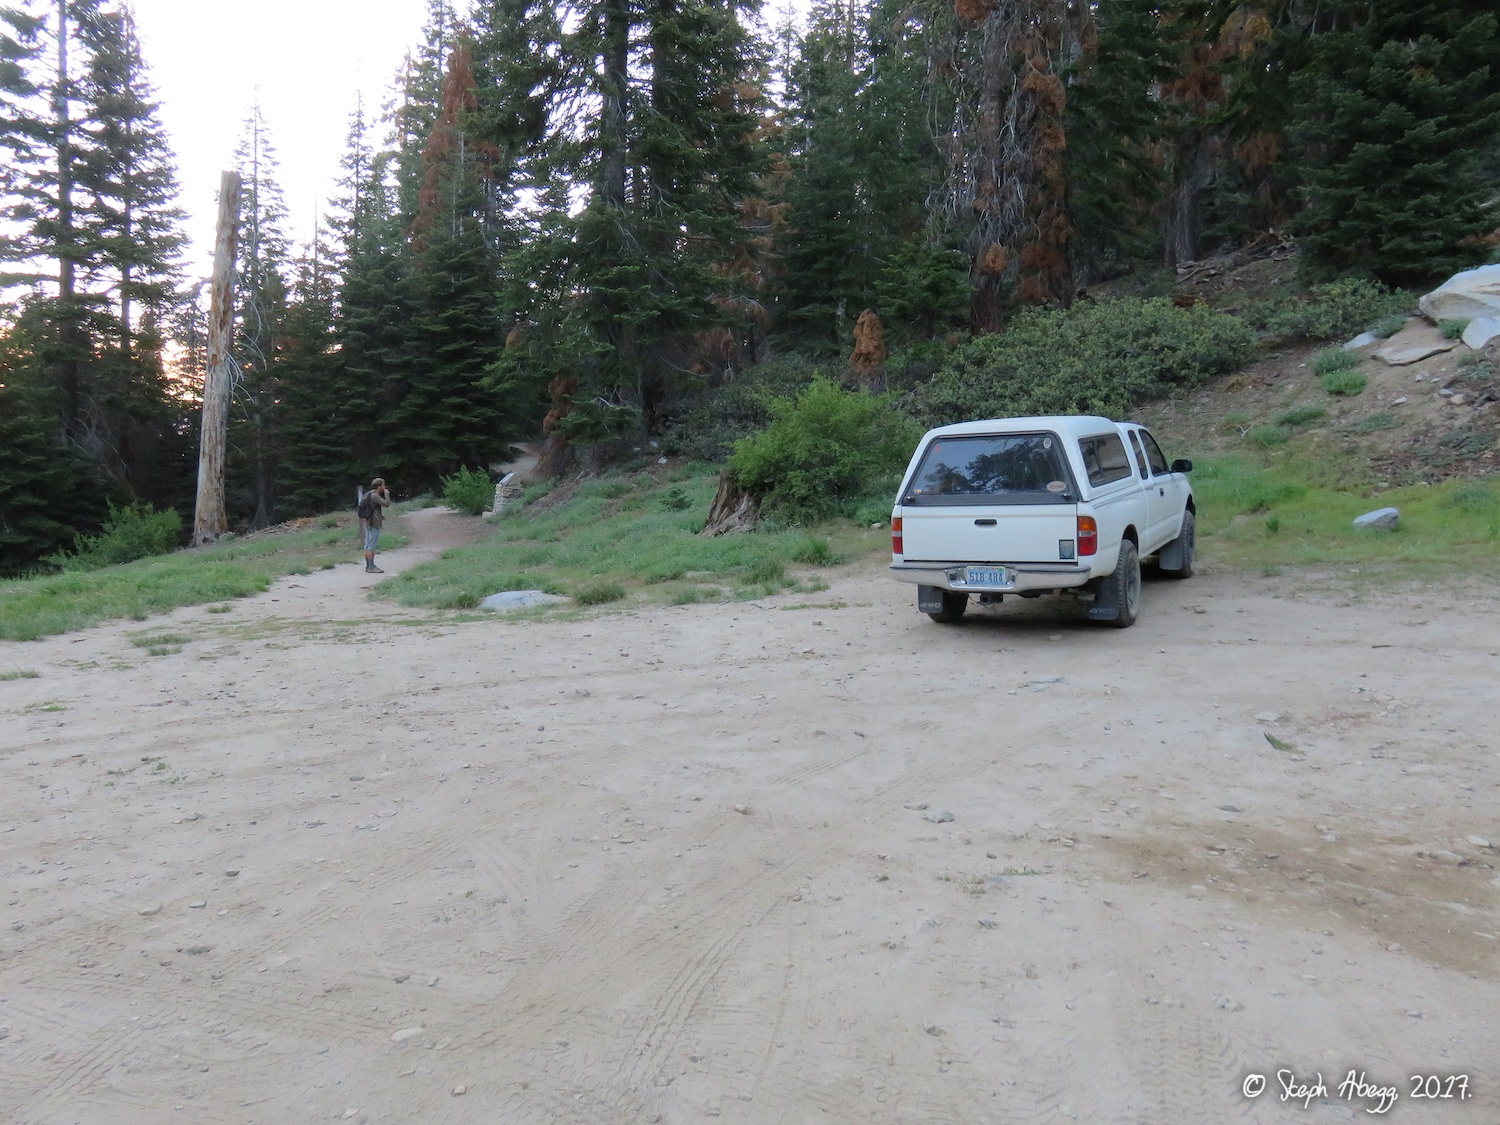
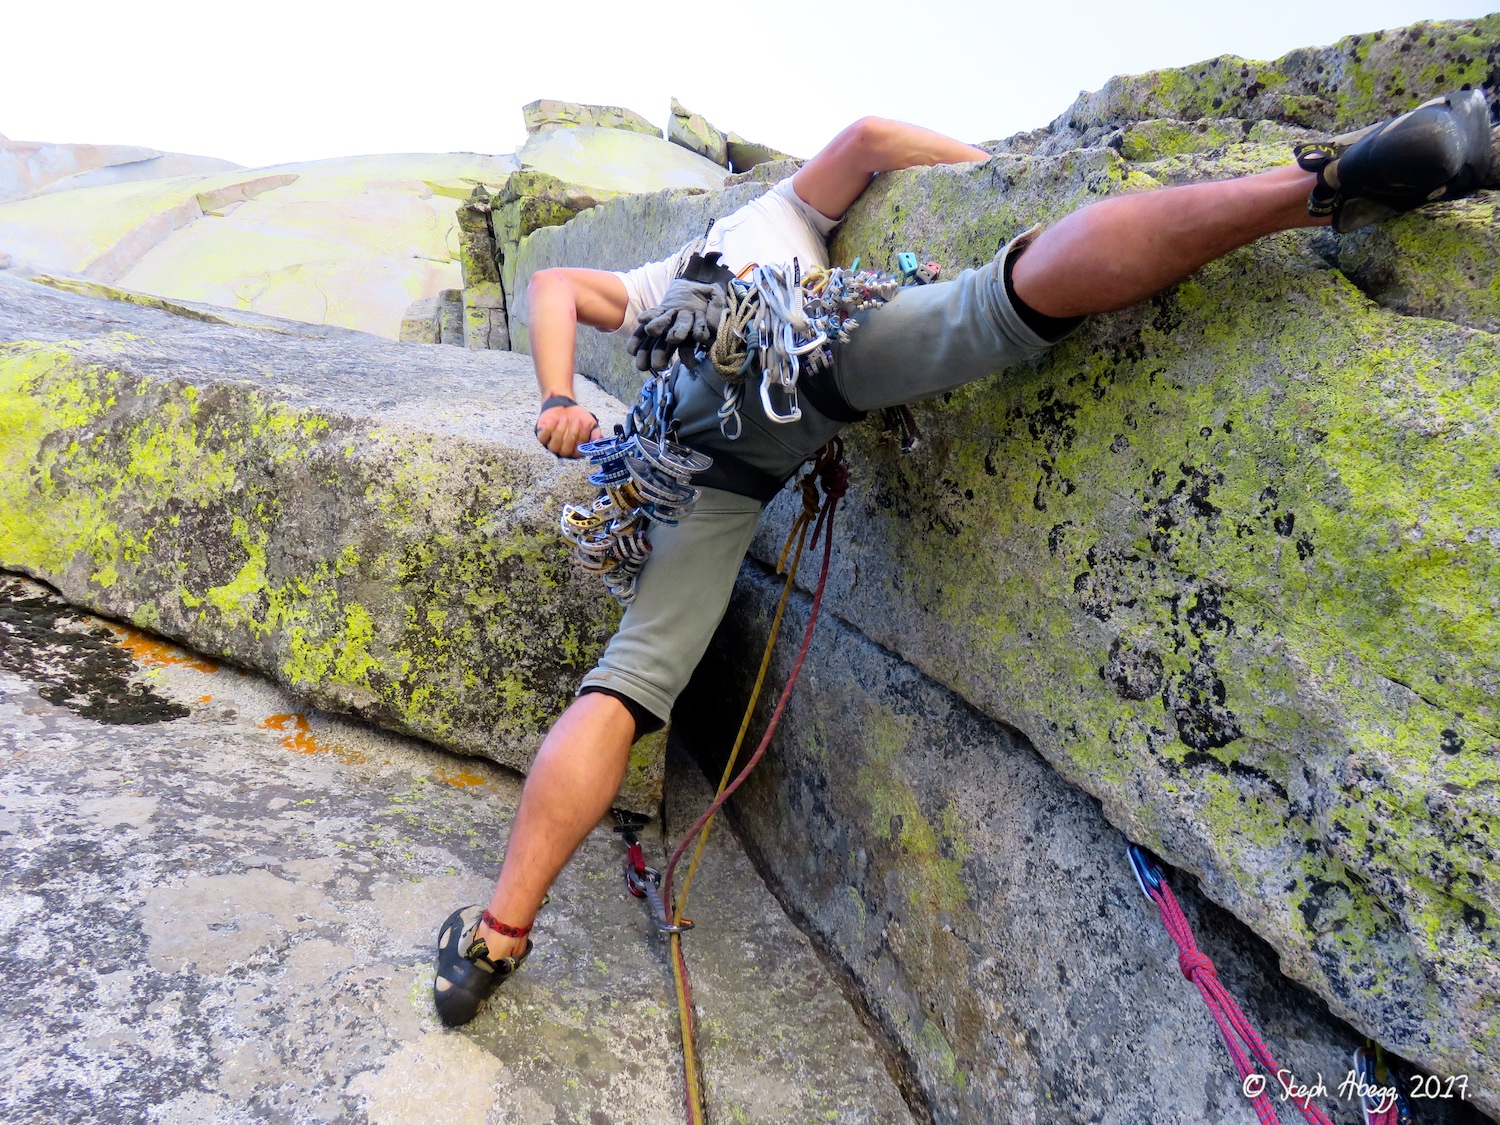
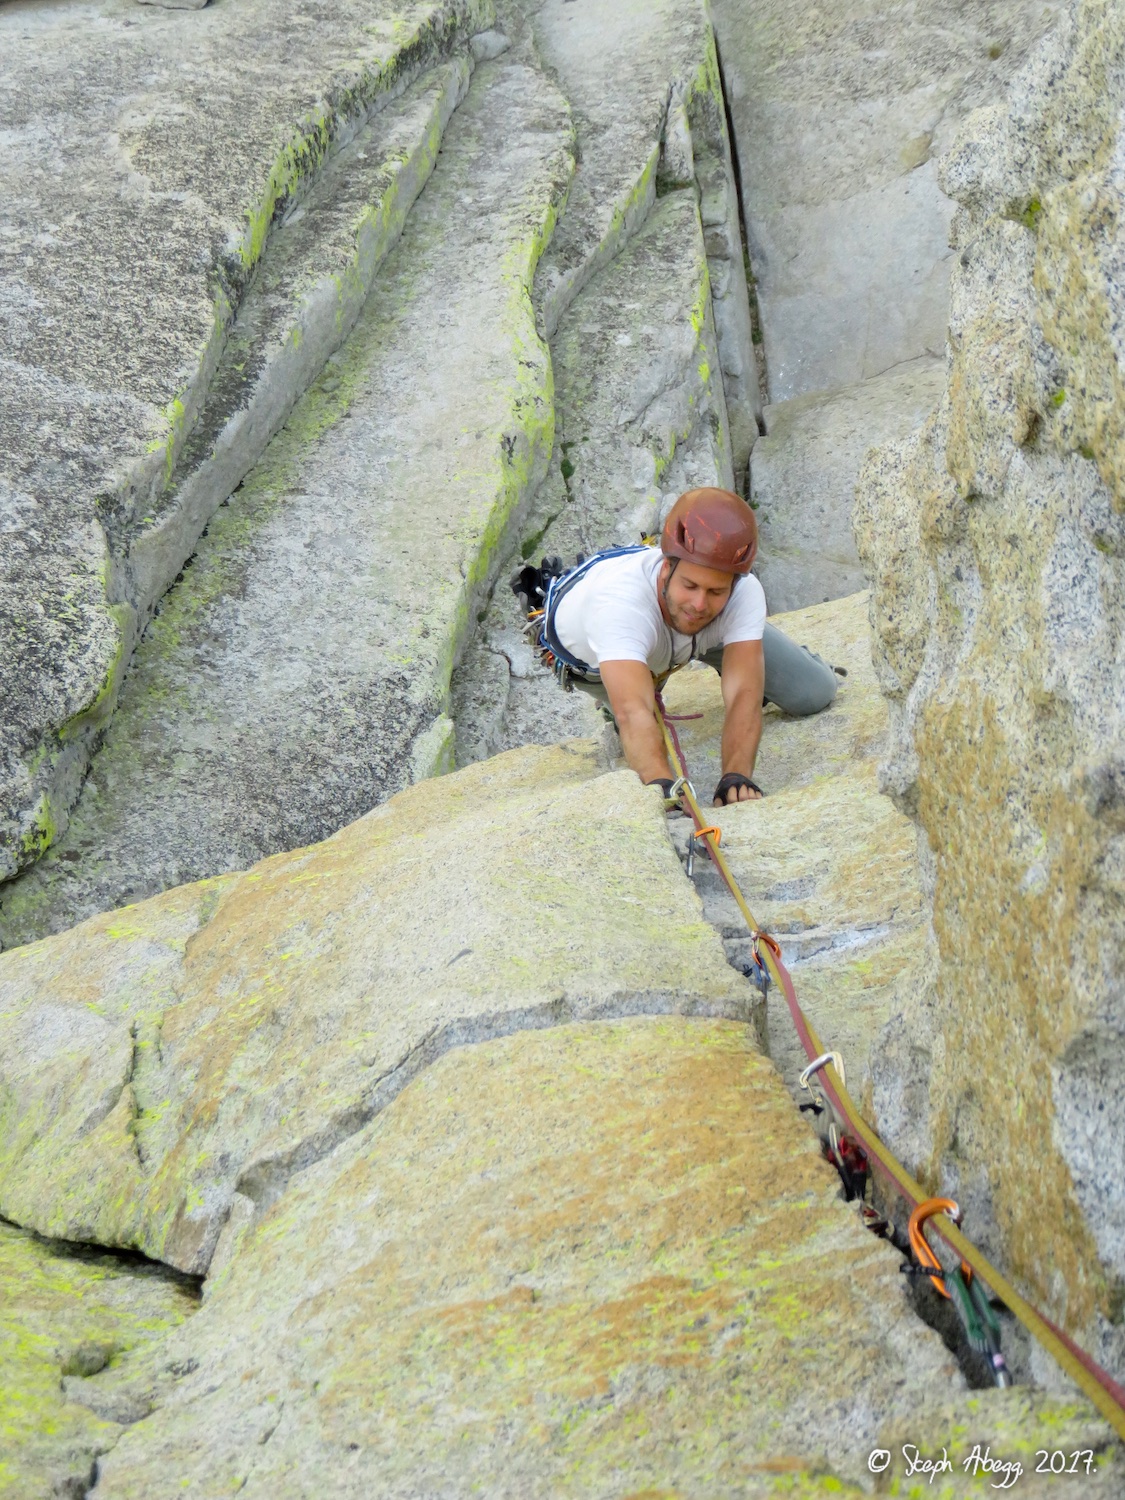
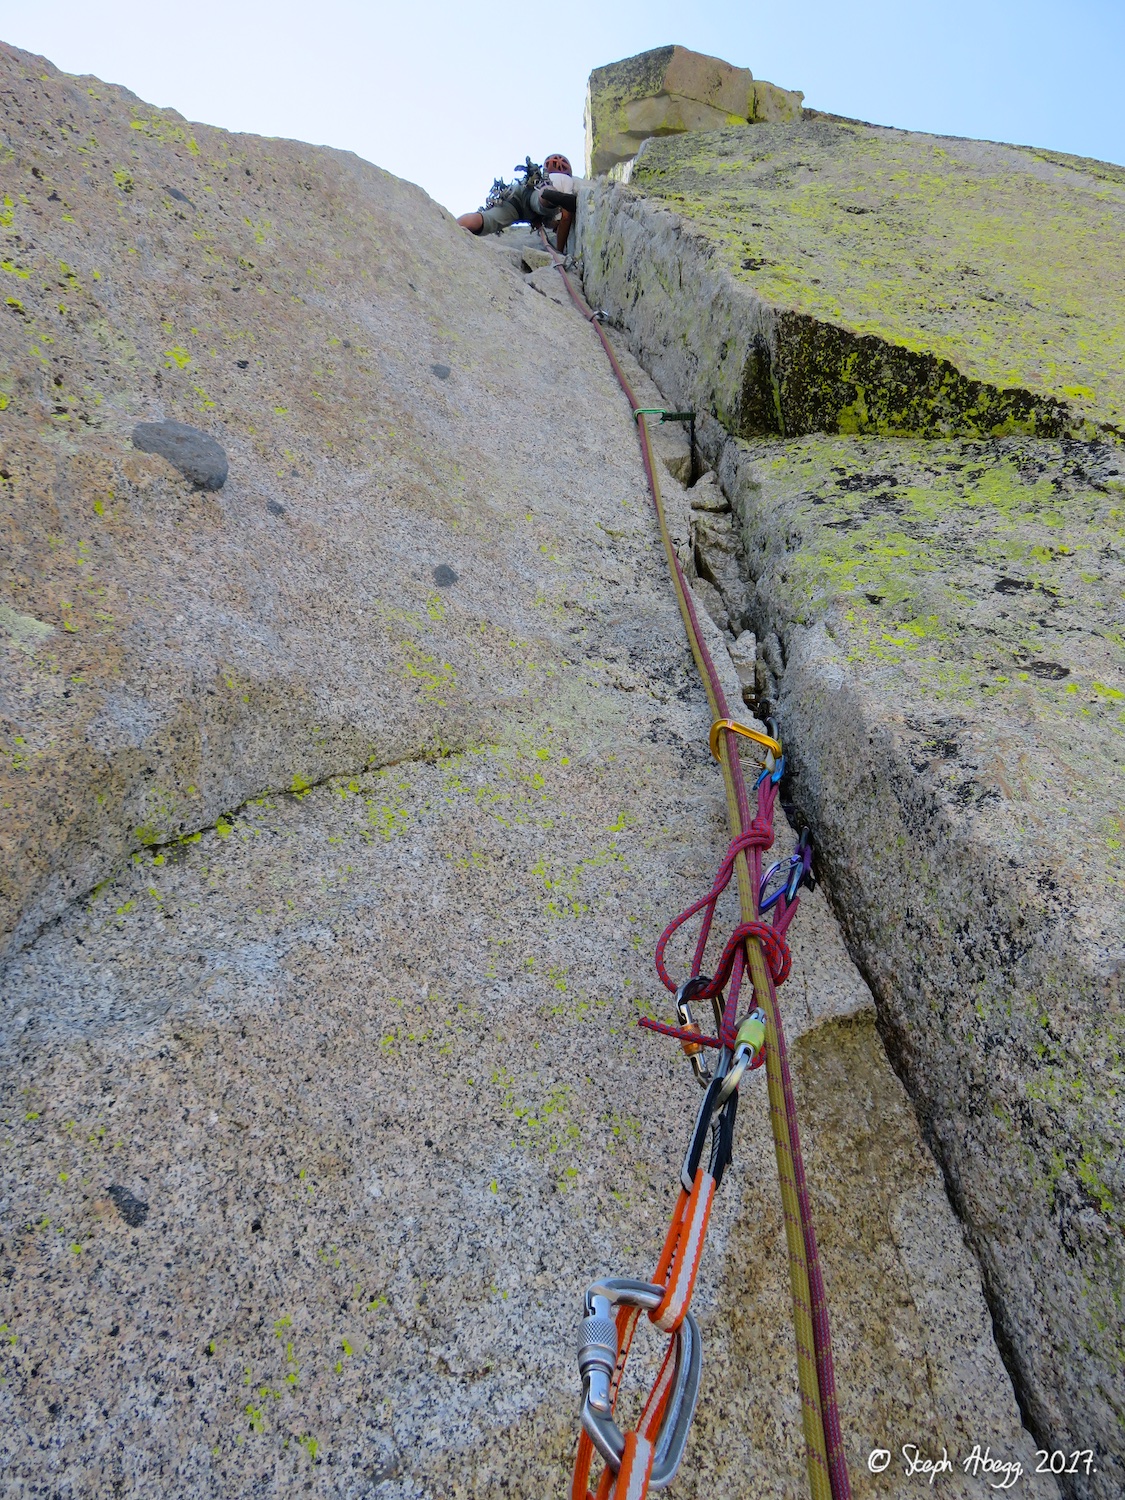
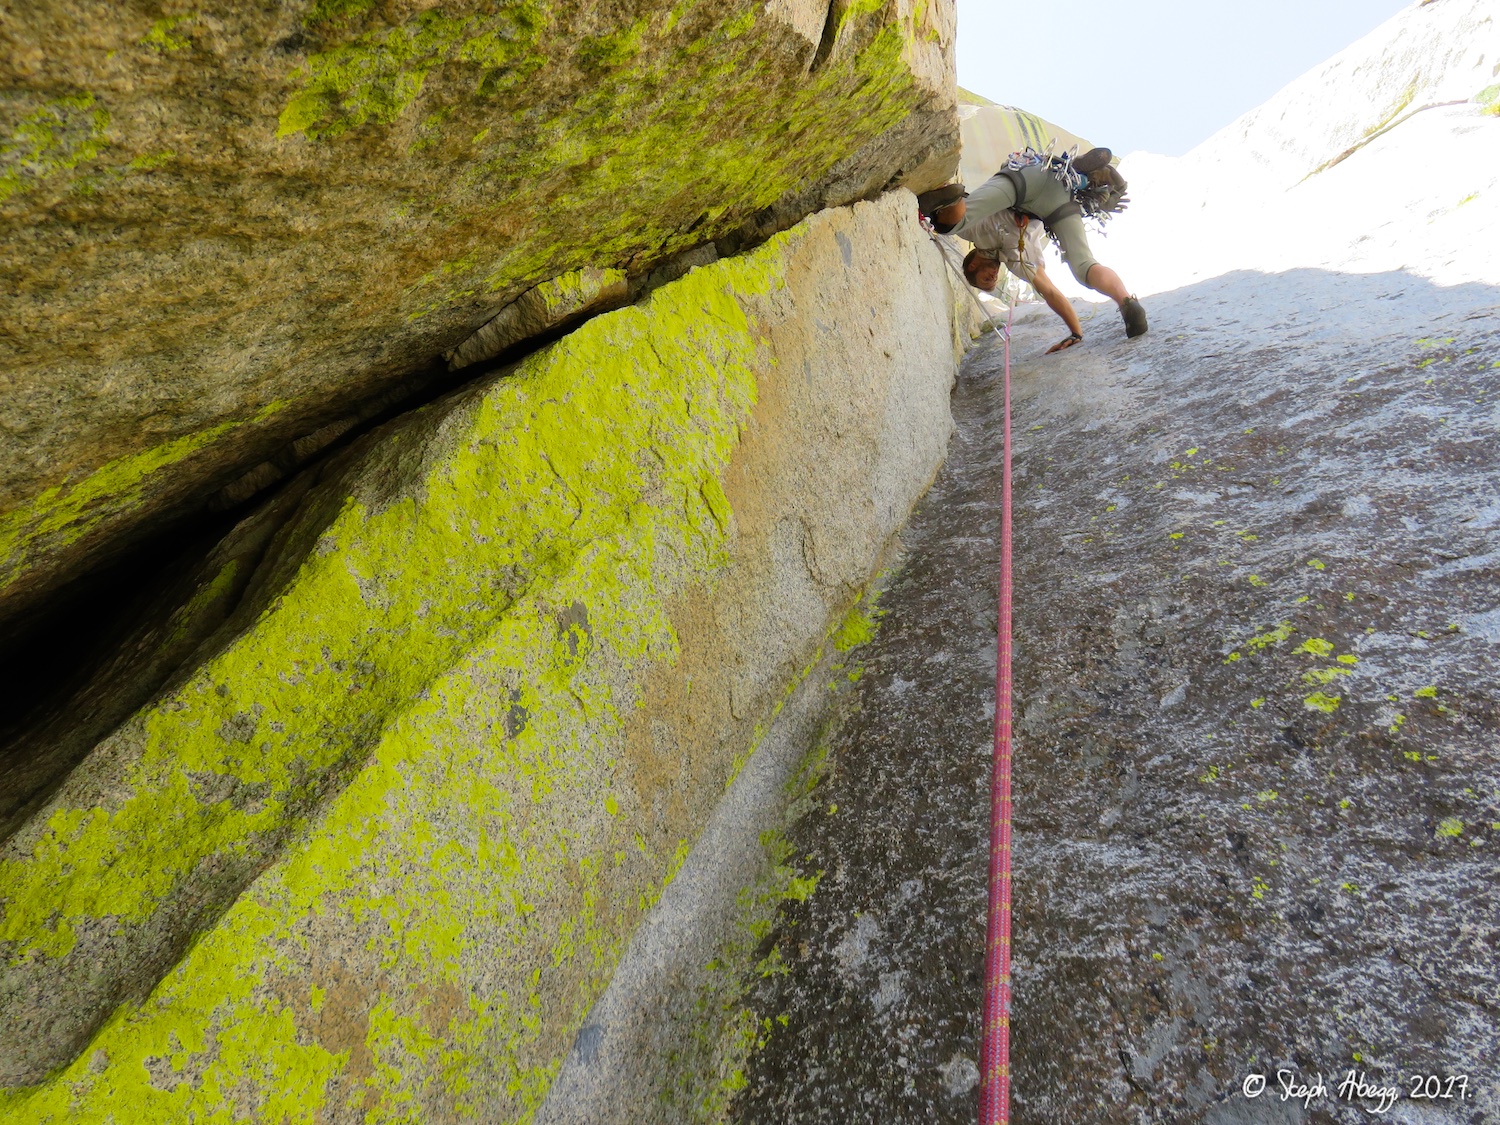
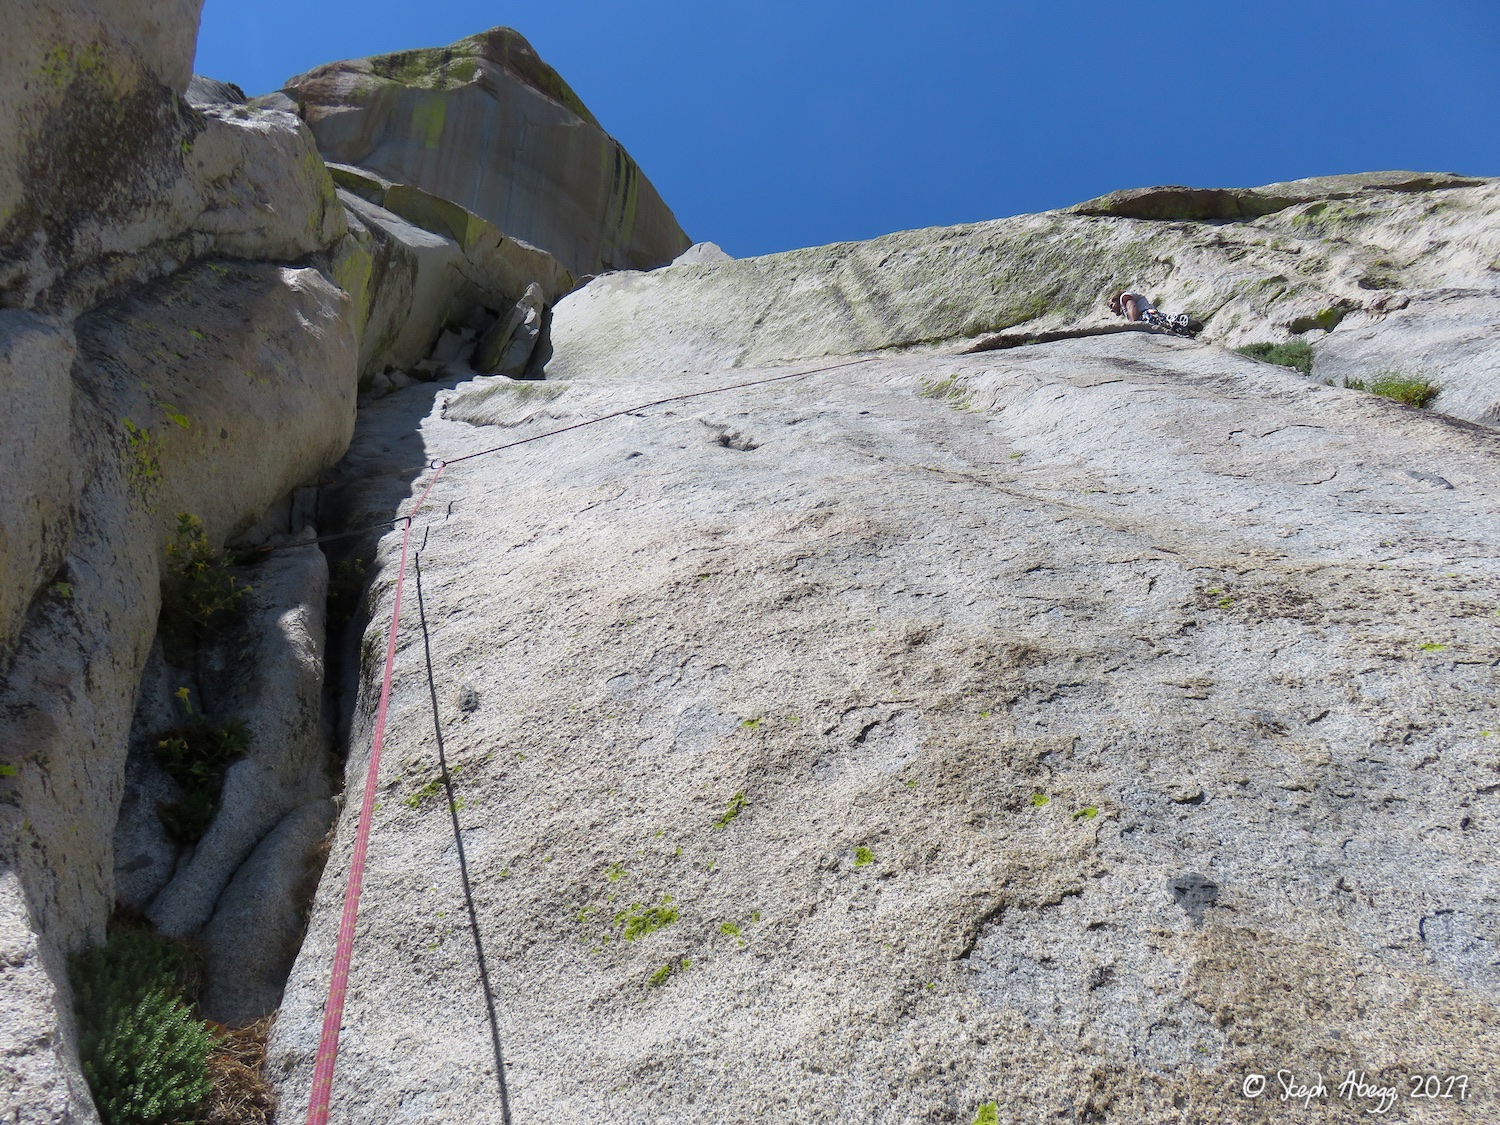
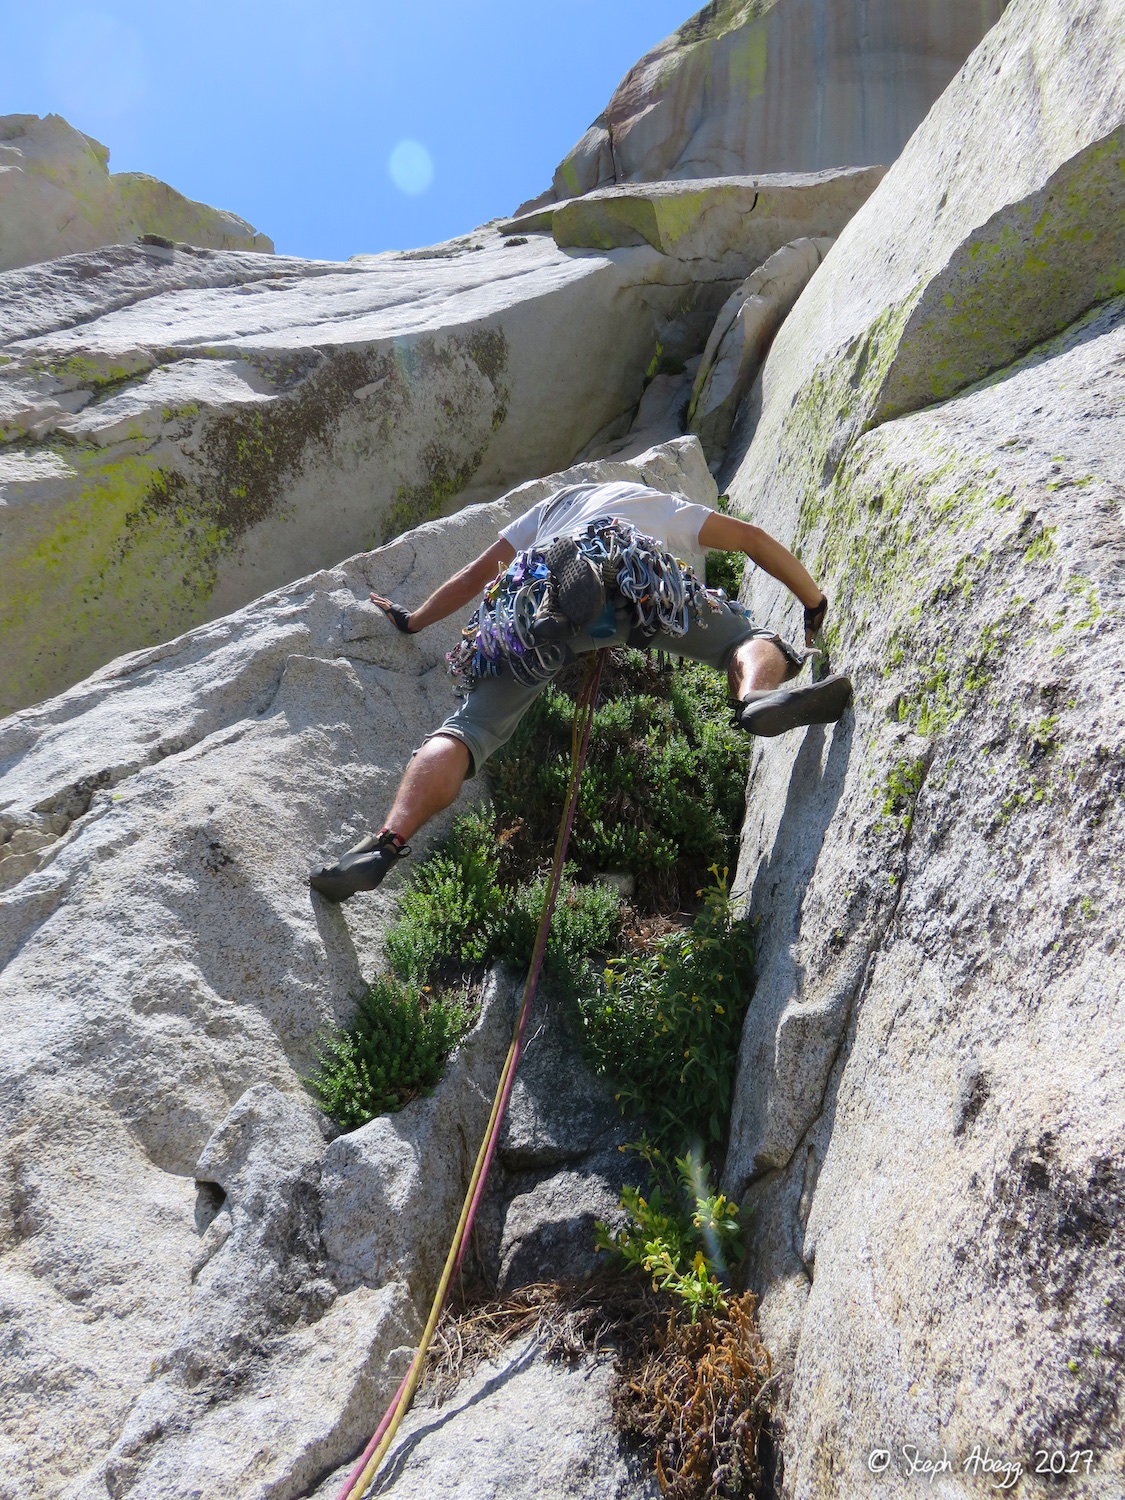
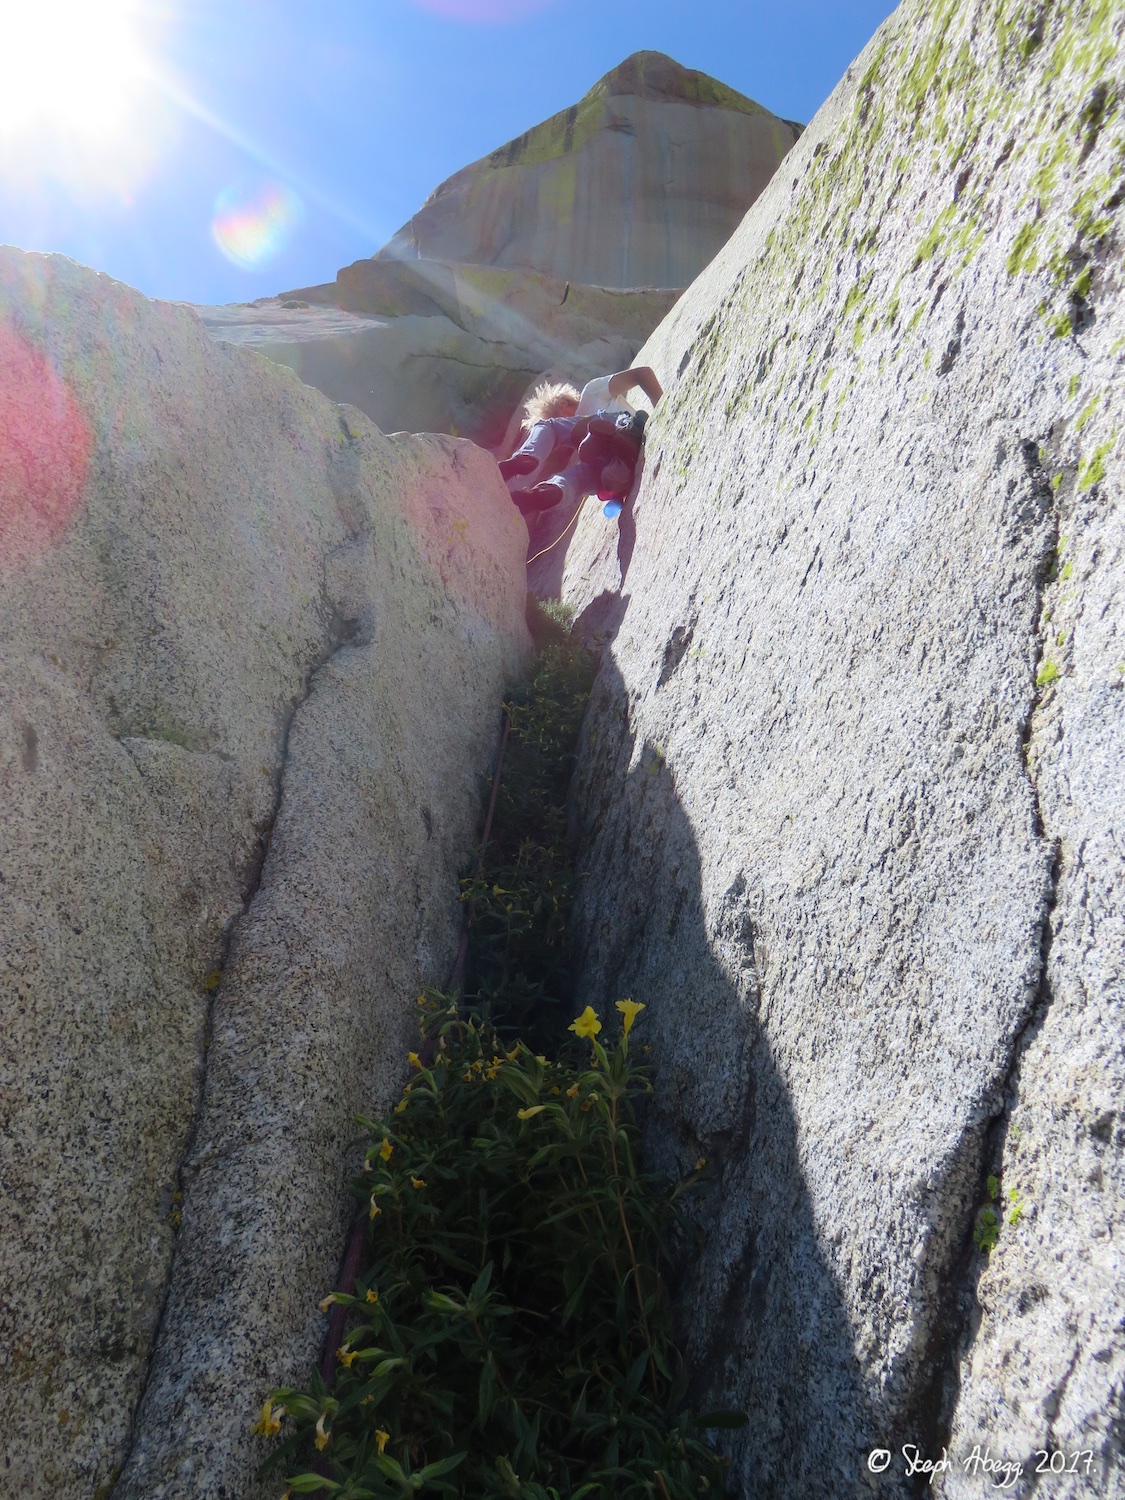
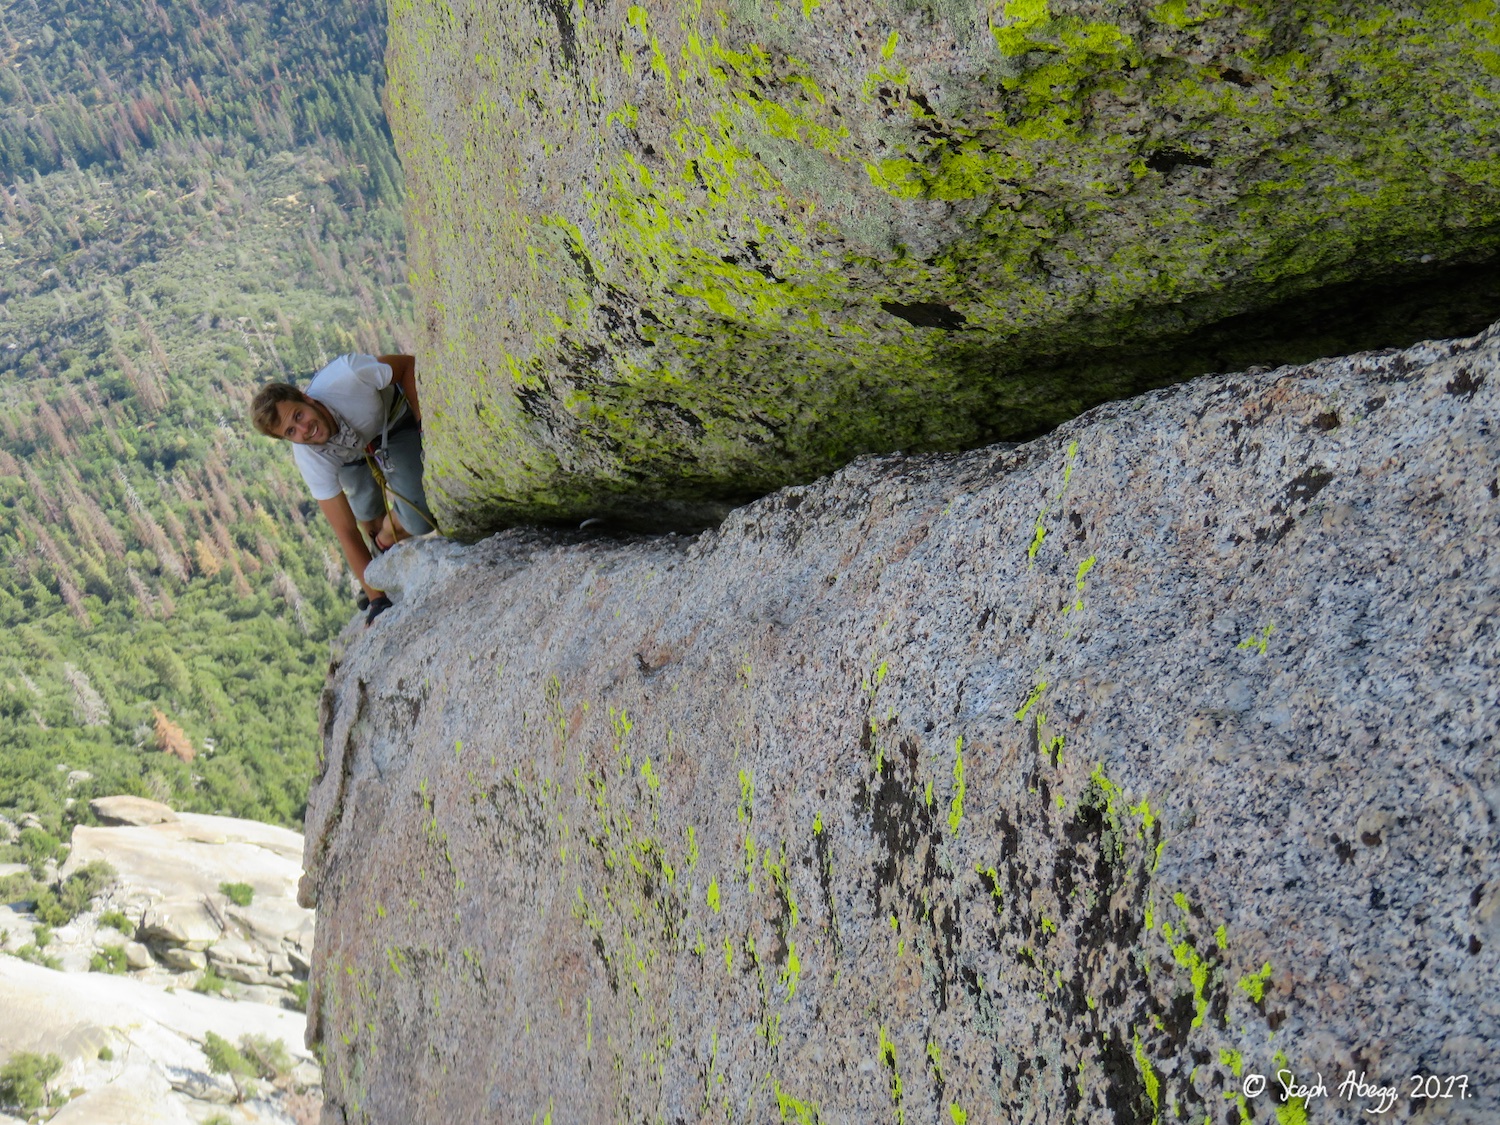
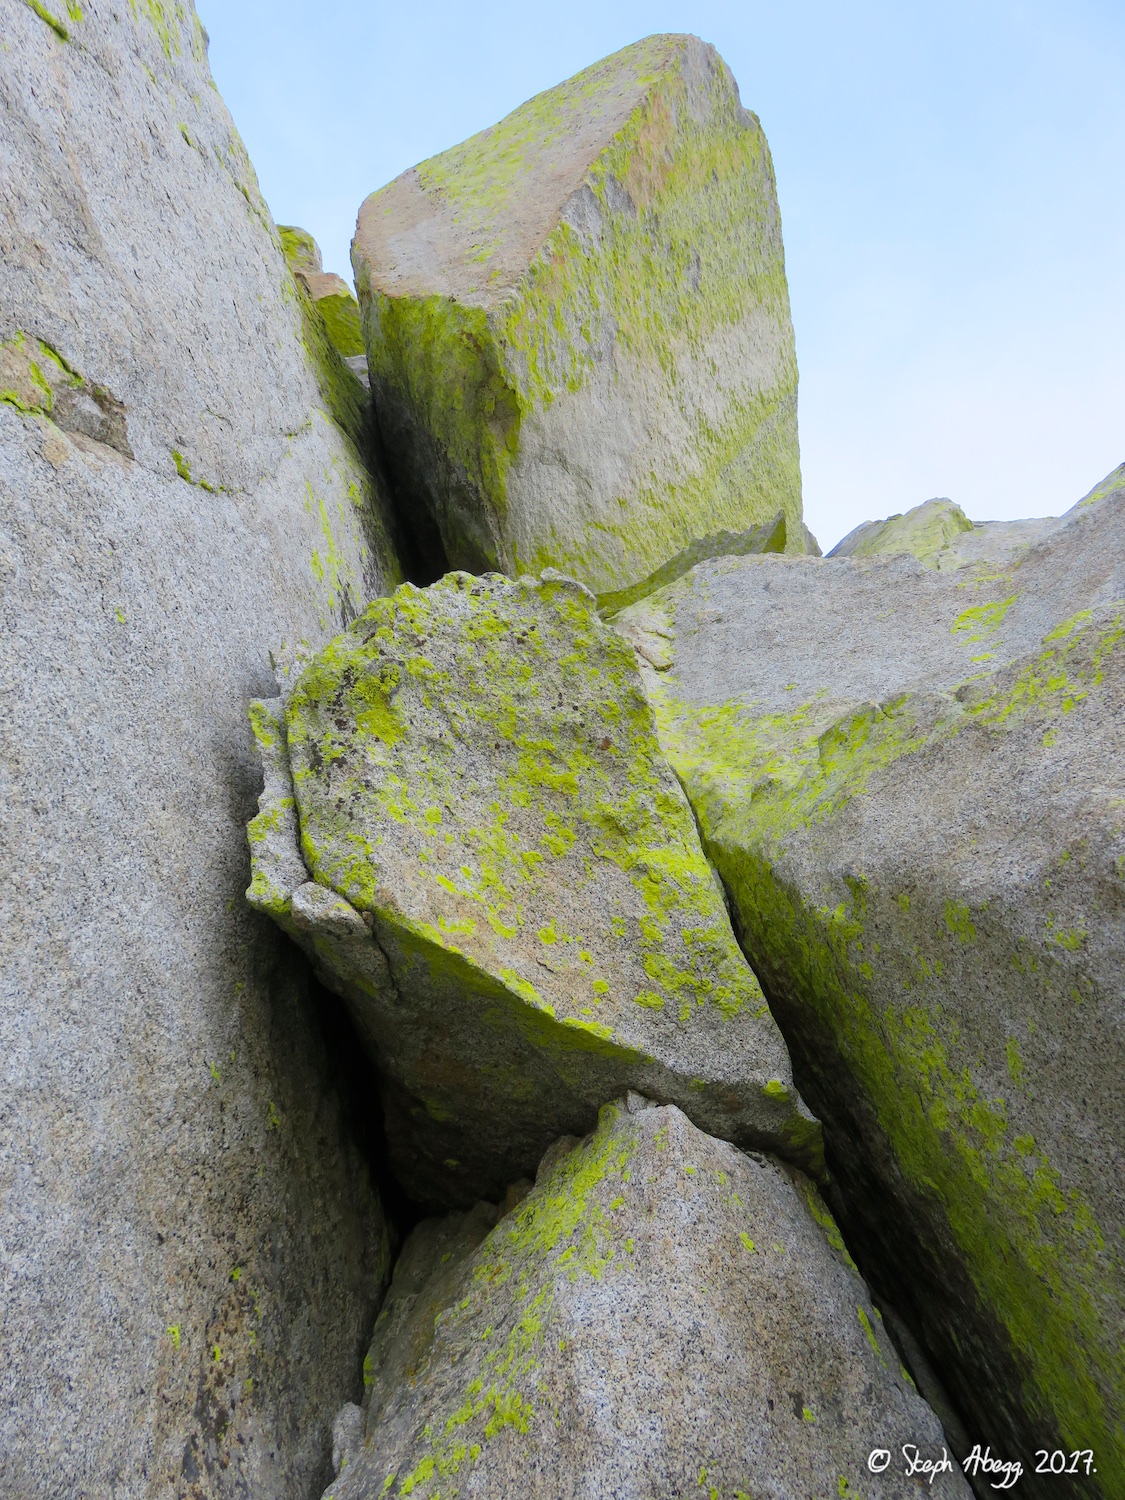
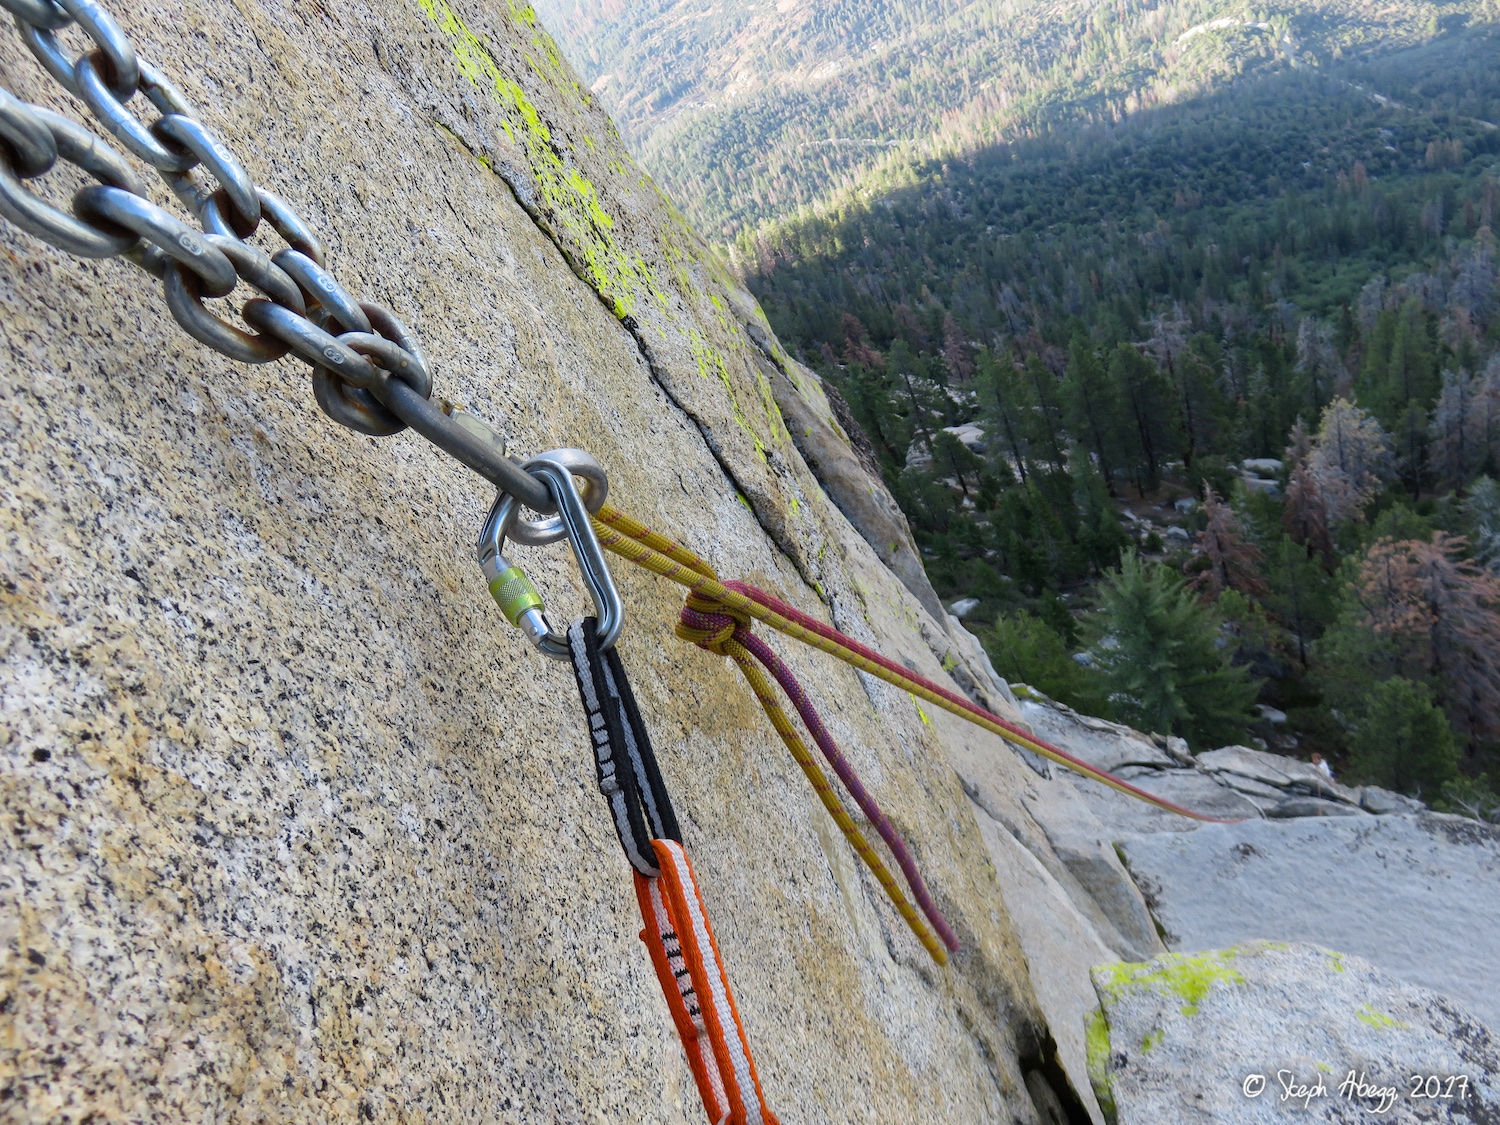
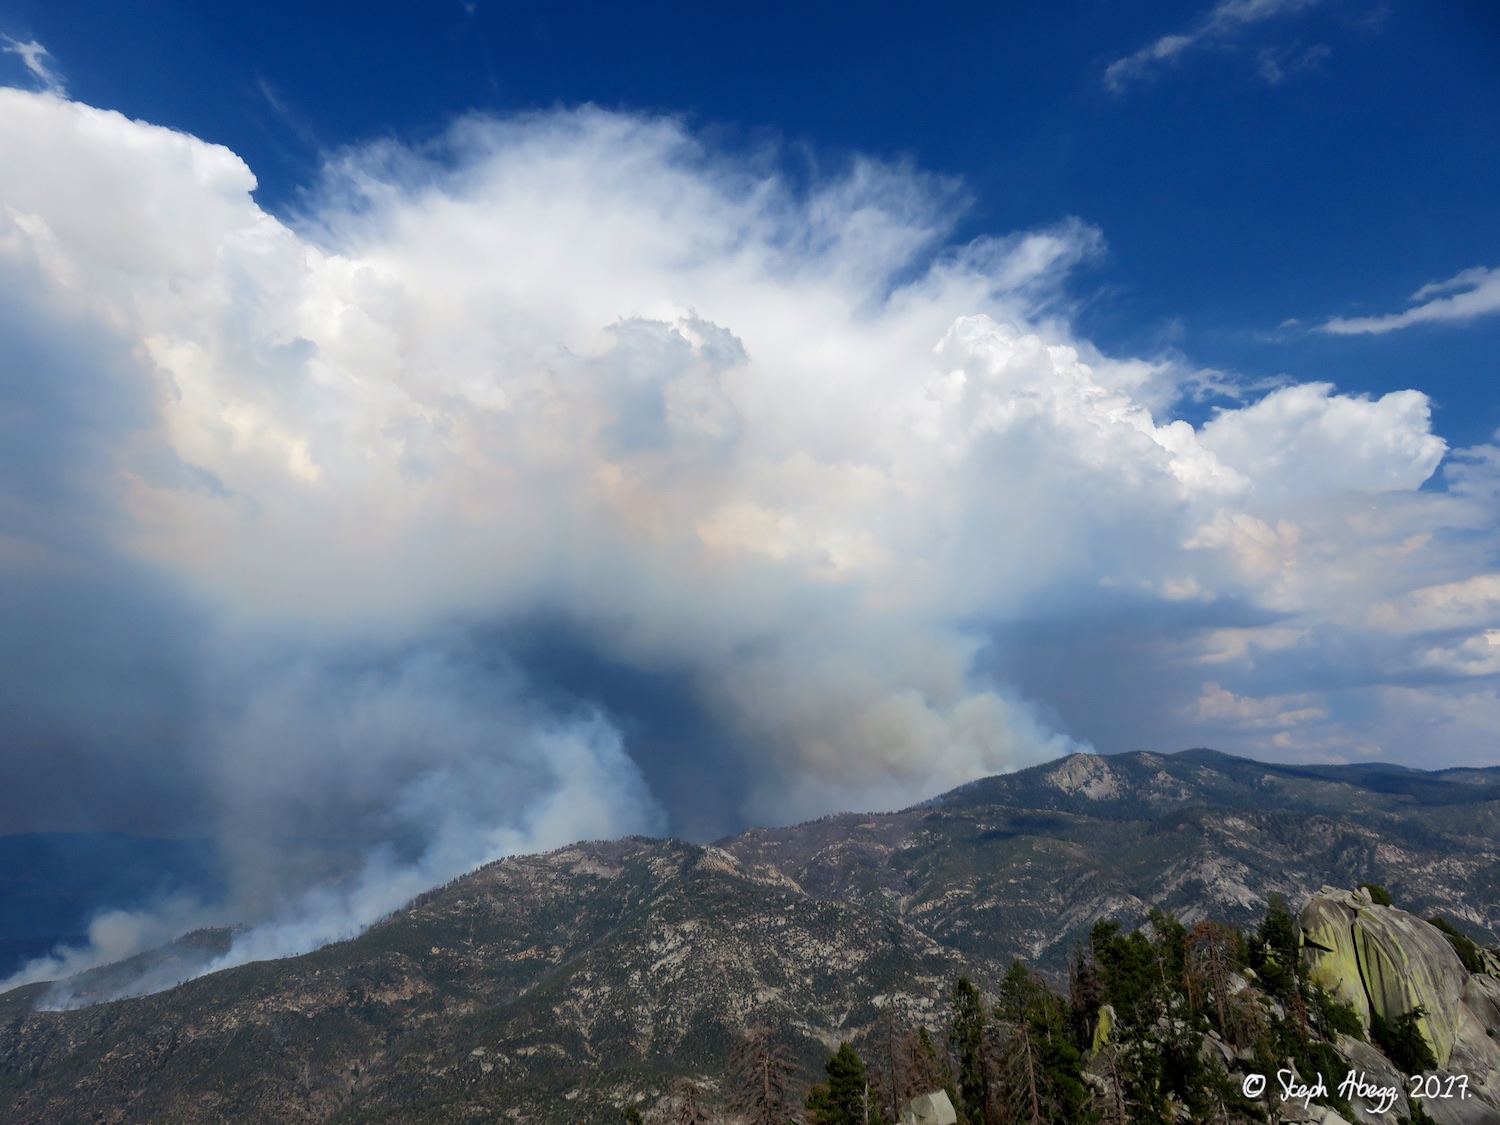
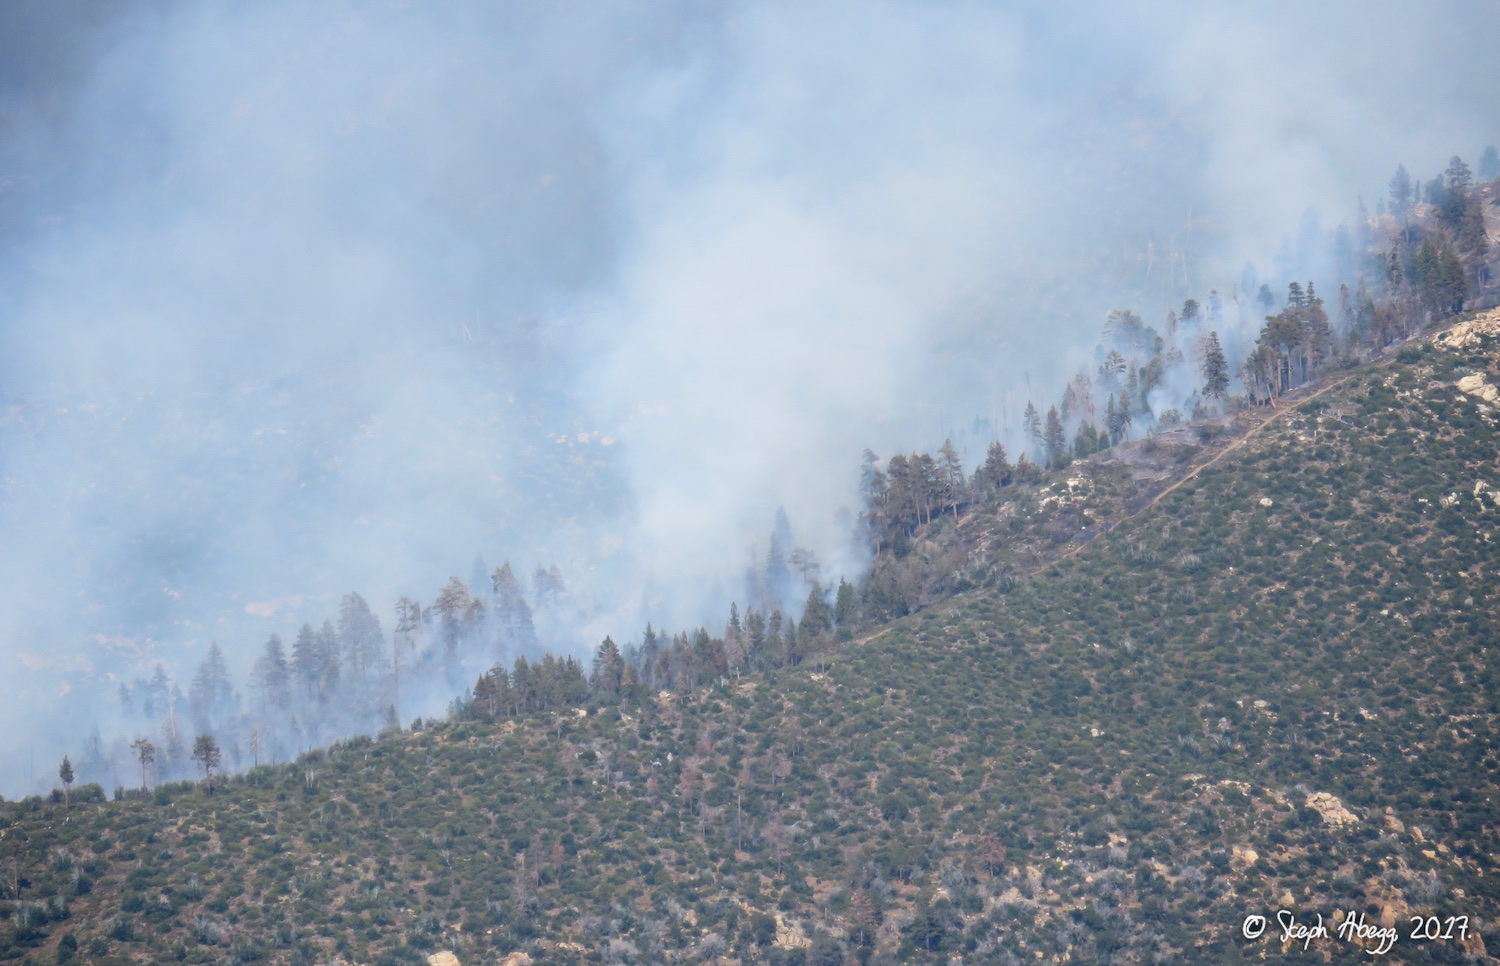
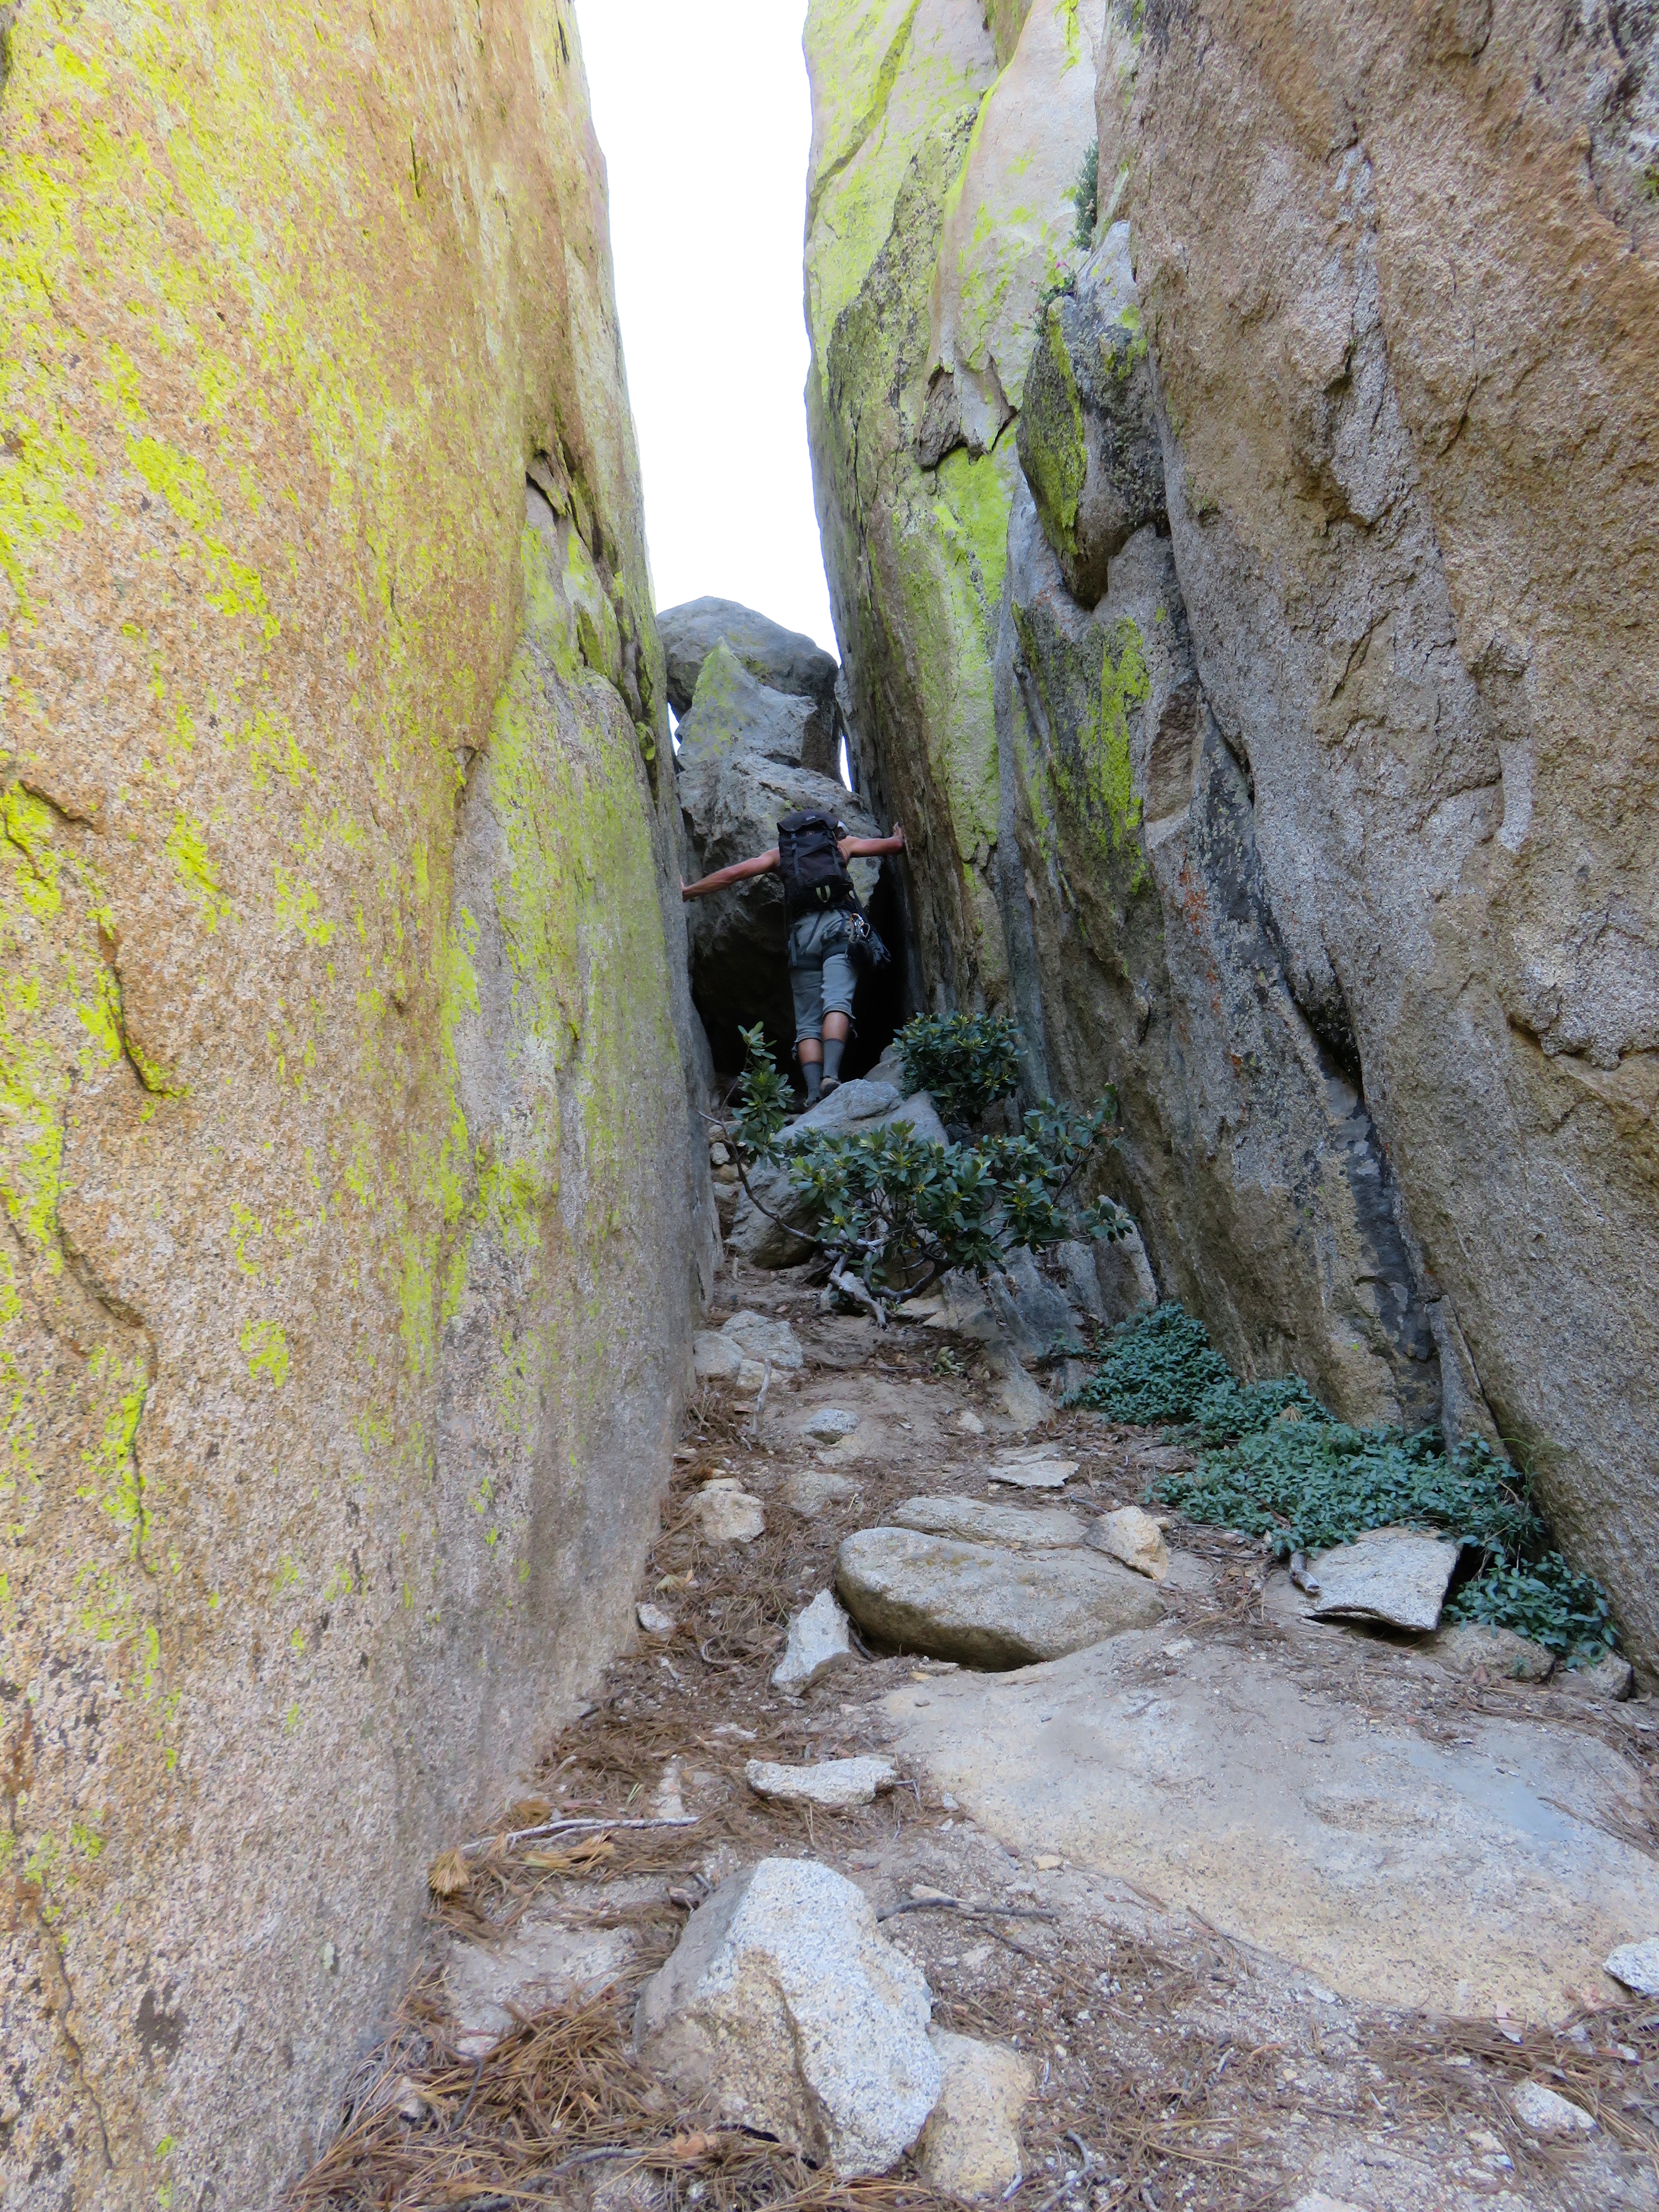
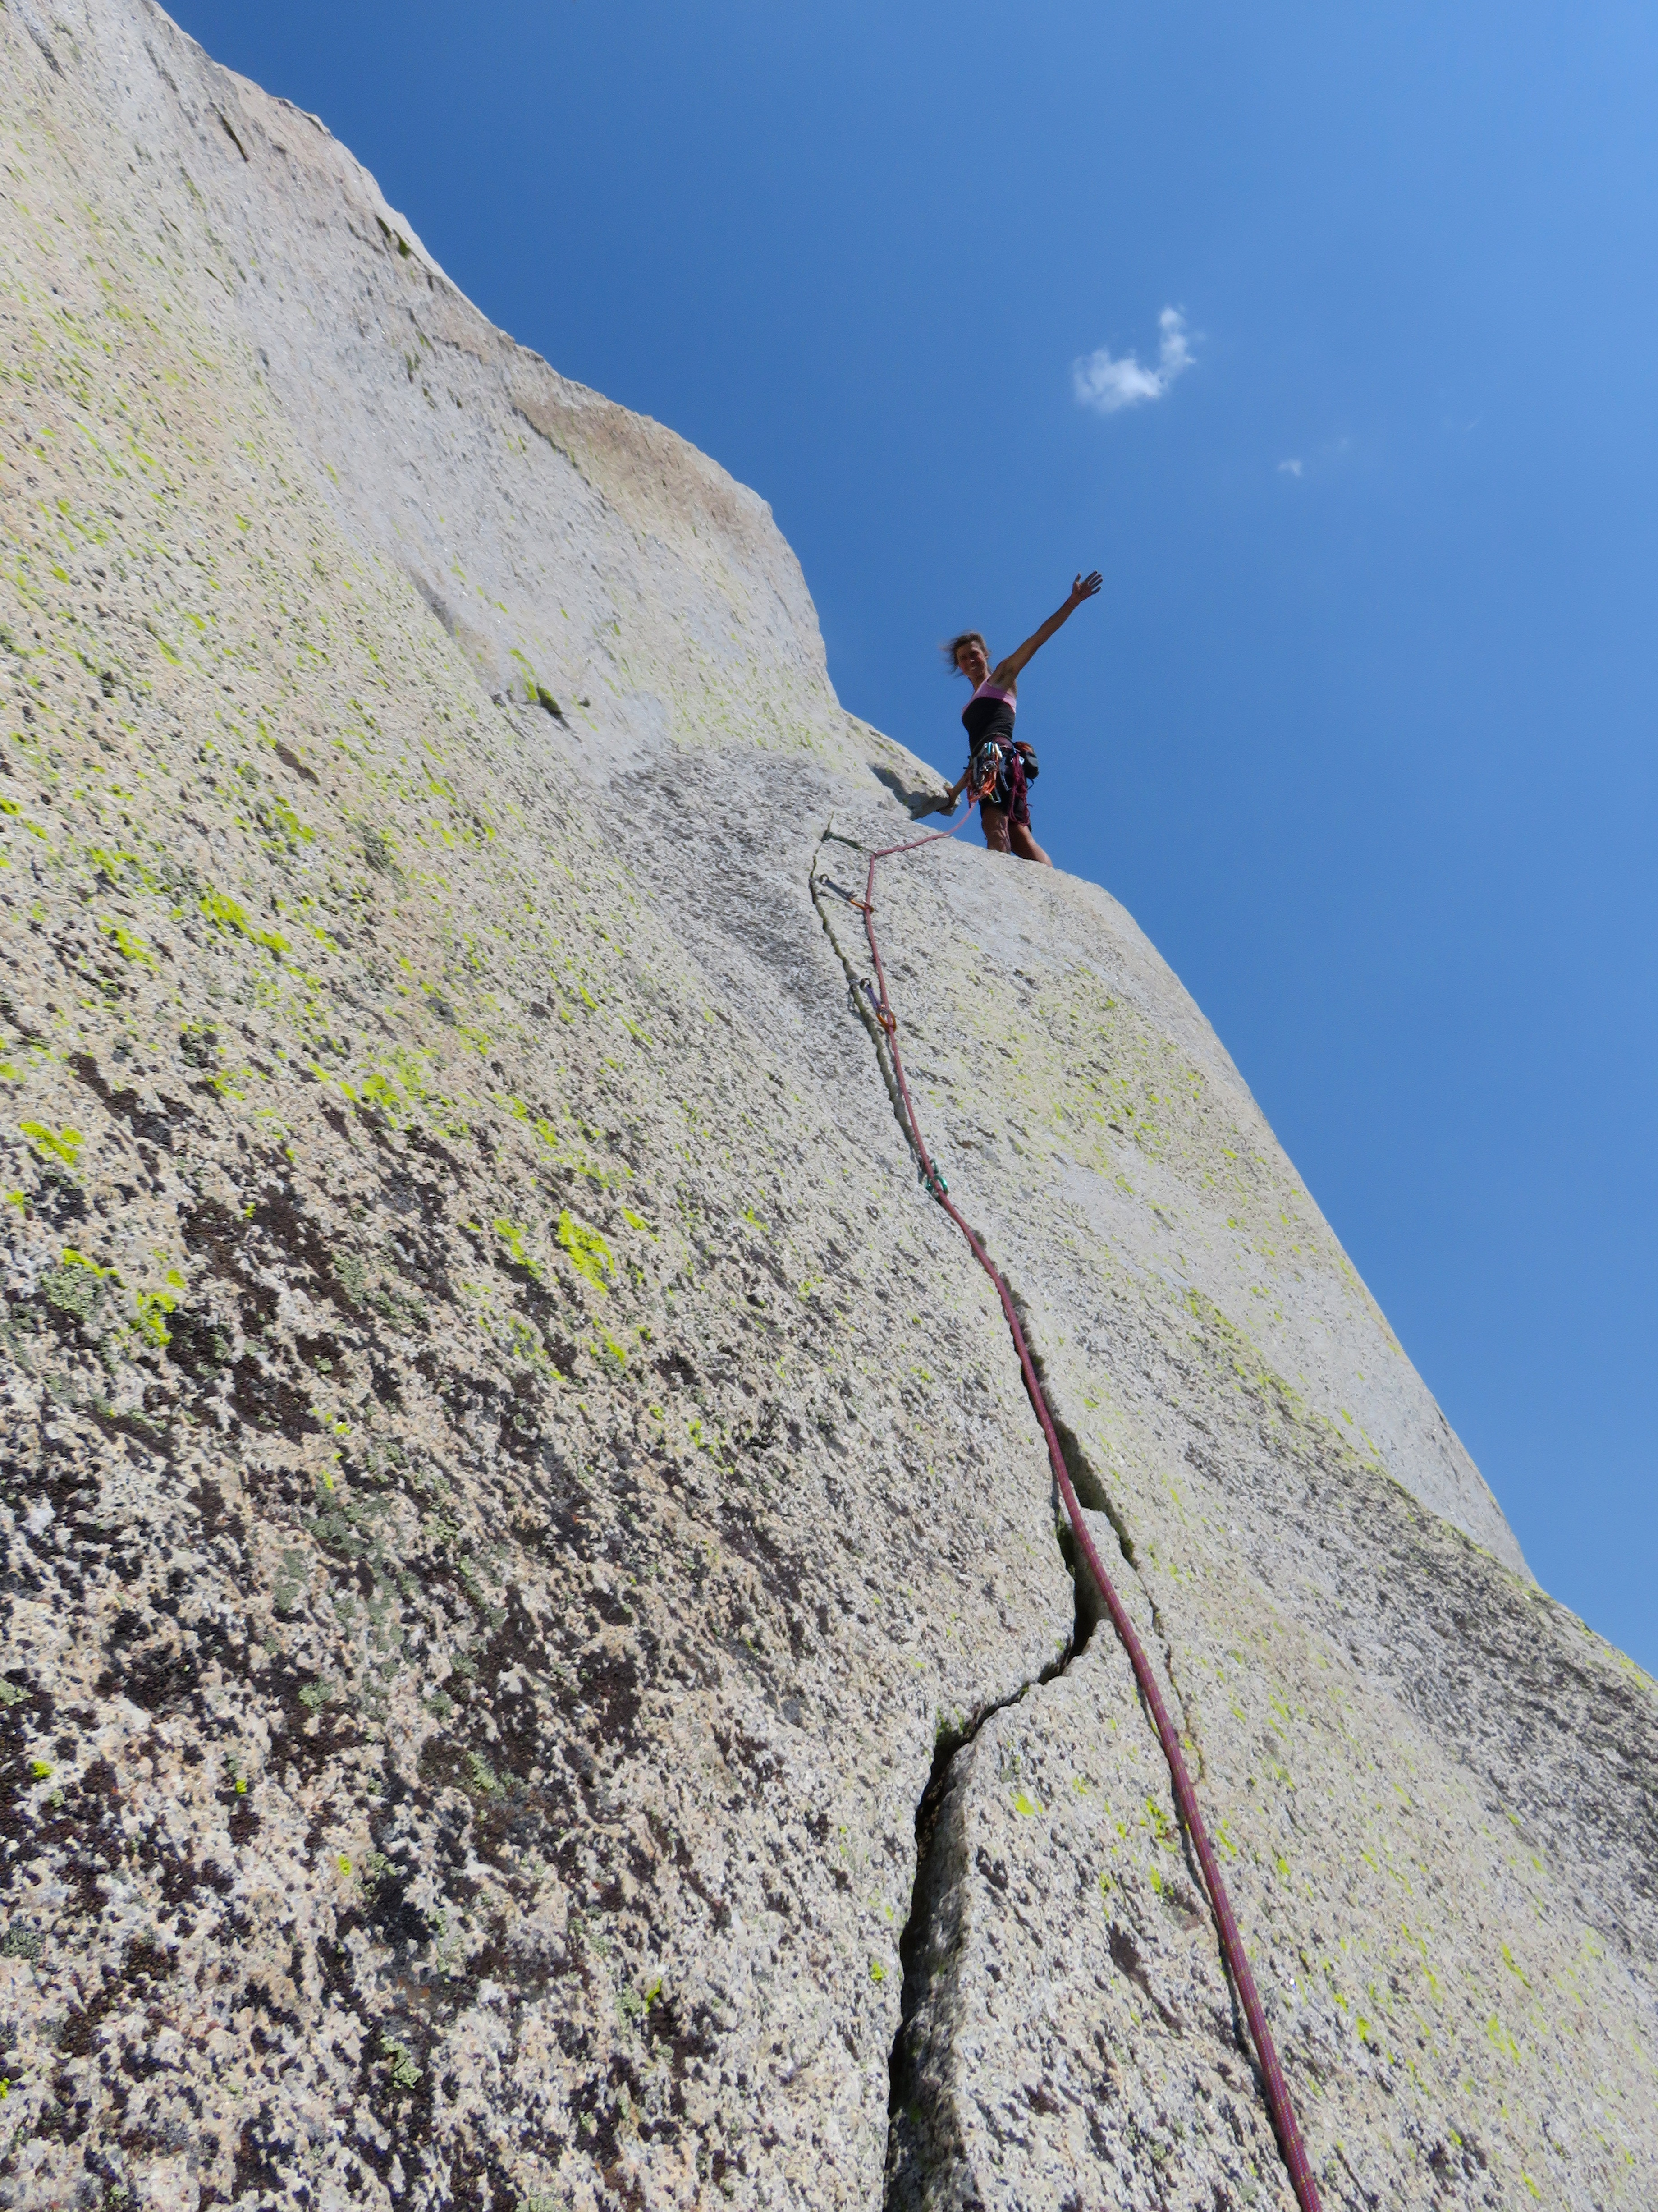
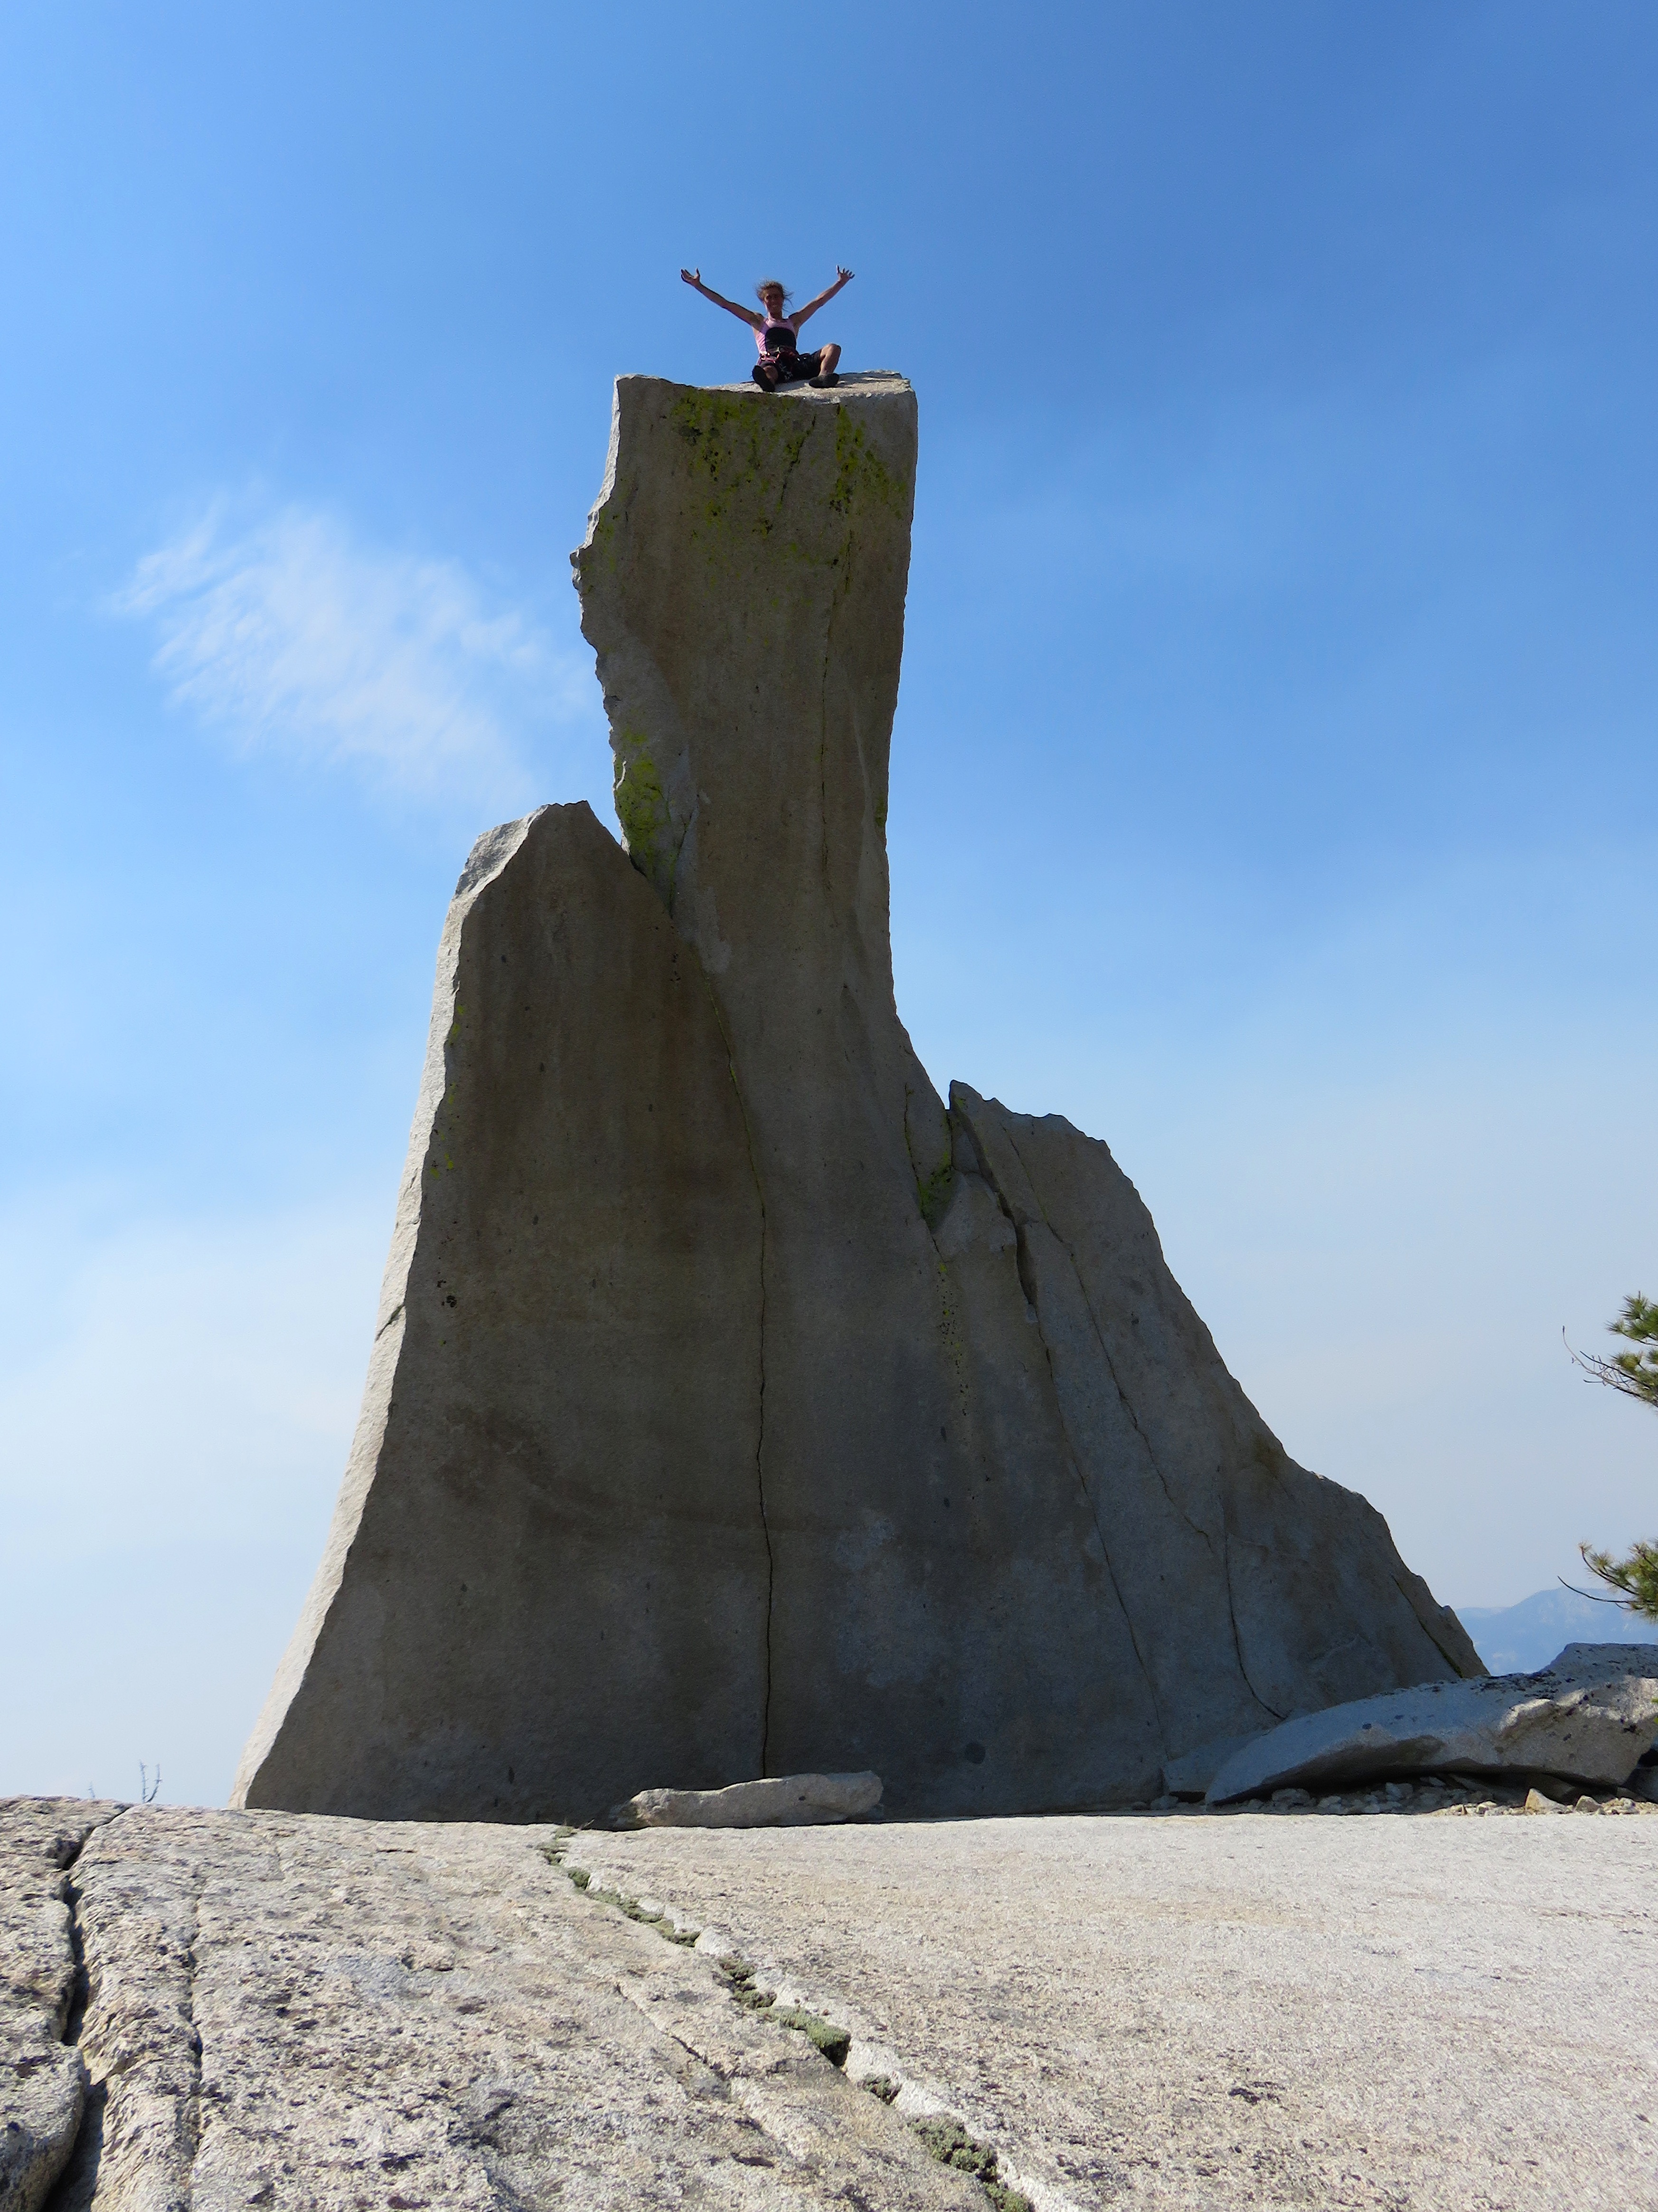
My first trip to The Needles. This might be my new favorite place to climb.
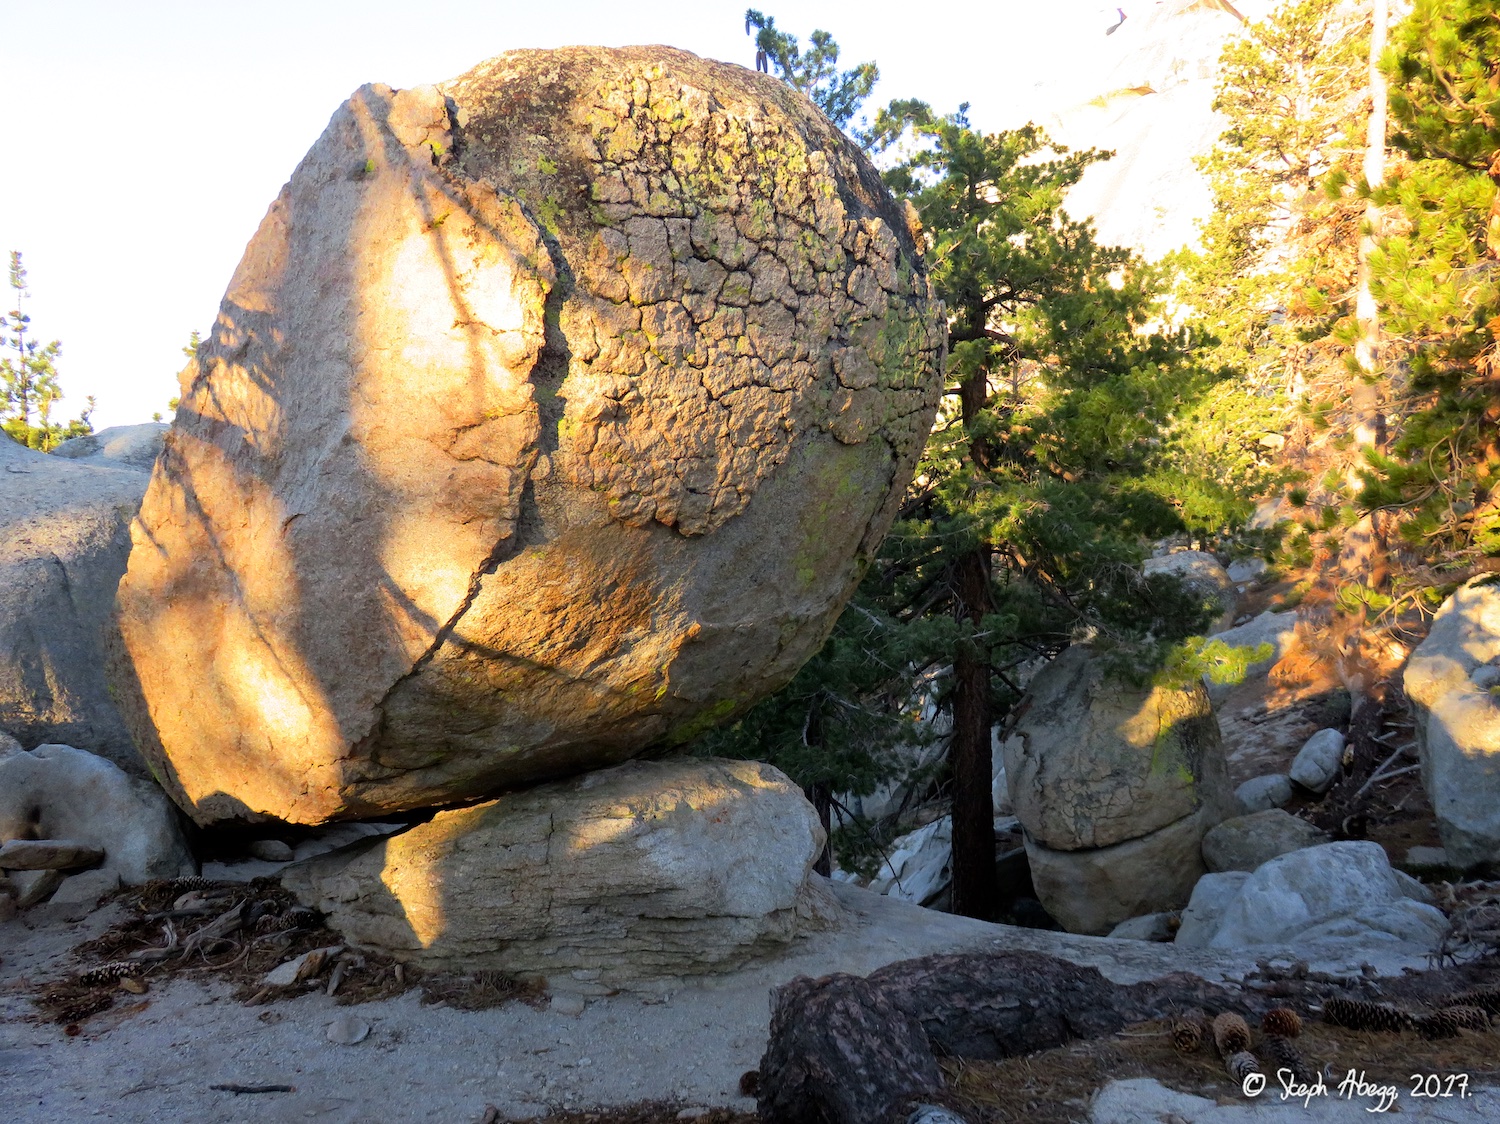
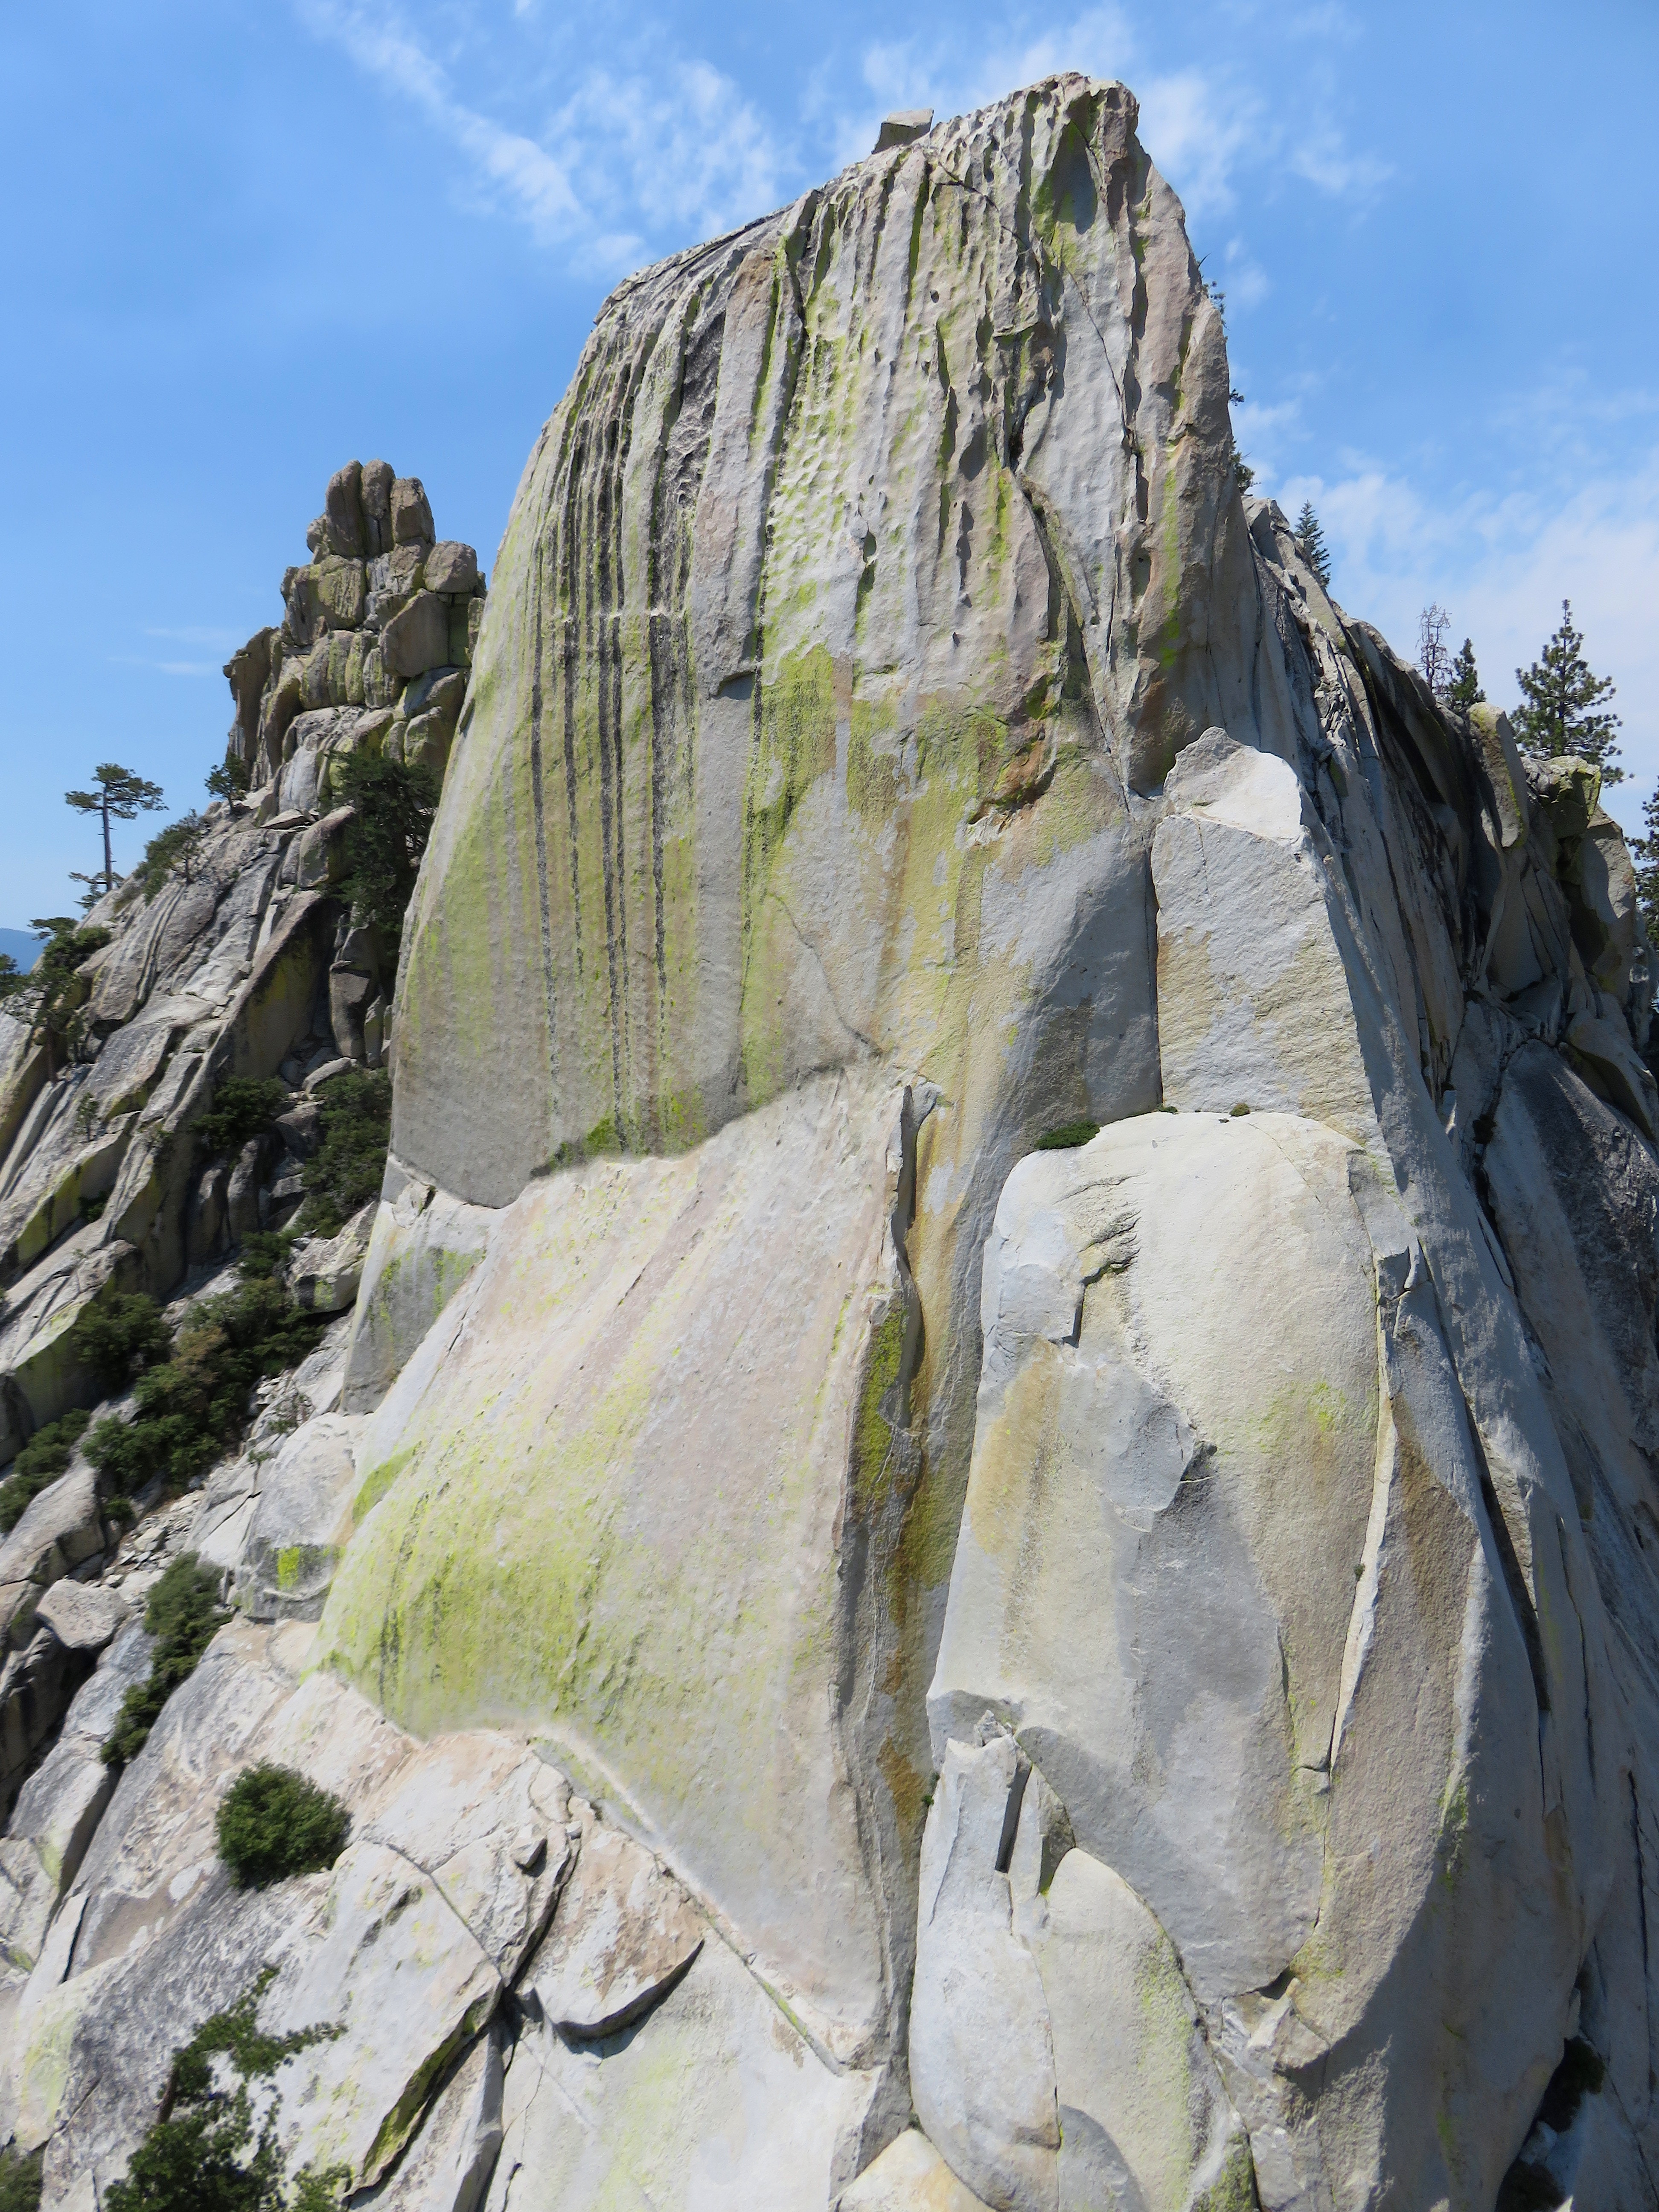
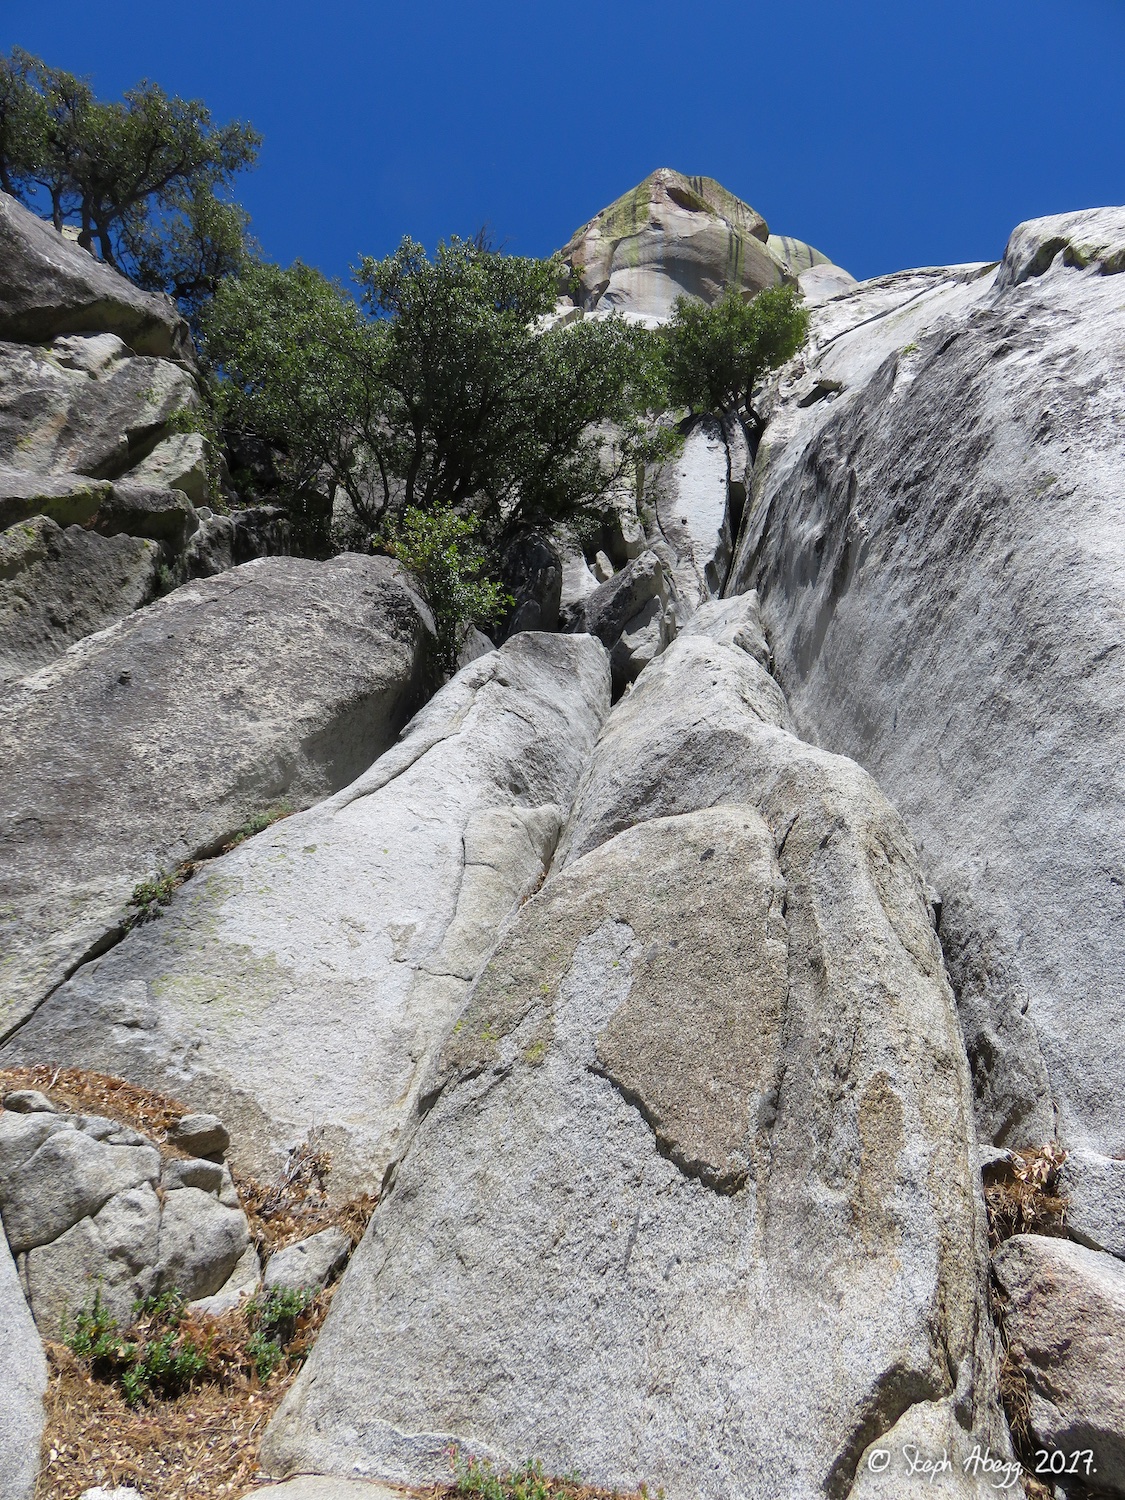
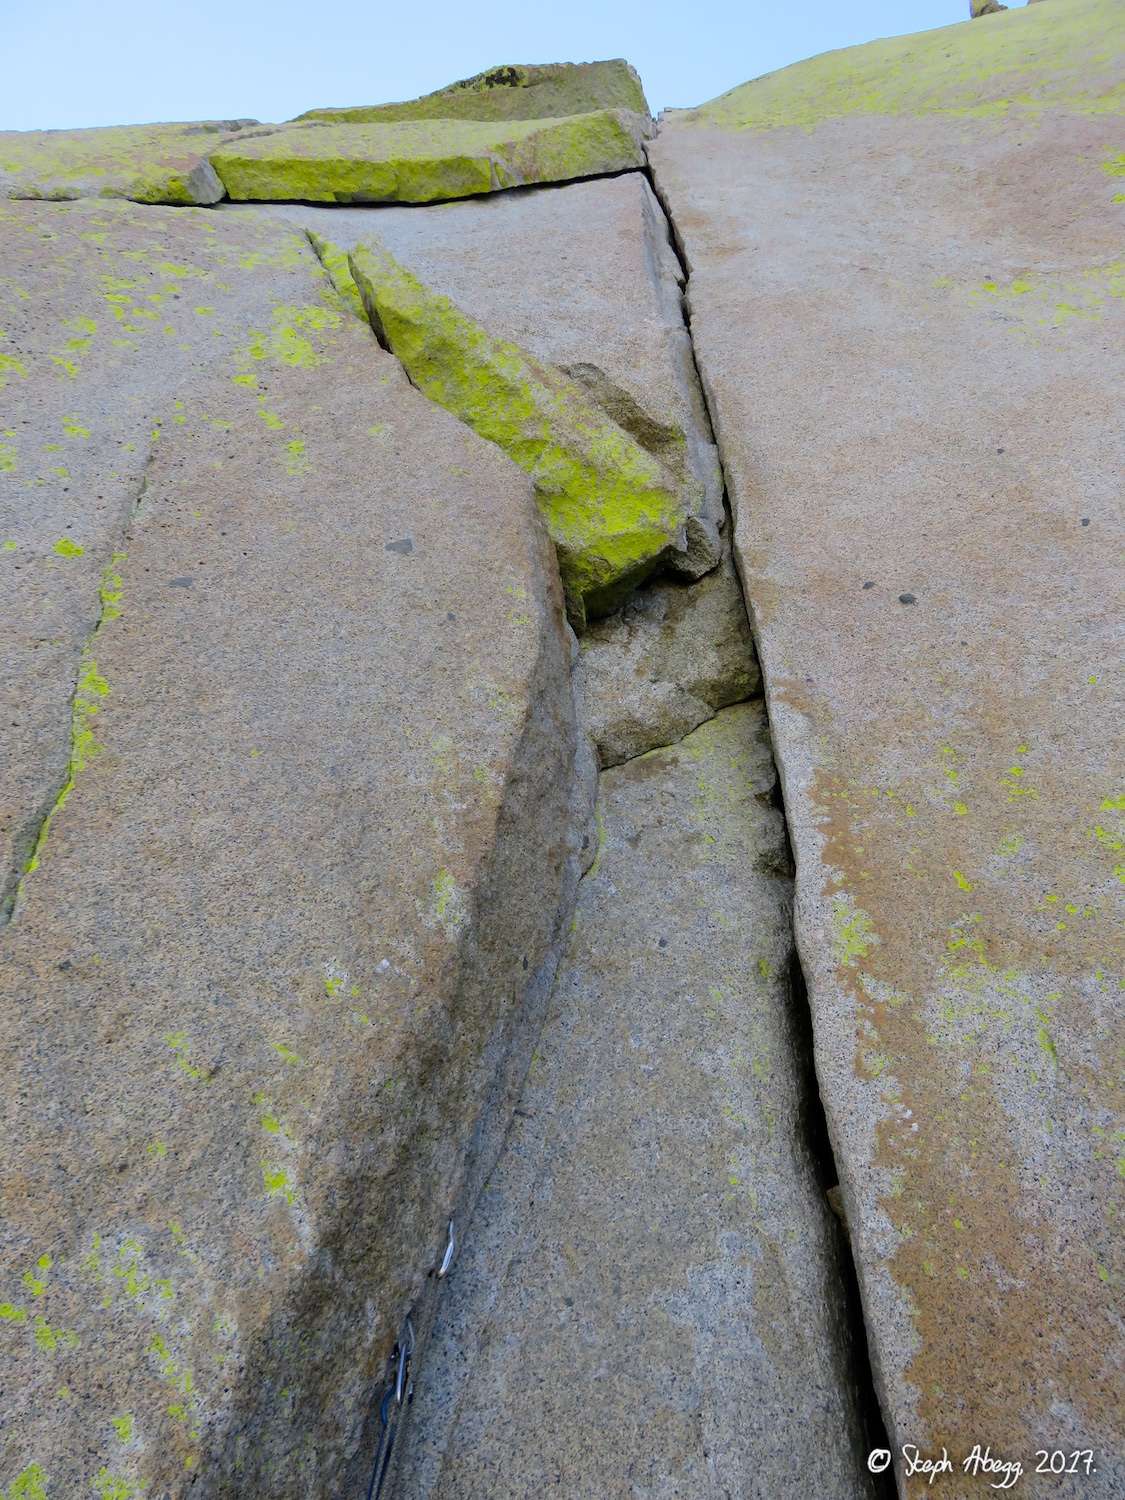
Region: California
Elev: ~8,000 ft
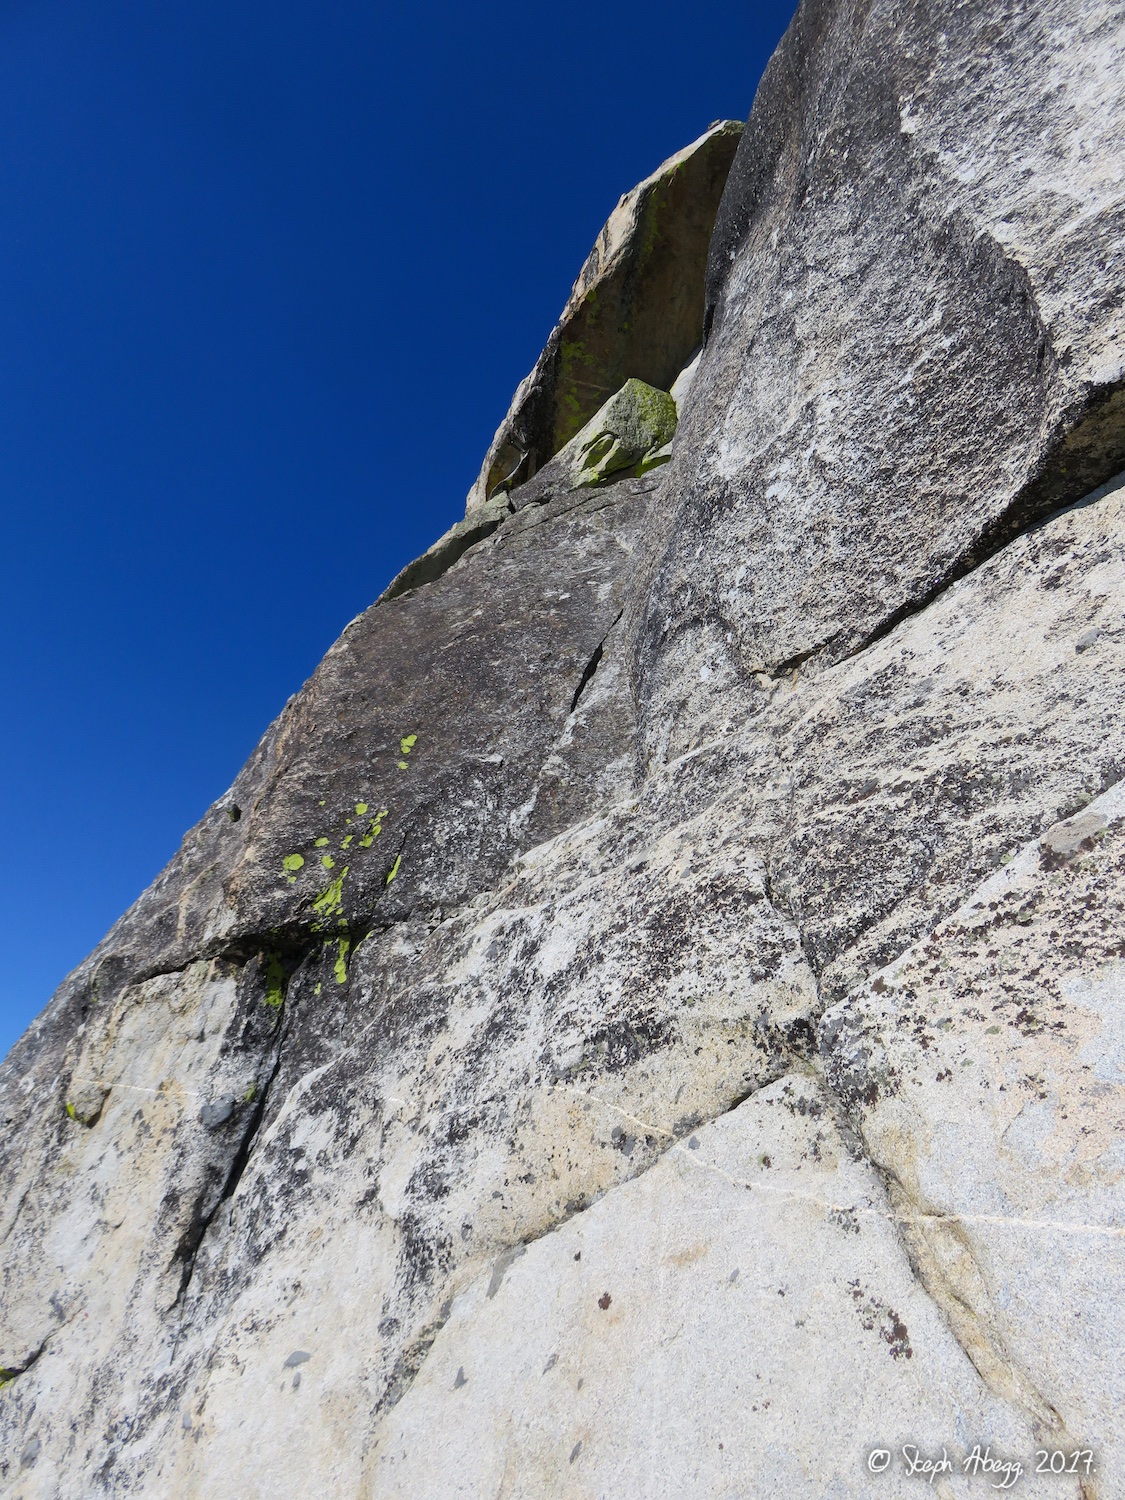
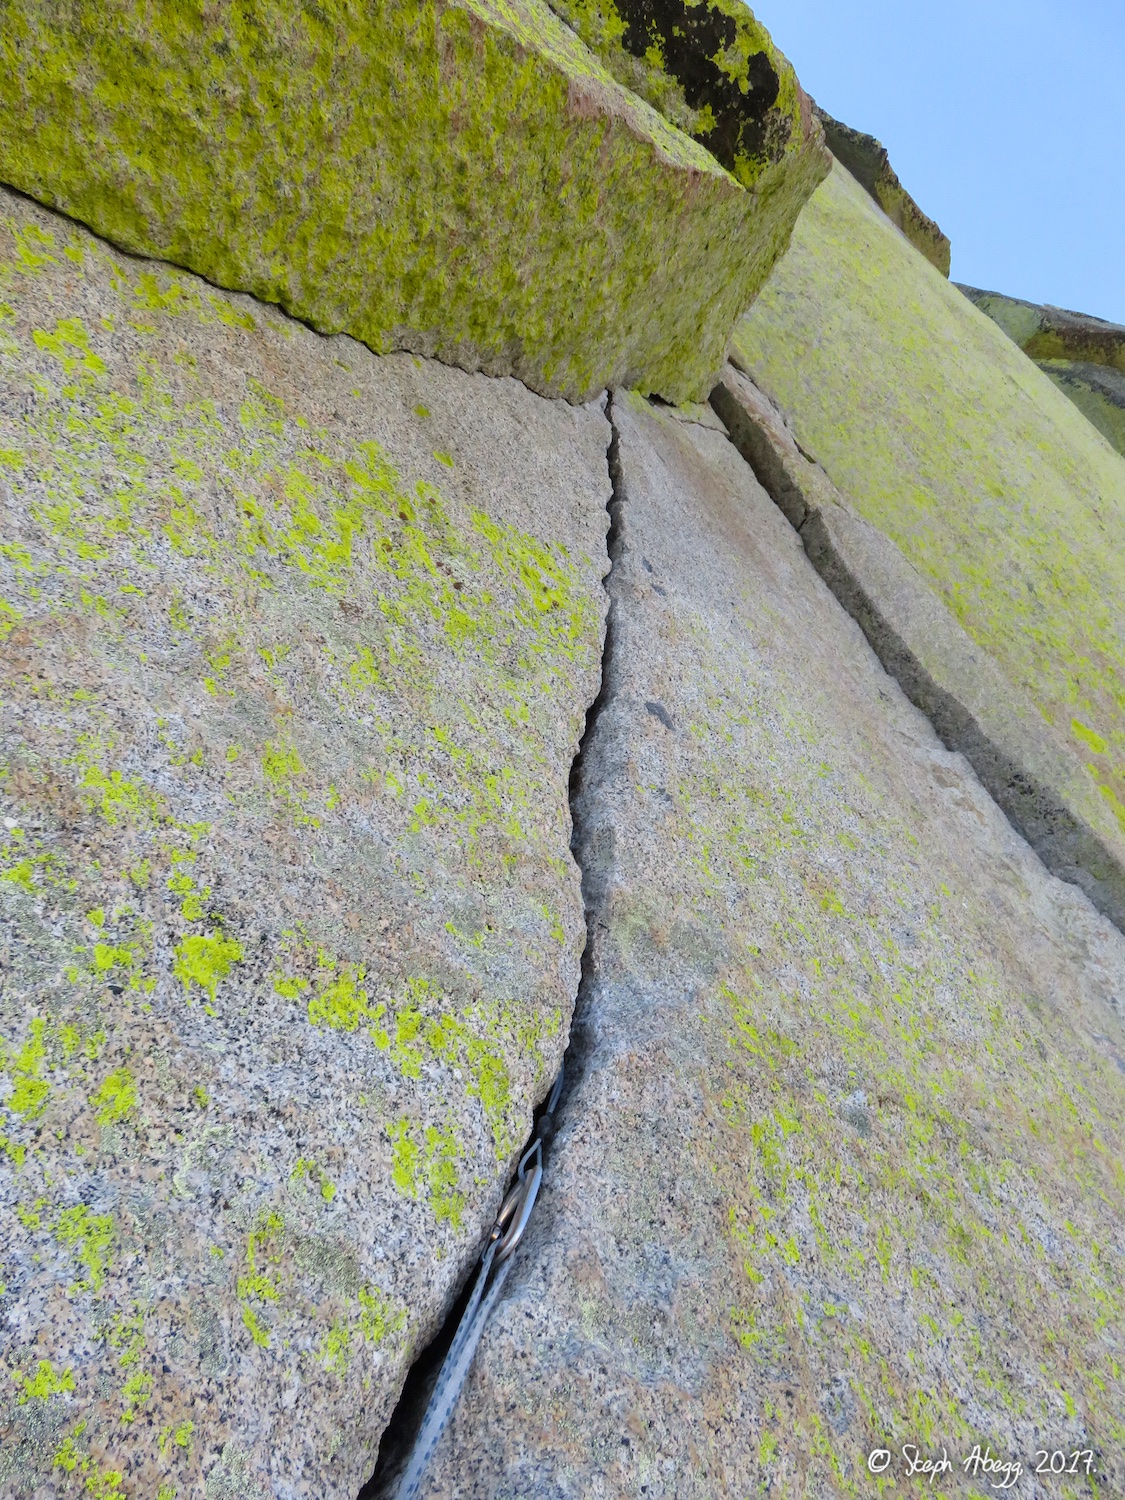
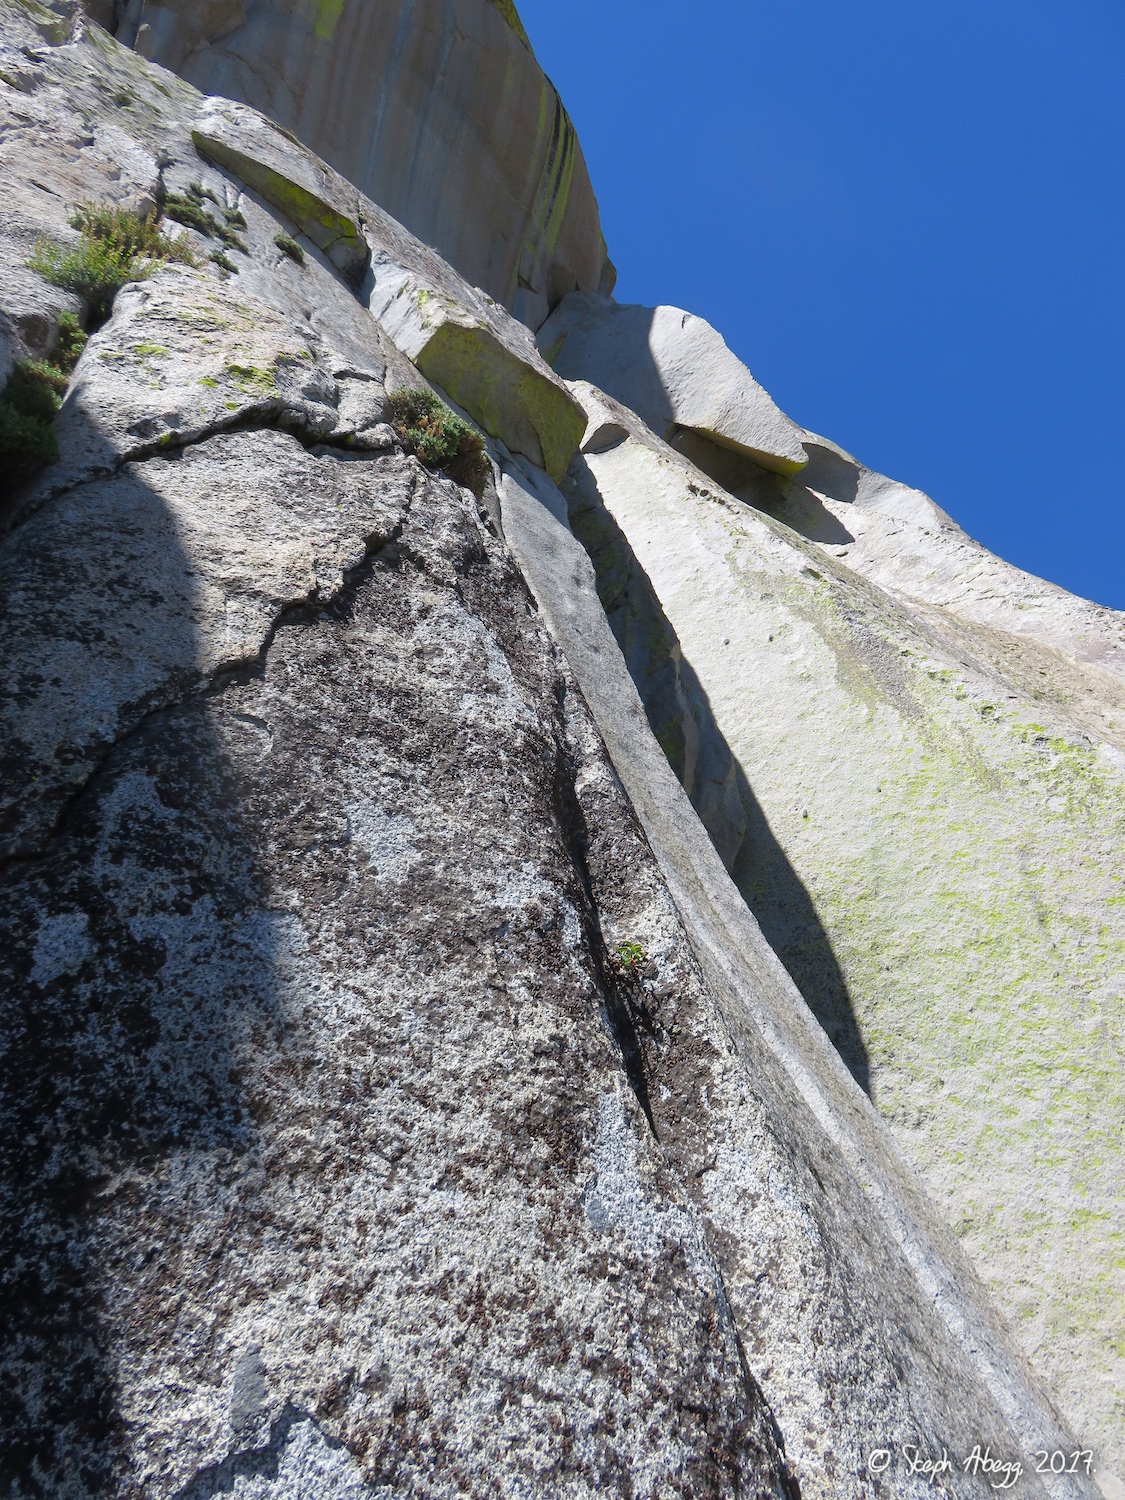
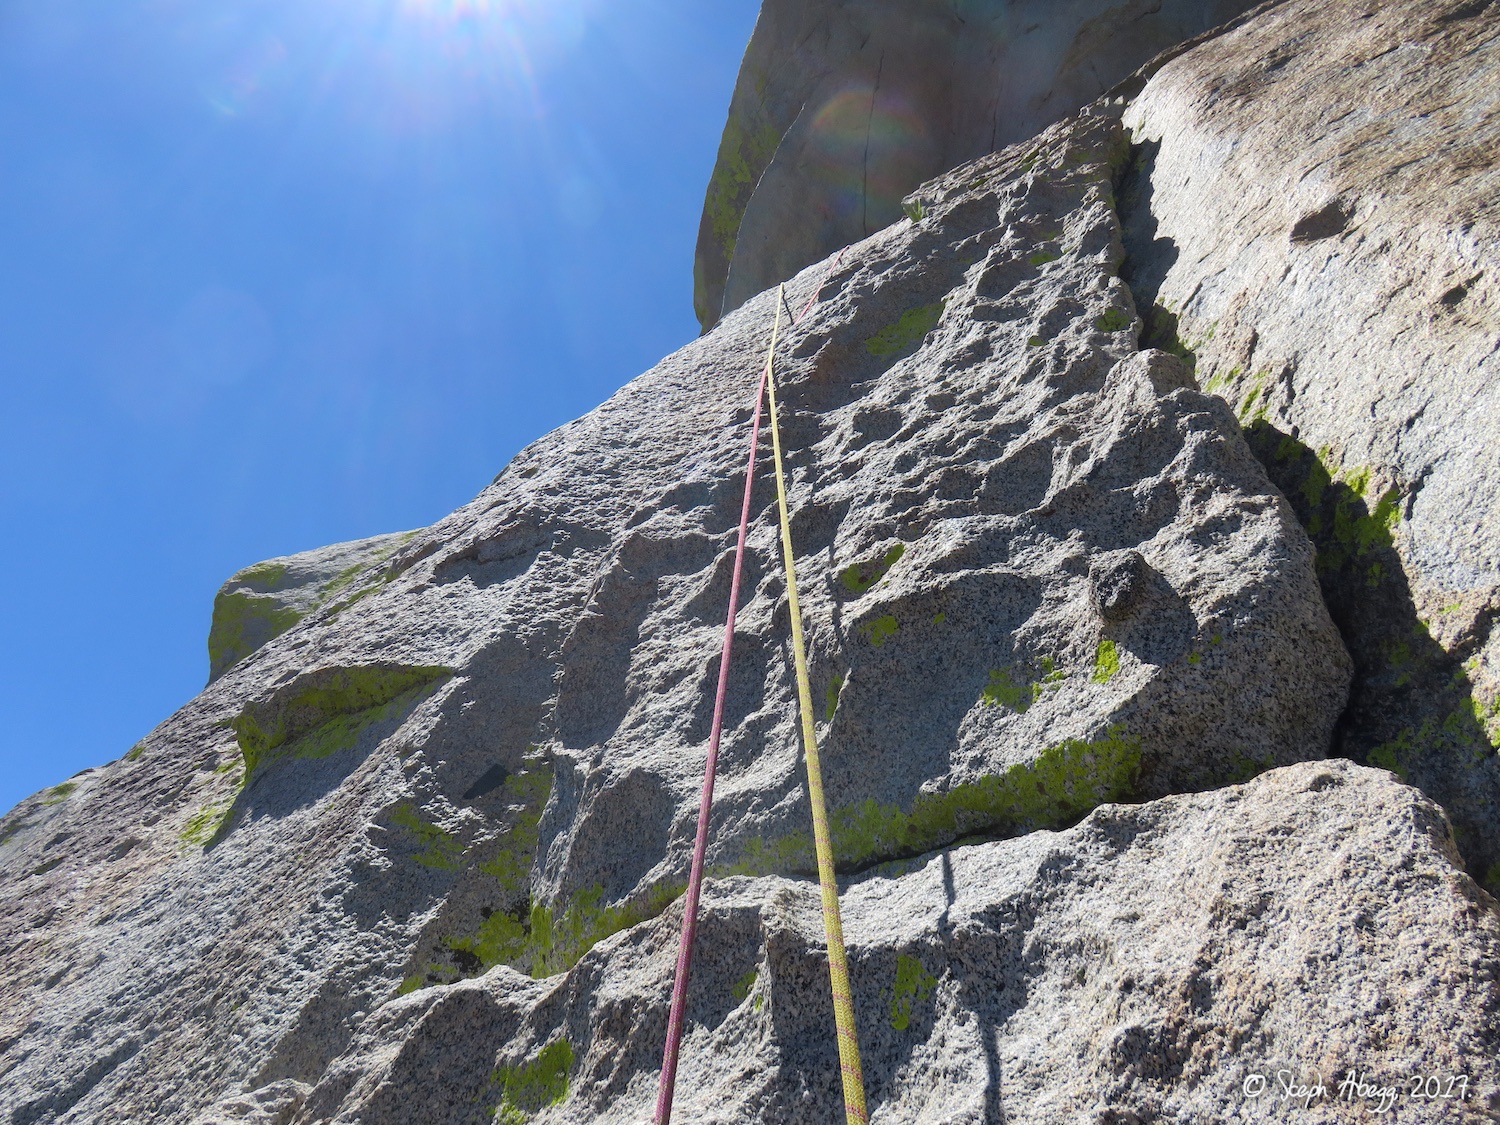
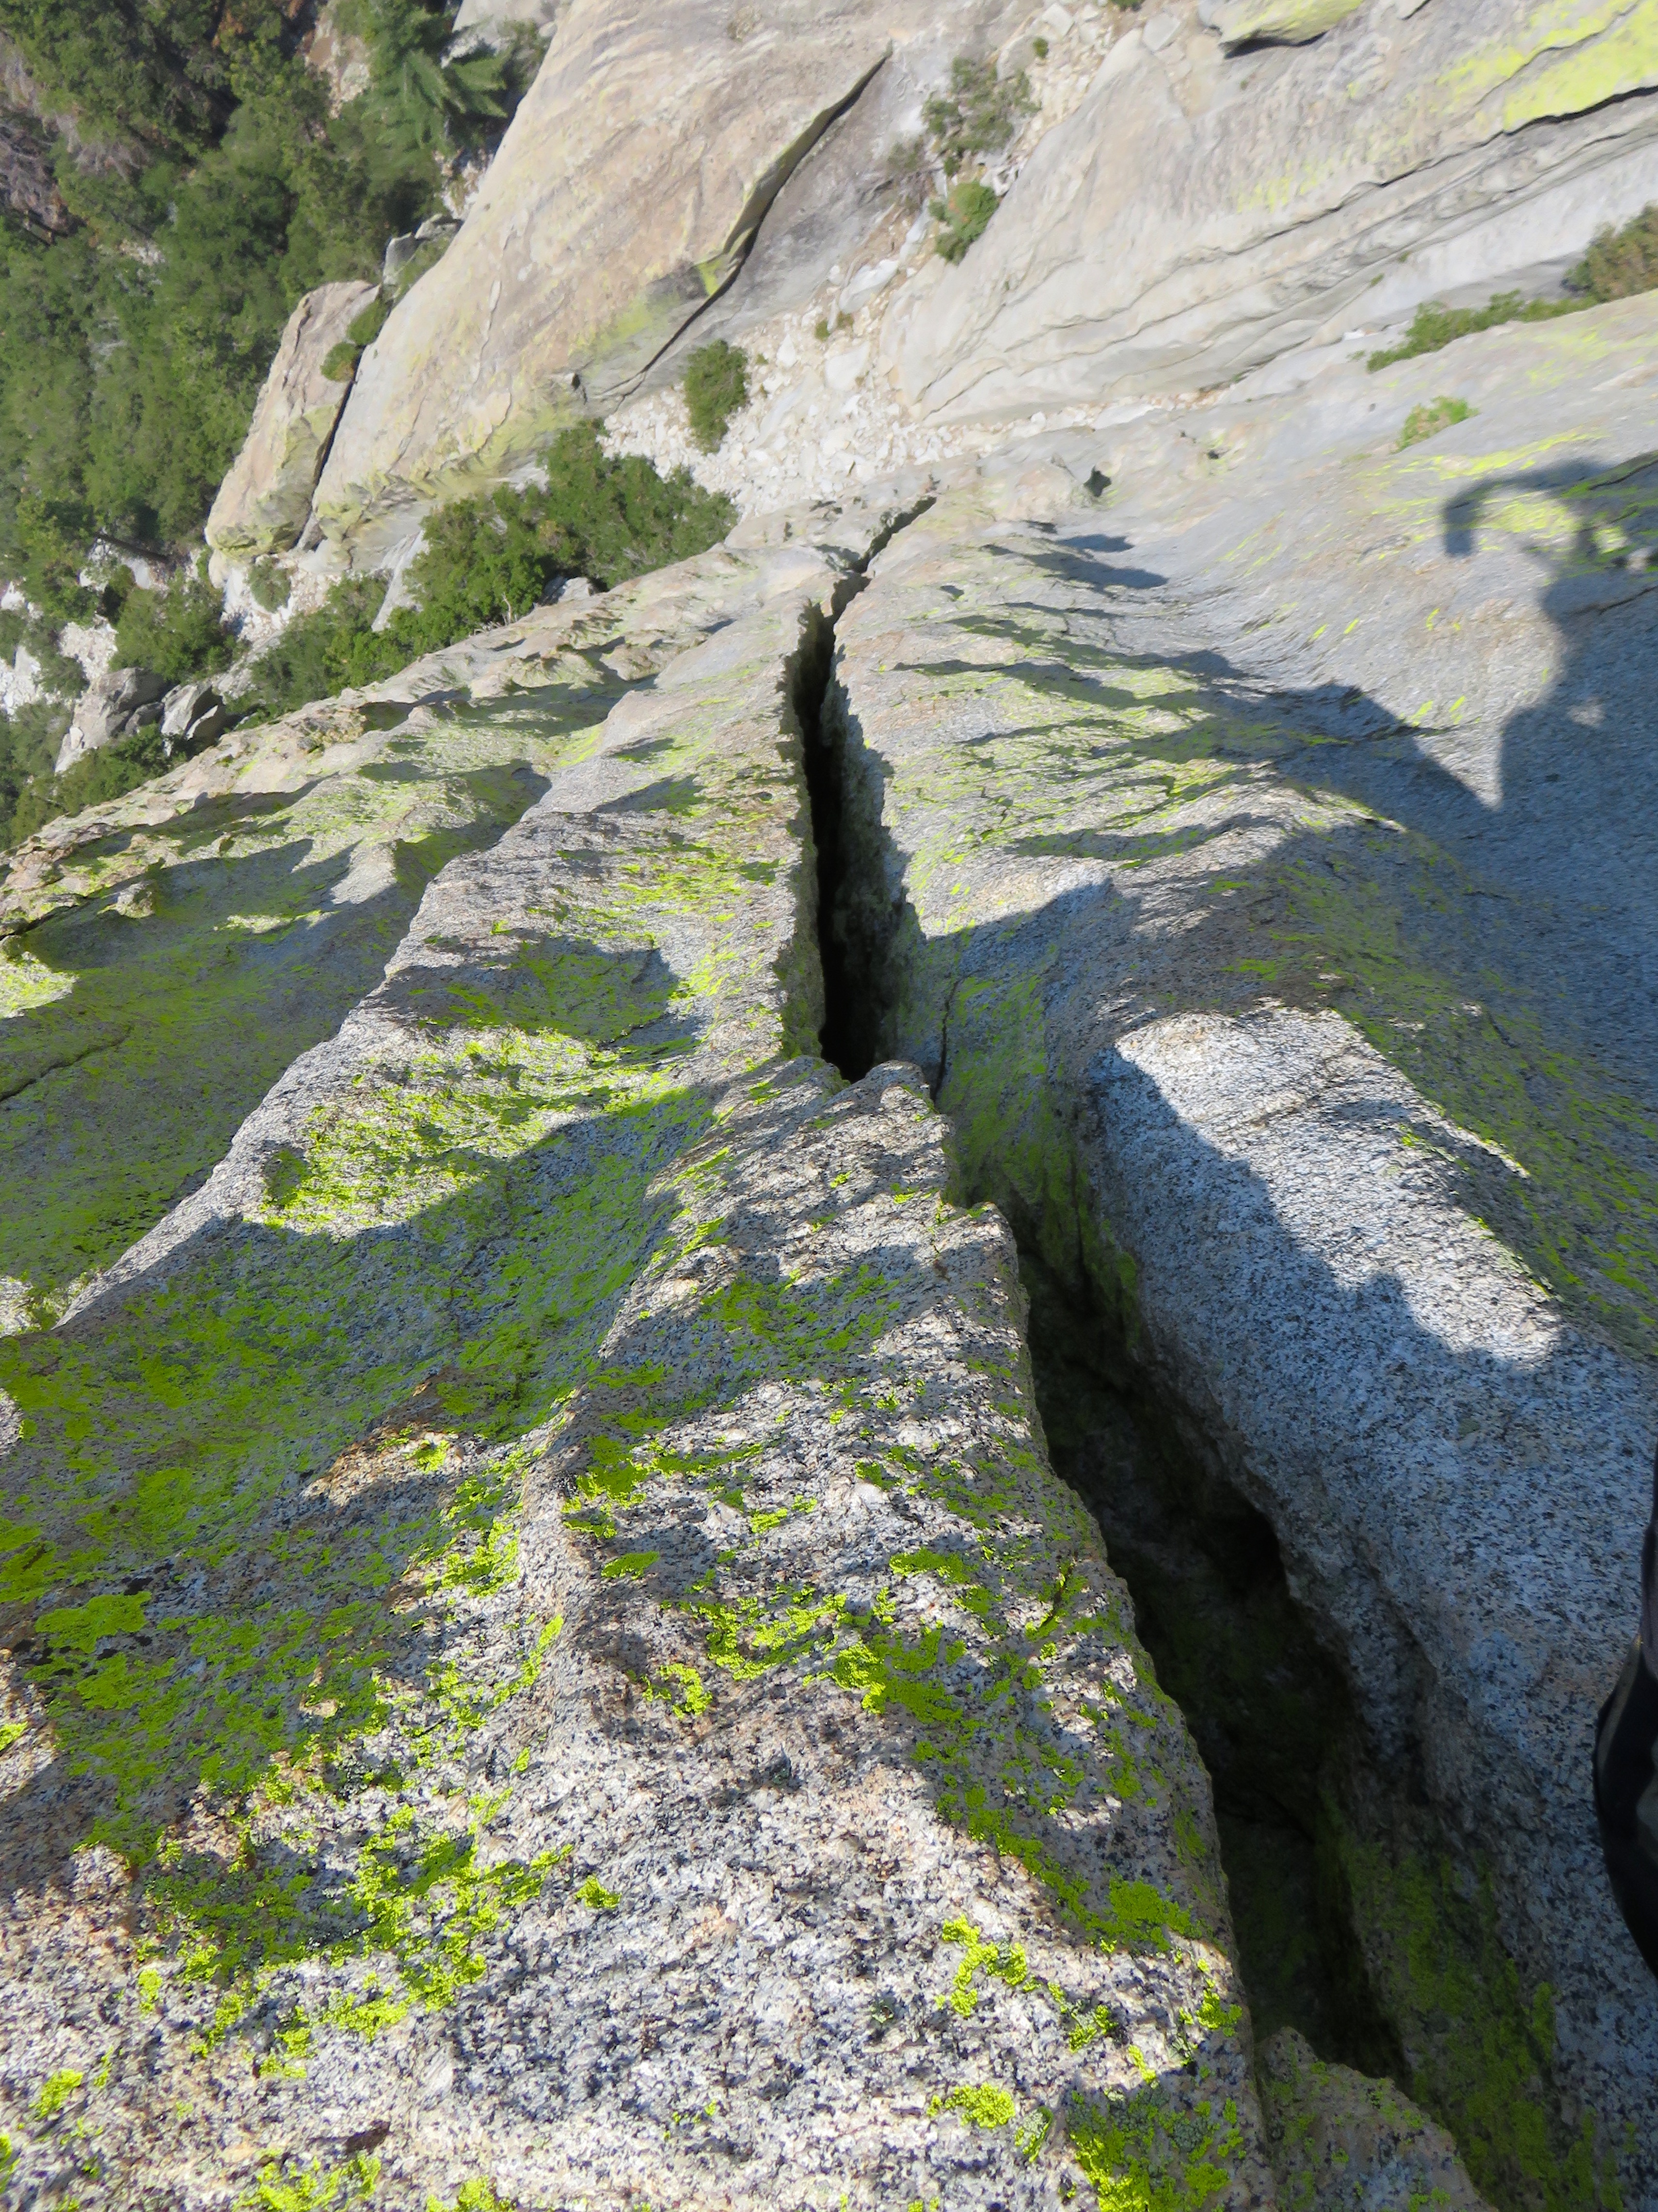
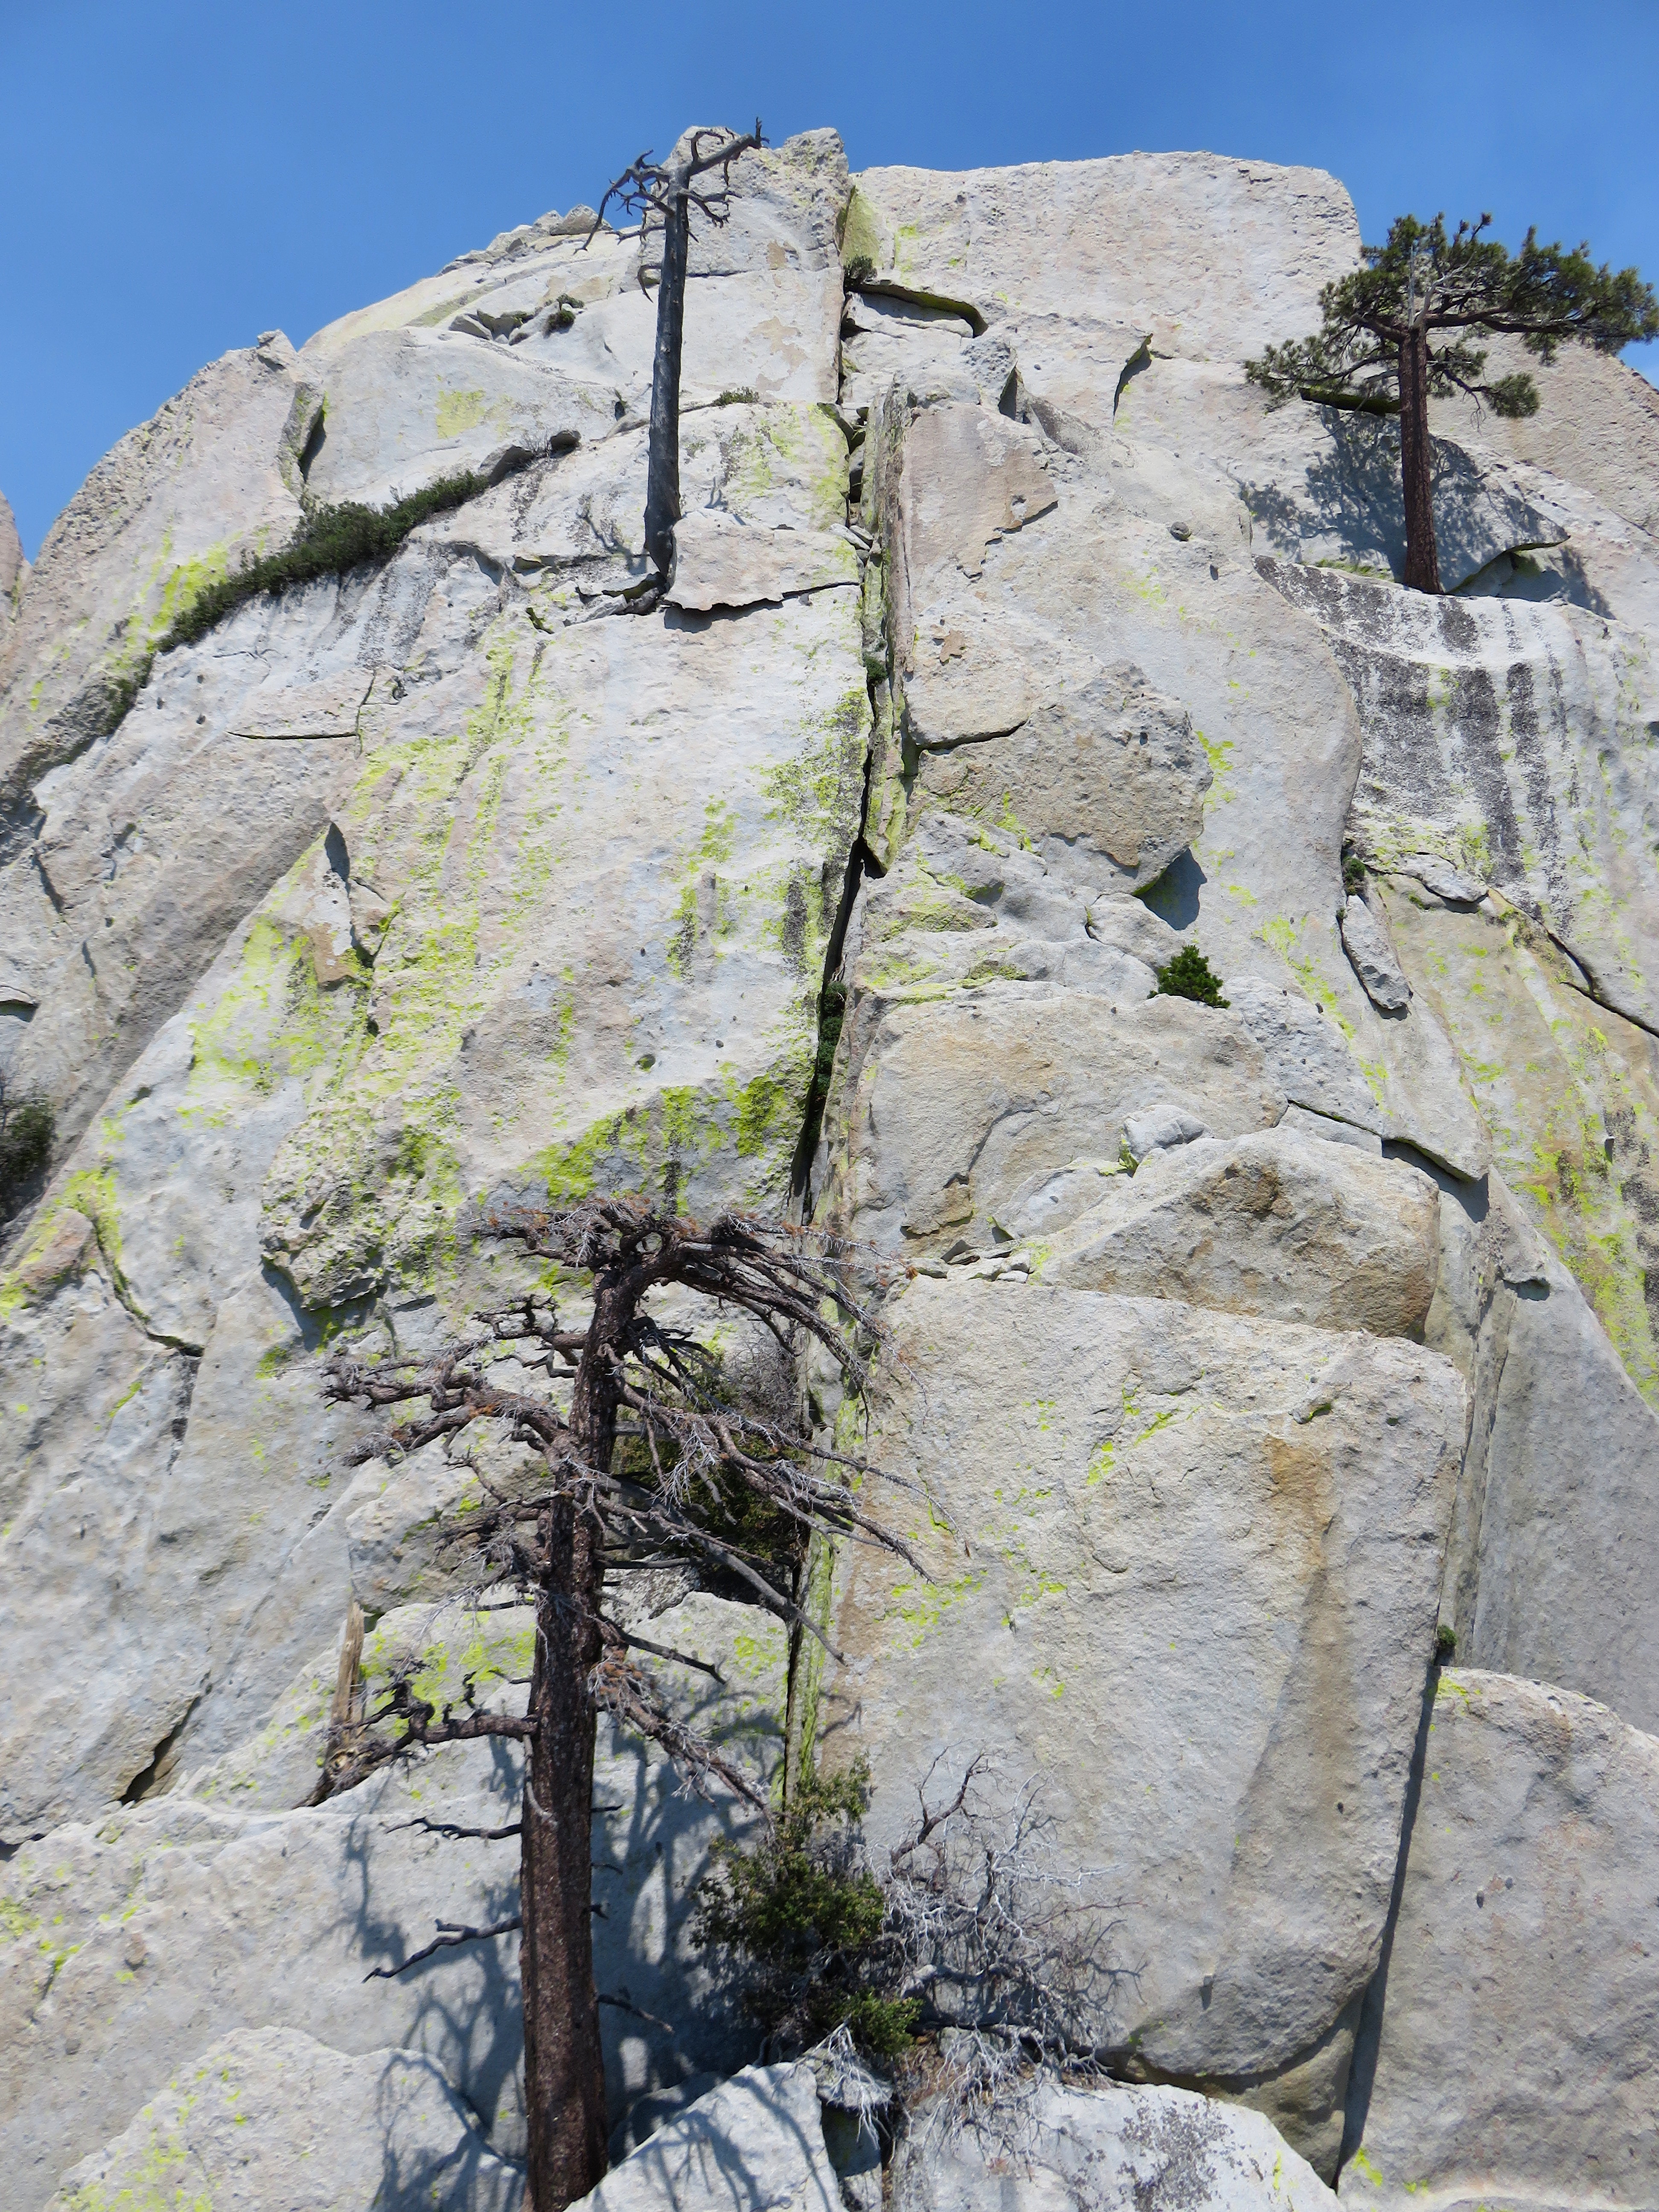
Rock: Granite
Mode:

Date(s): July 1-6, 2017 (Sat-Thu)
Partner(s): Dow Williams, Danny Urioste, Joanne Urioste (just first day)