THIS TRIP REPORT IS STILL MOSTLY IN THE EMBEDDED HTML FORMAT OF MY OLD WEBSITE. MOBILE Tip: Try Landscape mode. It is generally more mobile friendly.
After climbing Keeler Needle, John and I climbed for a couple of days in Whitney Portal. I had never climbed in Whitney Portal before, but I have always oogled at the towering white walls of granite as I've driven up to the Mt. Whitney trailhead on my several trips into the area. The two routes we climbed were excellent. John and I agreed we both have to come back for more.
This page gives photos and overlays for the two routes we climbed.
Climbs We Did
CLICK ON ROUTE TO DROP DOWN CONTENT
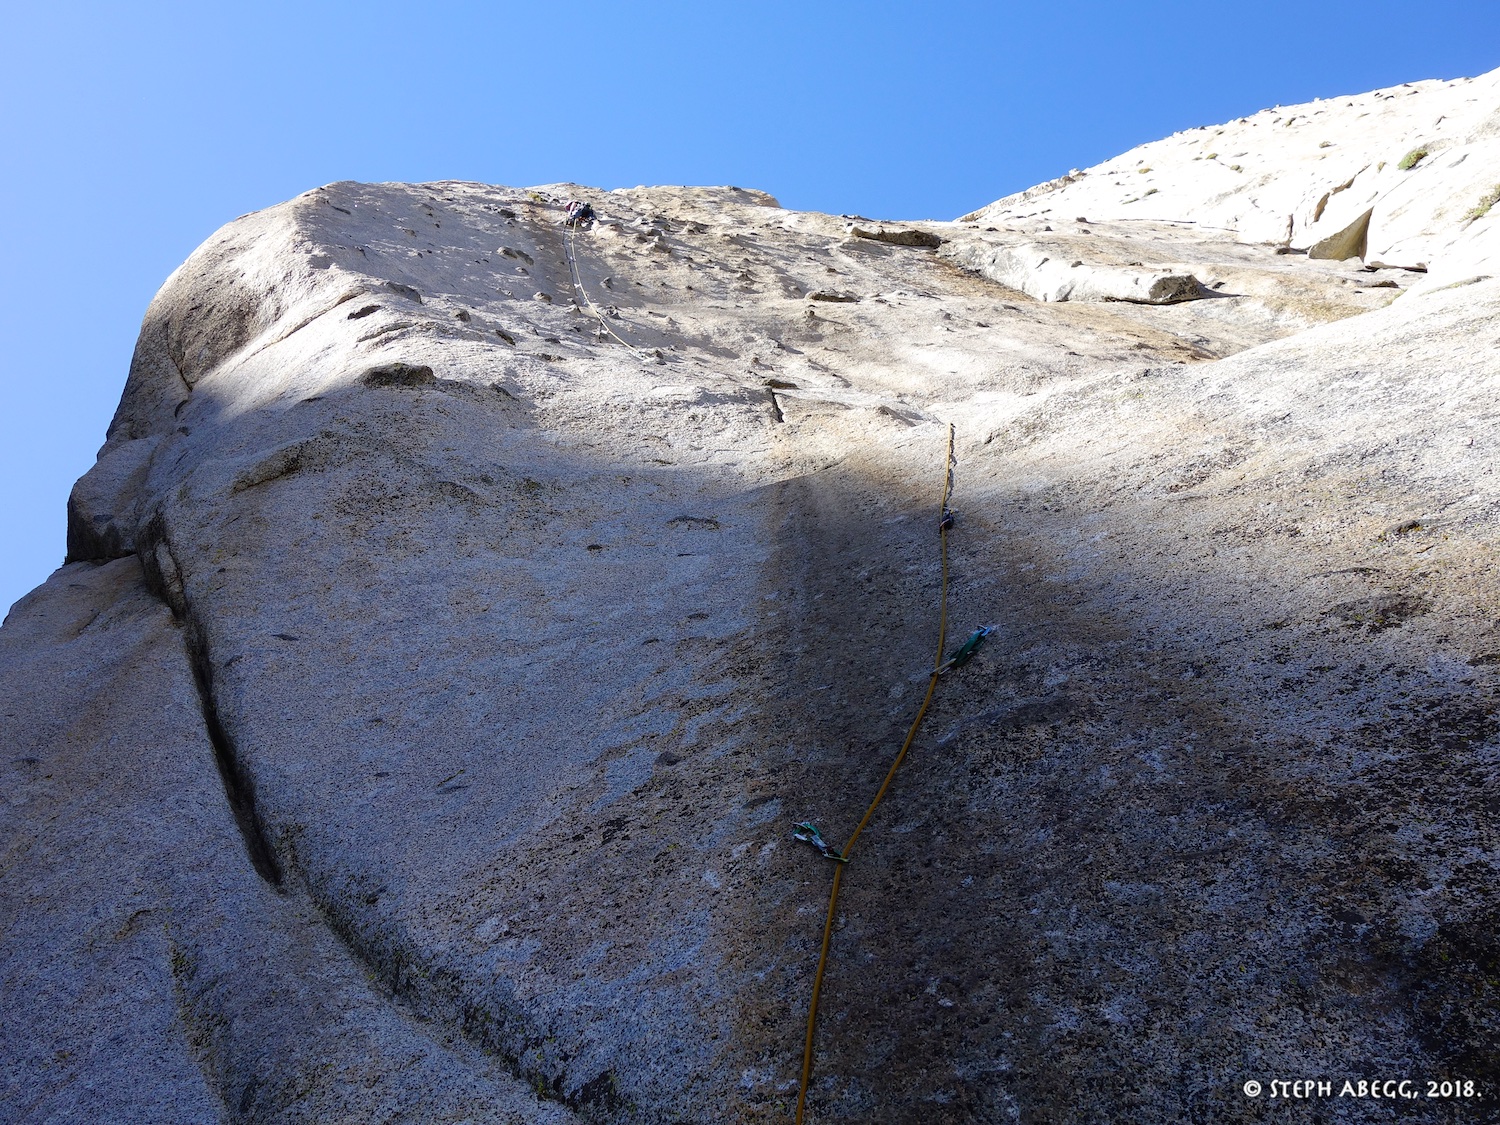
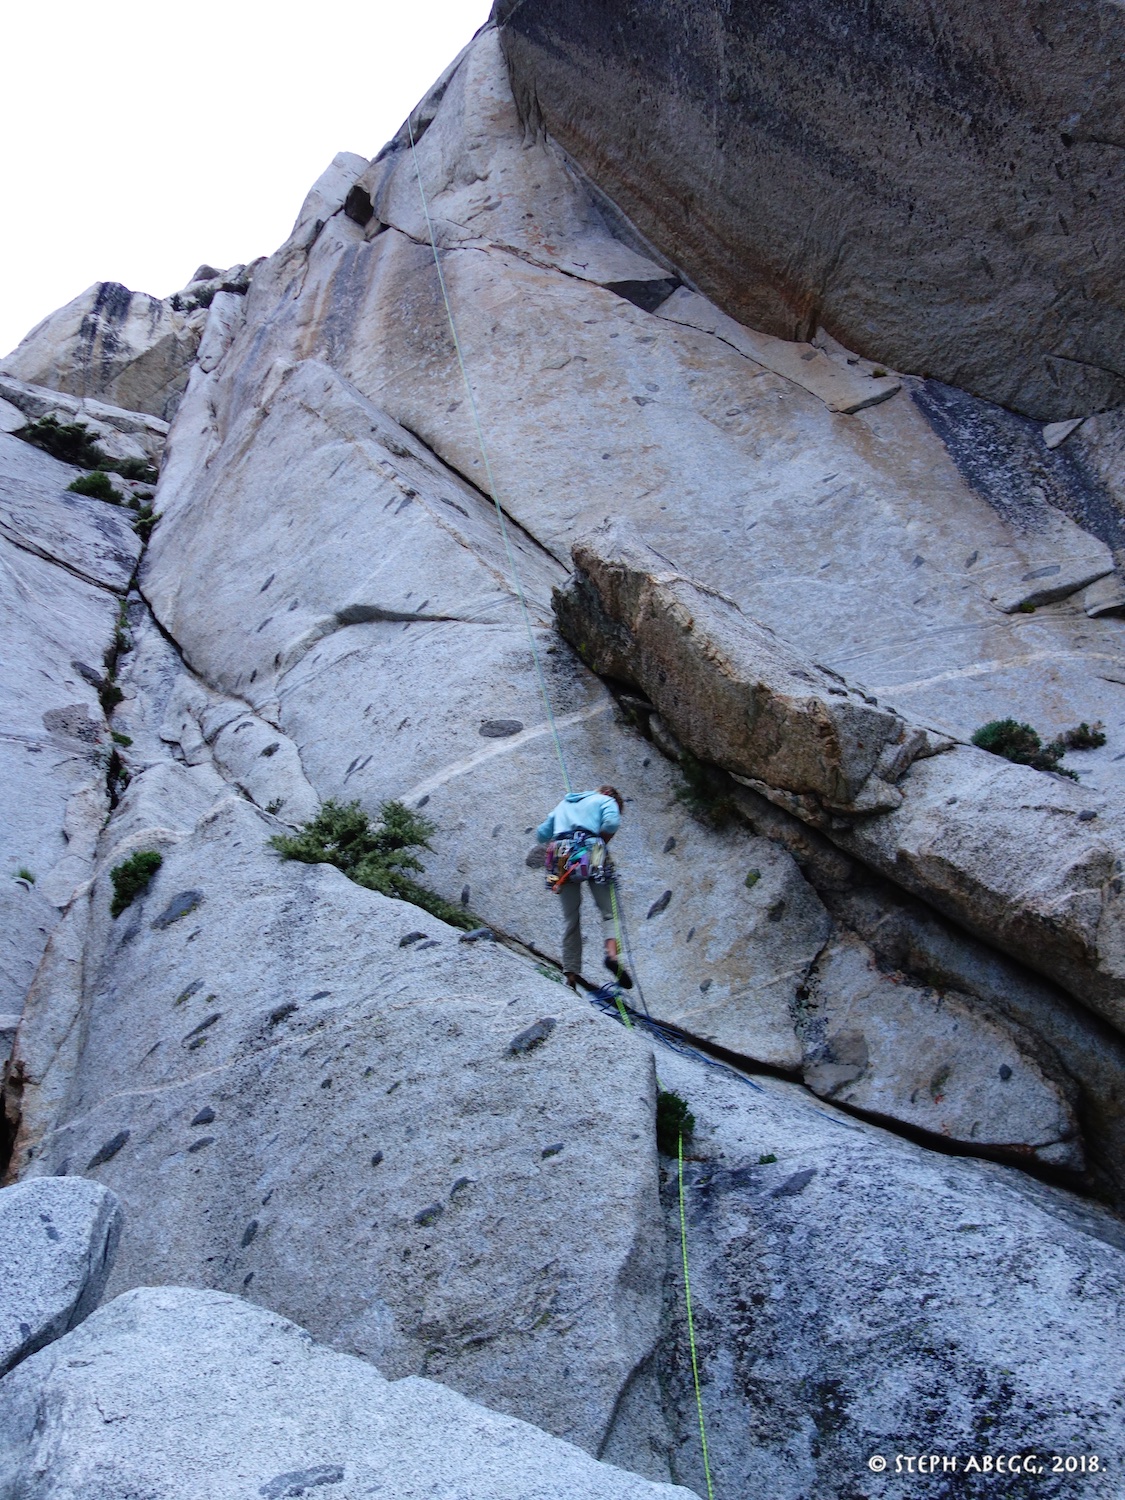
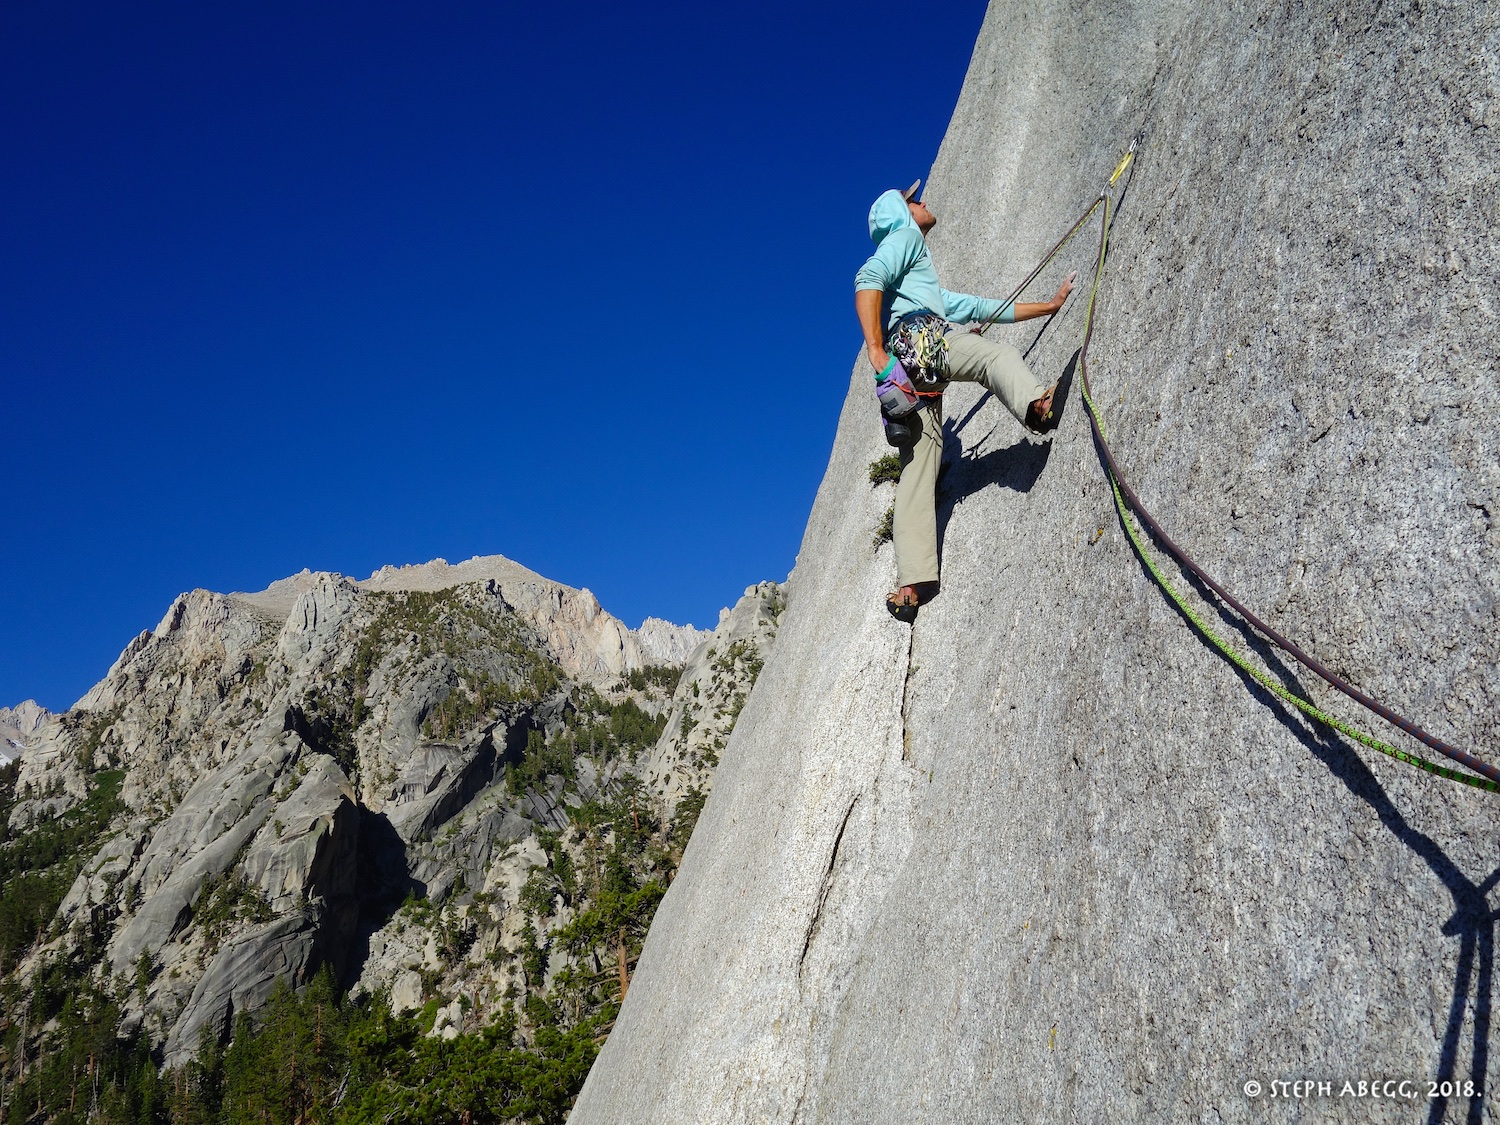
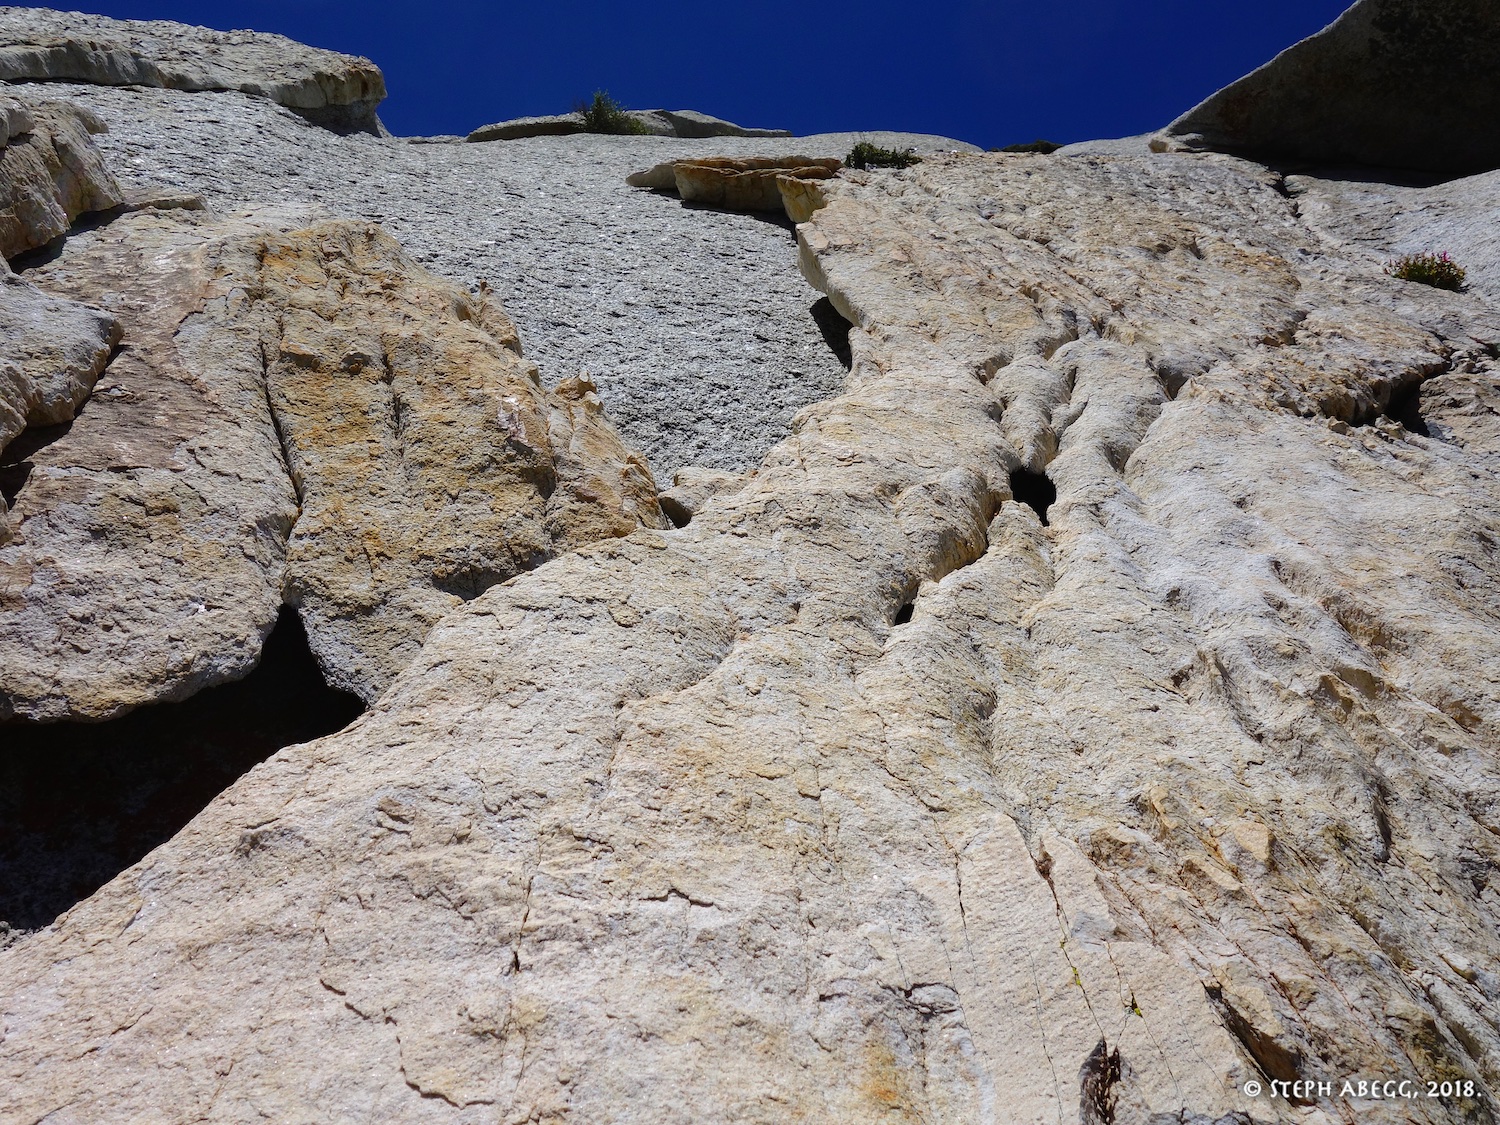
An incredible 90 meter fingercrack.
Route Overlay
Photos
Photos:
Photo descriptions:
1.
2.
3.
4.
5.
6.
7.
8.
1. The Whale as seen from the approach.
2. Climber nearing the top of Pitch 1. They had done the direct start (in A0 rather than 11b mode). We decided to do the direct start as well (also in A0 mode) to avoid traversing in from the right.
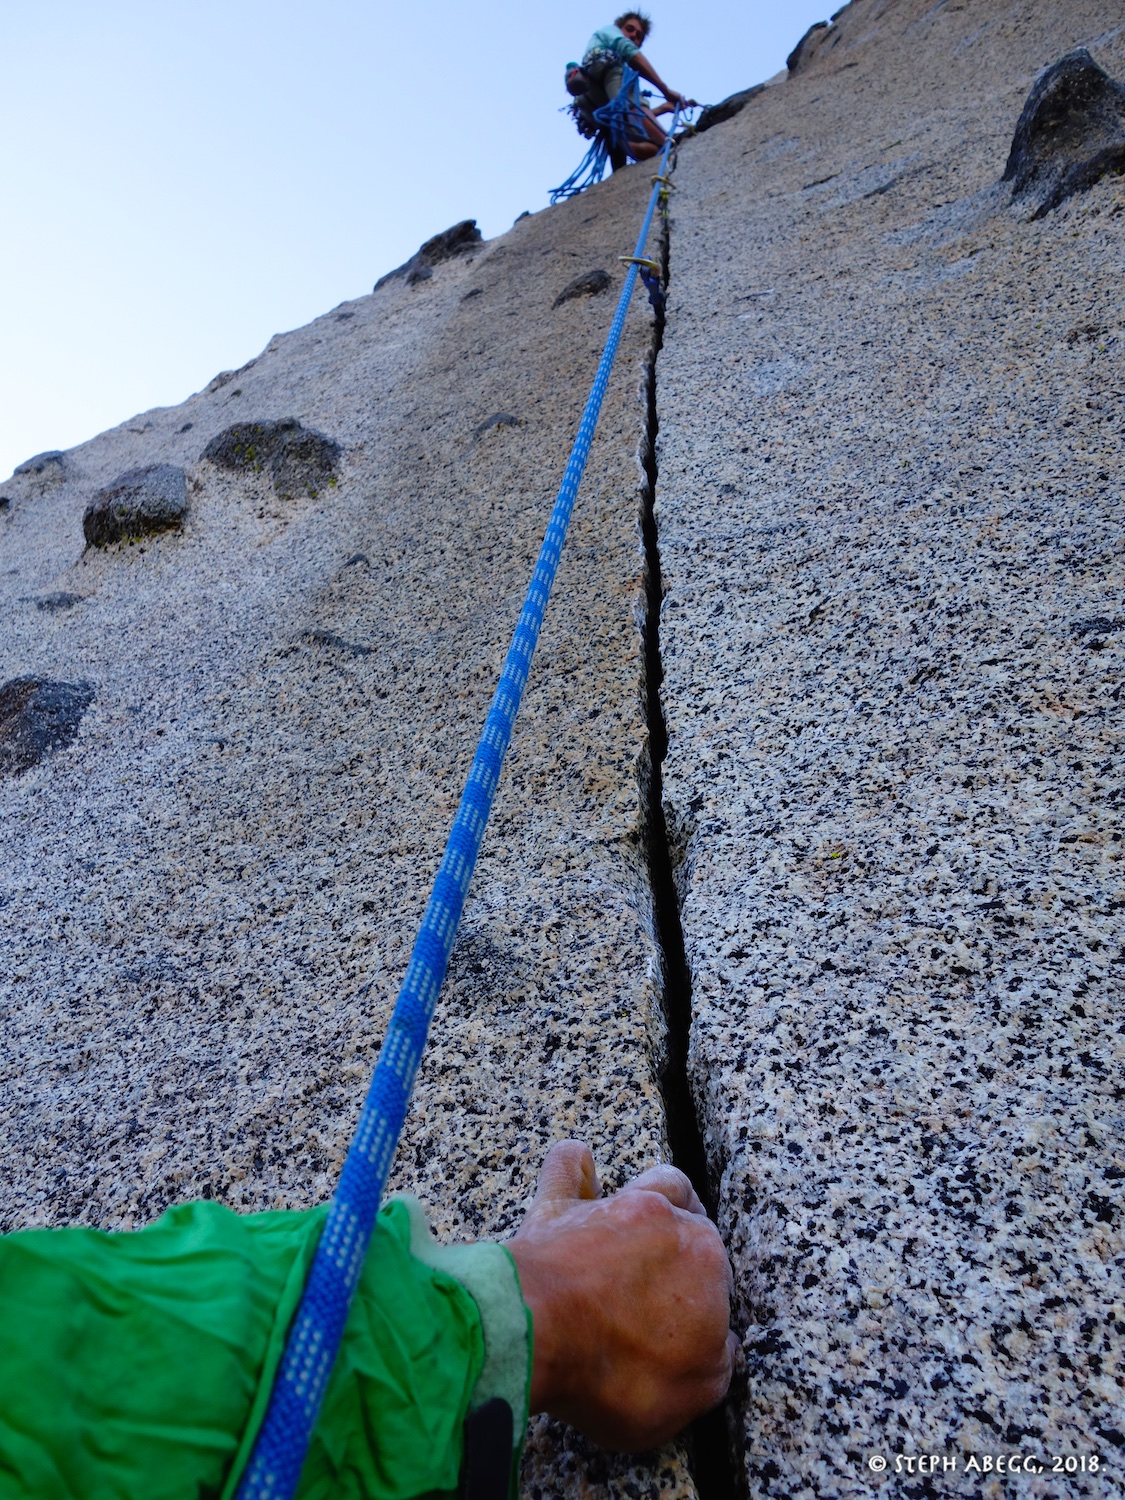
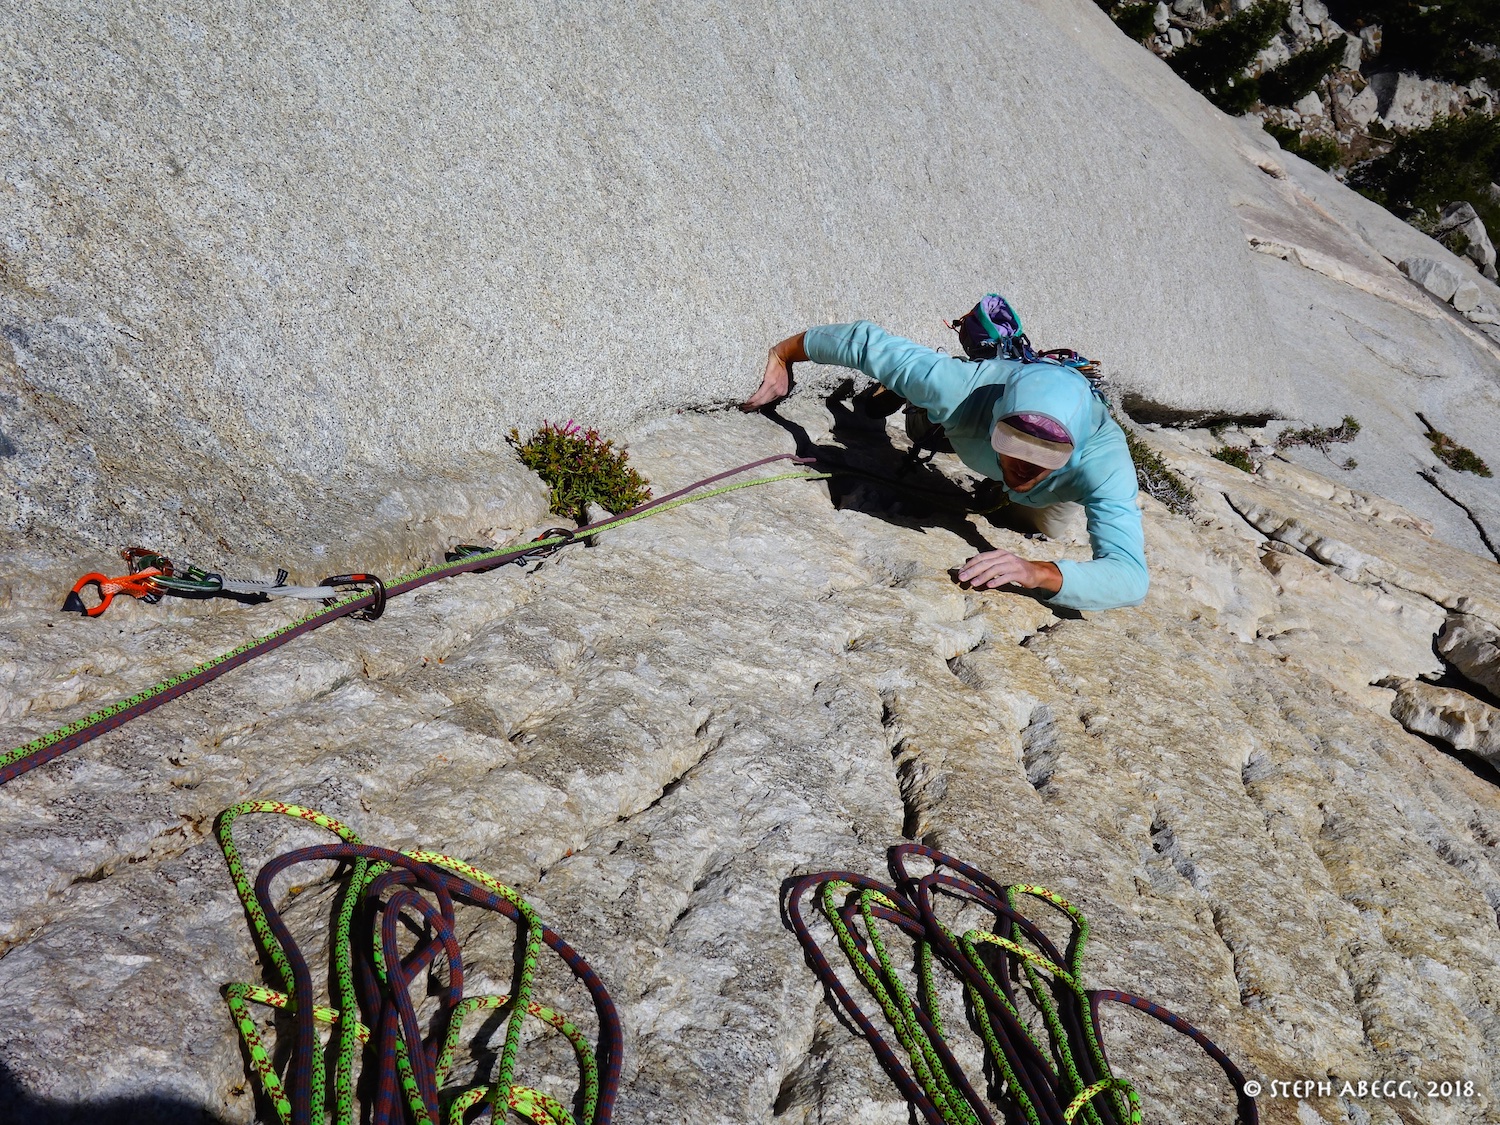
3.Climbing the finger crack on Pitch 1. Splitter!
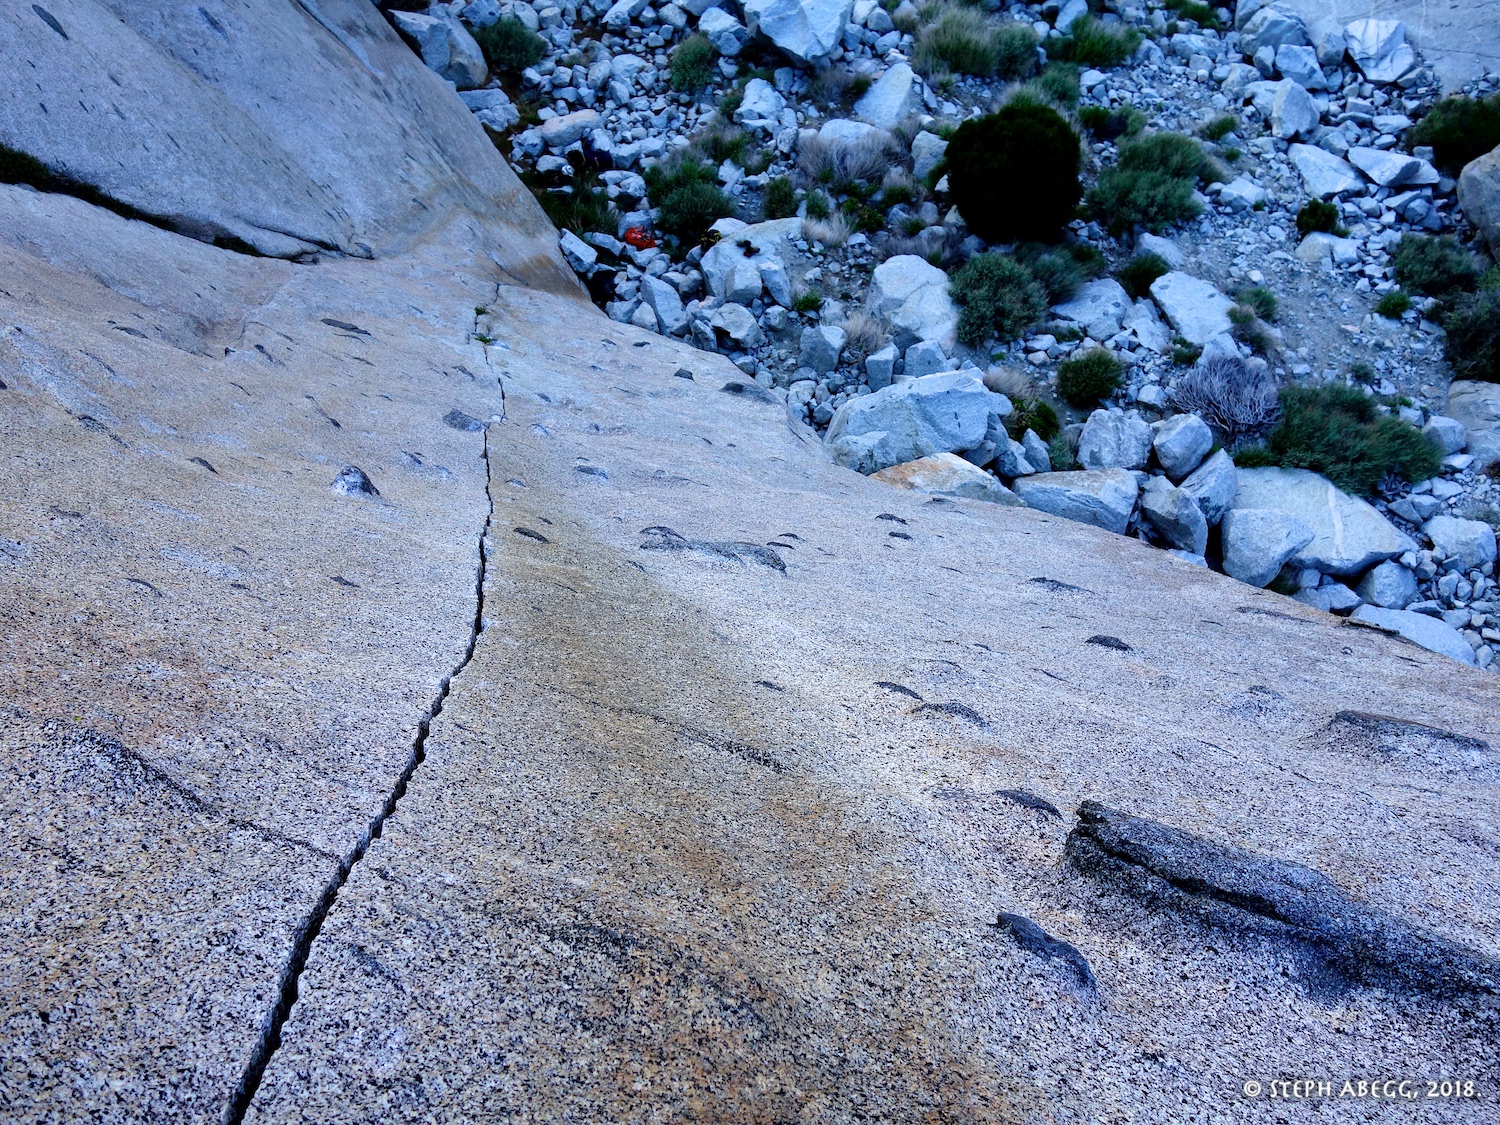
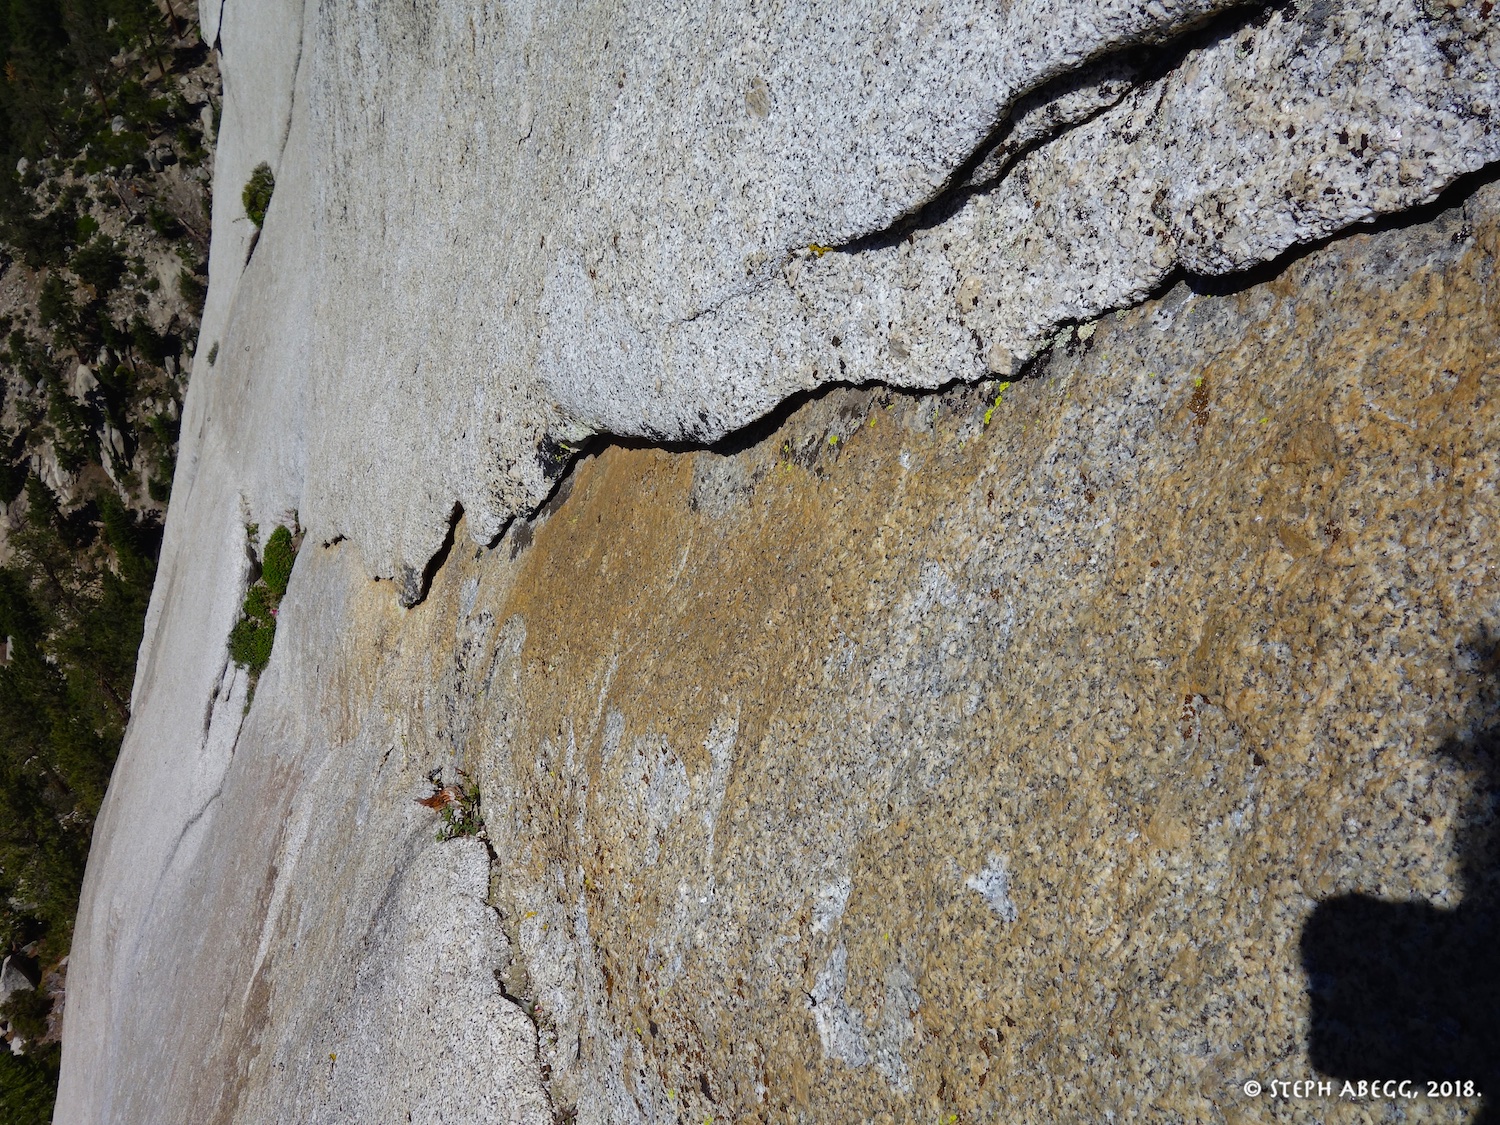
4. Looking down Pitch 1.
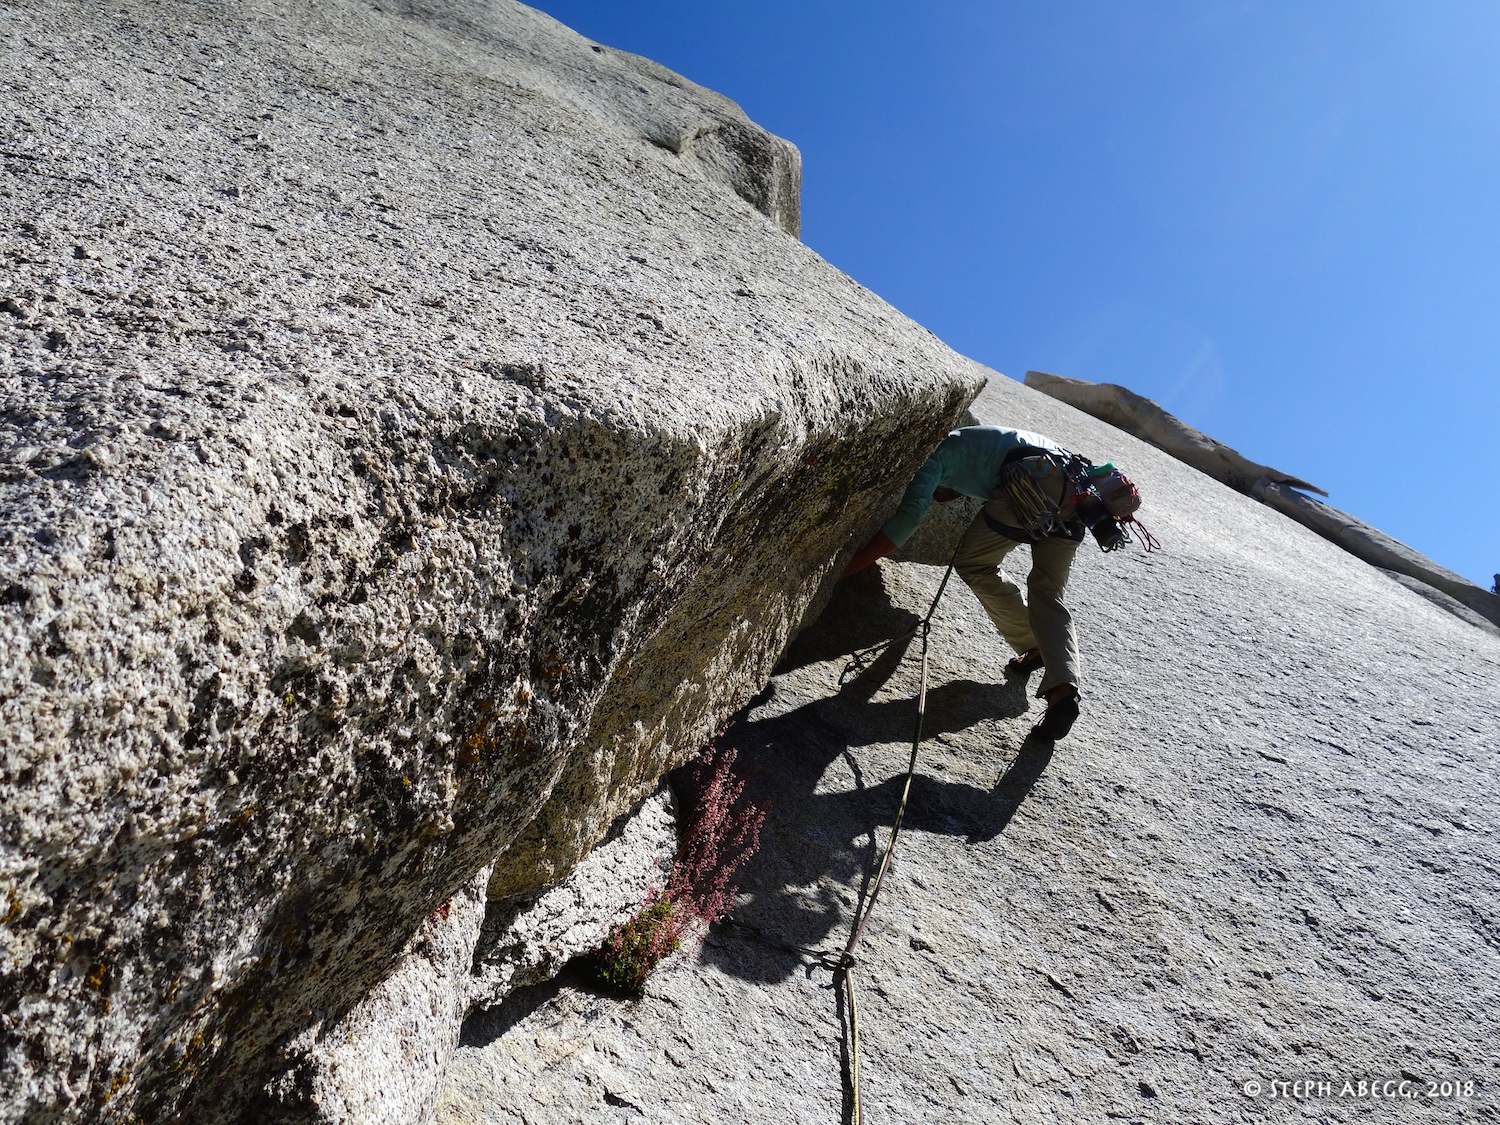
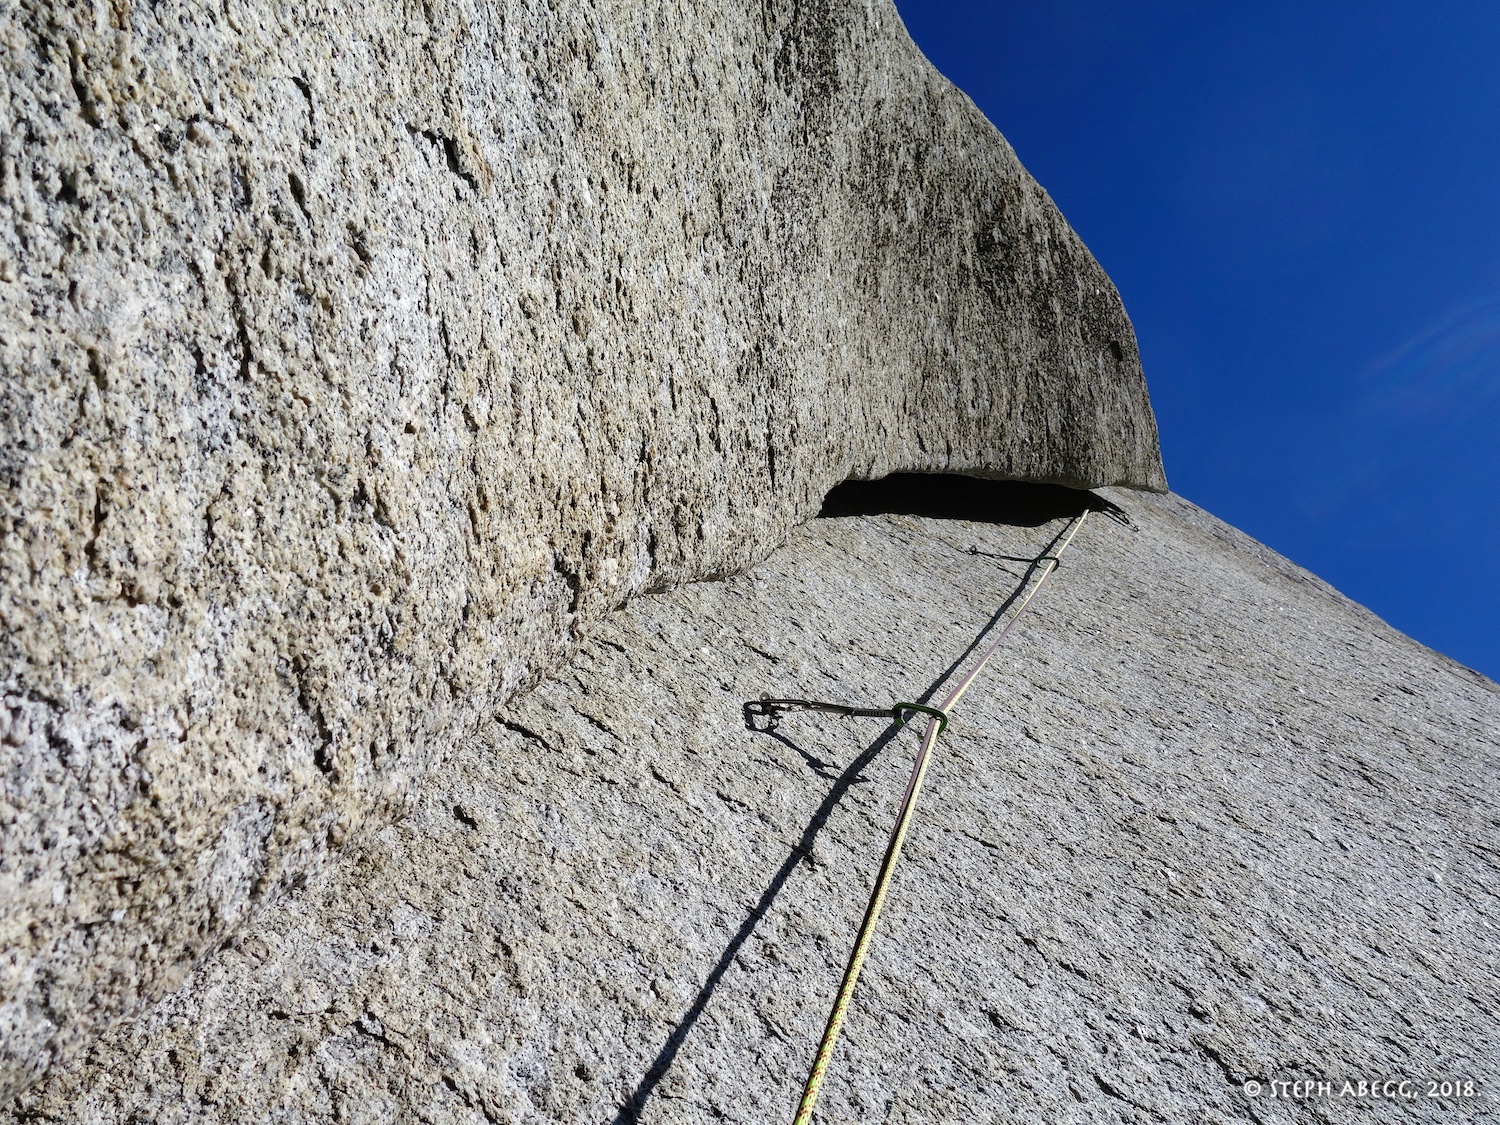
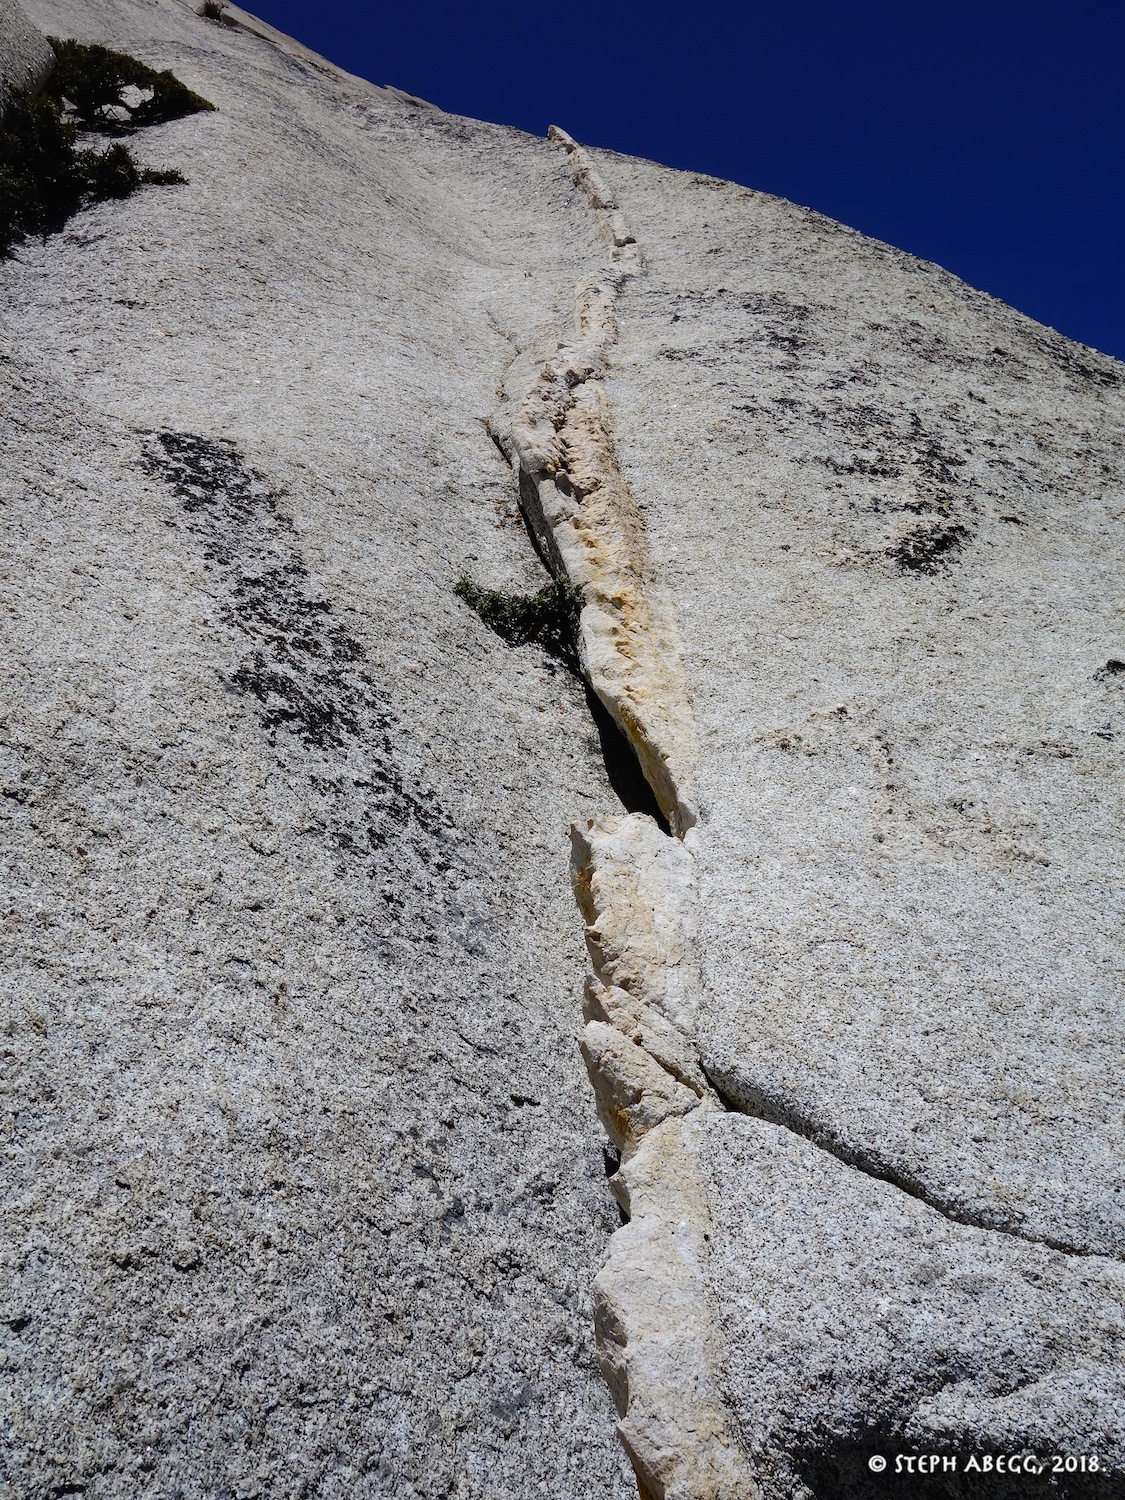
5. Pitch 2. The finger crack goes on and on....
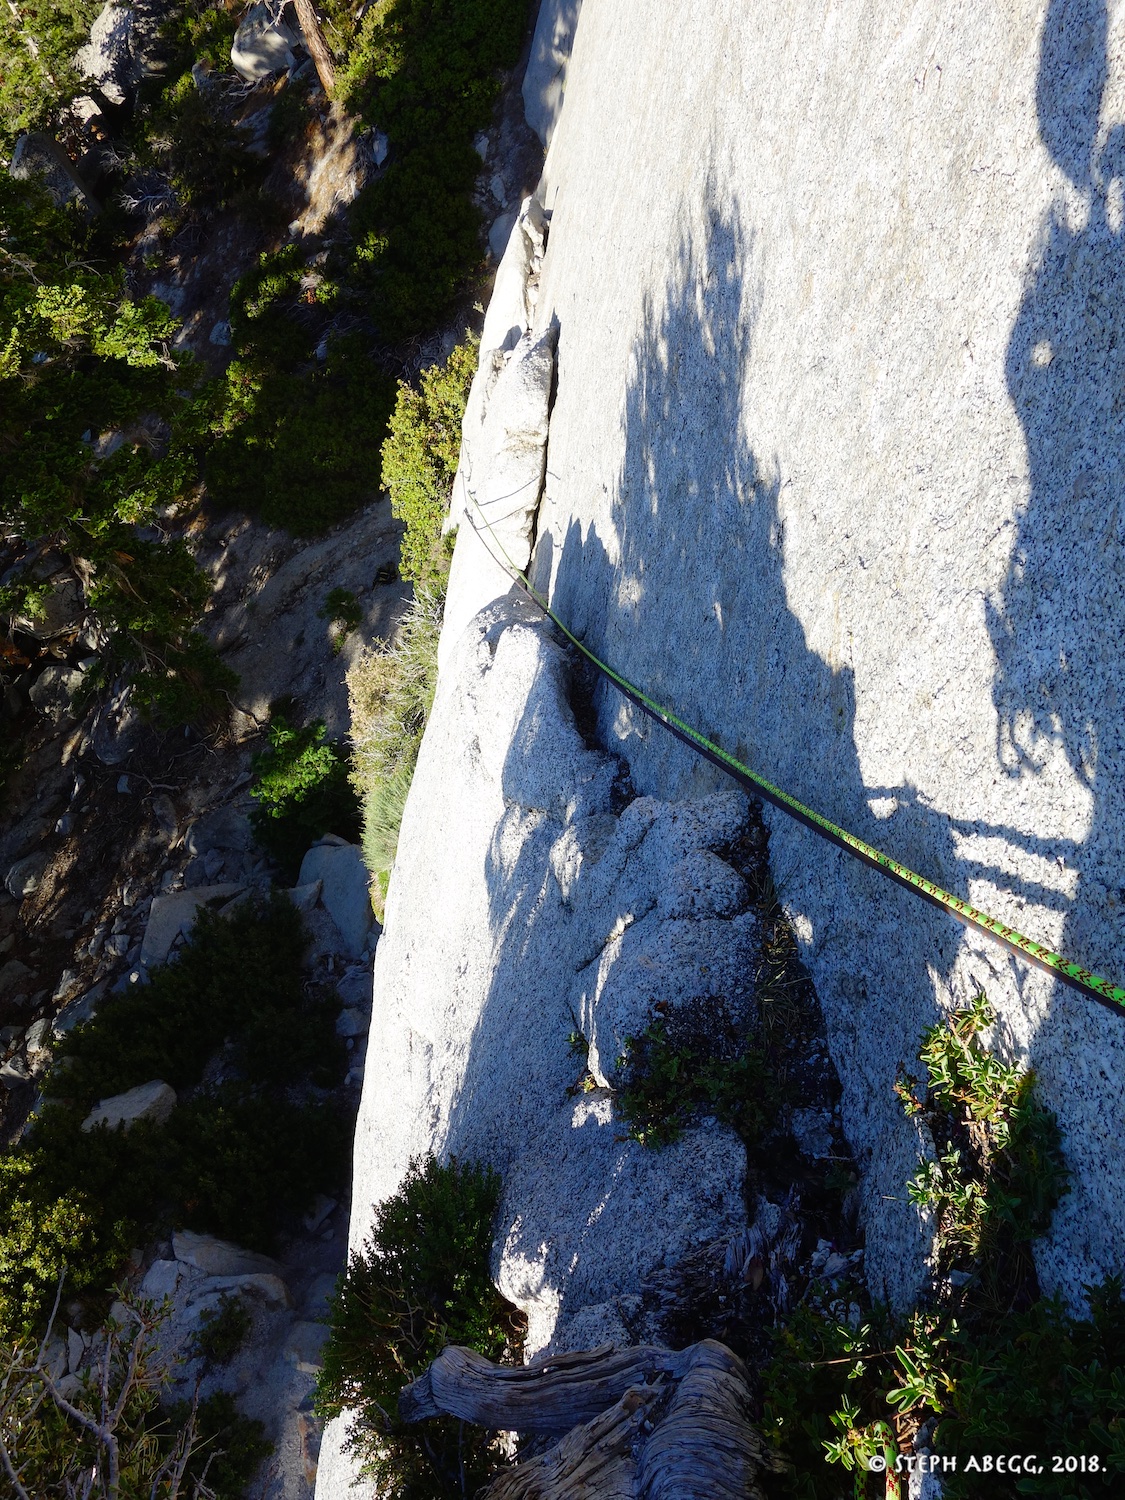
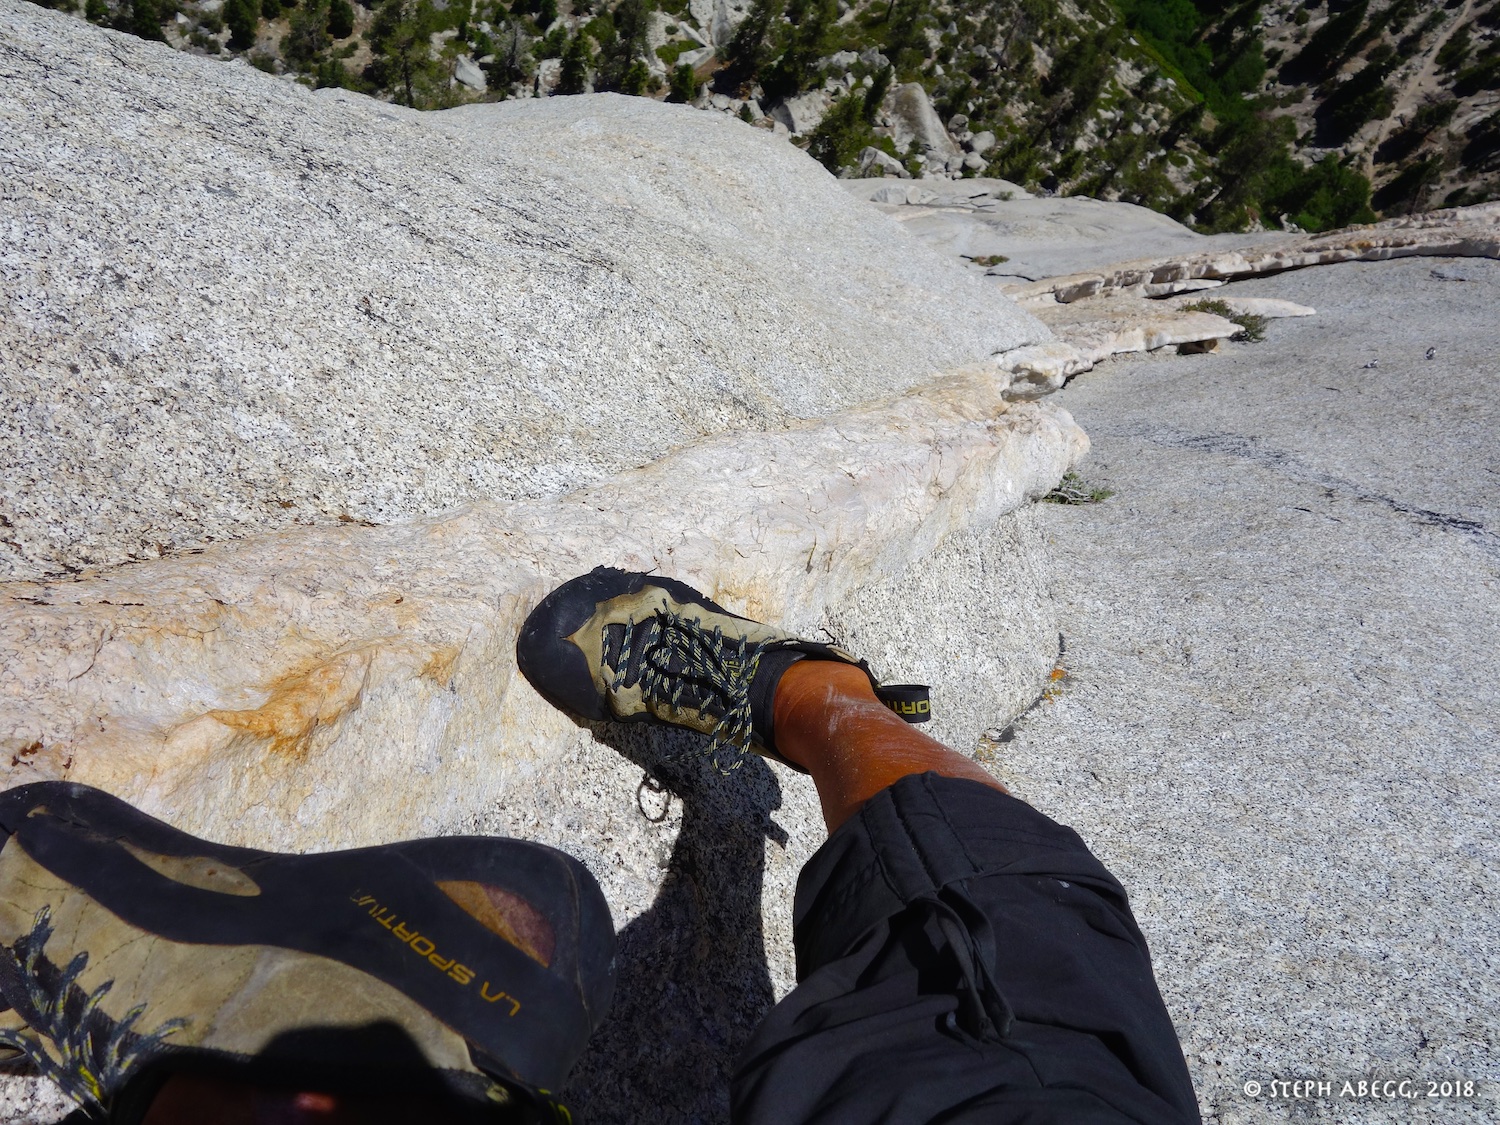
6. Looking down the first bit of Pitch 2.
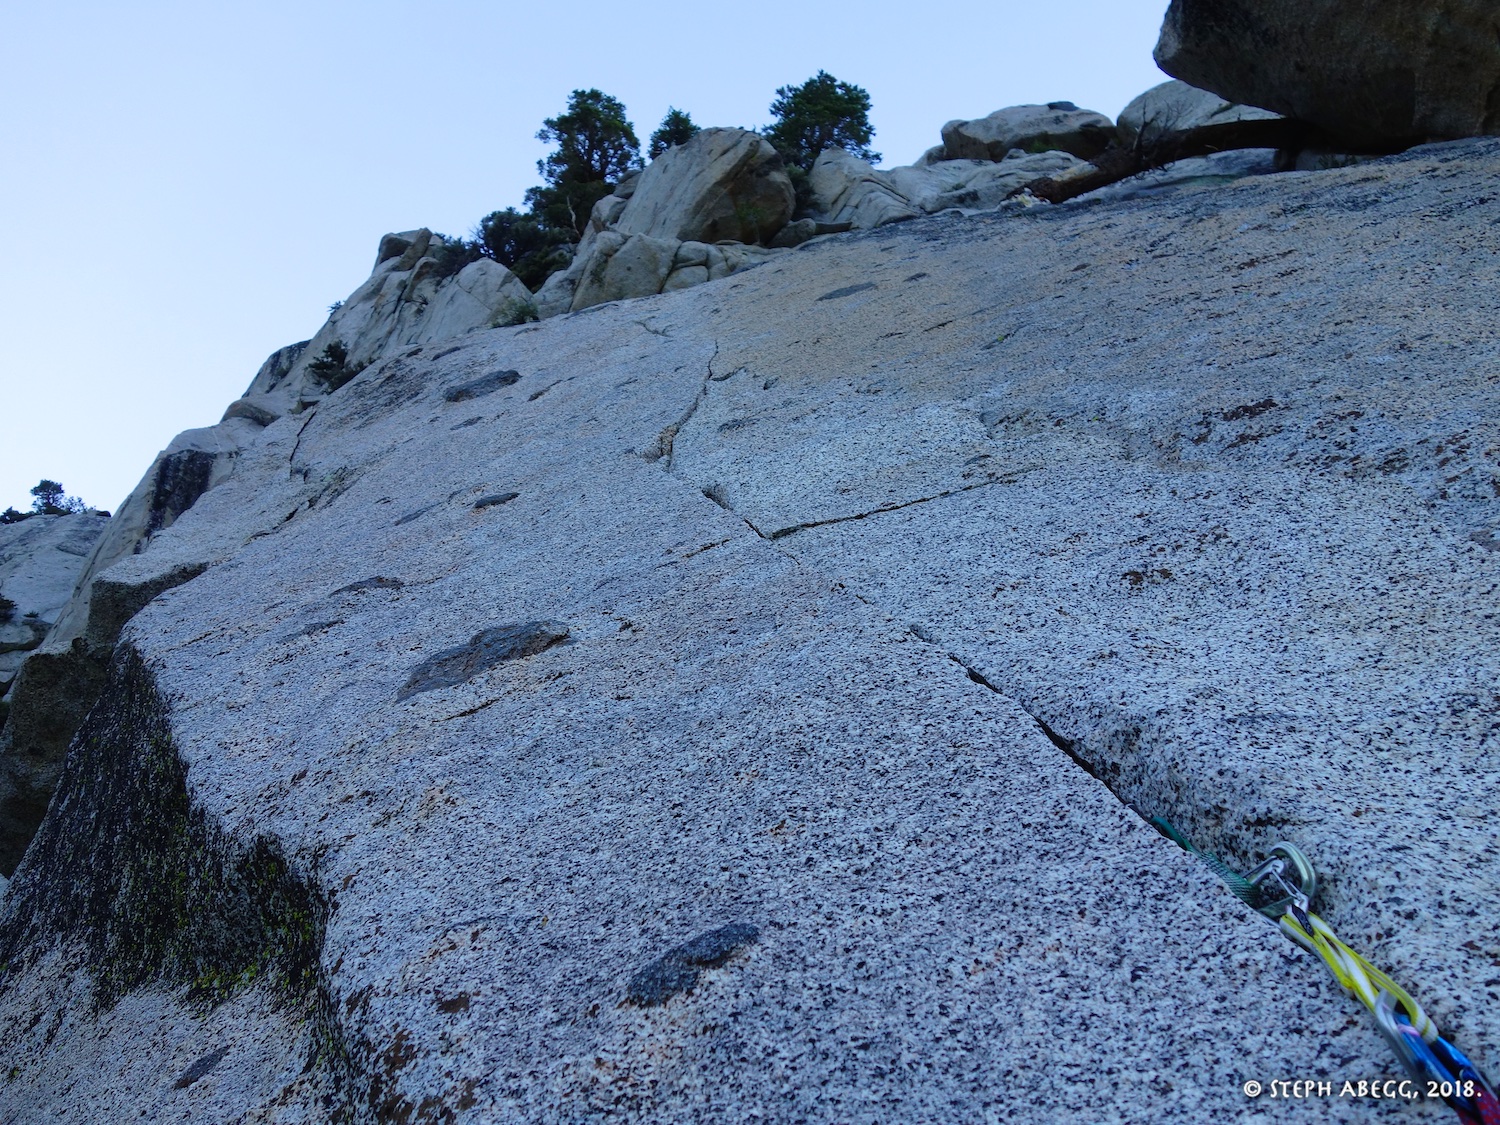
7.The crack peters out at the top of Pitch 2. There are a couple of decent HB brass offset (#4-#5 size) placements and a small cam perhaps, but mostly it's 5.7ish runnout to the anchors. With a 70m rope you can combine this into Pitch 2, or you can set a belay and climb this part as a third pitch.
8. You want double ropes to rappel from the top of the route. To avoid climbing with two ropes, we climbed with one rope, fixed the rap line, I rapped the fixed line to the ground, attached our second rope to the end, and John pulled the rope up and rappelled both ropes to the ground.
One of the best routes in Whitney Portal. Varied, stout, and memorable climbing.
Route Overlay
Pitch-by-Pitch Photos
Photos:
Photo descriptions:
Approach
~30 min. Hike up Whitney Portal trail to end of first switchback, then take a climbers' path directly uphill to the base of the rock.
1.
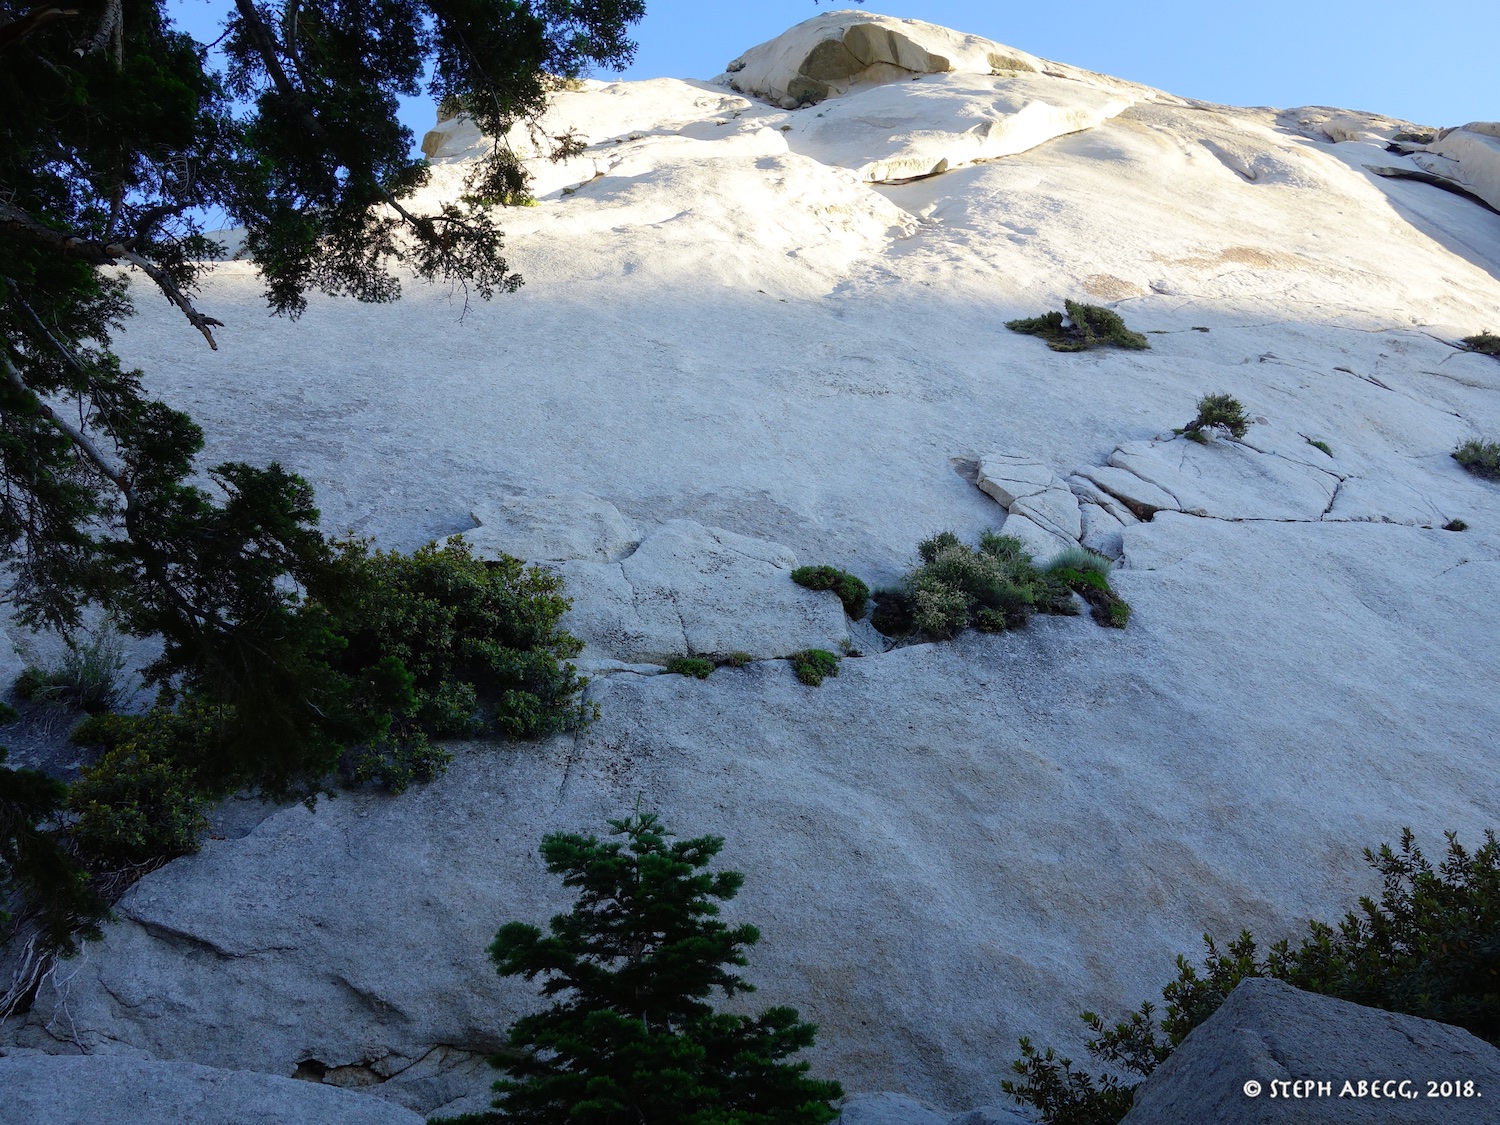
1.Looking up at the route from the base.
Pitch
1
5.9. Brushy ramp to a short section of 5.9 face moves.
2.
3.
2.The easy brushy ramp at the start of the pitch. This is easy enough I did not set any pro.
3.The 5.9 face moves at the end of the pitch. There are 2 protection bolts. This involved a tricky and committing high step. John to the rescue (thanks John).
Pitch
2
5.10b. Sustained bolted face climbing past many bolts.
4.
5.
4.John starting up Pitch 2. The views are superb.
5. John midway up Pitch 2.
Pitch
3
5.10c. Enduro pitch. A sustained layback along a leaning flake/corner. Bolted so no cams needed!
6.
7.
8.
9.
6.The 10c enduro corner, as seen from the base of the route.
7. The start of the corner as seen from the belay.
8. John starting up the corner. He hiked through the thing without a single rest. Impressive lead!
9. Taken while following the pitch, midway somewhere. Pretty much the same move over and over, just got to move fast to beat the pump.
Pitch
4
5.9. Up a crack/layback to some face climbing to an undercling flake.
10.
11.
12.
10.The start of the pitch. Takes medium cams.
11. The bolted face climbing midway through the pitch.
12.The flake near the top of the pitch.
Pitch
5
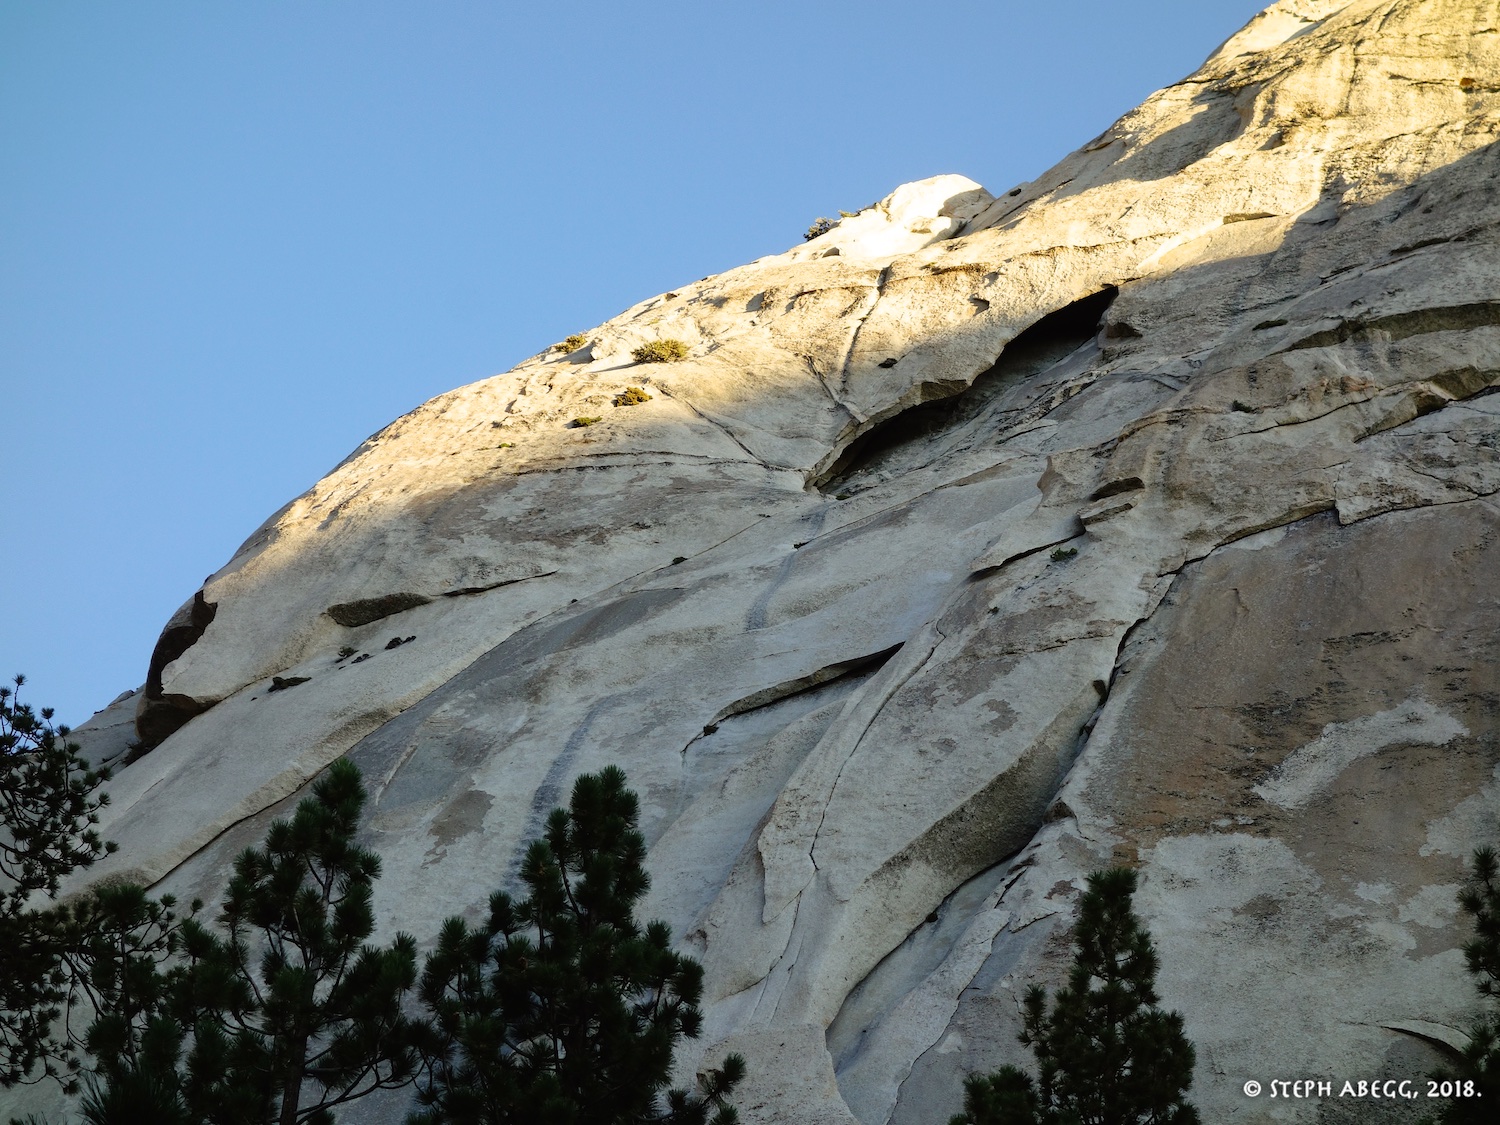
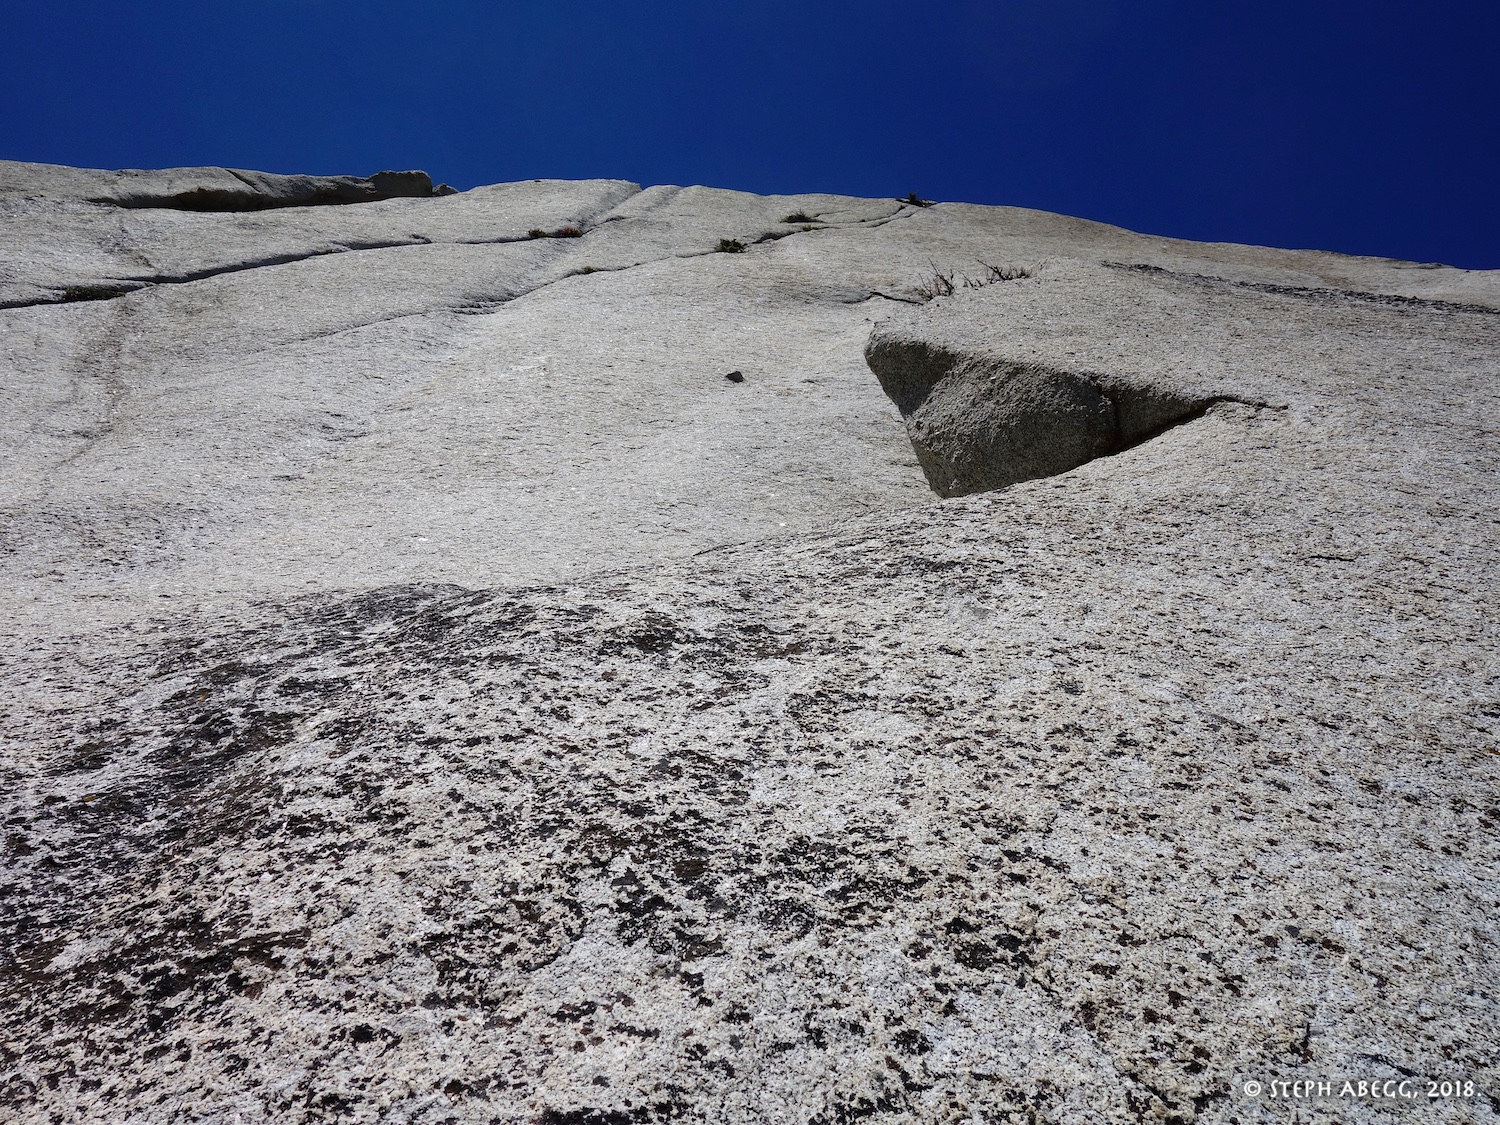
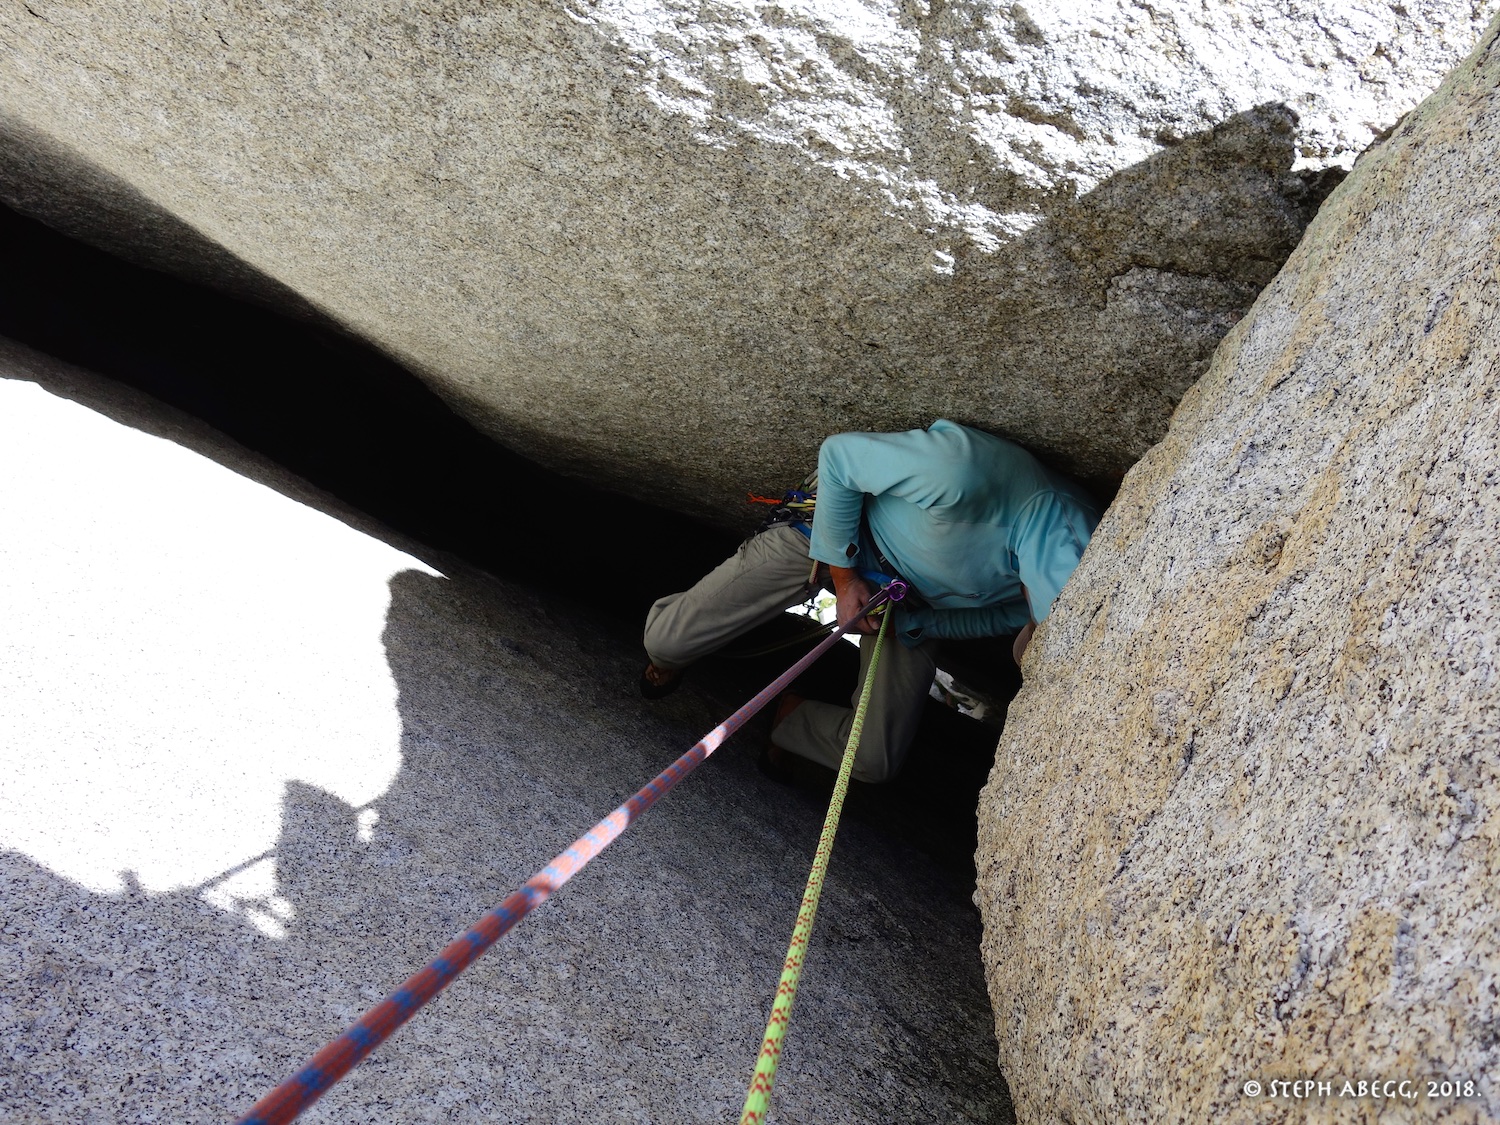
5.?. The tunnel pitch. Climb some cracks up the right side, undercling into the giant chimney/cave, then chimney up past two bolts. The cracks on the right seemed pretty stout (5.10?) to me. There are some unconfirmed accounts that it might be possible to access the chimney via the left side (maybe easier if you go back in where the chockstones are?), but it is pretty chossy over there and the topo shows going right. Plus going right is excellent climbing.
13.
14.
15.
16.
17.
13.The tunnel as seen from the base of the route. Pretty unique feature!
14. We had read some beta that suggested that going left might be easier. It might, but it was awfully chossy, so John backed off and we went right, as suggested by the topo.
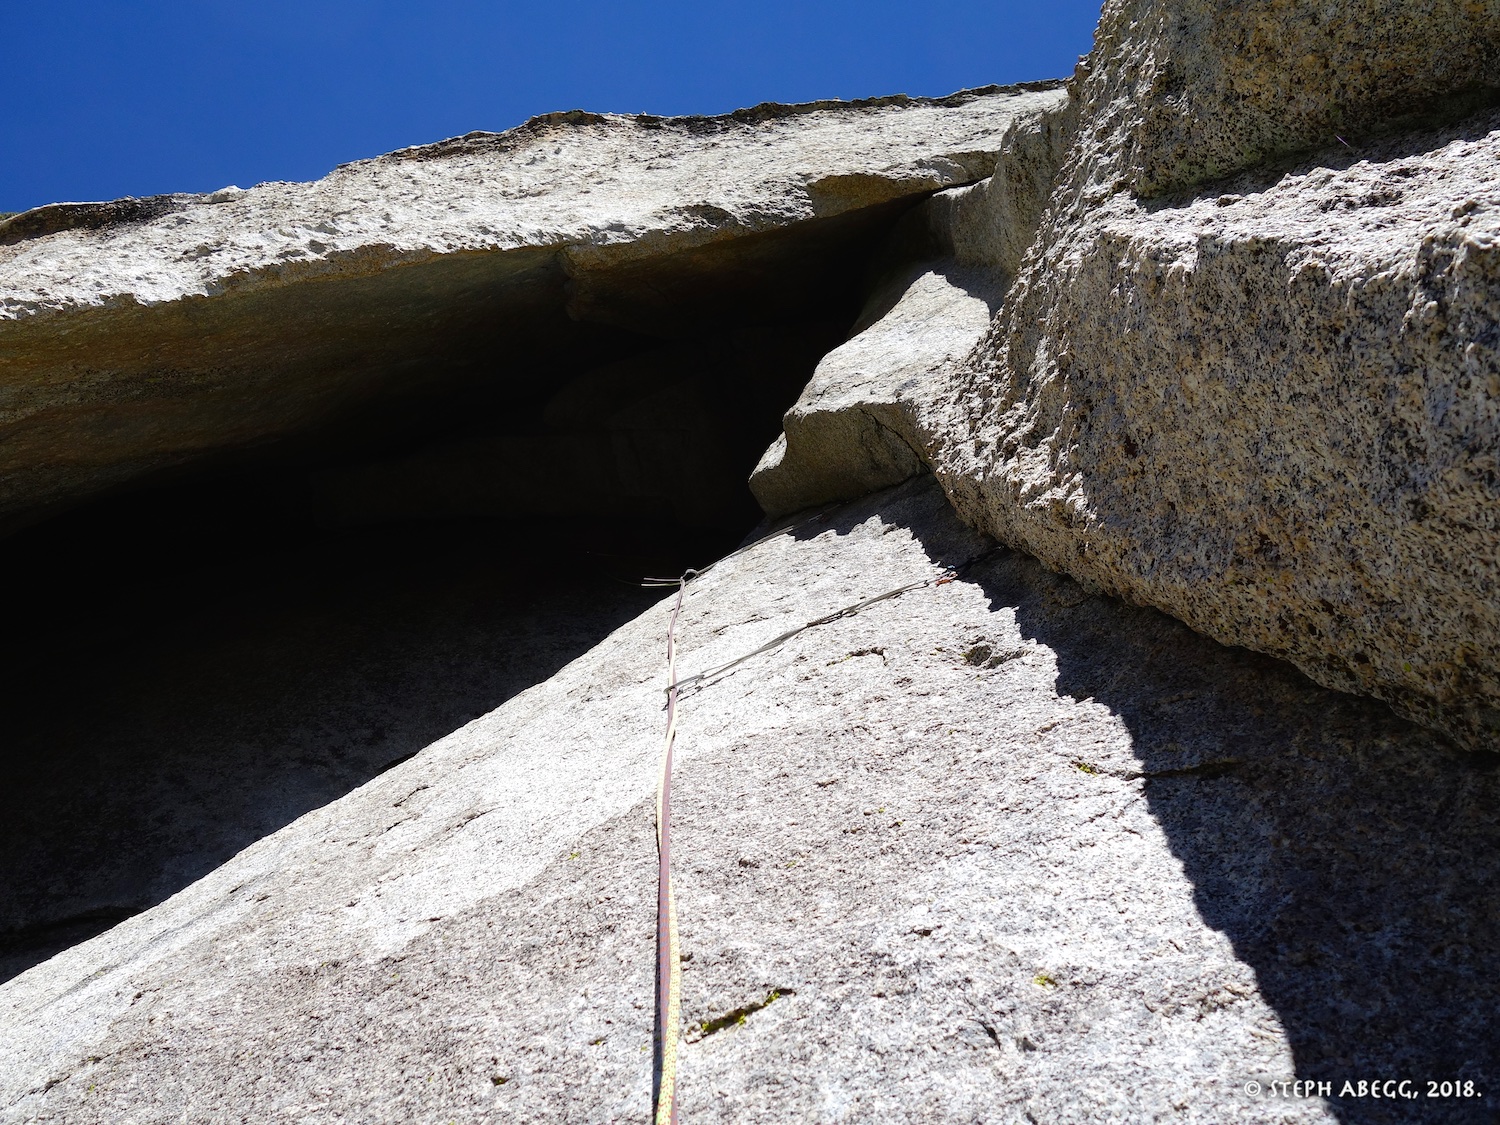
15. Climbing the crack system to the right. The climbing is a bit stout, but good.
16. Another photo of the right-side access to the chimney.
17. Looking down while chimneying up. There are 2 protection bolts.
Pitch
6
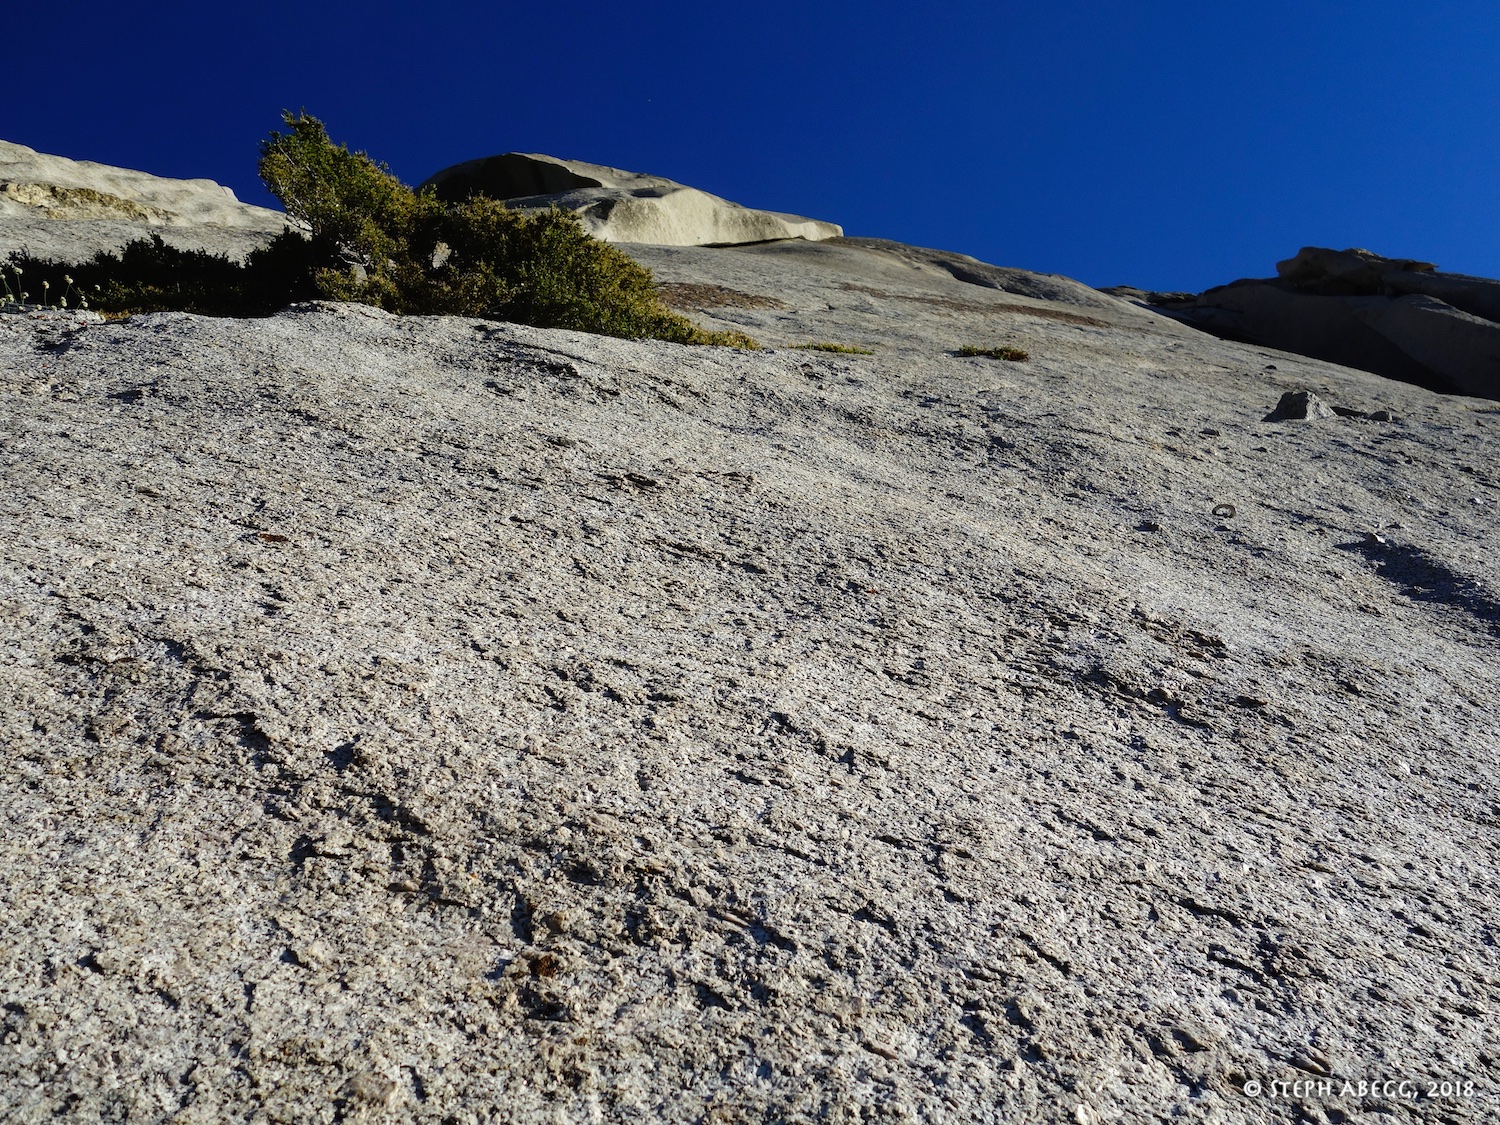
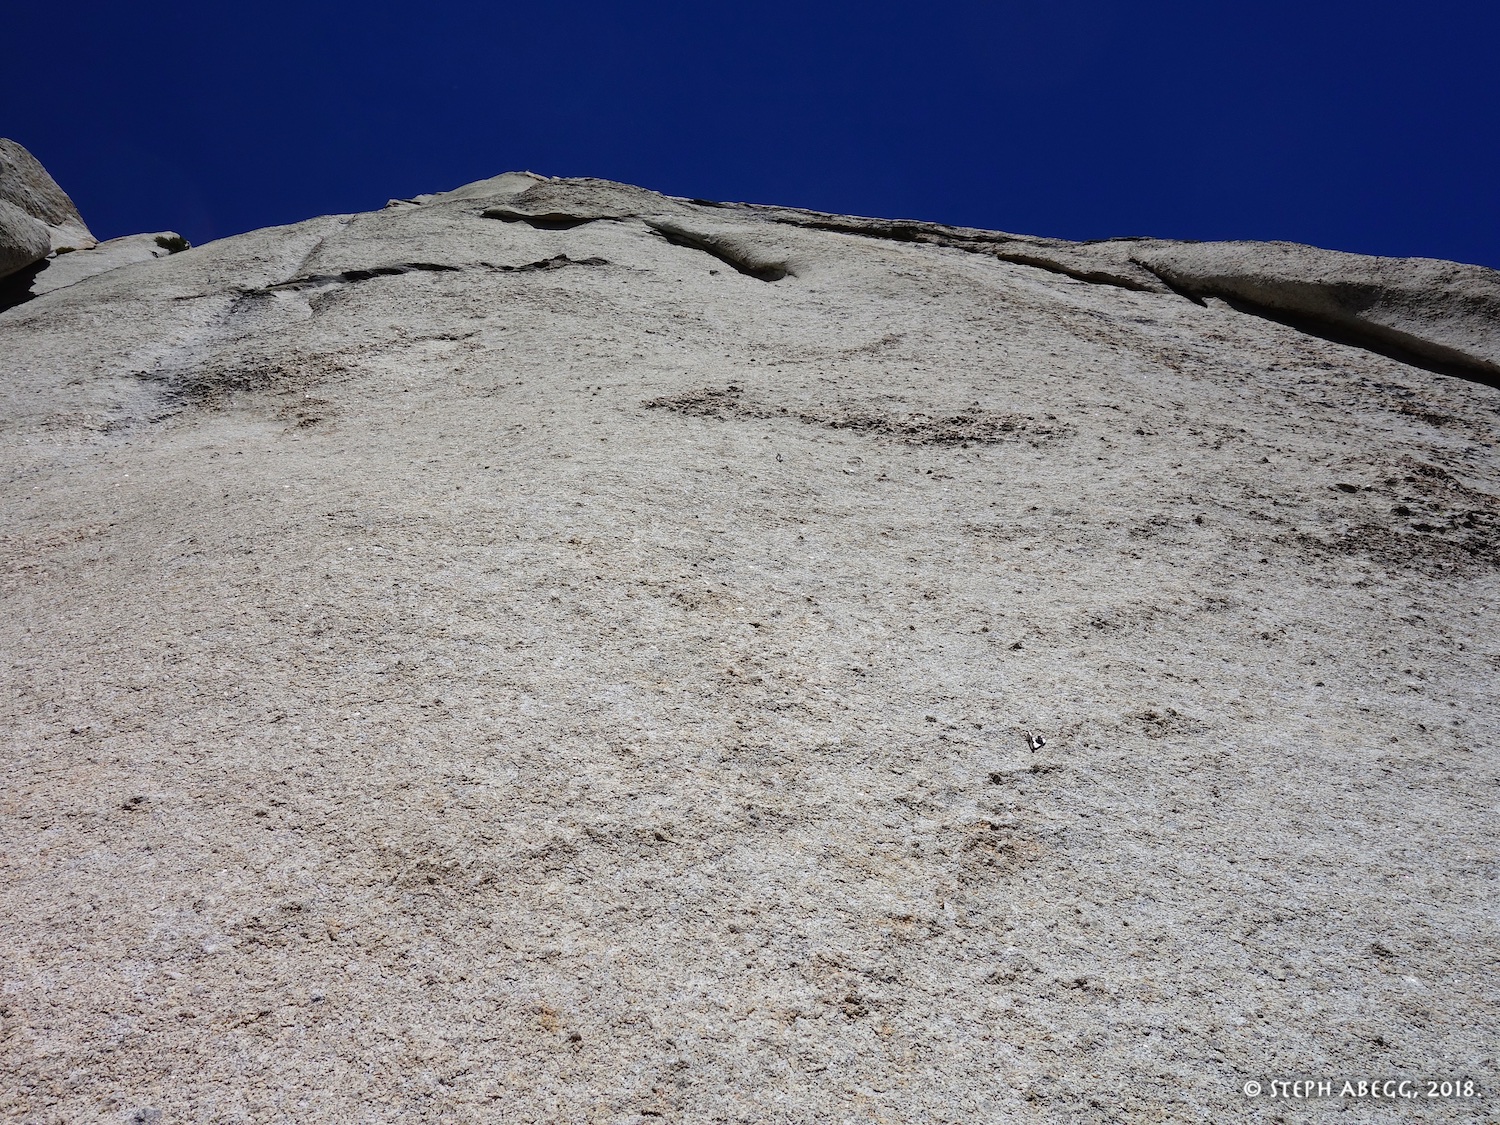
5.10a. Face climb up knobs. A full 200 ft pitch.
18.
18.Looking up at the knobby face. This pitch reminds me Tuolumne climbing.
Pitch
7
5.7. Climb a precarious but cool-looking system of stacked blocks clinging to the wall.
19.
20.
21.
19.Looking up from the base of the pitch. This is the easiest and shortest pitch of the route.
20. The cool-looking system of stacked blocks clinging to the wall. Climb carefully.
21. John following the pitch.
Pitch
8
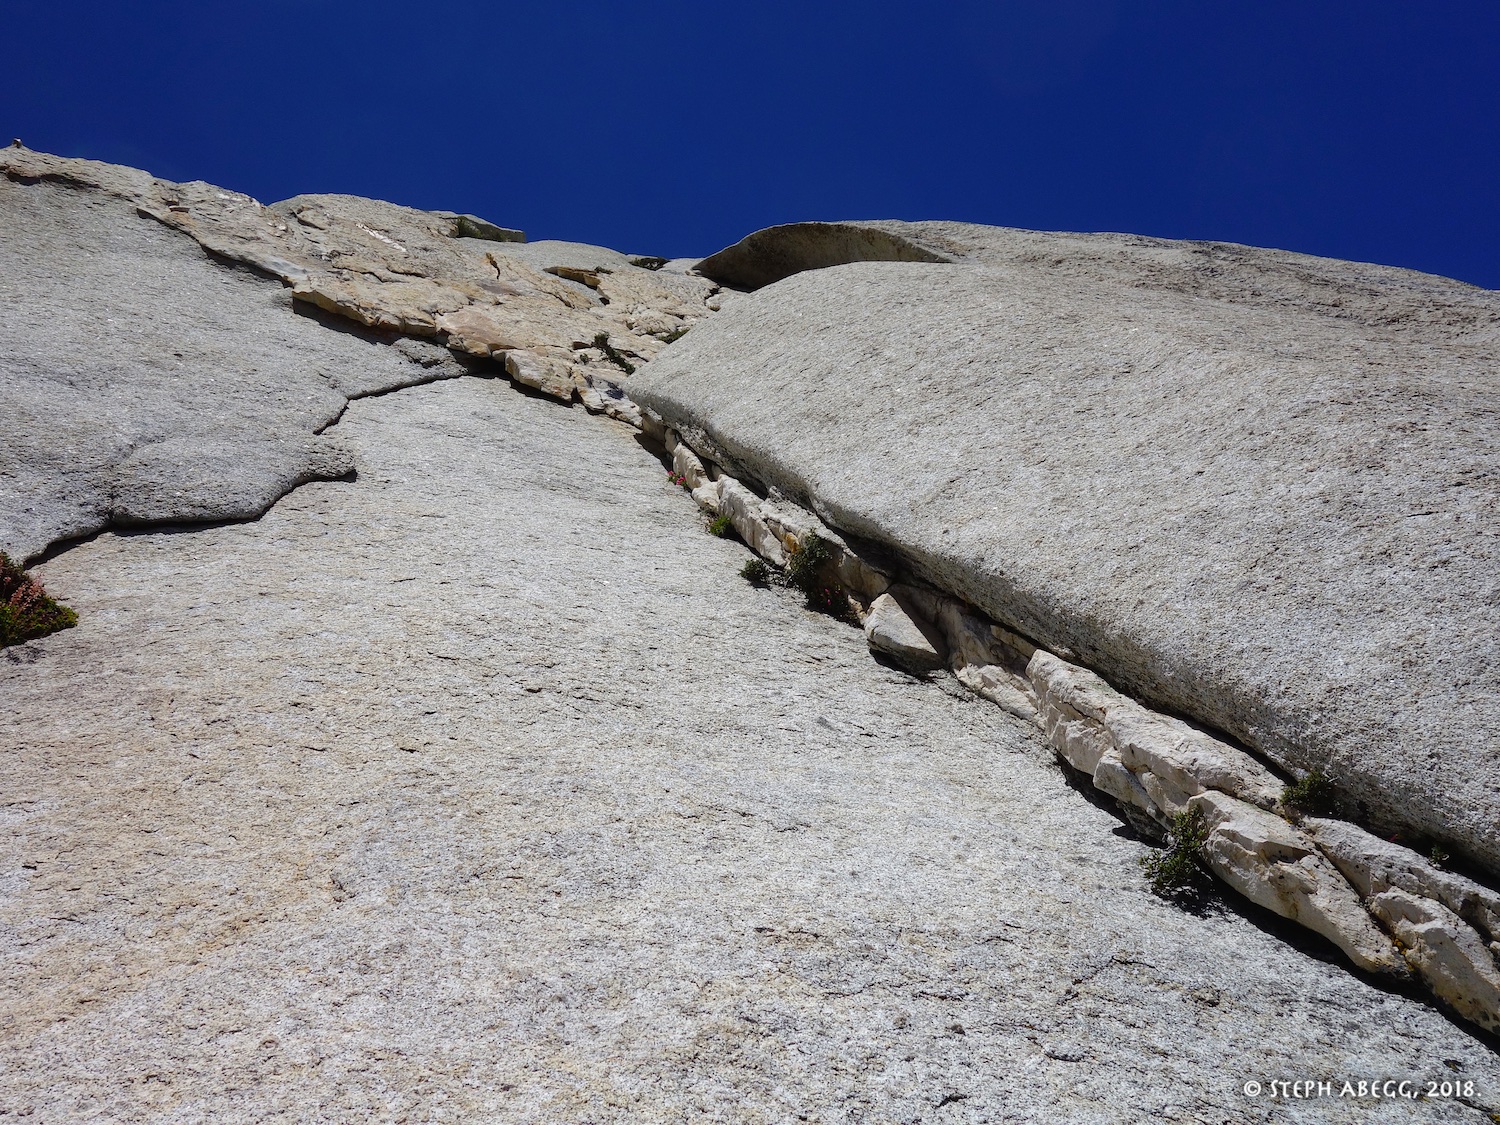
5.9. Up and right on a white dike. Just before reaching the anchors at the top of Ghostrider, climb up and left past a stout 5.9 crux to a bolted anchor.
22.
23.
22.Looking up the pitch from the belay.
23. Looking down midway up the dike. Super cool.
Top!
Yay!
24.
25.
24. The view from the top. You can just see Keeler Needle, which John and I had climbed a couple of days previous.
25. Looking up from the top of the route.
Useful beta. Updated route information. Corrections. Historical notes. Interesting facts. No fluff please. Please do not put links in your comment, as my spam filter will filter those comments out.