Yosemite 2017: Absolutely Free, Positively 4th Street, Commitment, Selaginella, Higher Cathedral Spire Regular Route, Braille Book, La Cosita Right, La Cosita Left, Sacherer Cracker, Moby Dick, Middle Cathedral Kor-Beck, Chouinard-Herbert, Central Pillar of Frenzy, Half Dome Regular Northwest Face

2 Weeks of Yosemite Classics

Routes:

- El Capitan, the Nose (in 3 days) (5.9 C2, 28+p, 2900')
- Lower Brother, Absolutely Free (5.9, 3p, 400') & Positively 4th Street (5.9, 1p, 150')
- Five Open Books, Commitment (5.9, 3p, 350') + Selaginella (5.8, 4p, 450')
- Higher Cathedral Spire, Regular Route (5.9, 5p, 300')
- Higher Cathedral Spire, Braille Book (5.8+, 6p, 700')
- Cragging El Capitan base: La Cosita Right, La Cosita Left, Sacherer Cracker, Moby Dick
- Middle Cathedral Rock, Kor-Beck (5.9, 5p, 600')
- Sentinel, Chouinard-Herbert (5.11c or 5.9 C2, 12p, 1400')
- Middle Cathedral Rock, Central Pillar of Frenzy (5.9, 5p, 550')
- Half Dome, Regular NW Face (5.9 C2, 23p, 2200')

Ten awesome climbs in the Valley, starting with El Capitan and ending with Half Dome.

Region: California
Elev: ~4,000-7,500 ft
Rock type: Granite
Type: 
Date(s): June 13-29, 2017
Partner(s): John Plotz (Climb 1) / Drew (Climbs 2 & 2.5) / James Blackmon (Climbs 3-5) / Lochie (Climb(s) 6) / Sam Bedell (Climbs 7-10)

Route Overlays

CLICK TO ENLARGE

Intro

THIS TRIP REPORT IS STILL MOSTLY IN THE EMBEDDED HTML FORMAT OF MY OLD WEBSITE.

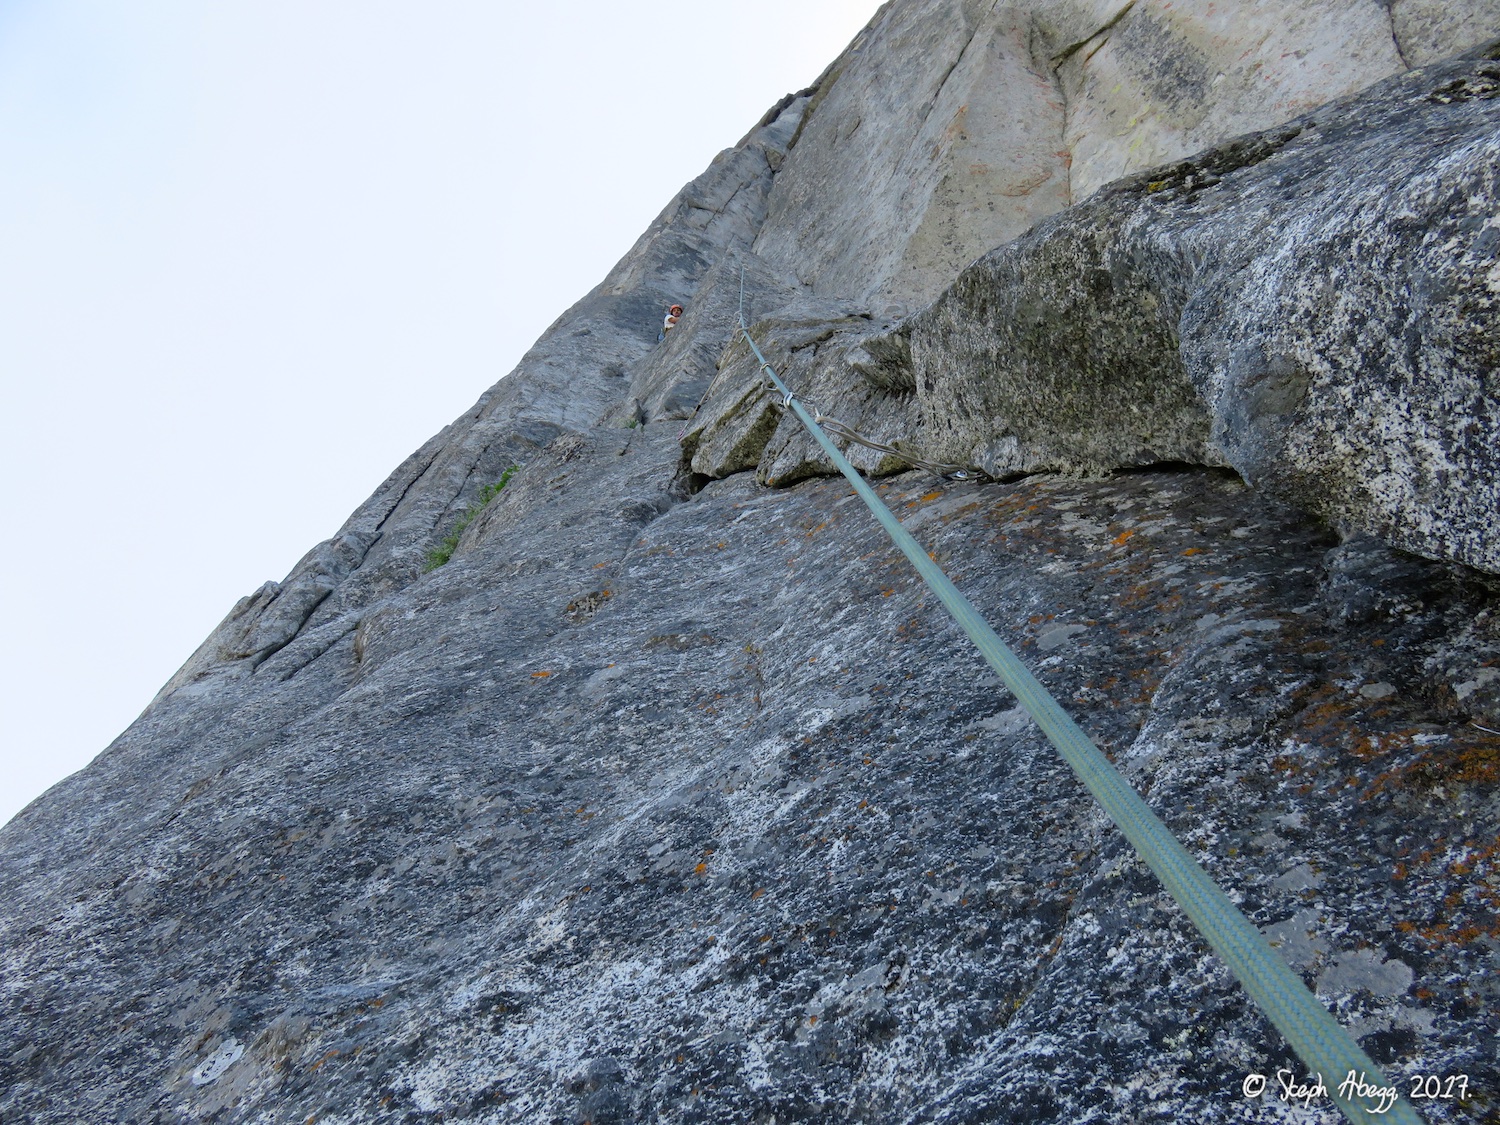
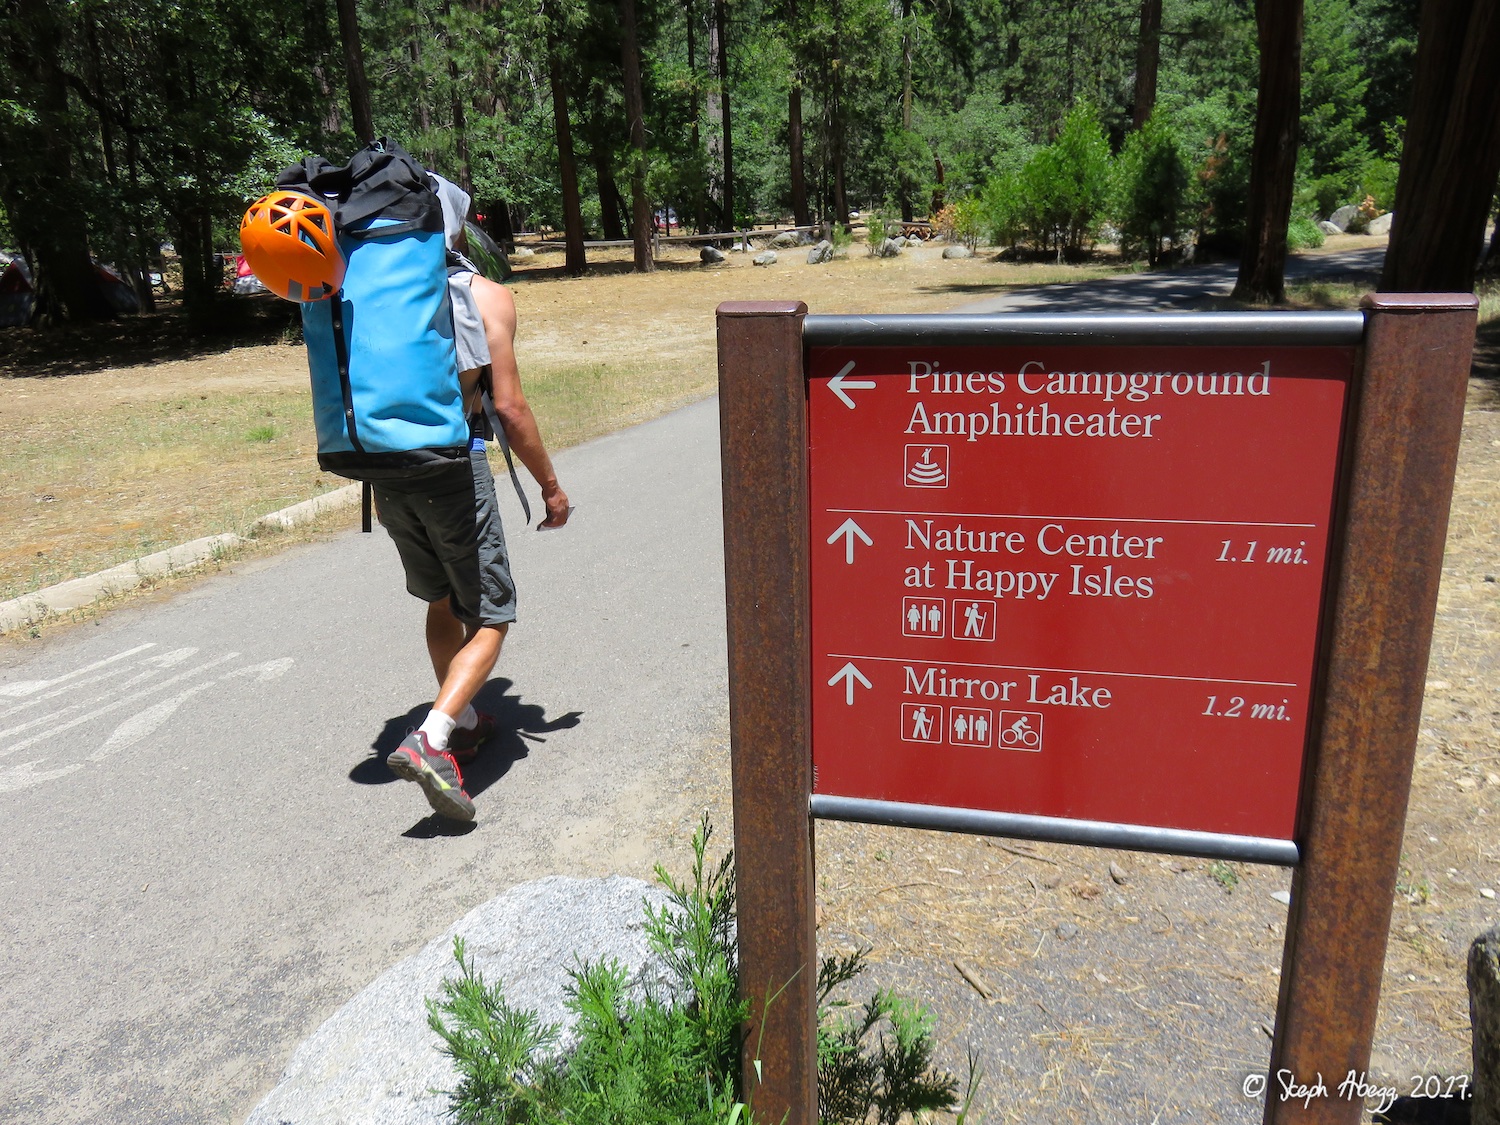
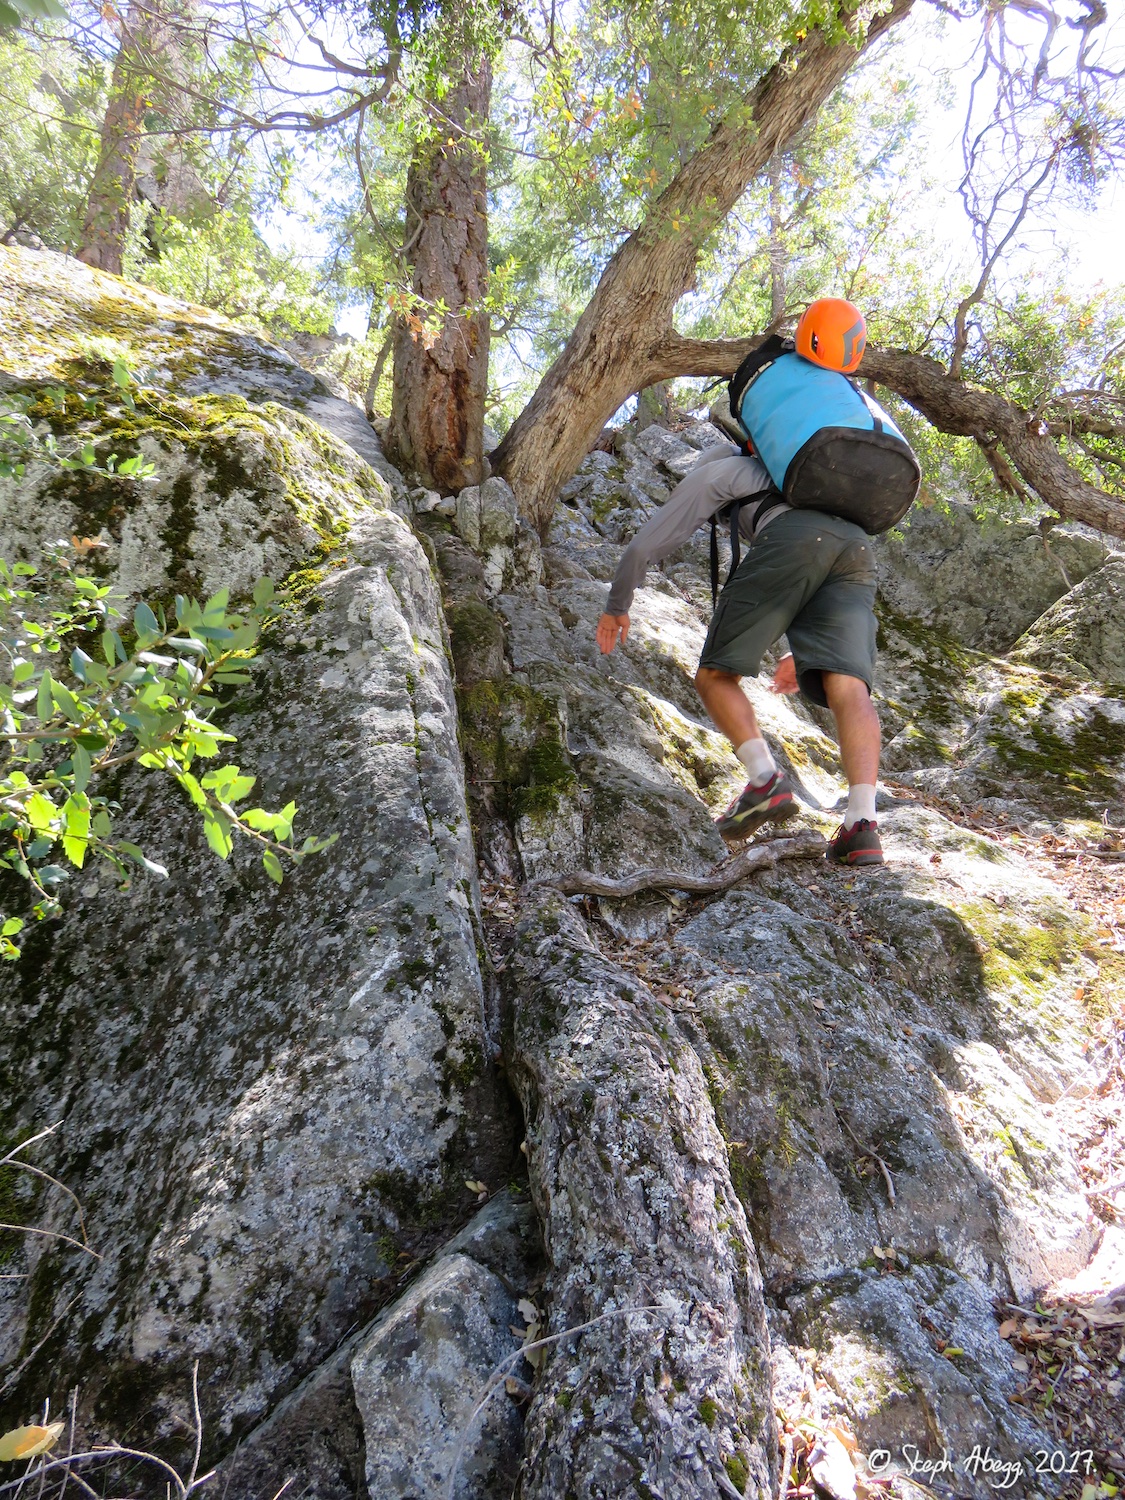
This trip to Yosemite was the best yet. I climbed ten awesome climbs over the course of a couple of weeks. The trip started with a 3-day ascent of 
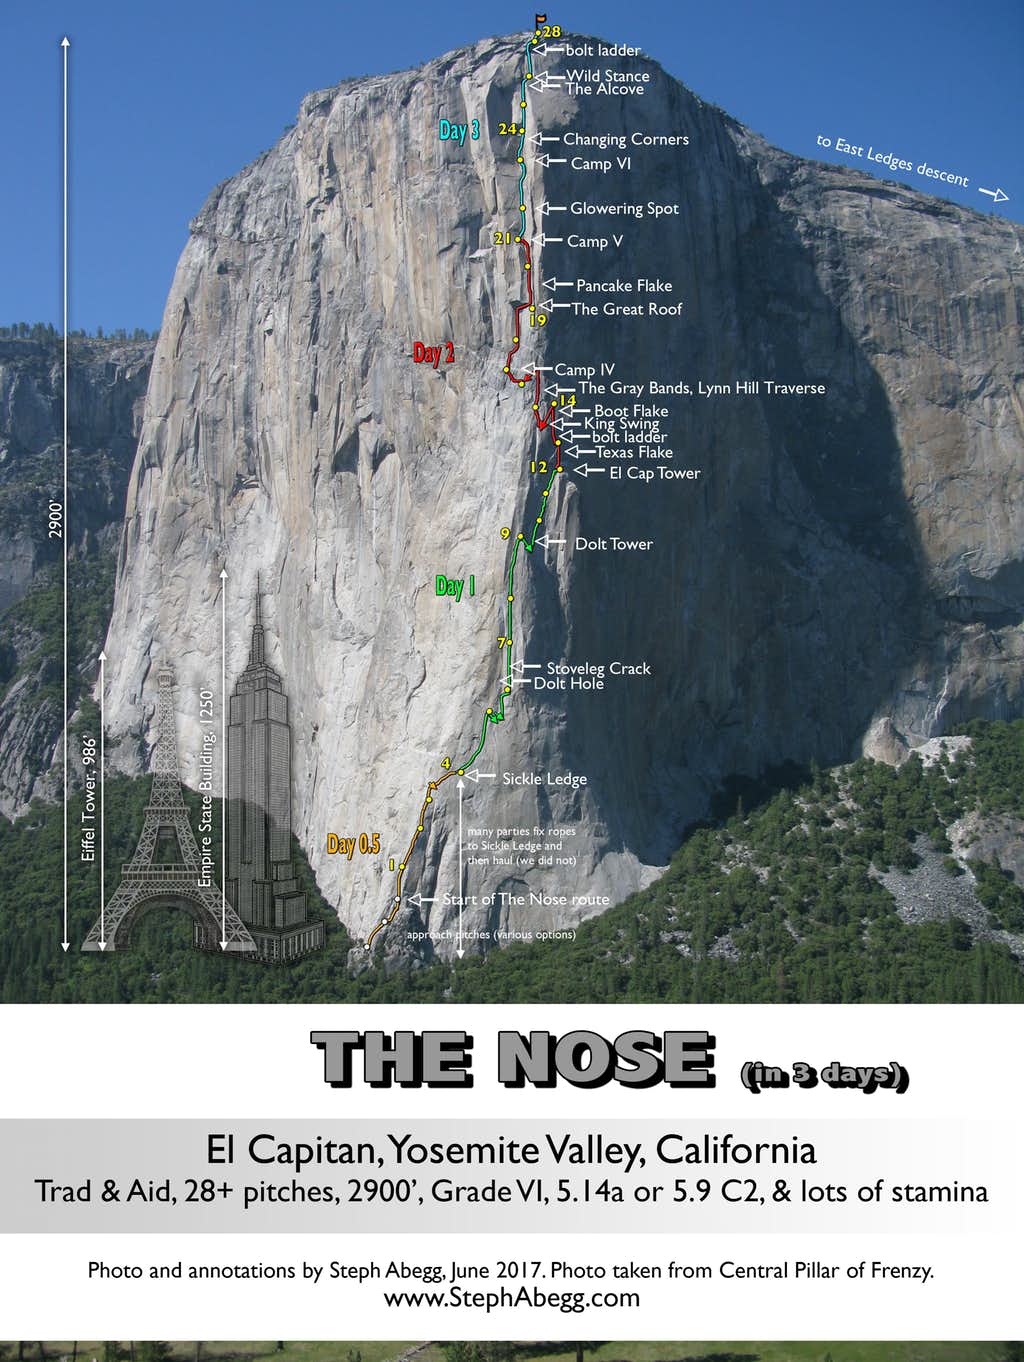
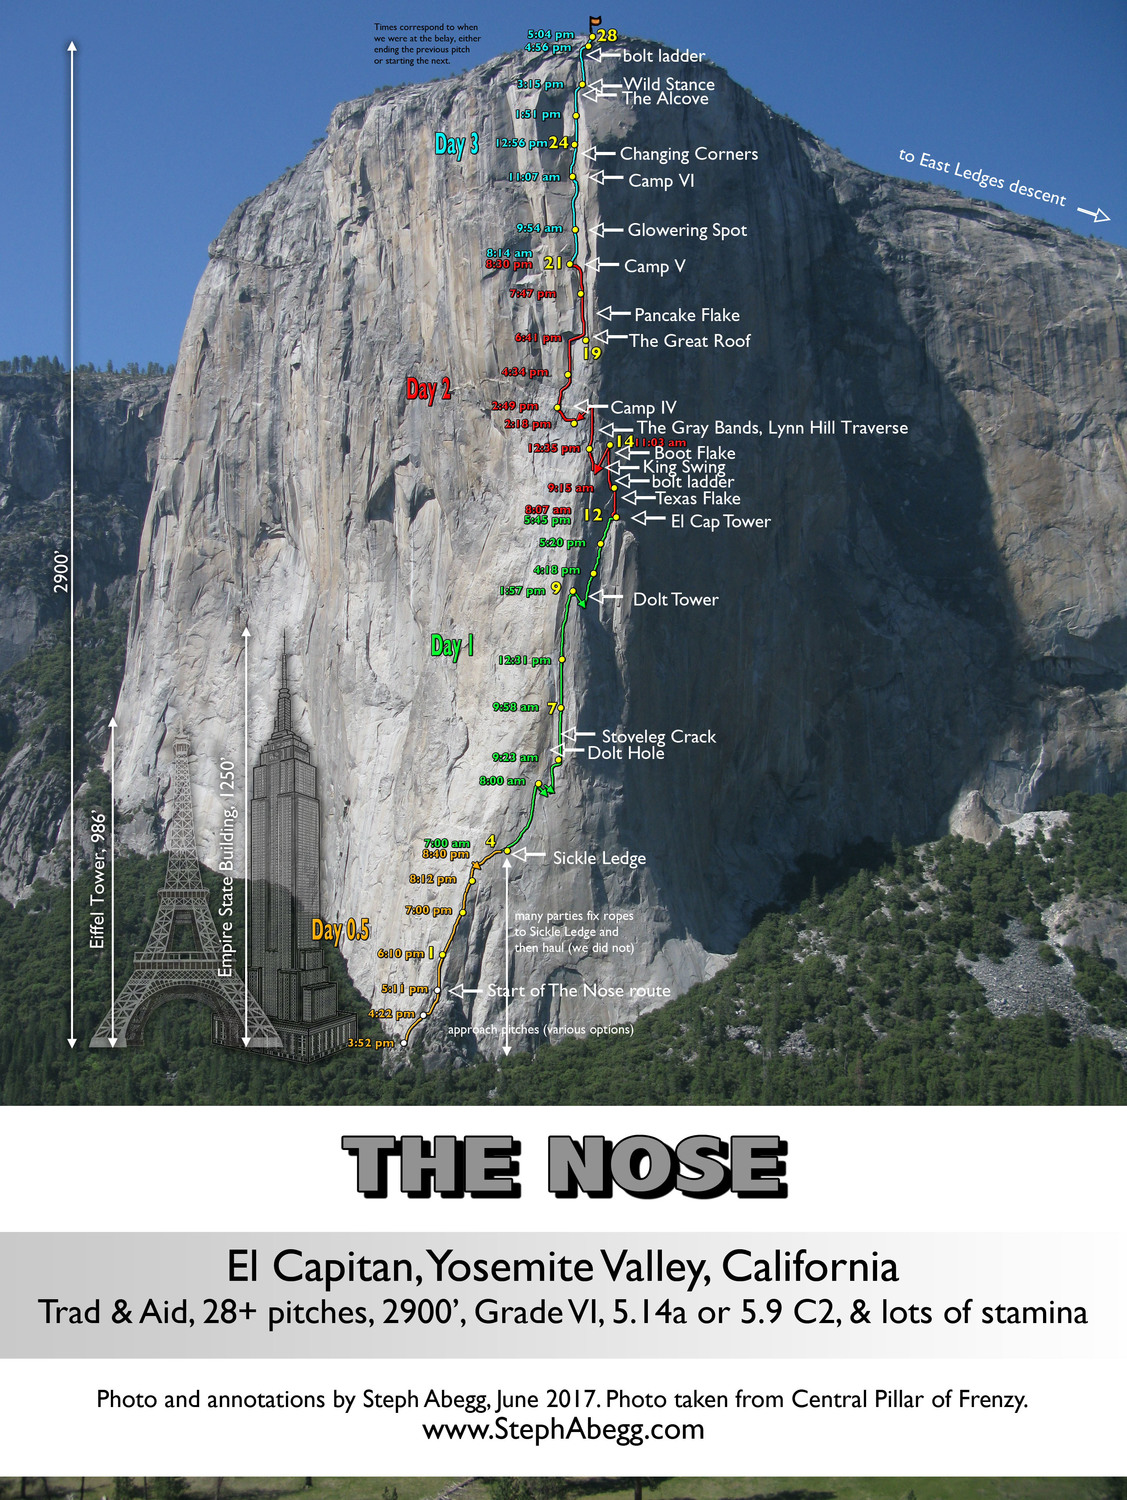
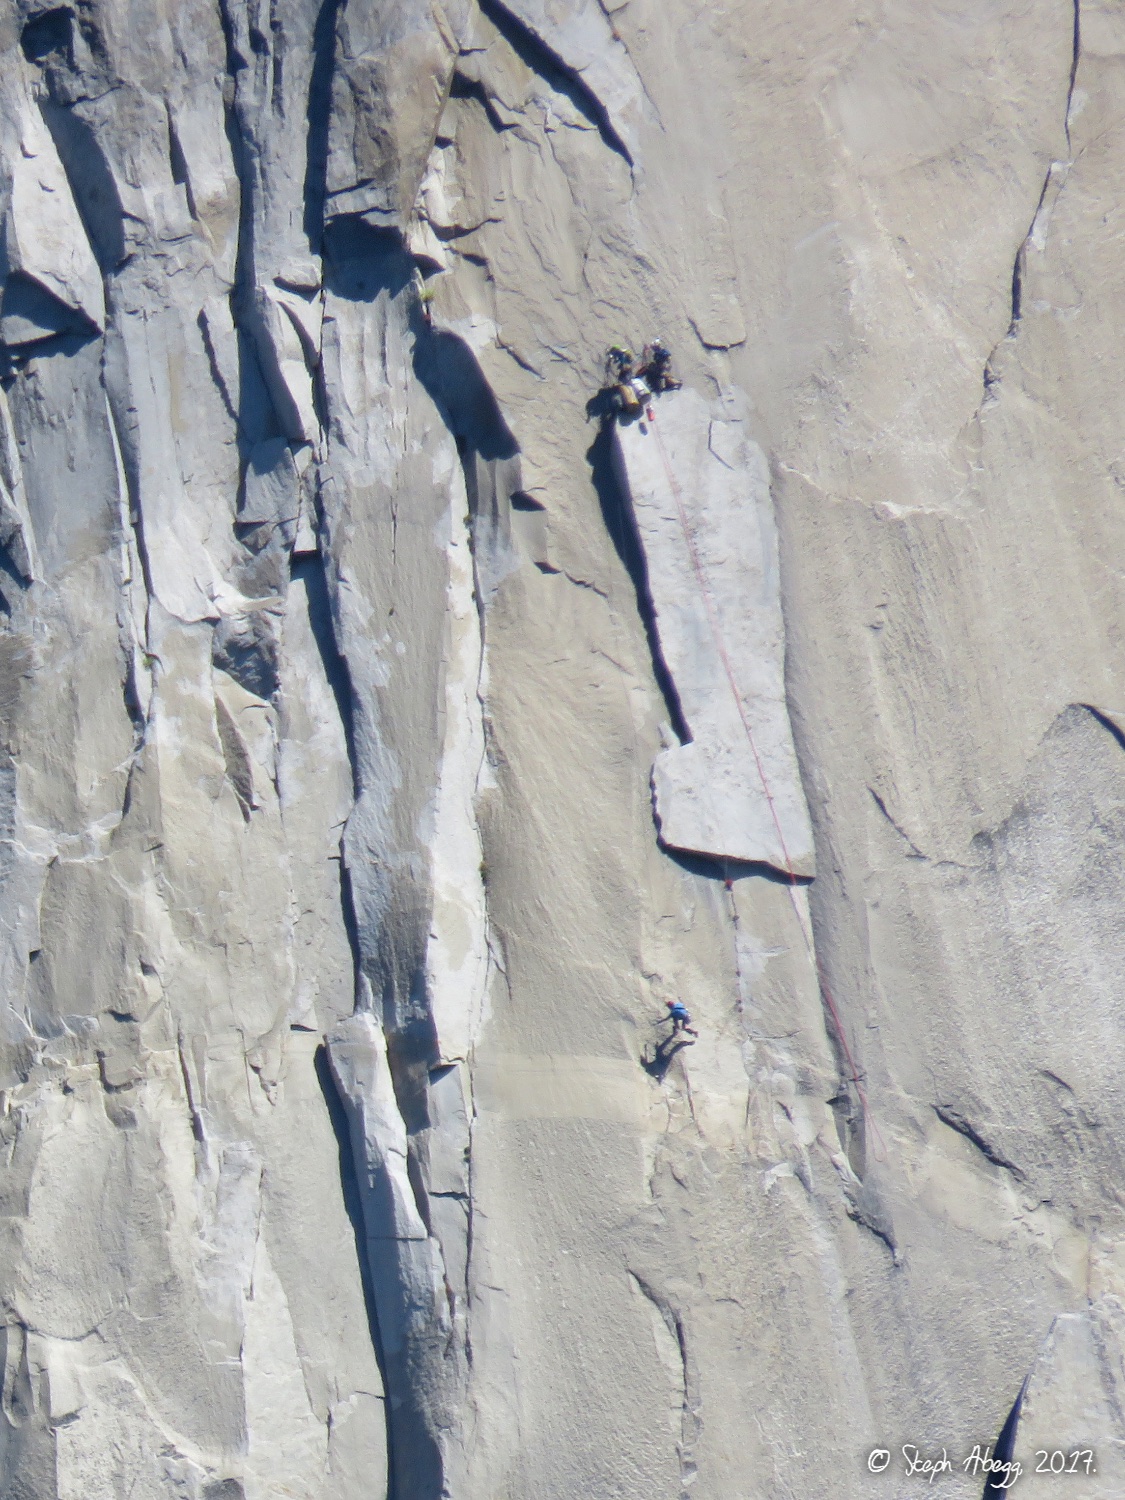
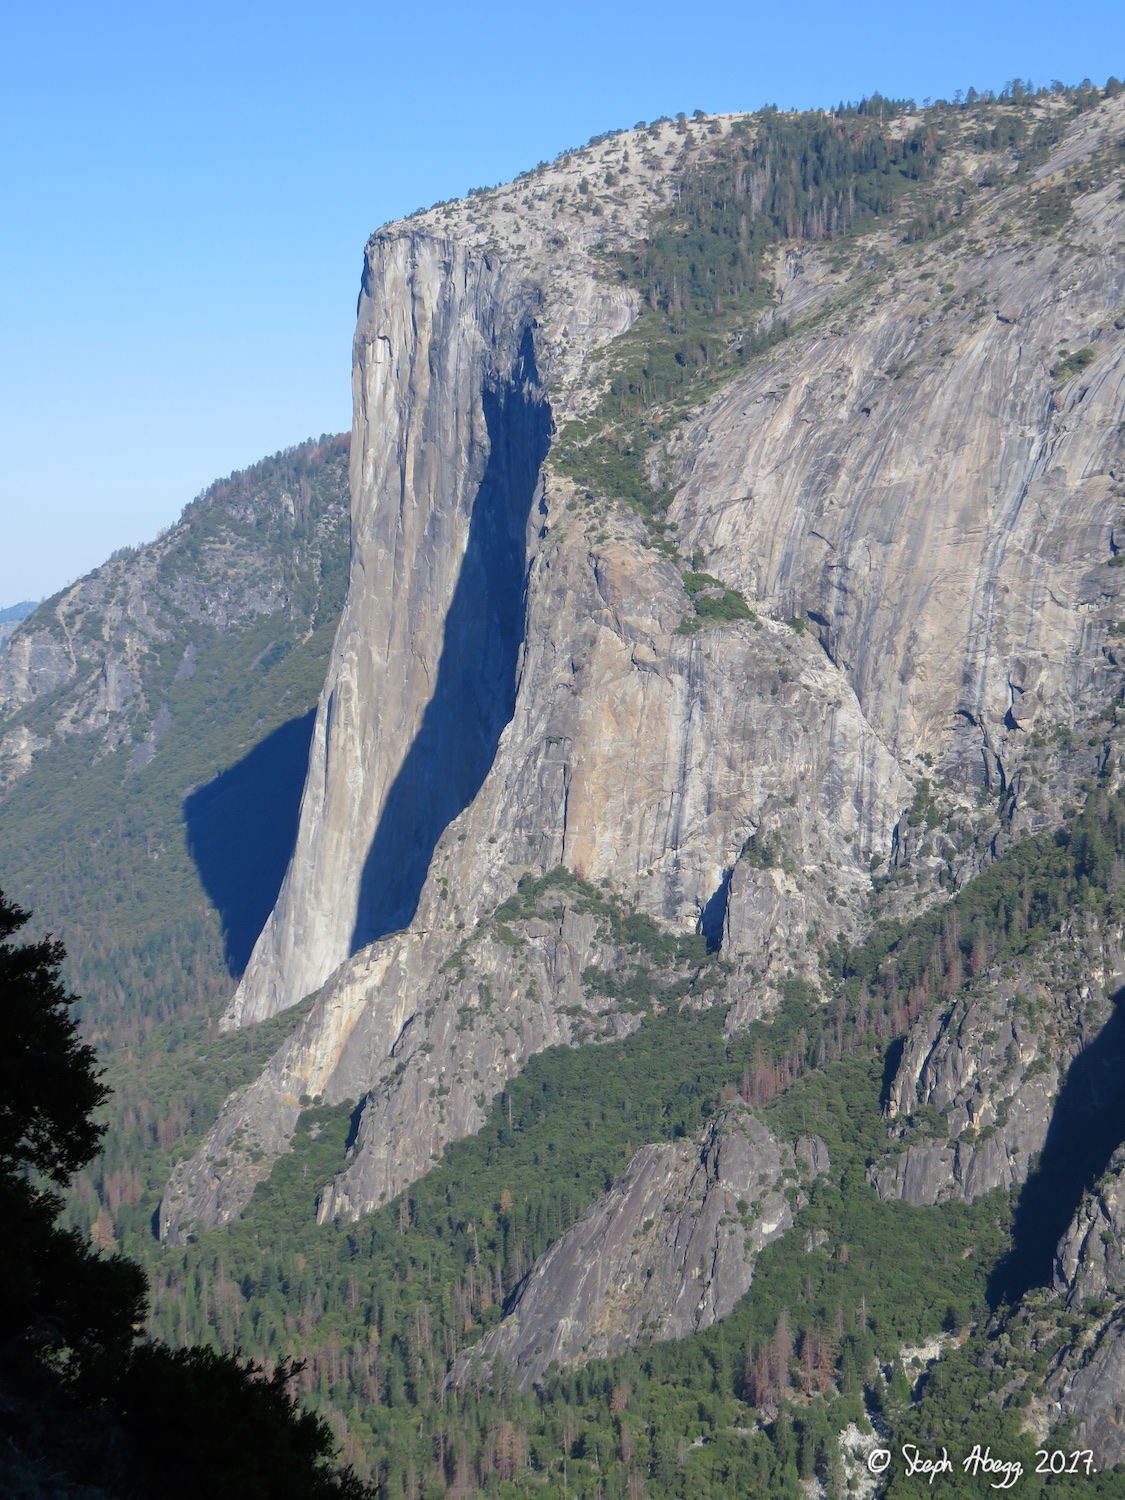
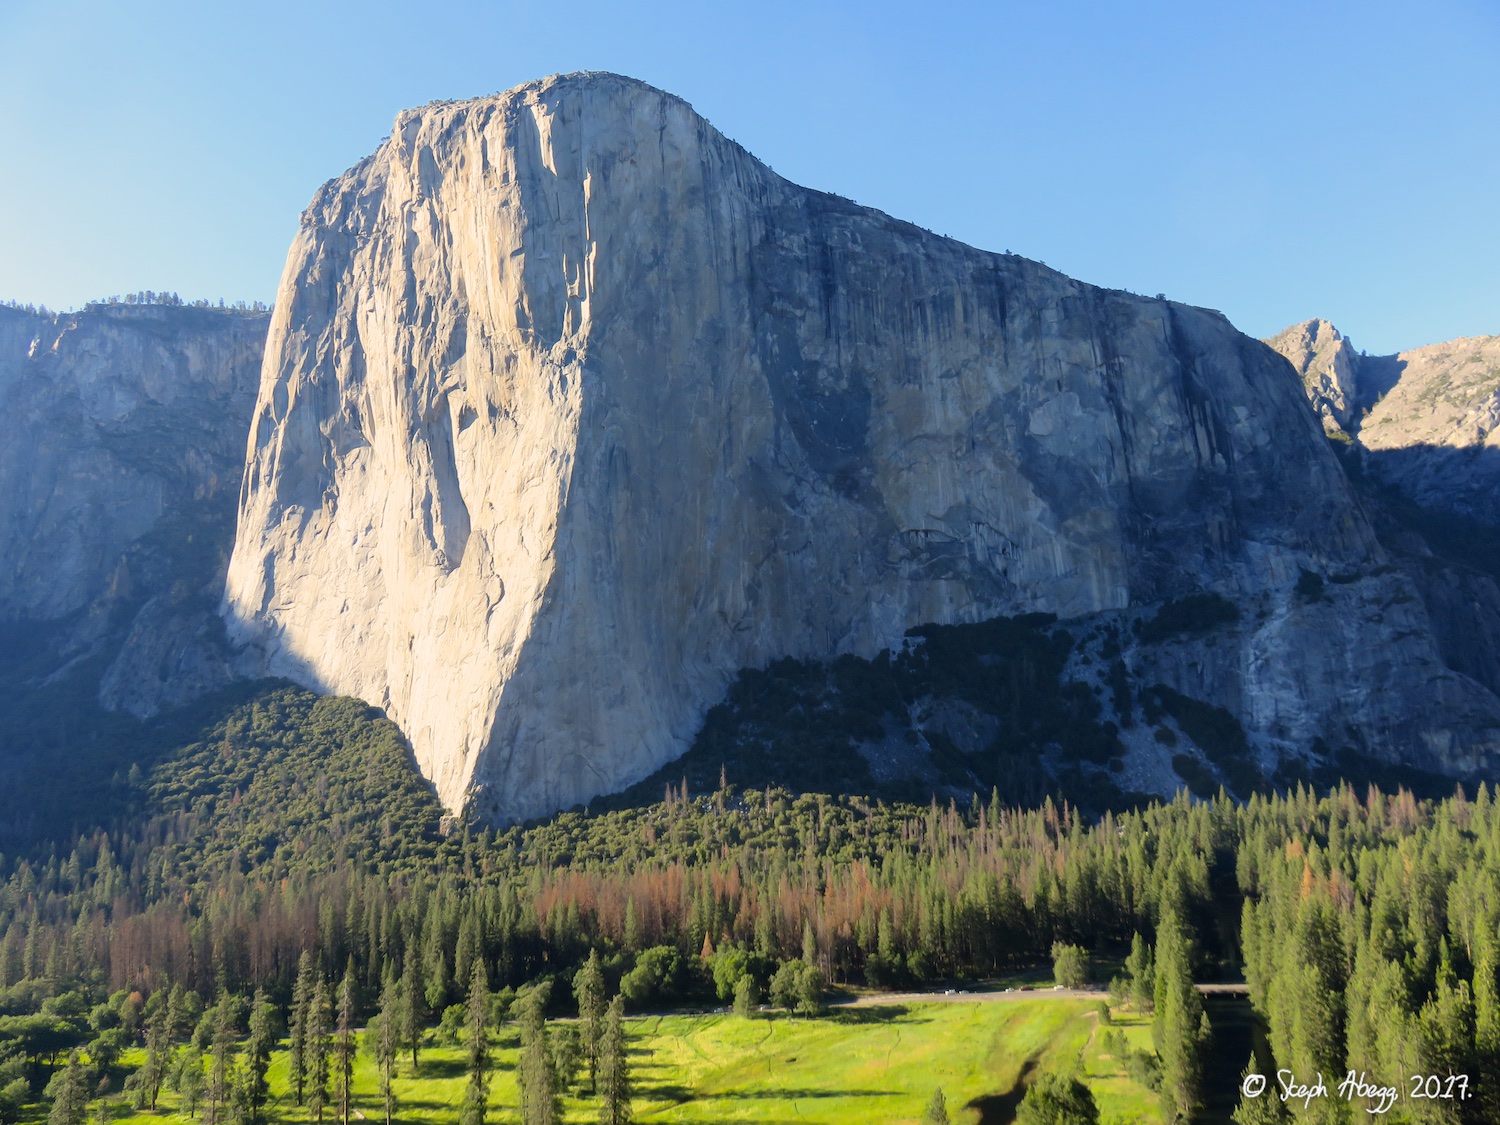
The Nose on El Capitan (5.9 C2 of 5.14a, 28+ pitches, 2900') with my friend from Washington John Plotz. This was an amazing climb. I am already making plans to do it again next summer, hopefully in a day at some point. (My trip report for The Nose is actually on a separate page, accessed by the above link.)

A couple of days after 
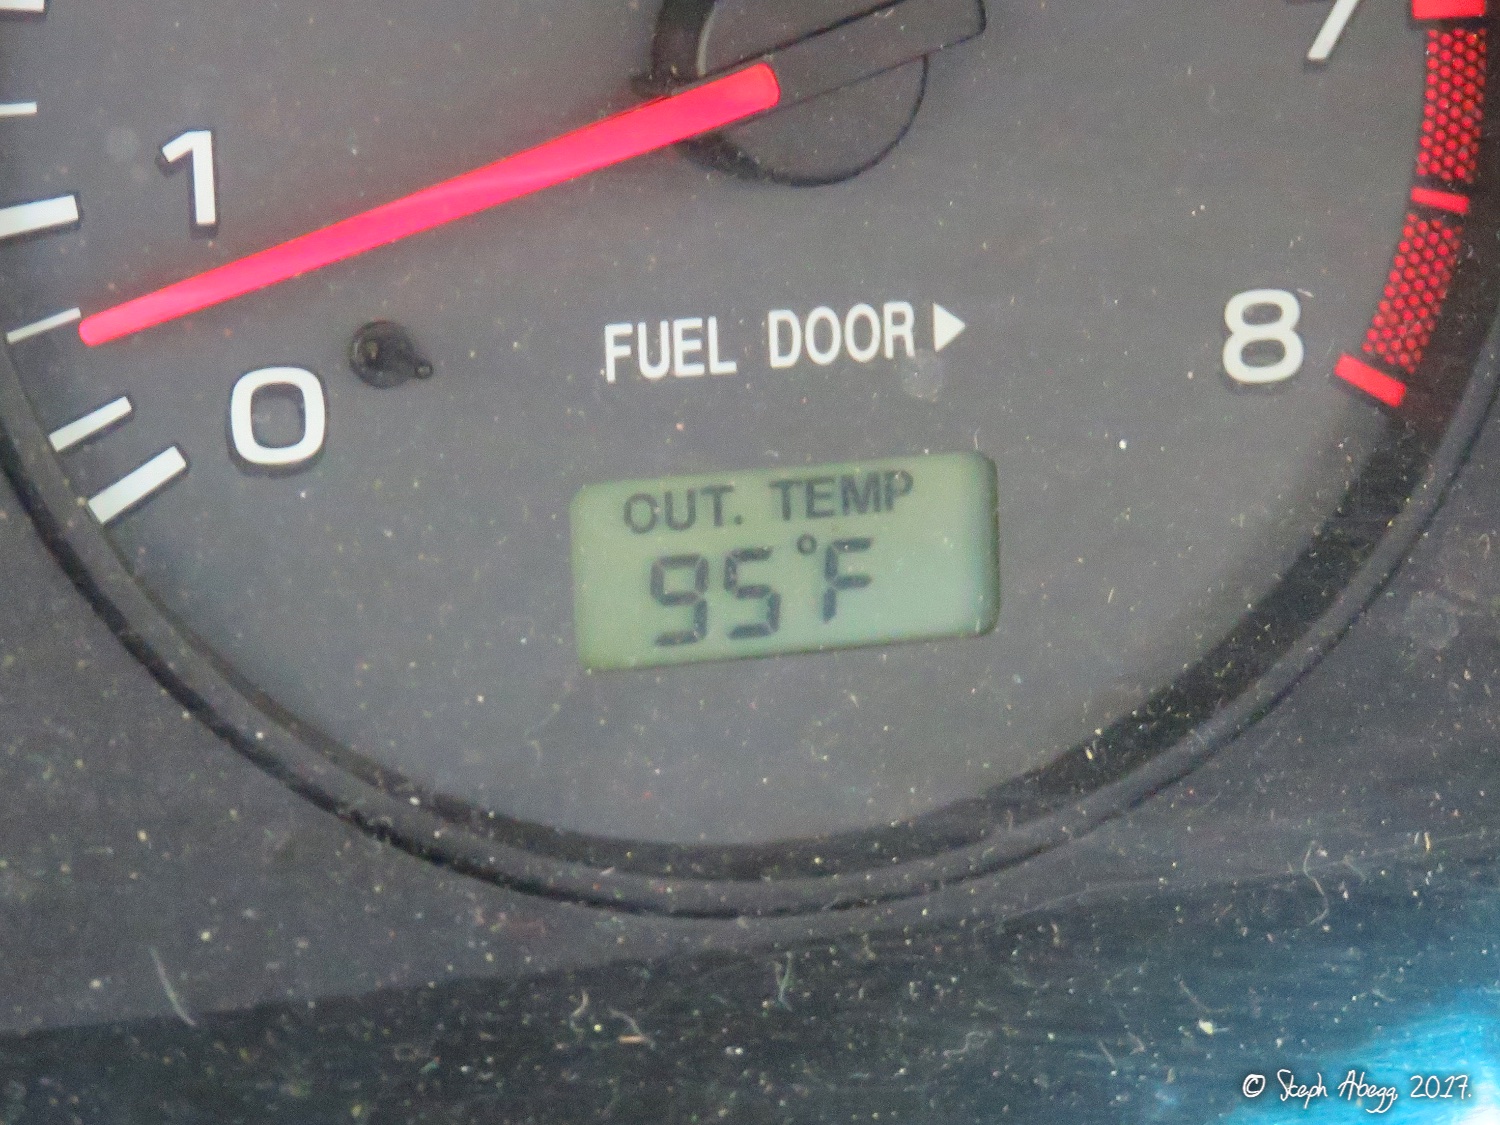
The Nose, I was antsy to climb again, despite the rising temperatures in the Valley. Drew from Utah responded to my mountainproject post and we had a fun (albeit hot!) morning climbing 
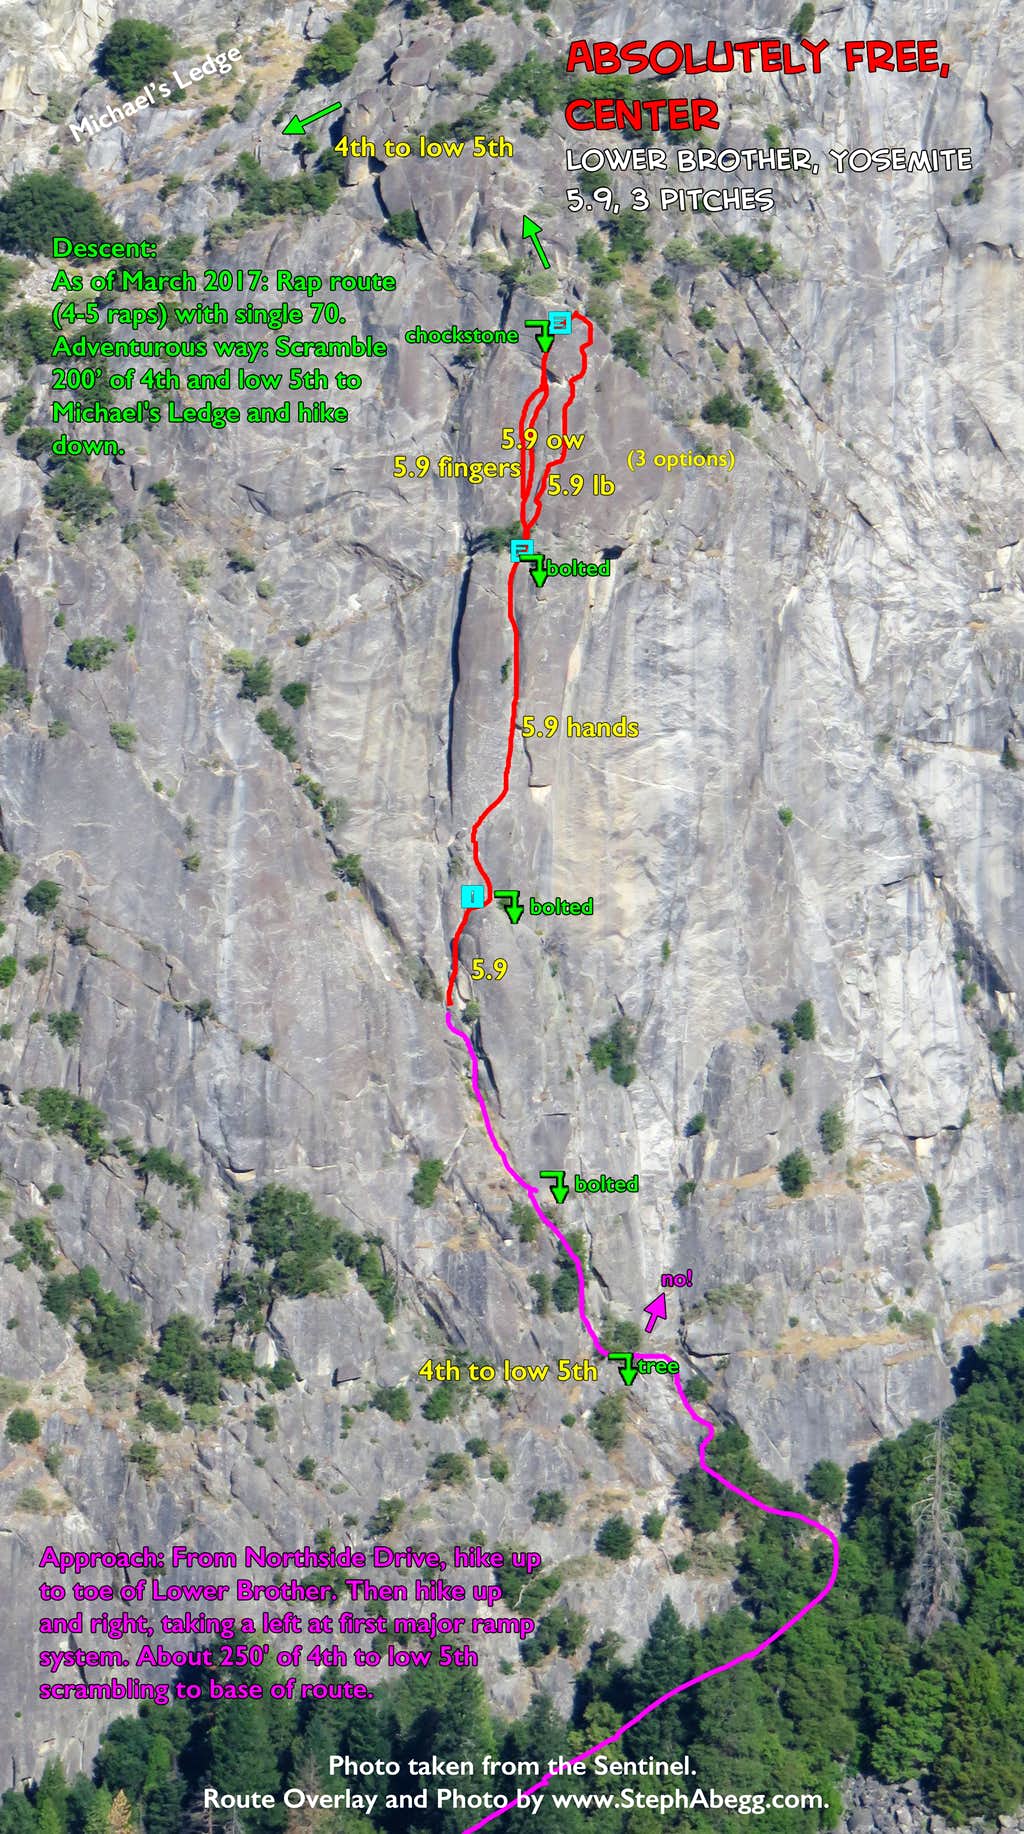
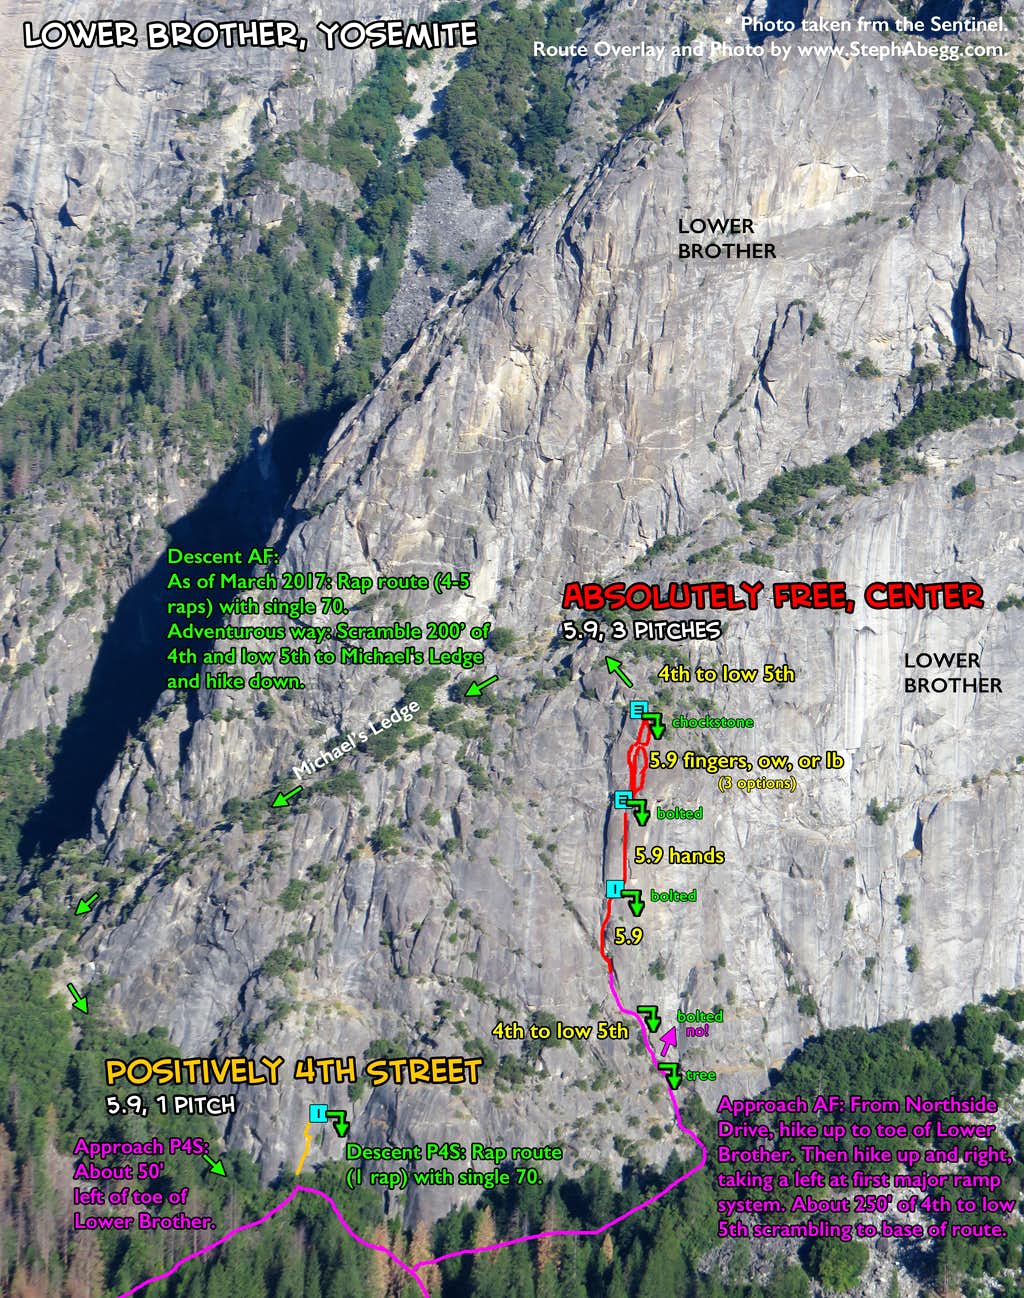
Absolutely Free, Center (5.9, 3 pitches, 400') & Positively 4th Street (5.9, 1 pitch, 150') on Lower Brother. These are short climbs, but a bit off the beaten track and feature some splitter 5.9 cracks.

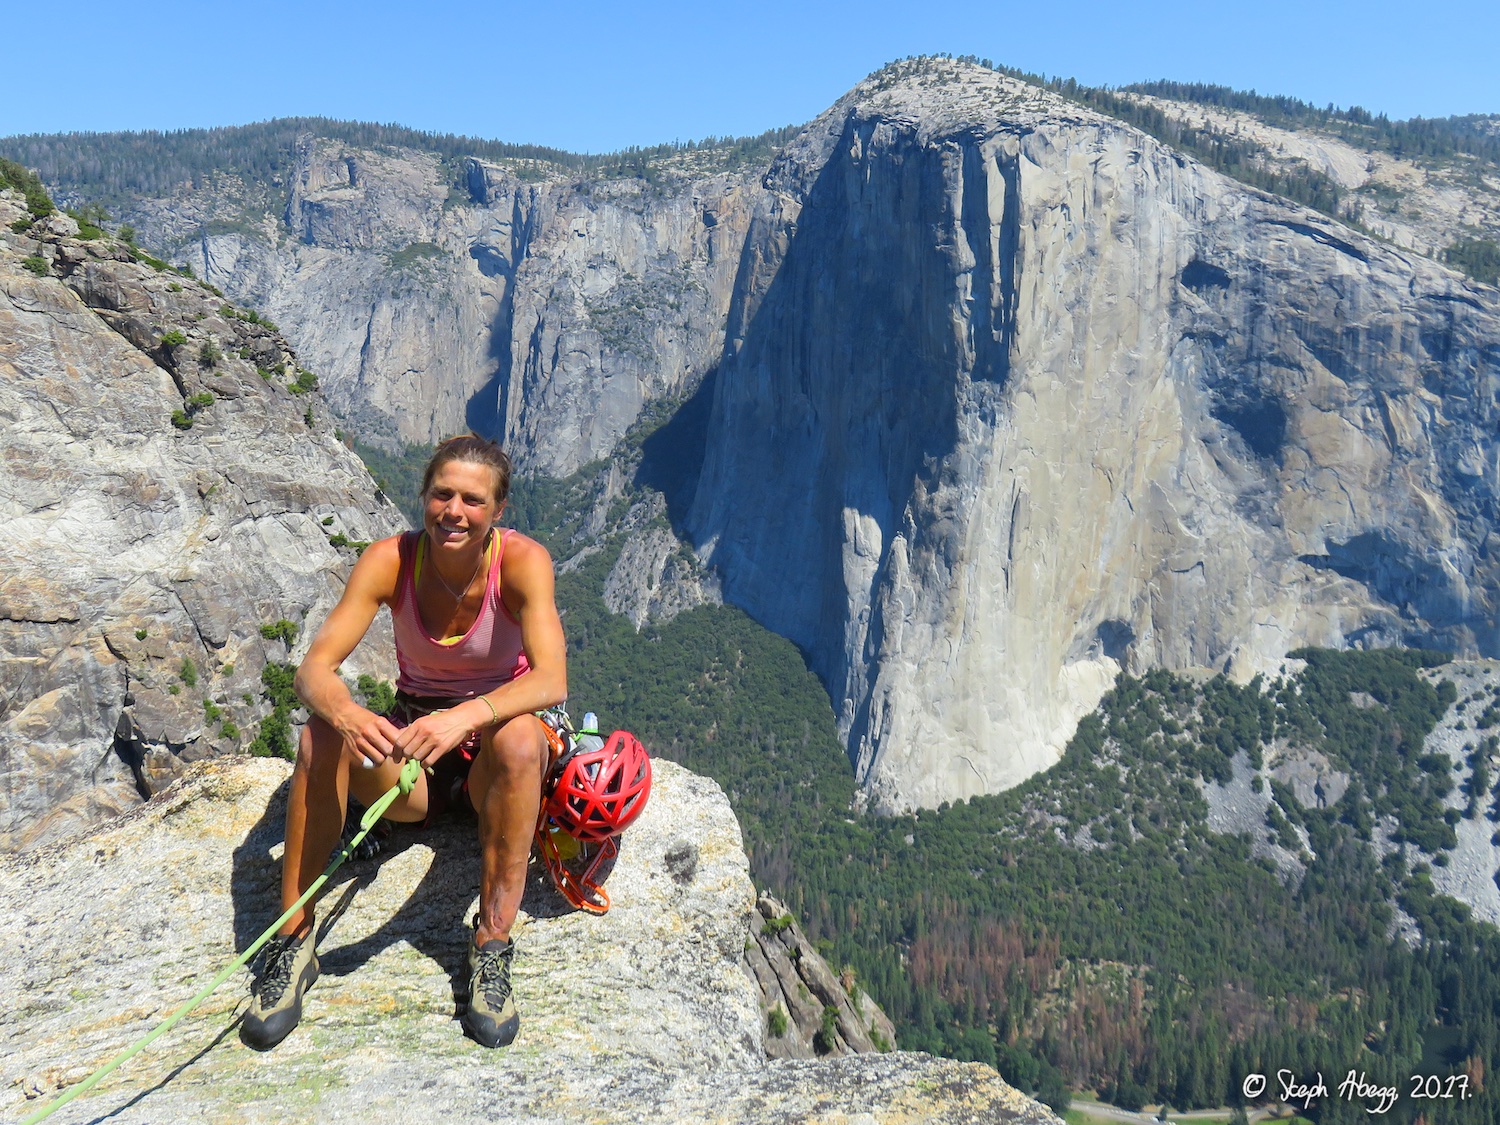
My friend James from Washington had never been to the Valley, and when he heard I was there looking for partners, he decided to fly down and climb a few days with me. The first two days we climbed two nice link-ups of popular moderate climbs: On the first day, 
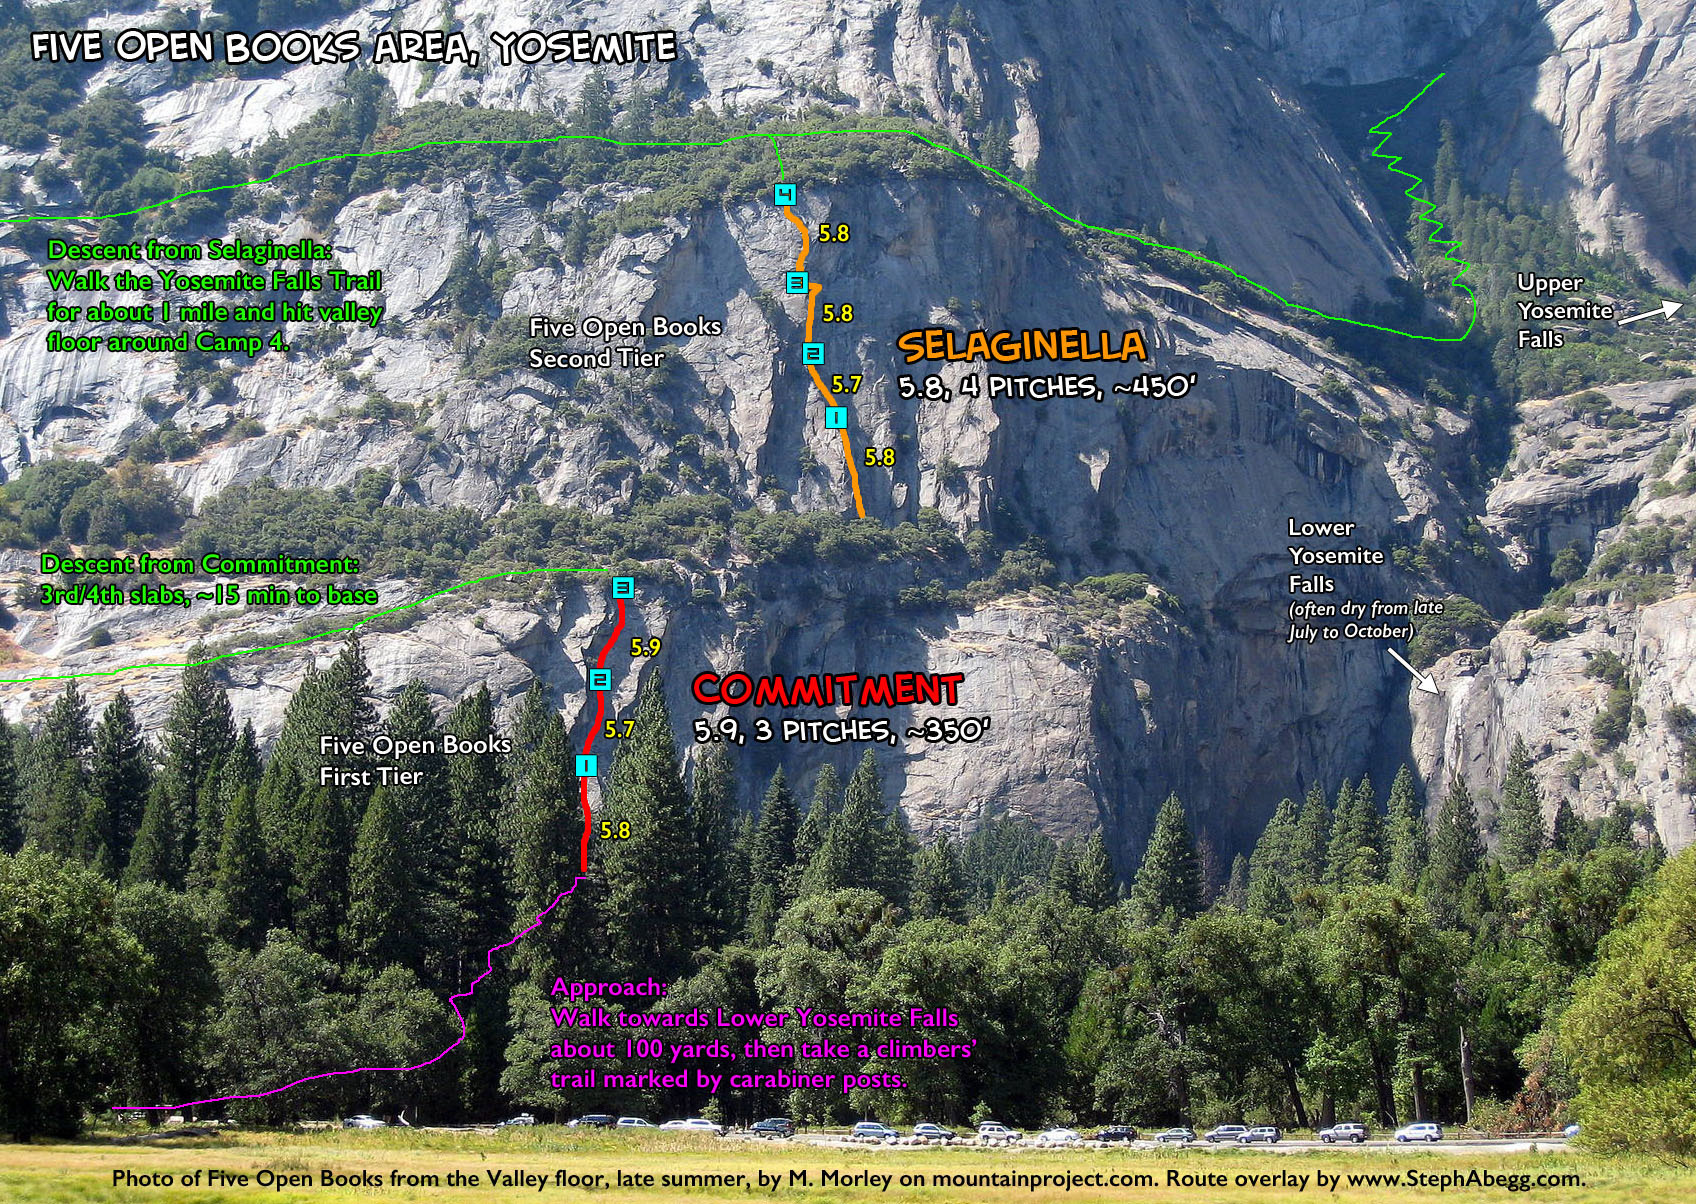
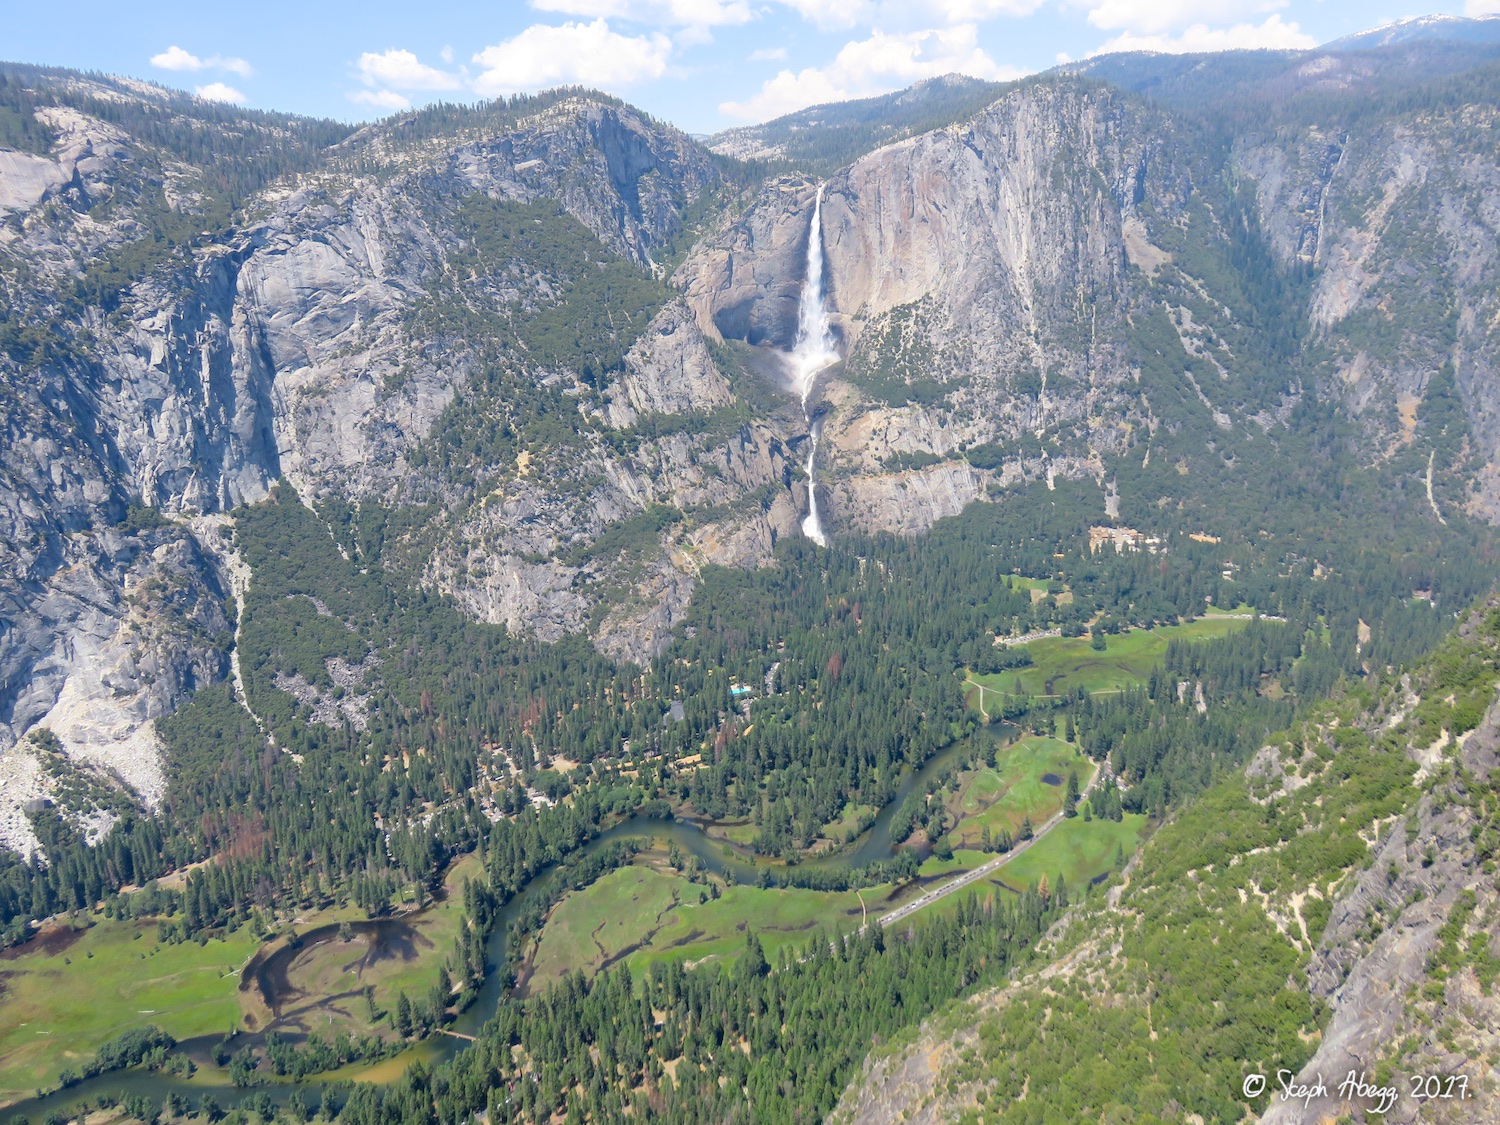
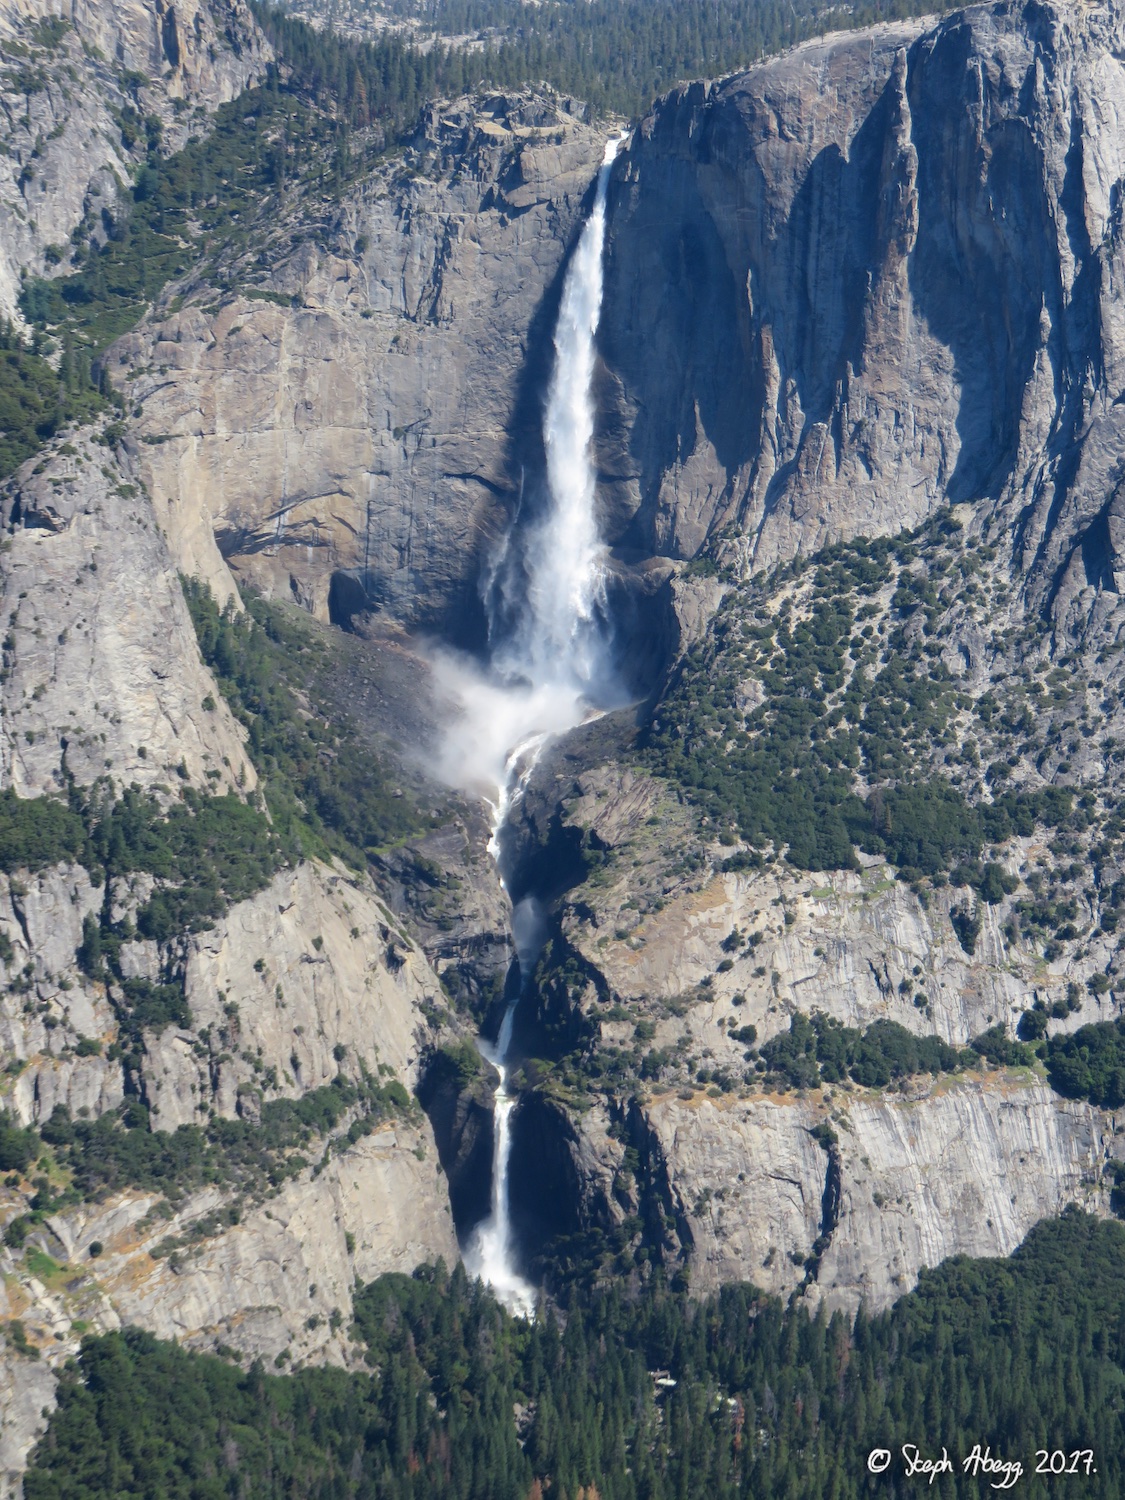
Commitment + Selaginella on Five Open Books (5.9, 7 pitches, 800'), which offered fun but not-too-challenging climbing and a great position above the Lower Yosemite Falls; and on the second day, 
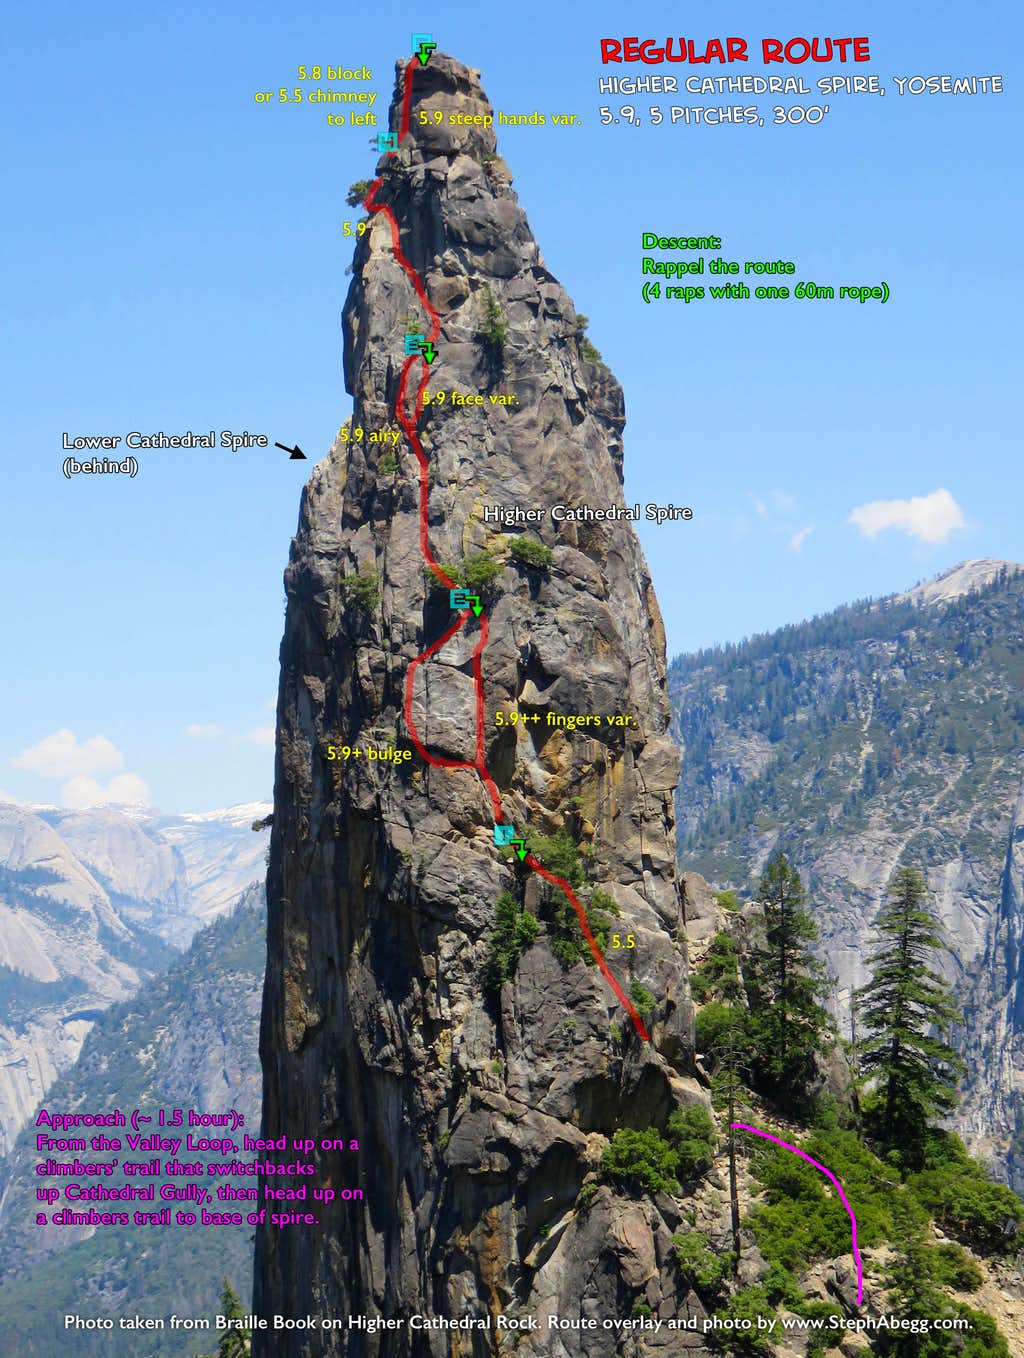
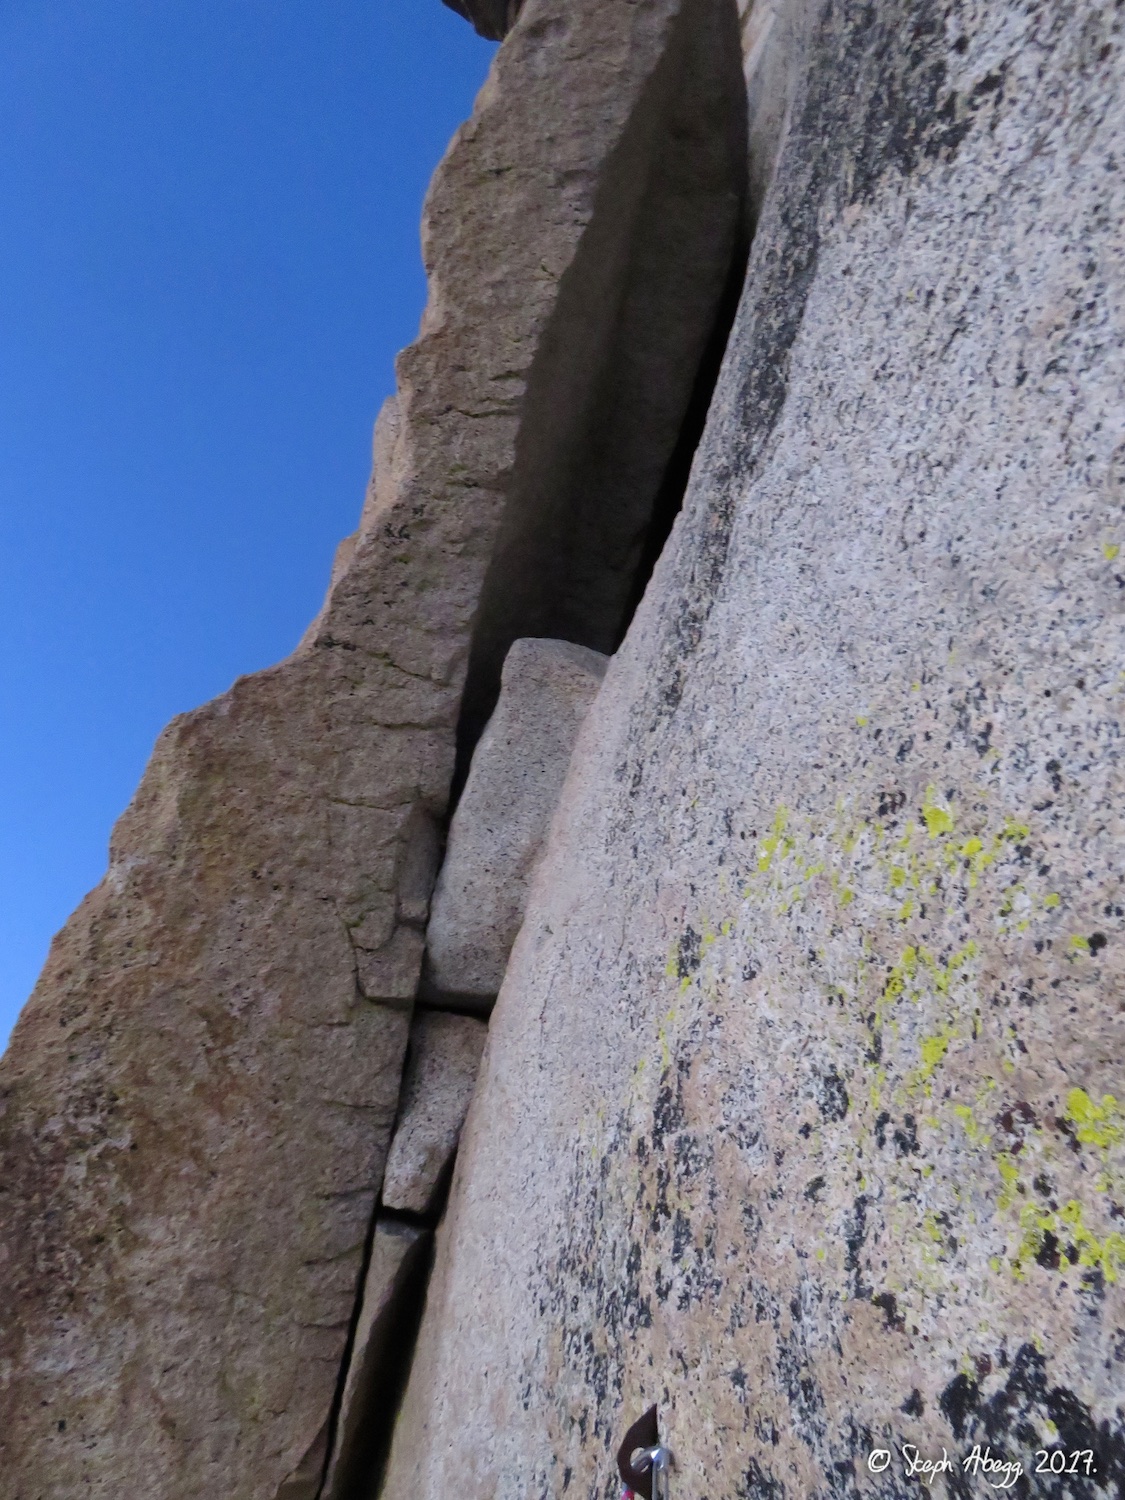
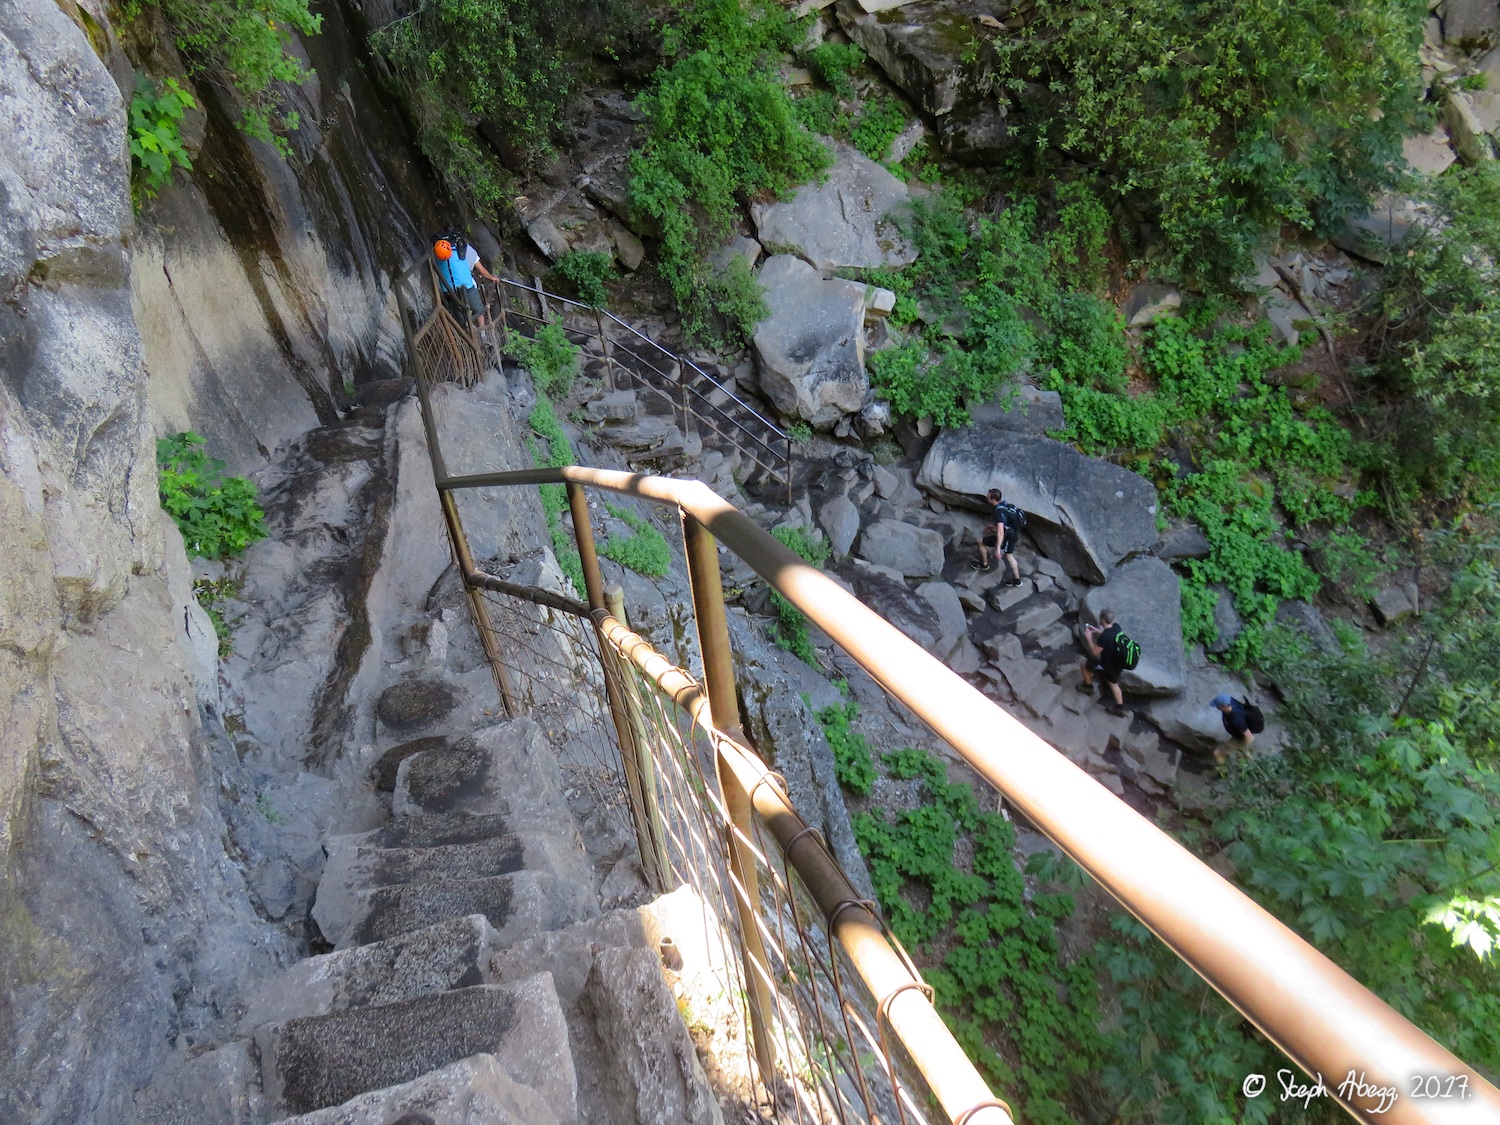
Regular Route on Higher Cathedral Spire (5.9, 5 pitches, 300'), and 
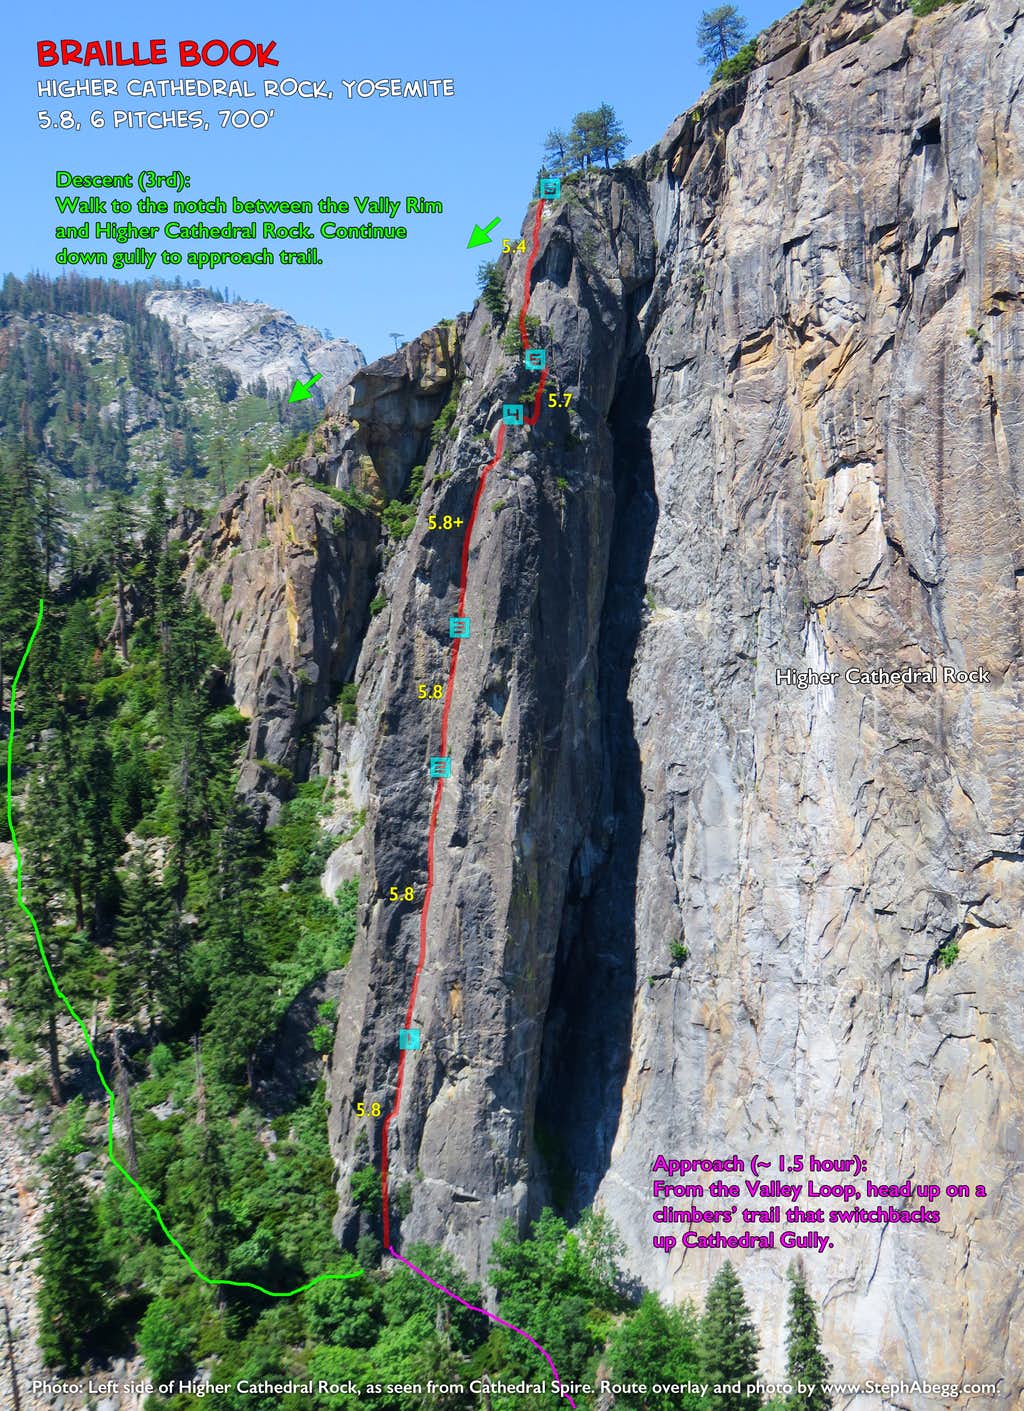
Braille Book on Higher Cathedral Rock (5.8+, 6 pitches, 700'), two Yosemite classics with great position and exposure (I had climbed both of these routes before—Braille Book in 2005 and Regular Route in 
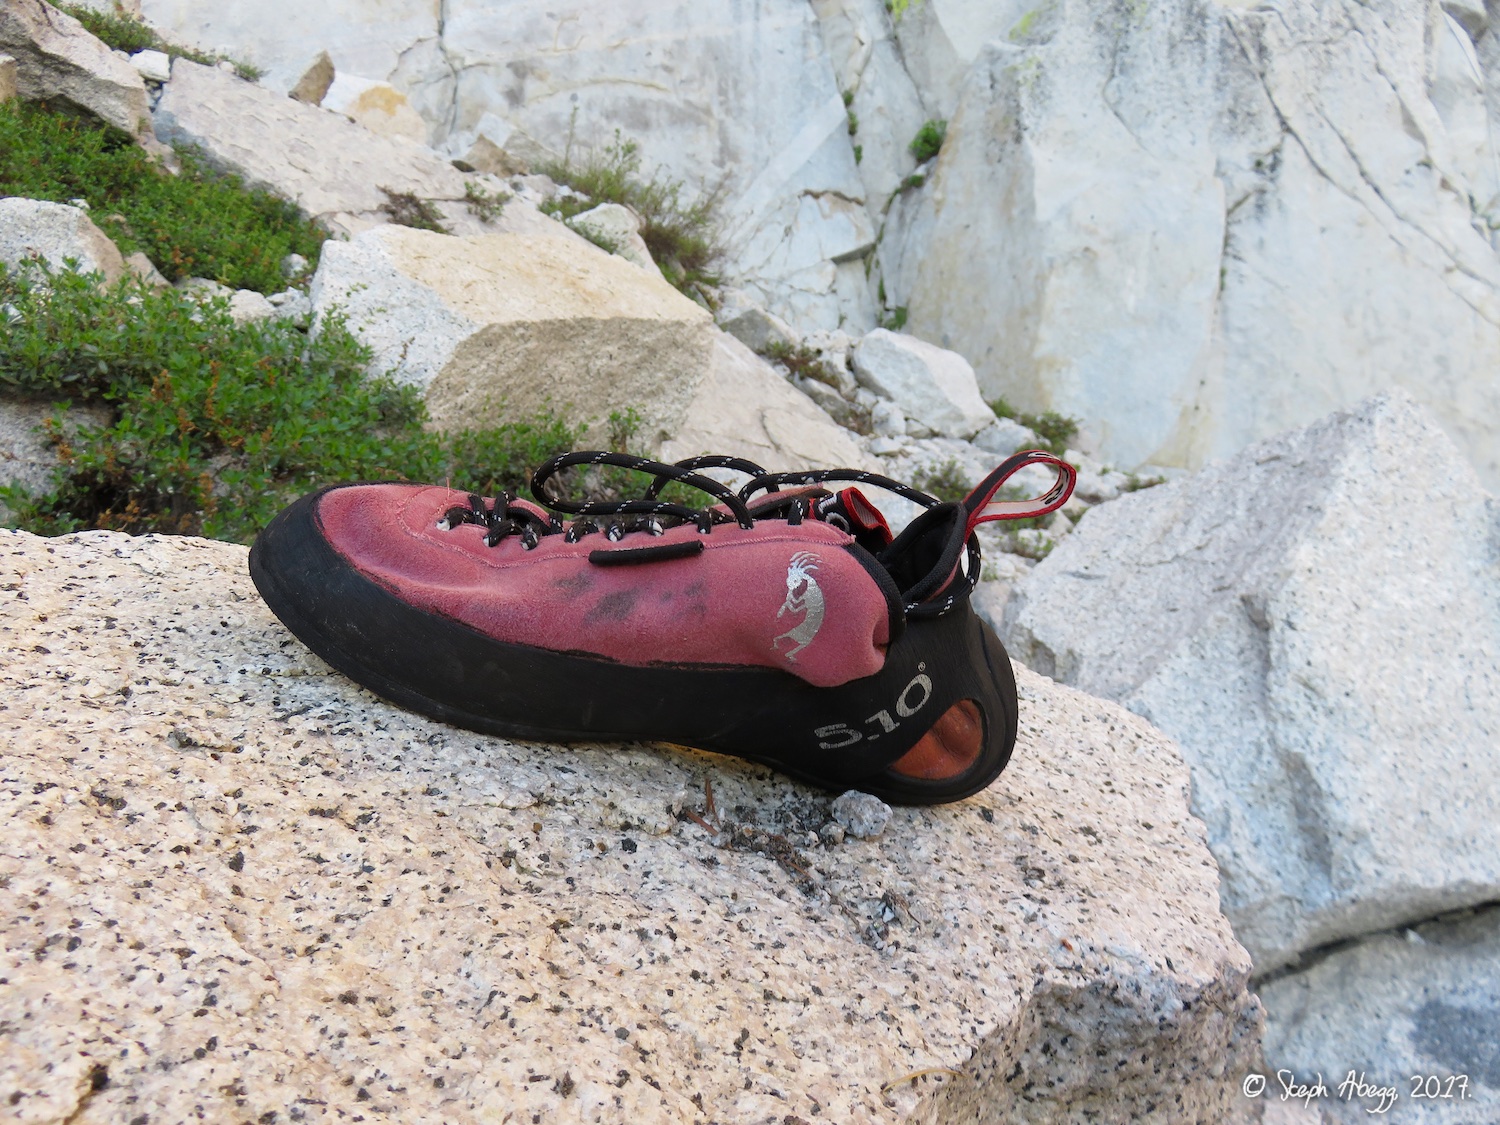
2007—but thought that the link-up of these two routes would be a good day out). We had planned on climbing "something harder/bigger" the third day, but James dropped a climbing shoe into the chimney on 
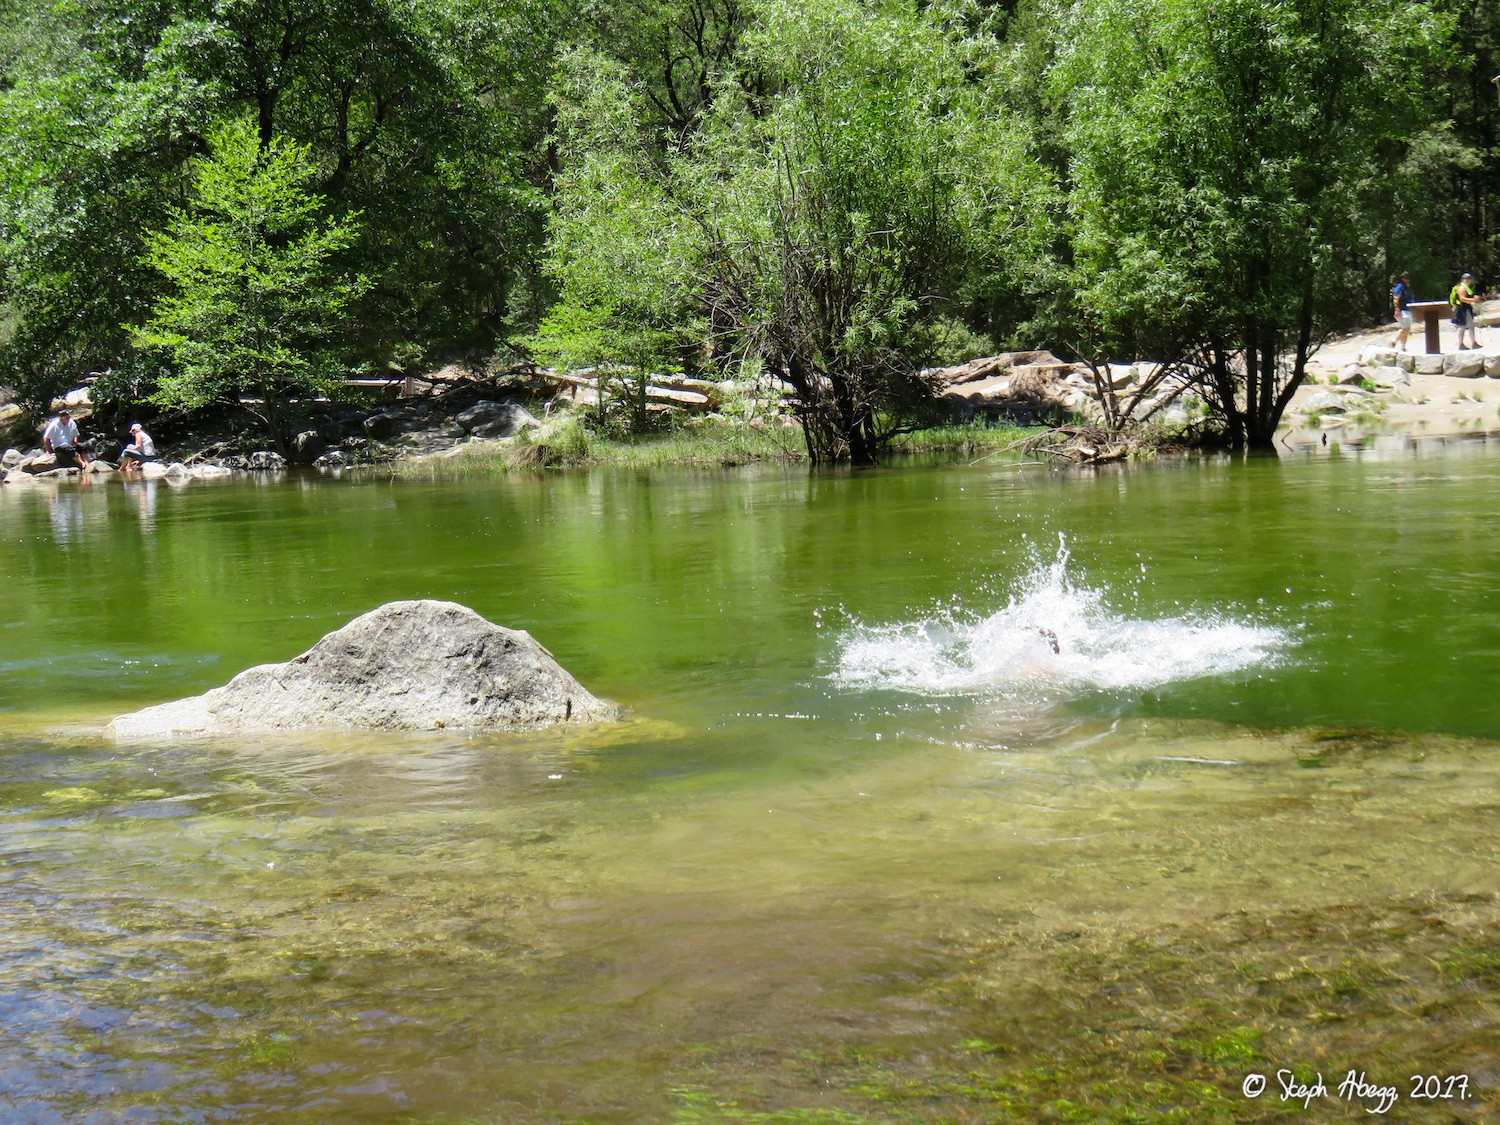
Braille Book so instead we enjoyed the river and the valley floor and hiked under the base of El Cap. I felt badly that James had lost a shoe and a day of climbing, but I had a blast climbing with him and hope he got enough of a taste of the Valley to need to come back!

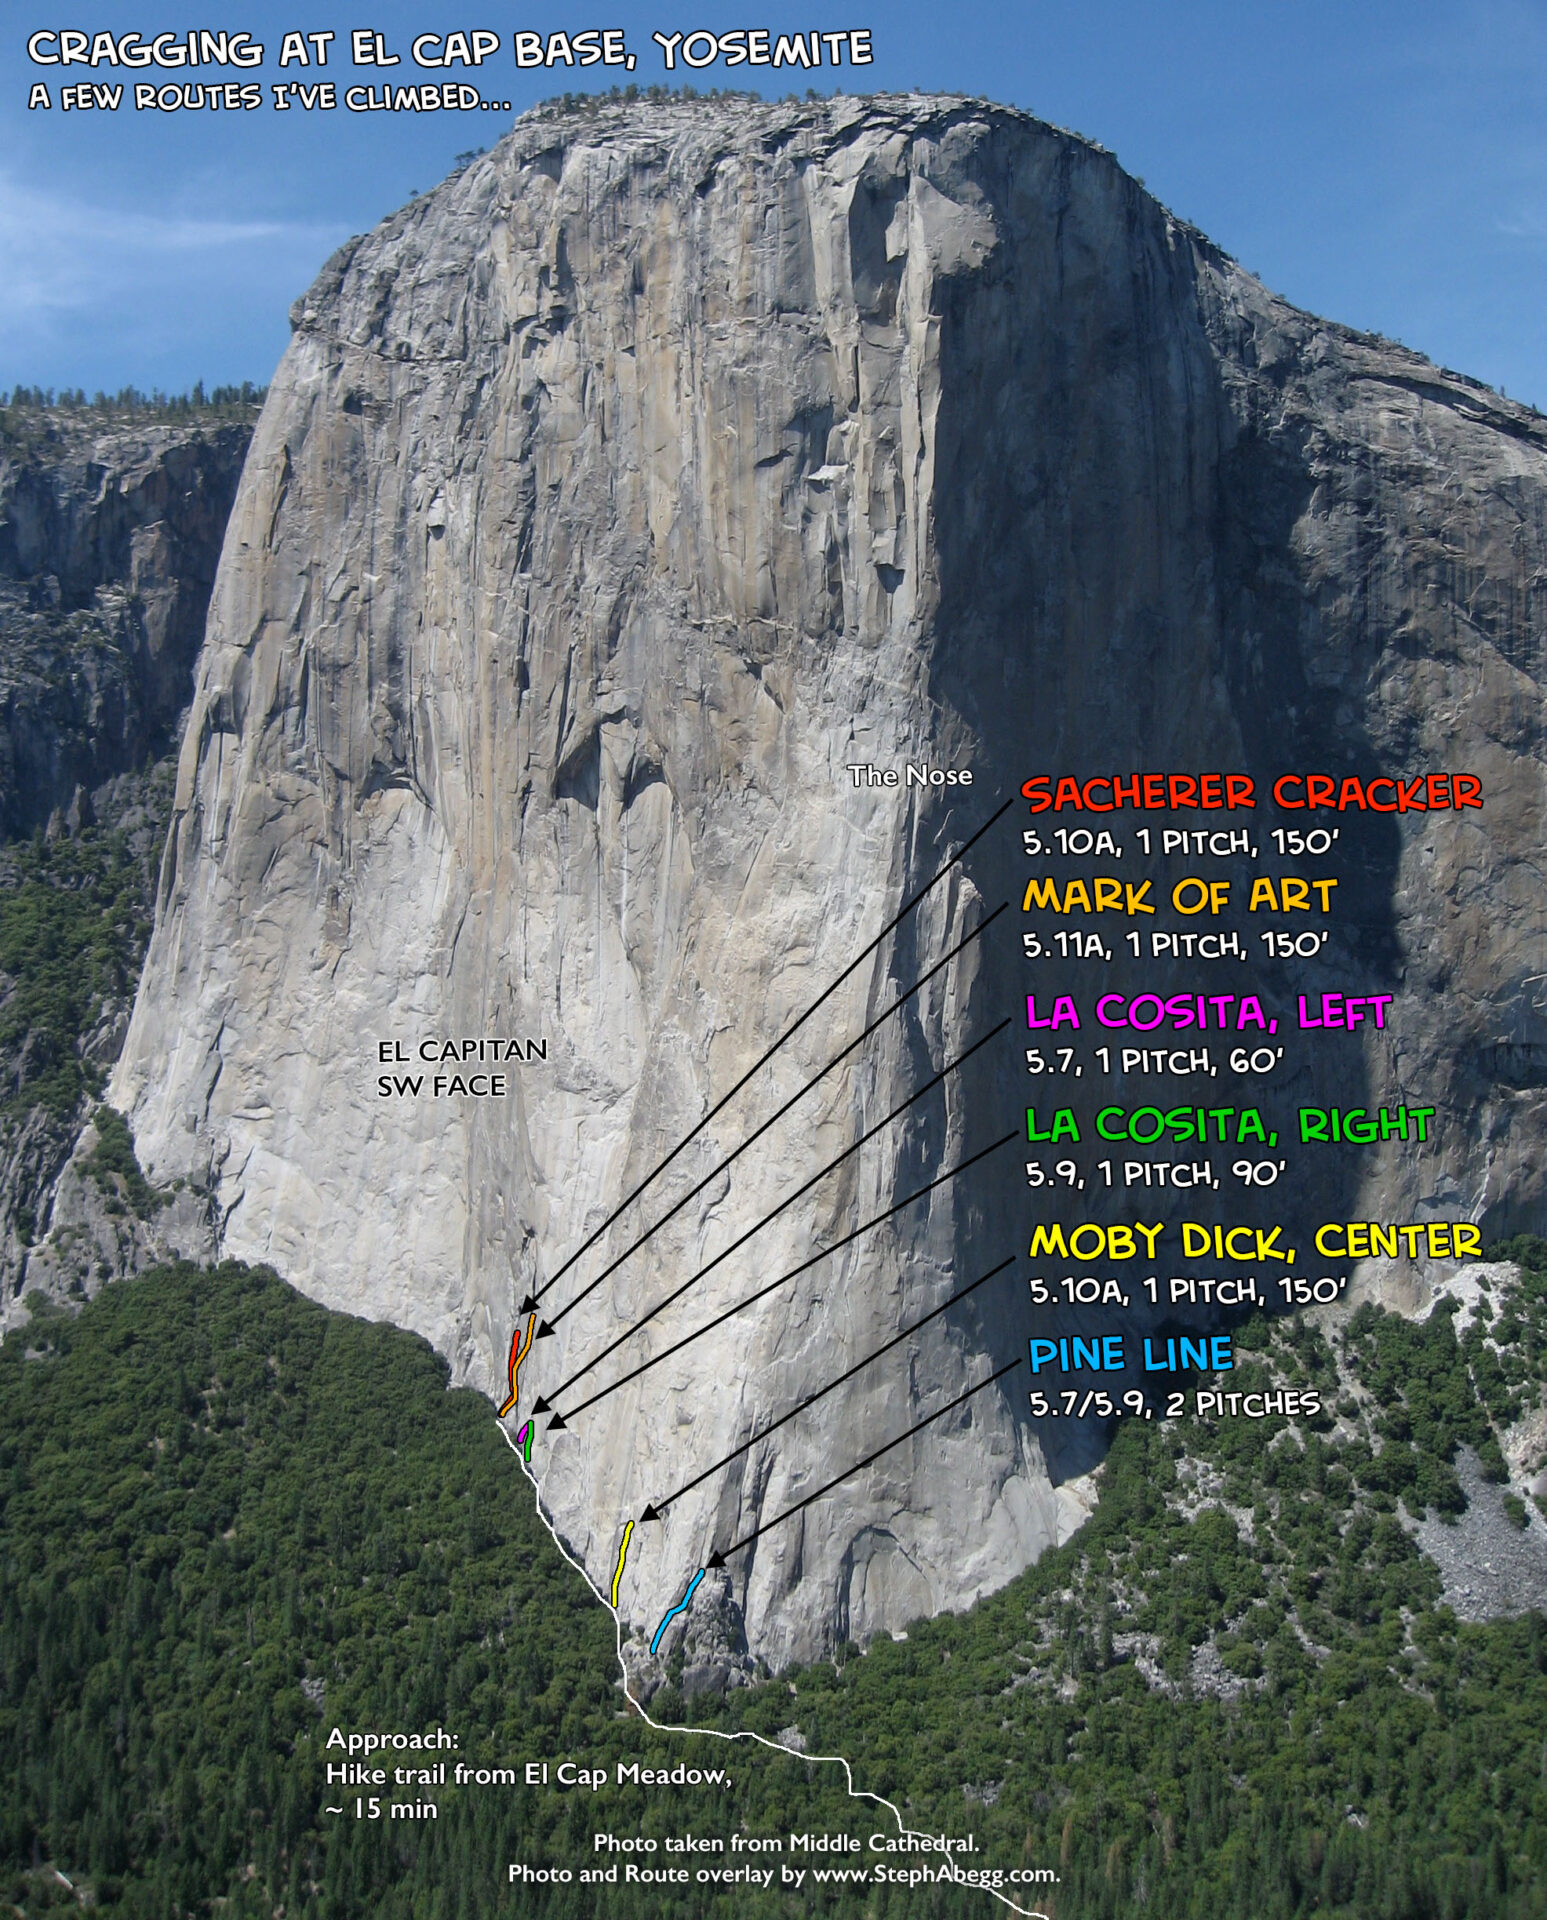
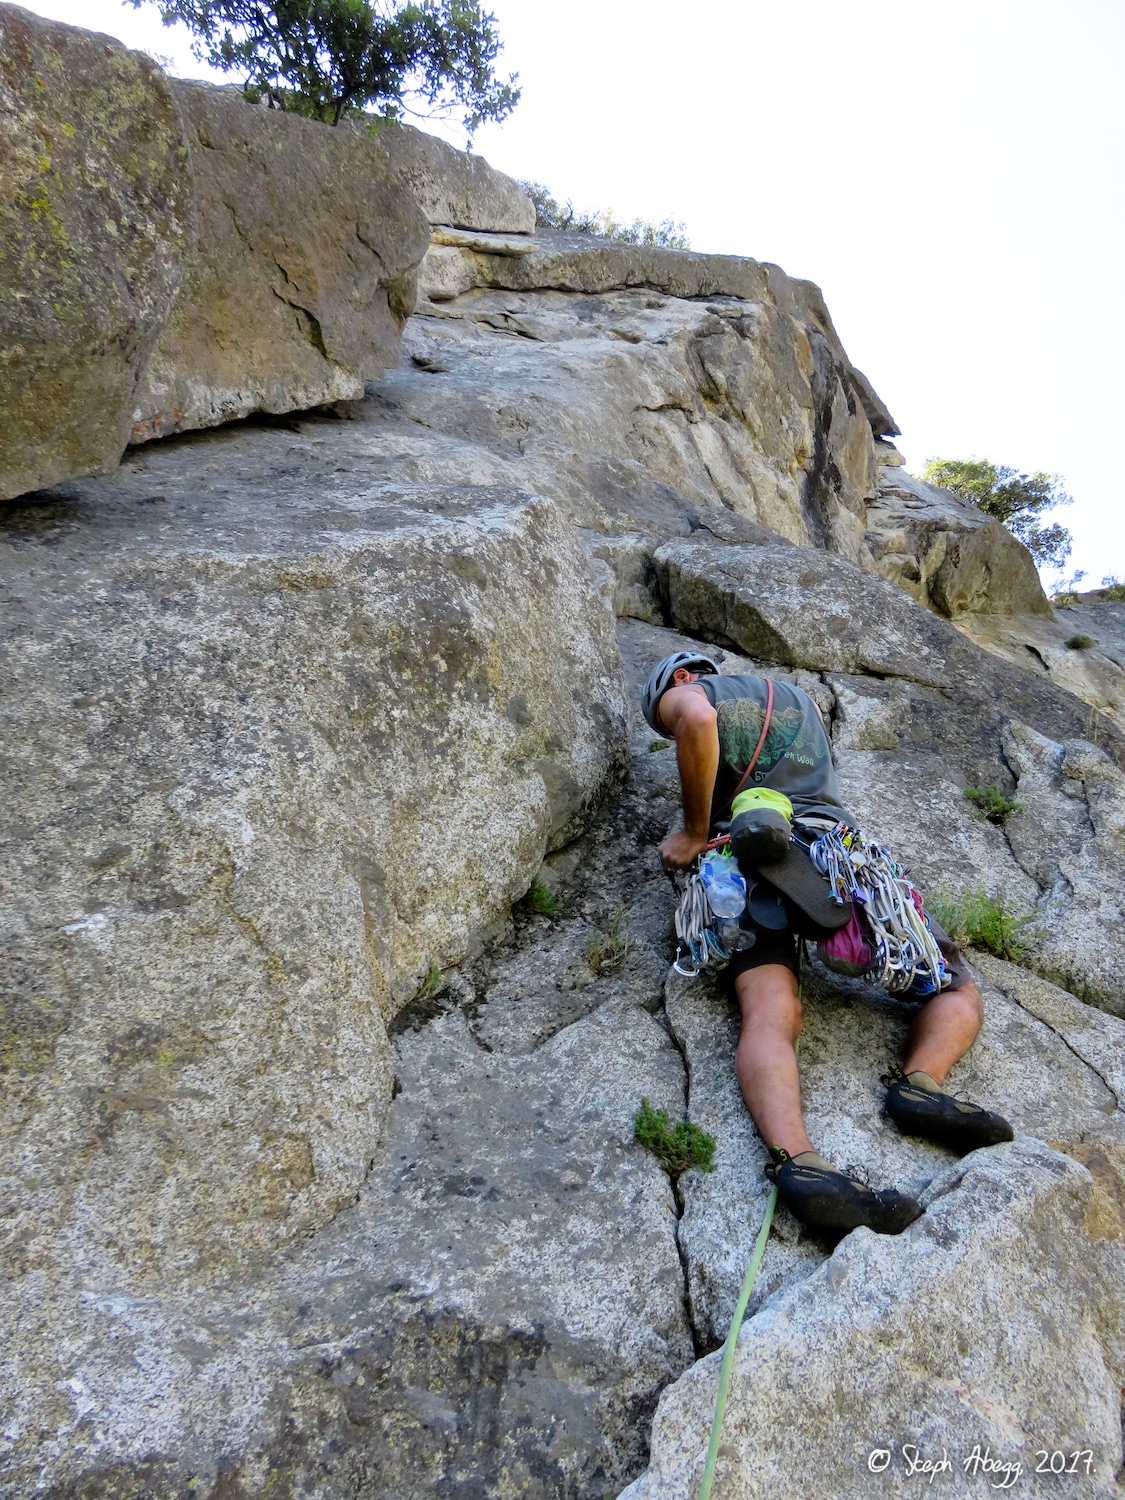
After James left, I had a free day, so I checked the Camp 4 message boards and found Lochie from Massachusetts. Lochie and I spent a morning of 
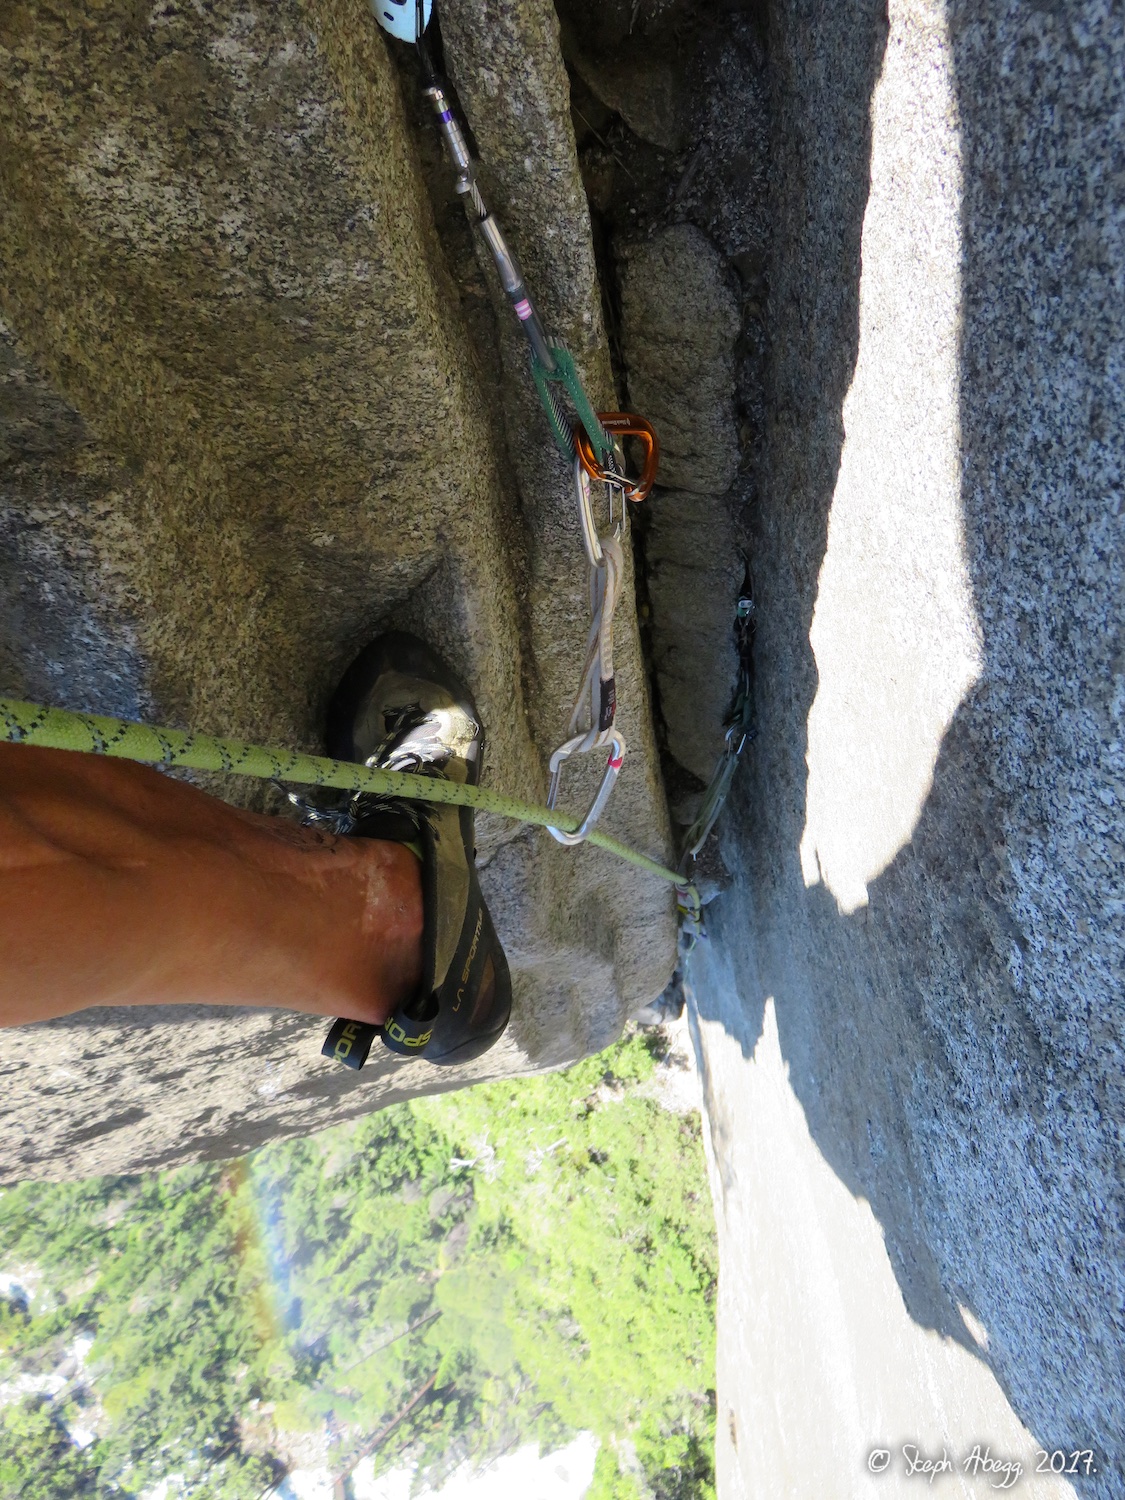
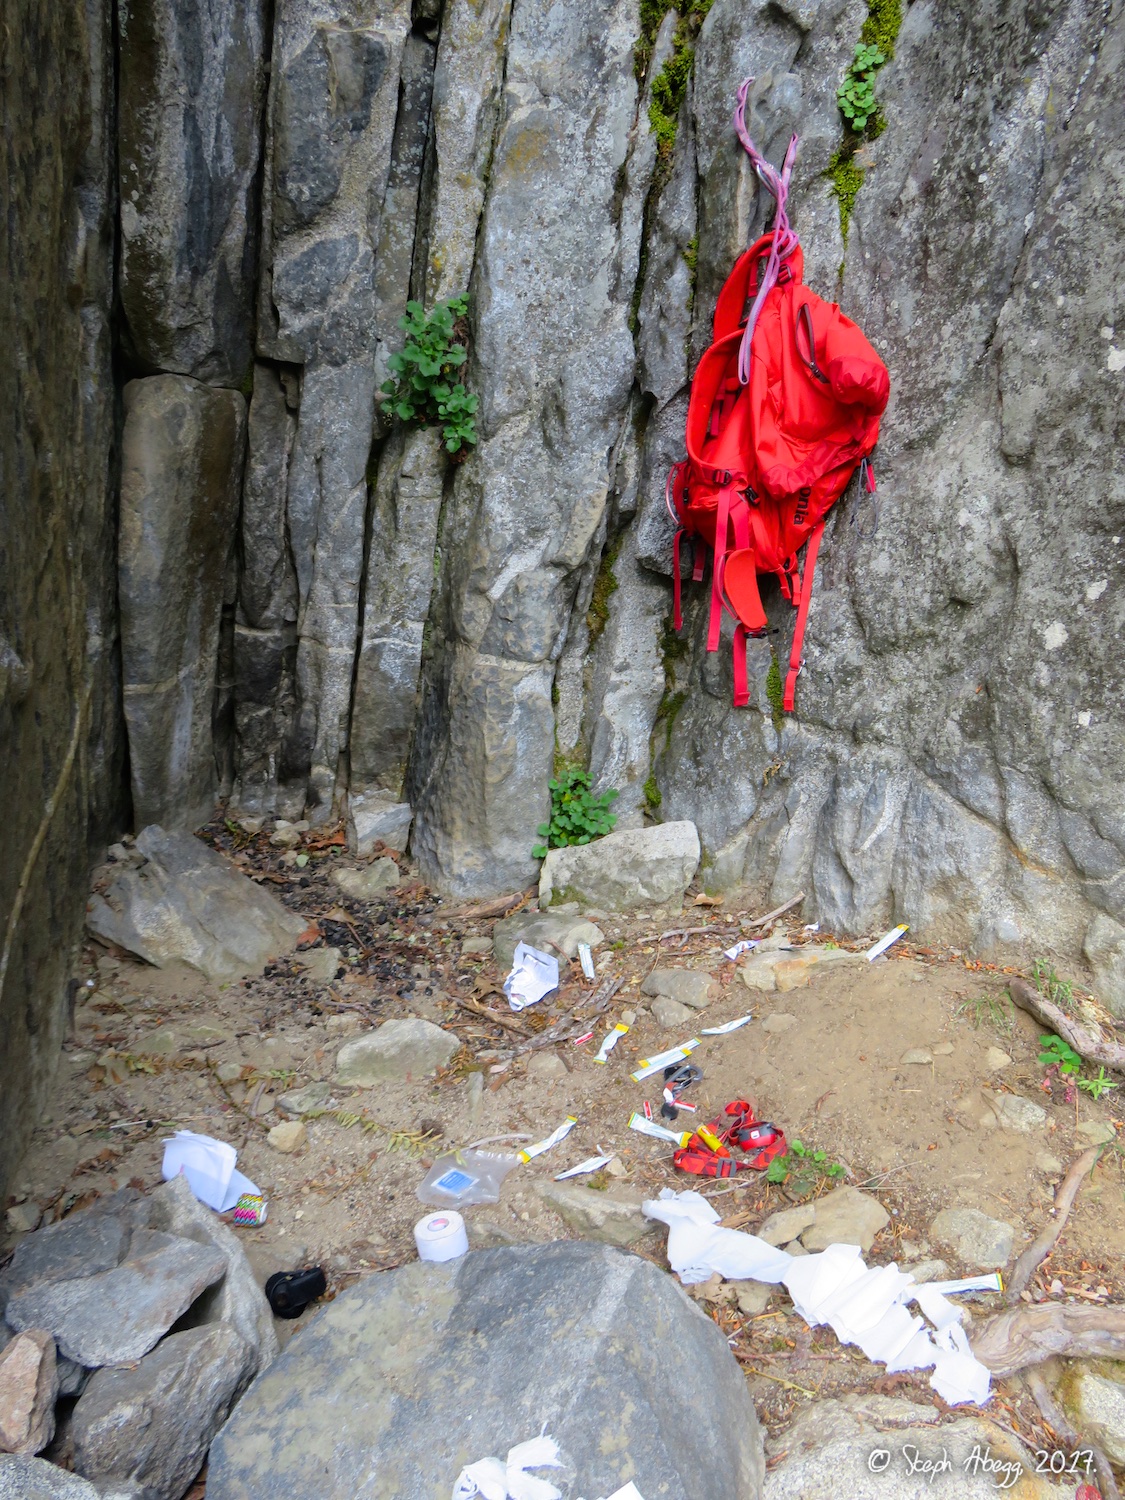
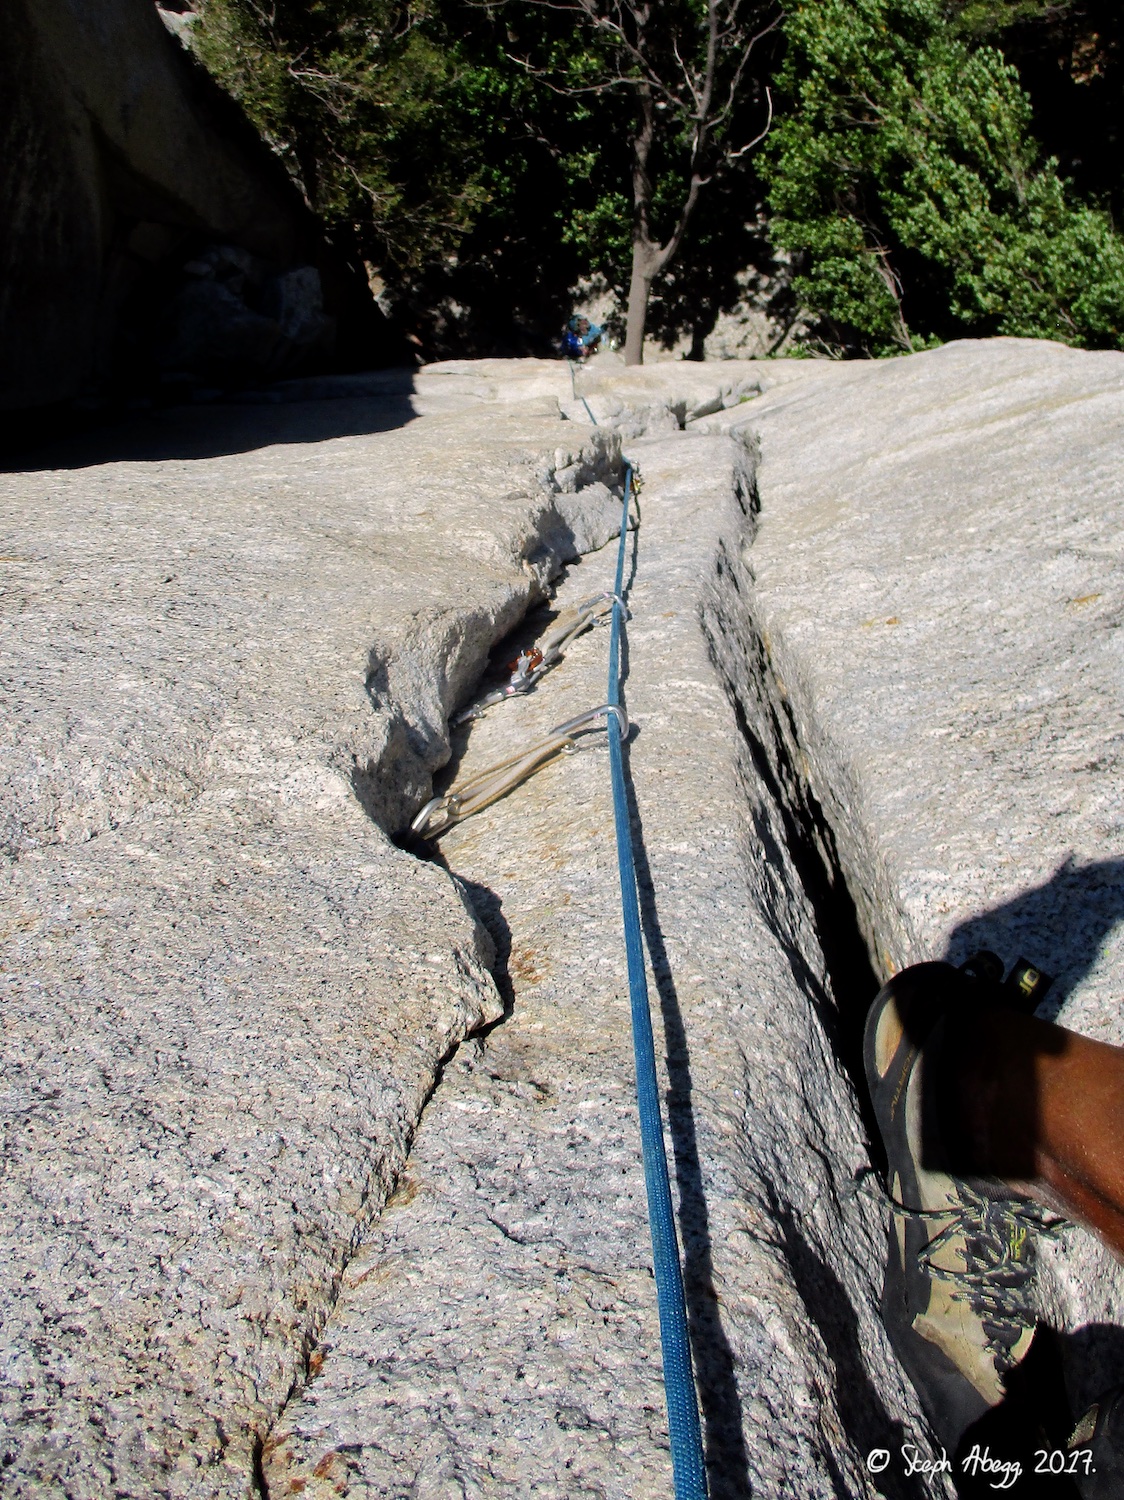
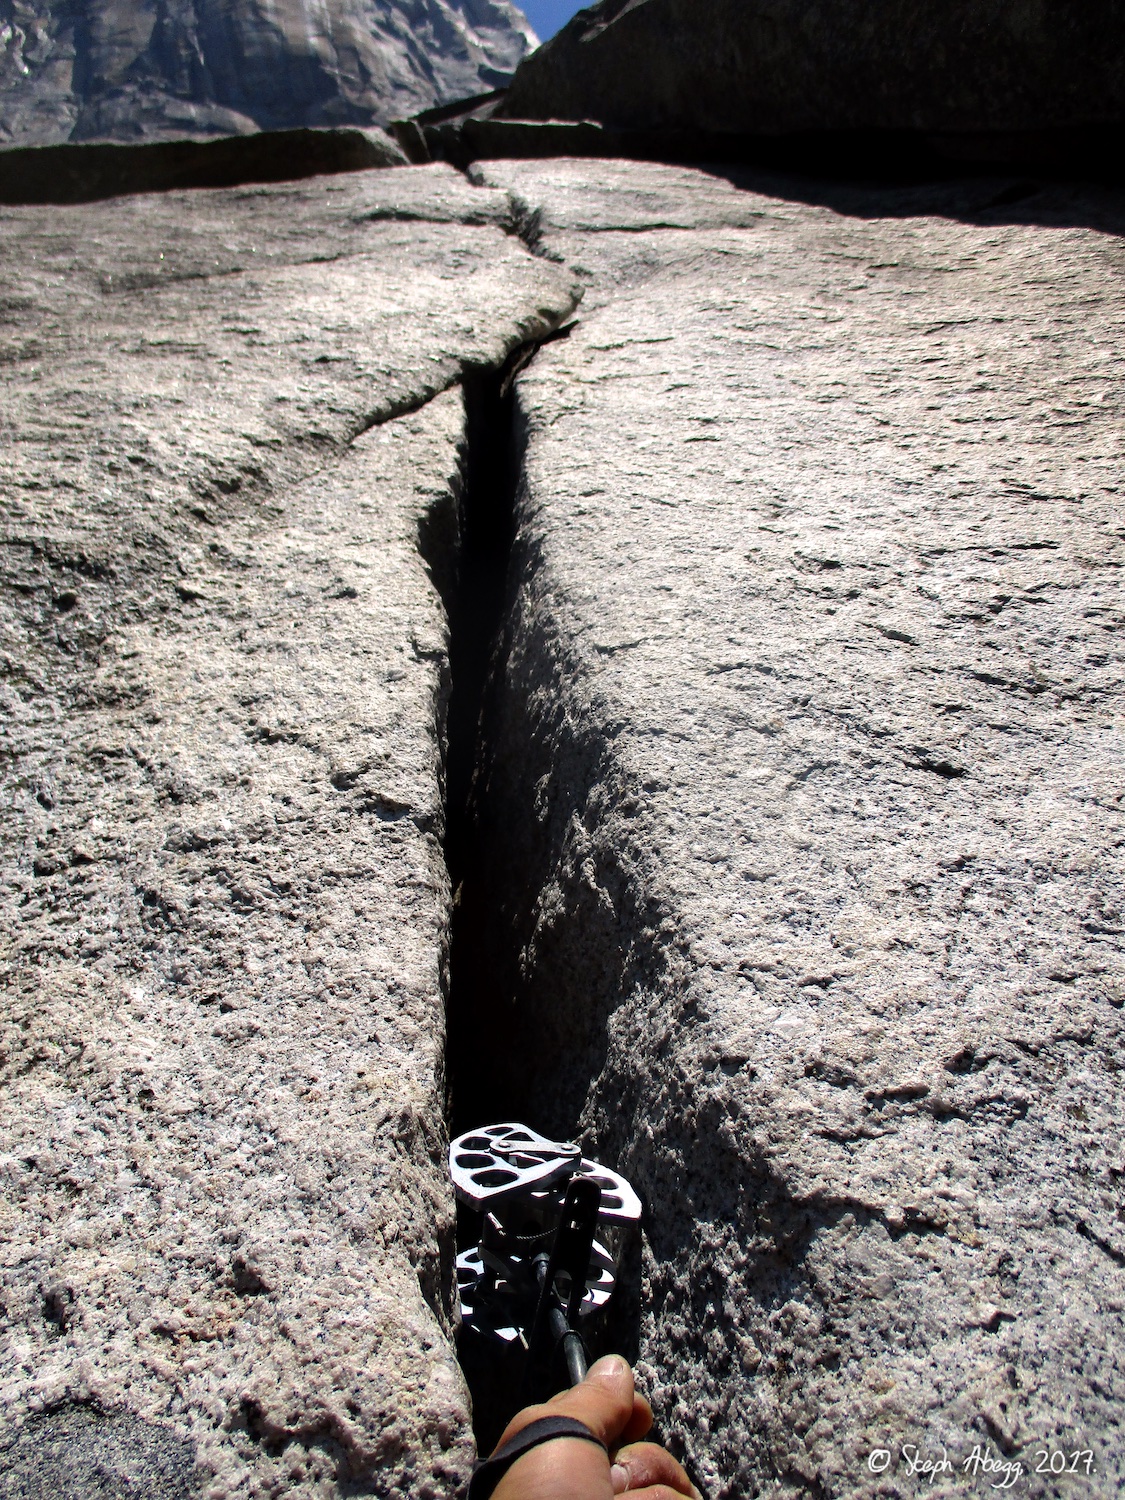
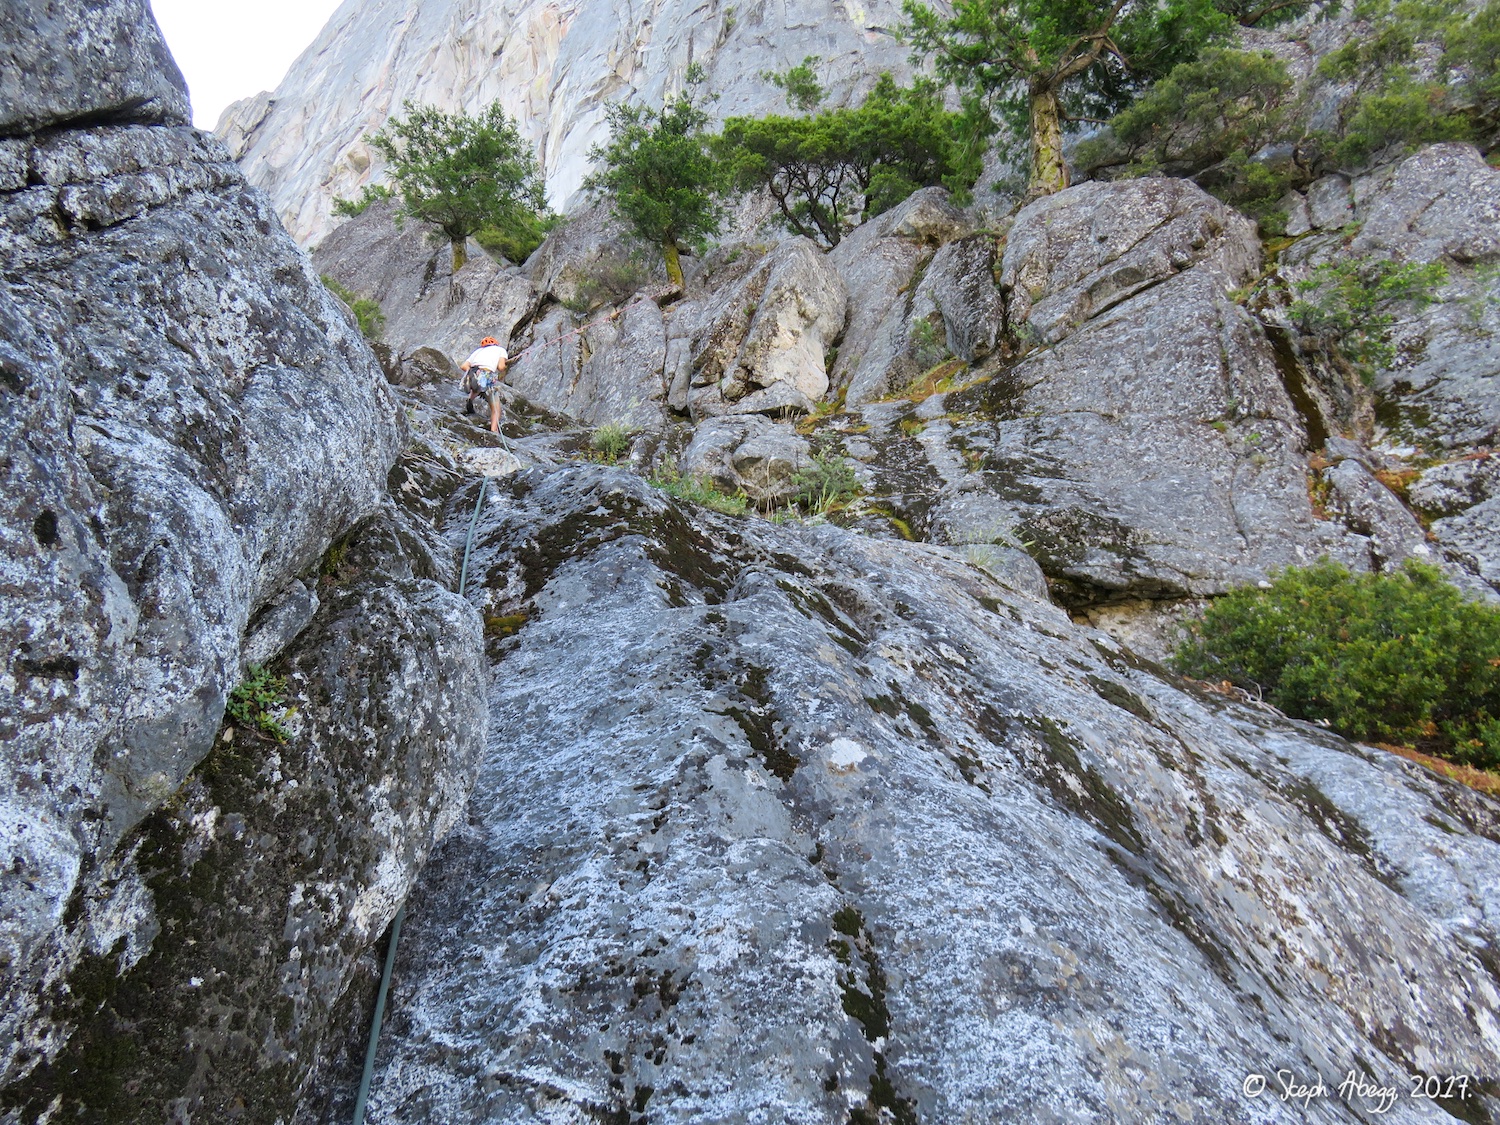
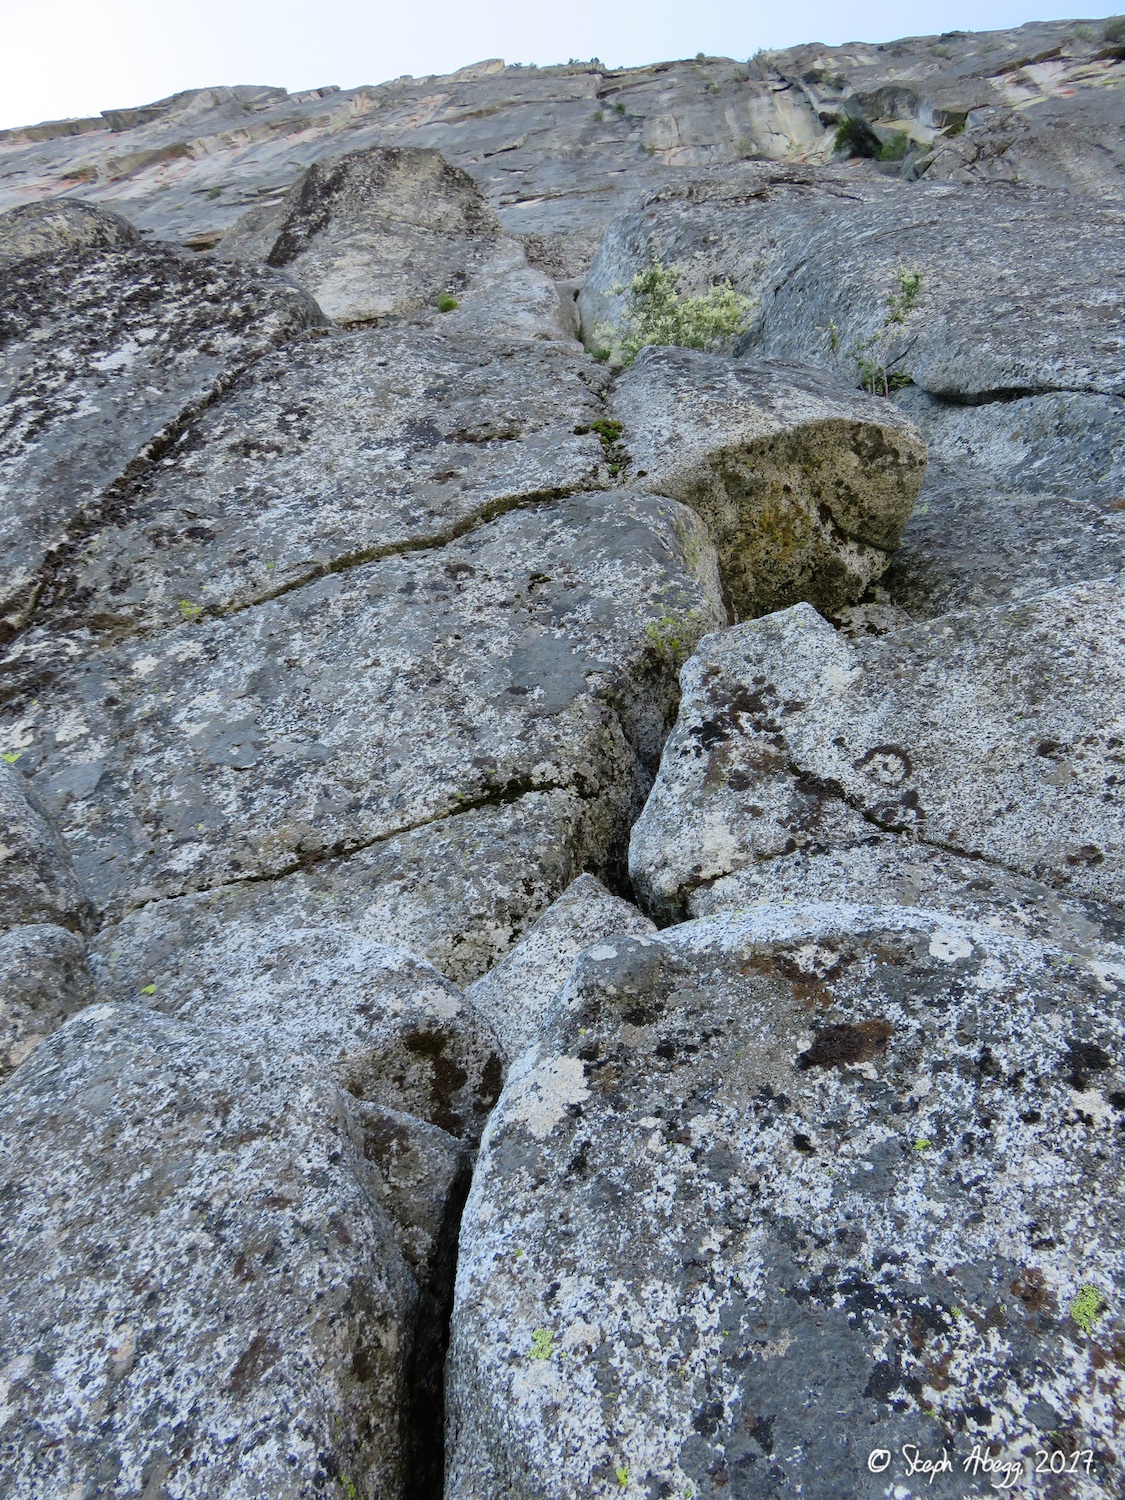
Cragging at El Capitan Base (
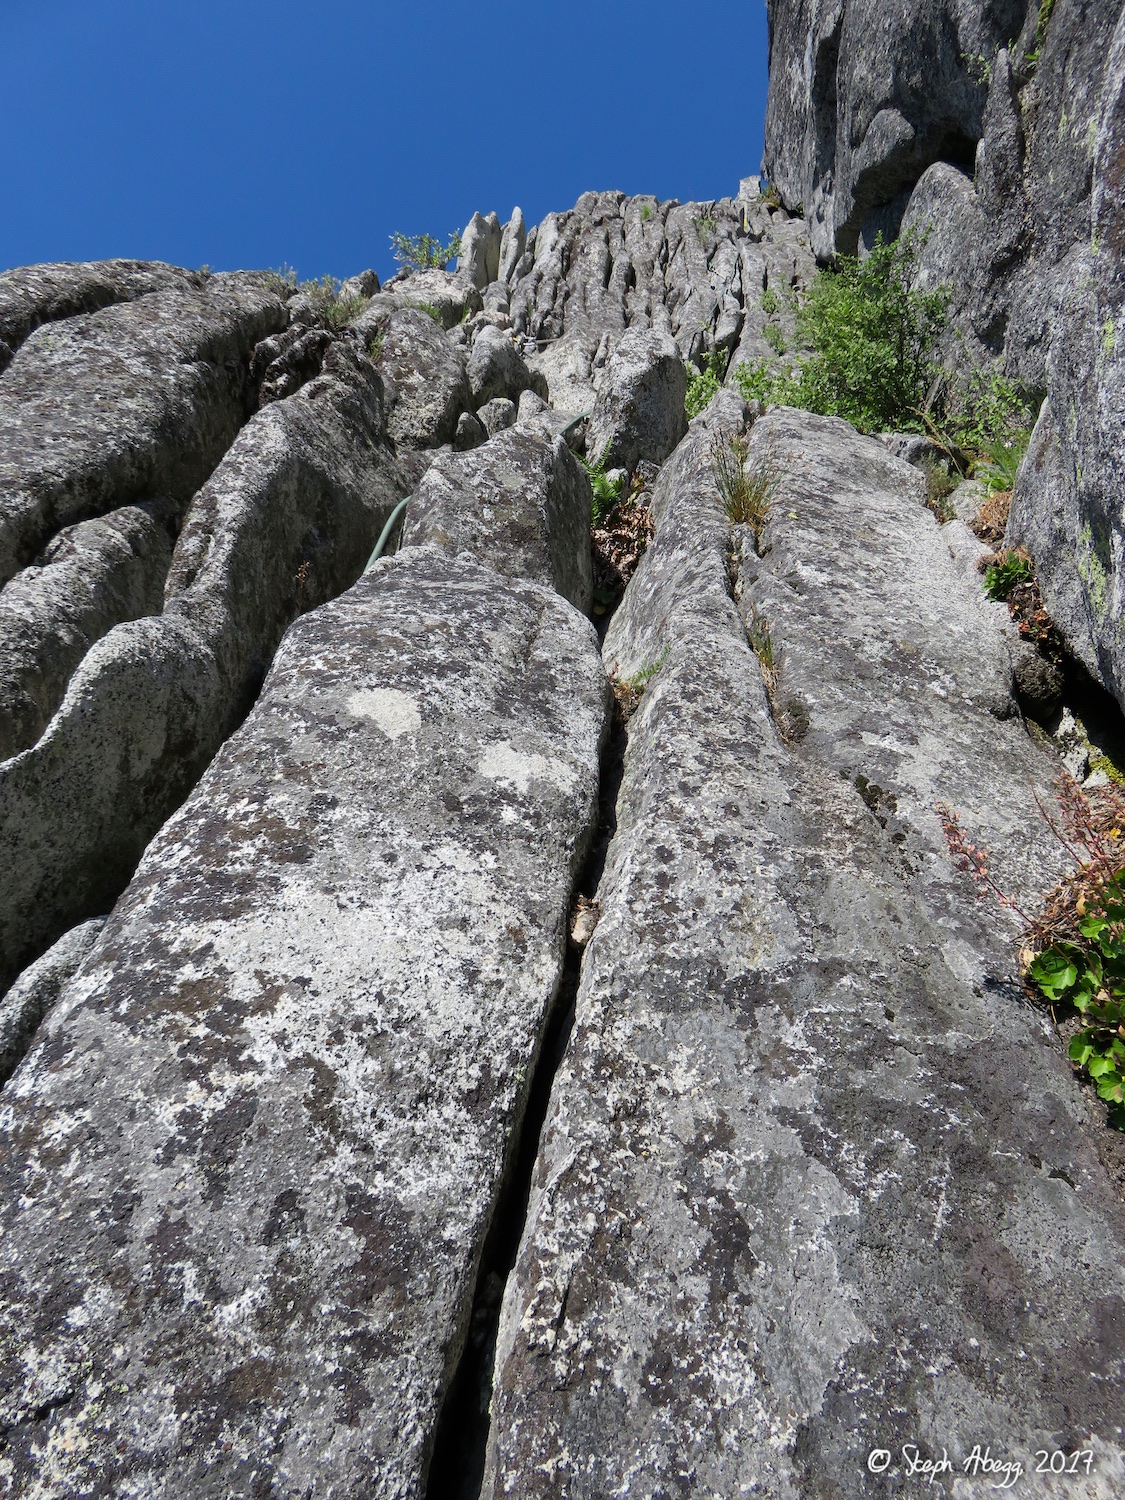
La Cosita Left, La Cosita Right, Sacherer Cracker, Moby Dick), until the sun hit the southwest face and it got too hot to climb. Even at the base, the rock on El Capitan is just so excellent and the cracks so splitter.

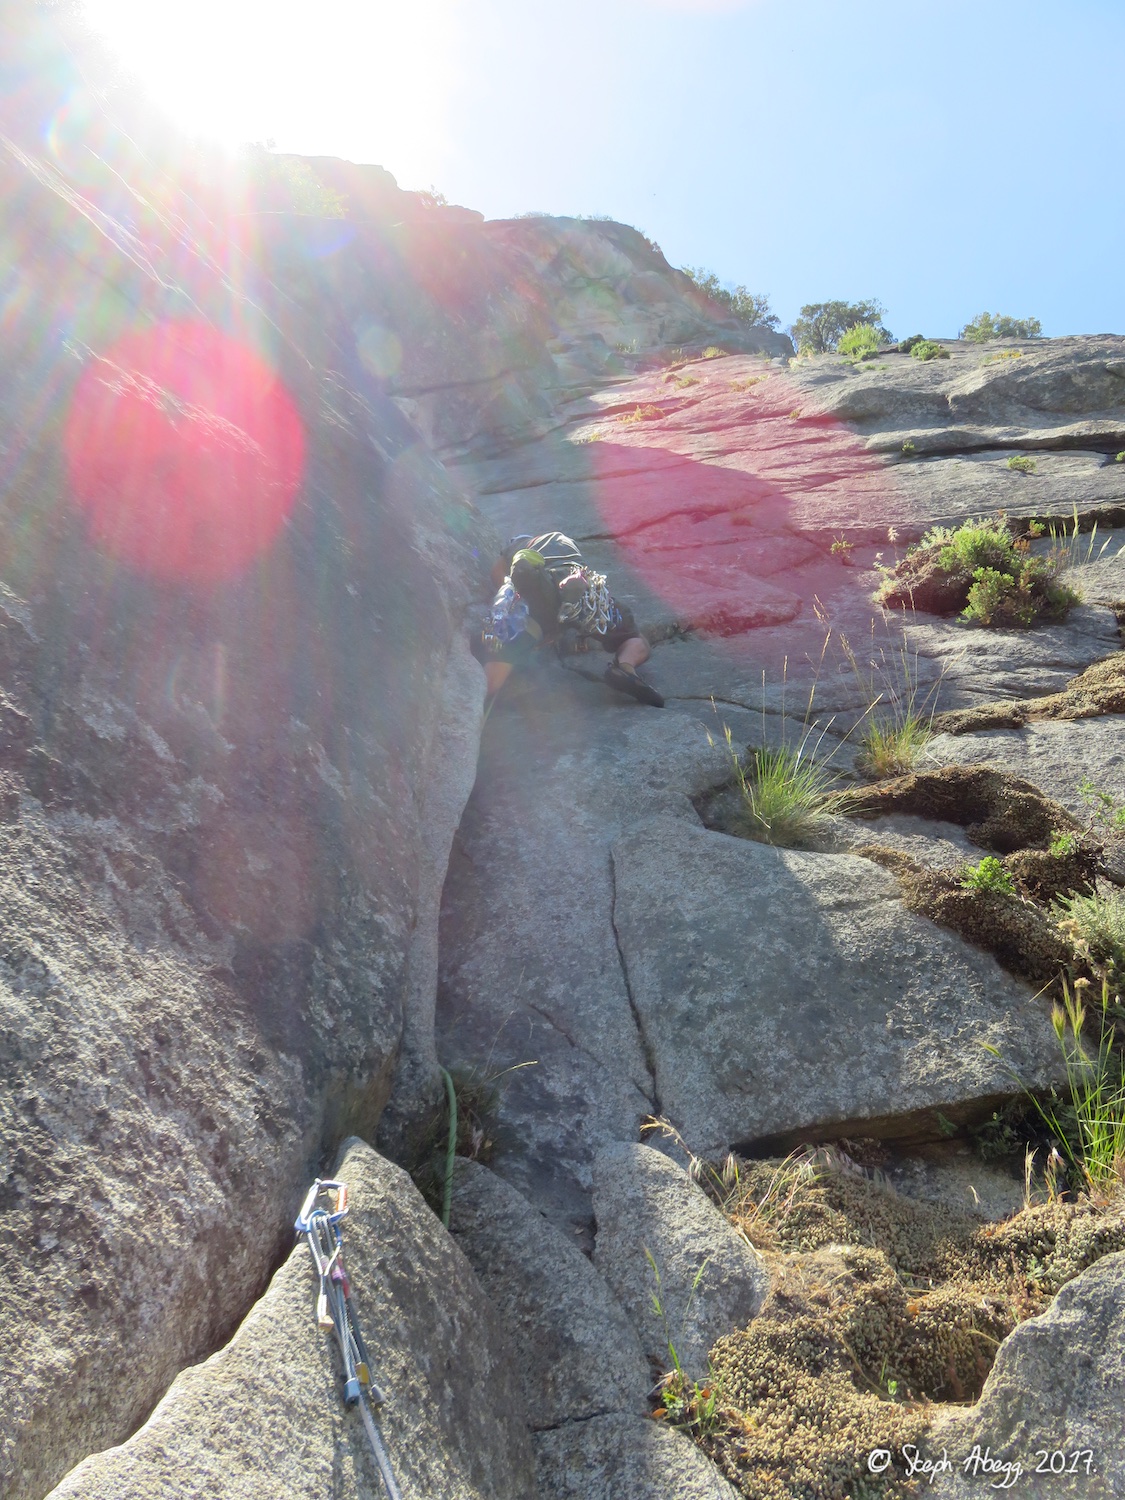
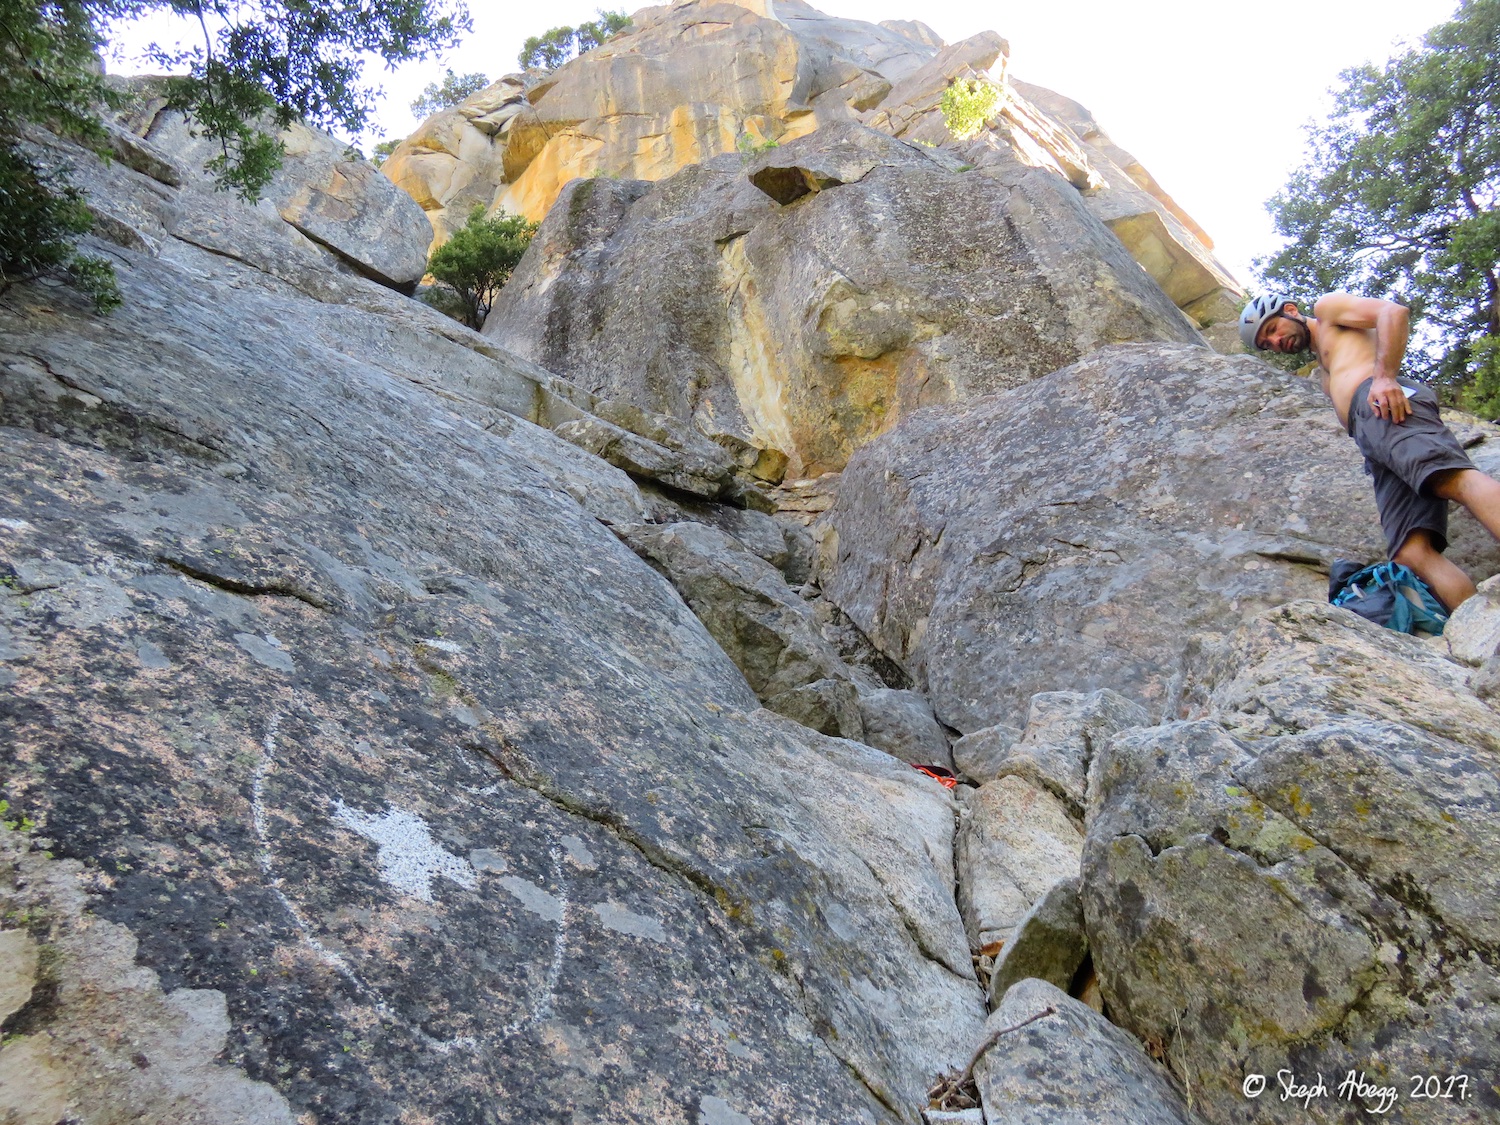
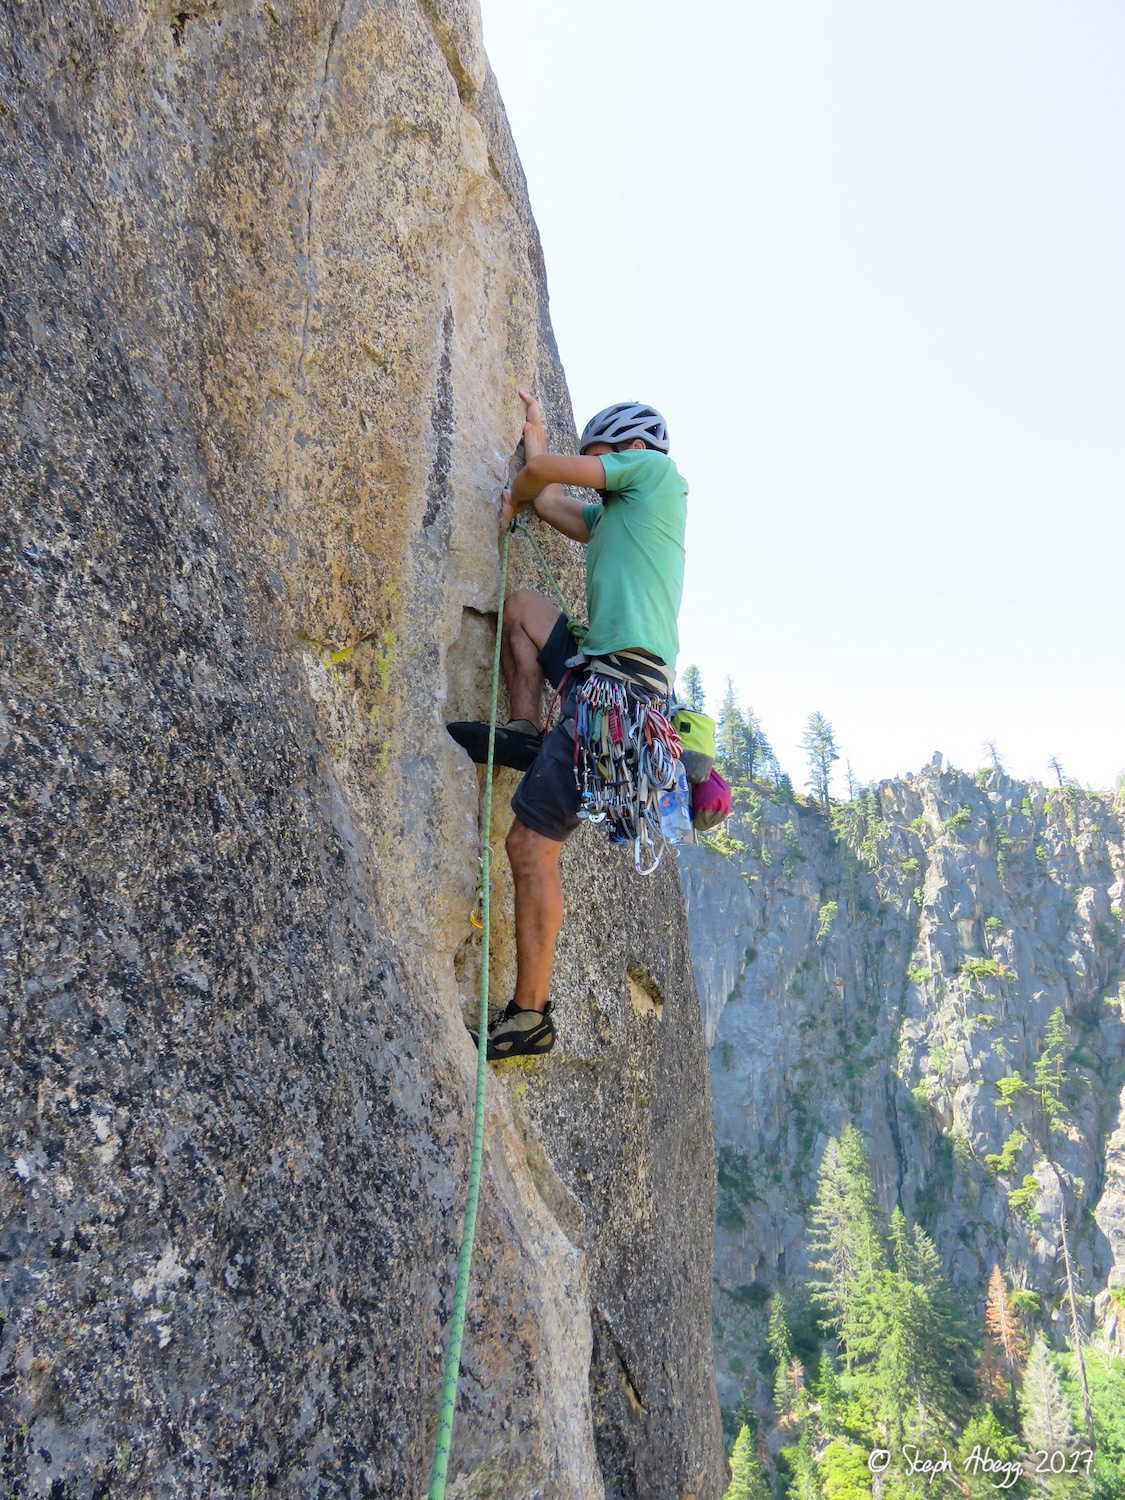
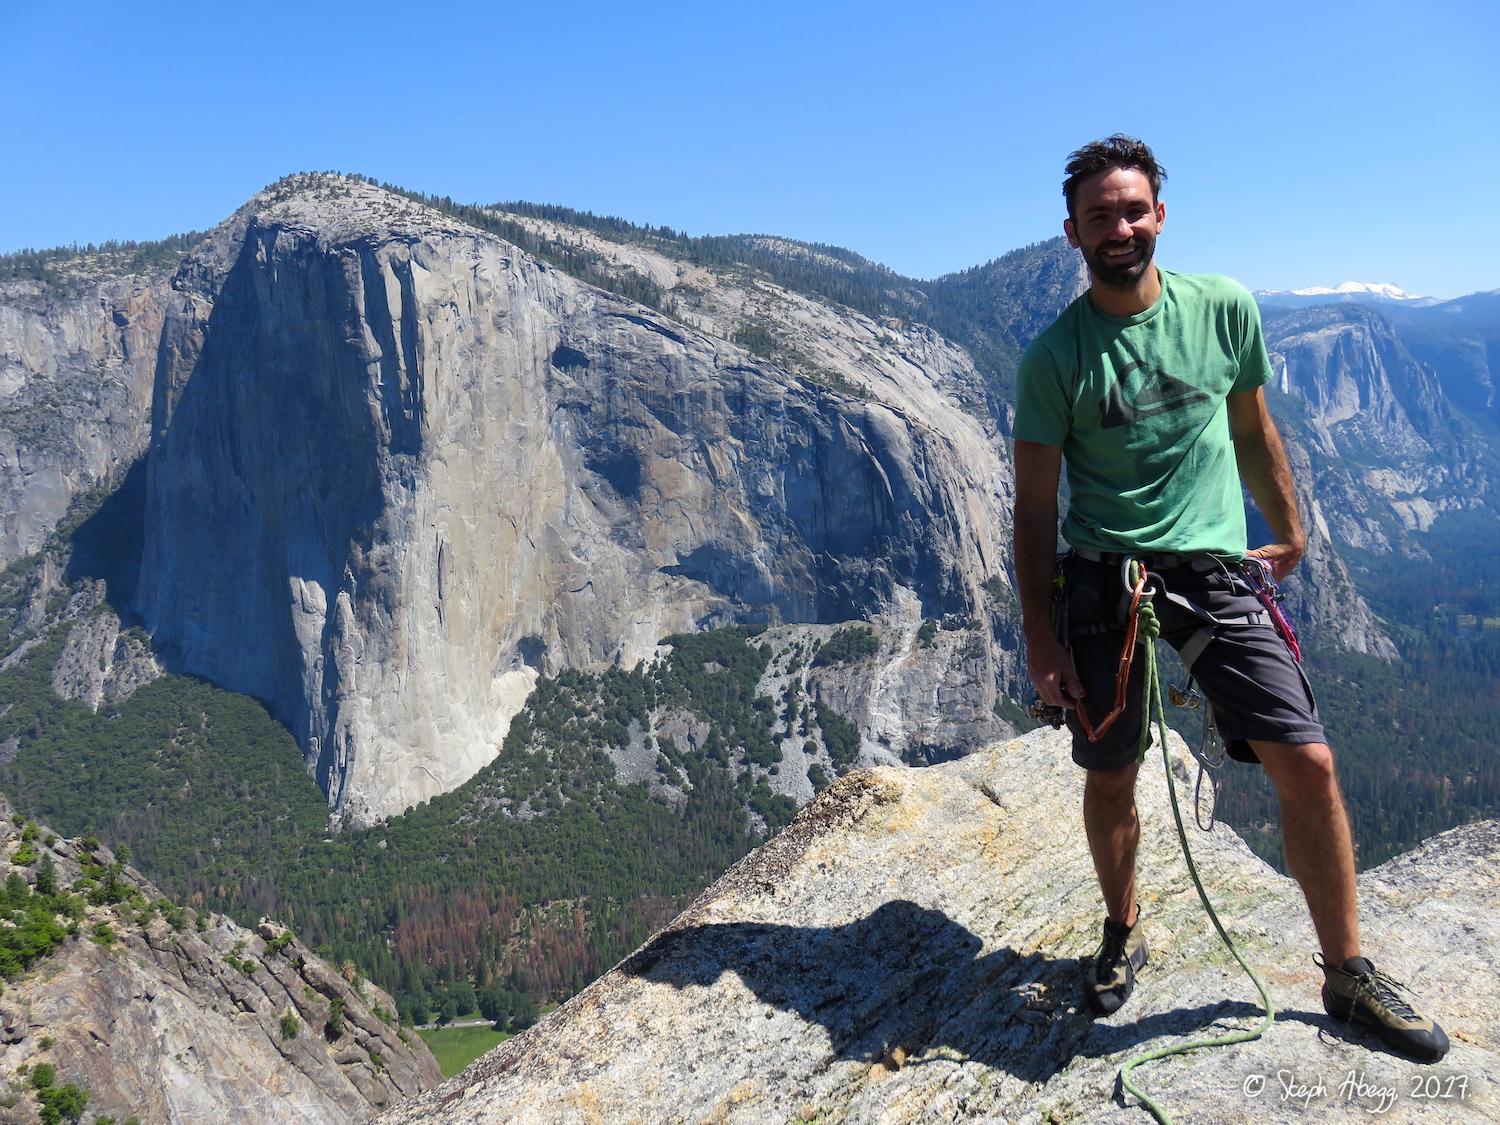
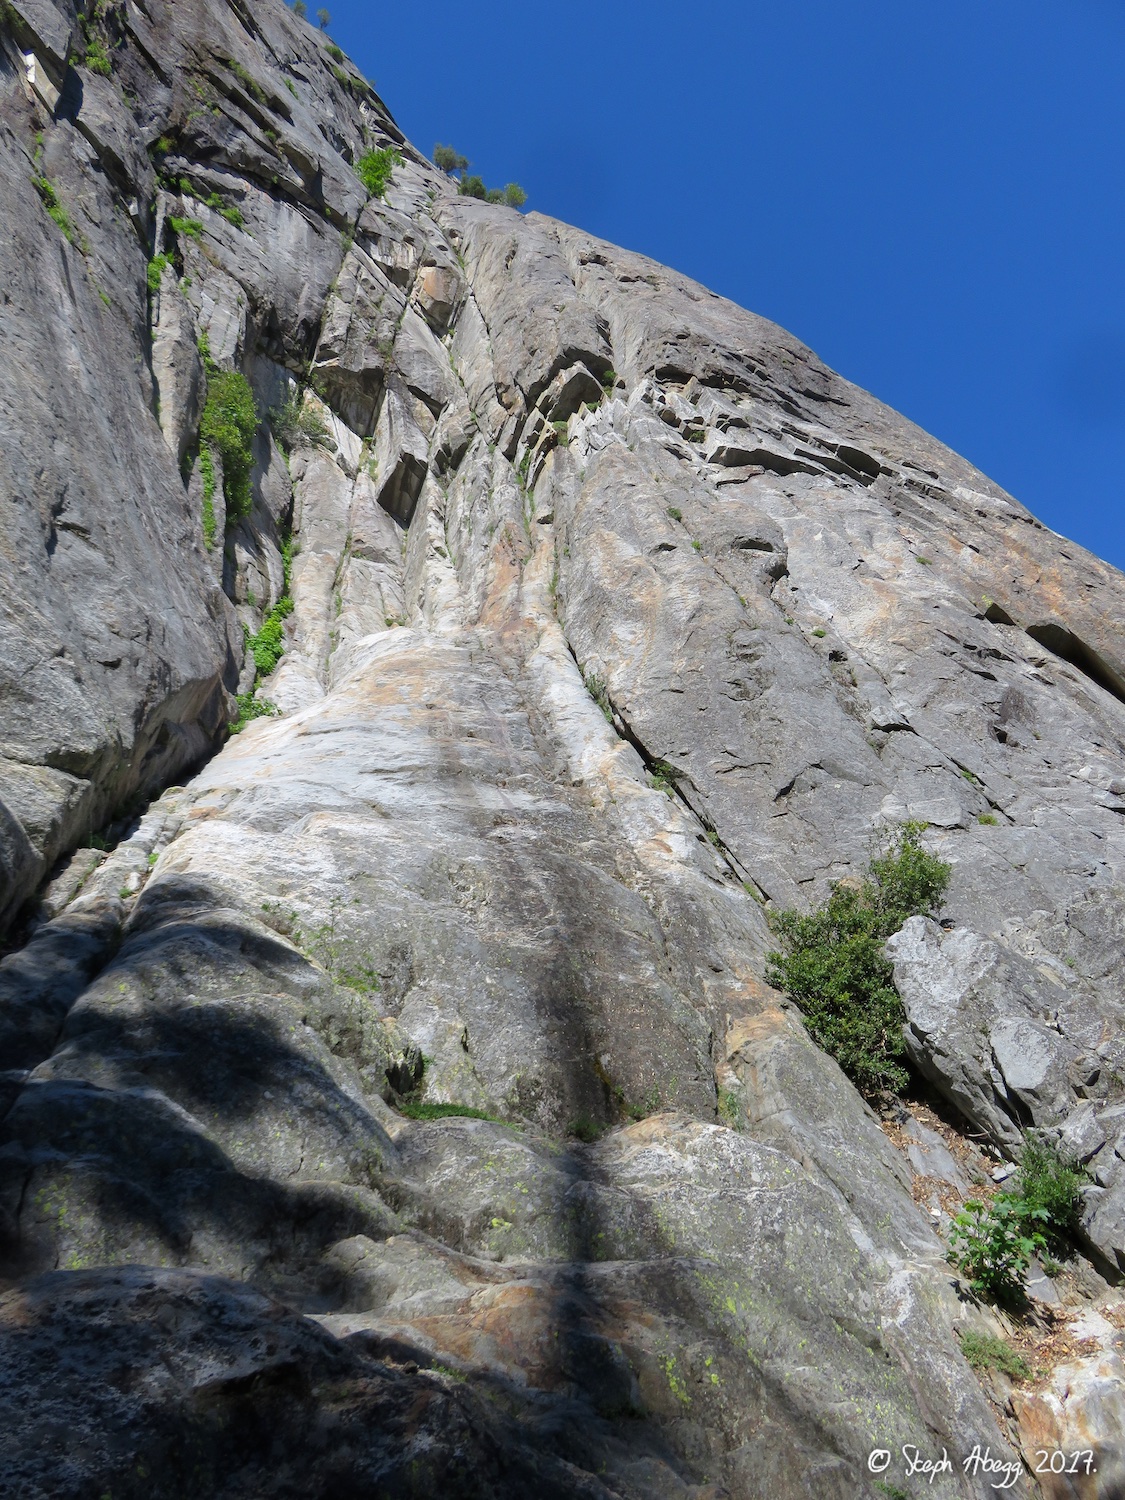
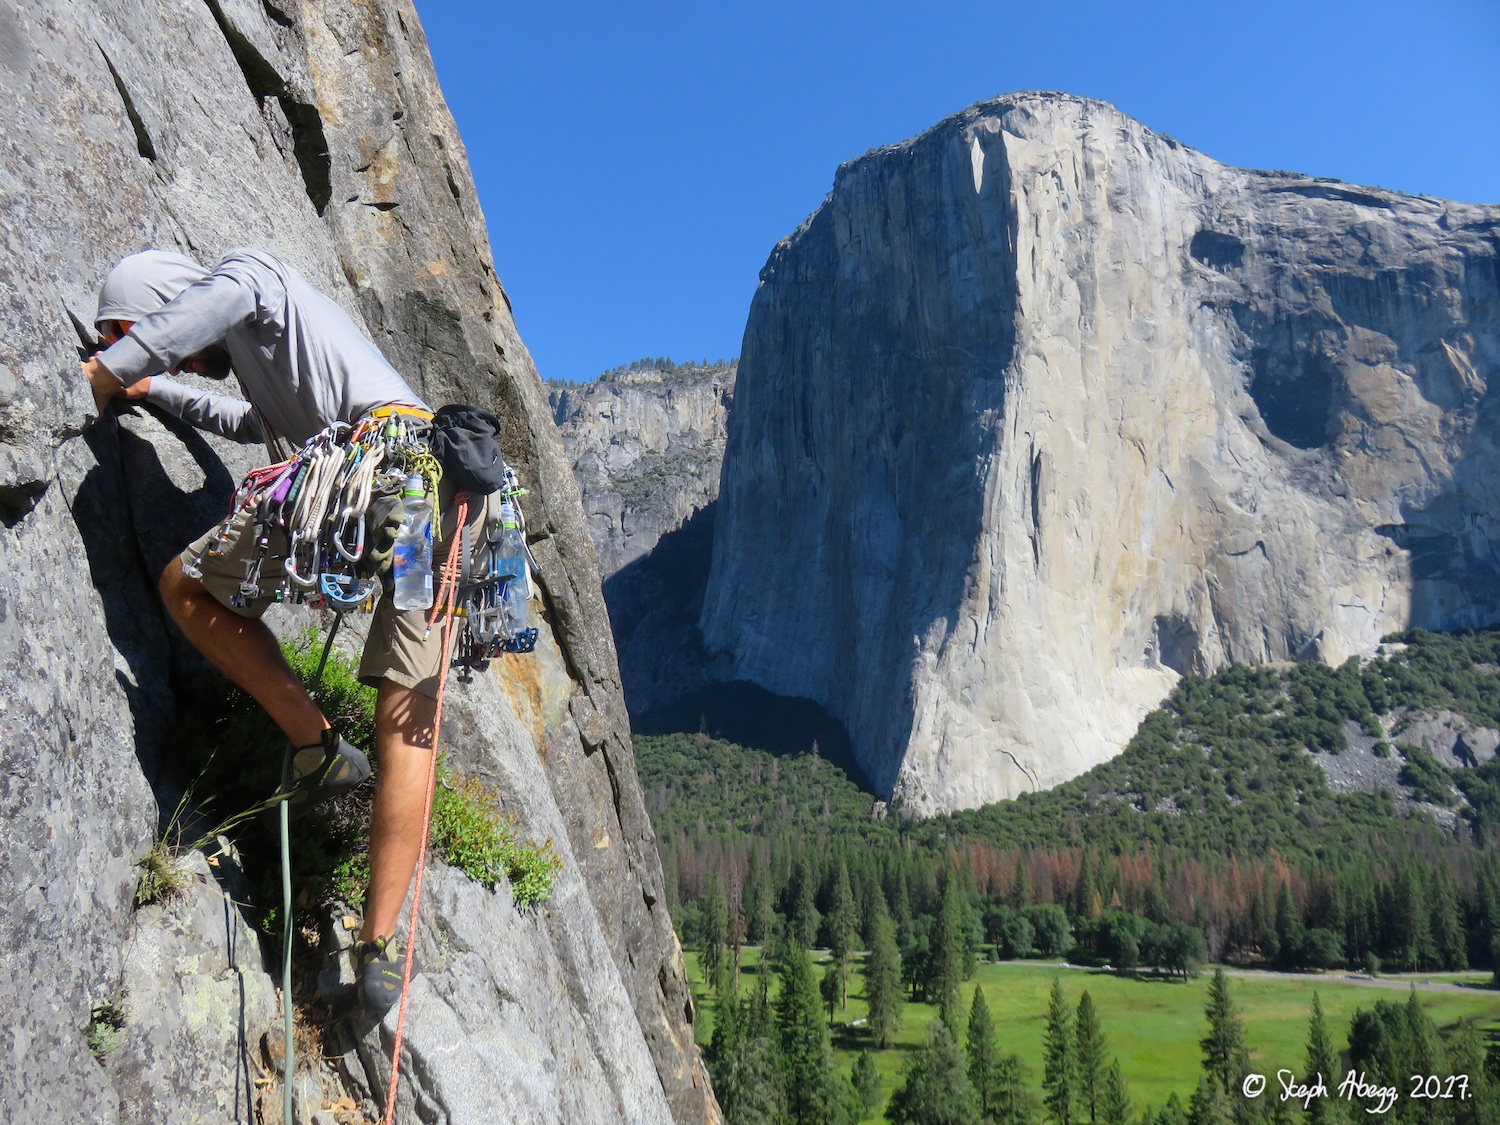
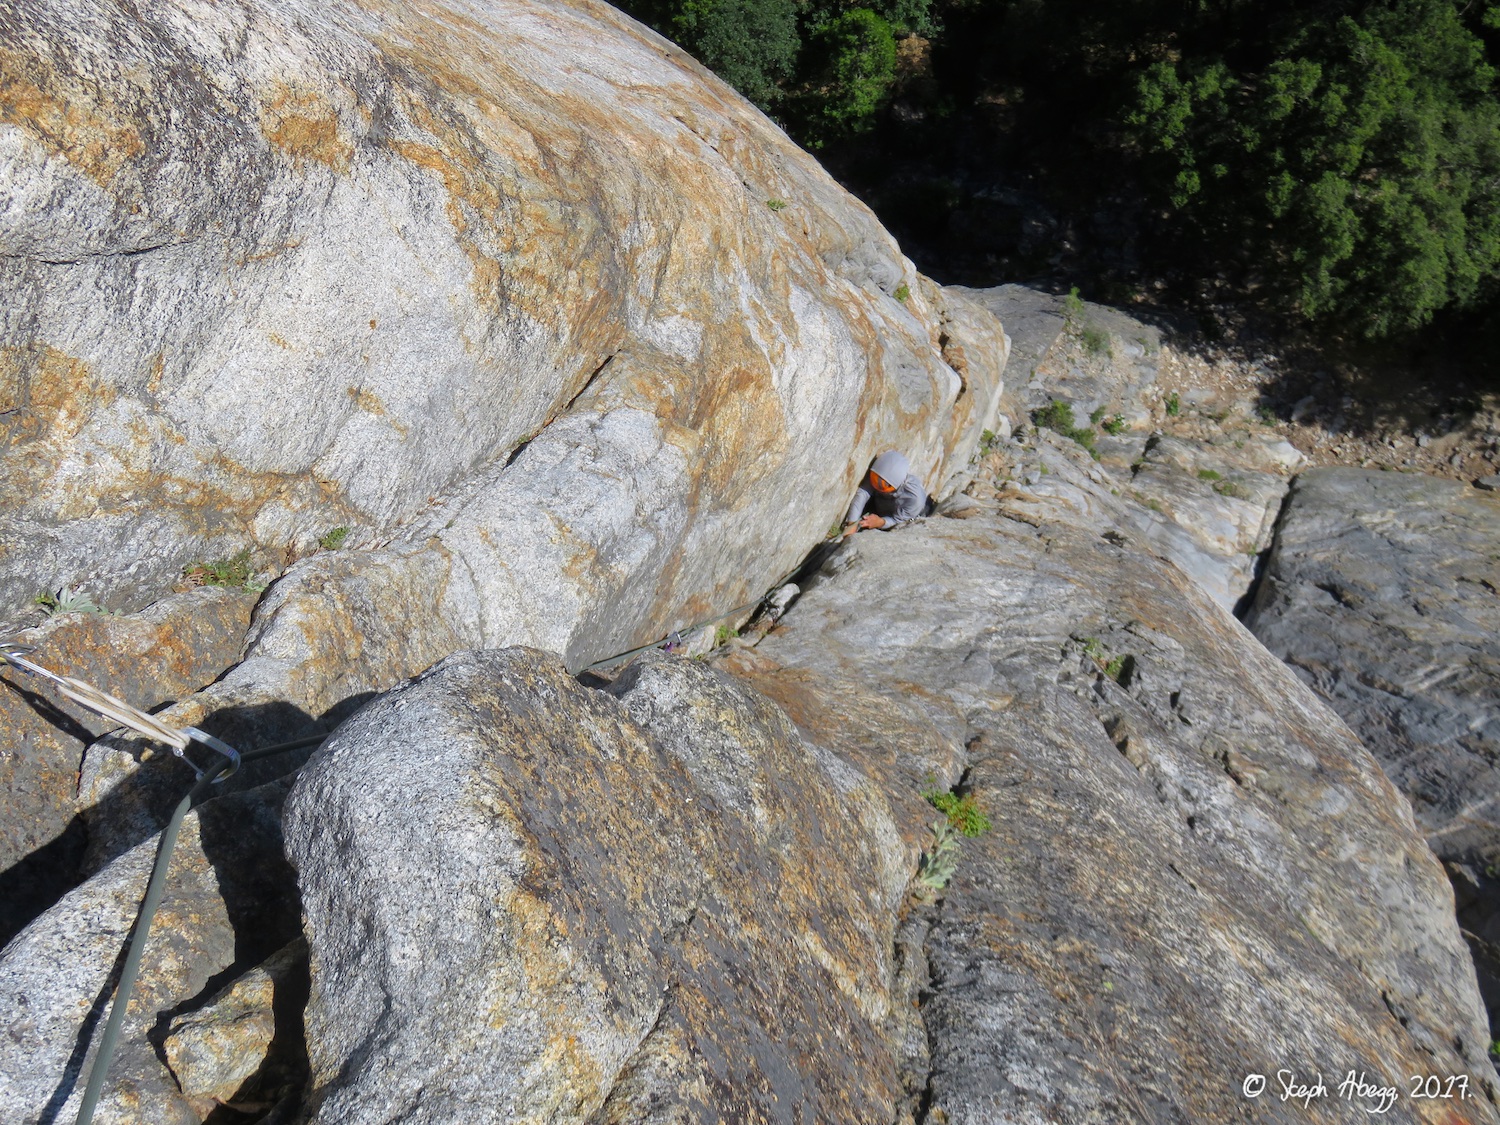
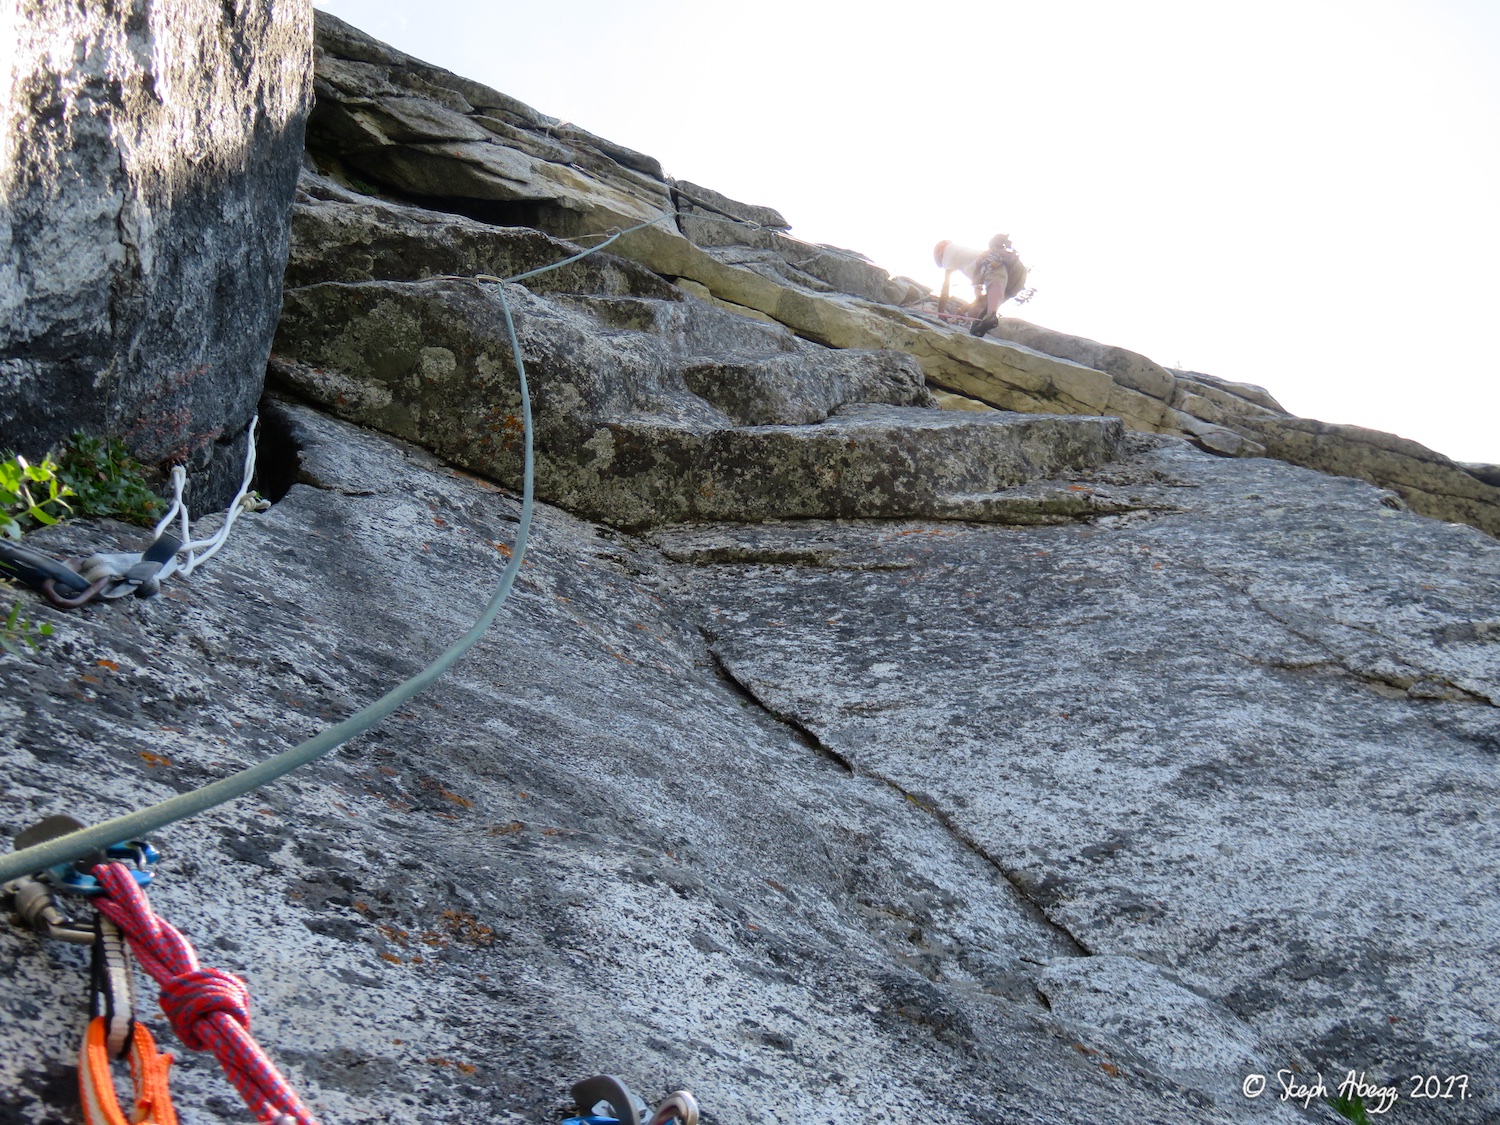
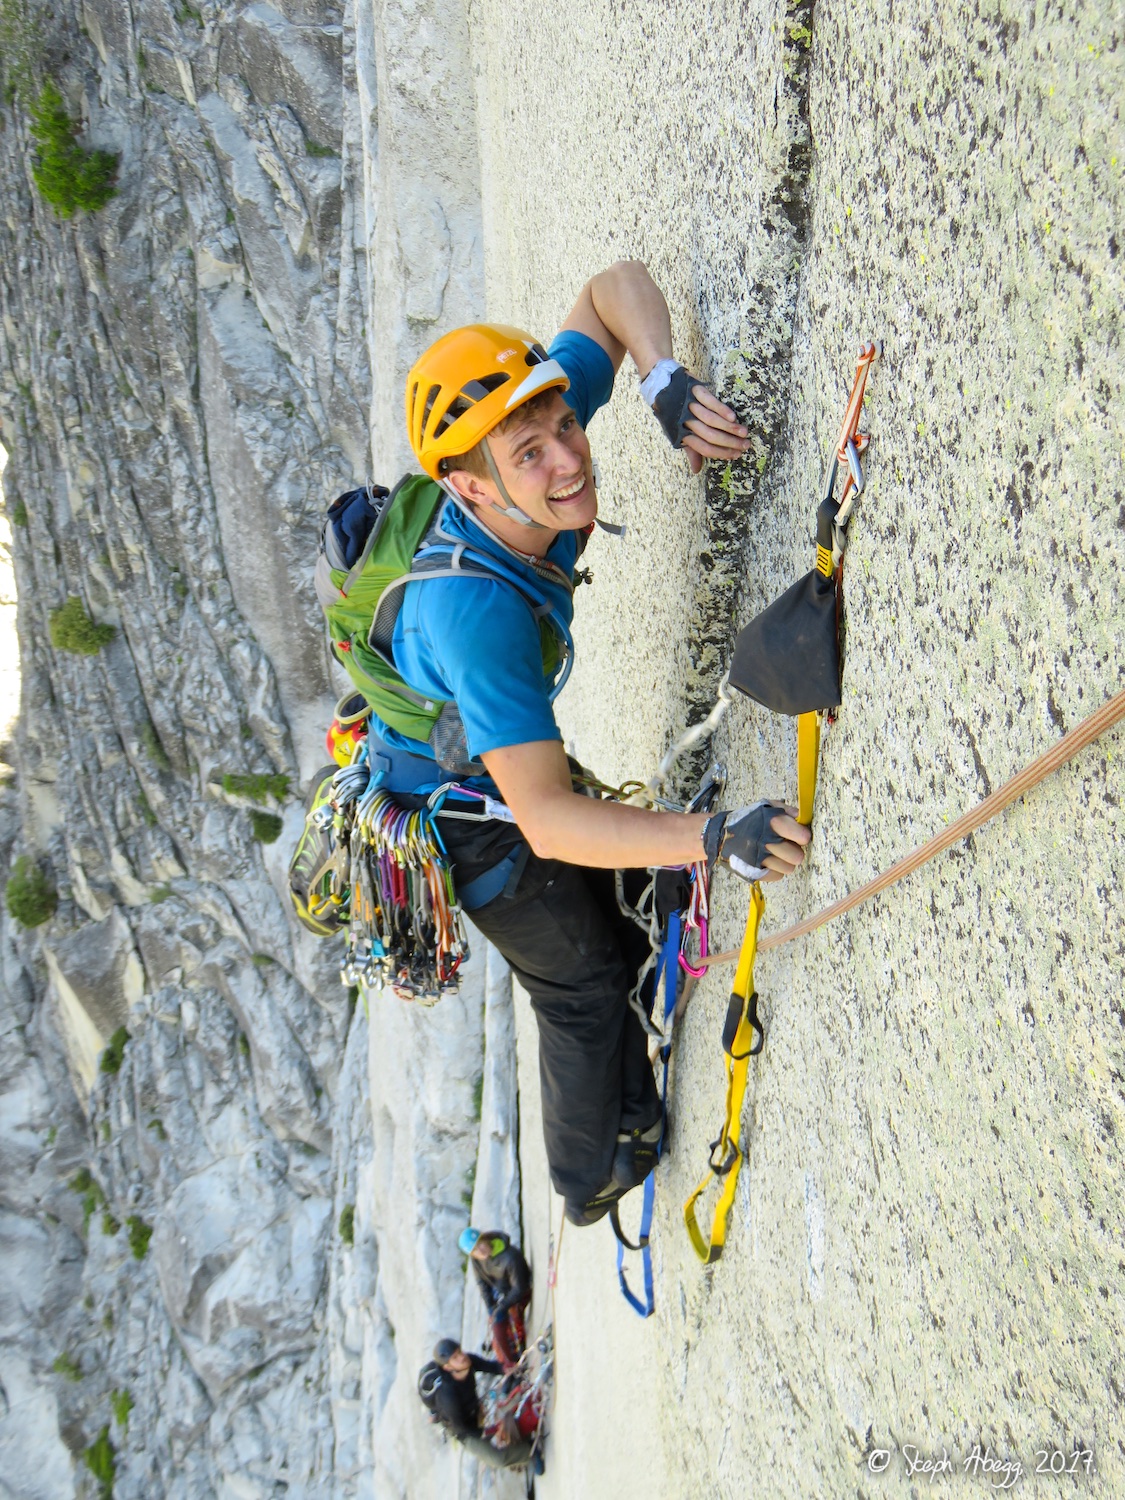
The next day, my friend Sam from Oregon arrived—we had long-standing plans to climb in Yosemite the last week of June; and like James, Sam had also not climbed in Yosemite before. The first day we climbed 
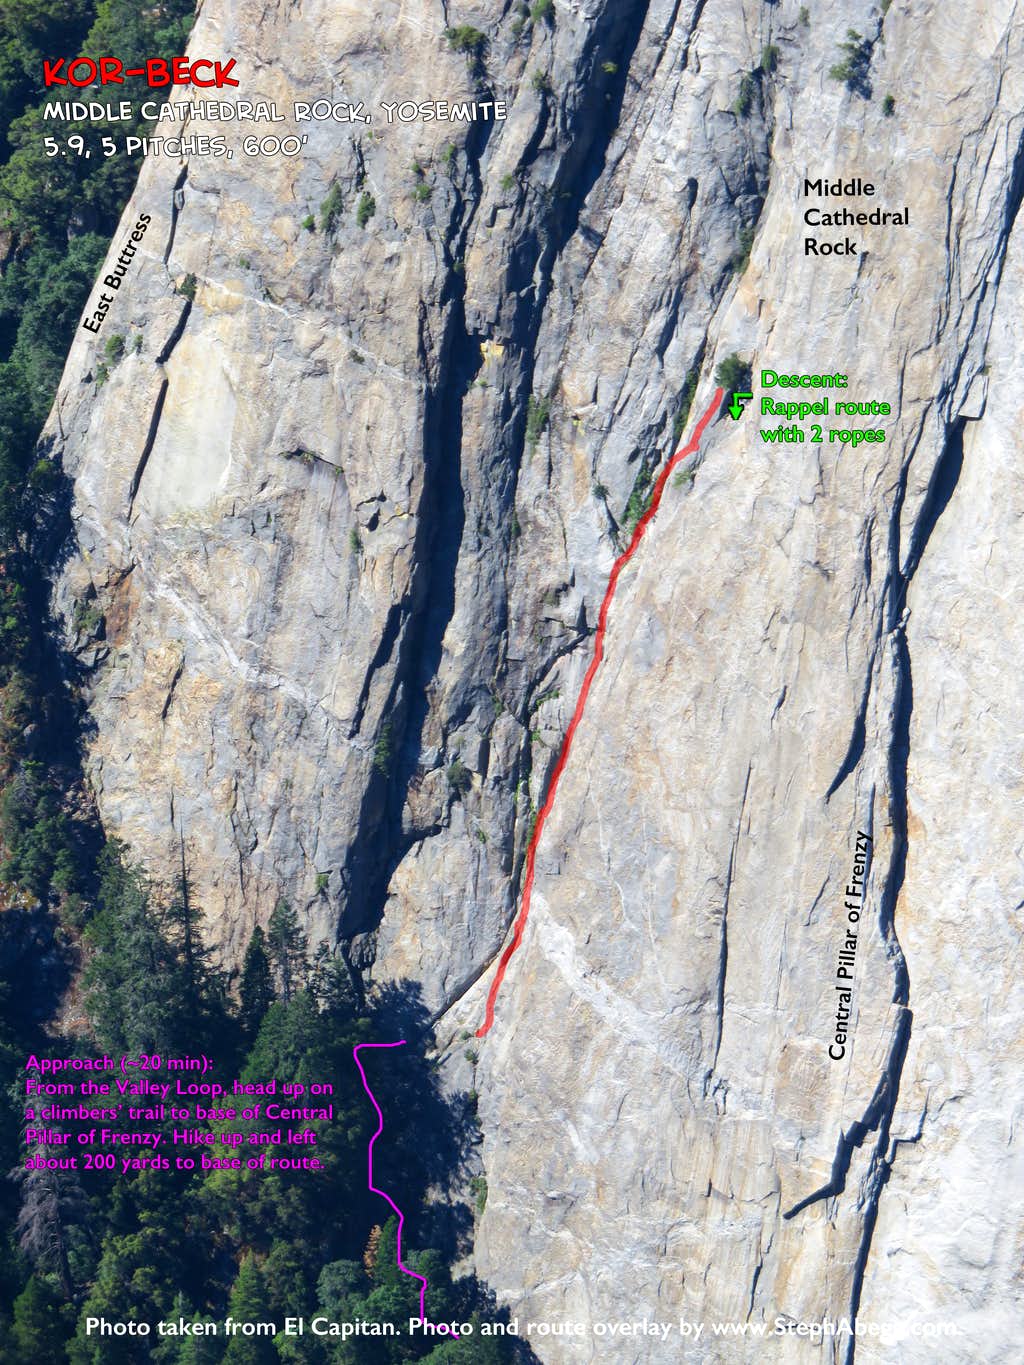
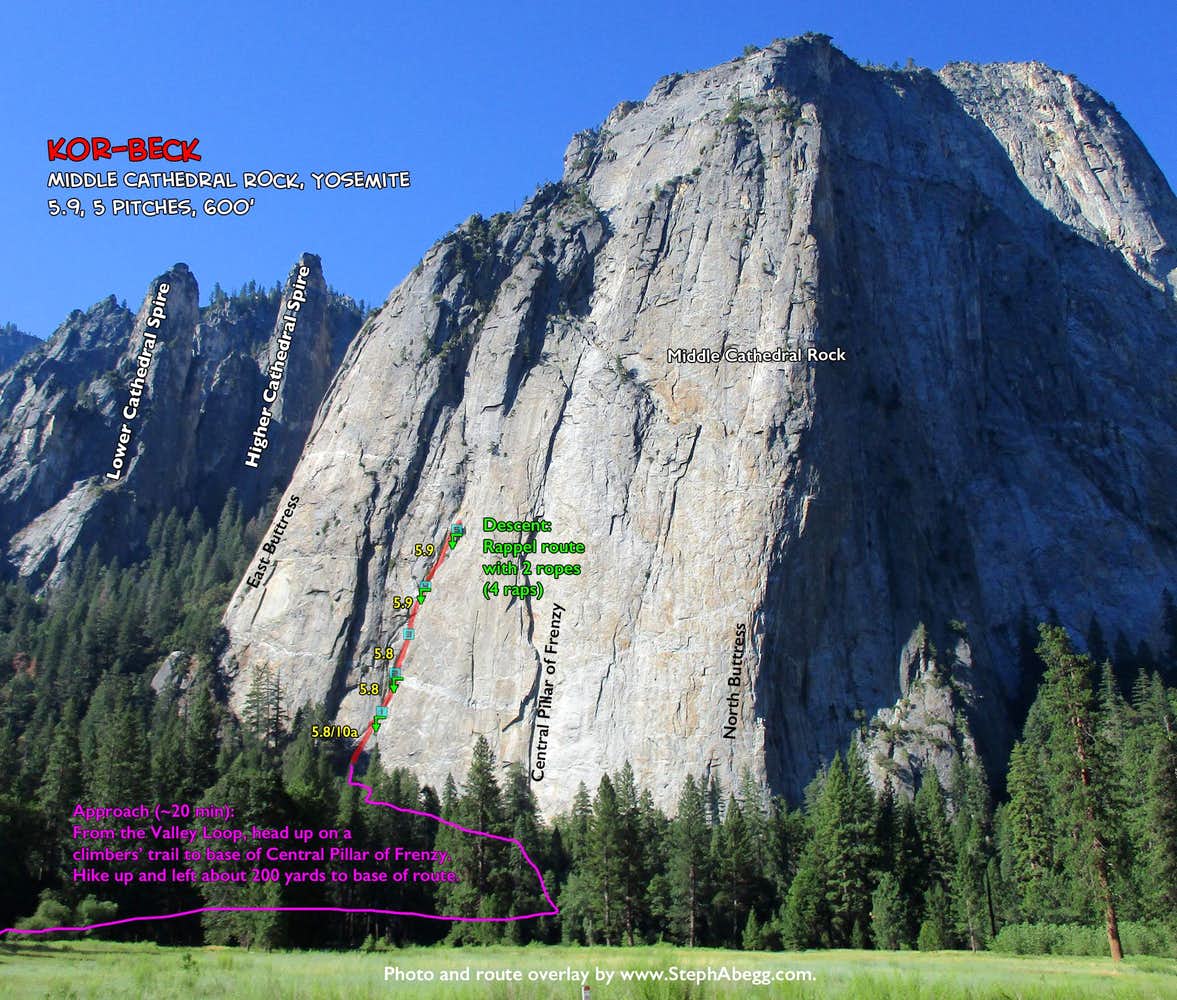
Kor-Beck on Middle Cathedral (5.9, 5 pitches, 600'), a nice Yosemite-flavor 5.9 to start off Sam's trip. The second day we decided to go for something big while we were fresh, so we climbed 
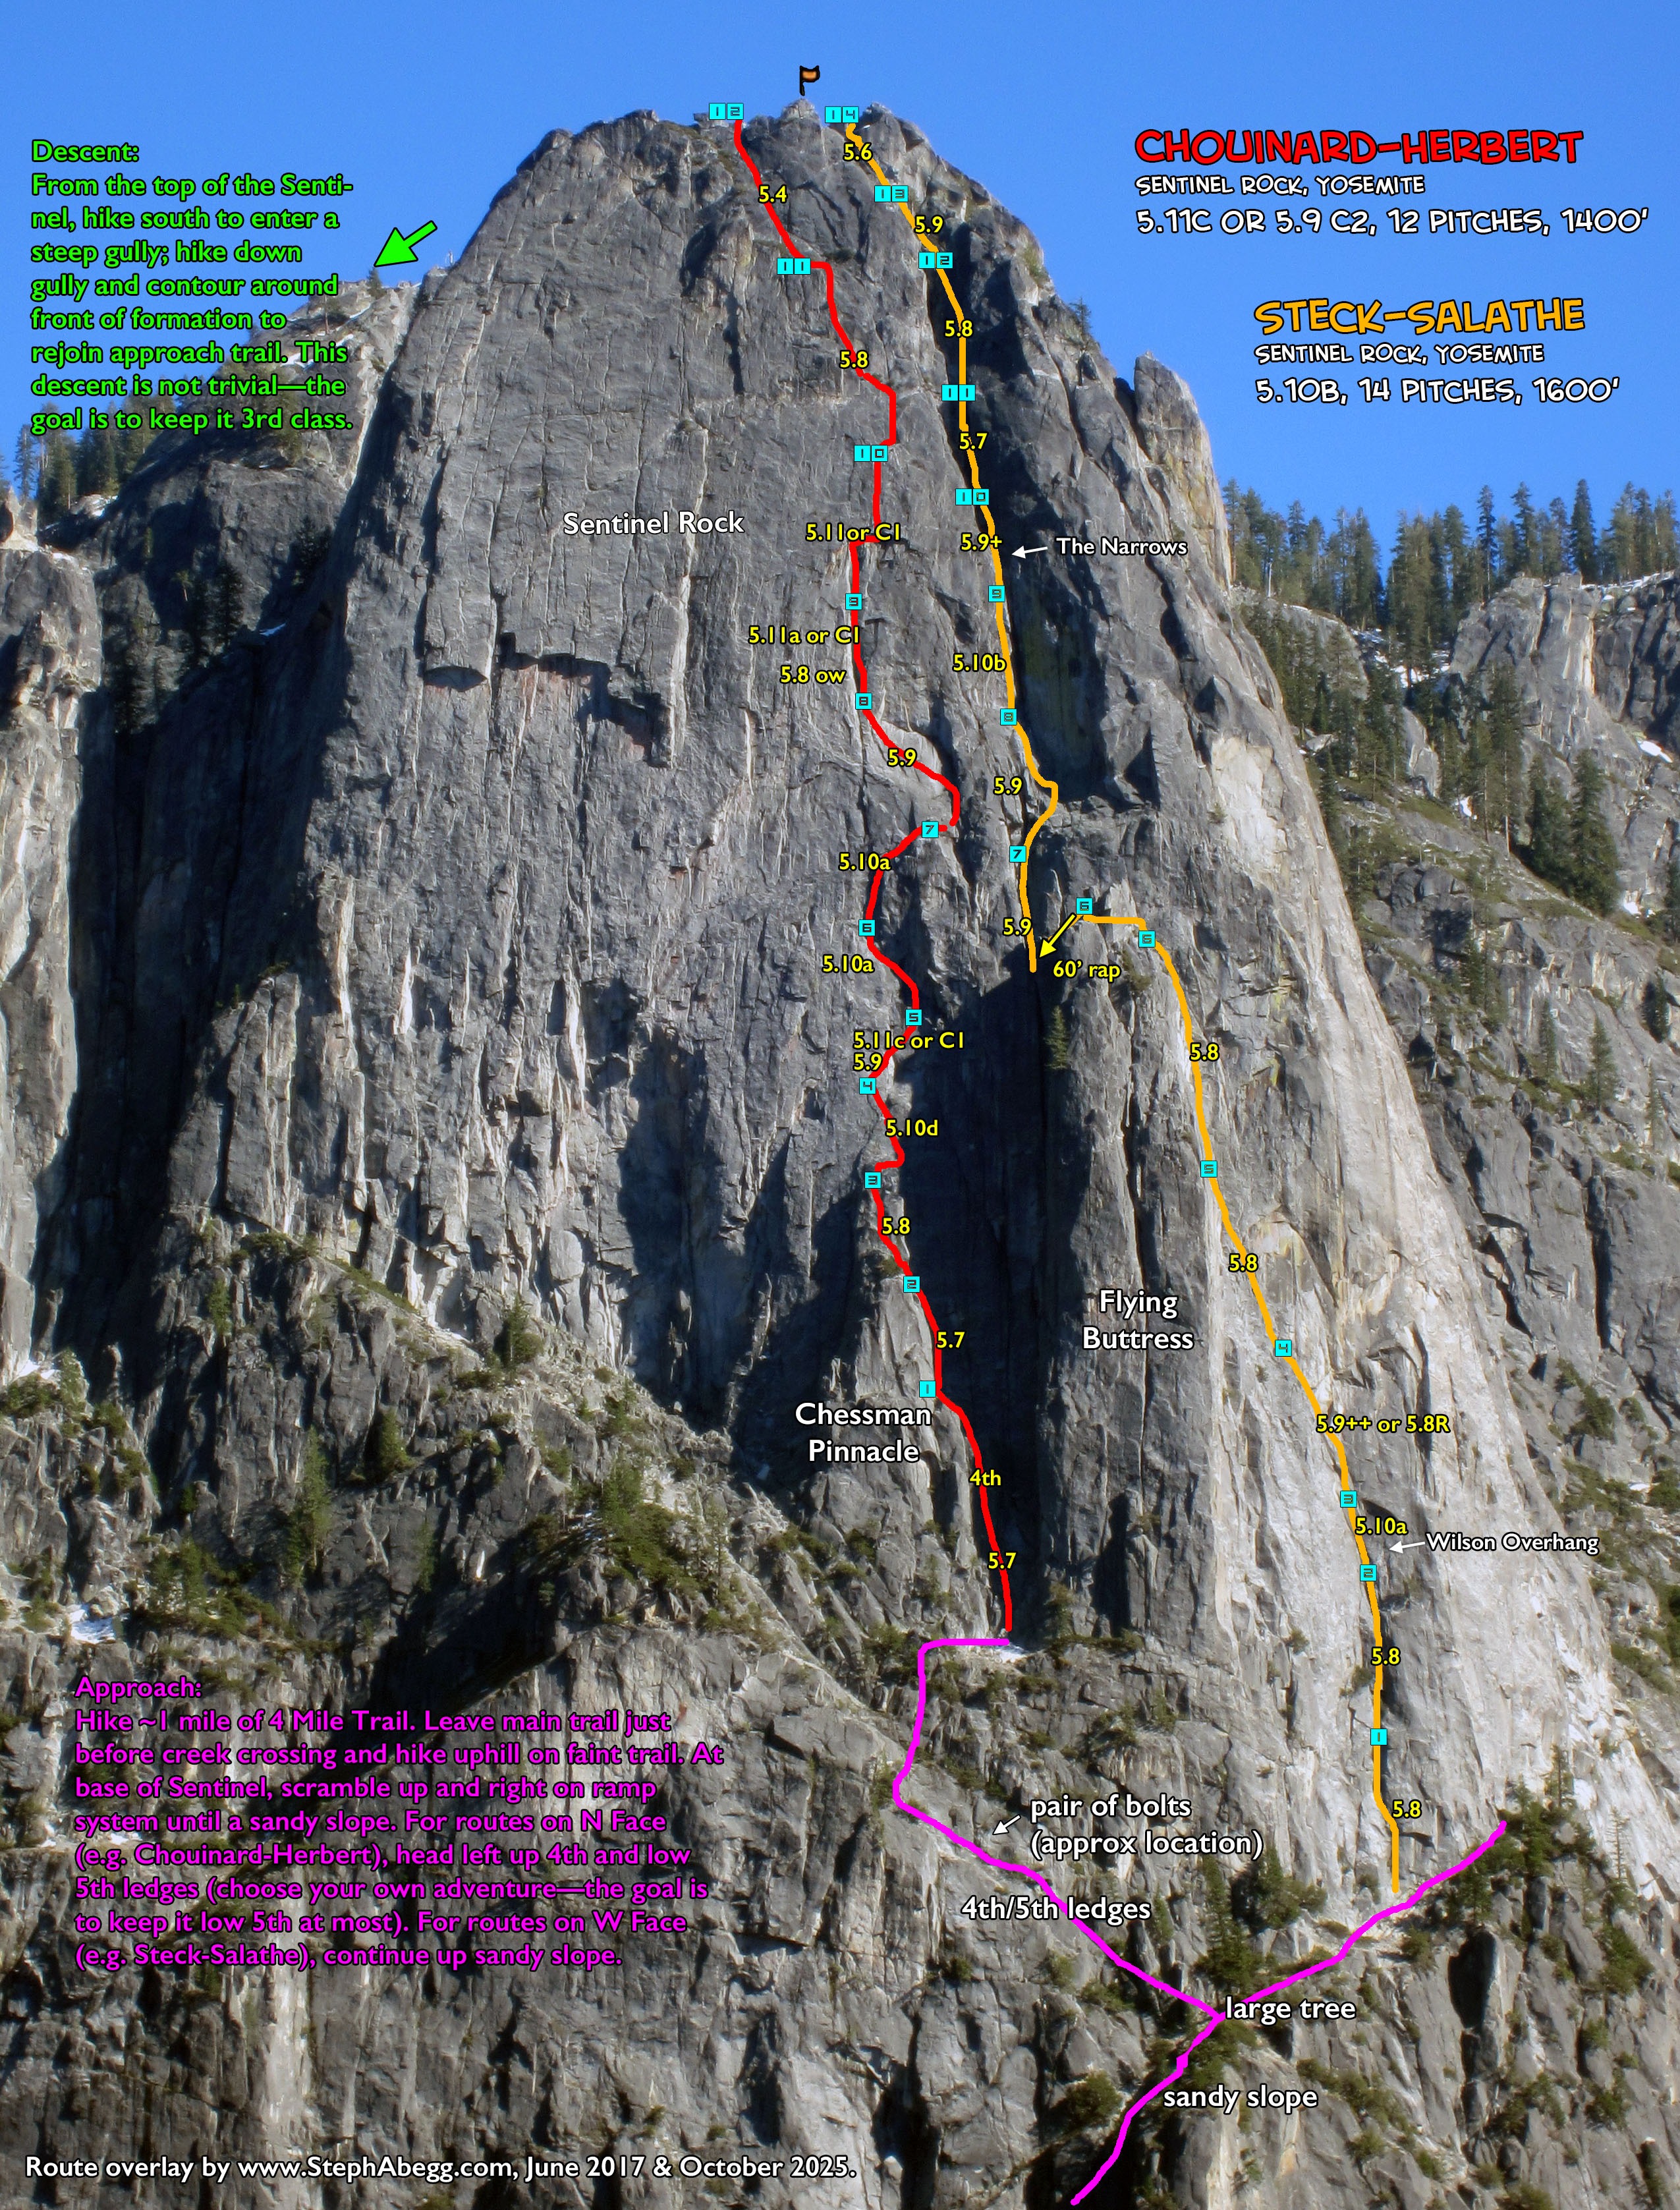
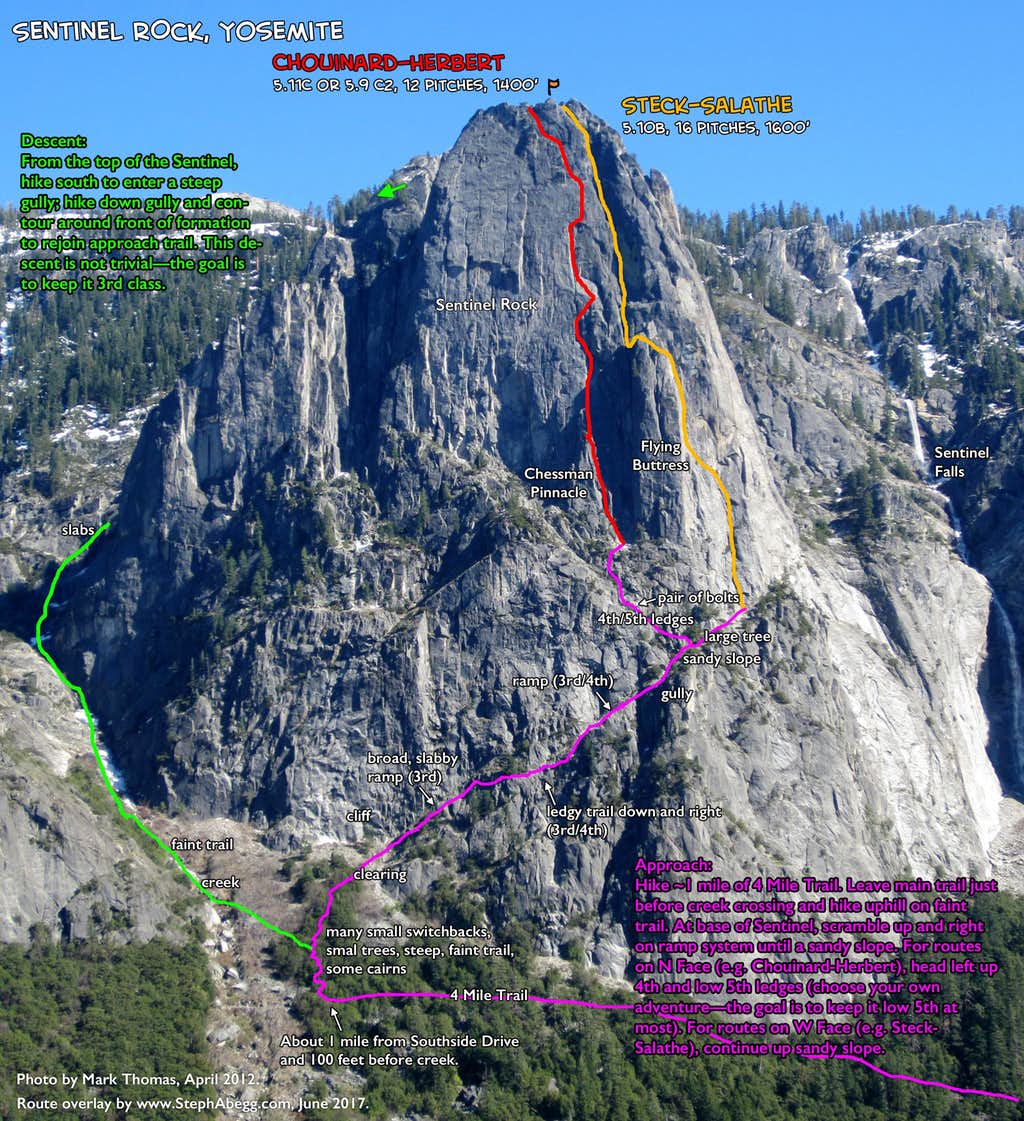
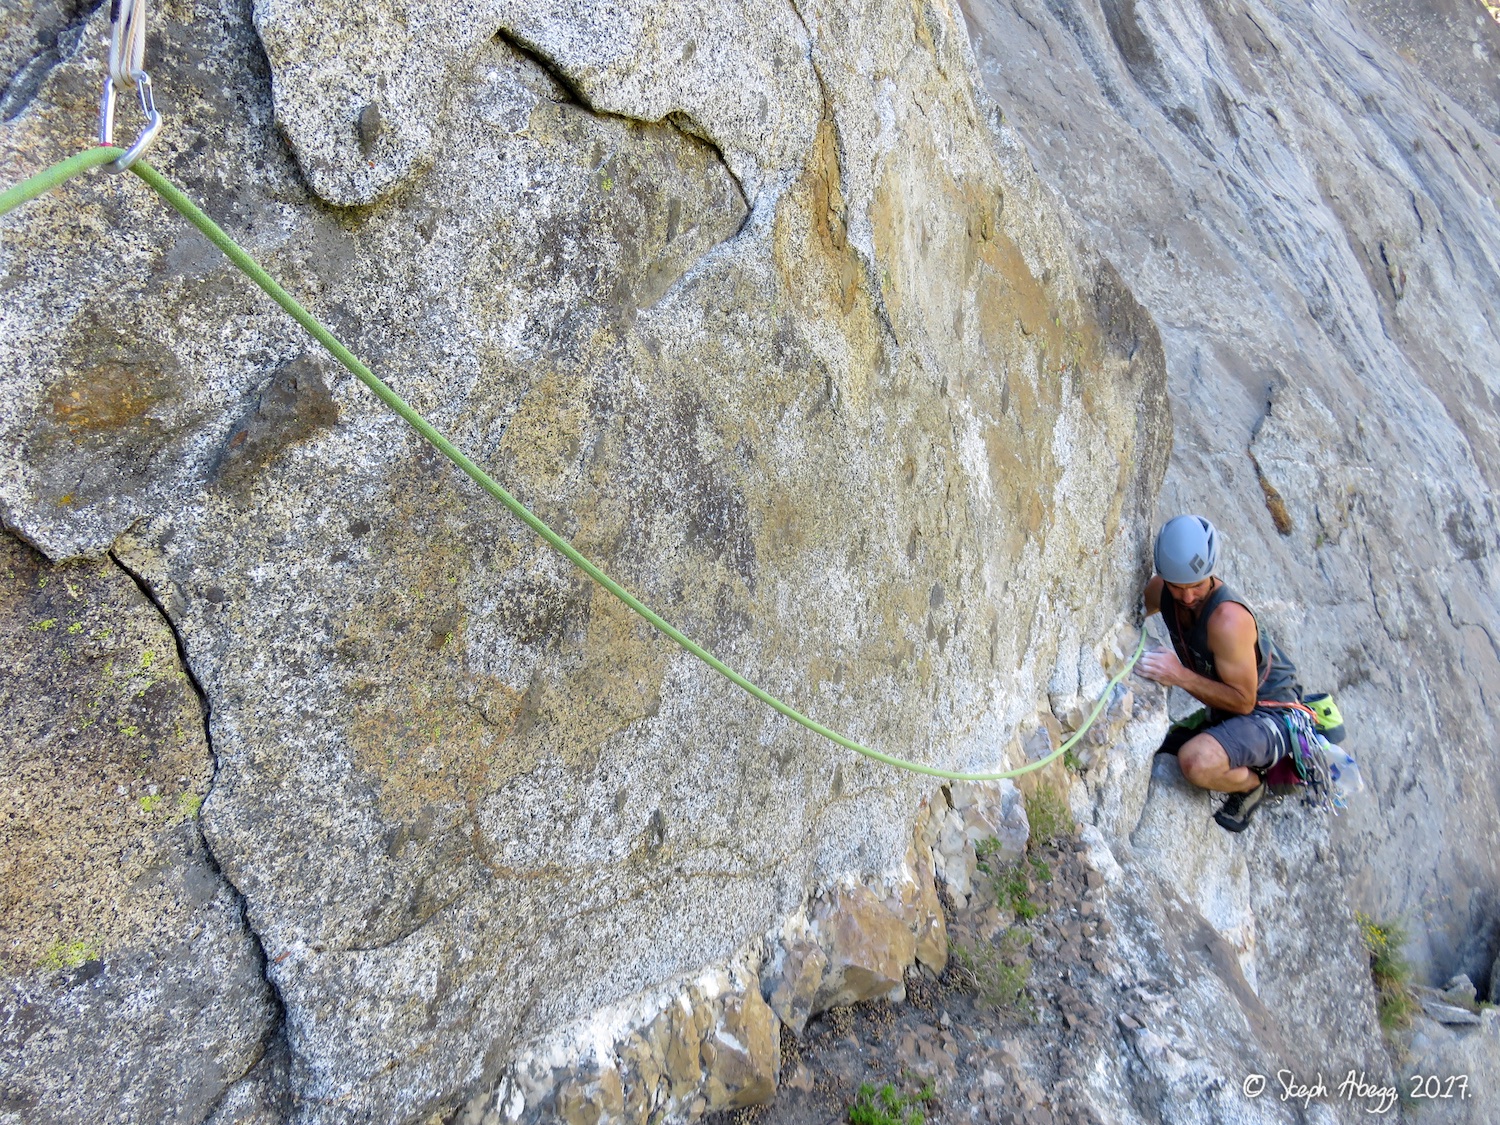
Chouinard-Herbert on Sentinel (5.11c or 5.9 C2, 12 pitches, 1400'); I personally felt the route had mostly so-so climbing with a few really good pitches, but not really enough to make up for the grungy approach and burly descent, but at least it was a nice athletic day with a spectacular position. The third day we took the morning off, but in the afternoon climbed 
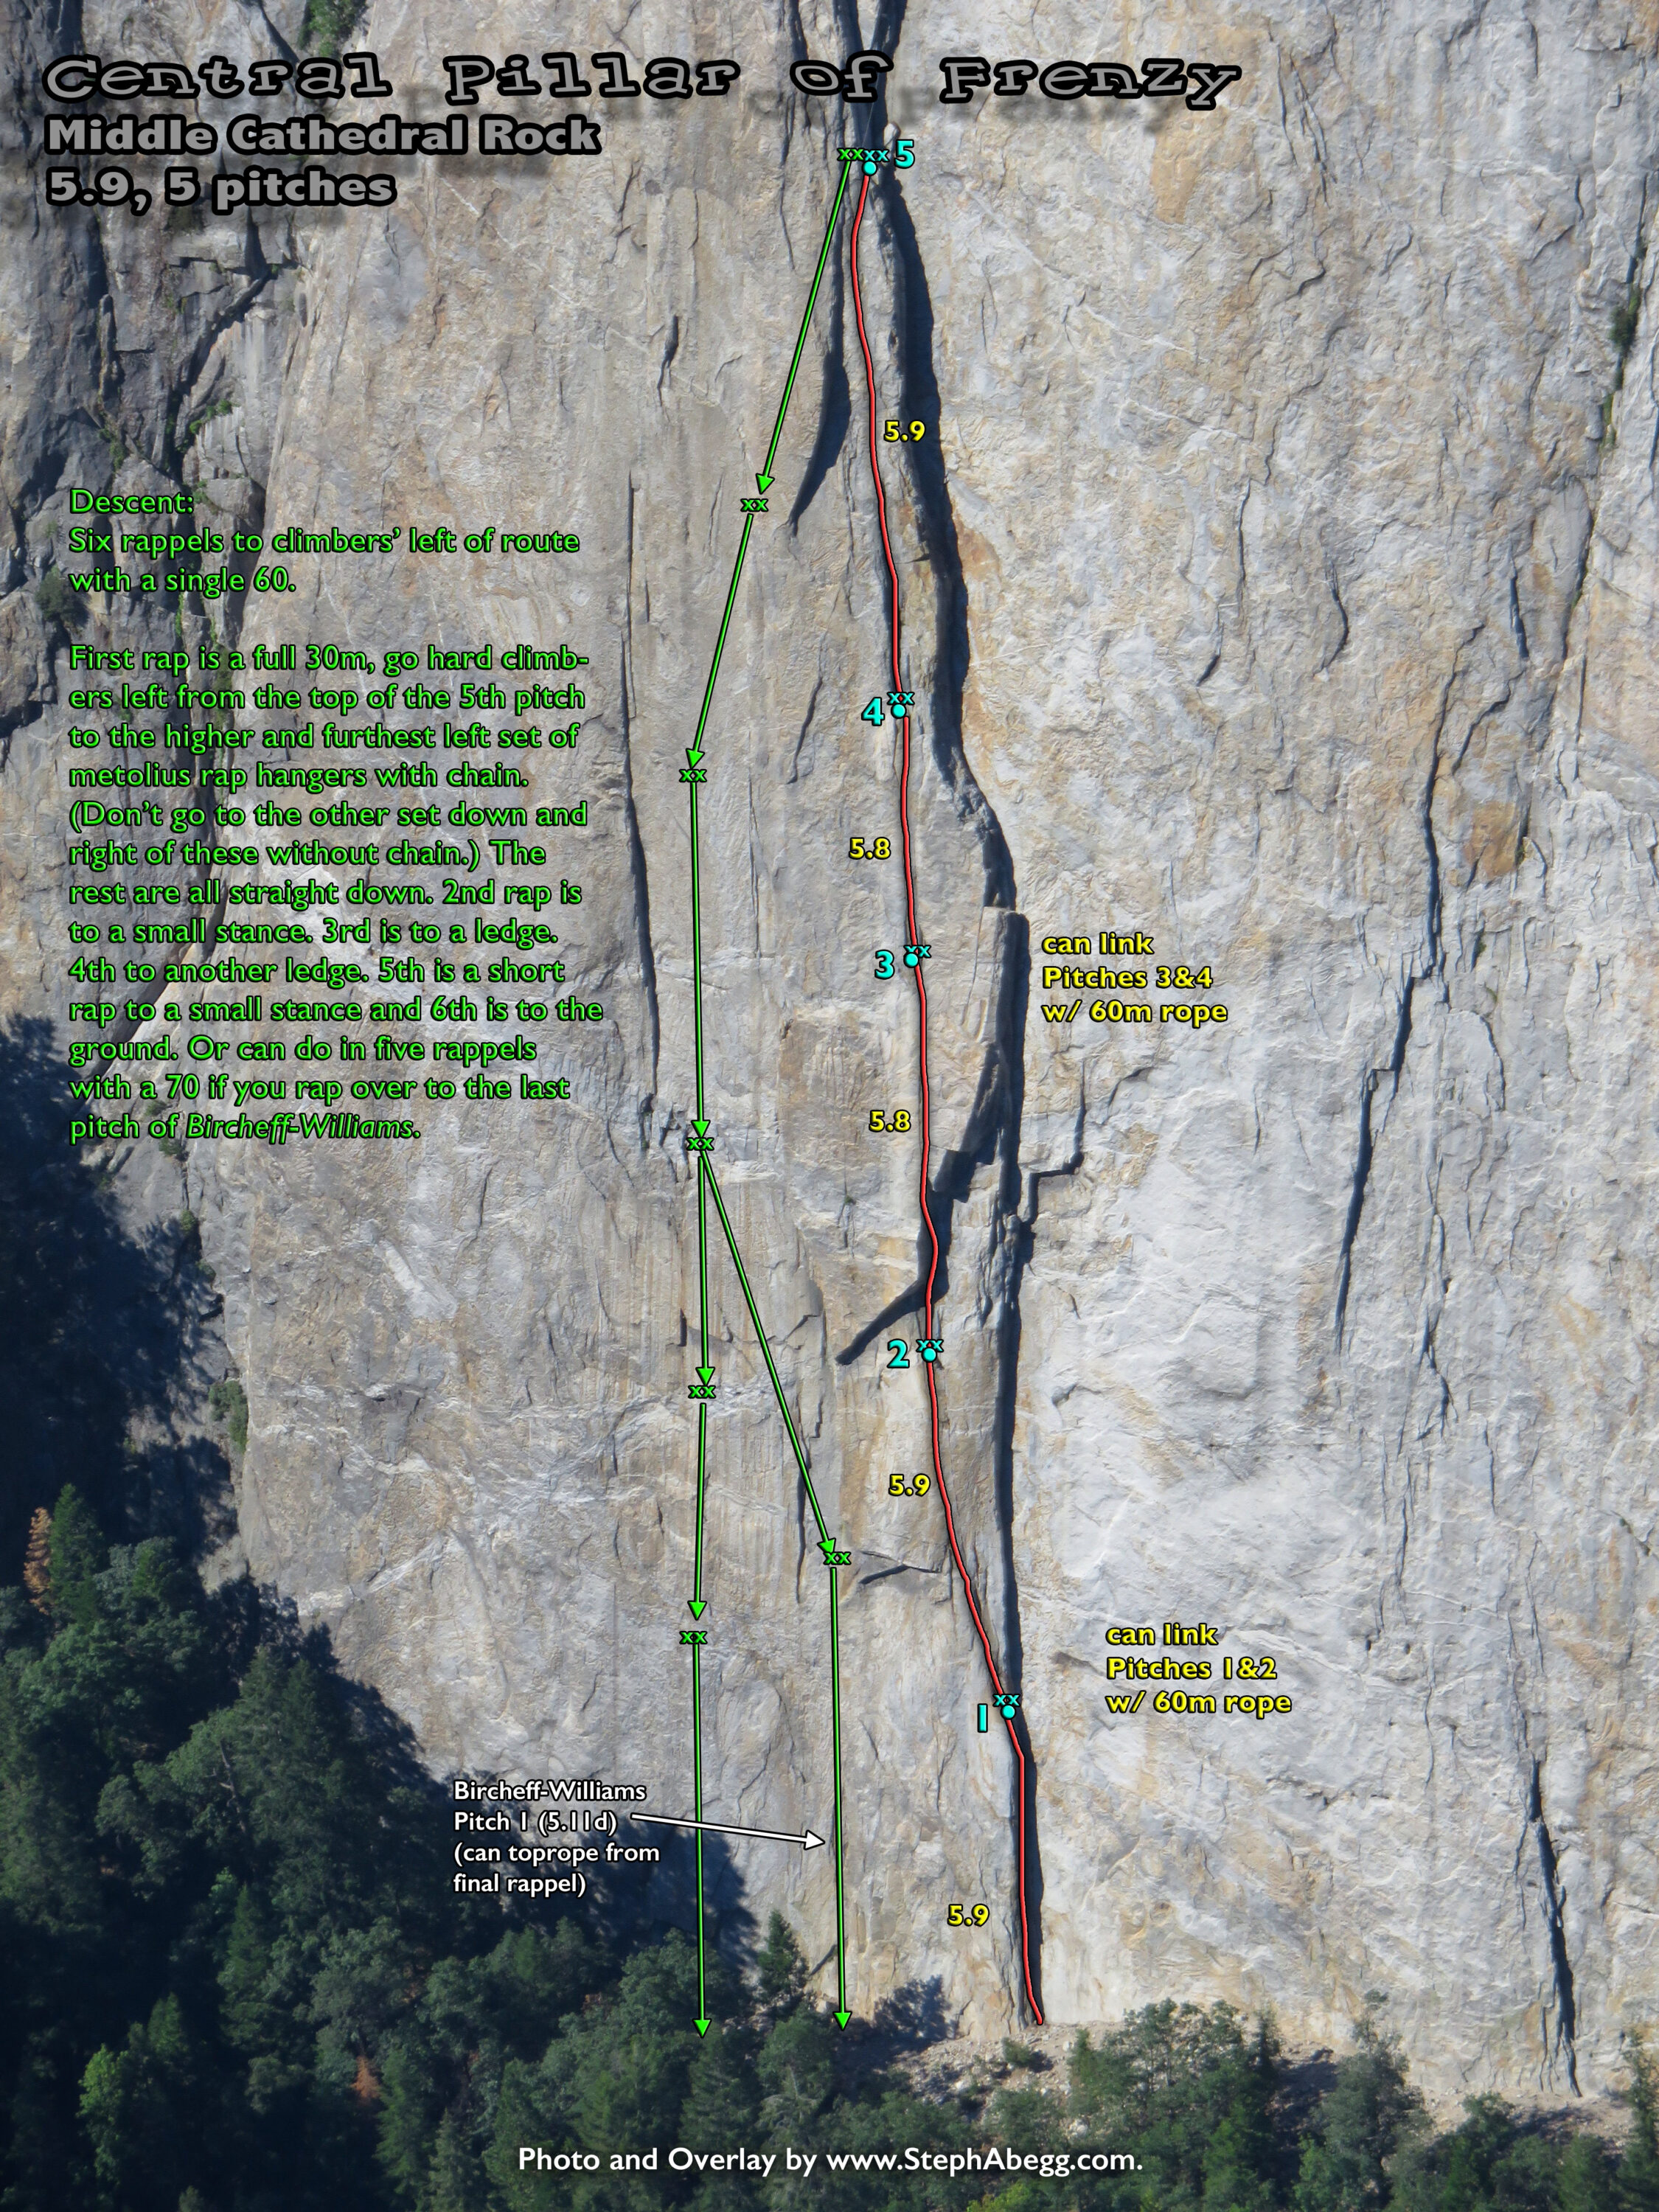
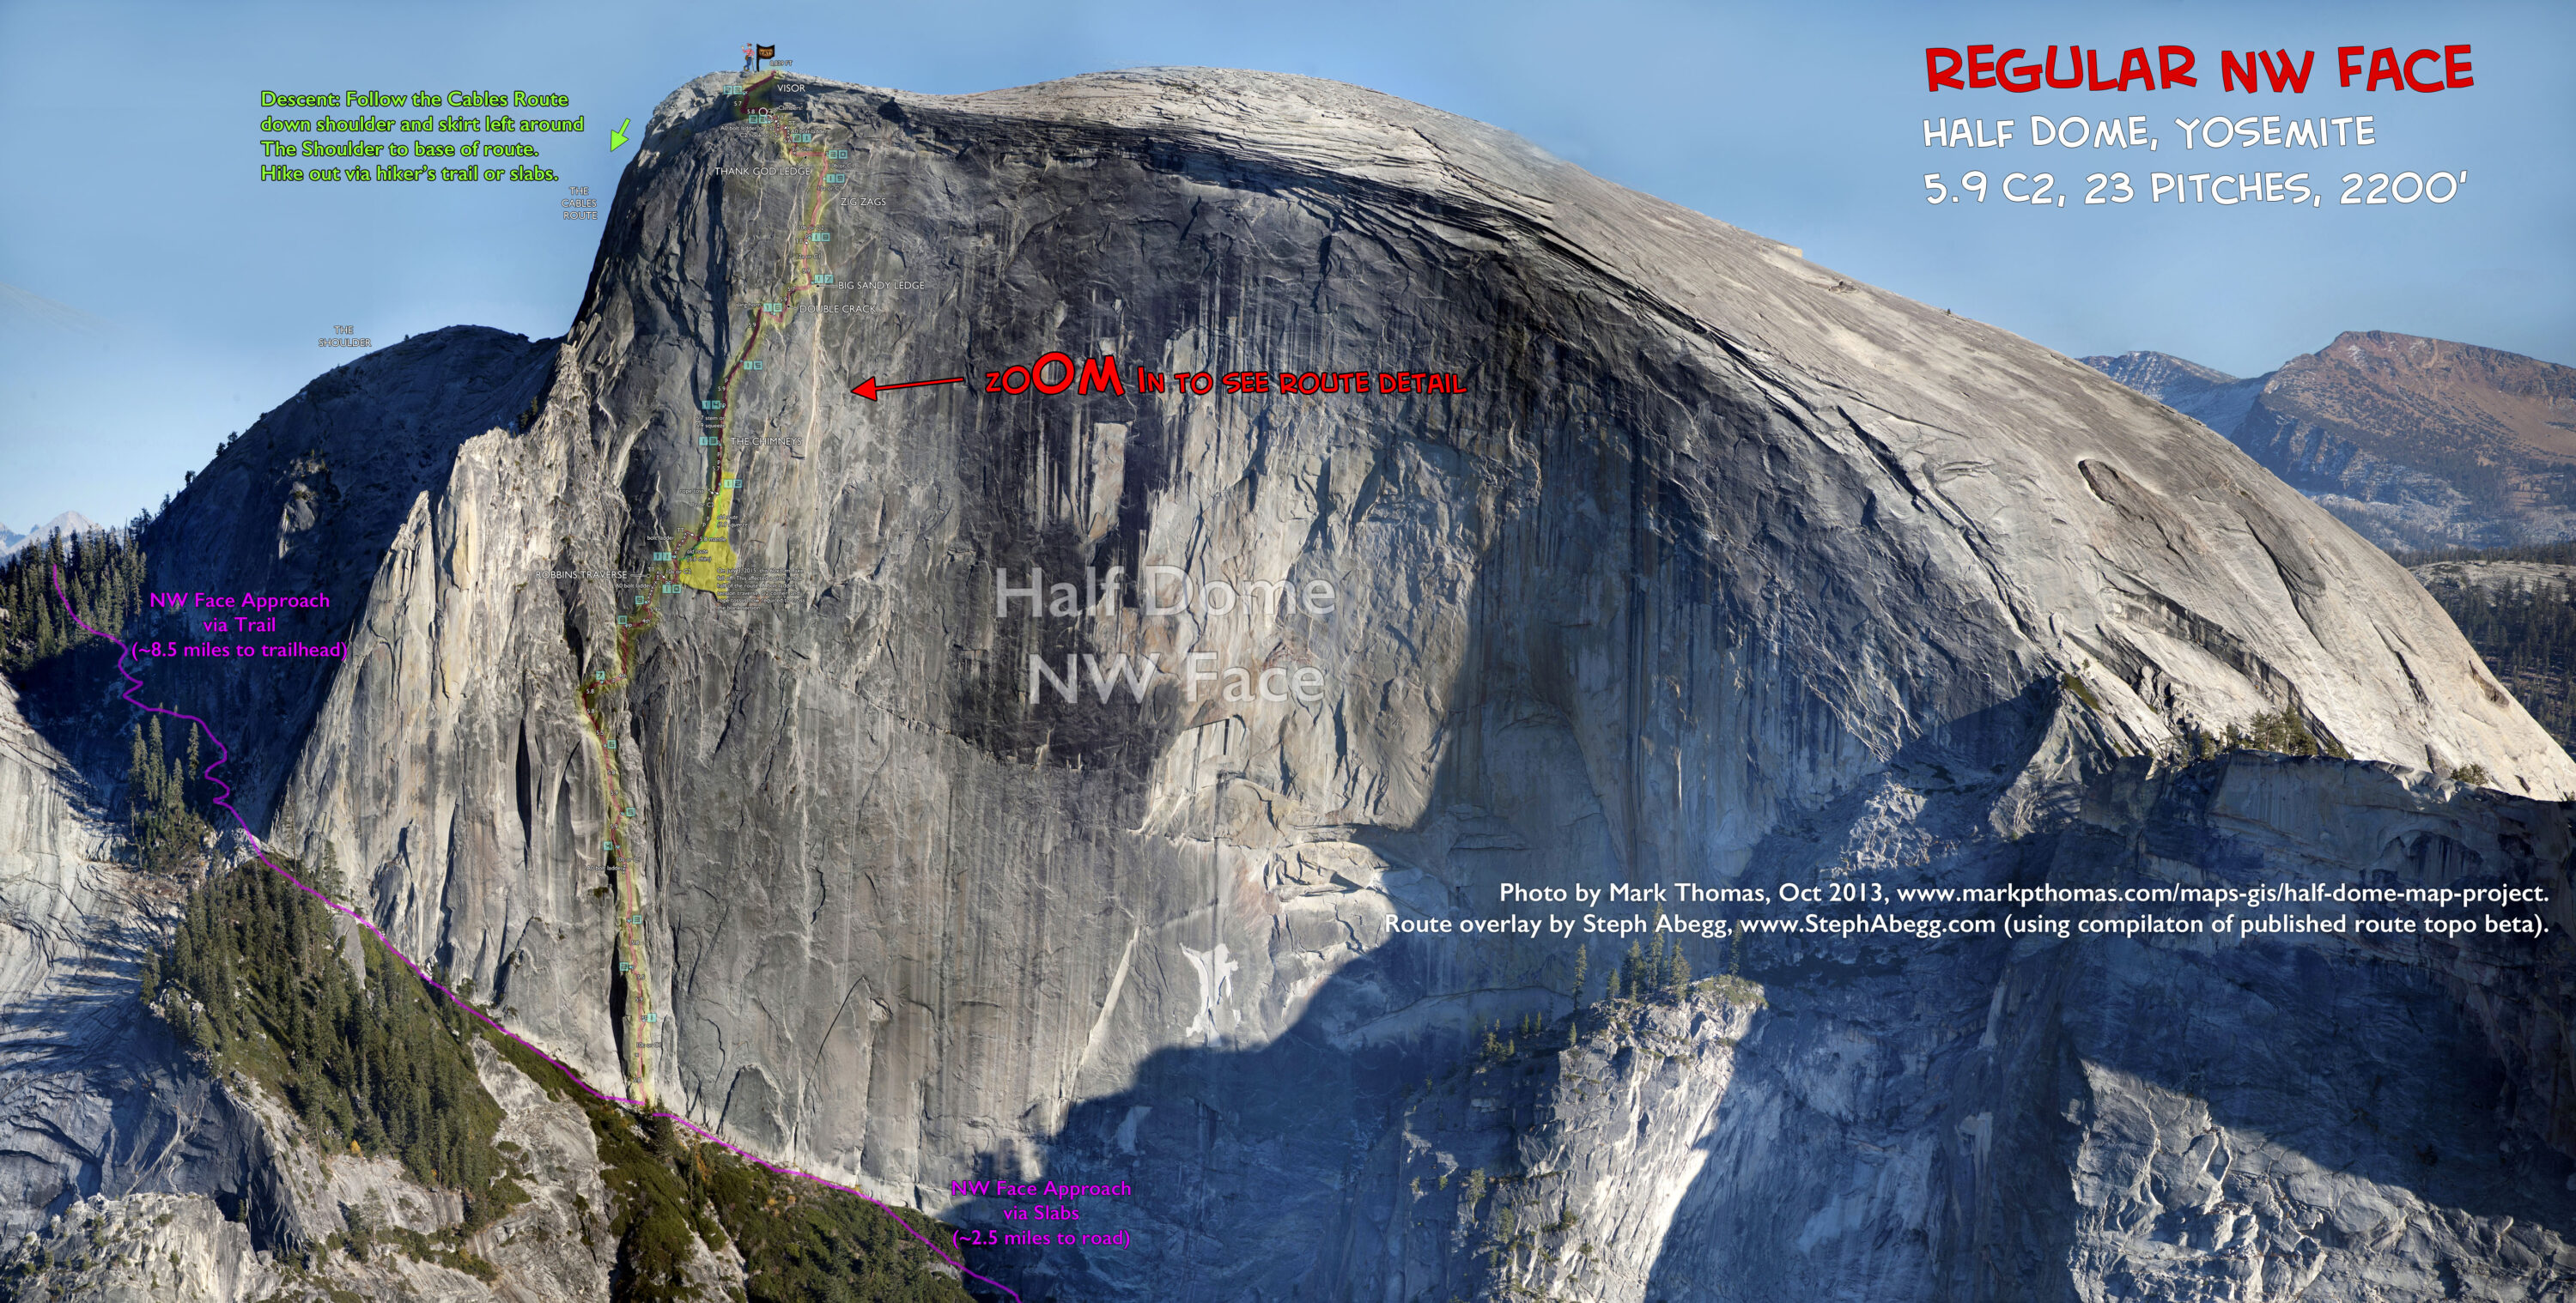
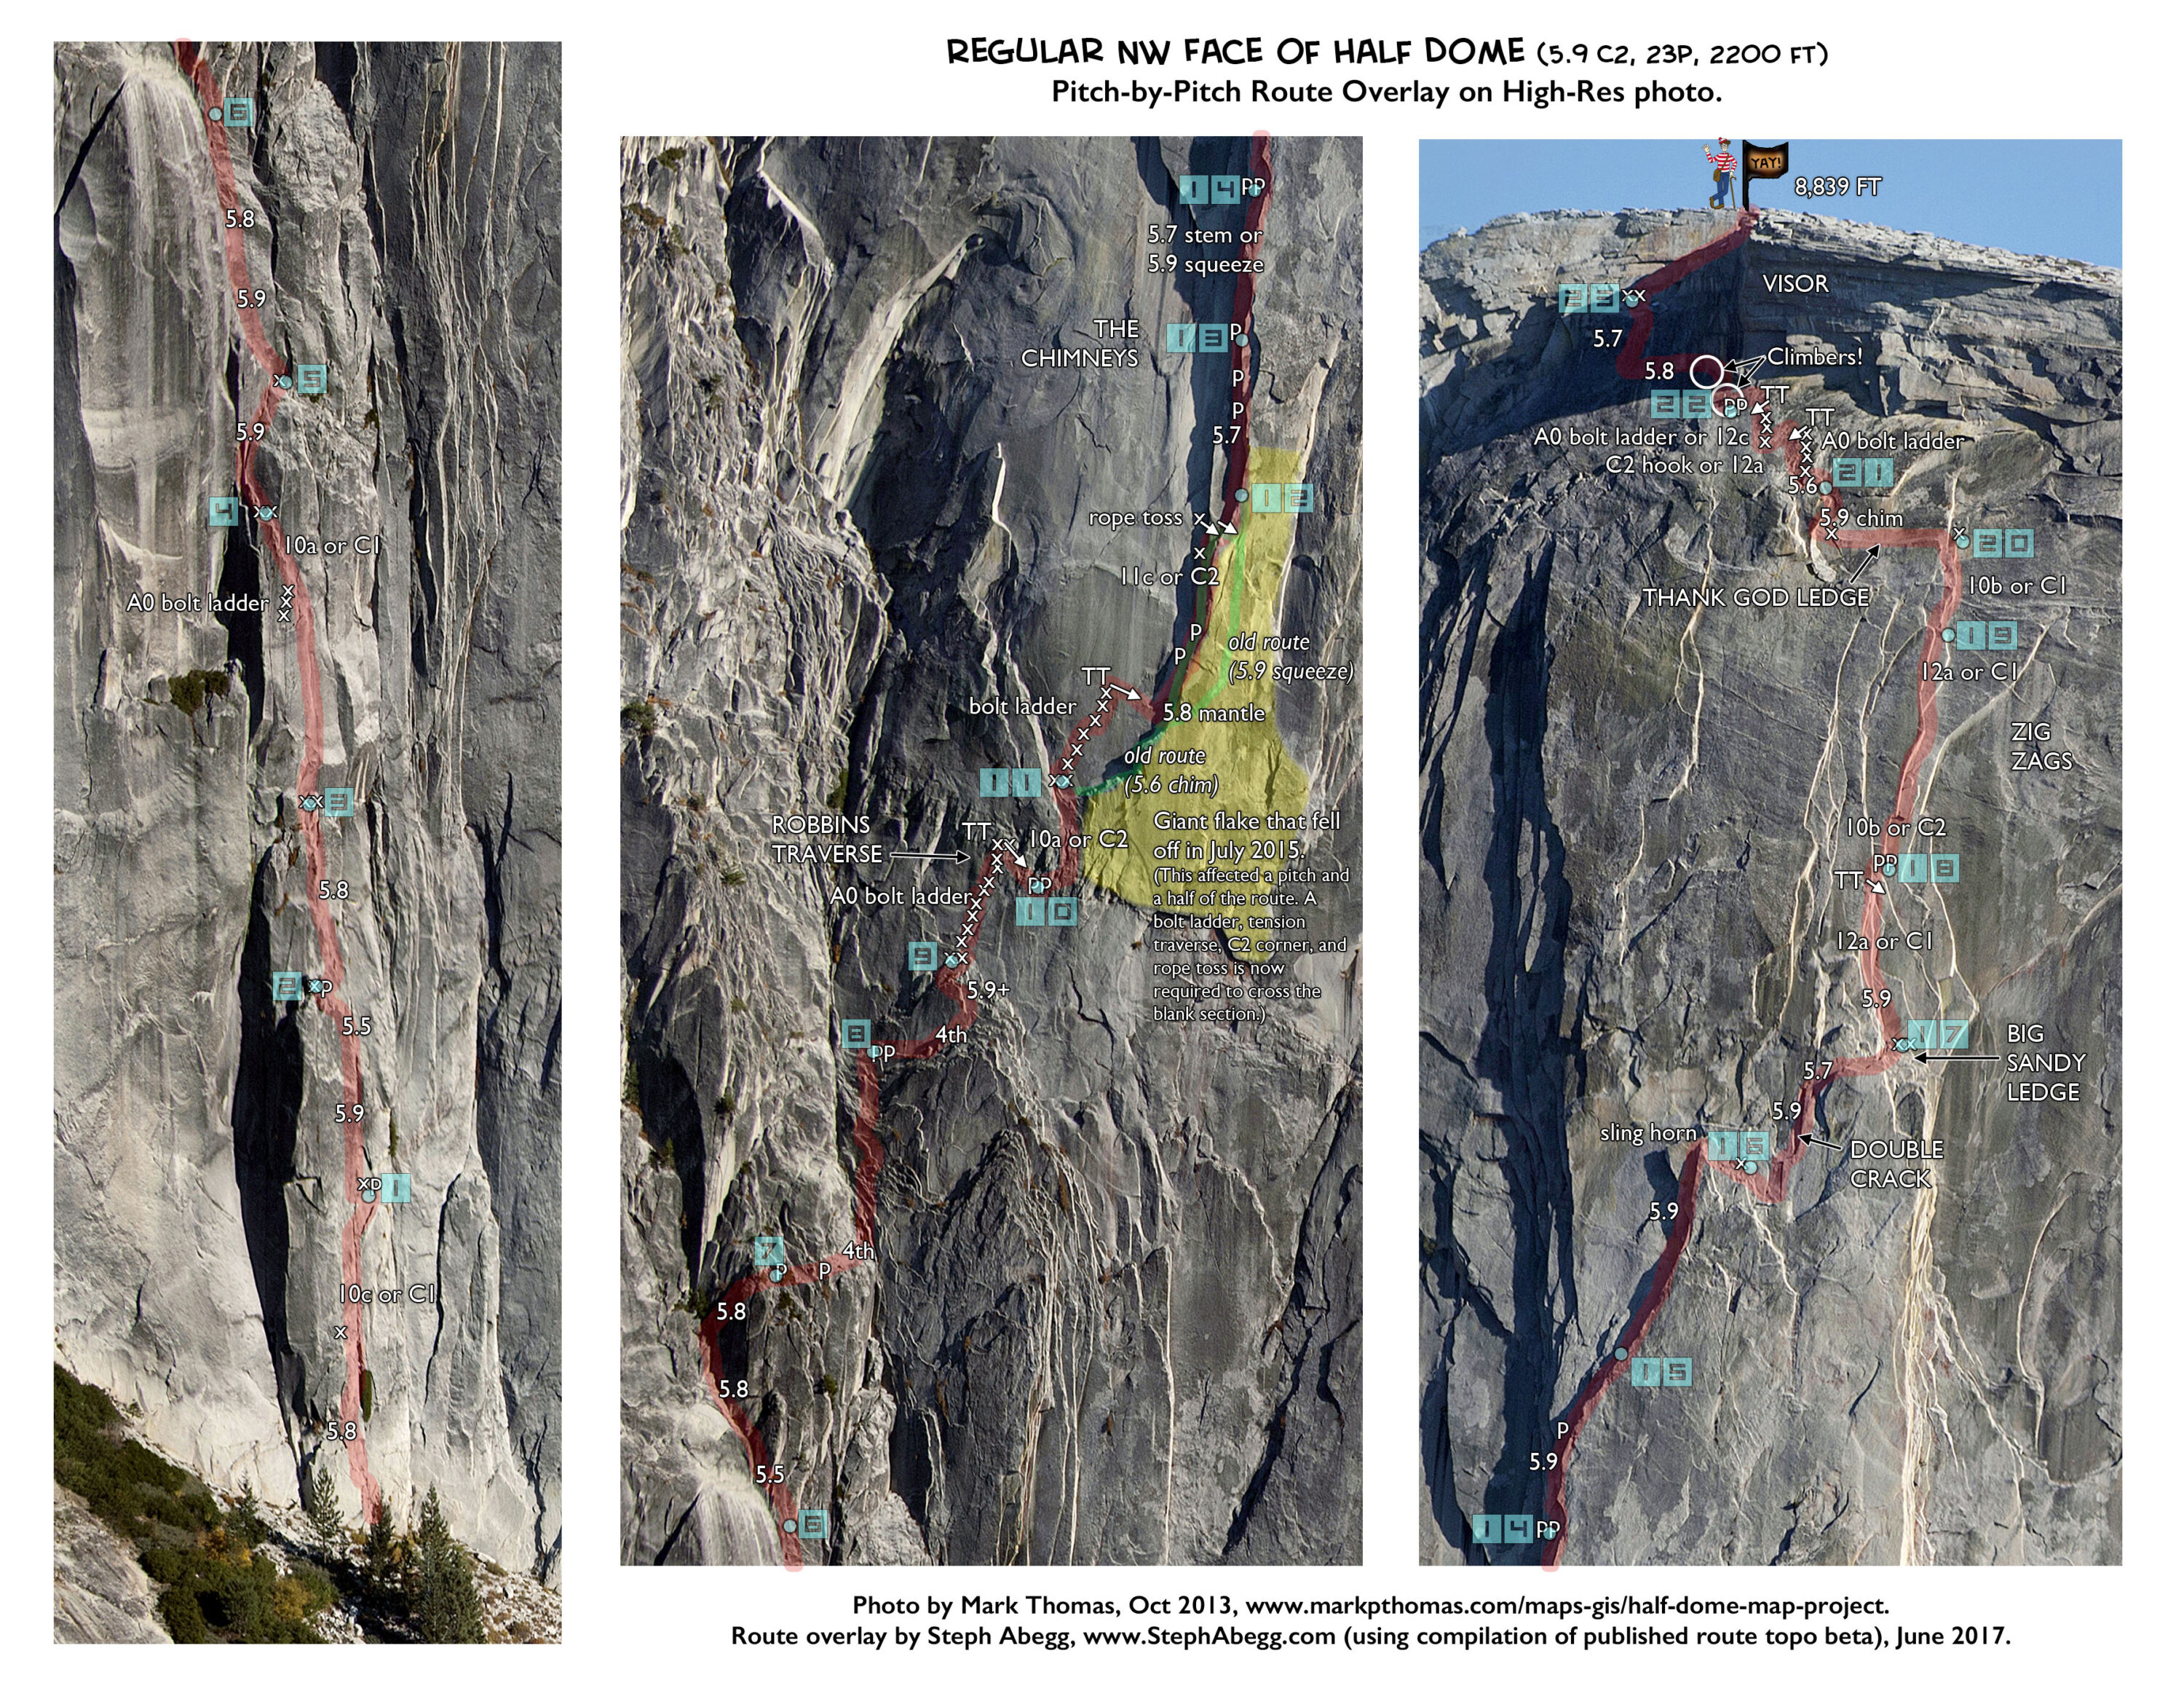
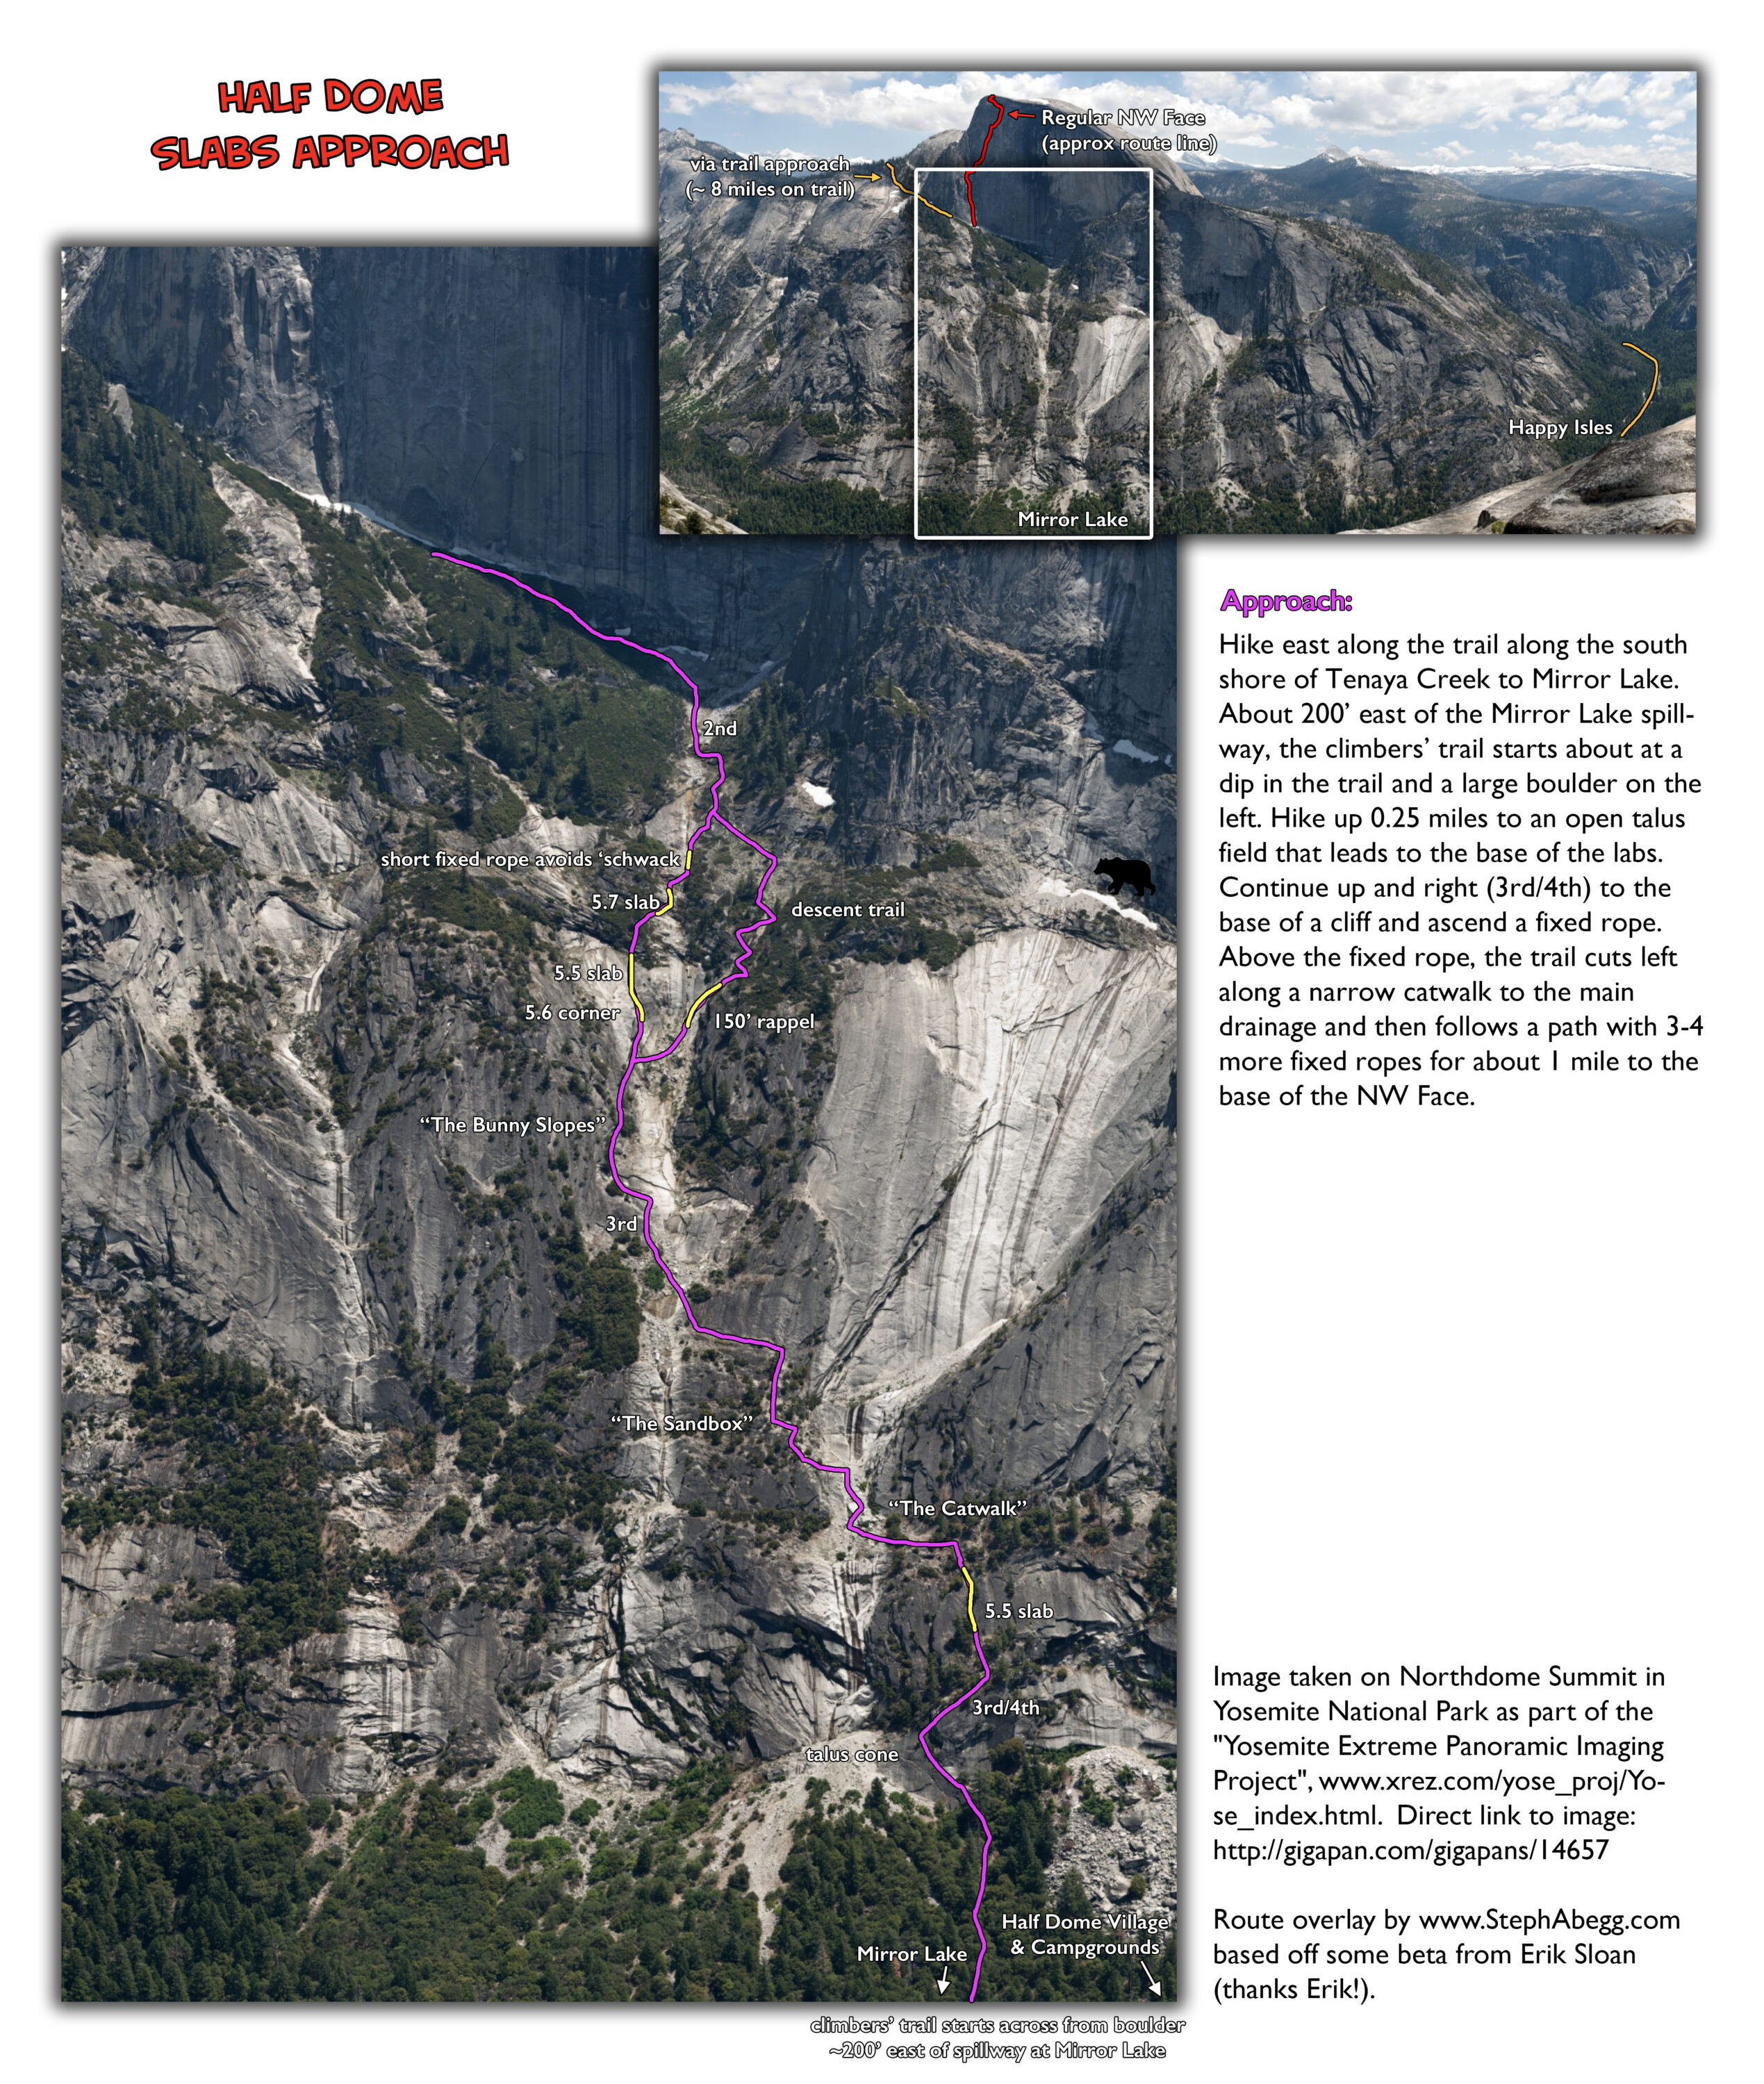
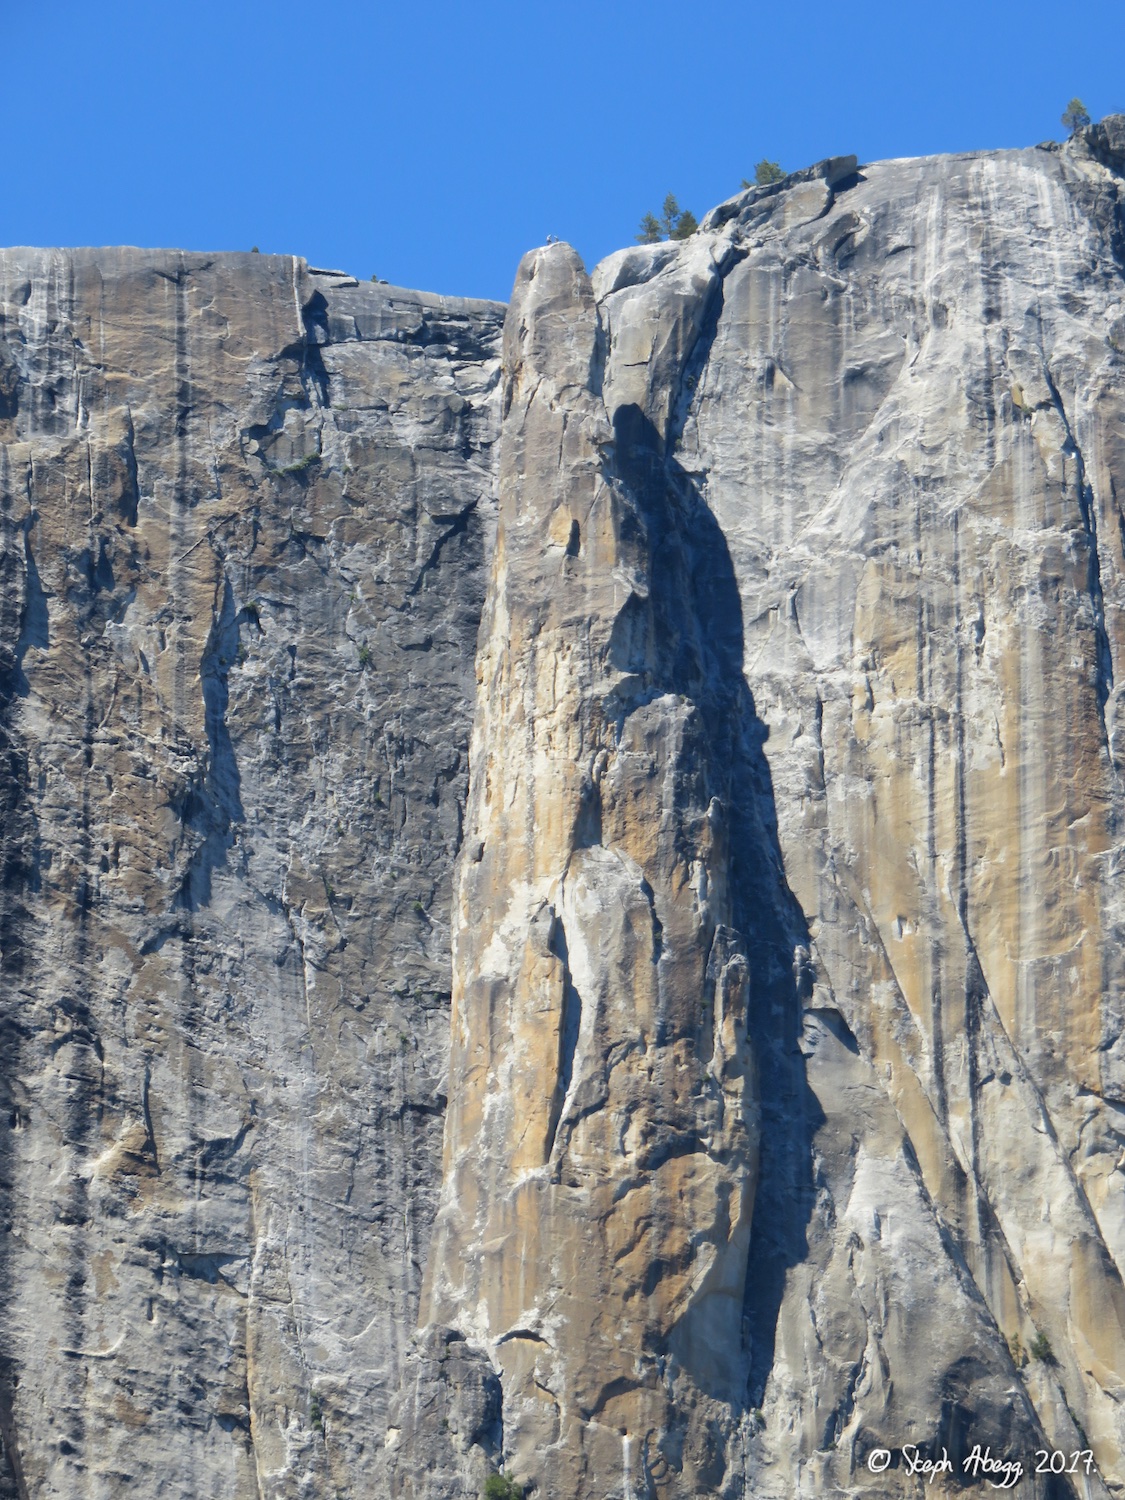
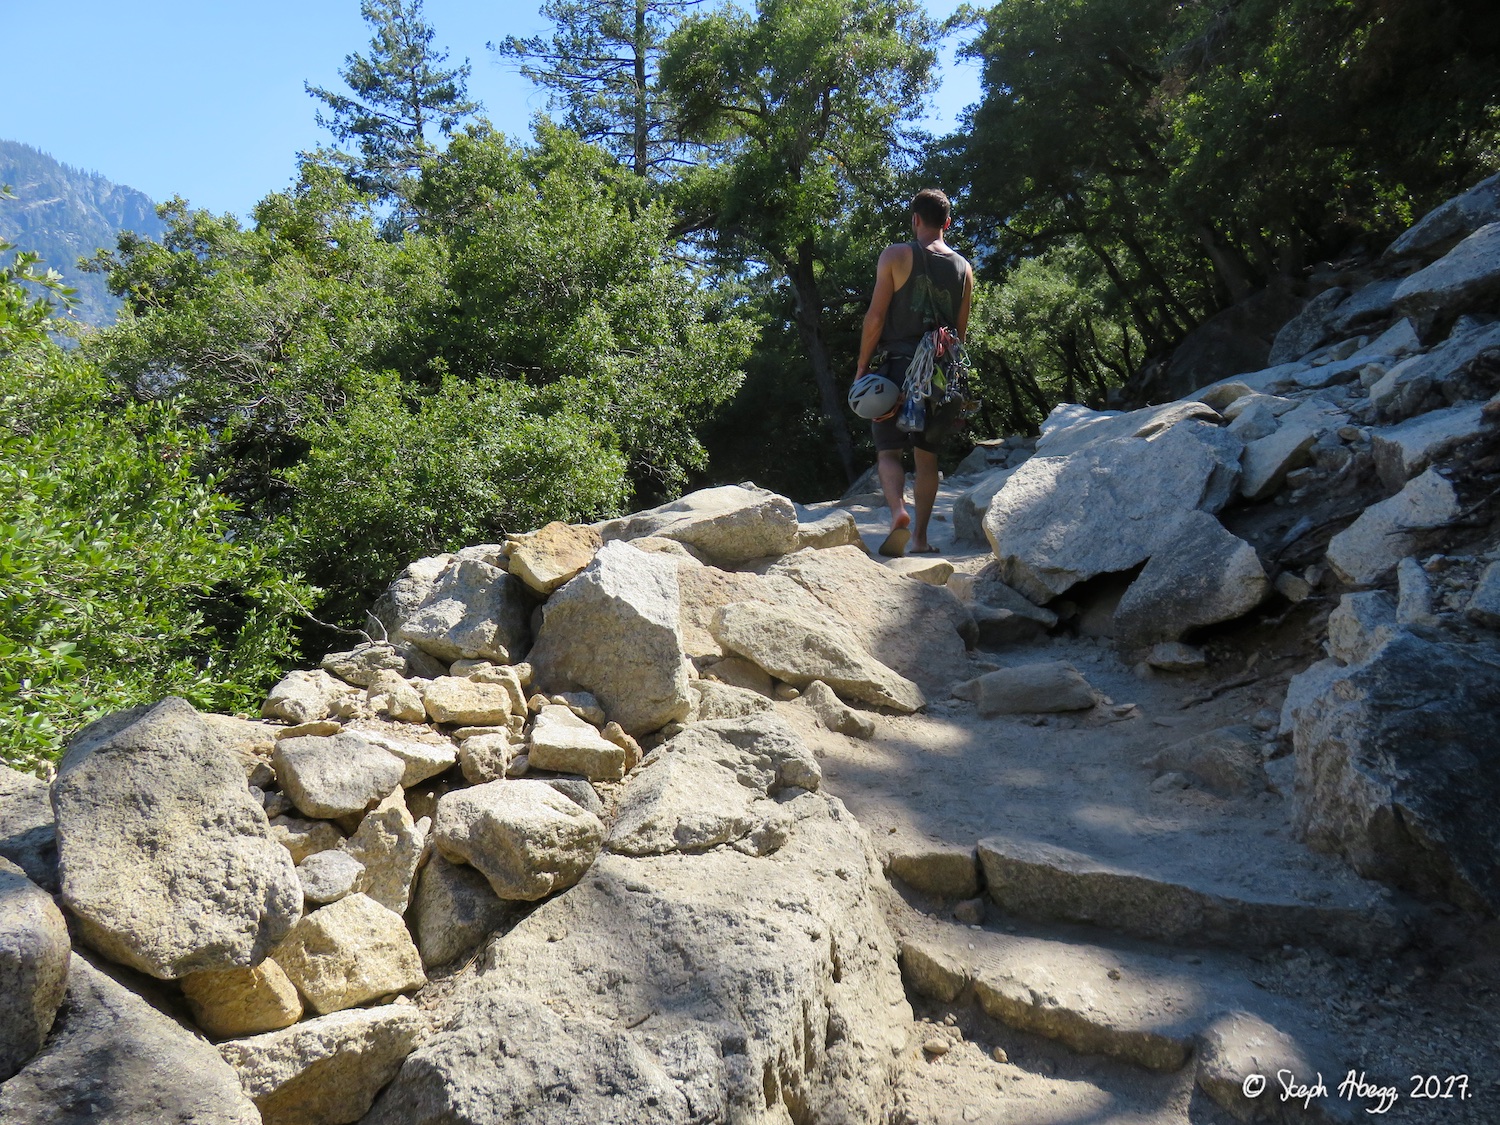
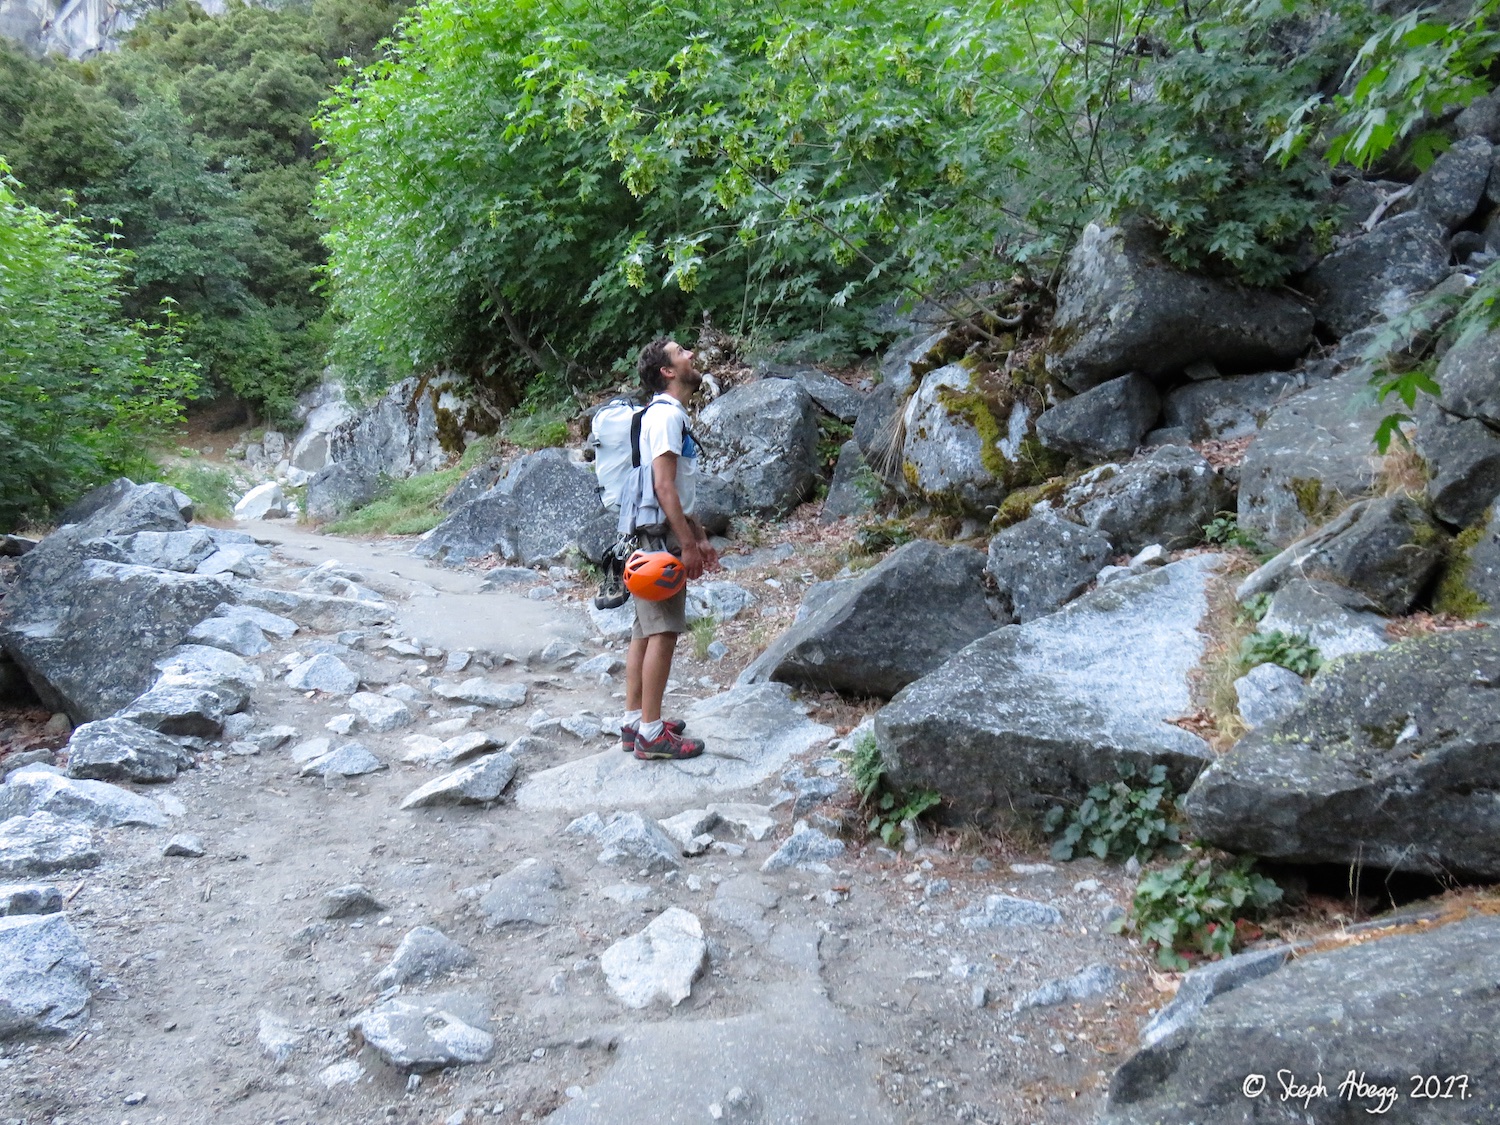
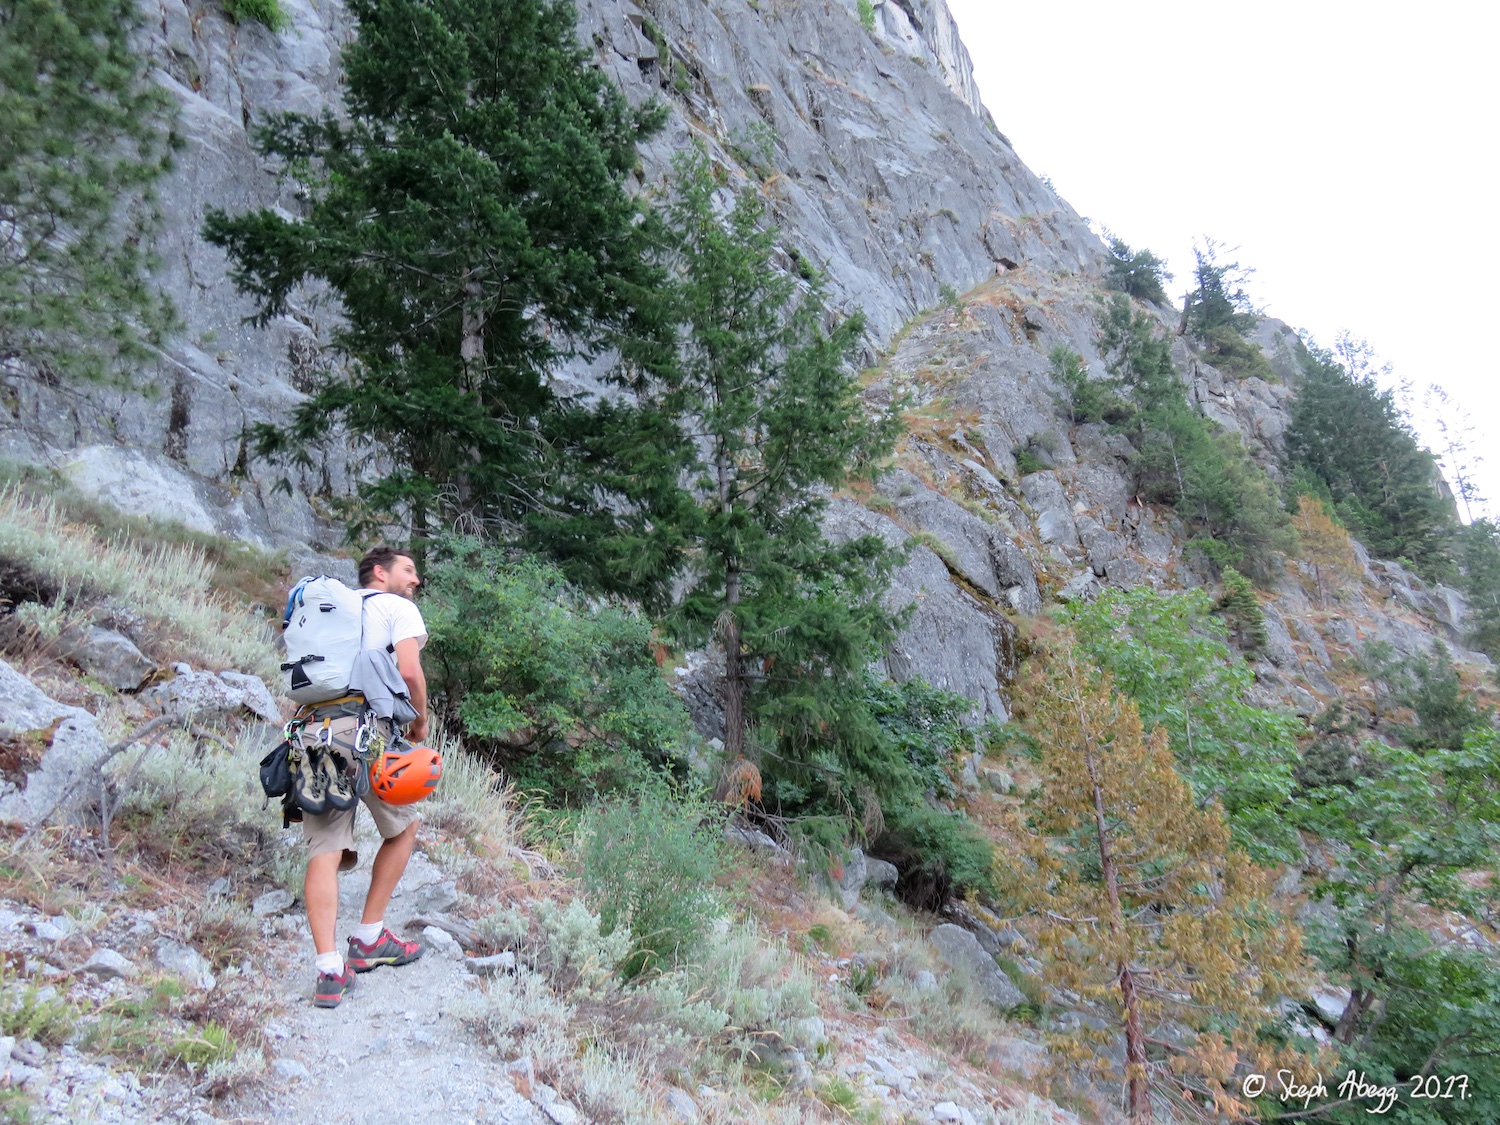
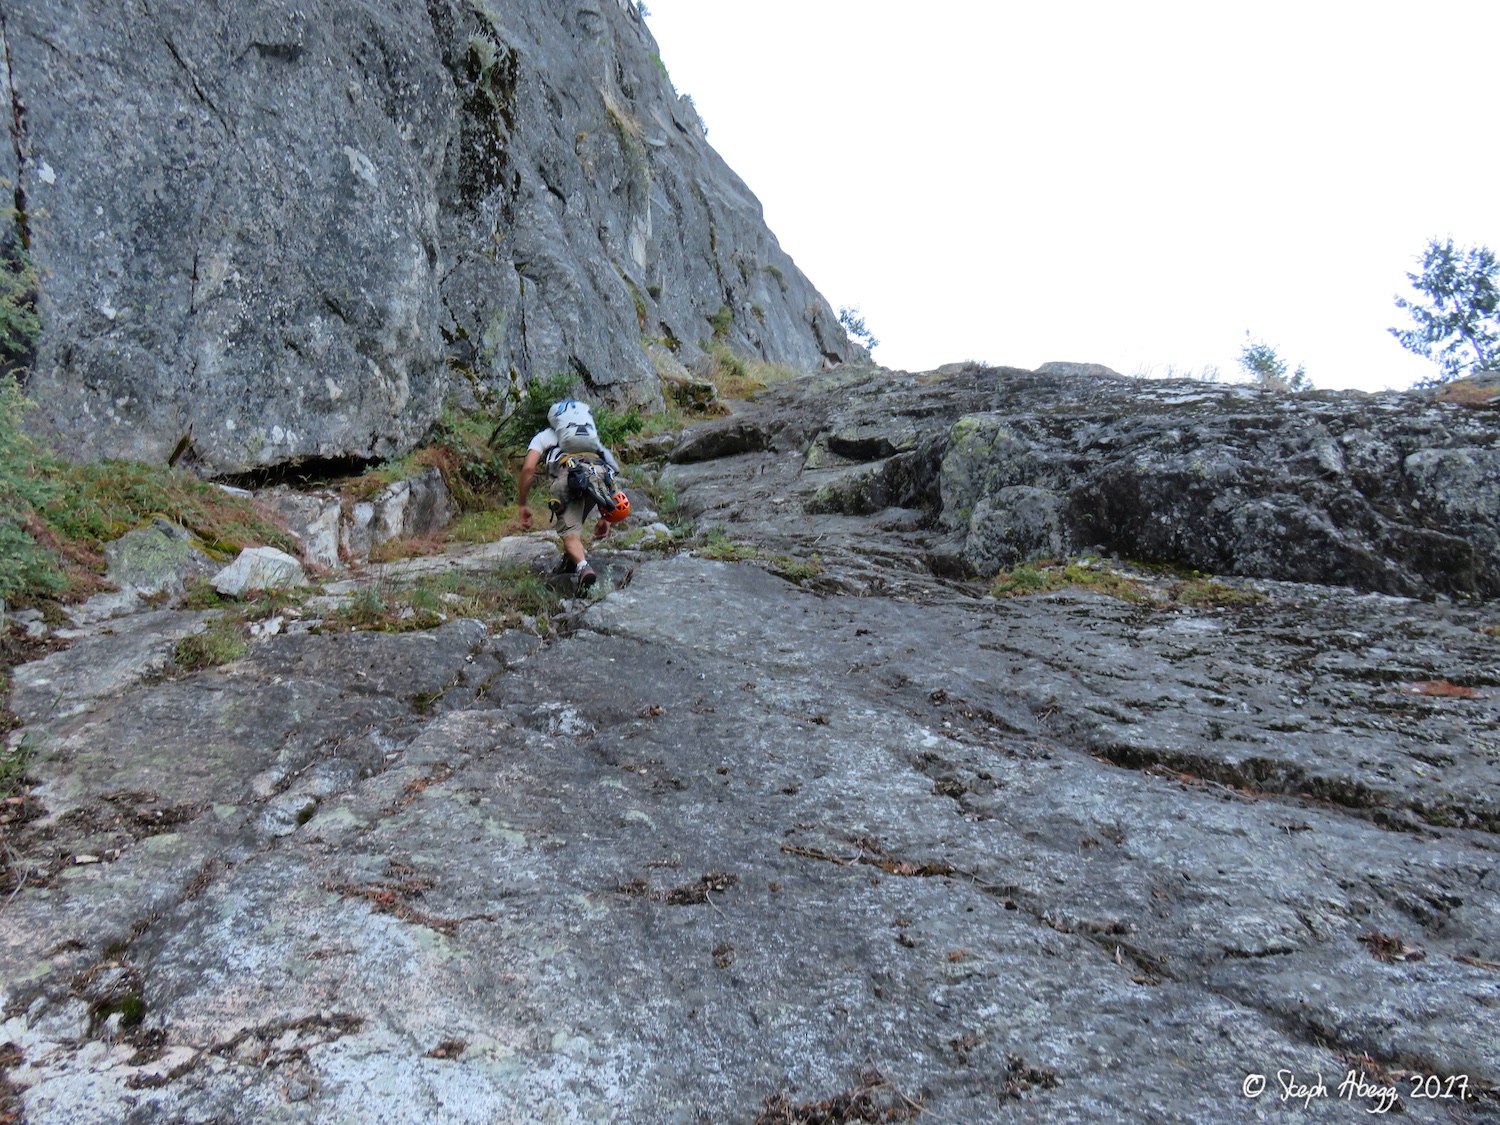
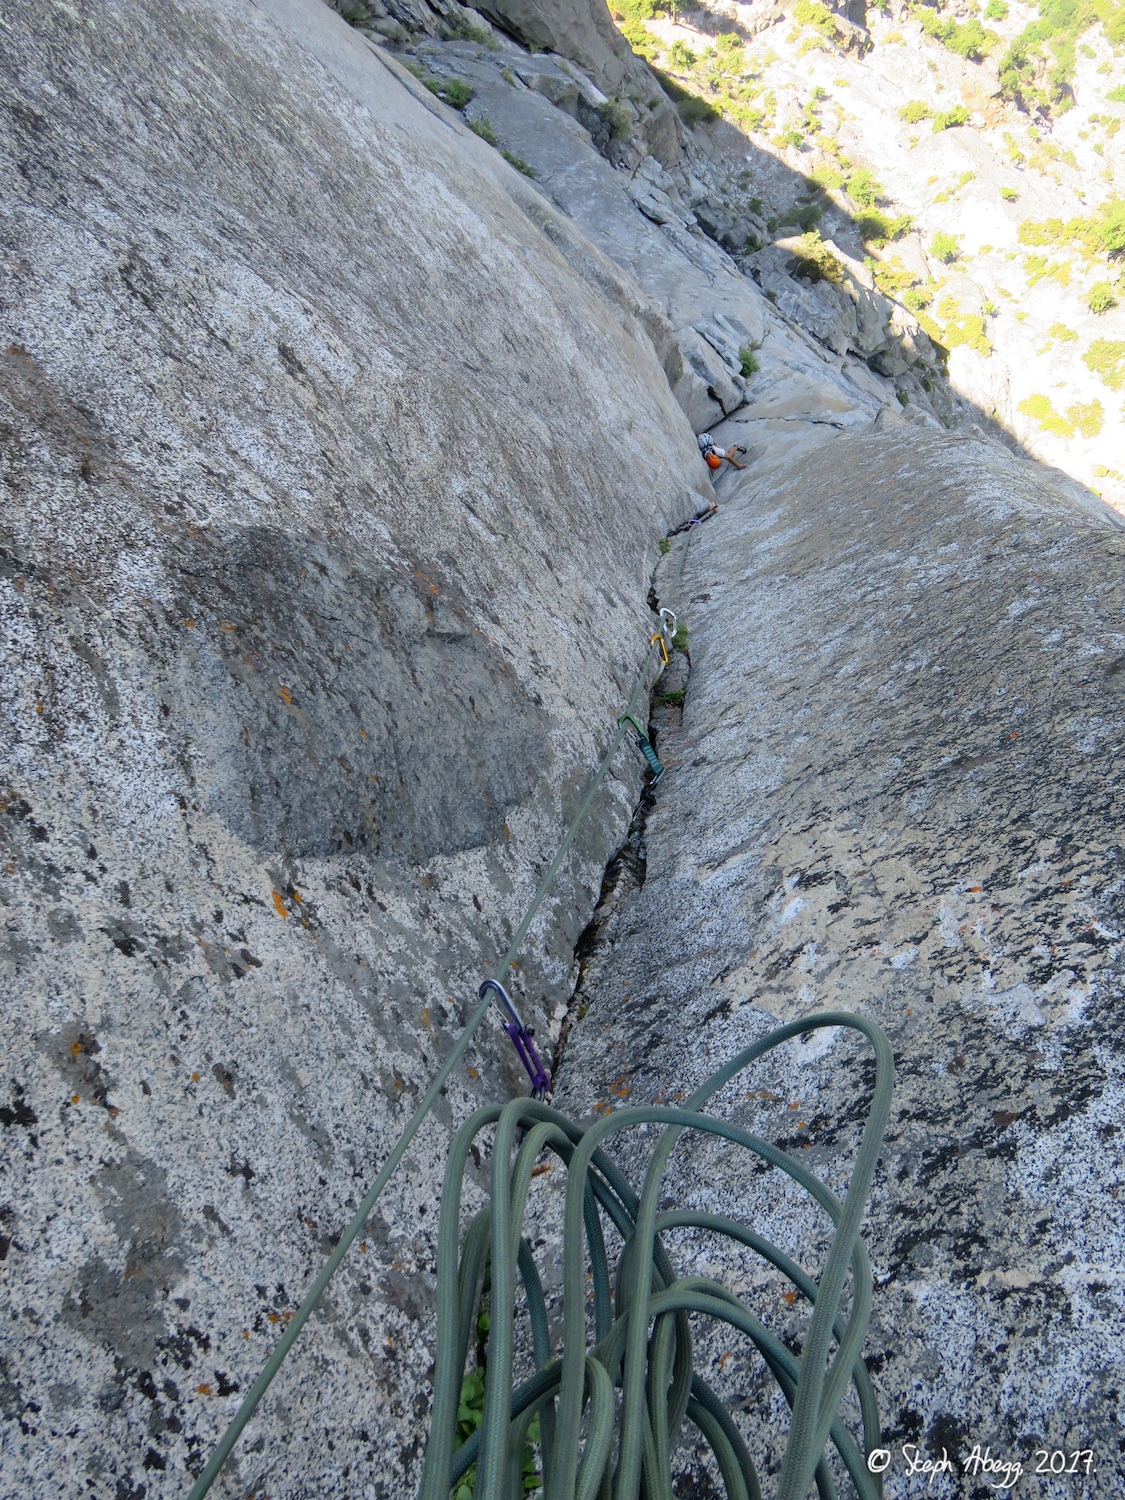
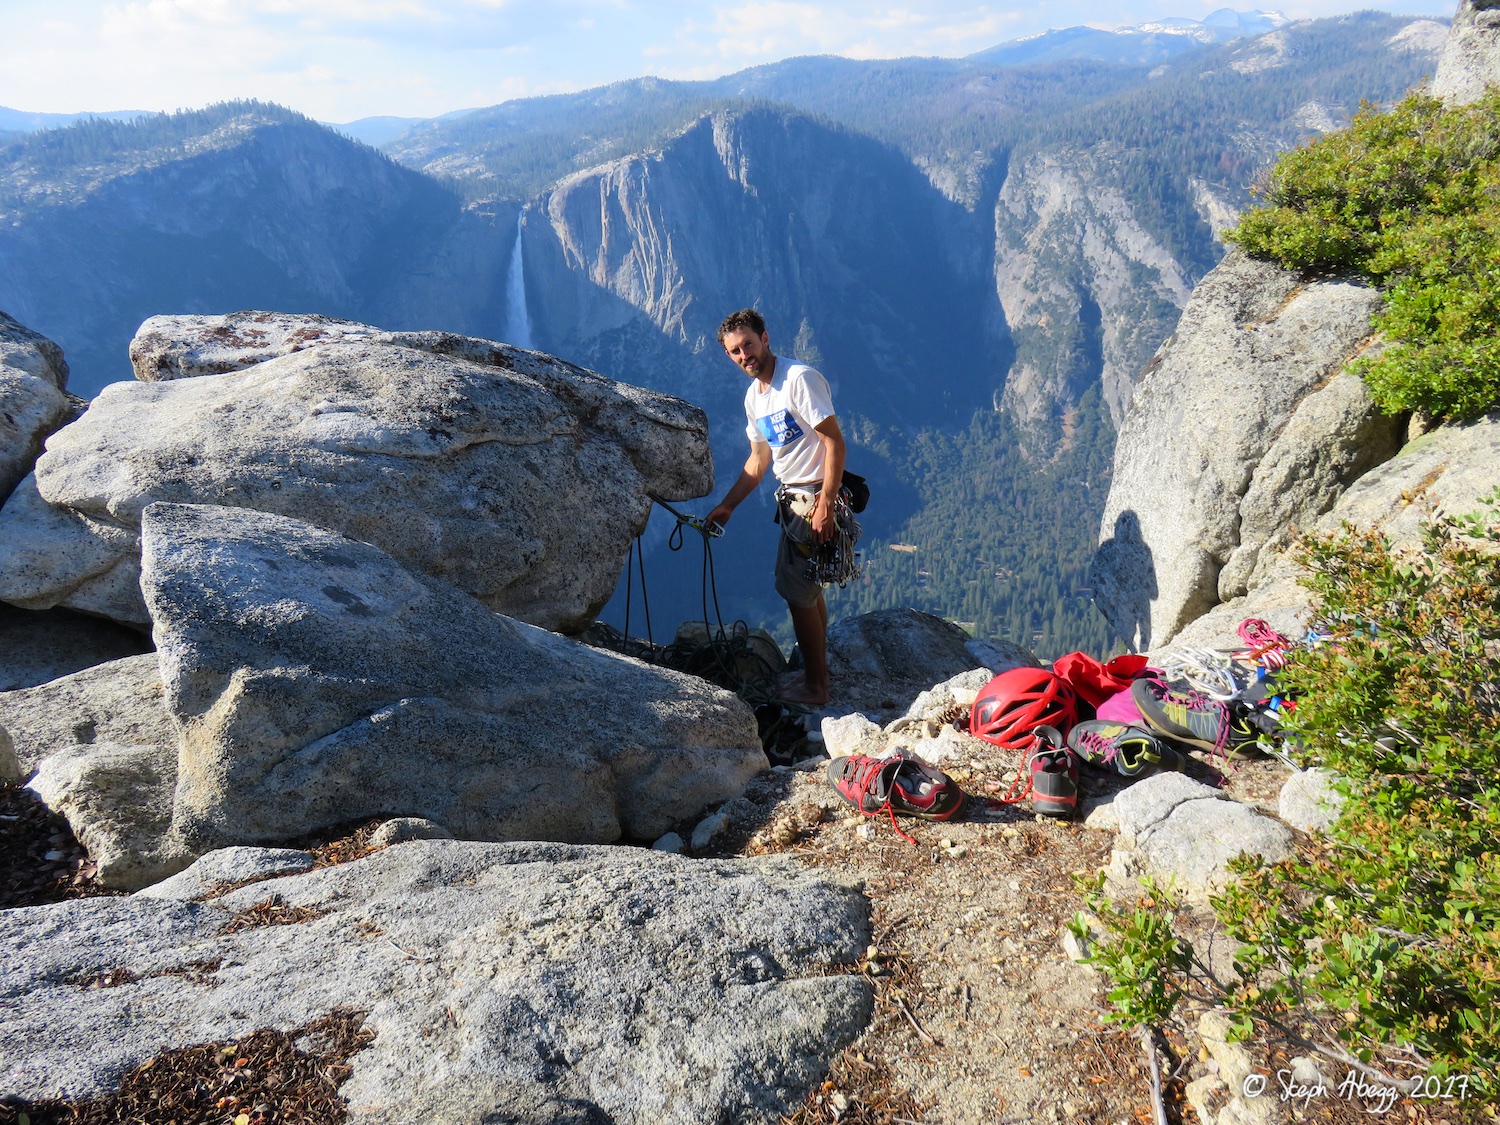
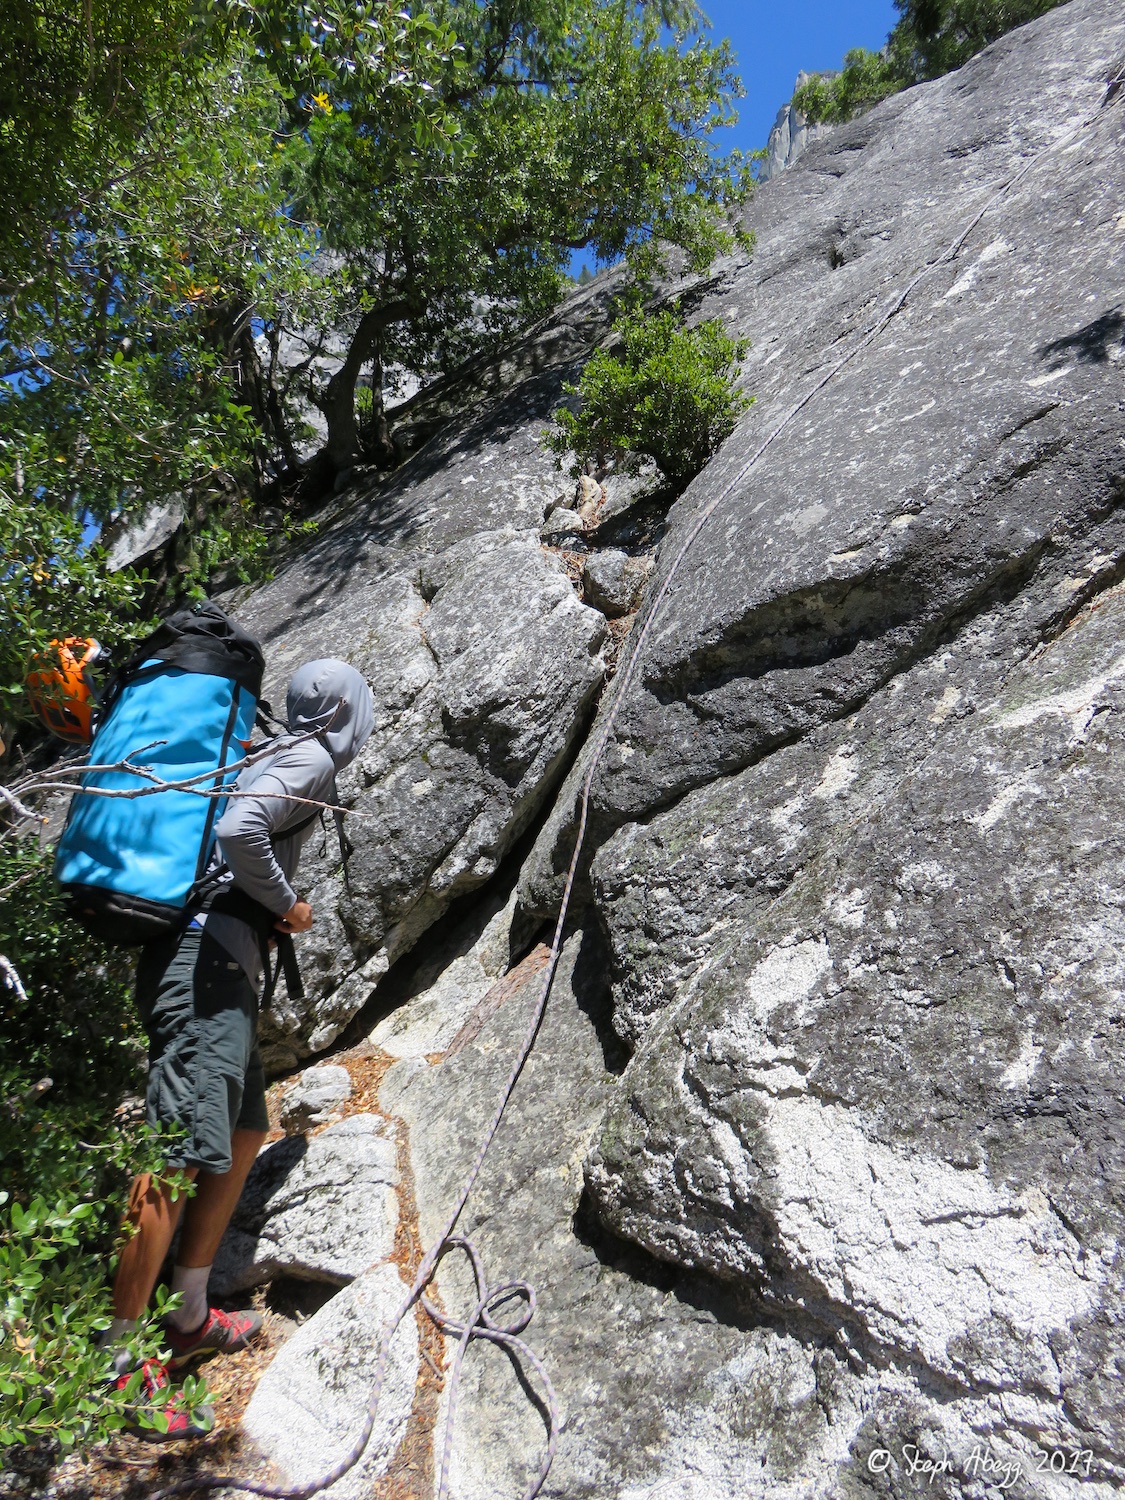
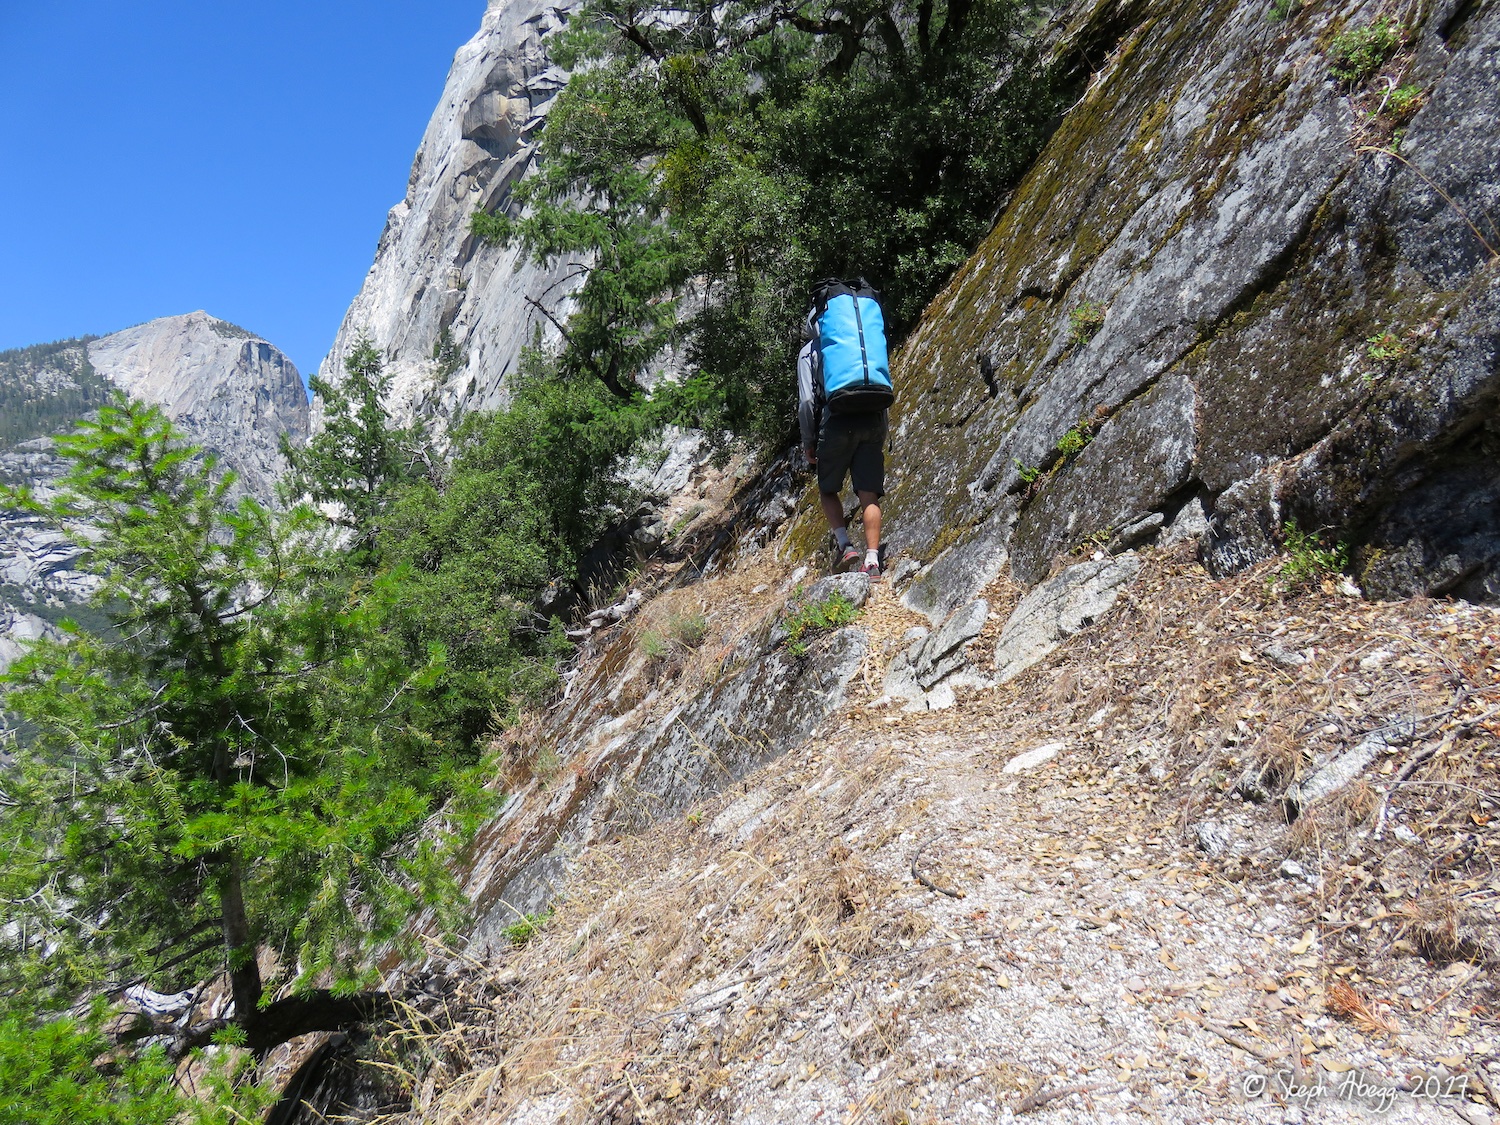
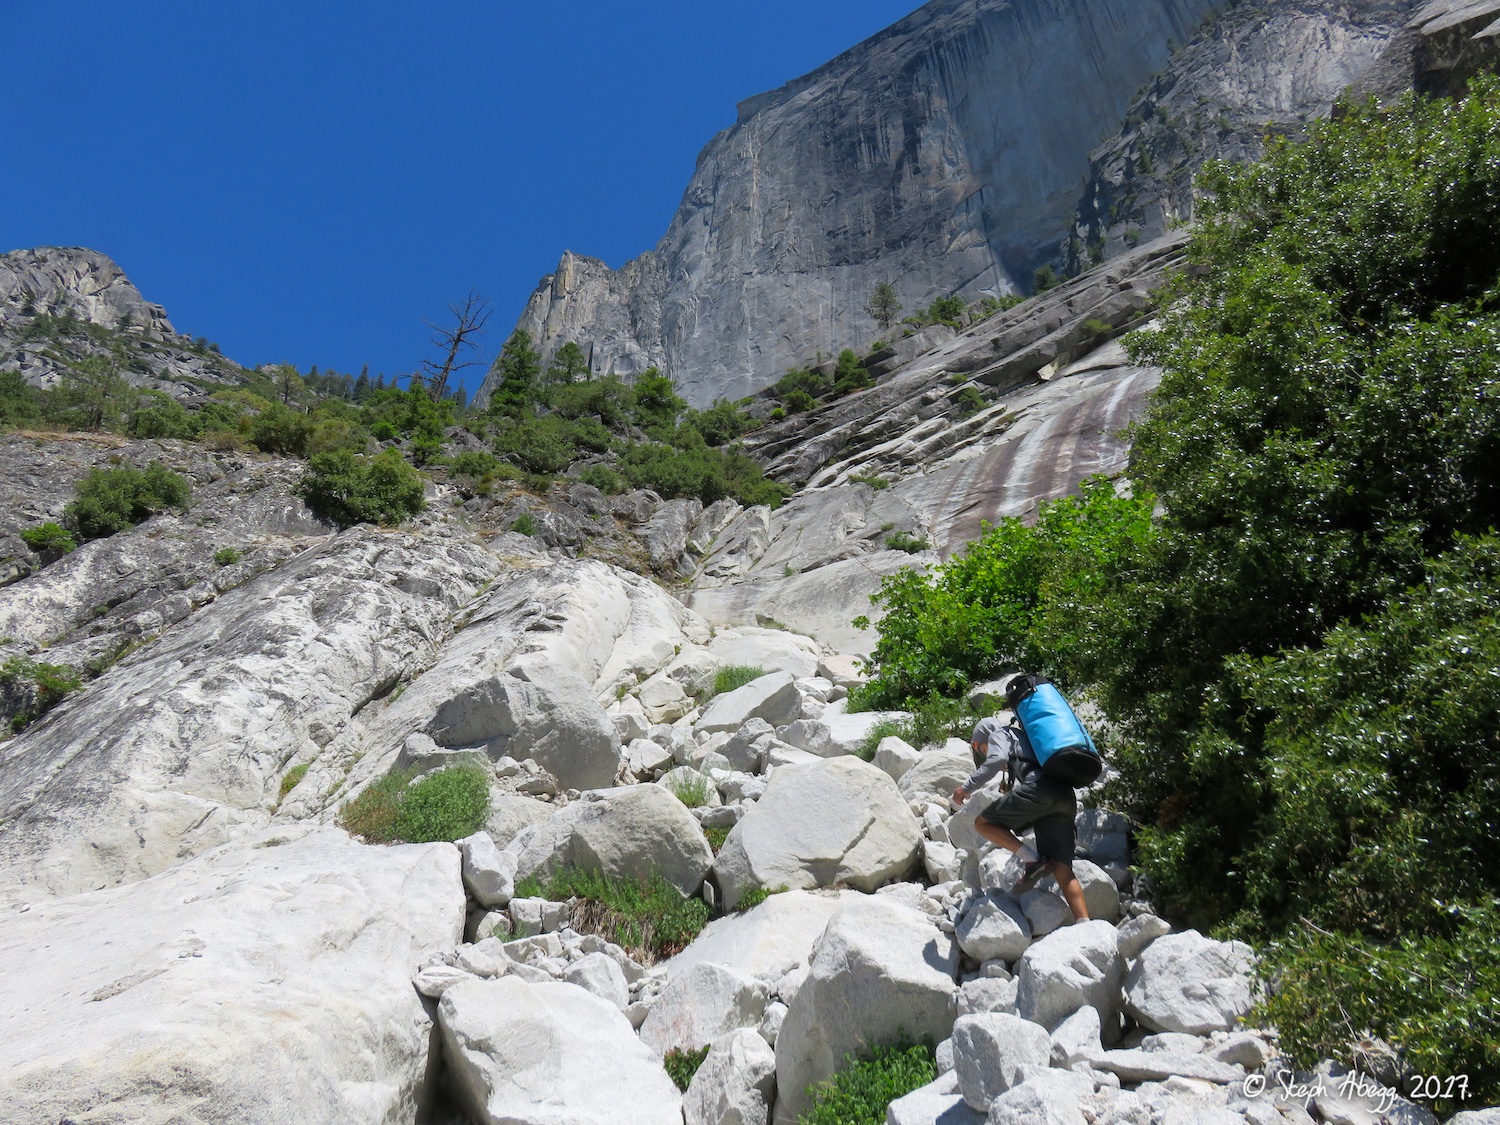
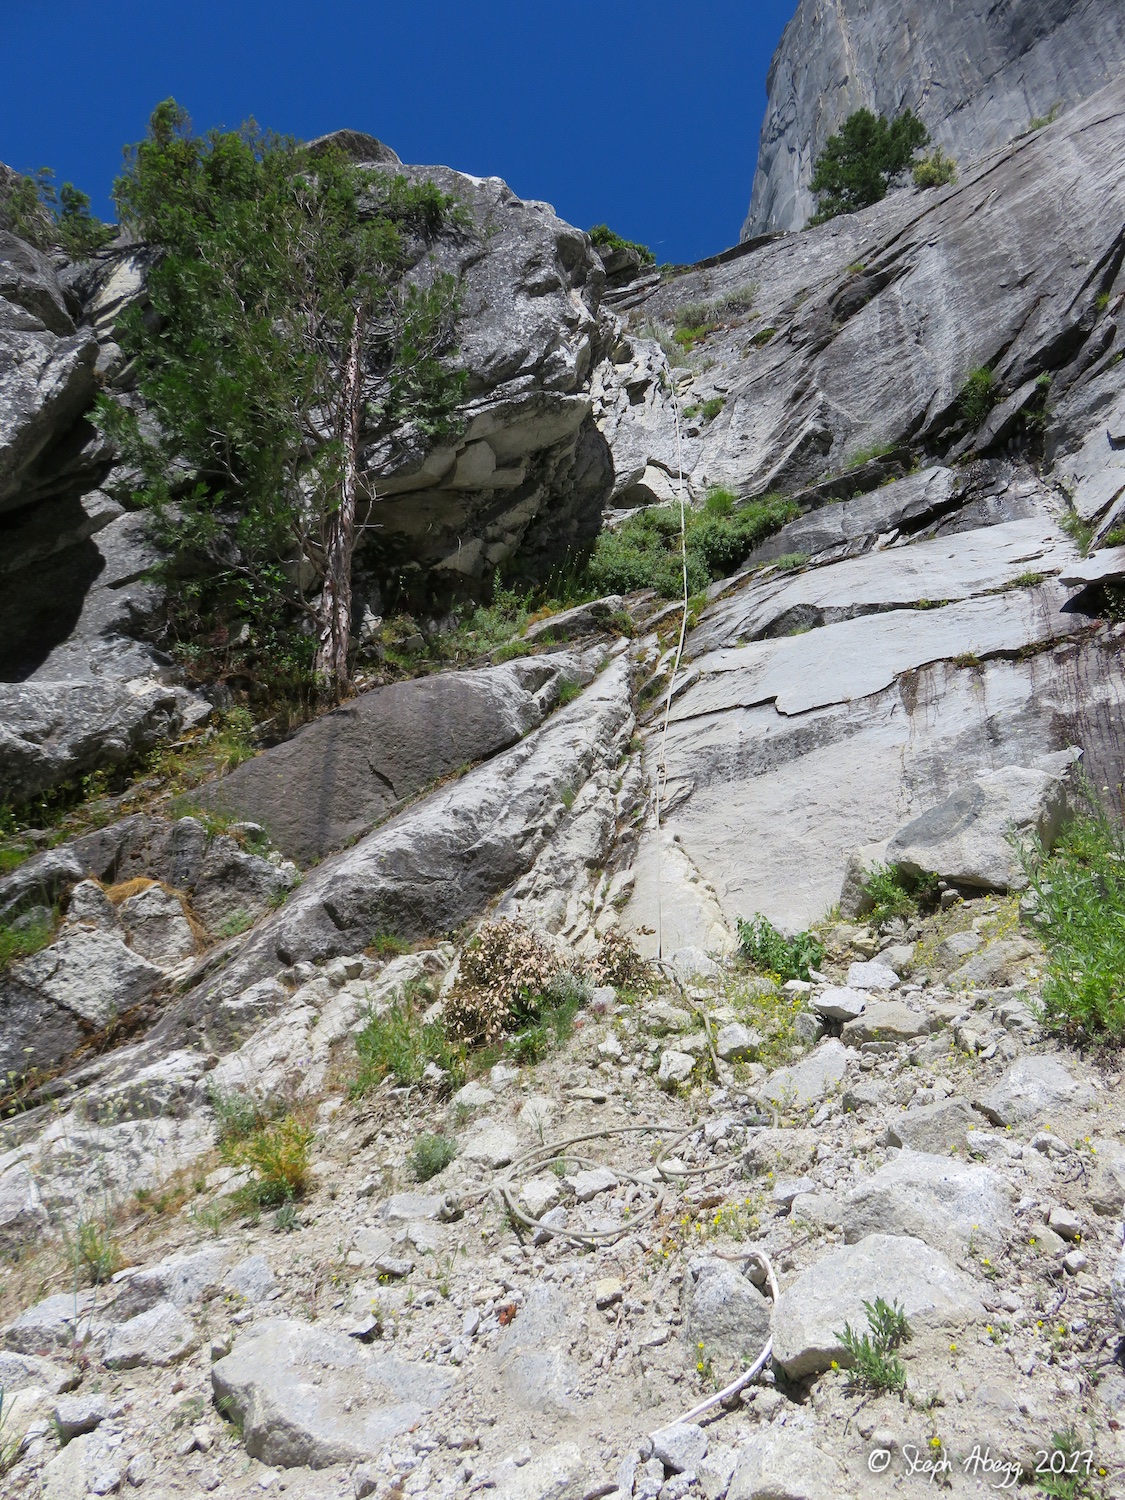
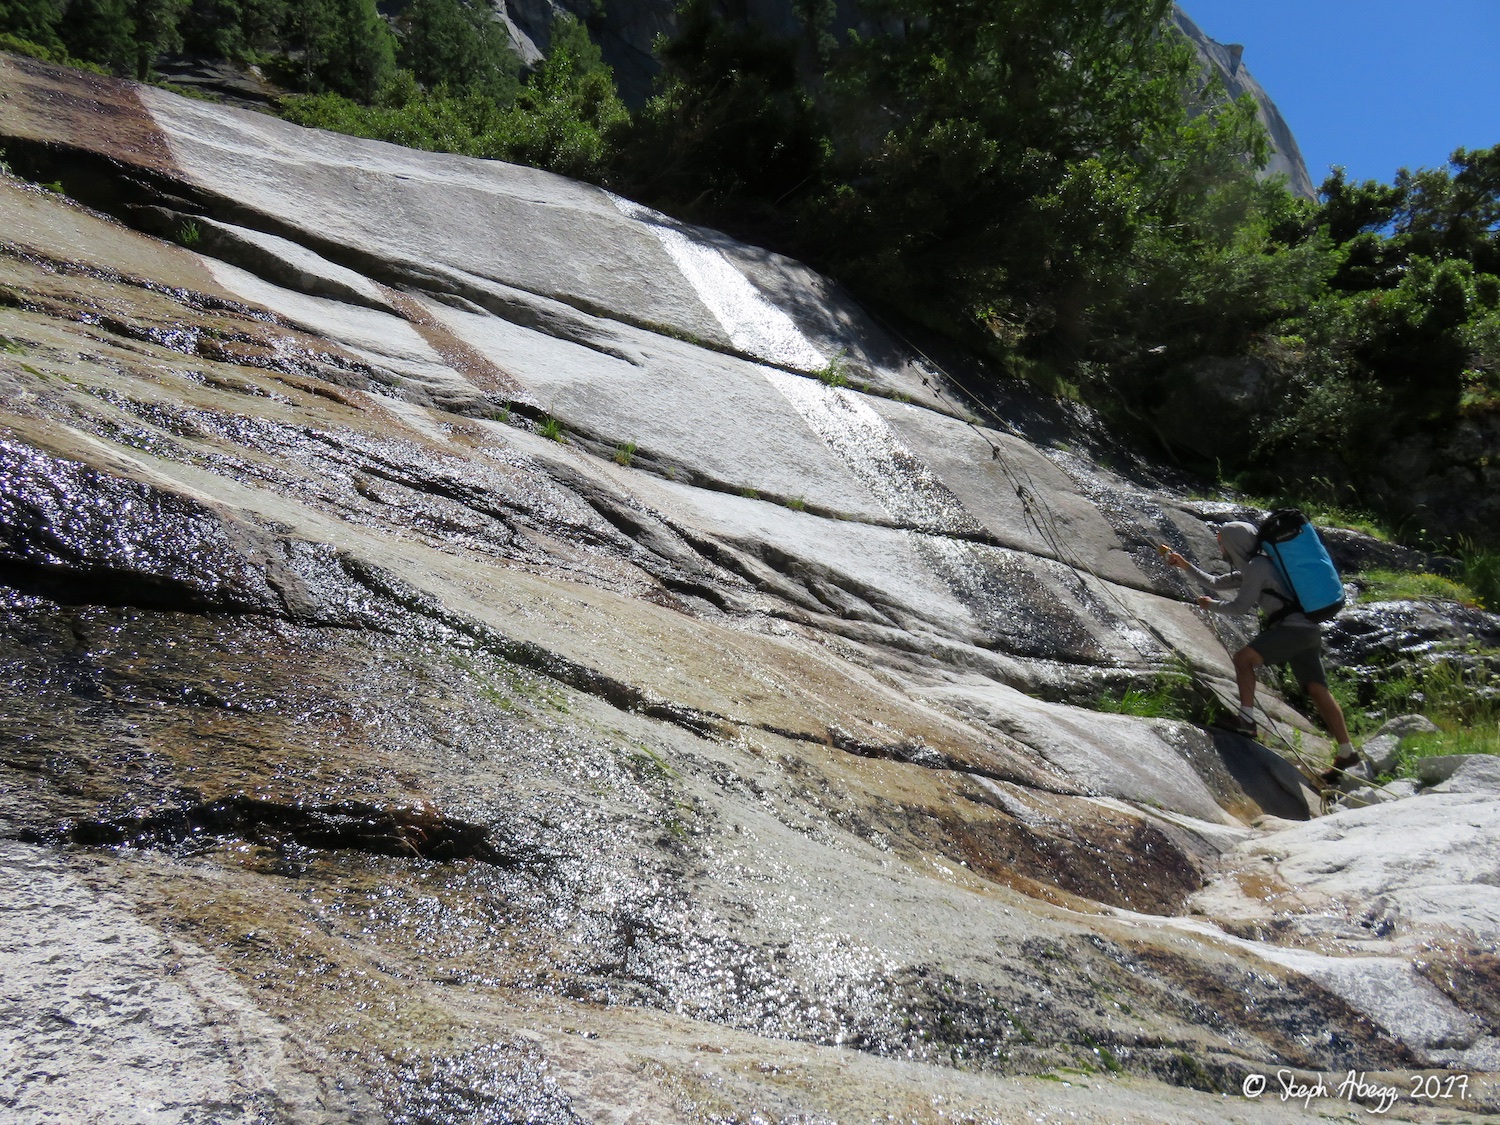
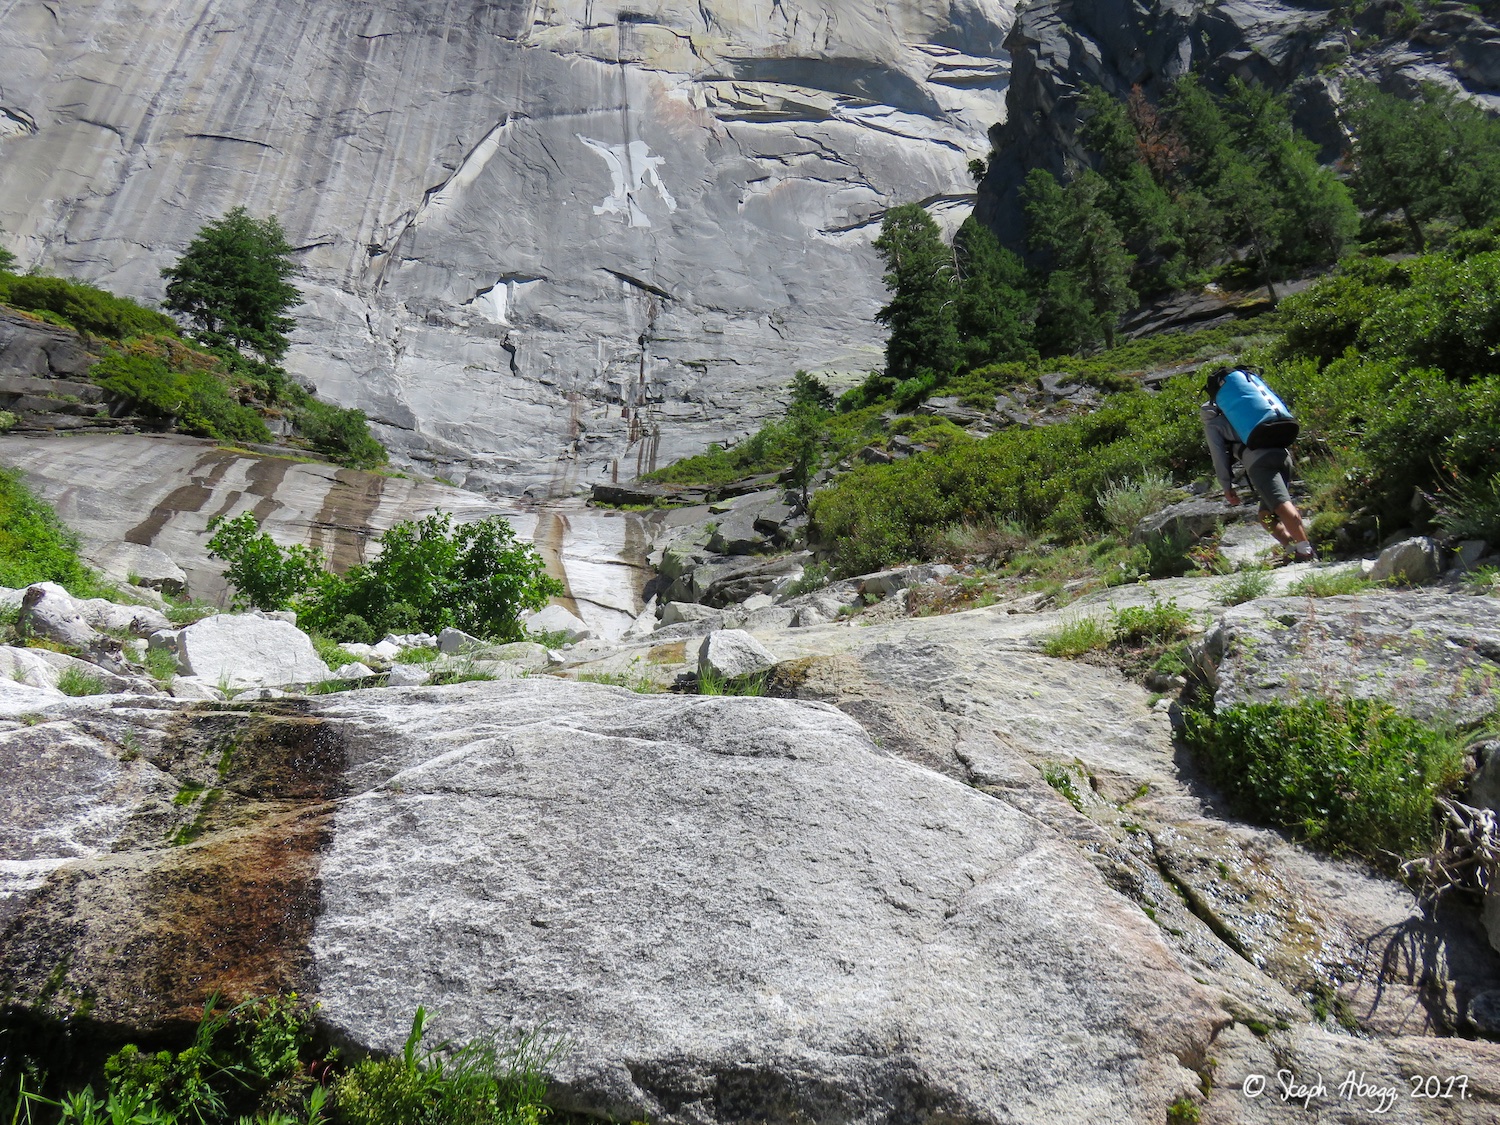
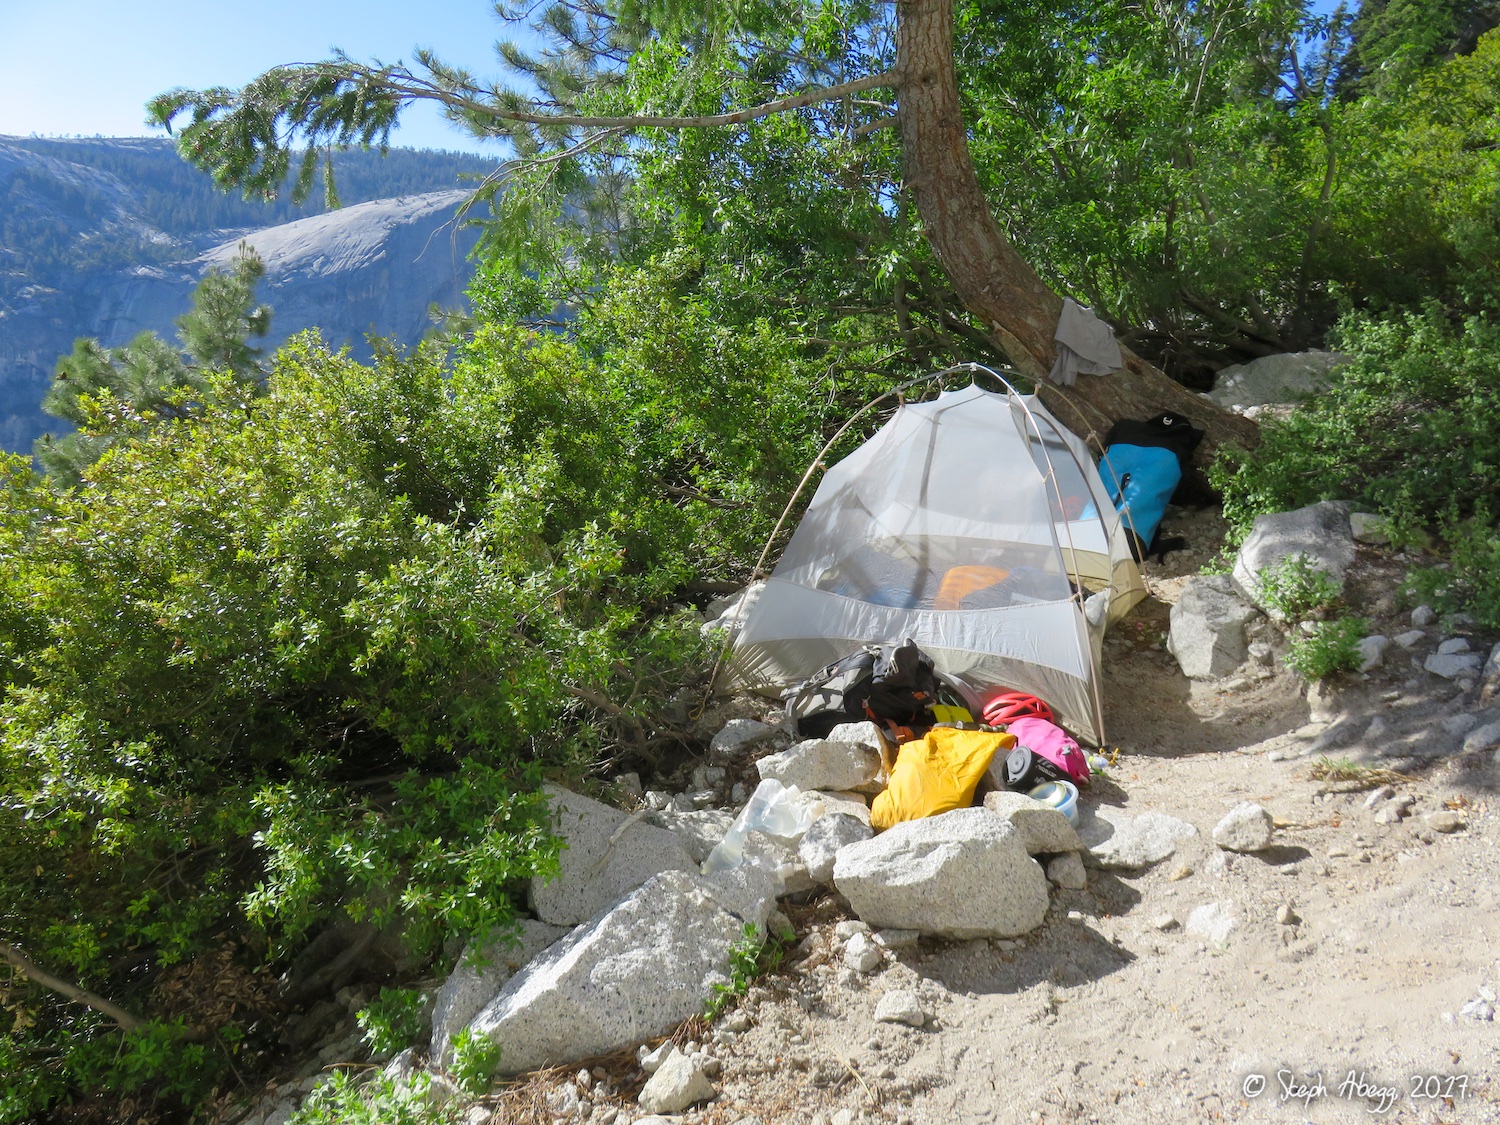
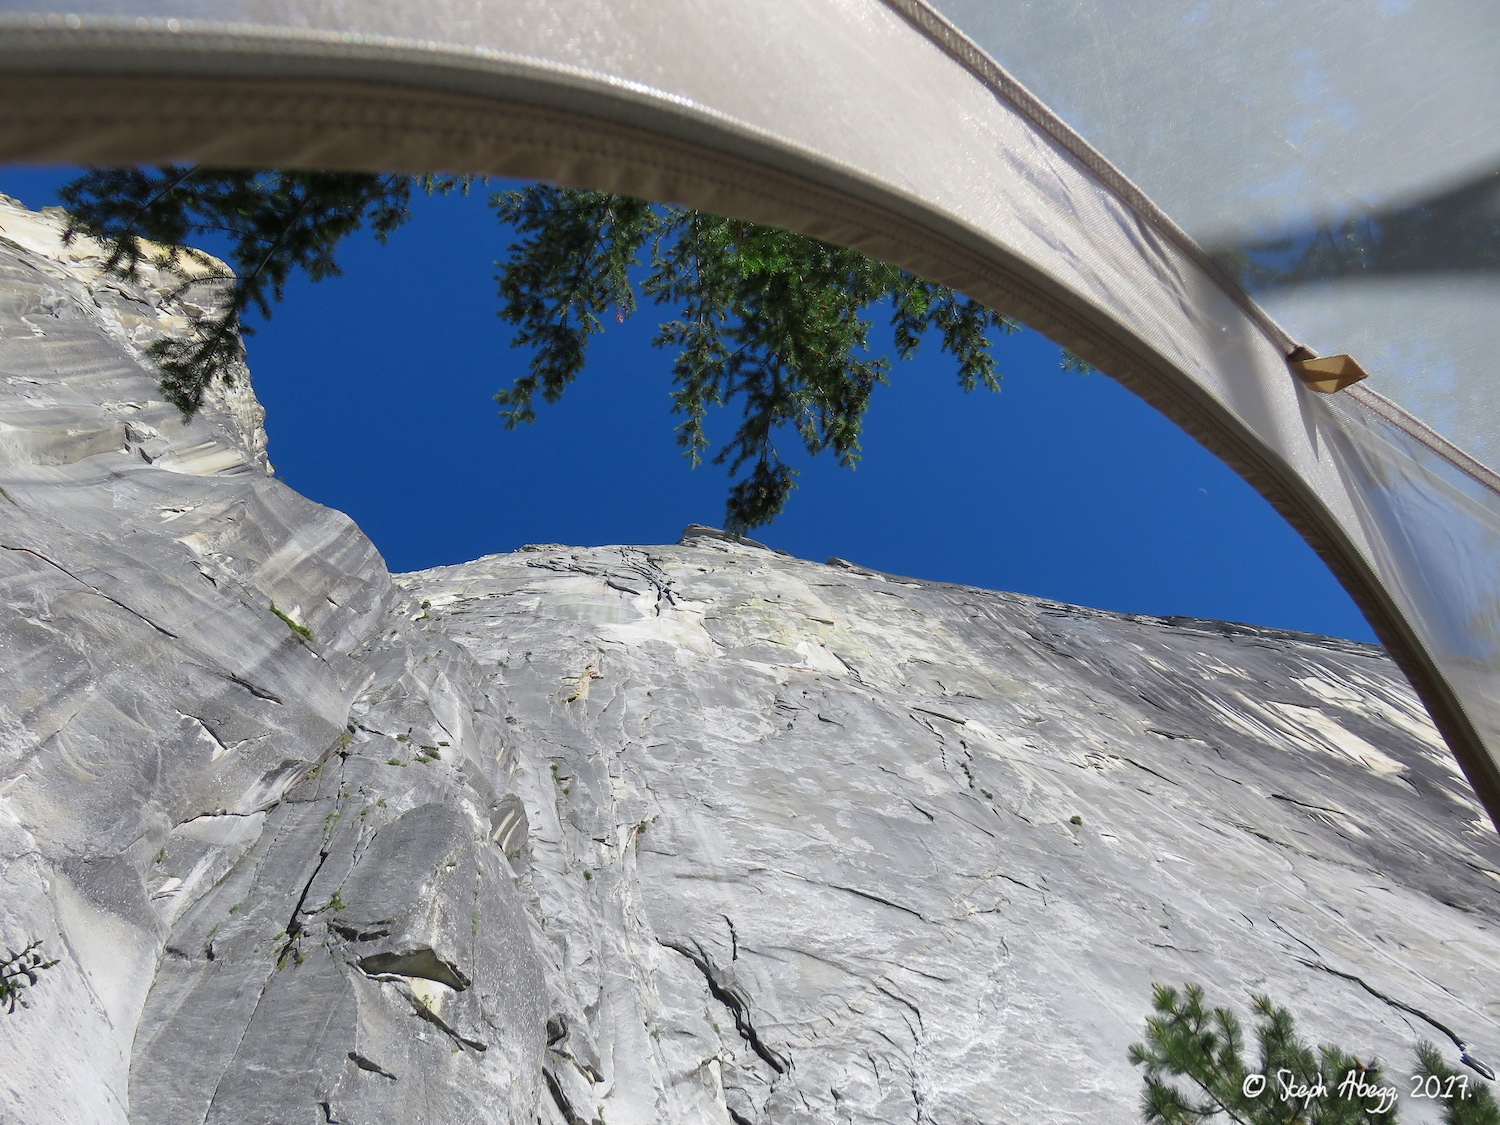
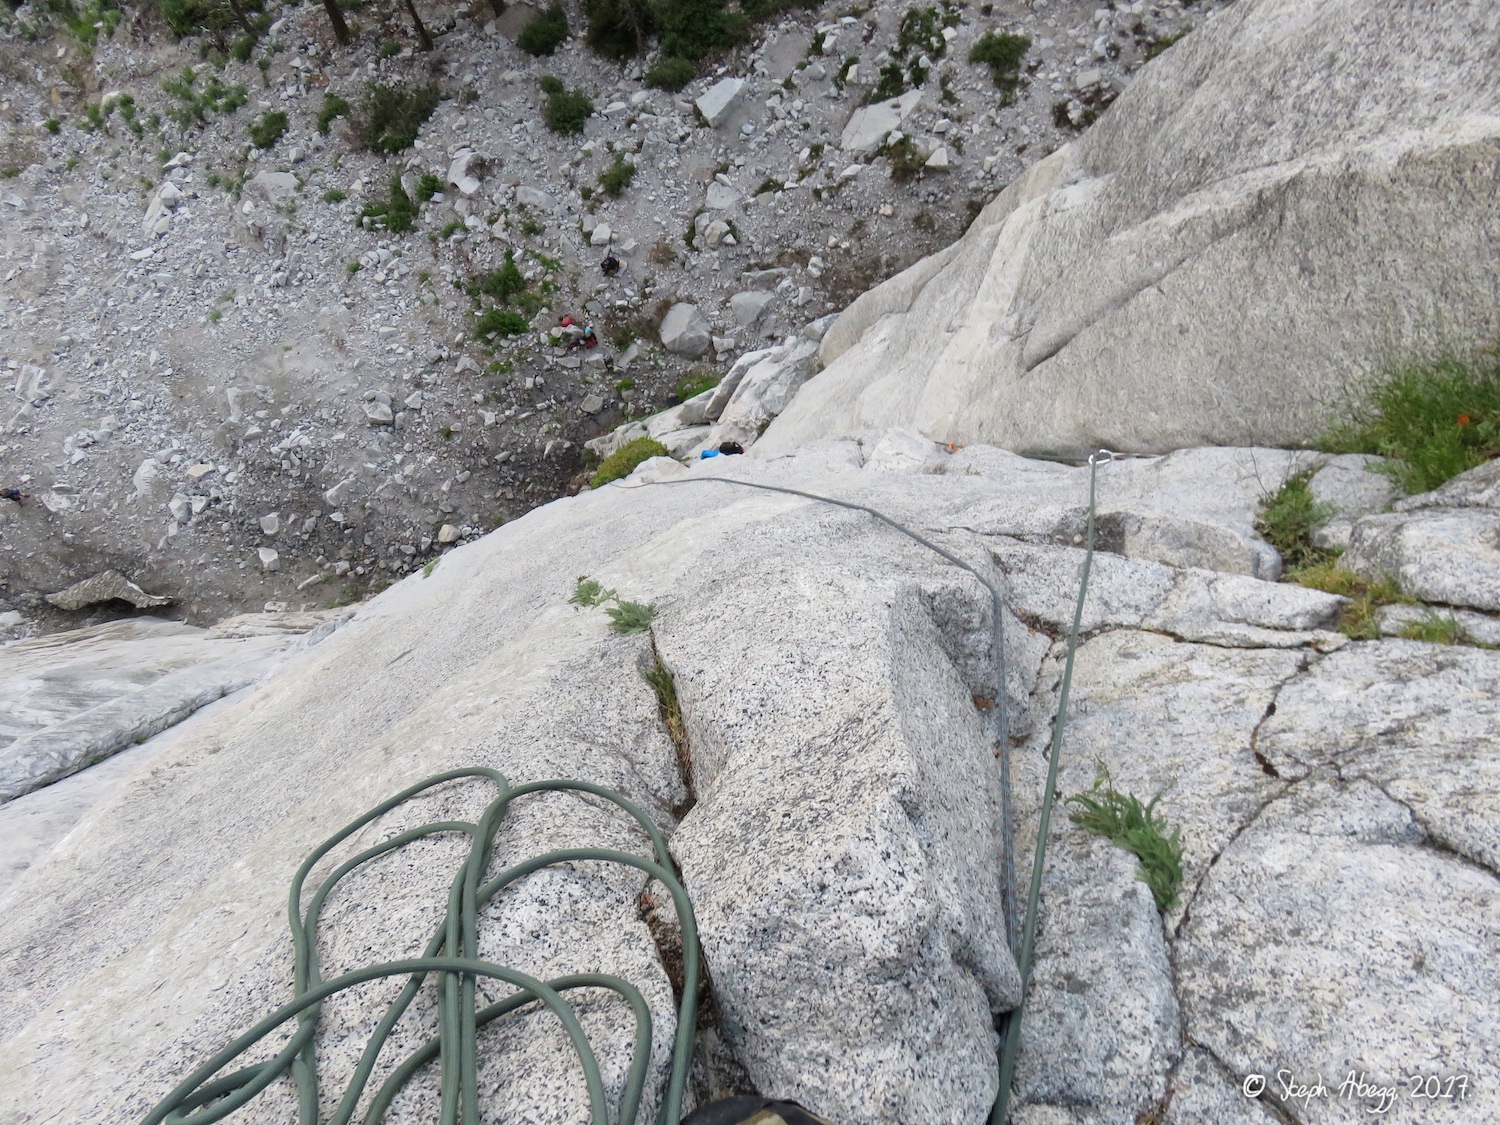
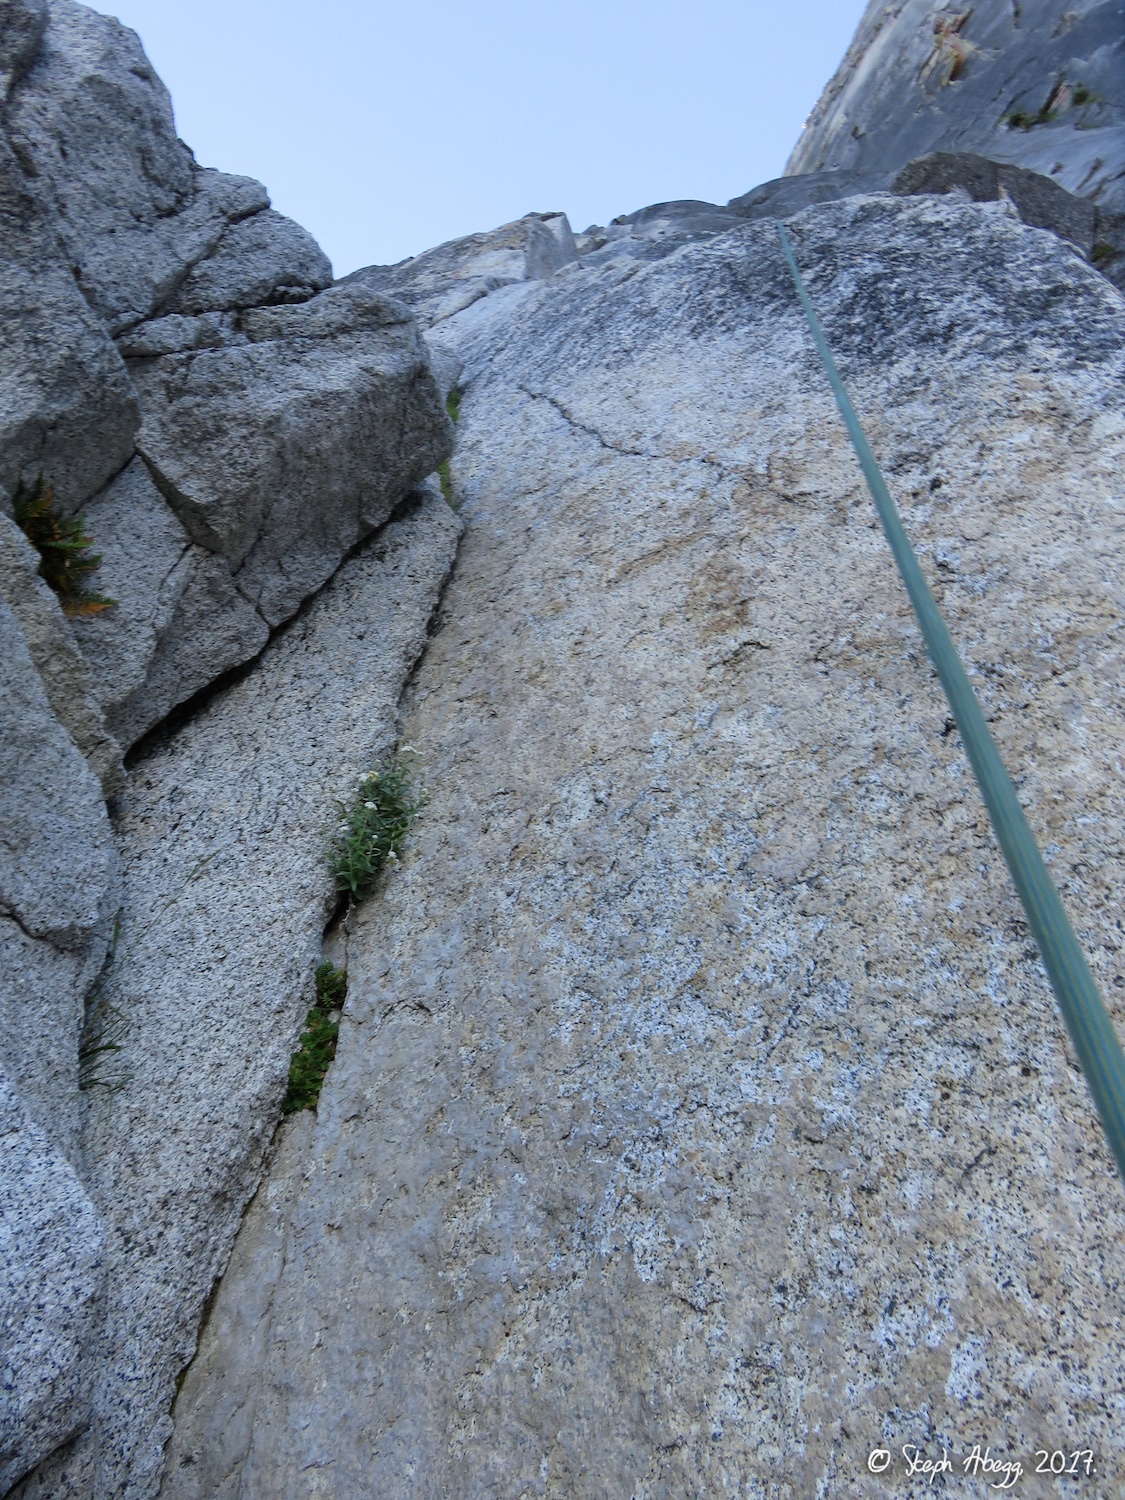
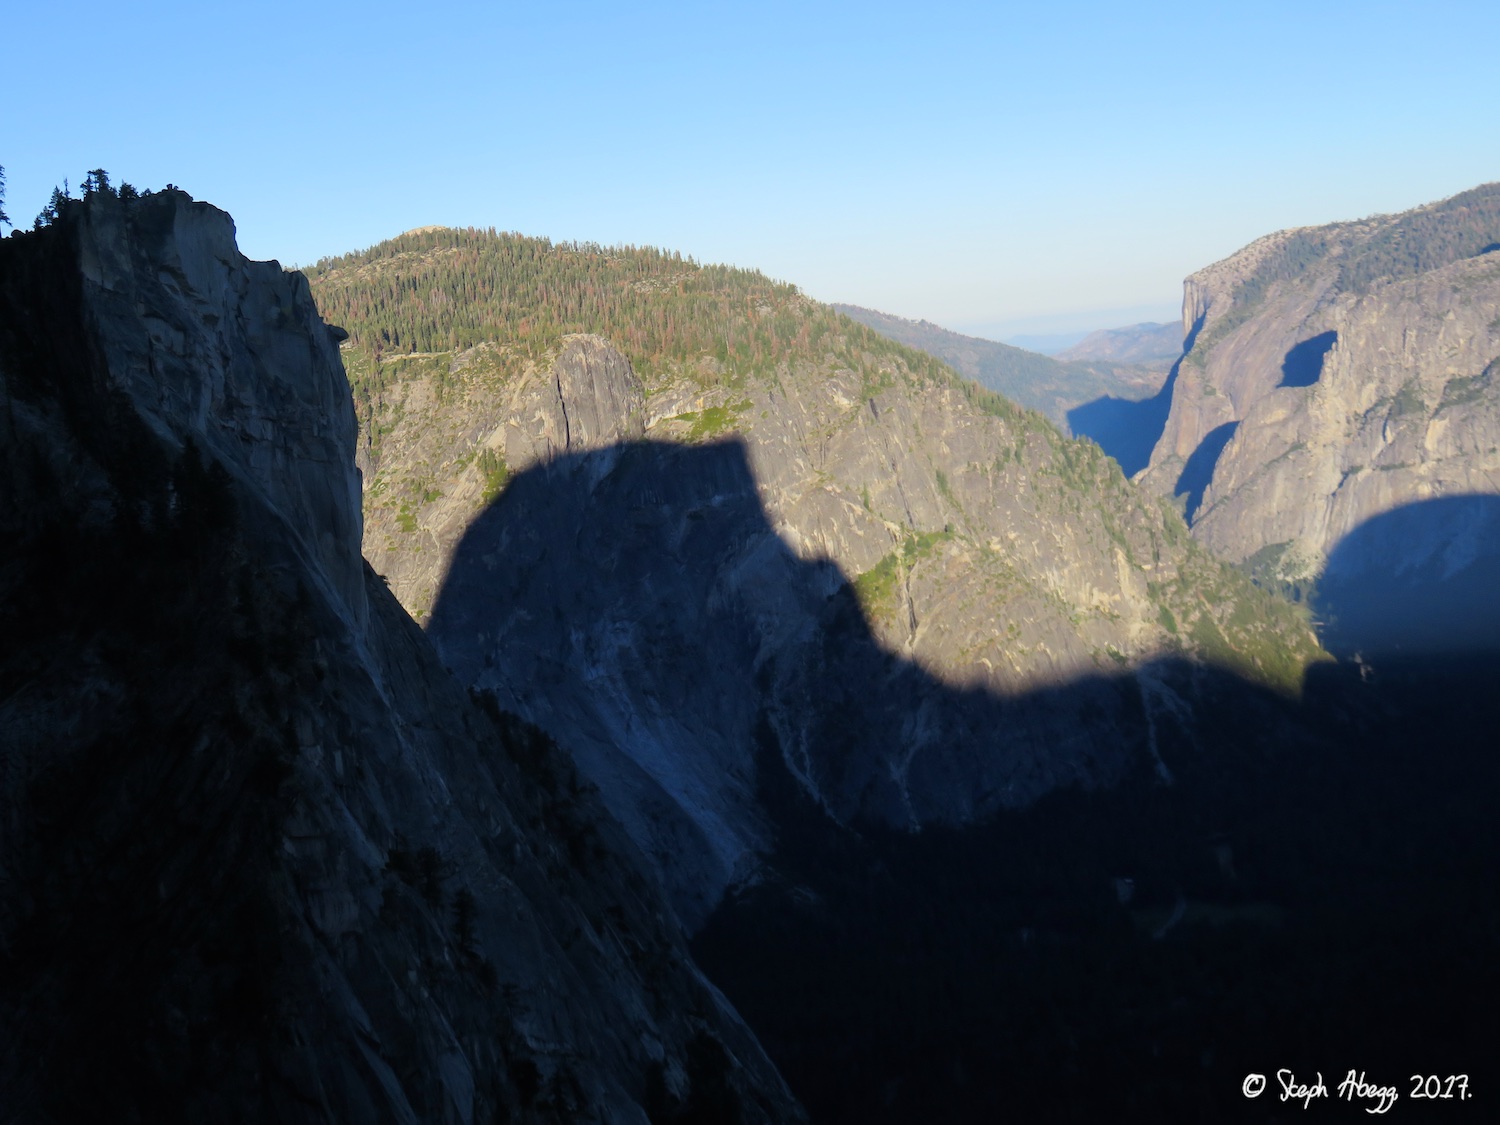
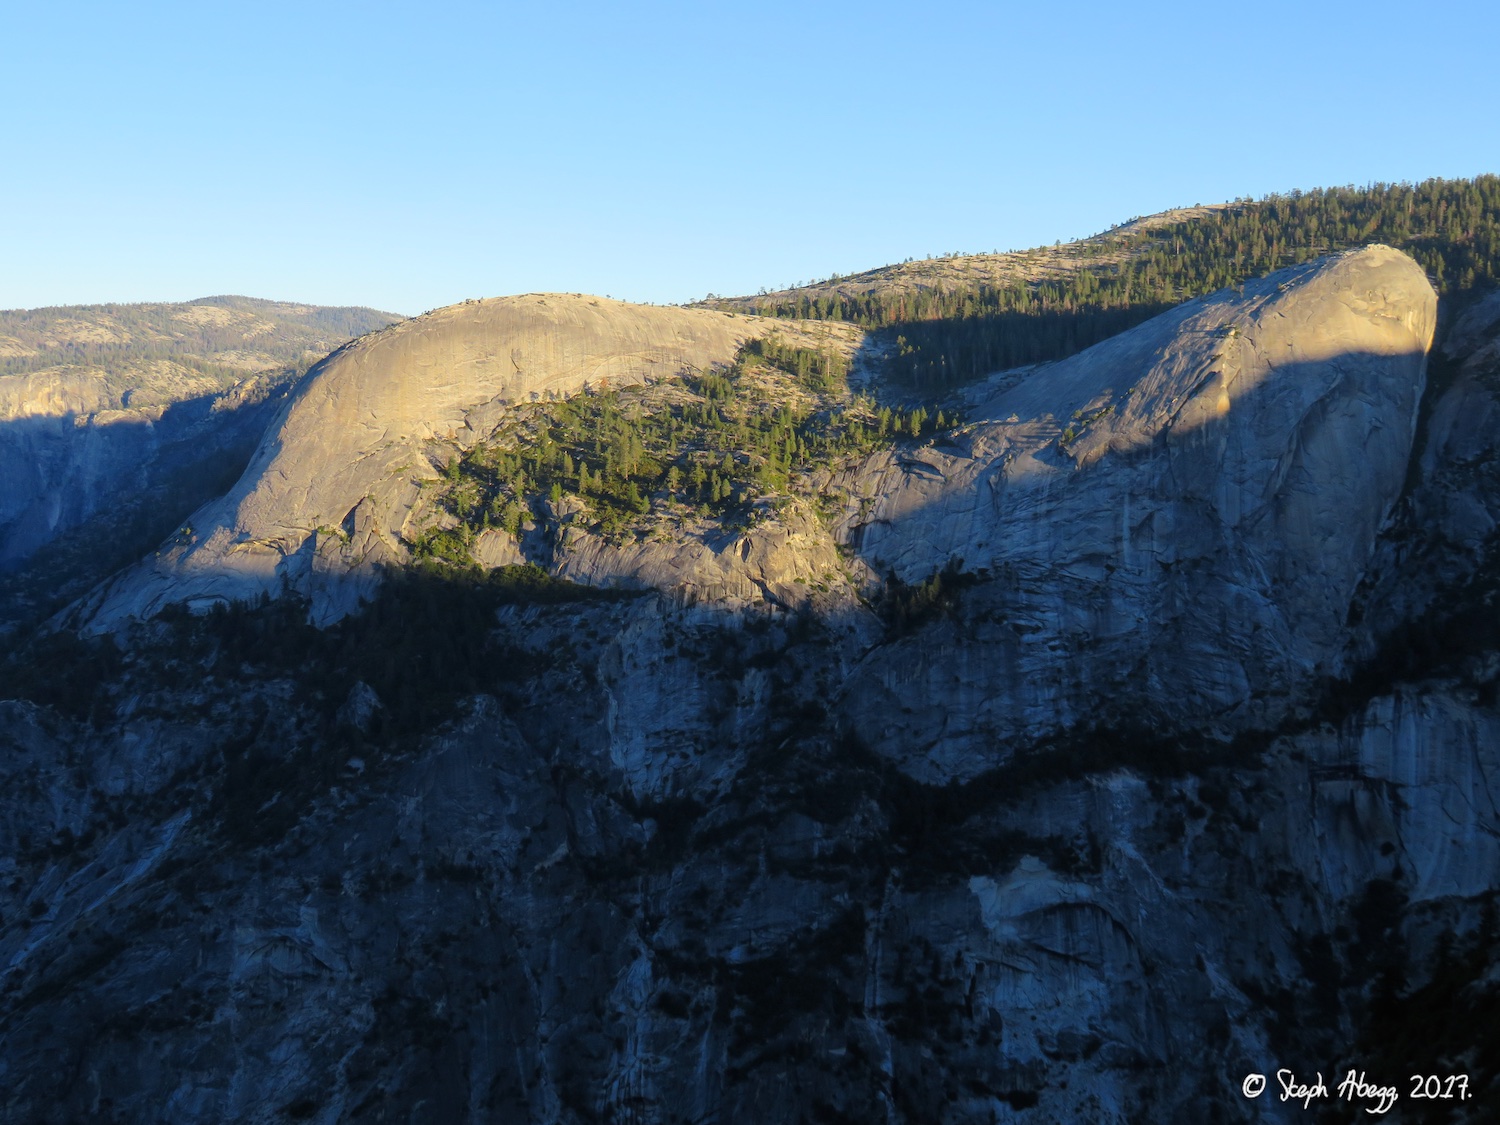
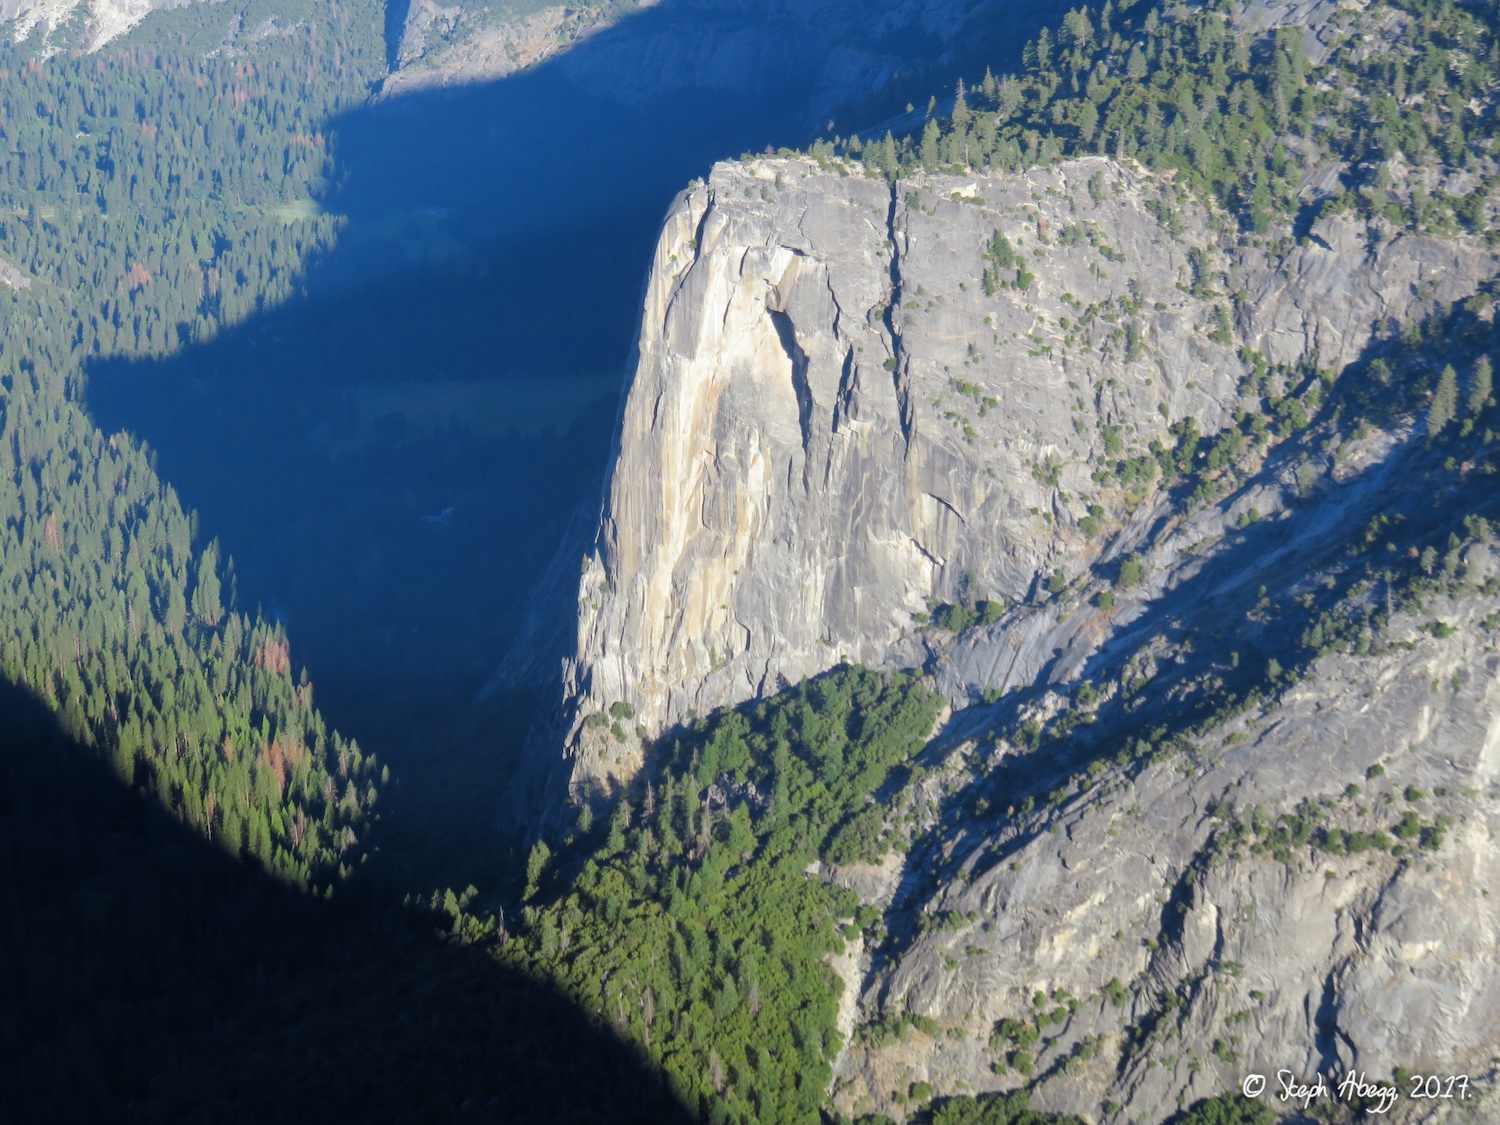
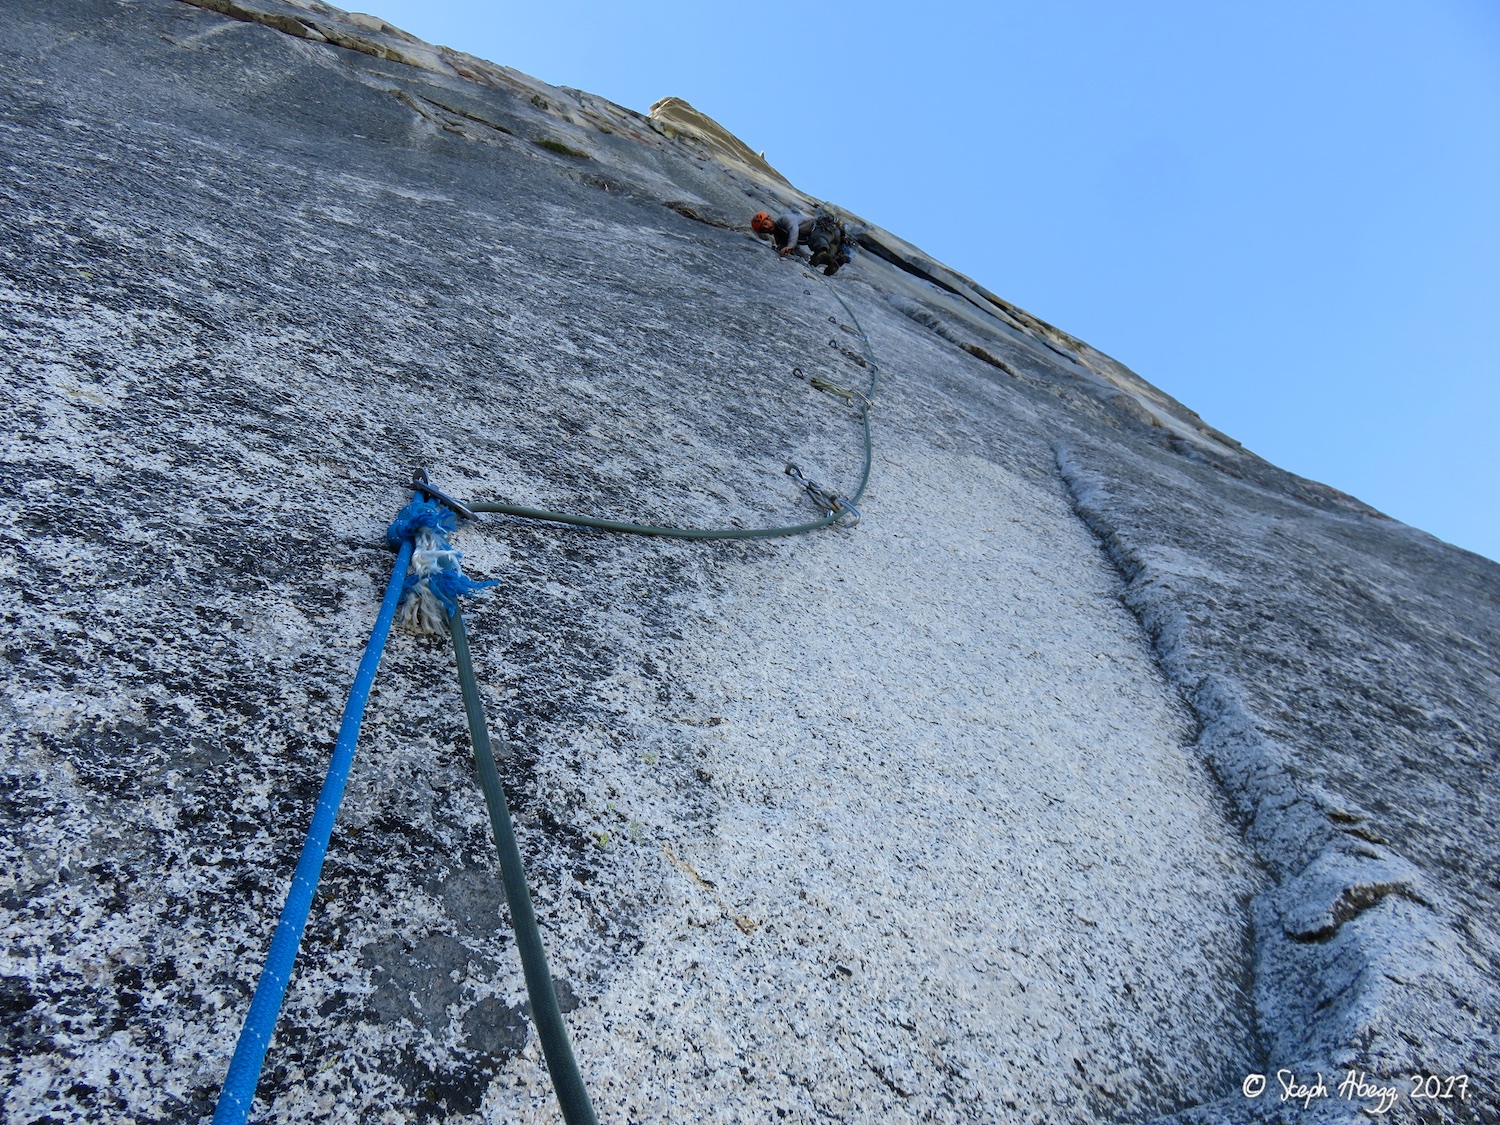
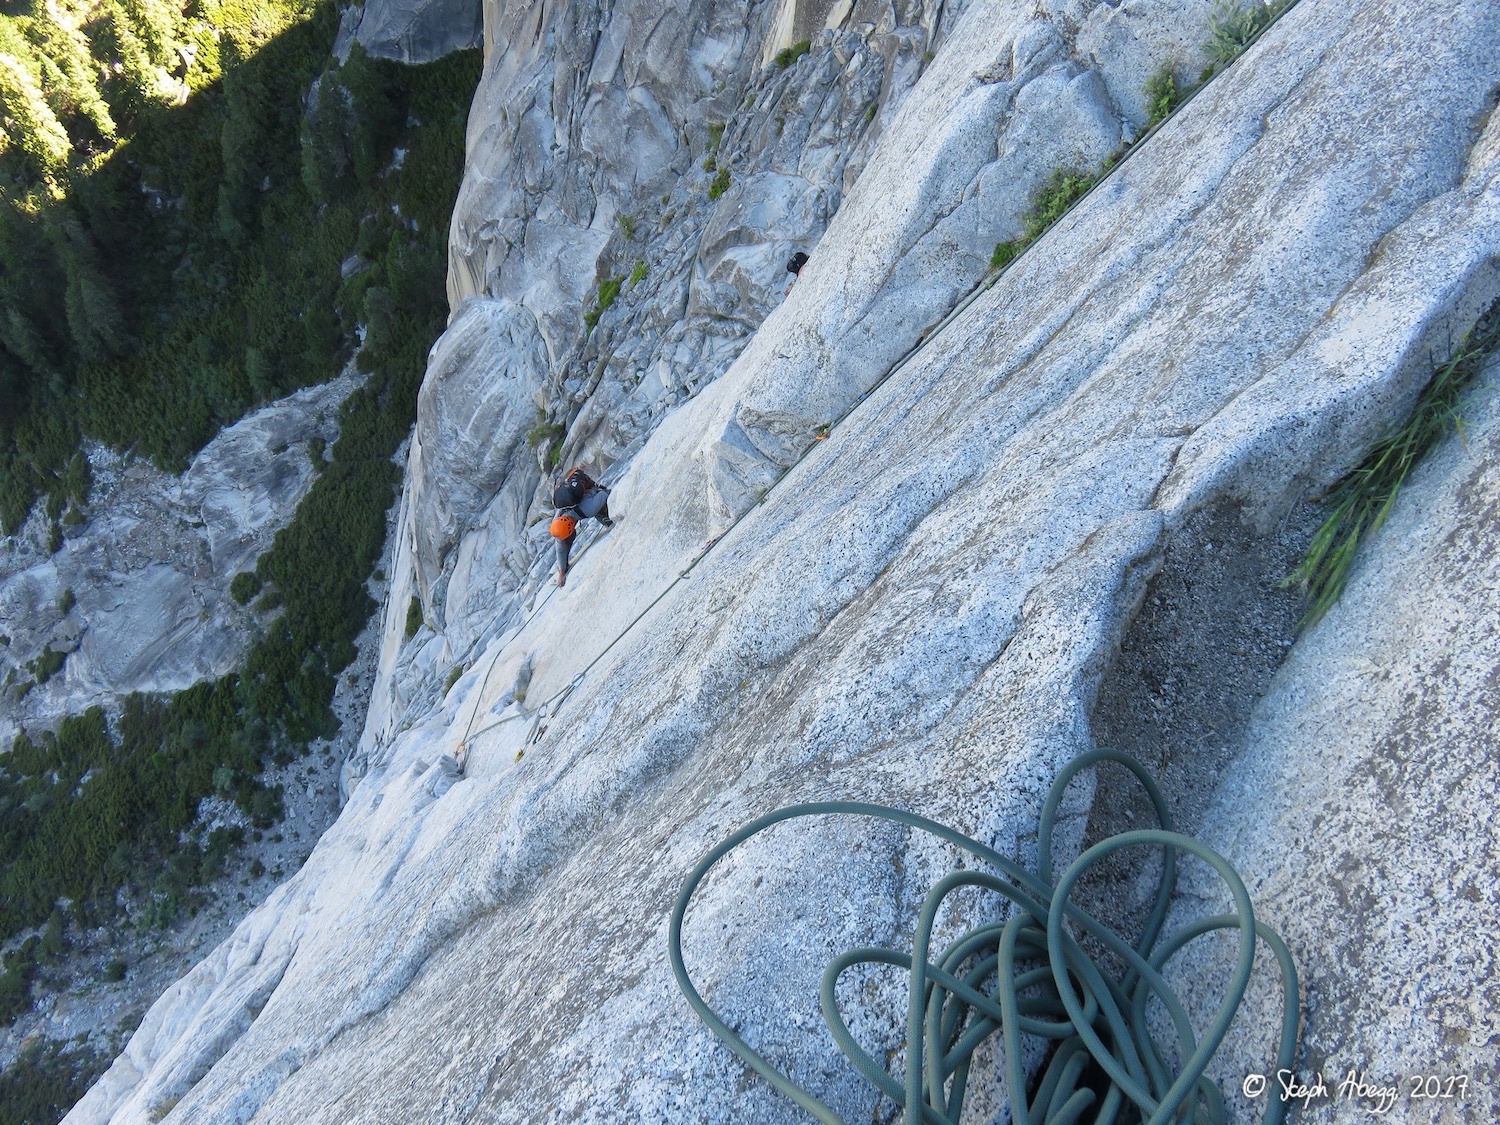
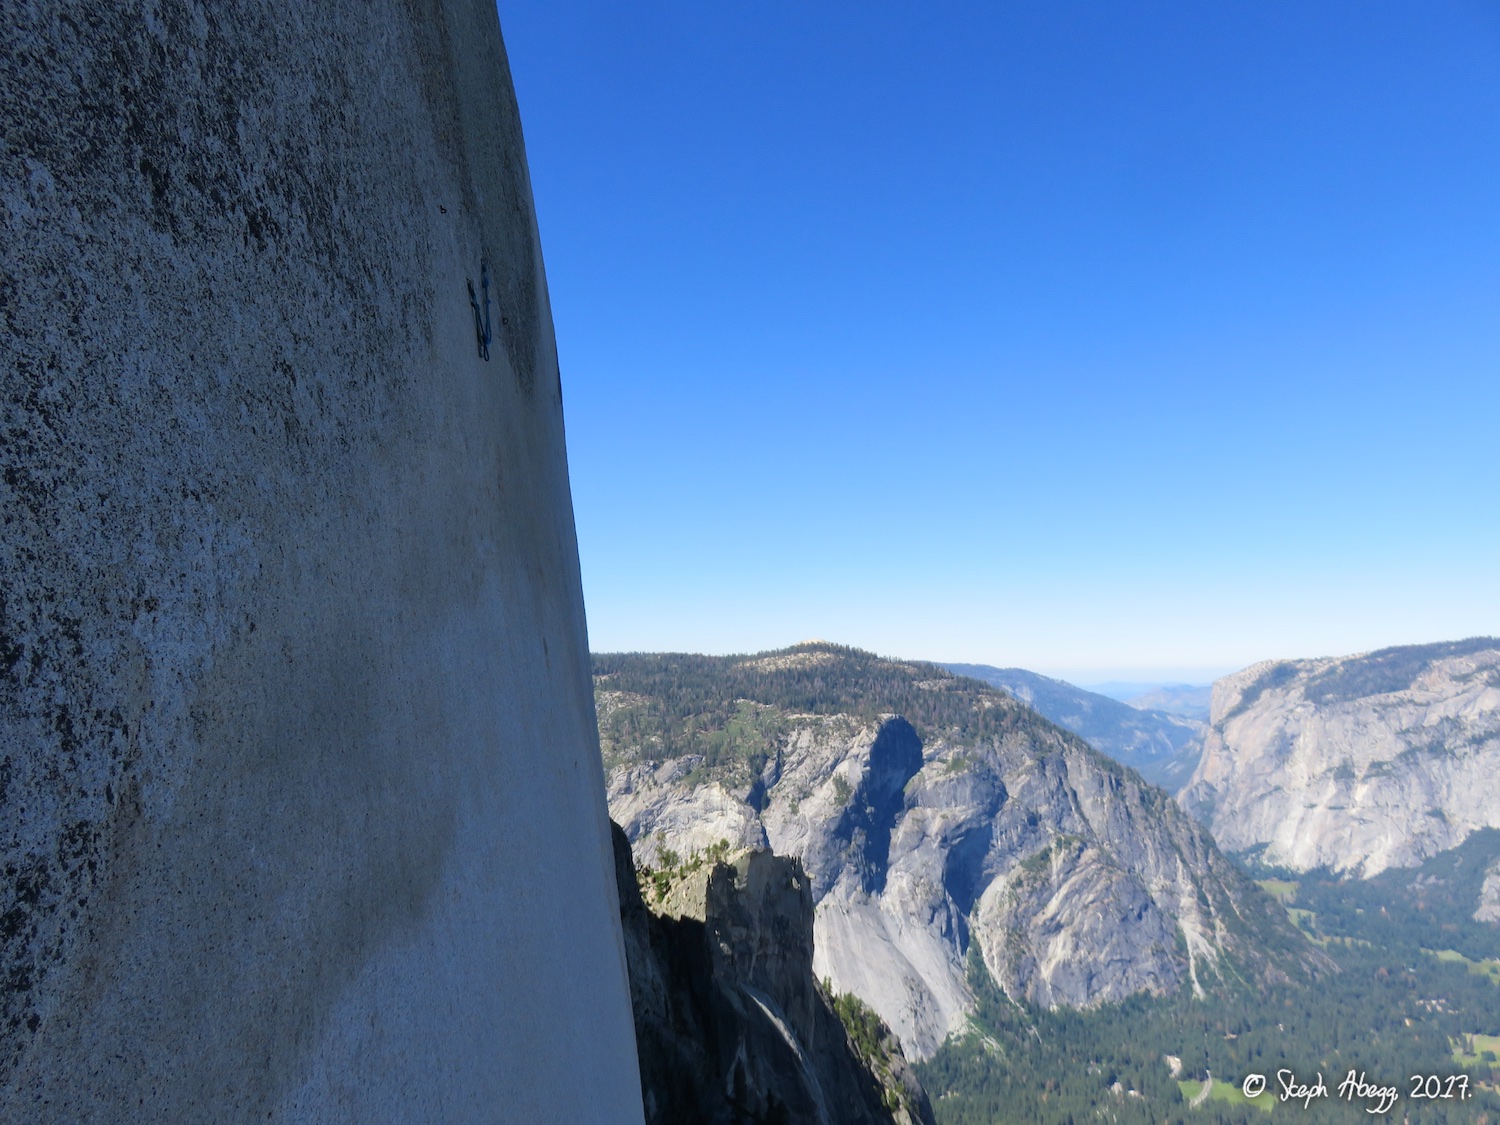
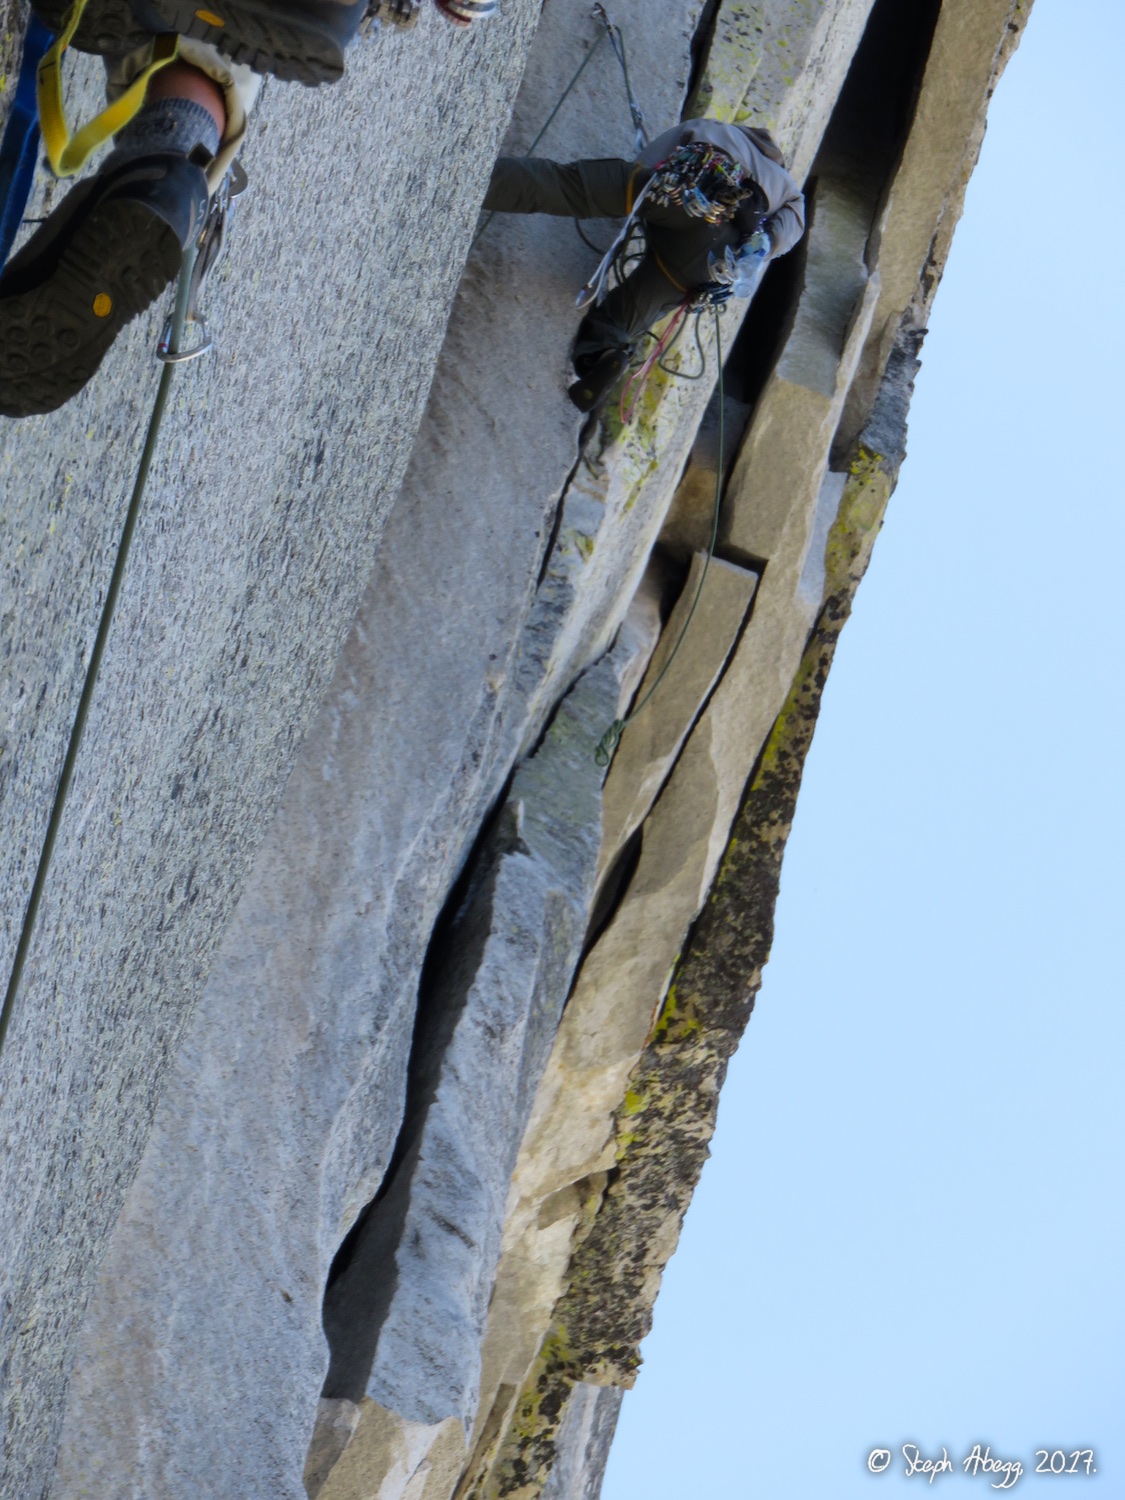
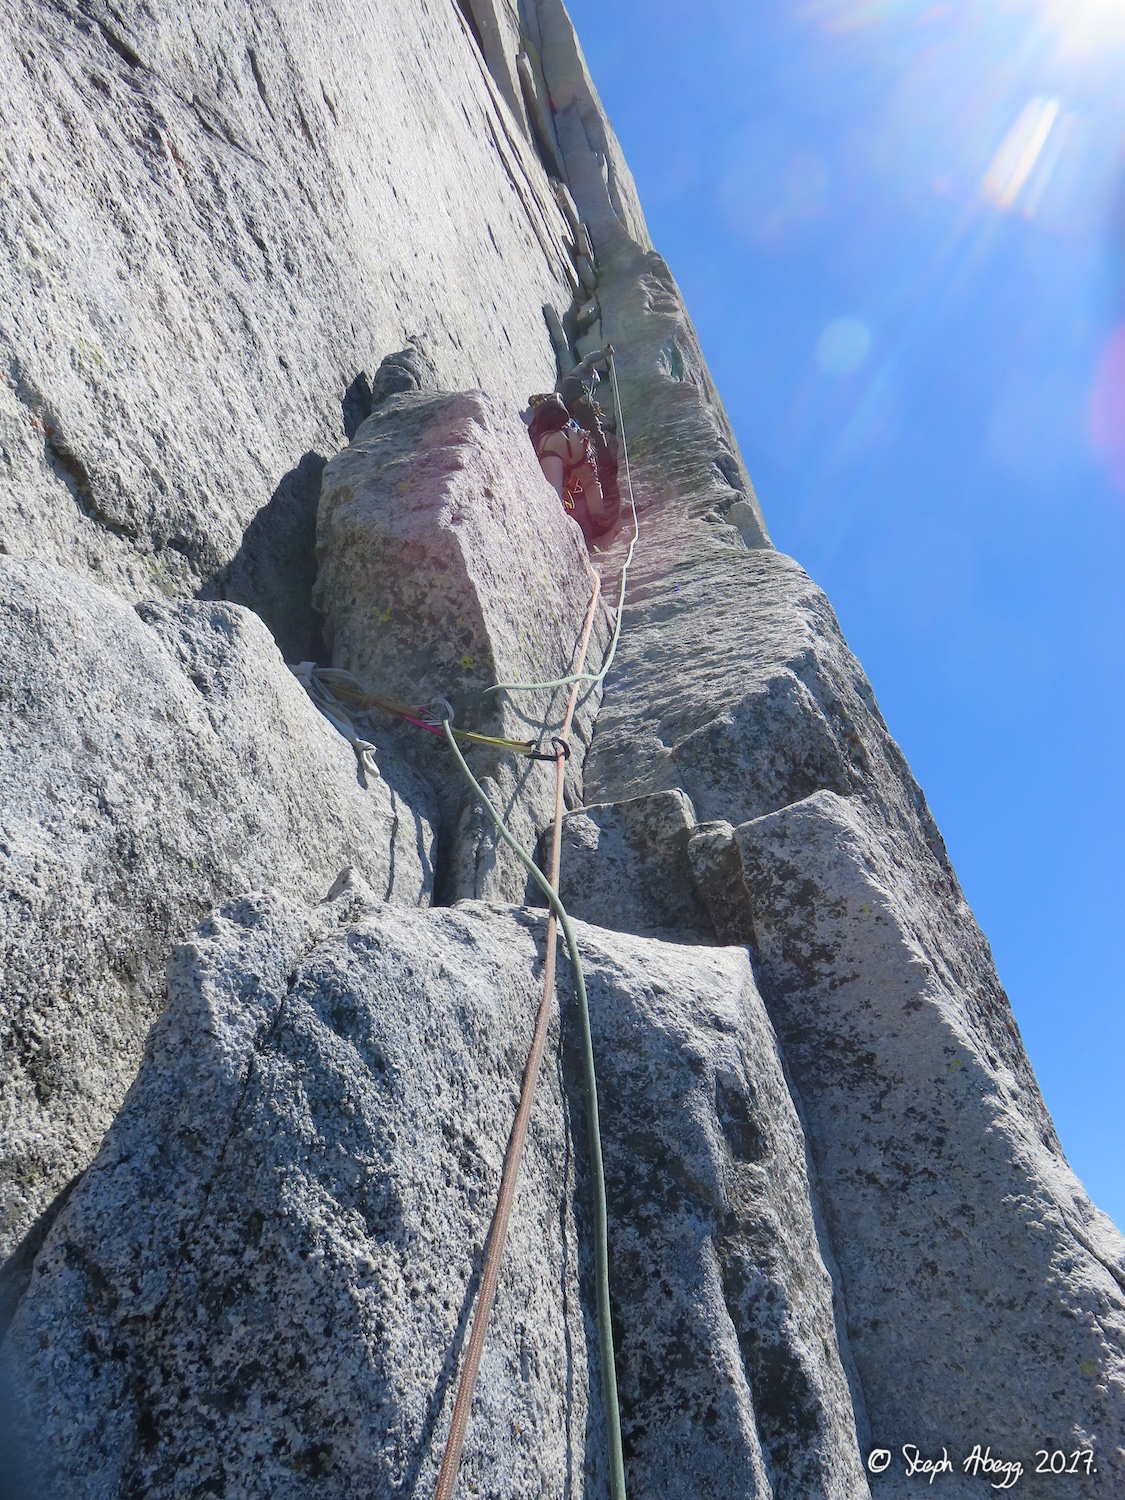
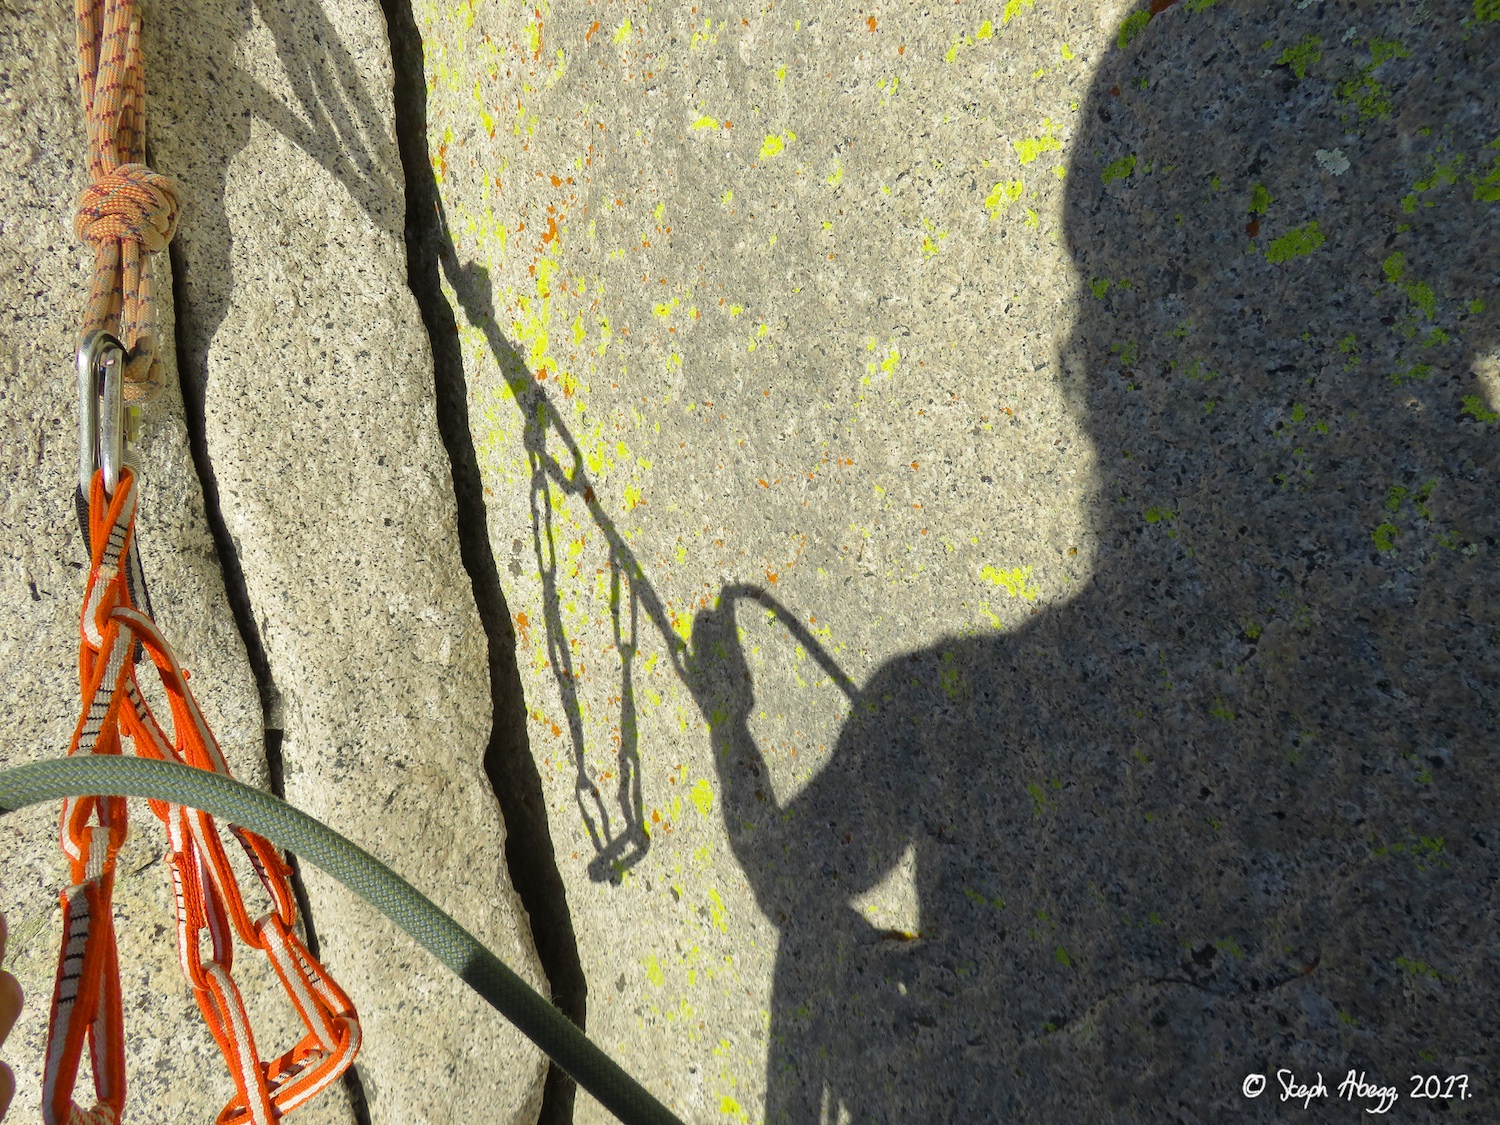
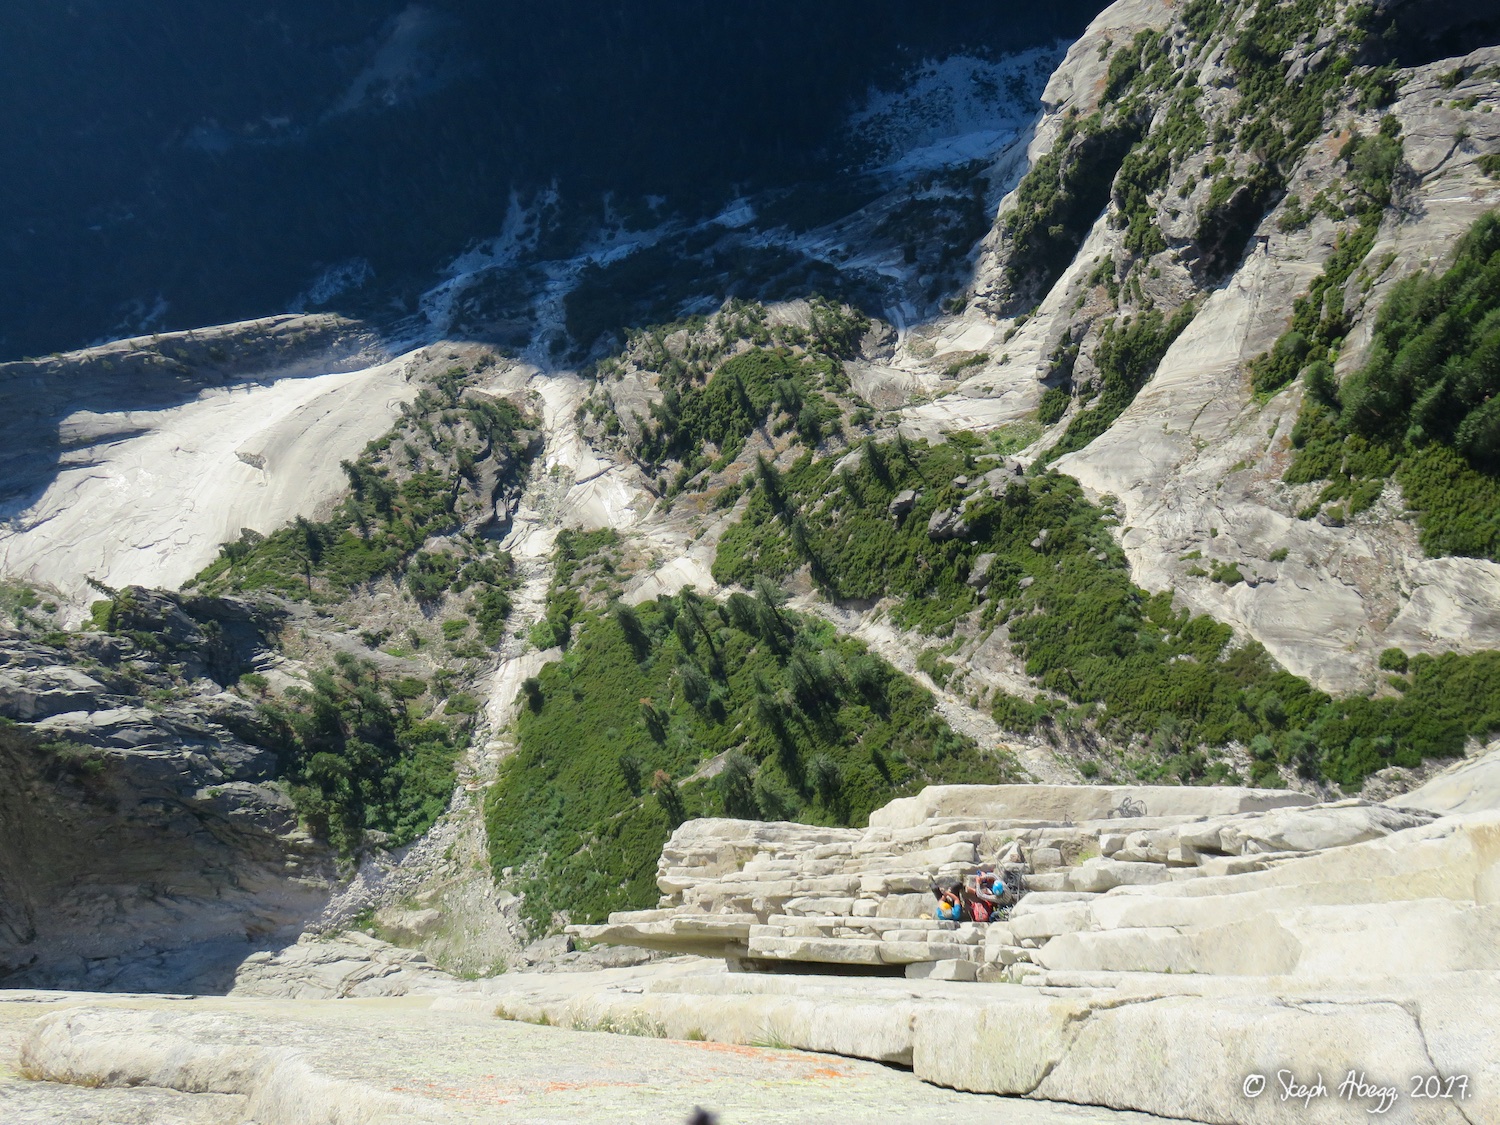
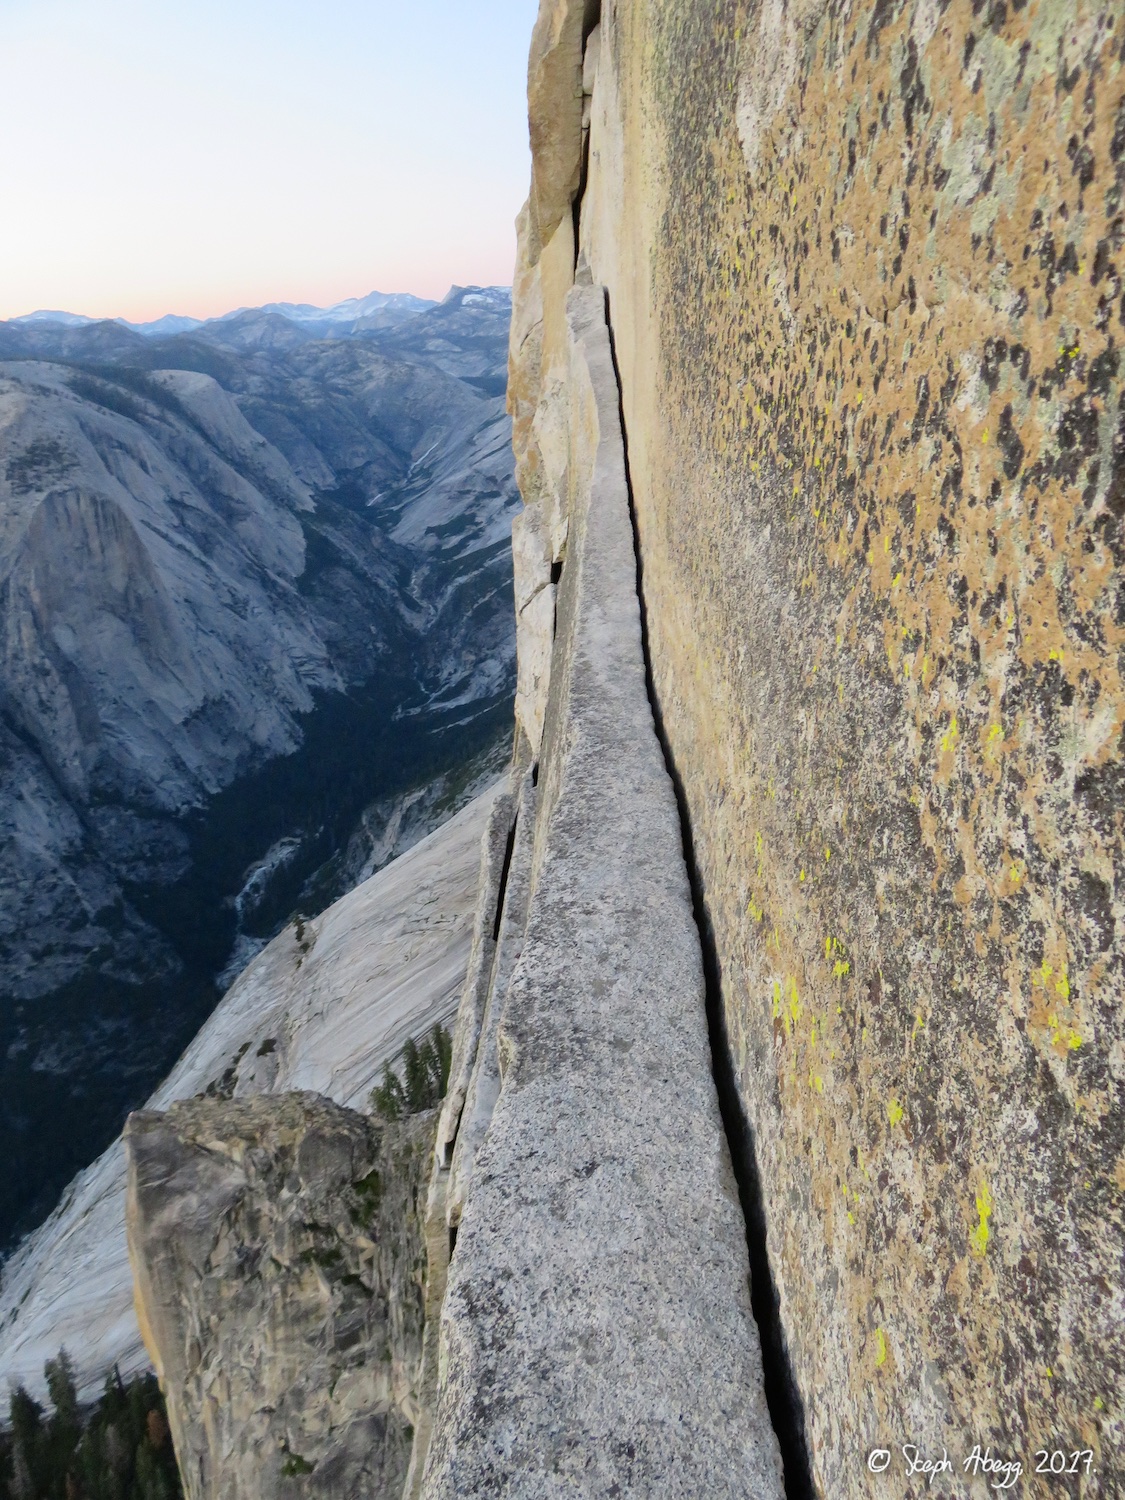
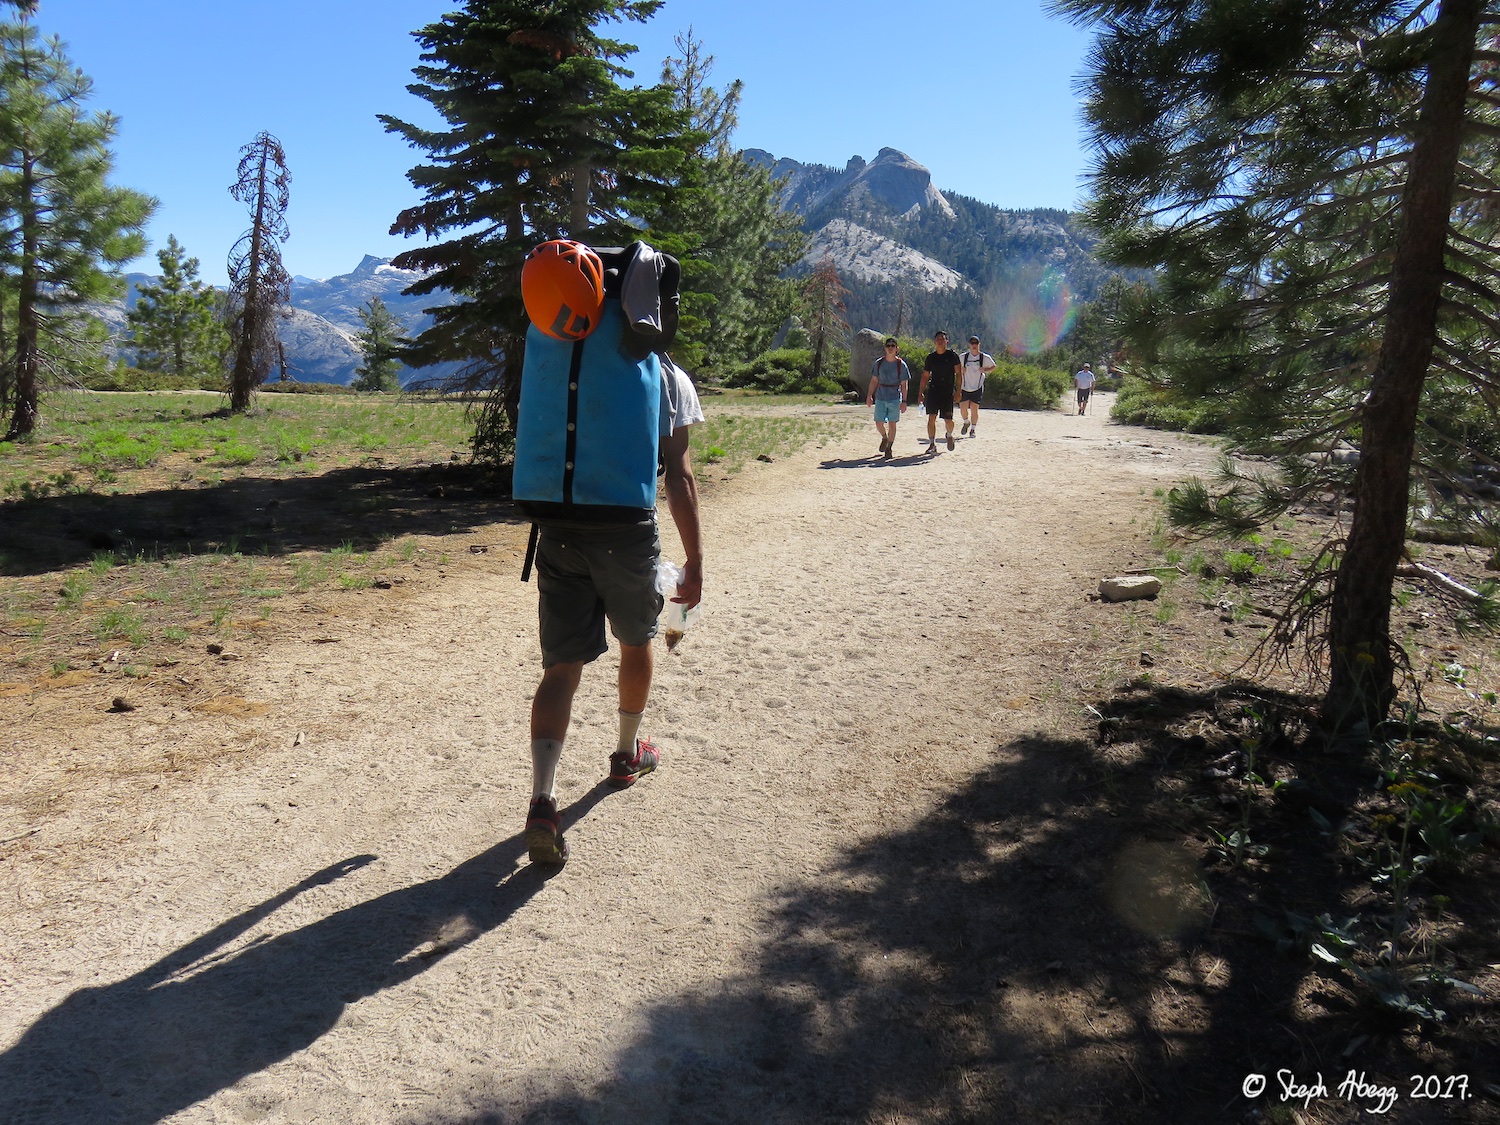
Central Pillar of Frenzy on Middle Cathedral Rock (5.9, 5 pitches, 550'), where Sam finally got a taste for what 5-star Yosemite climbing can be like (this was my third time climbing this awesome route—I had climbed it in 2007 and 2015). Then for the grand finale of our trip: Half Dome. (I had also climbed this route in a day in 2007, but had always wanted to climb it again, and would happily climb it a third time, and a fourth time, ....) We spent a day packing, getting a permit, and hiking the Slabs to below the NW Face of Half Dome, where we established our bivy at the base of the route with the 2200 foot vertical wall towering above us. The next day we climbed the 
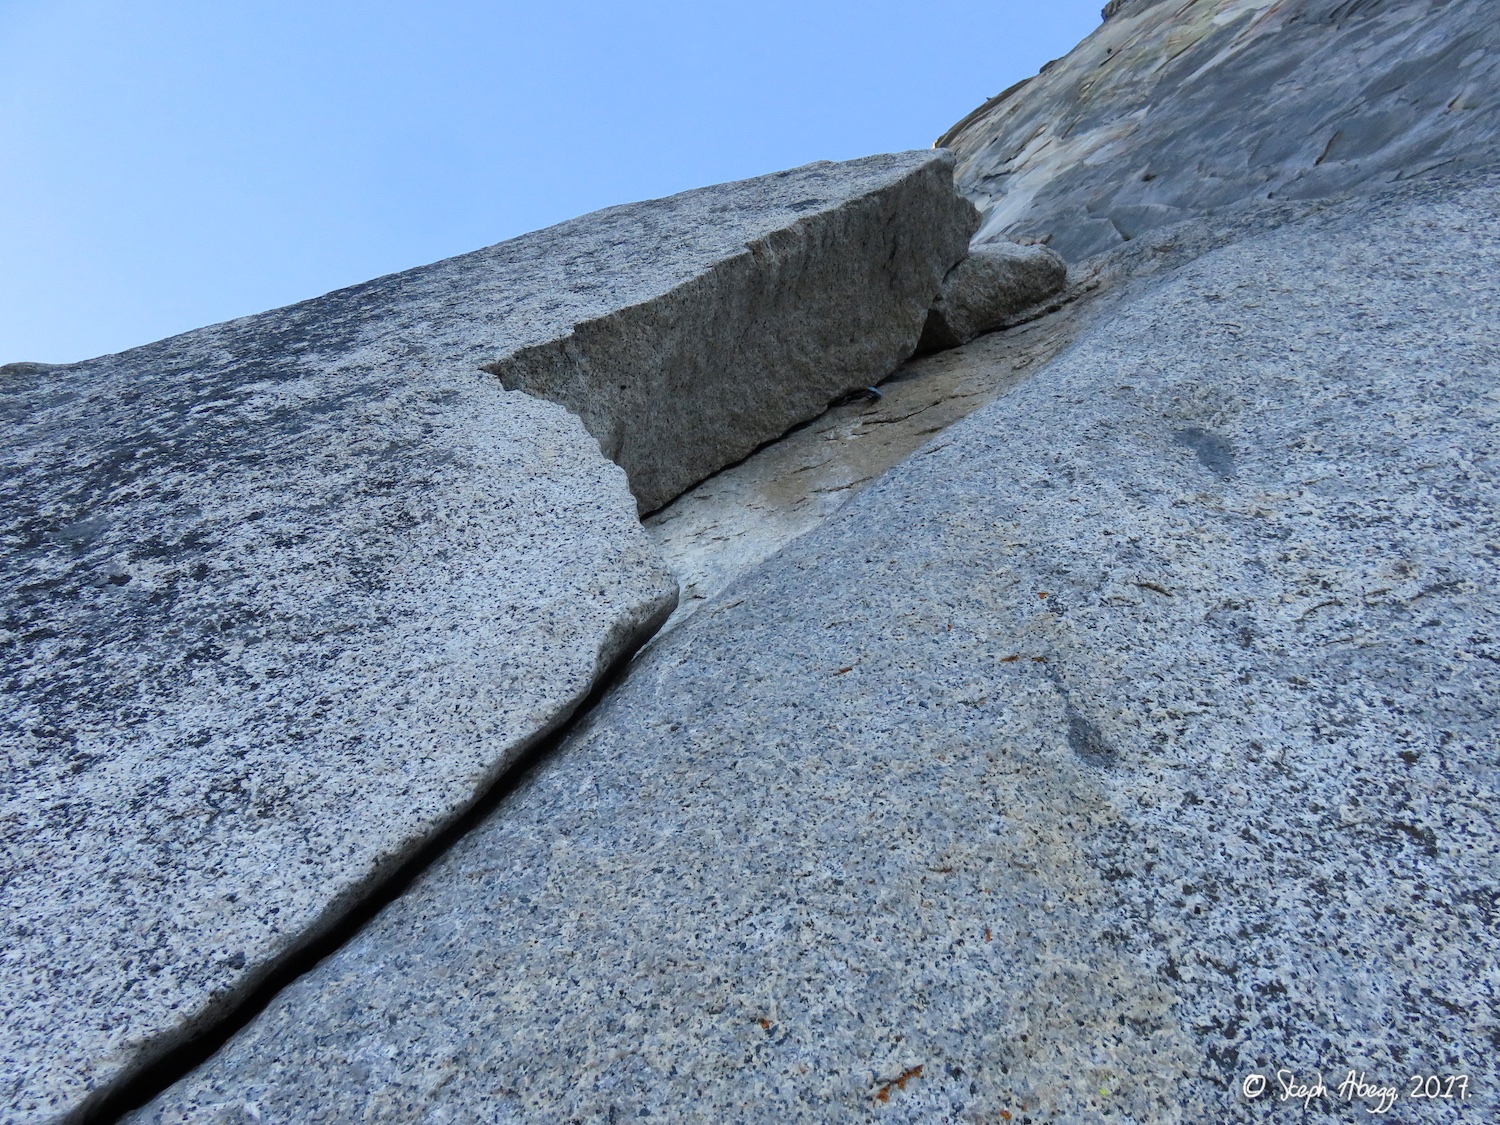
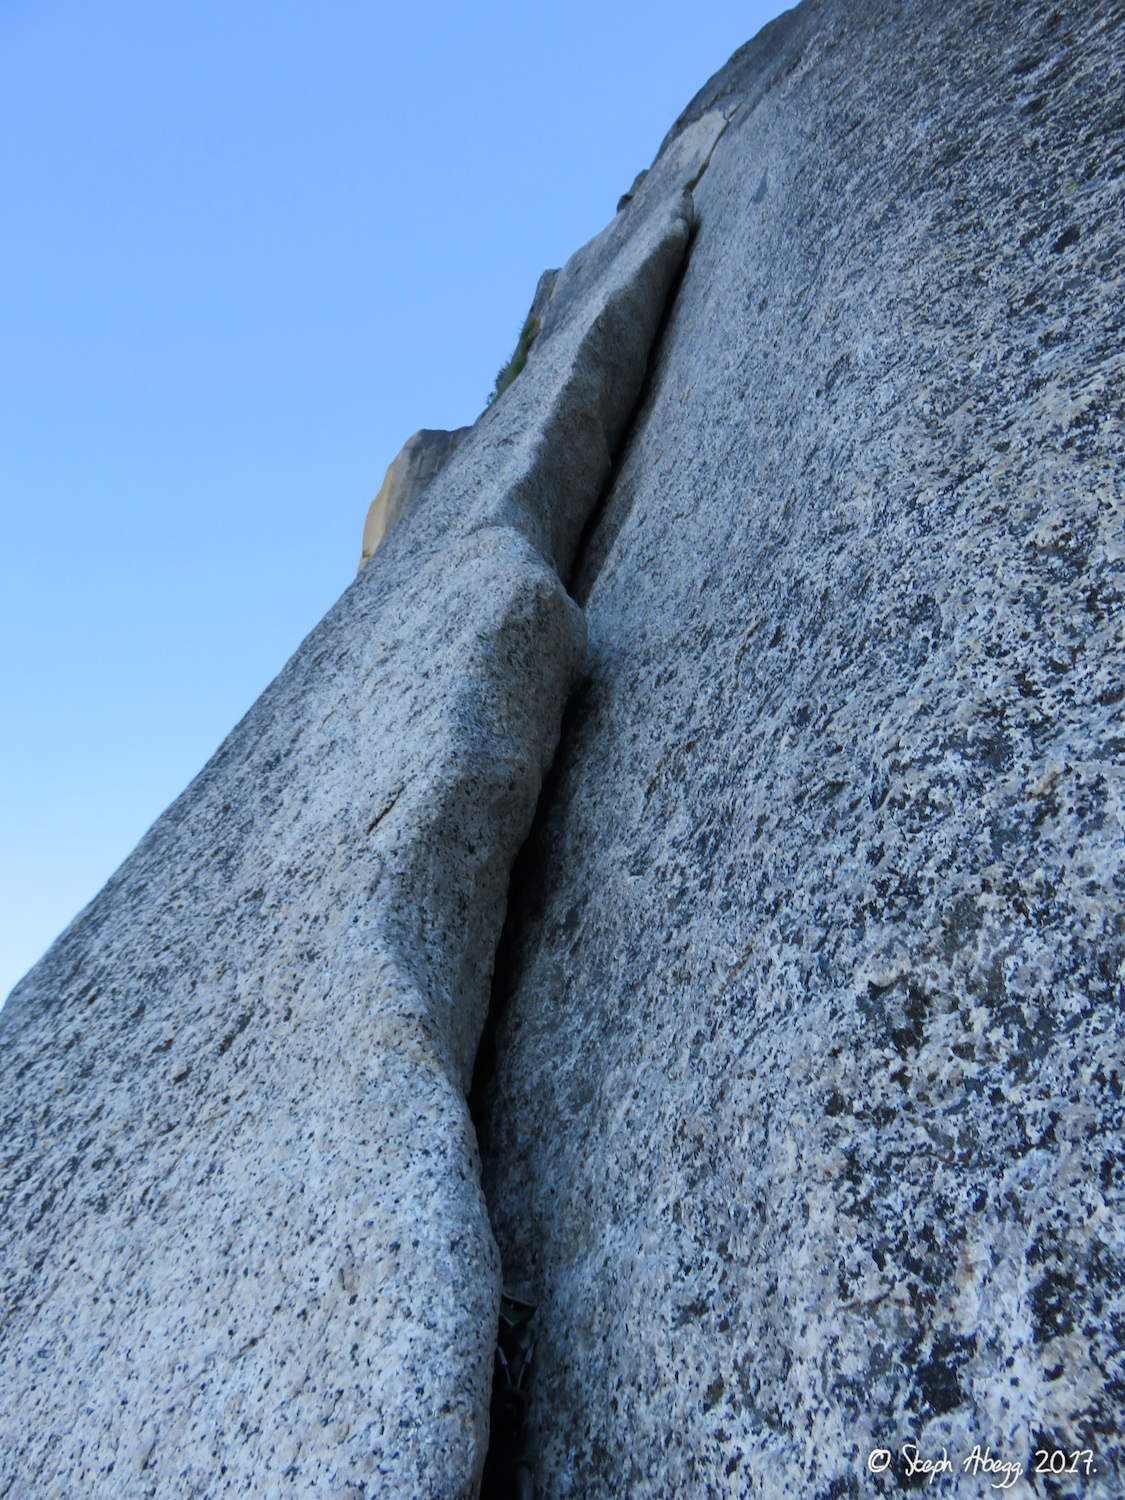
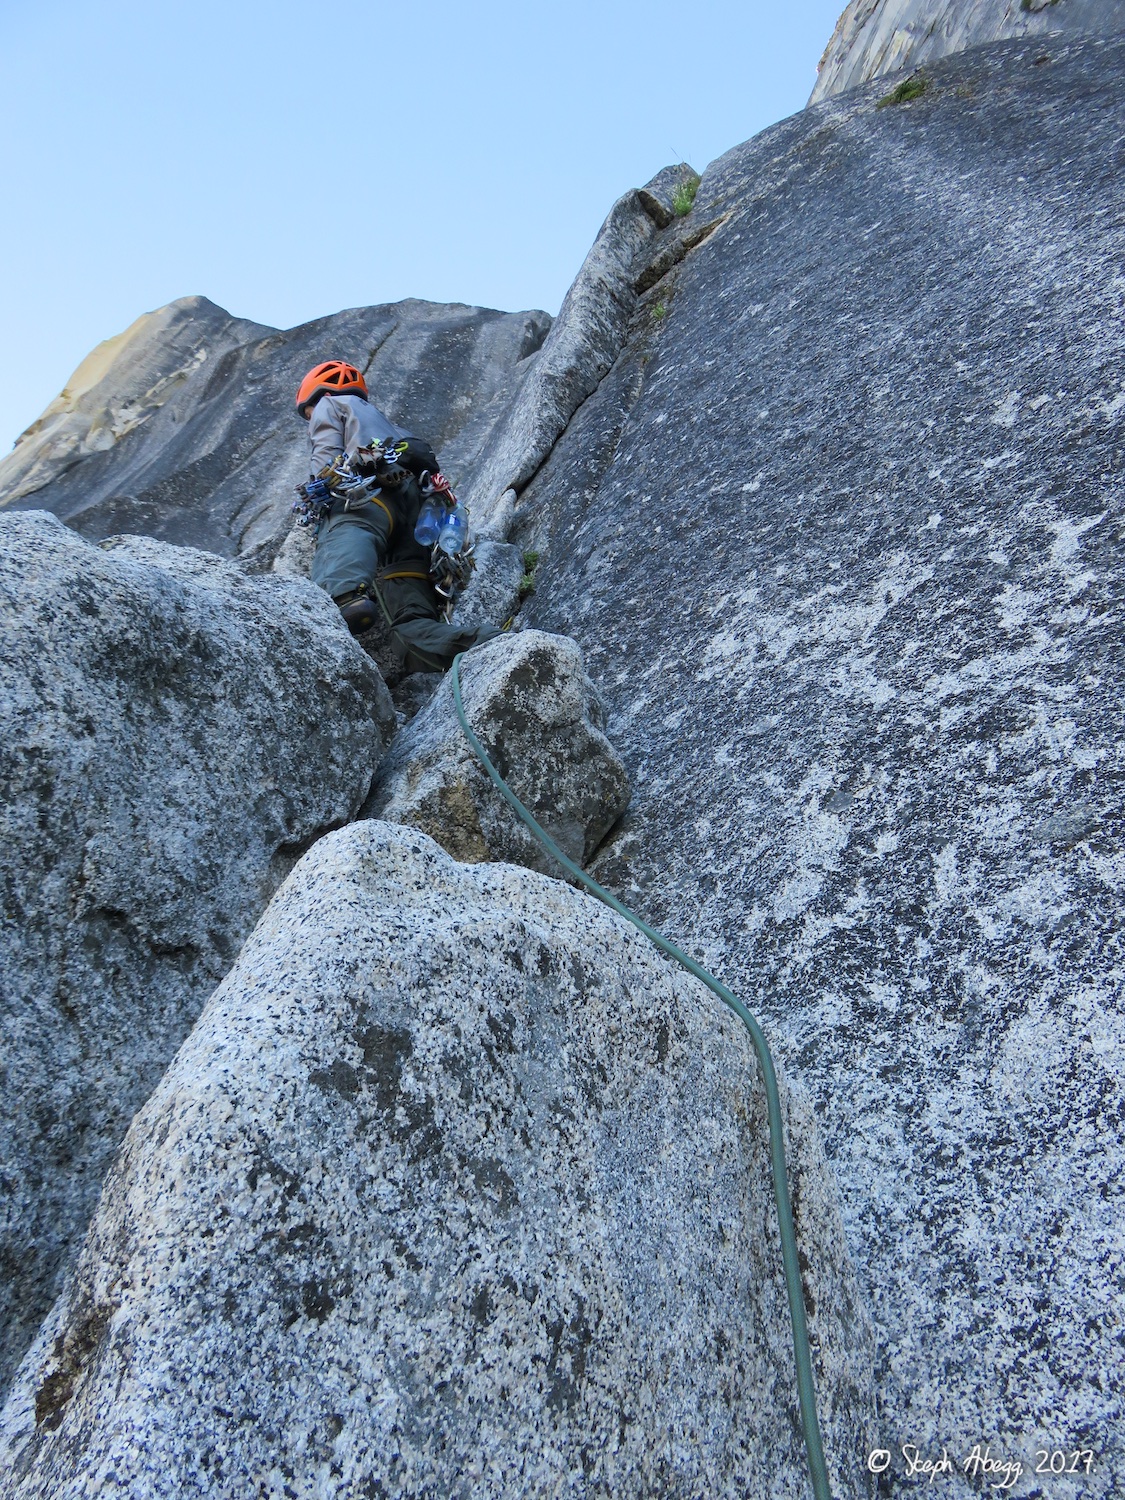
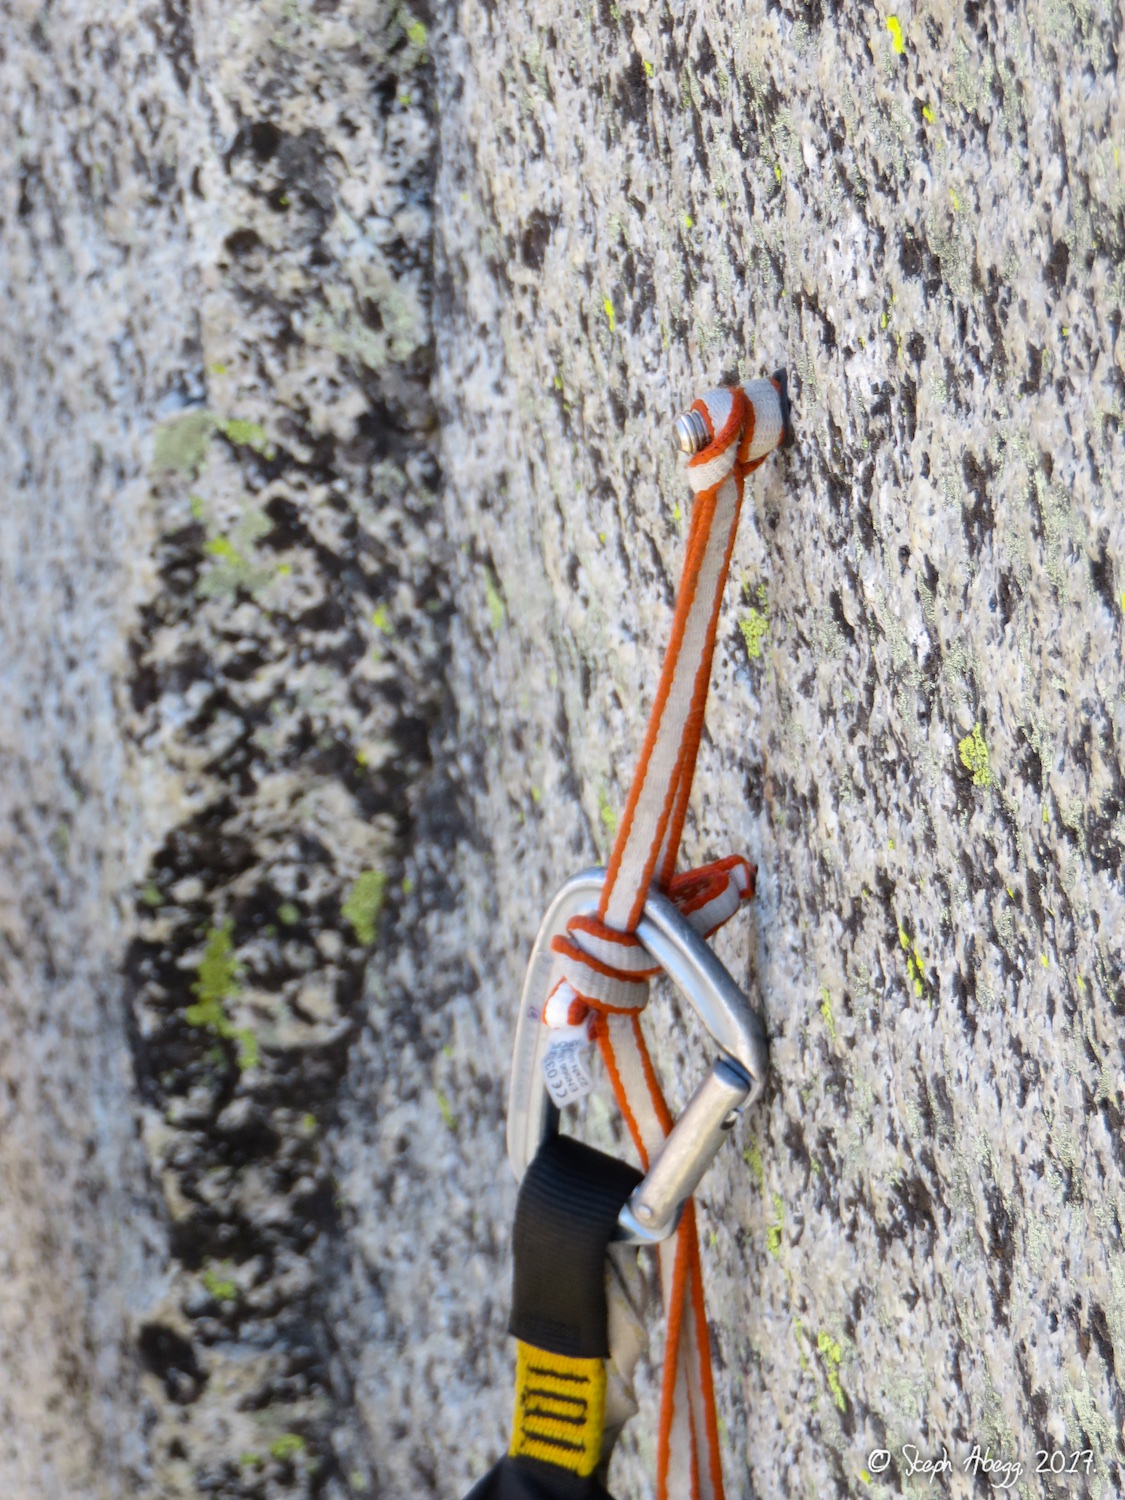
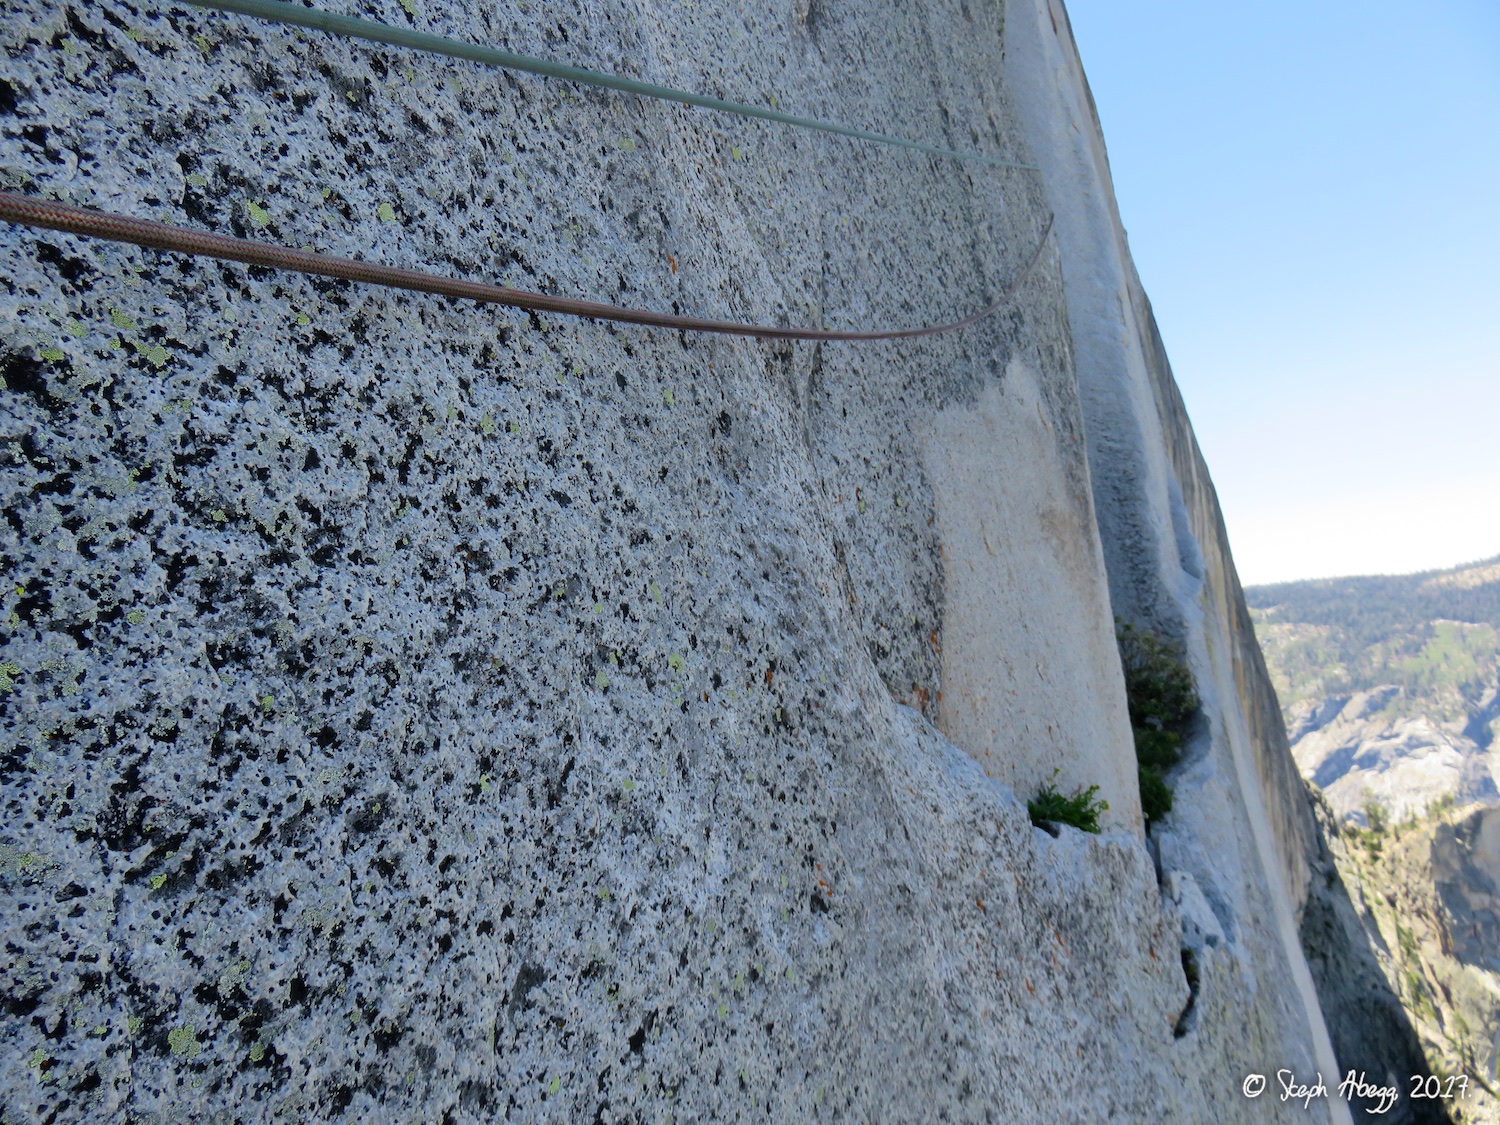
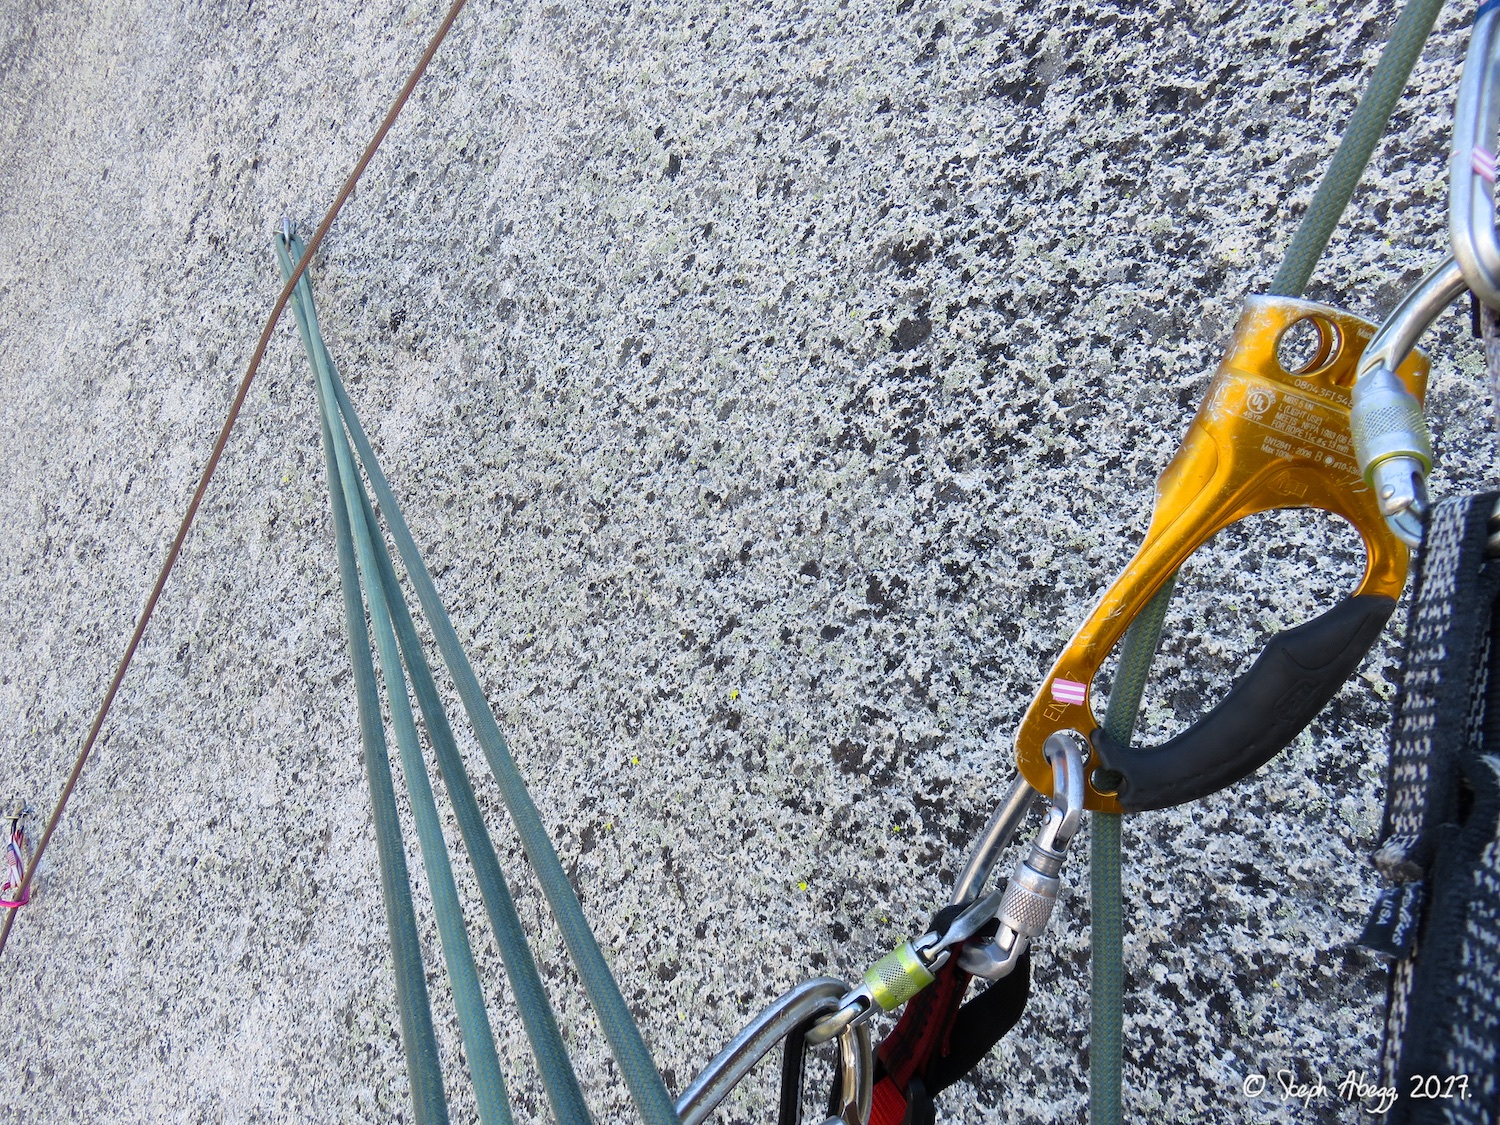
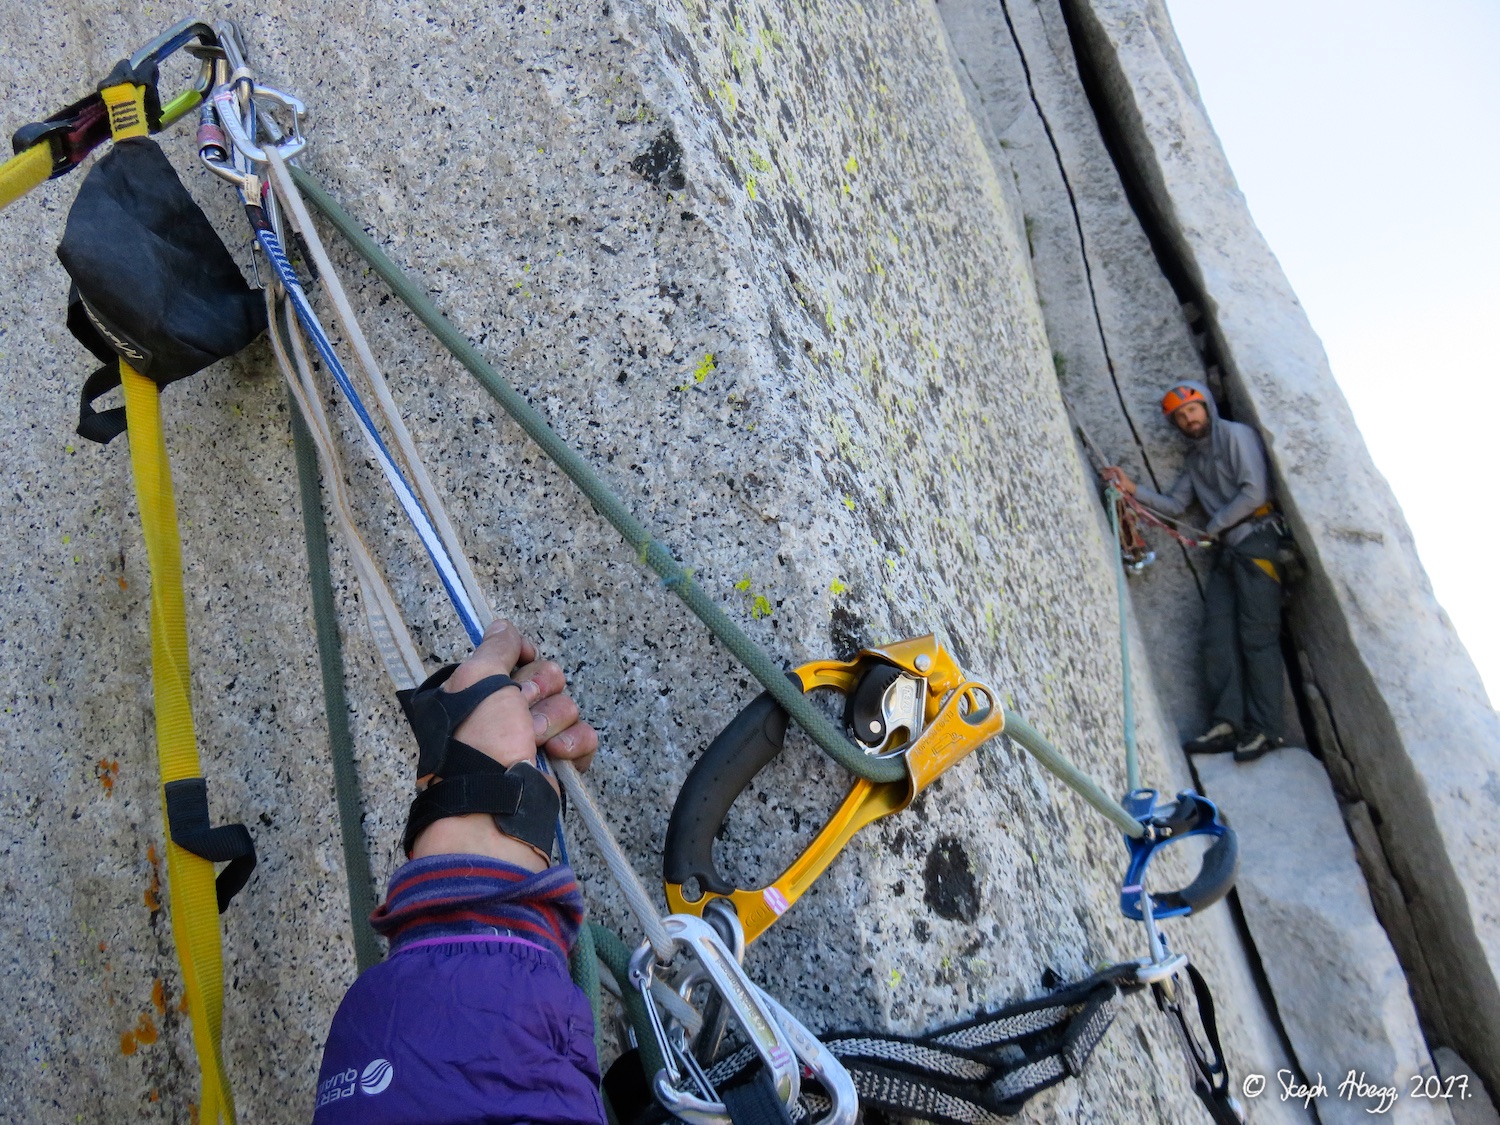
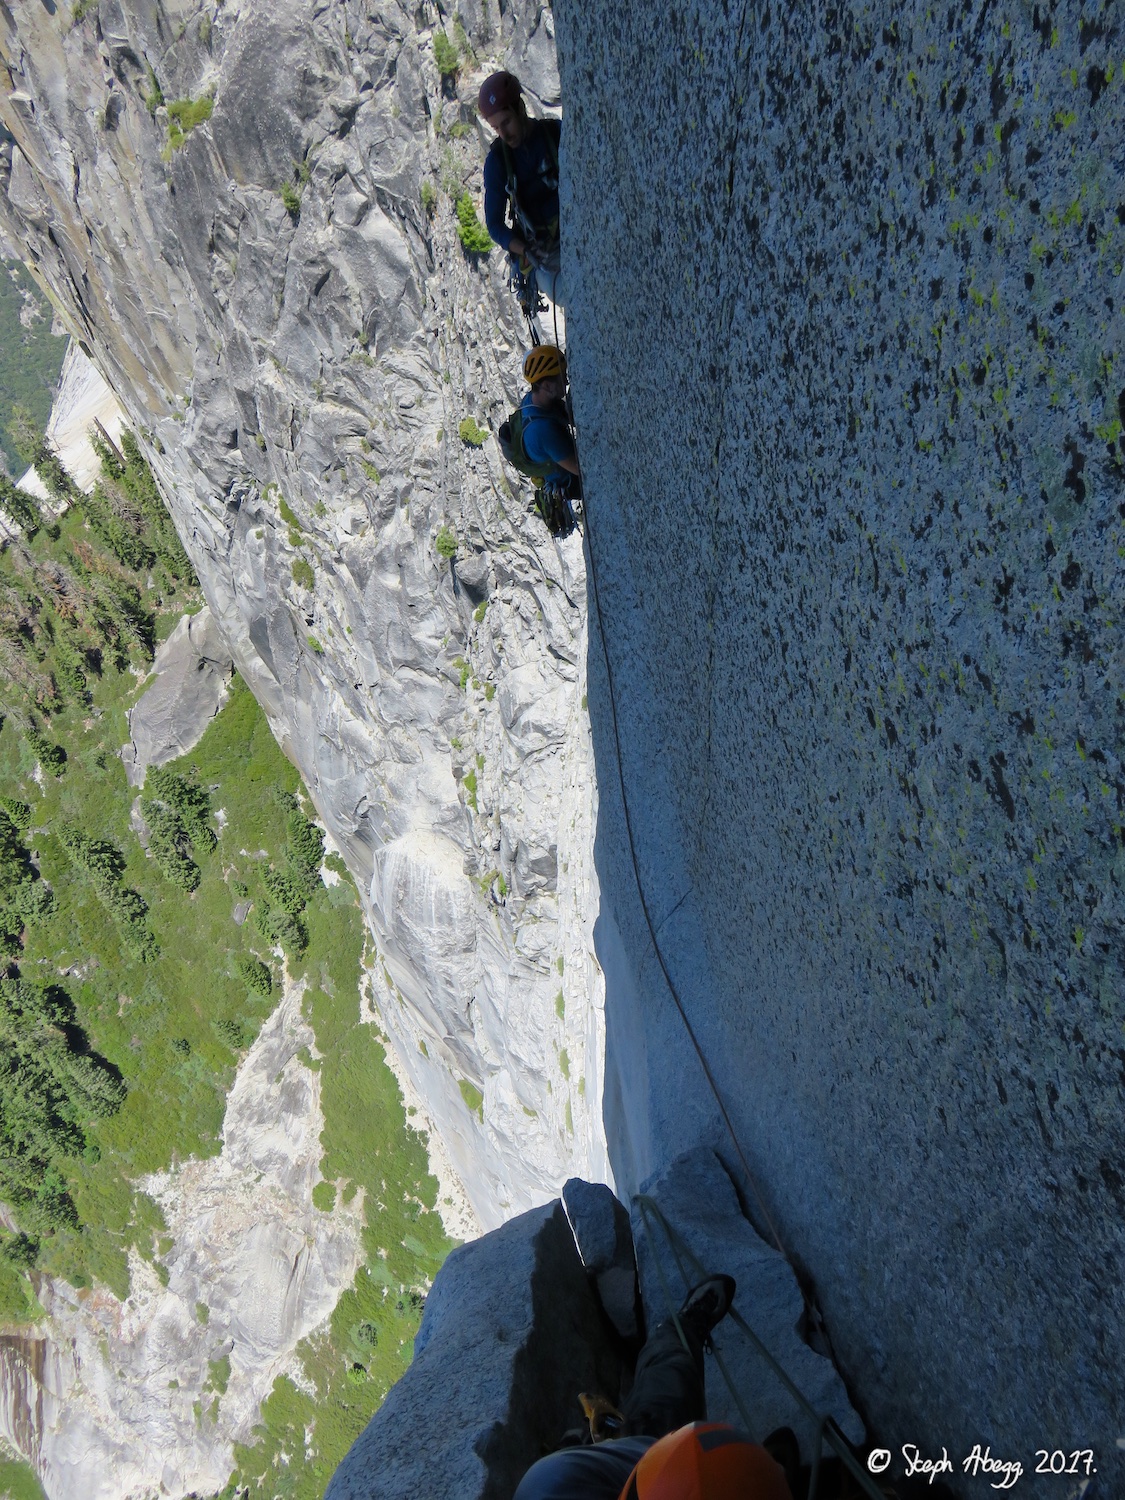
Regular NW Face on Half Dome (5.9 C2, 23 pitches, 2200'). Apart from the bolt ladders and Zig Zags, we both free climbed the route, swinging leads for the most part, with Sam taking more of the aid pitches, some of which involved a bit of trickery (awesome job Sam). We got back to camp pretty late, so we hiked out the next morning. I had a blast climbing with Sam and imagine this first climbing trip to Yosemite is the first of many to come for him!

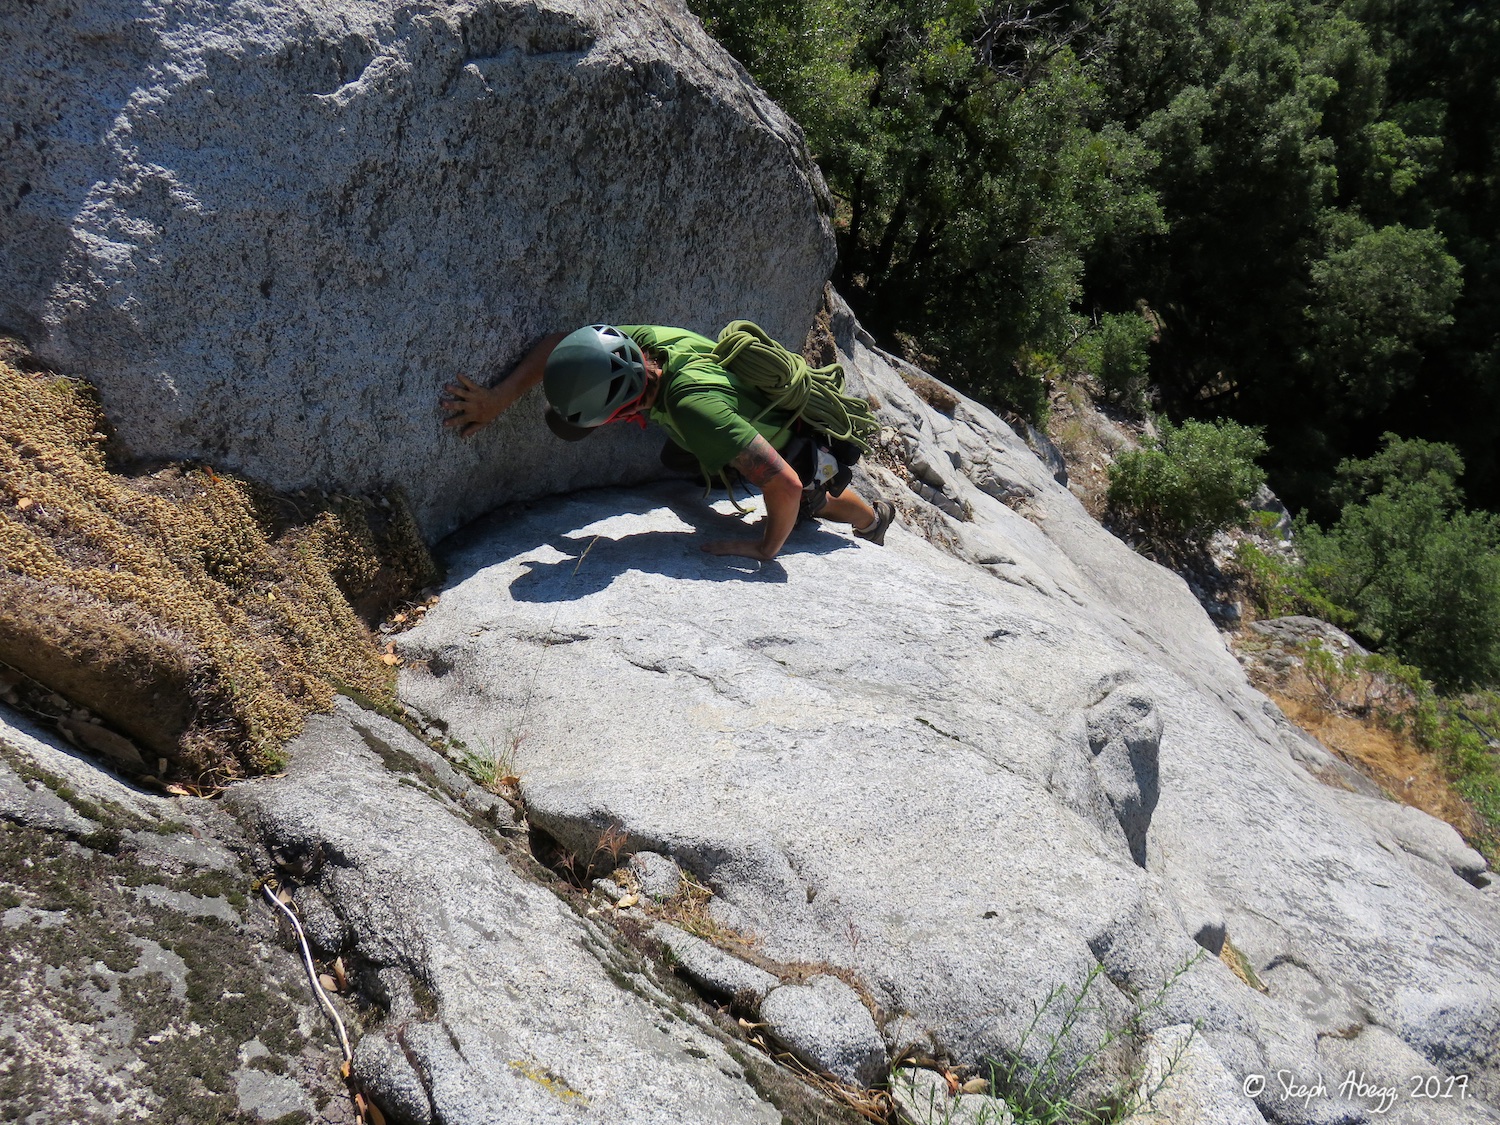
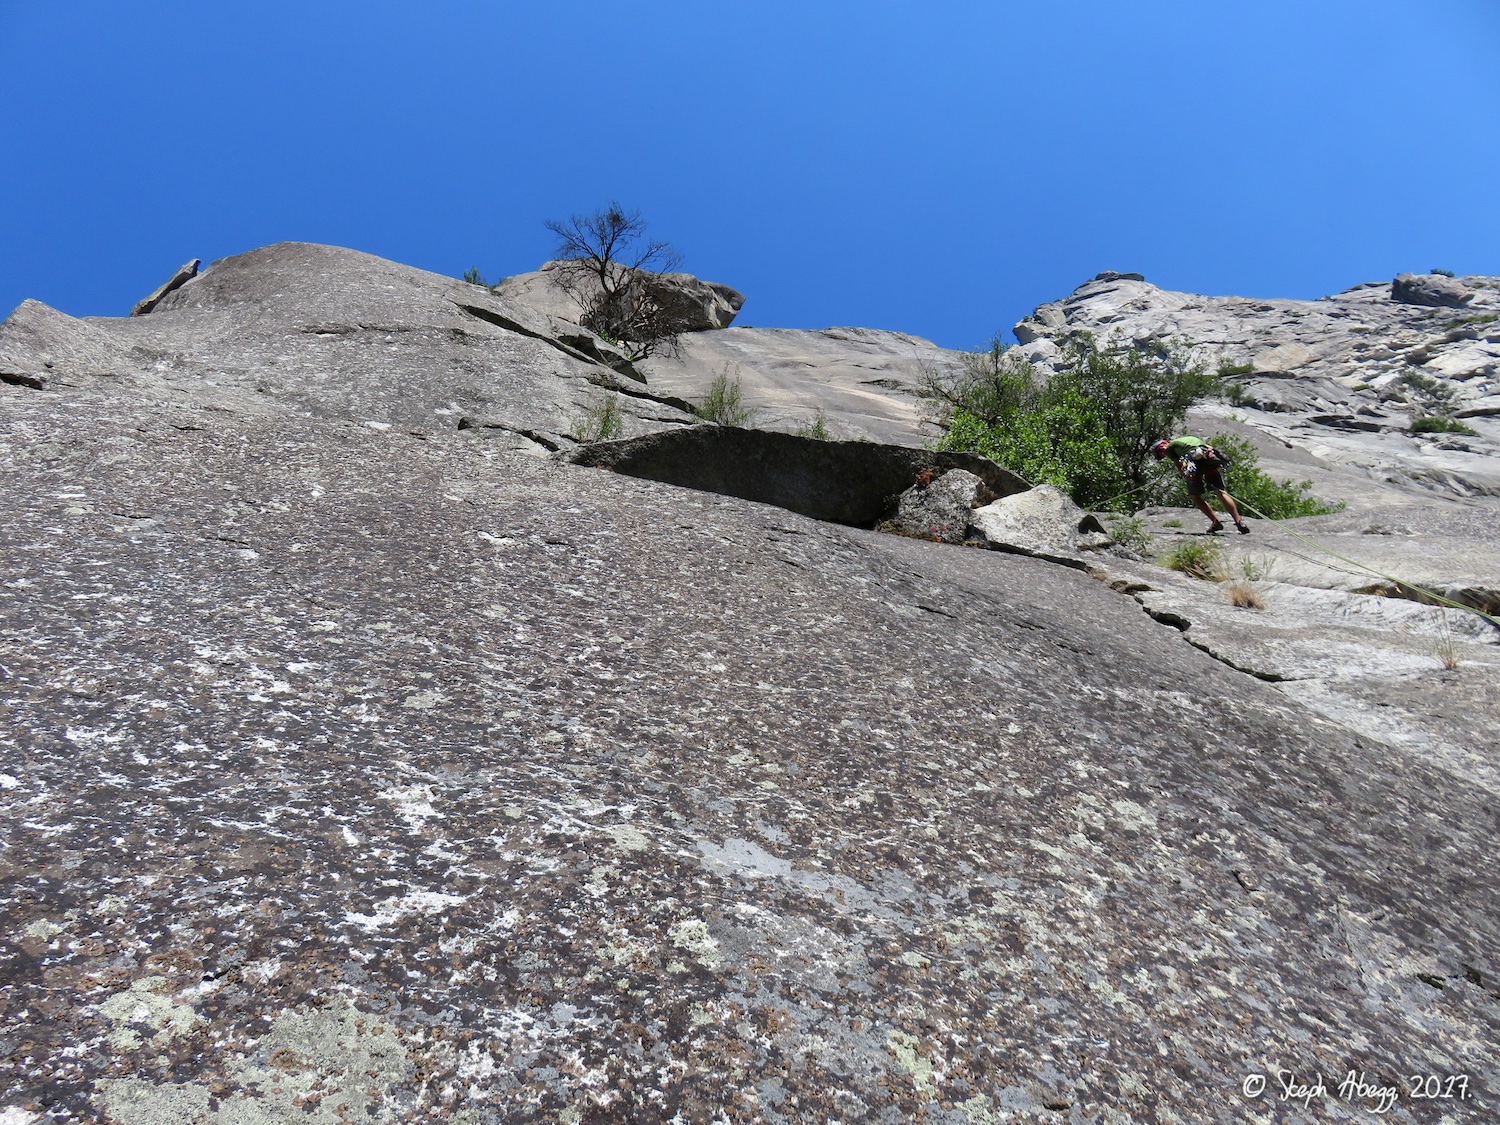
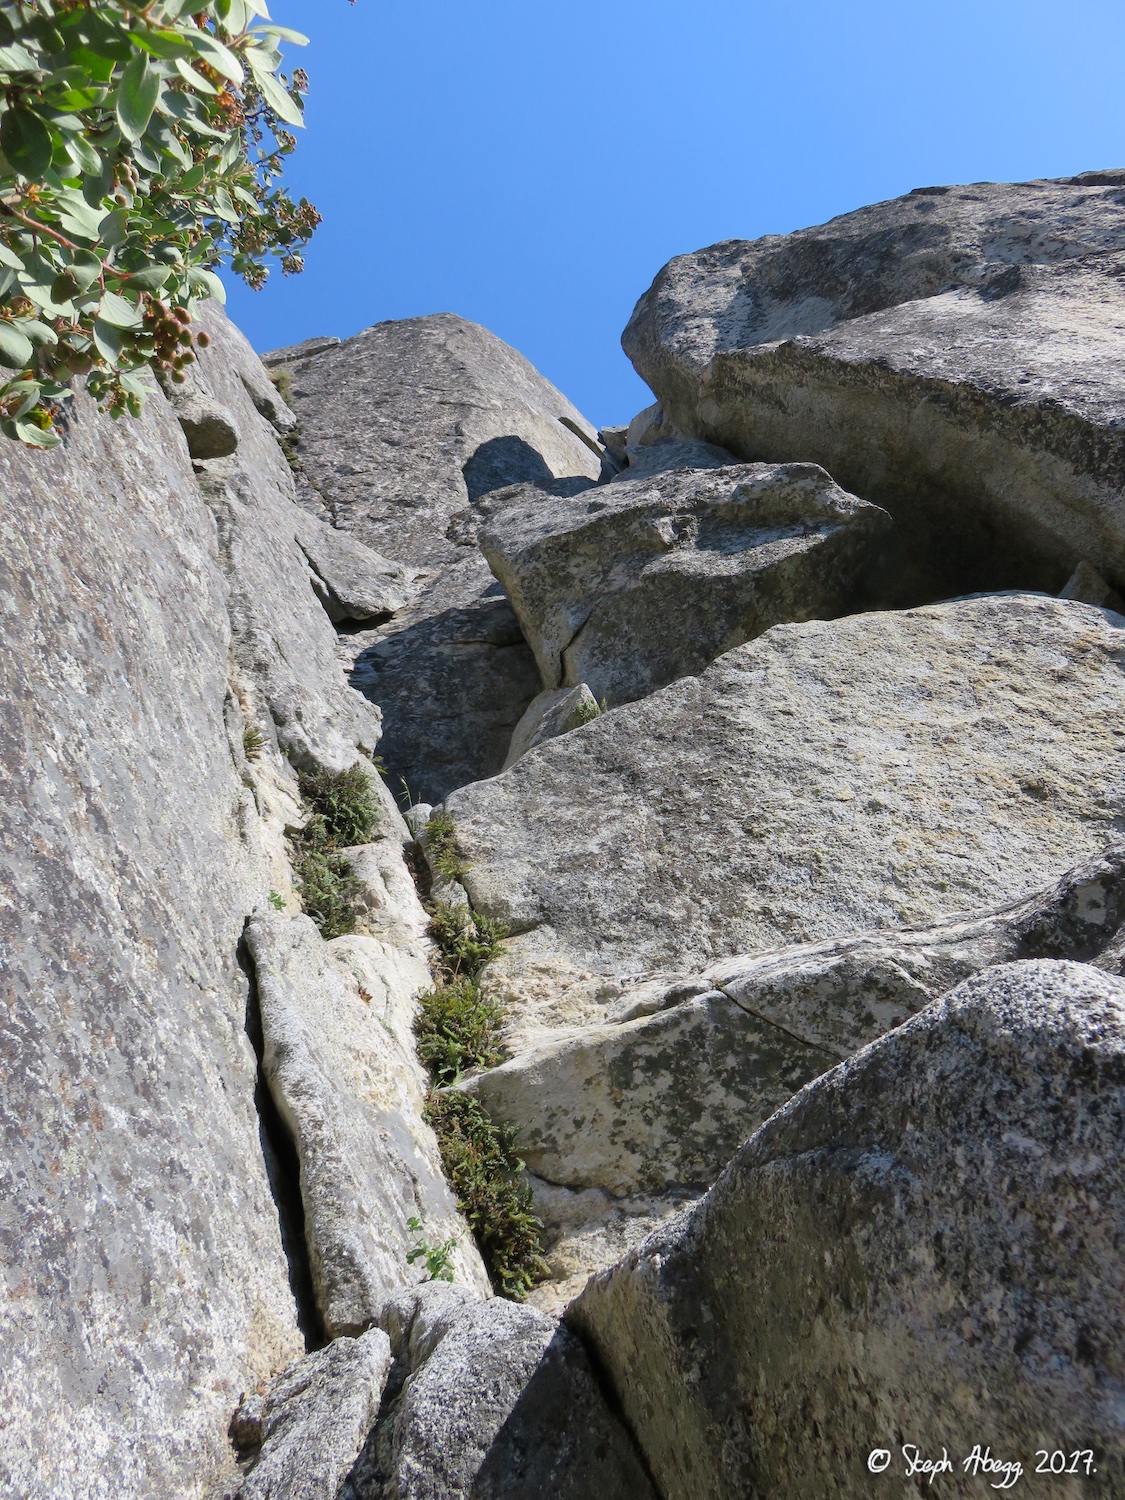
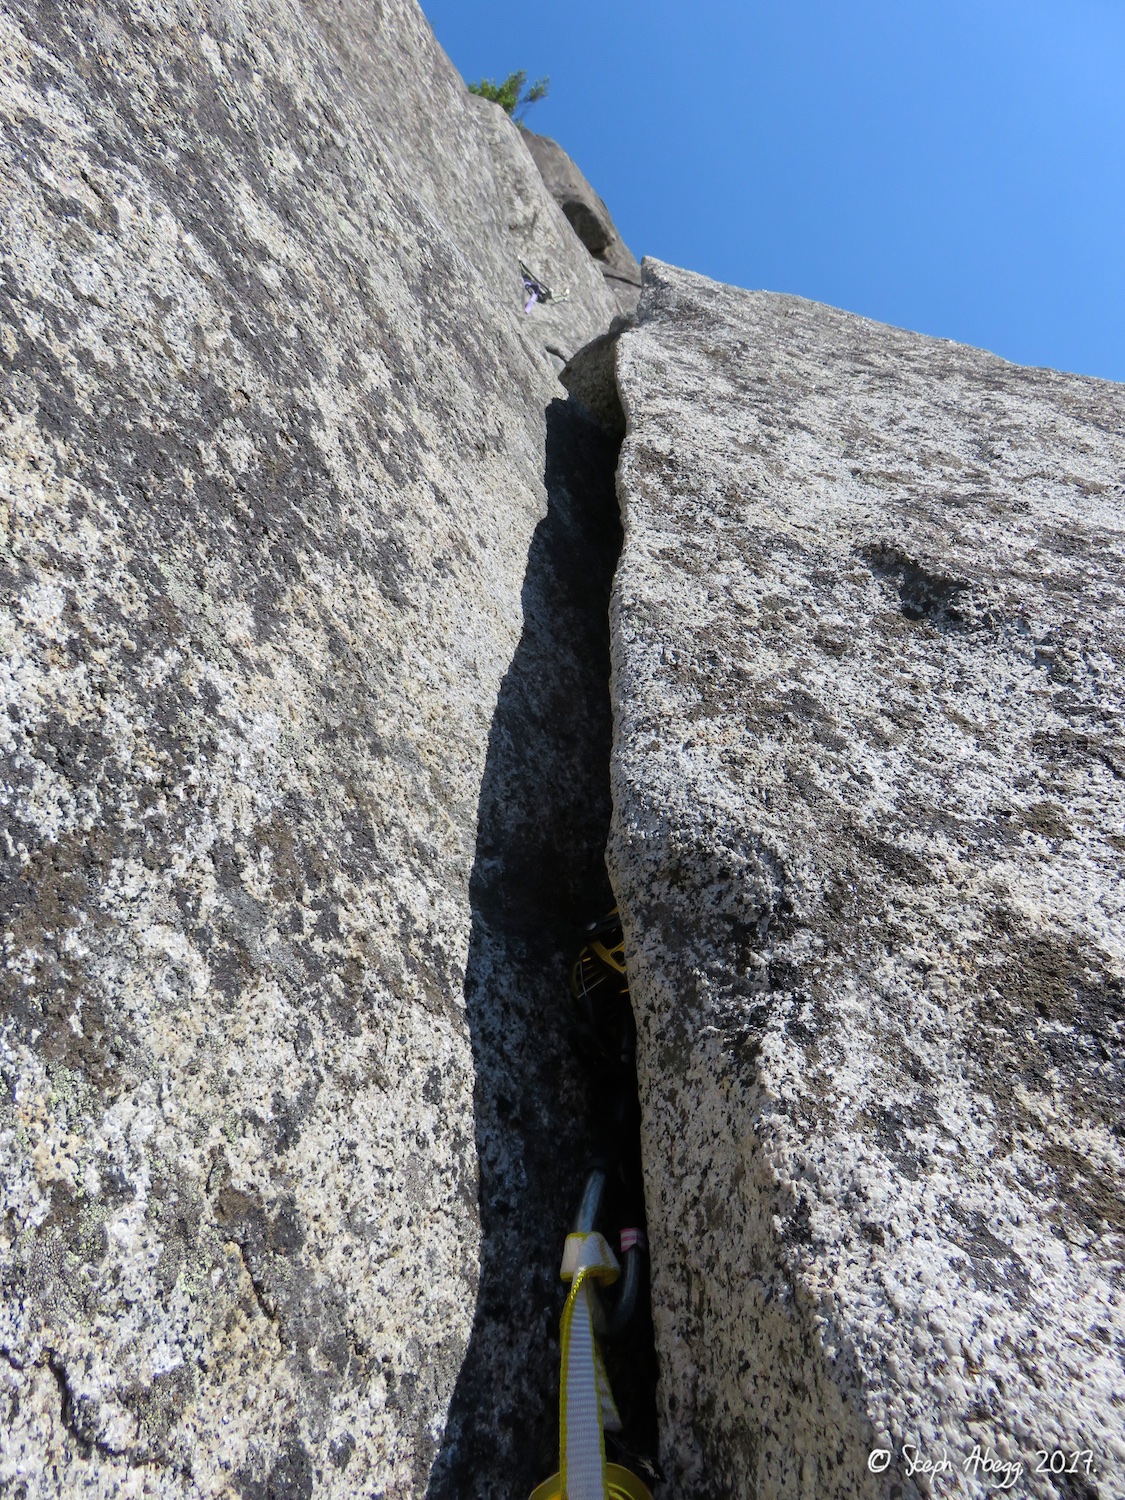
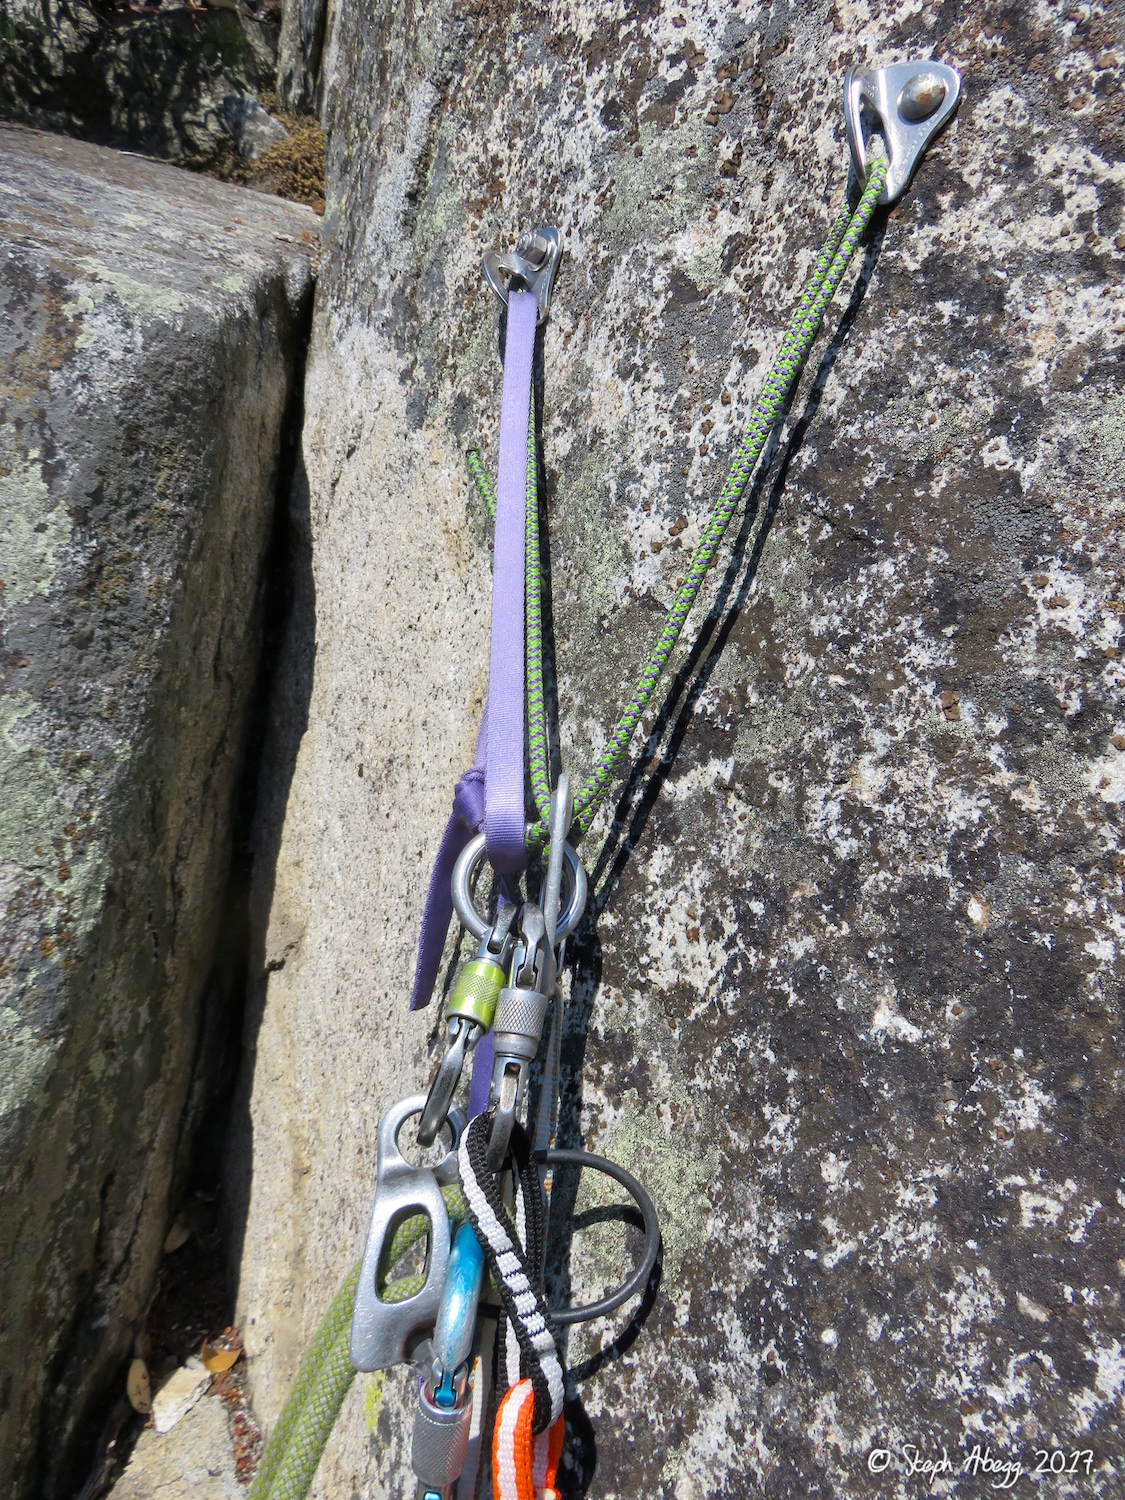
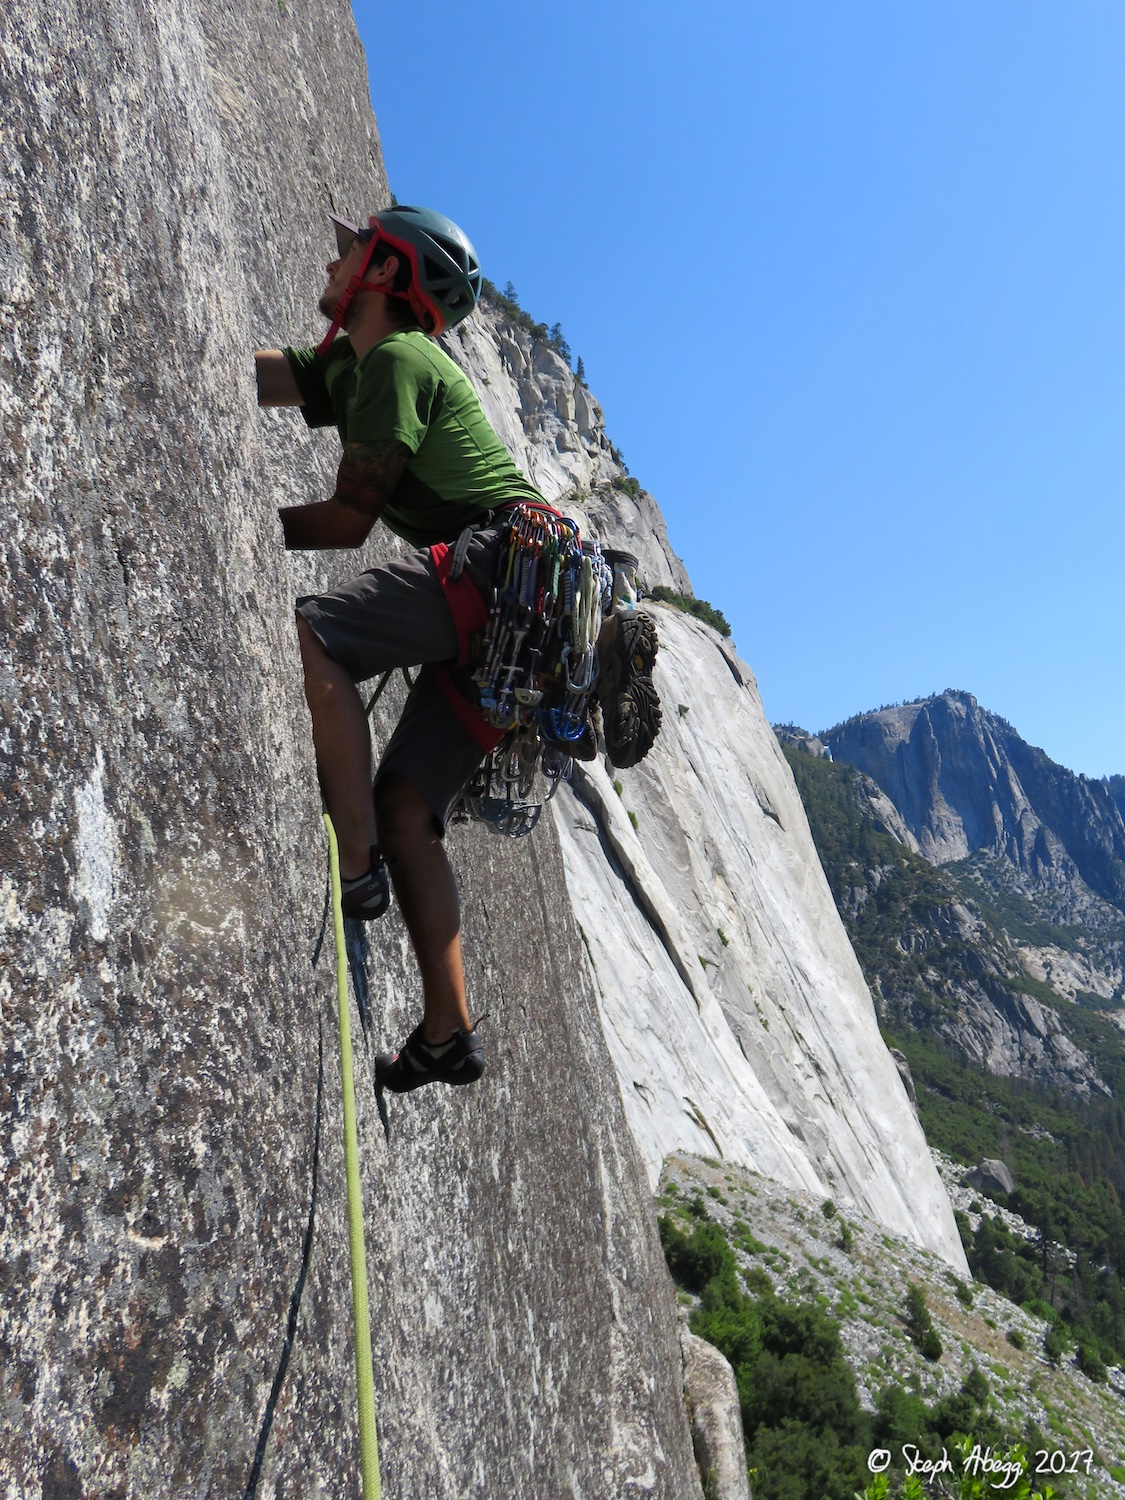
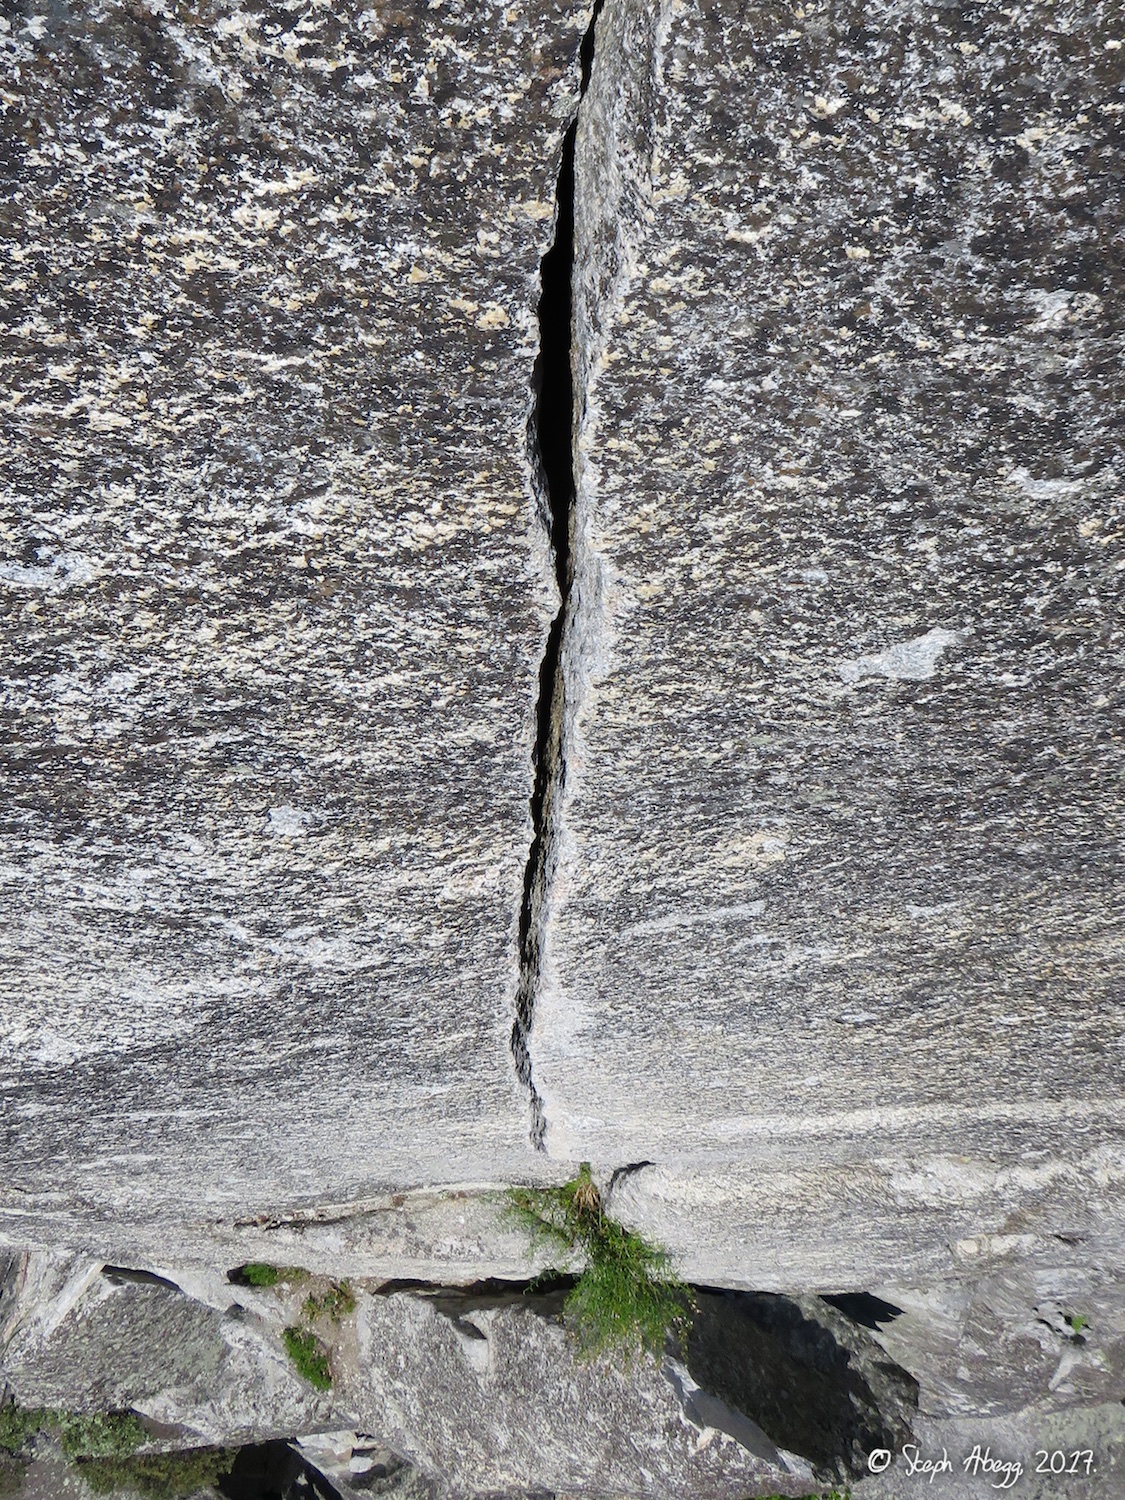
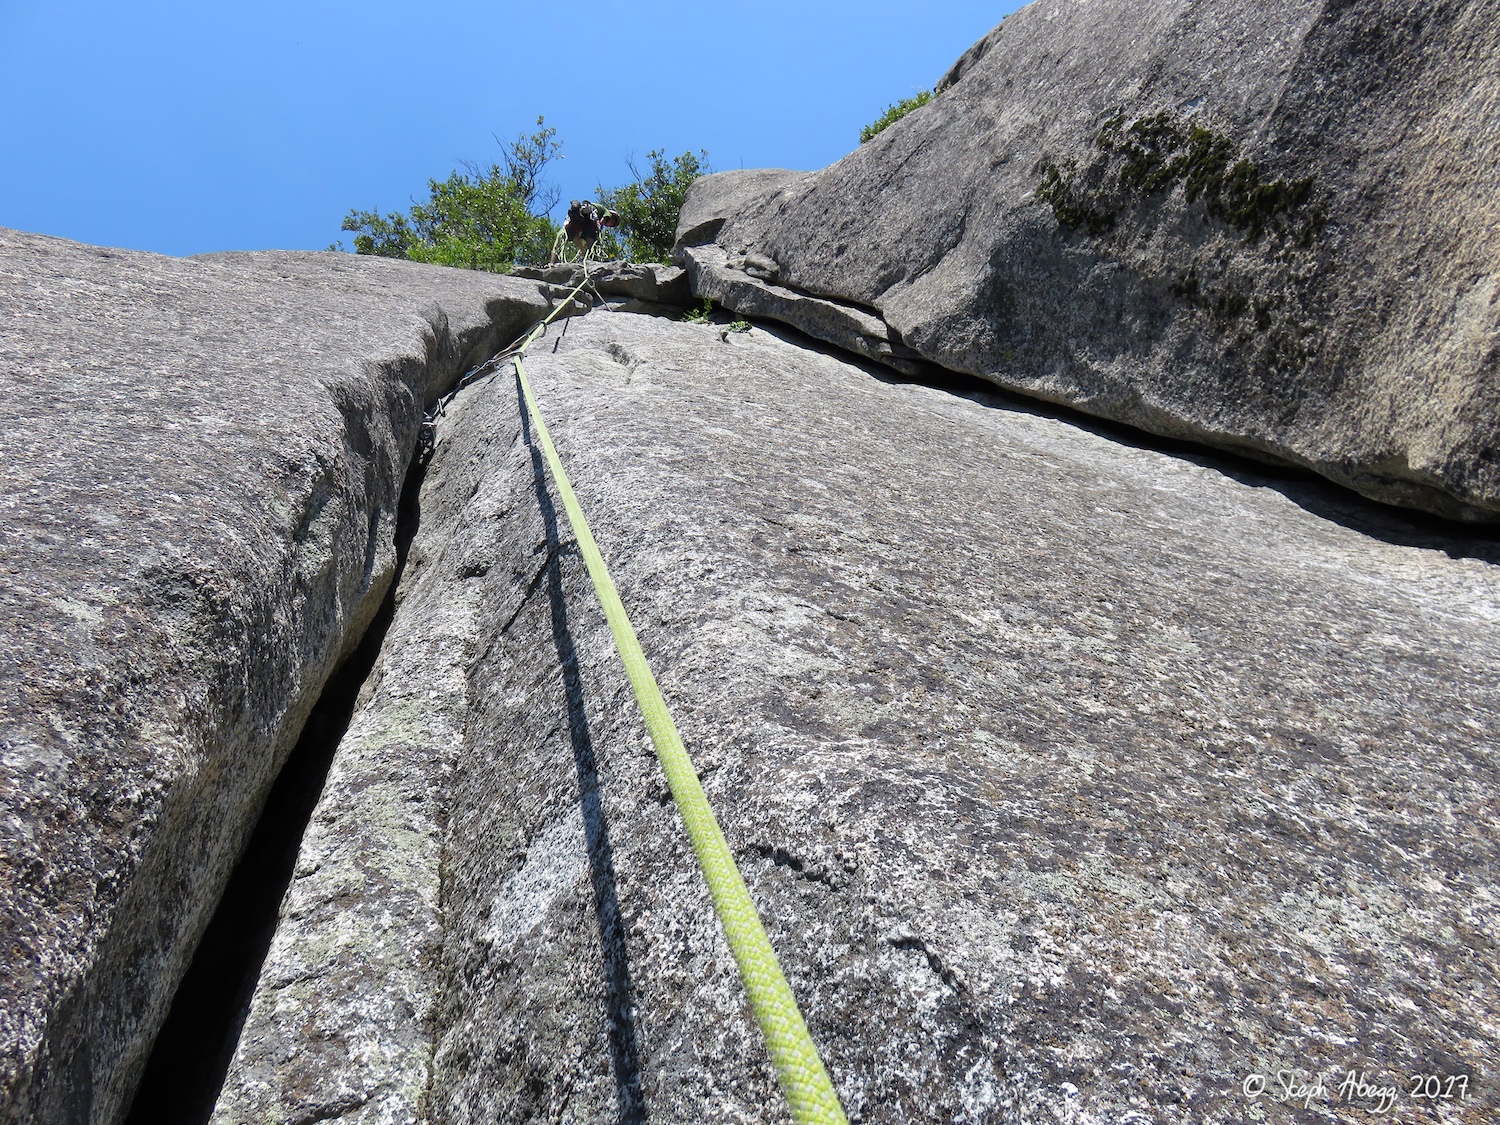
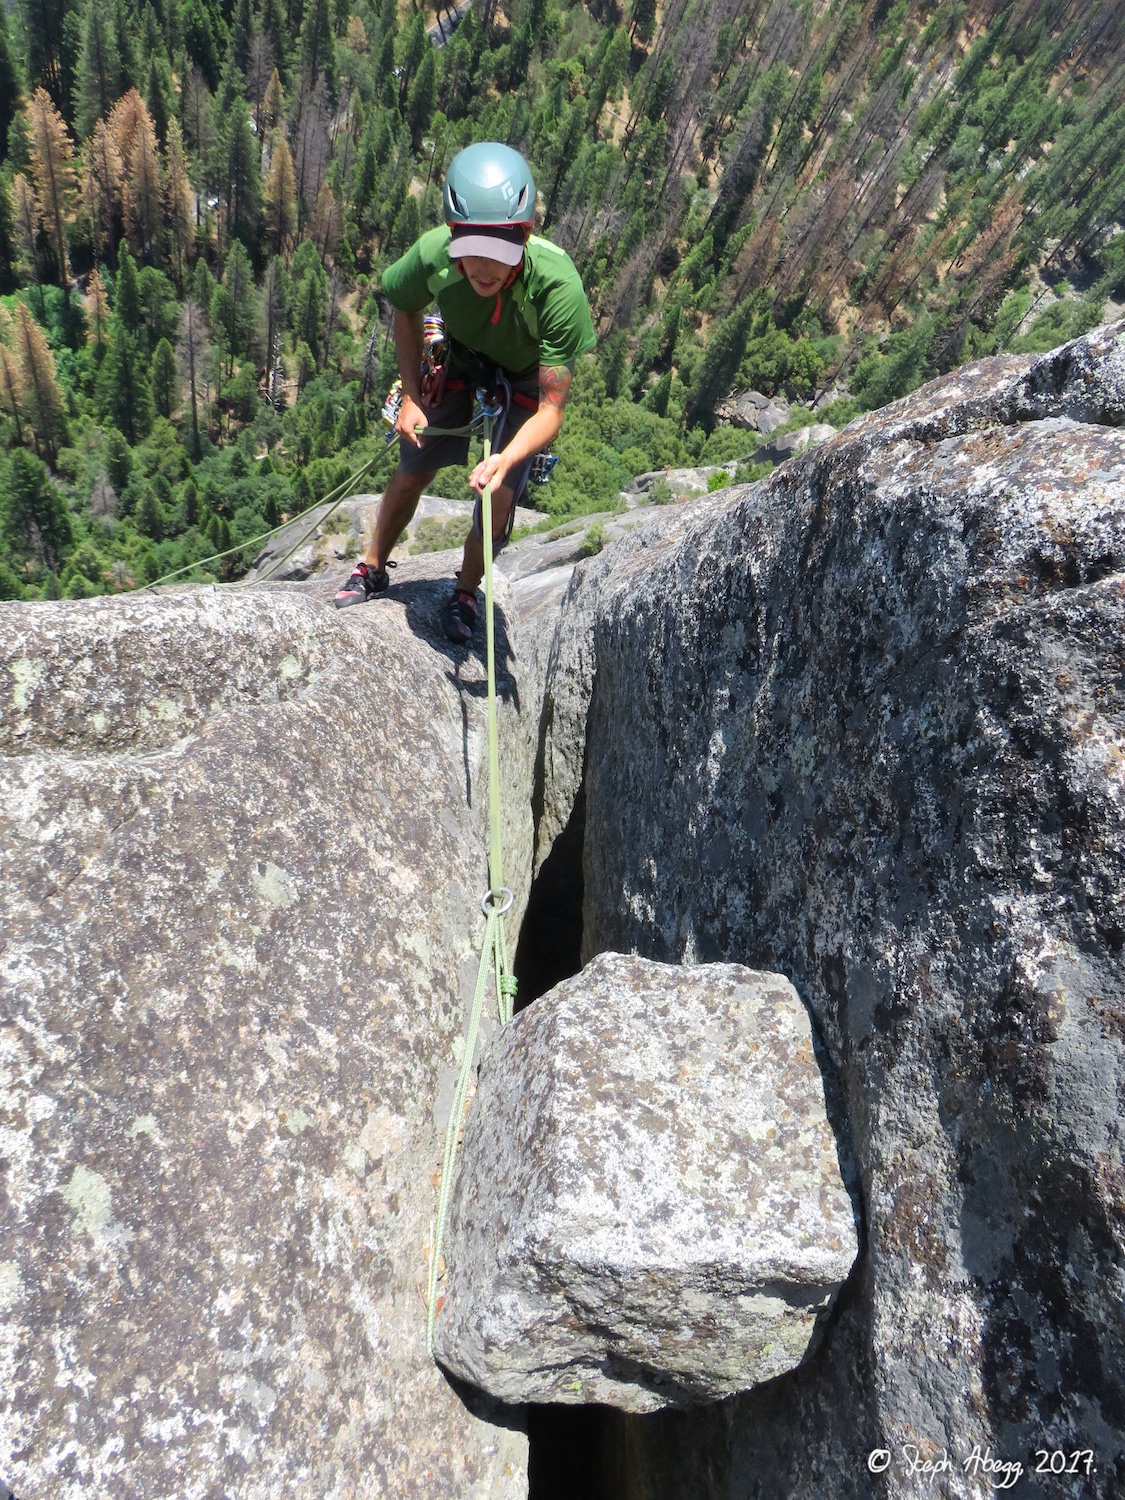
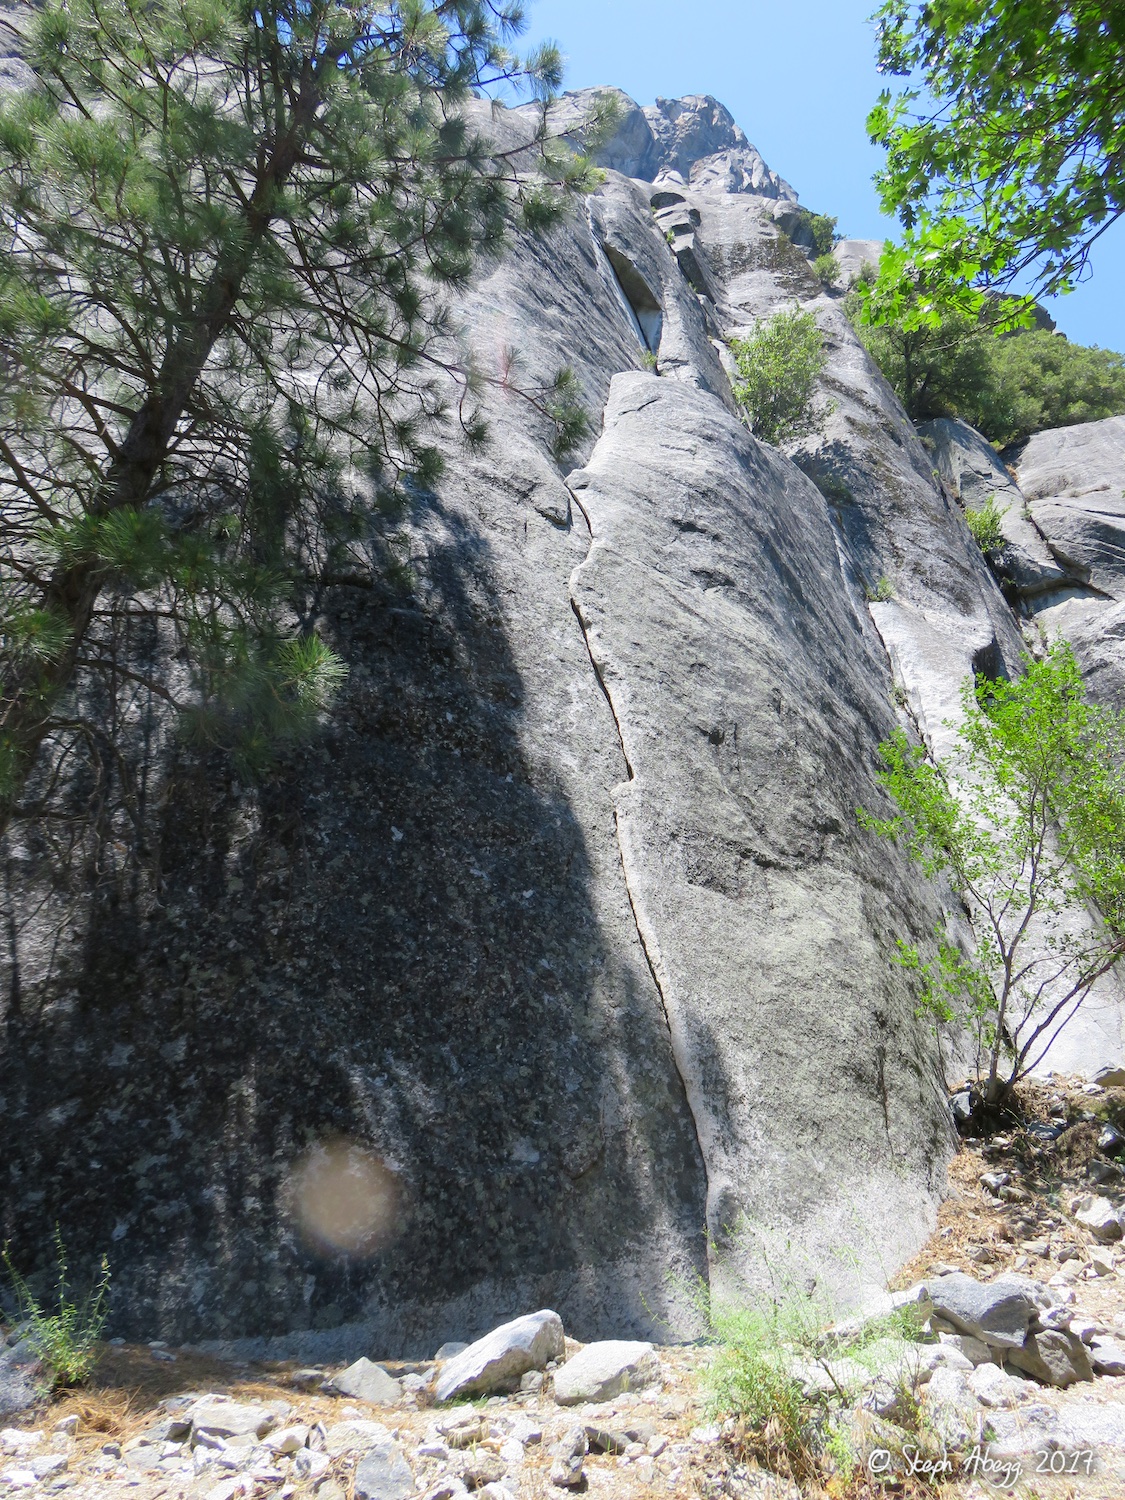
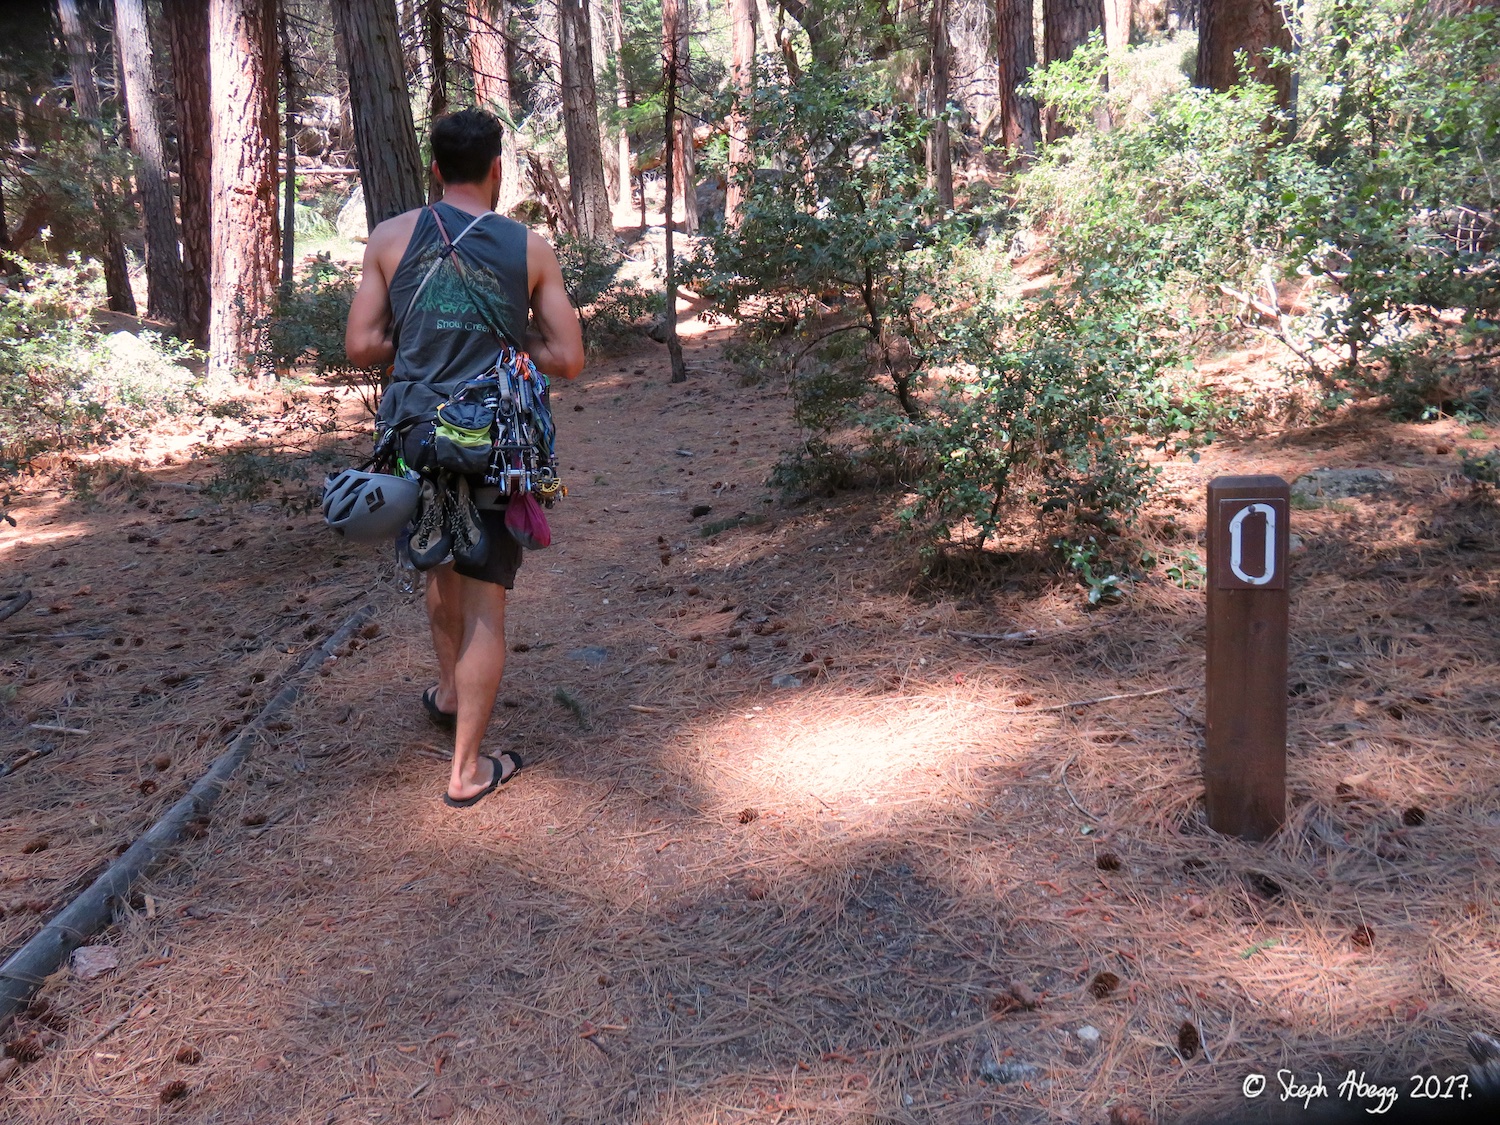
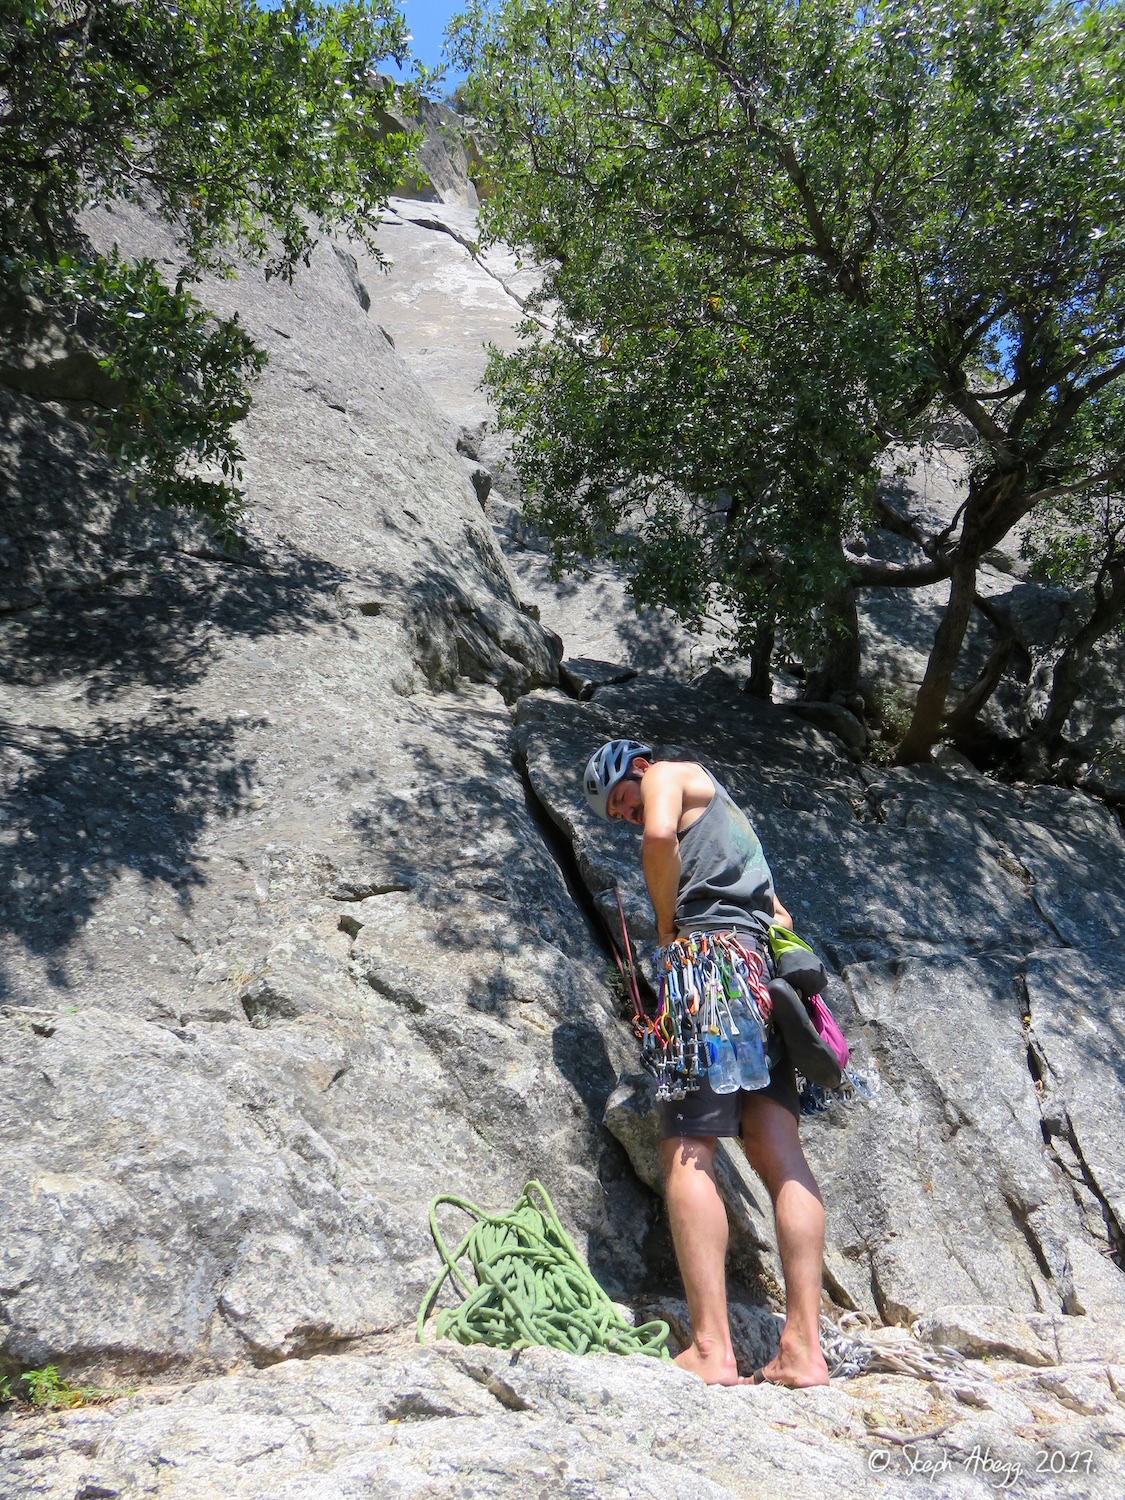
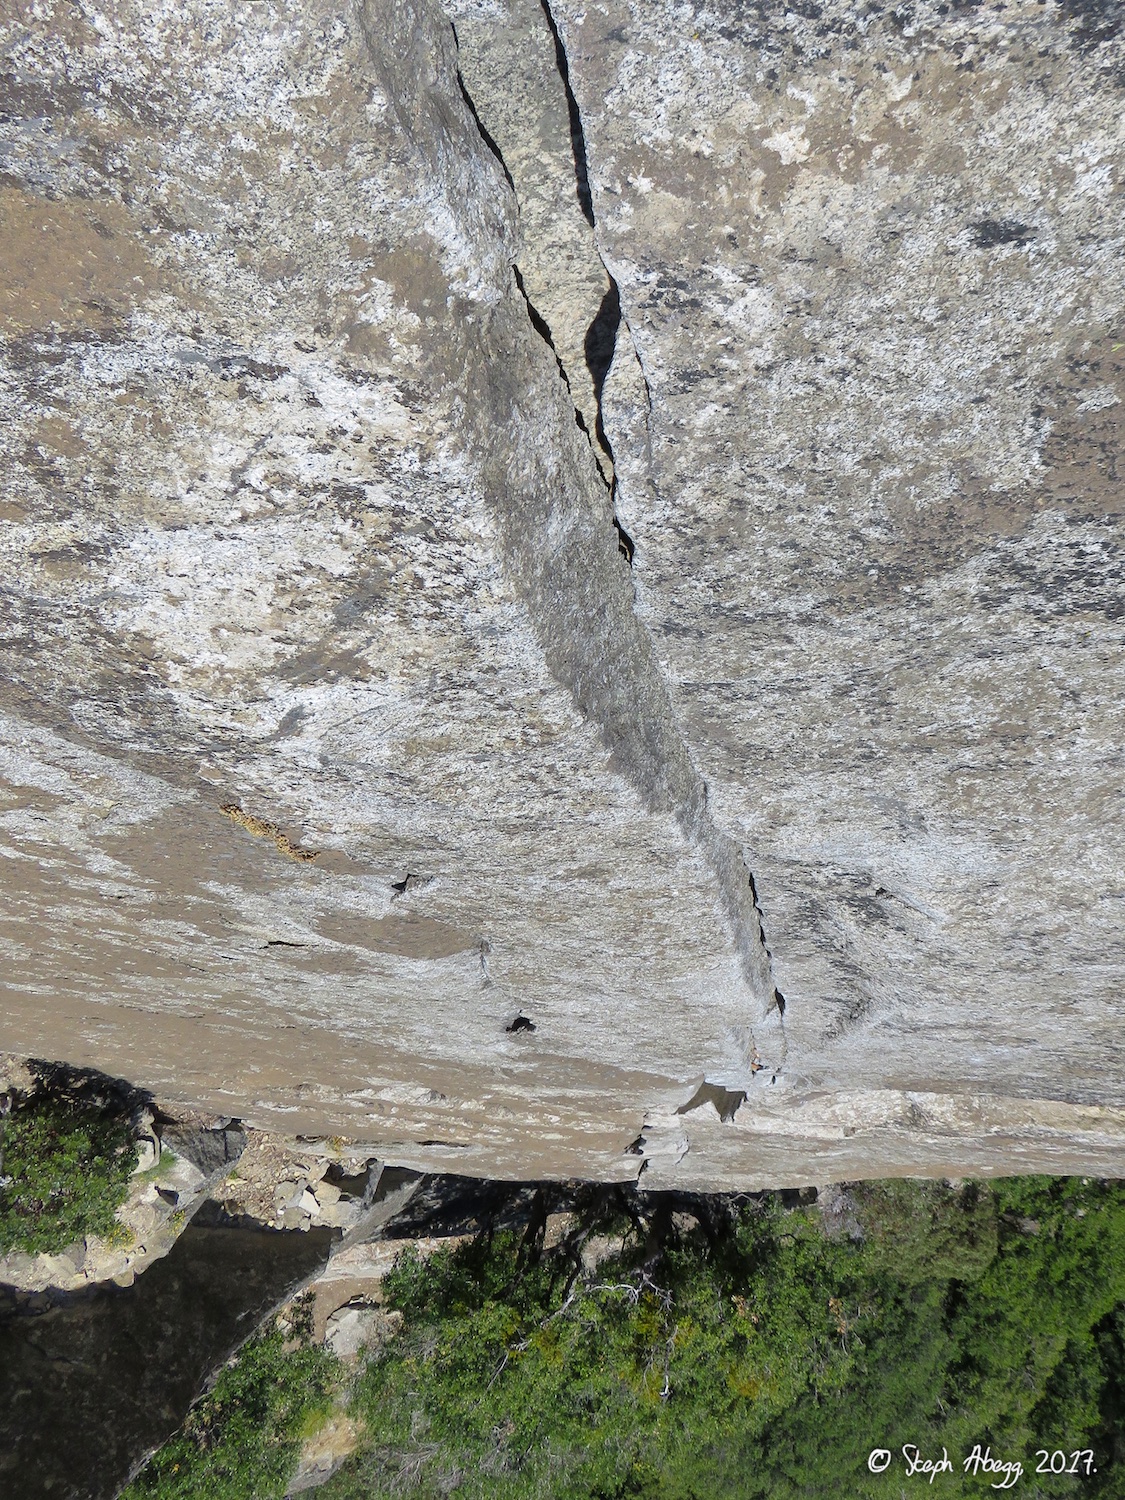
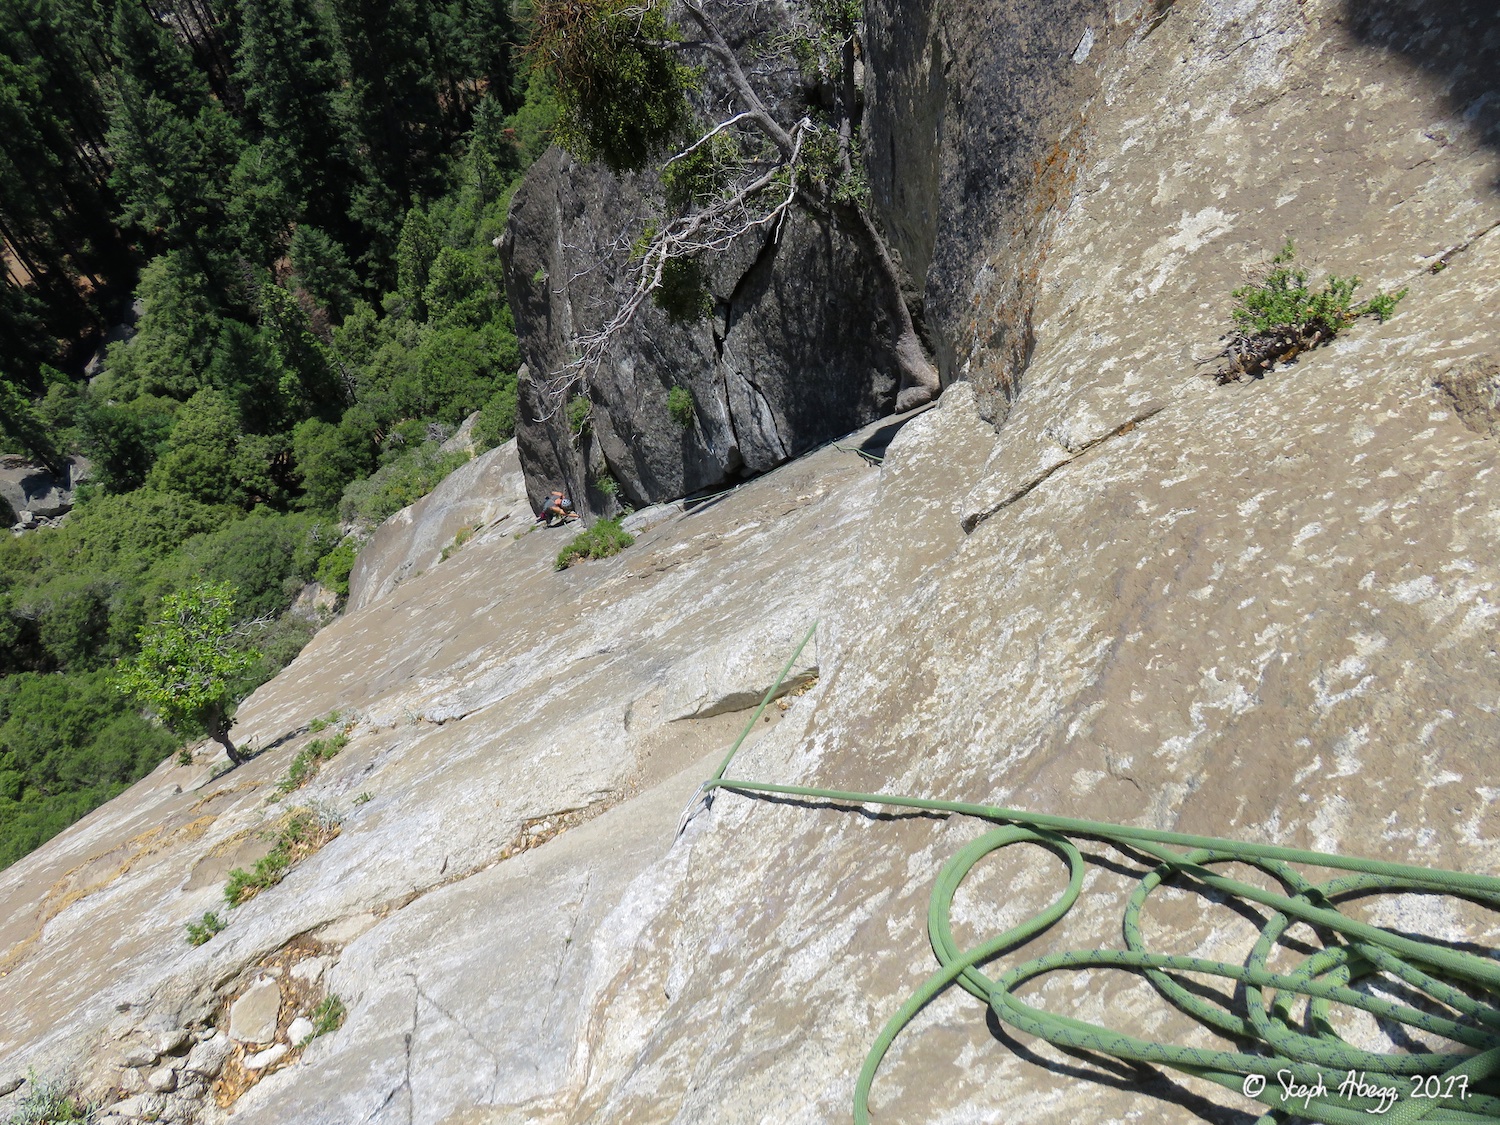
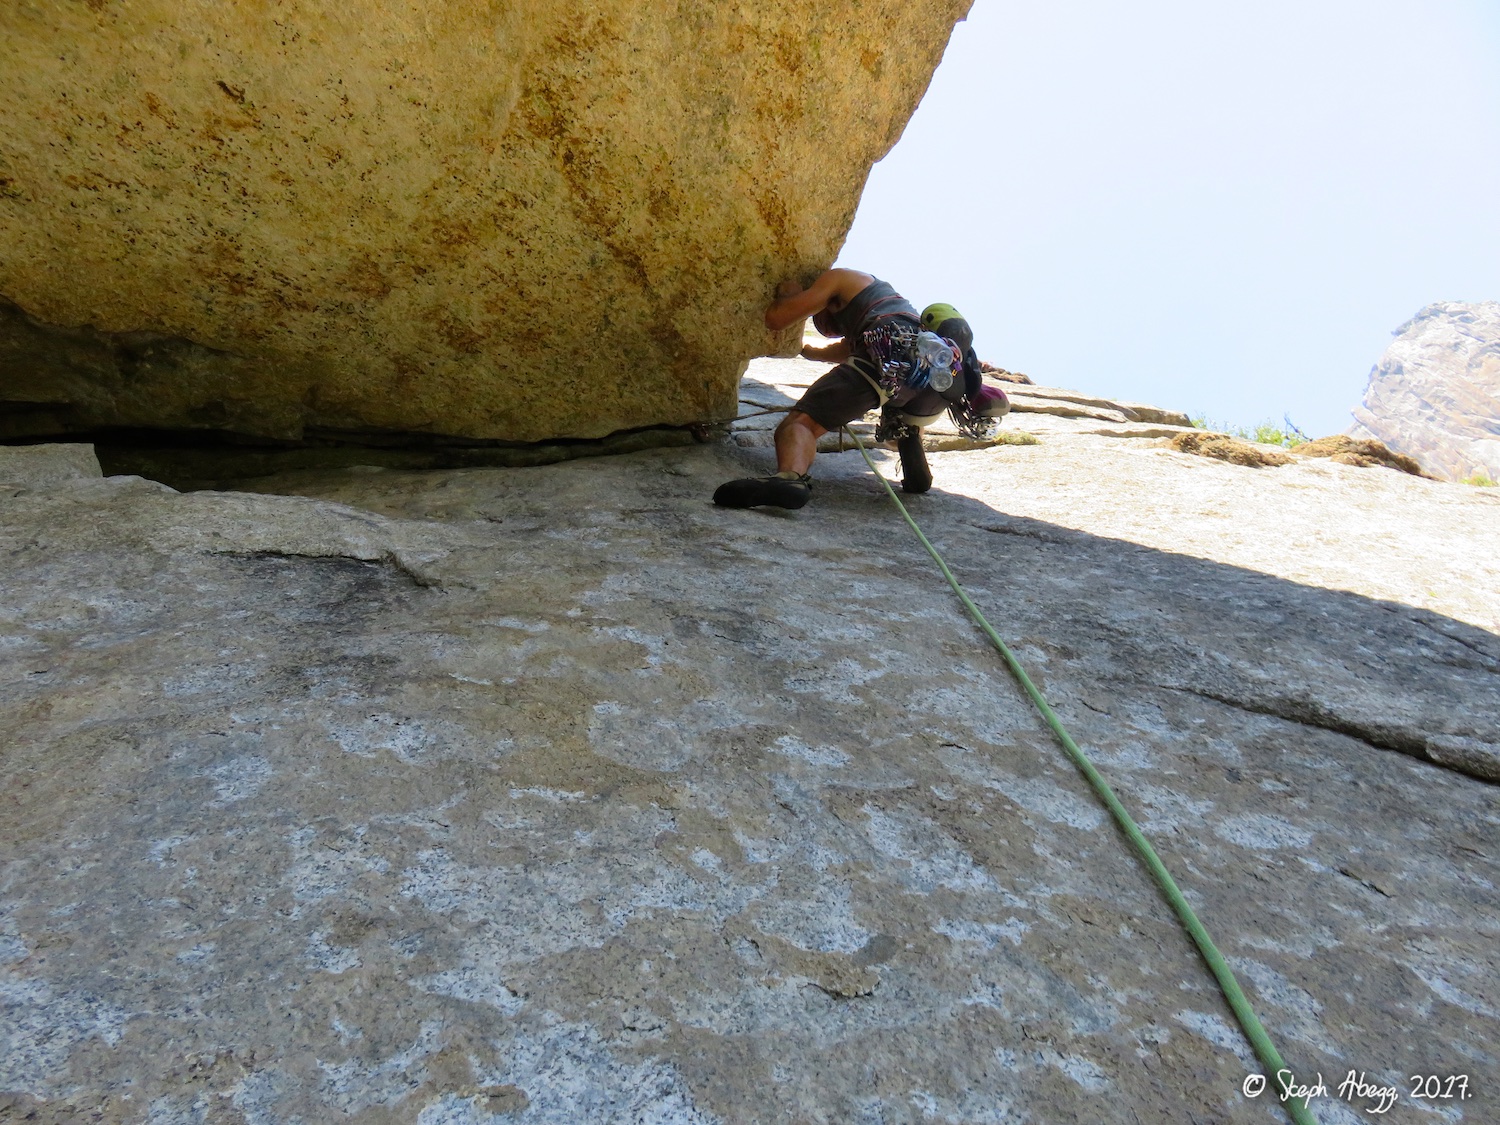
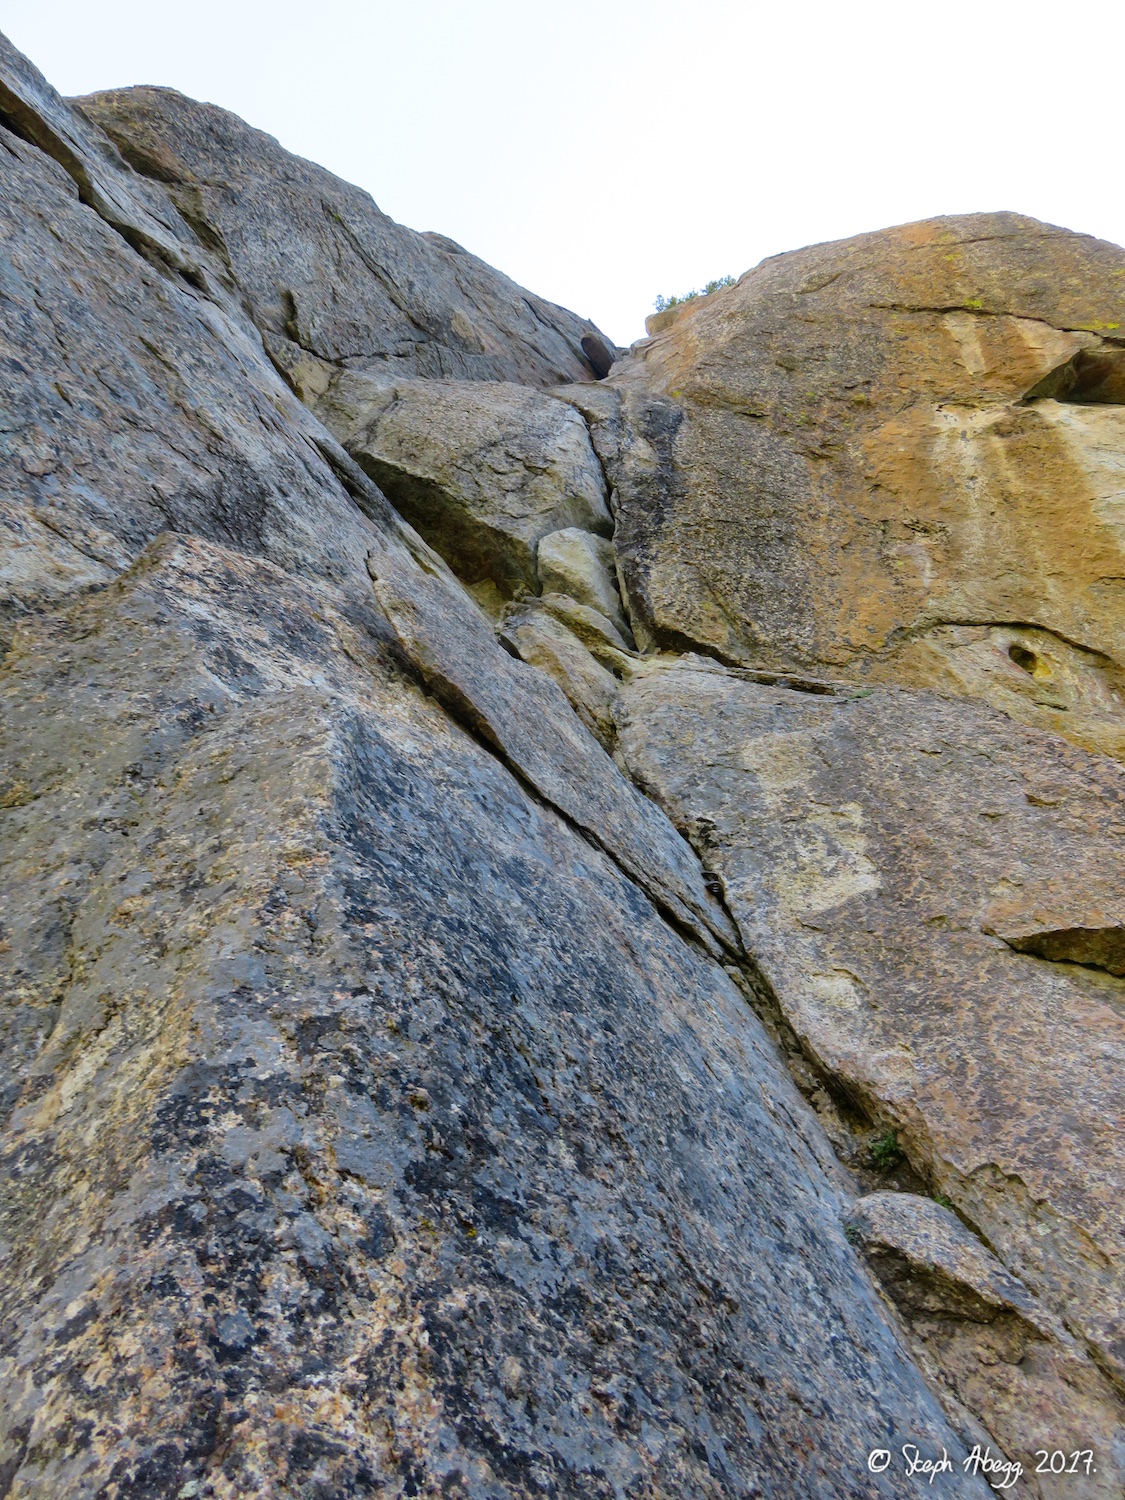
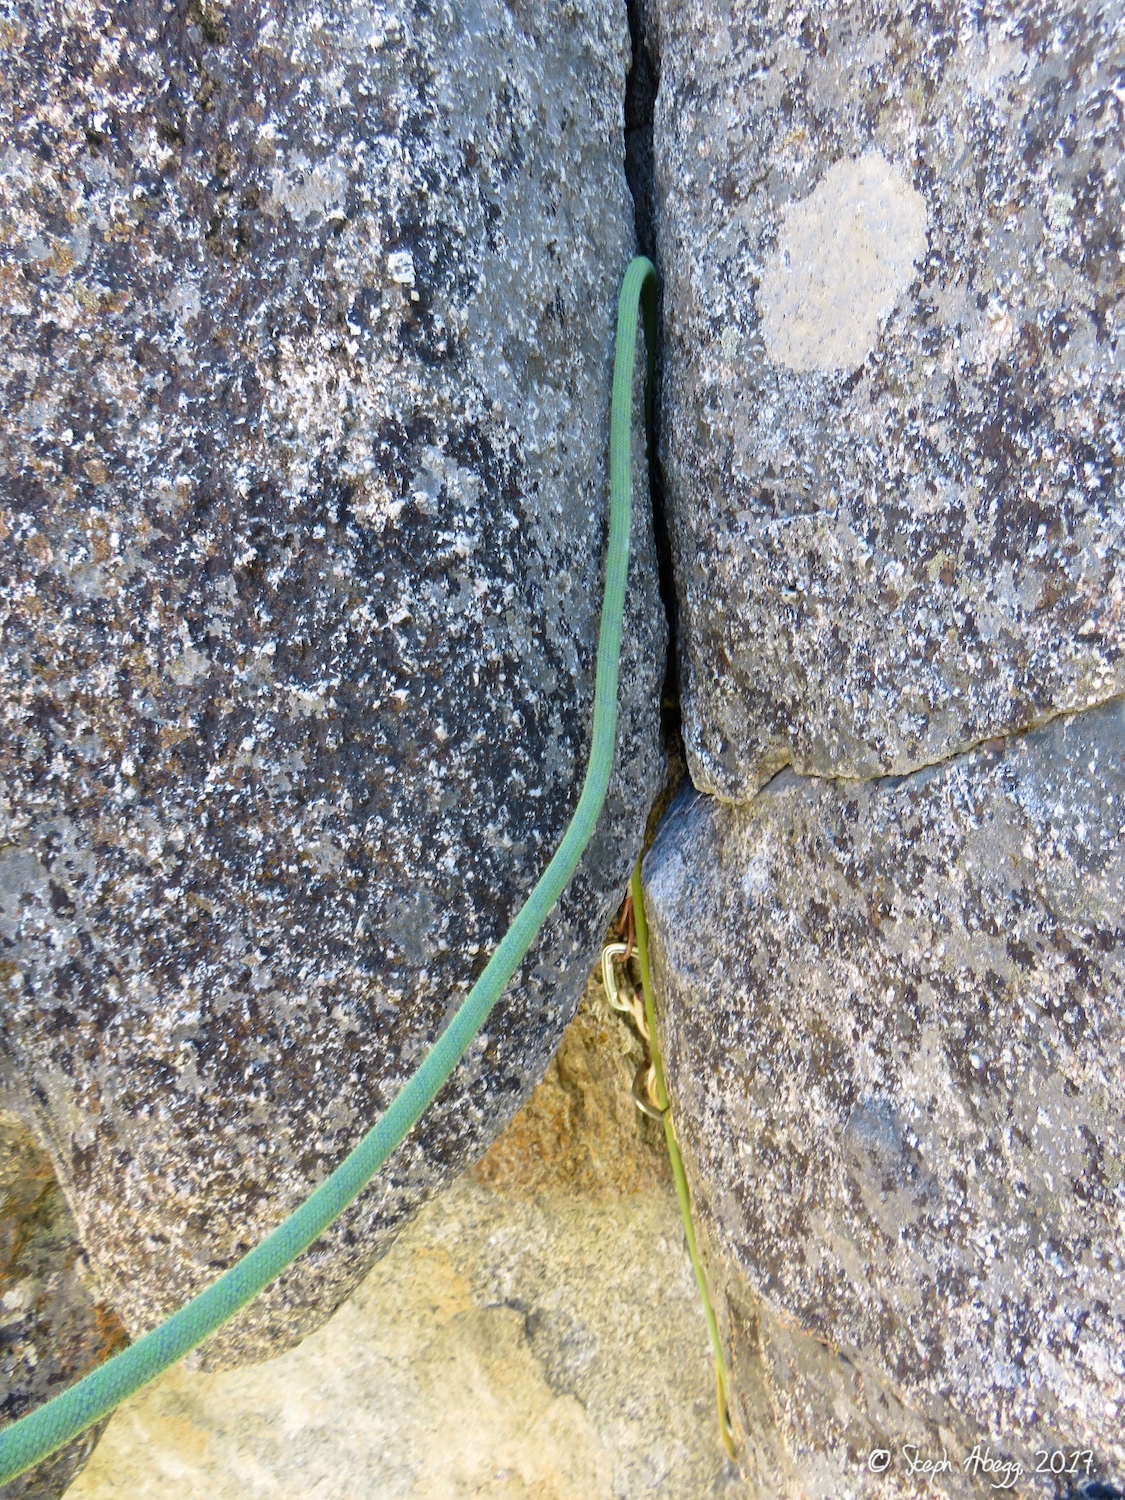
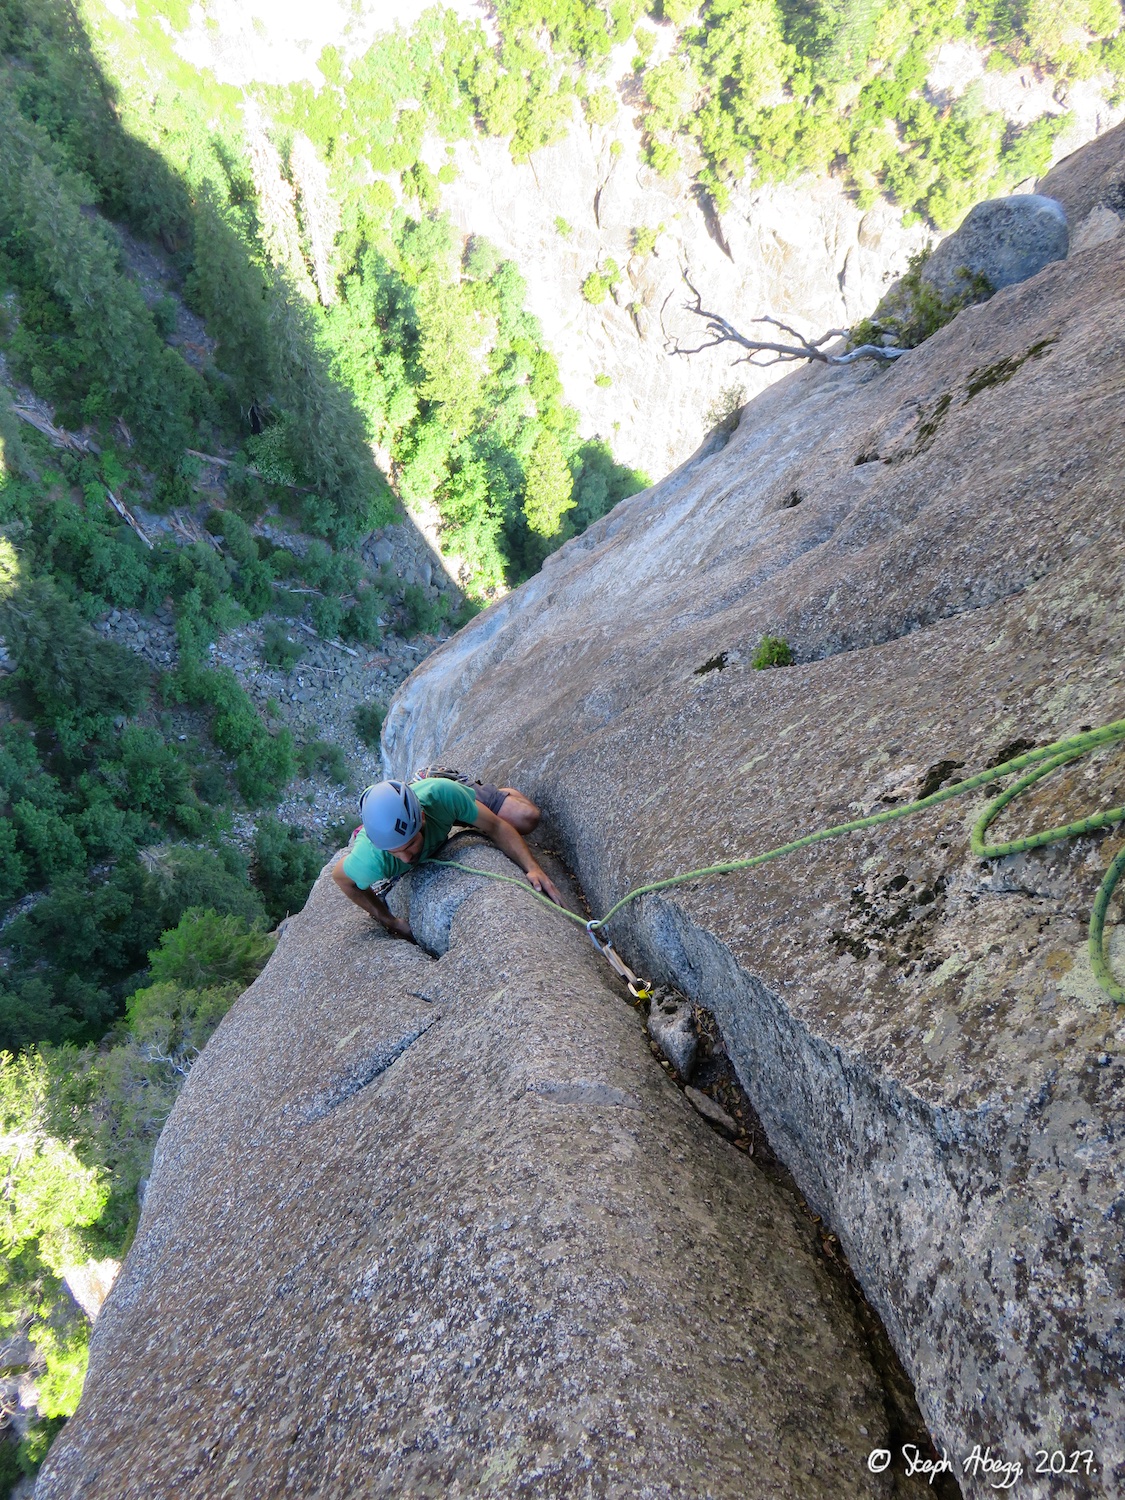
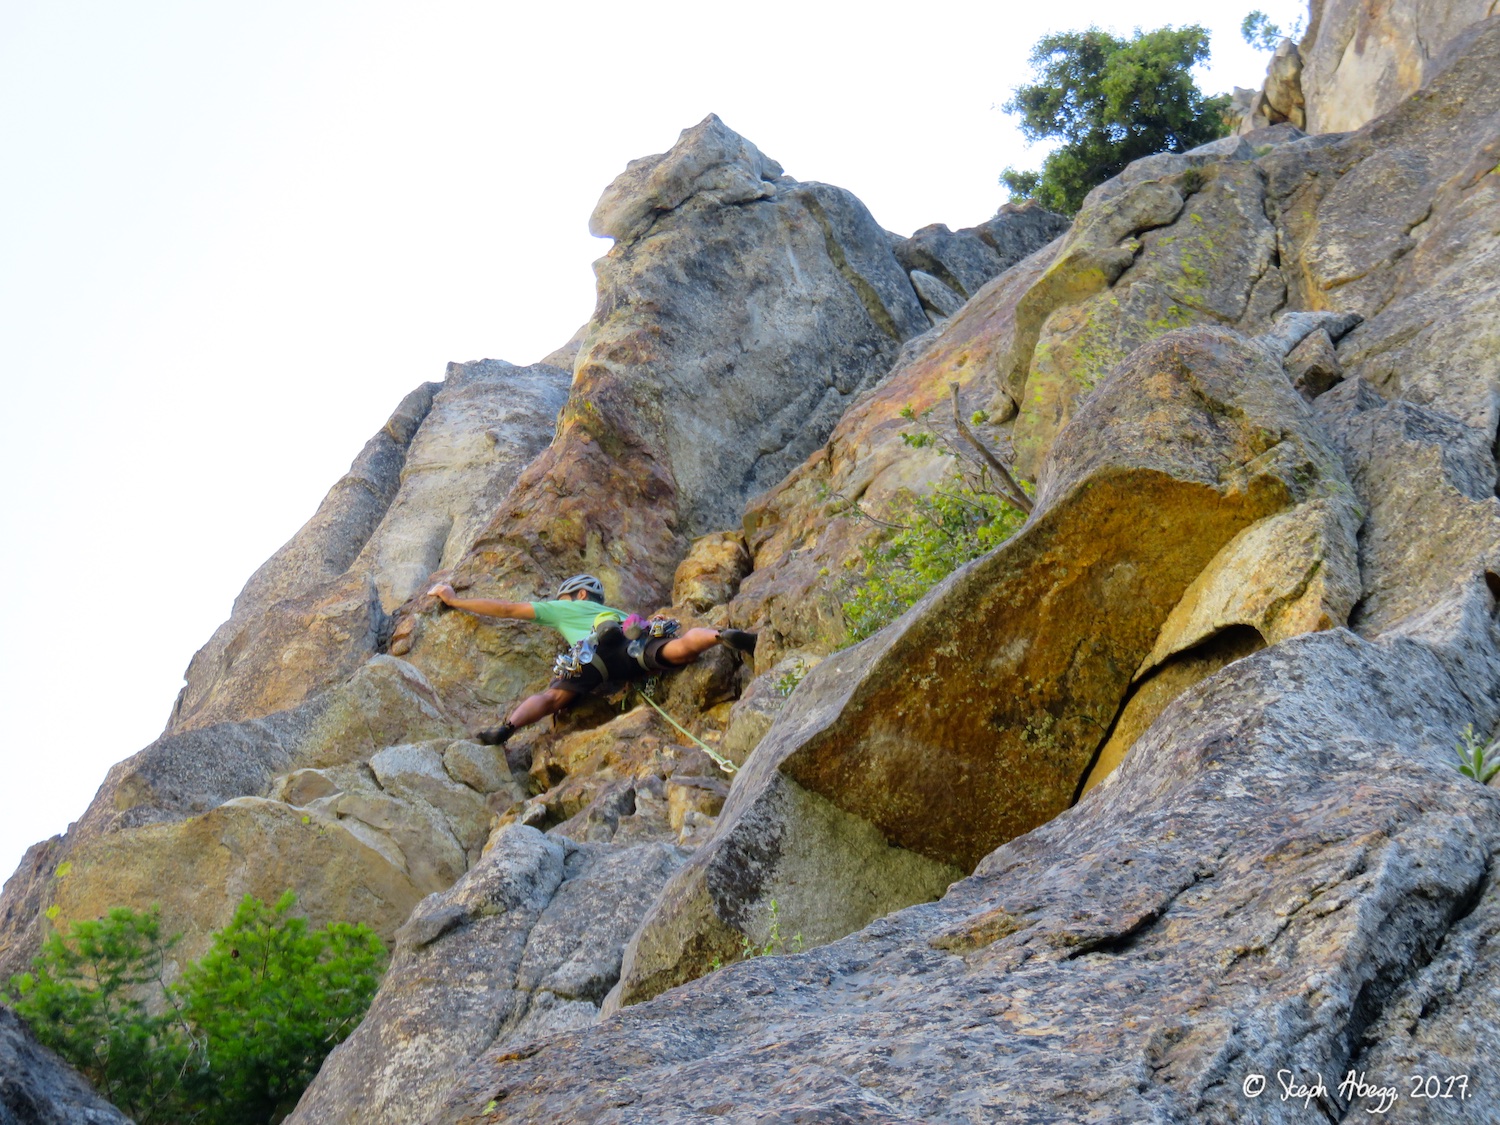
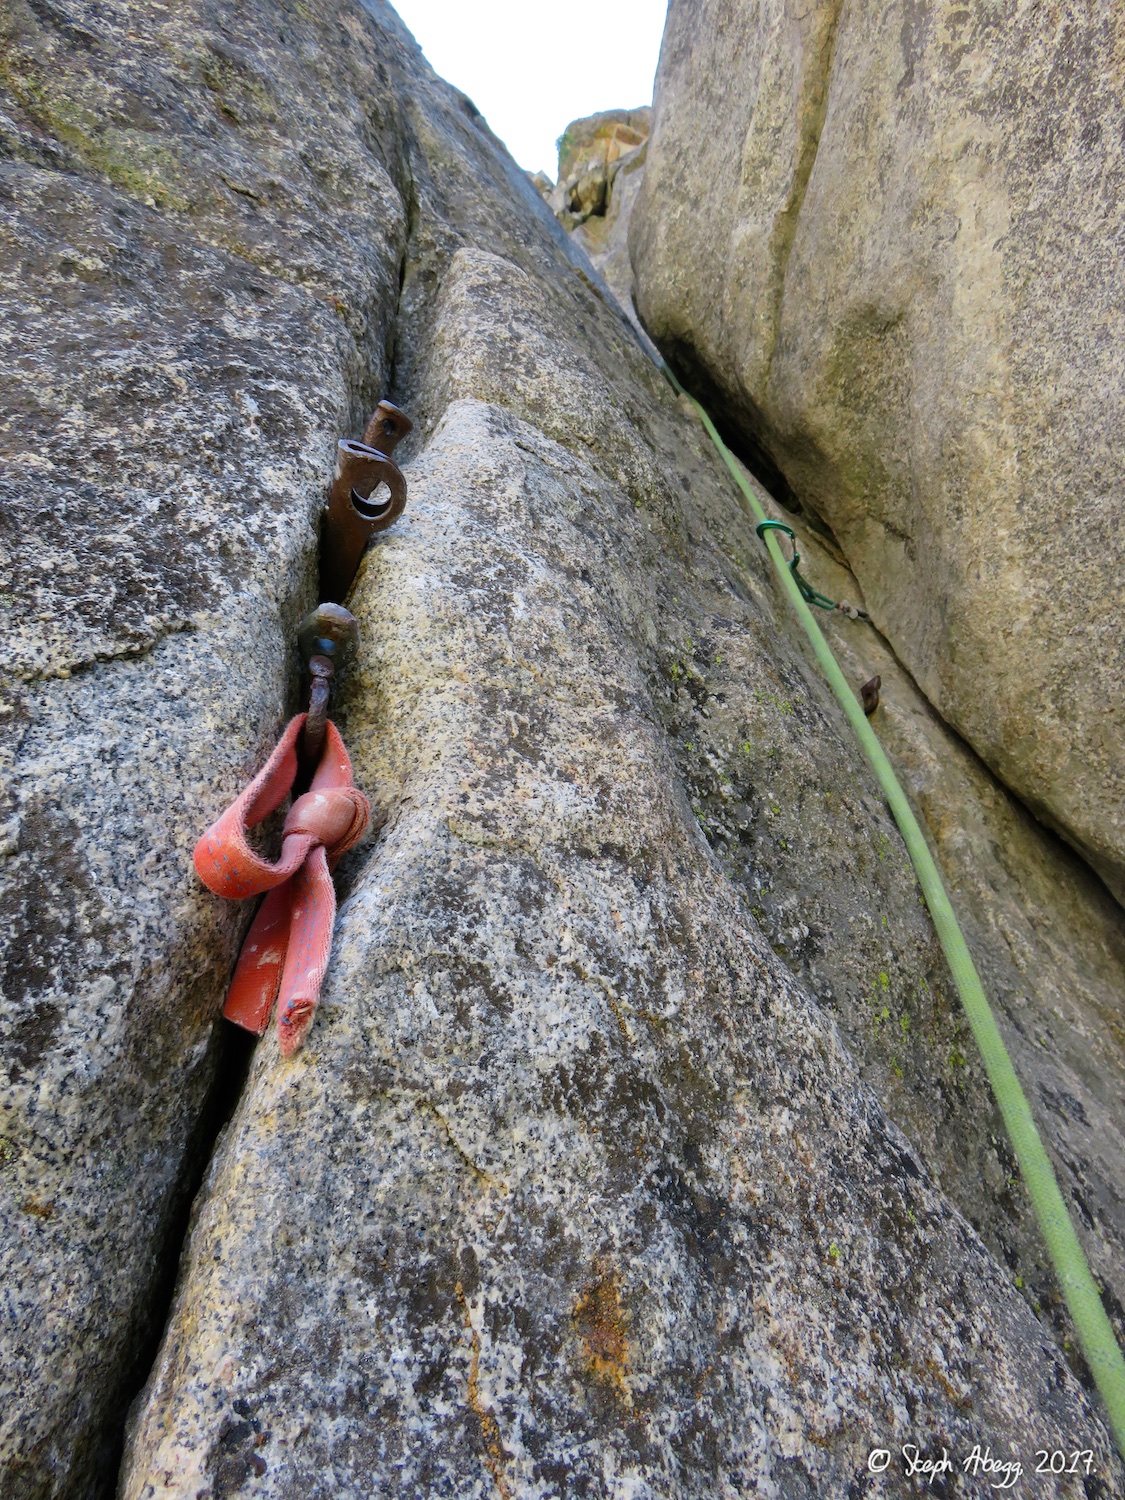
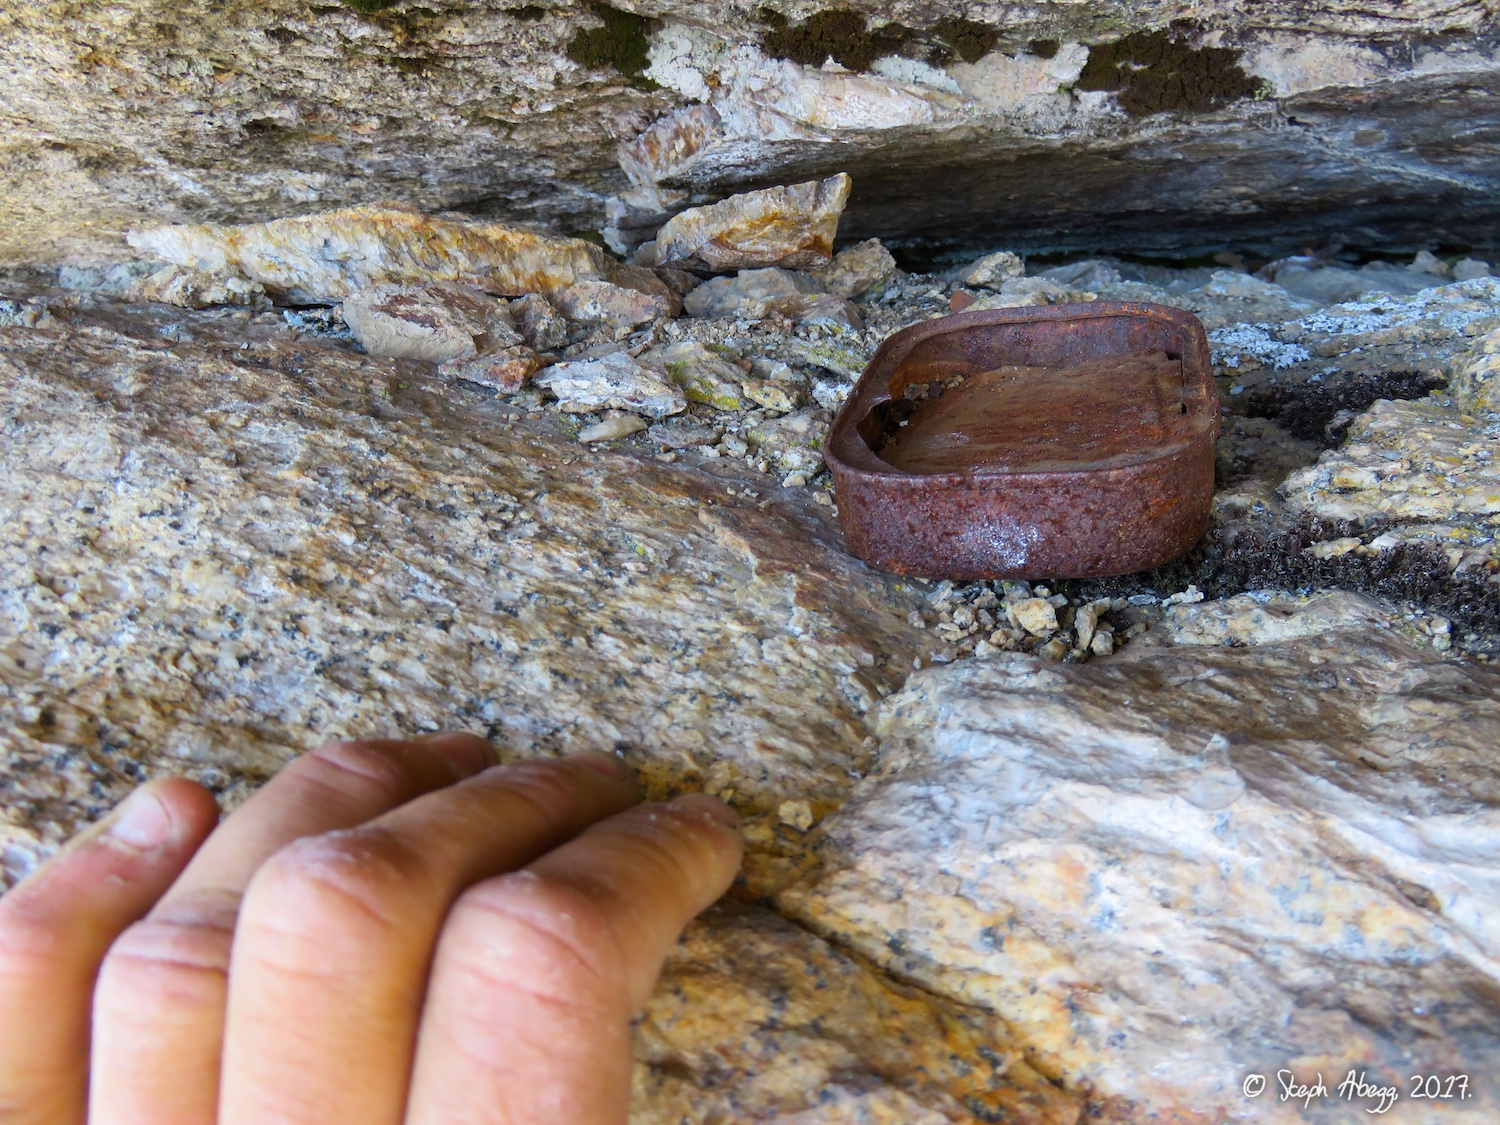
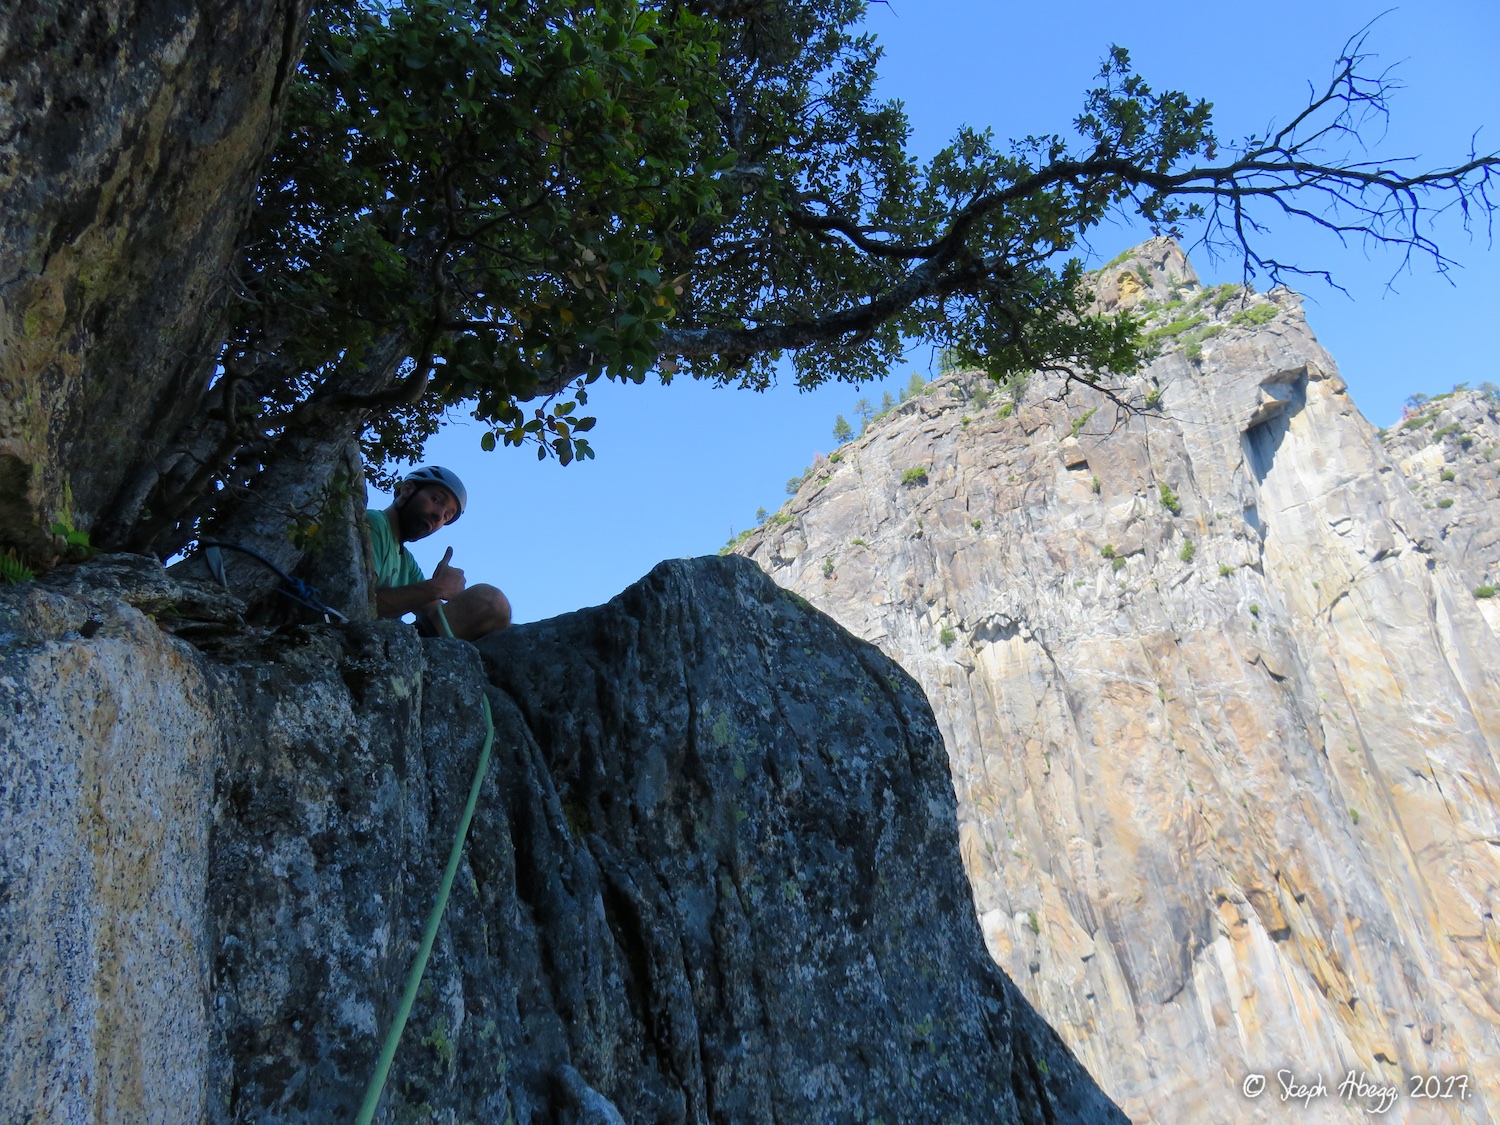
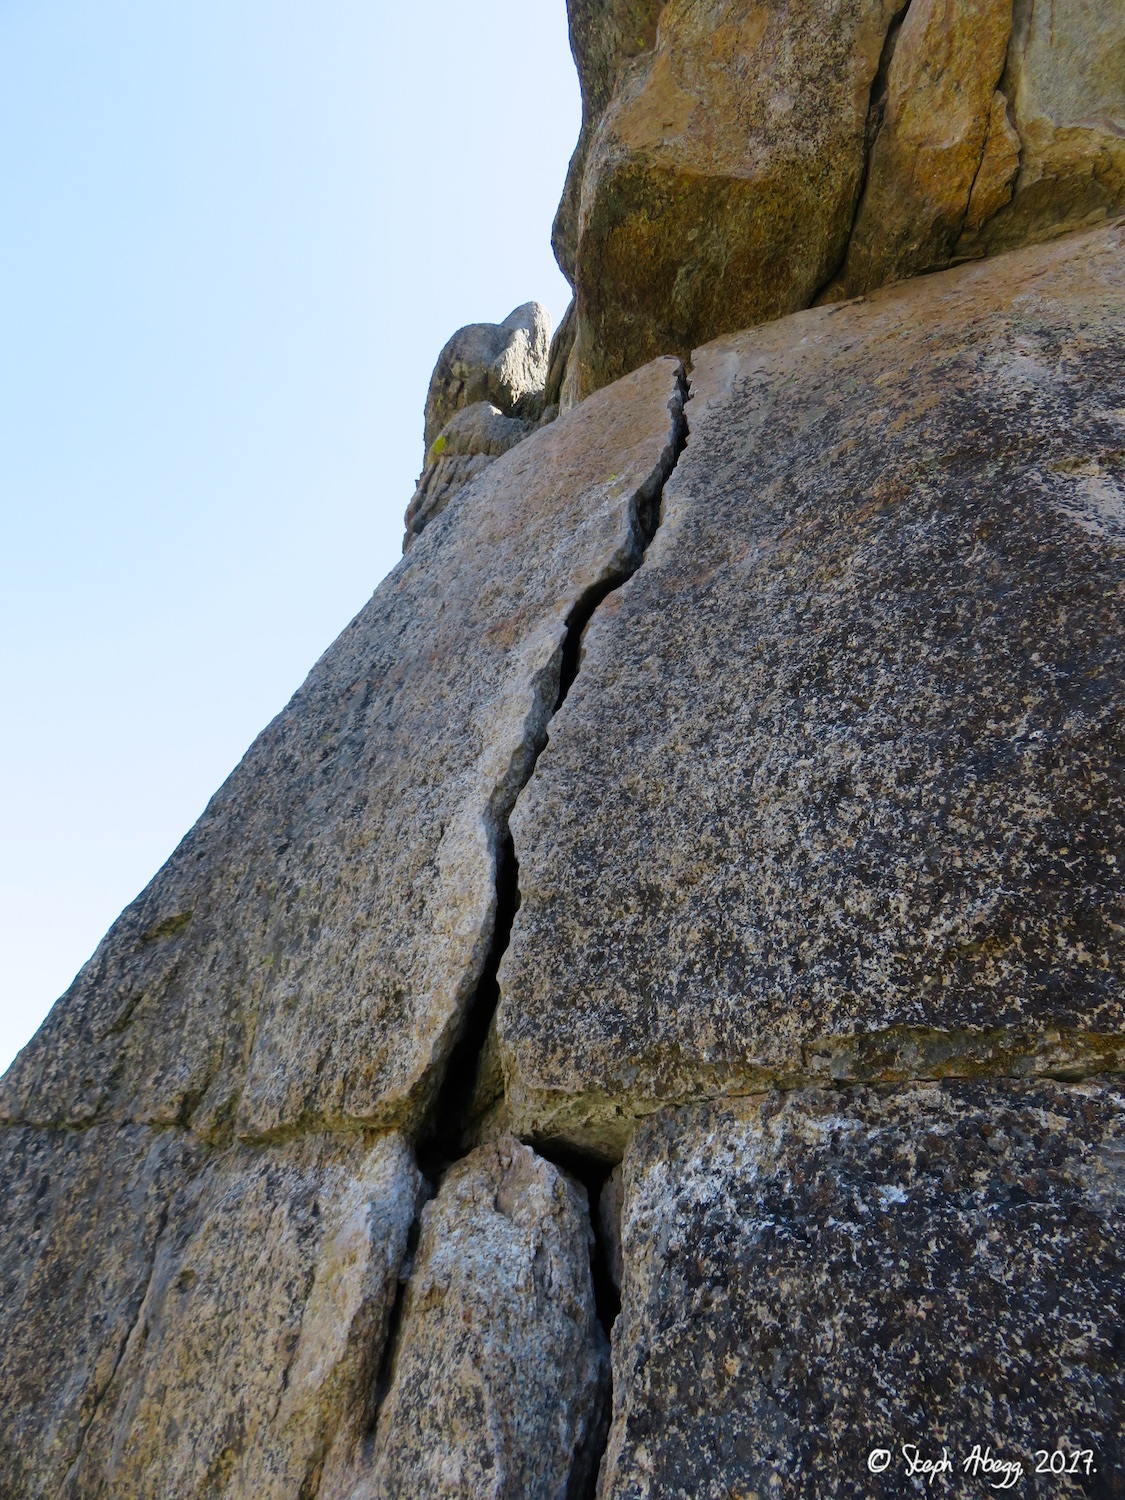
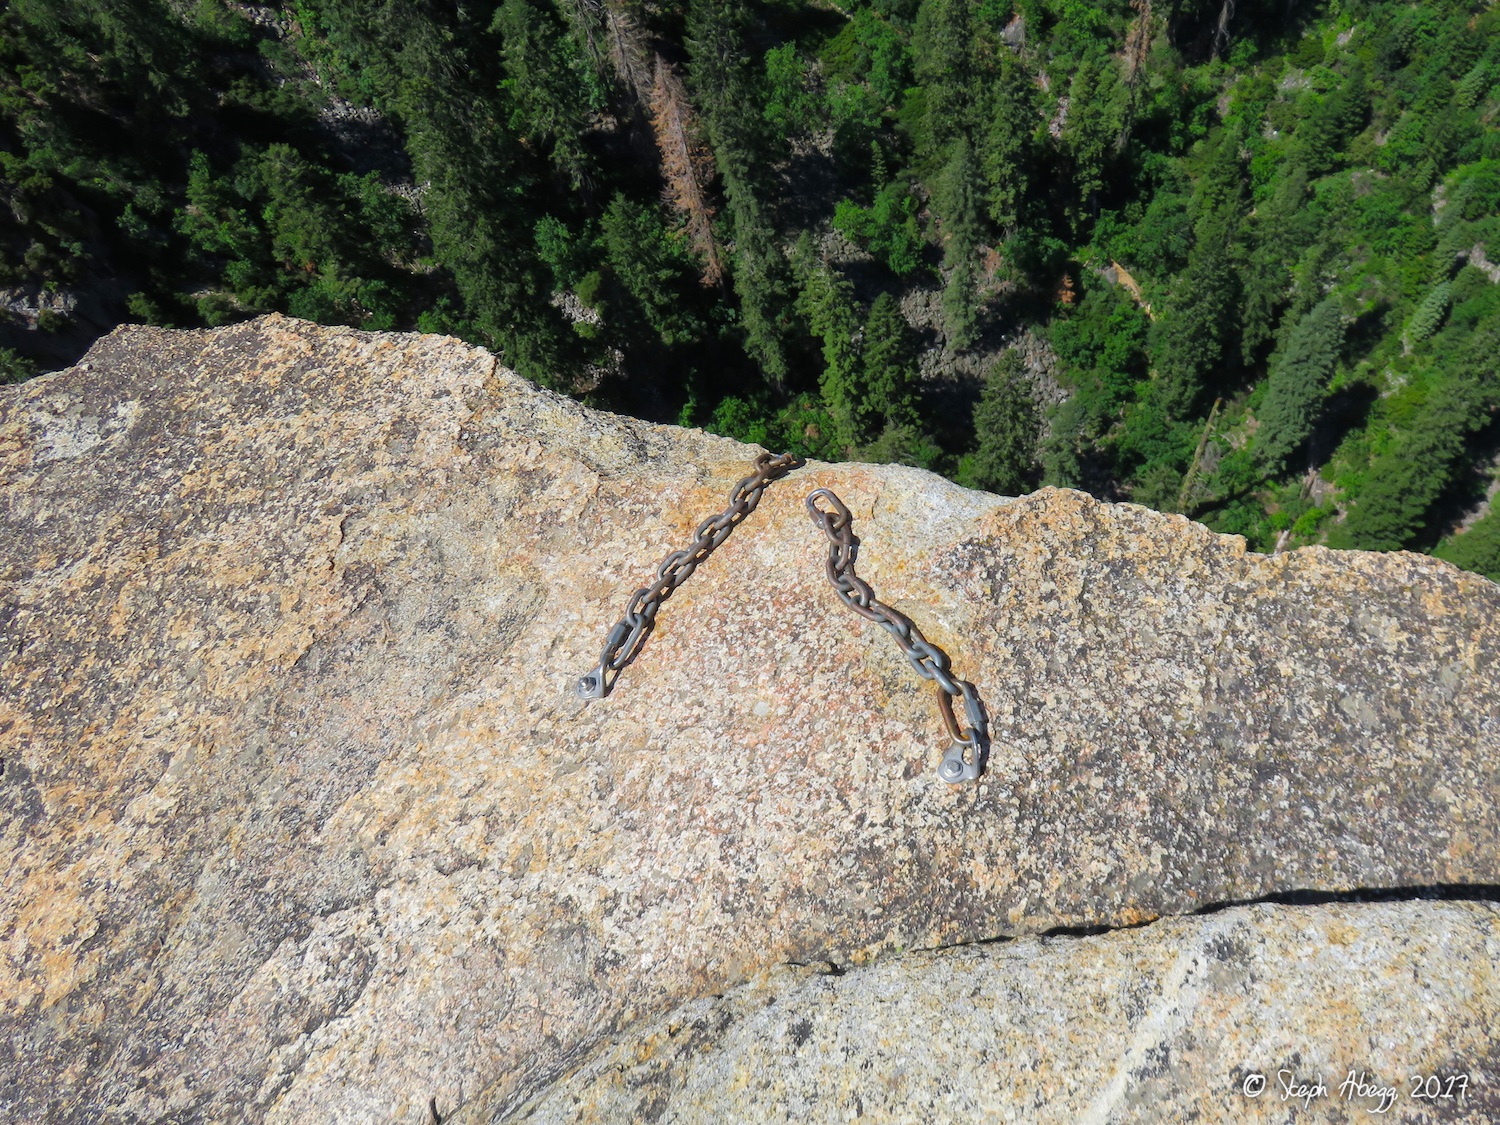
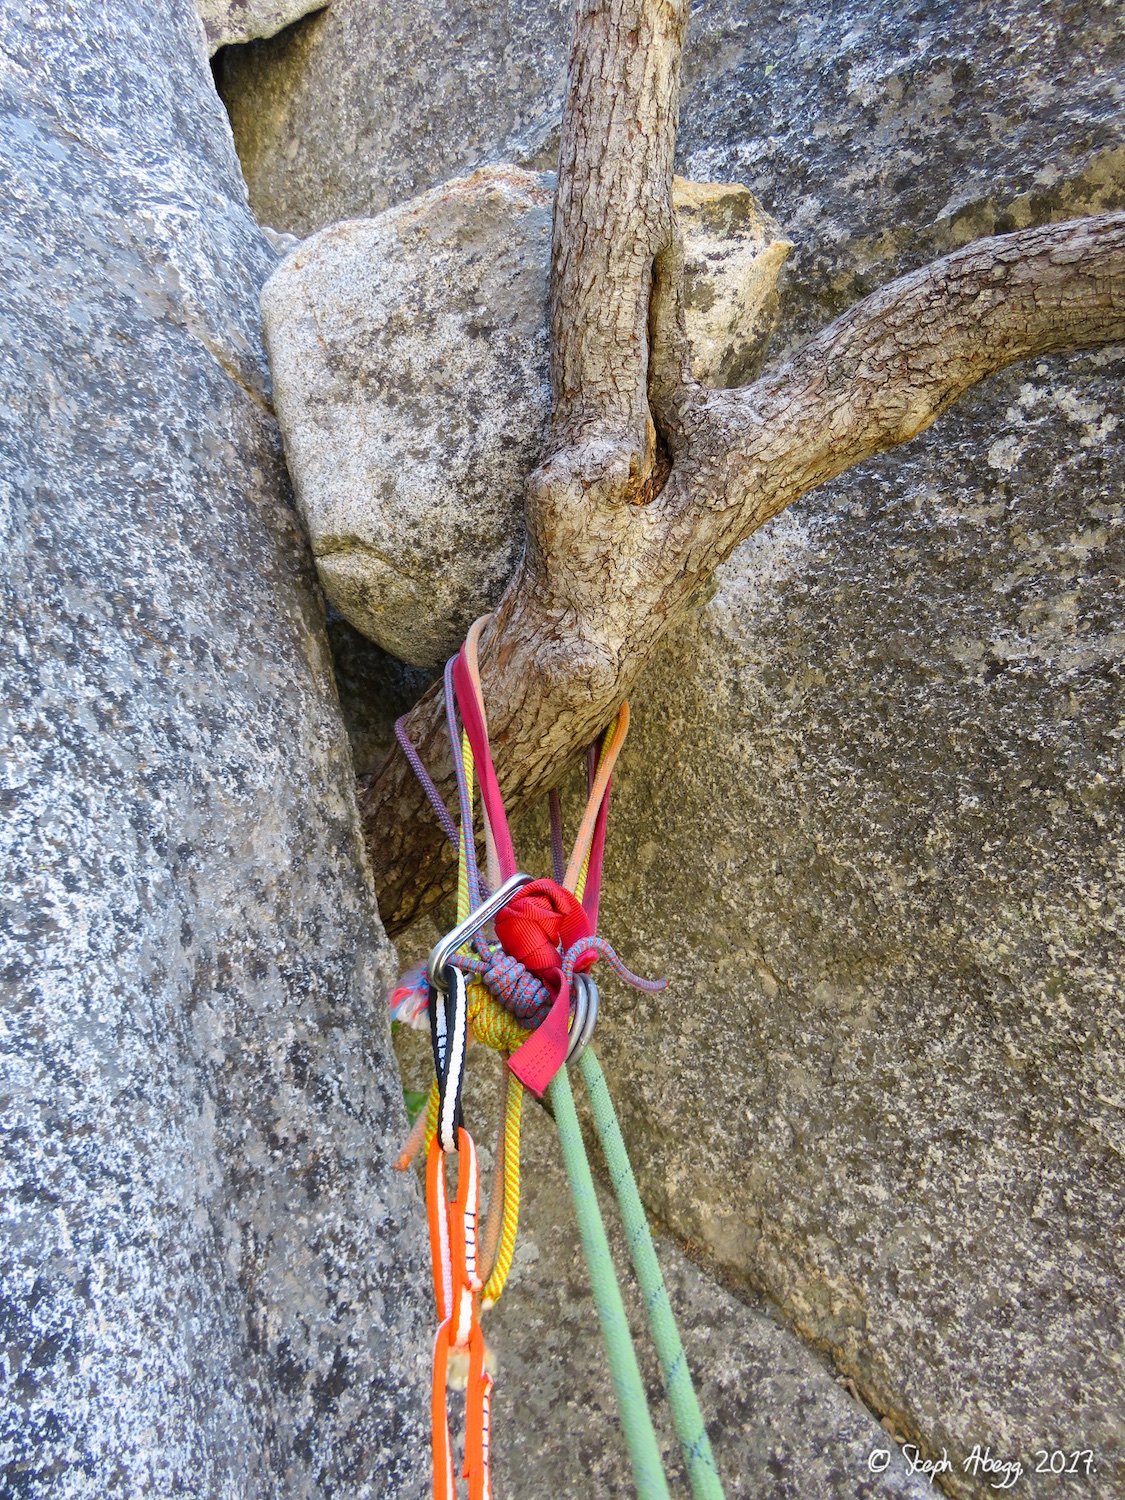
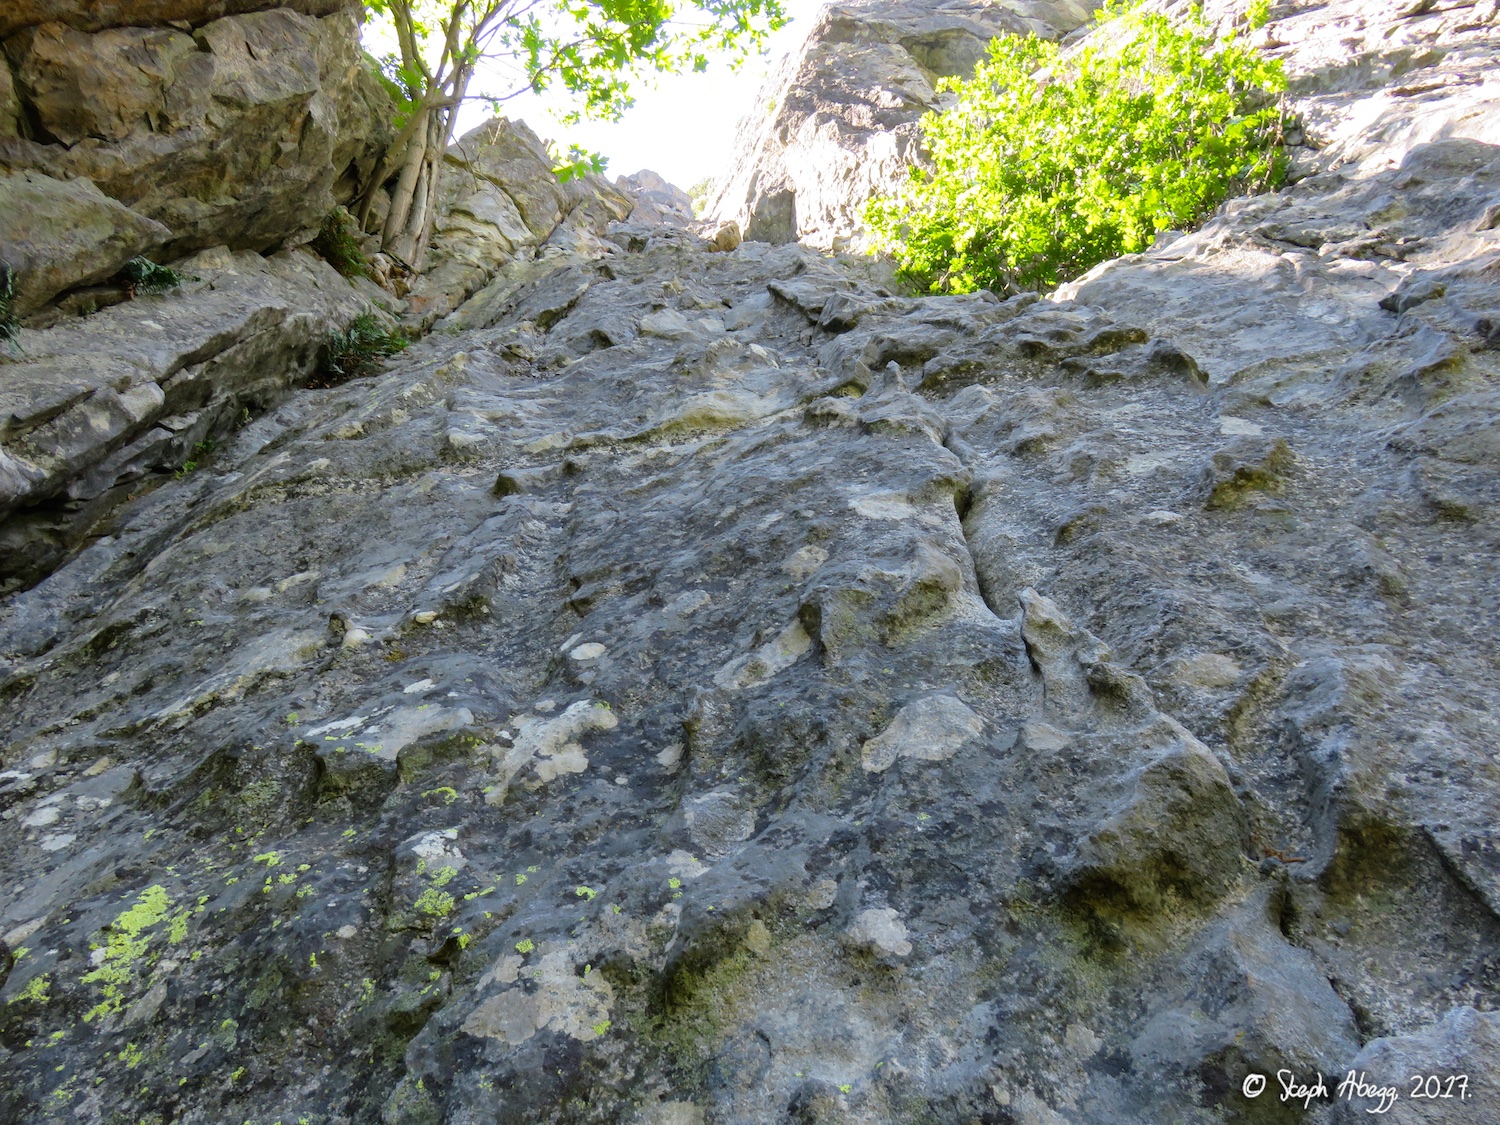
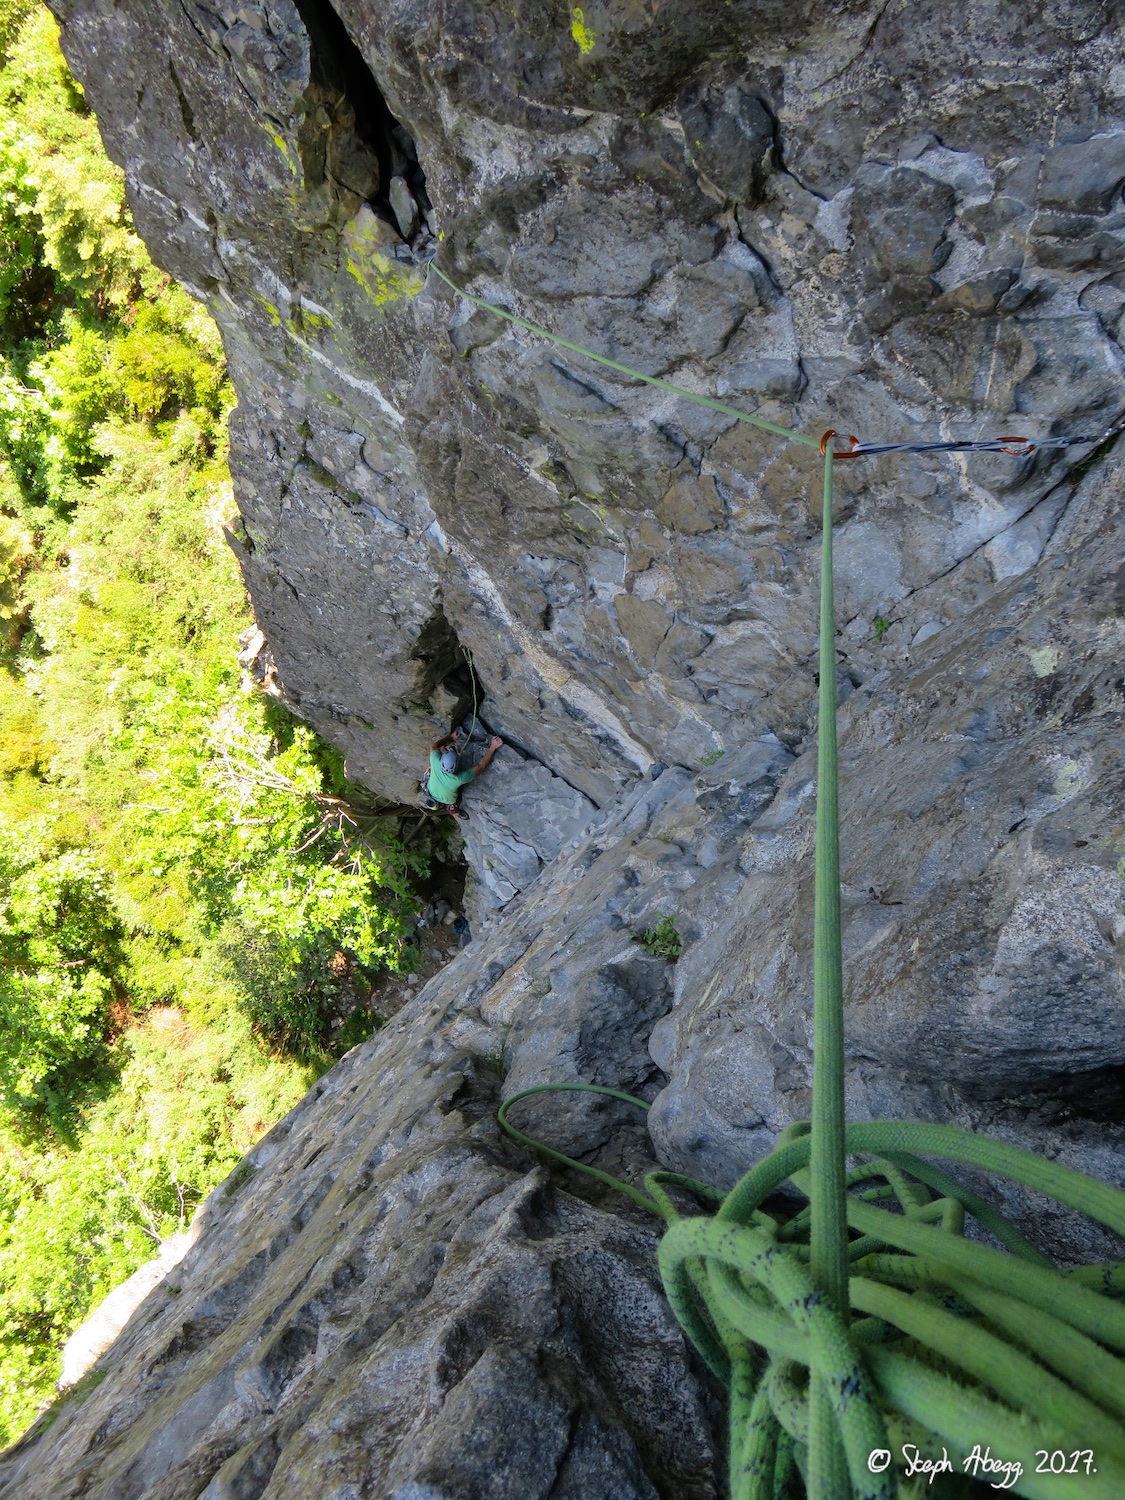
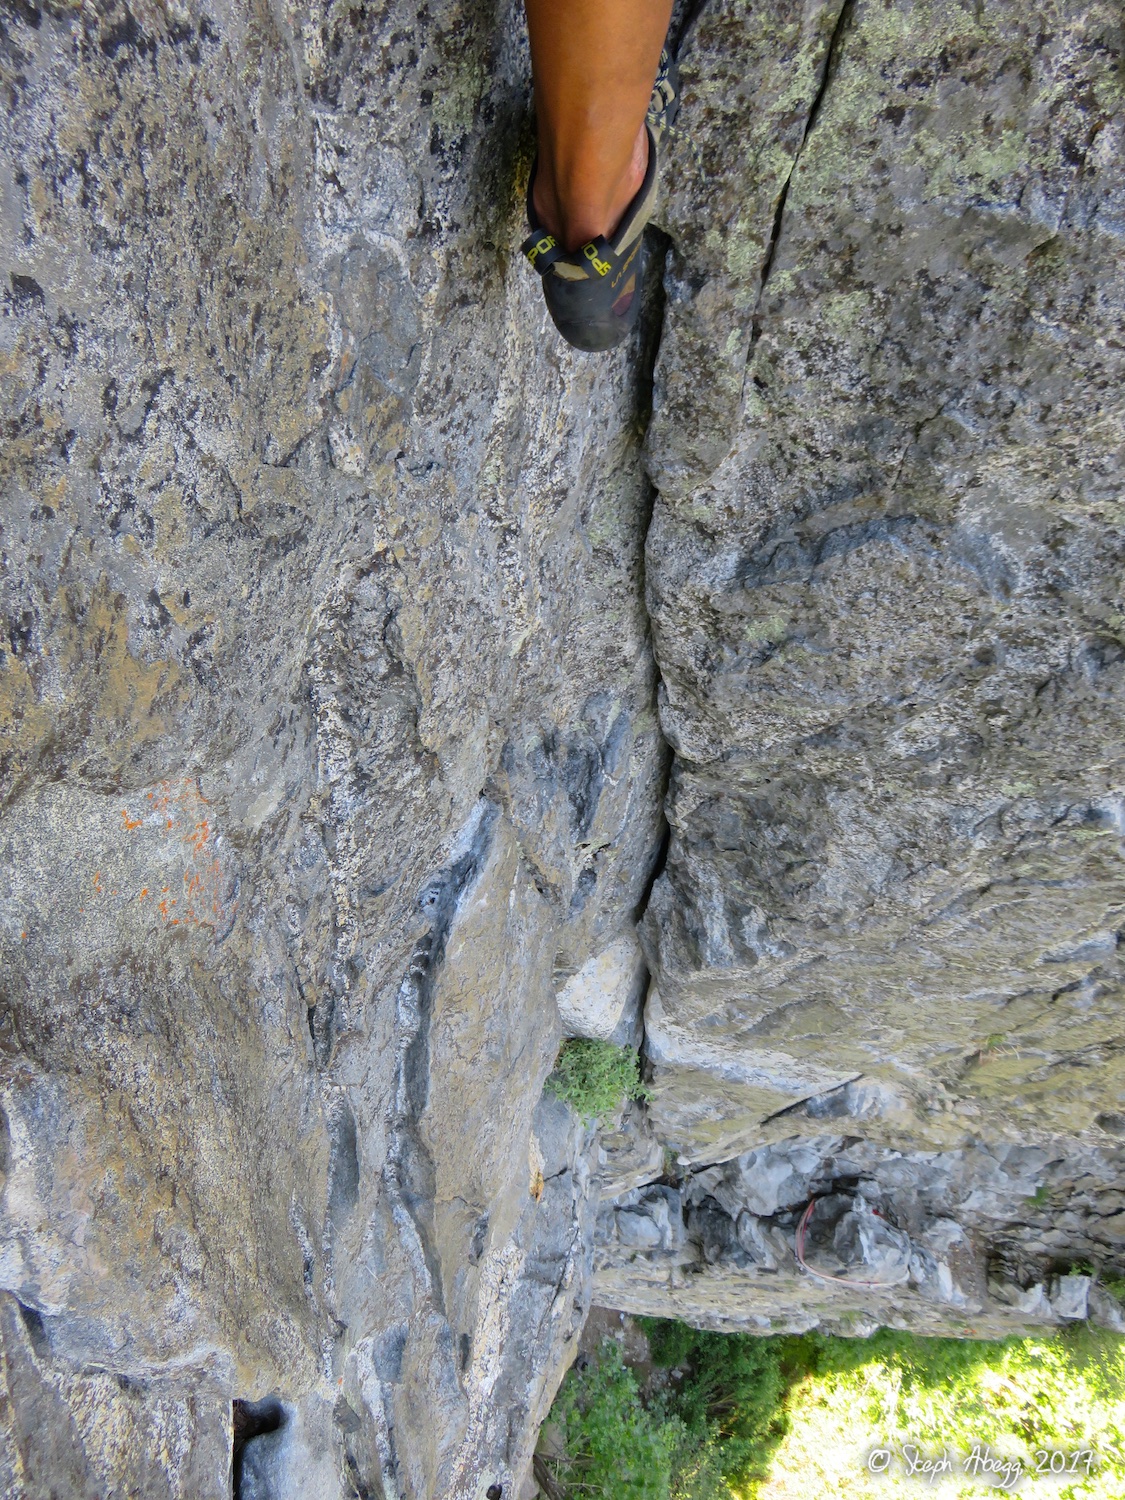
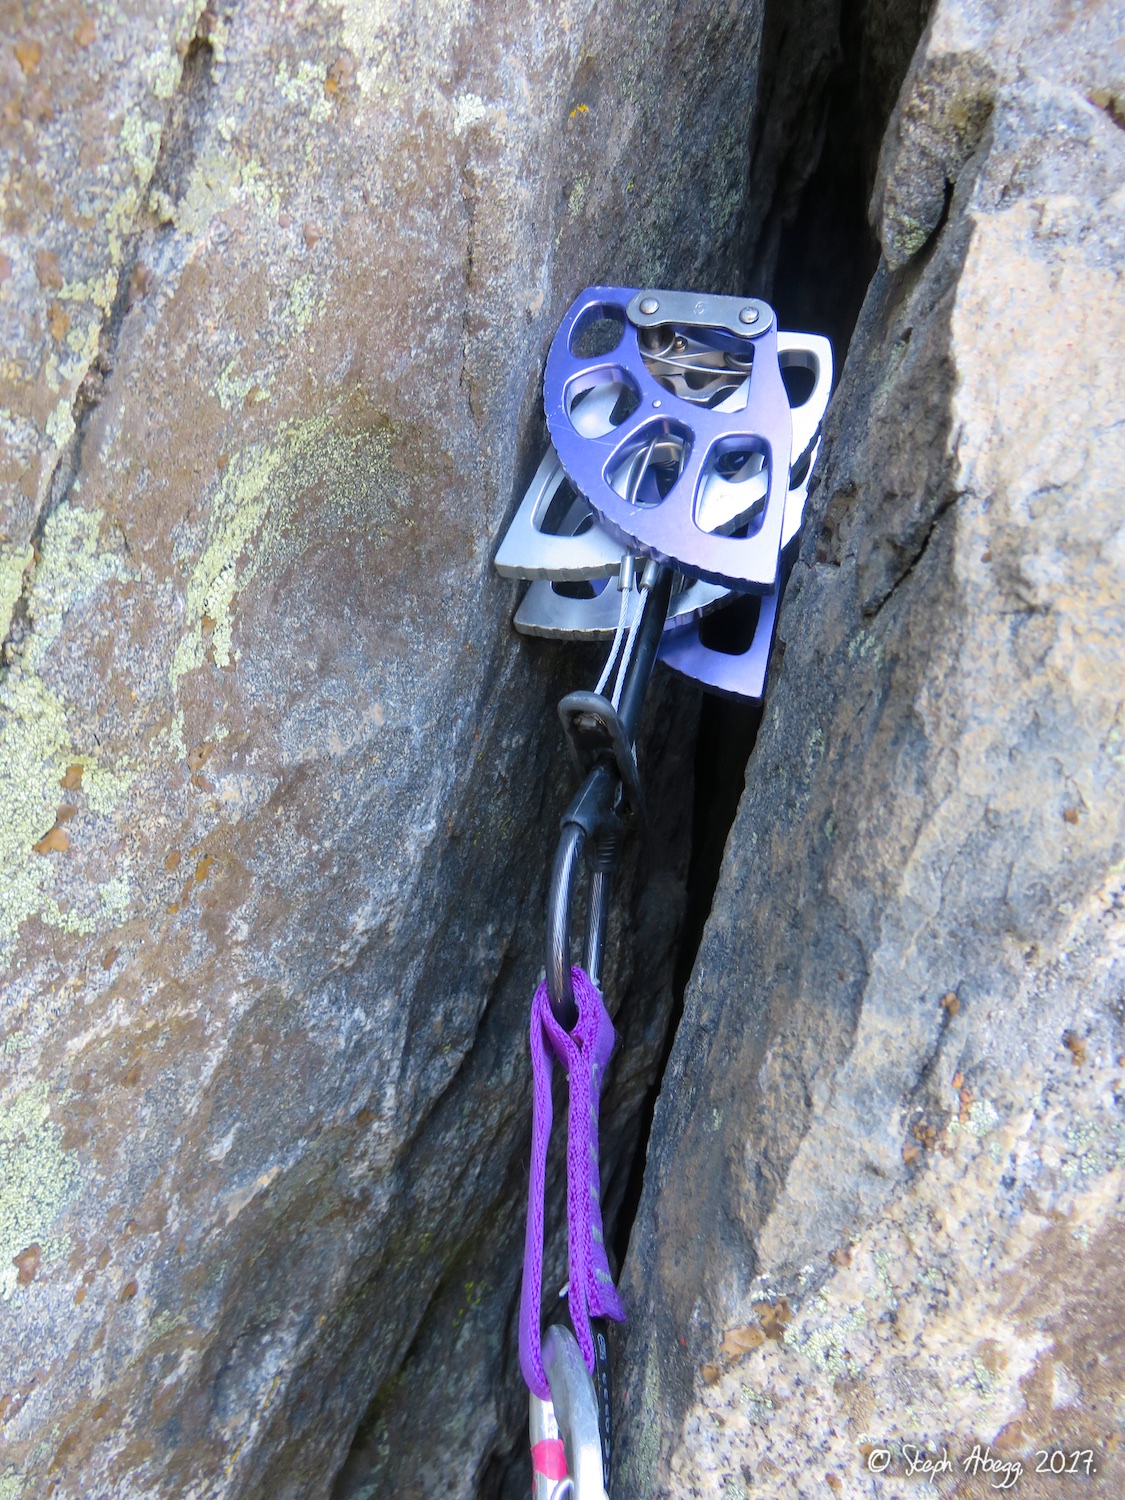
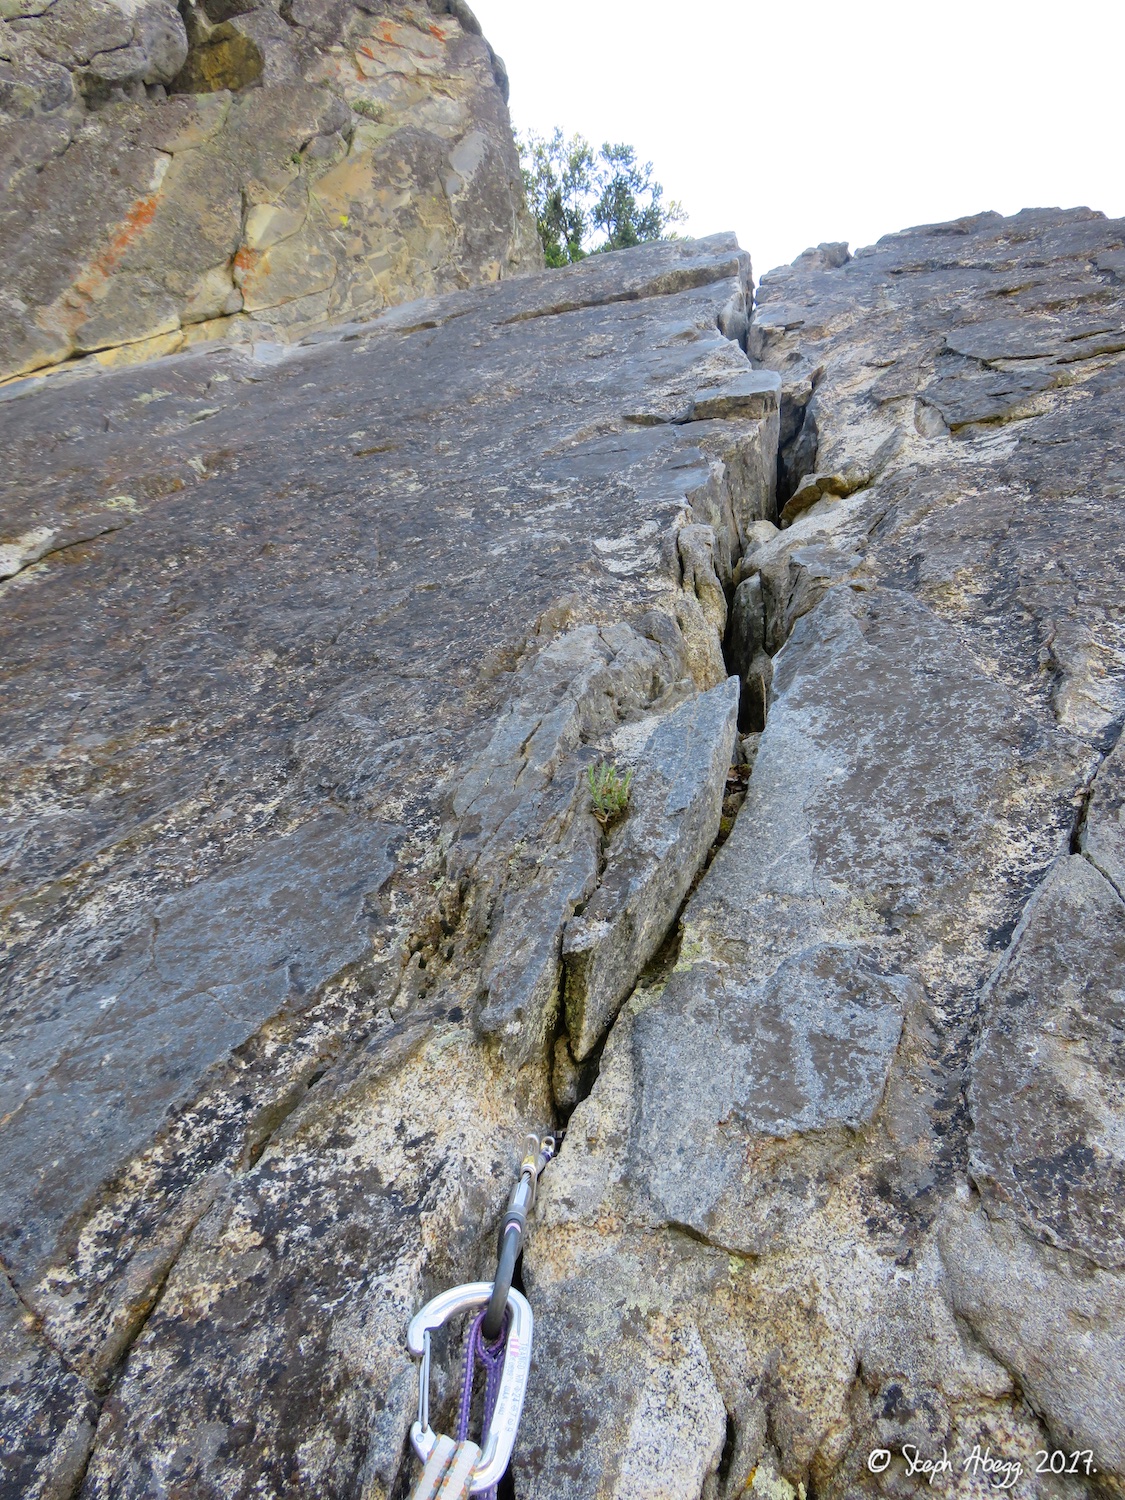
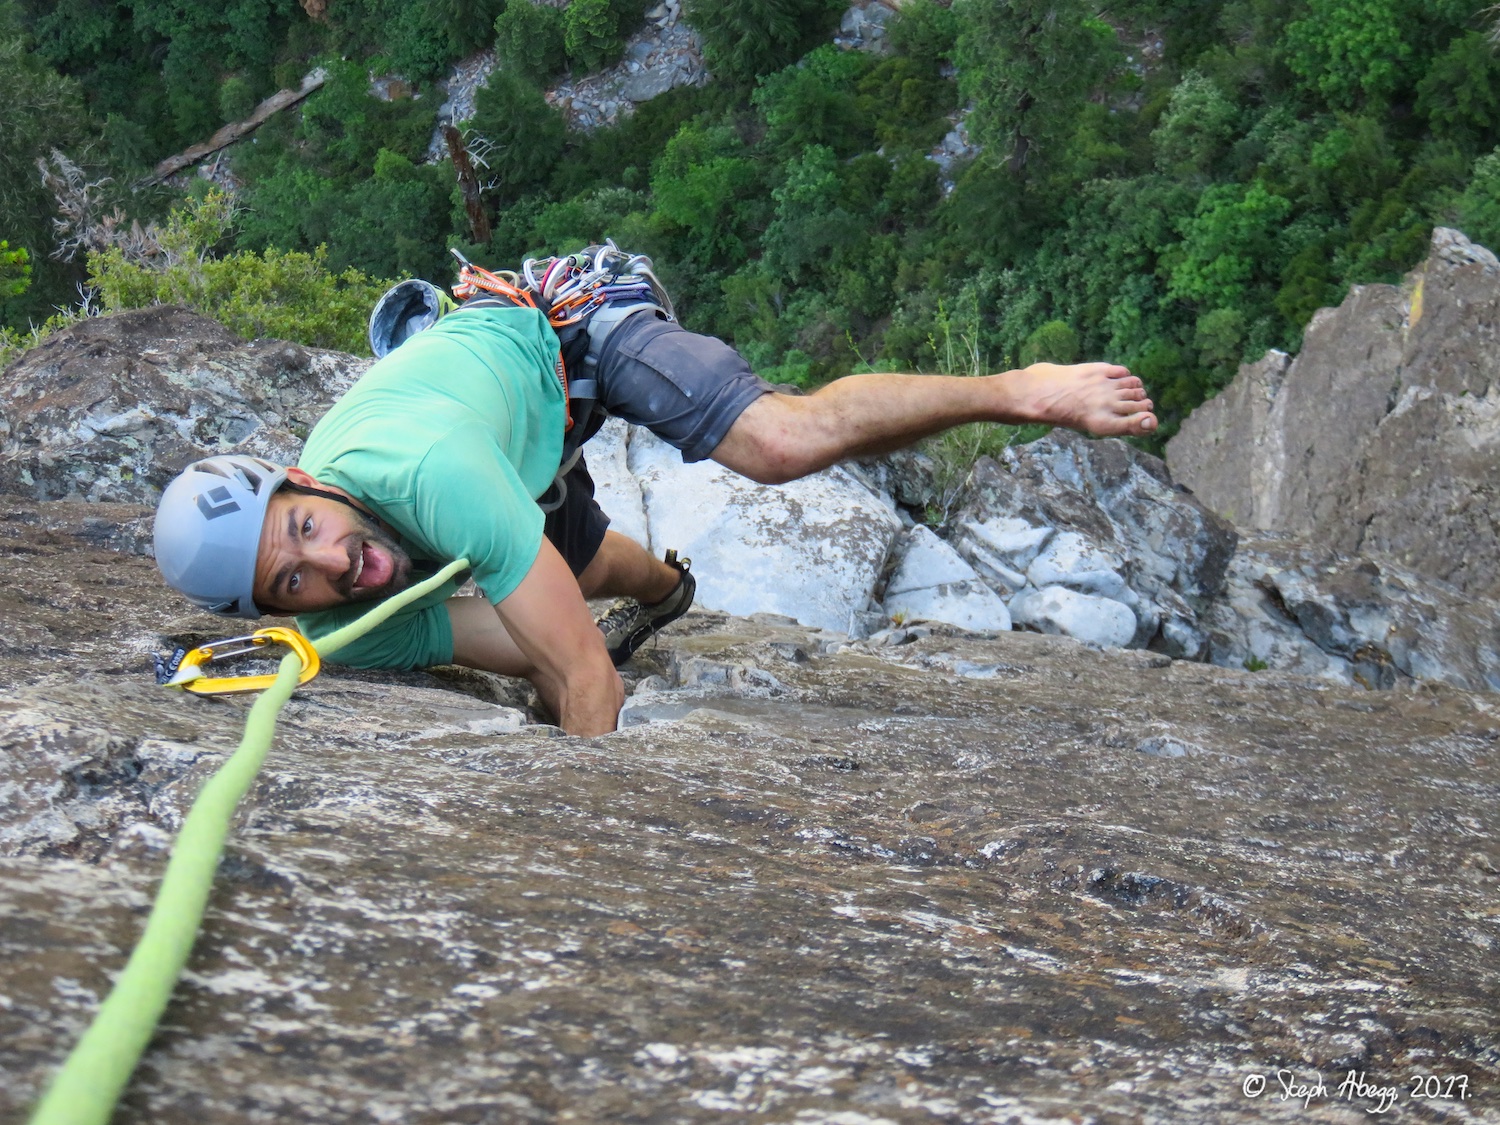
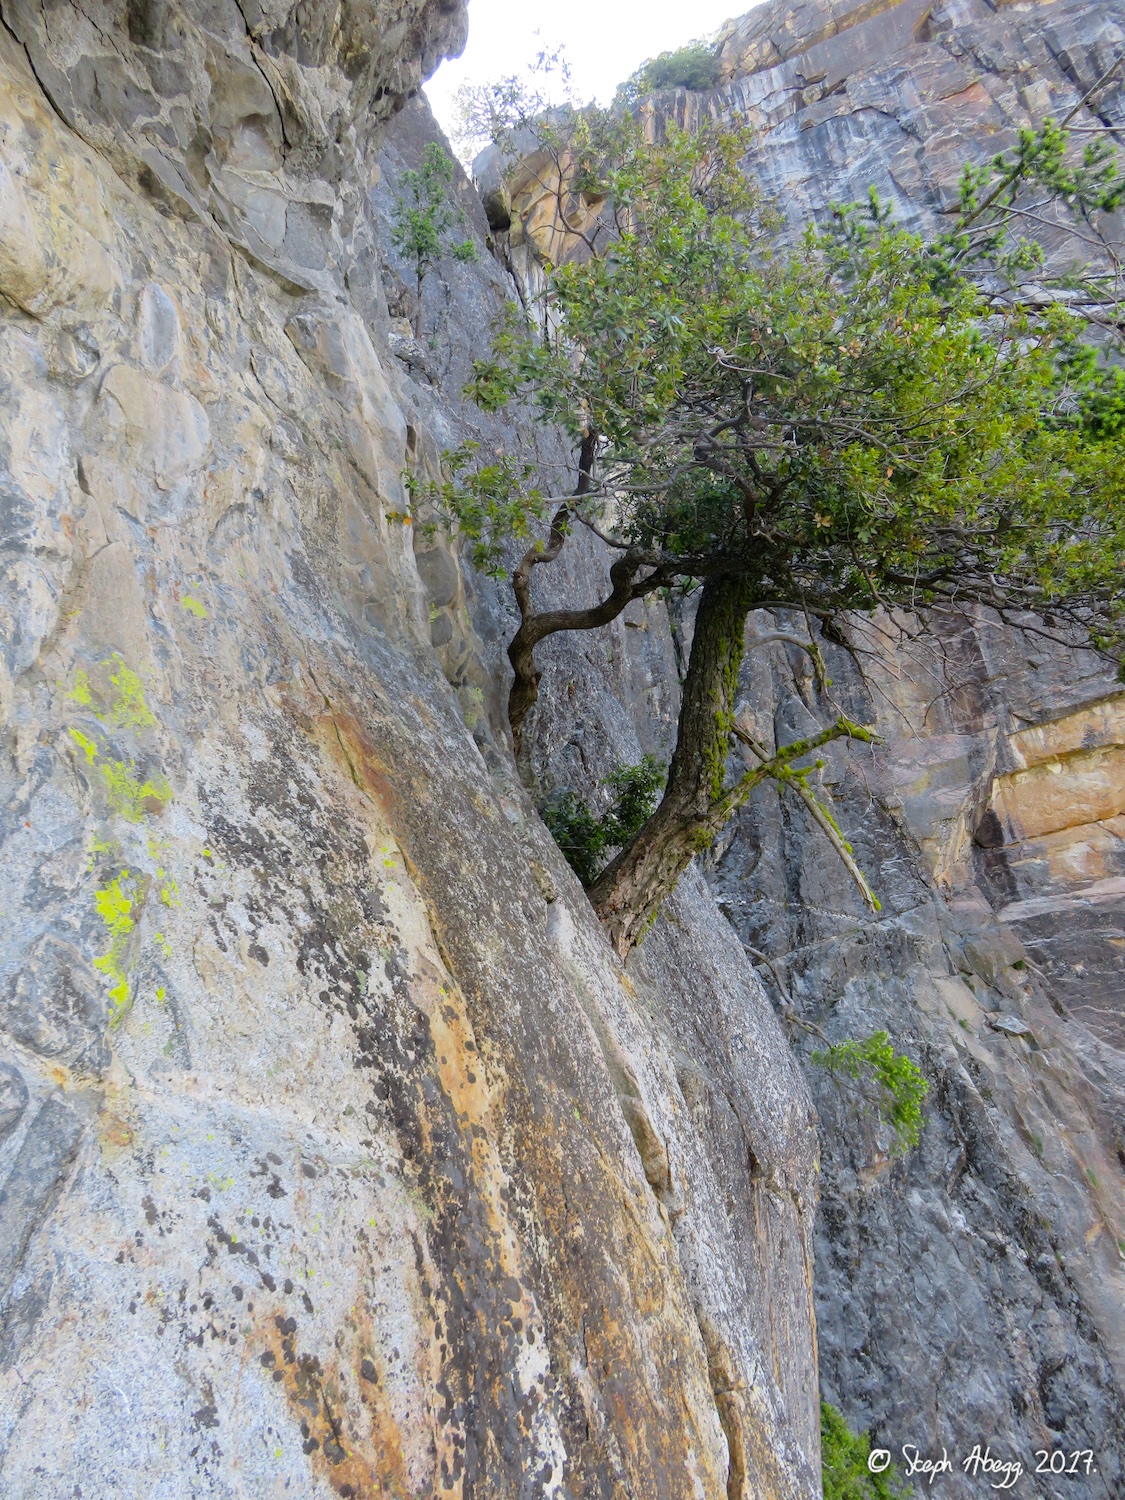
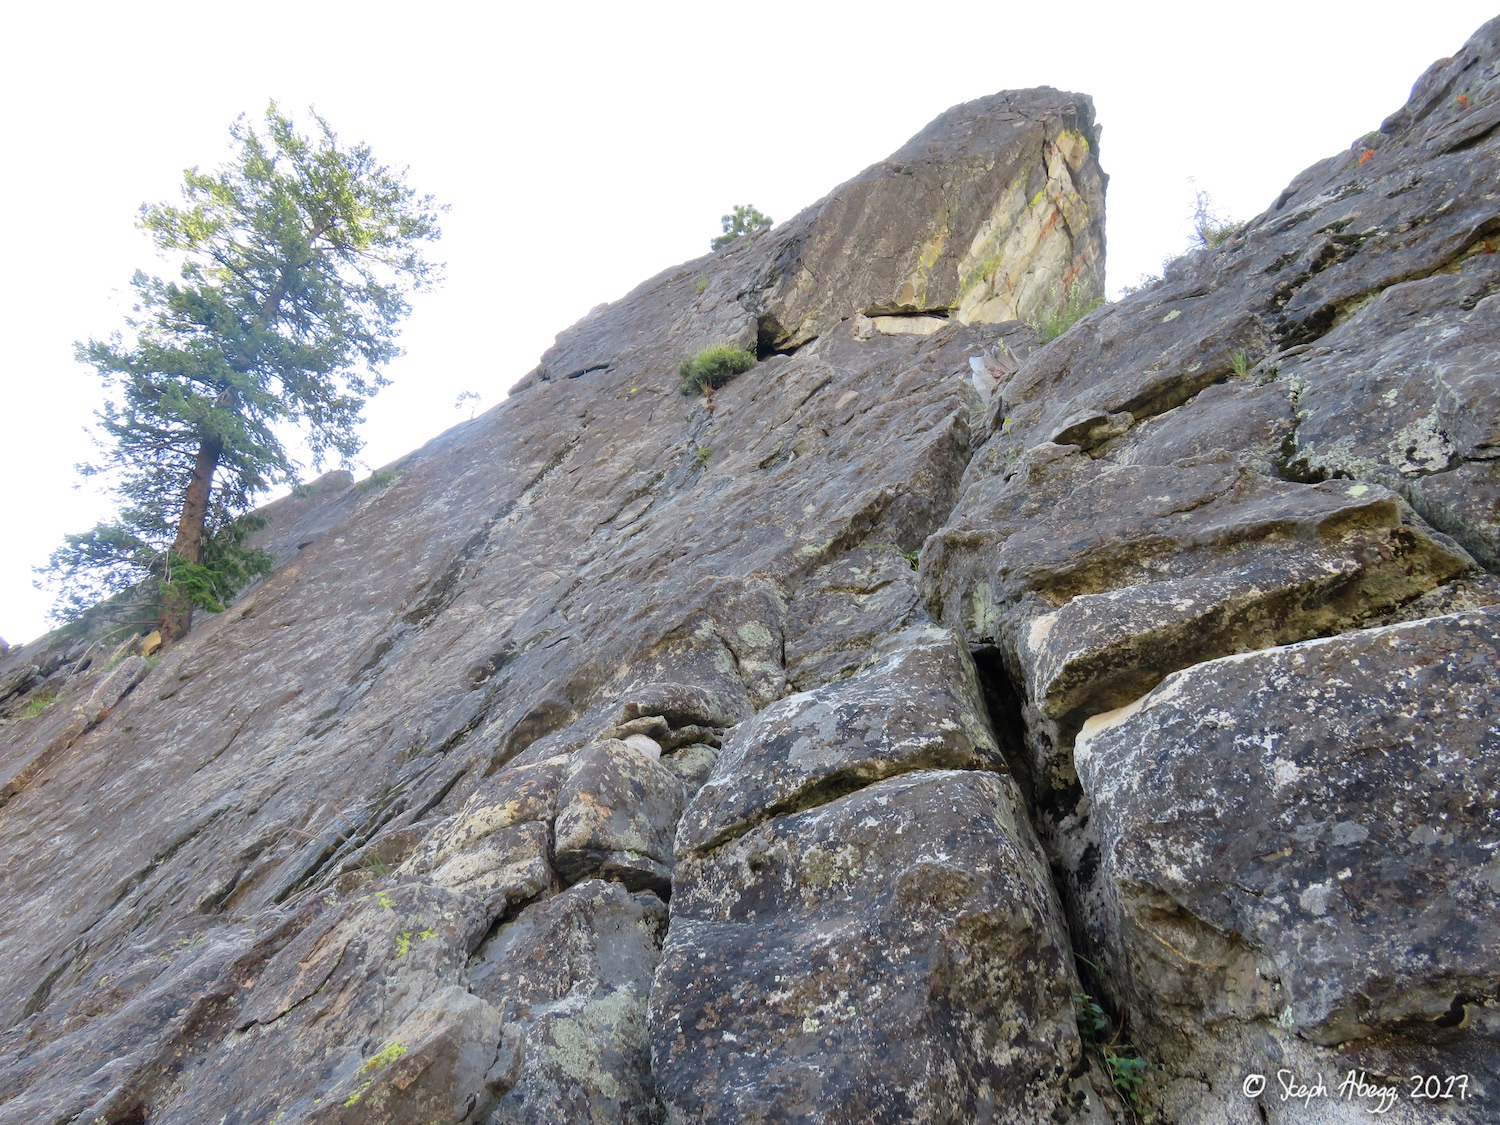
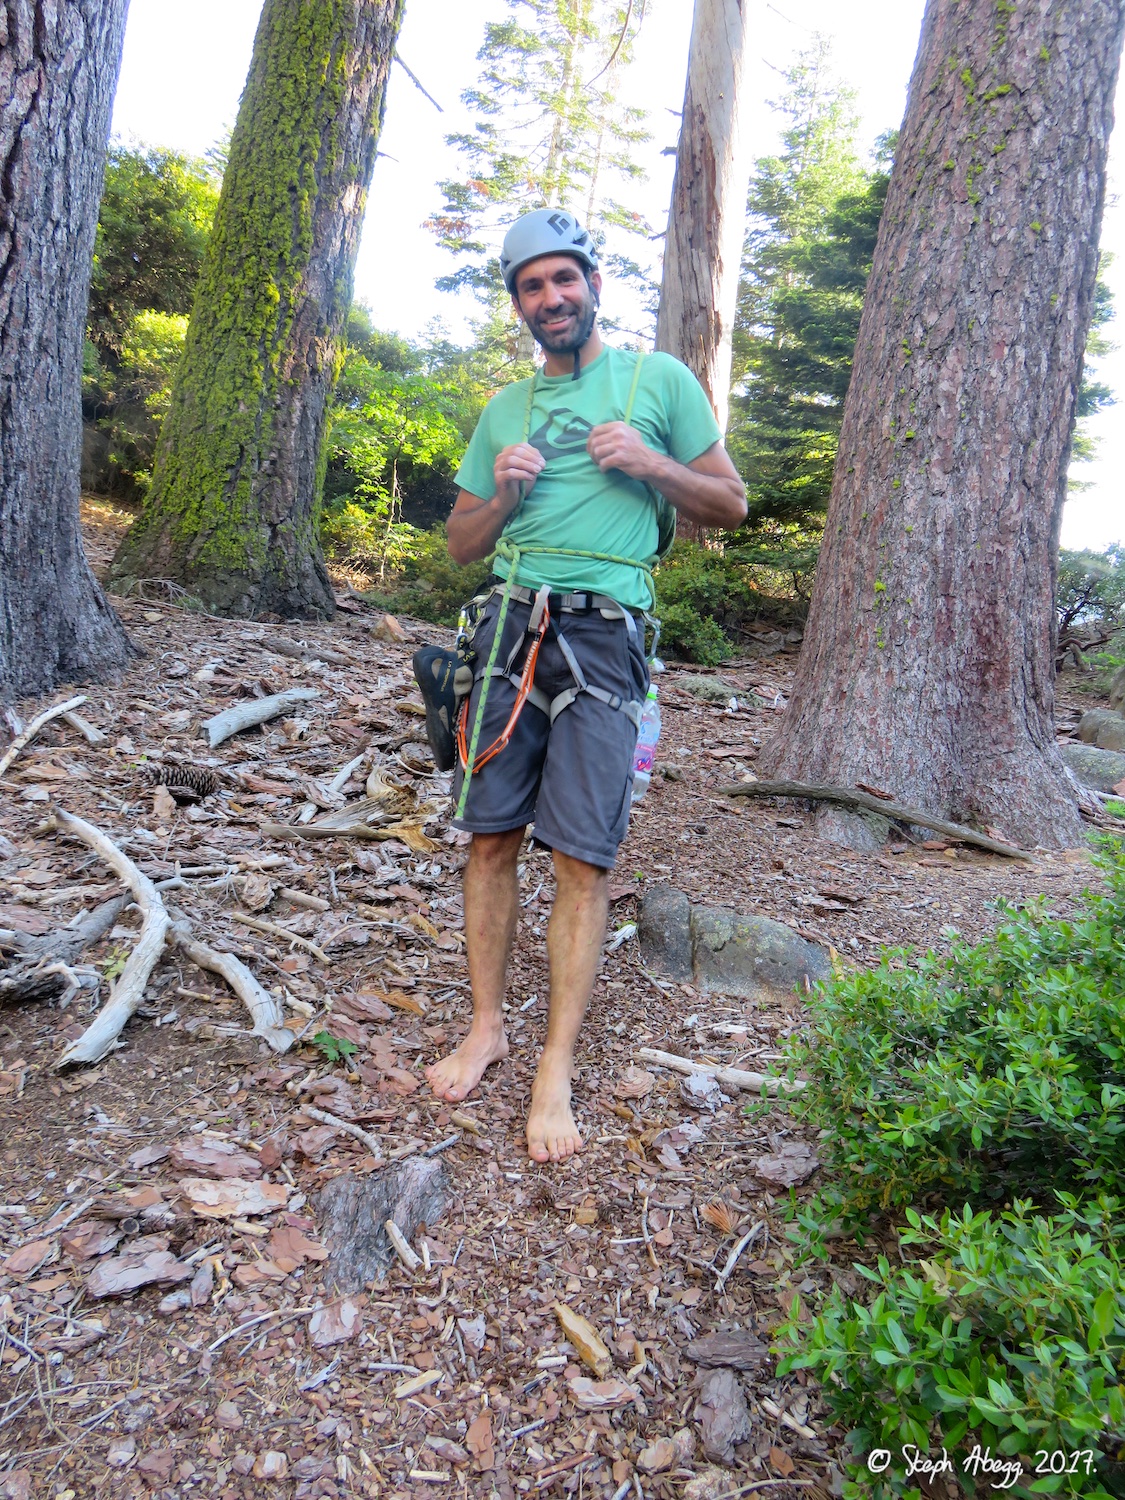
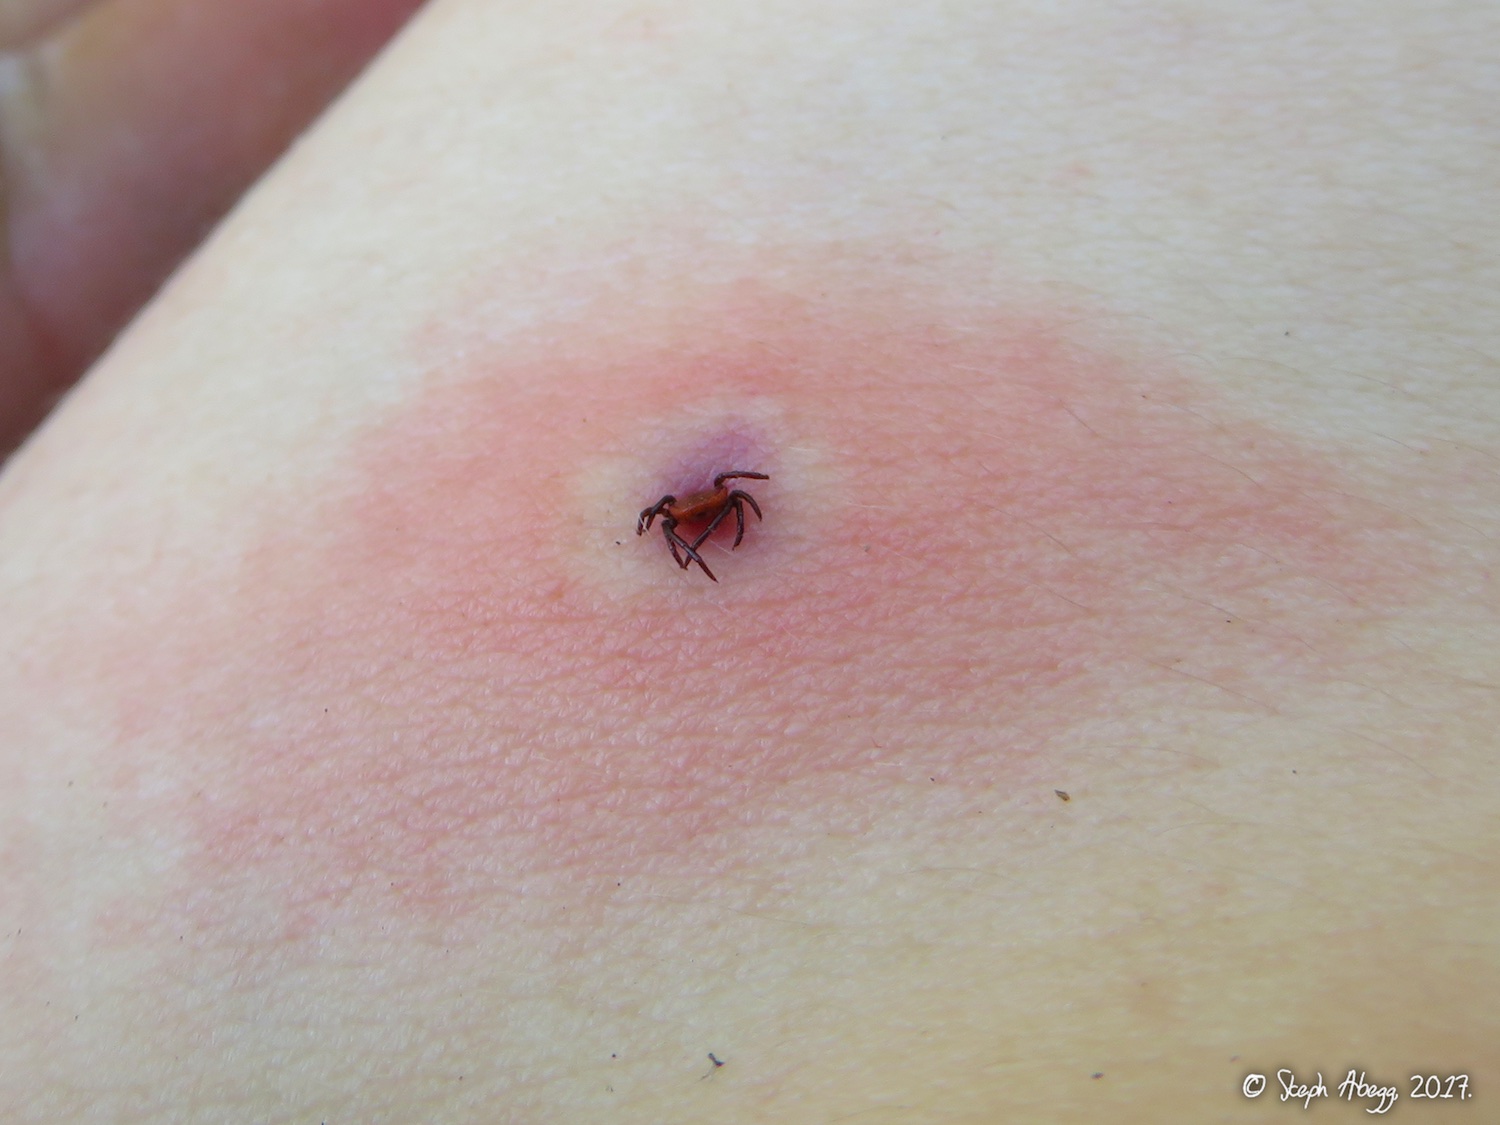
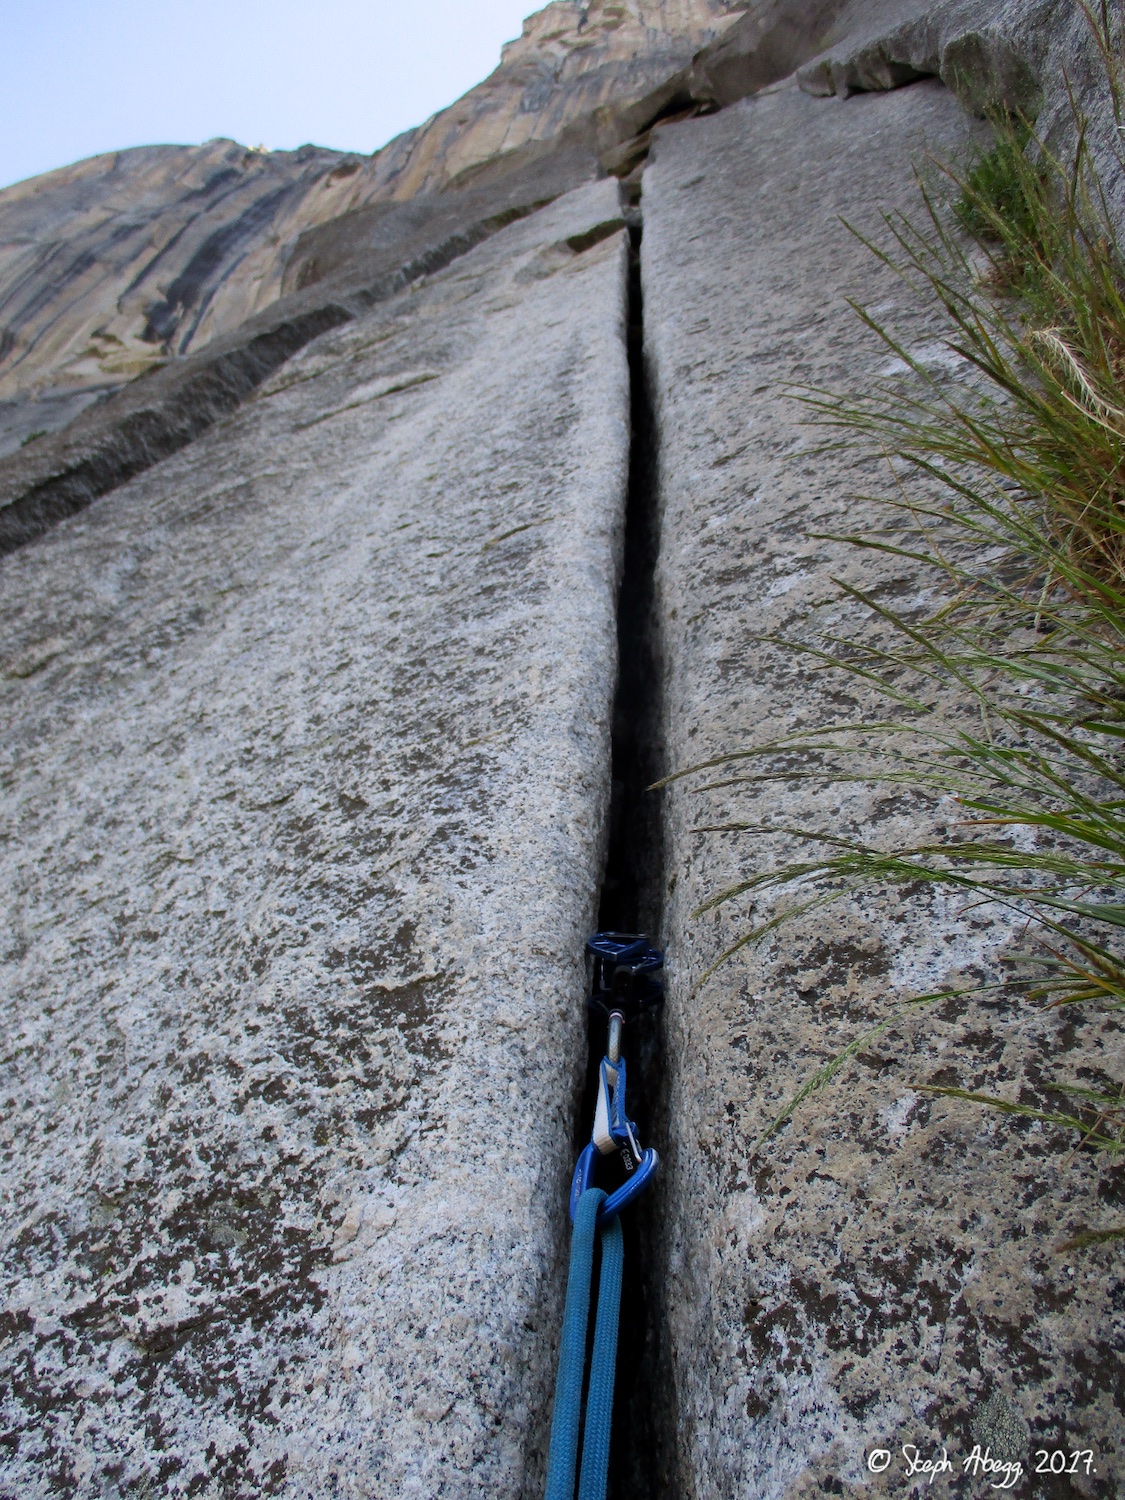
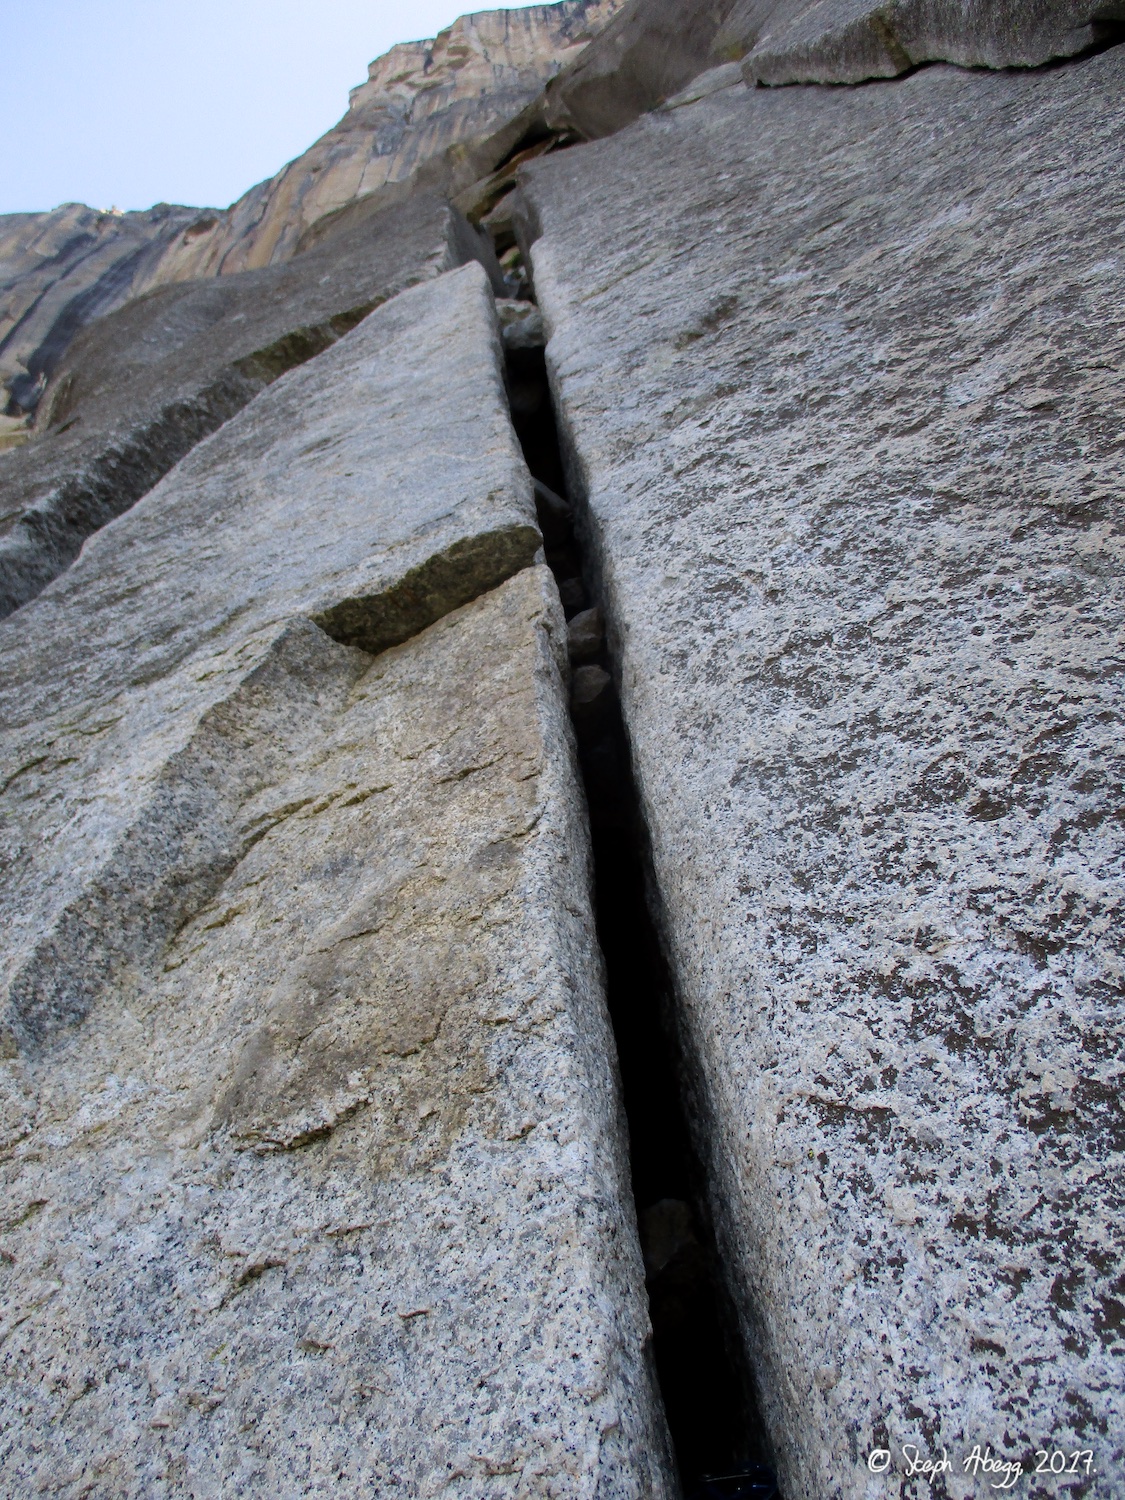
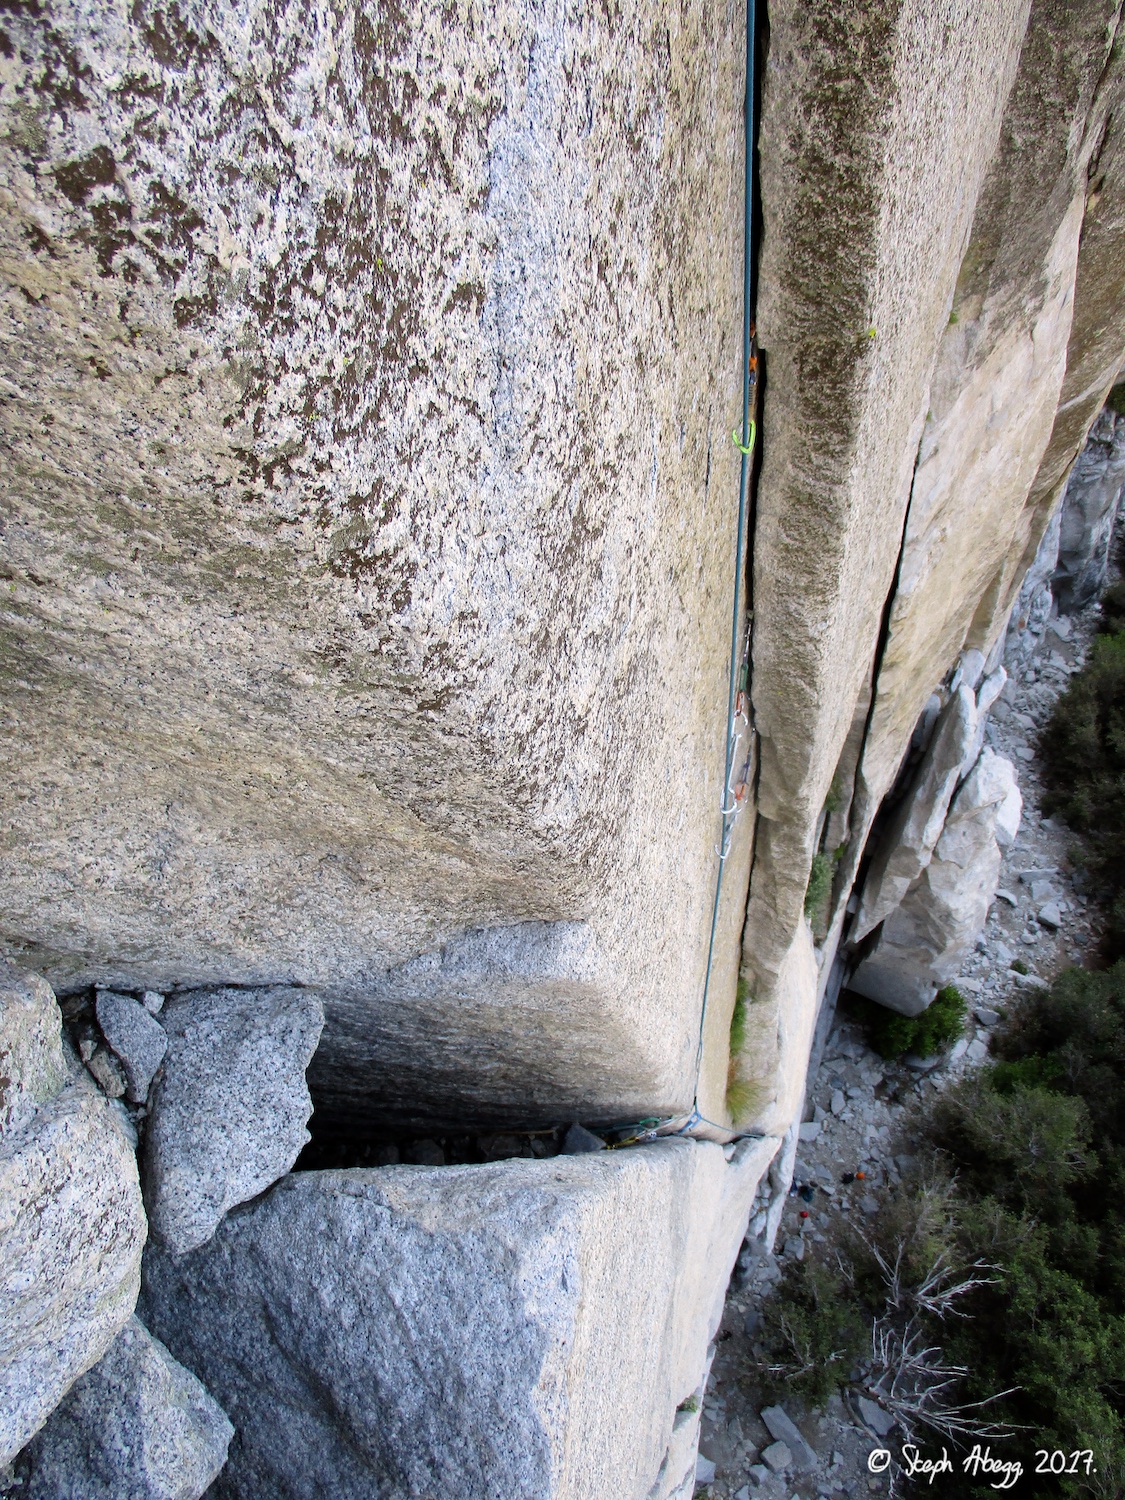
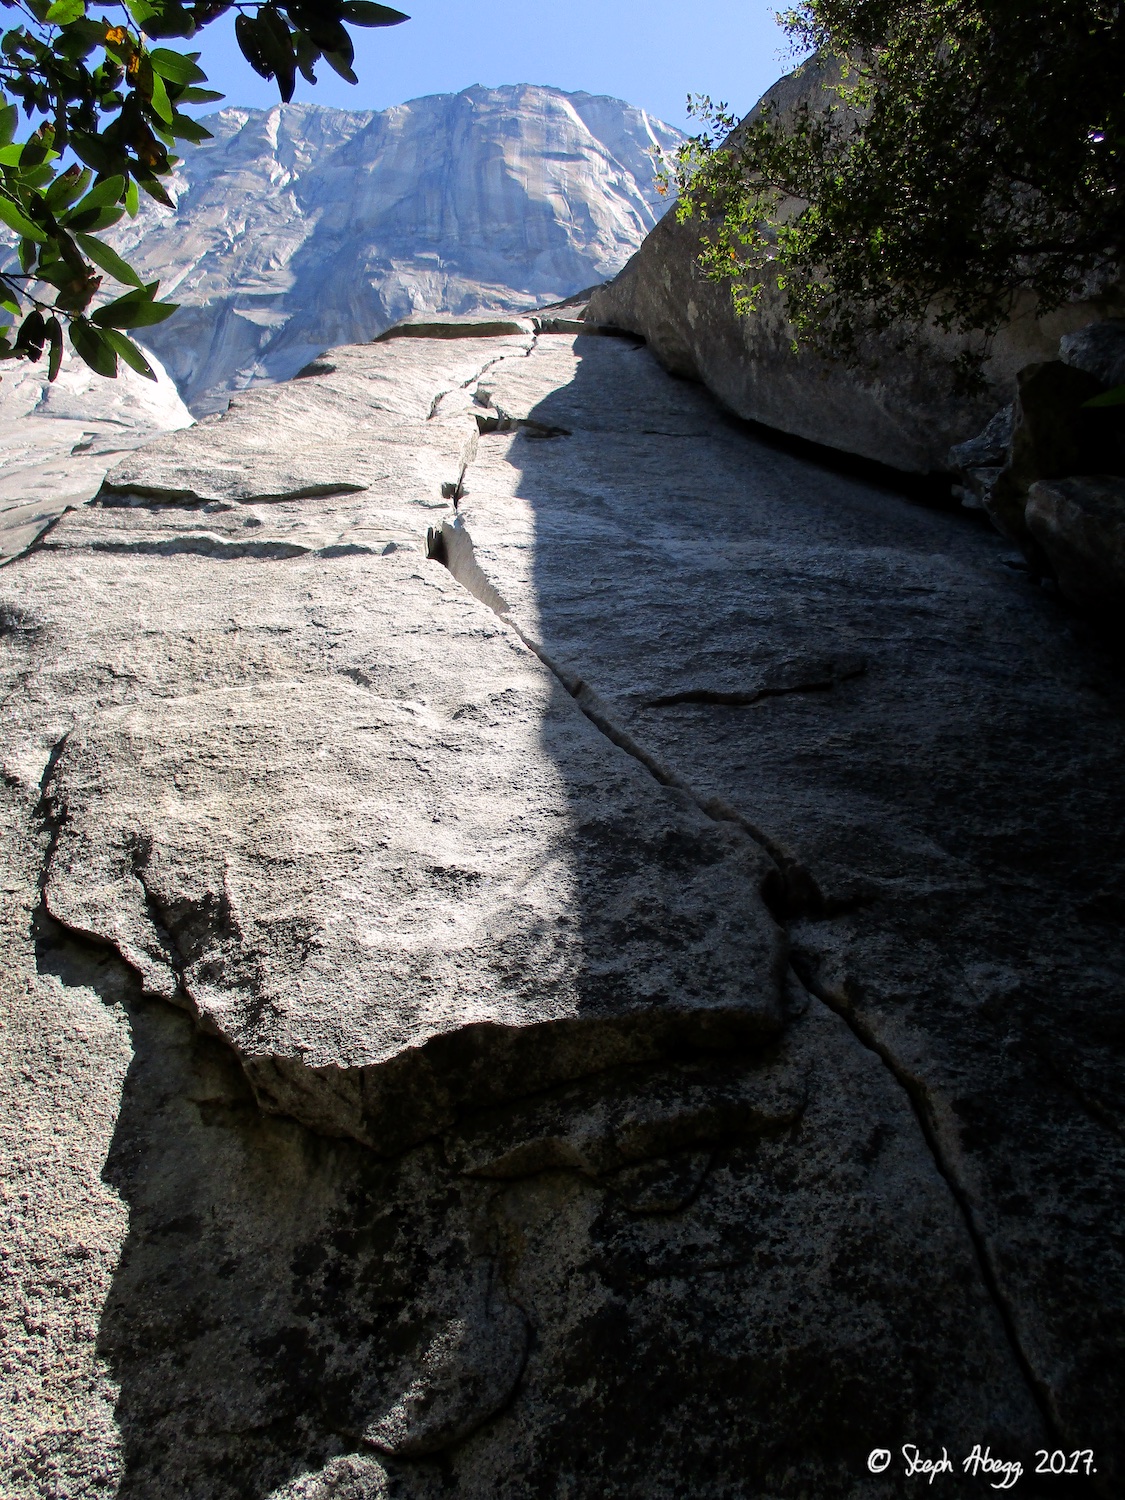
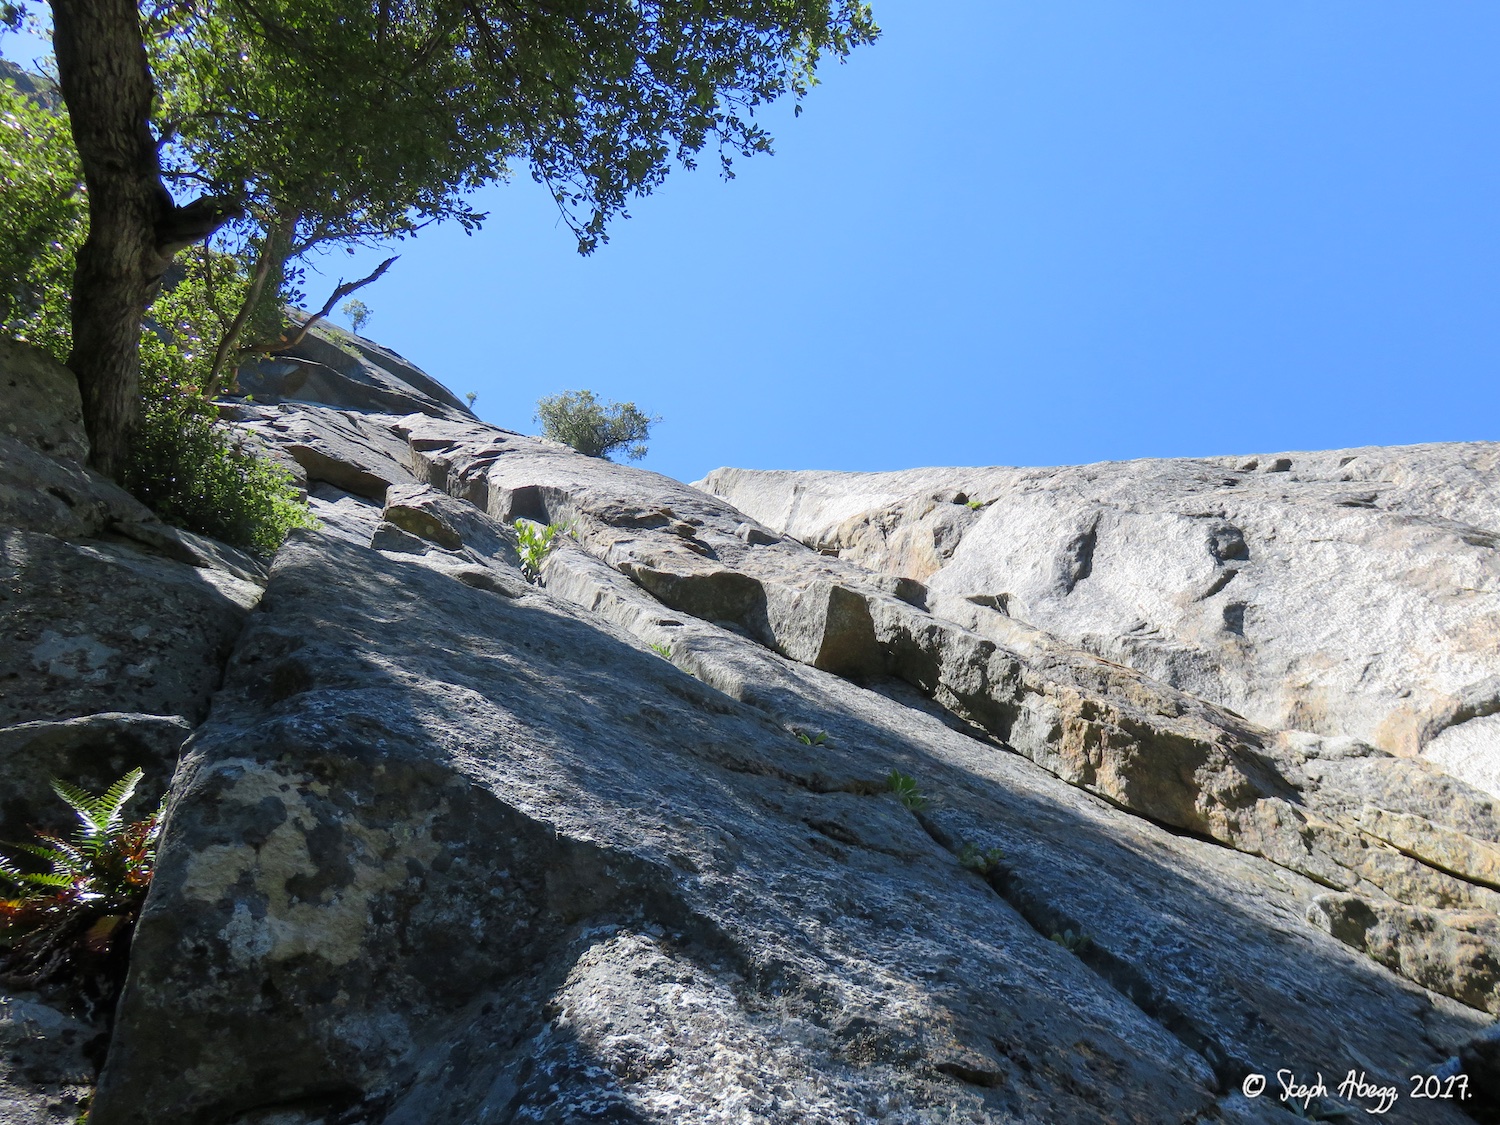
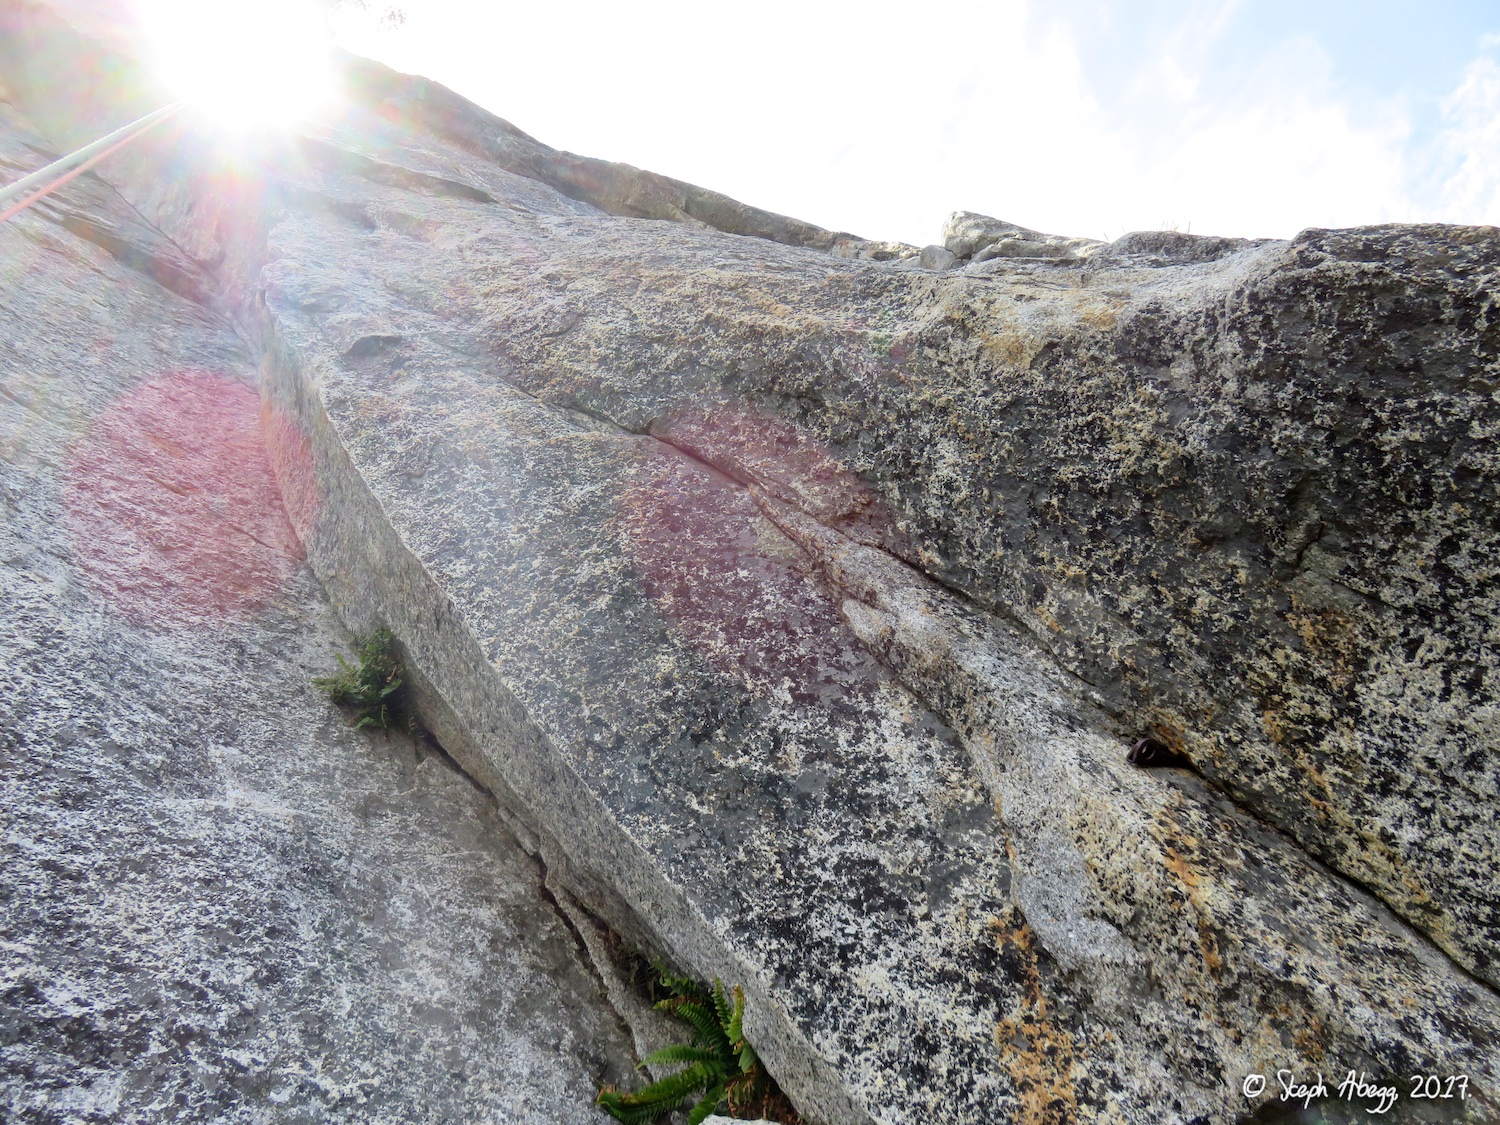
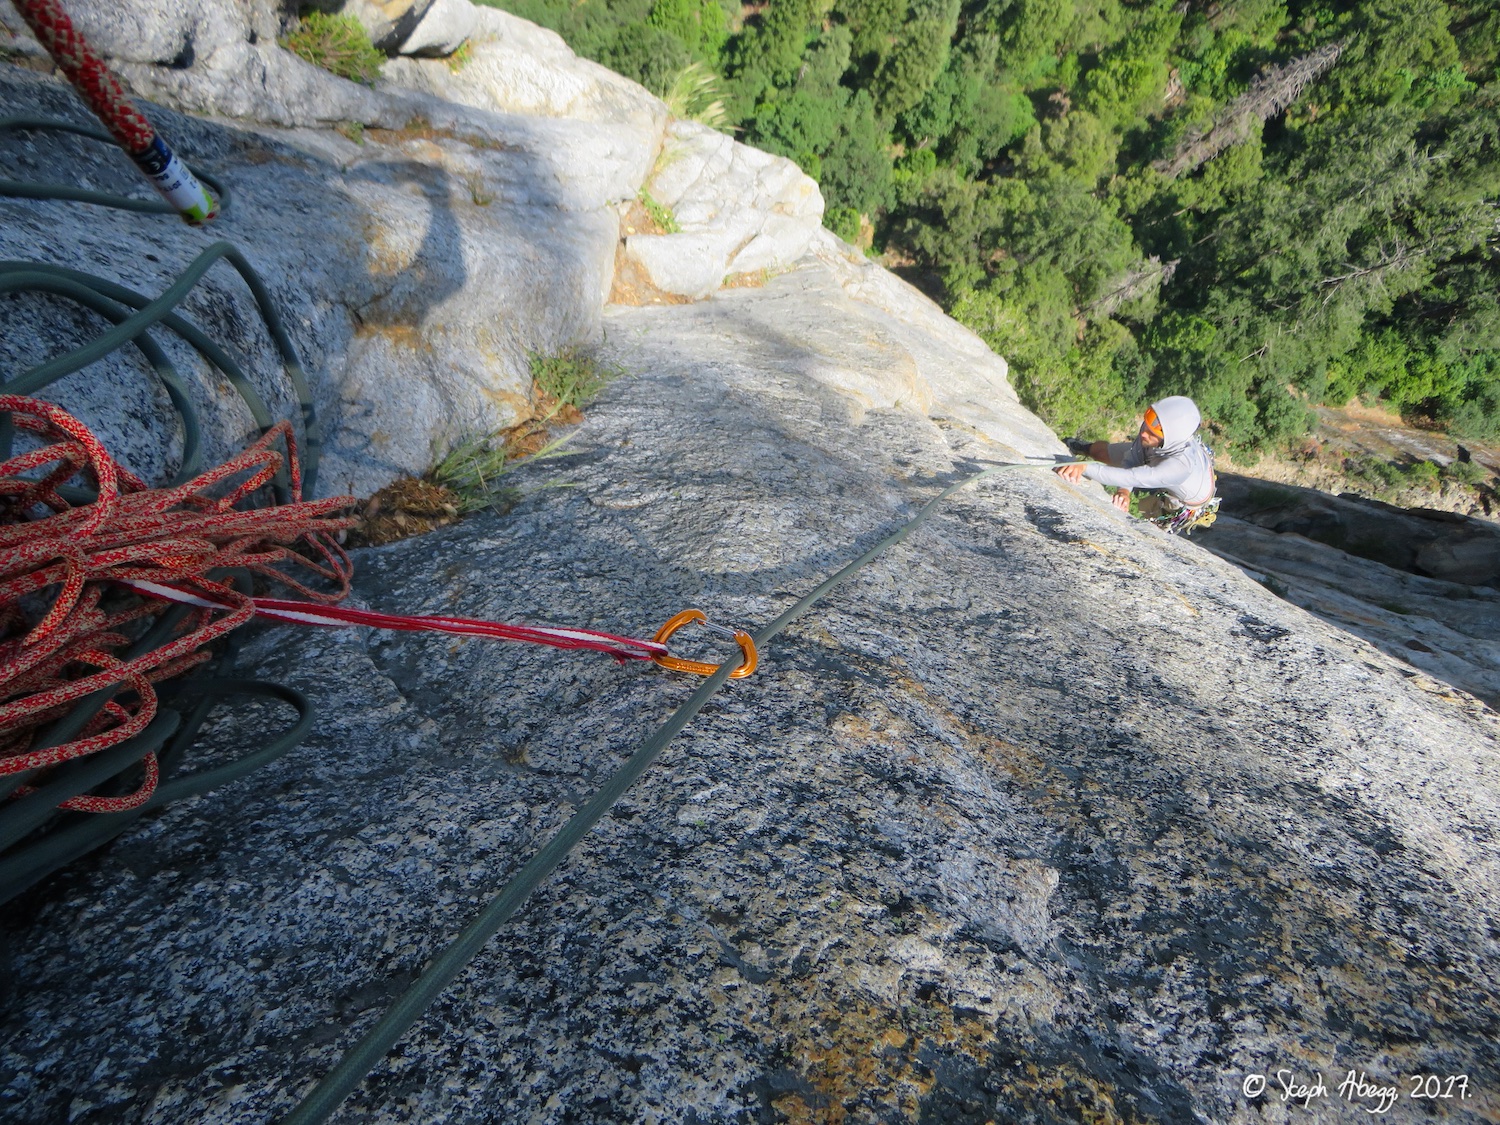
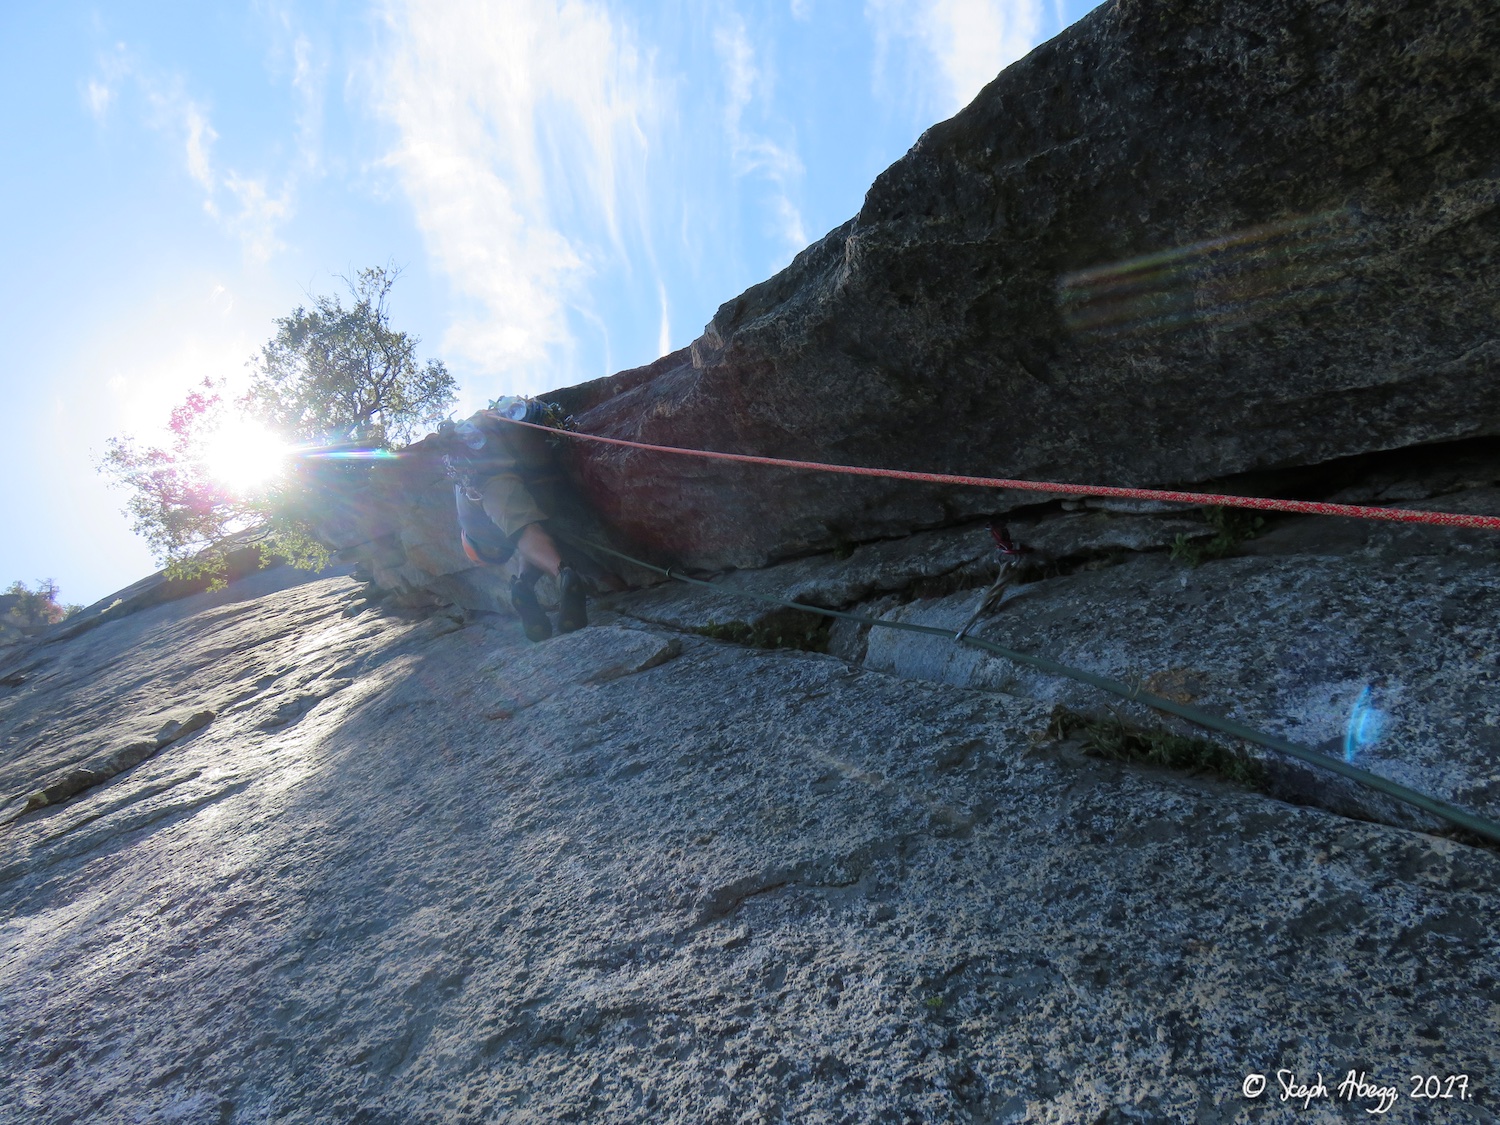
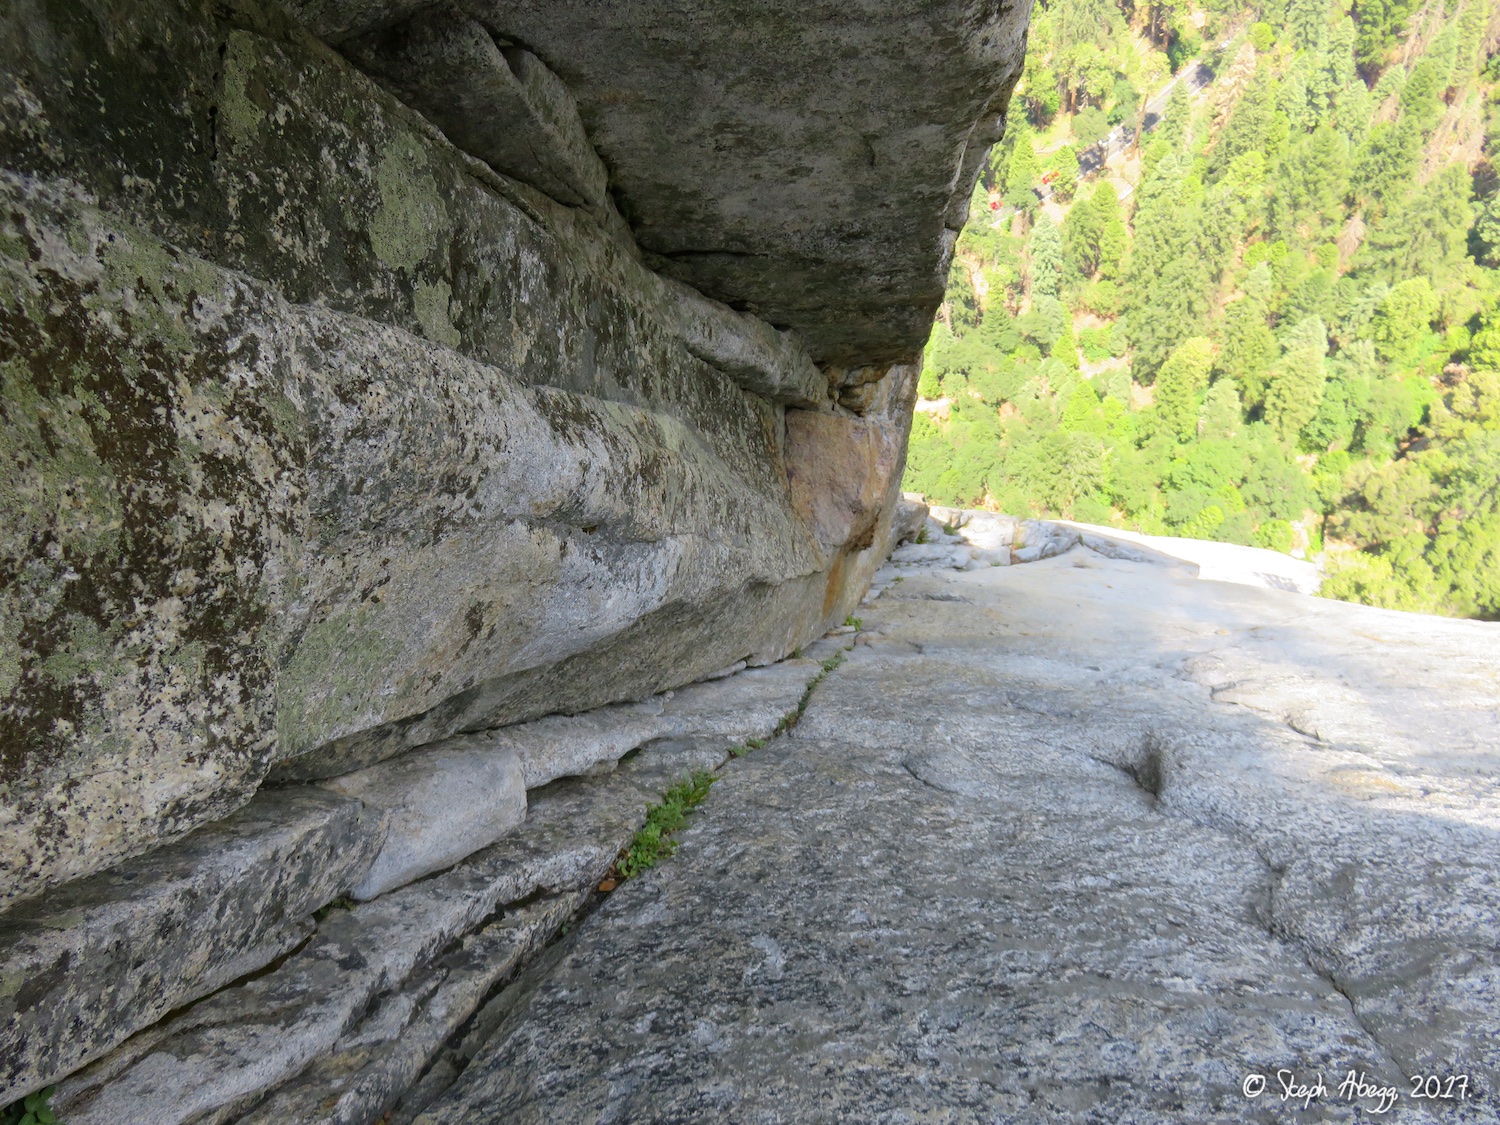
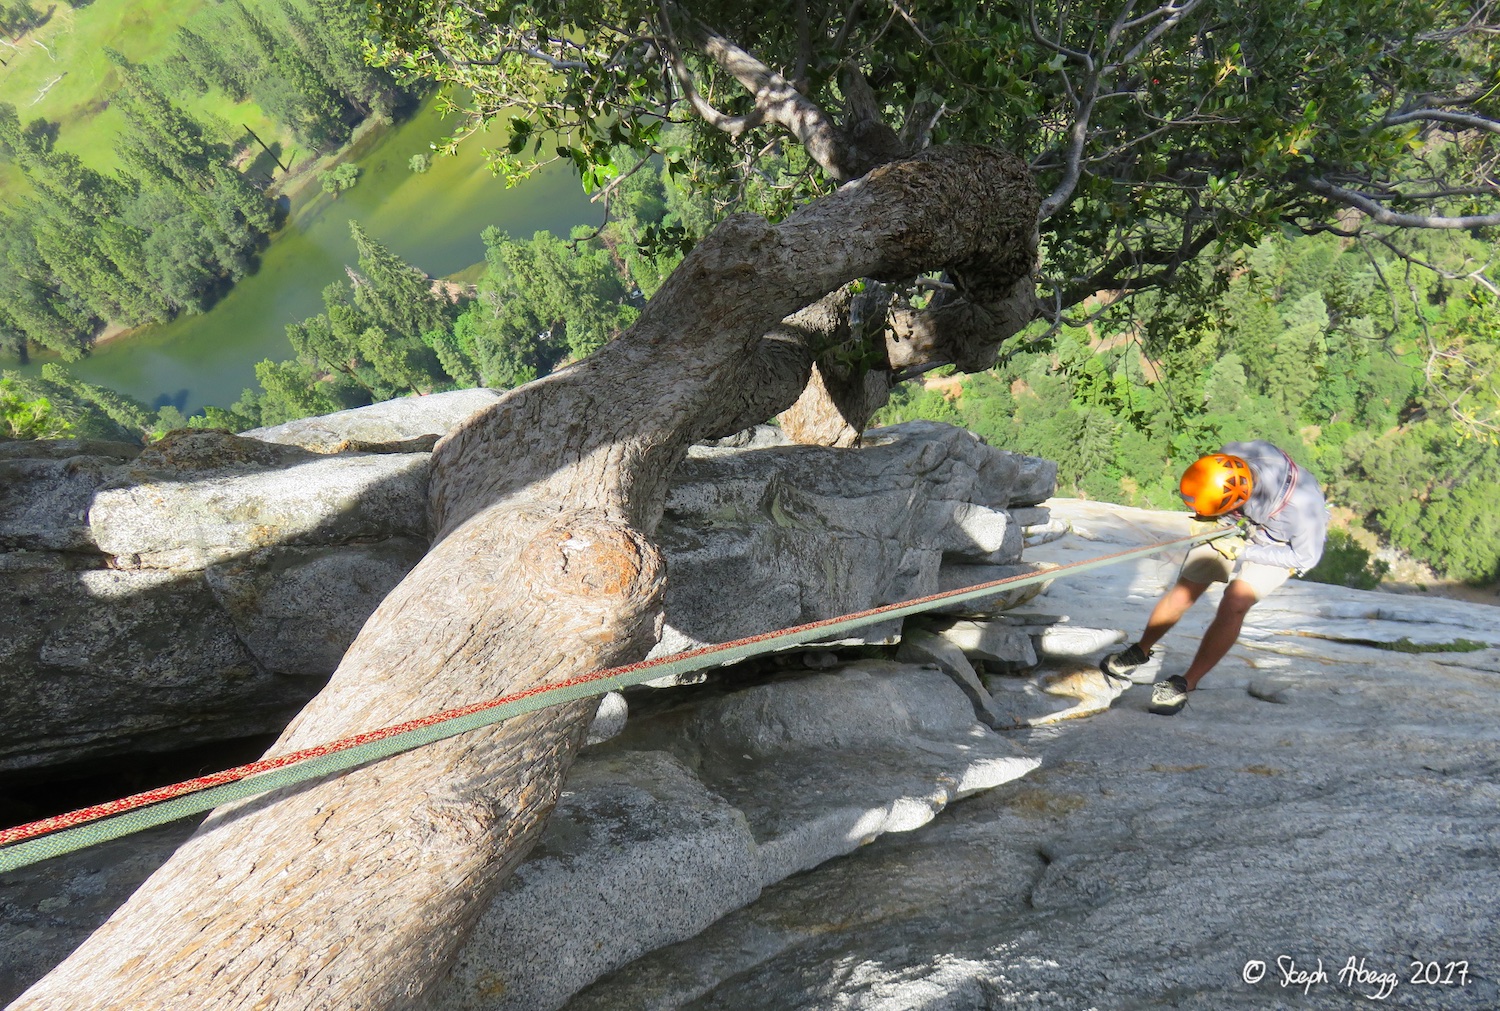
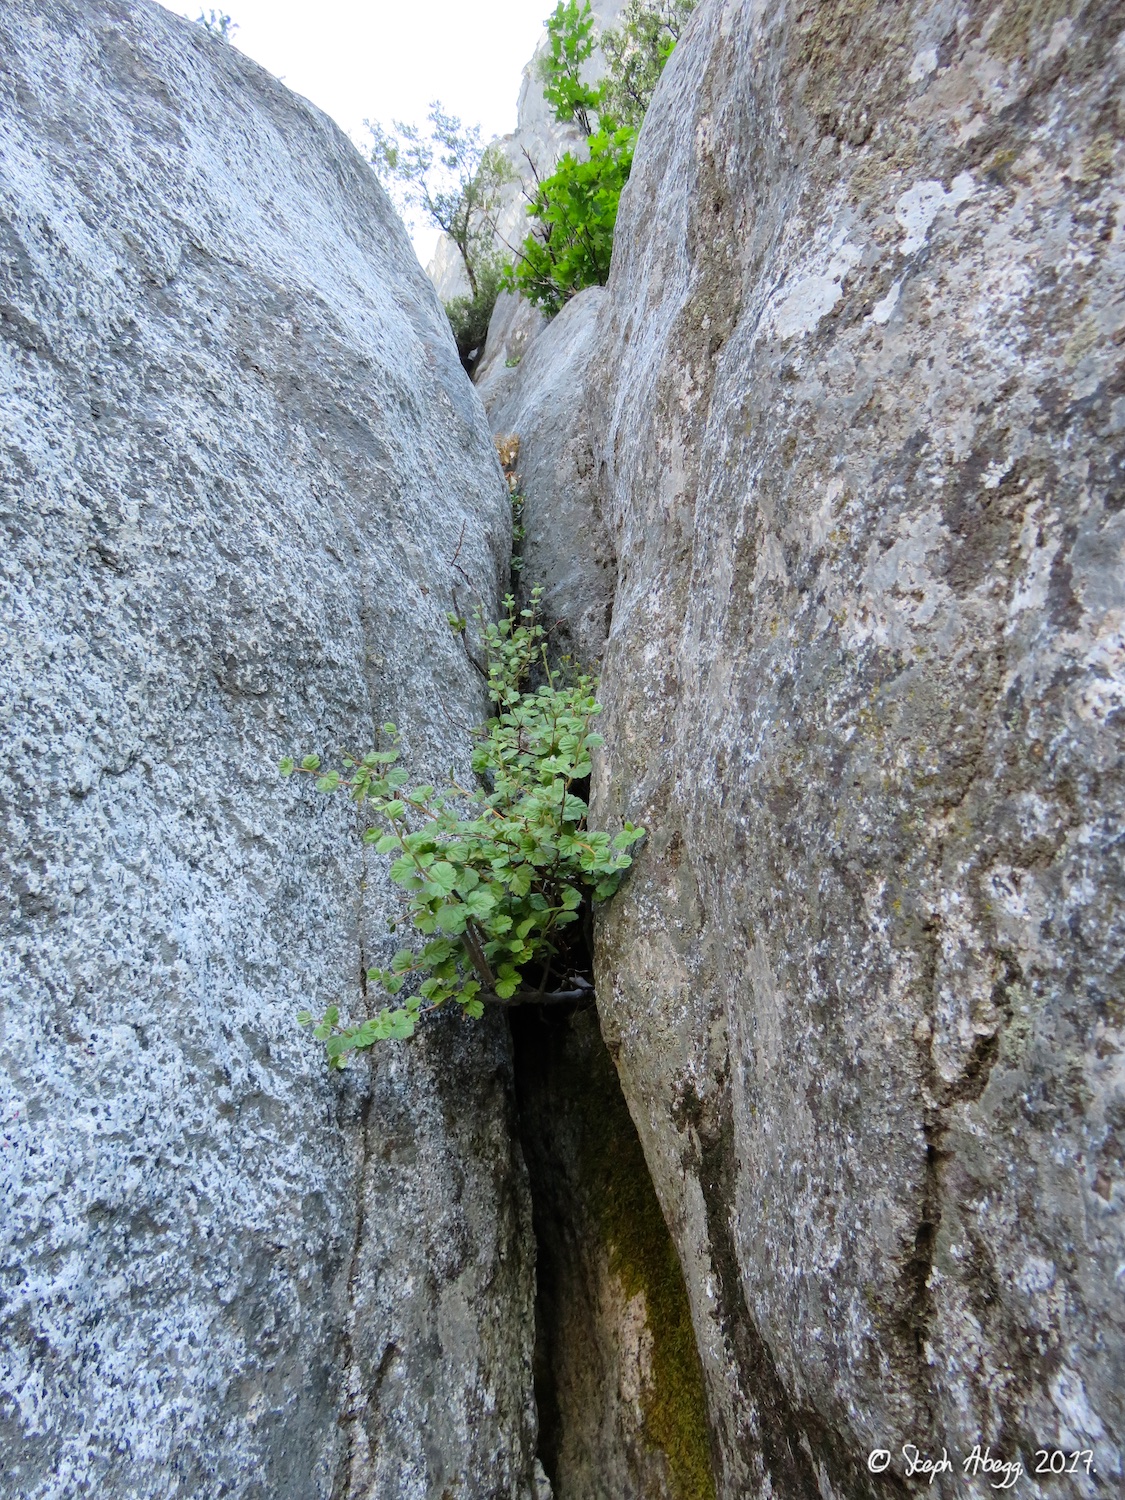
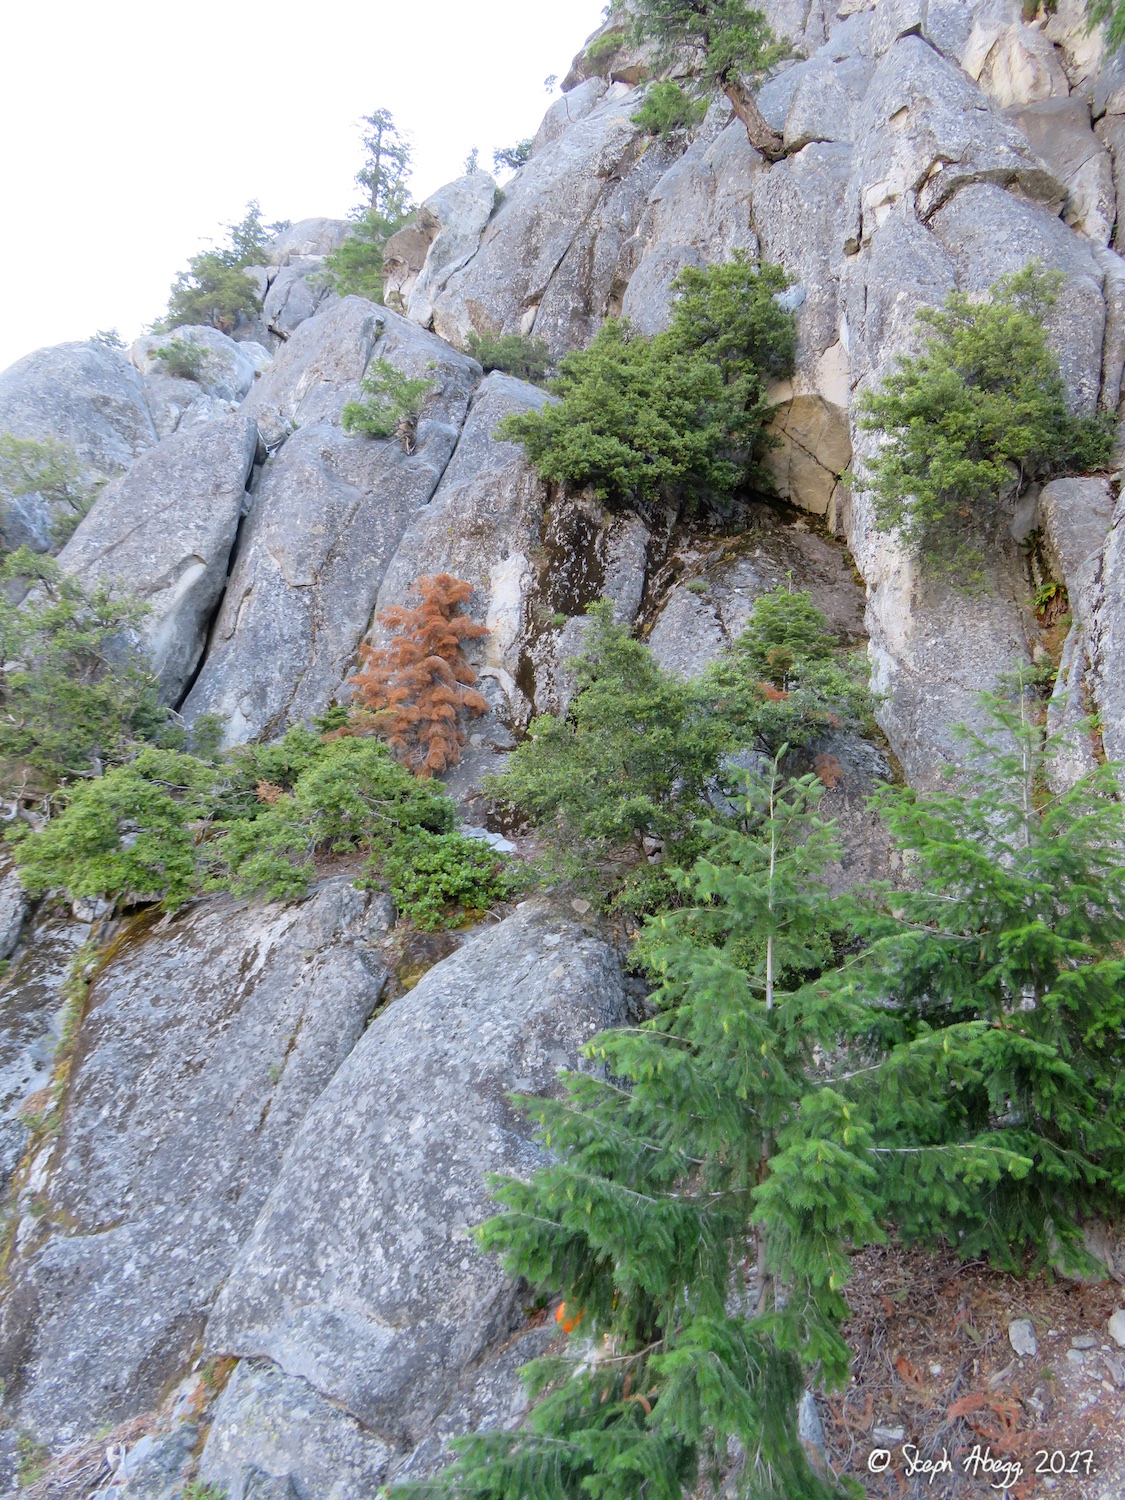
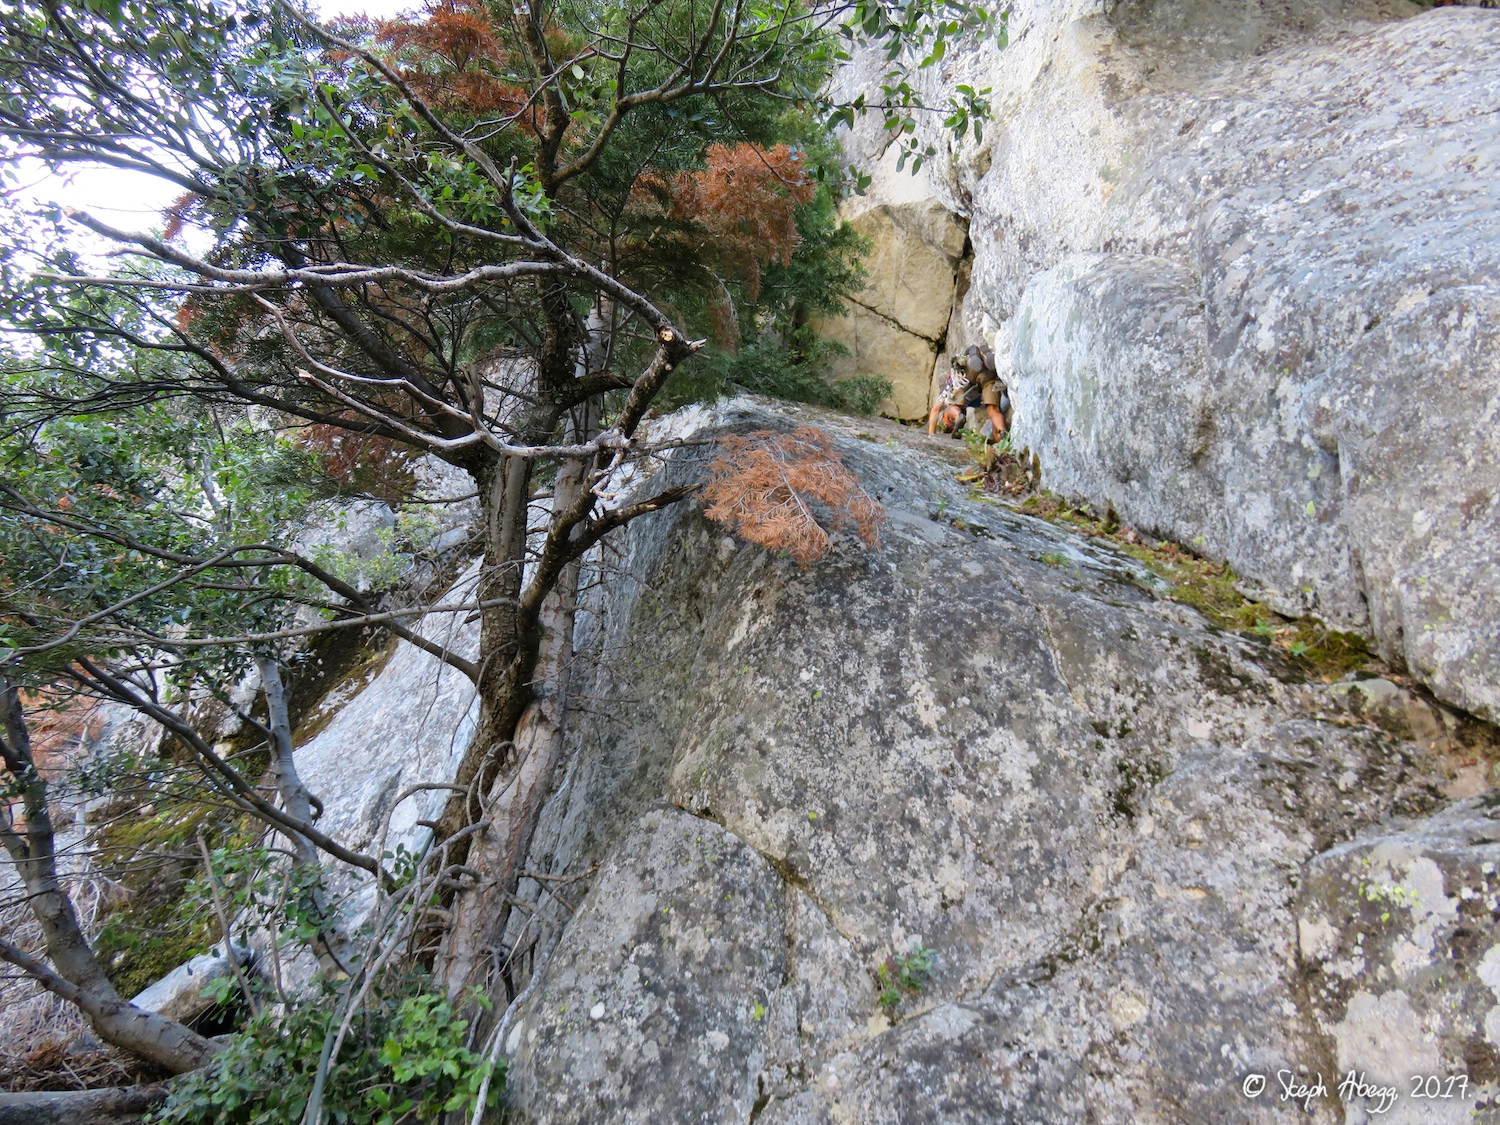
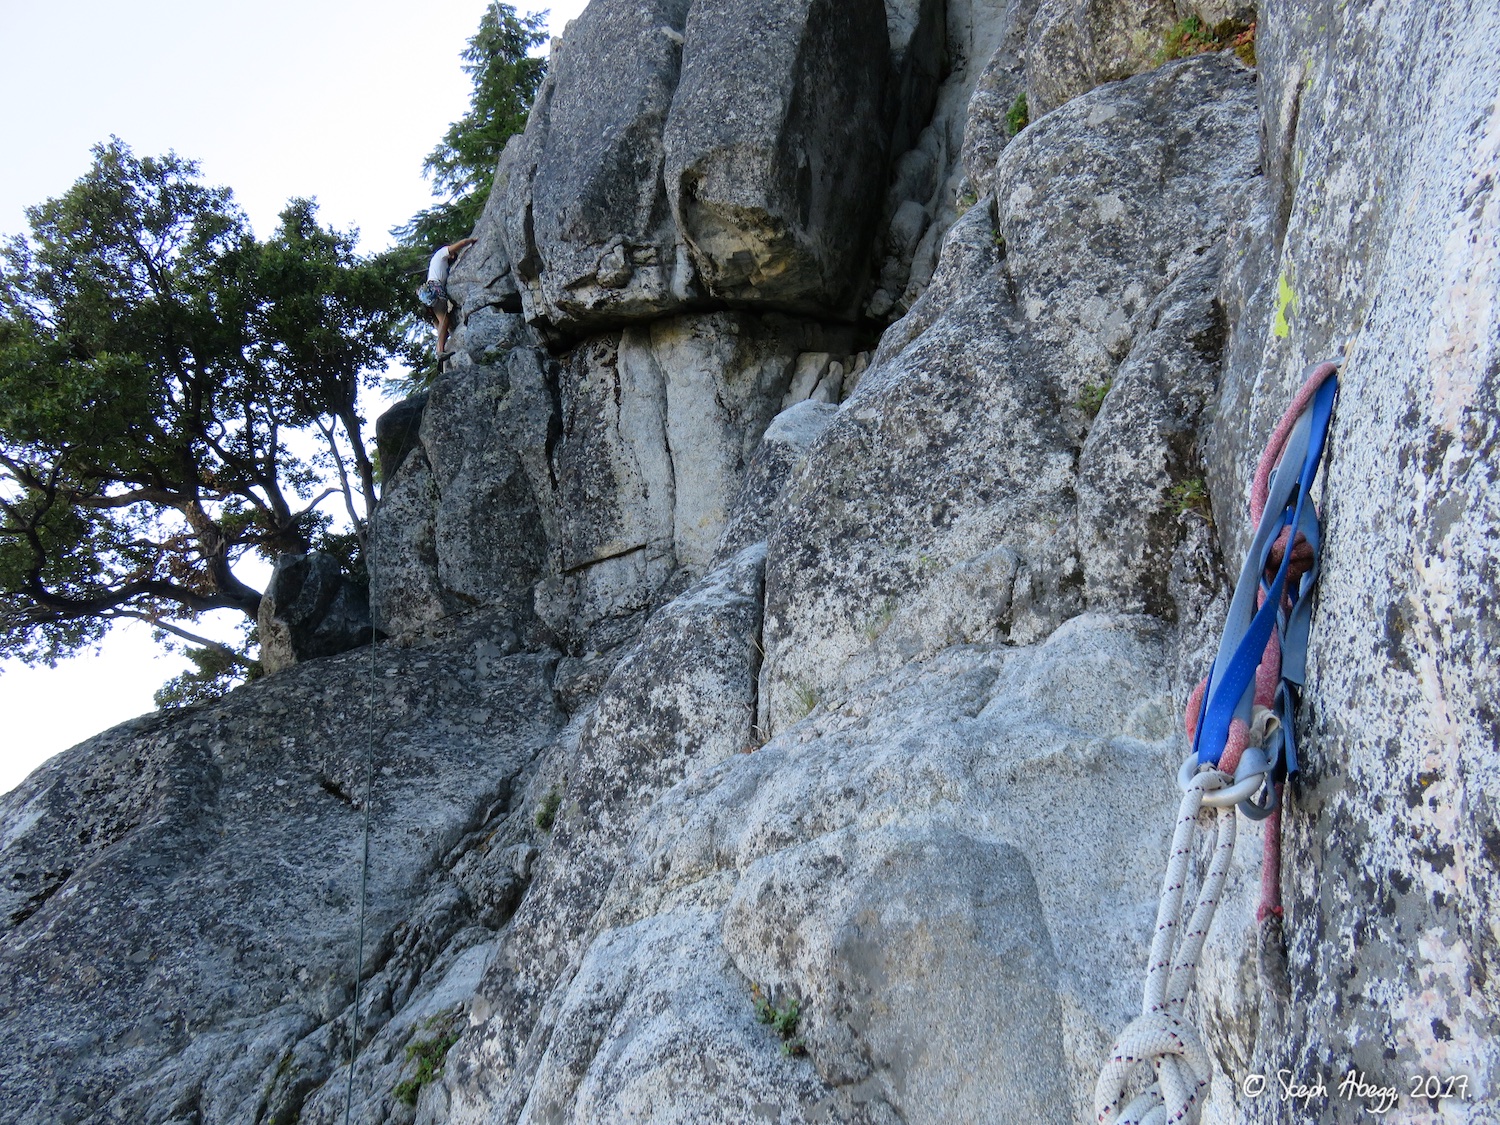
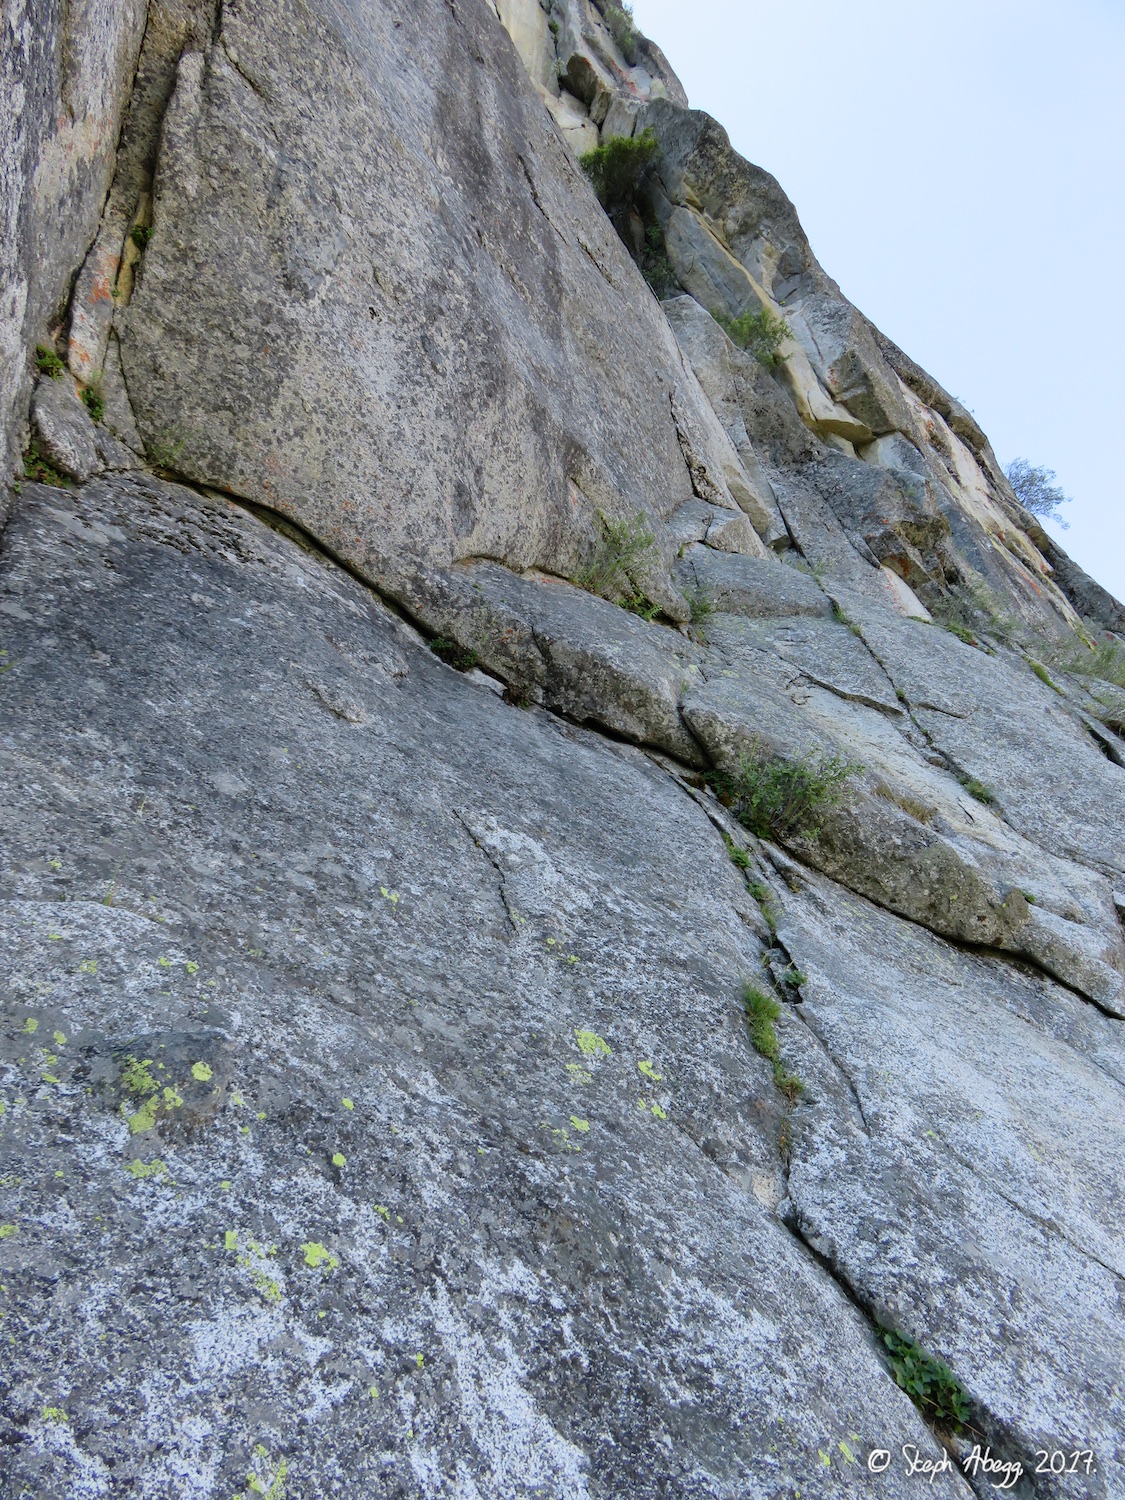
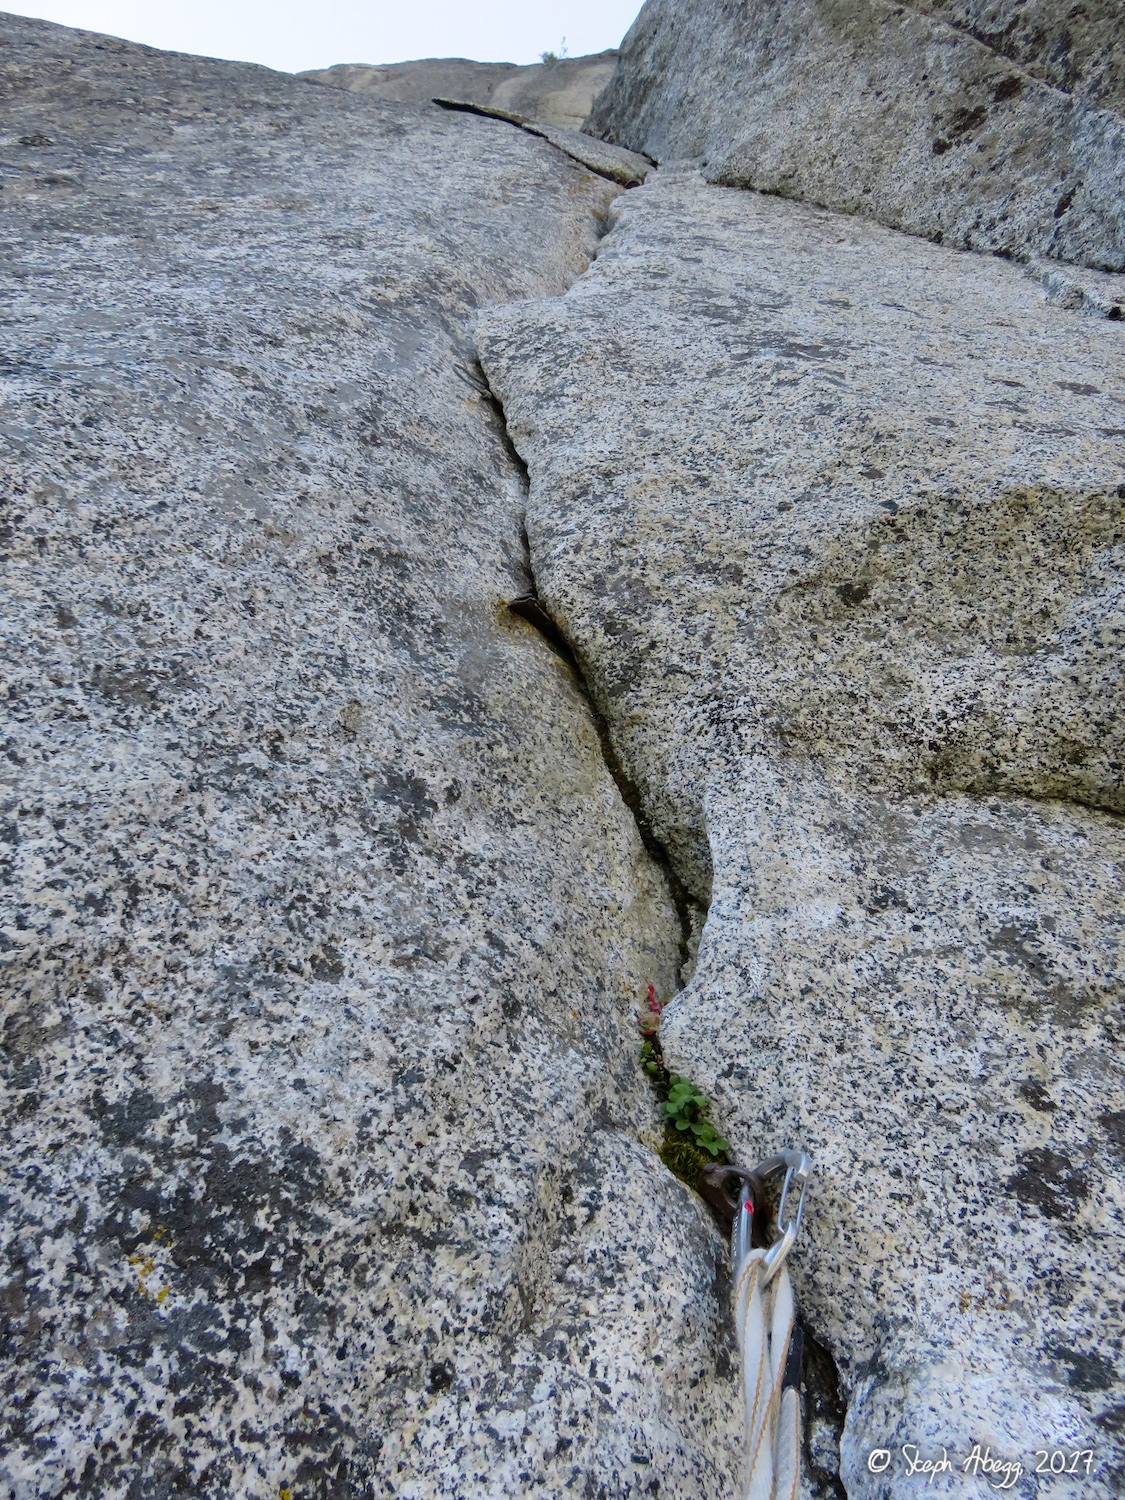
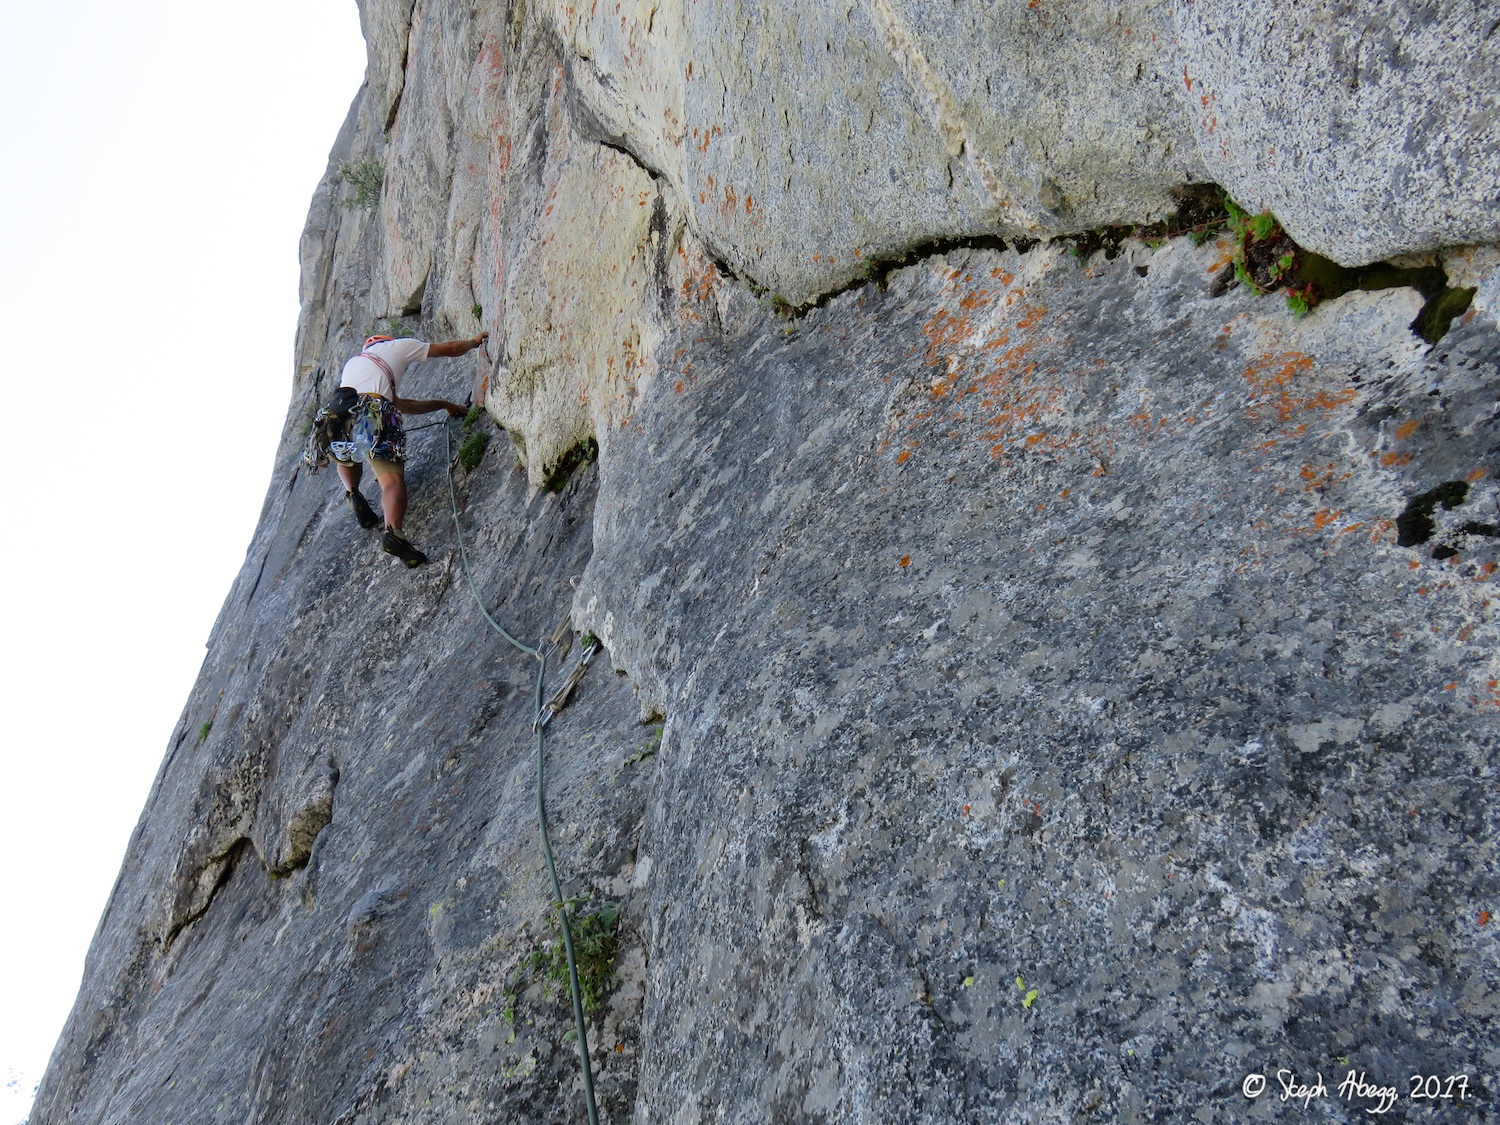
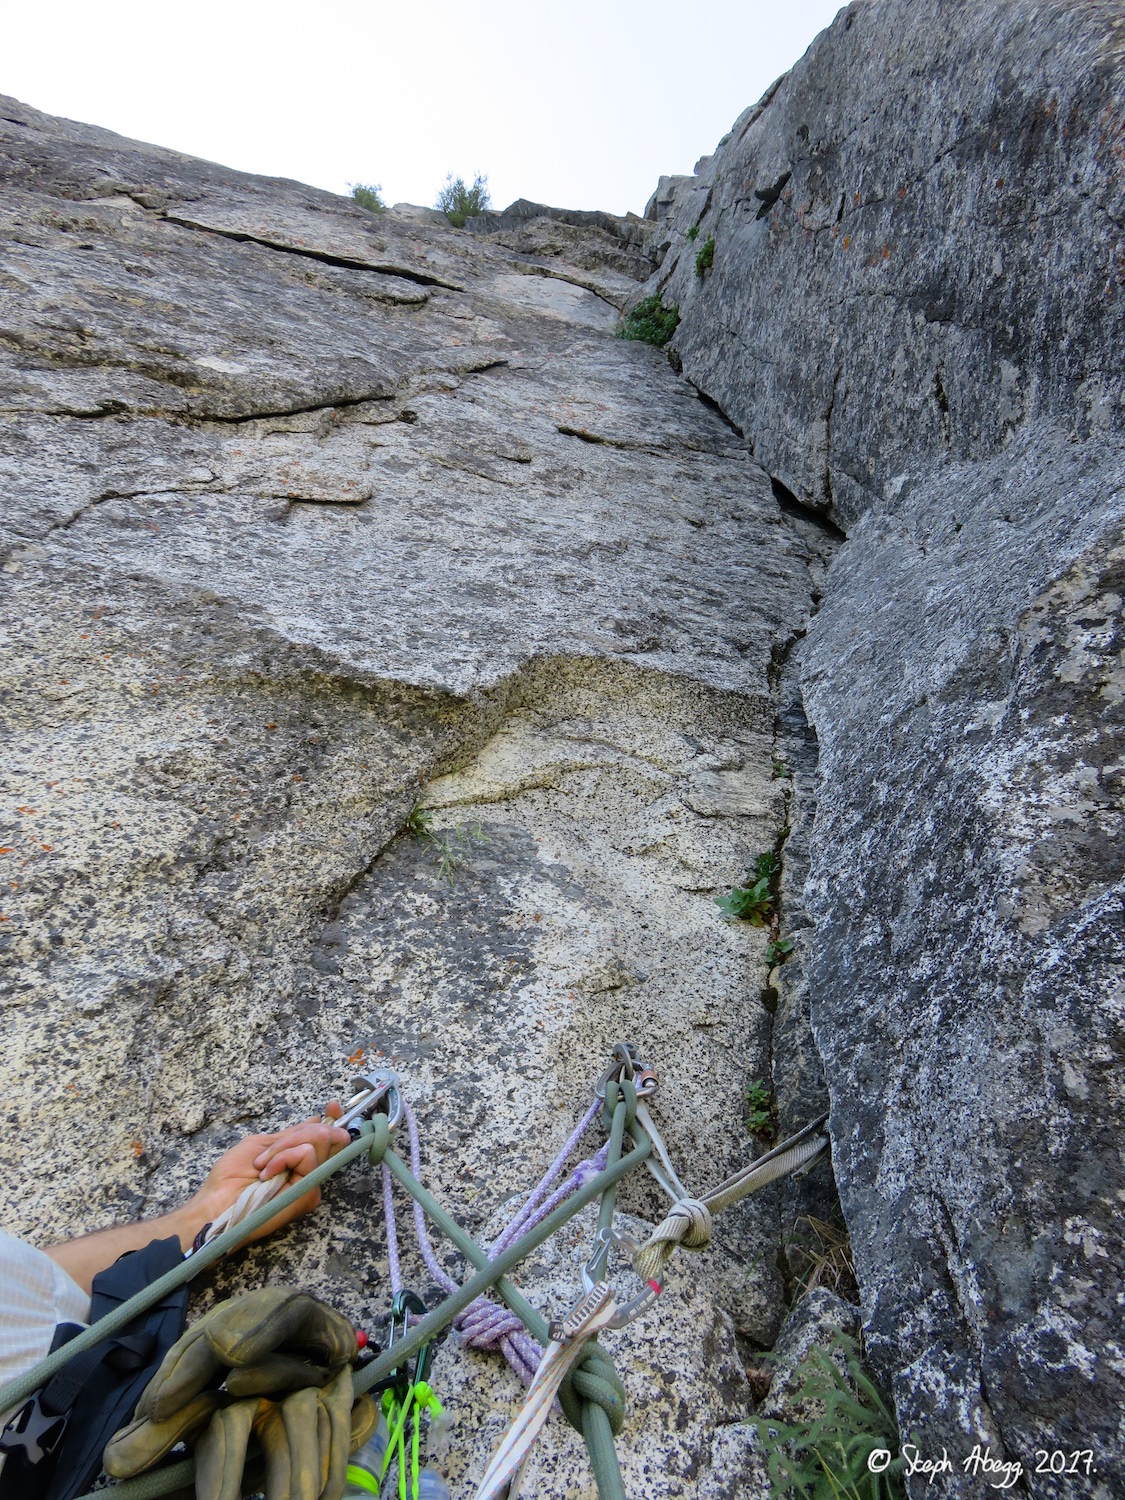
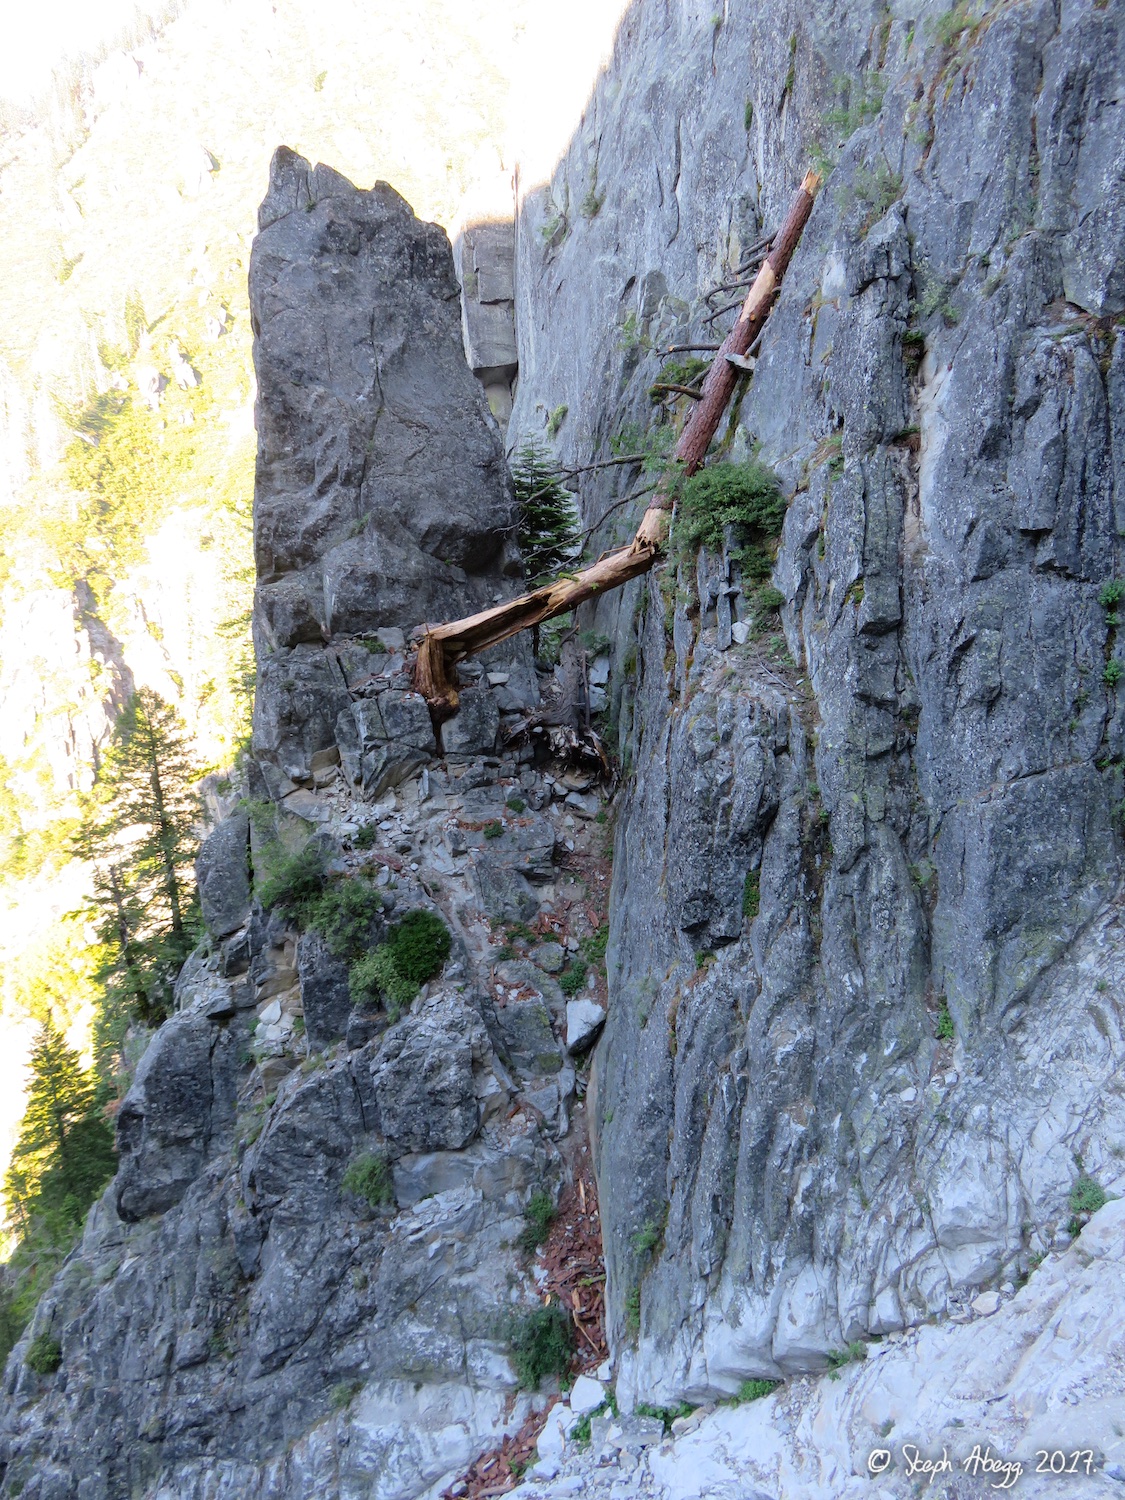
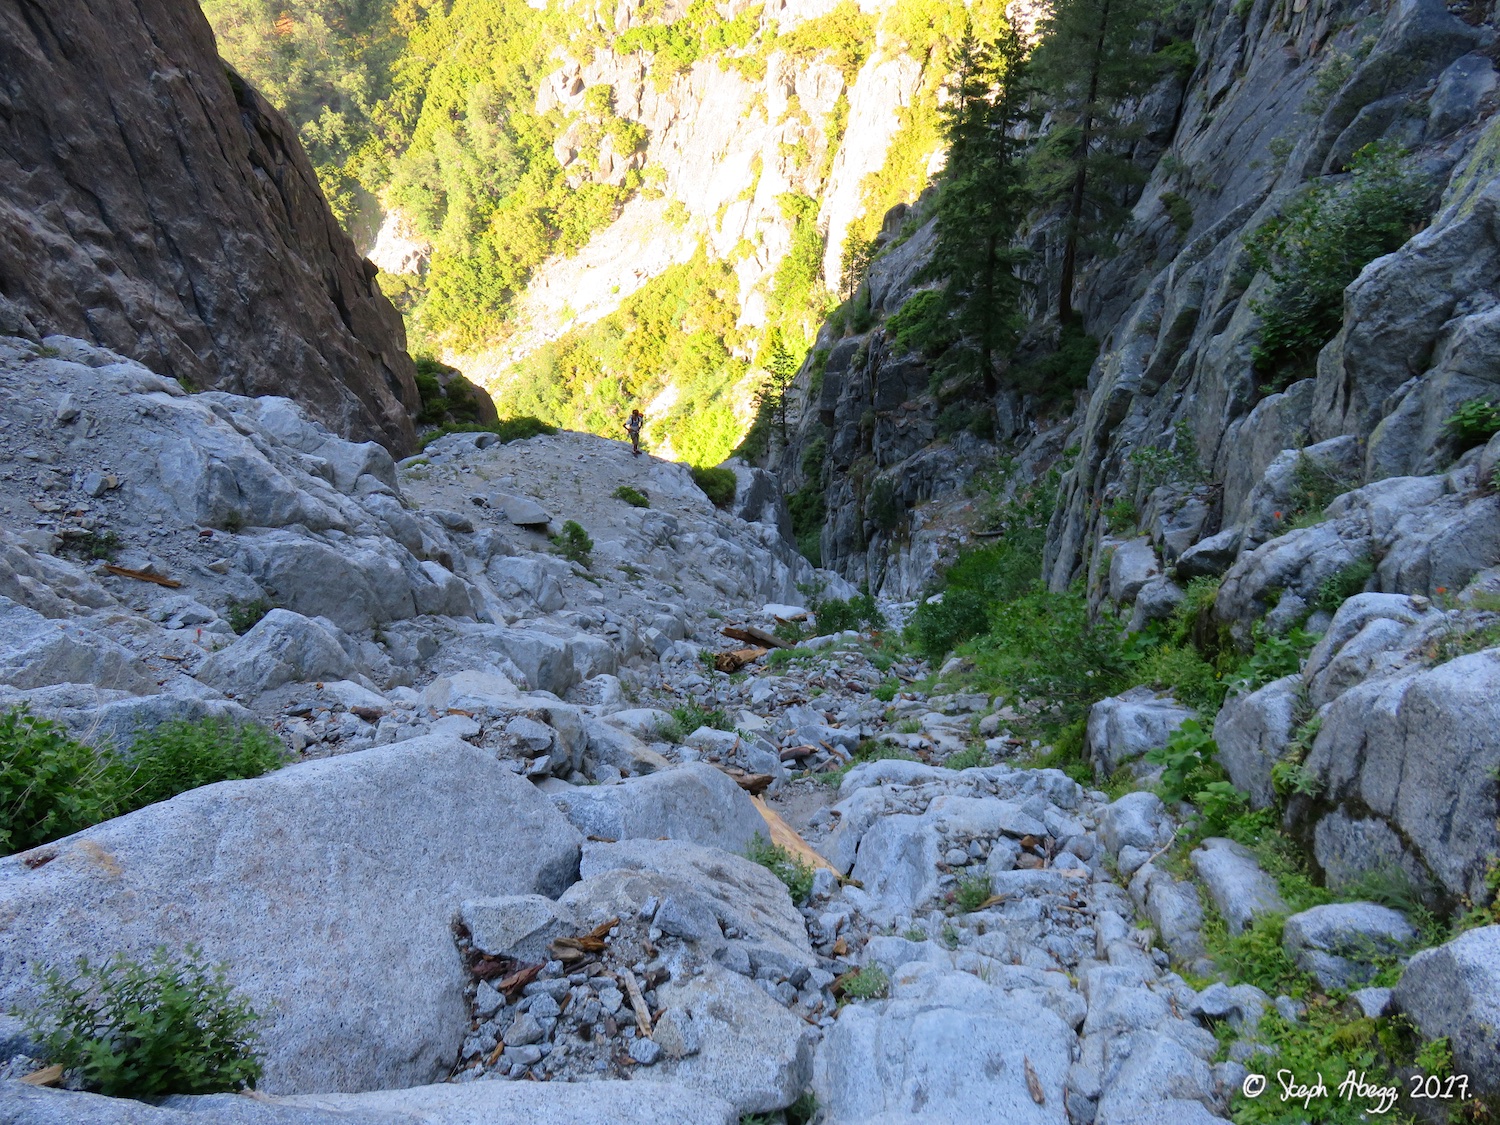
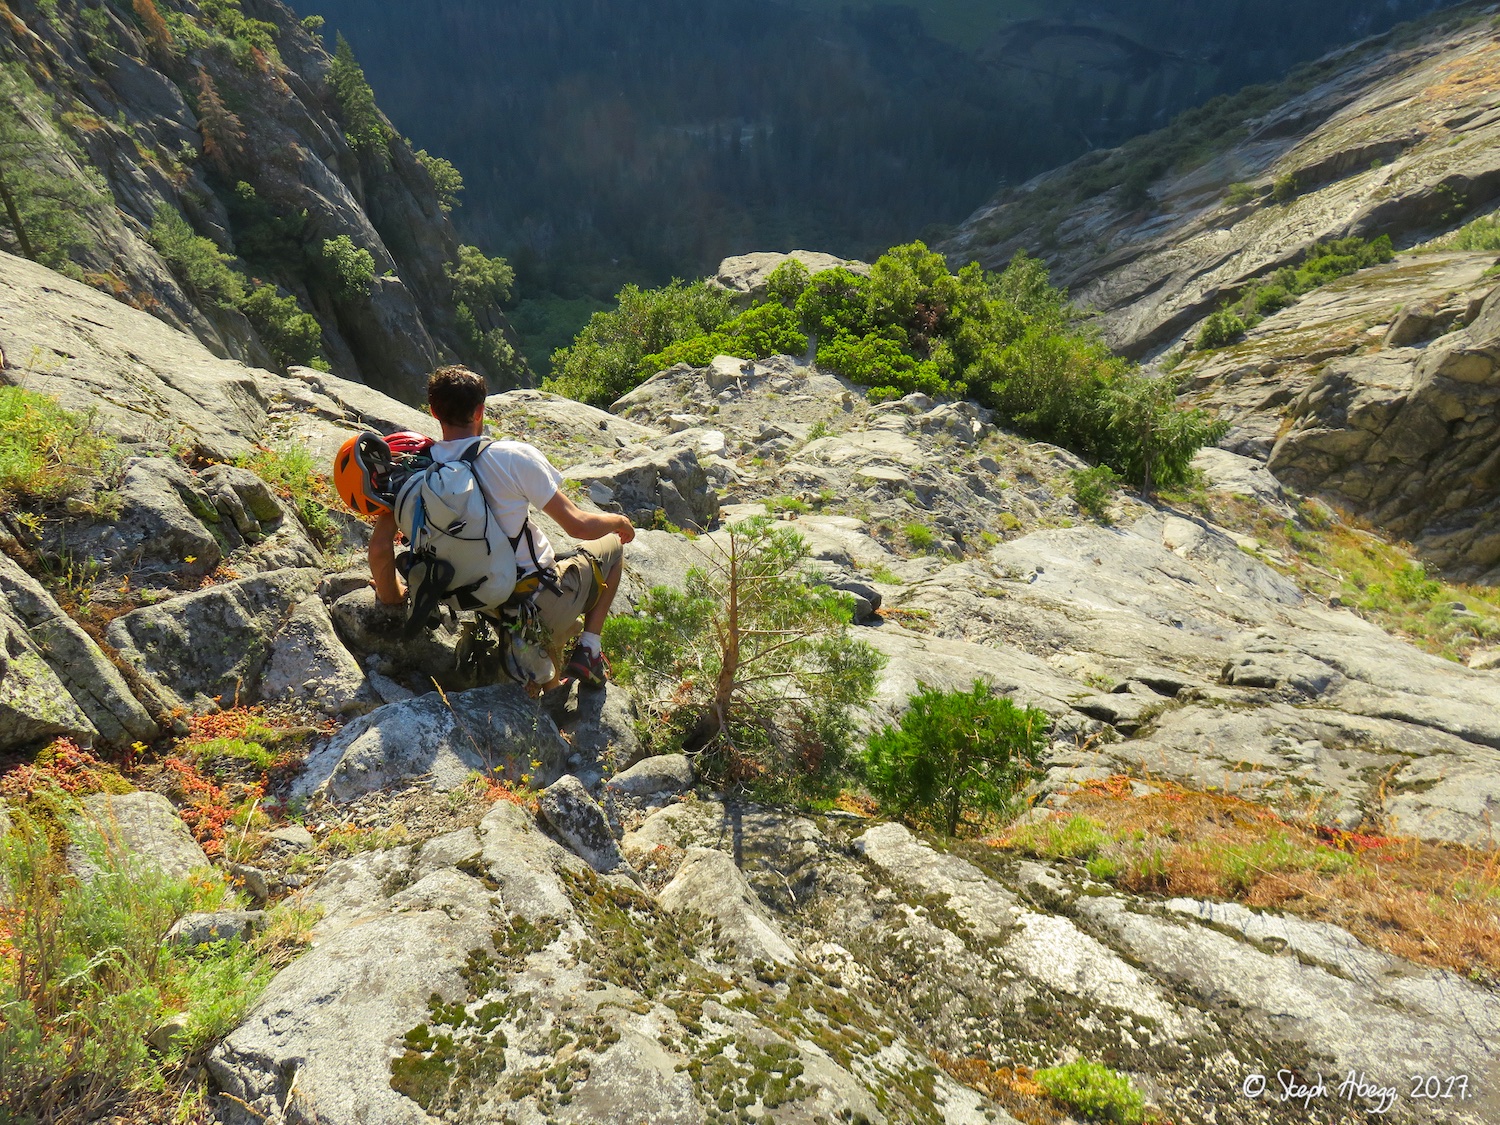
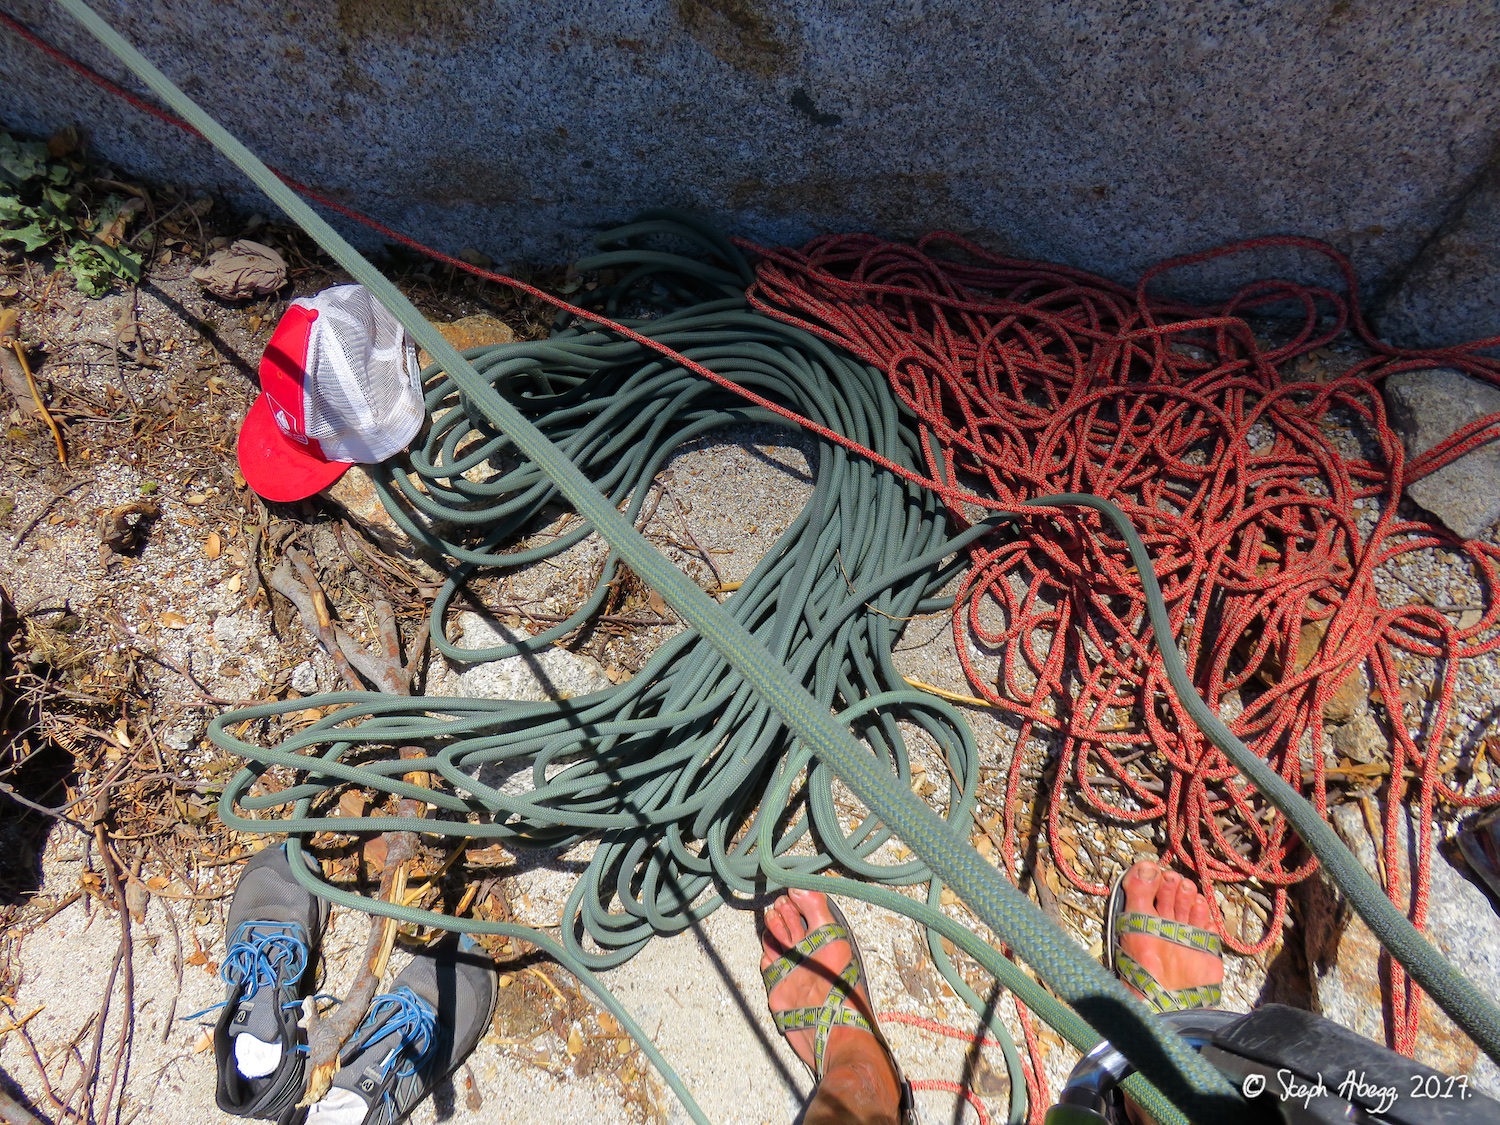
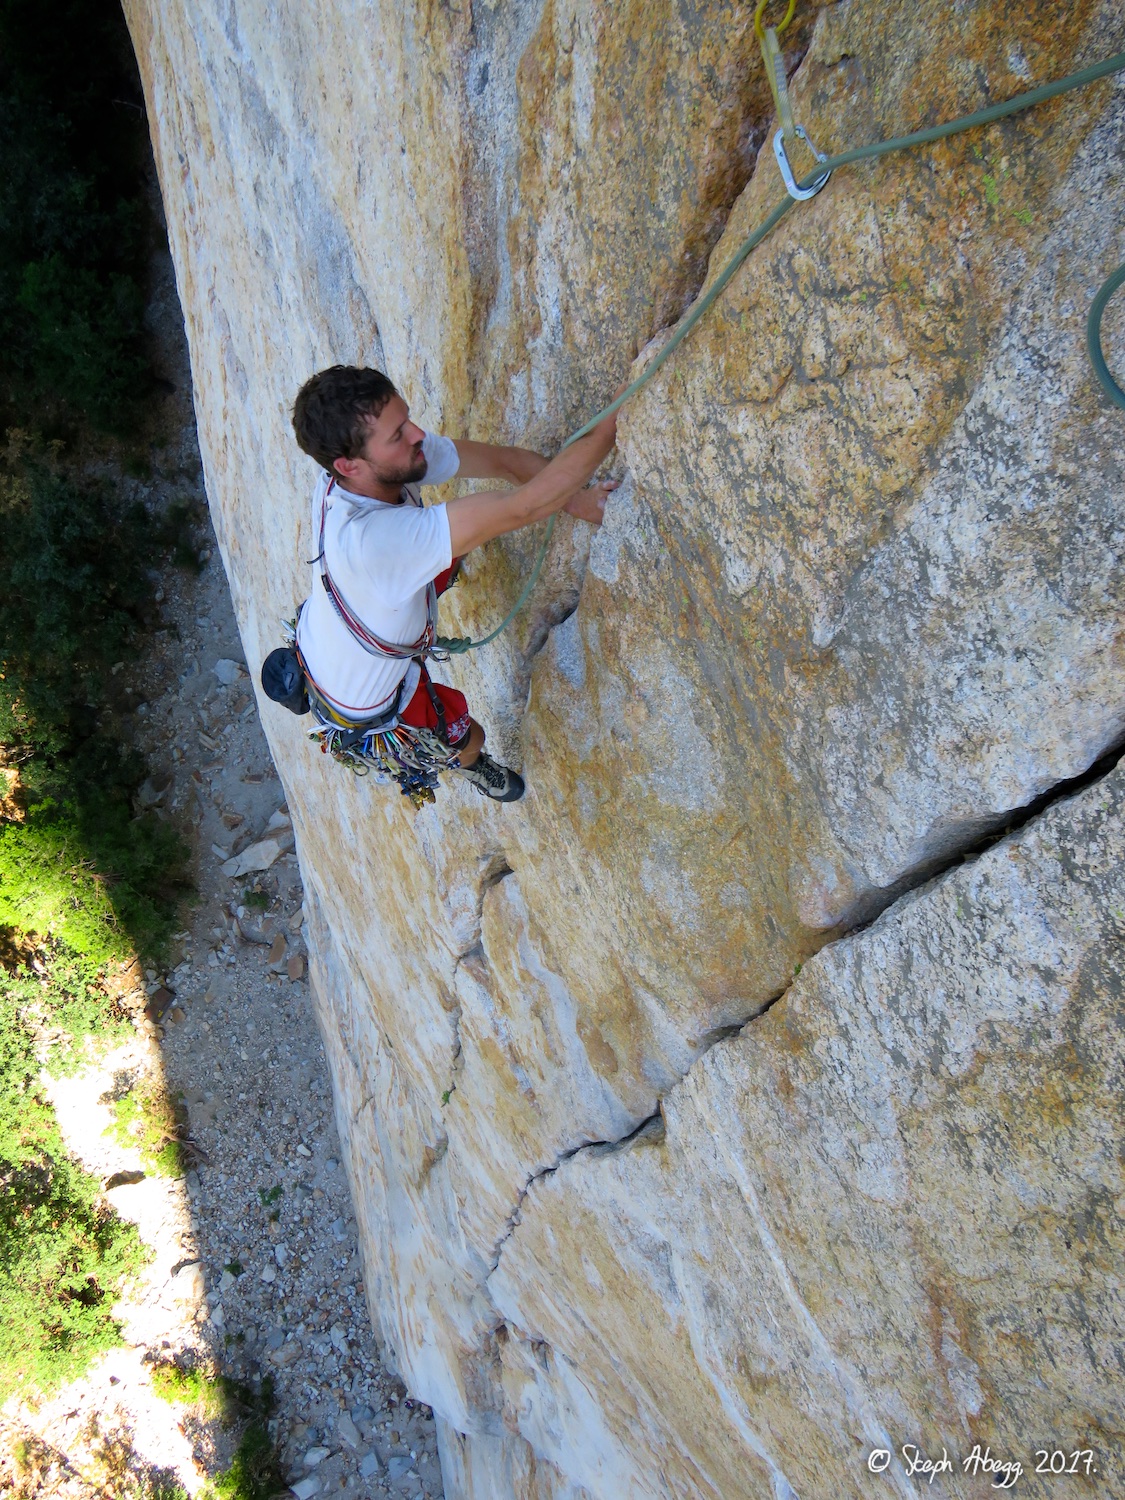
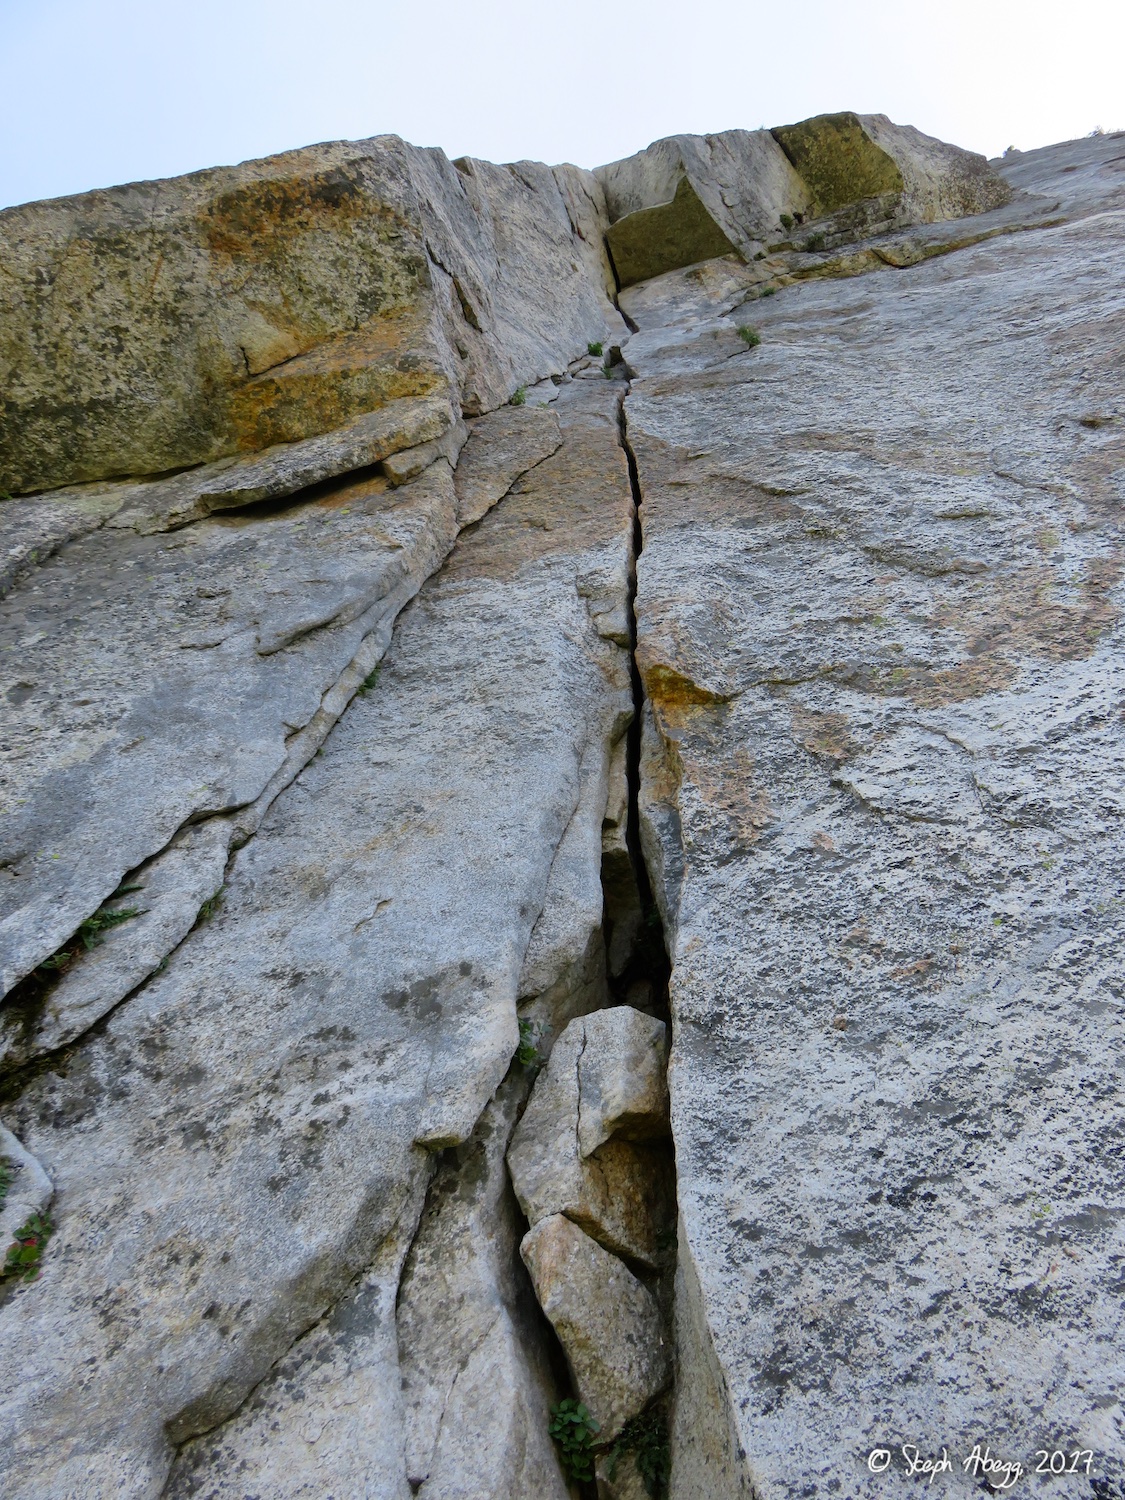
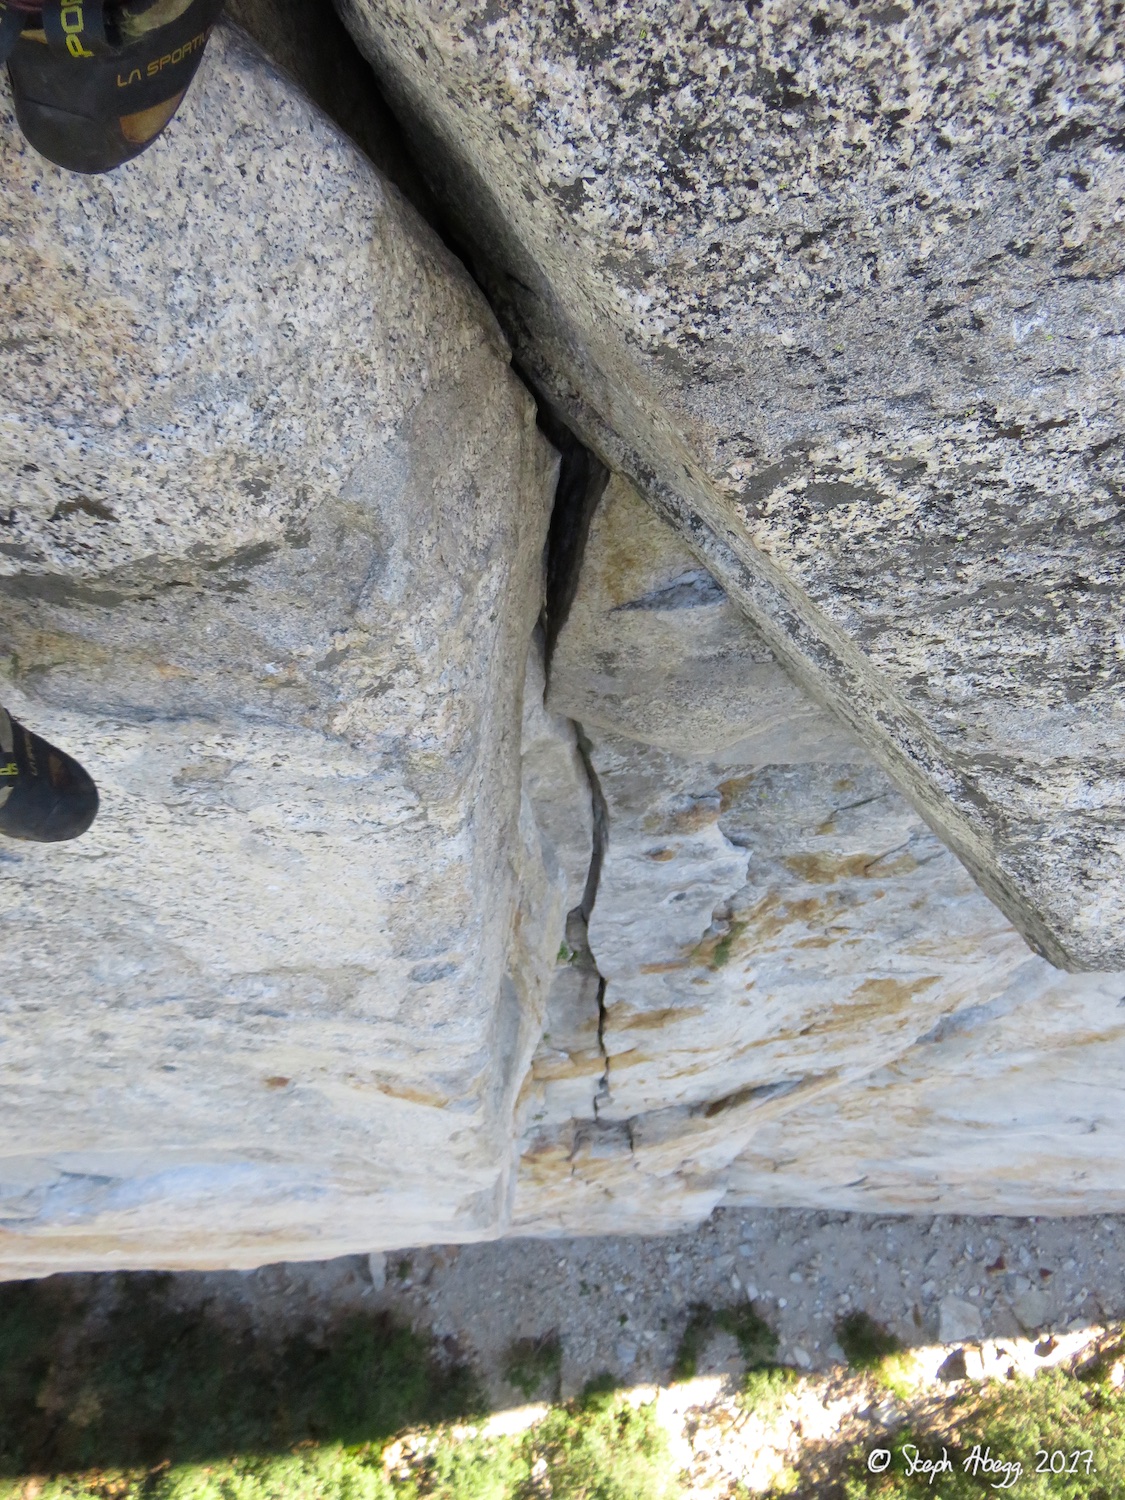
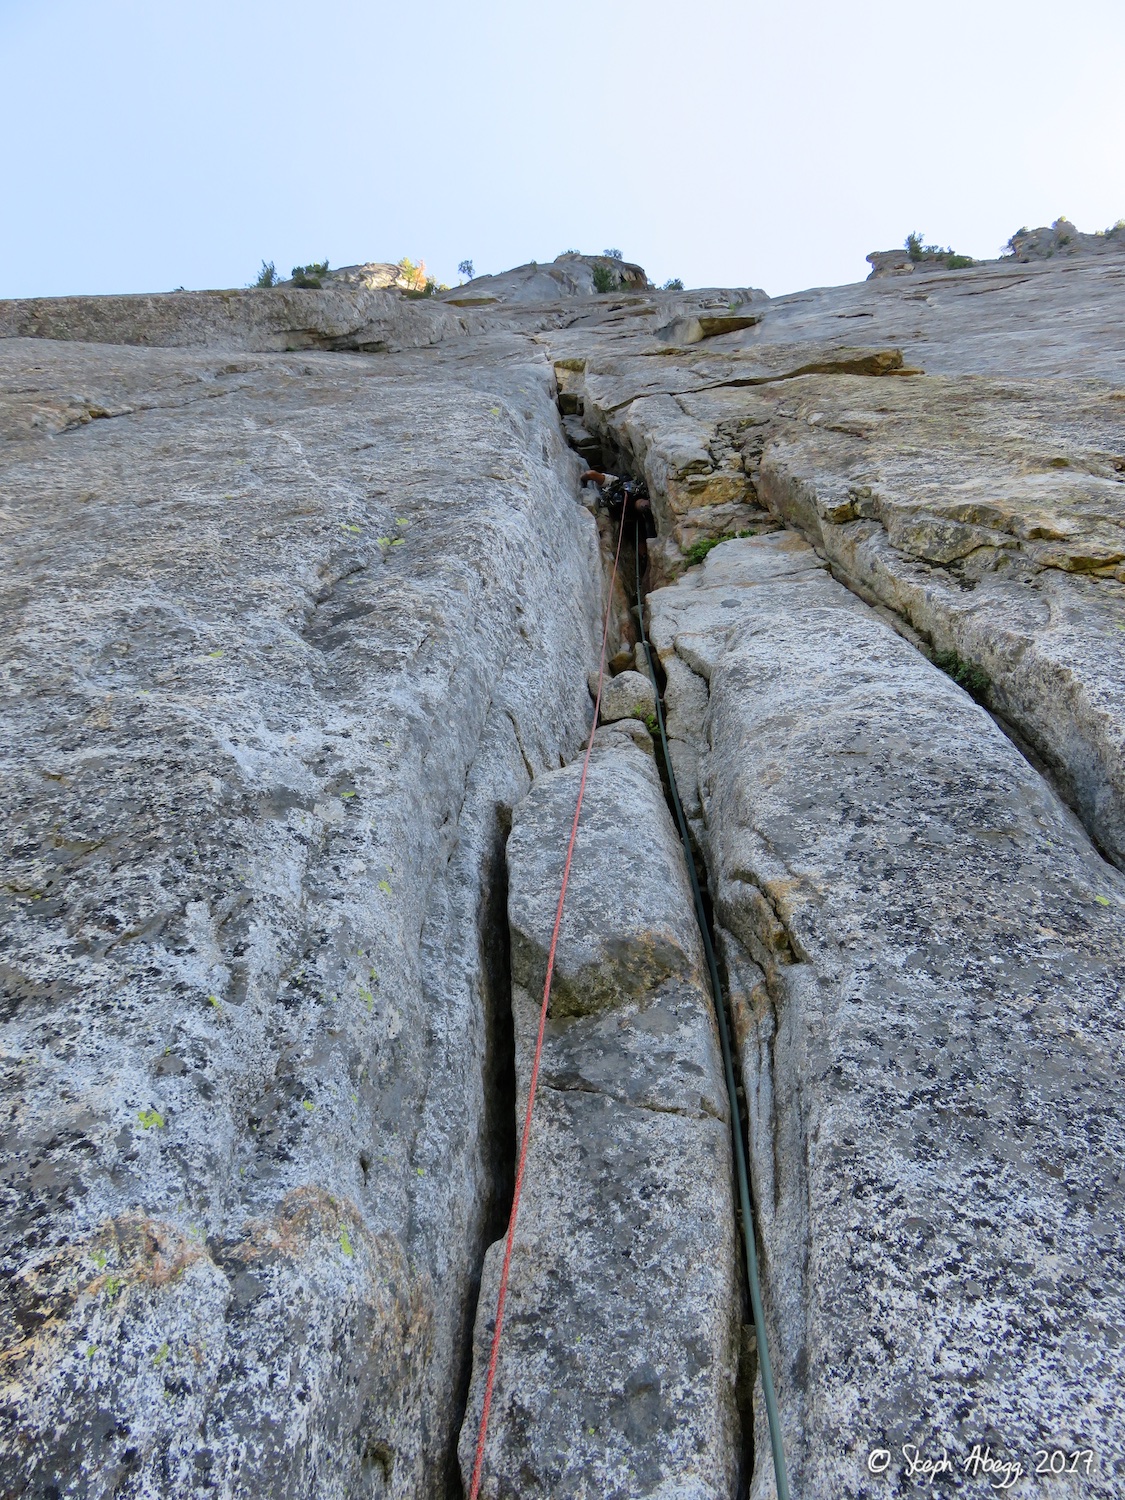
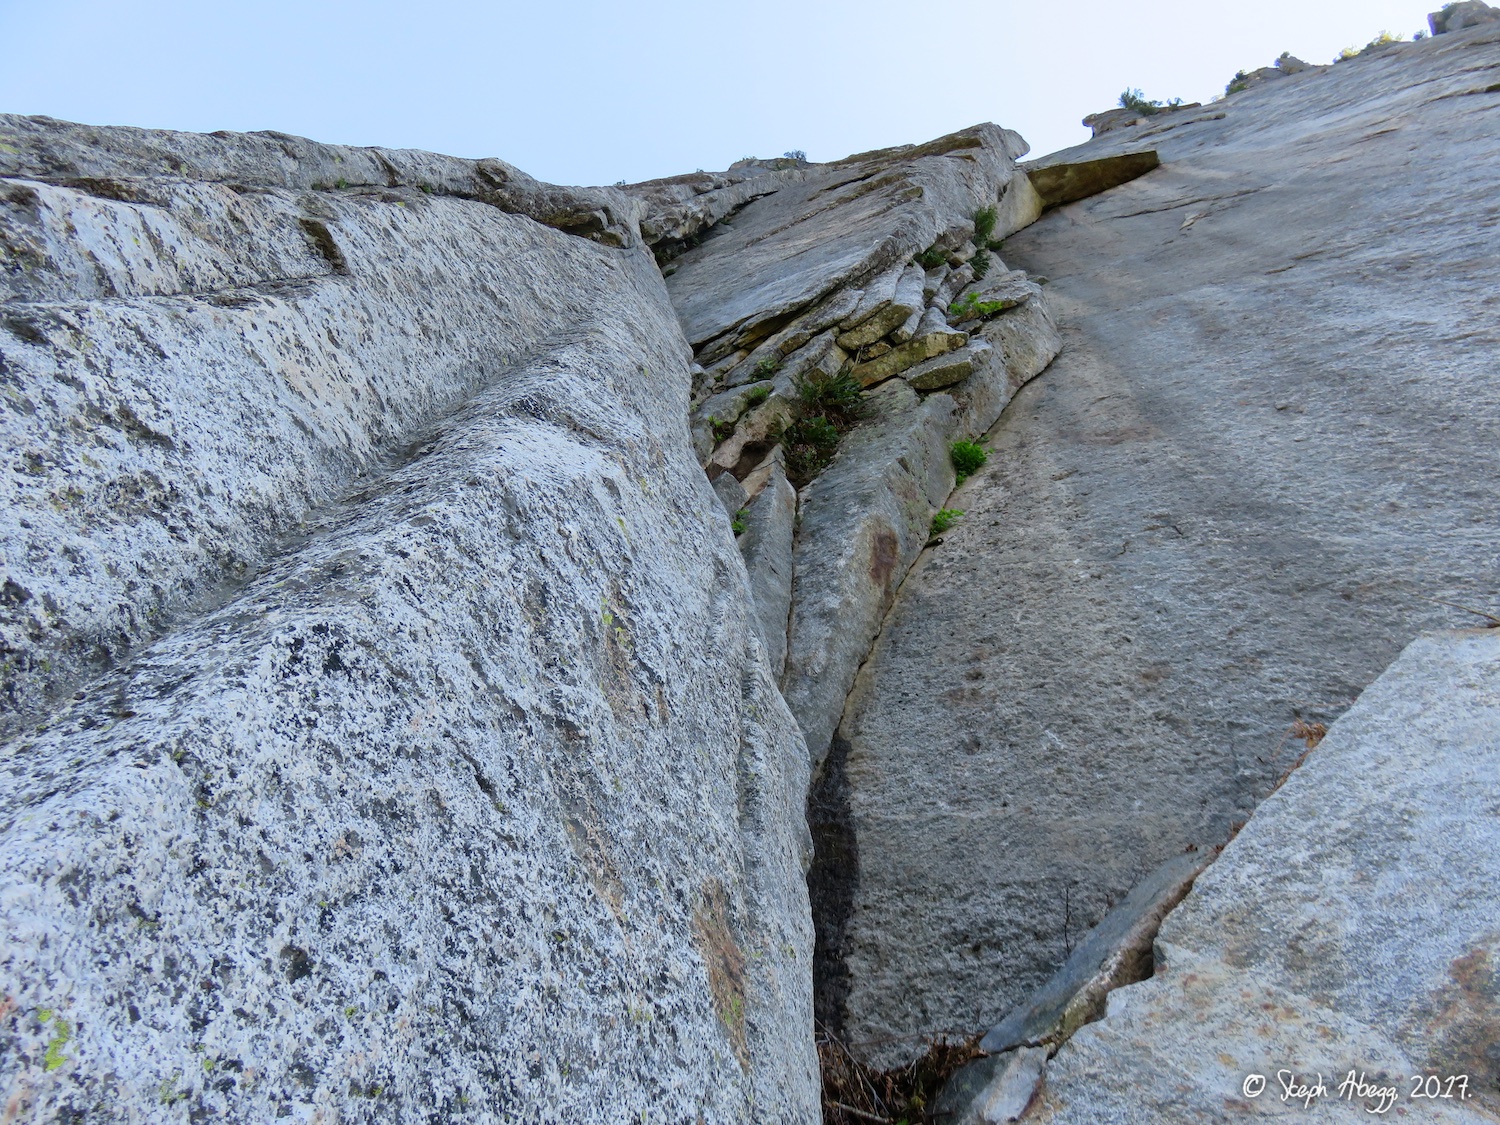
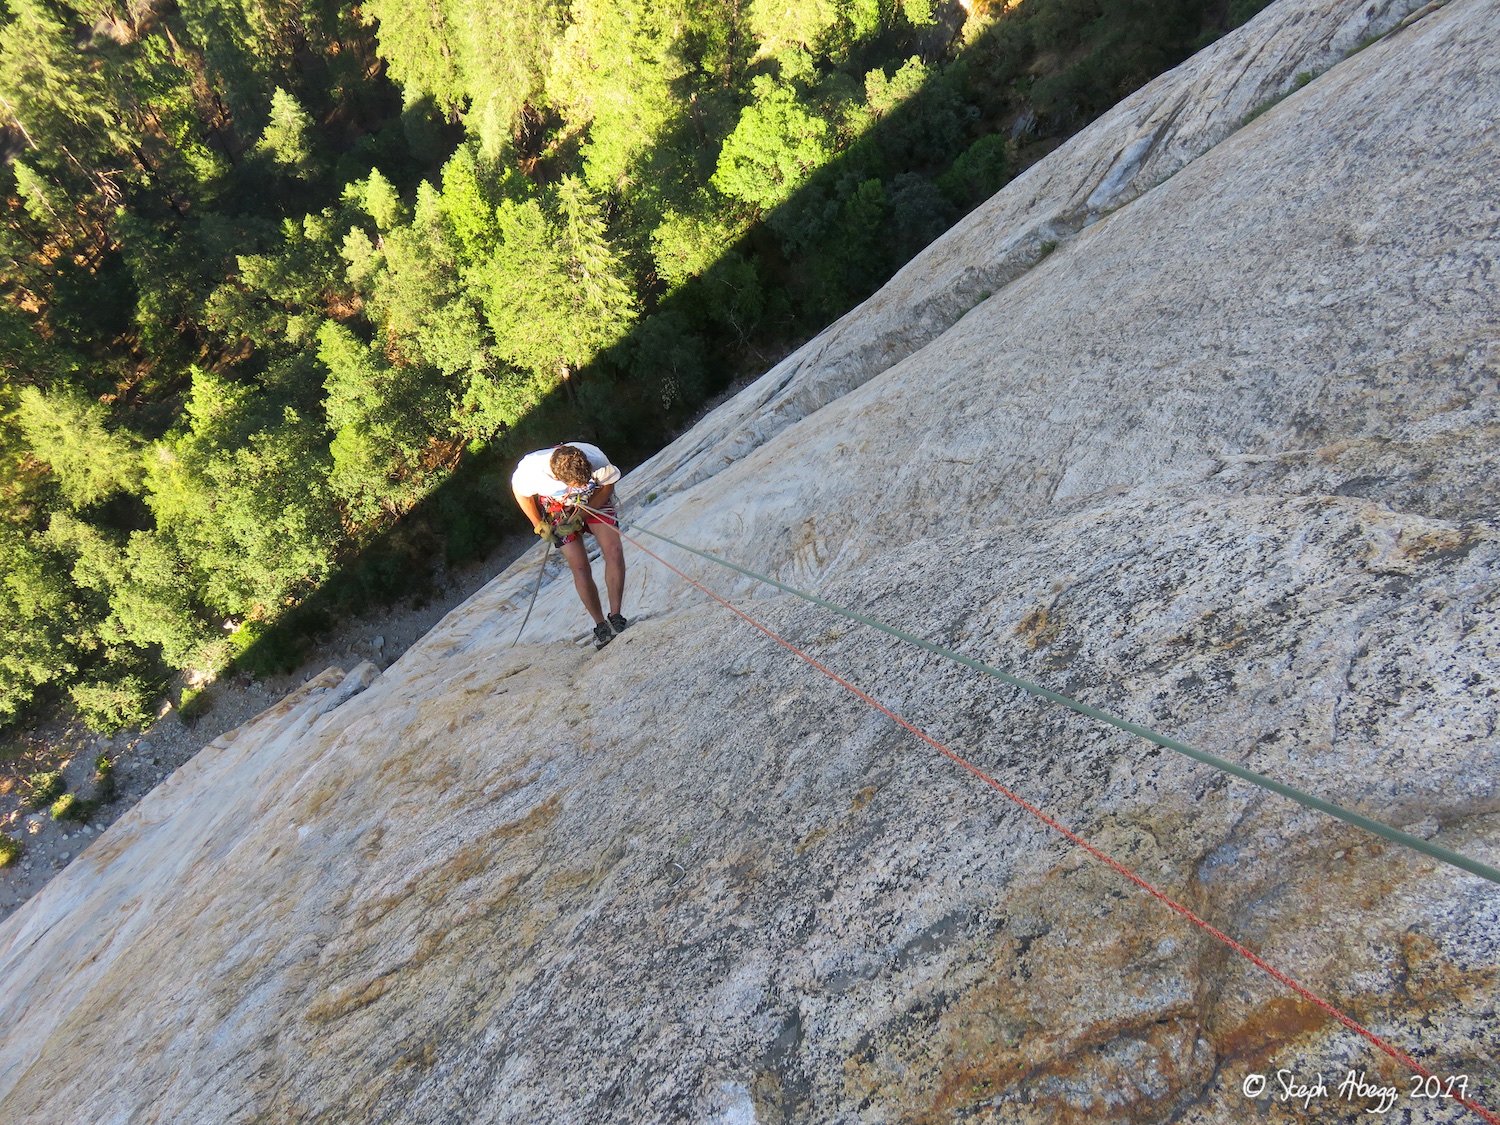
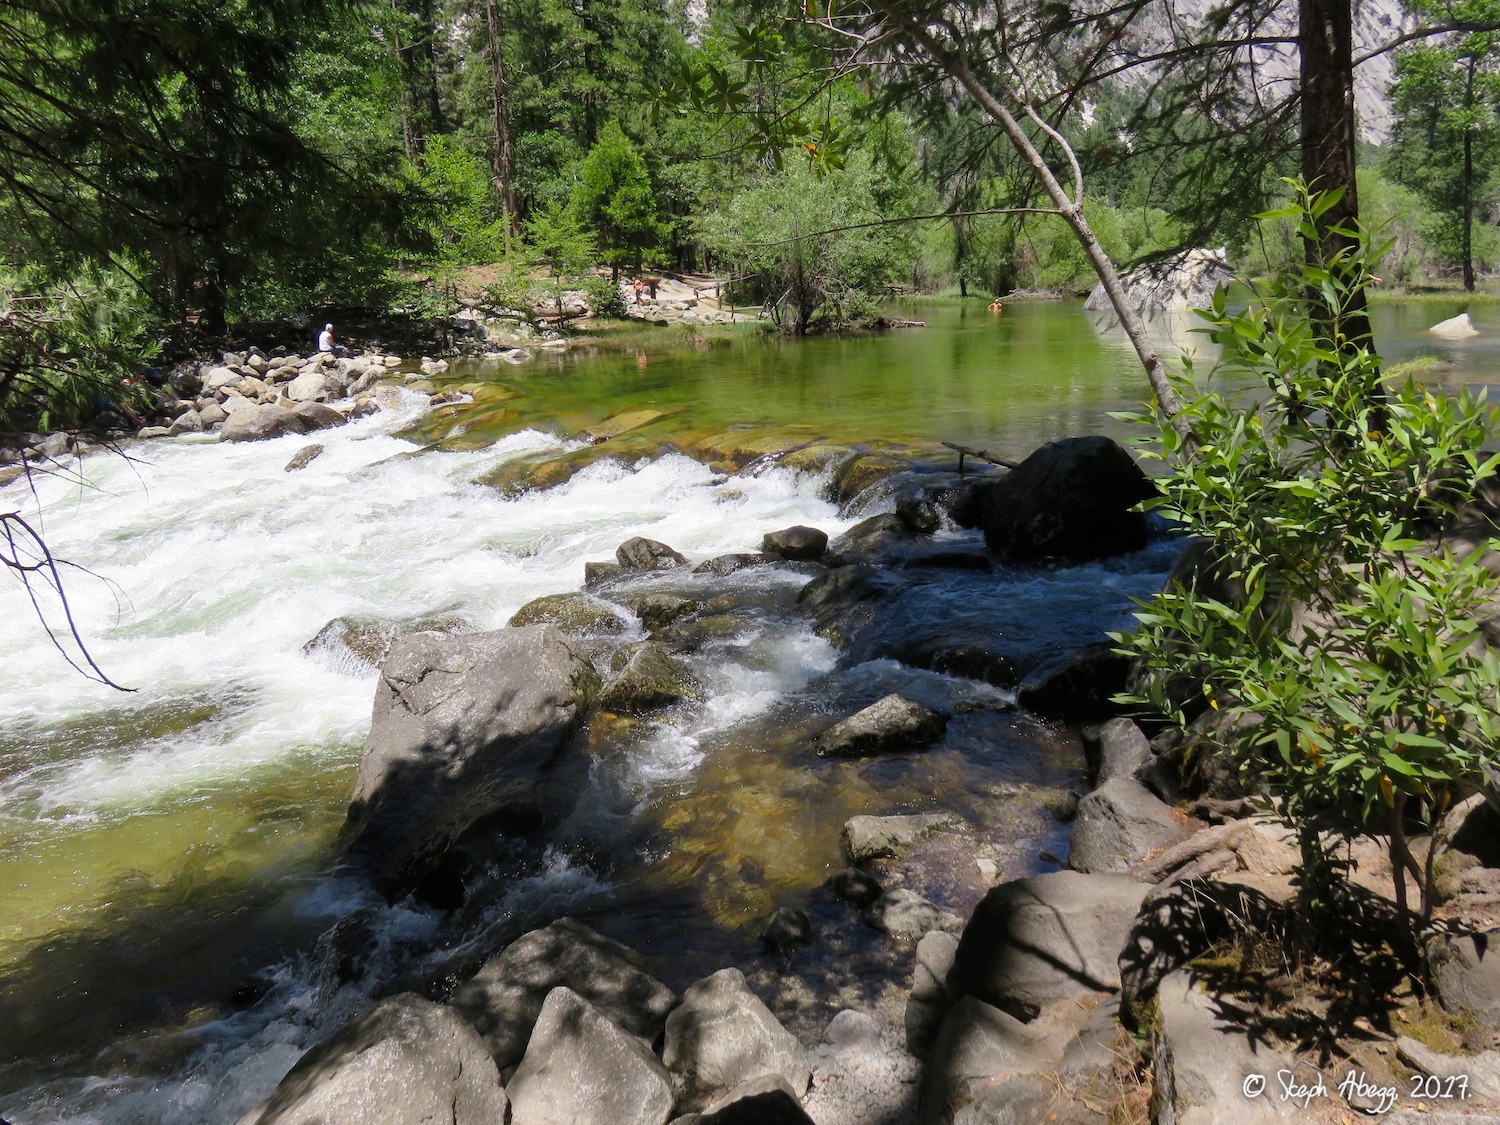
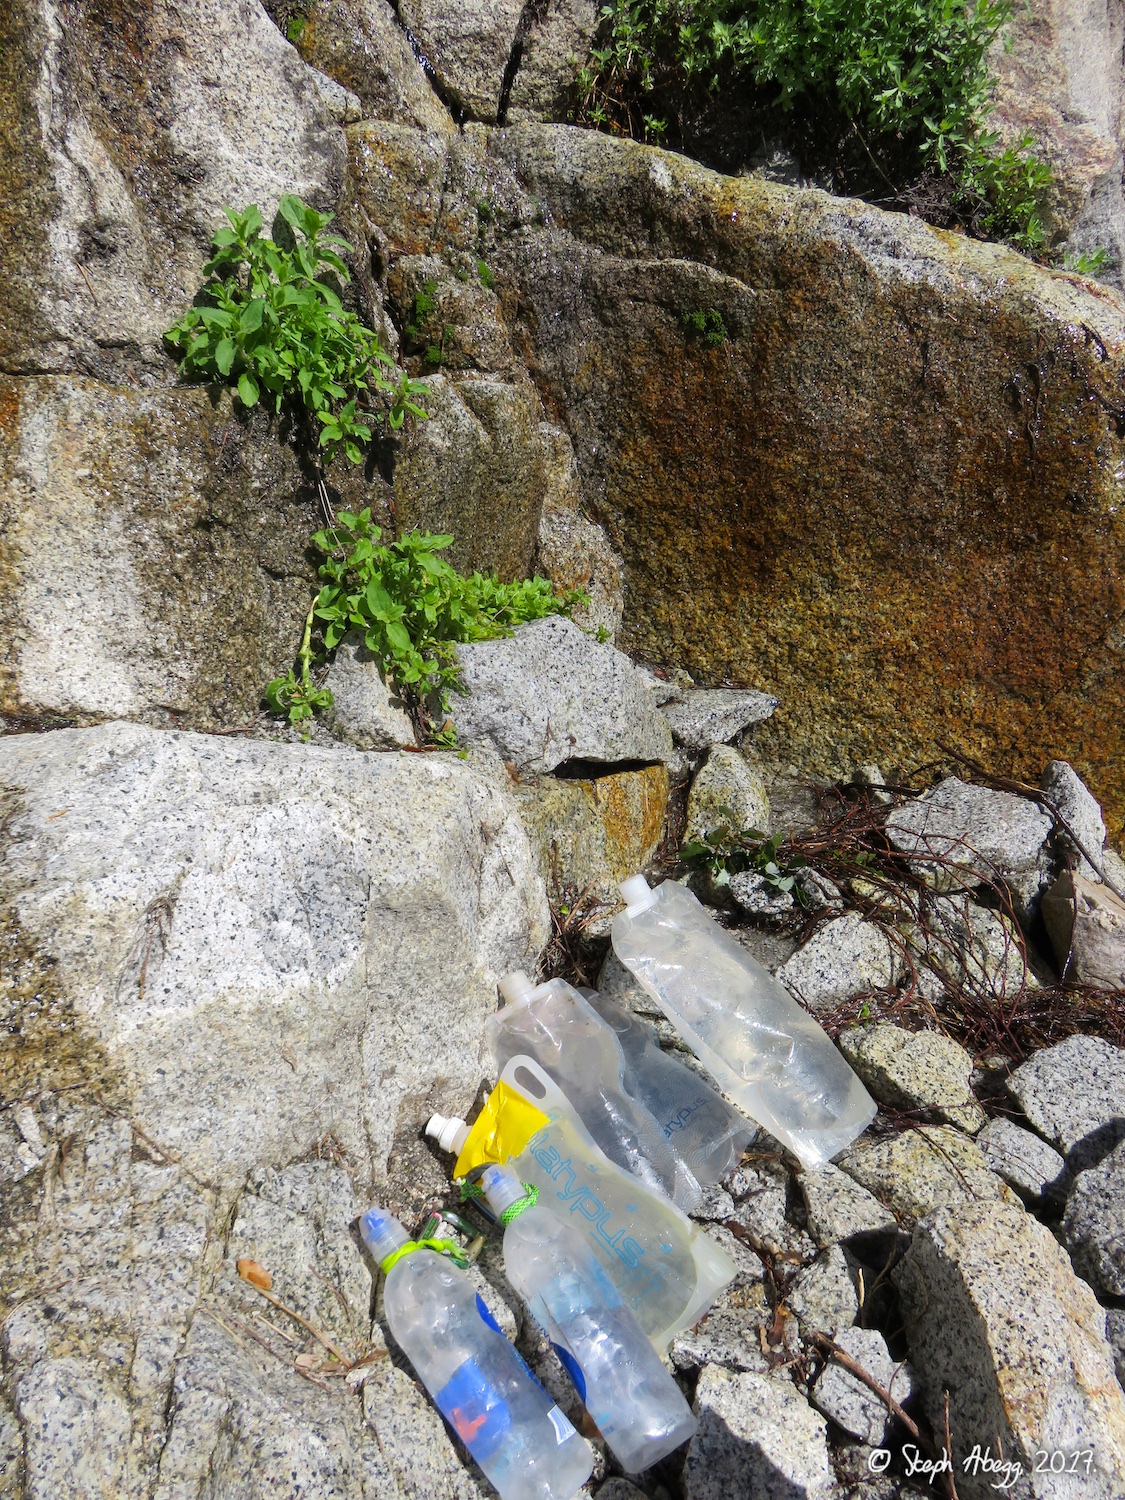
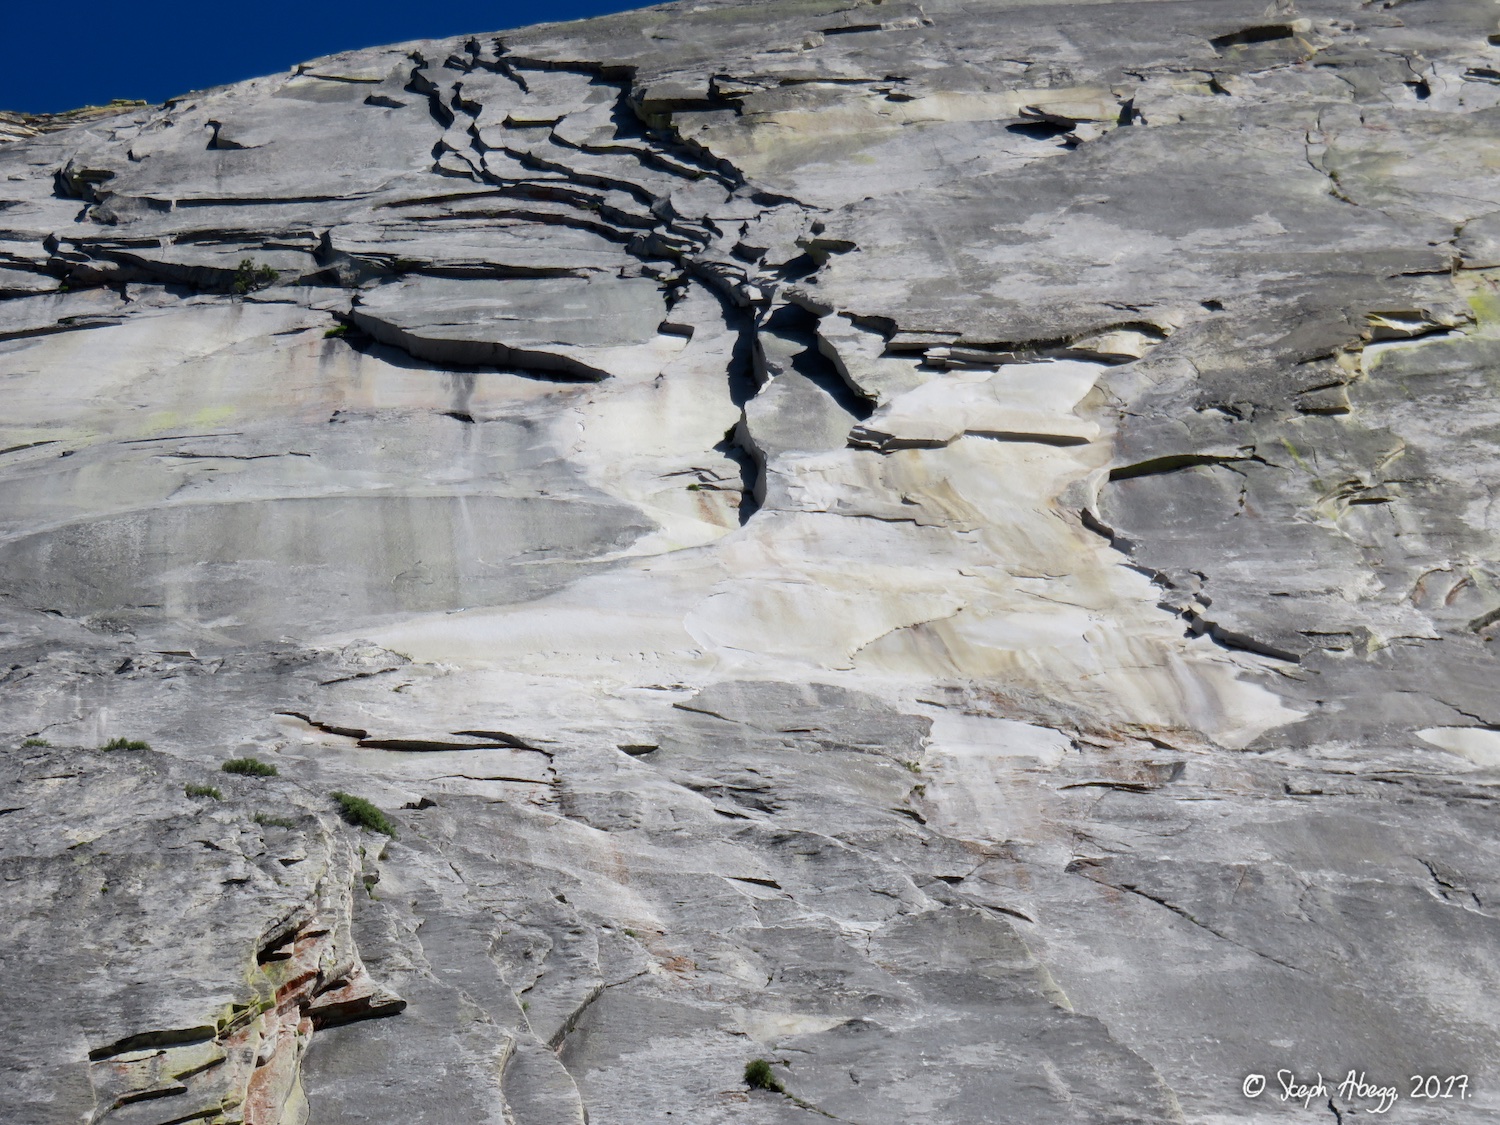
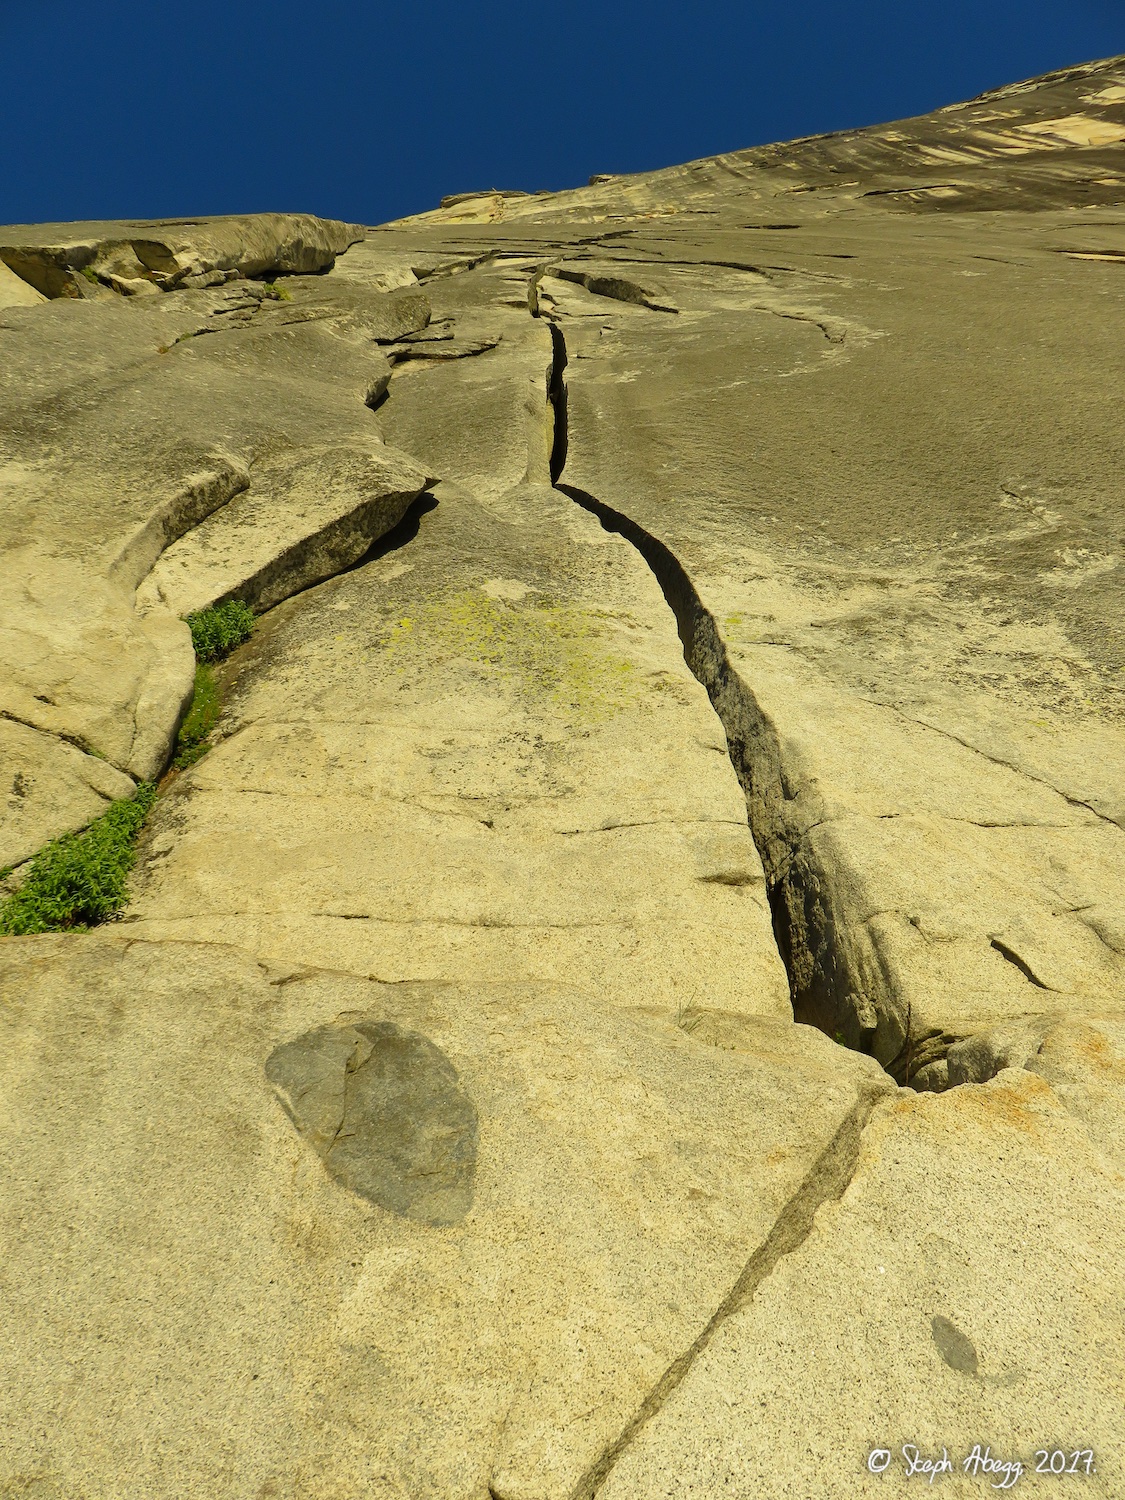
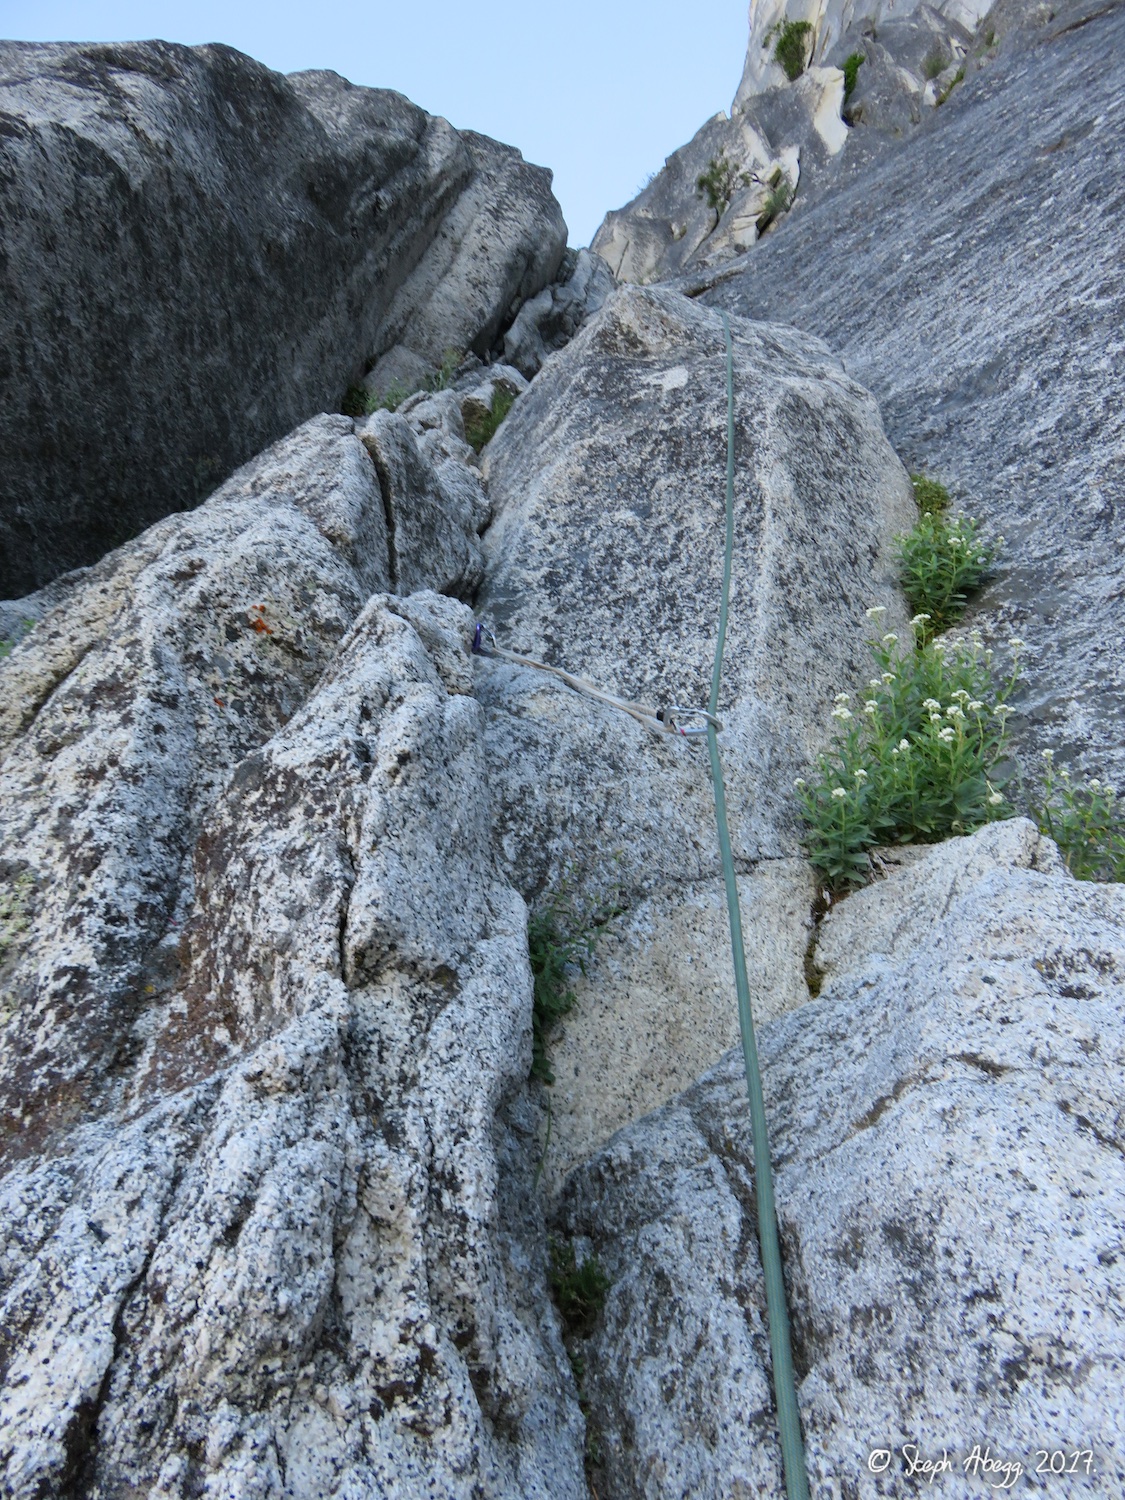
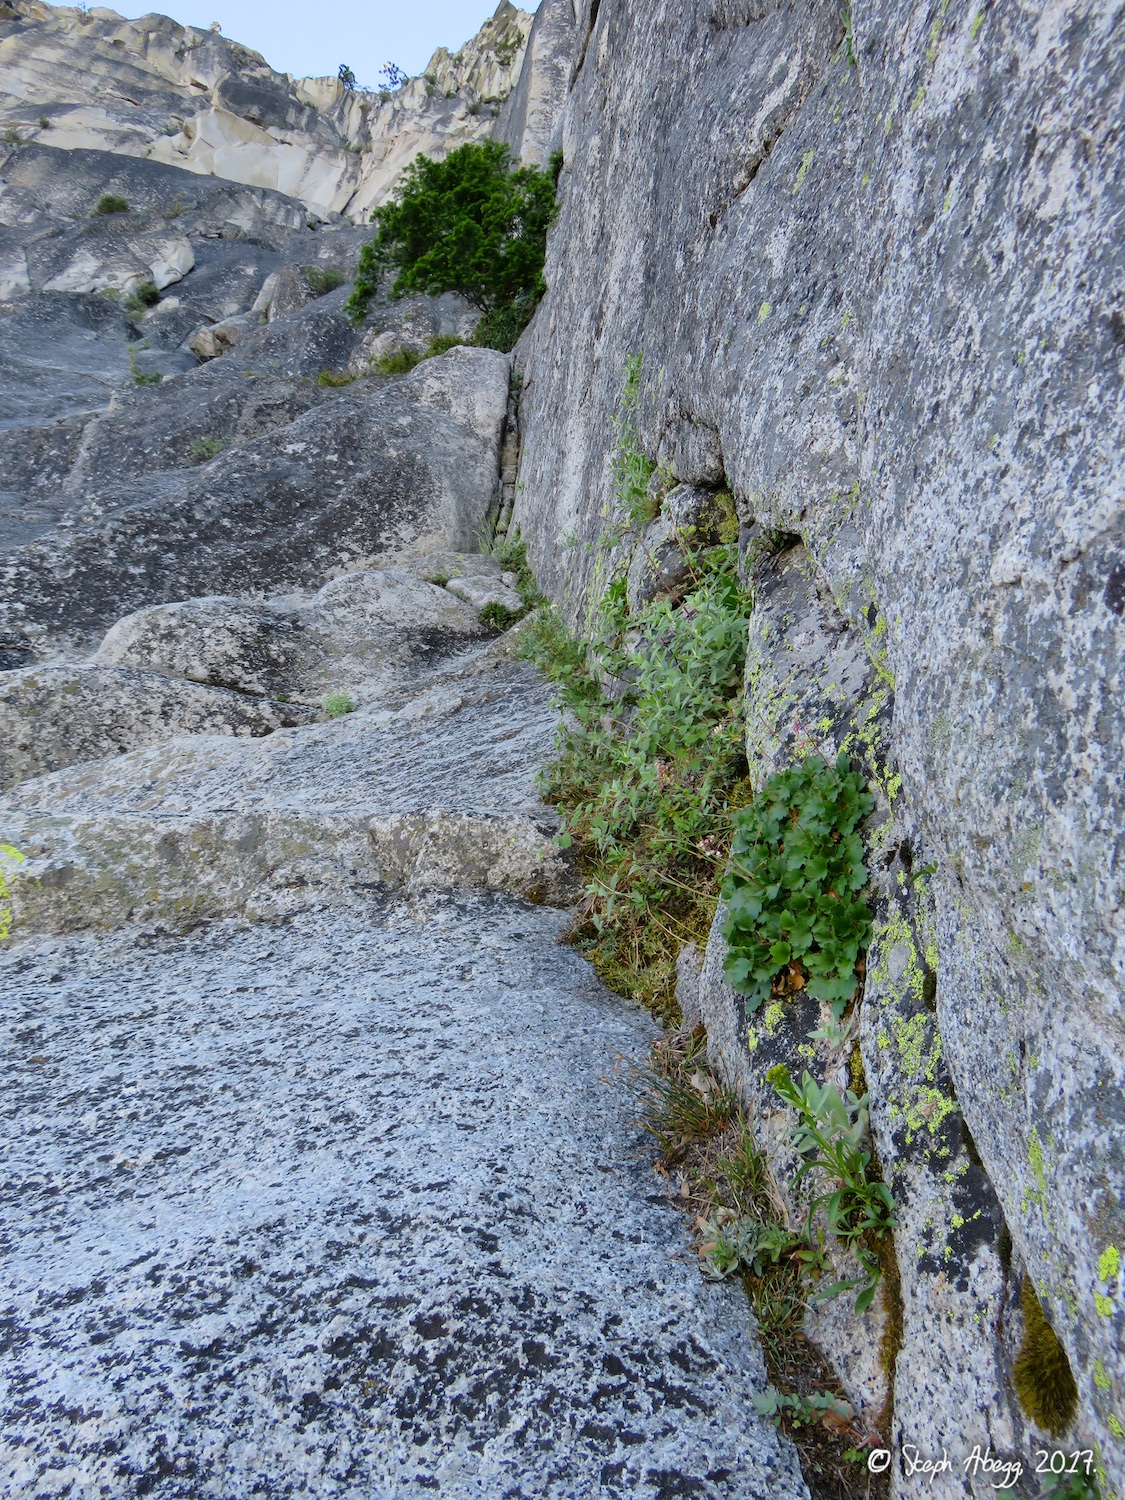
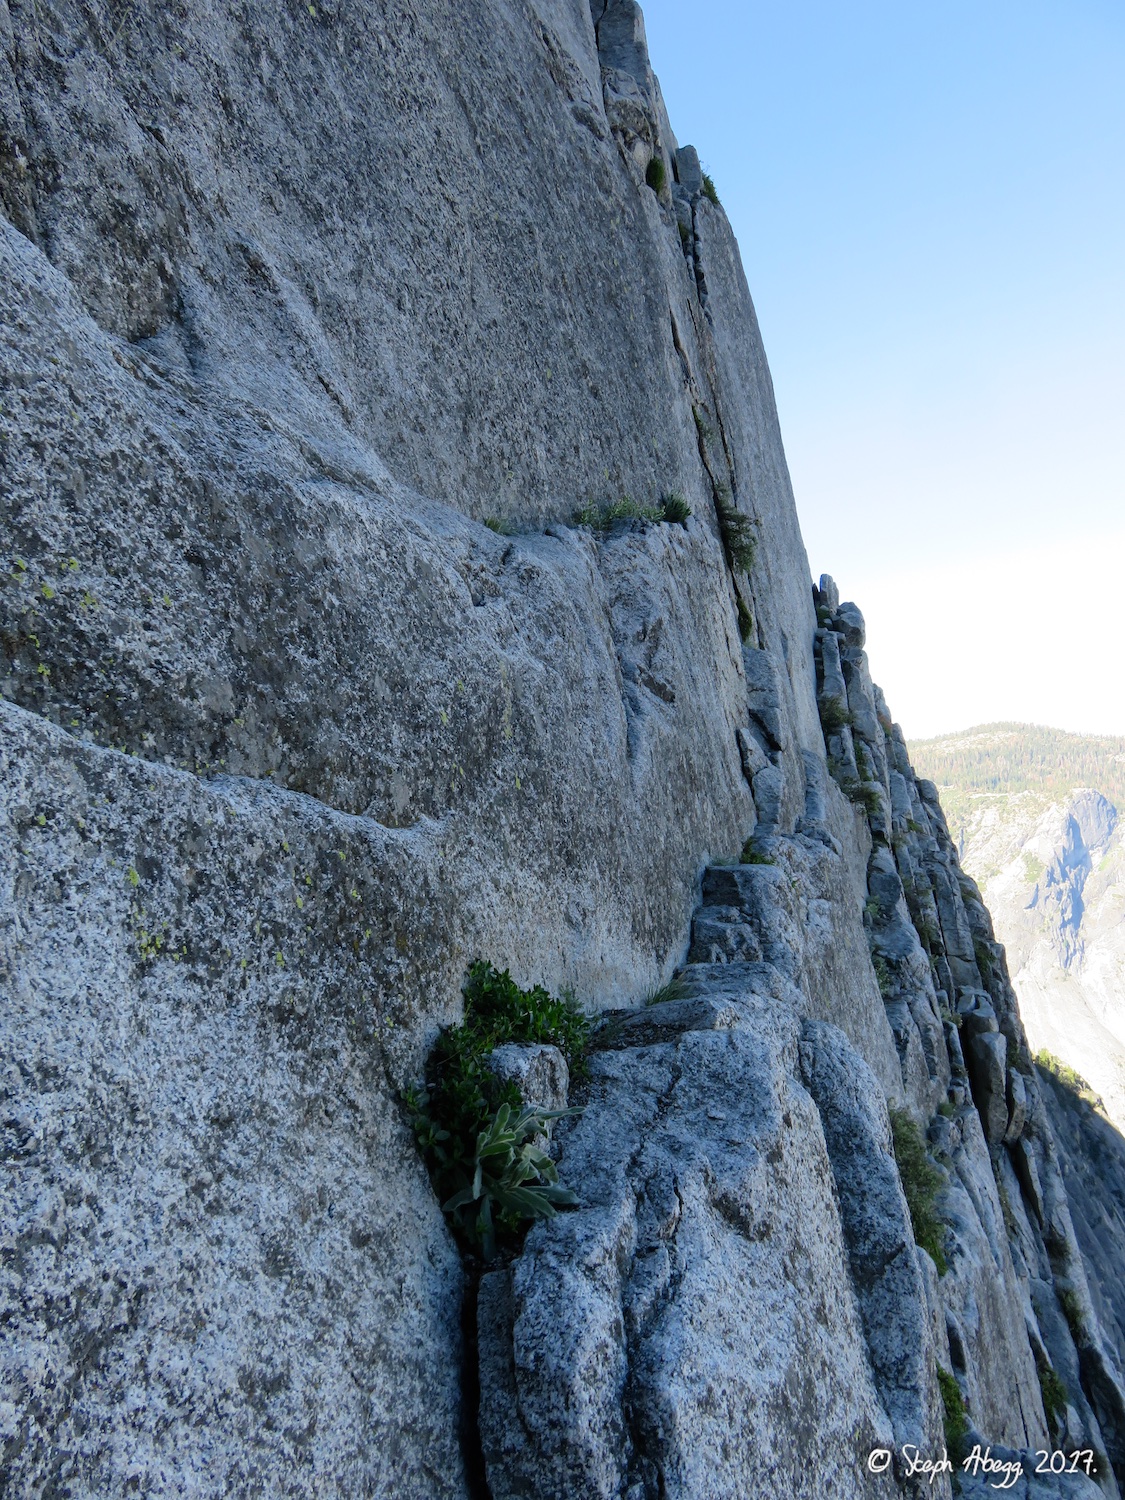
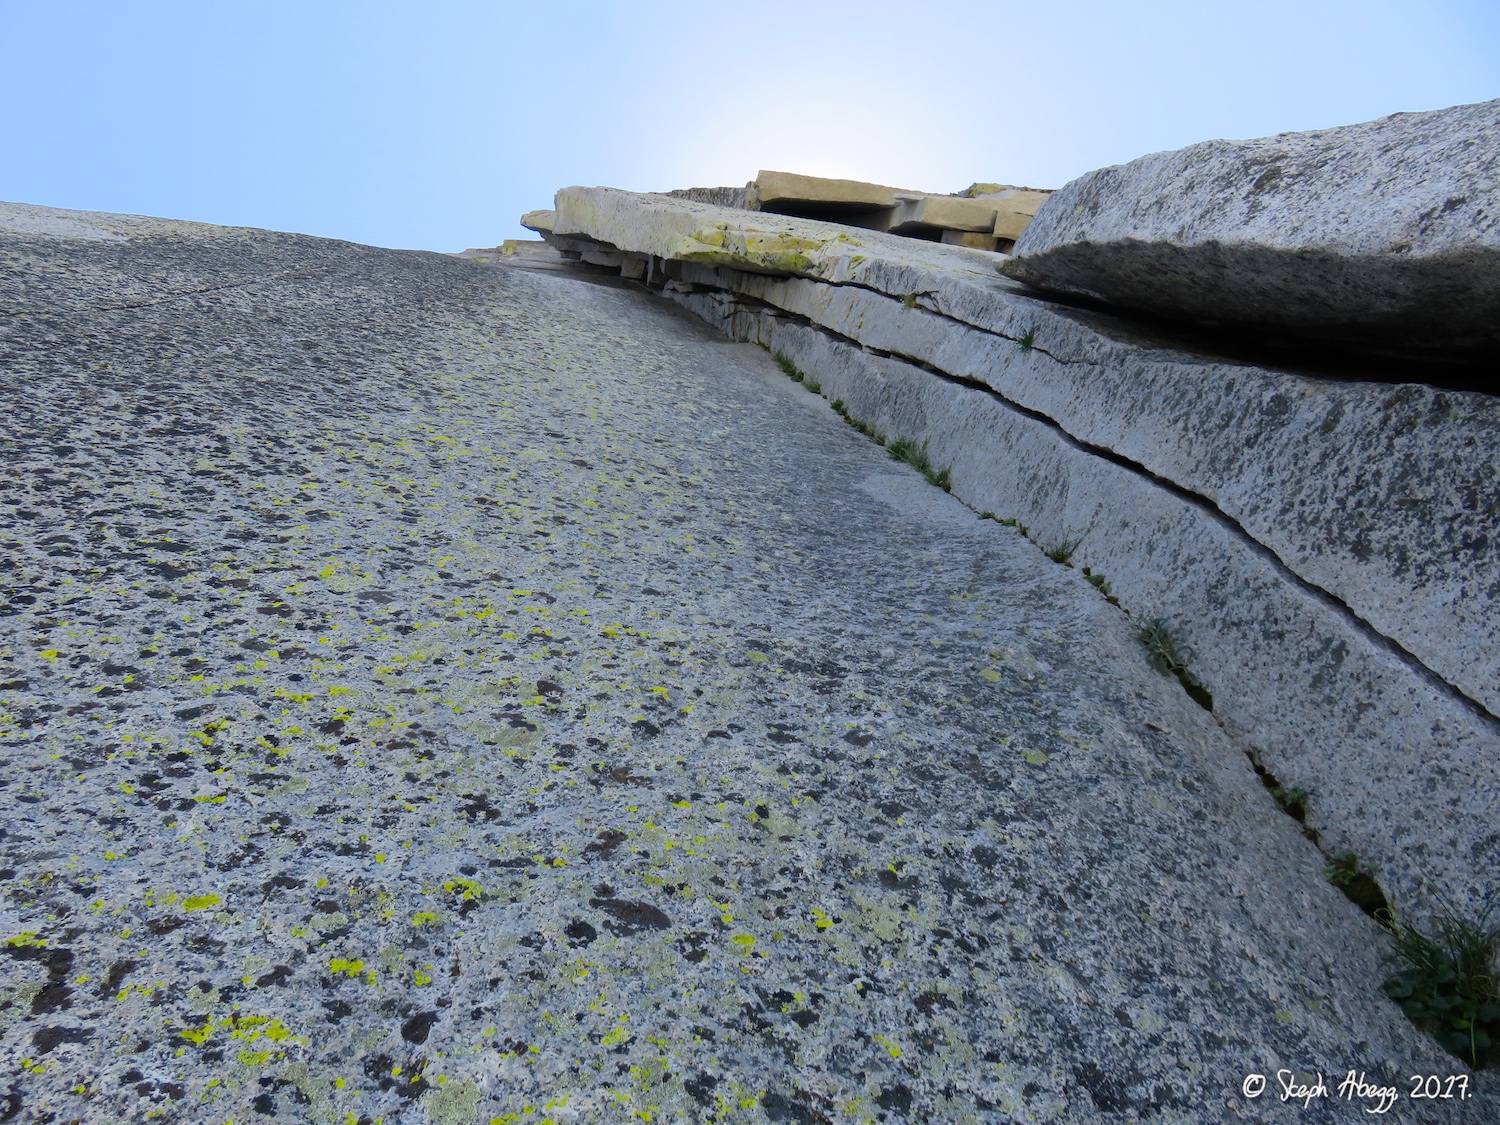
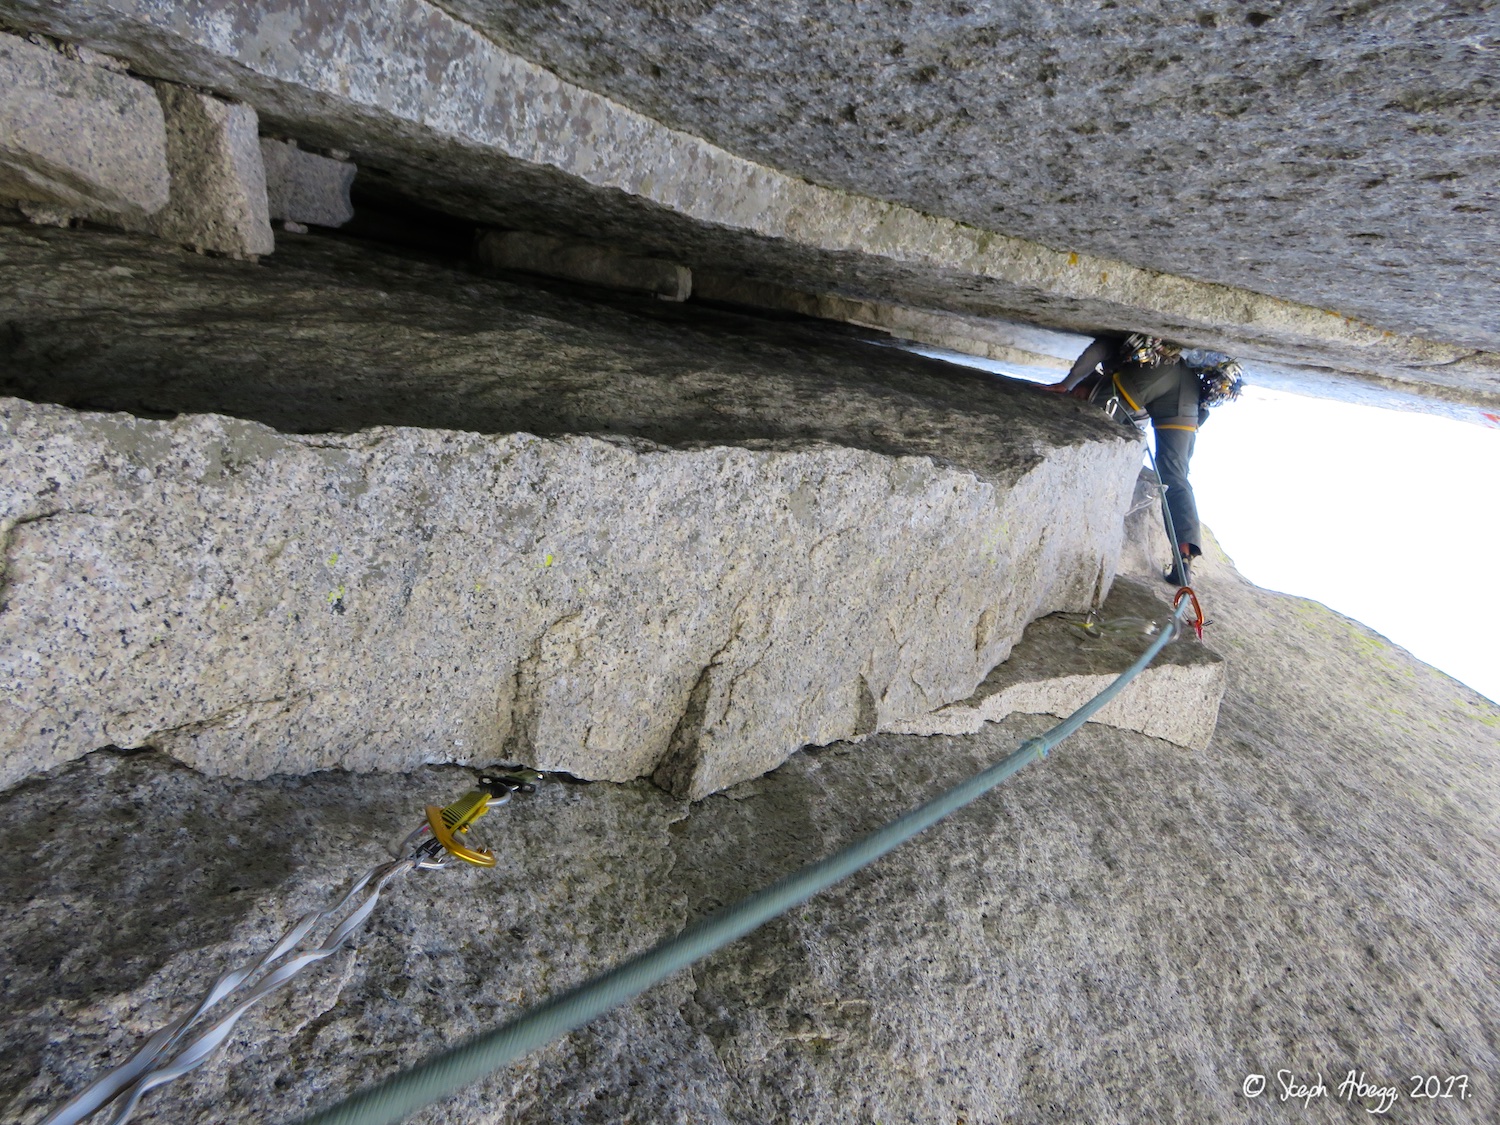
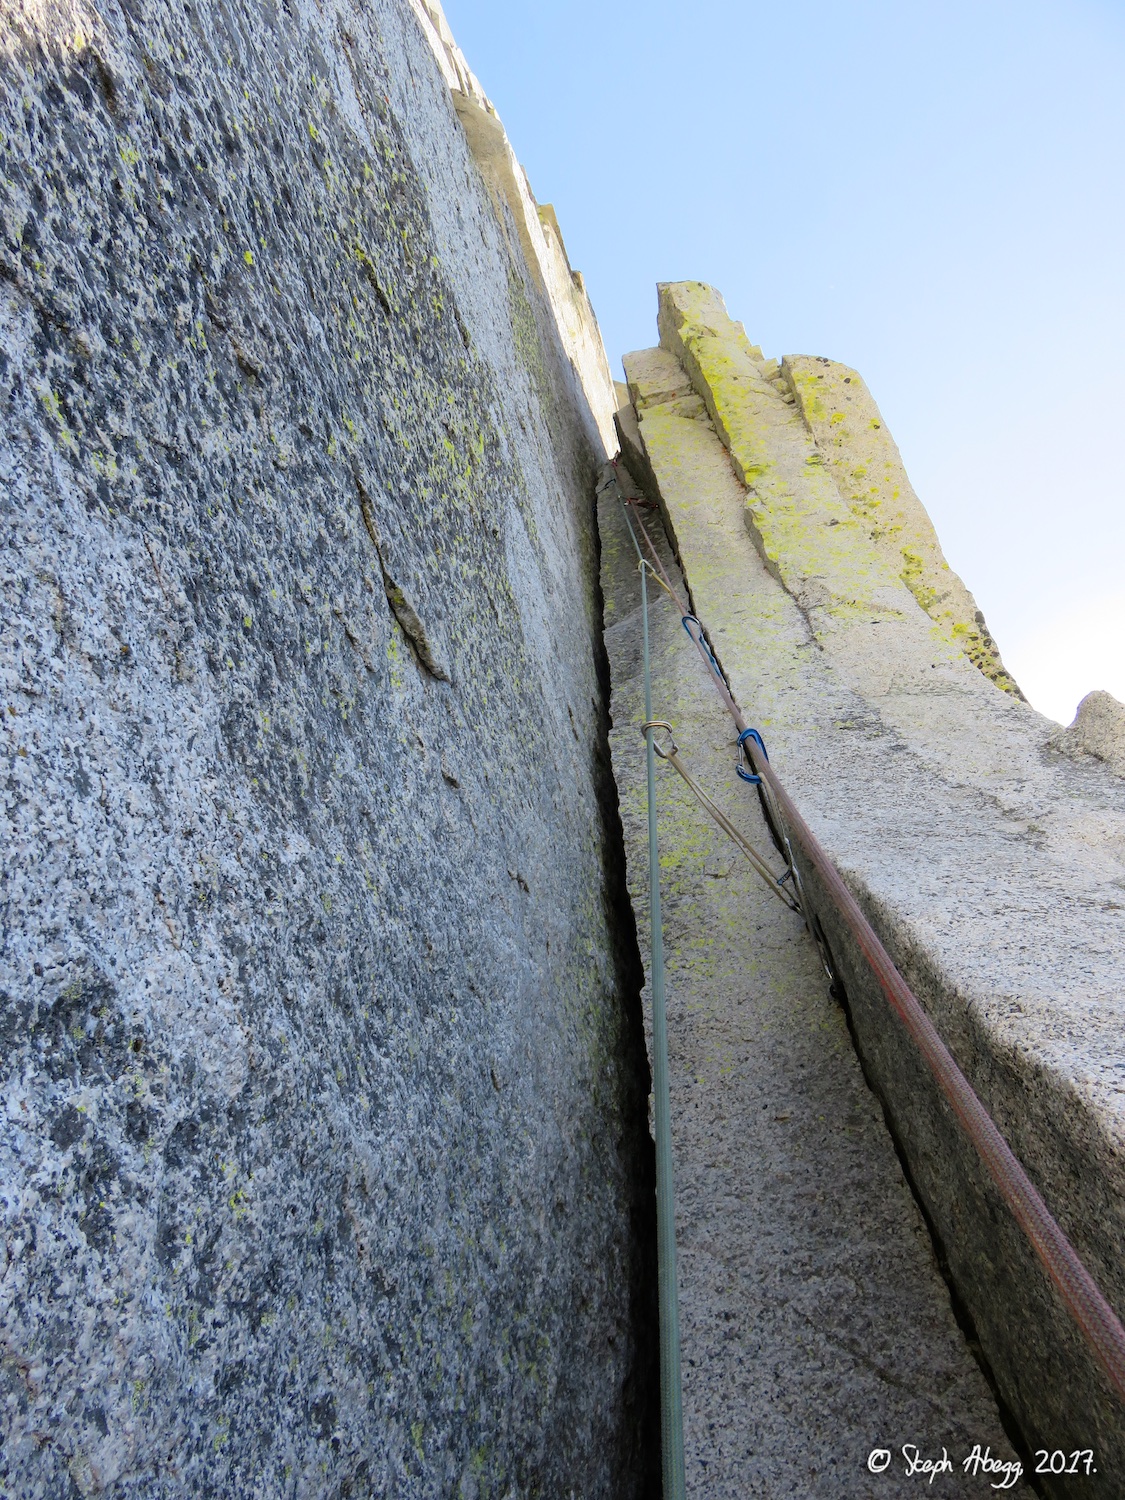
The following page gives some photos from these ten climbs in Yosemite Valley. I'll be back for more. Again and again.

Climbs We Did

CLICK ON ROUTE TO DROP DOWN CONTENT

Absolutely Free, Center: A great Yosemite 5.9, featuring 3 roped pitches of excellent climbing and endless hand jams. The crux is getting to the base of the route.
Positively 4th Street: Another great 5.9, featuring a splitter hand crack and a well-protected roof.

Route Overlays

Pitch-by-Pitch Photos

Photos: Photo descriptions: 
Approach (Absolutely Free)
From Northside Drive, hike up to toe of Lower Brother. Then hike up and right, taking a left at first major ramp system. About 250' of 4th to low 5th scrambling to base of route.
1.  
2.  
3.  
4.  
5.  


1. Despite being aware of the adventurous and potentially sketchy nature of the approach, we still managed to get off route and get onto some pretty mungy 5.8ish terrain, going to high, and having to rap from a tree down to the start of the route. This annotated photo shows the correct way to go!
2. Drew beginning the 4th class / low 5th scramble. We are on route here.
3. Mungy 5.8ish terrain. We are off route here (we had gone up too soon, where the "no!" is in the annotated photo. At least there were some pretty flowers to enjoy along the way.
4. Rapping from a tree to access the base of the route.
5. This is the correct way to go: leftward past these trees.

Pitch 
1
5.9
6.https://farm5.staticflickr.com/4268/35285159081_974246f9ef_o.jpg  
7.https://farm5.staticflickr.com/4284/35027712450_6385e02a35_o.jpg  
8.https://farm5.staticflickr.com/4268/34605167063_a2501ed313_o.jpg   


6. Pitch 1 looms above. Finally, some good climbing ahead! This pitch has some cool moves out of a chimney.
7. Wide crack on the upper half of Pitch 1.
8. Bolted anchor at the top of Pitch 1. These bolted anchors were installed in March 2017. Thanks!

Pitch 
2
5.9
9.  
10.  
11.  
12.
9. Drew starting up Pitch 2.
10. The splitter hand crack. 
11. The splitter hand crack. This crack is what this route is known for.
12. The end of Pitch 2. This is a long (~200 foot) pitch, but can be broken into two pitches by a belay midway.

Pitch 
3
5.9
13.   
13. Looking up Pitch 3. There are a few options here: a fingercrack (left), an offwidth (middle), and a layback (right). All are rated 5.9. I chose the layback, which was excellent.

Descent (Absolutely Free)
As of March 2017: Rap route (4-5 raps) with single 70. Adventurous way: Scramble 200’ of 4th and low 5th to Michael's Ledge and hike down.
14.     
14. As of March 2017, the route can be rappelled with a single 70m rope (4-5 raps). The topmost rappel is off the chockstone at the top of the offwidth. Previous to this, the only way off the route was a rather adventurous scramble up to and then down Michael's Ledge.

Approach (Positively 4th Street)
About 50' left of toe of Lower Brother.
     

Pitch 
1
5.9
15.     
 
15. A view of the route. Despite the heat and our desire to just jump in the river and drink something cold, we couldn't pass this excellent 5.9 pitch by. We were glad we climbed it.

Descent 
(Positively 4th Street)
Rappel route (1 rap) with single 70. And then go jump in the Merced River. Because it's hot.
16.  
17.  
     
16. Jumping in the Merced River always feels best after a hot climb.
17. Hot day!

Linkup of several fun pitches up corners and cracks.

Route Overlay

Pitch-by-Pitch Photos

Photos: Photo descriptions: 
Approach 
Walk towards Lower Yosemite Falls about 100 yds, then take climbers' trail marked by carabiner posts.
1.  


1. The easy approach to the base of Five Open Books. Just about 5 minutes off the paved trail to Lower Yosemite Falls.
Pitch 
1
(Commitment)
5.8
2.  
3.  


2. Racking up below Pitch 1 of Commitment.
3. Splitter hand crack of Pitch 1. This as James' first pitch of climbing in Yosemite. Not a bad introduction to Yosemite cracks.

Pitch 
2
(Commitment)
5.7
4.4. Looking down Pitch 2, a 5.7 layback corner.

Pitch 
3
(Commitment)
5.9
5.   
5. James styling the committing roof move that starts off Pitch 3.

Pitch 
4
(Selaginella)
5.8
6.  
7.  
 
6. Looking up Pitch 1 of Selaginella. Go left up the corner.
7. Looking down the top of the corner of Pitch 1.

Pitch 
5
(Selaginella)
5.7
8.8. Pitch 2.

Pitch 
6
(Selaginella)
5.8
9.  
10.     
 
9. The start of Pitch 3.
10. James on 5.8 face moves that finishes Pitch 3. This move is nice and exposed.

Pitch 
7
(Selaginella)
5.8
11.    
12. 
11. James starting up Pitch 4.
12. Climbing midway up Pitch 4. The climbing is nice and sustained 5.8 on this pitch.

Top of the Second Tier
yay!
13.  
14.  
15.
13. People on the bridge below Lower Yosemite Falls, as seen from near the top of Selaginella.
14. Rainbow from the Yosemite Falls mist.
15. Lost Arrow Spire. Notice the climbers on top!

Descent 
Walk the Yosemite Falls Trail for about 1 mile to hit valley floor around Camp 4.
16.     
16. Hiking down the Yosemite Falls trail.

Higher Cathedral Spire is a classic Yosemite adventure route: a beautiful formation, a compelling line, an intriguing first ascent history, and an awesome summit. Unlike most rock in Yosemite, Higher Cathedral Spire contains numerous face holds and fractured, loose rock, and the route has wild and circuitous face moves. In the summer, this route is shaded until noon.

Route Overlay

Pitch-by-Pitch Photos

Photos: Photo descriptions: 
Approach 
Climbers' trail up Cathedral Gully to base of spire (~1.5 hr).


Pitch 
1
5.5
1.    


1. Looking up from the base of the route, which is marked by a cross etched into the rock.

Pitch 
2
5.9++
2.  
3.  
4.
2. 5.9++ fingers variation. The Sloan guidebook gives this a "++" and I happen to agree!
3. Watch out for the rope-pinching crack just after the roof on the 5.9++ variation. The rope got so stuck when I was leading this pitch that I had to fix the rope and rap down to free it.
4. James climbing the top of Pitch 2, via the 5.9++ fingers variation.
Pitch 
3
5.9
5.  
6.  
  

5. James making the crux (5.9ish) move on Pitch 3.
6. Lots of old pitons on this rather historic route.
Pitch 
4
5.9
7.  
8.  
9.
7. The cool traverse at the top of Pitch 4.
8. James enjoying the climb, with the shadow of Higher Cathedral Spire below. Notice that the route is shaded (in the morning) which made it a good choice for our first route of the day.
9. An old rusted tin of sardines near the top.
Pitch 
5
5.9
10.  
11.  
12.
10. James at the belay below Pitch 5 (steep hands variation).
11. James leading the 5.9 steep hands variation.
12. 5.9 steep hands variation. Good stuff.
Top
yay!
13.  
14.  
  
13. El Cap and James.
14. Me and El Cap.

Descent 
Rappel the route (4 raps with one 50m rope).
15.  
16.  
17.
15. Rap chains on the top of the spire. 
16. Rap anchor at the top of Pitch 3. This is the second (of 4) rappels.
17. When we got down we found all of our stuff strewn about by a crow.

Braille Book ascends a towering open book system, with awesome exposure on steep featured rock and burly climbing up wide cracks. It is sustained and challenging for 5.8. In the summer, this route is shaded by early afternoon.

Route Overlay

Pitch-by-Pitch Photos

Photos: Photo descriptions: 
Approach 
From the Valley Loop, head up on a climbers’ trail that switchbacks up Cathedral Gully (~ 1.5 hour).1. 1. Braille Book ascends the obvious open book feature. Pretty nice line. In this summer this route is shaded in the afternoon, making it a good choice or the second route of the day.

Pitch 
1
5.8
2.  
3.  


2. Looking up Pitch 1.
3. Looking down Pitch 1.

Pitch 
2
5.8
4.4. Looking down while climbing Pitch 2.

Pitch 
3
5.8
5.  
6.
5. Pitch 3.
6. A practically brand new fixed #5 cam we found stuck in Pitch 3. For a moment we thought we had gotten lucky and gotten a brand new cam, but we couldn't get it out. 

Pitch 
4
5.8+
7.  8.  
9.  
10.
7. James sitting on a nice ledge midway up Pitch 4 (as per the topo). 
8. Wide crack climbing on the second half of Pitch 4.
9. The last 20 feet of Pitch 4 go up a nice crack.
10. James had dropped his TC Pro into the chimney midway up Pitch 4. Plus he had forgotten to bring his approach shoes up the route for the descent. Shoe epic! So that meant he had to do the last 2 pitches of the climb and the descent back to the packs with a bare left foot. Ouch! But he was a good sport and tried to make light of the situation.
Pitch 
5
5.7
11.11. Pitch 5 is a short pitch around to the right a bit.

Pitch 
6
5.4
12.12. The fun 5.4 jugs to the top. I had climbed this in the dark in 2005.

Top
yay!13.13. On top!

Descent 
Walk to the notch between the Vally Rim and Higher Cathedral Rock. Continue down gully to approach trail.
14.  
15.  
16.  
17.
14. The mellow descent down the shoulder of Higher Cathedral Rock.
15. James hiking down in bare feet because he forgot to bring his approach shoes up the route and dropped a TC Pro in the chimney. James is one of the few people I know who could smile through this.
16. I discovered a tick embedded in my skin. Yikes! But according to google the tick must be attached for at least 24 hours to transmit Lyme disease, and I think we got it all out...
17. After the crow got into our stuff at the base of Higher Cathedral Spire, we tried to hang our packs this time at the base of the climb, but that did nothing to dissuade the crow. It also didn't seem to matter that we had no food in our packs - it still got into them.

5-star climbing on the base of the most awesome chunk of rock. 4 routes.

Route Overlay

Photos

Photos: Photo descriptions: 
Approach 
Hike trail from El Cap Meadow, ~15 min.

Route 1: La Cosita, Right
5.9, 1p, 90'
1.  


1. The route features a 5.9 lieback/fingercrack.
Route 2: La Costia, Left
5.7, 1p, 60'
2.  
3.
2. Lochie chimneying. There are actually quite a bit of jugs on this route too to keep the climbing at 5.7.
3. Looking down at the route from Sacherer Cracker. The guidebook notes that this route is perhaps the steepest 5.7 in the valley.
Route 3: Sacherer Cracker
5.10a, 1p, 150'
4.  
5.  
6.  
7.  
8.  
 
9.
4. Sacherer Cracker features an excellent, clean widening crack up a steep wall. It starts off as fingers...
5. ...and widens to hands....
6. ...and then fists...
7. ...and then #4 offwidth and then even wider...
8. ...and above the belay a chimney.
9. To avoid the final 15 feet of offwidth which was bigger than #4, I went right onto The Mark of Art (10d, so harder but more protectable) for a bit and then cut back left to the anchor of Sacherer Cracker.
Route 4: Moby Dick
5.10a, 1p, 150'
10.  
11.  
12.
10. The crack begs to be climbed. The route starts with a technical fingercrack and then features a long battle up a widening fist crack. I found the fingercrack easy and the fist crack (offwidth for me) hard.
11. Looking down while climbing the hand/fist crack. You can actually protect it with small cams and pitons on the right, and save the #3s for the widening crack for up higher.
12. I wished for two #4's here...but I got through it and probably my favorite section of the route was the roof move at the top.

This is a classic Yosemite 5.9, featuring well-protected grooves and corners.

Route Overlay

Pitch-by-Pitch Photos

Photos: Photo descriptions: 
Approach 
About 200 yards left of the Central Pillar of Frenzy.
1.  

1. Looking up the route from the base of the climb.

Pitch 
1
5.8/10a
2.  
3.  
4.  
5.     


2. Sam starting up Pitch 1. This was the first pitch he had ever climbed at Yosemite!
3. Not a bad view, huh?
4. The 10a variation near the top of the pitch.
5. While Sam was leading Pitch 1, I watched a party on the Nose do the King Swing.
Pitch 
2
5.8
6.6. Looking down Pitch 2. Fun stuff.

Pitch 
3
5.8
7.  
8.
7. Looking up Pitch 3.
8. Great corner climbing on Pitch 3.

Pitch 
4
5.9
9.     
 
9. Looking up Pitch 4.

Pitch 
5
5.9
10.  
11.  
12.  
13.  
14.  
15.  
  
 
10. The start of Pitch 5.
11. At the piton, there are two options: a 5.9 step onto the face to the left (I tried and I couldn't figure out the move) or going about 15 feet higher in the corner and then making an airy 5.8 traverse on flakes across the face (this is what I did).
12. Sam on the airy traverse across the face on flakes. It is best if the leader can run it out and set the next piece about 20 feet above the traverse in order to keep the rope more above the follower. I had linked this part of the pitch with Pitch 4, so I set the belay about 20 feet above the traverse, using a #3 and #4 for the belay. The SuperTopo guide actually shows a belay here, making the route 6 pitches.
13. Sam laybacking the 5.9 corner. This pitch is fairly sustained for awhile. Nice lead Sam.
14. Sam higher in the corner. Great climbing.
15. Looking down the corner.

Top
yay!The route can be continued for several mungy pitches to the Kat Walk above, but most climbers rappel from the top of Pitch 5.
Descent 
Rappel the route with 2 ropes (4 raps).
16.     
16. The rappel from the top of Pitch 5. Rappelling the route requires 2 ropes.

This route up the North Face of Sentinel has a few excellent pitches and several so-so pitches, but it is a nice athletic day with spectacular views of the Valley. The route has several fixed pitons.

Route Overlays

Pitch-by-Pitch Photos

Photos: Photo descriptions: 
Approach 
Hike ~1 mile of 4 Mile Trail. Leave main trail just before creek crossing and hike uphill on faint trail. At base of Sentinel, scramble up and right on ramp system until a sandy slope. To get to base of route, head left up 4th and low 5th ledges (choose your own adventure—the goal is to keep it low 5th at most). 
1.  
2.  
3.  
4.  
5.  
6.  
7.  
8.  
9.  
10.  
11.  


1. A climbers' trail leaves the 4 Mile Trail about 100' before the creek.
2. Approaching the first ramp (see overlay).
3. On the first ramp.
4. On a short ledgy bit between ramp systems.
5. On the second ramp.
6. The topo we had suggested that we needed to ascend this white groove to get to the base of the Chouinard-Herbert route. We tried, but it seemed pretty difficult and not well-protected.
7. A close up of the groove. Harder than it loosed from afar.
8. The goal is to find a 4th/low 5th way to the base of the route. After bailing on the white groove idea, we ended up going up the ramp in the photo and that seemed to work okay.
9. On the grungy low 5th approach pitches.
10. On the grungy low 5th approach pitches.
11. On the grungy low 5th approach pitches.
Pitch 
1
5.7
12.12. Looking up from the base of the route. For Pitch 1 we went right near Flying Buttress, then cut back left on a ramp. Seems like there are several options, some grungier than others.
Pitch 
2
5.7
13. 
13. Bolted belay atop Pitch 1 (yeah, we are indeed on route! The belay anchors on this route had been upgraded to double bolts, which we appreciated). Behind Sam is the start of Pitch 2.
Pitch 
3
5.8
14.  
15.  
16.  
14. Pitch 3, unremarkable. To top of Chessman Pinnacle.
15. Great view of El Cap from Sentinel.
16. Notice the boulder leaning against the tree.
Pitch 
4
5.10d
17.17. Pitch 4. This is the first of the hard pitches of the route.
Pitch 
5
5.9 & 11c/C1
18.  
19.  
20.  
21.  


18. Face climbing on the first half of Pitch 5.
19. 11c/C1 crack on the second half of Pitch 5. I aided this using slings as makeshift aiders. 
20. Old piton. There are a lot of pitons on this route.
21. Manky old anchor. The belay anchors had been upgraded to double bolts which made the route seem much more civilized. 
Pitch 
6
5.10a
22.22. This was a fun pitch. There were so many pitons that Sam only placed one cam the entire pitch. Feels like sport climbing!
Pitch 
7
5.10a
23. 
23. A crack for my pitch to lead, yea! 
Pitch 
8
5.924.24. Pitch 8.
Pitch 
9
5.8 & 11a/C1
25.  
26.  
25. The 5.8+ offwidth that starts off the pitch. The feet are a bit slippery which makes it earn the "+" for sure.
26. The 11a/C1 corner that finished the pitch. I did not feel comfortable trying to free most of this on lead, so I did a lot of French freeing and using slings as makeshift aiders at the roof. It looked like a pretty nice section of climbing though.
Pitch 
10
5.10b & 11c/C1
27.  
27. This section of the route is called the "Afro-Cuban Flakes". It is hard (11c) but riddled with pitons, so we aided through it using slings as makeshift aiders. Without real aiders and the traversing nature of the pitch, we found aiding it to be a bit difficult for both leader and follower.
Pitch 
11
5.8
28.  
29.  
30. 
28. Pitch 11 starts with hand cracks up a chimney/slot.
29. Easy ramp midway on the pitch.
30. The pitch ends with a section of chimney. This chimney did not seem to be on the topo, unless it is considered to be part of the "5.4 simulclimb to the top." It might be considered 5.4 if you can get back inside where it is easier, but it is a tight squeeze especially with gear on the harness; staying further out seems harder than 5.4.
Pitch 
12
5.4
31. 
31. Easy cracks lead to summit. We did not have to simulclimb as suggested by the route topo, but perhaps we had gone further on Pitch 11 than on the topo.
Top
yay!
32.  
33.  
34.  
35.   
32. Sam at final belay on top of Sentinel.
33. On top!
34. Yosemite Valley from Sentinel. Pretty unique/awesome view.
35. Yosemite Falls from Sentinel.
Descent 
From top, hike south to enter a steep gully; hike down gully and contour around front of formation to rejoin approach trail. This descent is not trivial—the goal is to keep it 3rd class.
36.  
37.  
38.  
36. Broken tree on cliffs above descent gully.
37. Descent gully, midway.
38. Descent gully, lower. I wouldn't want to do this in the dark. 

One of the most popular 5.9 crack climbs at Yosemite, offering excellent jamming with everything from fingers and stems to fist cracks and chimneys. This was the third time I have climbed this awesome route and I would climb it again.

Route Overlays

Pitch-by-Pitch Photos

Photos: Photo descriptions: 
Approach 
~15 min from pullout at junction of road near El Cap Meadow.
1.  


1. It was a hot day (90° or so on the Valley floor) so we jumped in the Merced River just before the climb. Our clothes were dry by a few pitches up.

Pitch 
1
5.9
2.  
3.  
 
2. Pitch 1. When we started at 2pm, the shade was just hitting the route.
3. 
Middle Cathedral is oriented such that shade/sun line pretty much hovers within 10 feet of the base for much of the day (at least in late June). The route was entirely shaded just after 2pm so we climbed in the shade.
Pitch 
2
5.9
4.  
5.  
  
 
4. Finger crack on Pitch 2. I always find this pitch pretty stiff for 5.9, but maybe that's because it makes my toes hurt and I never feel as secure when my toes hurt.
5. Sam styling the crack. Such an awesome route.
Pitch 
3
5.8
6.  
7.  
8.  
6. Another awesome pitch.
7. The 5.7 roof is super fun.
8. 5.8 offwidth. It is nice to have a couple of 4's here, or have one 4 and be strategic about where you can fit 3's.
Pitch 
4
5.8
 9.9. Looking up Pitch 4 from the belay. Another awesome pitch. Of course.
Pitch 
5
5.9
10.10. Looking up Pitch 5 from the belay. You guessed it, awesome.
Top
yay!
11.   
11. Actually, the Central Pillar continues upward for several more pitches, but these look not so awesome as the first 5 pitches, so most climbers rappel from the top of the 5th pitch. This photo is taken looking up from the top of Pitch 5.
Descent 
Rappel with 2 ropes down climbers' left side of pillar.
12.  
13.   
12. Rapping. You can rap the route, but the recommended rappel route is down the left side of the pillar, to keep from rappelling into another party coming up.
13. The views of El Cap are some of the best you can get.

The classic route up the steep NW Face. Over 2000 feet of awesomeness.

Route Overlays

Below is a route overlay I created using a high resolution photo by Mark Thomas. Mark has authored a Half Dome Map Project on his website, where you can zoom into the image of Half Dome and see the features in about 4x higher resolution than the image I have provided below. Check it out, it is quite amazing!

Pitch-by-Pitch Photos

Photos: Photo descriptions: 
Approach 
Trail or Slabs. We opted for the Slabs, the shorter/ quicker option.
1.  
2.  
3.  
4.  
5.  
6.  
7.  
8.  
9.  
10.  
11.  
12.  
13.  
14.  
15.  
16.  
17.  
18.  
19.  
20.  
21.  
22.  
23.  
24.  
25.  
26.  
27.  
28.  
29.  
30.  


1. Need a permit to camp overnight in Yosemite backcountry (we planned on camping near the base of the NW Face of Half Dome. Fortunately permits are free and unlimited for people wanting to climb the NW Face.
2. Also get a bear canister. Apparently bears have been spotted before below the NW Face, but the canister is useful to protect food from the crows, which seemed to be the main problem for me on this trip (had a crow get into my unguarded food 4 times).
3. Hiking to Mirror Lake, where the Slabs approach starts.
4. The park recently renamed Curry Village to Half Dome Village. Some of us will always remember it as Curry Village.
5. The trailhead to Mirror Lake.
6. The spillway at Mirror Lake. The climbers' trail starts about 200' after this.
7. We jumped into Mirror Lake before heading up towards the Slabs approach.
8. Where the climbers' trail starts. Not too easy to see unless you are looking for it, but there was also a small cairn marking the start (might not always be there).
9. The top of the talus cone. Go right up 3rd/4th class from here. Pretty easy to find this.
10. The 3rd/4th class to right of talus cone.
11. The first fixed rope.
12. Anchor for first fixed rope. You cannot see the anchors for the fixed ropes on this approach so you have to assume that they are good and not damaged by rockfall or anything.
13. The catwalk towards the main drainage.
14. The main drainage. Lots of 3rd class to next fixed rope.
15. 3rd class up slabs to next fixed rope.
16. The second fixed rope.
17. This would be ~5.5 terrain without the rope, but not too protectable and difficult with a heavy pack on, so the fixed rope is nice to have. We each used an ascender to help grip onto the rope.
18. The bolted anchor for the second fixed rope.
19. Looking across the drainage at a fixed rappel line (you can go that way if descending via the Slabs, rather than try to go down fixed ropes).
20. The fourth fixed rope marked on topos. The third fixed rope was missing but we easily scrambled up and around that area. 
21. The fourth fixed rope went up some pretty wet and slippery rock. The first move was pretty difficult. I would have felt more comfortable if I had put my harness on and had my ascender actually attached on a sling to my harness in case I slipped. But I didn't want to bother putting it on.
22. The fifth fixed rope marked on topos. This also went up some somewhat slippery rock so I would have preferred having my ascender attached to me.
23. The 2nd class terrain above the last fixed rope. The NW Face looms above.
24. Our camp below the NW Face. There are several nice bivy sites within 200 feet of the base of the route.
25. View of the NW Face from the tent door.
26. There is a convenient spring just 5 feet right of the base of the route. The spring usually runs until late summer. We did not treat the water. 
27. This rock scar on the NW Face looks like a flying space man with a pet gecko on his shoulder.
28. Looking up at the rock scar from the July 2015 rockfall that took out a section of the route. To get through this area now entails a bolt ladder, tension traverse to mantle, C2 up a corner, and a rope toss.
29. A gaping offwidth about 500' right of the Regular NW Face route.
30. A climbing shoe at the base, probably dropped from high above. Darn it.


Pitch 
1
5.10c or C1
31.31. Looking down Pitch 1, a nice long pitch to start the day. 

Pitch 
2
(We linked Pitches 2 & 3)
5.9
 32.  32. Sam starting his lead of Pitch 2.

Pitch 
3
(We linked Pitches 2 & 3)
5.8
33.  
34.  
35.  
36.  
33. Sam had linked Pitches 2 and 3 so this is taken near the start of Pitch 3.
34. Morning shadow of Half Dome. El Cap in distance.
35. Morning light on North Dome and Basket Dome.
36. Morning light on Washington Column.

Pitch 
4
(Could be linked with Pitch 5, but instead we linked Pitches 5 & 6 with some simul-climbing)
5.10a or C1, A0
37.  
38.  
39.
37. Start of Pitch 4.
38. Looking down the short bolt ladder in the middle of the pitch.
39. The end of Pitch 4. I enjoyed this pitch—really fun climbing.

Pitch 
5
(Could be linked with Pitch 4, but instead we linked Pitches 5 & 6 with some simul-climbing)
5.9
40. 
40. Sam starting off Pitch 5.
Pitch 
6
(We linked Pitches 5 & 6 with some simul-climbing)
5.9
 41.41. To gain some ground on the parties below us, Sam linked Pitches 5 and 6 (with some simul-climbing) so this photo was taken midway up Pitch 6. 
Pitch 
7
5.8
42.  
42. Pitch 7.
Pitch 
8
(We linked Pitches 8 & 9)
4th 43.43. Looking down while leading Pitch 8. This is pretty easy climbing so I ran it out for about 100 feet to my first piece so I could minimize rope drag and link Pitches 8 and 9. (You can either link Pitches 7 & 8 or 8 & 9, but I think 8 & 9 is the better option for minimizing rope drag.)
Pitch 
9
(We linked Pitches 8 & 9)
4th & 5.9+
44. 
44. Pitch 9, which I linked with Pitch 8. Mostly easy climbing apart from a short 5.9+ section (good pro) to gain the upper ledge.
Pitch 
10
Robbins Traverse
A0  45.45. Sam leading the Robbins Traverse bolt ladder. He is about at the tension traverse to the ledge. When I followed this, it was a pretty straightforward lower-out.
Pitch 
11
5.10a or C2
46.  
46. Looking down at Pitch 11, with Sam following. This is an interesting pitch that face climbs right and then back left, where most of the pro is in pin scars (offsets work great).
Pitch 
12
Rope Toss
(beta note: we found a couple of camhooks useful for aiding the C2 corner)
A0, TT, 5.8, C2 (11c), & rope toss
47.  
48.  
49.  
50.  
51.  
52.  
53.  
54.  
55.  
56.  
57.
47. The old anchors for the end of Pitch 11, now hanging out in space. The scar from the rockfall can be seen below. This used to be a mellow ledge and 5.6 chimney between the rock and giant flake. 
48. Starting off the bolt ladder. This is a mix of pins and bolts.
49. Sam attempting the rope toss. I think he is still a little bit low here and had to go to a higher bolt (or maybe the perspective just makes it look too low). (In the photo, you can see the foot of another climber (Alex) who has started to lead the bolt ladder. Until this pitch, we had managed to stay out of the way of the two parties below us (Alex and Keith, Alister and Jemma), but due to the involved nature of this pitch it created a traffic jam. This pitch took 1.5 hours for Sam to lead and about 45 minutes for me to follow.)
50. One of the bolts was missing a hanger. This photo shows Alister (from the third party on the route) tying a sling to the bolt for protection, which is what Sam did as well.
51. Close-up of the sling on bolt that is missing a hanger.
52. On lead, there is a tension traverse to a 5.8 mantle on this ledge. Following entails a lower out. The green rope is ours the red rope is from another party (Alex and Keith) that had begun leading the pitch. 
53. A lower out while following the bolt ladder. 
54. The C2 (11c) corner. Alex is leading above. Sam is at the belay to the right of the corner and out of view.
55. In this photo, I am at a bolt in the C2 (11c) corner, looking over at Sam at the belay at the end of the pith. It is from this bolt that the leader does a rope toss to the crack where Sam's right foot is in the photo, and then ascends this rope to the belay.
56. The goal is to get the knot wedged here, where Sam's toe is. Sam got it after about a dozen tries, and having watched Sam figure out the ideal technique, Alex got it on his second toss. The rope toss eats up some time, but it is kind of fun, actually. Nice work figuring out this pitch for everyone Sam!
57. Another view of the rope toss. I have started my lead of Pitch 13, and am looking down. Sam is at the belay on the left and Alex is doing the rope toss from the bolt in the C2 corner on the right. Alister is arriving at the bolt in the C2 corner. This pitch had taken awhile so we had a traffic jam of all three parties trying to get through it.
Pitch 
13
The Chimneys
(Can link Pitches 13 & 14)
5.7
58.  
59.  
58. Looking up the Chimneys.
59. Looking down while leading Pitch 13. This is really fun climbing.

Pitch 
14
The Chimneys
(Can link Pitches 13 & 14)
5.7 or 5.9
 60.60. Sam leading Pitch 14, opting for the "5.7 stem" rather than the "5.9 squeeze" on the left. The move getting into the 5.7 stem is the trickiest, but after this the climbing is pretty fun and reasonably protected. I should have linked Pitches 13 and 14.
Pitch 
15
(We linked Pitches 14 & 15, since we had not linked Pitches 13 & 14)
5.9
61.  
61. Fun climbing on Pitch 15, which Sam linked with Pitch 14.
Pitch 
16
5.9
 62.62. This photo is taken at the end of Pitch 15. Pitch 16 climbs the cracks behind Sam to the horn at the top. I led this pitch. It was pretty fun crack climbing.
Pitch 
17
Big Sandy Ledge
5.9
63.  
64. 
63. Pitch 17. More awesome crack climbing.
64. Sam at Big Sandy Ledge. We decided to let Alex and Keith pass us here, since they had a bit more aid experience and would be faster on the Zig Zags and we didn't want to hold them up. It was a nice place to hang out for an hour, snacking and resting our feet before the final push to the top.
Pitch 
18
Zig Zags
C1 (12a)
 65.65. Starting up the Zig Zags. Since I have done a lot more following of aid pitches than leading of aid, Sam led while I jugged. 
Pitch 
19
Zig Zags
C1 (12a)
66.  
67.  
68.  
69.   
66. The second pitch of the Zig Zags.
67. Hanging out at the anchors in the evening light. The Zig Zags took awhile (as aiding always does) so I entertained myself by taking photos.
68. Looking down at Big Sandy Ledge and The Slabs approach 2000 feet below. Alister and Jemma had arrived at Big Sandy Ledge and planned to stay there for the night.
69. Lots of old pitons and fixed gear on the Zig Zags.
Pitch 
20
Zig Zags
10b or C1 I did not get a photo of this short pitch, which pretty much just continues up to ledge right of Thank God Ledge.
Pitch 
21
Thank God Ledge
5.9
70.  
71.  
  
70. Thank God Ledge. I had asked to lead this pitch. I just crawled along skating a cam (#1, #2, #3 as you go) along with me. Looking down 2000 feet at the narrowest point—when I had one leg dangling in space and one knee on the ledge—is a memorable experience!
71. The "5.9 chimney" that finishes the pitch. I could not figure out a way to do this move, so I set a highly uncomfortable belay and we ended up doing a shoulder stand to give an assist to reach the juggy lip above to pull through the move.
Pitch 
22
(beta note: a camhook or a grappling hook might help with a sketchy face move on this pitch)
C2 (12a), A0 (12c) 72.72. Starting Pitch 22, which has two bolt ladders with a tension traverse (or lower out for follower) between. There is a section where to reach the bolt requires a camhook in a pocket or grappling hook on a crystal. Sam was in leading mode and I was in jugging mode. Nice job finding the camhook placement in the dark, Sam!
Pitch 
23
5.8
73.  
73. Starting the final pitch to the top. The first half of this pitch traverses left following a horizontal crack system that takes small cams and trusting your feet on the slab. Set pro for the follower or they face a pretty big swing....
Top
yay!   It was sort of dark so I didn't get any good photos.
Descent 
Trail or Slabs. We opted for the trail since descending the Slabs—the shorter option—sounded a bit too tedious.
74.  
75.  
76.  
77.  
78.  
79.  
80.  
81.  
82.

74. To get off the summit, descend the cables route. It was a bit difficult to find the start of the cables in the dark. The footing is pretty slippery and steep, so we clipped our daisies to the cables for the steeper sections.
75. Since we got back to camp late, we decided to hike out in the morning. We decided to take the trail out rather than the slabs. This photo is taken on the climbers' trail between the base and the hikers trail.
76. The climbers' trail to the base of the NW Face starts at this sign on the hikers trail to The Cables route. This is where they check permits for those going up The Cables. (You don't have to worry about that permit that if you are climbing the NW Face, but you do need a backcountry permit to sleep under the base.)
77. Hiking the trail. It gave us views of some of the Yosemite backcountry and passed by some cool waterfalls, so we were glad we went this way.
78. Mt. Watkins. This massive wall—hidden from view from the Valley floor—contains a handful of climbing routes, but many with few ascents.
79. Nevada Falls.
80. The Mist Trail.
81. Vernal Falls.
82. Squirrel.

Comments Pertaining to this Page / Trip Report

Useful beta. Updated route information. Corrections. Historical notes. Interesting facts. No fluff please.
Leave a Reply

Your email address will not be published. Required fields are marked *