Intro
I cannot seem to get enough of The Diamond, so just over a week after climbing the Black Dagger, I was back for another lap on the Diamond's steep walls.
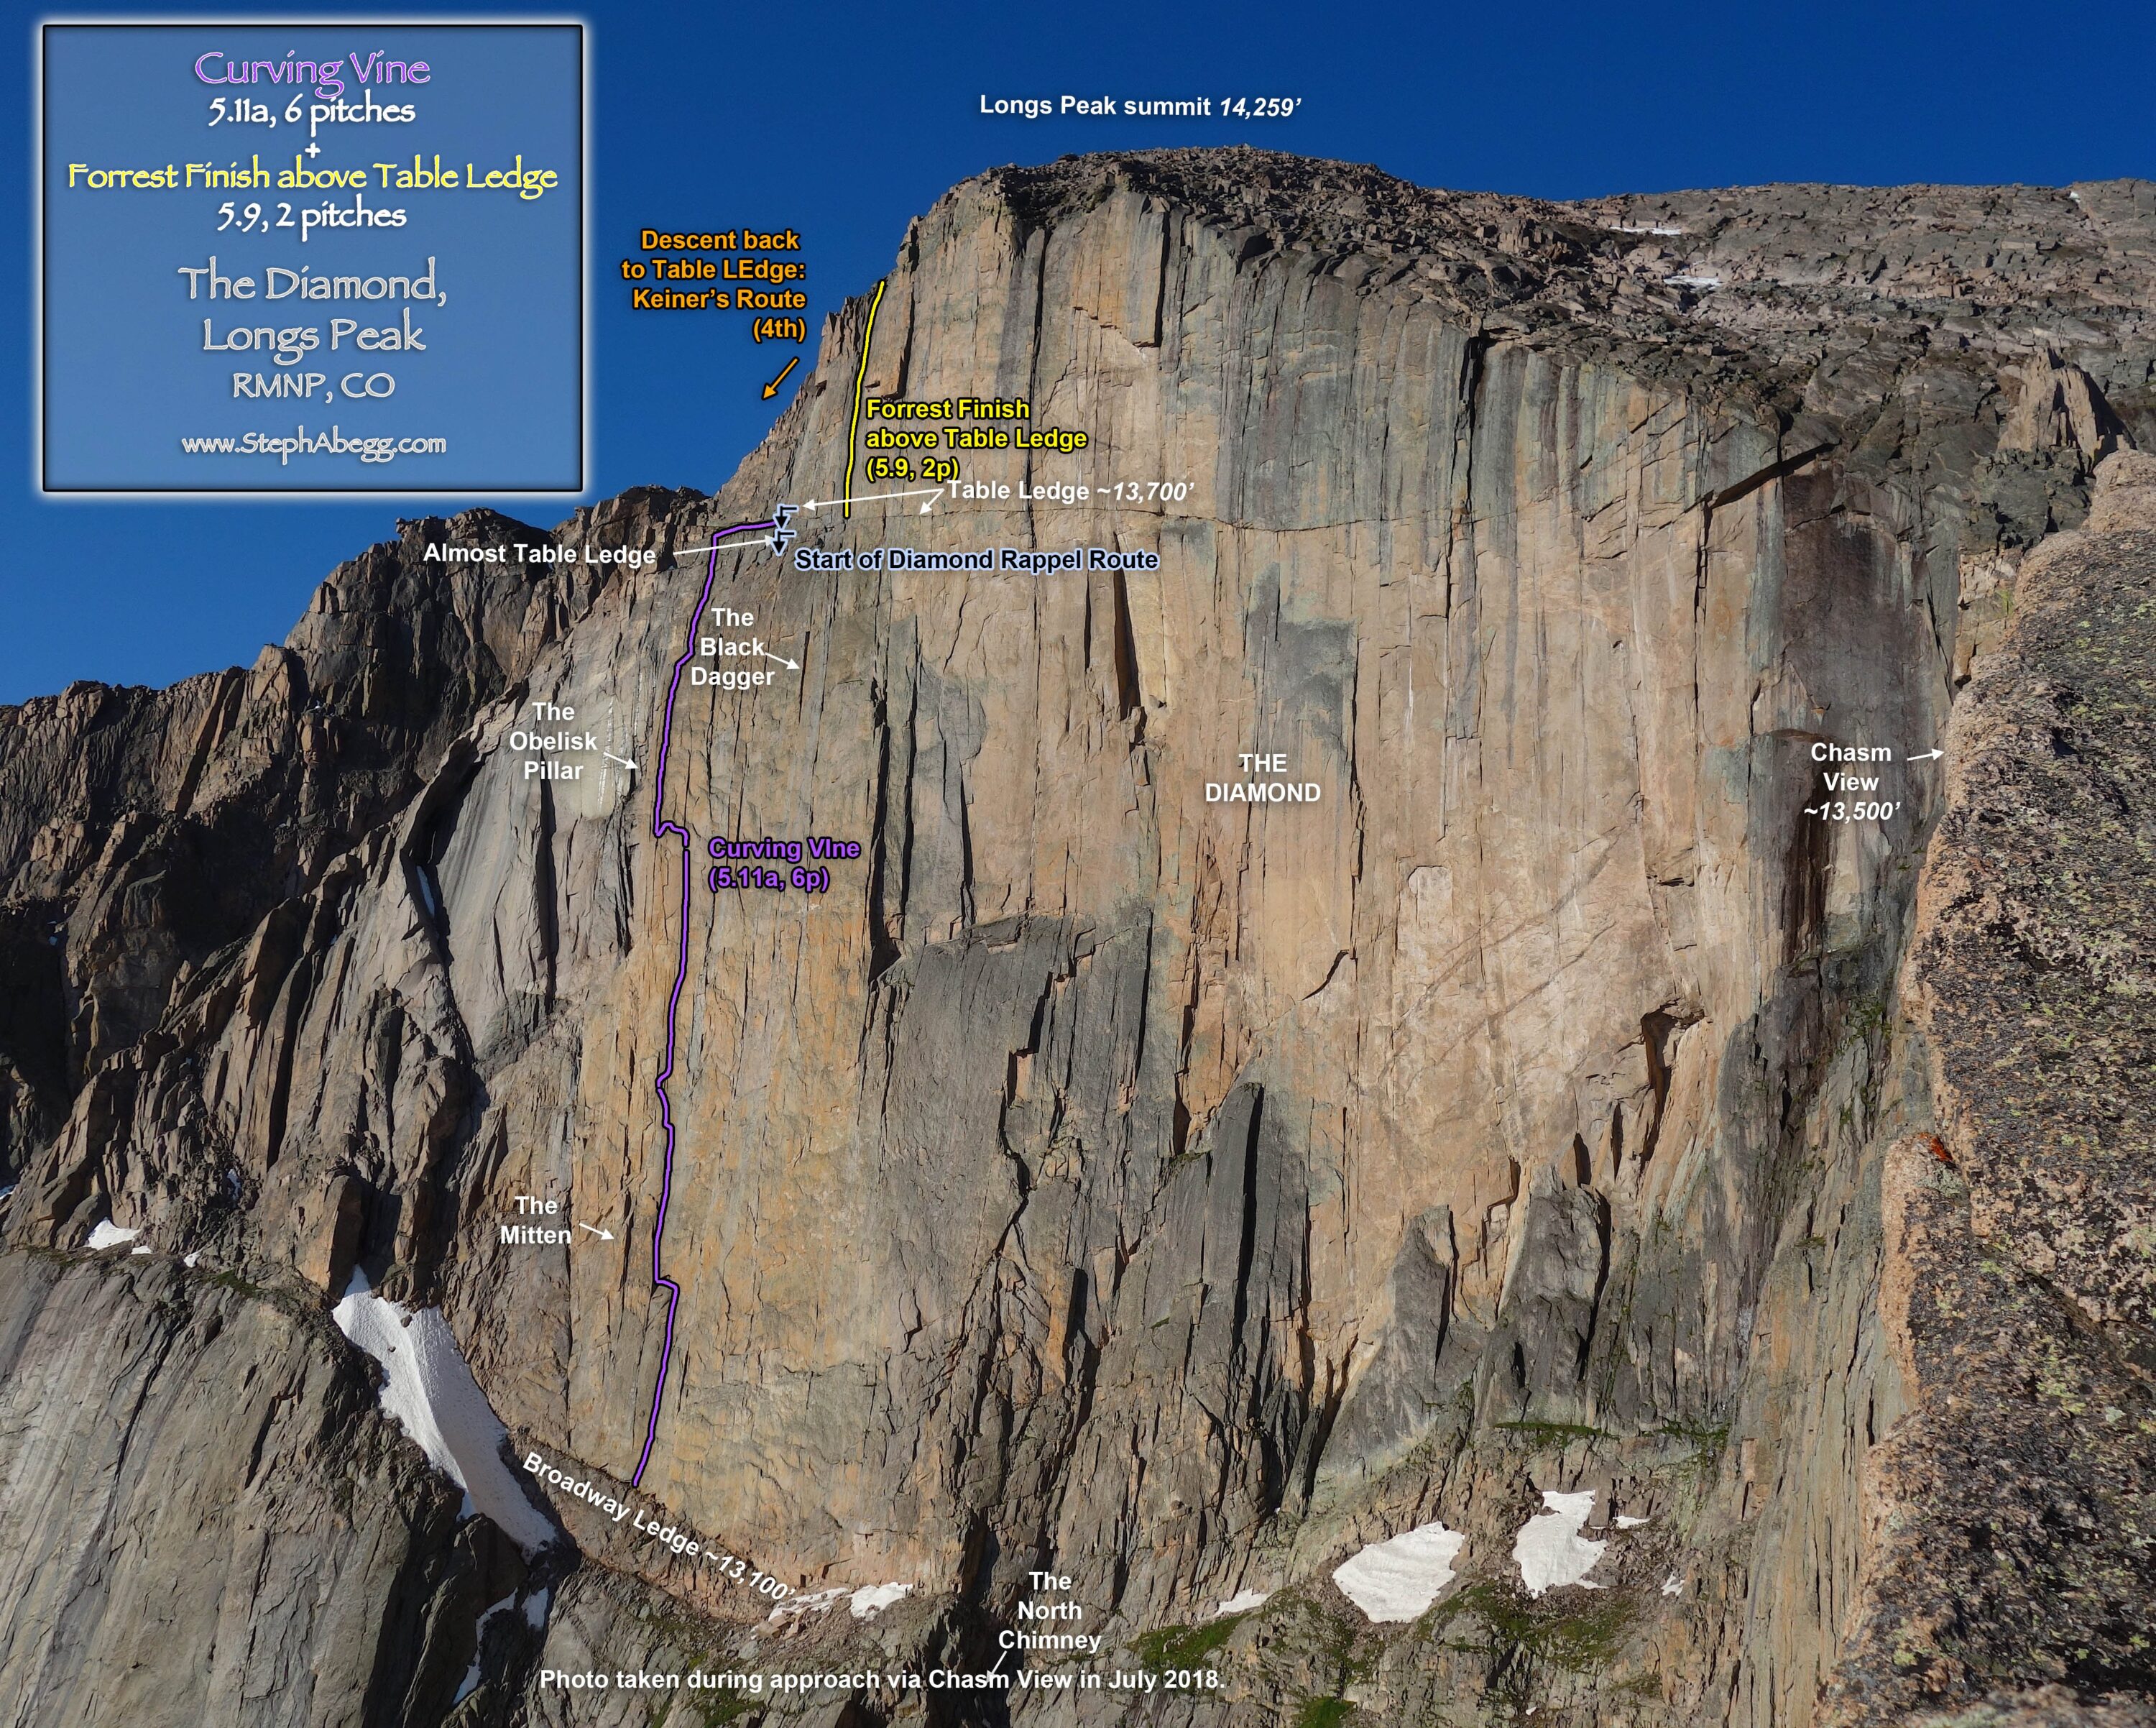
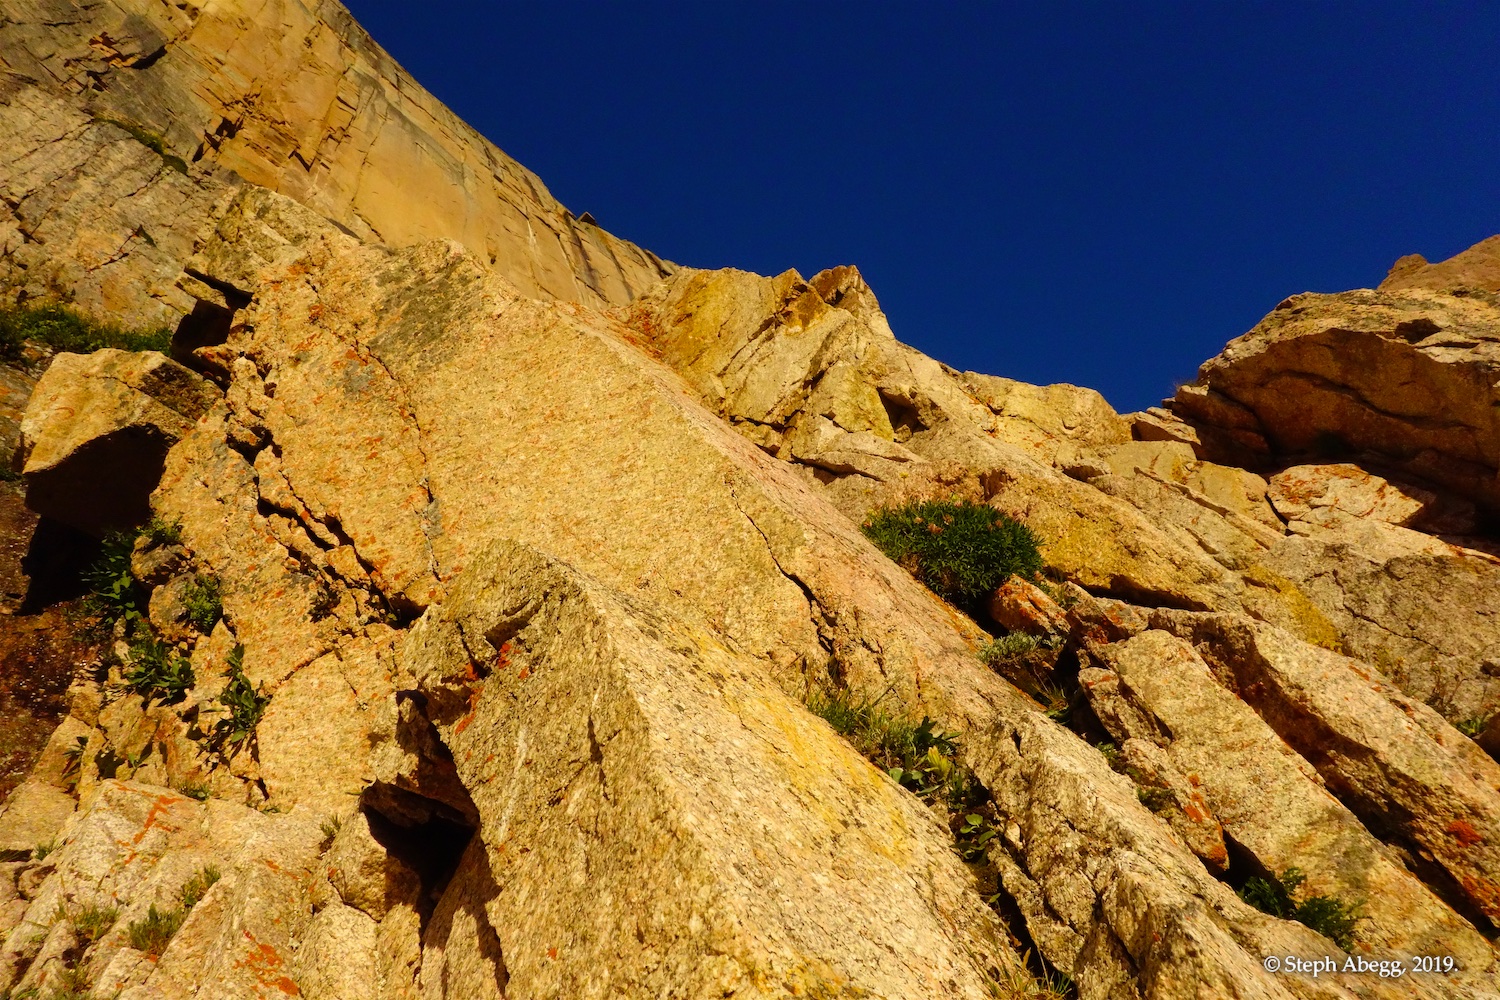
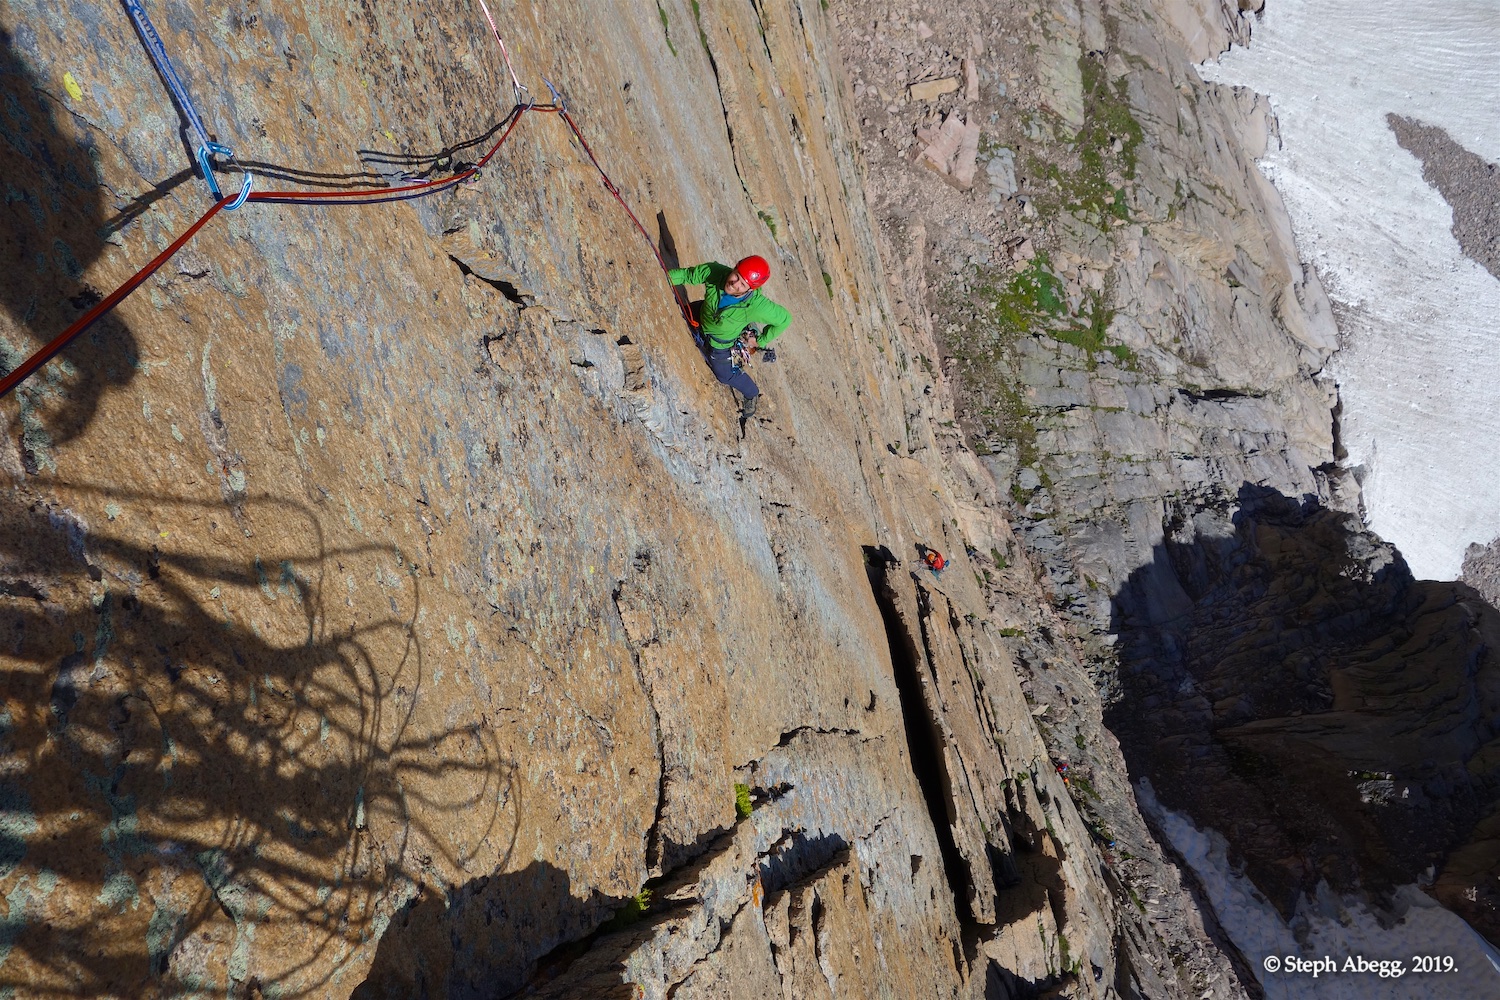
Most routes/parties on the Diamond stop at Table Ledge and rappel back down to Broadway Ledge. However, the Diamond's vertical walls continue upward for a few hundred feet above Table Ledge. The top rim of the Diamond ends a mere 200 vertical feet from the summit of Longs Peak. On my previous five climbs of the Diamond before this trip report, I had only once continued above Table Ledge, when we cut left and scrambled up Kiener's Route (3rd/4th) to the summit after climbing the Yellow Wall + Forrest Finish to Table Ledge. But I had always wanted to continue straight up and top out on the upper rim of the Diamond's towering walls. My partner Tom had also climbed several routes on the Diamond and never climbed above Table Ledge, so he was eager to do so too. This trip report marks the first time that I climbed the full length of the Diamond from Broadway Ledge to the top rim of its vertical walls.
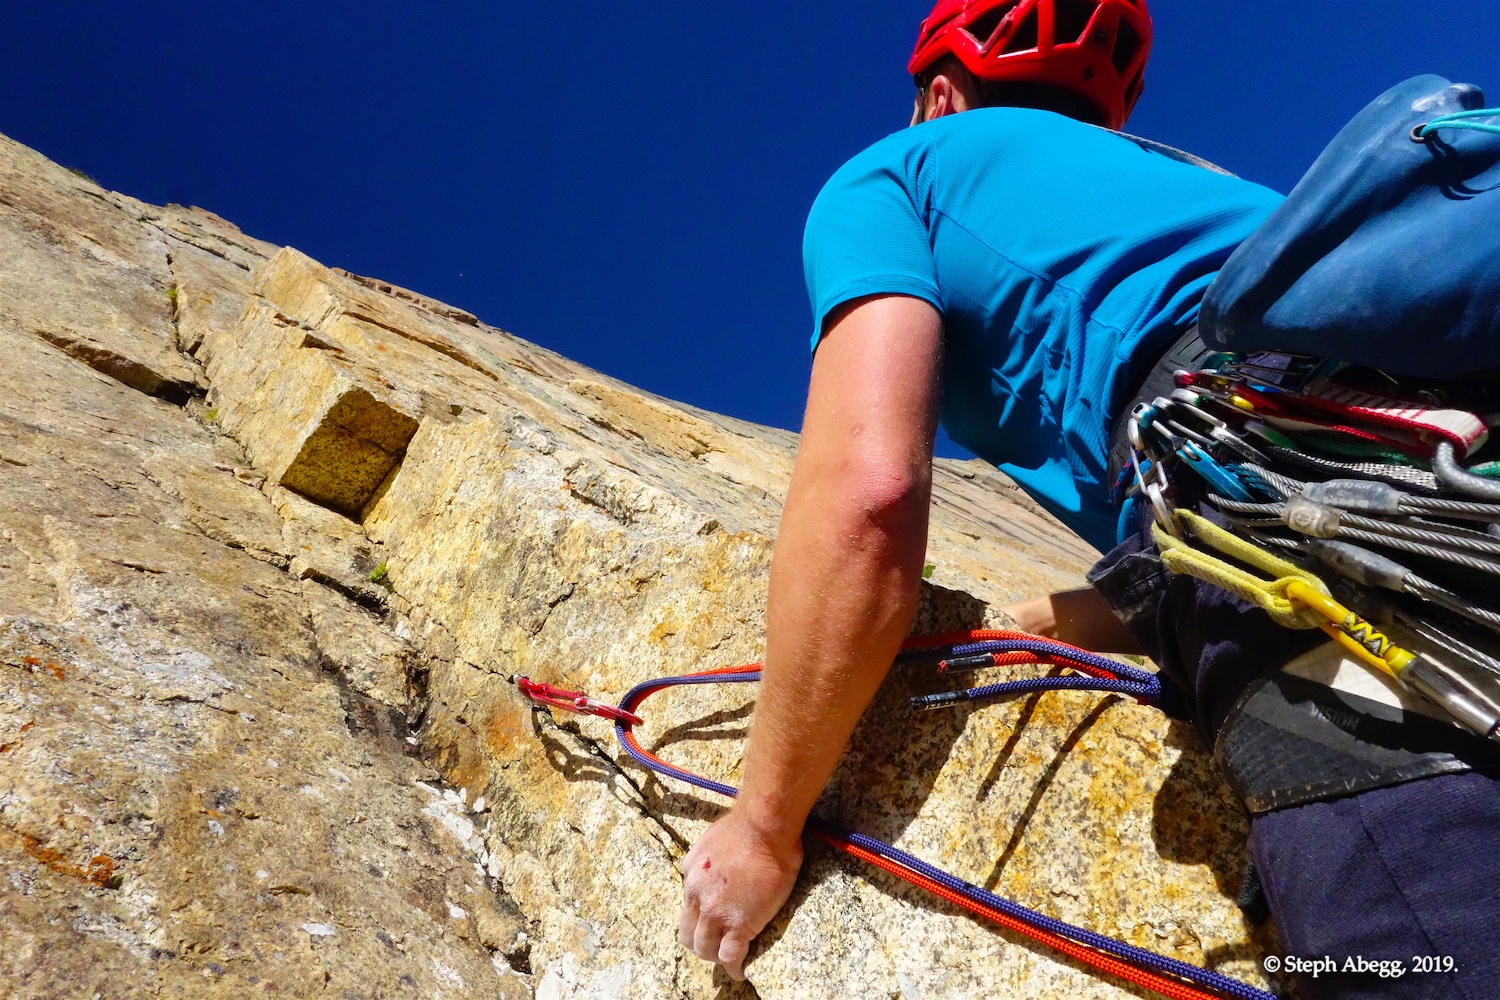
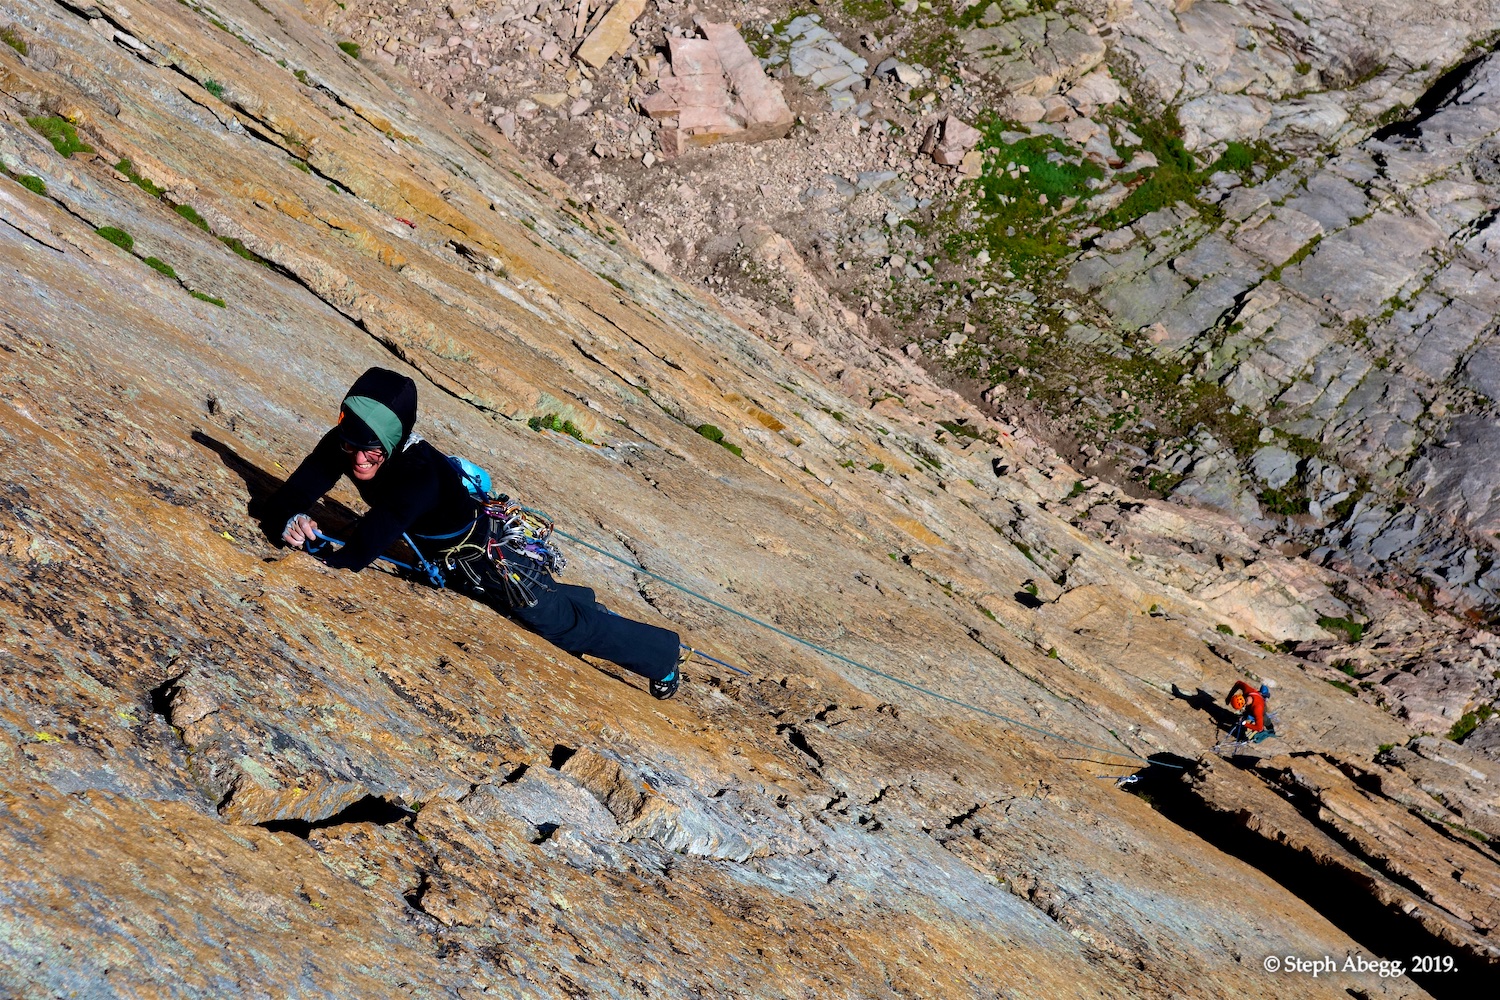
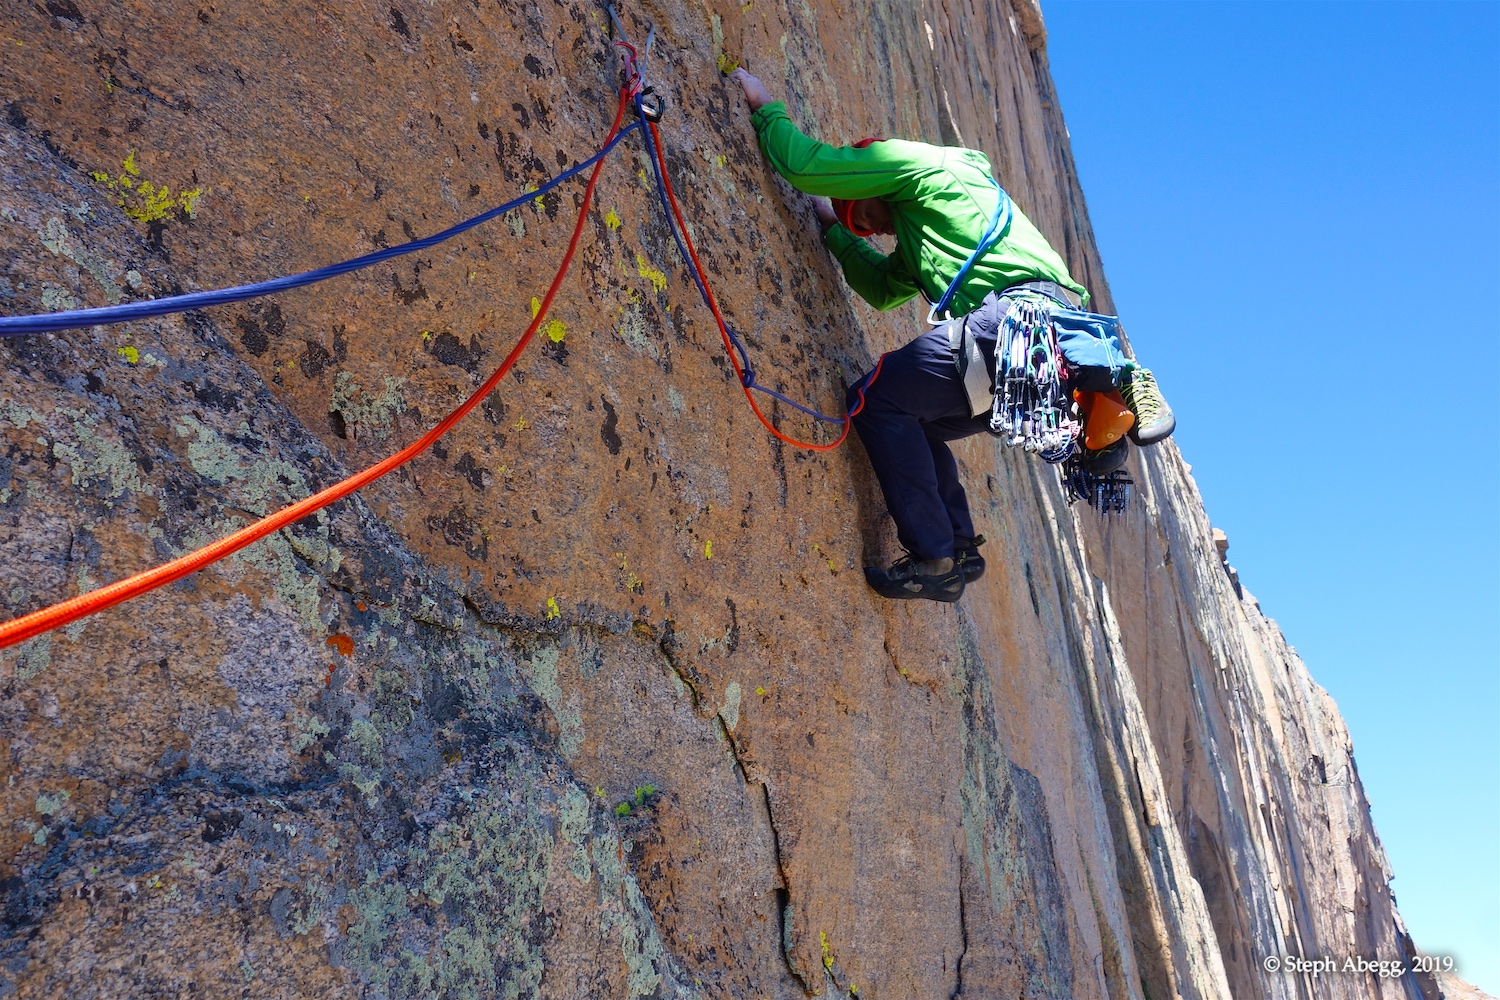
The route Tom and I climbed to Table Ledge was Curving Vine. The first pitch of Curving Vine is what you rap over on the final rappel to Broadway Ledge on the Diamond Rappel Route so this route had always intrigued me as a "mostly-moderate-by-Diamond-standards route I have not done" every time I rapped past it. Curving Vine climbs a crack system between Ariana/Pervertical and D7, eventually intersecting Pervertical Sanctuary for the final two pitches to Table Ledge. The original route contained two pendulums for which the route is named, but it is more standard these days to climb the free version, which is what we did. The climbing on the free version is 5.9-5.11a and, like all routes on the Diamond, steep and athletic. I found Curving Vine to be harder than any other route I have climbed on the Diamond thus far (including Black Dagger which gets the same 11a grade and Ariana which gets a 12a grade). Perhaps I was not climbing as confidently on this particular day, but the rock on Curving Vine felt slick and insecure and there were several moves above marginal gear. It was still a great route, but I found it a bit more heady for me than others on the wall.
Above Table Ledge, we climbed the last two pitches of the Forrest Finish route. These pitches were wet 5.9, even in mid-August. They are probably rarely completely dry. I doubt these pitches are climbed much and I will probably never opt to climb them again, but it was very much worth it for the sake of climbing above Table Ledge to the top rim of the Diamond at least once. It was awesome to climb the full length of the vertical face!
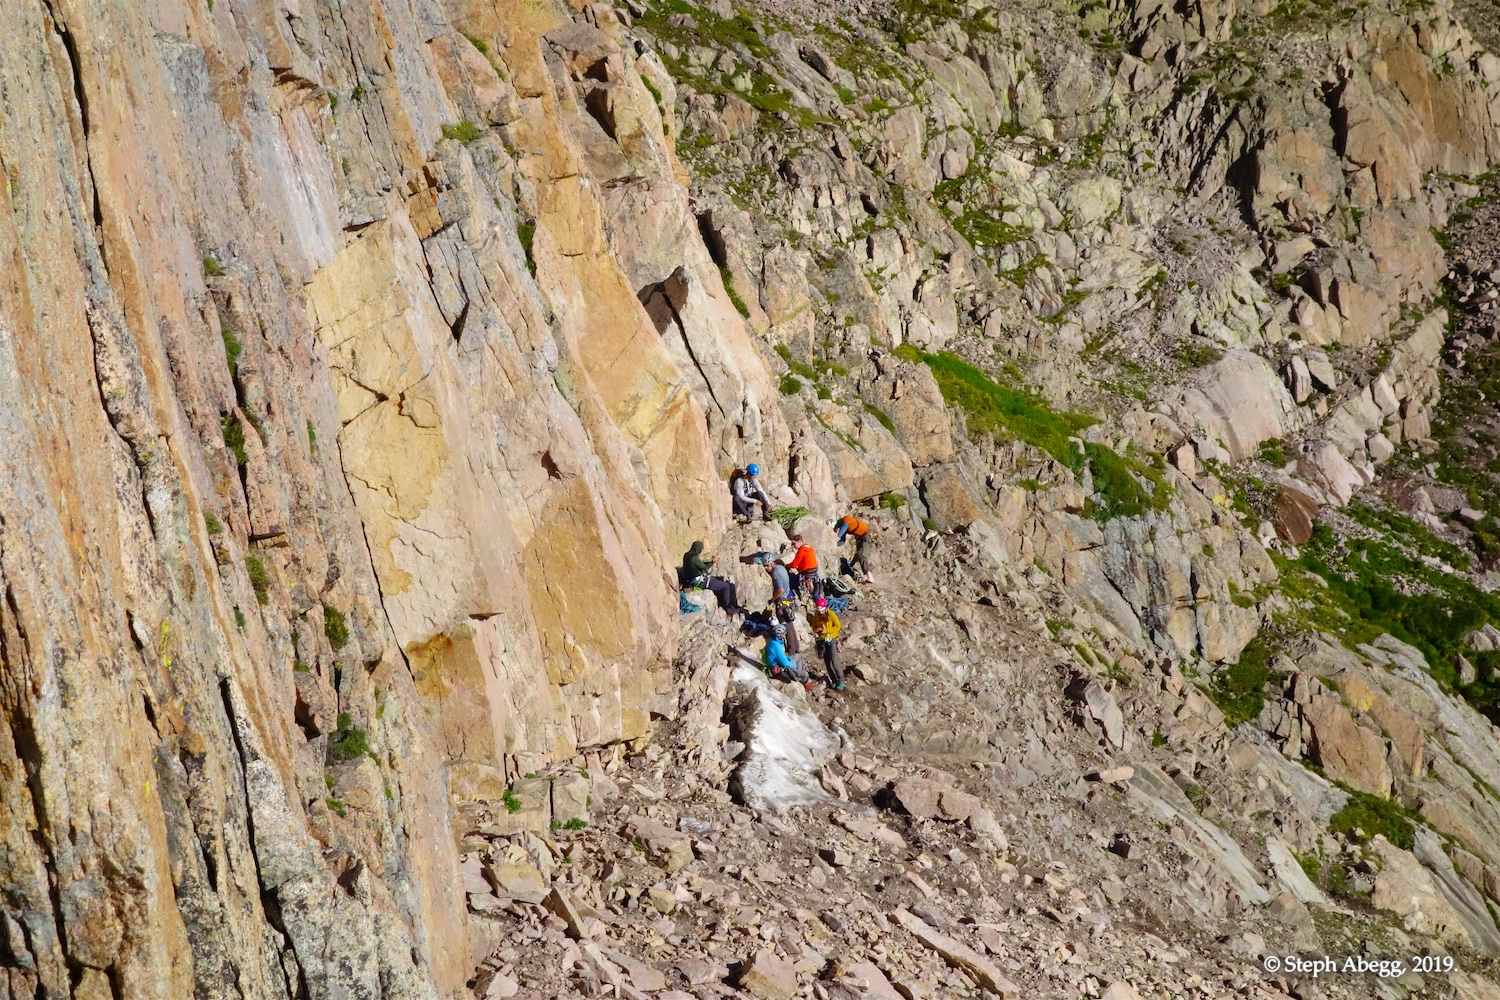
Climbing the Diamond is always a bit of a logistical decision regarding approach and descent. I have created a "Diamond beta page" summarizing the two major options of approach and the two major options of descent. Tom and I decided to approach via the North Chimney. The last few times I had climbed the Diamond (including just a couple of weeks previous to this trip report) I had used the Chasm View raps to access Broadway Ledge, so this gave me an opportunity to get a good comparison of the "time from trailhead to Broadway Ledge" for these two main methods of approach. The North Chimney was indeed a bit (~30 min) quicker than the Chasm View rappels, but also there were half a dozen parties in it with us, which made it a bit nerve-wracking with the looseness of the rock in the North Chimney. I think my preference of Chasm View raps or North Chimney comes down to the time of the season; if the North Chimney is icy or wet, I'd opt for the Chasm View rappels.
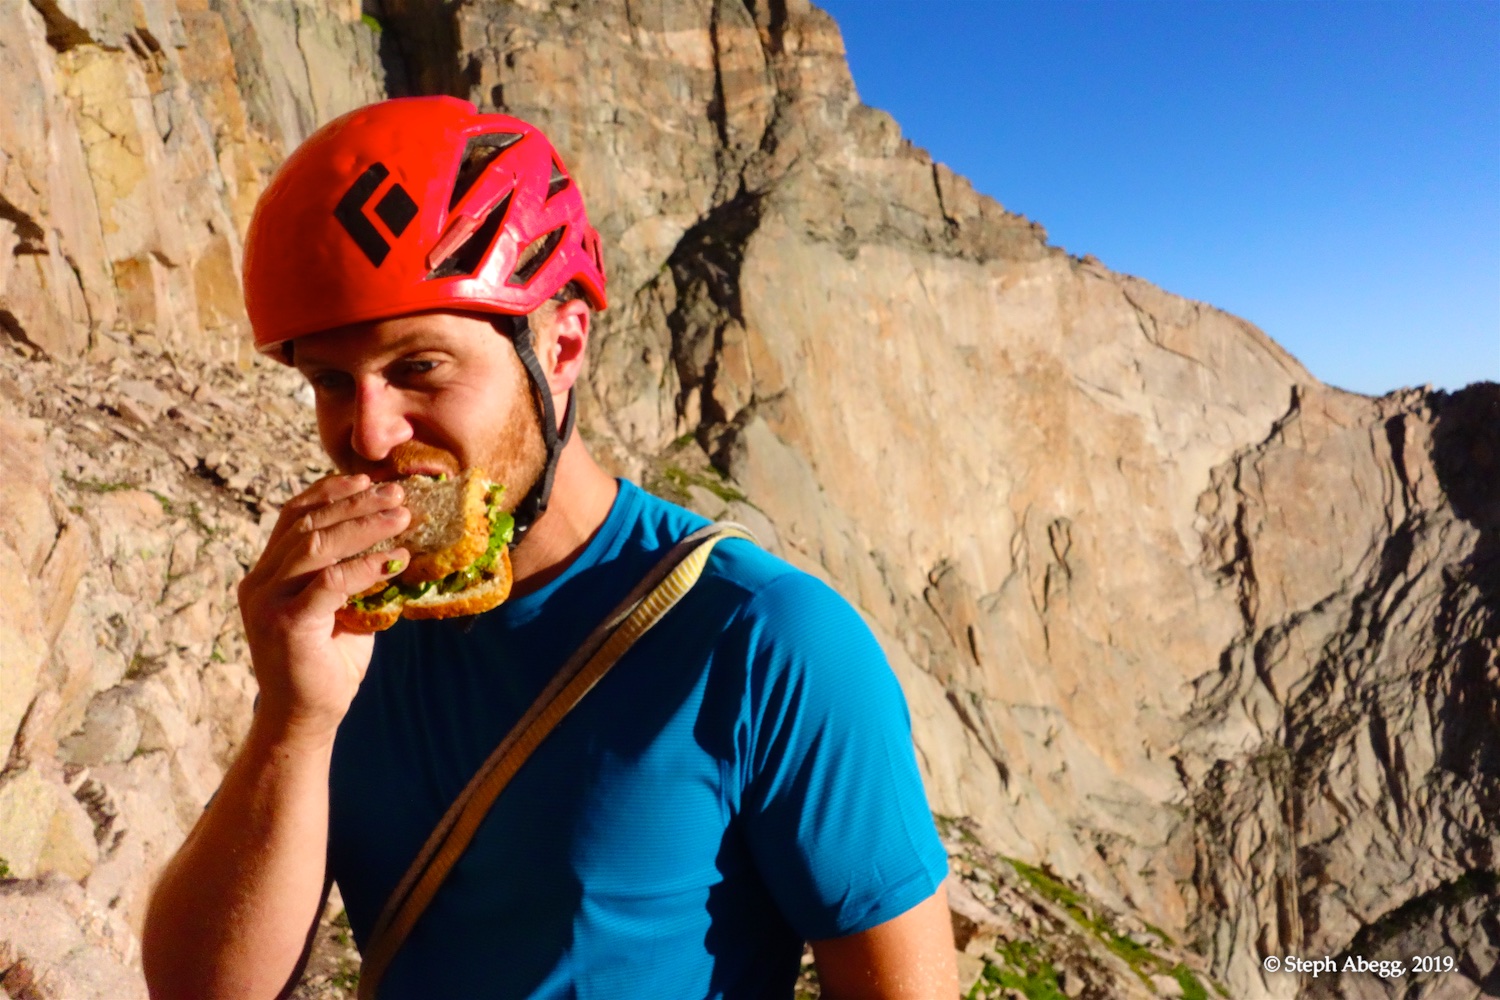
Because we were going to the summit, we also had to decide how we wanted to descend. Descent Option 1 was to downclimb Kiener's Route from the summit to Table Ledge and use the standard Diamond Rappel Route. Descent Option 2 was to scramble northward from the summit down the Cables Route and intersect the trail down in the Boulderfied and hike out on easy trail. Both options had their advantages and disadvantages. The big advantages of Descent Option 1 were approaching with more comfortable packs, climbing with lighter packs (not having to bring our crampons up the route for example), and having extra water and food at the base of the route for when we got back down to Broadway Ledge. The big advantages of Descent Option 2 were a more mellow descent from the summit and the streamlined nature of an up-and-over climb. In the end, the undesirability of schlepping crampons up 5.10 terrain won out and we decided to go with Option 1 (i.e. back to Table Ledge and Diamond Rappel Route). Descent Option 2 would make more sense if we had done the Chasm View raps and had left stuff at Chasm View. Yeah, you see, it's quite a logistical decision.
Photos from our climb below. Enjoy!
Pitch-by-Pitch Photos
Approach
5.4
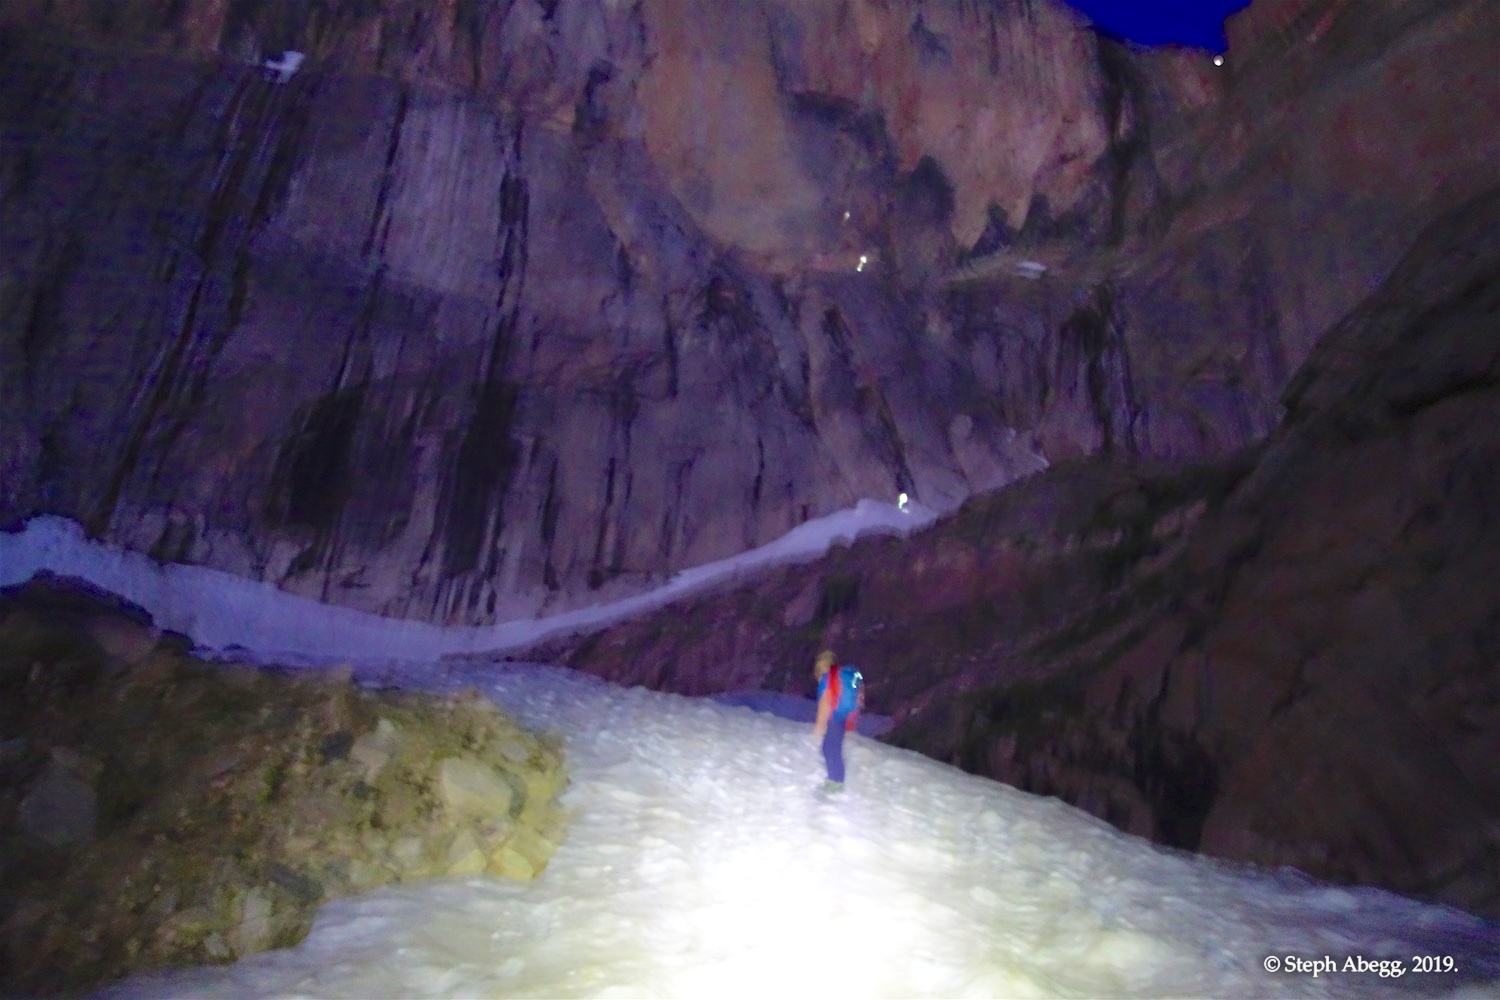
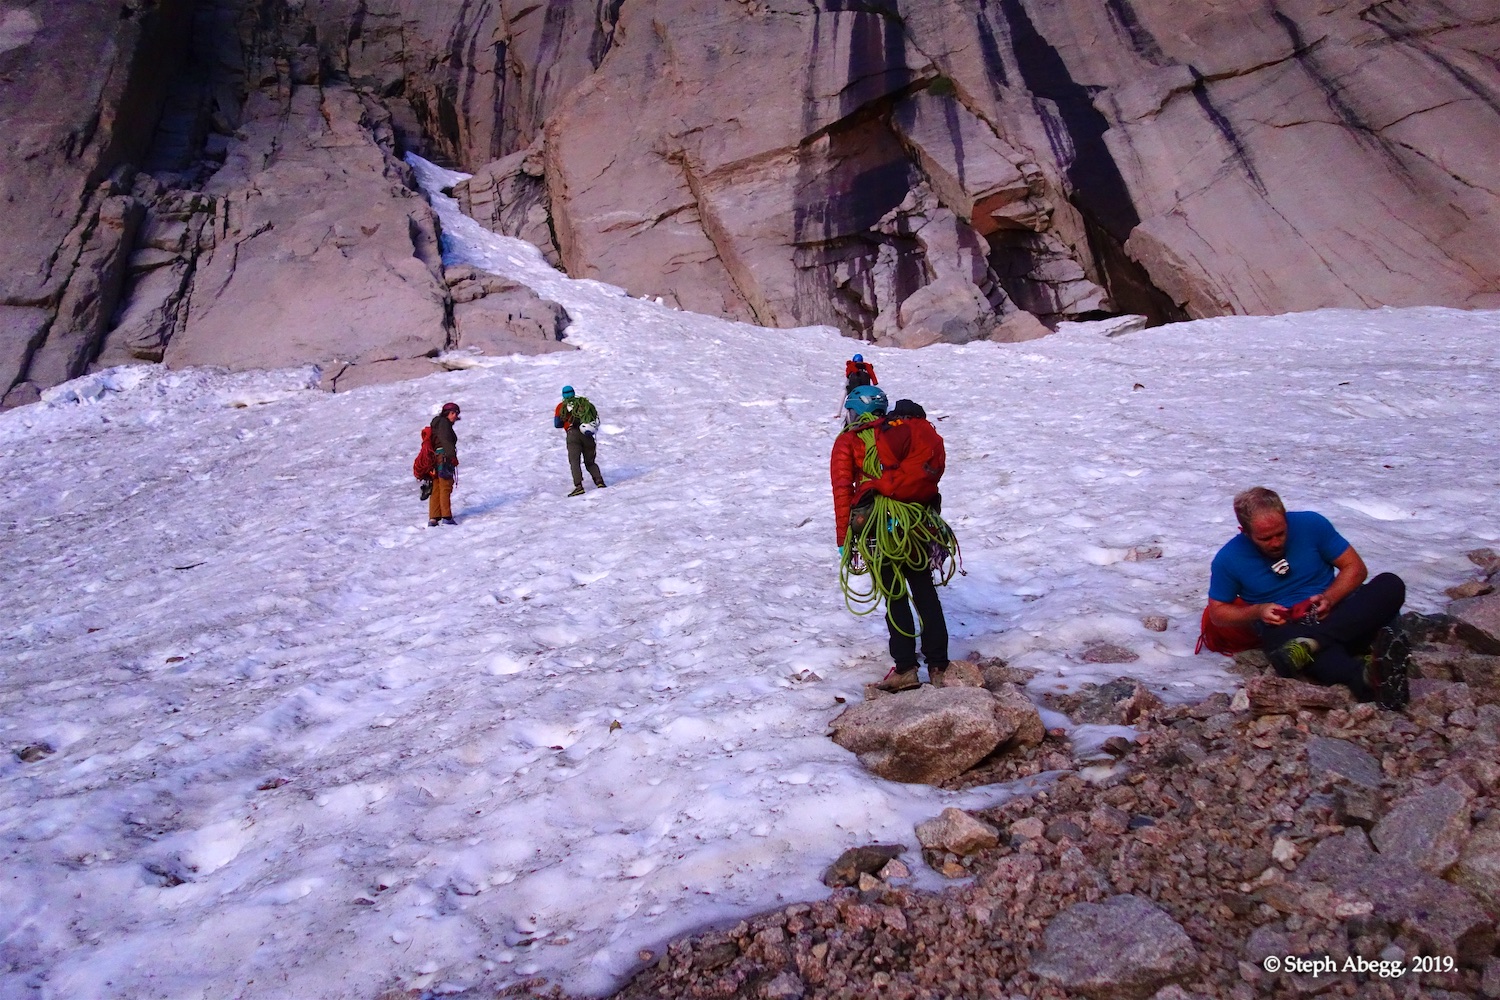
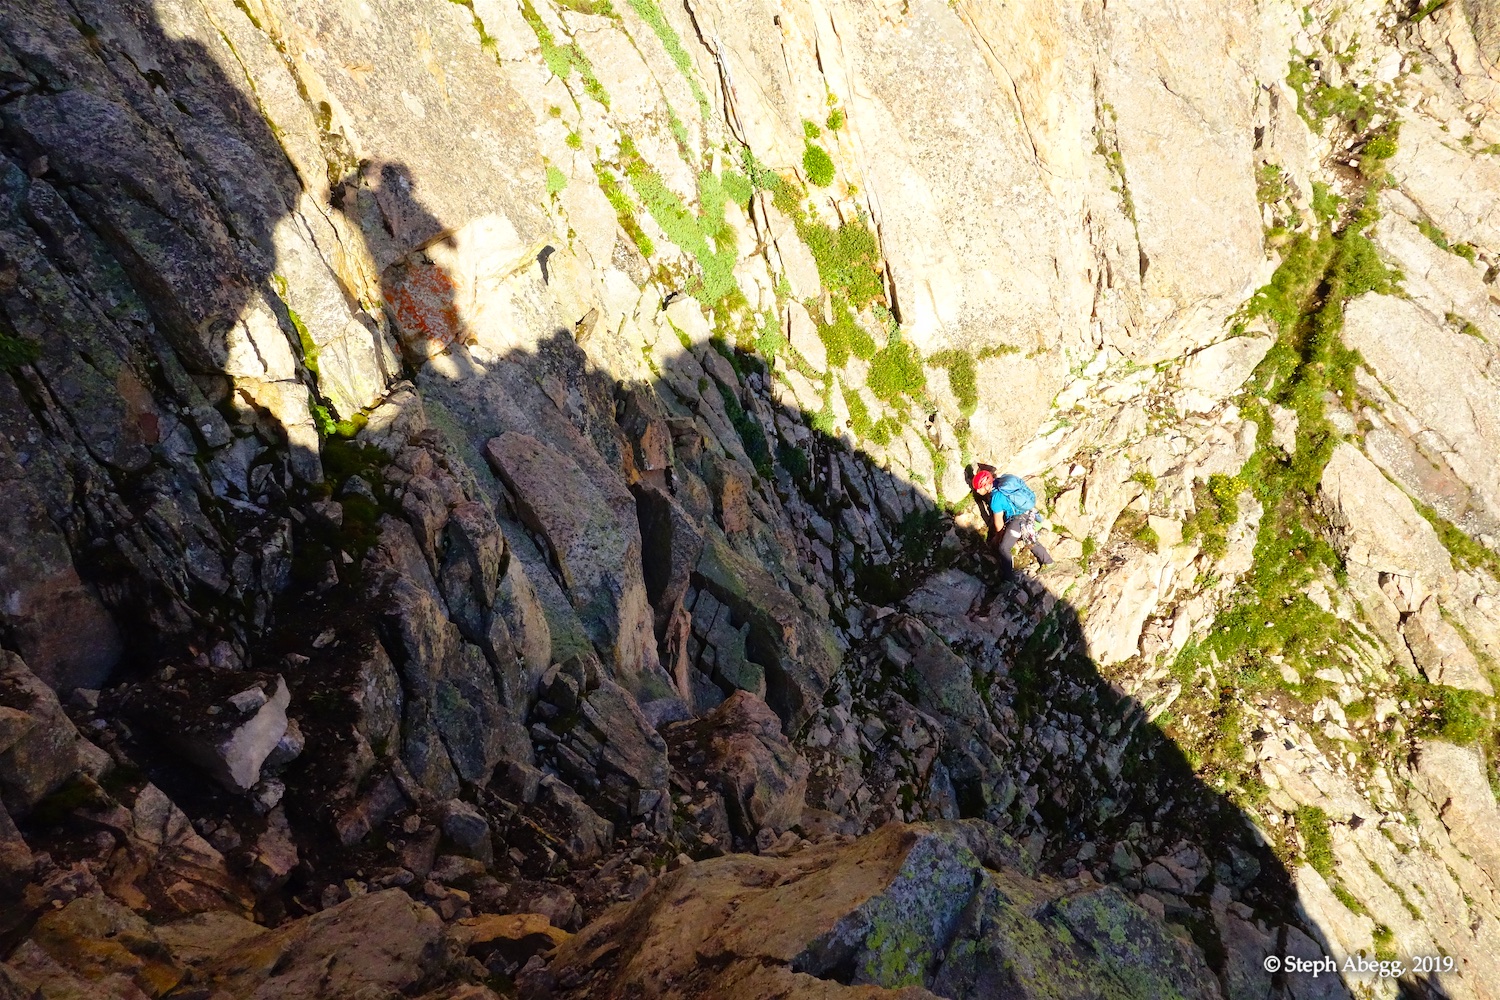
North Chimney
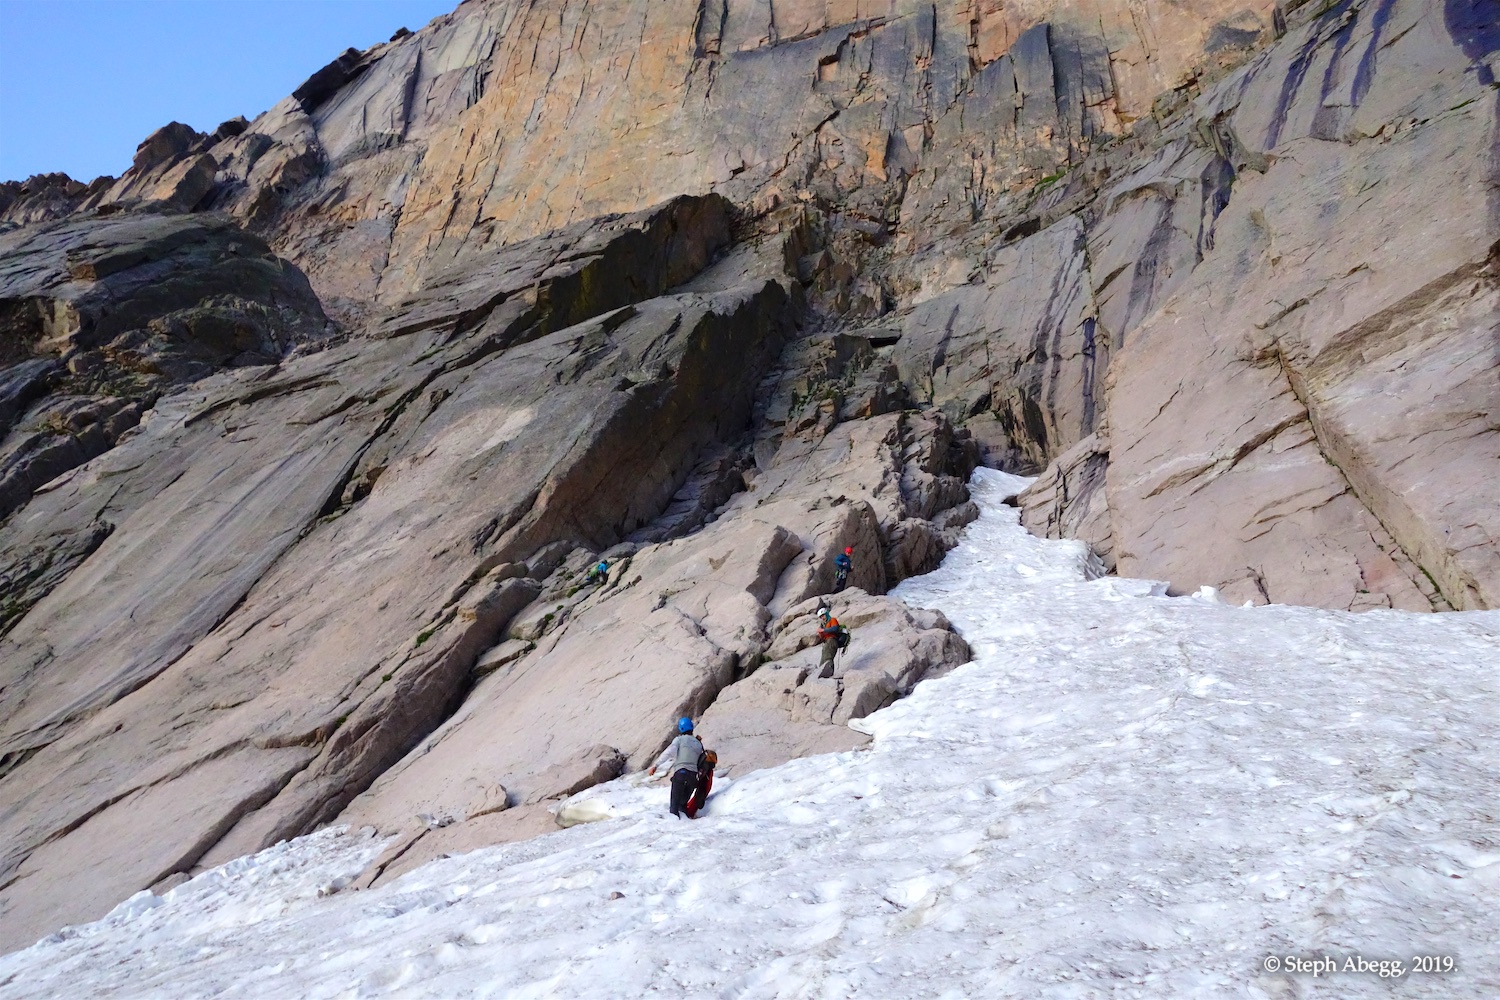
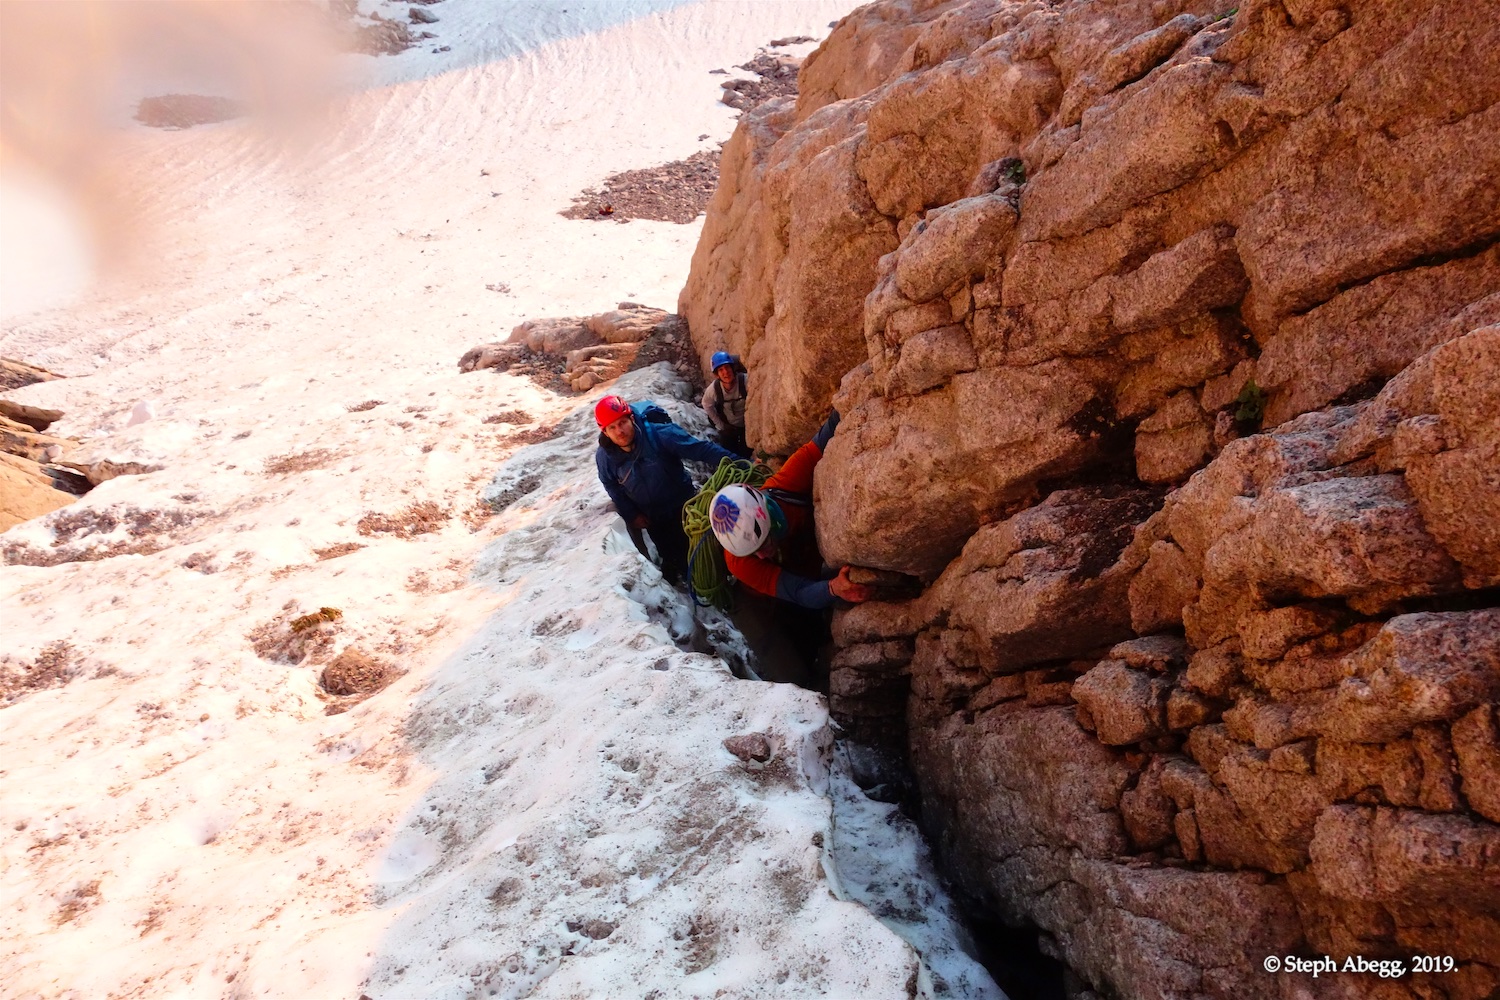
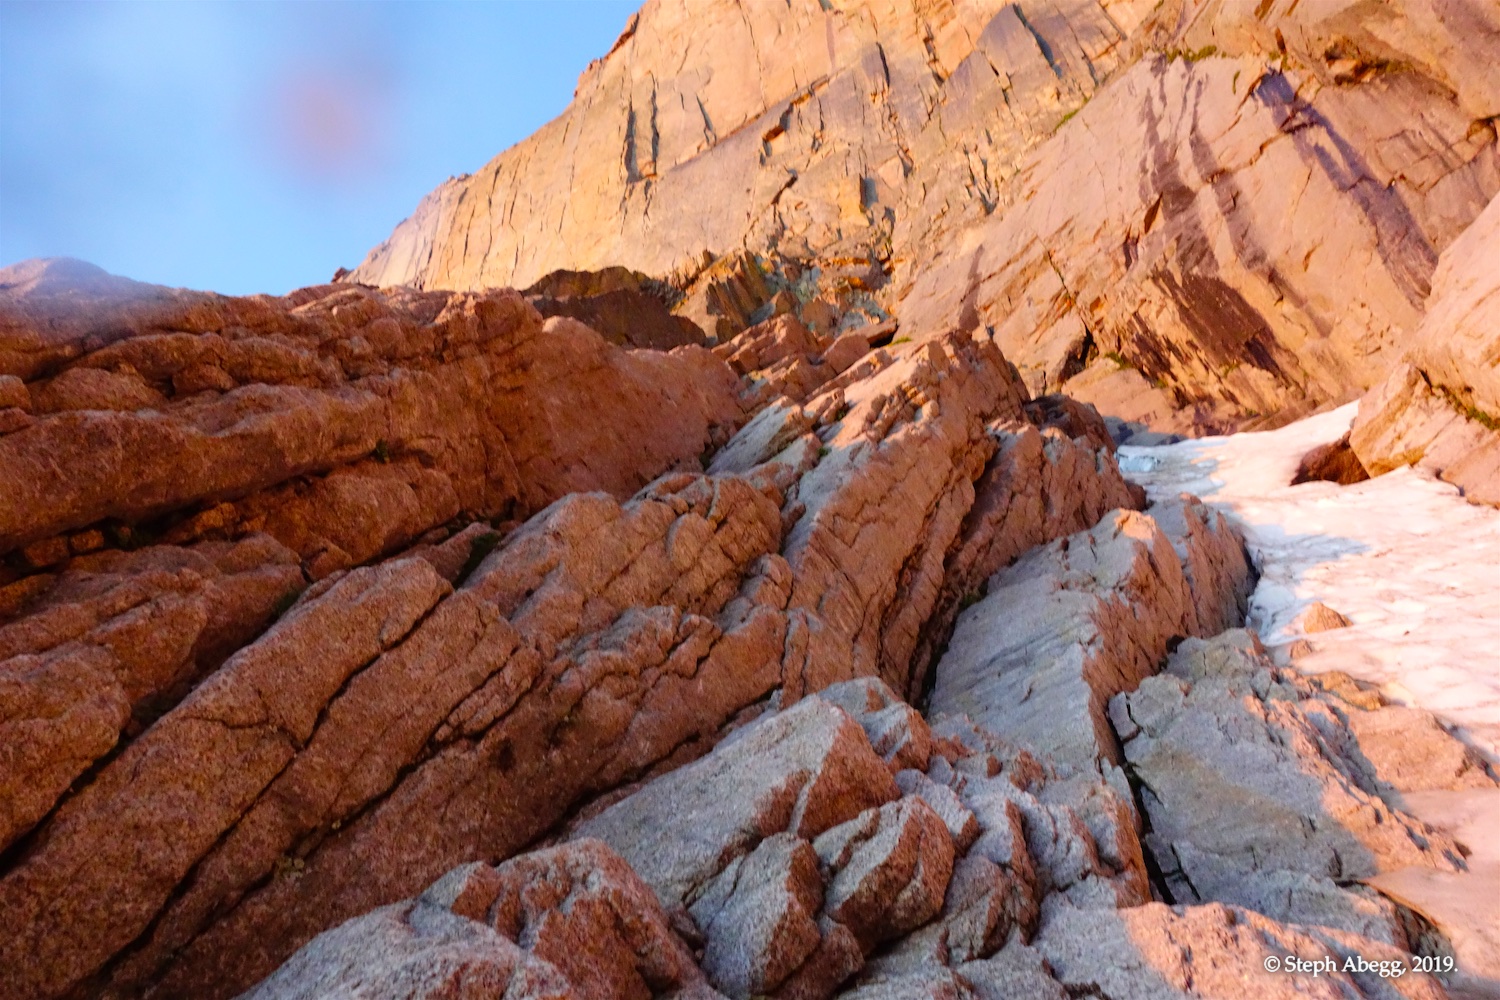
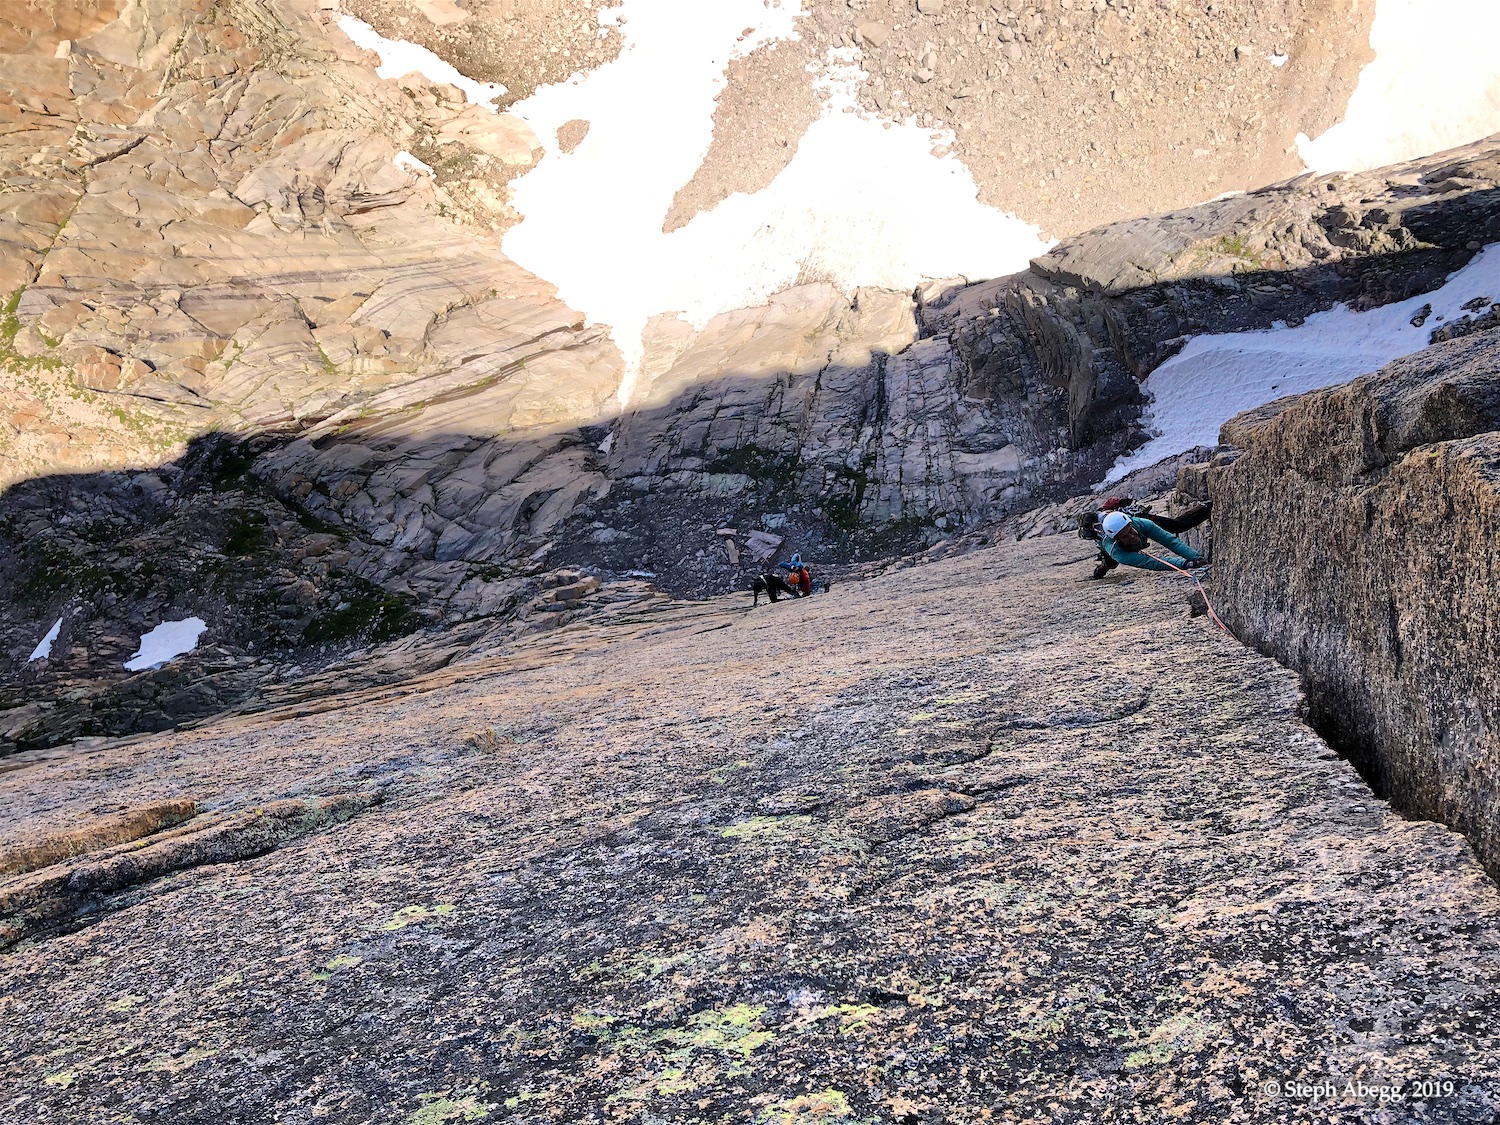
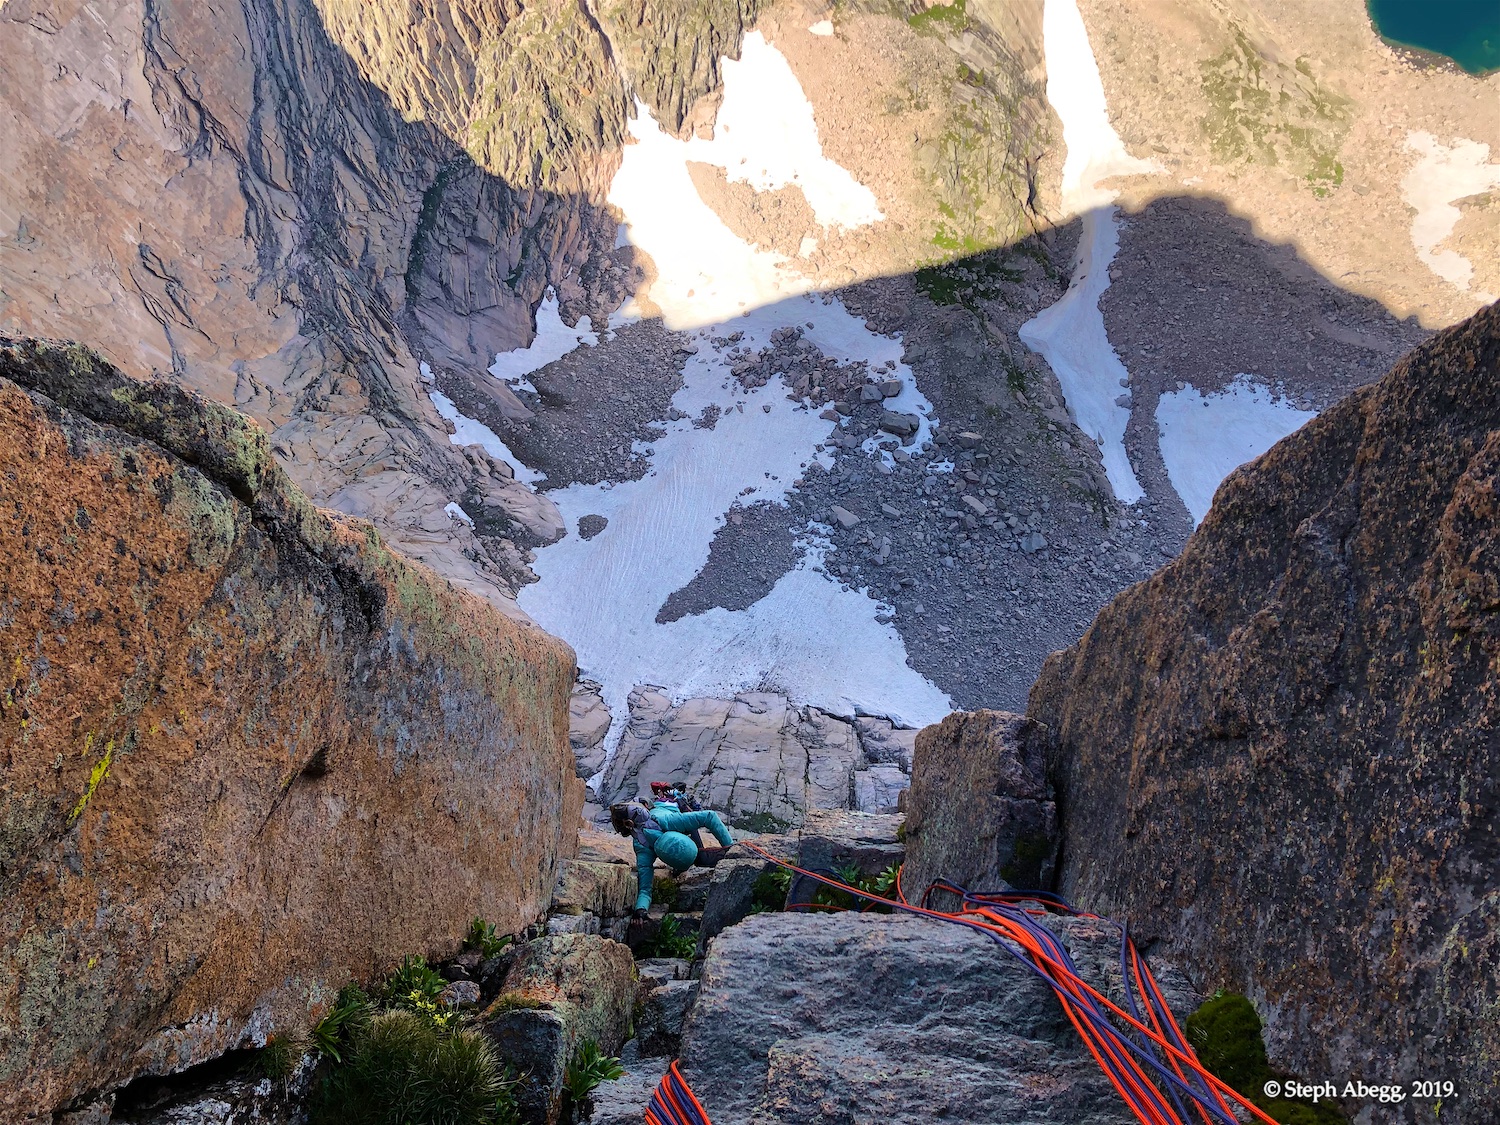
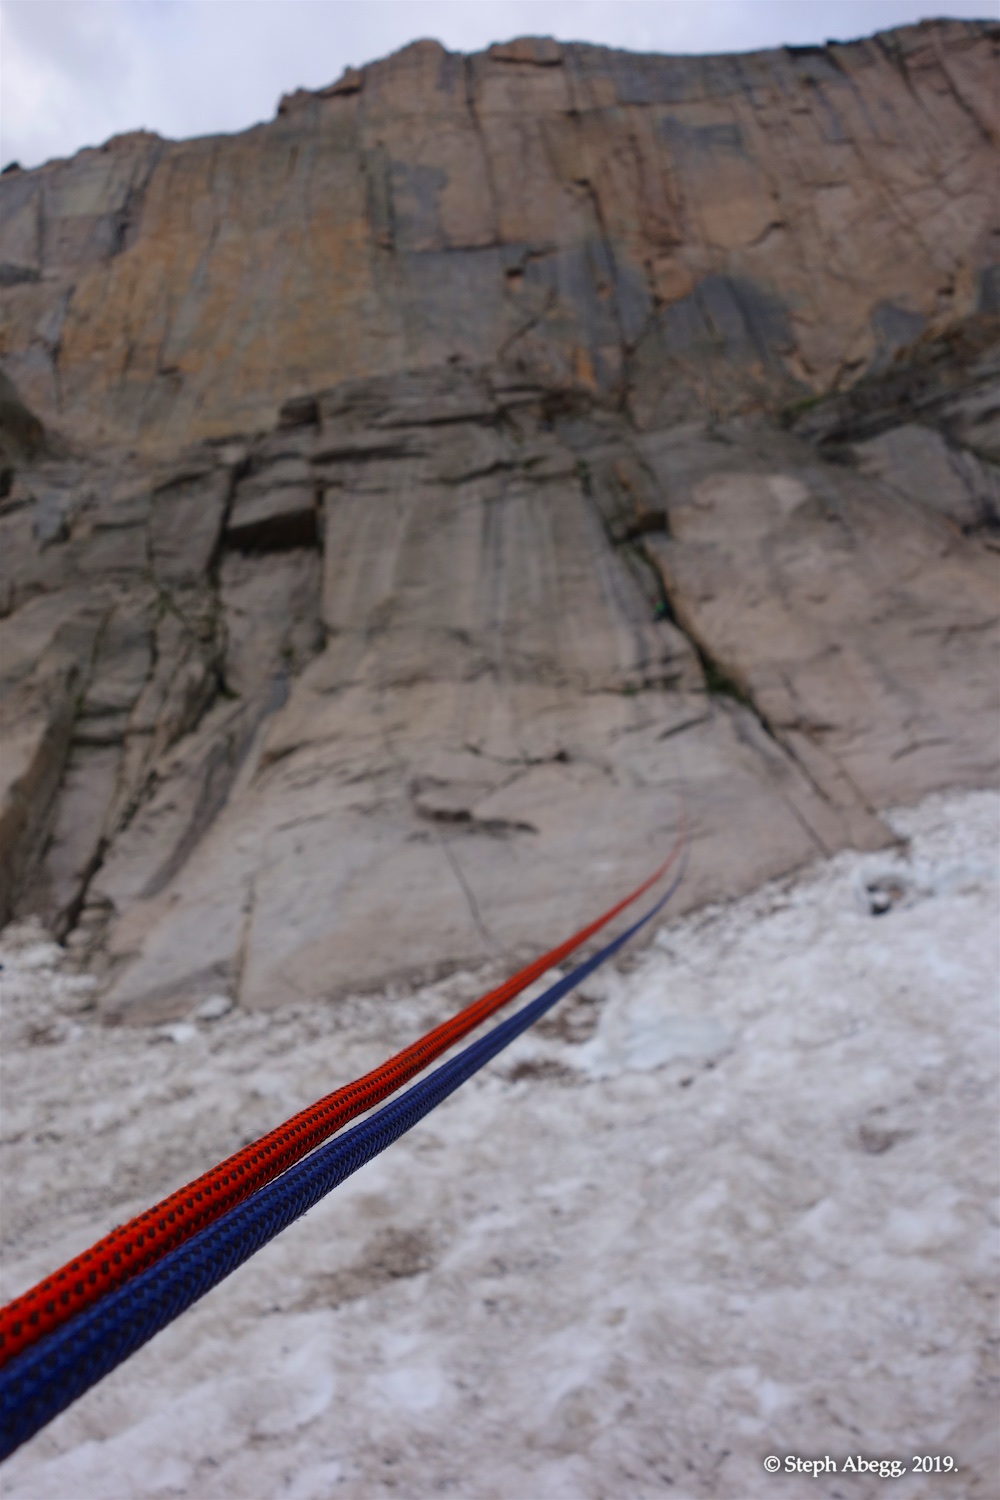
We approached via the North Chimney to Broadway Ledge.
Pitch 1
5.10c
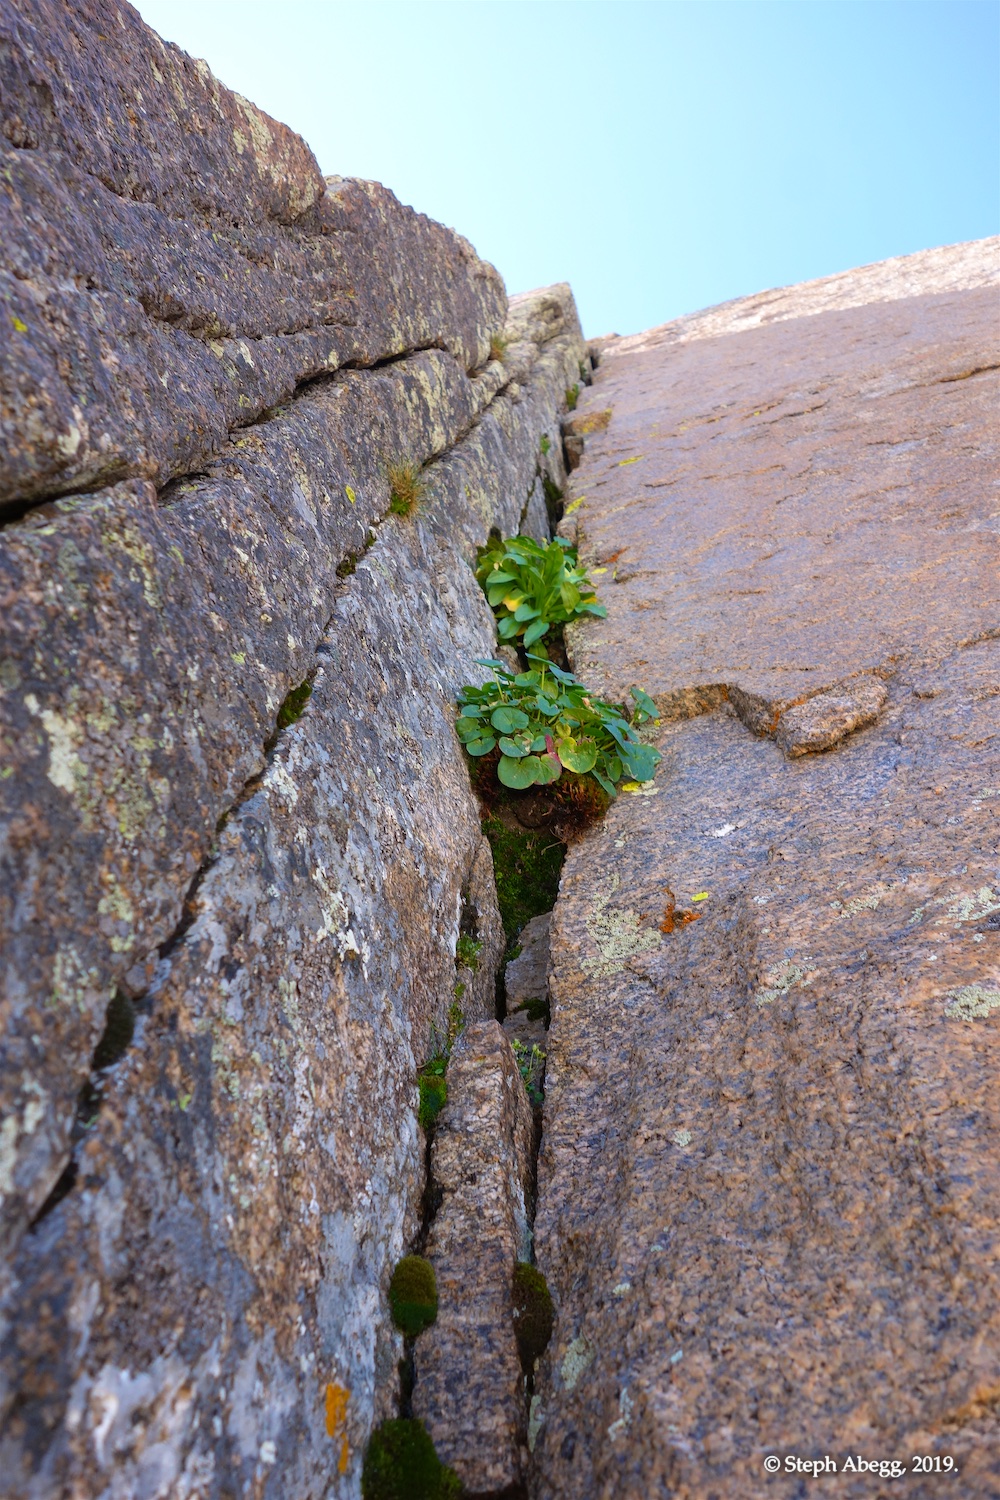
Curving Vine
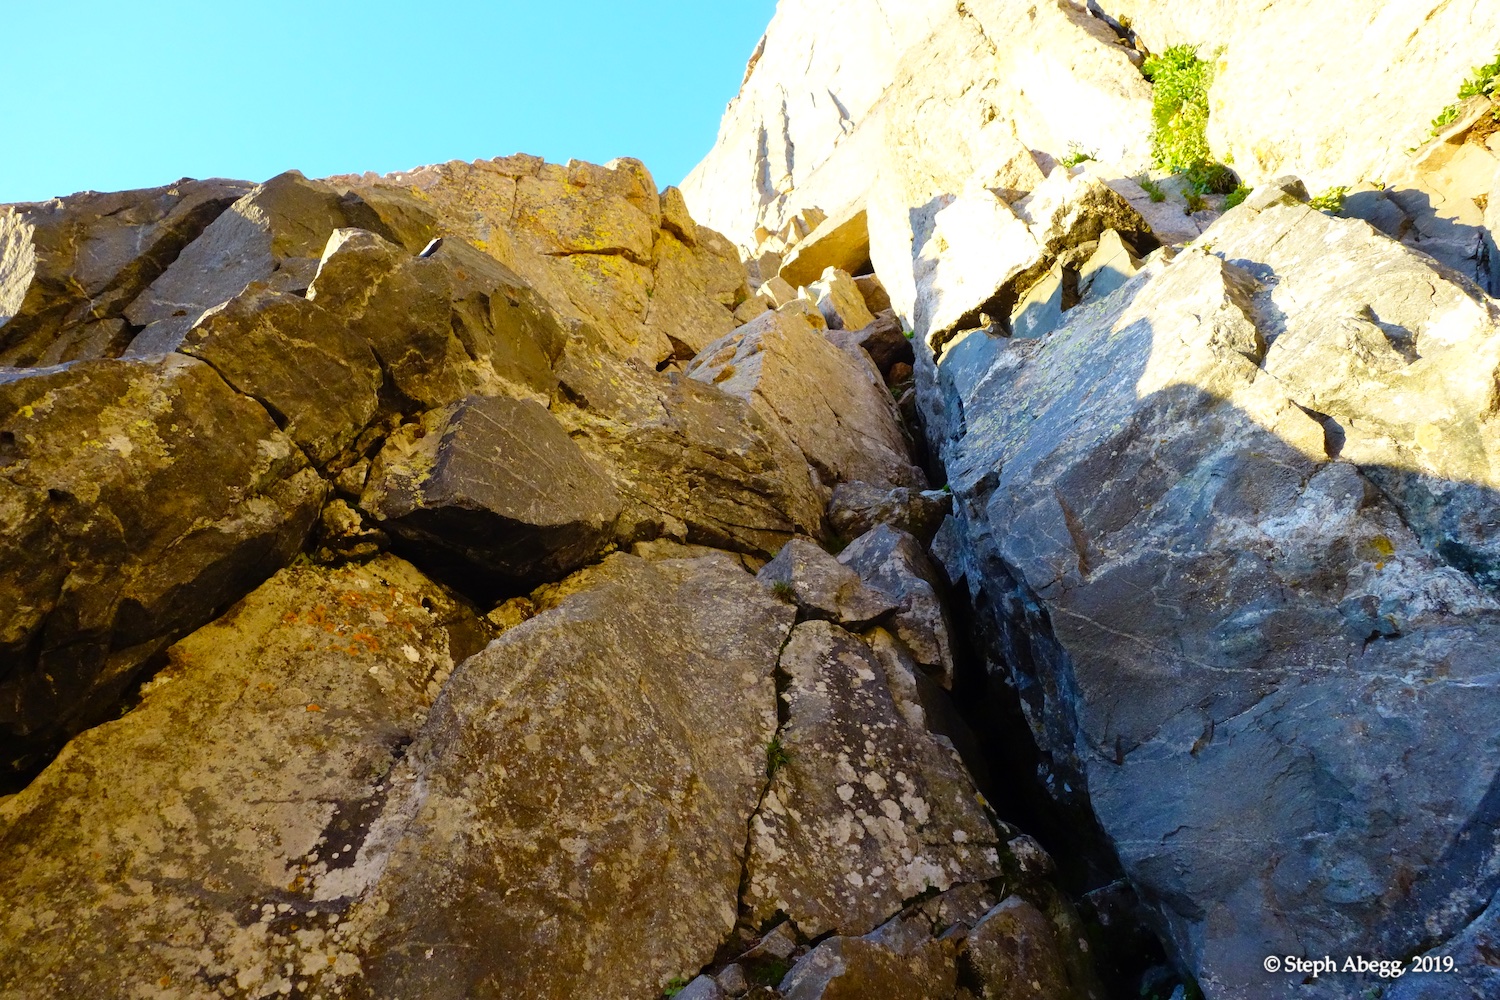
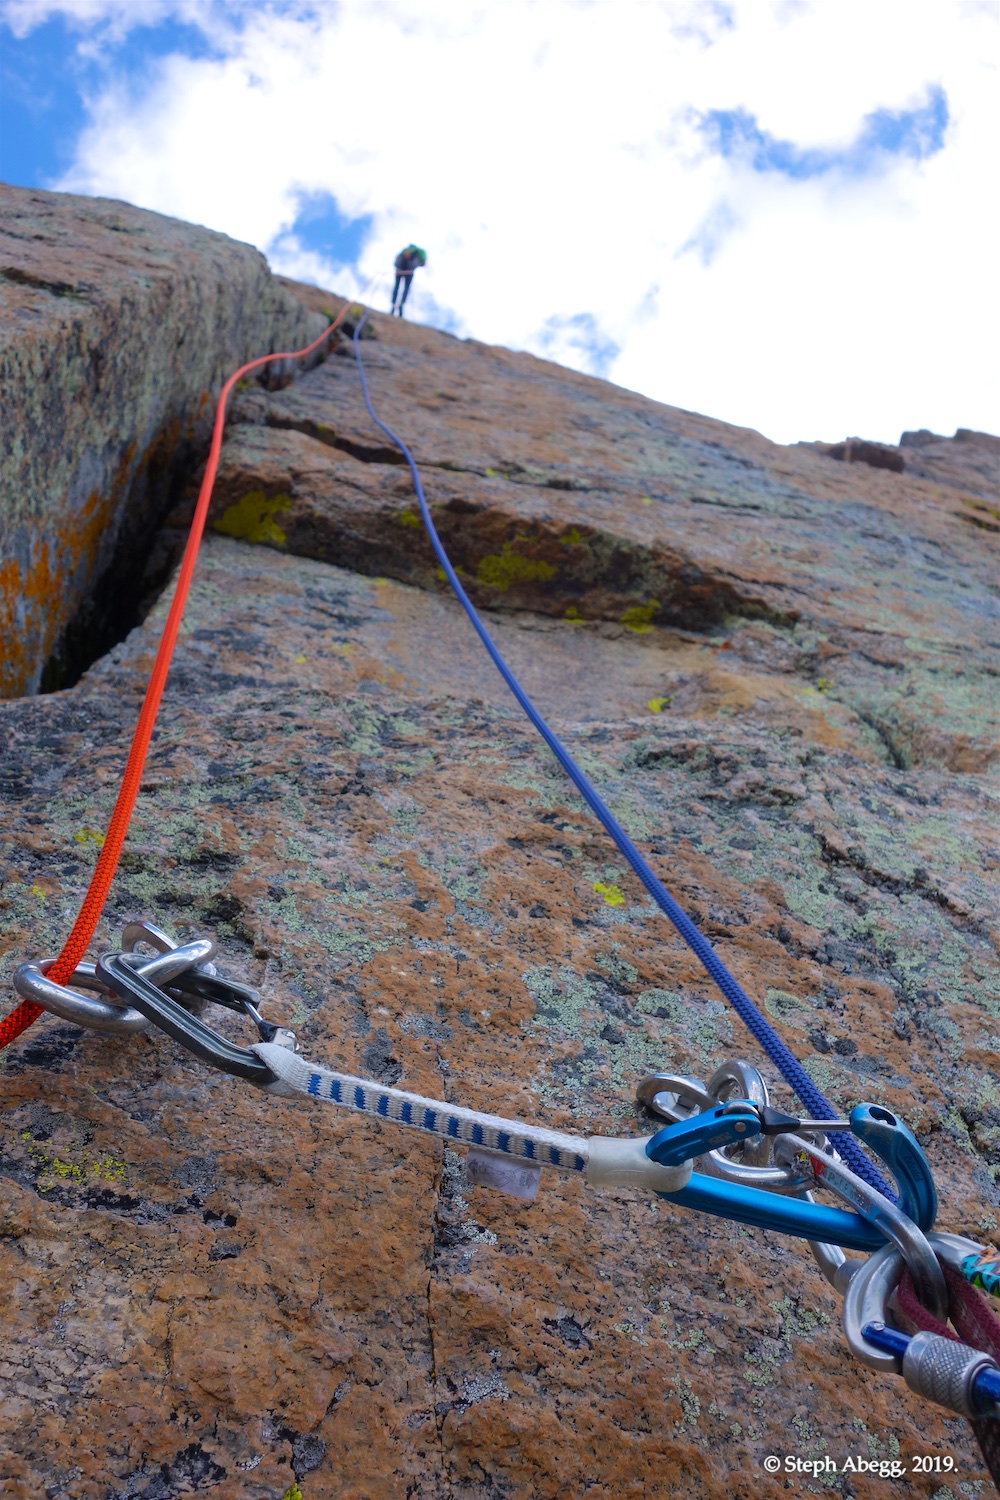
Climb the shallow left-facing dihedral to a sloping ledge on the left with a bolted station (the bolts are on the Diamond Rappel Route).
Pitch 2
5.10b
Curving Vine
Climb the right-facing dihedral and continue to the end of the crack. Eventually step left to a ledge to belay (there was an old bolt and two old pitons at this spot).
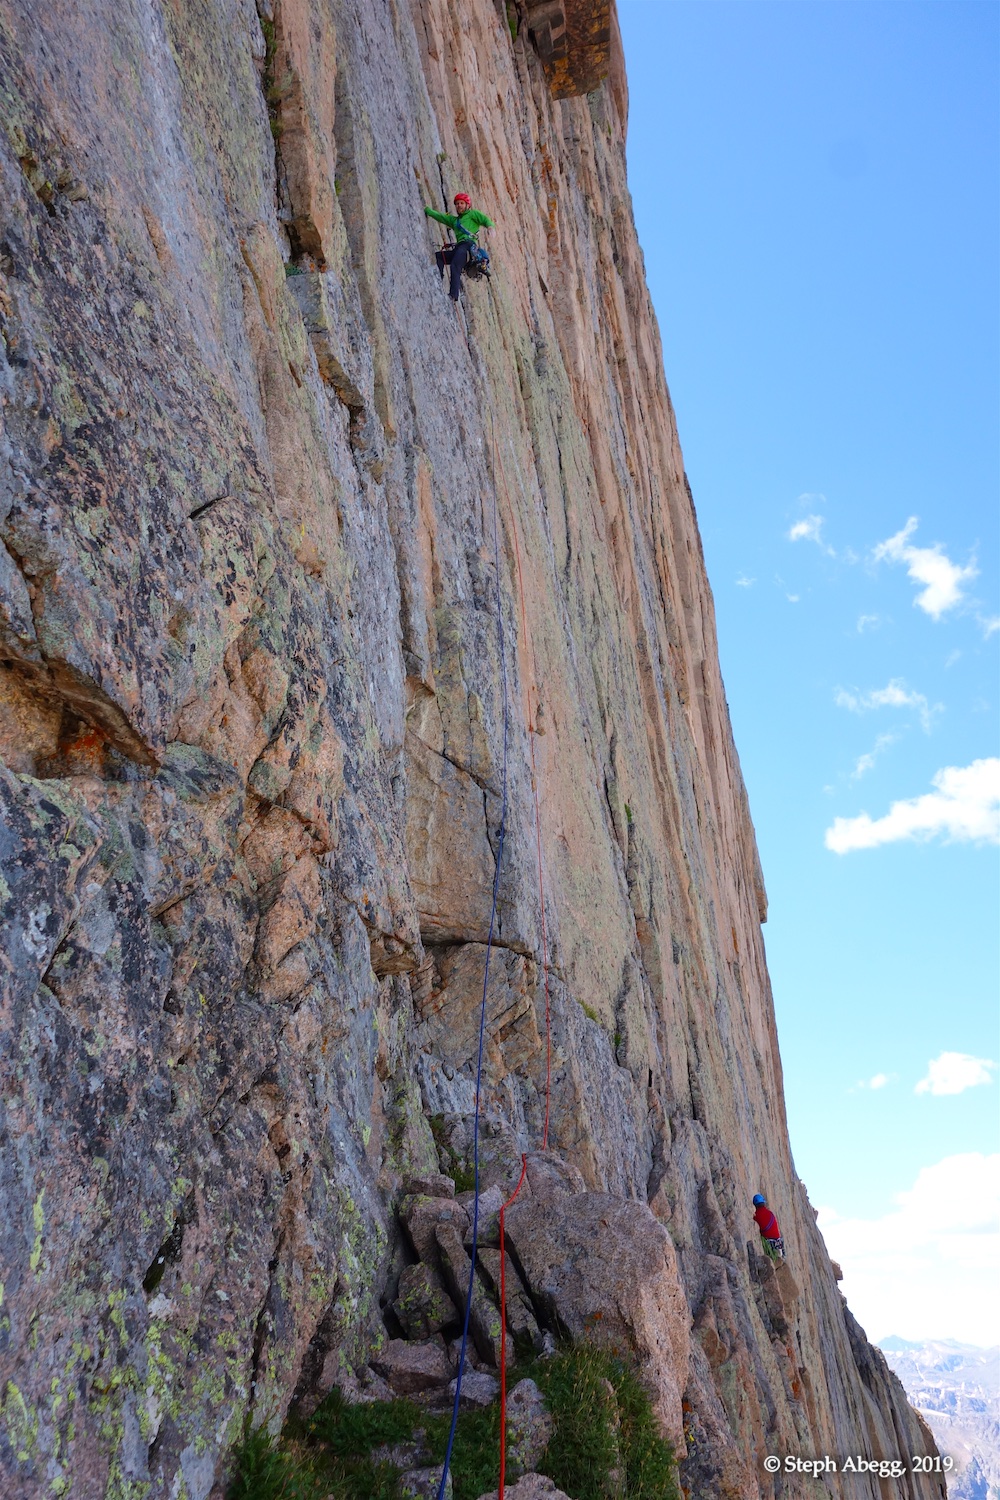
Pitch 3
5.11a
Curving Vine
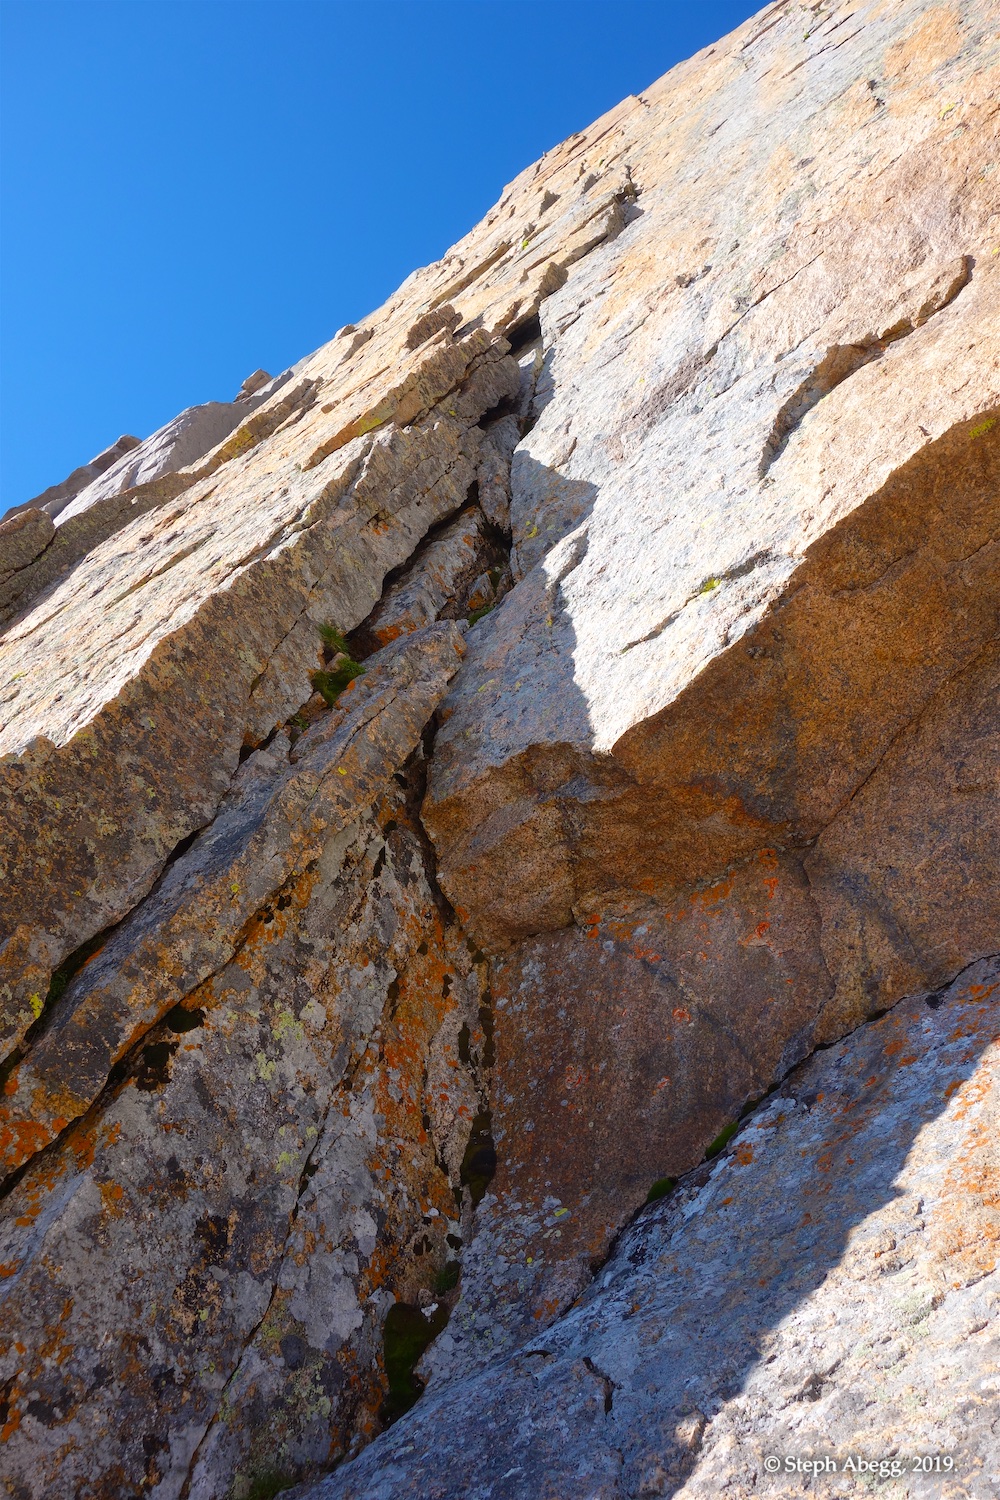
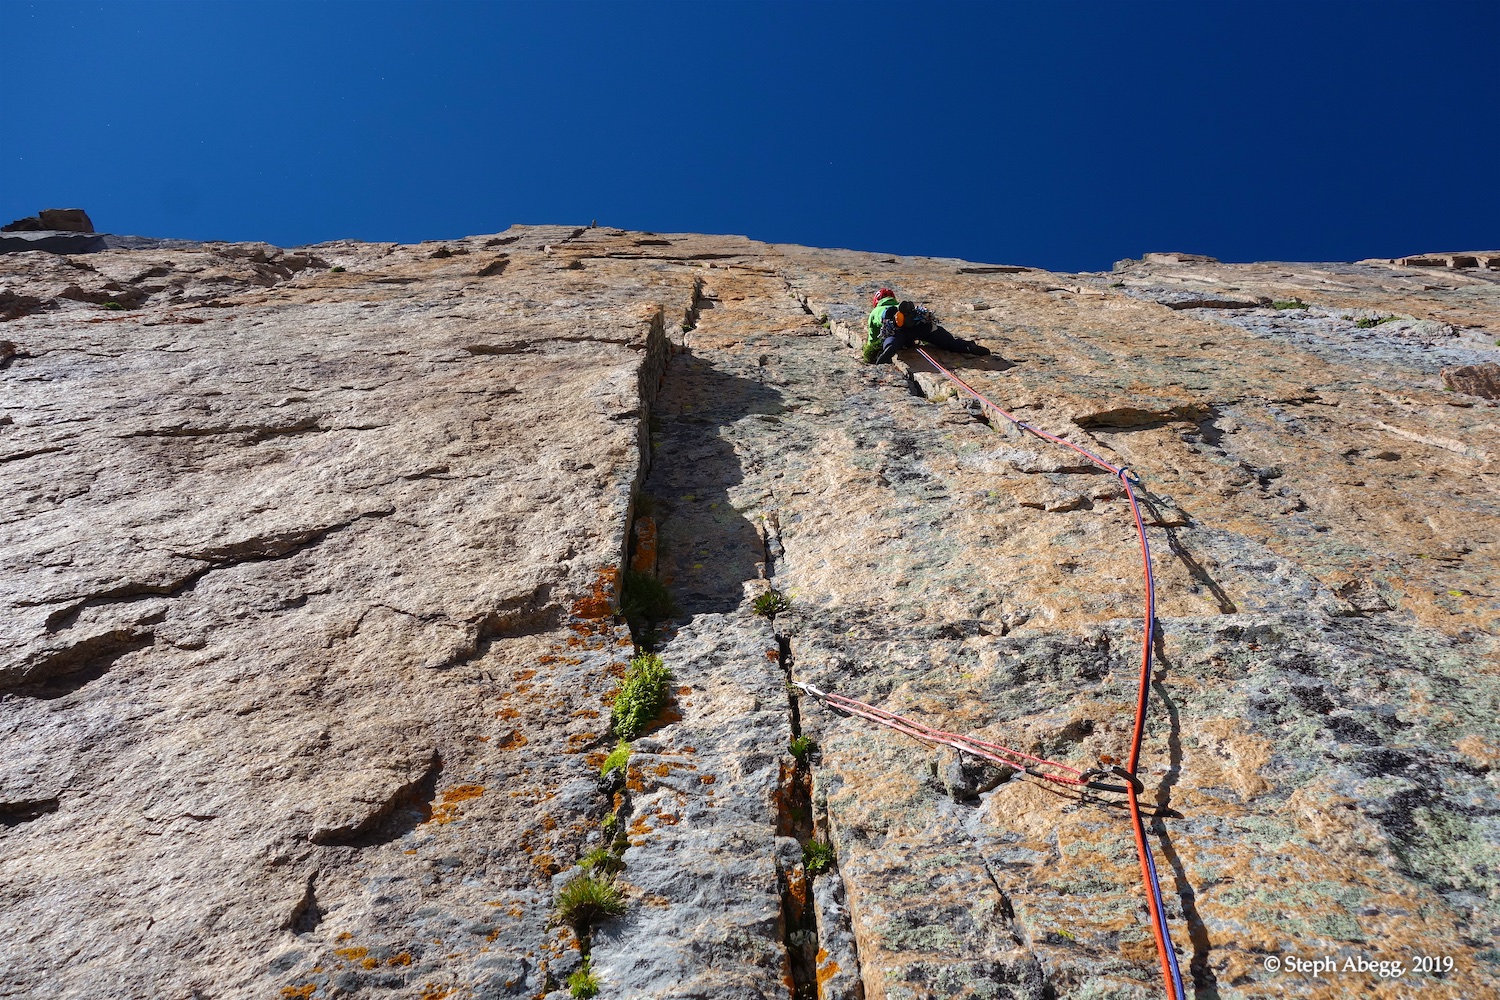
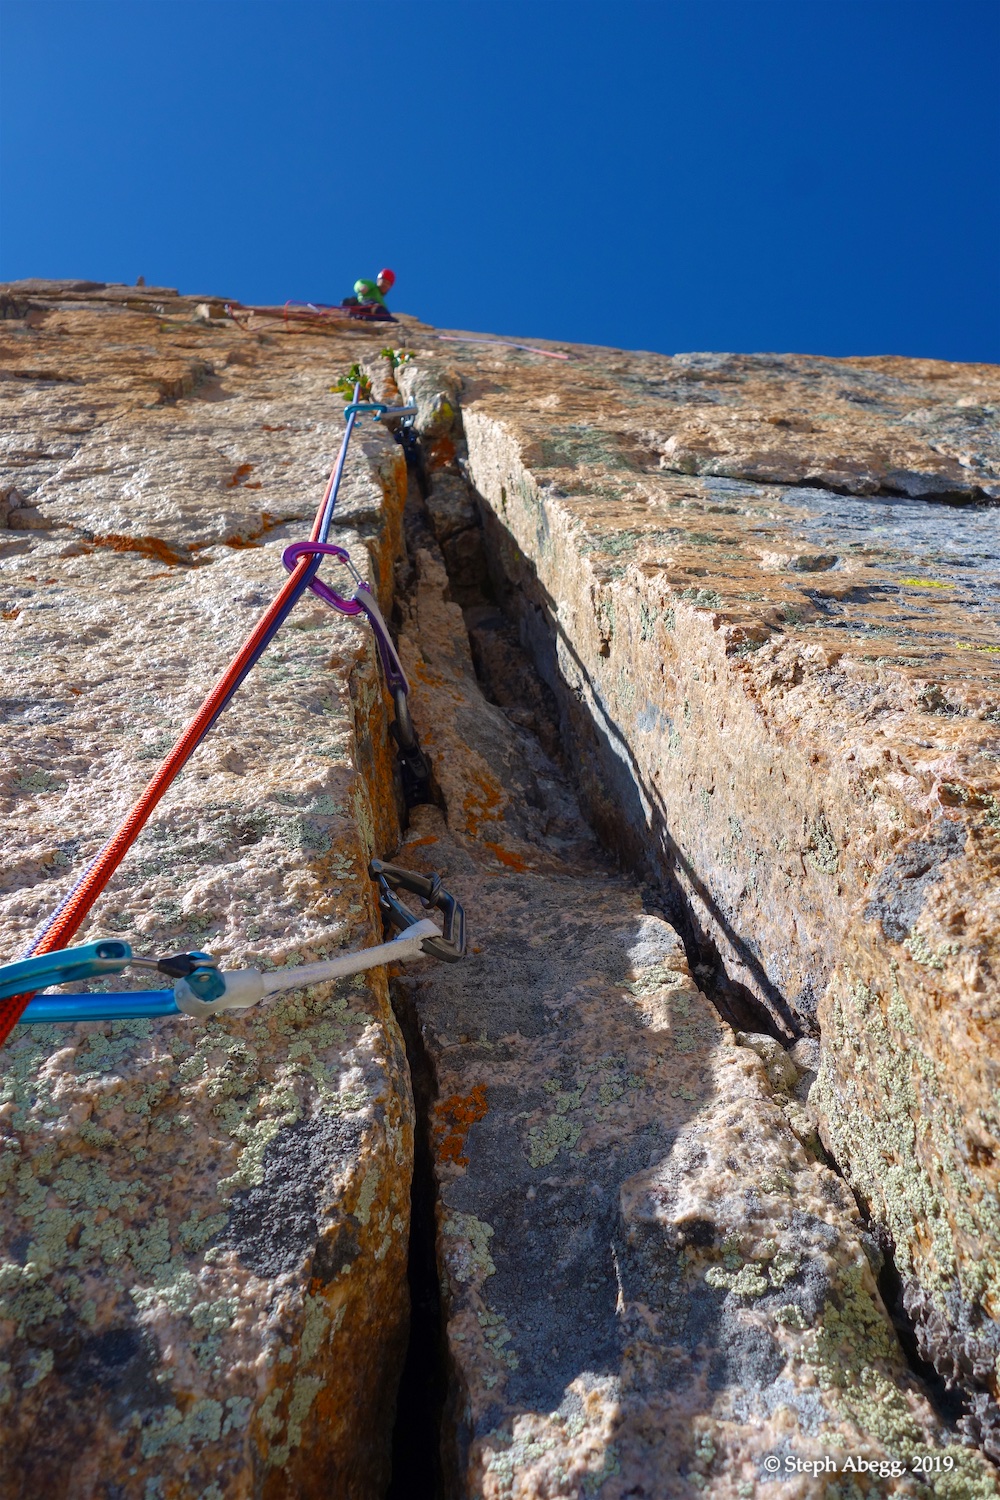
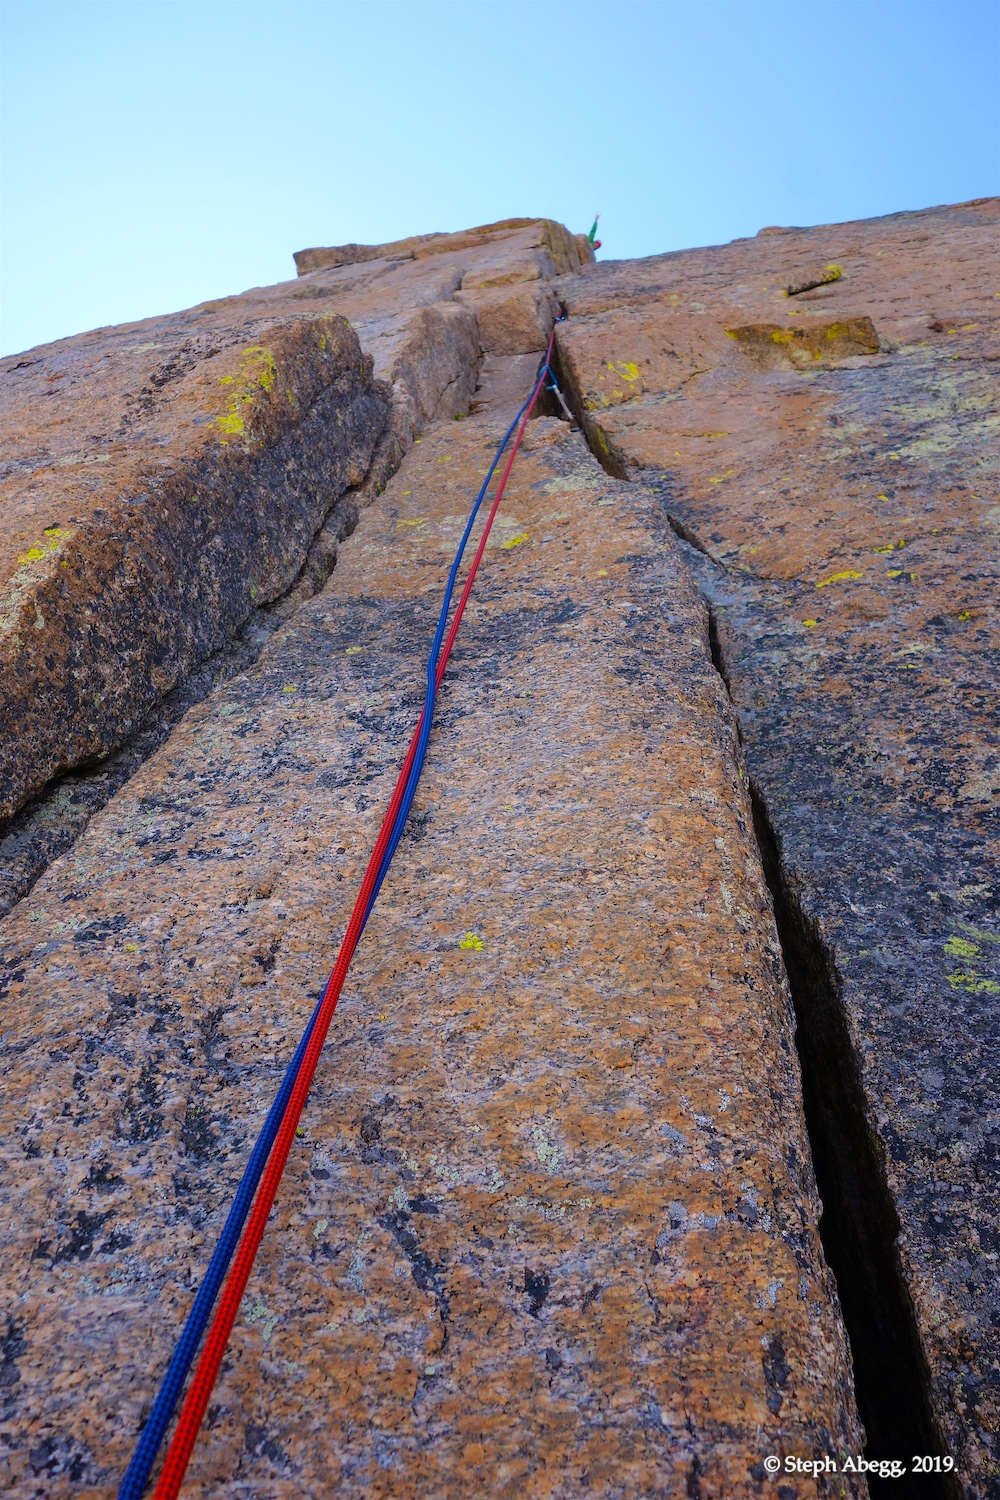
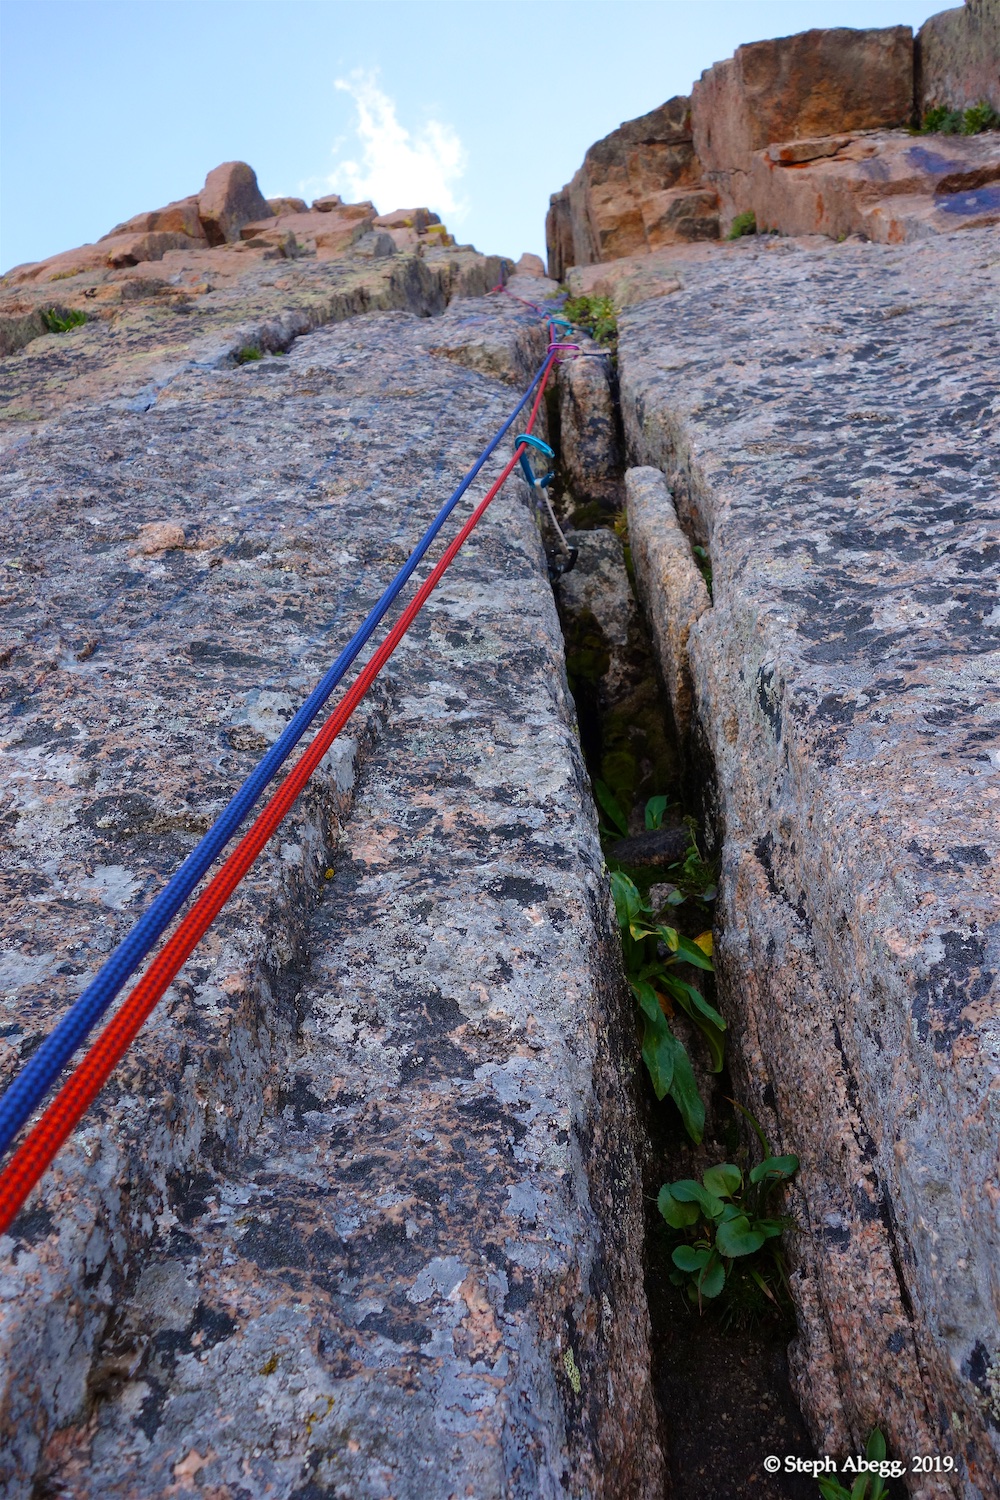
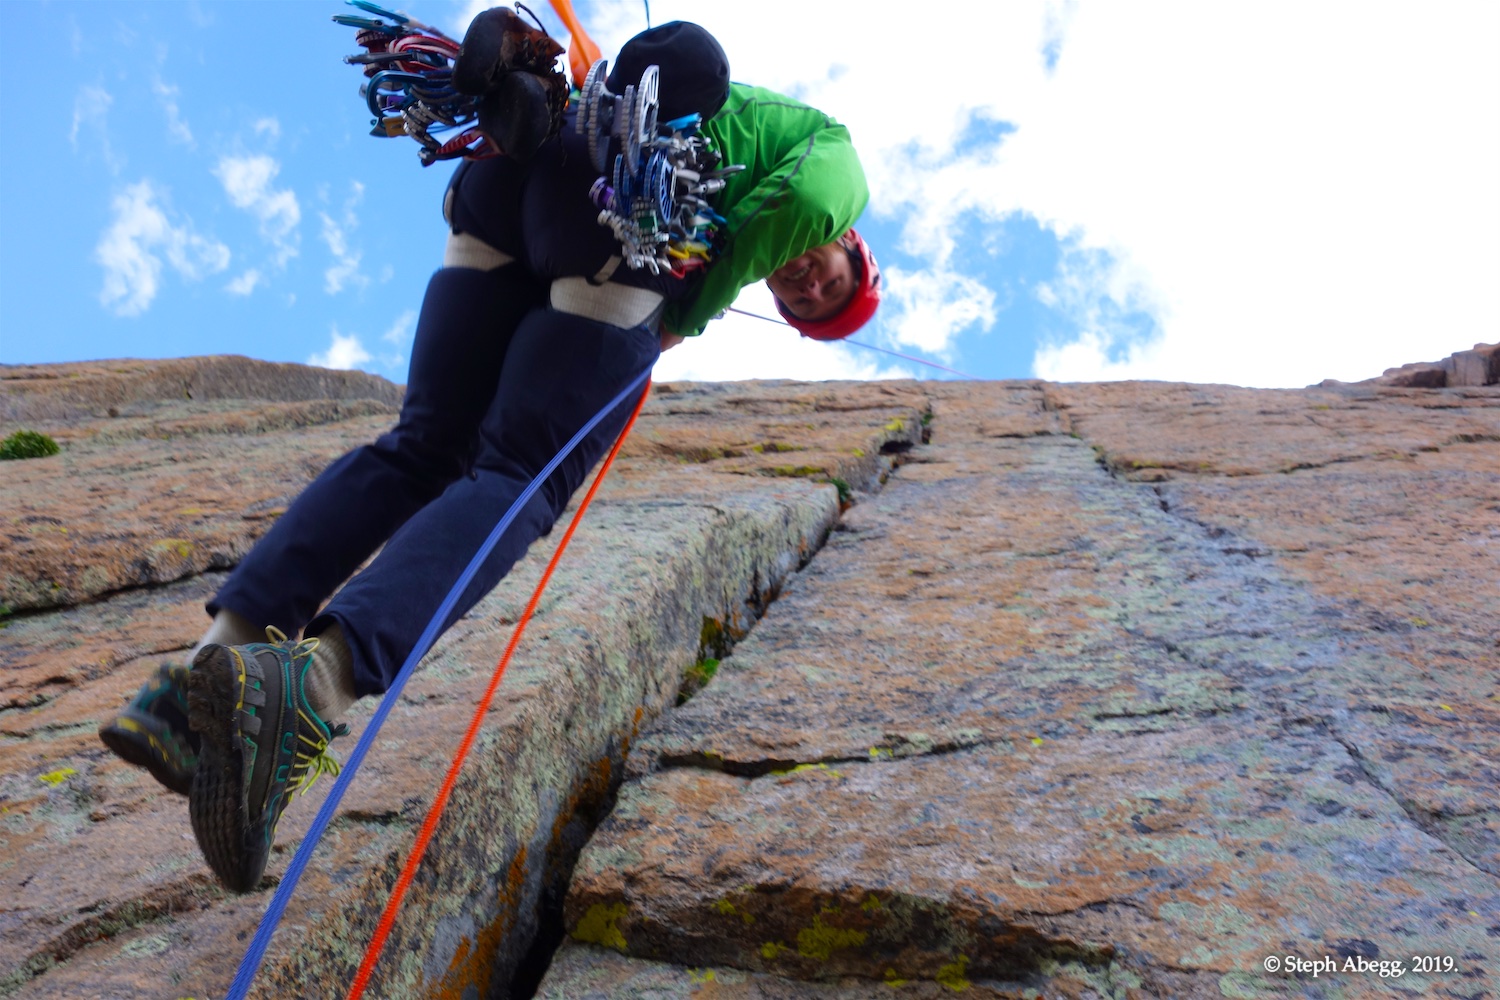
Move up and then back right into the crack system from Pitch 2. Link together several thin cracks, stepping right to the 11a crux and belaying below a right-facing corner.
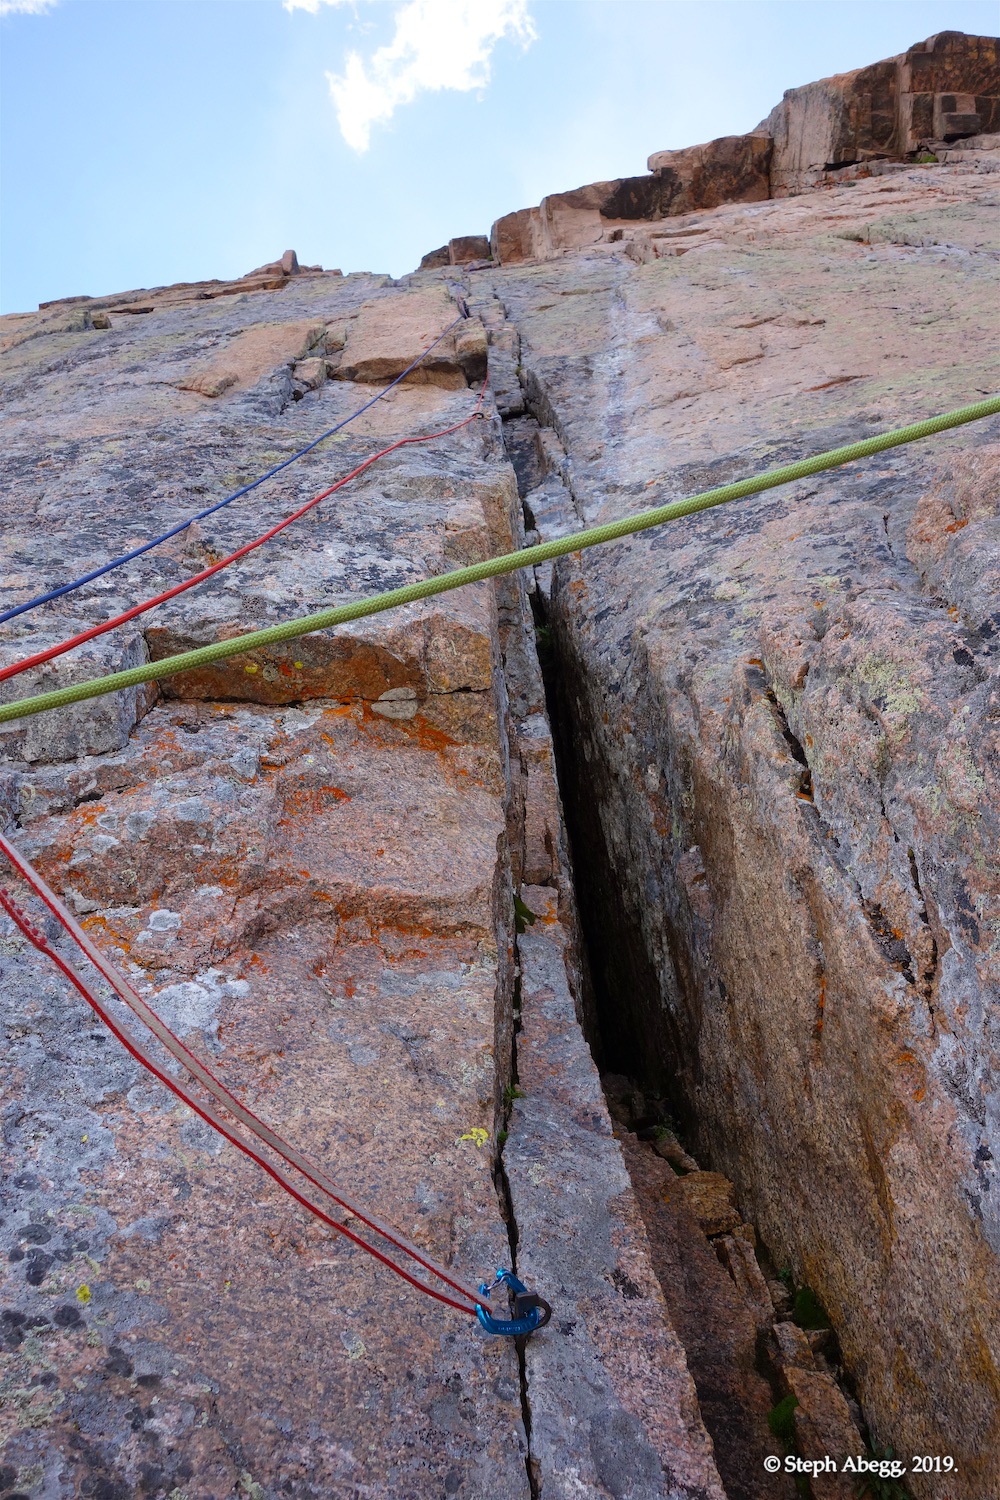
Pitch 4
5.10b
Curving Vine
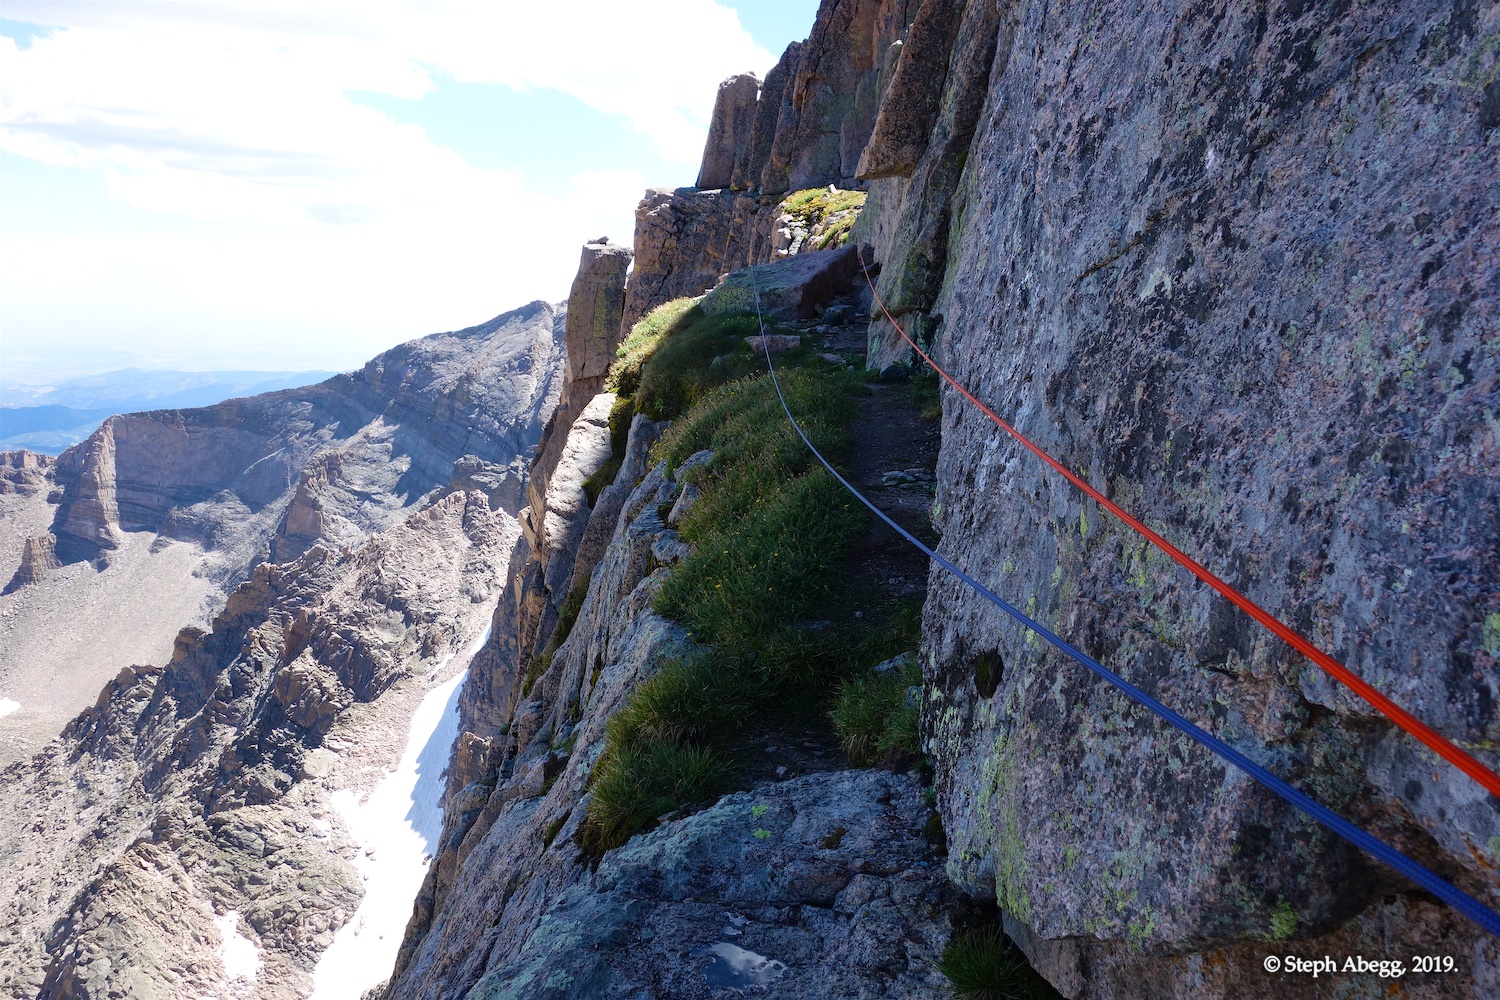
Climb to the corner, then follow it to a break half way up. The rock seems a bit slicker then usual on this pitch. Make an exposed 5.7 hand-traverse left along flakes to the fourth belay on Pervertical Sanctuary.
Pitch 5
5.10a
Curving Vine / Pervertical Sanctuary
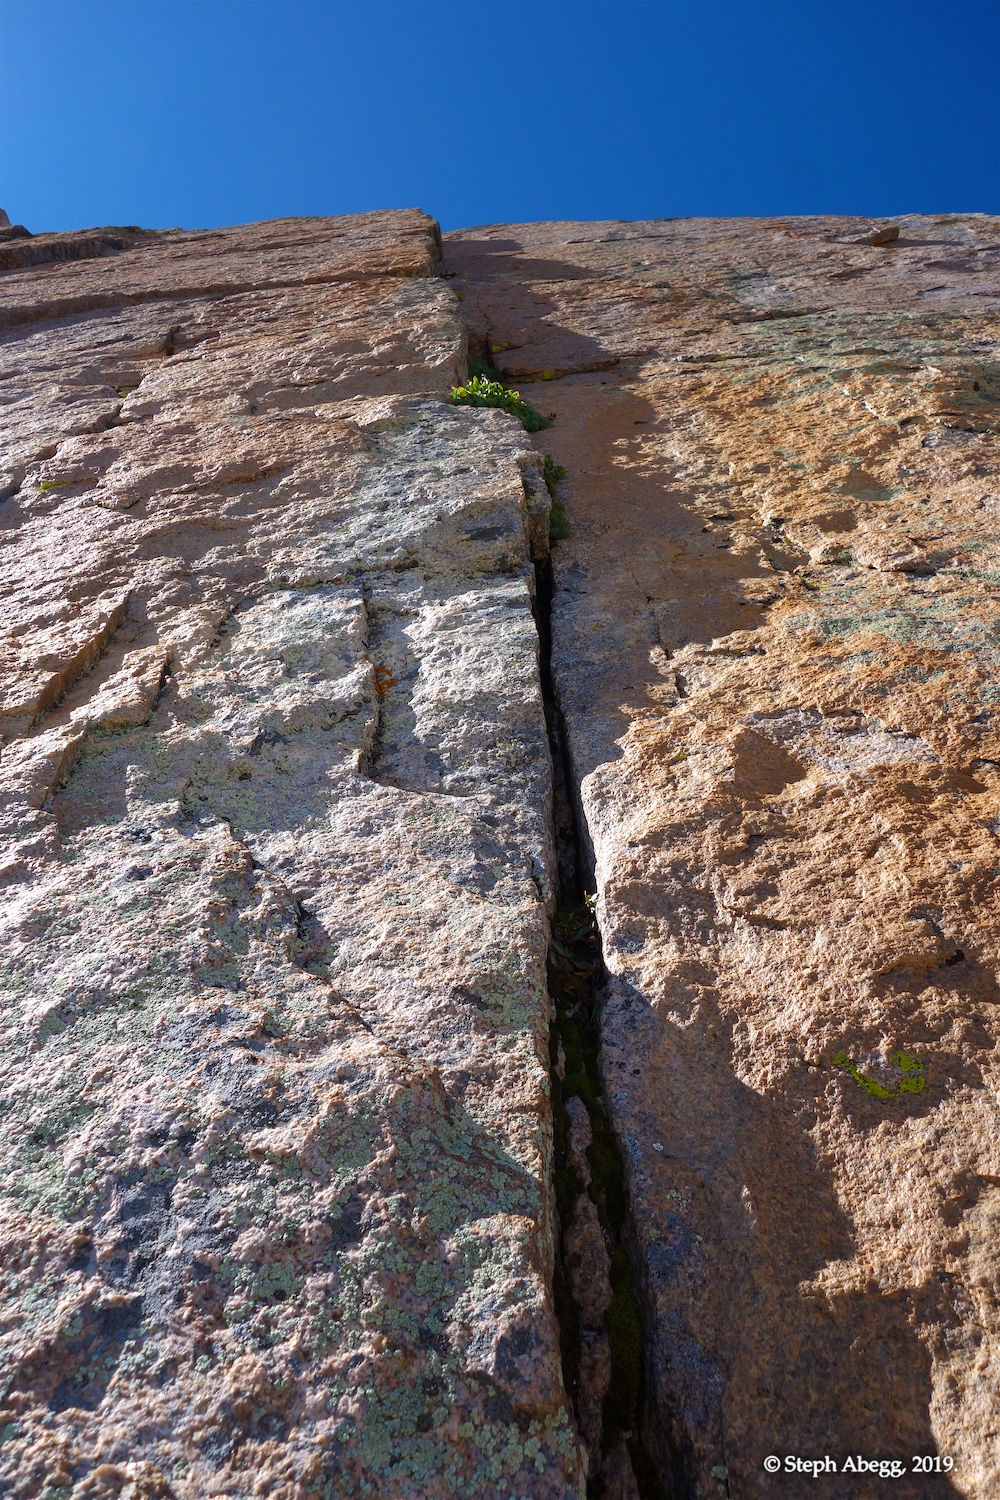
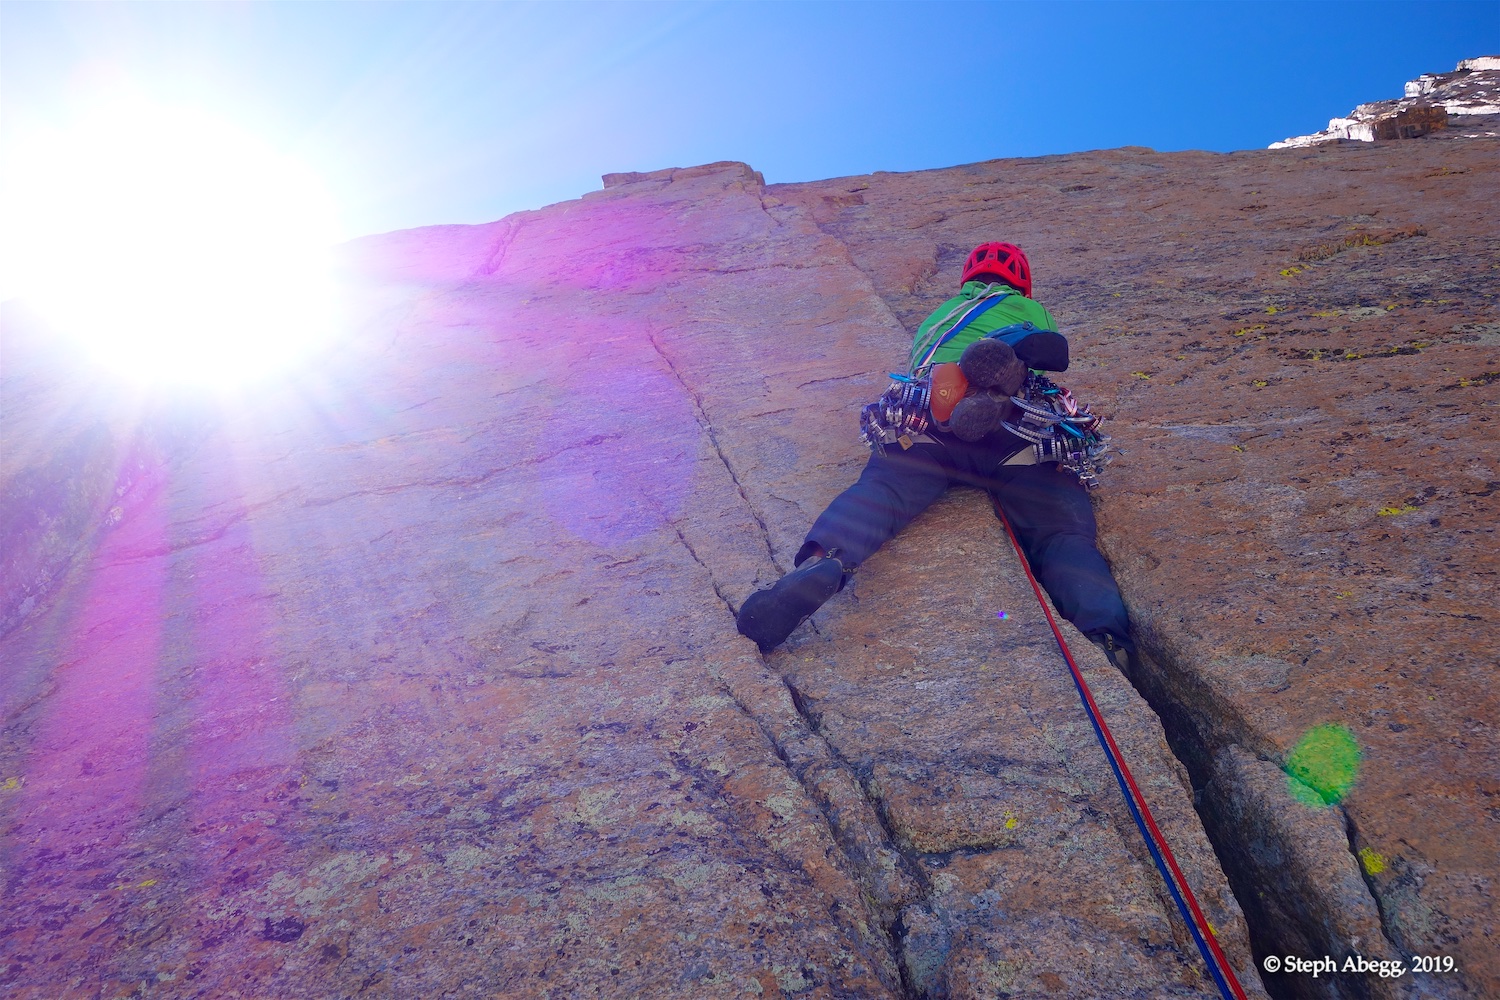
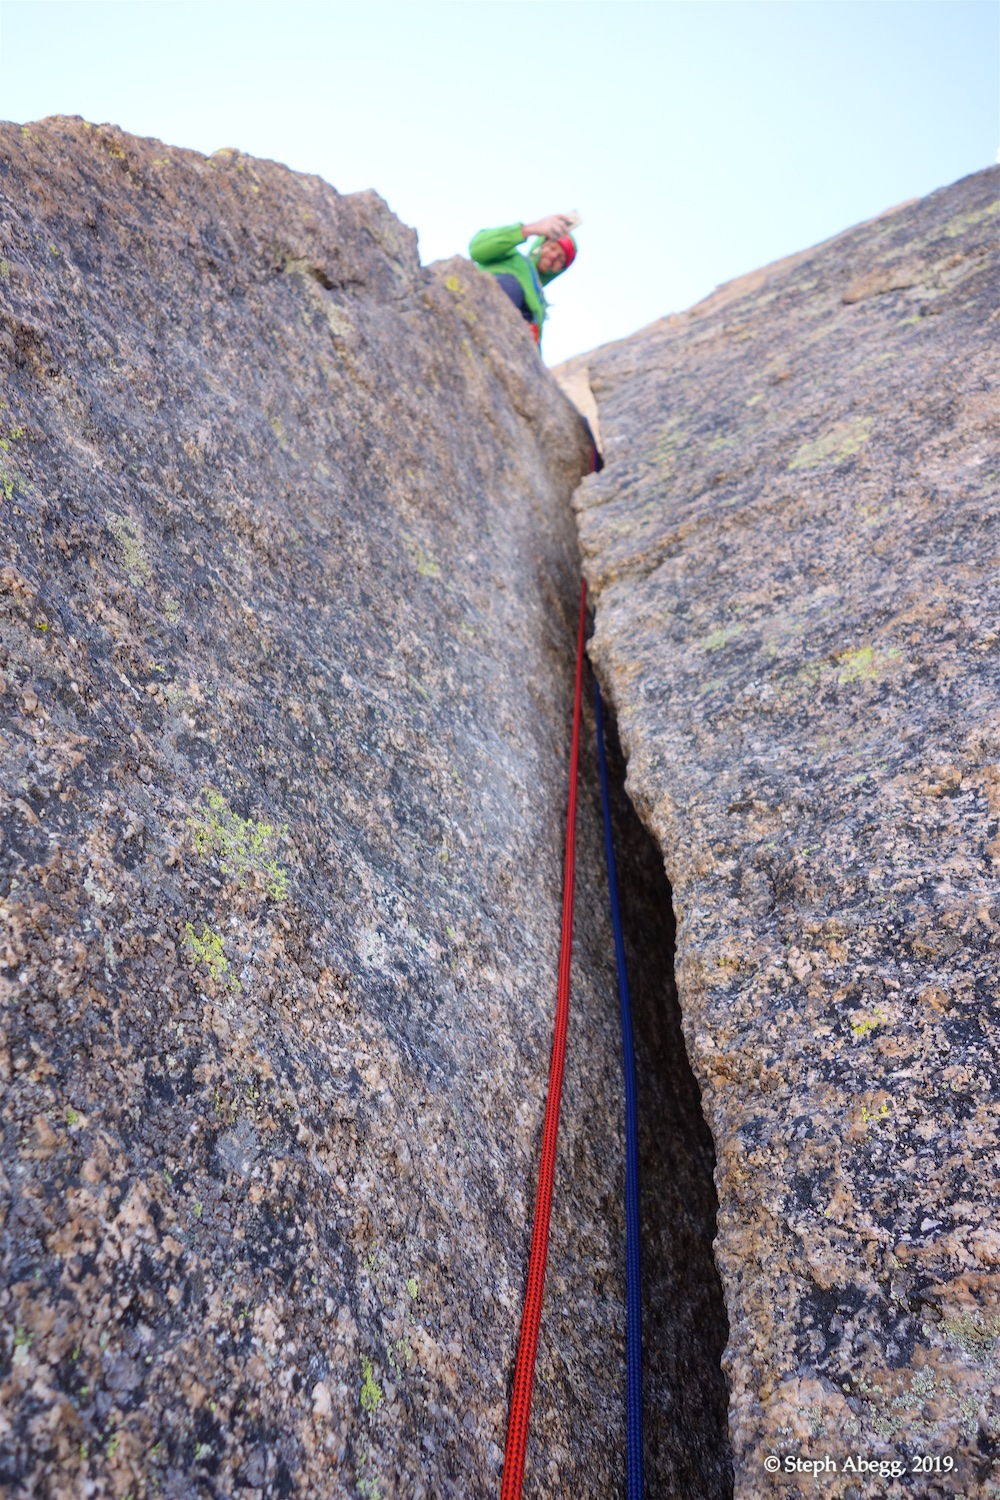
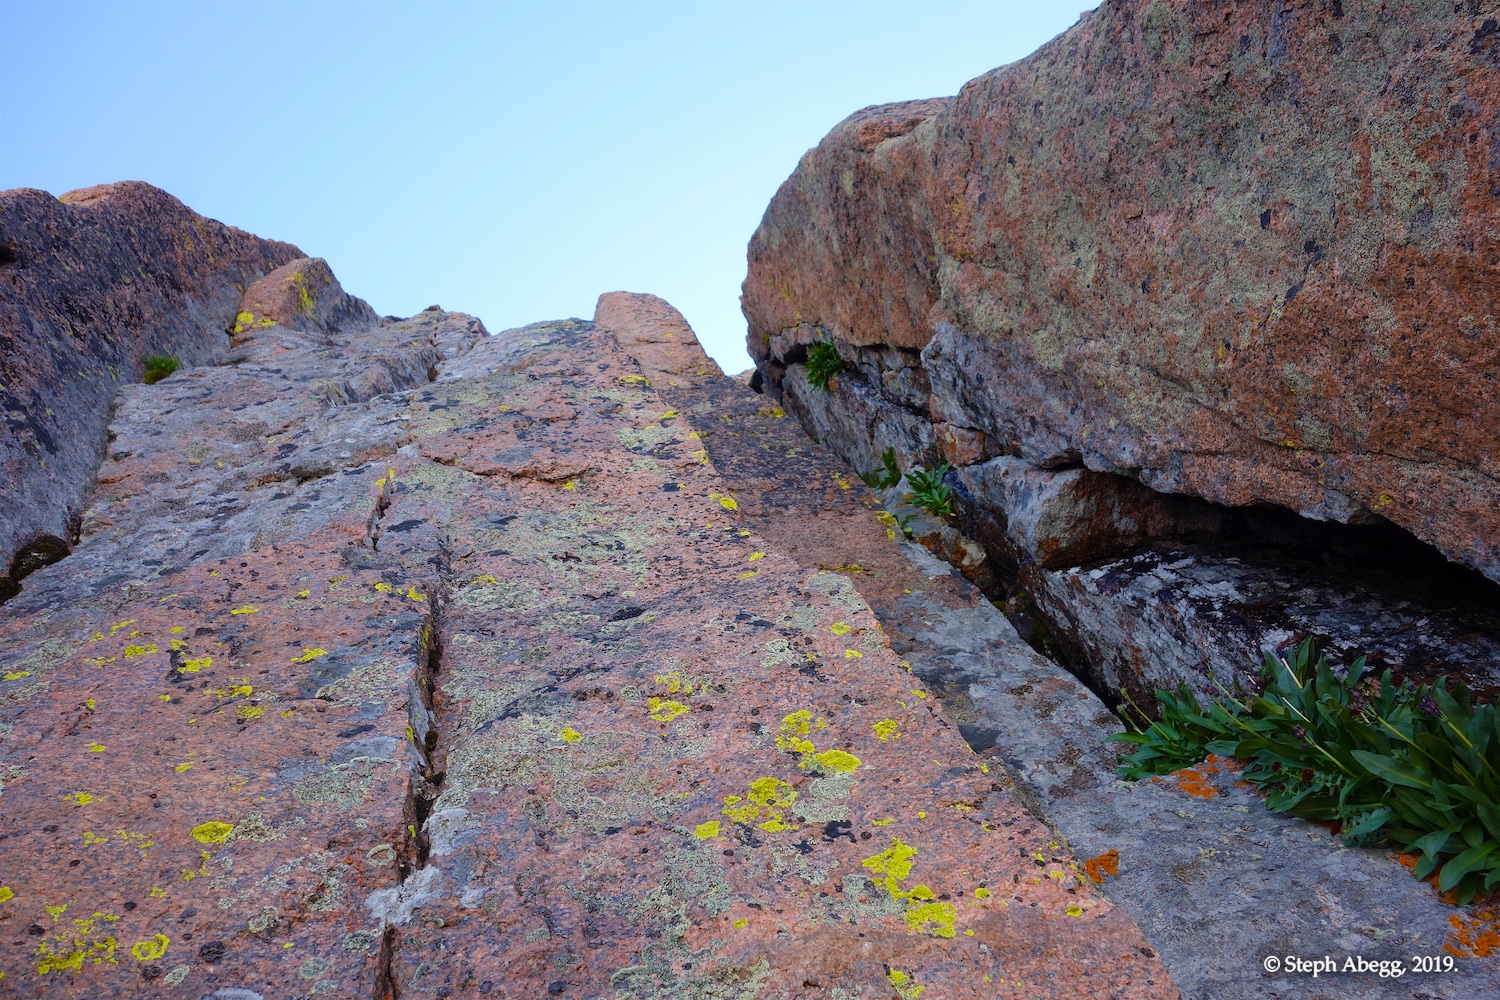
Climb the wide crack (fists+) in the dihedral to the top of the Obelisk Pillar.
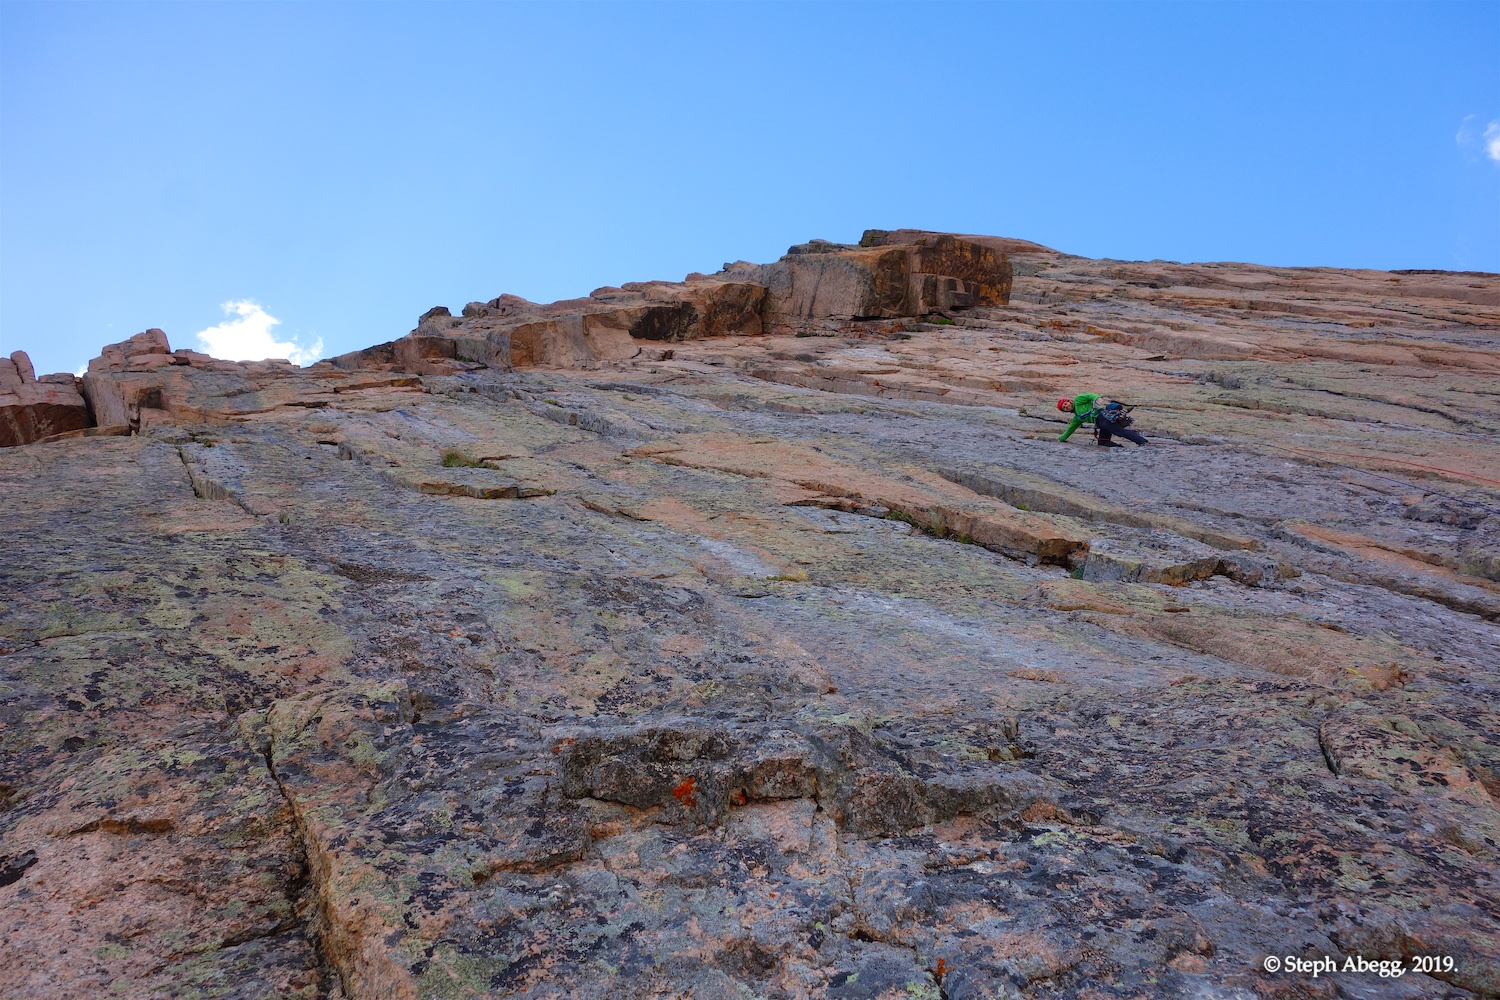
Pitch 6
5.9
Curving Vine / Pervertical Sanctuary
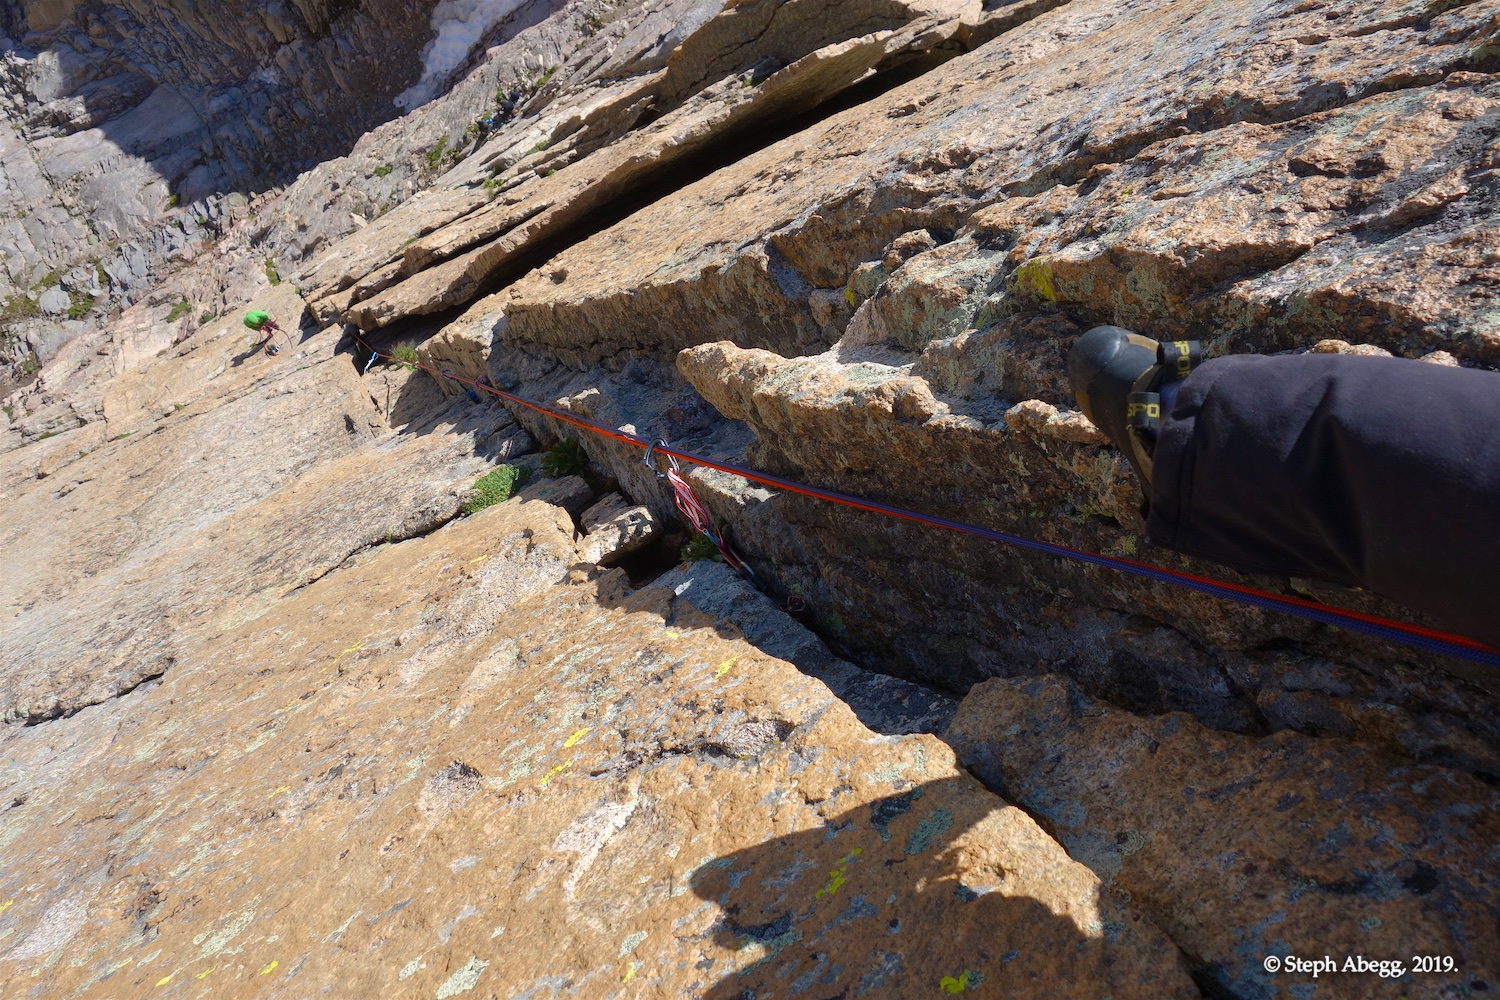
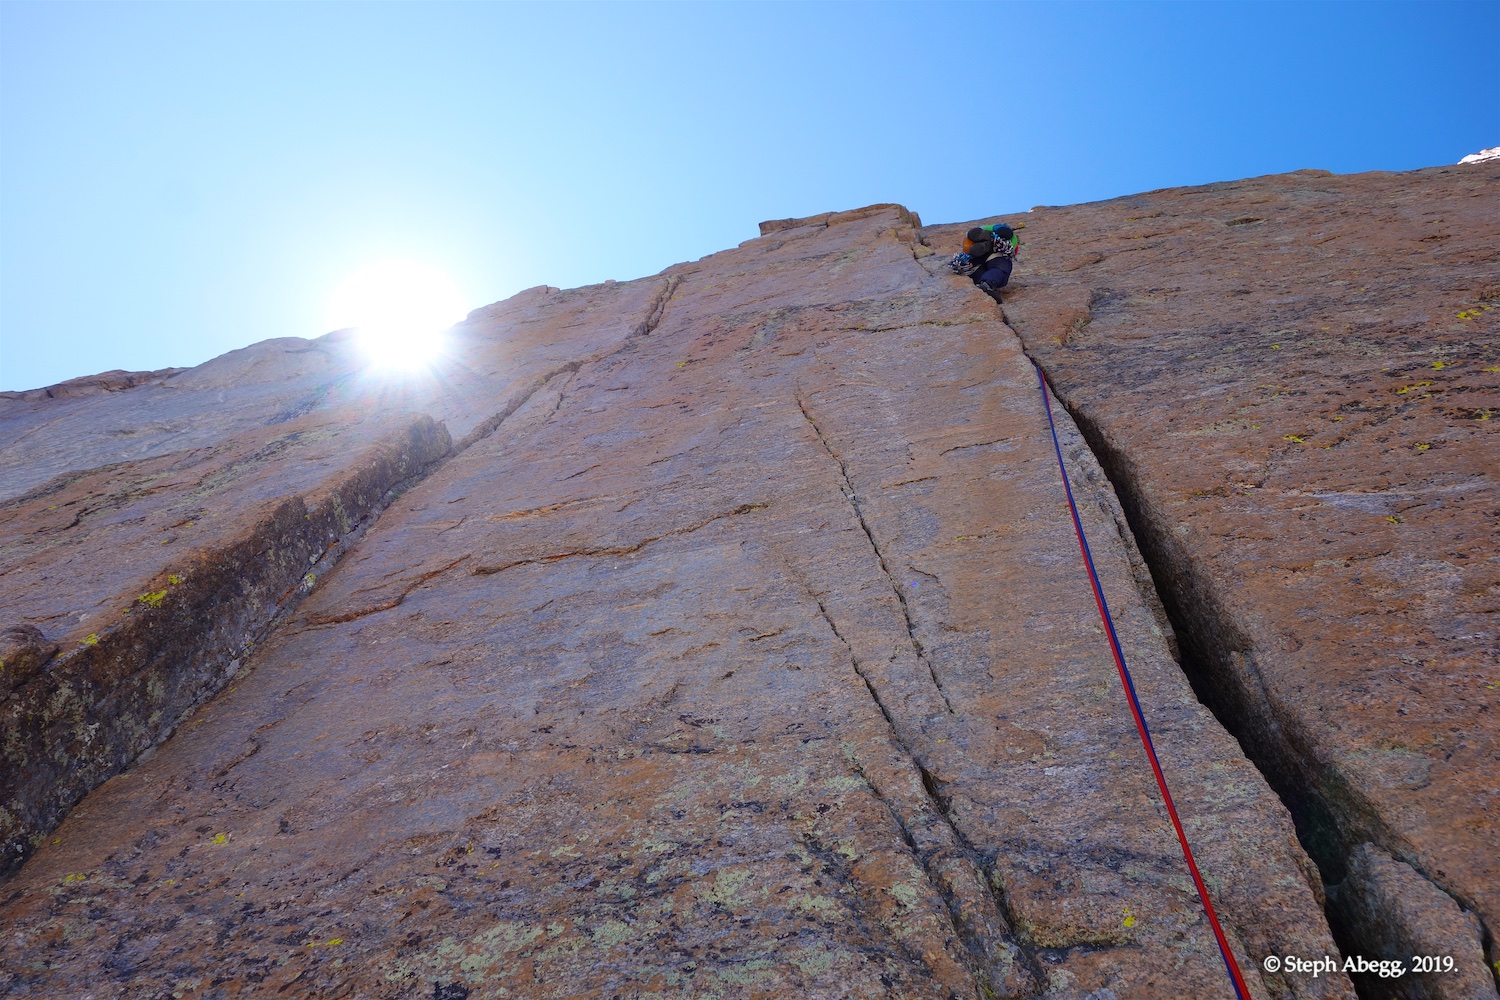
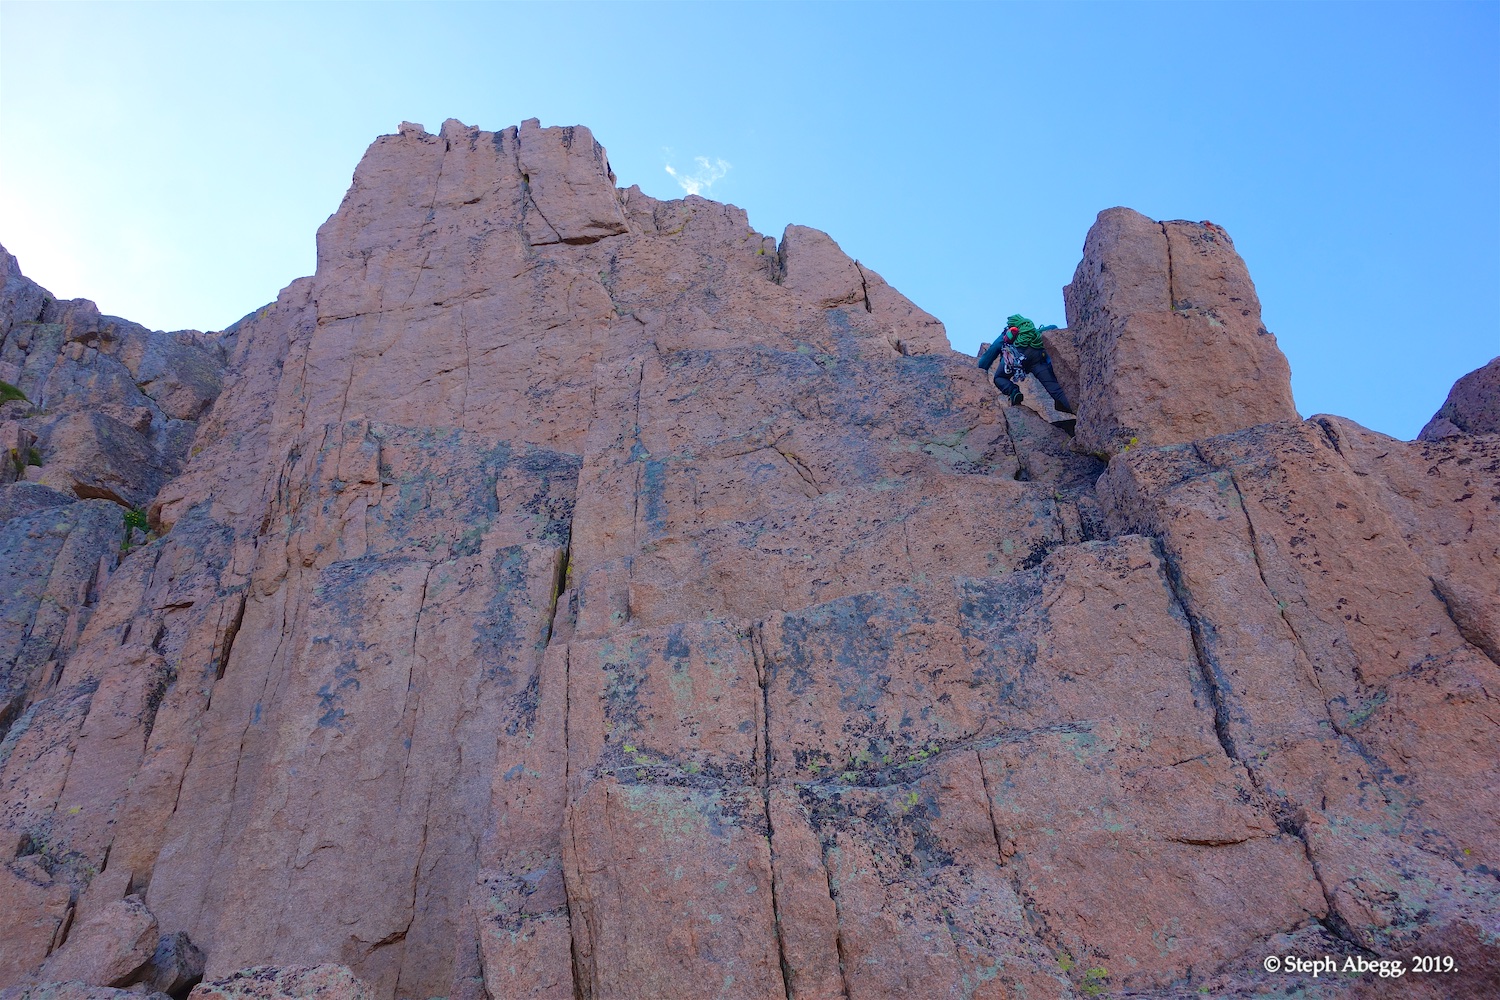
There are a few options here. Left is 10a, straight up is 5.9, and right is 5.9. I went straight up. This is a thin corner. Step right after 40 feet to a crack and finish up easier ground to Table Ledge. Fun climbing.
Pitch 7
5.9
Forrest Finish above Table Ledge
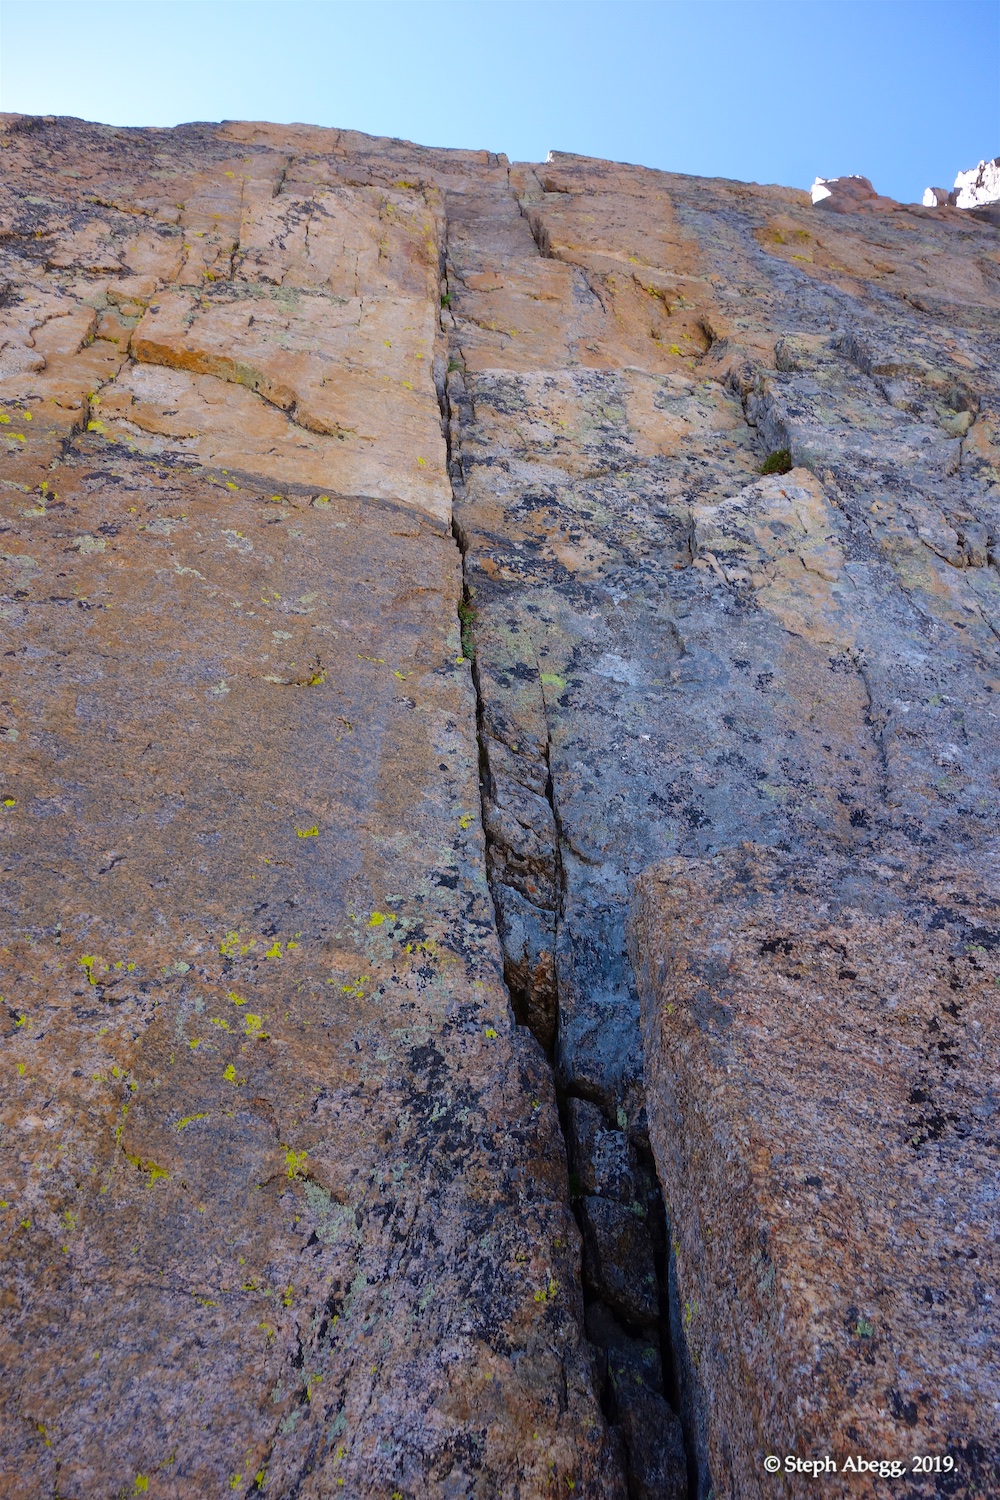
Climb the crack system that takes off above the Forrest Finish pitches below Table Ledge. It was decent climbing, but wet. (How hard is wet 5.9? Well, it's still 5.9. But it's wet. Usually feels scarier and harder than dry 5.10.) Probably seldom climbed. Our first pitch was 200 feet and climbed through all of the 5.9 difficulties. The pitch description in the guidebook breaks the 5.9 into two pitches.
Pitch 8
5.6
Forrest Finish above Table Ledge
Since our first pitch linked together all the 5.9 difficulties, this was a short pitch through a wet 5.6 chimney.
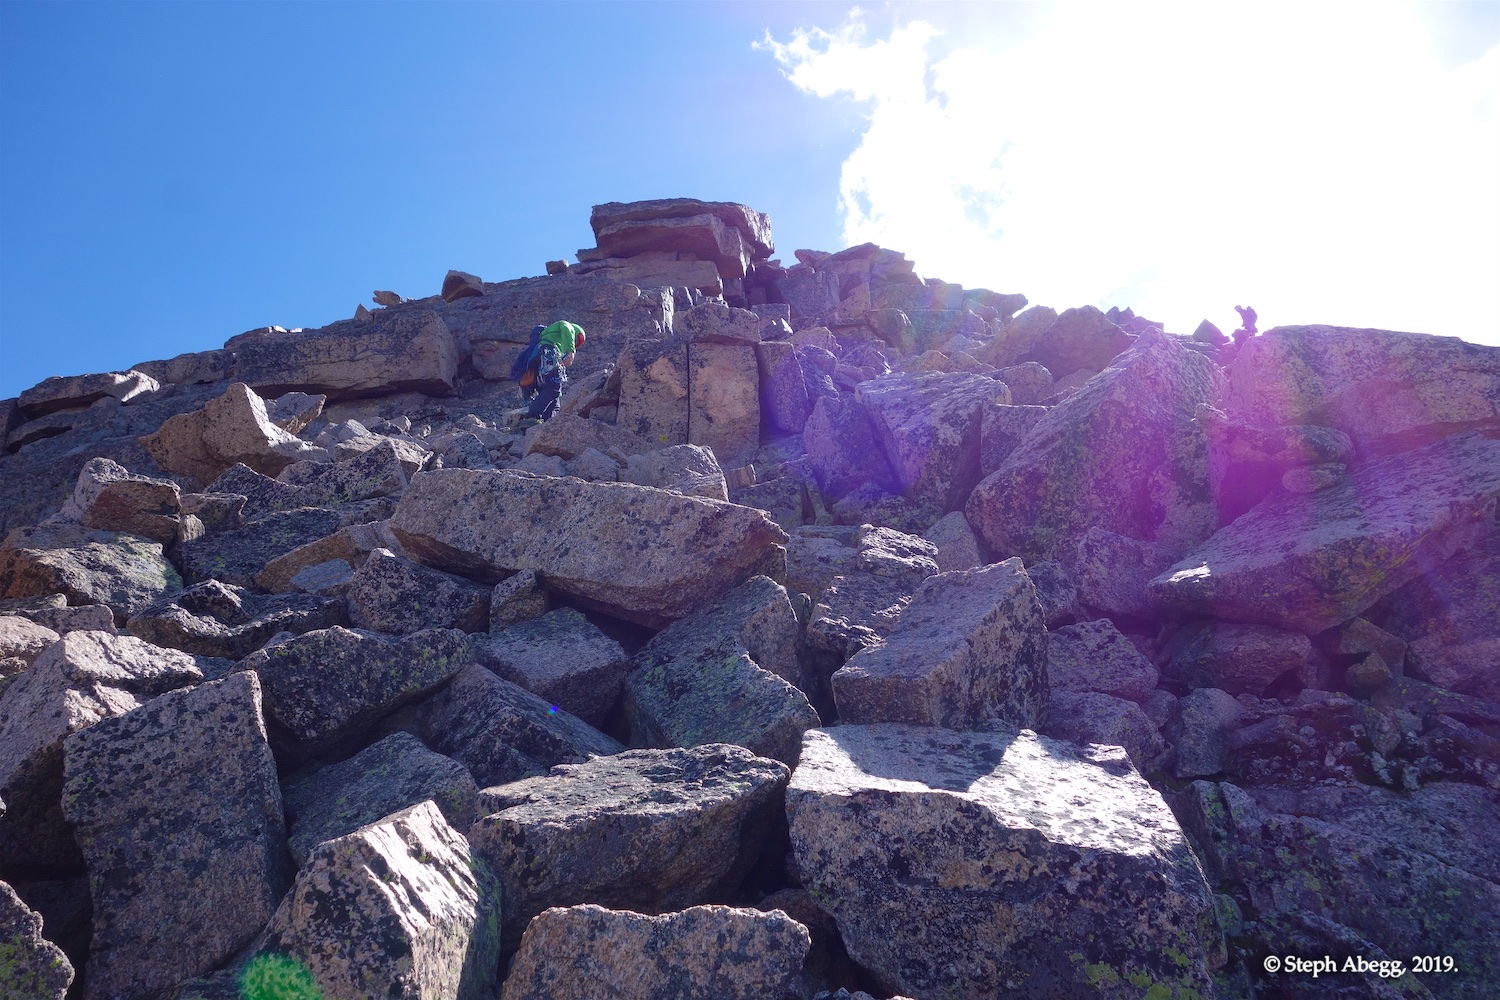
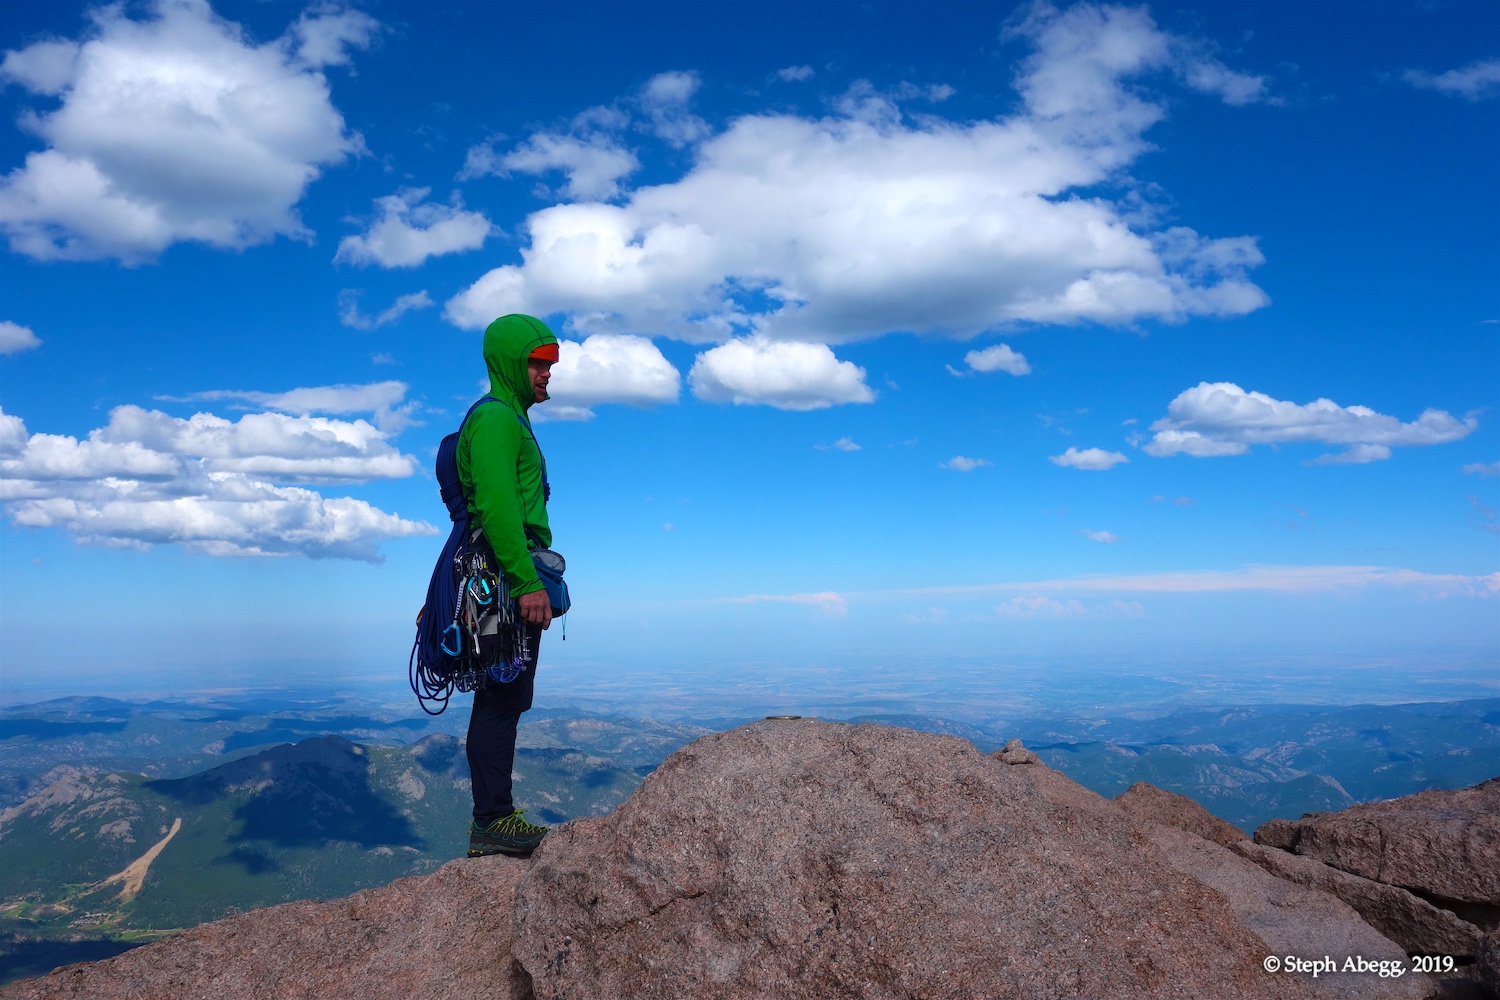
Summit
From the top of the roped climbing, it was a short 3rd class scramble to the top.
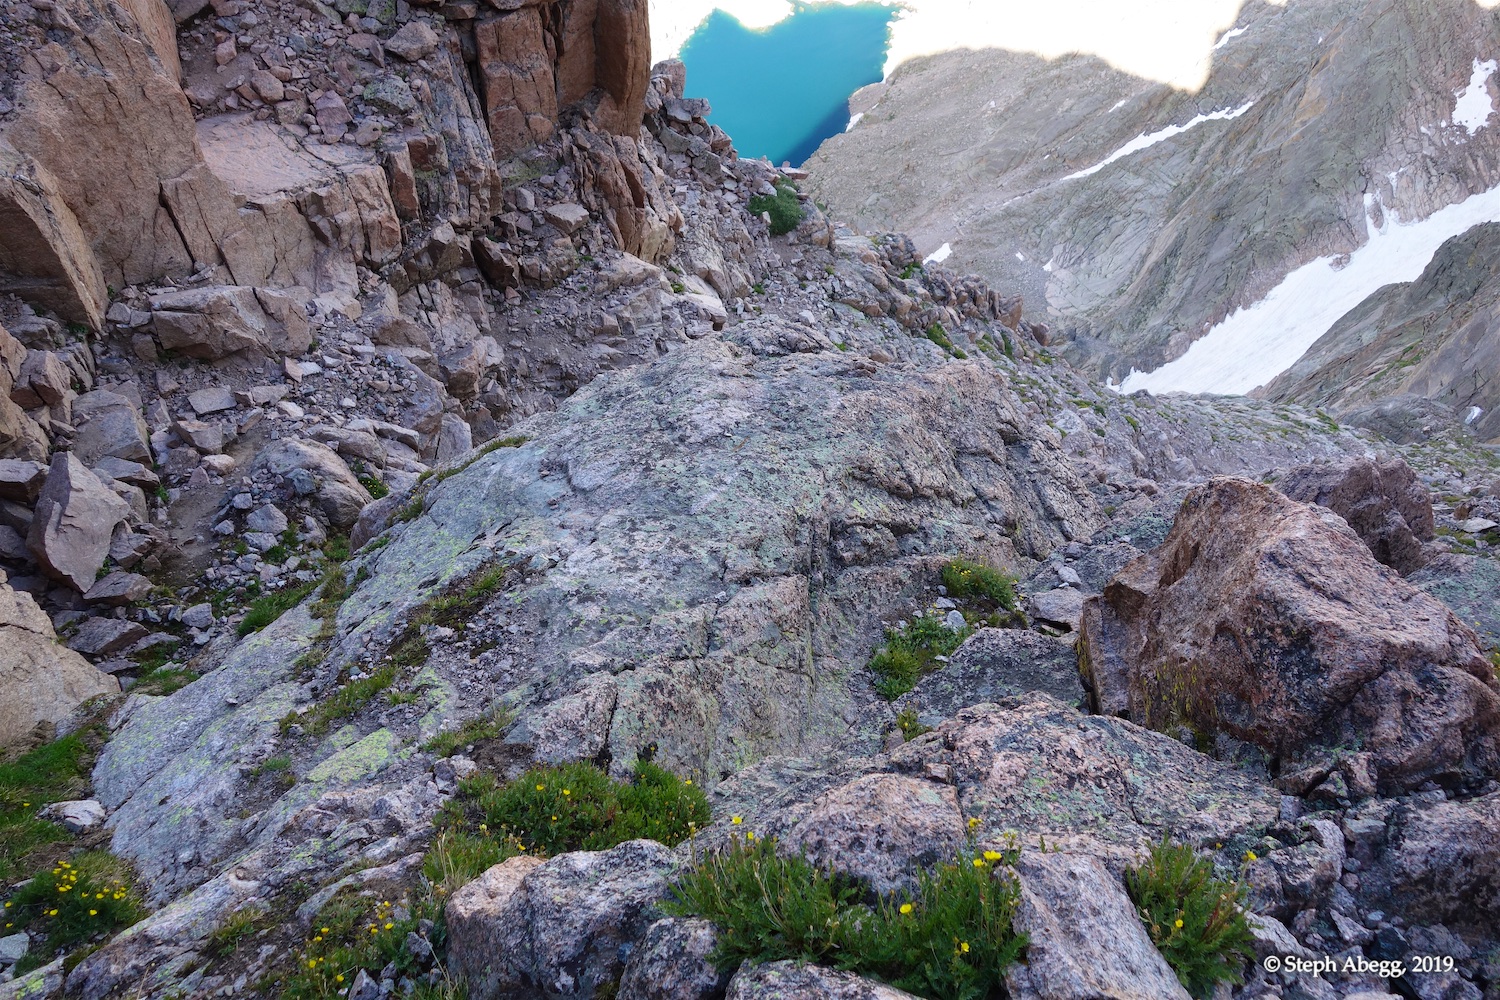
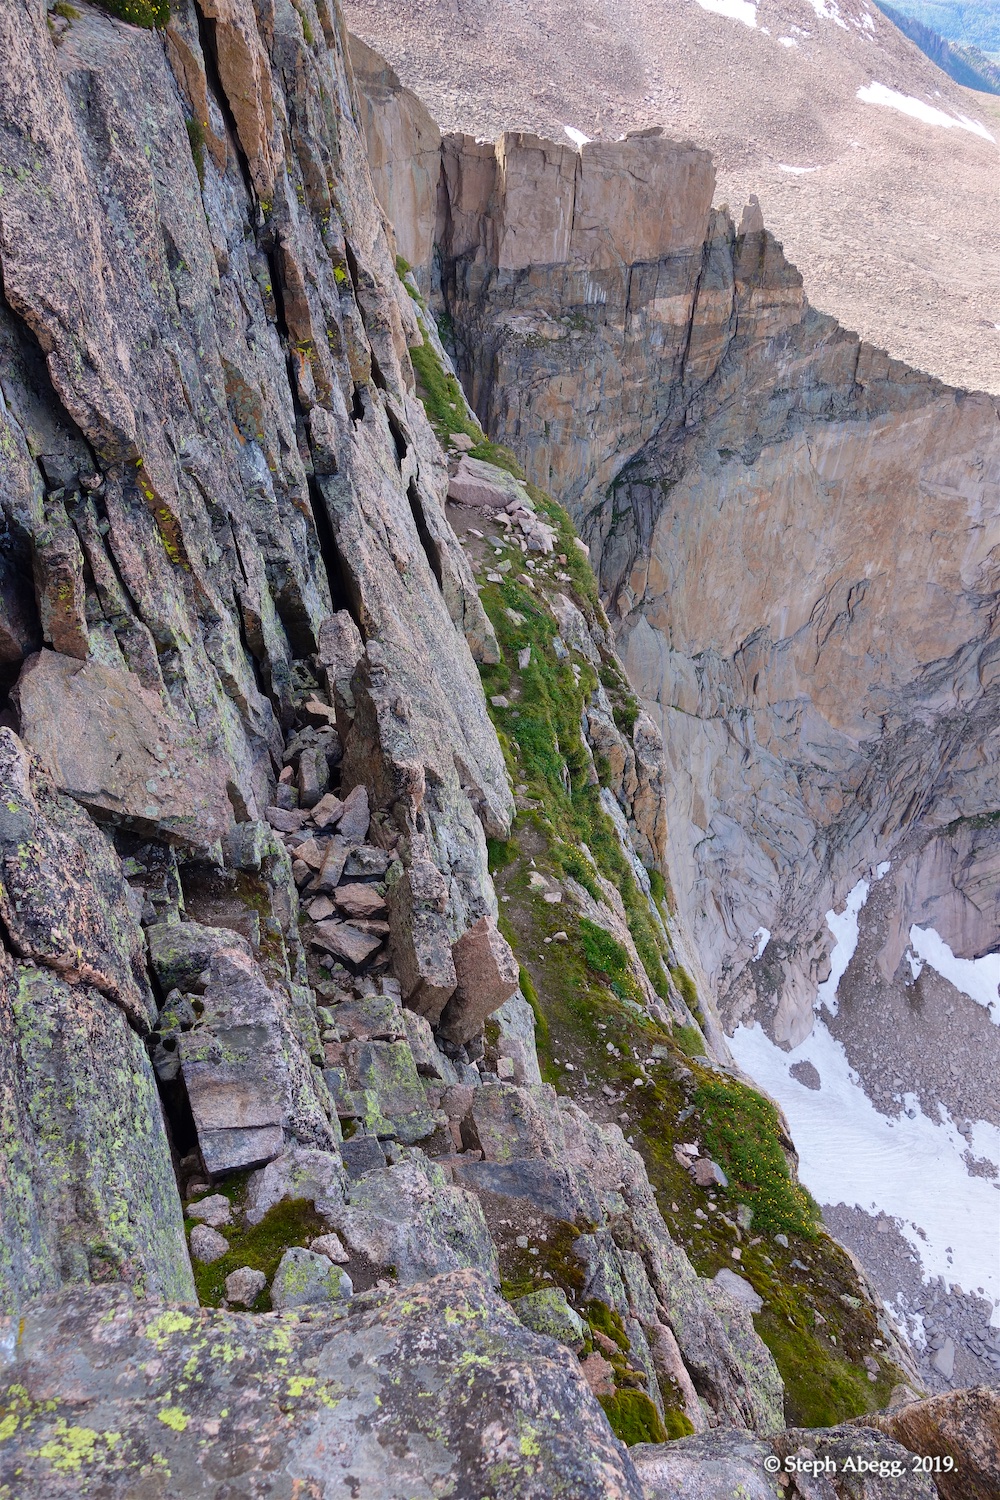
Descent
Rappels
Diamond Rappel Route
We had debated about the options from this point:
(1) Downclimb Kiener's Route (4th) to Table Ledge, and then descend via the Diamond Rappel Route back to Broadway Ledge (5 raps with double ropes) and then from Broadway Ledge down to the snowfield. Hike out around Chasm Lake.
(2) Descend via the Cables Route (3rd with 2 single rope raps) and scramble down to regain the trail in Boulderfield and hike out.
In interest of climbing with lighter packs and having extra water at the base, we had in advance decided to go with Option 1. Based on future experiences on the Diamond, Option 2 is faster and would be what I would do in the future.