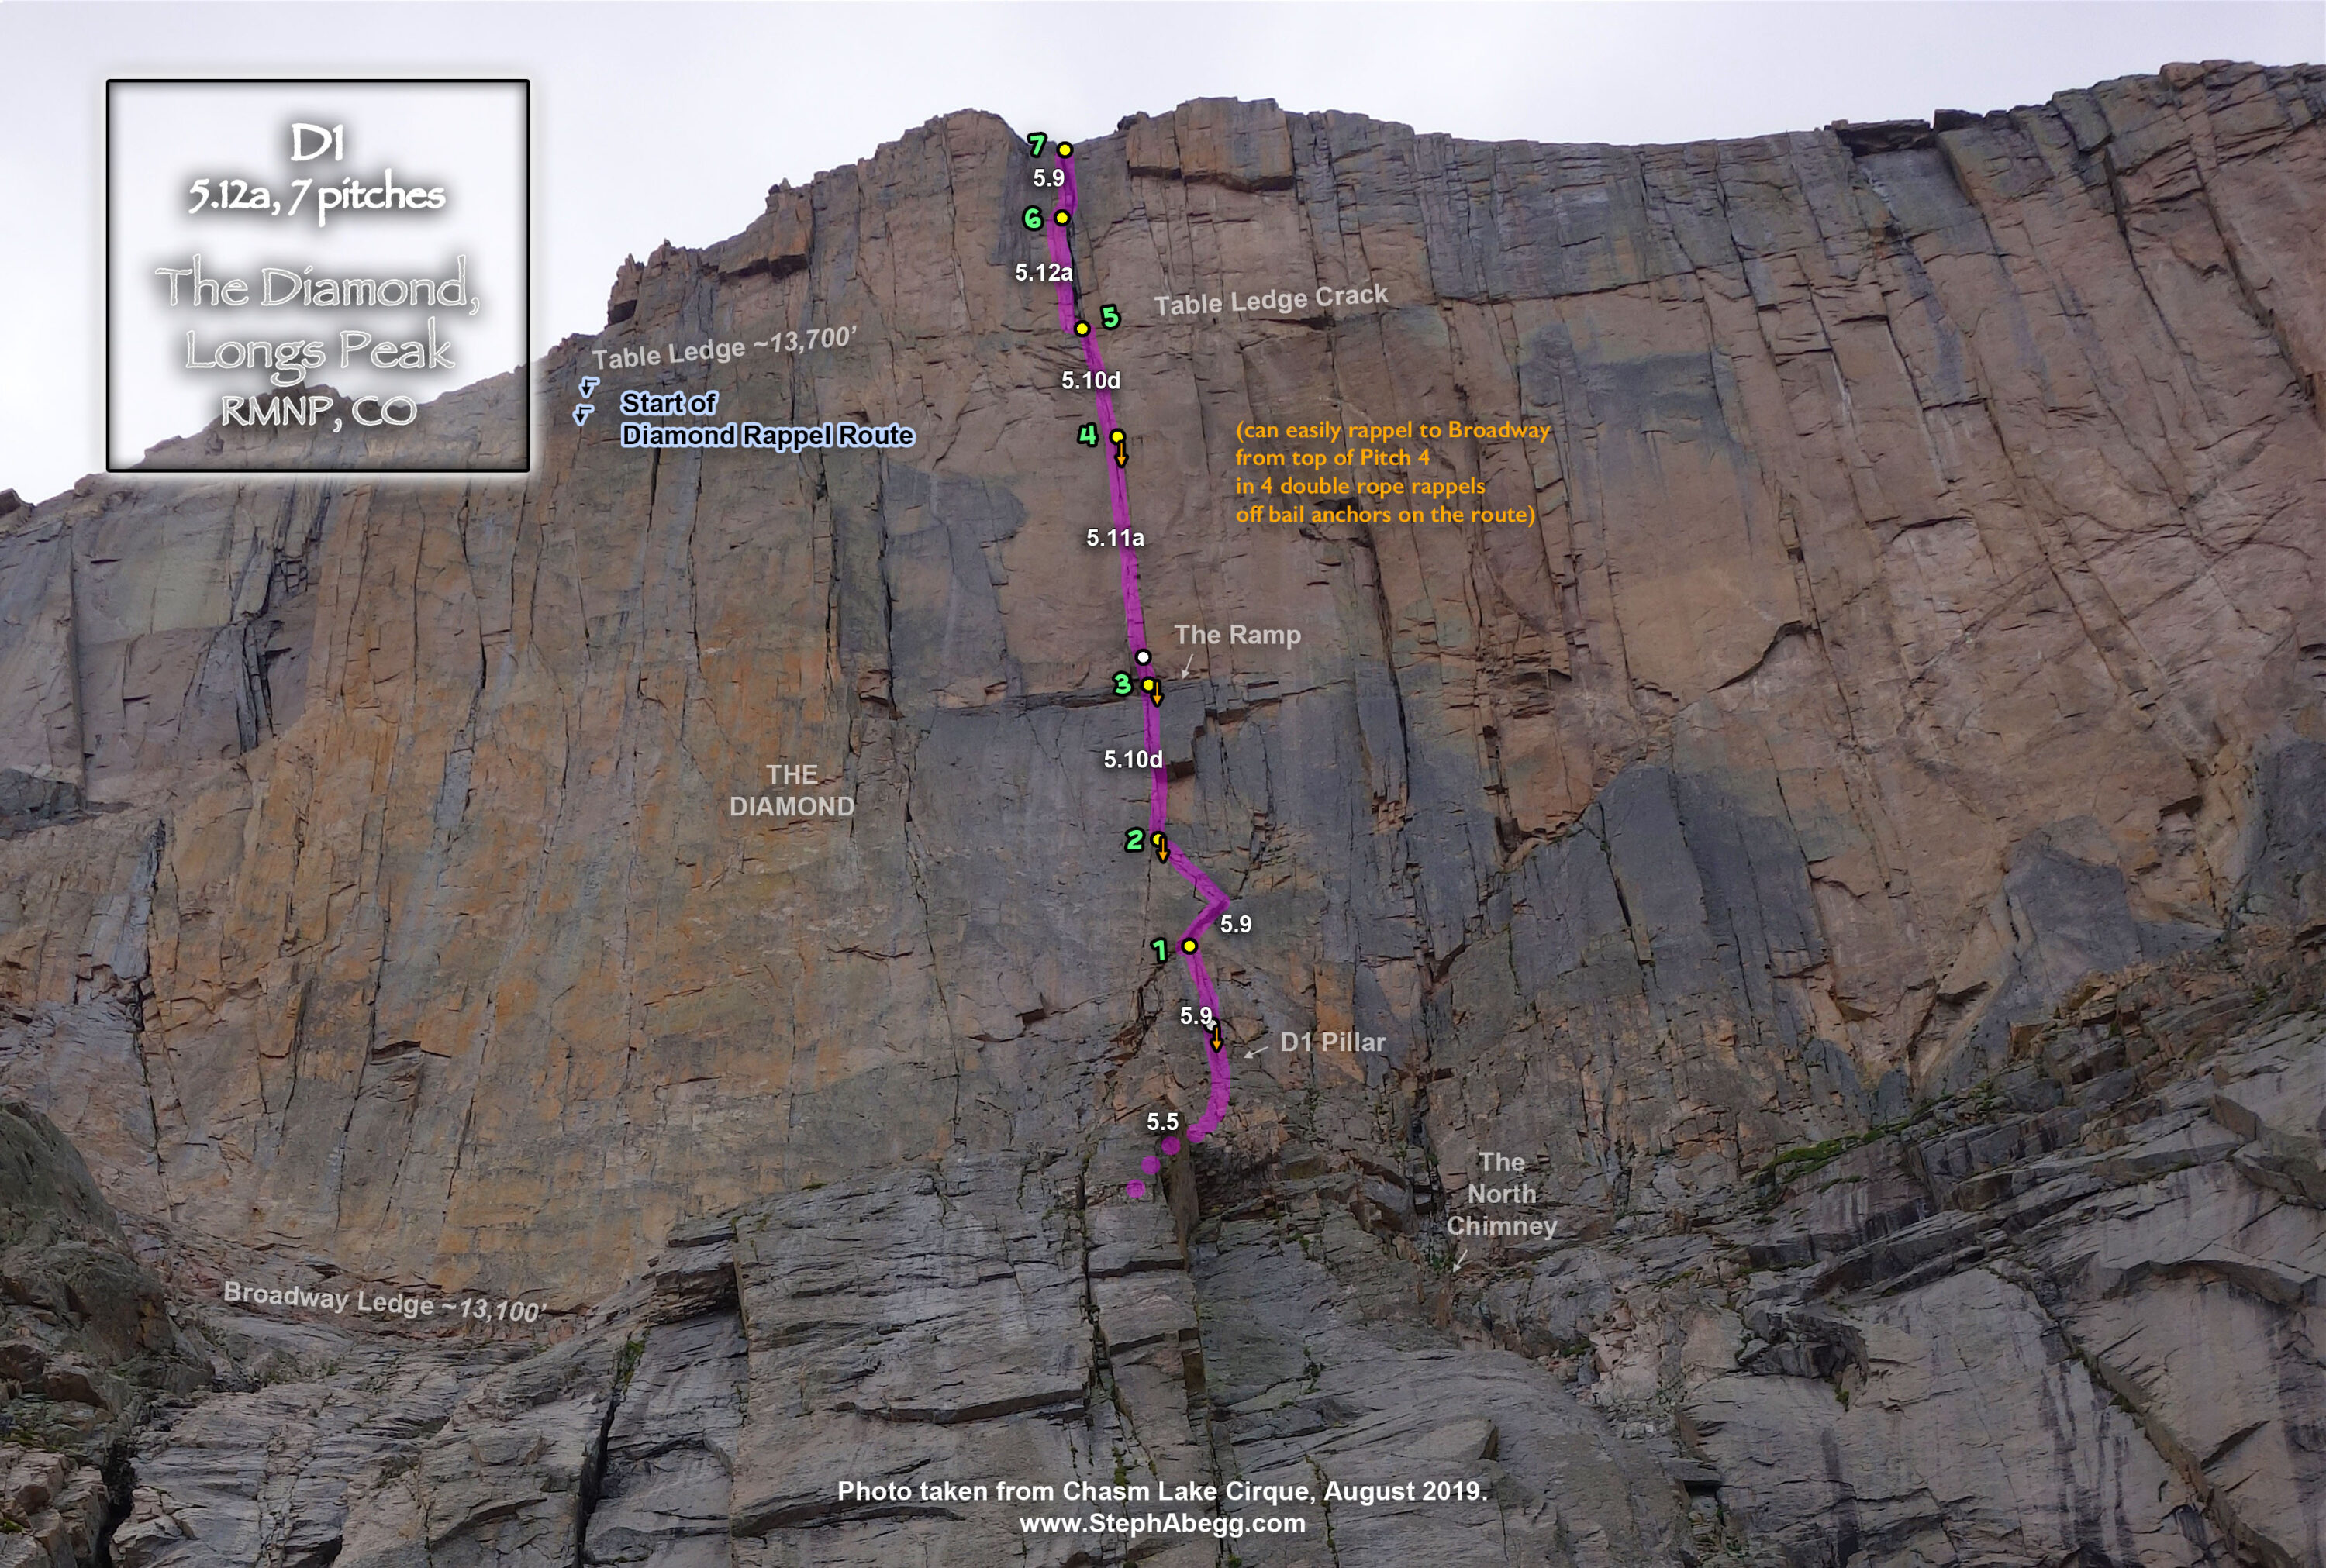
Intro
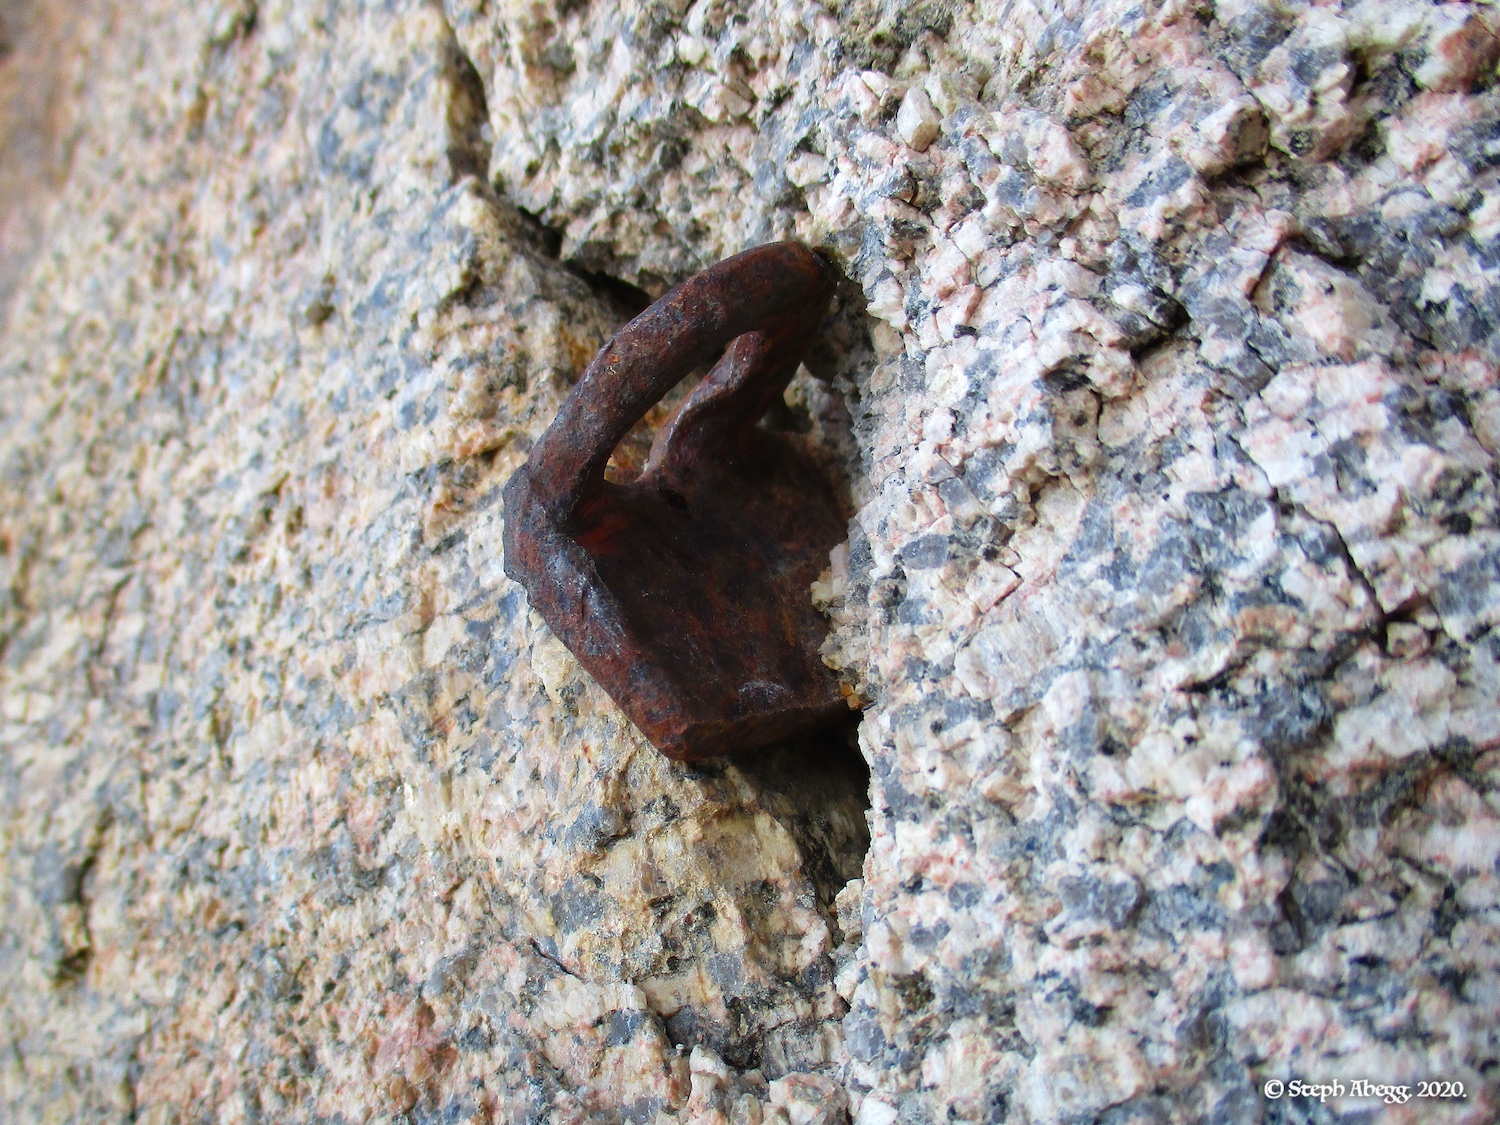
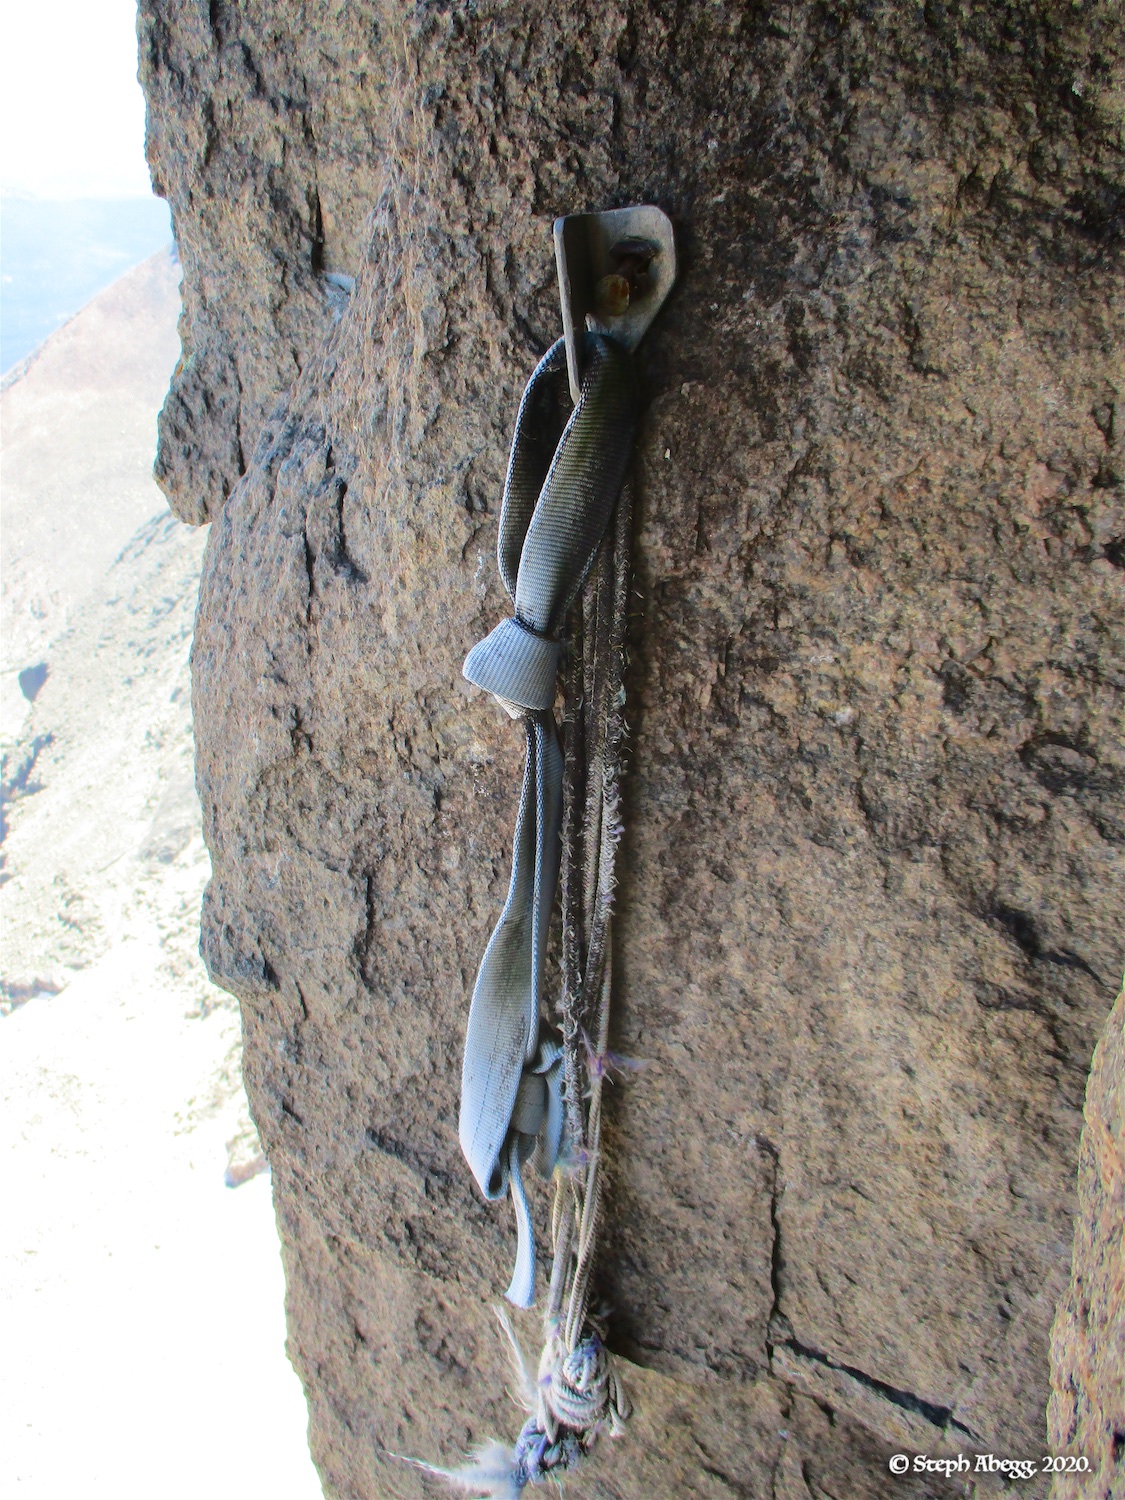
Nate and I knew we were headed up into a challenge when we started up D1. It was one of the few <=5.12a routes on the Diamond Nate had not climbed, and I am always up for adventure, so we were willing to give it a go. We ended up climbing the first four (of seven total) pitches before deciding that we had enough difficult adventure climbing for the day. Doubtless the slightly overhanging kitty litter sections of Pitch 4, the half dozen bail anchors on this pitch alone, and the presence of a bolted rap station at the top of Pitch 4—kind of a subtle "here's your free ticket out"—played a key role in the decision to bail. I was impressed with Nate's lead on this pitch.
Usually I do not create trip reports for uncompleted climbs, but I feel that for a route like D1, even climbing four of the seven pitches ends up feeling like a full-value adventure on the Diamond. Plus, D1 is a route with a lot of intrigue, so I figure this trip report will be of interest to climbers trying to gather beta for the route. Moreover, someday I will climb the route in its entirety, so I will be back to fill in the details in this trip report once I do climb the rest of the route.
Below are photos for our climb of the first four of seven pitches of D1. Nate and I called the day's adventure "D 0.6".
Pitch-by-Pitch Photos
Approach
5.4
North Chimney
We approached via the North Chimney to Broadway Ledge.
Pitch 1
5.5-5.9
Casual Route / D1
Start on the Casual Route, but ascend corners to the right to the middle or top of the D1 Pillar. Can probably keep the grade closer to 5.5 if you climb the Casual Route or cracks on the face, but it seems more like 5.9 in the somewhat-vegetated corner system.
Pitch 2
5.9
D1
From the top of the D1 pillar, follow a right-facing dihedral up right, then back left to a ledge.
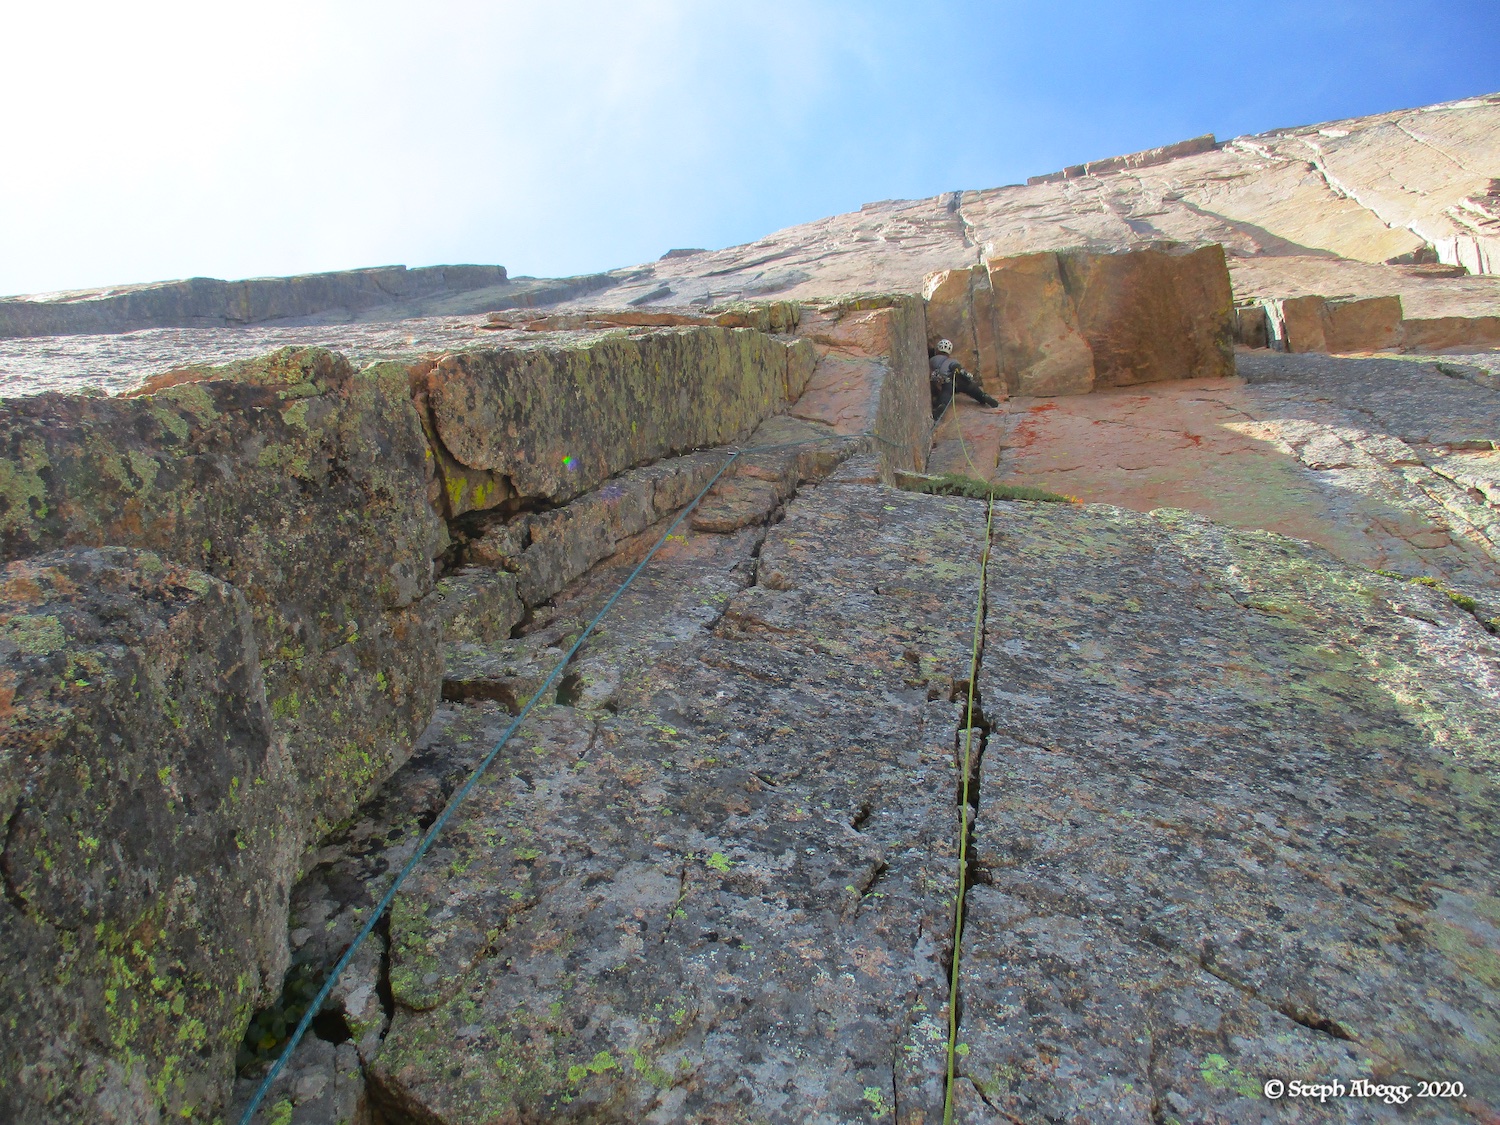
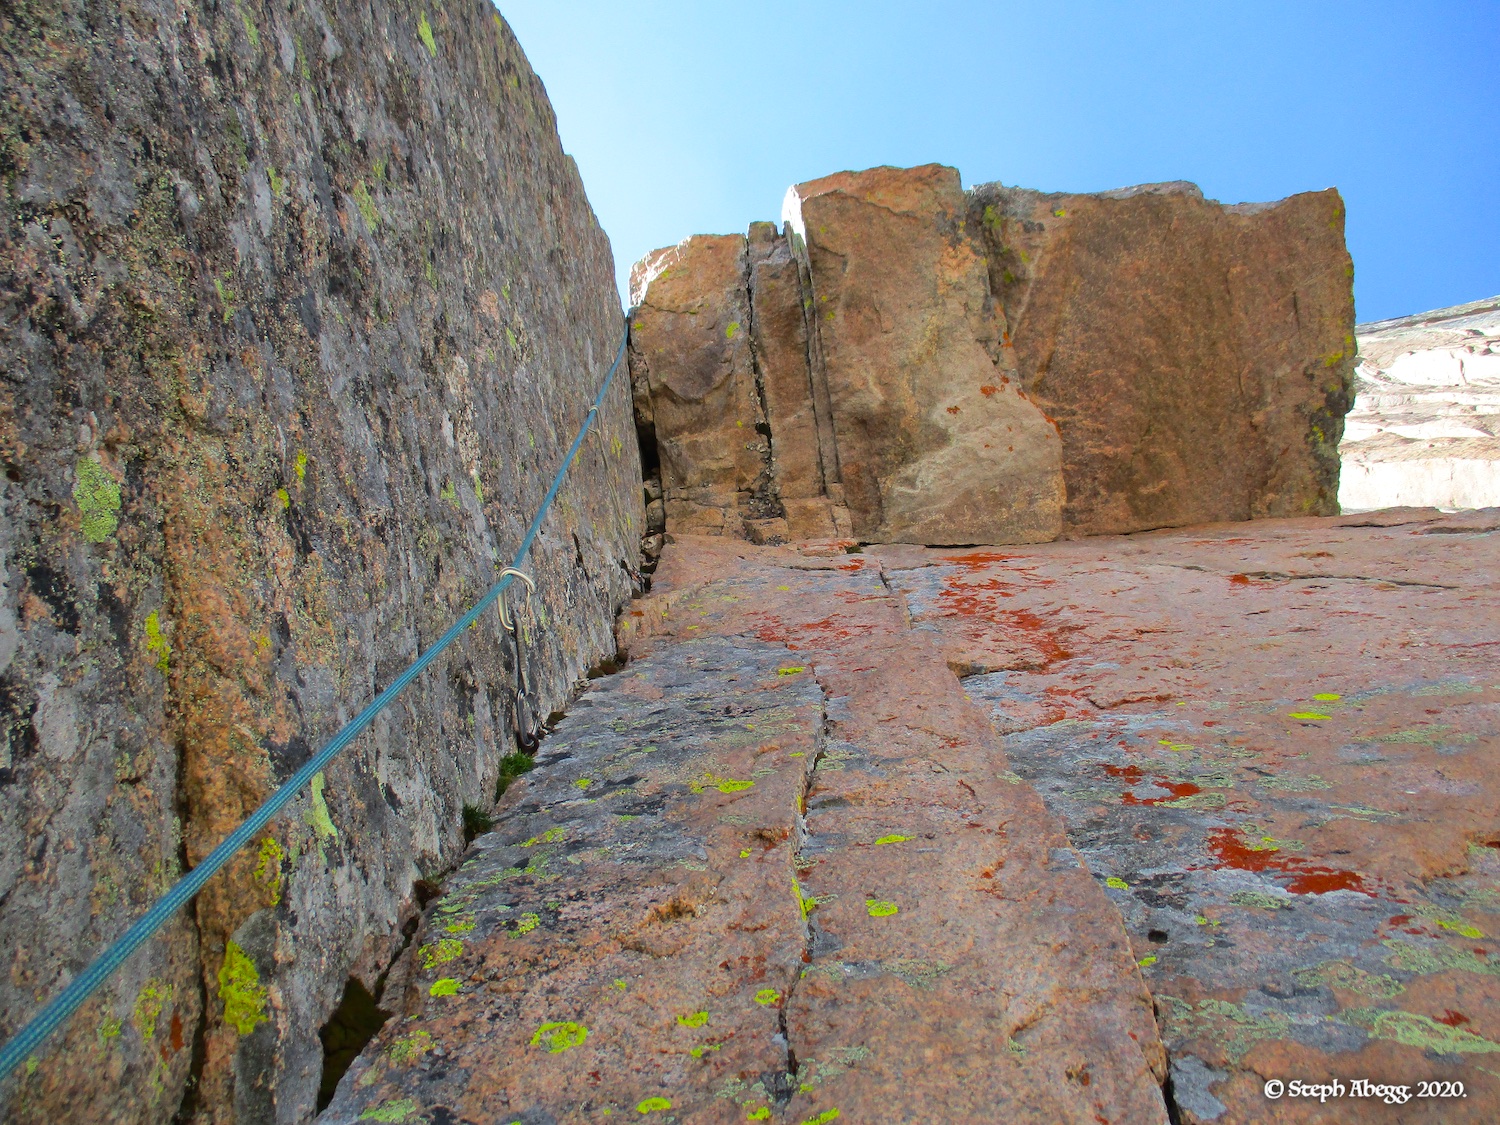
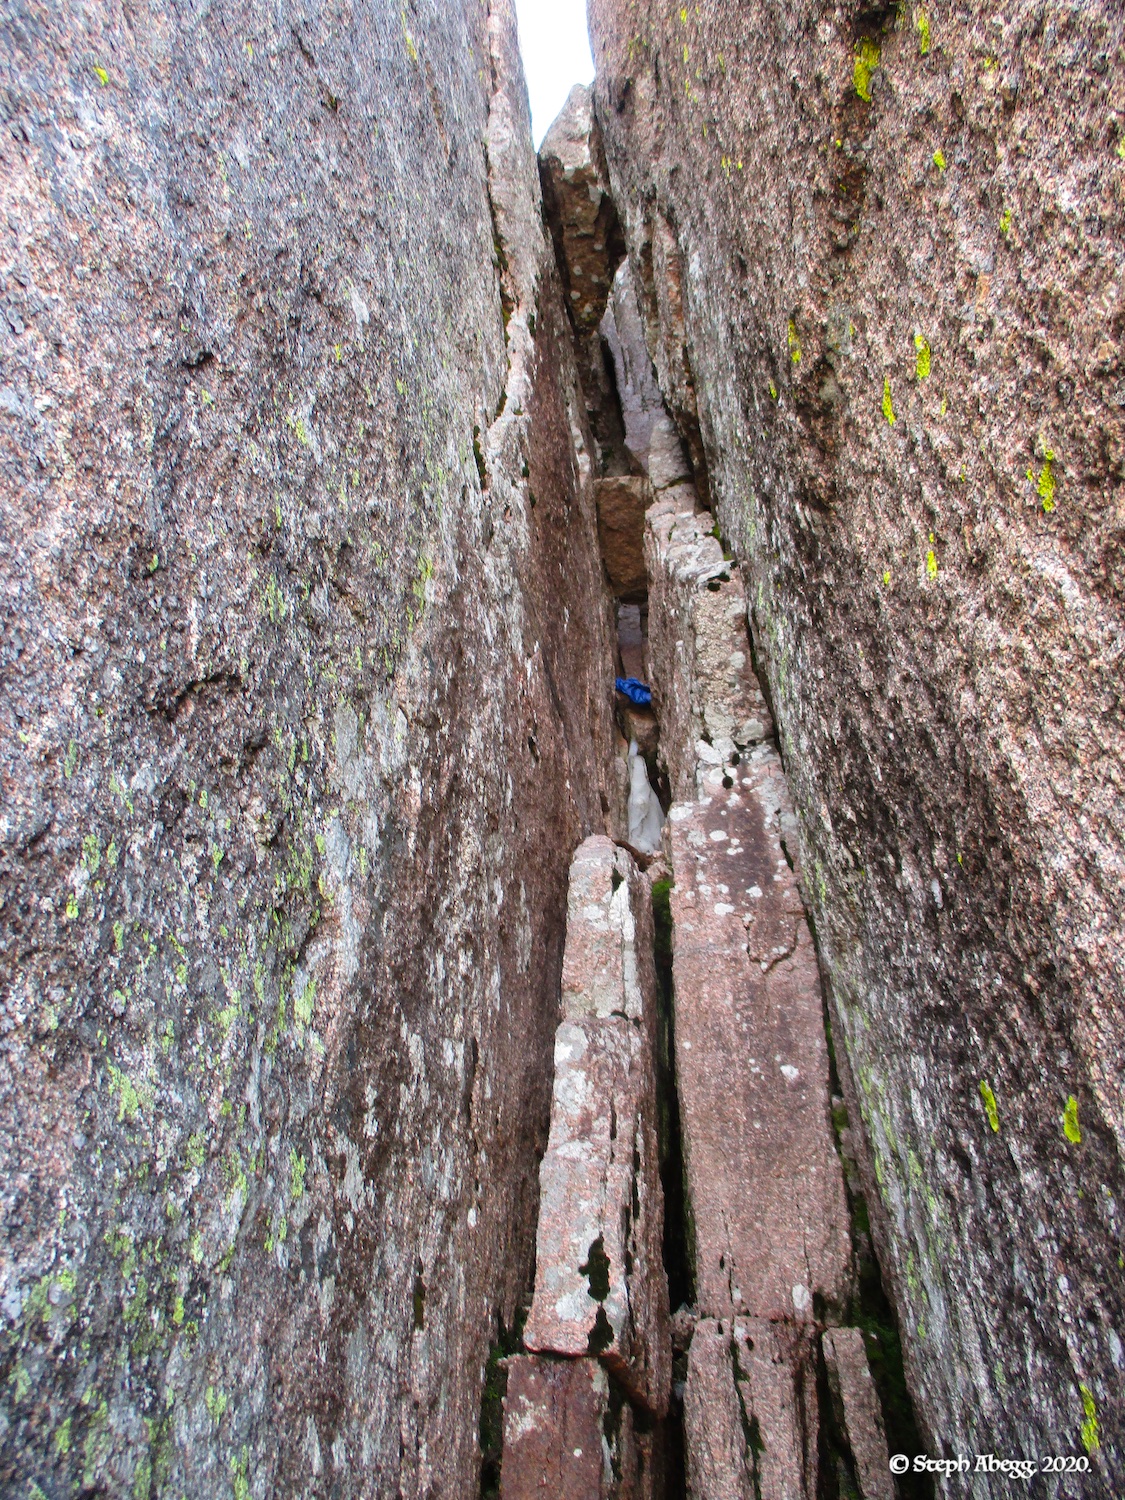
Pitch 3
5.10d
D1
Climb a right-facing dihedral up to a roof, pull through the roof on the left, and follow cracks to the top of the Ramp.
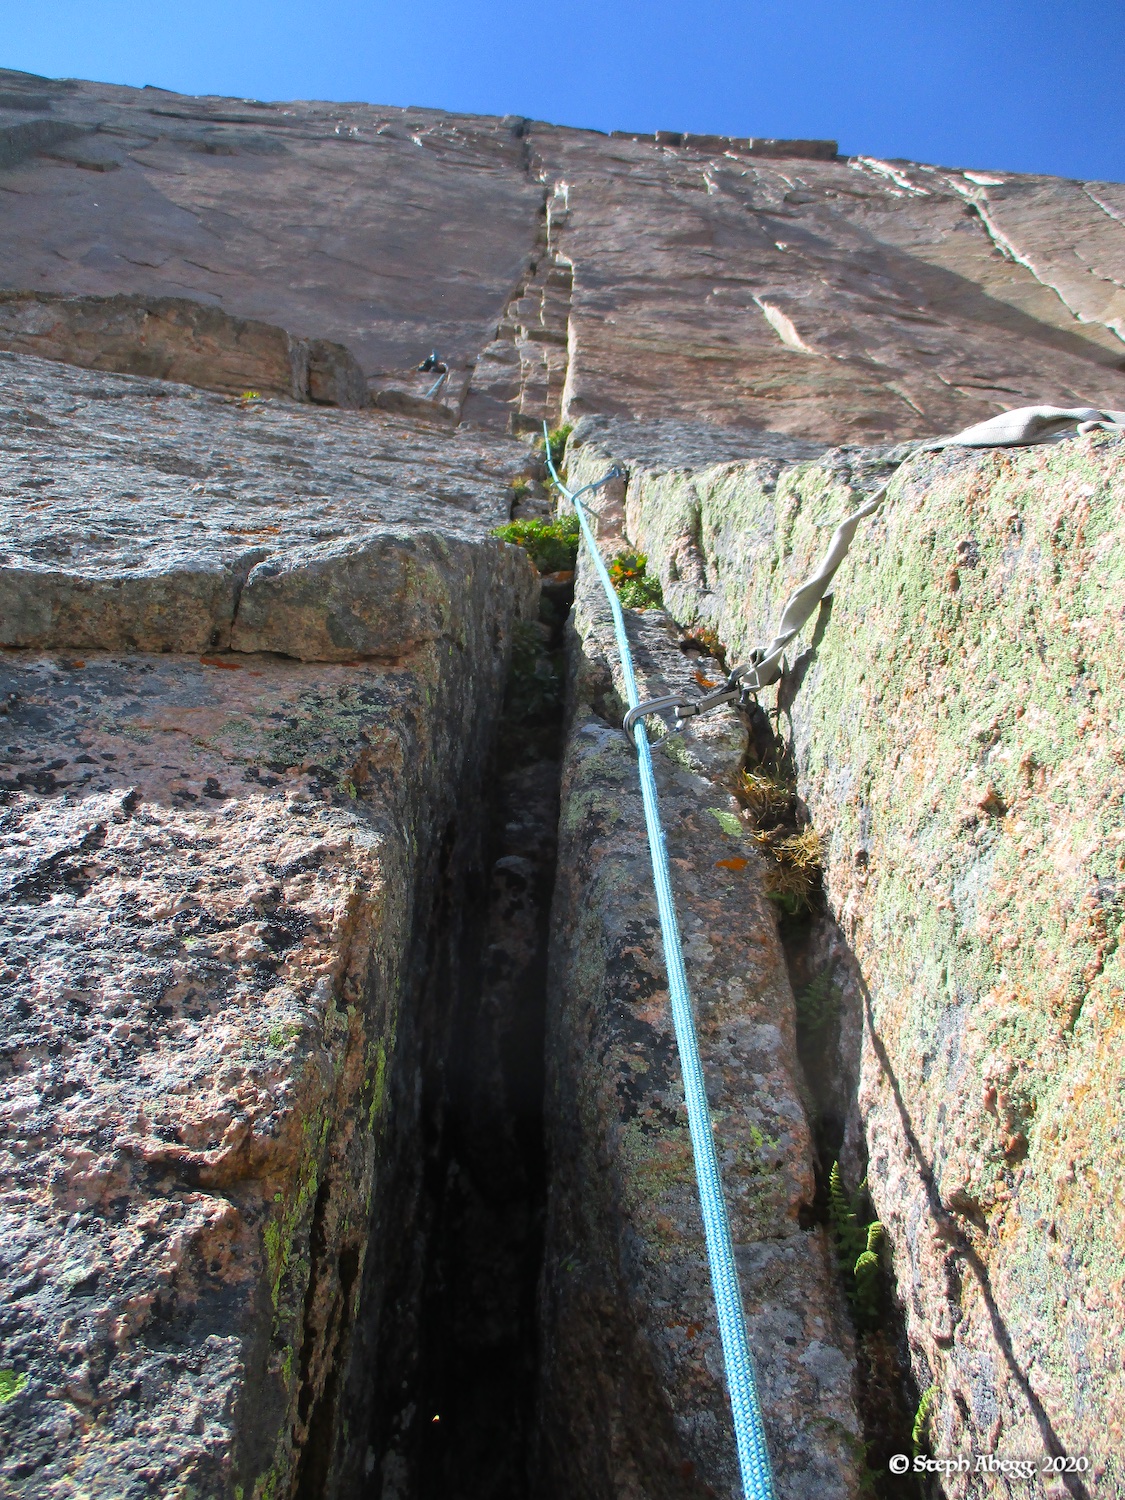
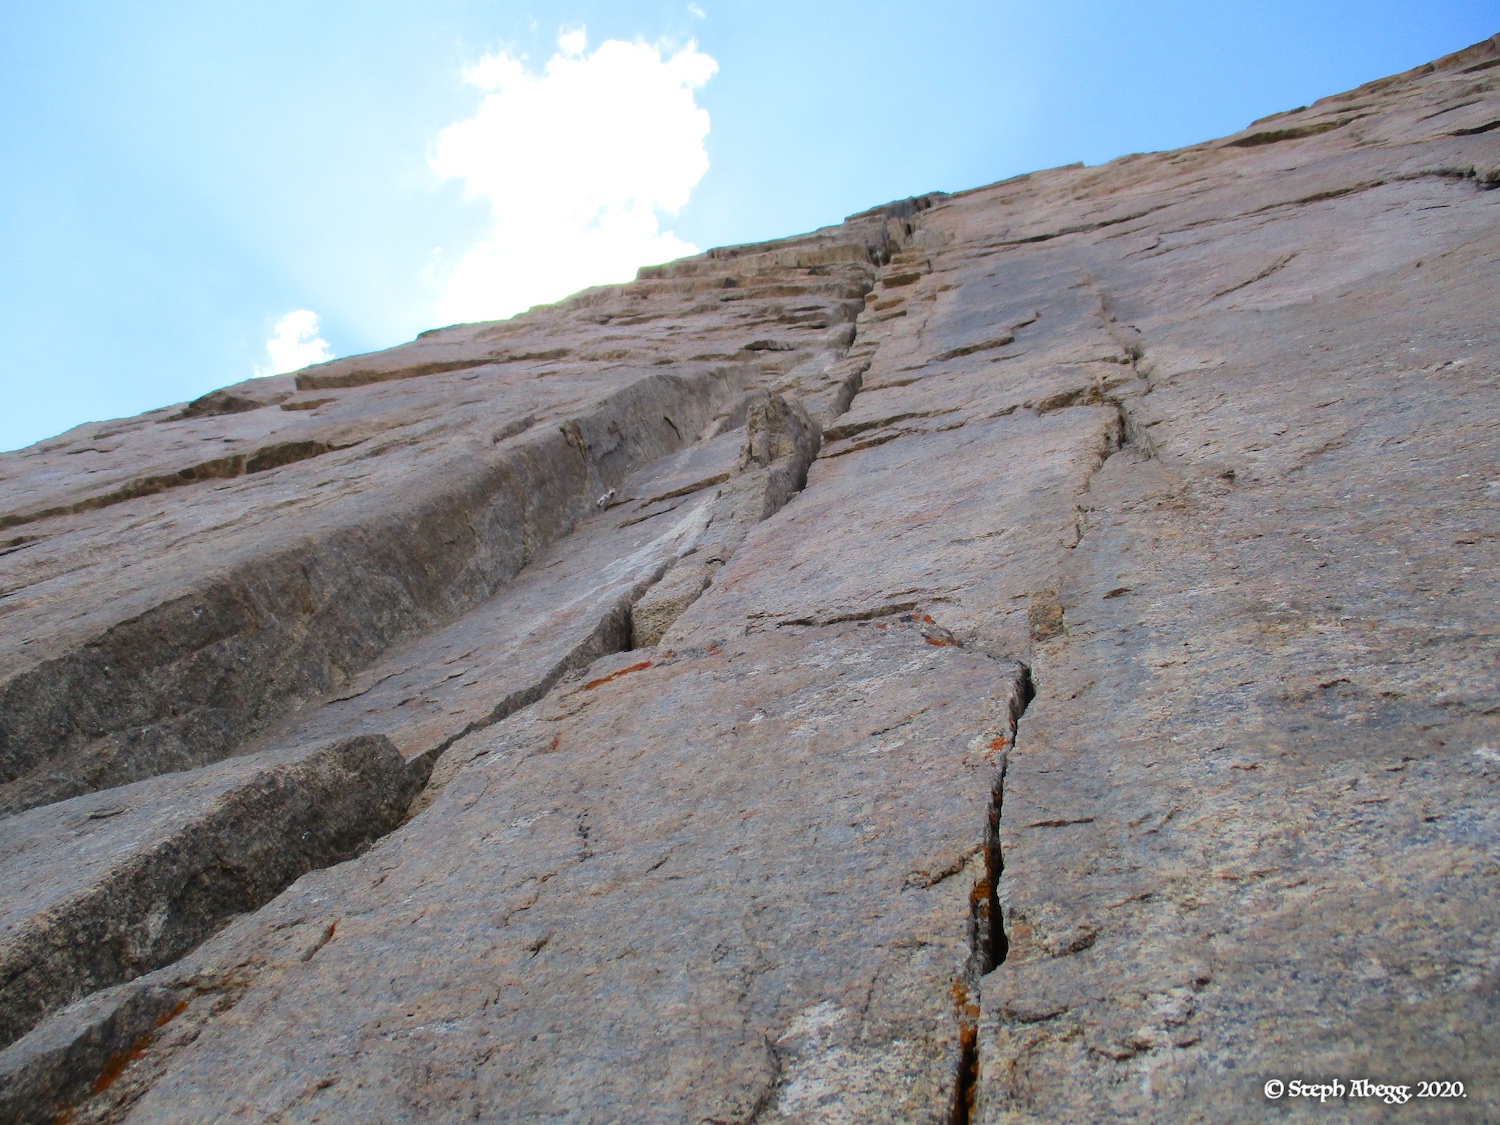
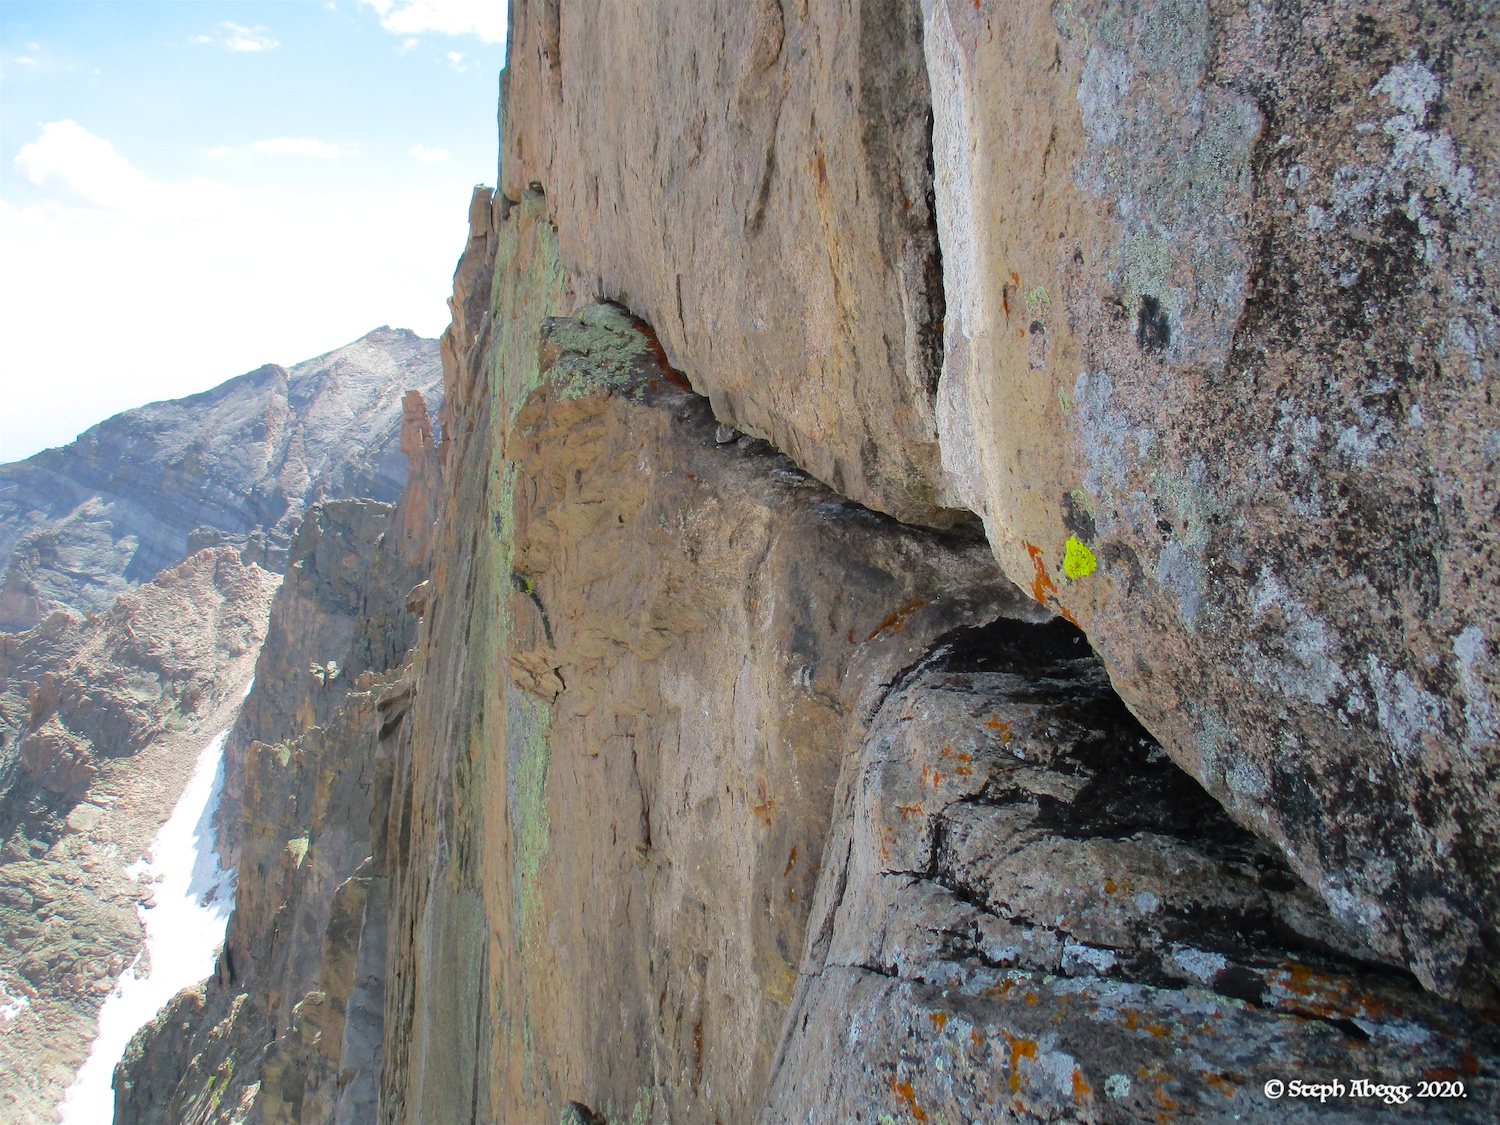
Pitch 4
5.11a
D1
The guidebook mentions that it is best to move the belay from the top of the Ramp to the ledge about 30 feet higher before launching into Pitch 4. We did this as a short pitch. From the ledge above the Ramp follow the steep crack system for a long lead to a ledge on the right with a two-bolt anchor. By Diamond standards, the rock quality is poor and granular. The wall is vertical to slightly overhanging at times, and the pitch is about 200 feet long, so it is a strenuous lead. There are several bail anchors on this pitch.
Pitch 5
5.10d
D1
Continue up the crack system to an alcove at Table Ledge Crack.
We did not climb this pitch in August 2019. See August 2020 trip report below for photos.
Pitch 6
5.12a
D1
Step left and climb a difficult crack to a left-facing dihedral, that is followed to a pedestal with a two-pin anchor. The first free ascent (Bachar and Westby, 1978) climbed directly up the chimney, but this is a wet and runnout 5.11 OW. The thin corner to the left is the original line.
We did not climb this pitch in August 2019. See August 2020 trip report below for photos.
Pitch 7
5.9
D1
Follow the often wet and icy upper chimney to the top of the wall.
We did not climb this pitch in August 2019. See August 2020 trip report below for photos.
Descent
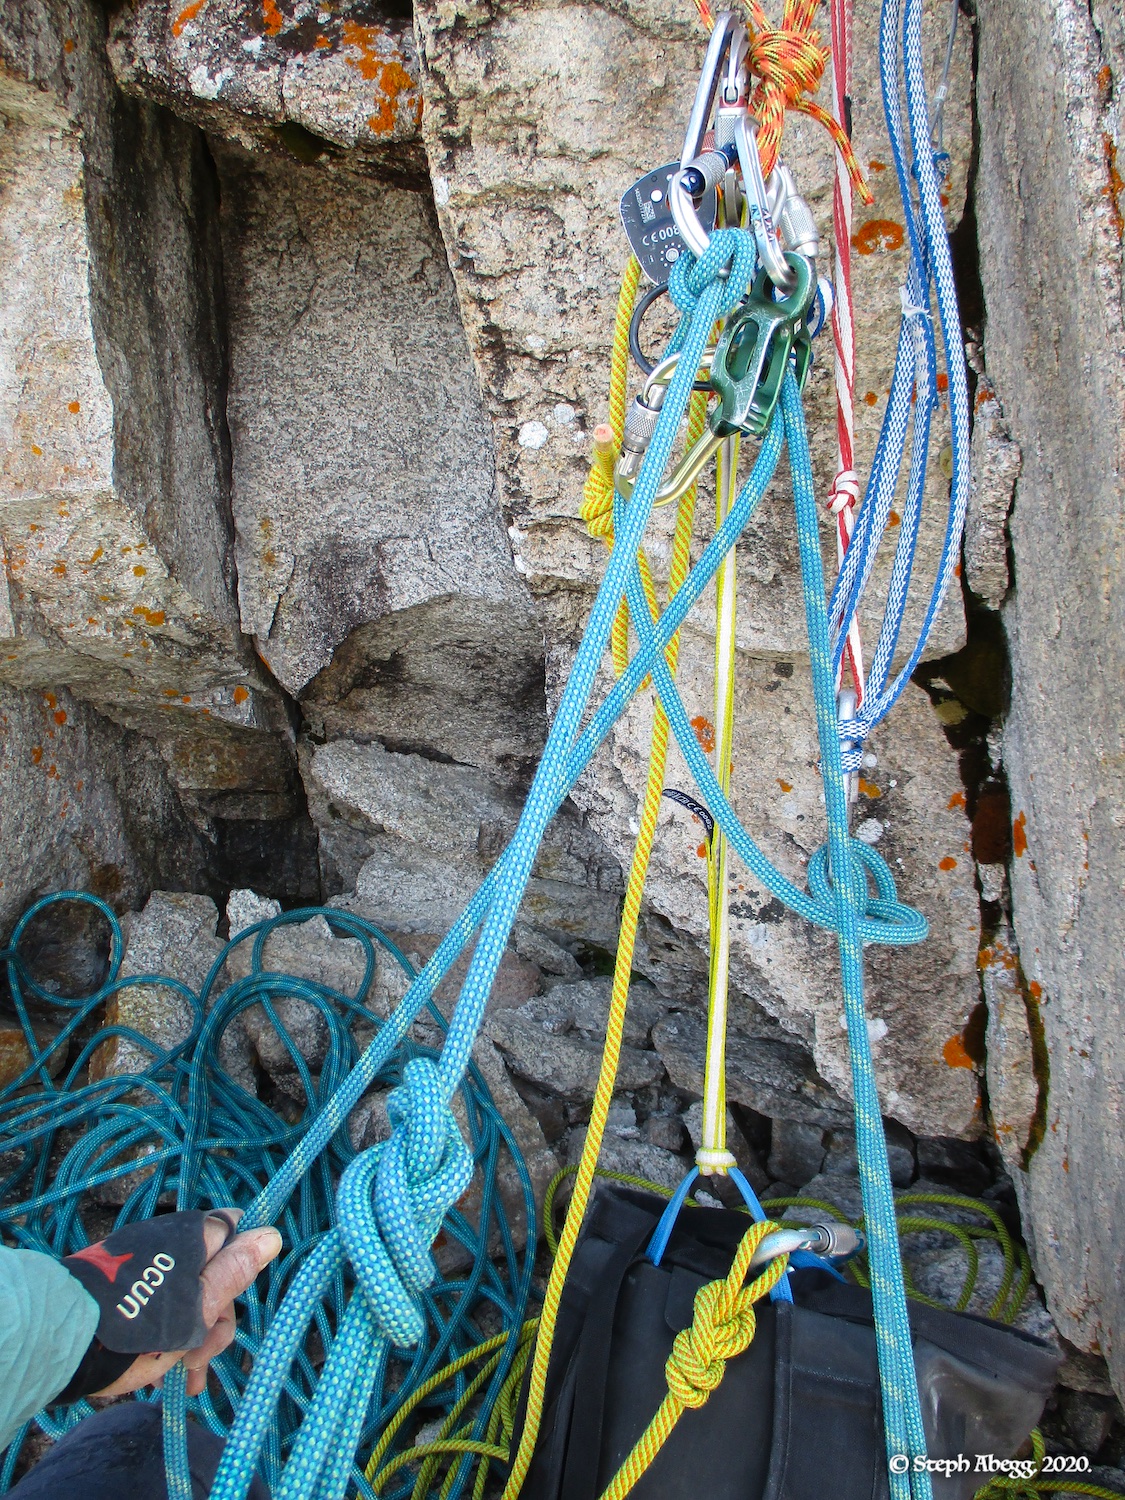
Rappels
If we had gone to the top of D1, we were planning to tag the summit and then descend via the Cables Route to Camel Gully and back into Chasm Lake Cirque below Mills Glacier. But since we stopped at the top of Pitch 4, we rappelled D1 in 4 double-rope rappels off of bail anchors situated near each belay. I suspect it is quite common to get as far as Pitch 4 and throw in the towel. From Broadway Ledge, we rappelled the lower Diamond Rappel Route back into Chasm Lake Cirque and hiked out.