Hallett Peak, Culp-Bossier (5.8, 8p)

Hallett Peak

Route:

Culp-Bossier

5.8, 8p

One of the classic moderate climbs in RMNP.

Region: Colorado
Elev: Hallett summit: 12,713 ft (note: the top of the route is not the summit)
Rock type: Gneiss & Biotite Schist
Type: 
Trip Report 1:
Date(s): July 18, 2018 (Wed)
Partner(s): Dow Williams & Tristyn Butler
Trip Report 2:
Date(s): July 3, 2024 (Wed)
Partner(s): Erin Houlihan

Route Overlays

CLICK TO ENLARGE

Trip Reports for Culp-Bossier

CLICK ON ROUTE TO DROP DOWN CONTENT

THIS TRIP REPORT IS STILL MOSTLY IN THE EMBEDDED HTML FORMAT OF MY OLD WEBSITE.

Intro

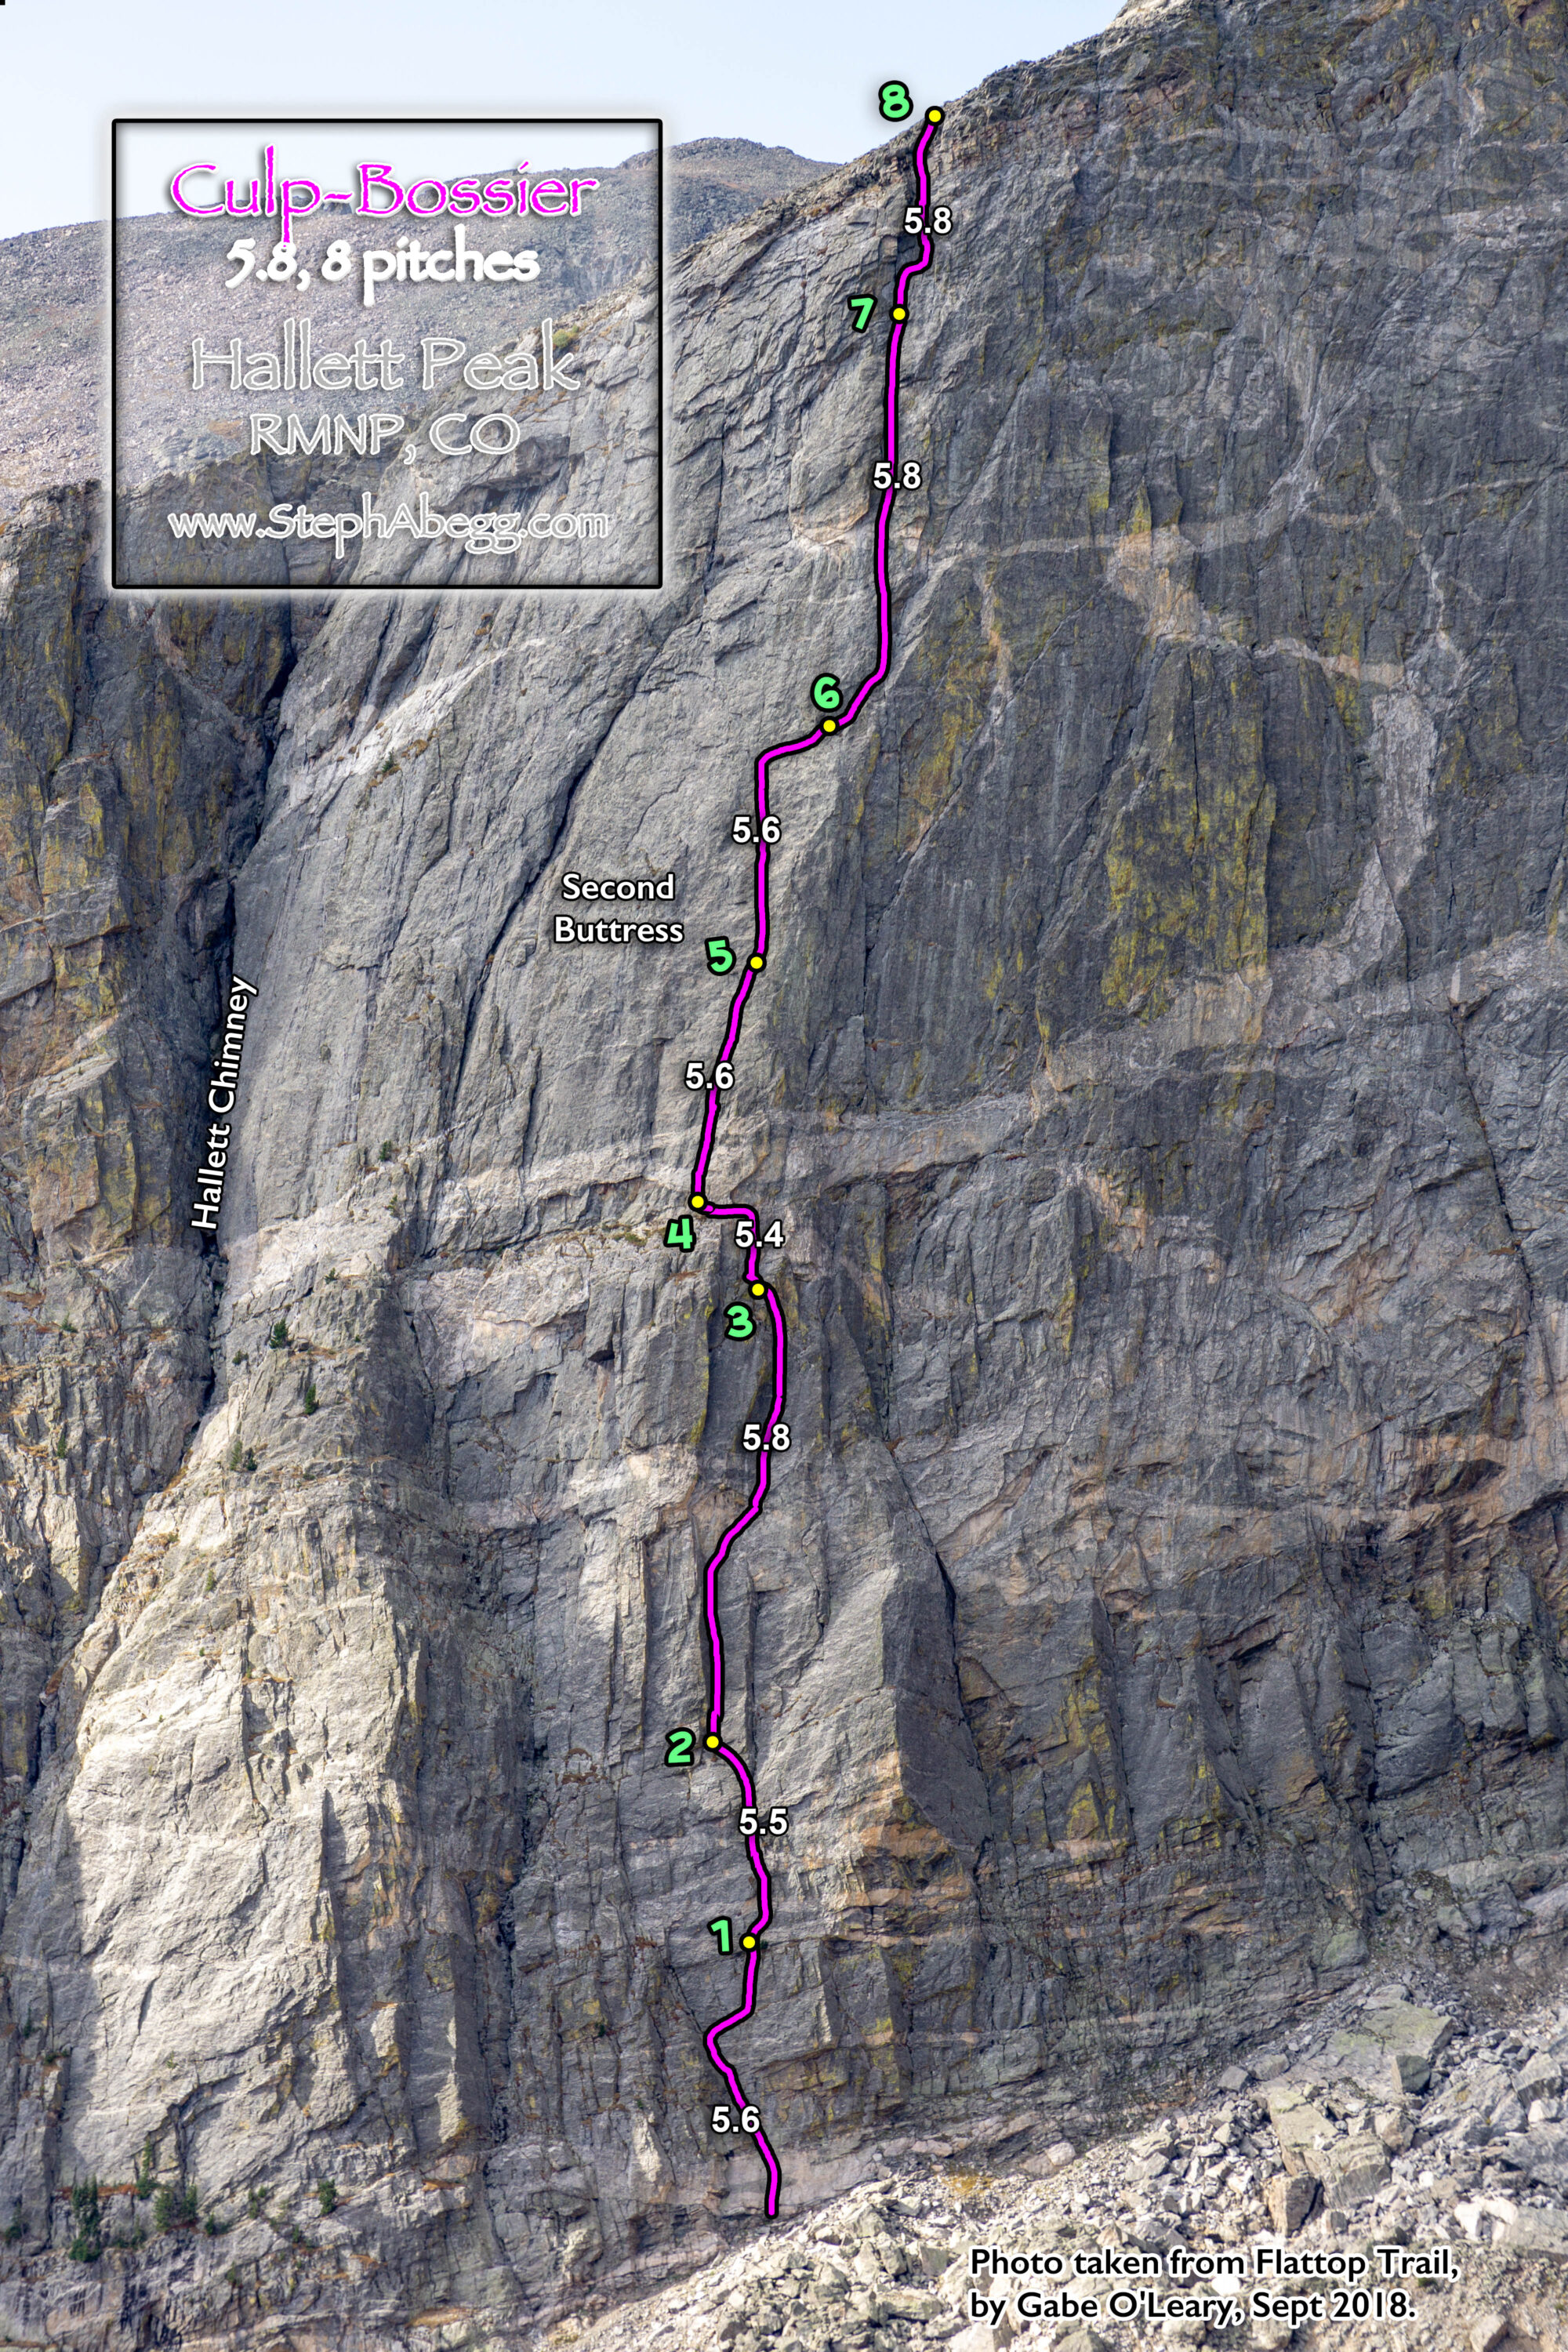
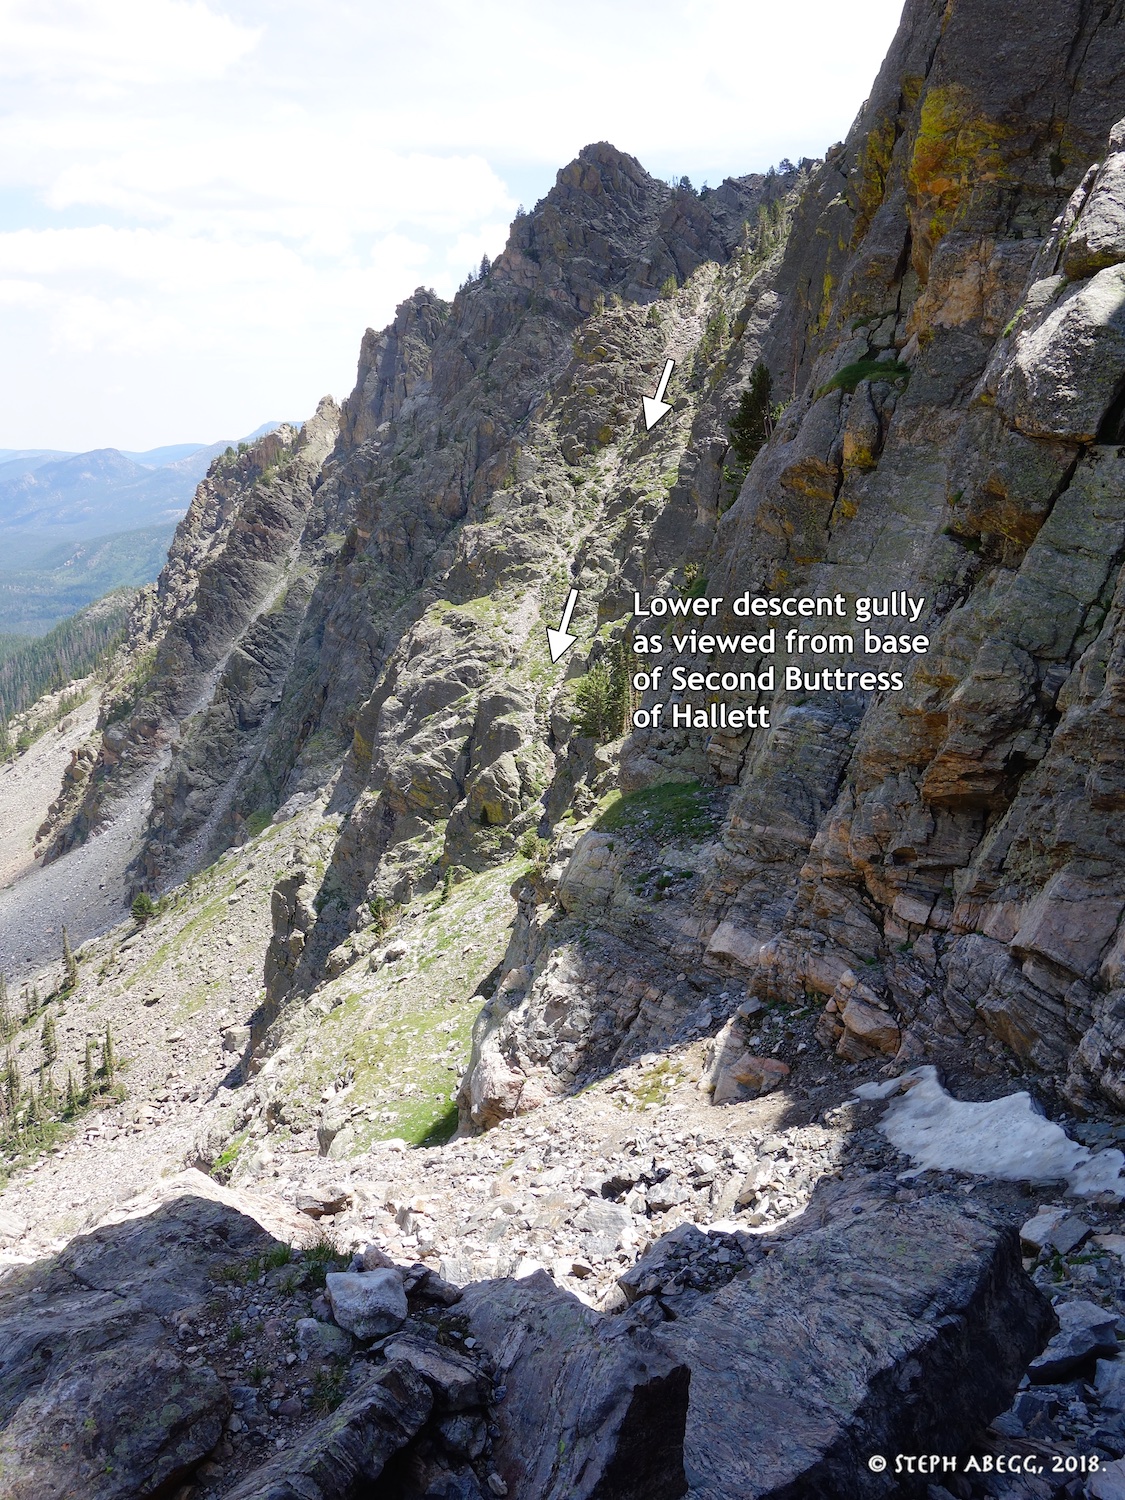
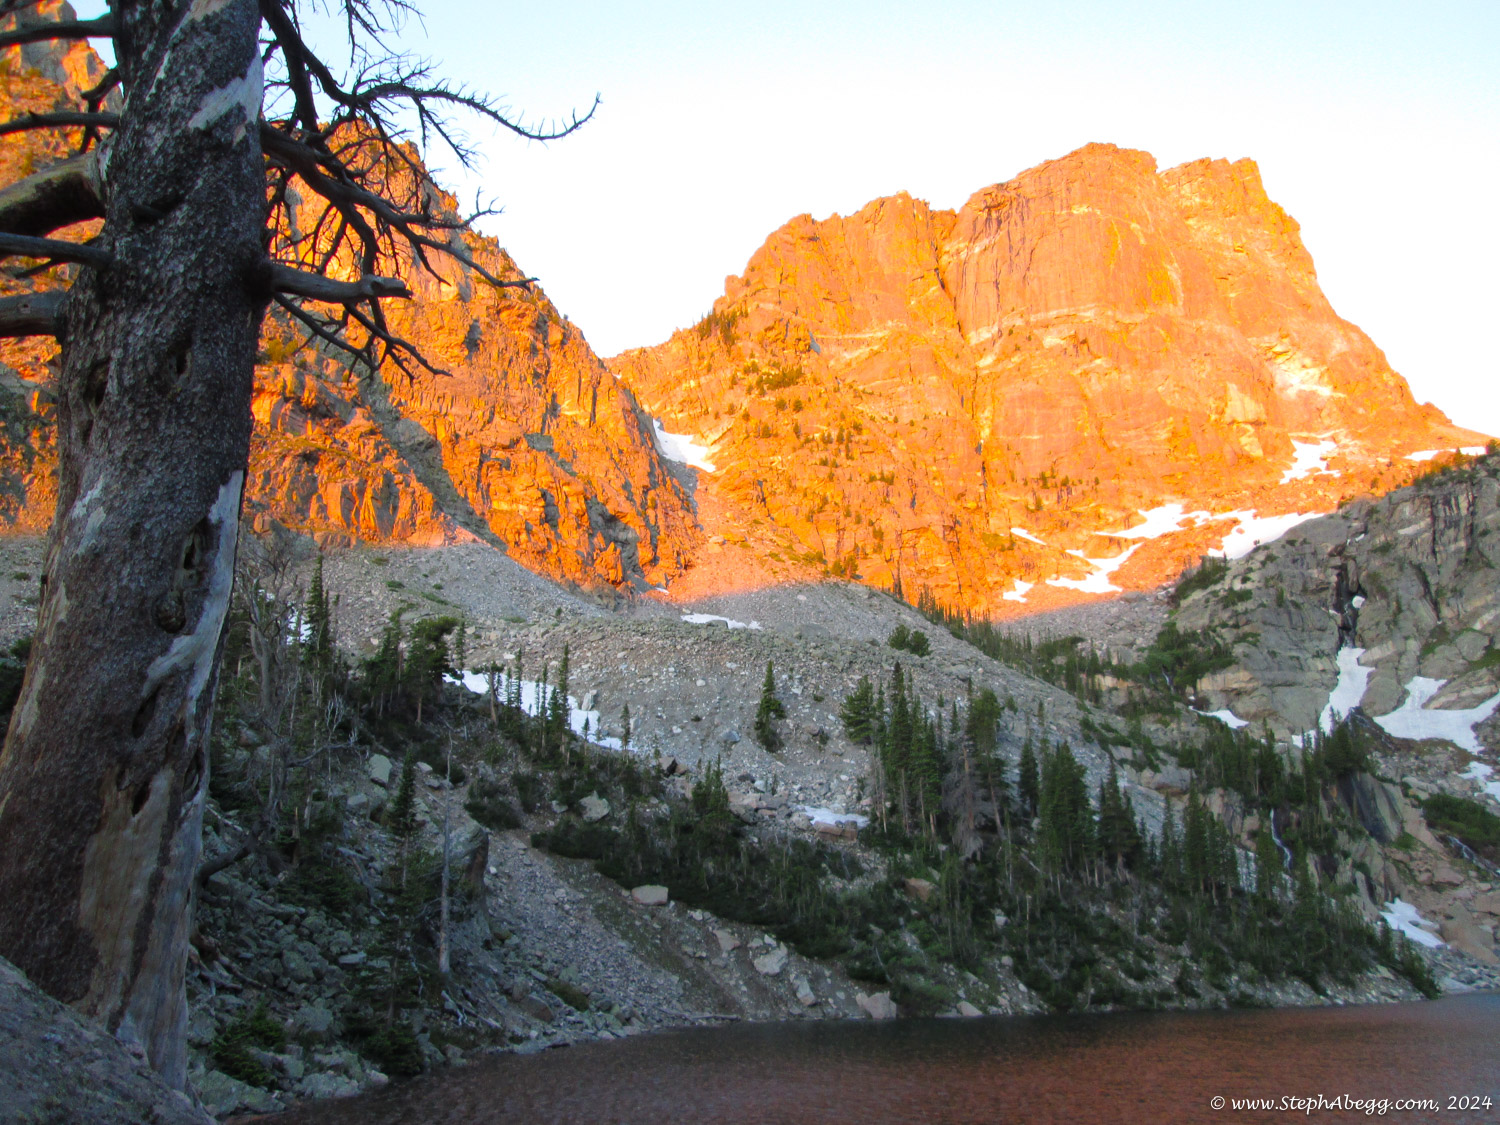
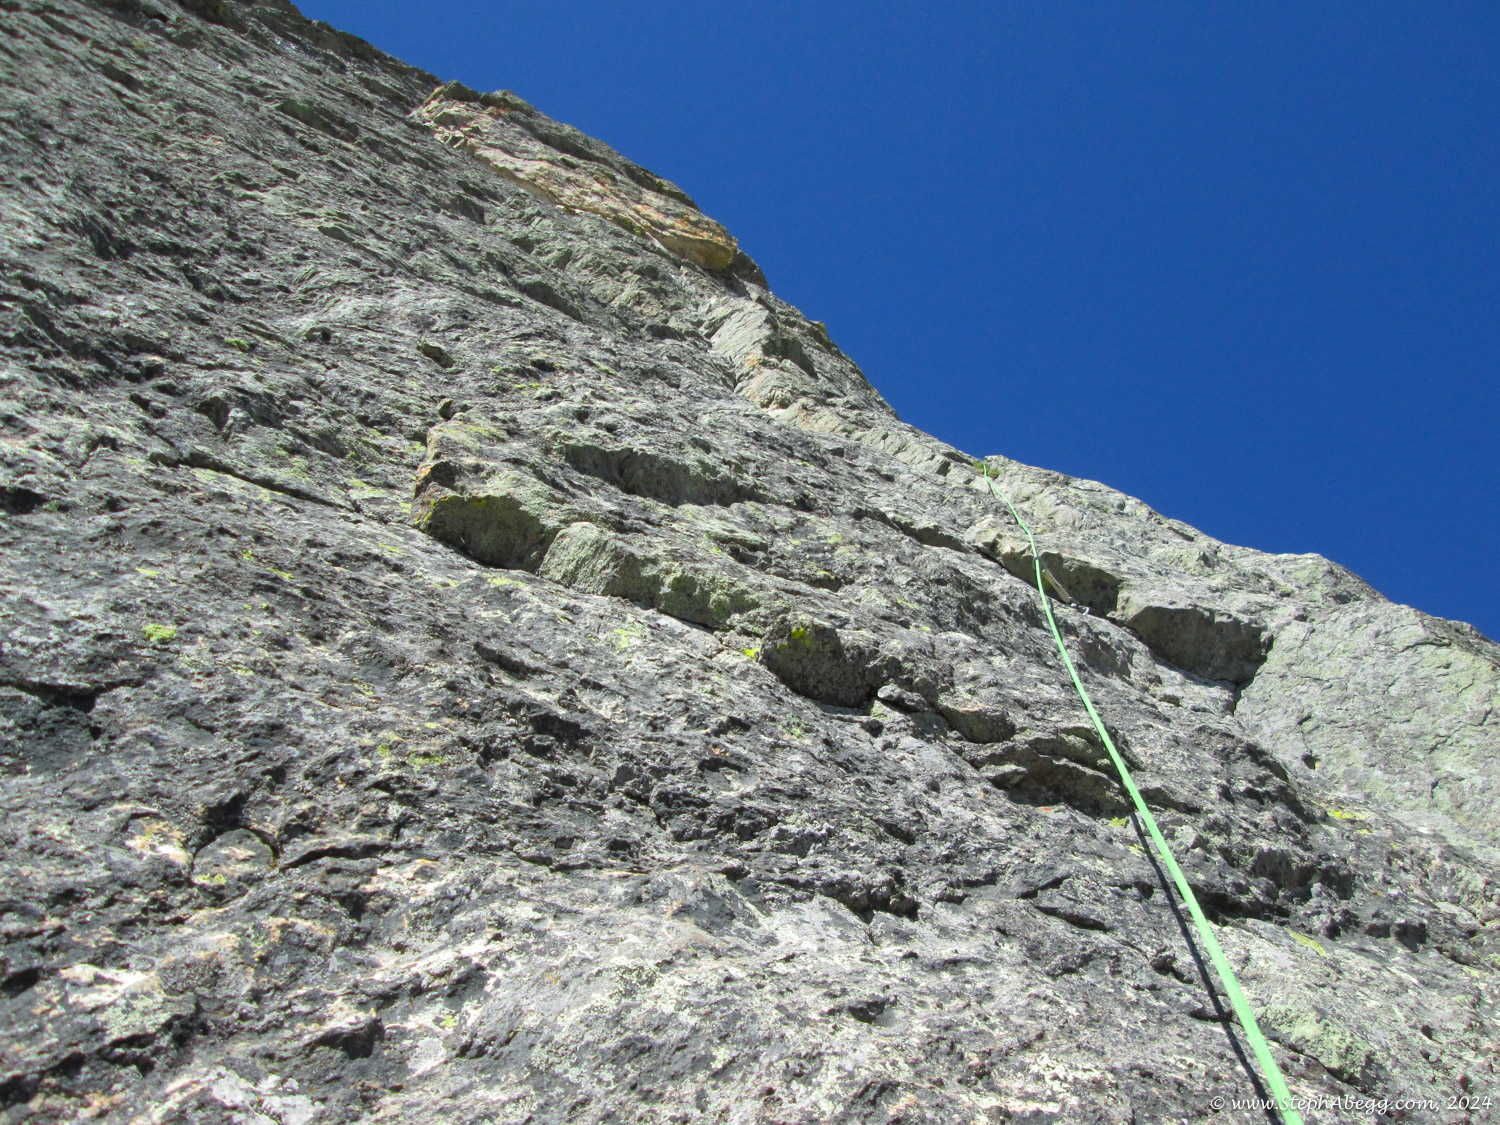
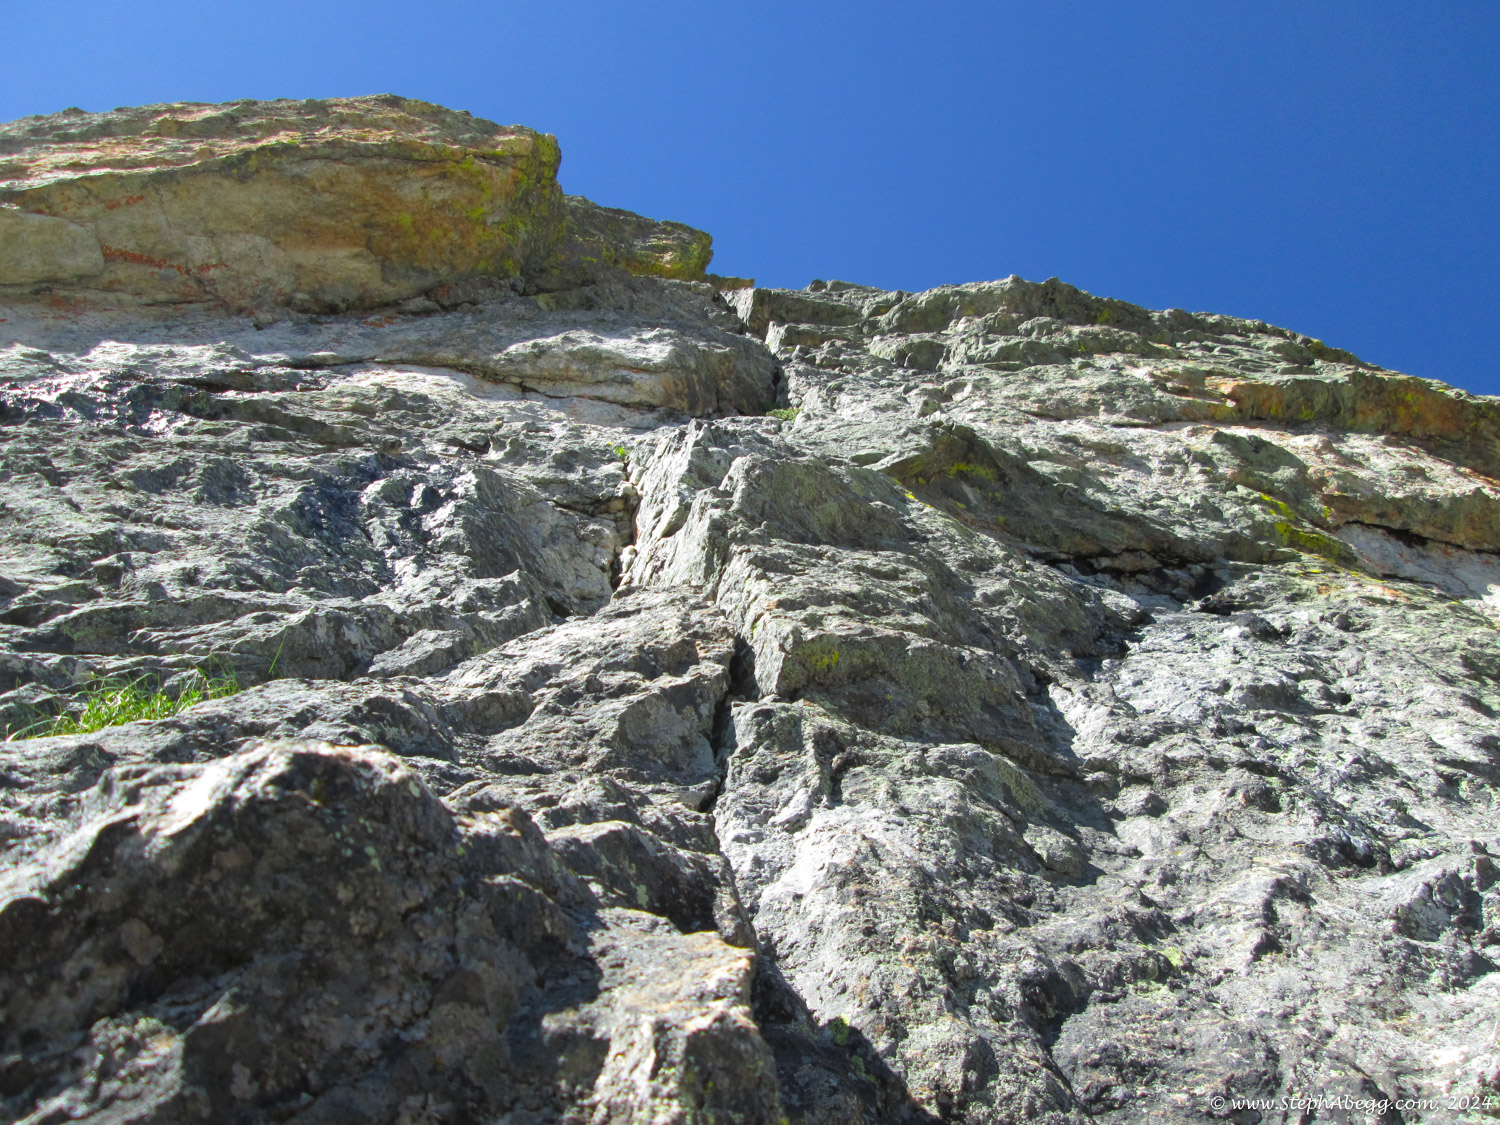
The northern profile of Hallett Peak is a hallmark of Rocky Mountain National Park, partly because it is so distinctive and partly because Hallett is visible from near the Bear Lake Trailhead, the most touristed trailhead in the park. The north face of Hallett is divided into three distinct buttresses: the First, Second, and Third Buttresses. The Second Buttress features the cleanest, sheerest rock. The classic 
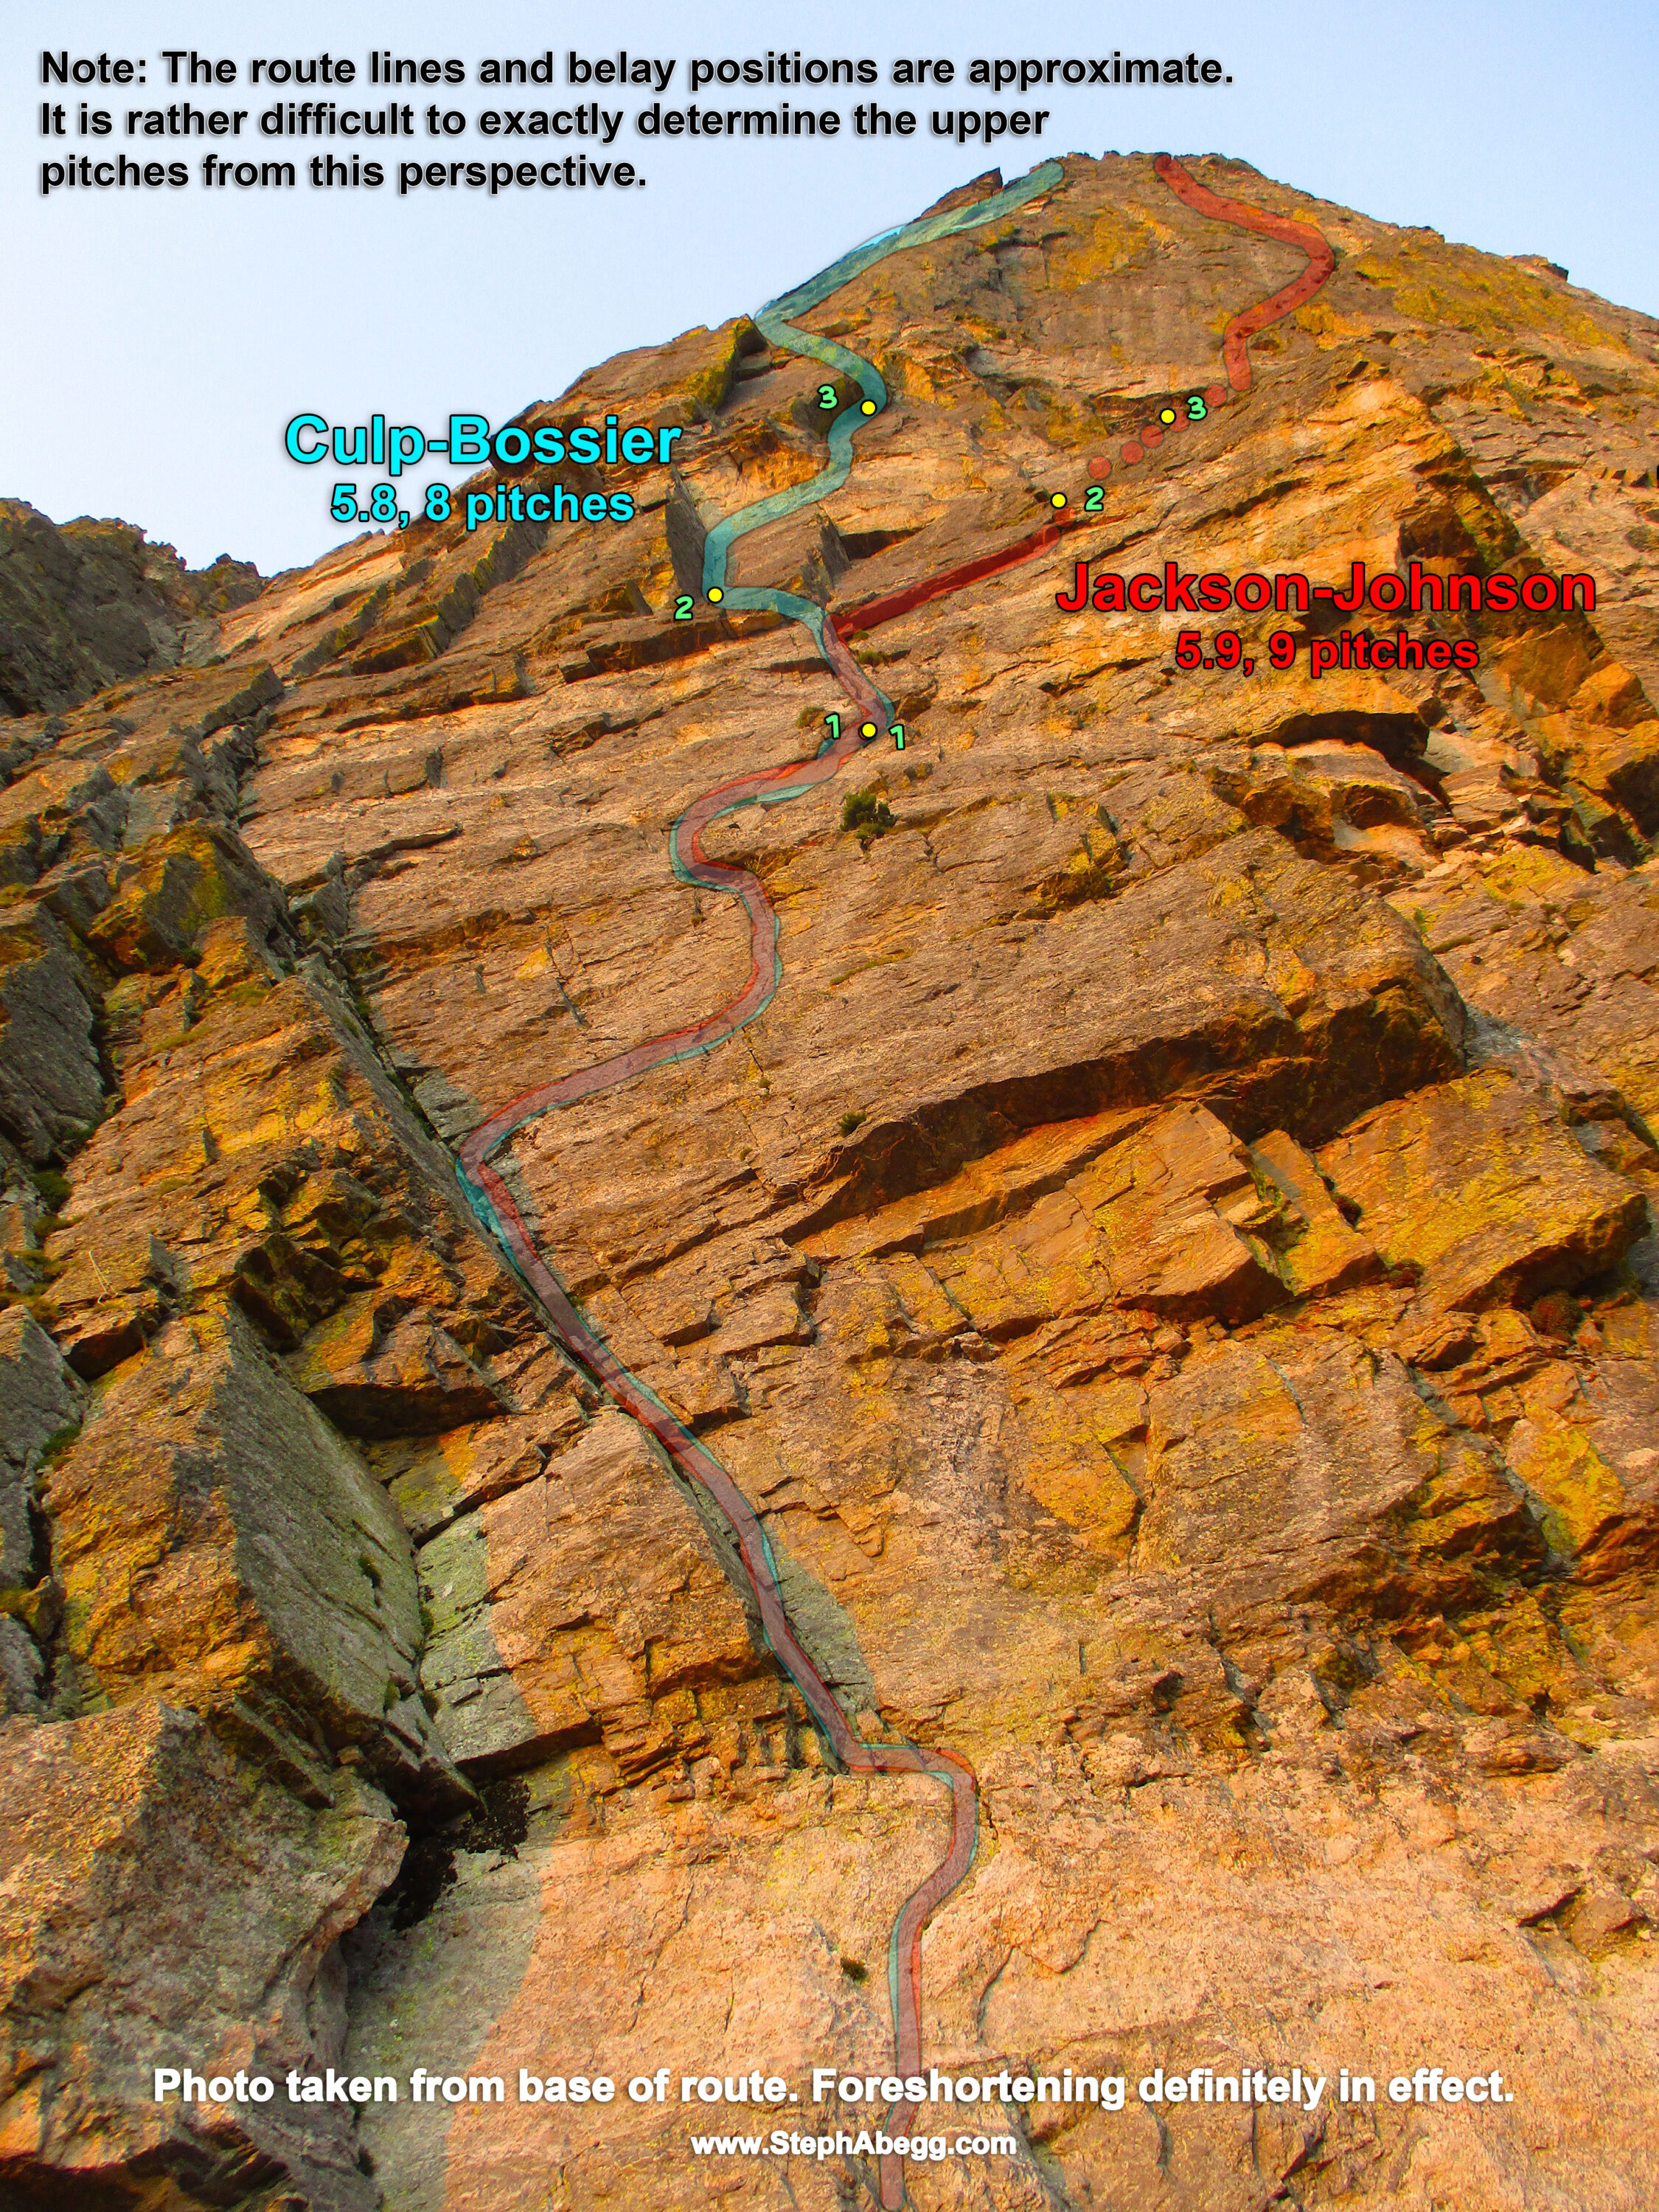
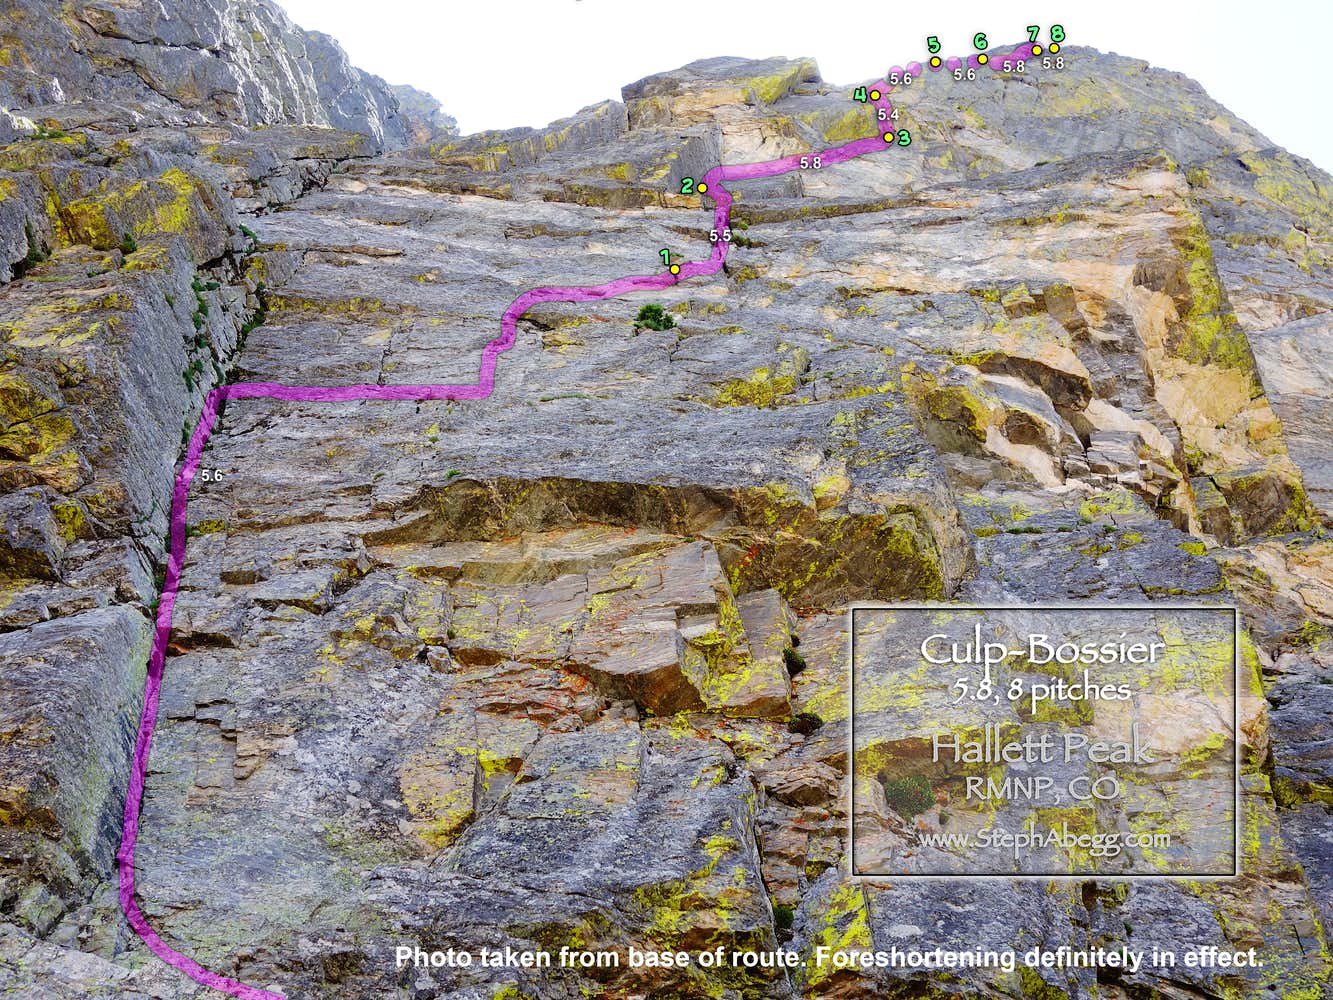
Culp-Bossier route ascends the exposed prow of this buttress in 8 pitches.

(Hallett Peak has long been on my radar because the Northcutt-Carter route up the Third Buttress is included in Fifty Classic Climbs of North America. However, in July 1999, the first two pitches of the Northcutt-Carter route collapsed, and getting onto the route now involves some tricky climbing through friable terrain. As a result, the Culp-Bossier route seems to have stepped into the role of the must-do classic route on Hallett (Beckey lists the Culp-Bossier route in his book Hundred Favorite North American Climbs). Update: The following summer, I climbed the Northcutt-Carter route, which involved a spicy 10b start to get to the upper pitches. In my opinion, I think that Culp-Bossier and Northcutt-Carter are about equal is quality and both are worthy adventures. If you don't like the idea of climbing a loose pitch of 5.9+ rock to get onto the Northcutt-Carter route, then the Culp-Bossier is a good choice.)
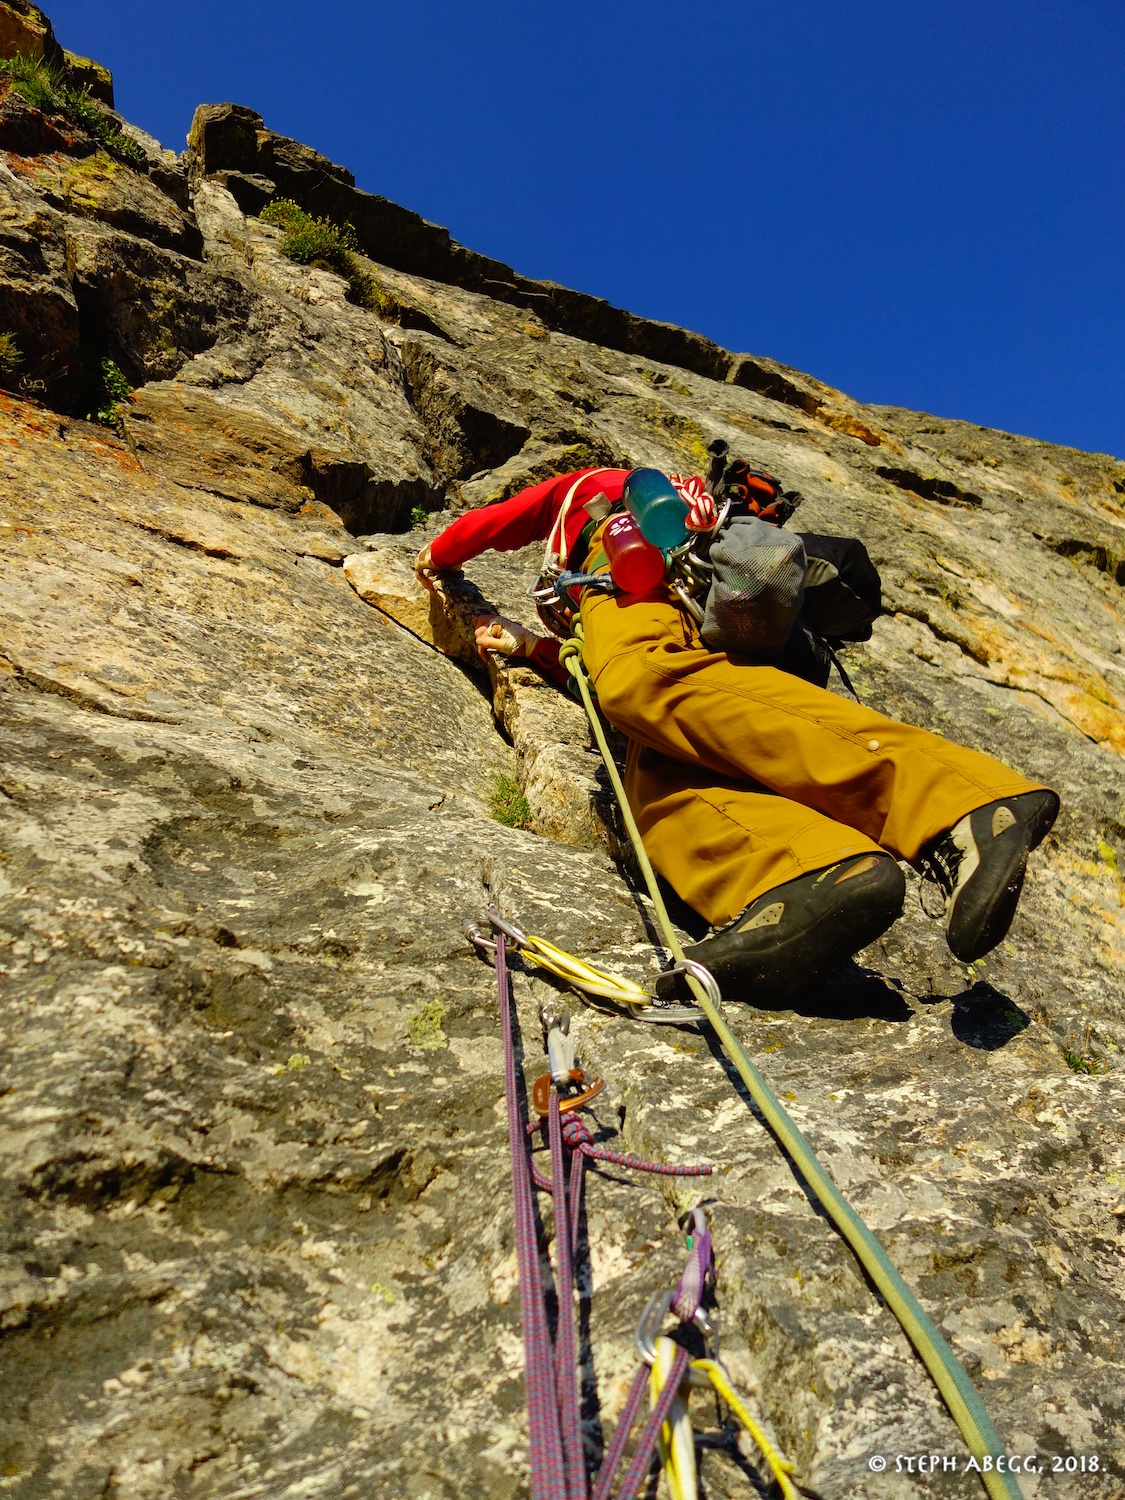
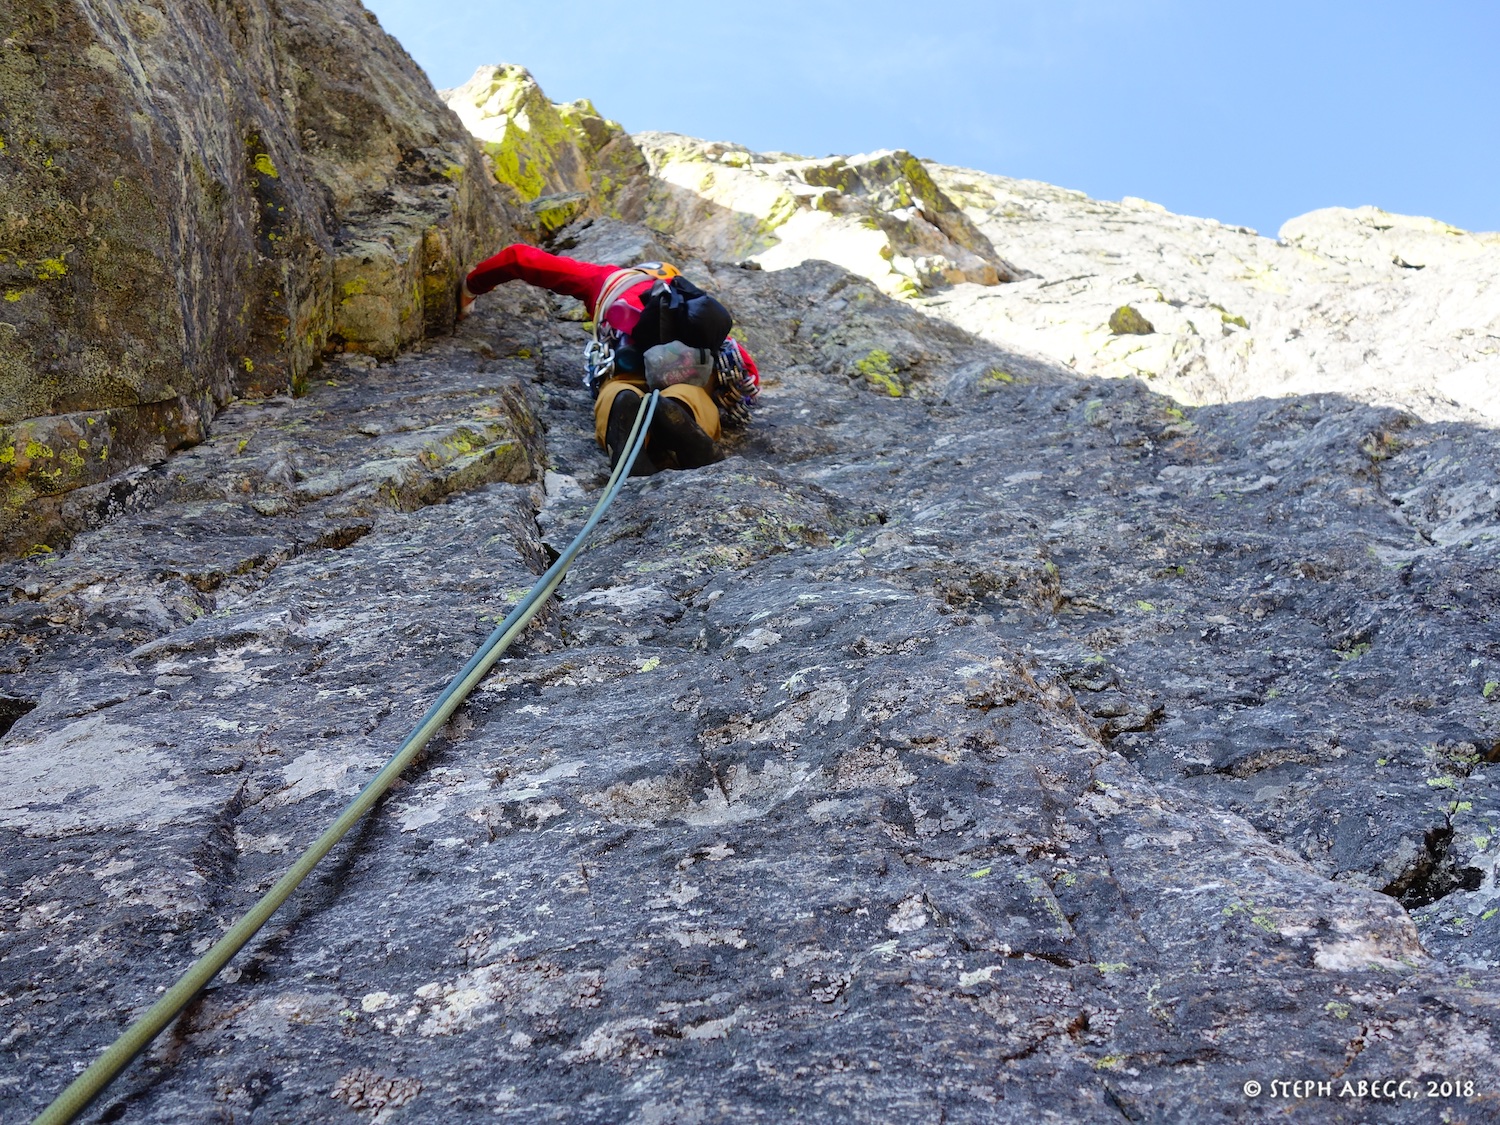
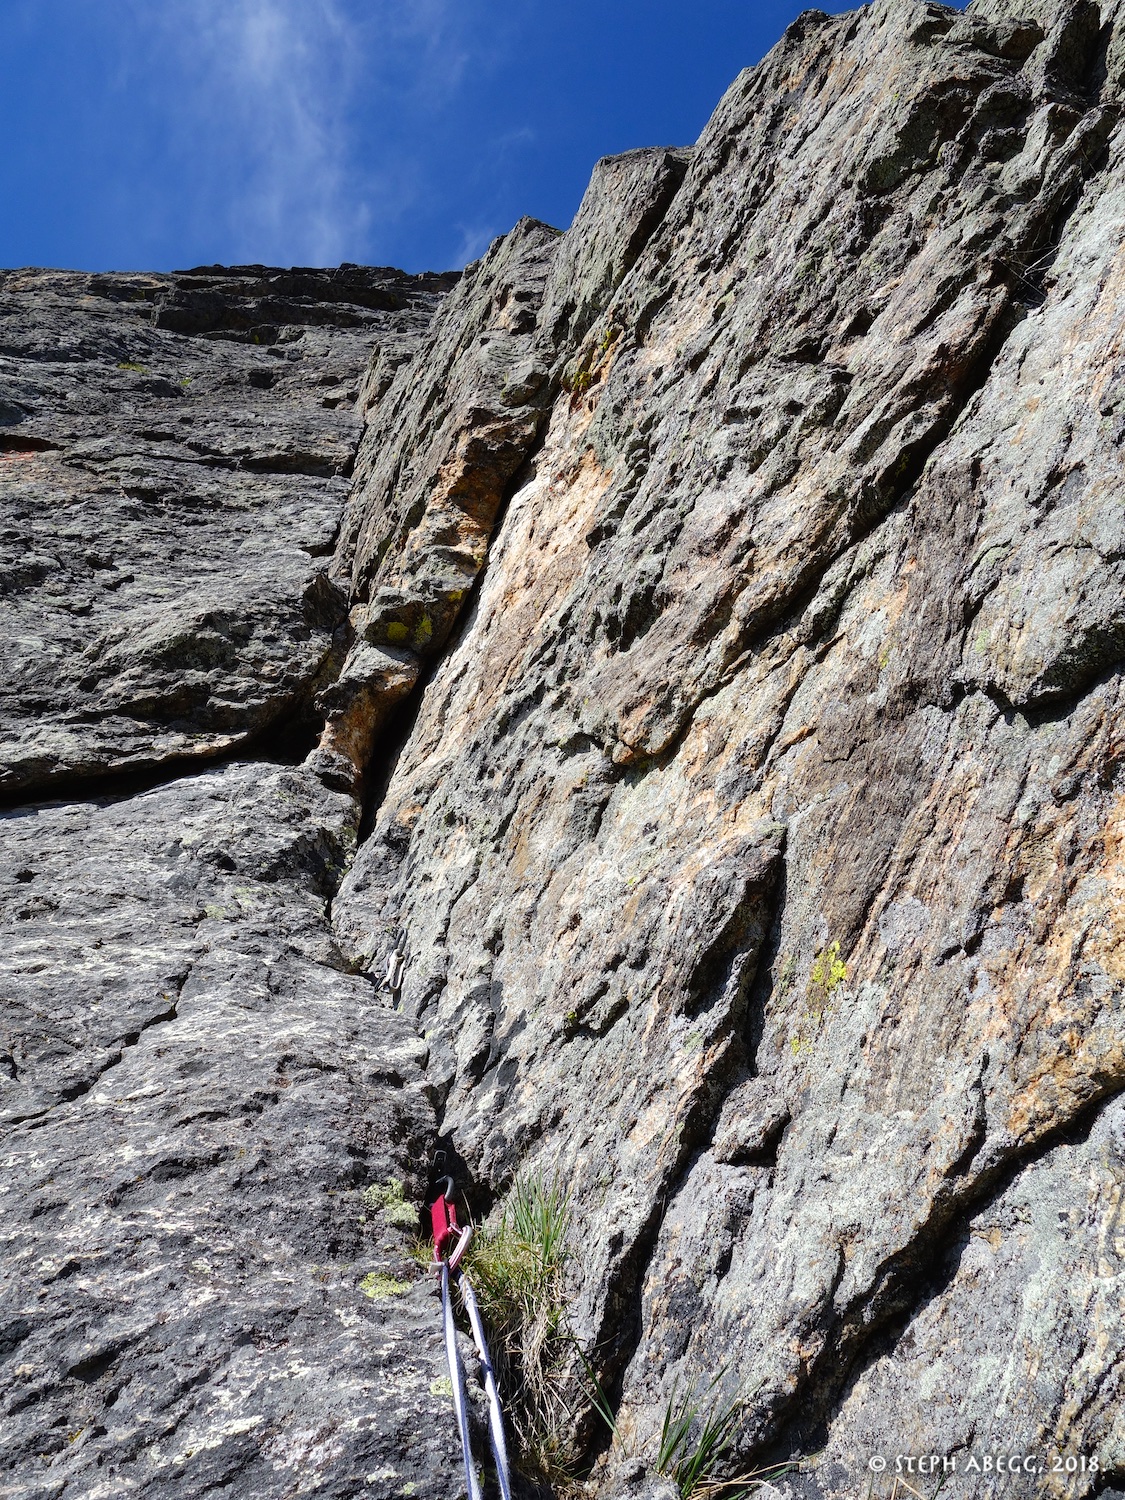
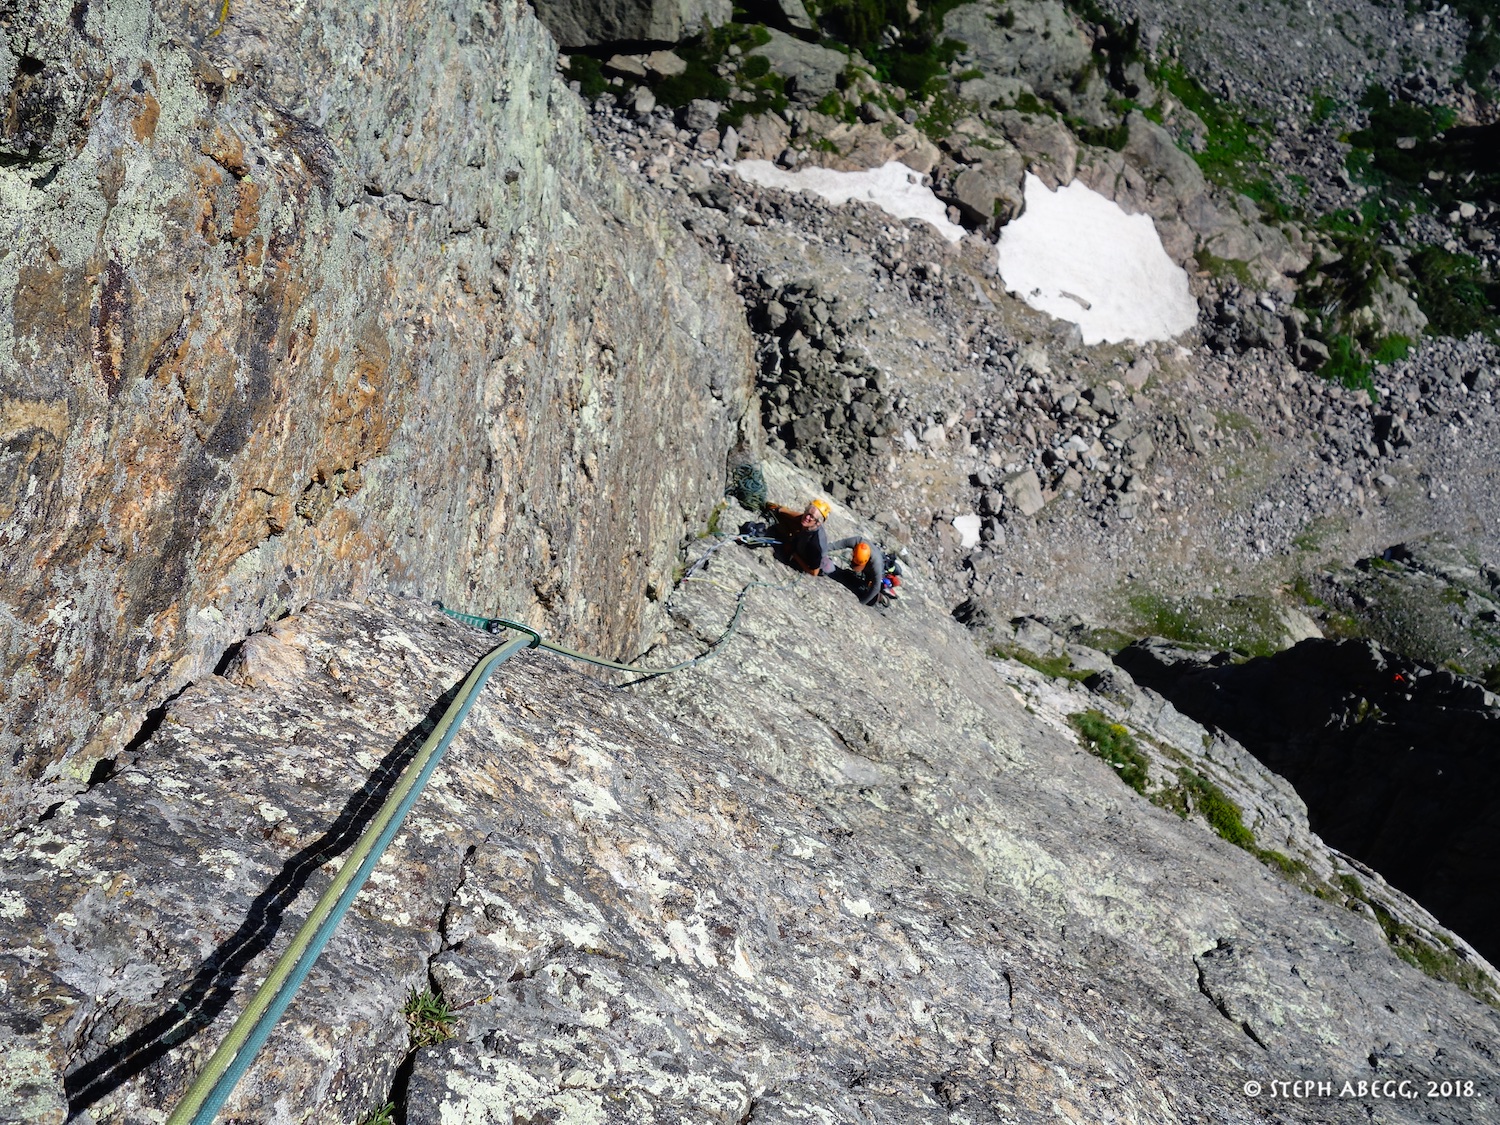
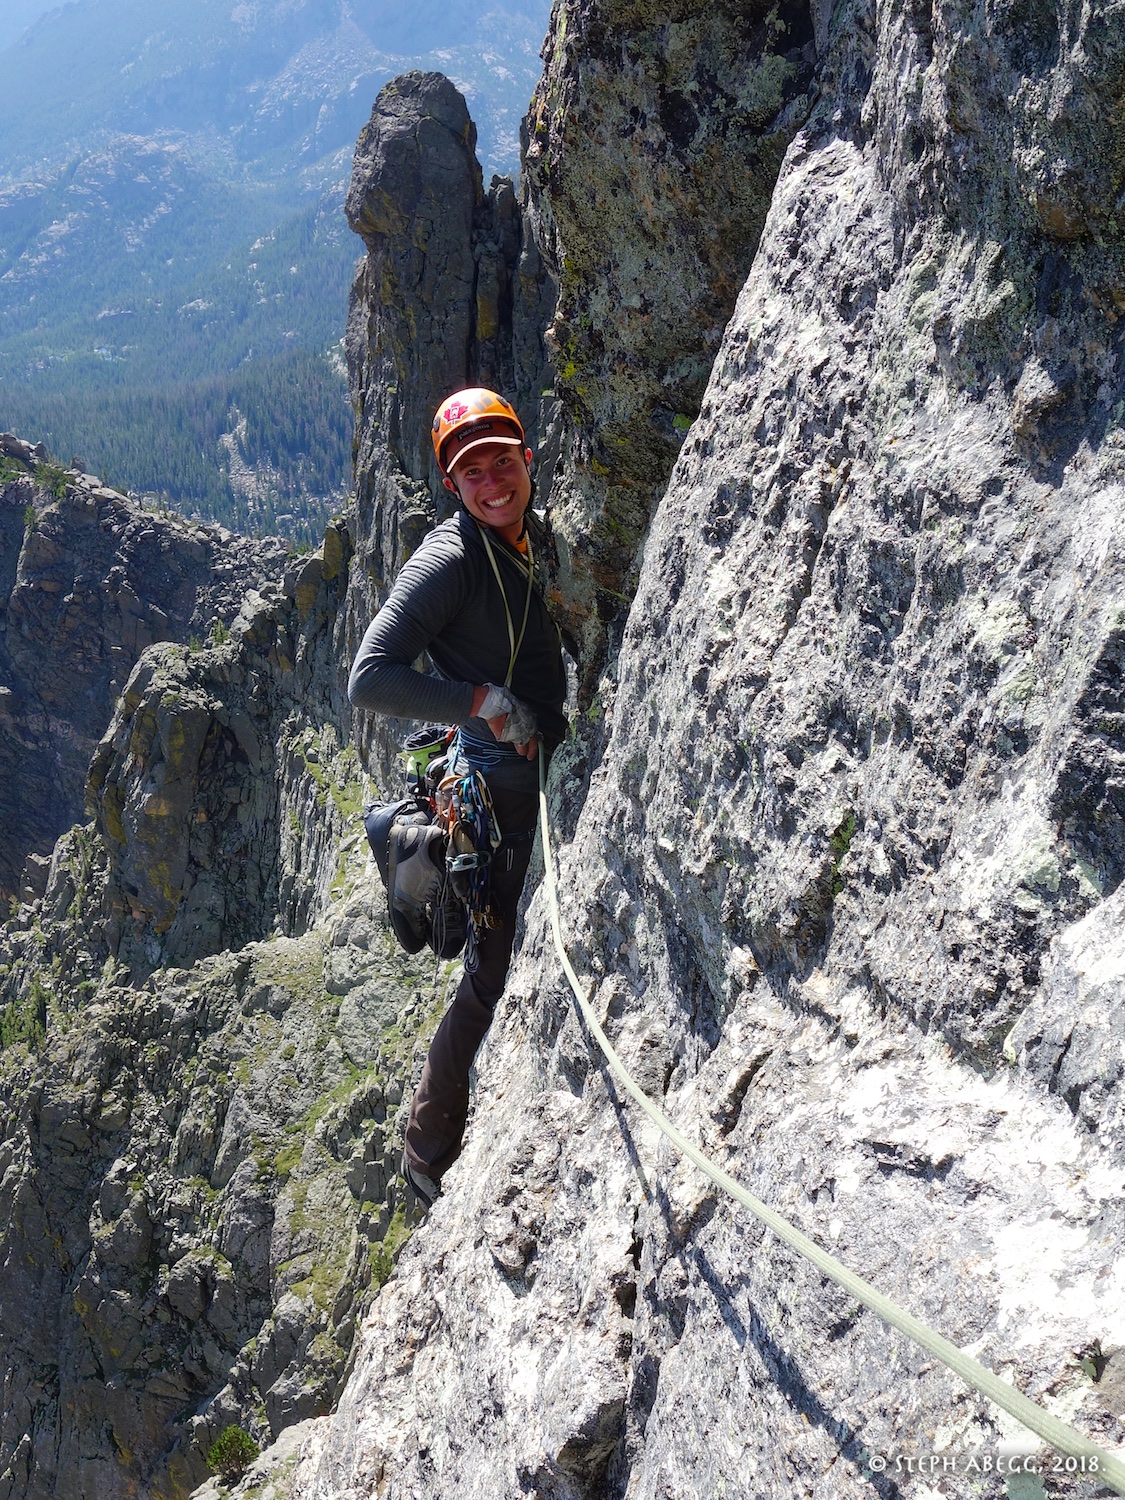
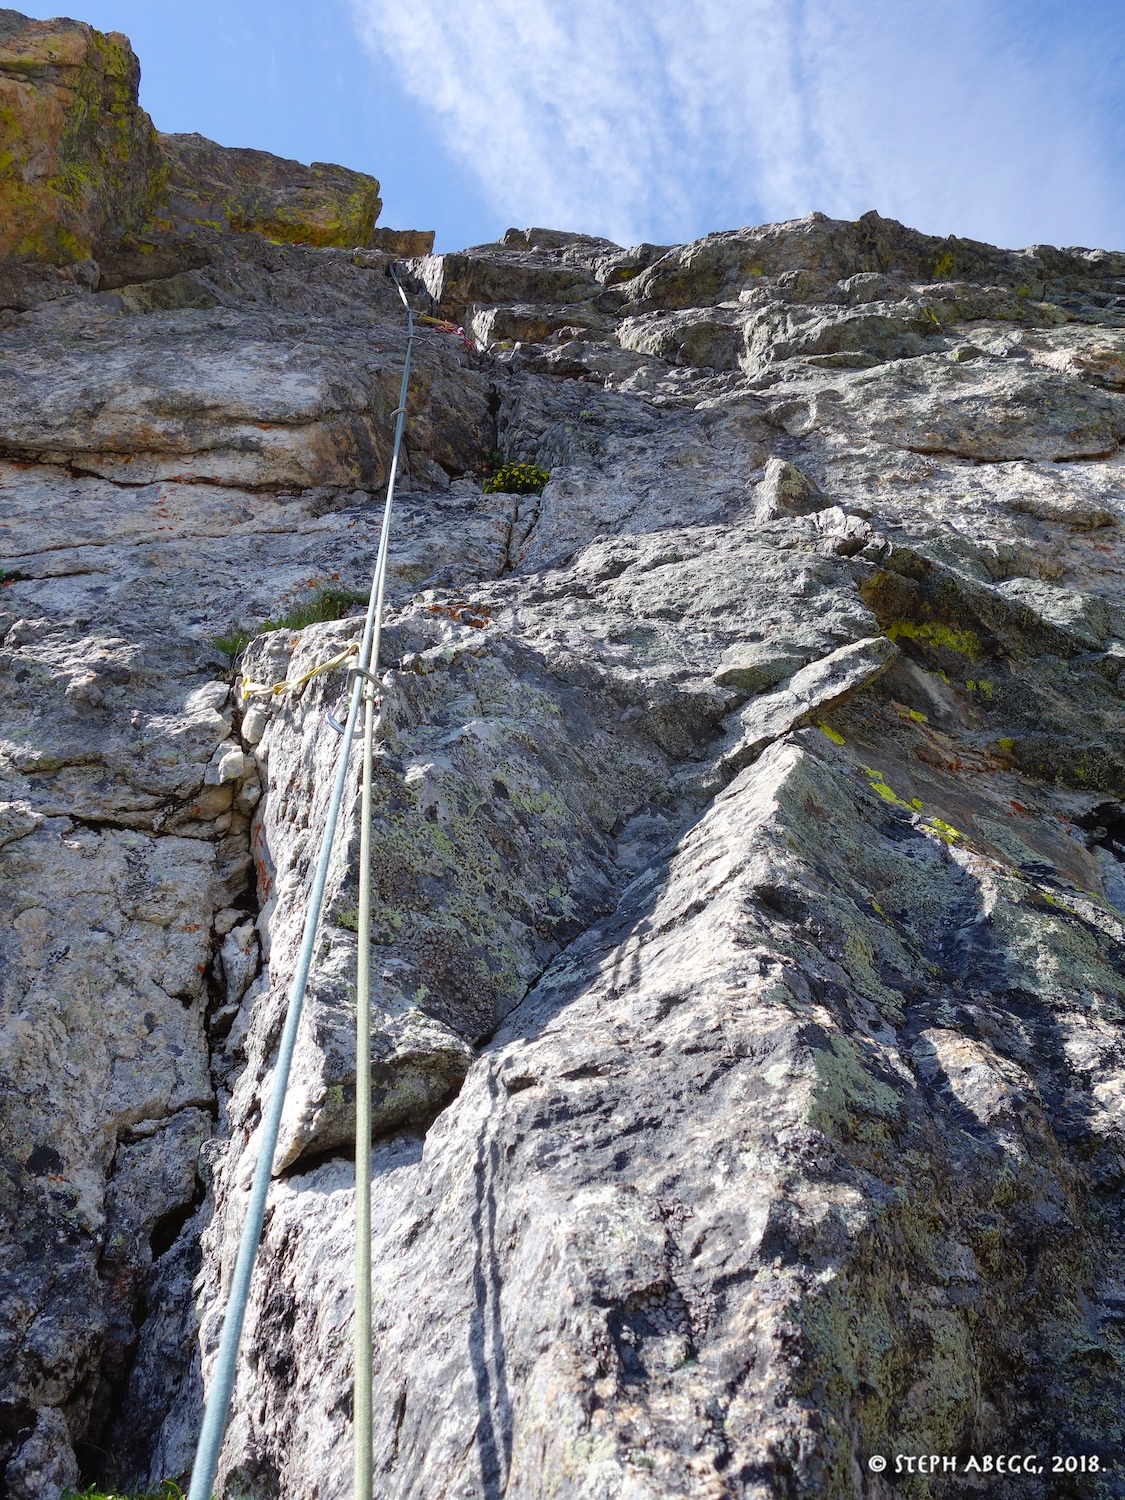
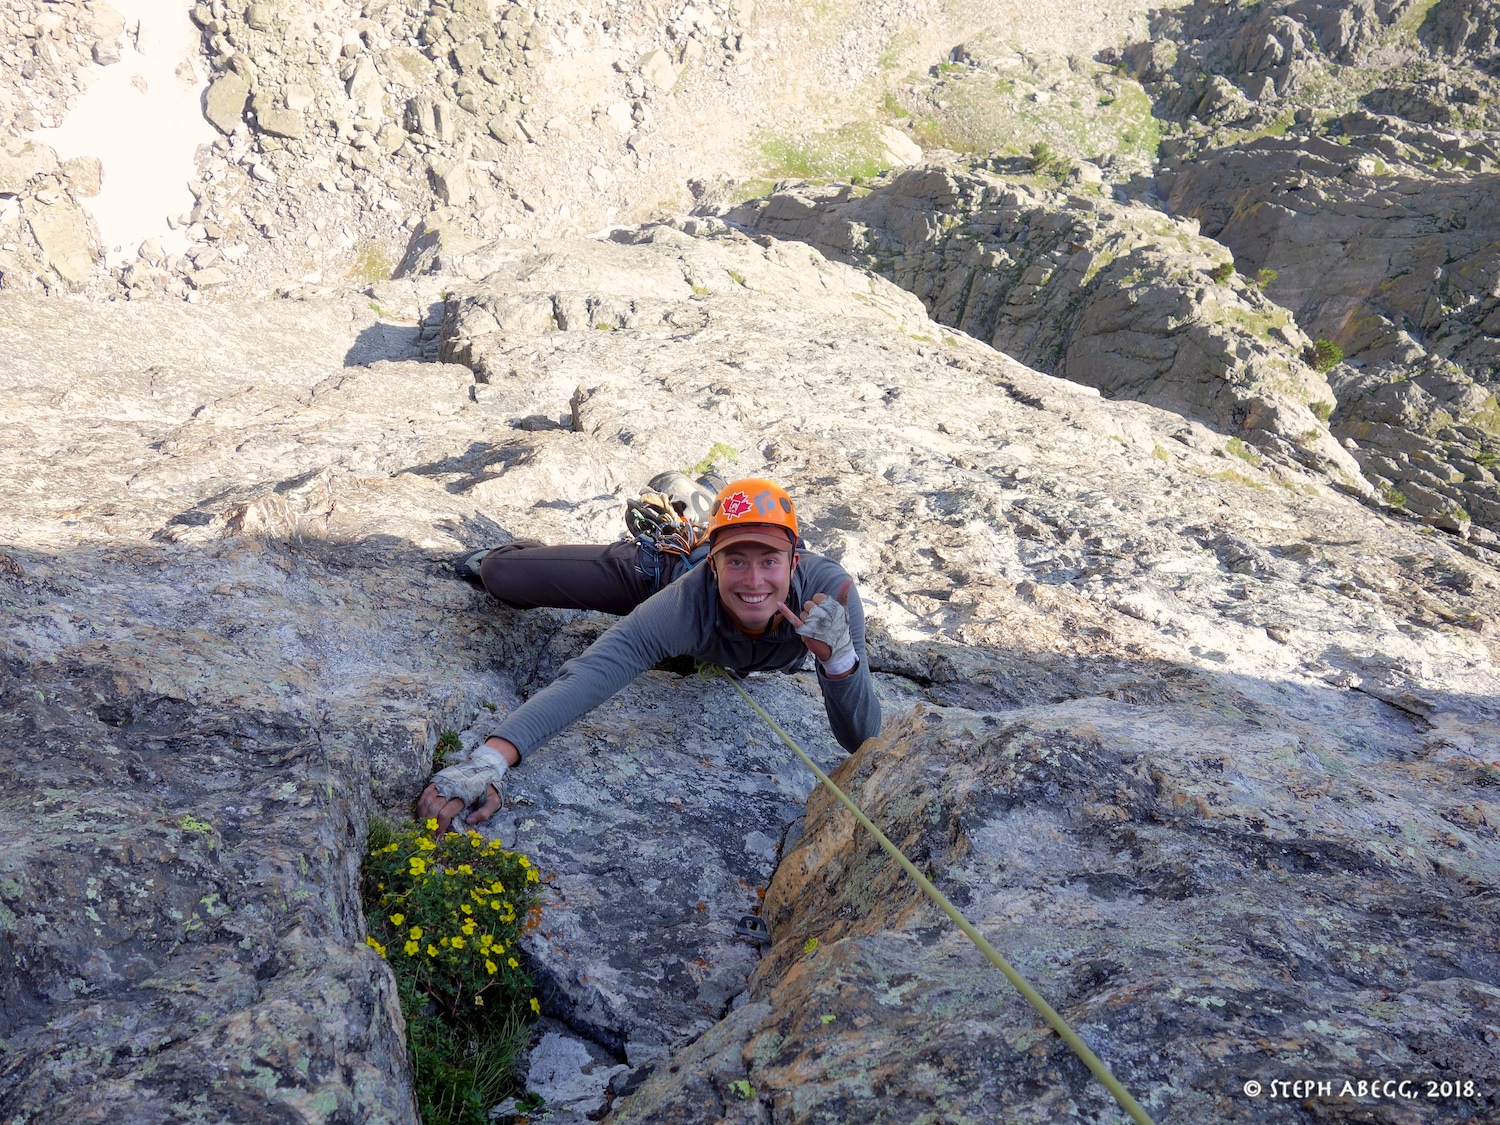
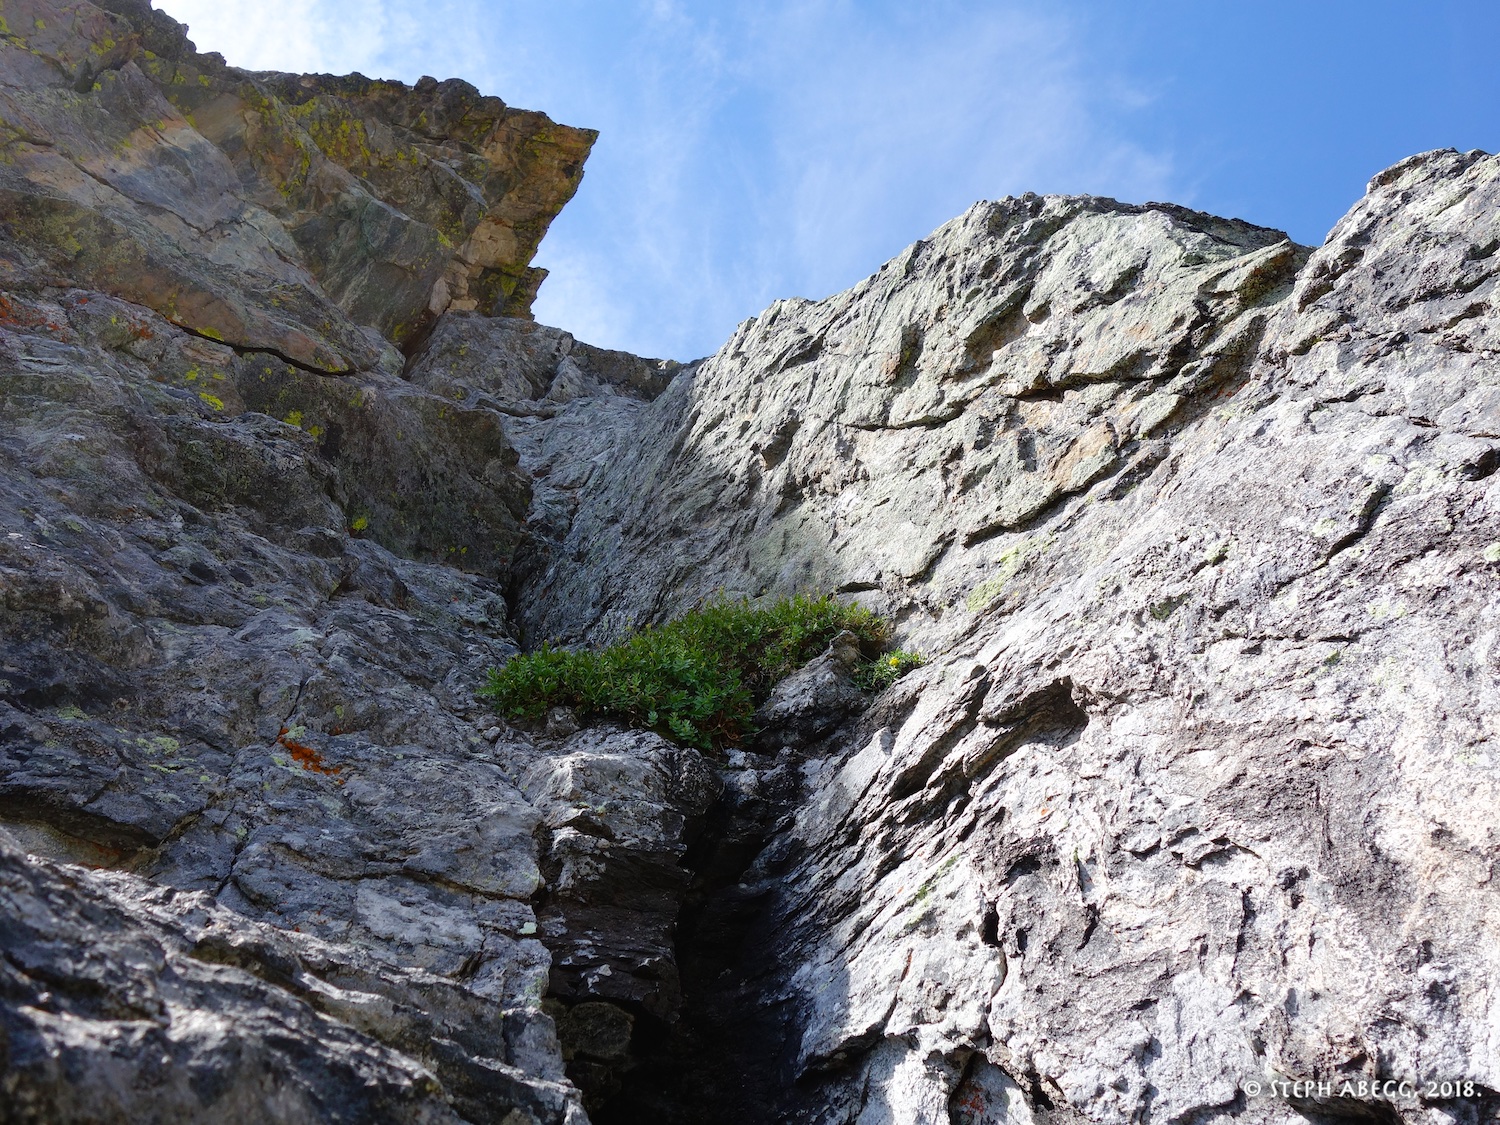
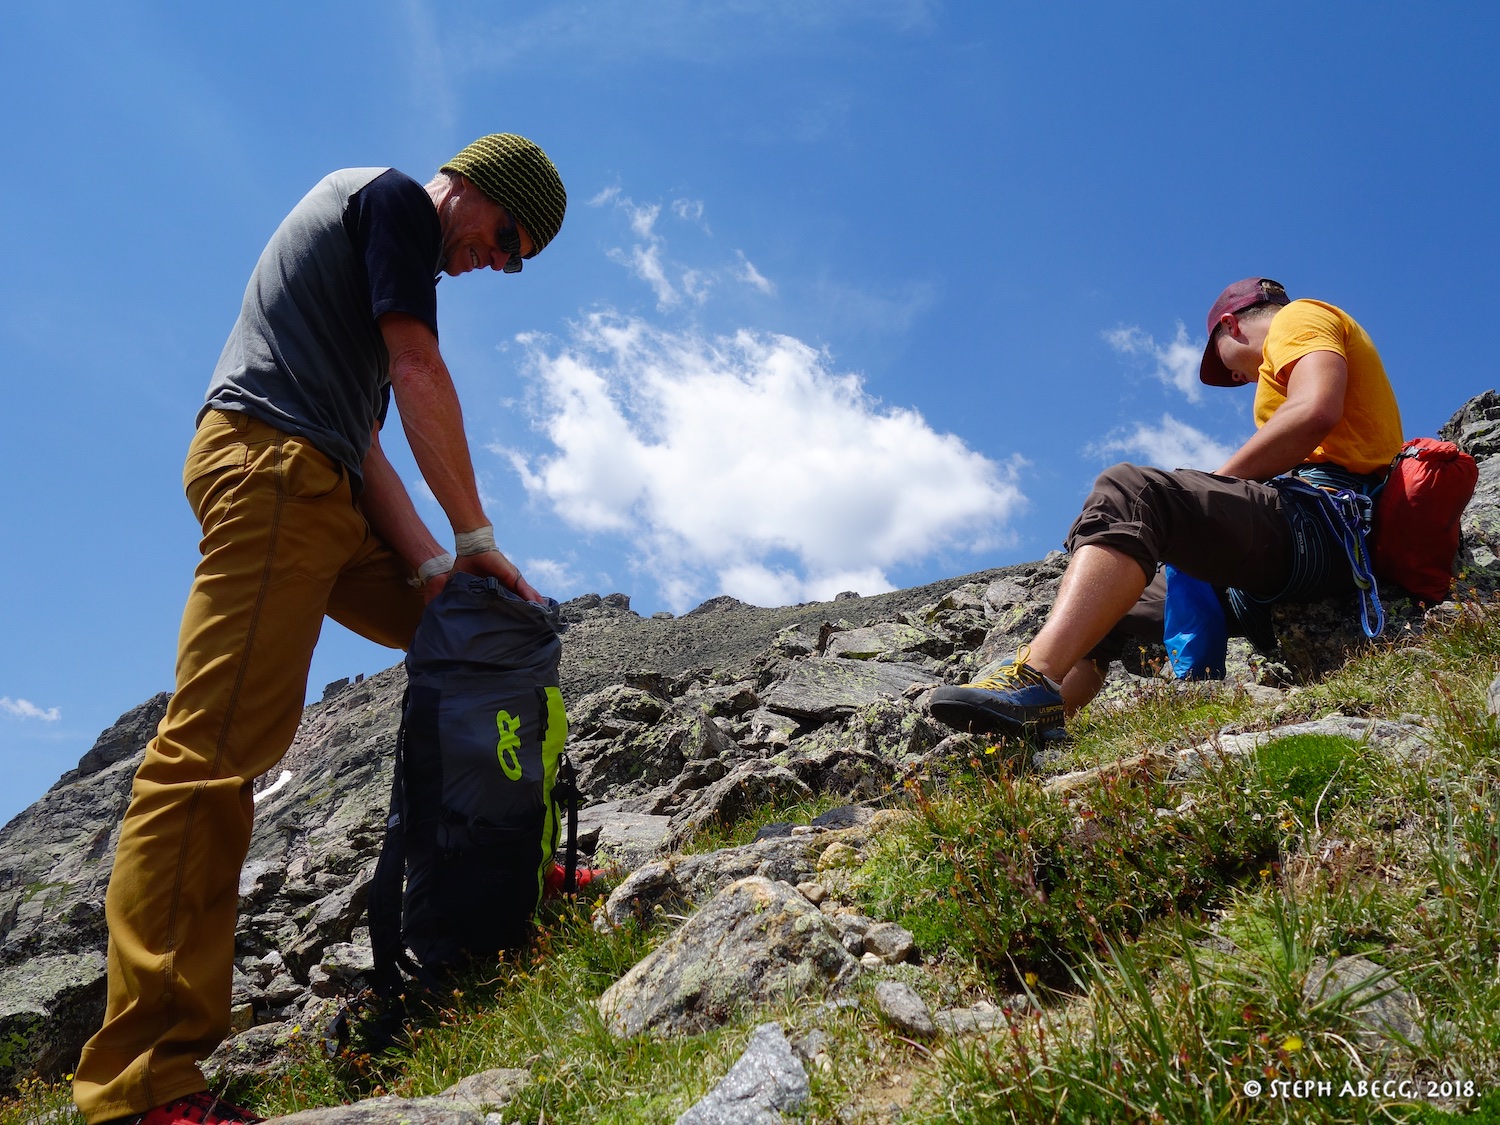
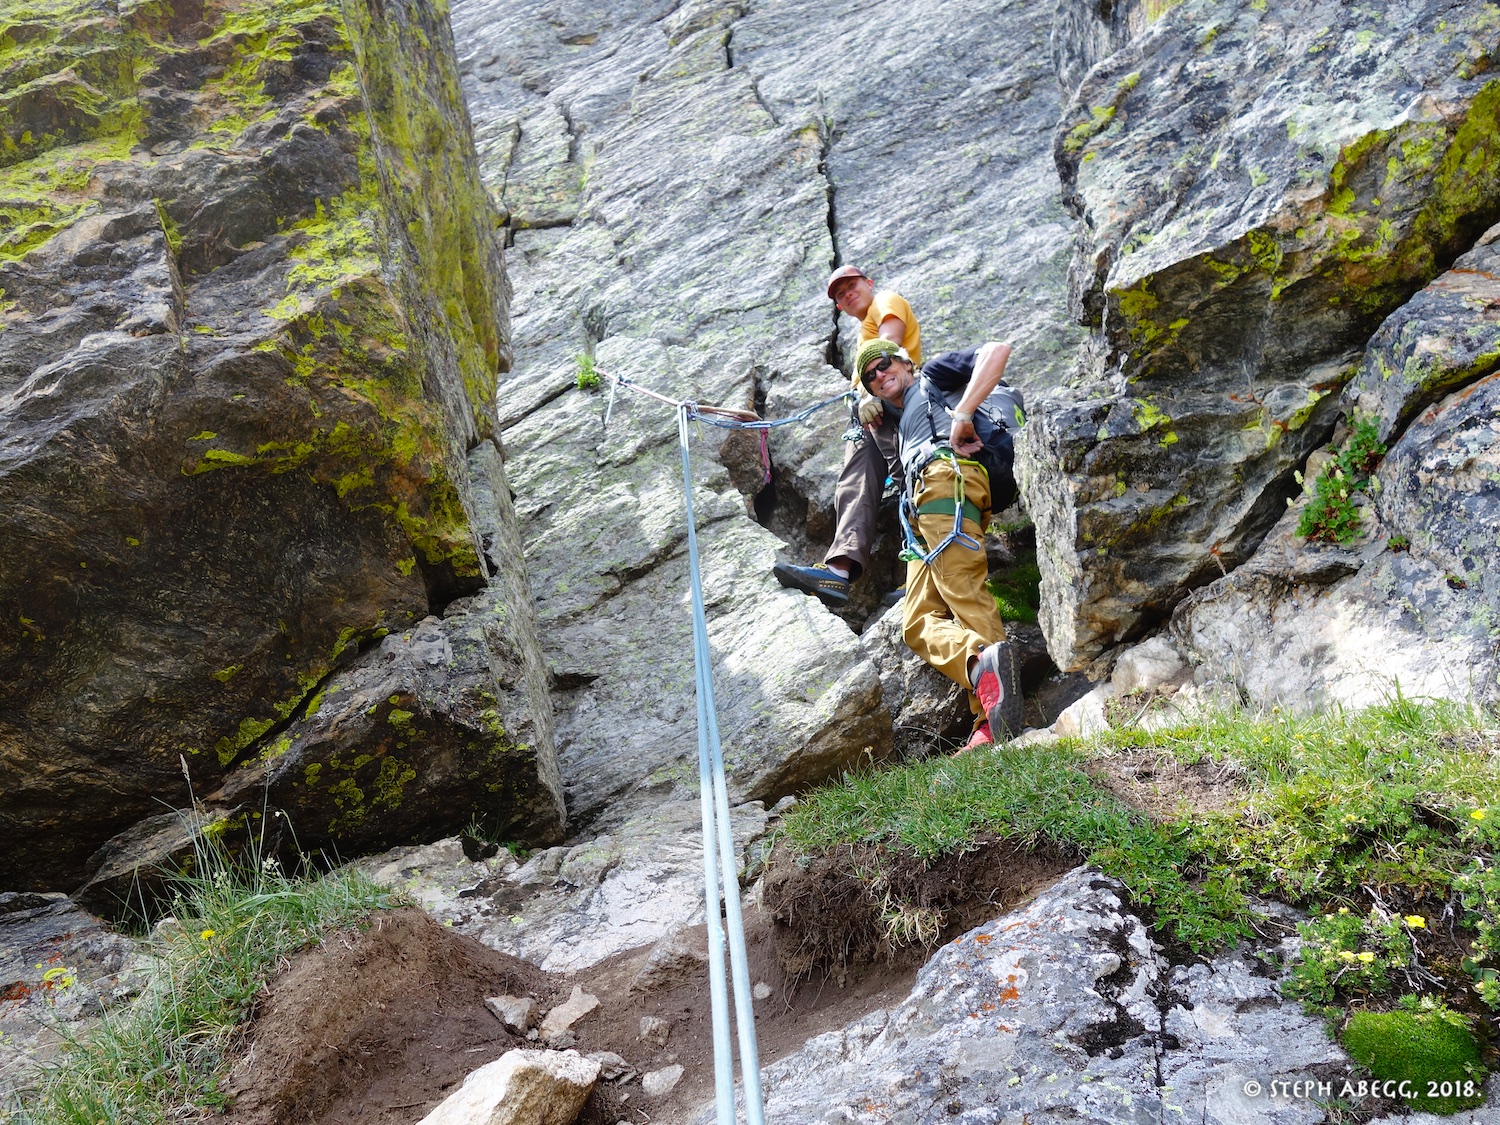
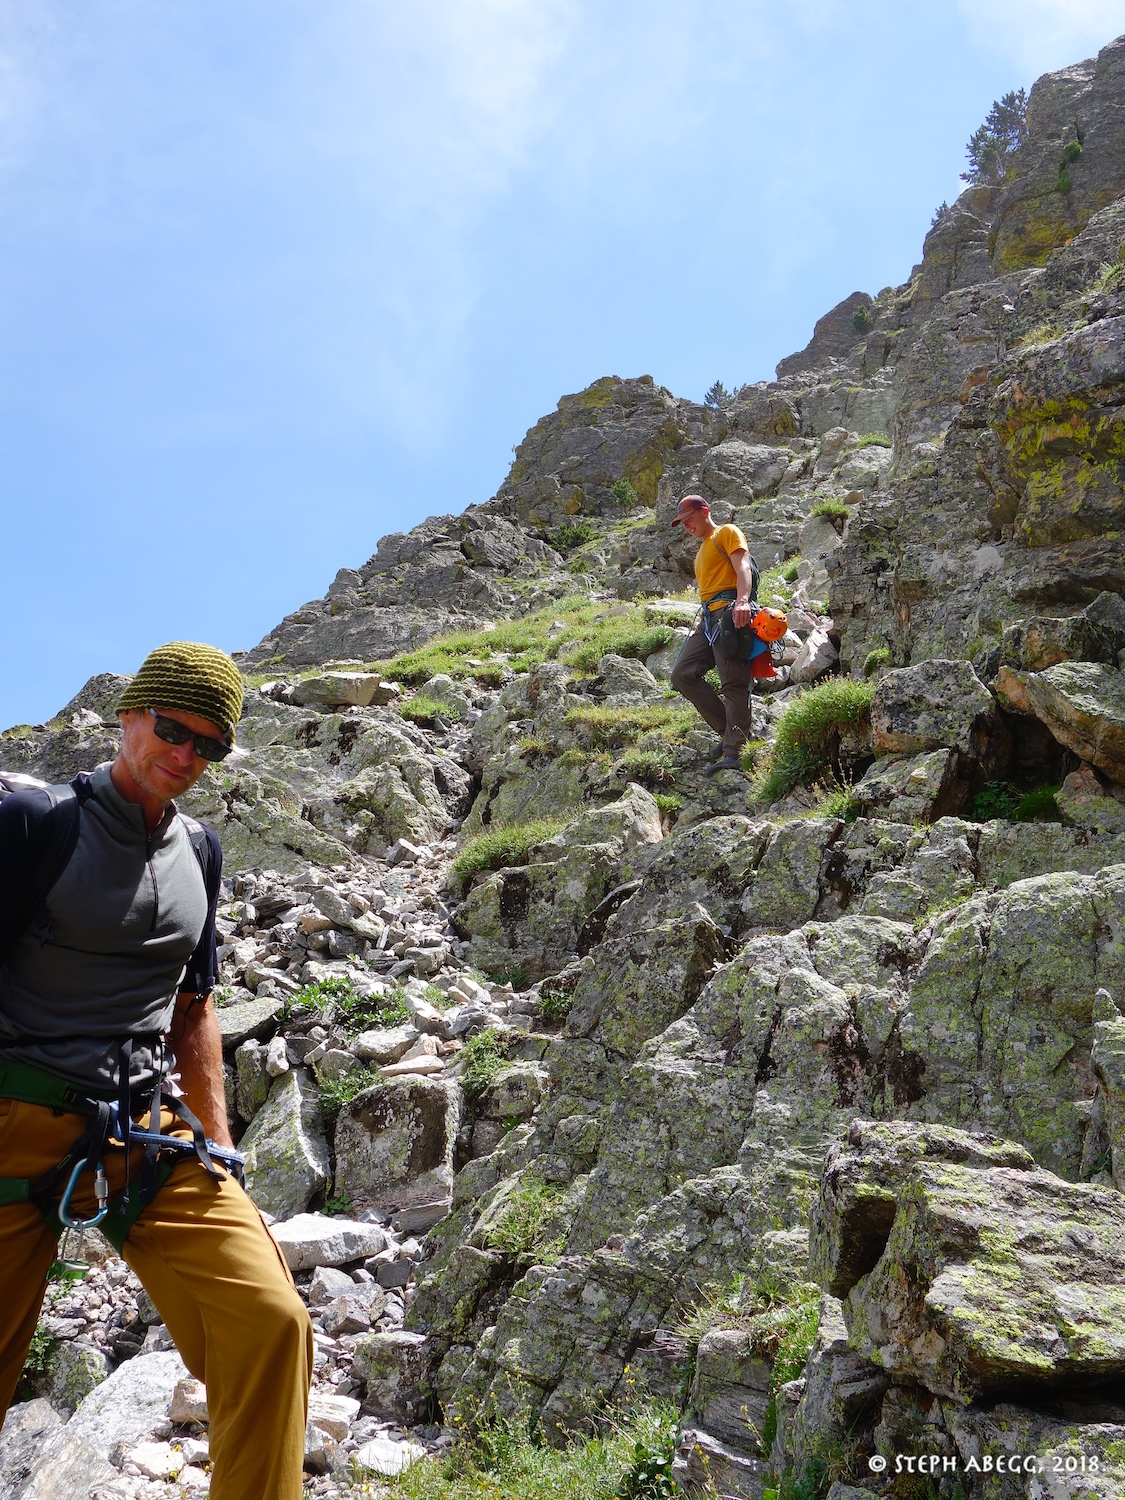
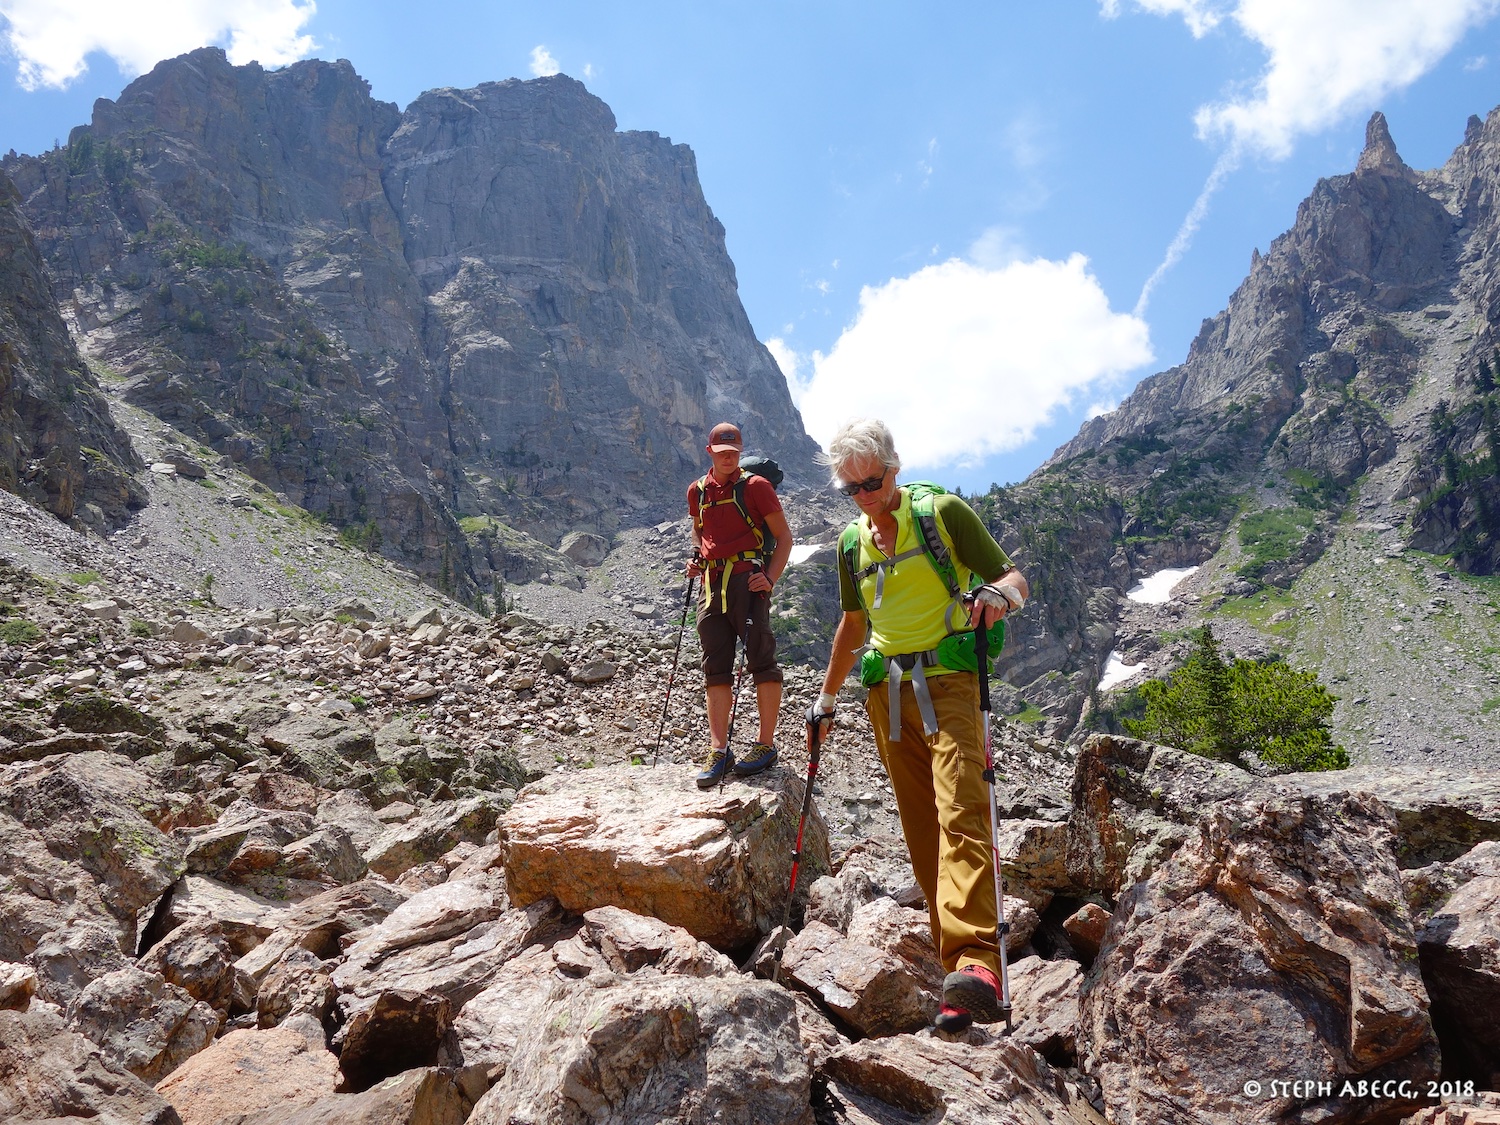
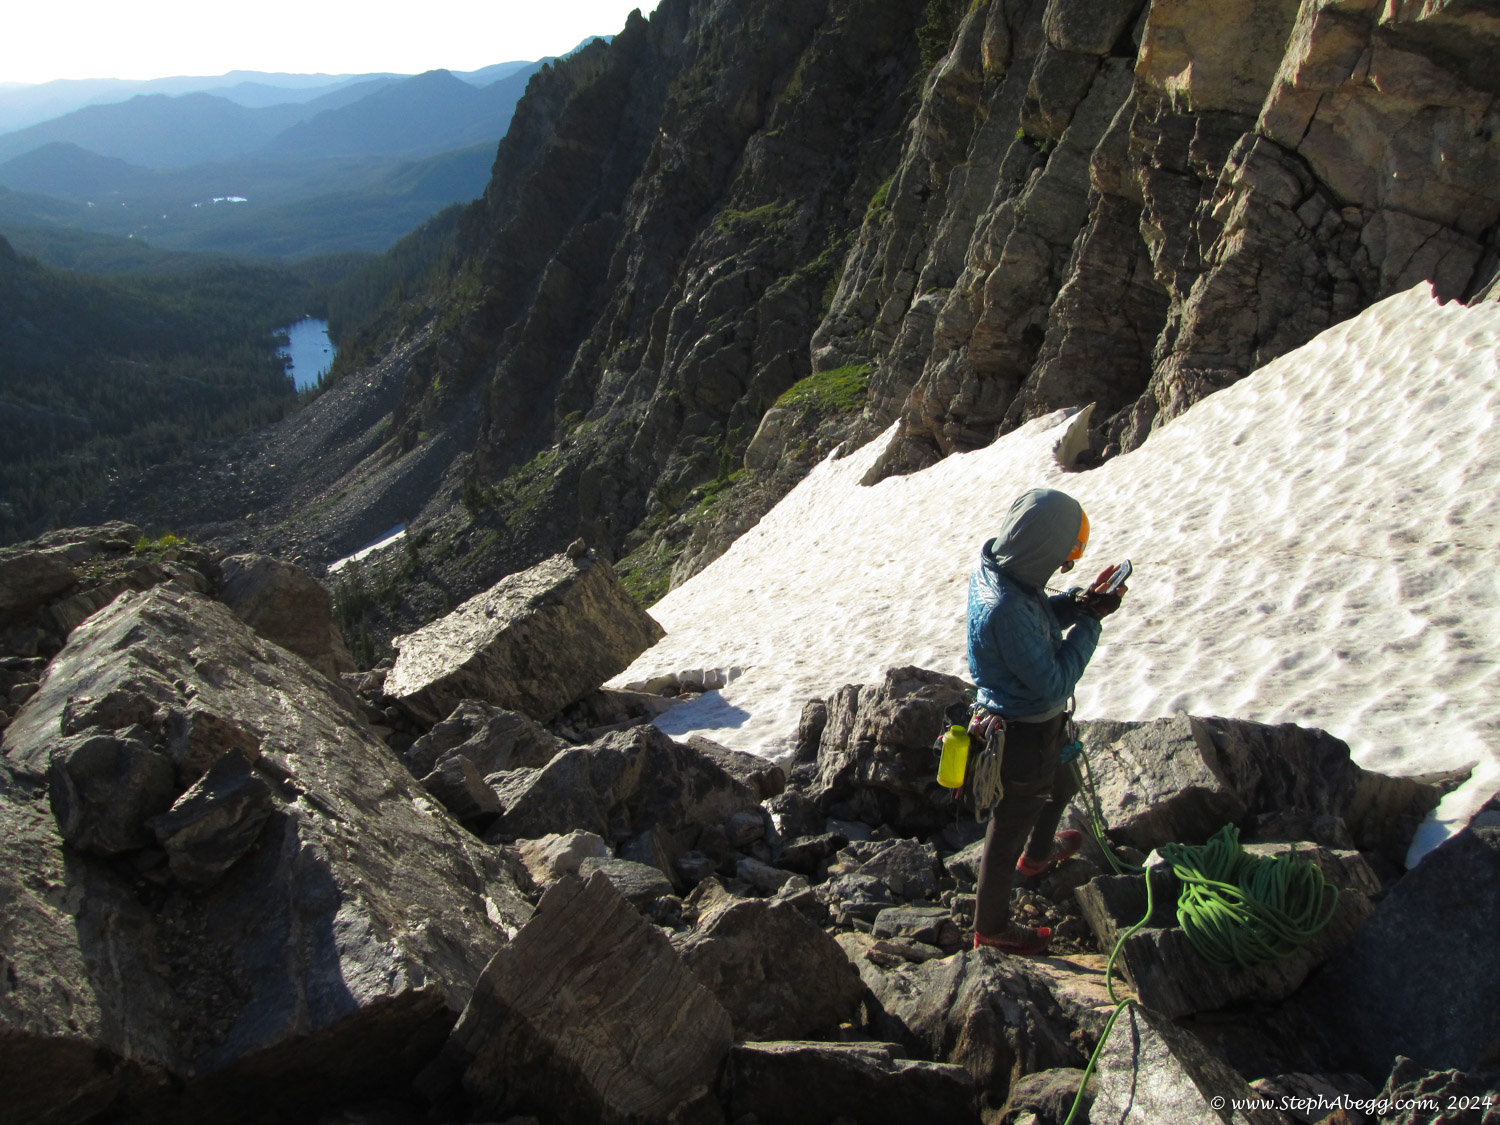
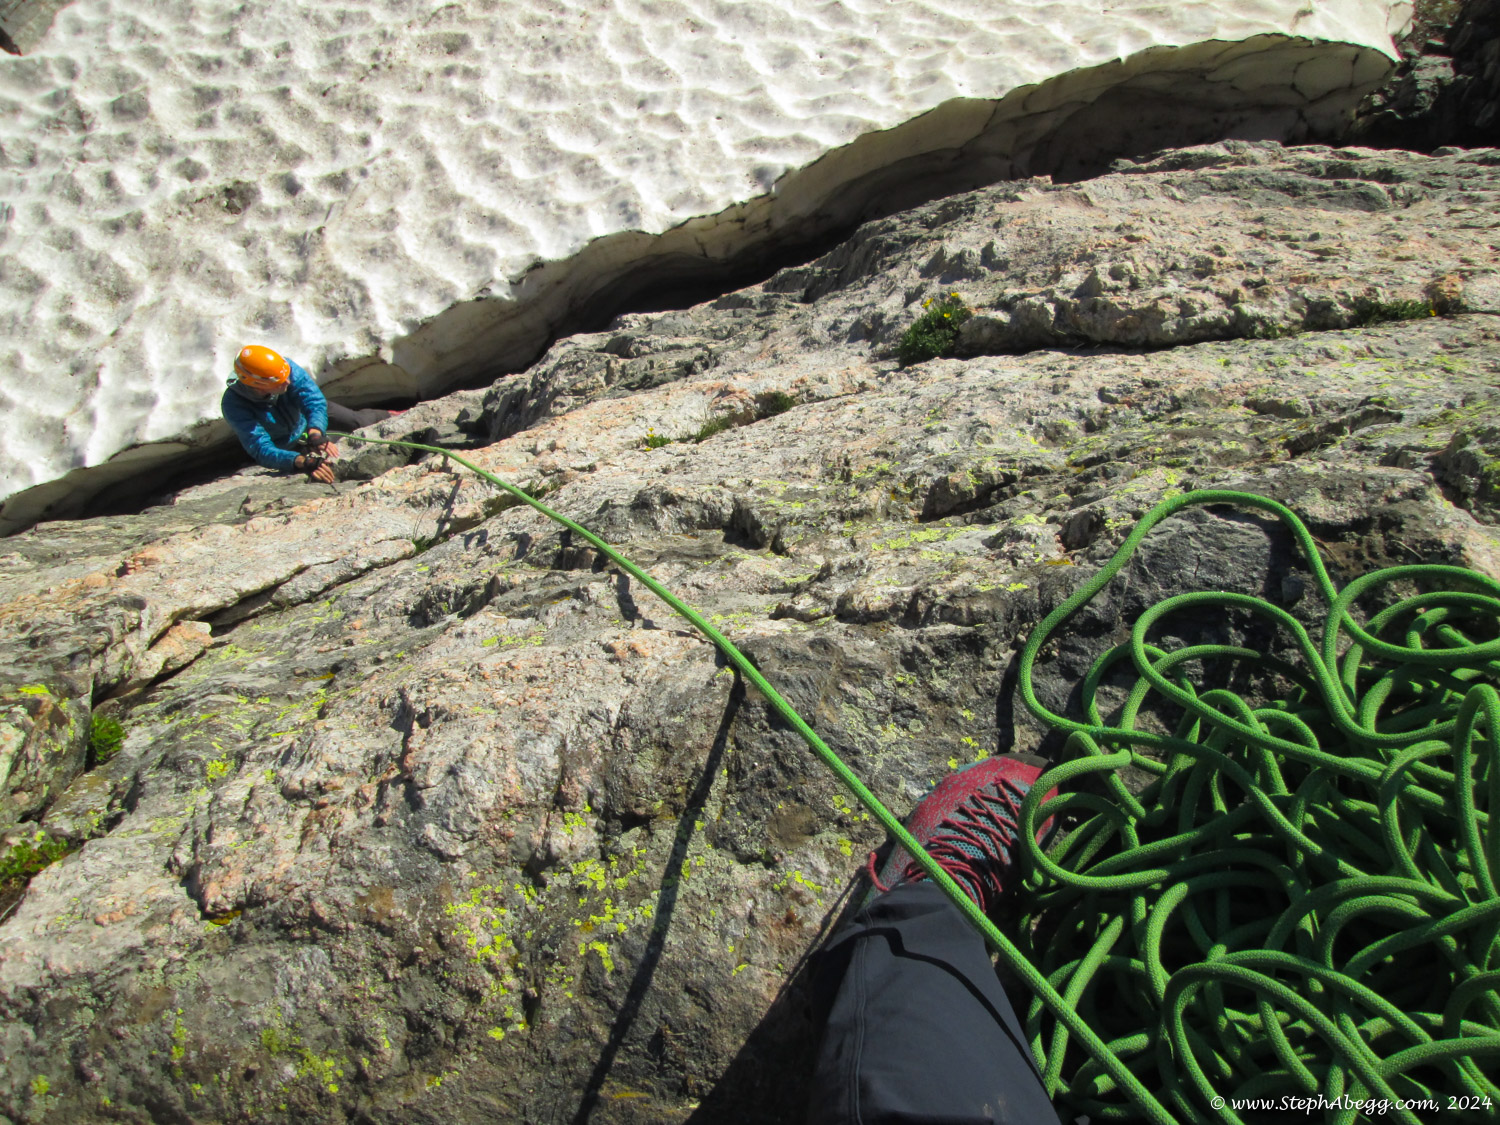
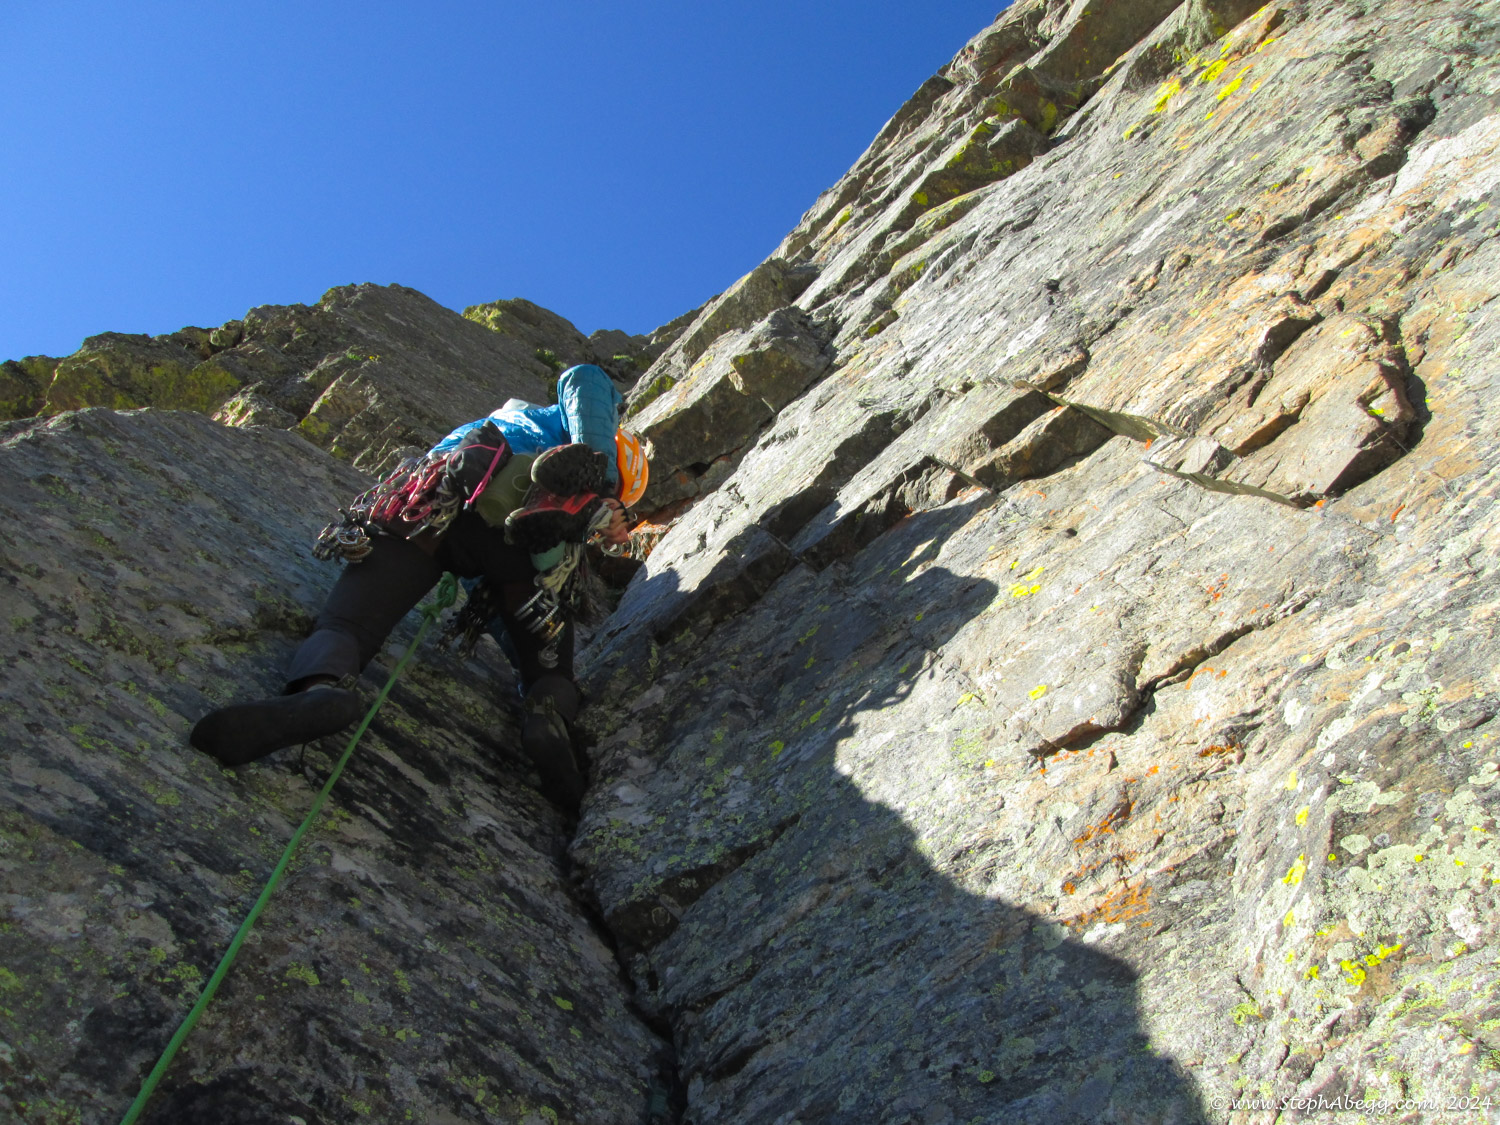
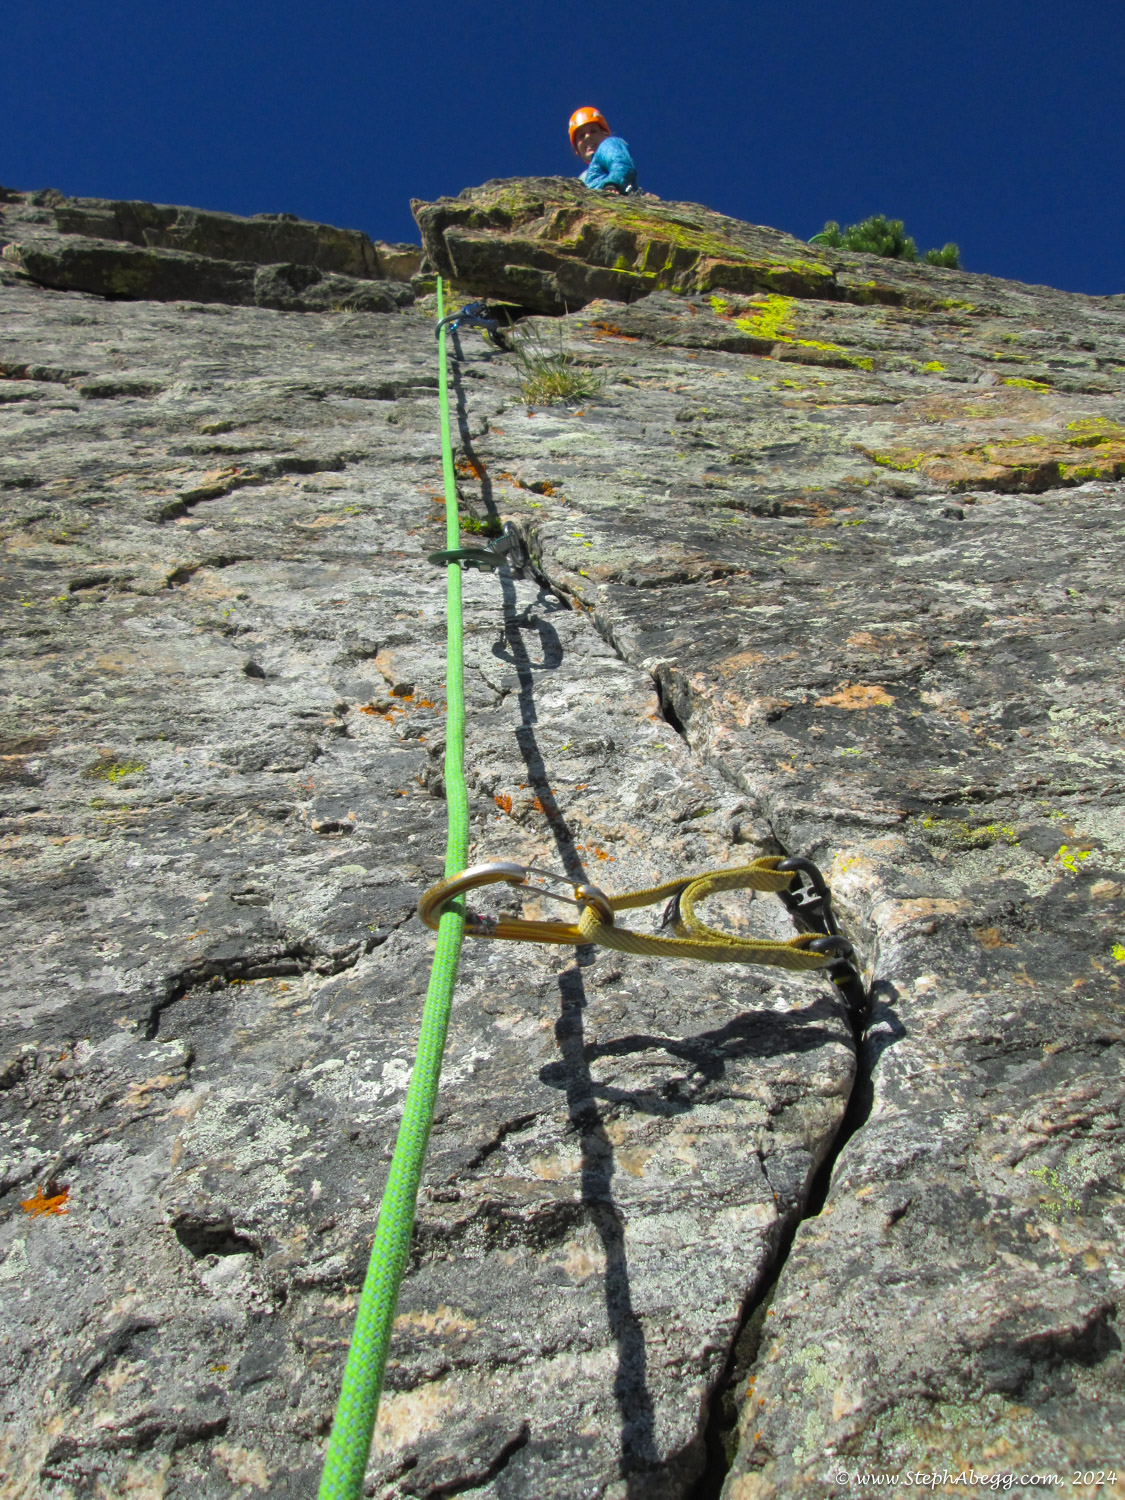
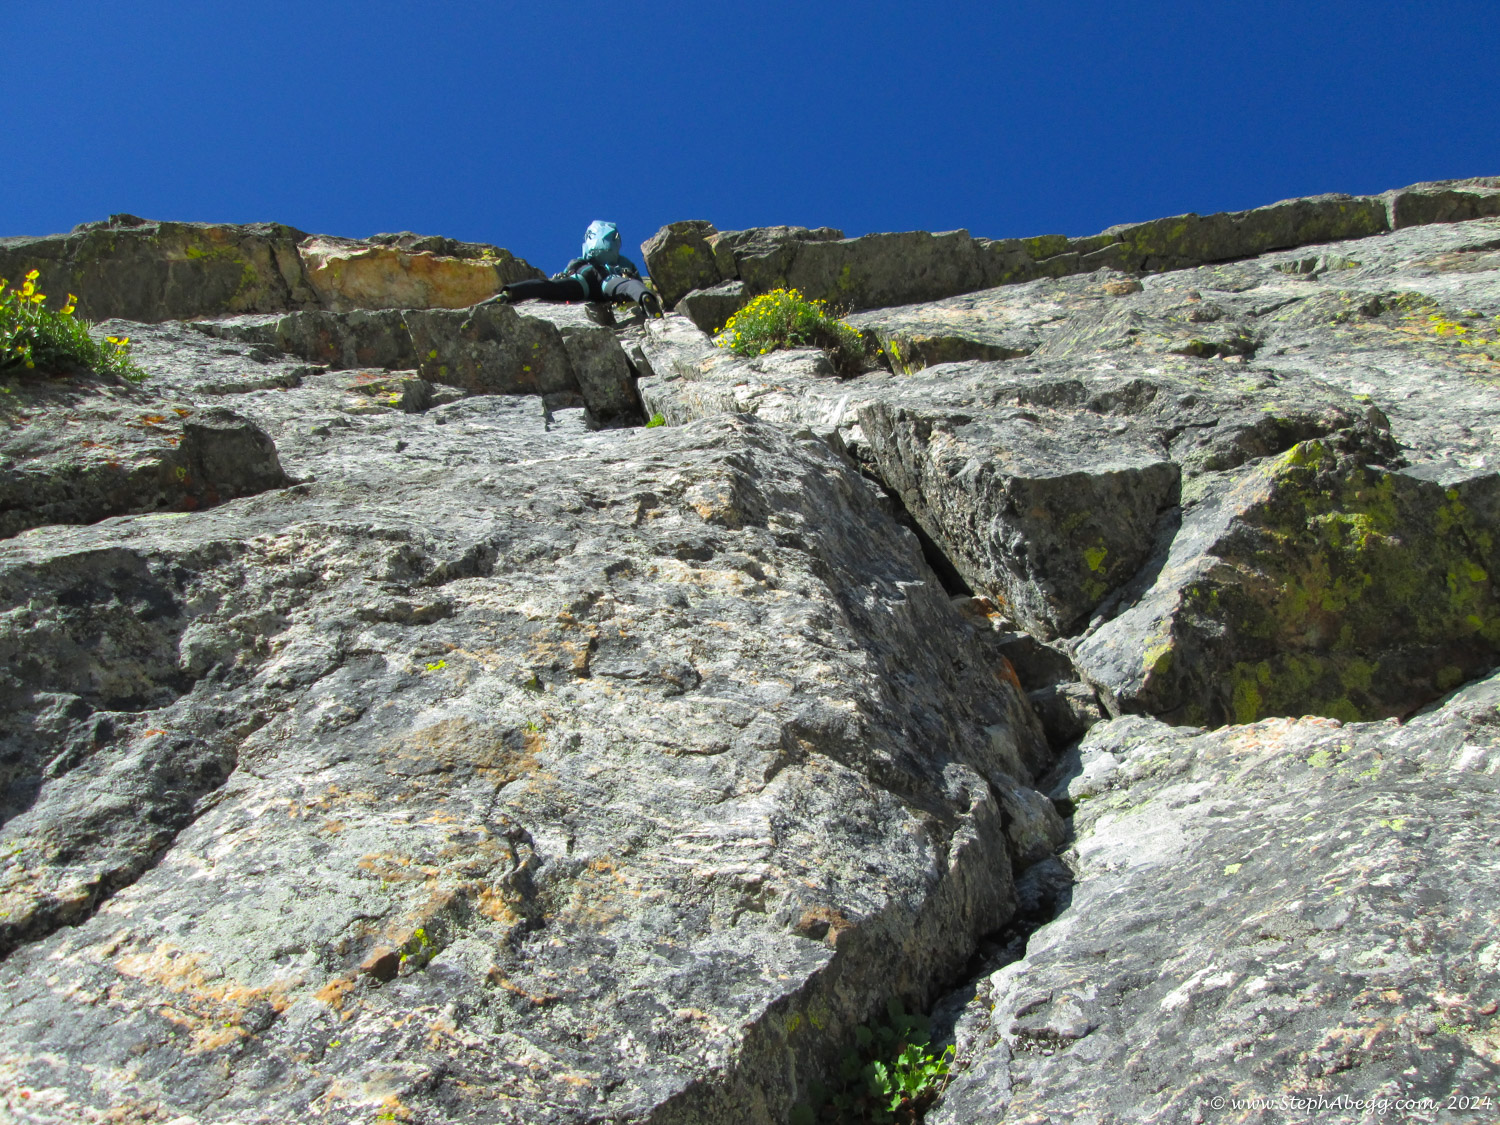
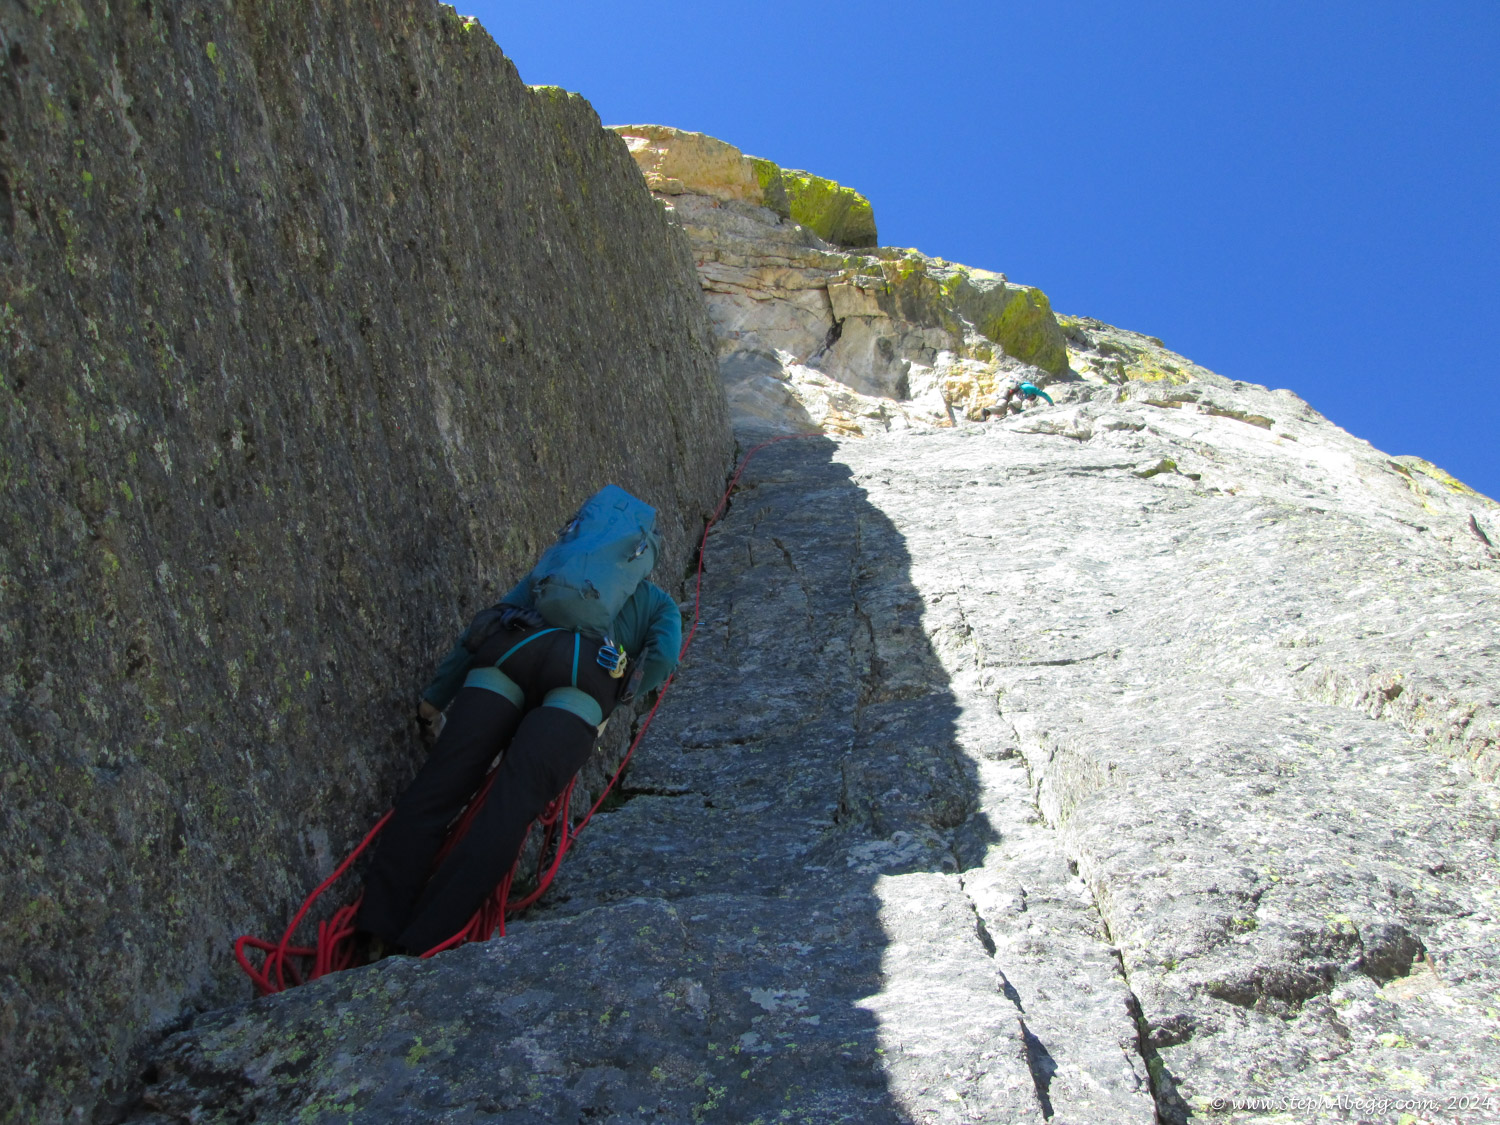
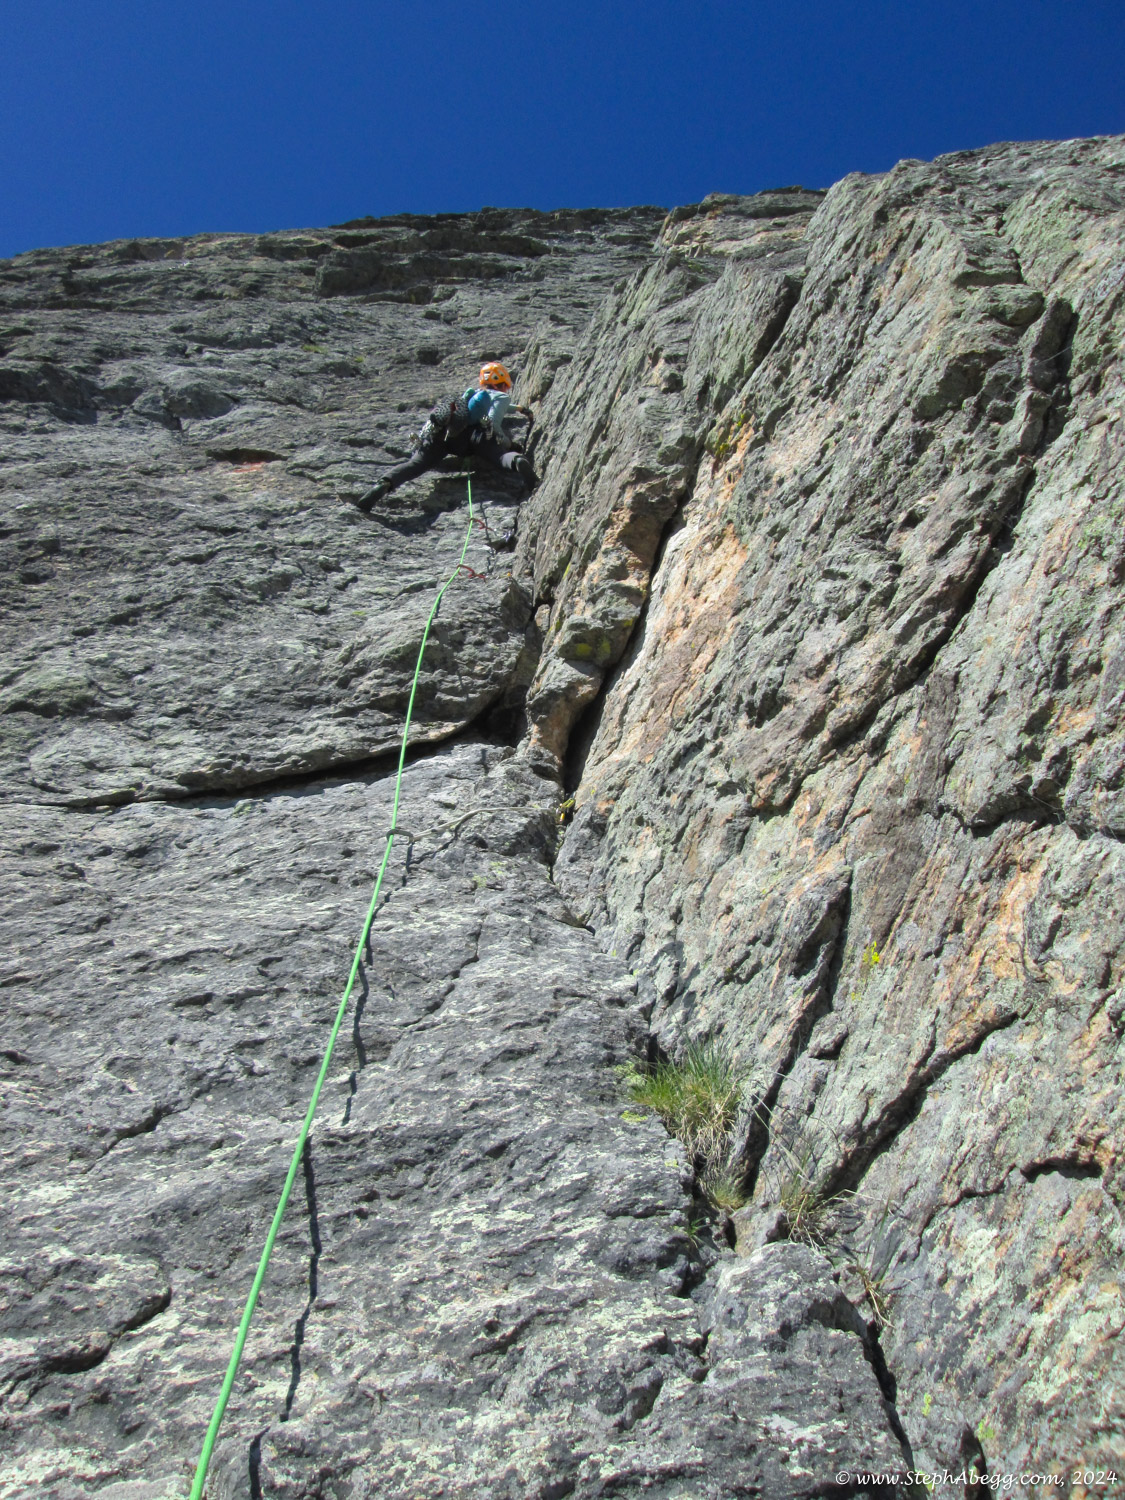
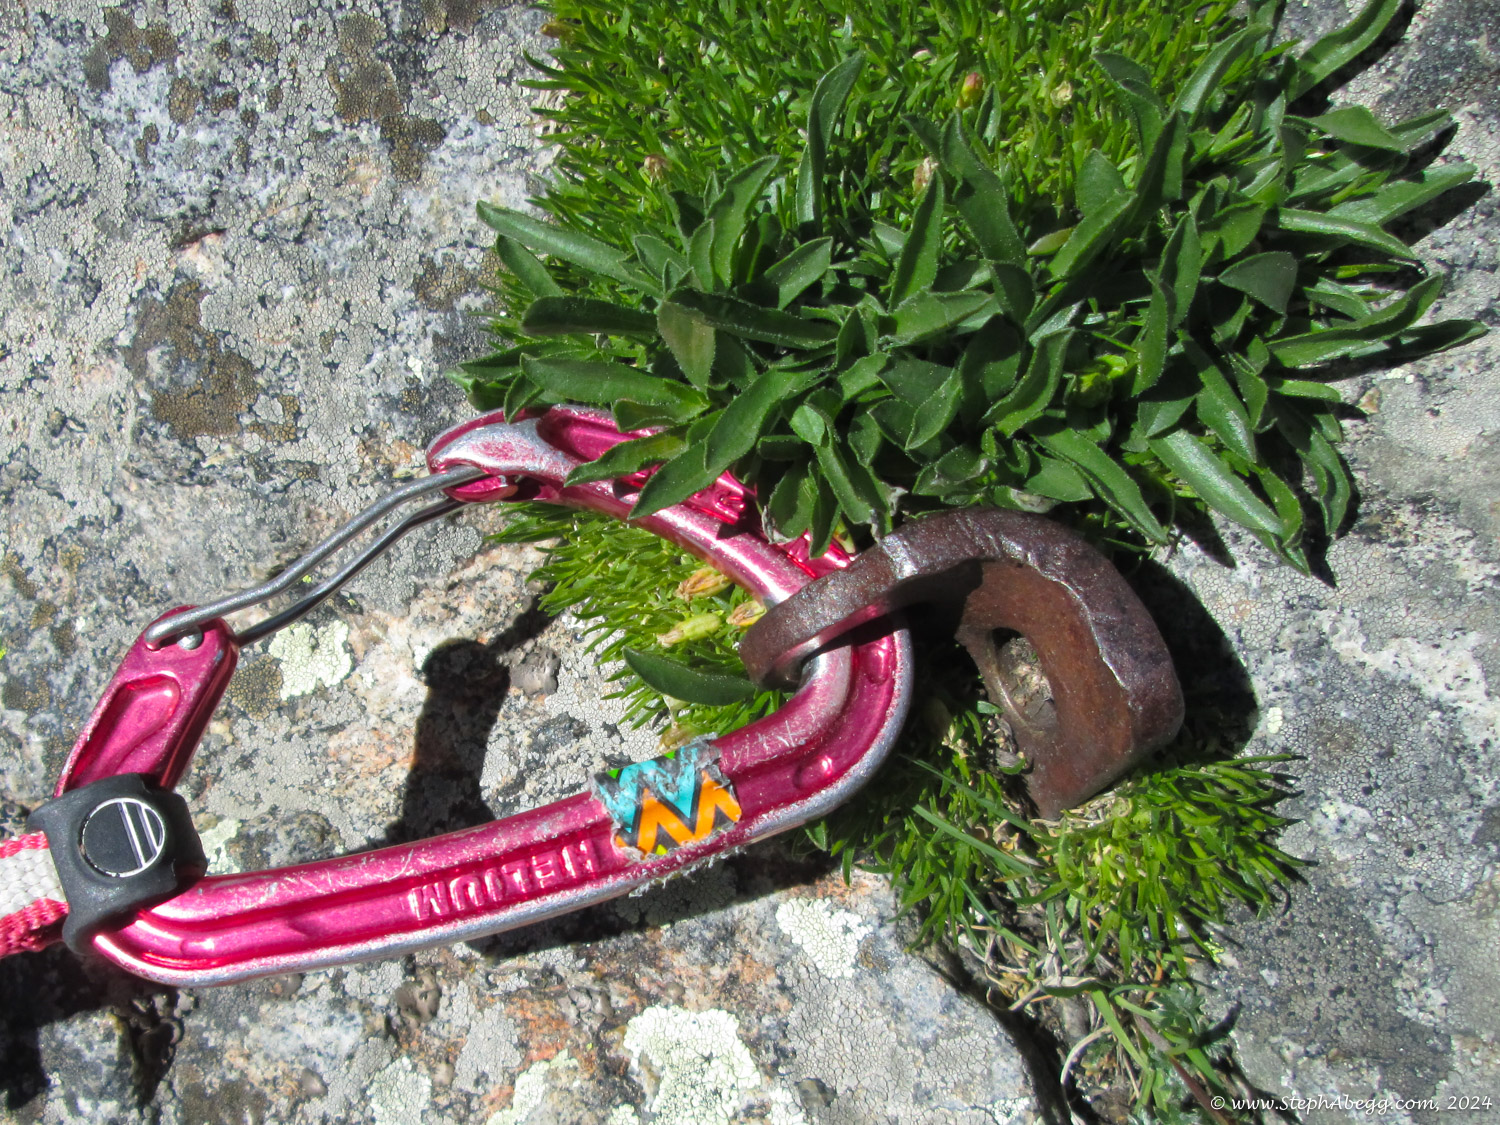
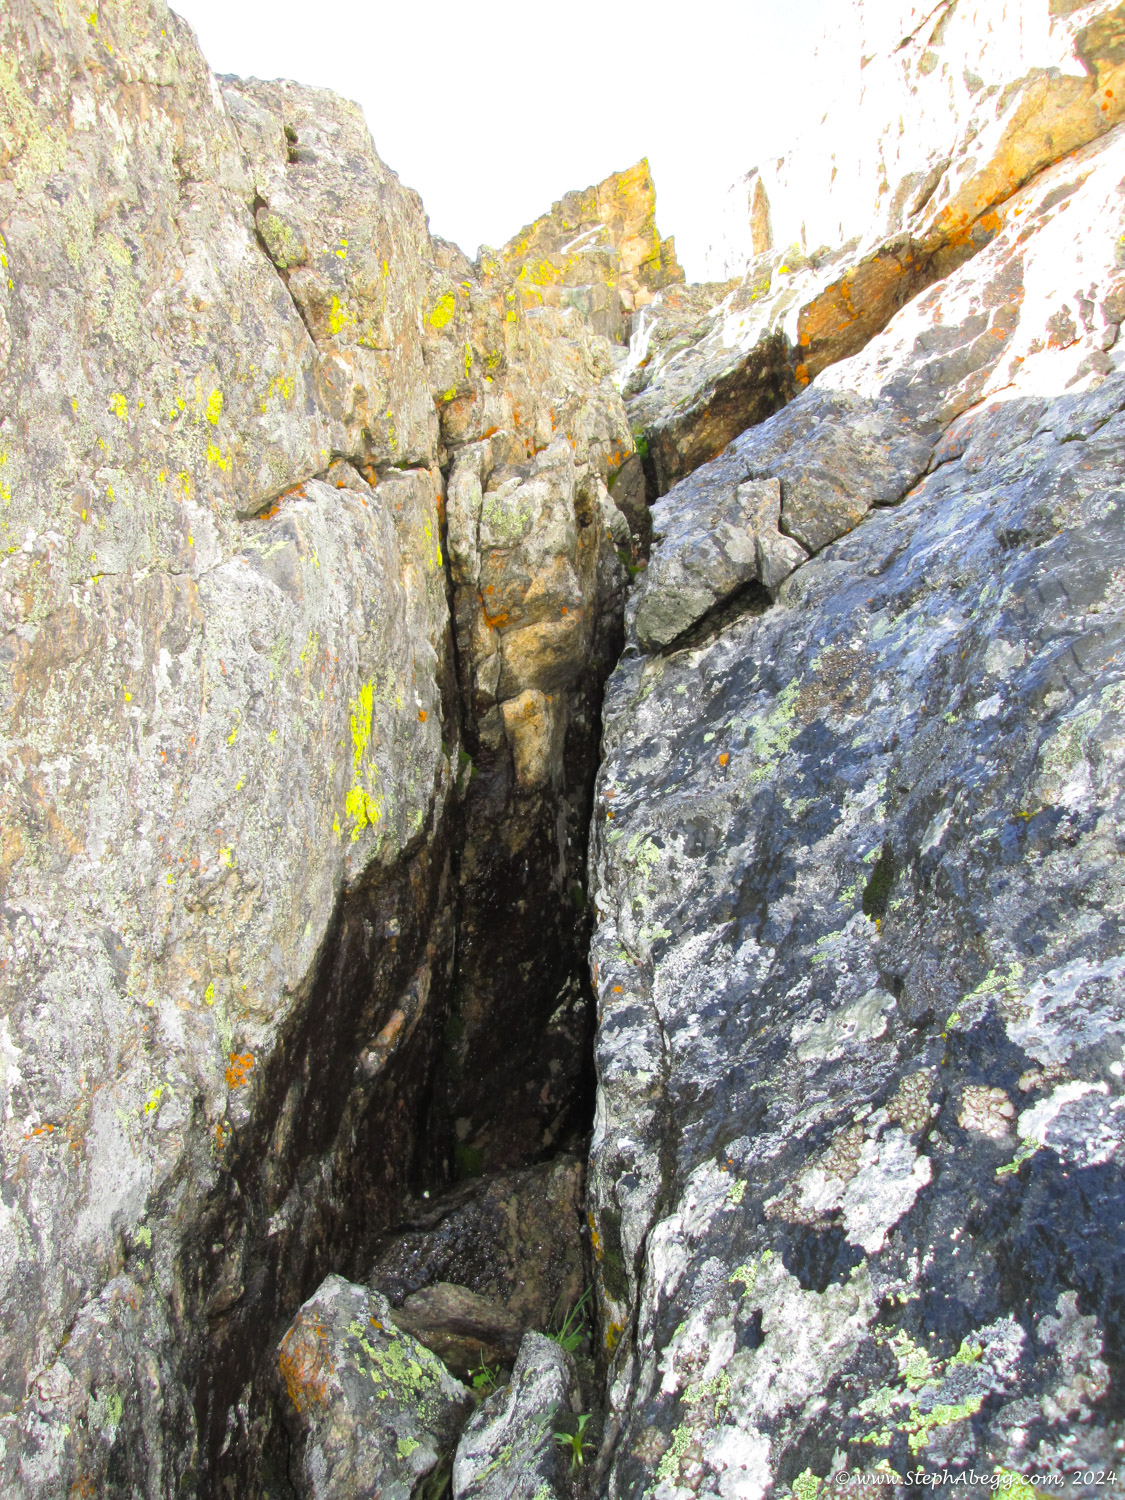
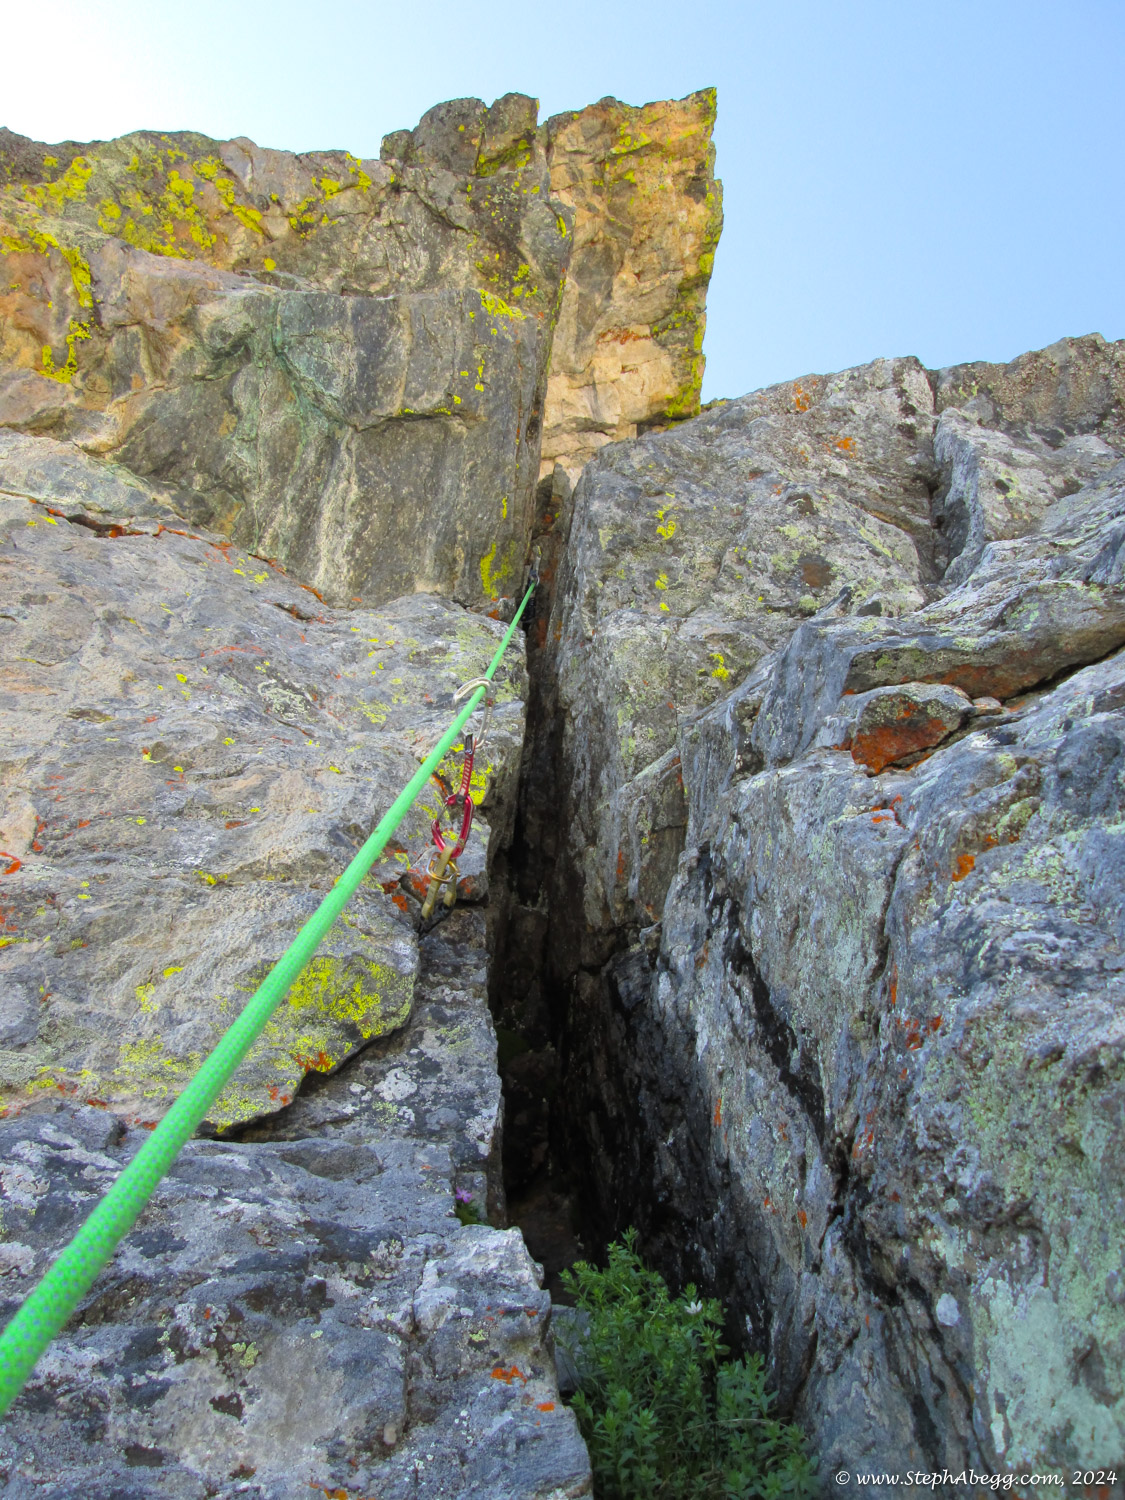
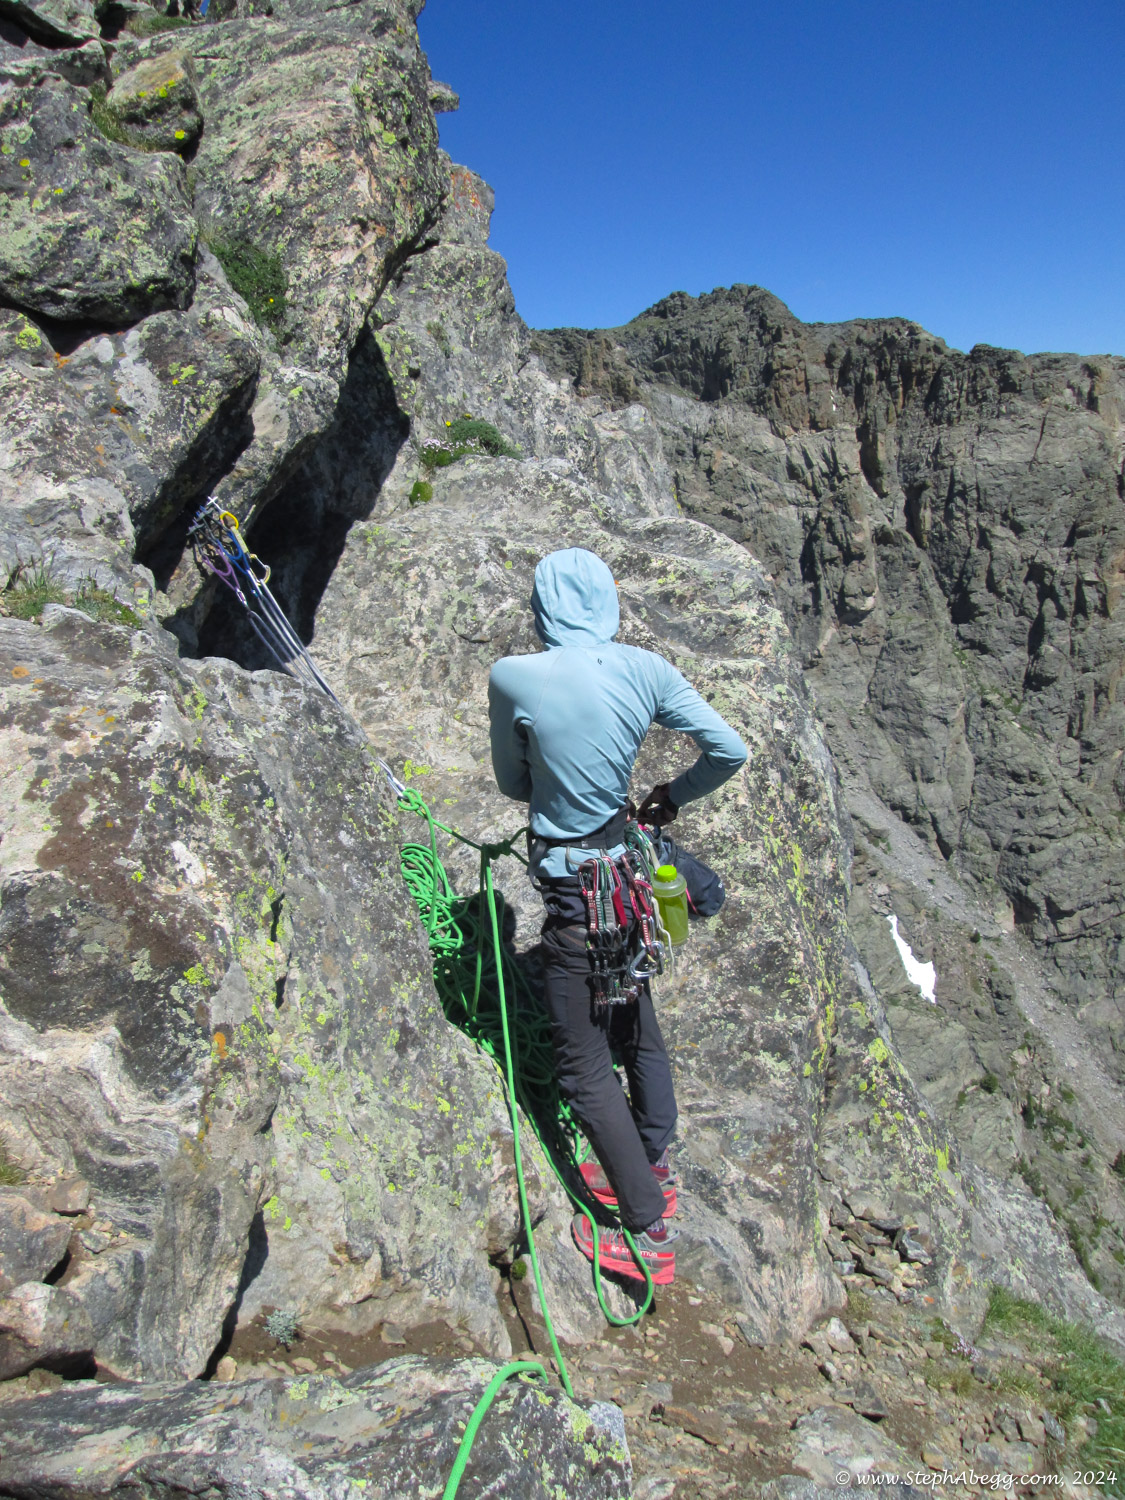
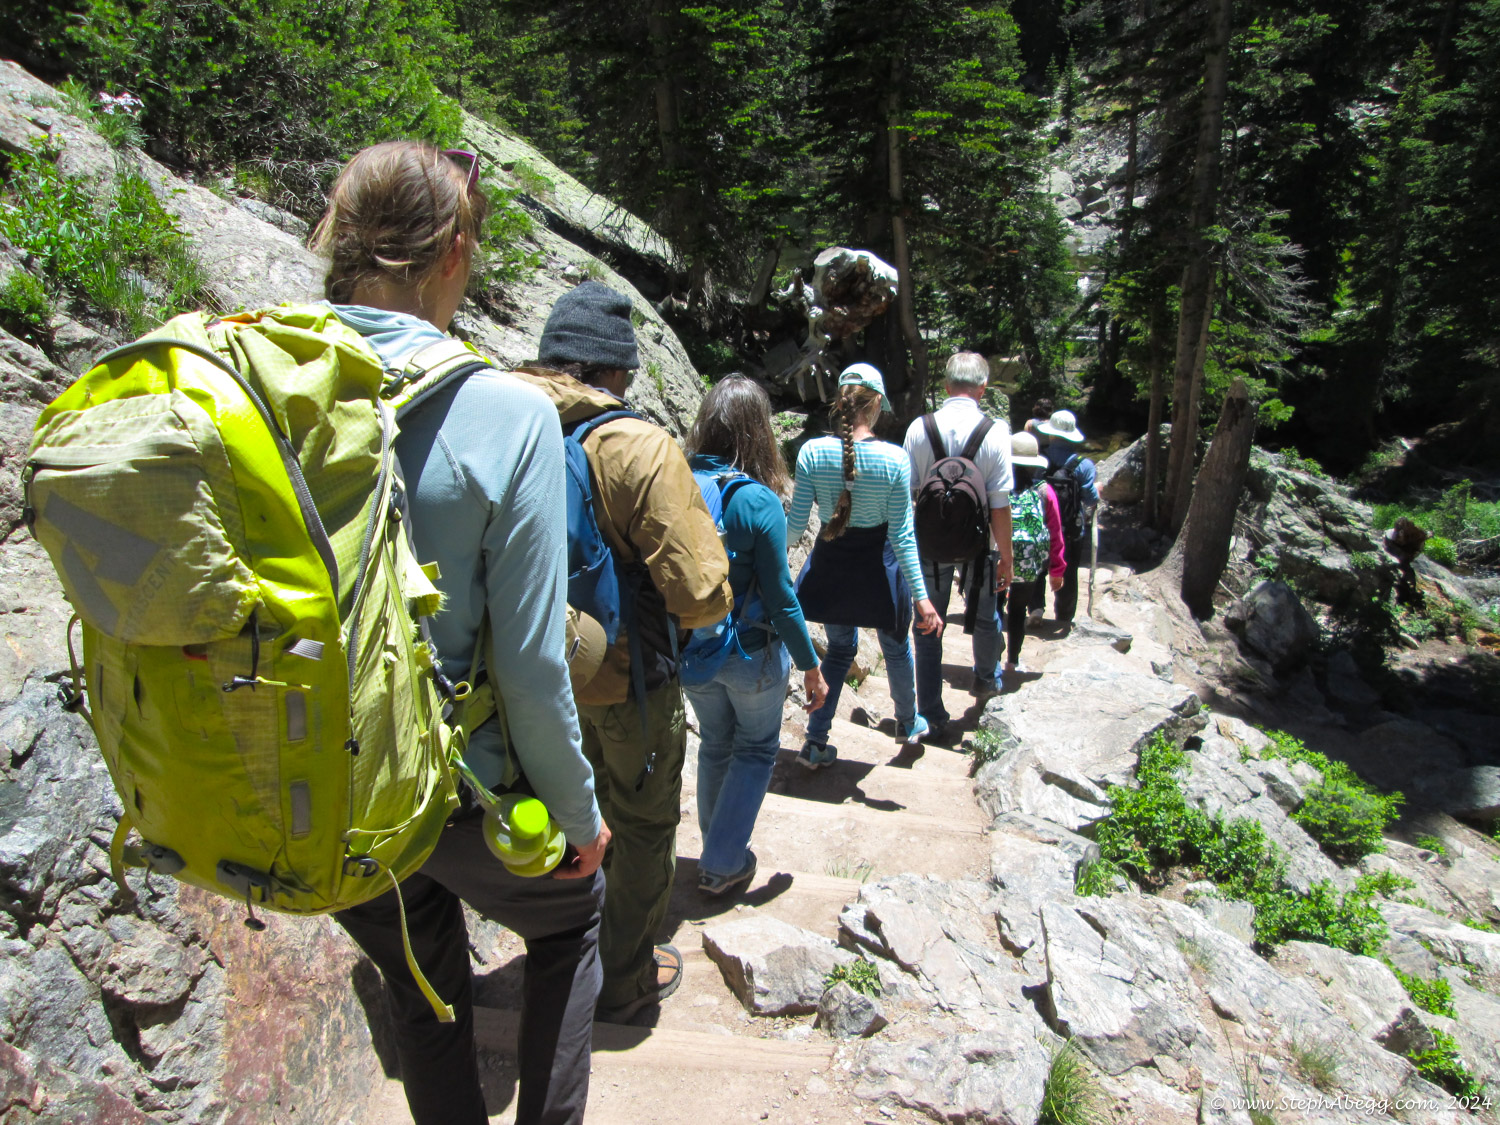
We climbed 
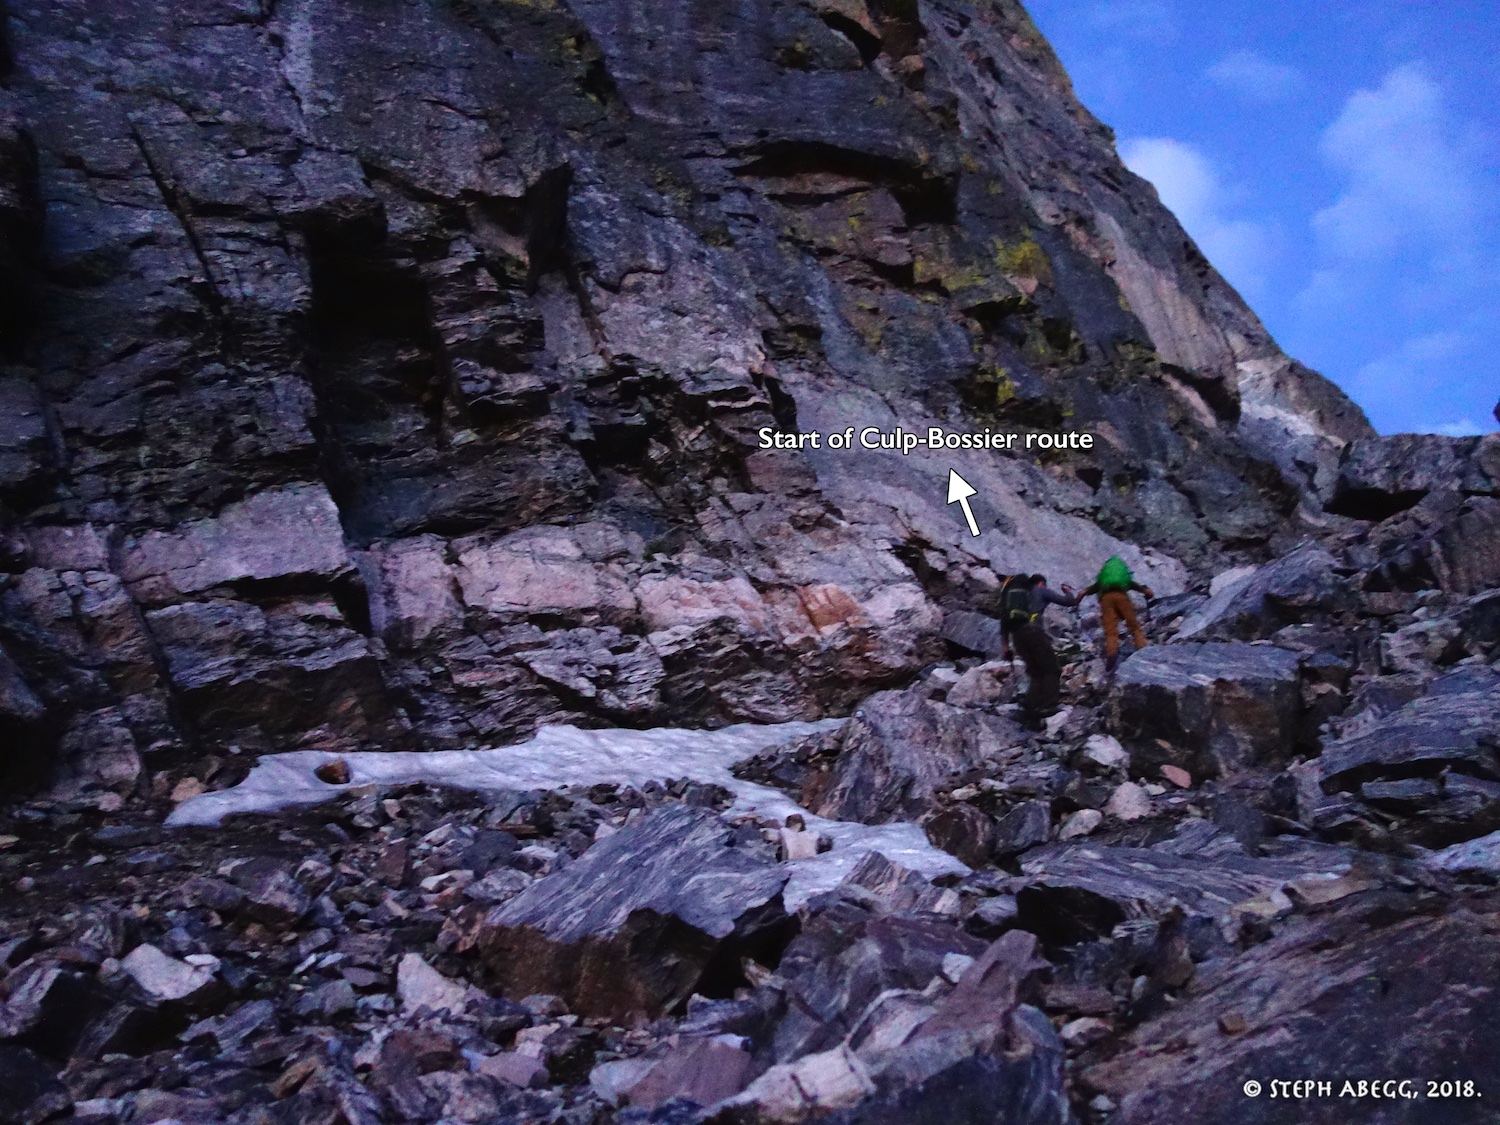
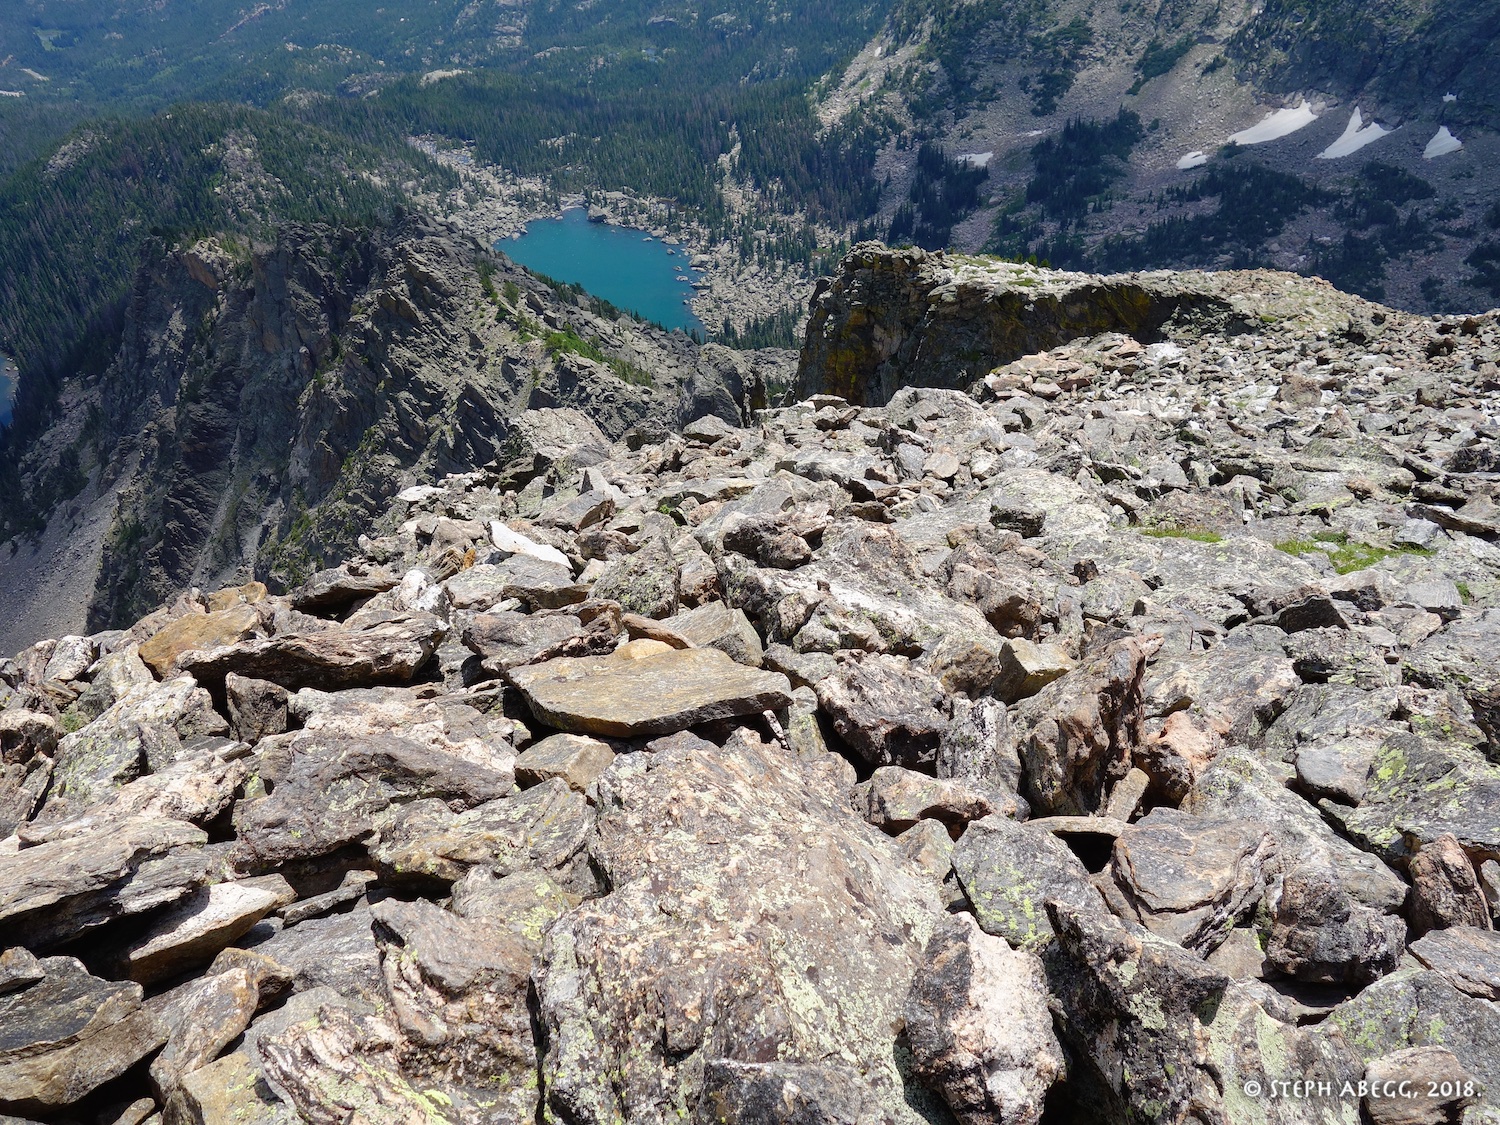
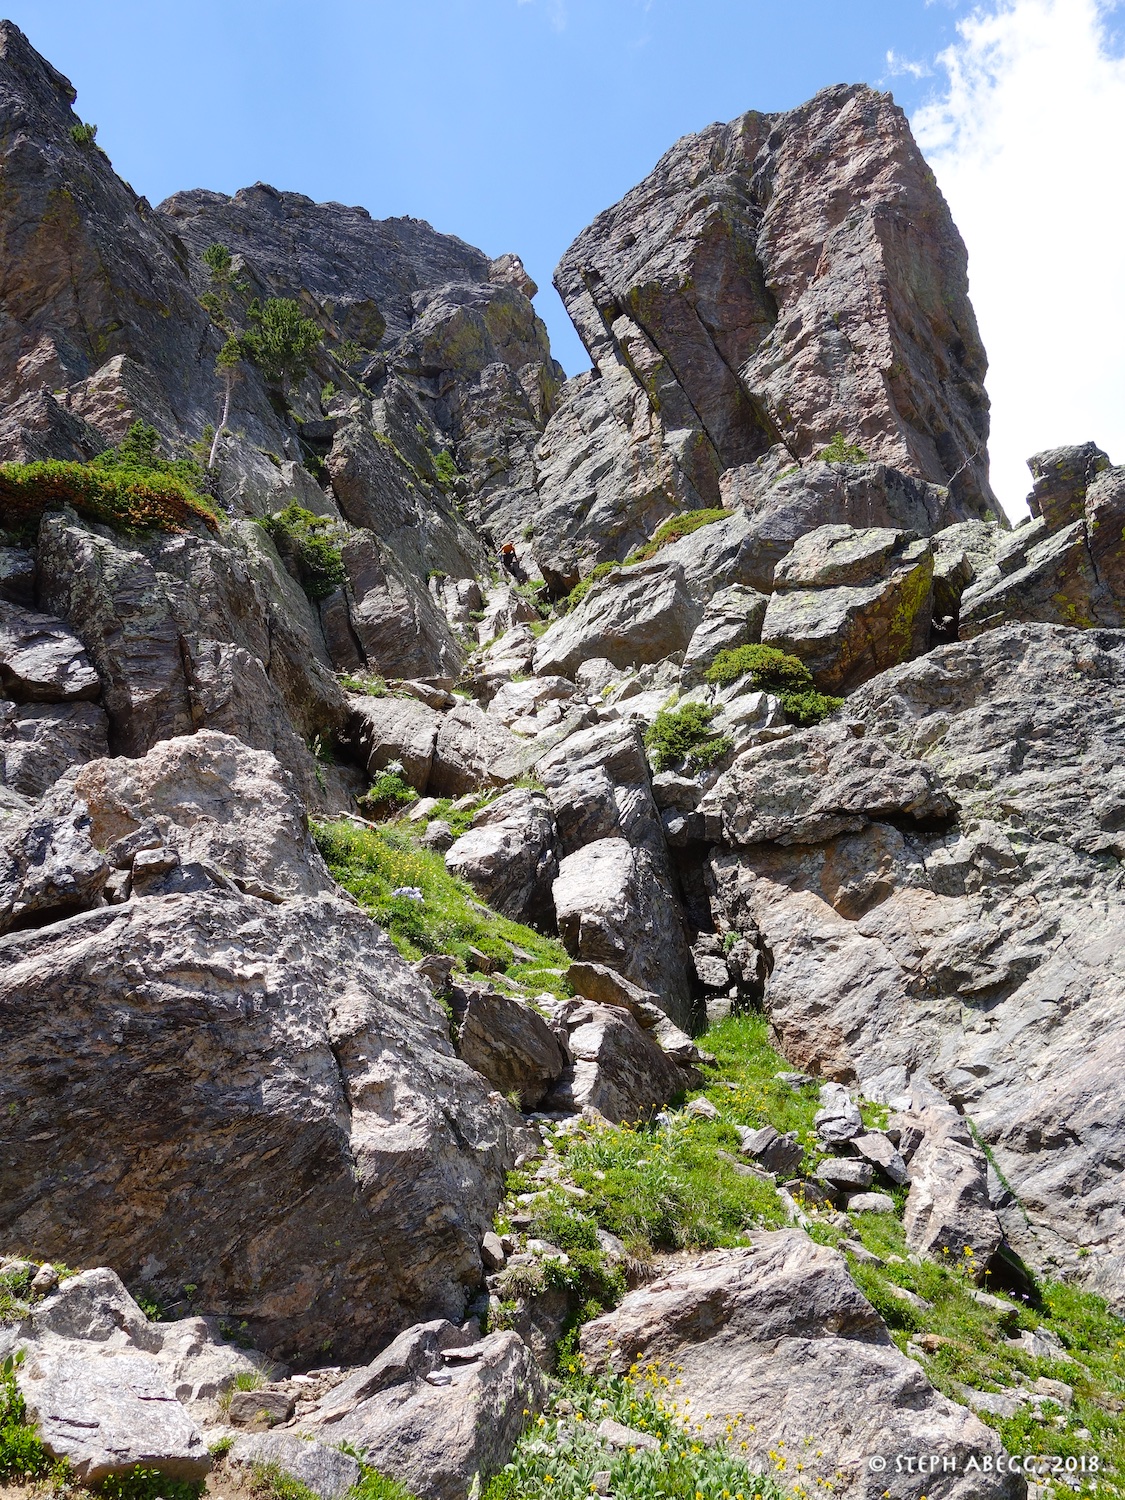
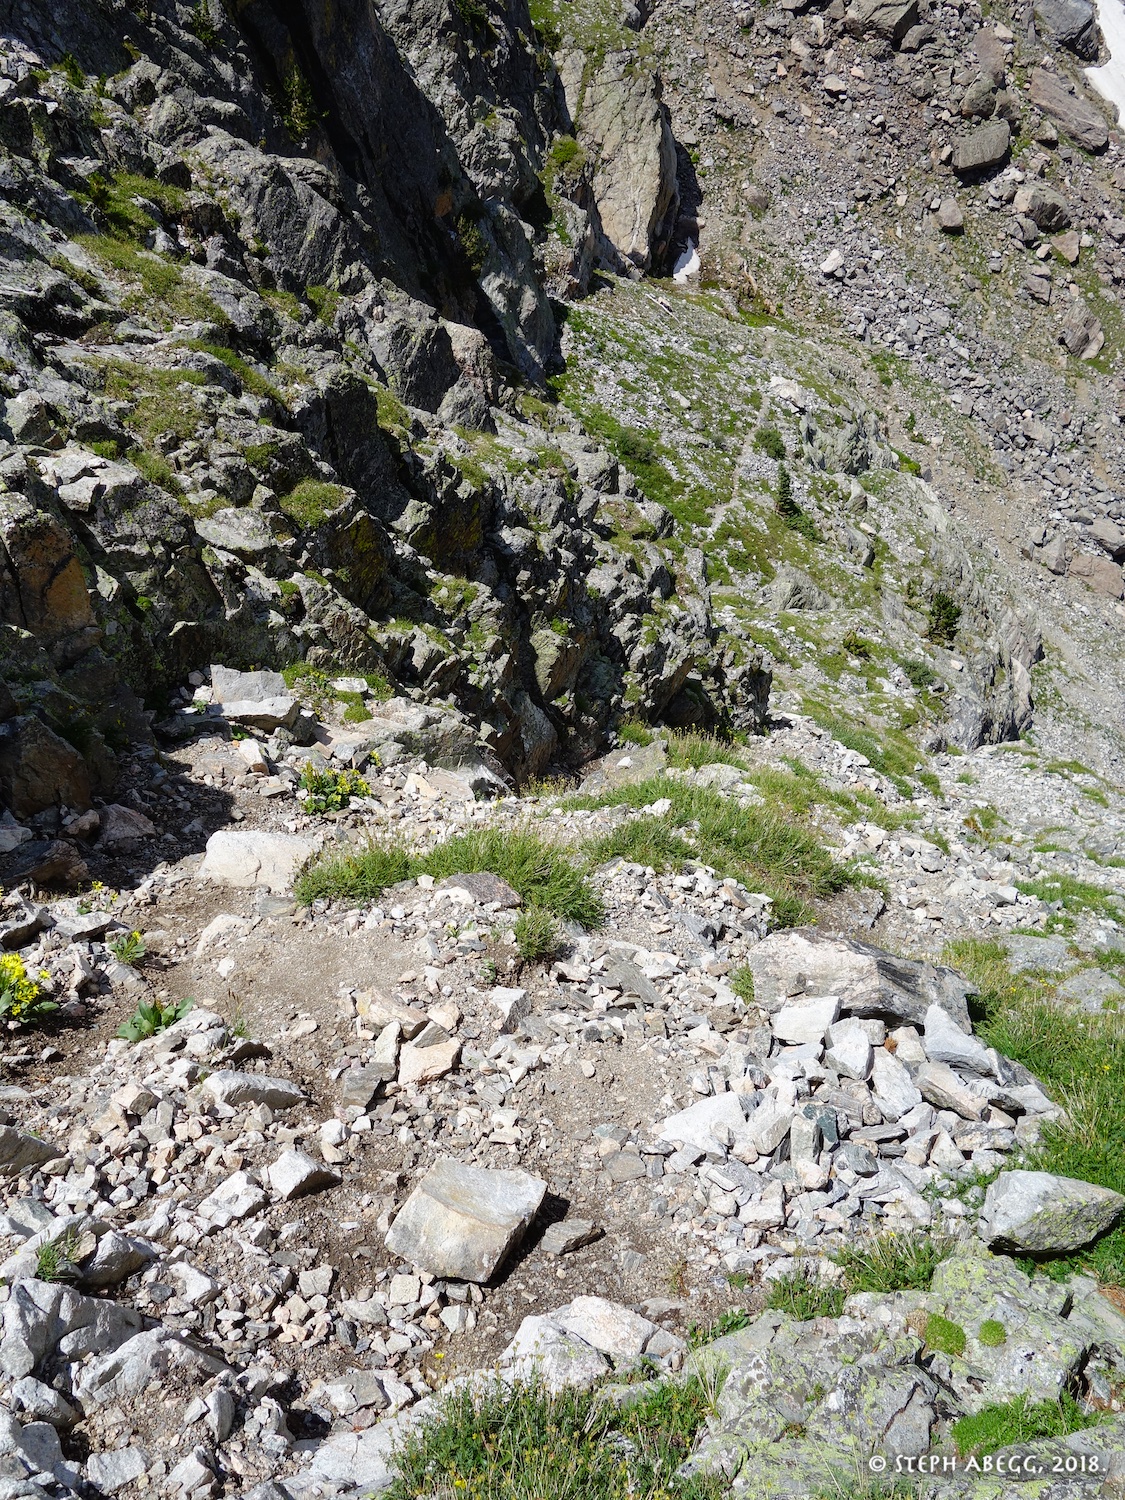
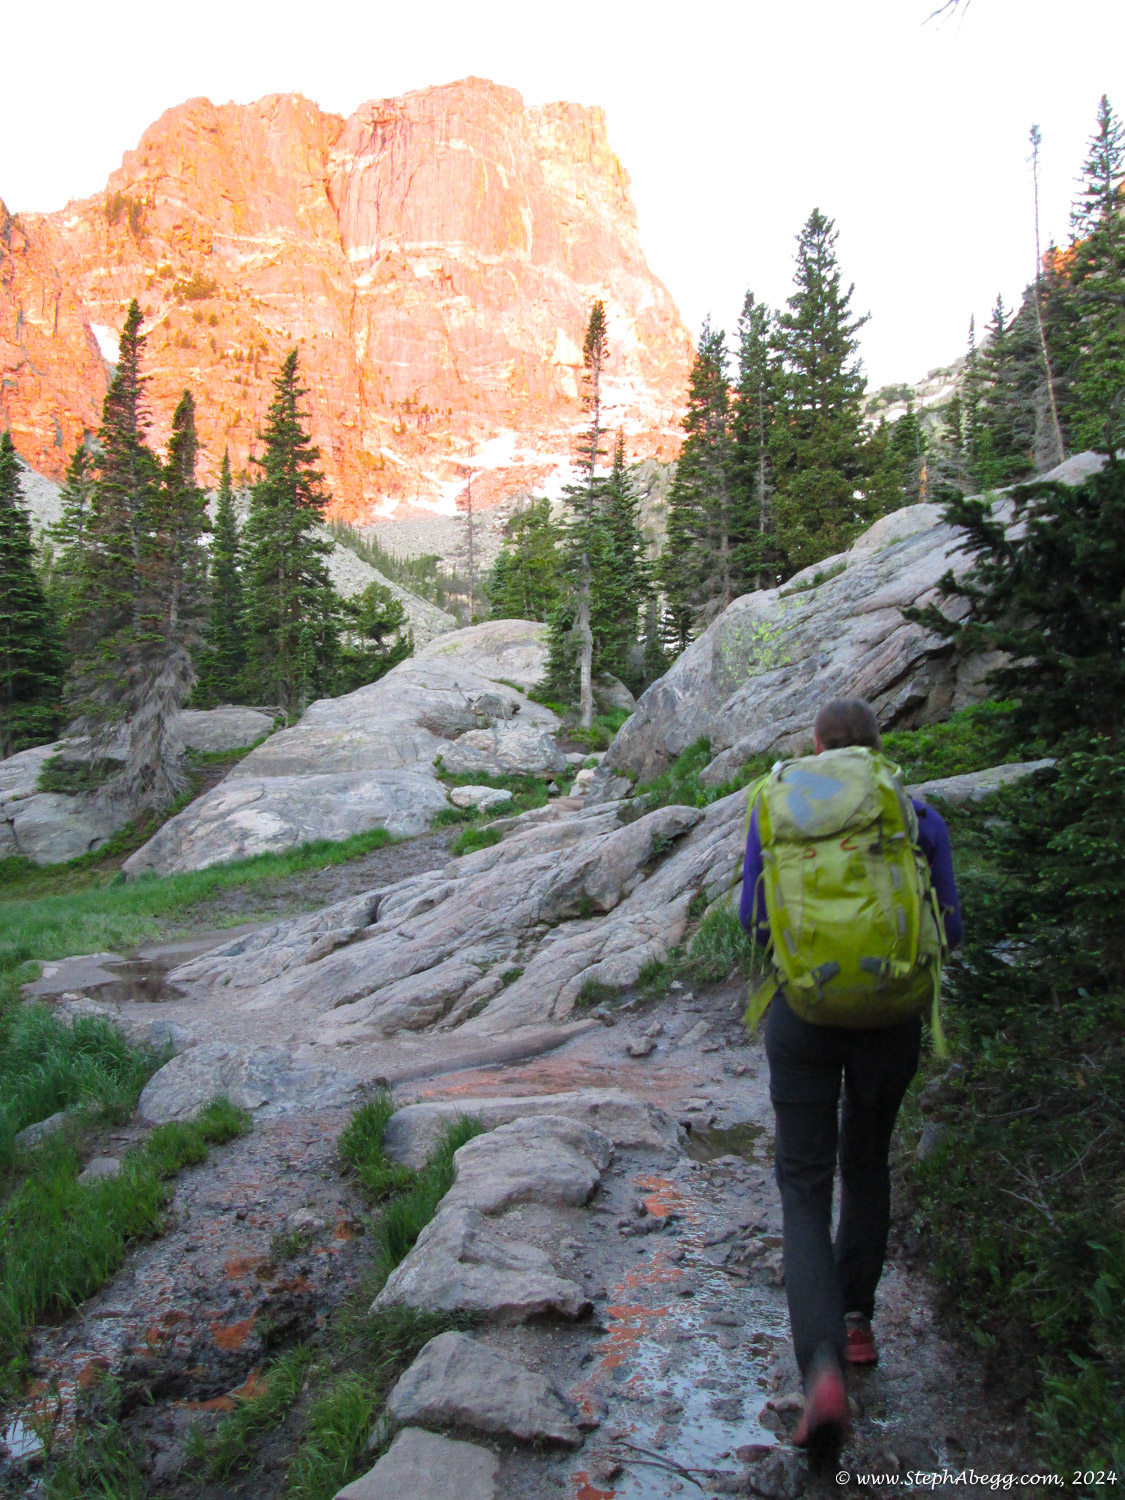
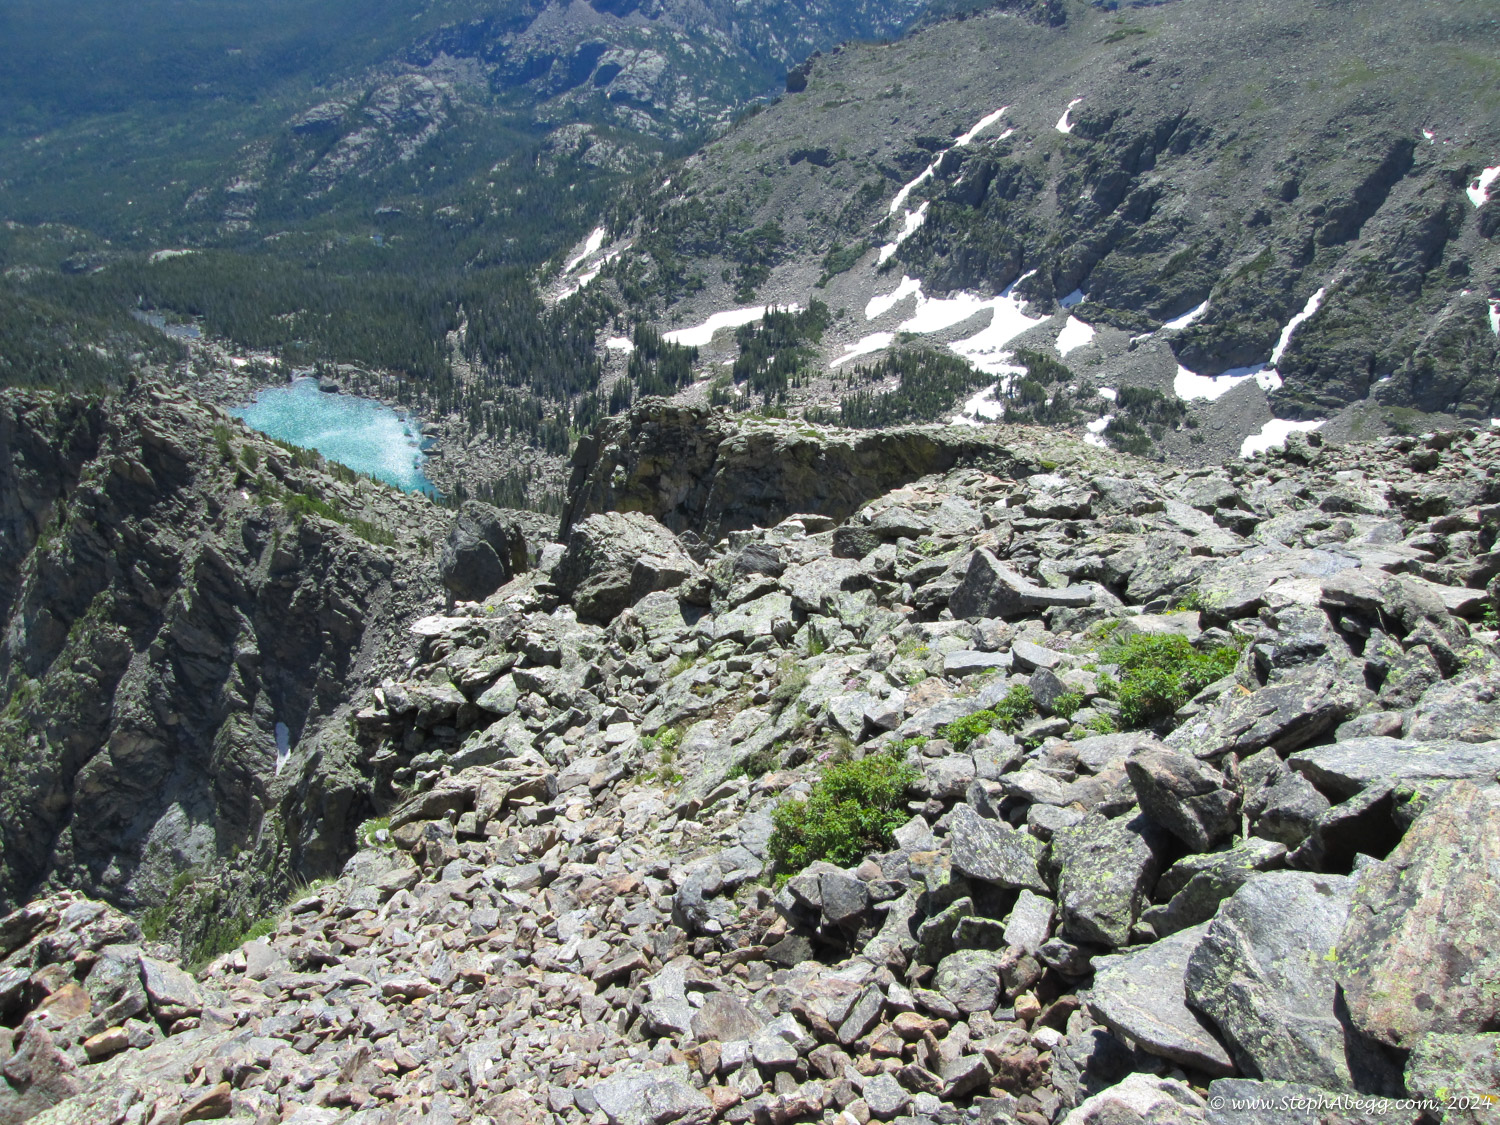
Culp-Bossier as a team of three. We discovered that the belay stances on this route are not too comfortable for three, but we made it work. Dow and I swung leads while Tristyn—this was his first alpine multipitch route!—enjoyed following. Due to our early start to avoid a potential afternoon squall, we topped out on the summit ridge just before noon; we enjoyed a nice lunch basking in the sun before heading down. The approach and descent to Hallett are quick, and we were as efficient as can be for a team of three, so we were back to the car by early afternoon. Plenty of time to regroup and climb again the next day!

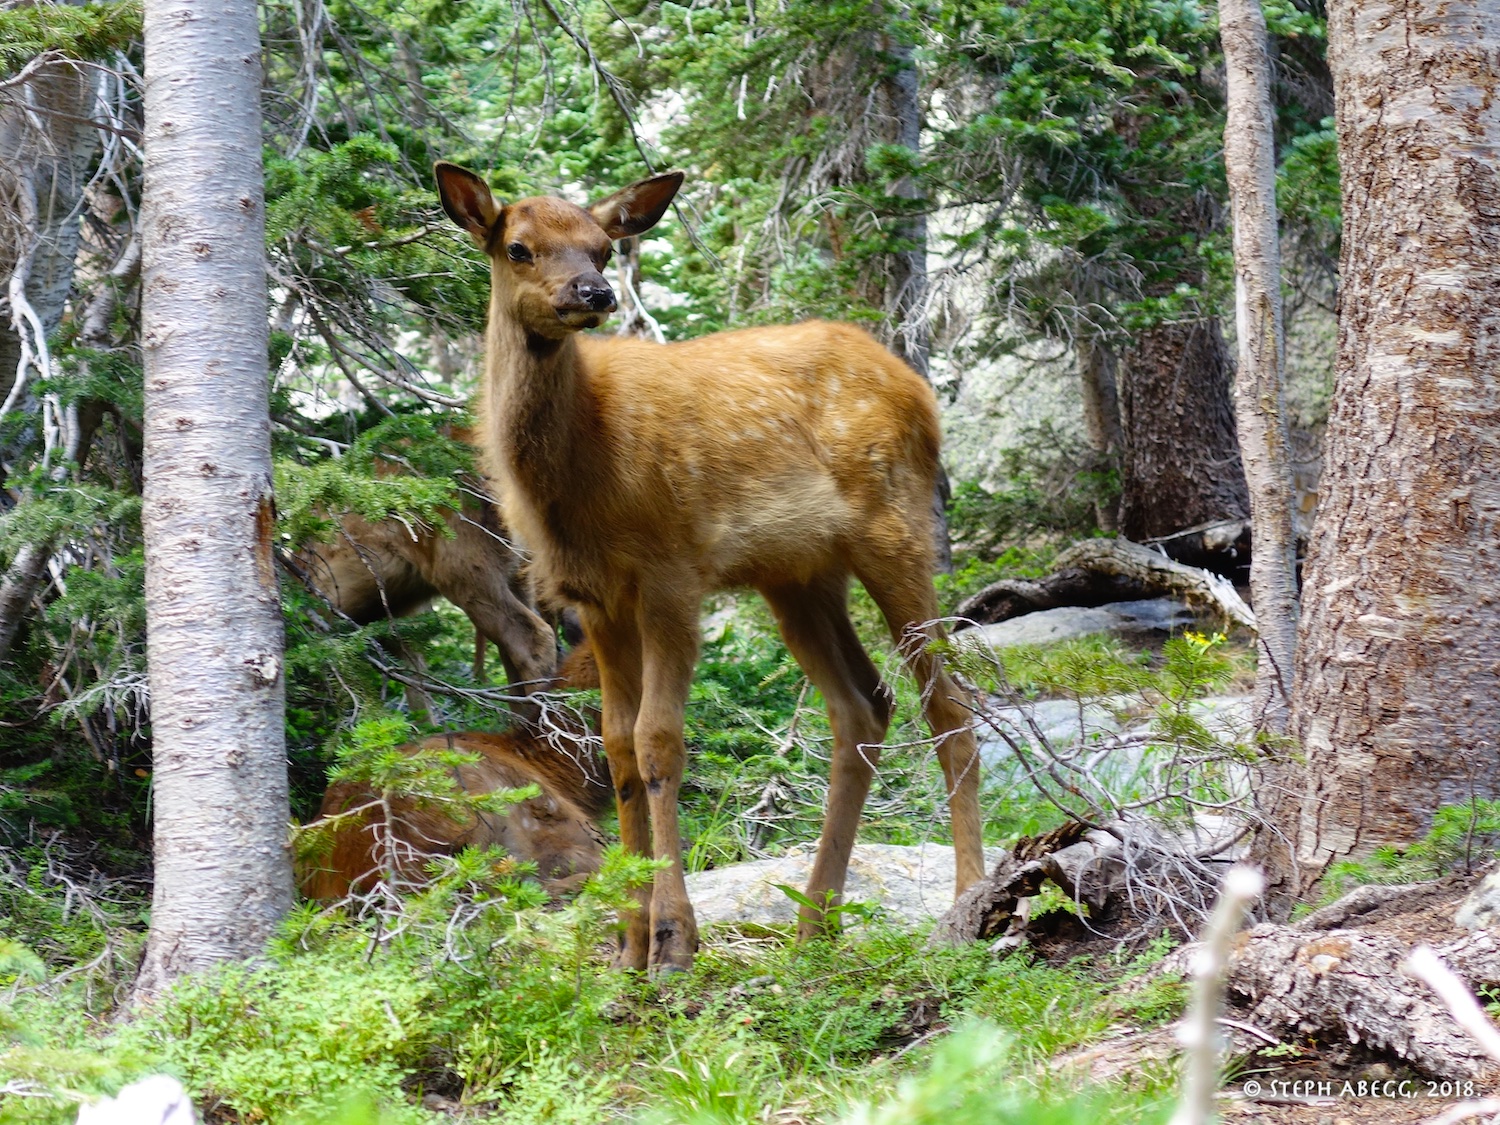
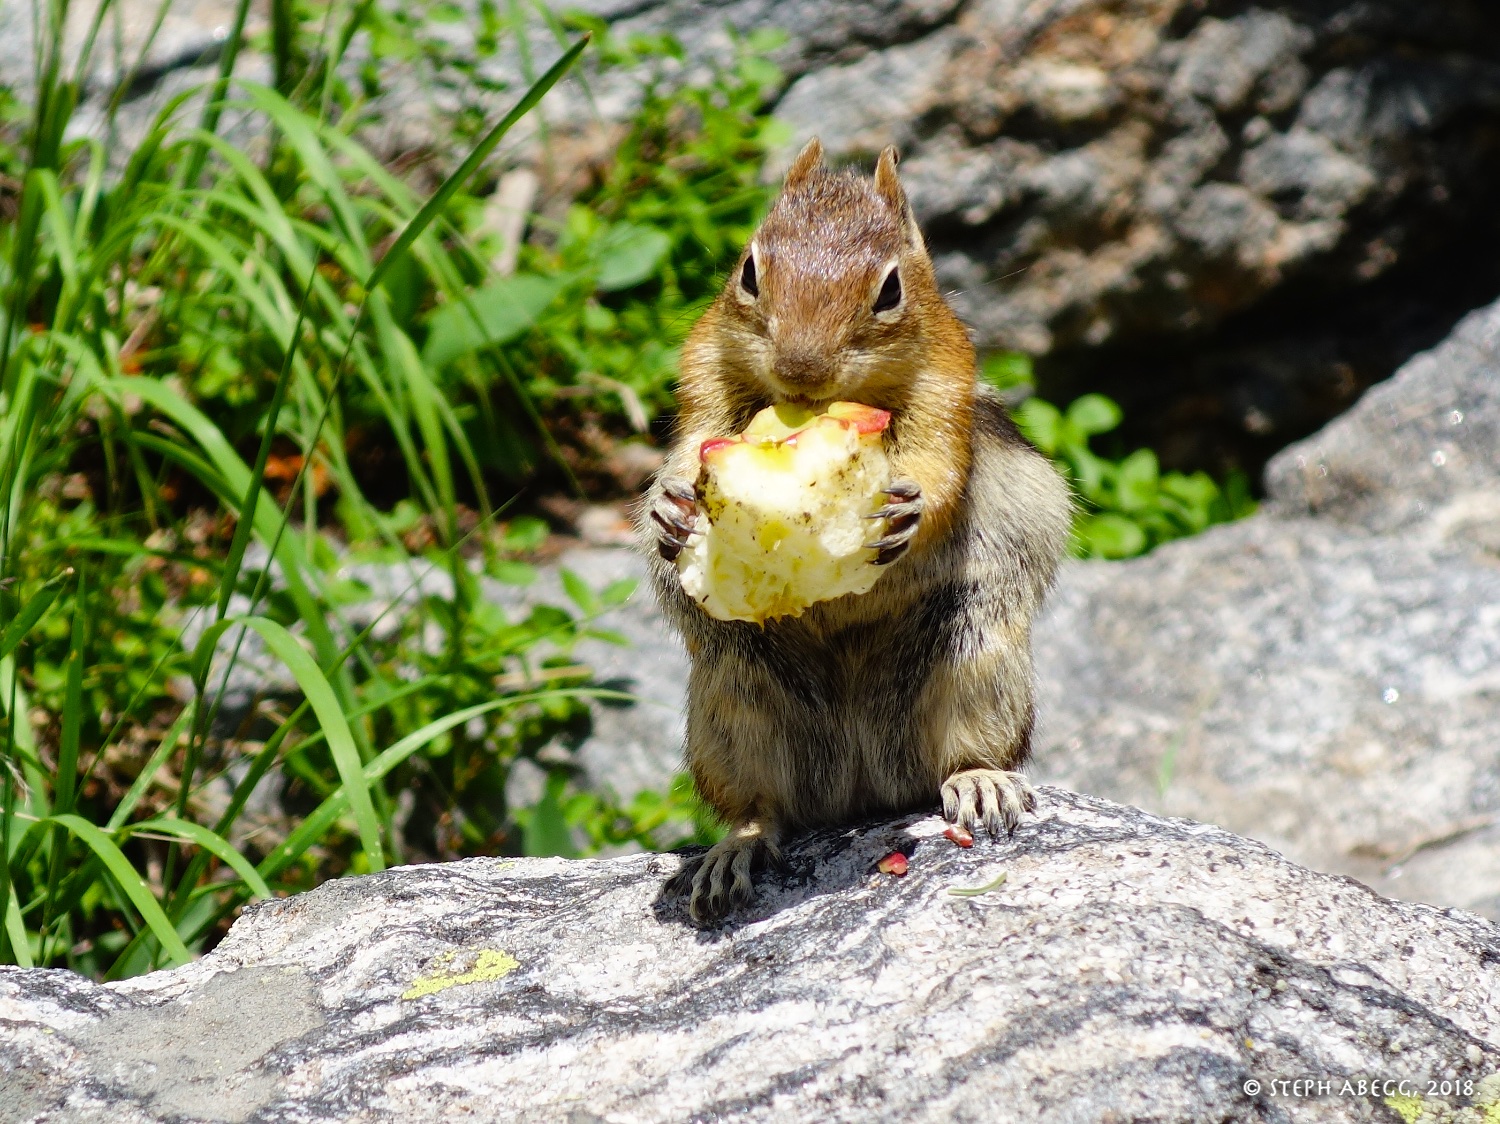
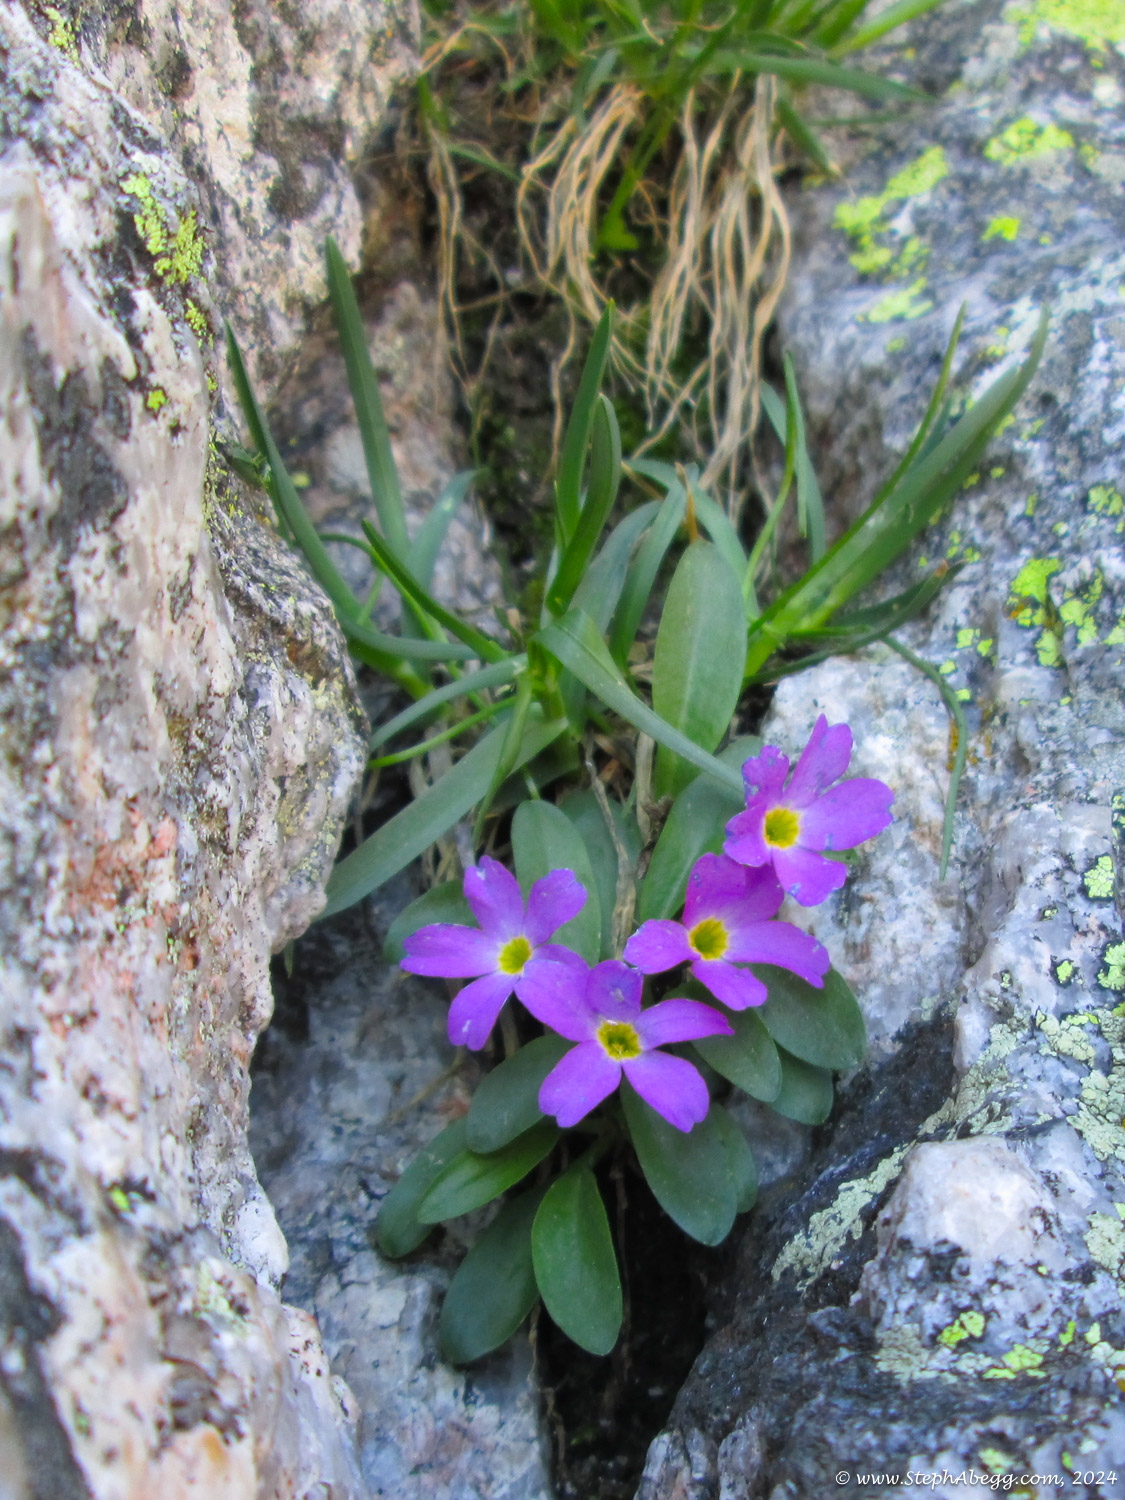
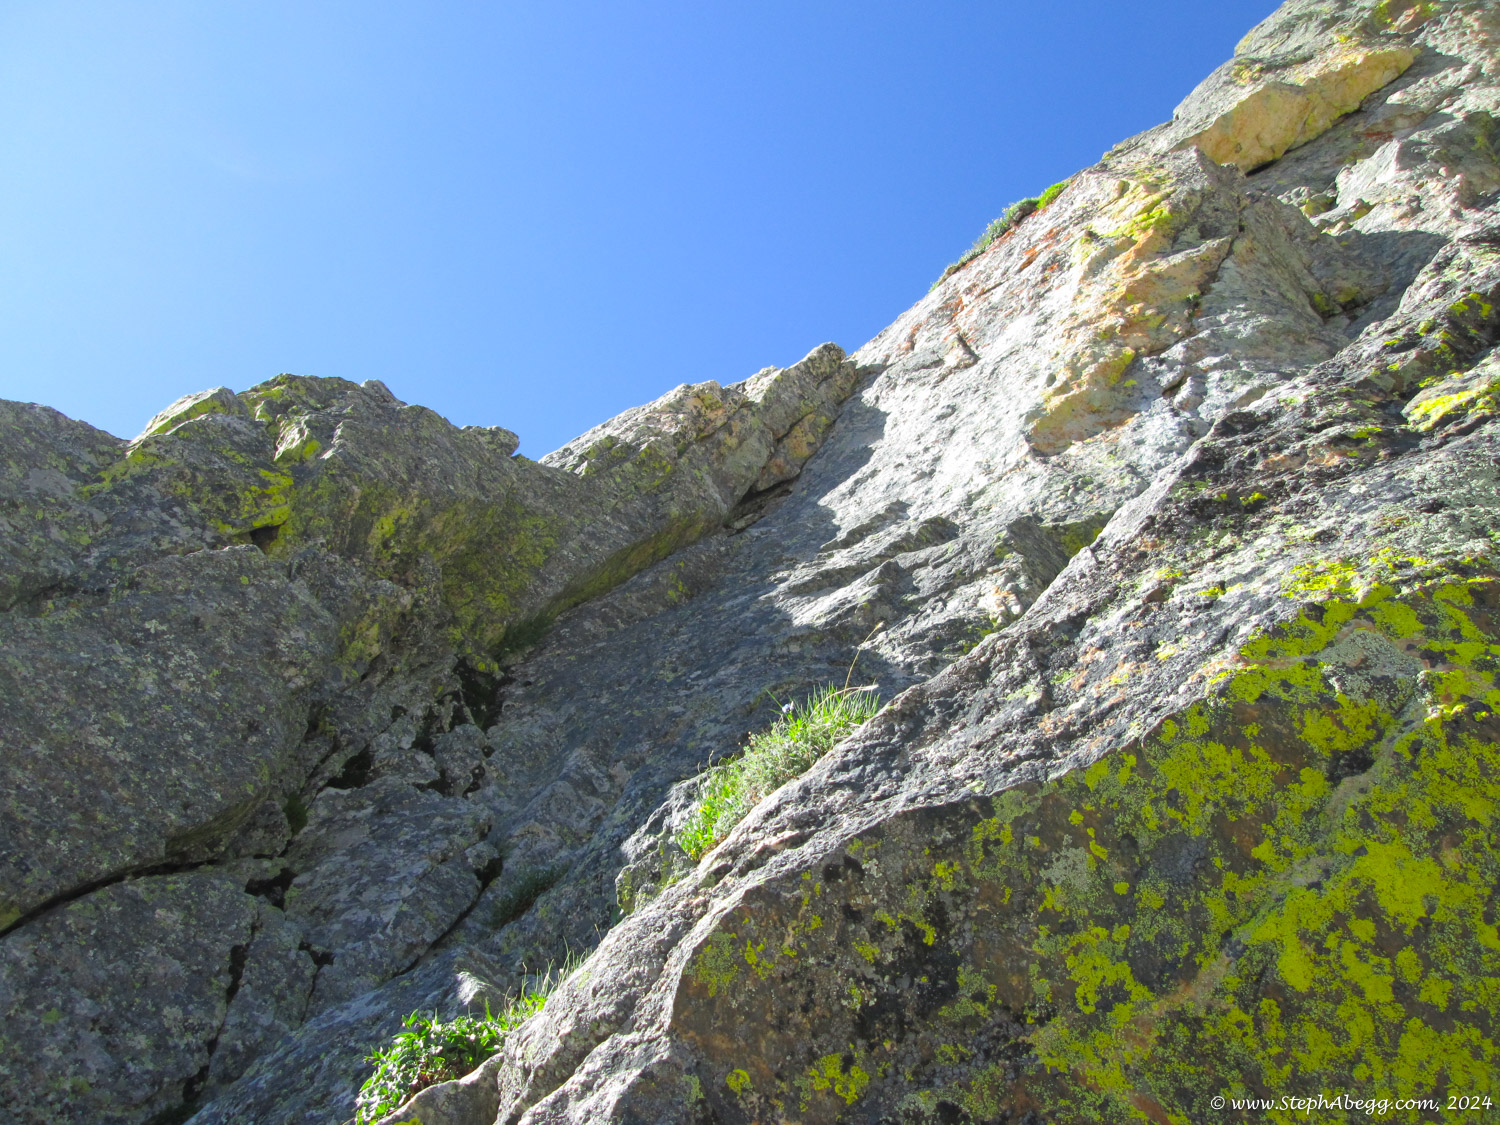
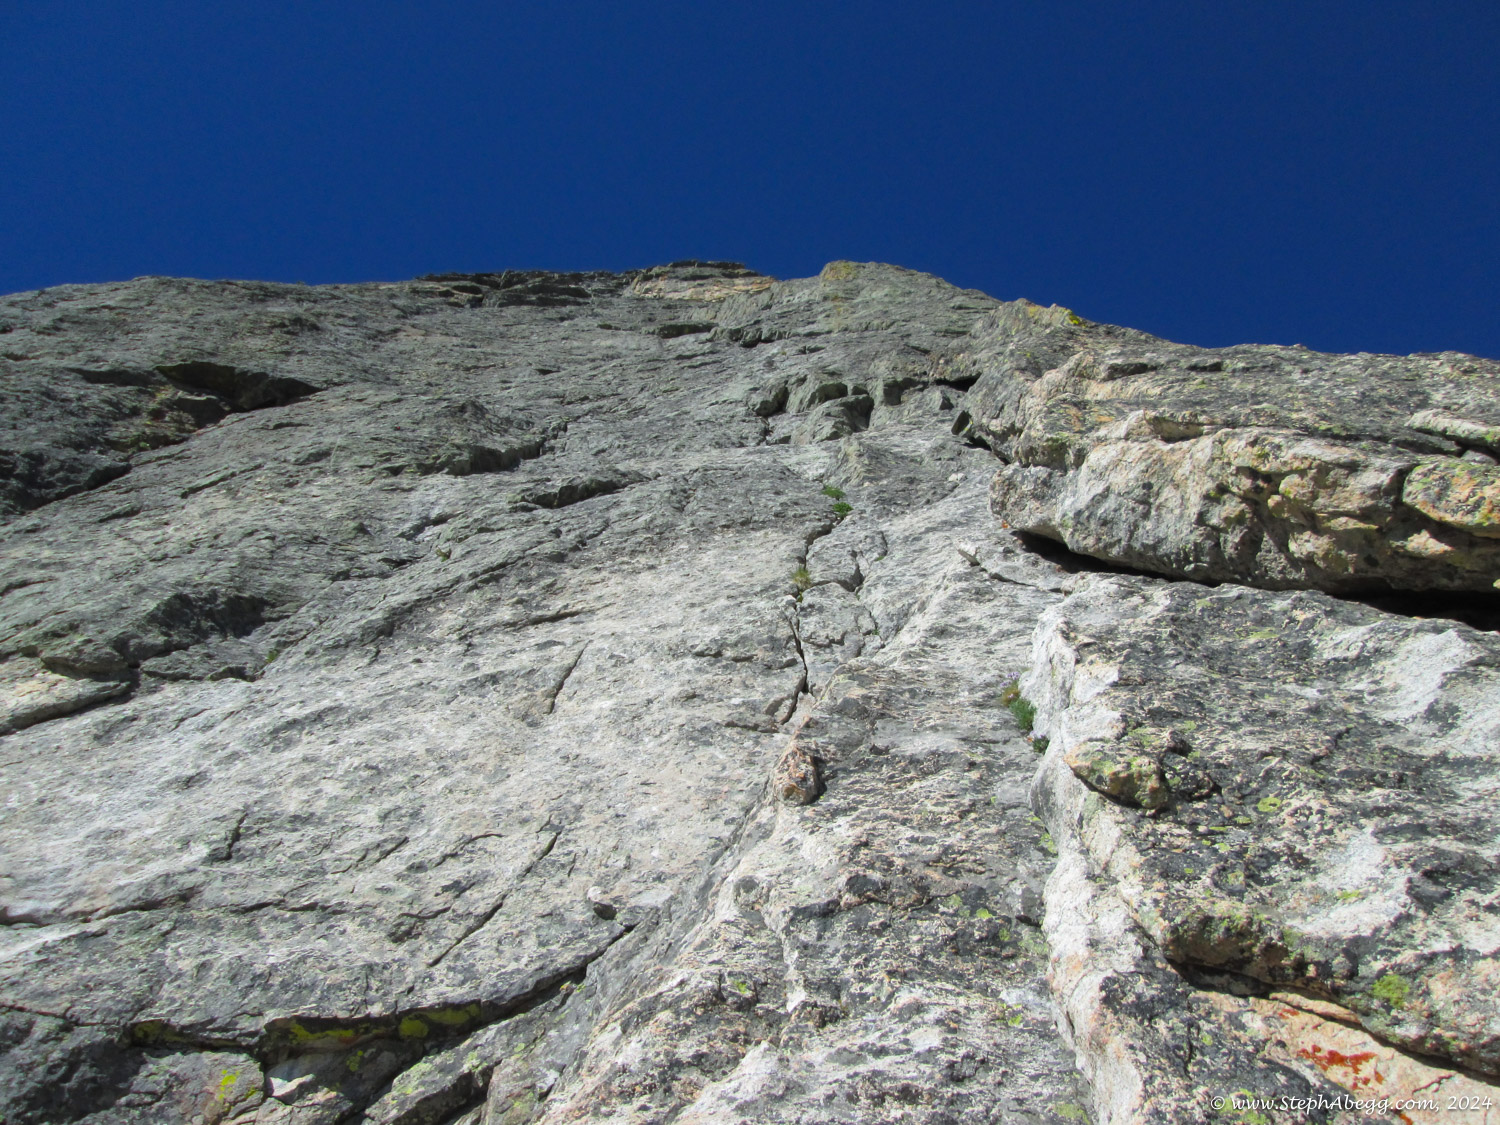
This page gives a trip report for our climb. Enjoy!

Time Stats

Bear Lake Trailhead to base of route: 1 hour 15 minutes
Climb route (3 people): 5 hours 40 minutes
Descent to base of route: 52 minutes
Hike back to trailhead: 1 hour
Total car-to-car (includes breaks): 10 hours 30 minutes

Pitch-by-Pitch Photos

Photos:
Photo descriptions:
Approach
From Bear Lake Trailhead, follow the trail to Emerald Lake. Go left around the lake, scrambling through talus and then on a climbers' trail under the base of the wall. The route starts about midway through the second buttress, at a white/pink band of rock at the base of the wall and under and just right of a huge right-facing dihedral.
1.    
1. Nearing the base of the route. The start of the route is marked with an arrow.
Pitch 
1
5.6. Climb through the pink band and follow a right-facing corner for 40 feet. Traverse right along a narrow grassy ledge to a crack, then climb to a higher ledge and belay.
2.    
3.    
 

2. The huge right-facing corner of Pitch 1.
3. 
The crack above the ledge. I tried to climb it straight in and it was hard. It was much easier once I just face climbed beside it.
Pitch 
2
5.5. Continue straight up through the notch above, then work up and left to the base of a right-facing dihedral.
4.     
4. Dow starting off Pitch 2. Head through the notch in the upper left. This is a good landmark that you can see from the ground.

Pitch 
3
5.8. Climb the dihedral to a white roof, climb up and right on a ramp past fixed pins, turn a small roof, and continue up the subsequent dihedral to a stance.
5.    
6.    
7.   
5. The dihedral that starts off Pitch 3.
6. 
The ramp to the right. I found this part tricky on lead, partly because I didn't have quite enough slings for all the nuts I placed and pitons I clipped, so by the end of the pitch I was leading with some pretty bad rope drag.
7. 
A fixed pin. I was glad for these.
Pitch 
4
5.4. Head up and left through short corners and belay just left of "The Nose" on a grassy ledge.
8.  8. Short and easy.
Pitch 
5
5.6. Climb a small left-facing corner and the face above to a stance at the bottom of a left-facing dihedral.
9.    
10.  
9. Dow staring up Pitch 5.
10. Fun face climbing.
Pitch 
6
5.6. Climb the dihedral, then climb rightwards across the face to a belay on top of a giant block.
11.    
12.    
13.    
14.   
11. Looking up the start of Pitch 6.
12. 
Looking down the dihedral.
13. 
Tristyn having a blast on his first alpine climb. If I had not known it was his first alpine climb, I would have assumed he had been doing this for years.
14.
 I went pretty far right after the dihedral and belayed sitting on top of a large block below a ramp. I was unsure if I was at the correct belay spot, but there was this piton there, and it indeed provided a natural belay for the next pitch. One of the more comfortable belays of the route.
Pitch 
7
5.8. Climb the face just left of a right-facing dihedral and then climb steep cracks to a stance.
15.    
16.    
15. Pitch 7, perhaps the best climbing on the route.
16. 
Tristyn enjoying the route.

Pitch
8
5.8. Climb up and then right of the big right-facing corner. Go all the way to the top of the wall.
17.   
17. Looking up Pitch 8.
Top!
Pleasant grassy slopes.
18.     
18. On the summit ridge of Hallett at the top of the route. The summit is in the background. You can scramble to the summit from here, but the summit is in the opposite direction from the descent, so we opted not to tag the summit.
Descent
From the top of the route, hike downwards along the ridge, following cairns. At the end of the last big buttress before a big descent to the next one, look for the chains that mark the first rappel. Make two raps (single 60). Then scramble down a gully eastward, and then jog back westward and scramble down a gully to the base of the Second Buttress. You end up a few hundred feet below the start of the route (5 minutes back to base). Note: The descent does NOT go down the huge gully to the east. This is apparently quite loose and harder than it looks. 
19.    
20.    
21.    
22.    
23.    
24.    
25.    
26.    
27.    
28.    
29.    
30.    
31.    
32.    
33.   
  
19. Looking down the start of the descent down the shoulder of Hallett.
20. The rap station is on the nose of the last buttress before you have to go downhill quite a bit. We were involved in conversation and almost missed it. It's easy to miss unless you look for it!
21. The second rappel anchor.

22. Looking back up the upper descent gully just after the rappels.

23. 
The lower decent gully heads back towards the base of the route.
24. 
Looking back up the lower decent gully.
25. 
Looking at the descent gully from the base of the route. The descent gully is in the sun.
26. 
Some columbine in the descent gully.
27. 
The giant rockscar from the 1999 rockfall on the Northcutt-Carter route (as mentioned in the introduction, the Northcutt-Carter route is listed in the Fifty Classic Climbs of North America, but the rockfall eliminated the first two pitches of the route). According to several sources, the Culp-Bossier route is every bit as good (if not better) than the Northcutt-Carter route.
28. 
Hiking out. Hallett is in the background.
29. 
Nice Gneiss. The rock experienced such high temperatures and pressure that it folded.
30. Nice Gneiss.
31. On the hike out, we ran into a herd of elk on the trail. They seemed fairly ambivalent toward us homosapiens.

32. 
A young elk.
33. This chipmunk won't need to eat for a few days.

Intro

In the six years since I had first climbed Hallett by Culp-Bossier, I had climbed five other routes to the top, but Culp-Bossier still stood out as my favorite. So when my friend Erin and I were trying to decide on a good early-summer climb to do together, and she mentioned she had not yet climbed Culp-Bossier, we decided that would be a fun route to do. Indeed it was!

The approach took us 1 hour 15 minutes. The climb took 4 hours and 3 minutes (which included some time waiting at a couple belays due to a friendly party ahead of us, who eventually kindly let us pass). We were back at the car by around 1pm. Plenty of time to squeeze in a few hours of work in the afternoon!

The following gives pitch-by-pitch photos from our climb. It was a bluebird day, and no better place to be than climbing in RMNP.

Pitch-by-Pitch Photos

Approach

2nd
From Bear Lake Trailhead, follow the trail to Emerald Lake. Go left around the lake, scrambling through talus and then on a climbers' trail under the base of the wall. The route starts about midway through the second buttress, at a white/pink band of rock at the base of the wall and under and just right of a huge right-facing dihedral.

Pitch 2

5.5
Continue straight up through the notch above, then work up and left to the base of a right-facing dihedral.

Pitch 3

5.8
Climb the dihedral to a white roof, climb up and right on a ramp past fixed pins, turn a small roof, and continue up the subsequent dihedral to a stance.

Pitch 4

5.4
Head up and left through short corners and belay just left of "The Nose" on a grassy ledge.

Pitch 5

5.6
Climb a small left-facing corner and the face above to a stance at the bottom of a left-facing dihedral.

Pitch 7

5.8
Climb the face just left of a right-facing dihedral and then climb steep cracks to a stance.

Pitch 8

5.8
Either climb directly up through the slot or traverse right across face to a crack. Either way goes right of the big right-facing corner. Go all the way to the top of the wall.

Top

The route finishes on the shoulder of Hallett, rather than the summit.

Descent

2 Rappels + Scramble
From the top of the route, hike downwards along the ridge, following cairns. At the end of the last big buttress before a big descent to the next one, look for the chains that mark the first rappel. Make two raps (single 60). Then scramble down a gully eastward, and then jog back westward and scramble down a gully to the base of the Second Buttress. You end up a few hundred feet below the start of the route (5 minutes back to base). 

Comments Pertaining to this Page / Trip Report

Useful beta. Updated route information. Corrections. Historical notes. Interesting facts. No fluff please.
Leave a Reply

Your email address will not be published. Required fields are marked *