The Great Awakening Wall, The Awakening Wall /w Sawed Off Heads variation (5.10+ R, 8p, 1000′)

The Great Awakening Wall

Route:

The Awakening Wall /w Sawed Off Heads variation

5.10+ R, 8p, 1000'

A 5.10 adventure climb up a 1000-foot granite wall in Mill Creek Canyon.

Region: Montana
Elev: ~5,000 ft
Rock type: Granite & Gneiss
Type: 
Date(s): September 8, 2018 (Sat)
Partner(s): Josh Kirsch

Route Overlay

CLICK TO ENLARGE

Intro

While hiking out from our last day of climbing in Blodgett Canyon the previous week, I had just commented to my partner Chad that I was considering extending my climbing trip to Montana a few more days (I was having too much fun, plus weather back home in Washington looked like it was taking a turn for the worse), when we ran into another climber on the trail. He stopped to say hi and introduced himself as Josh. It turns out Josh had just graduated from WWU, the university I teach at in Bellingham. Small world! He mentioned he was looking for a partner for the upcoming weekend. Serendipitous!

Josh was interested in climbing 
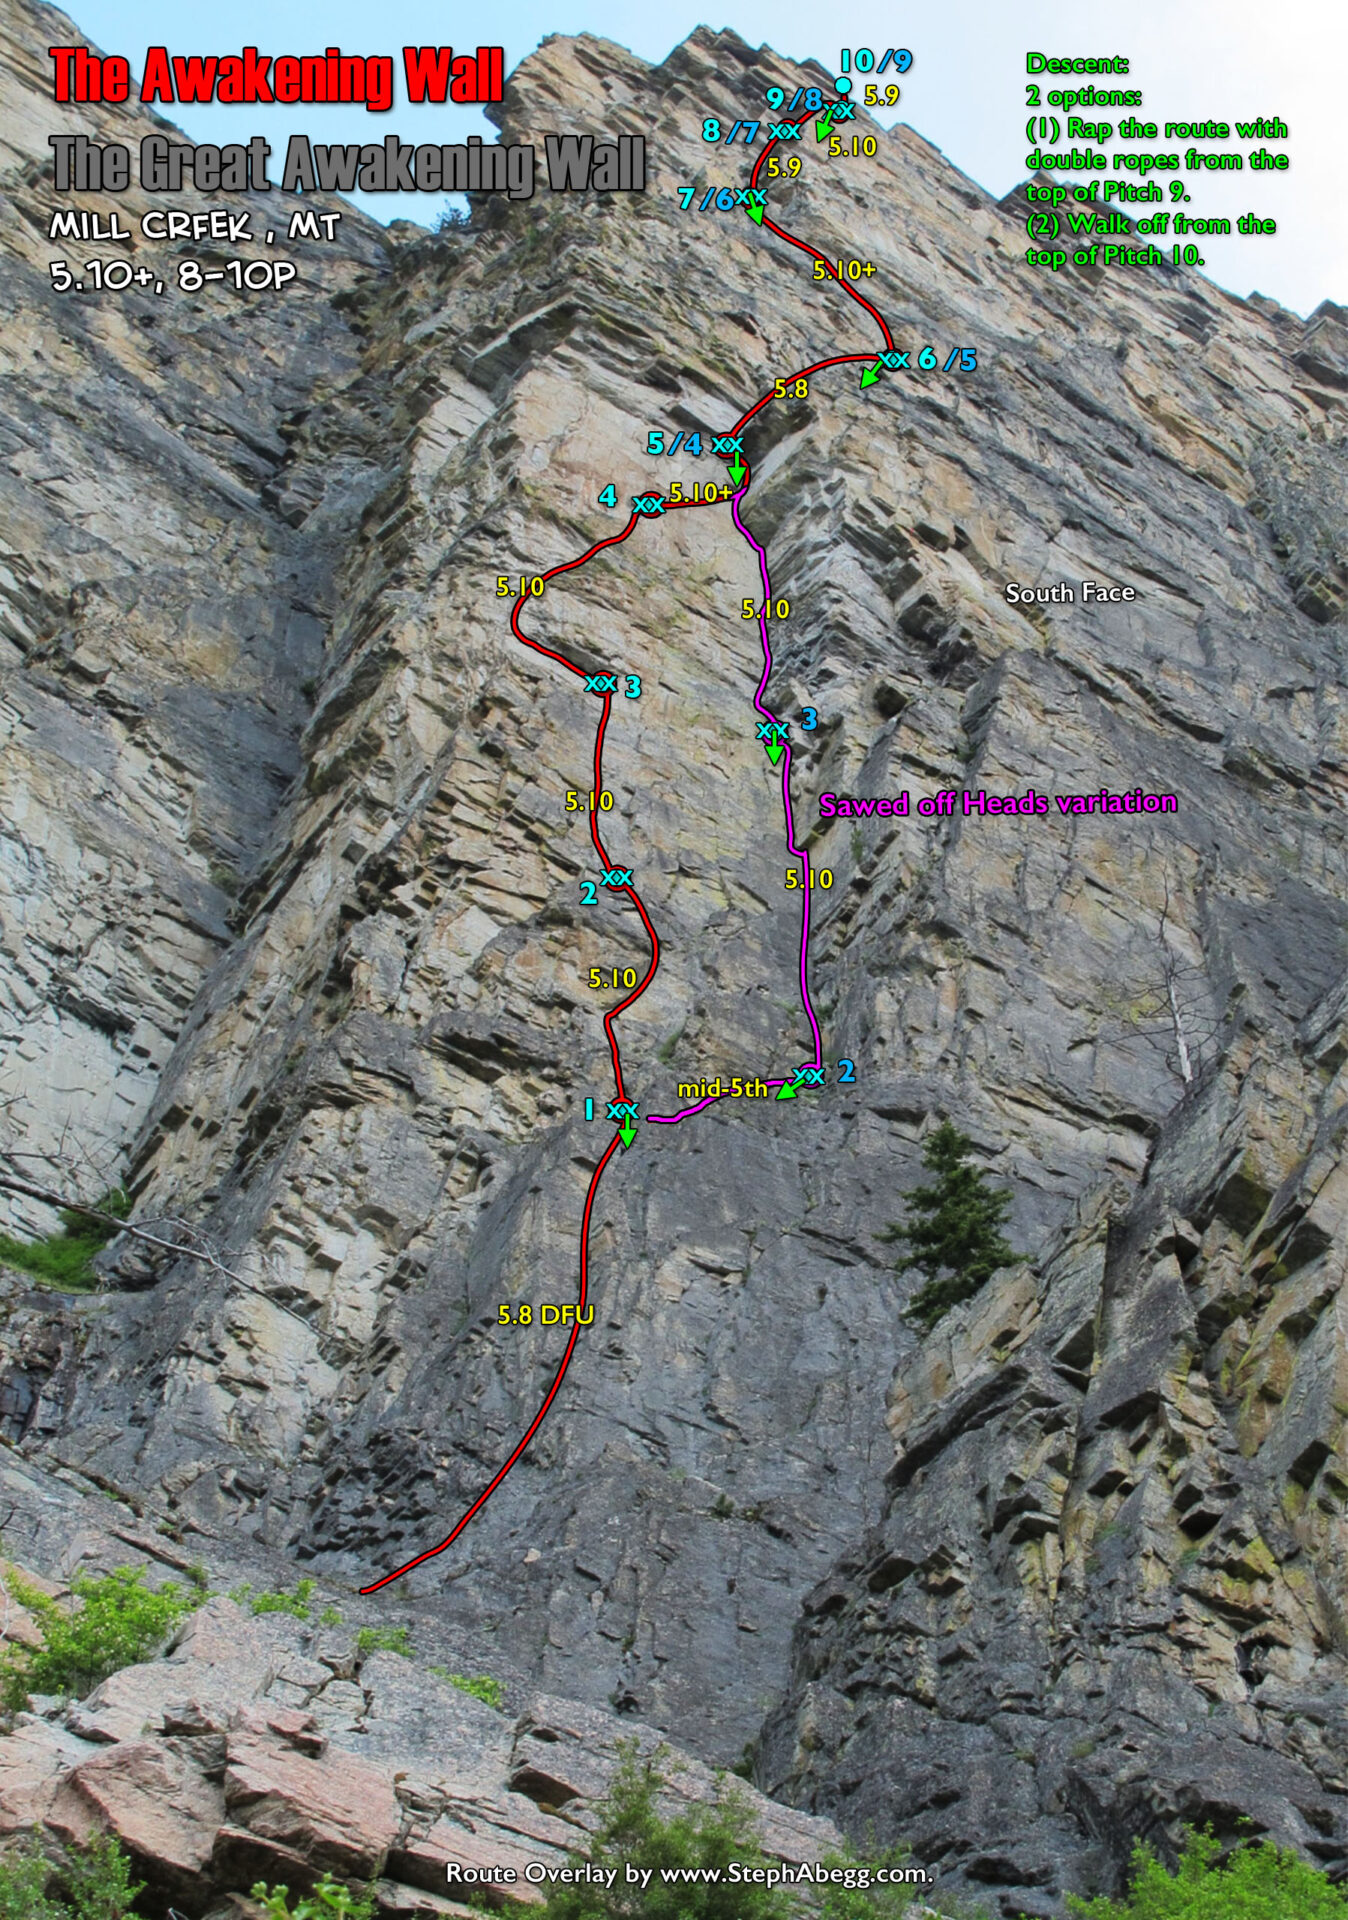
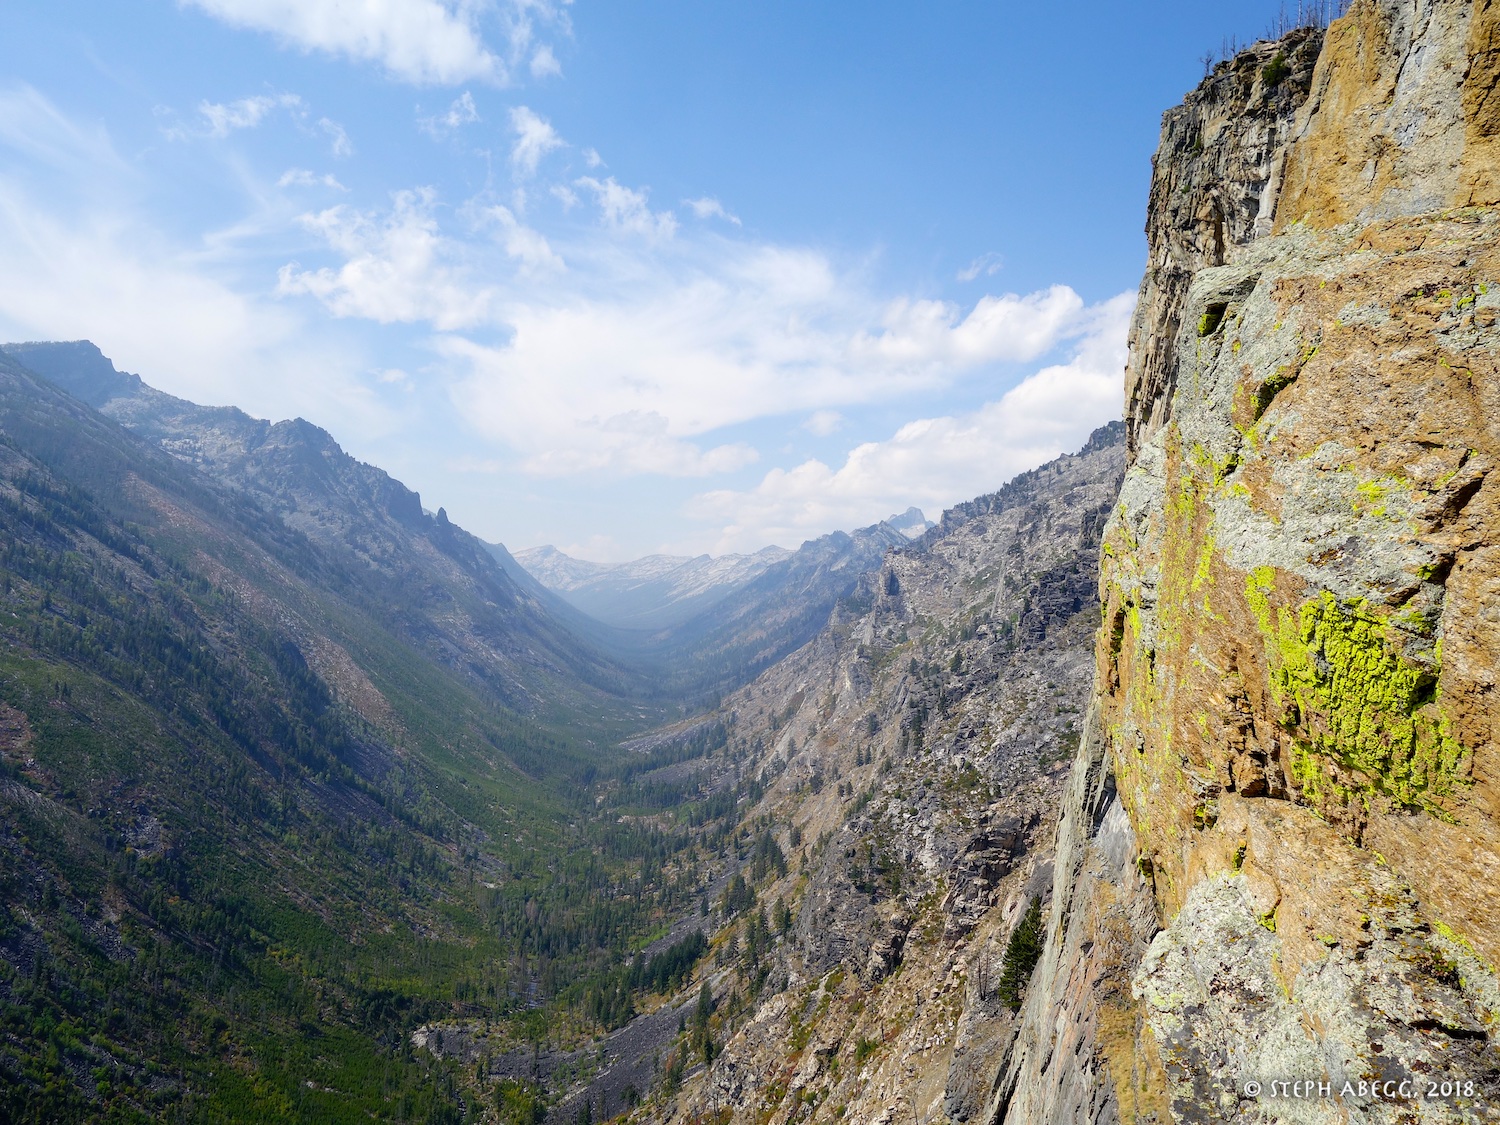
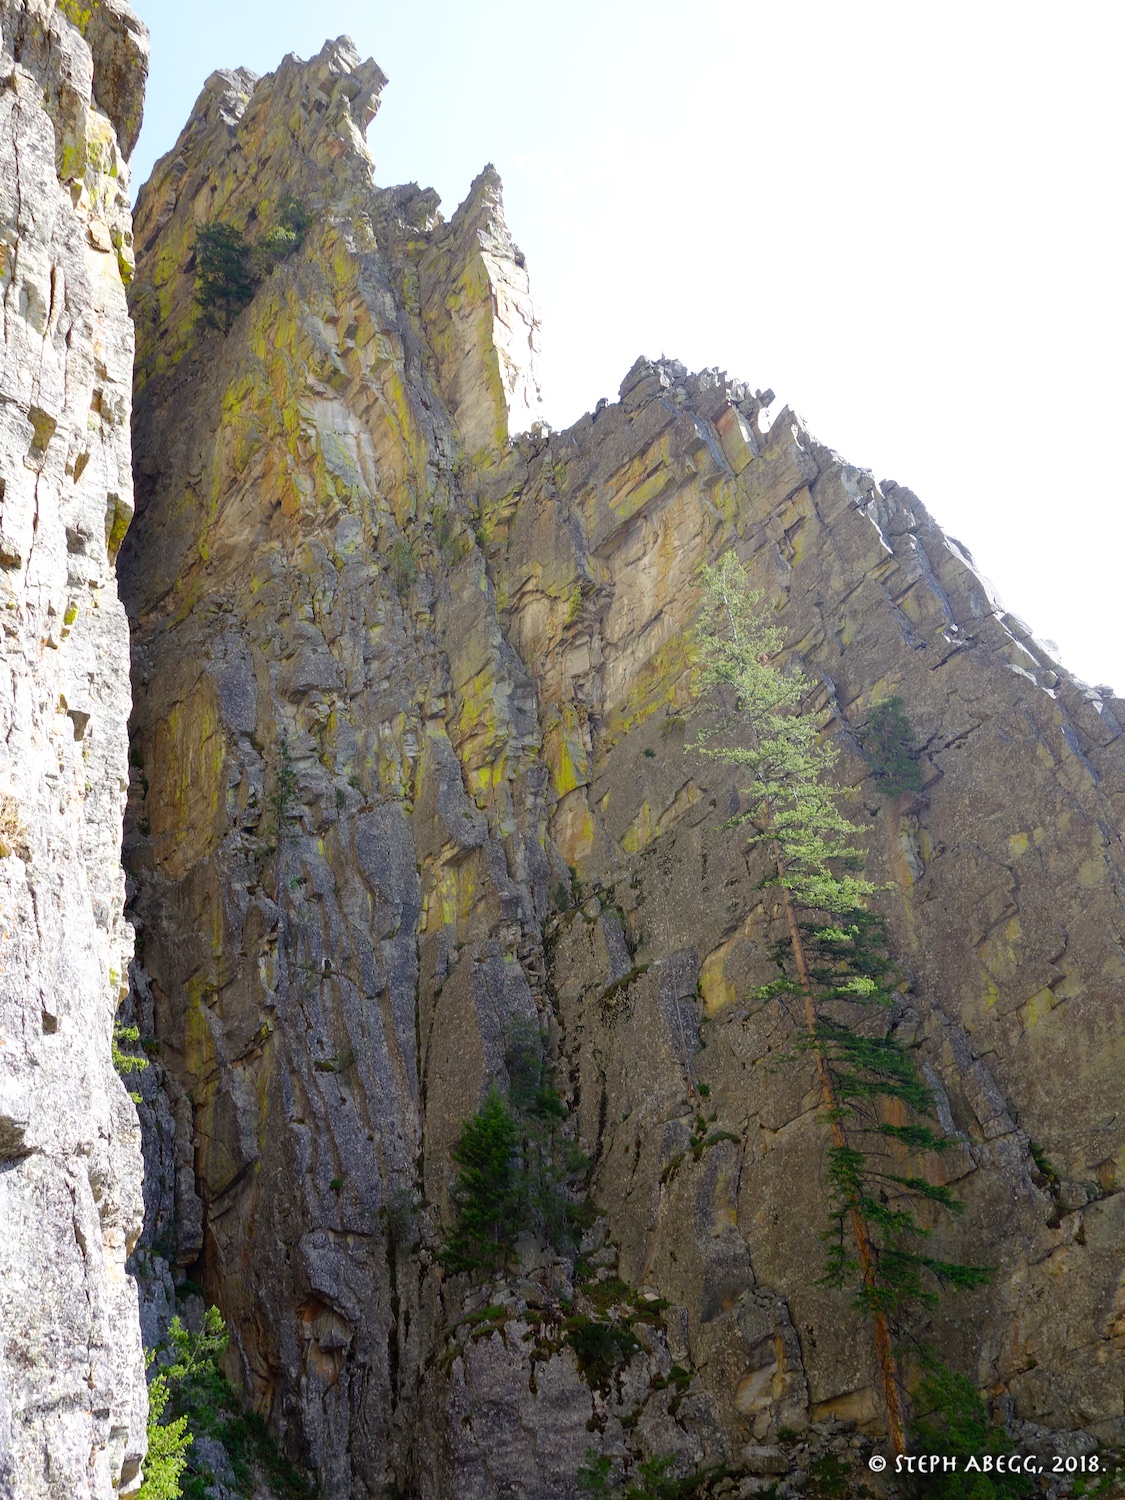
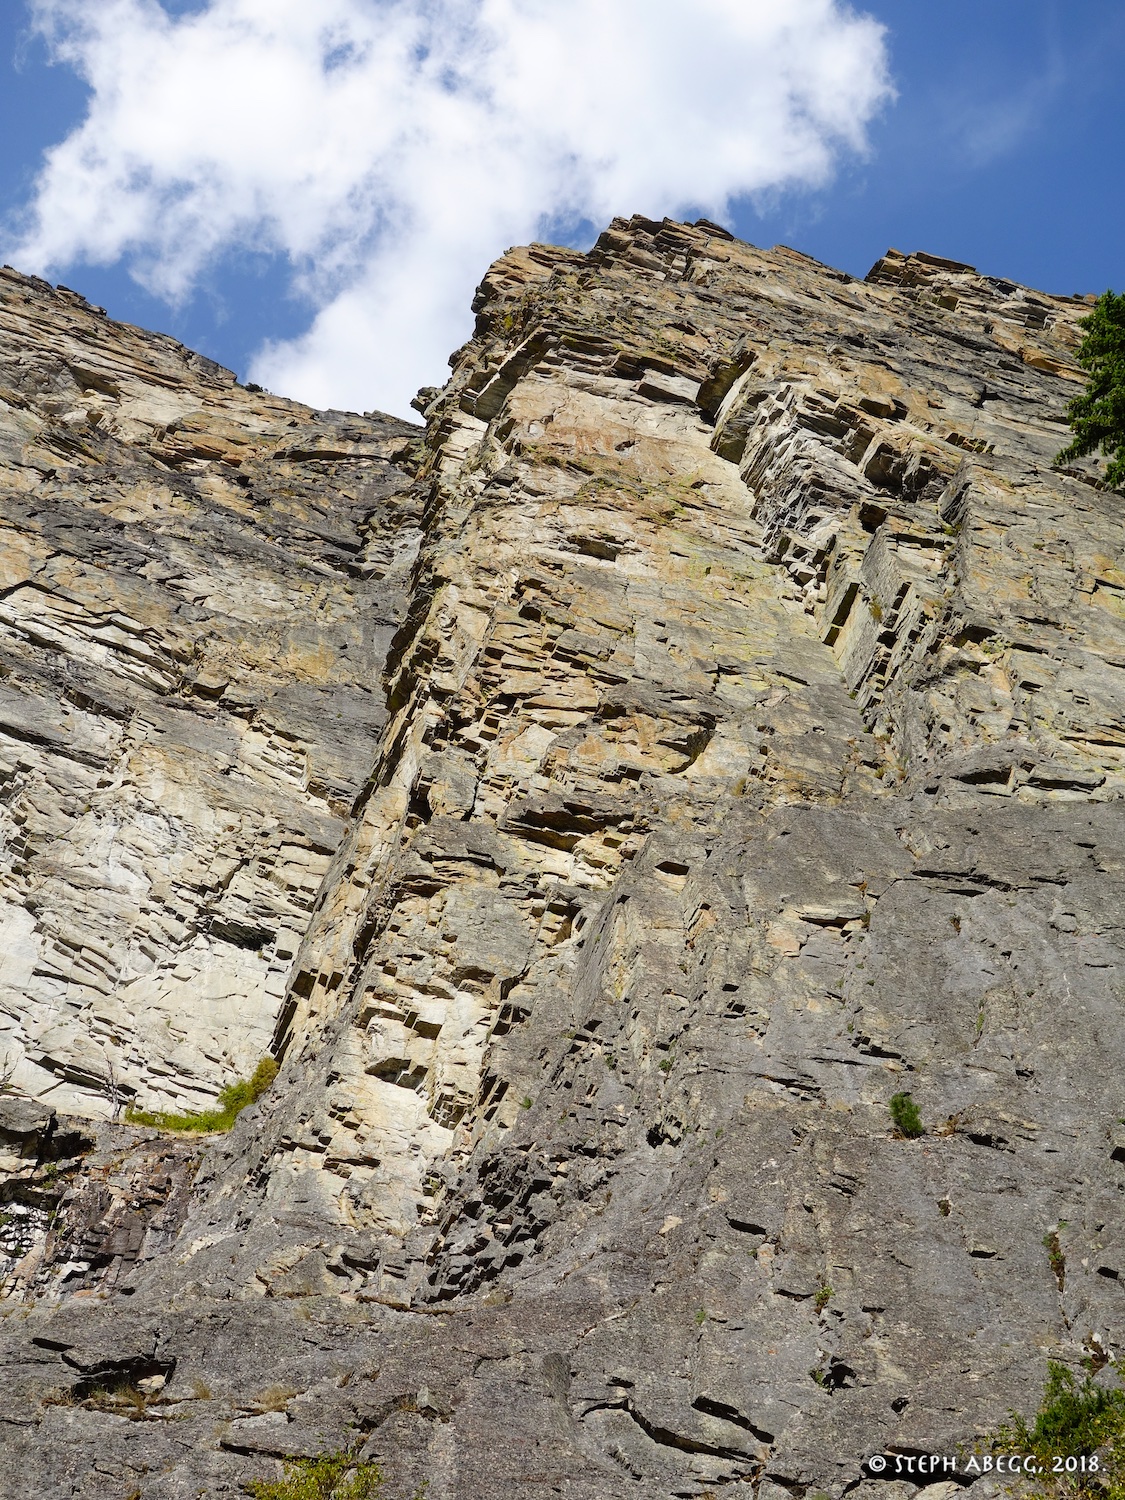
The Awakening Wall, a 10-pitch 5.10 route that ascends the 1000-foot tall Great Awakening Wall in Mill Creek Canyon, located one drainage north of Blodgett Canyon. The Awakening Wall is one of the longest routes in the Bitterroots. This had been one of the routes Chad and I had considered climbing on our trip, but we had run out of days to climb it.

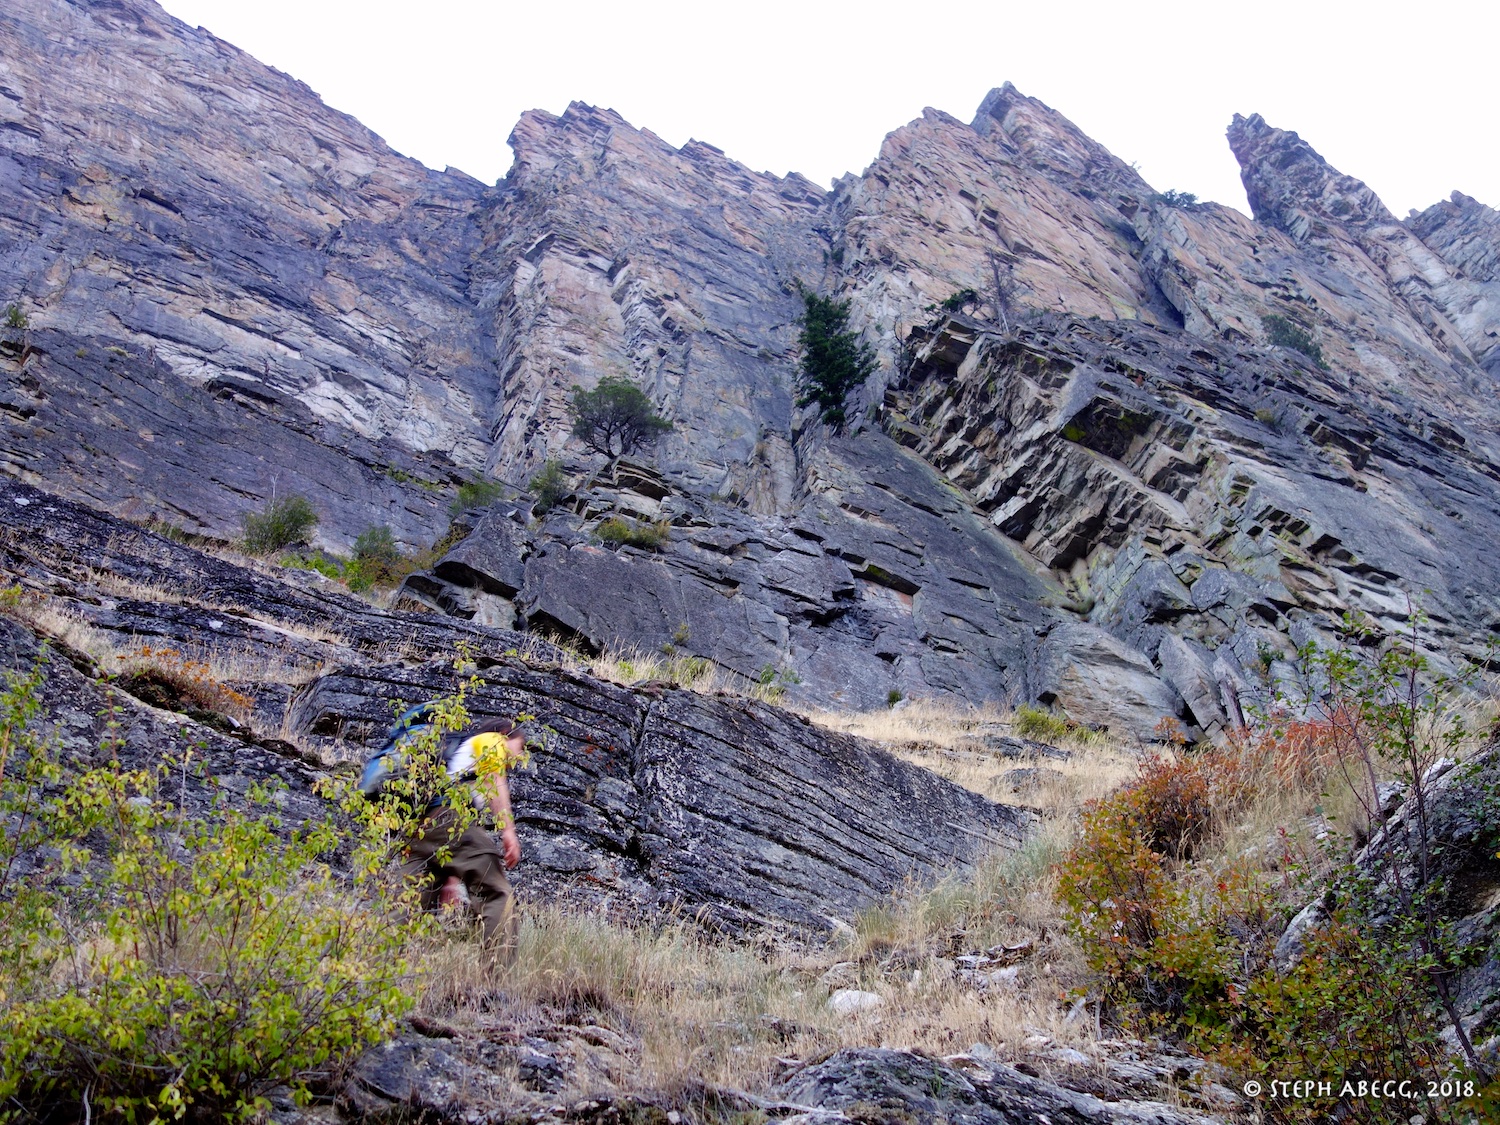
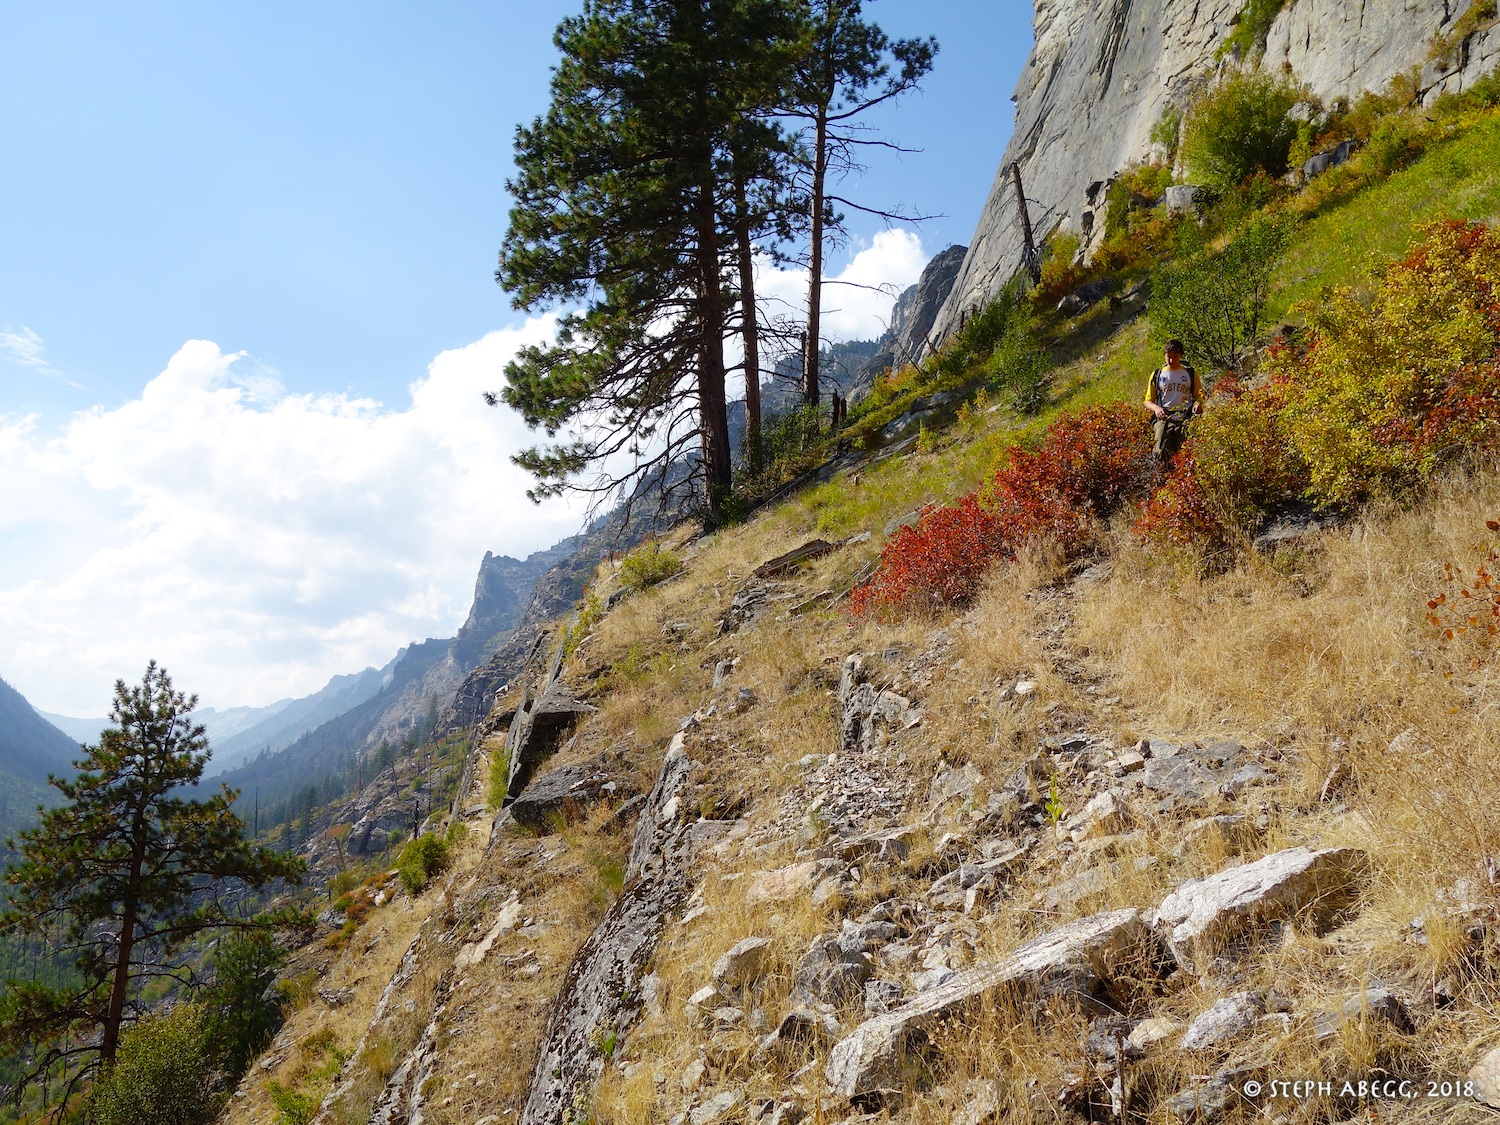
So a few days after my Blodgett adventures, I was back in the area to climb 
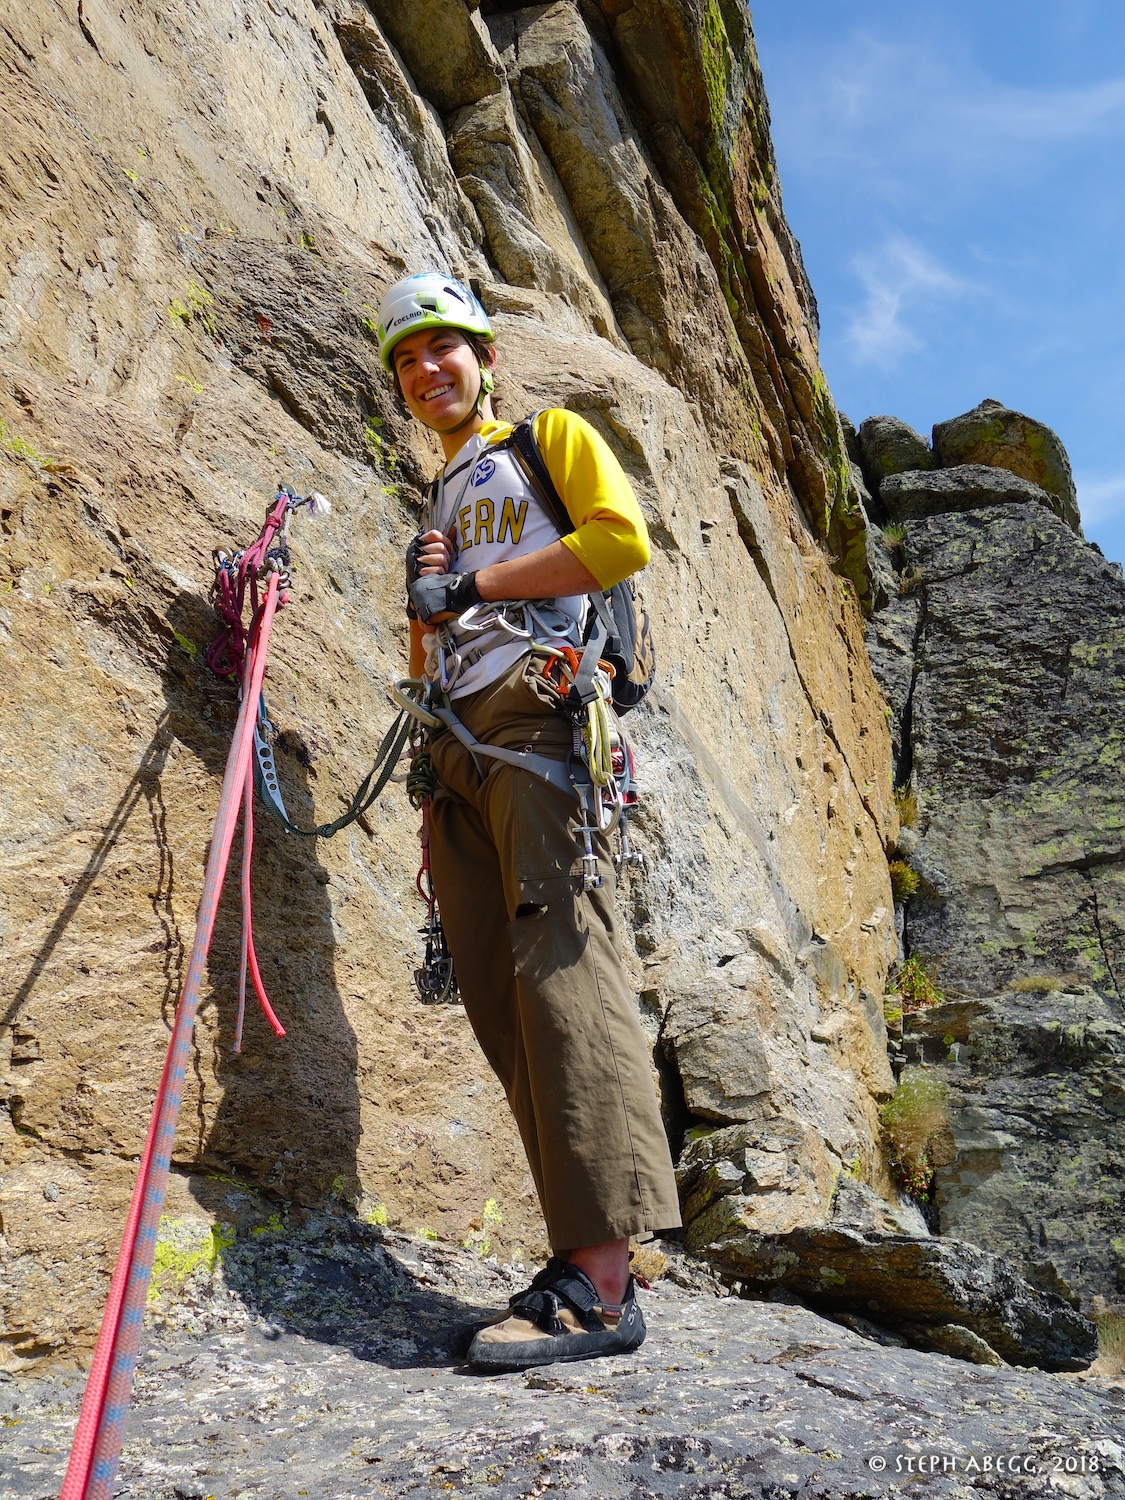
The Awakening Wall with Josh. We decided to climb the 
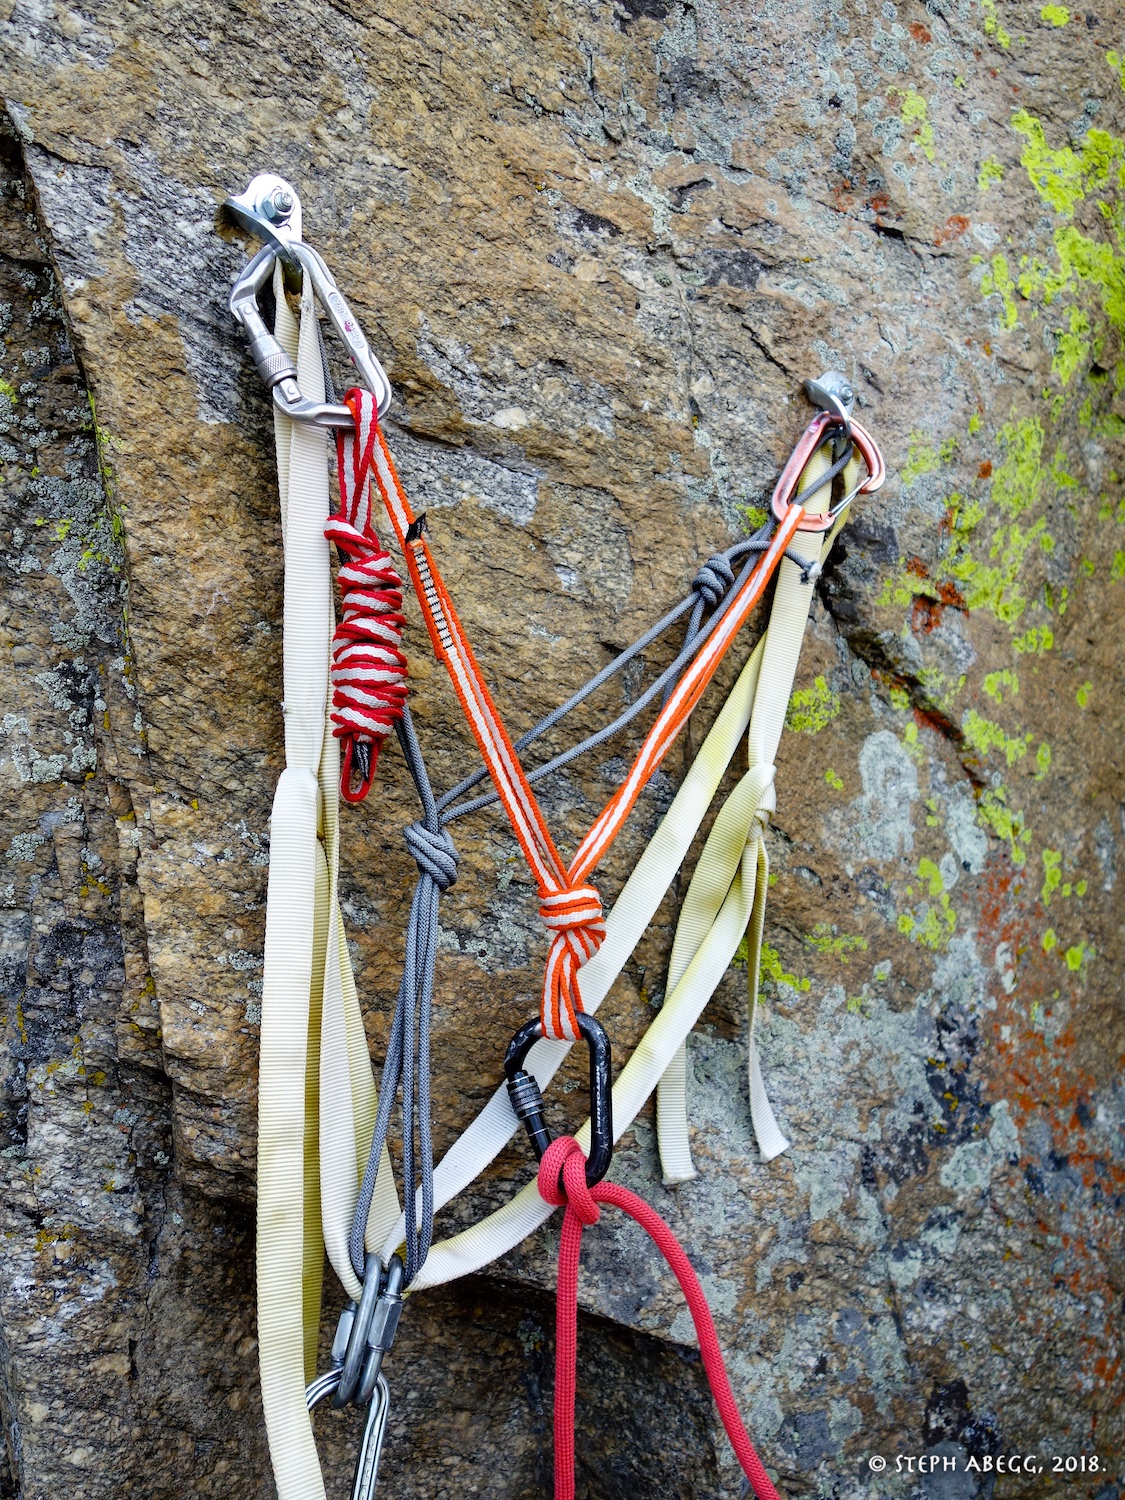
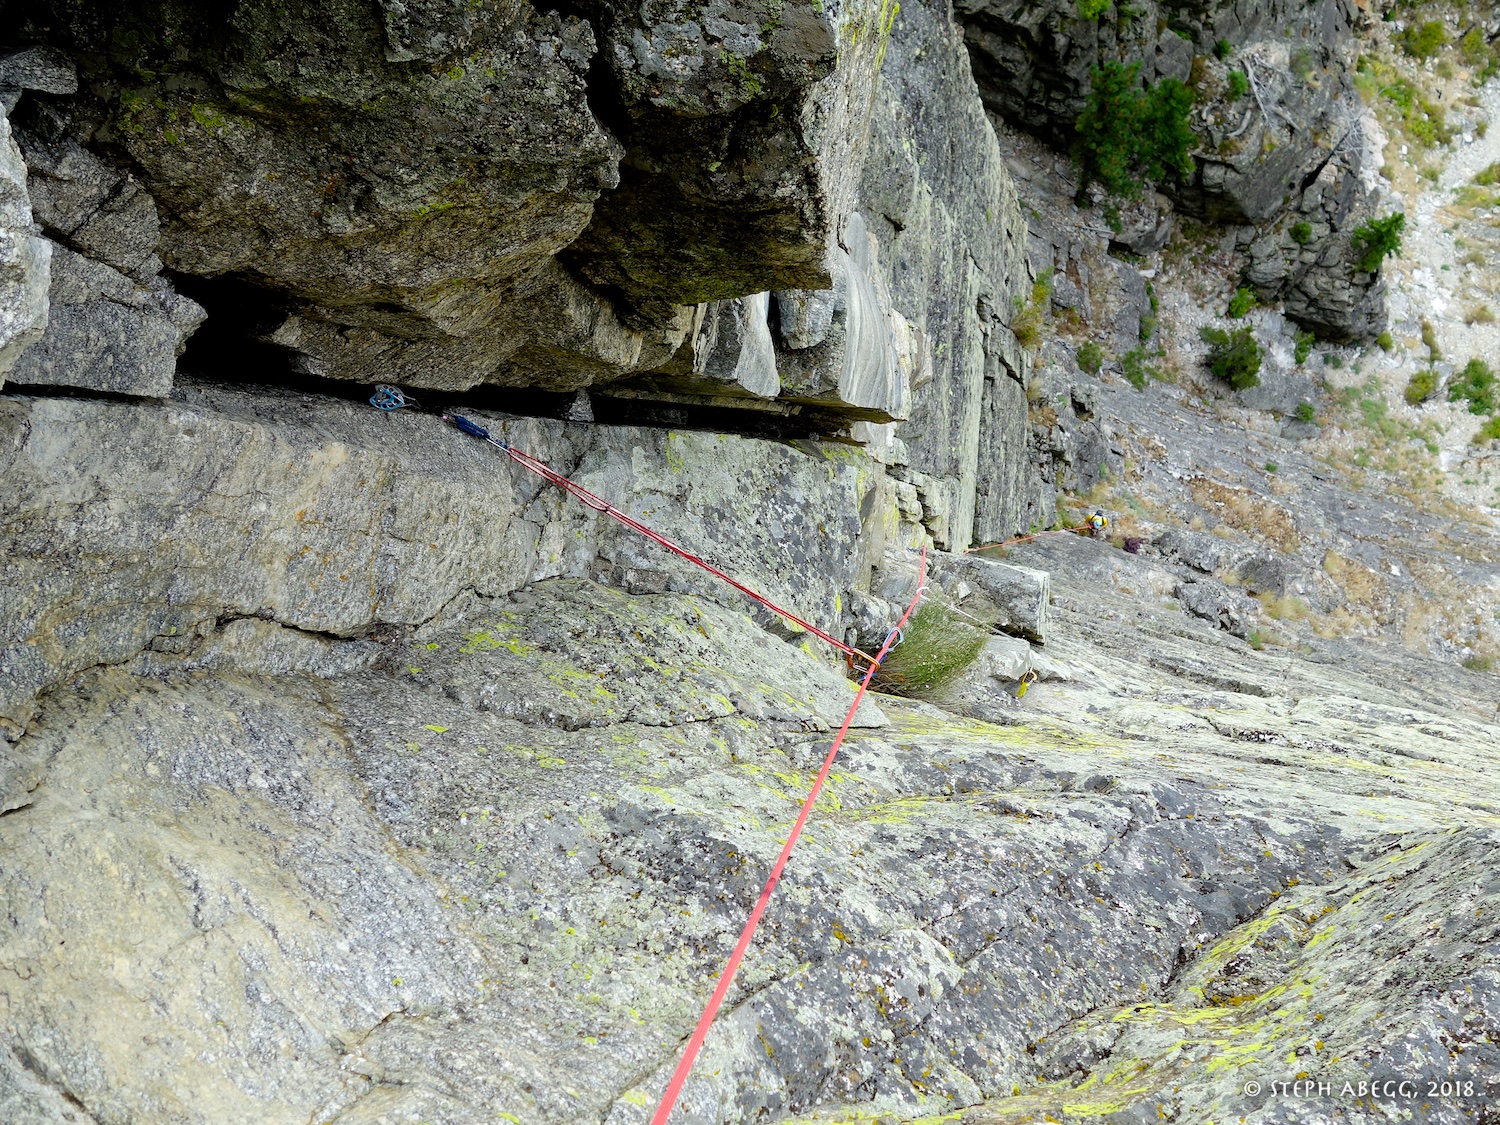
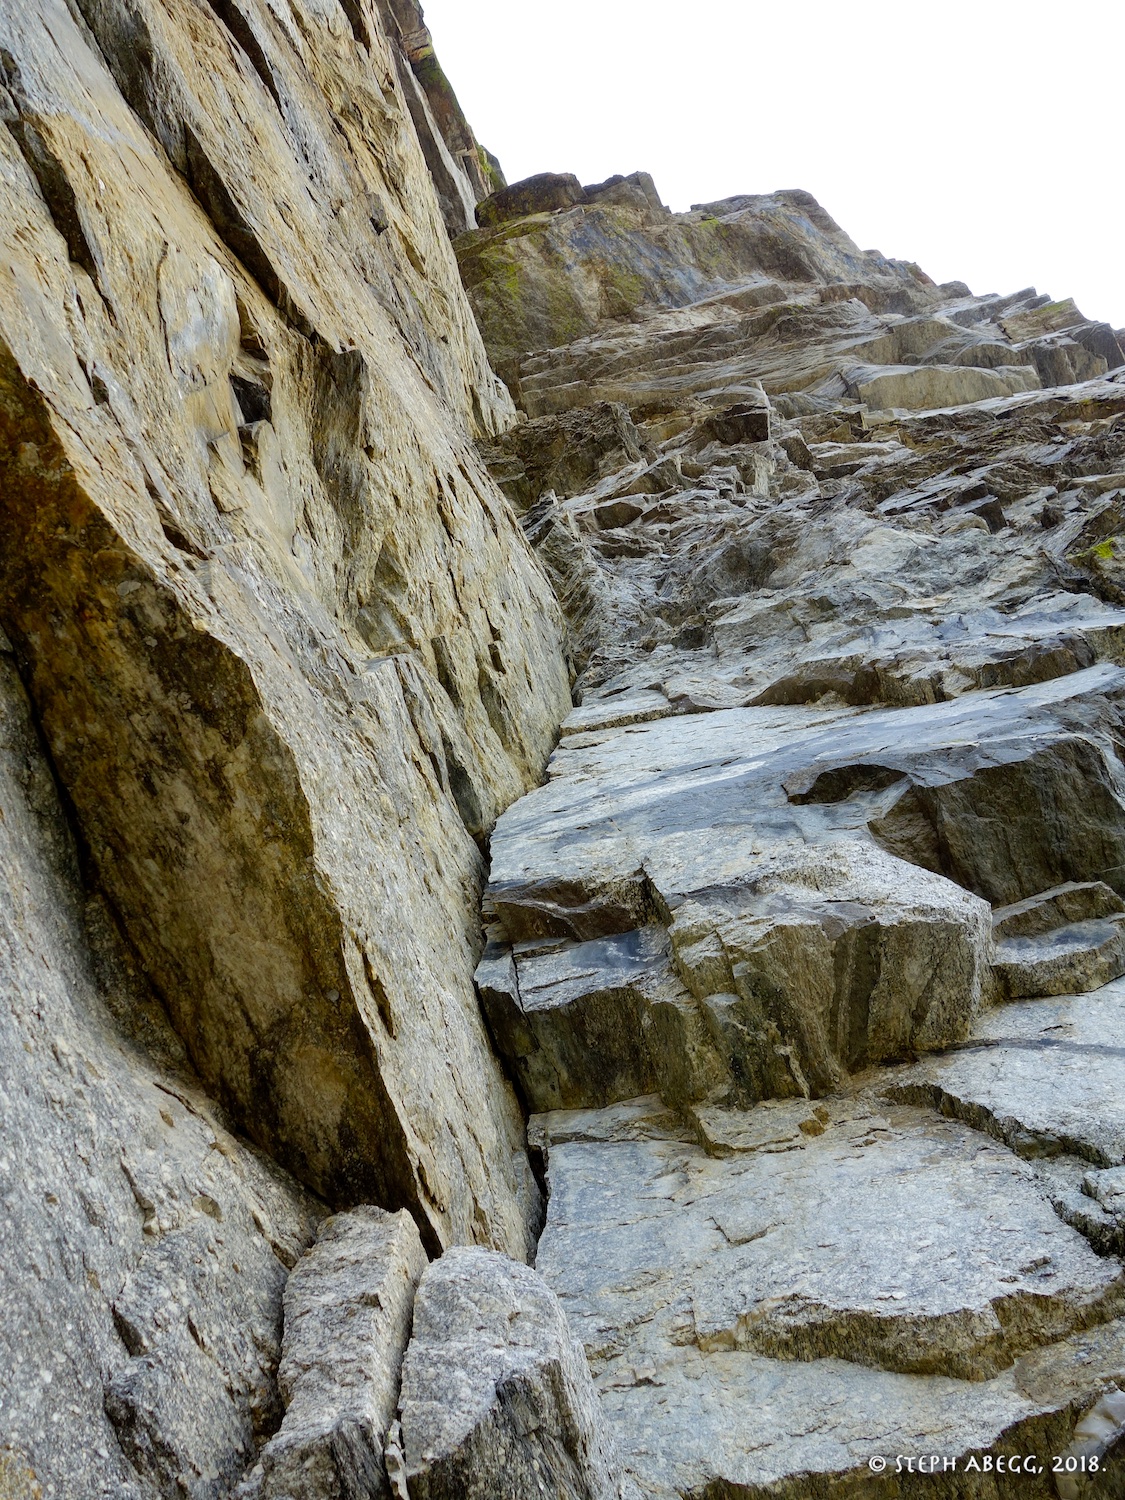
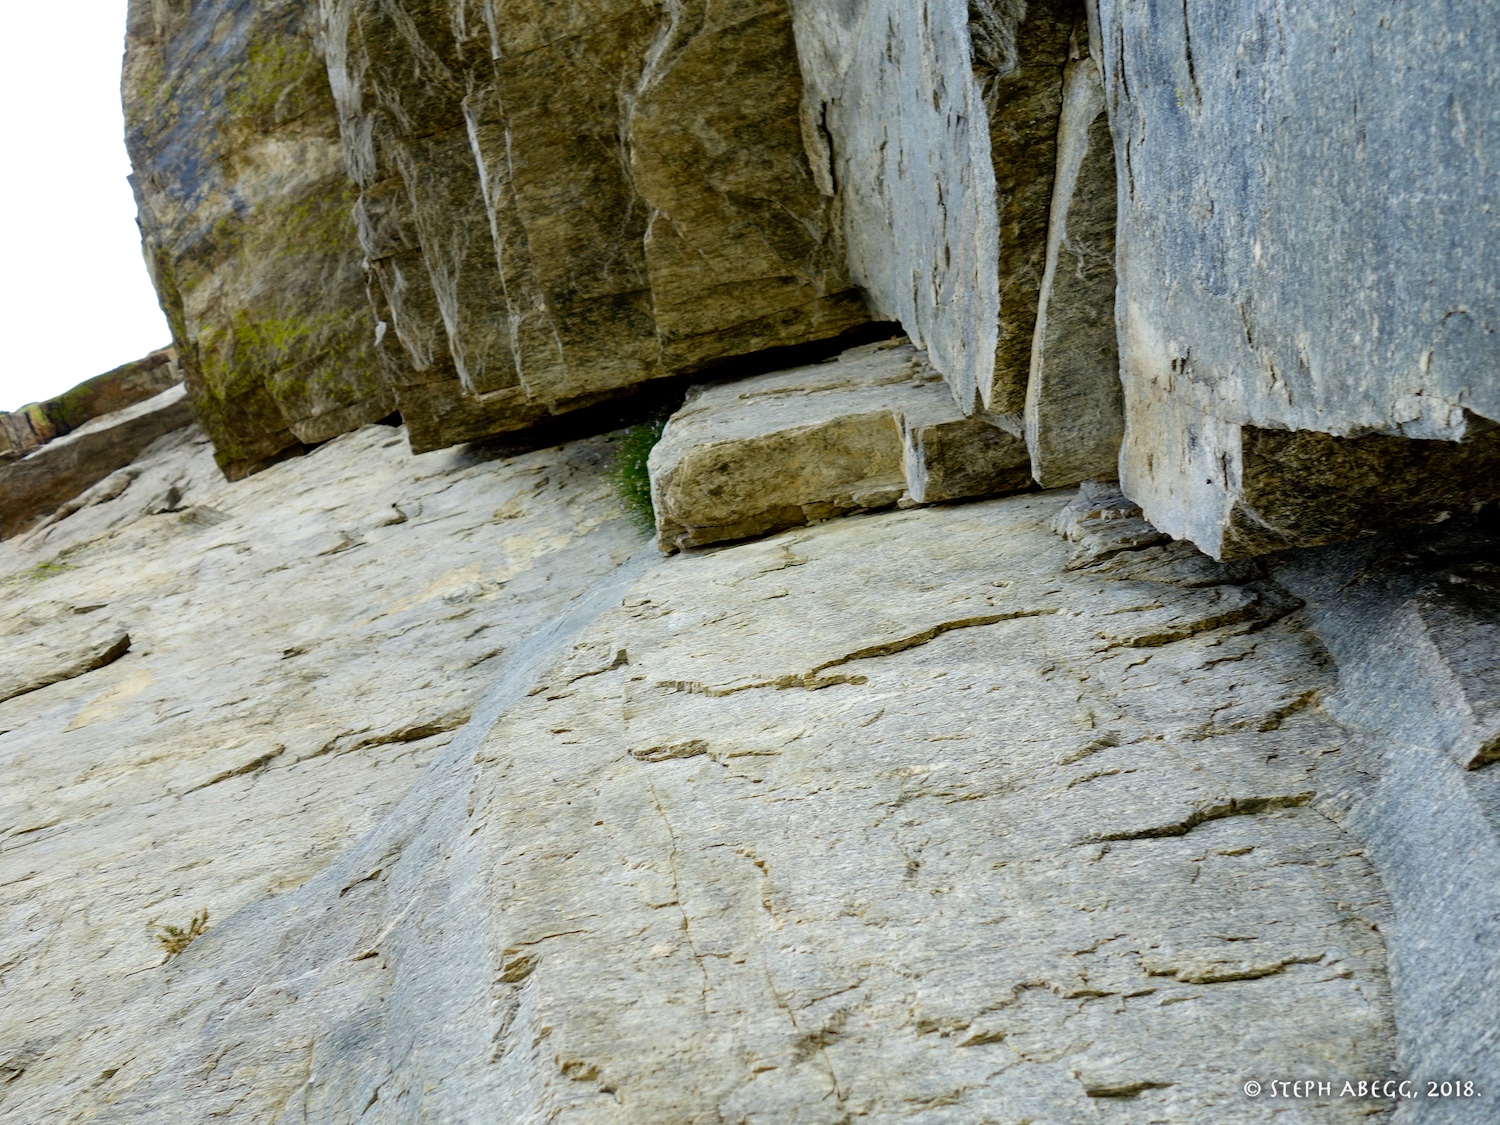
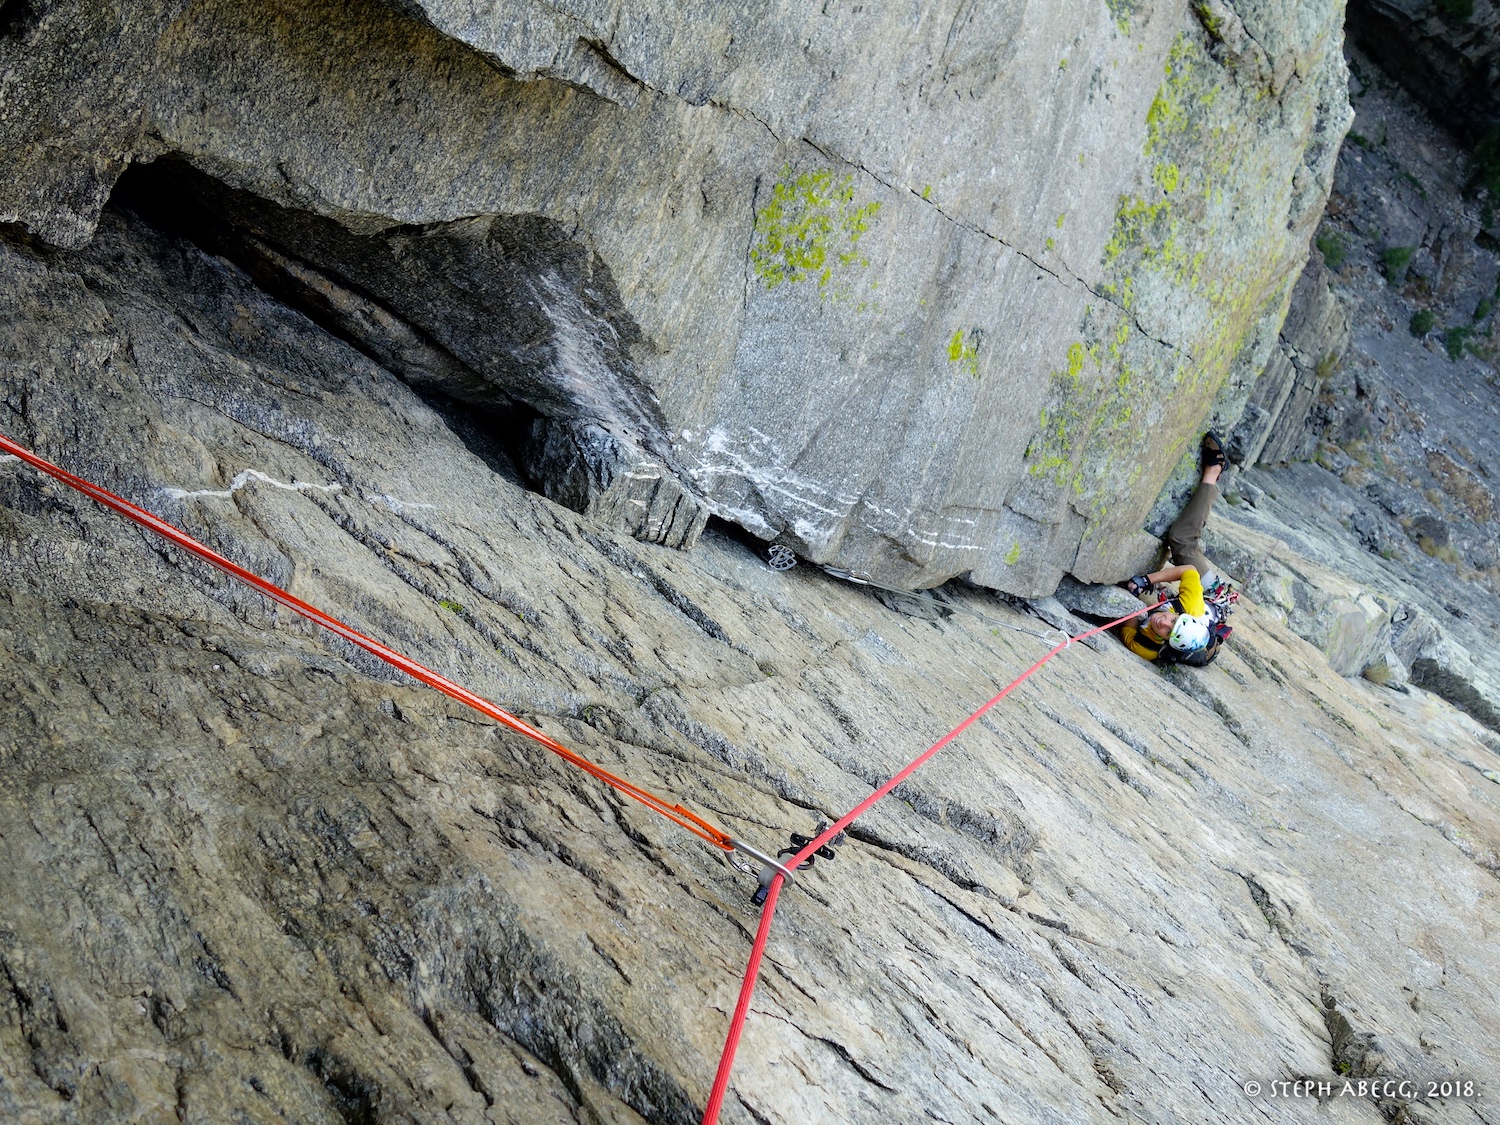
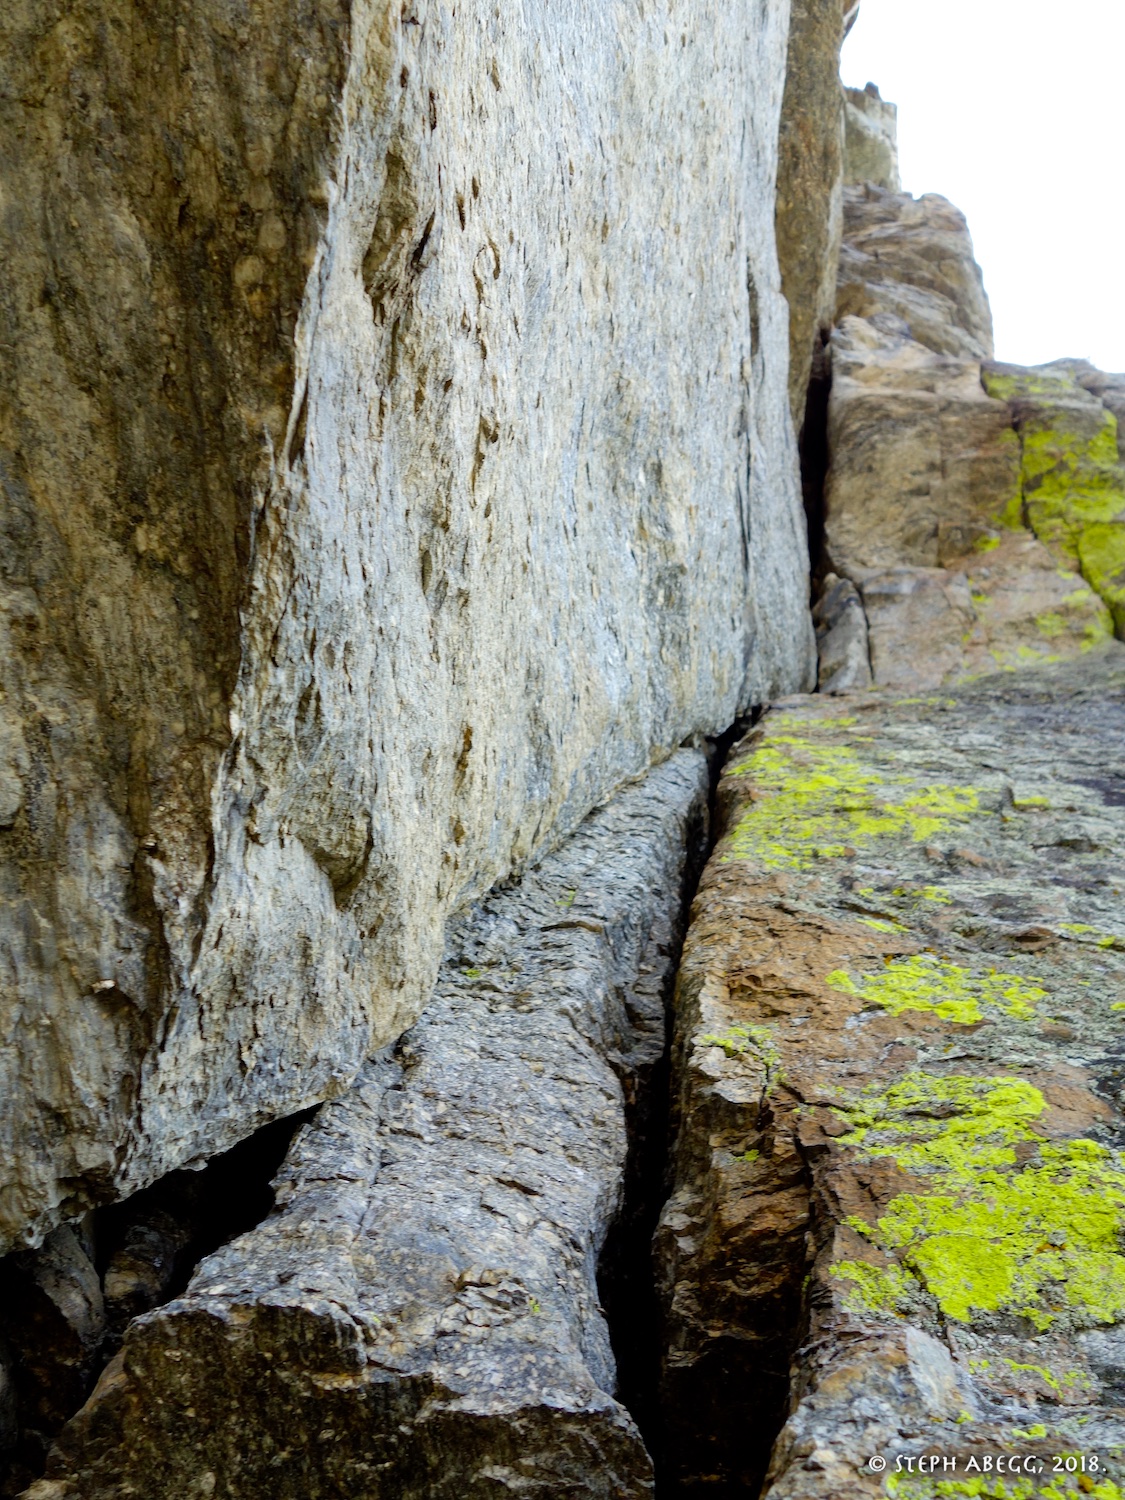
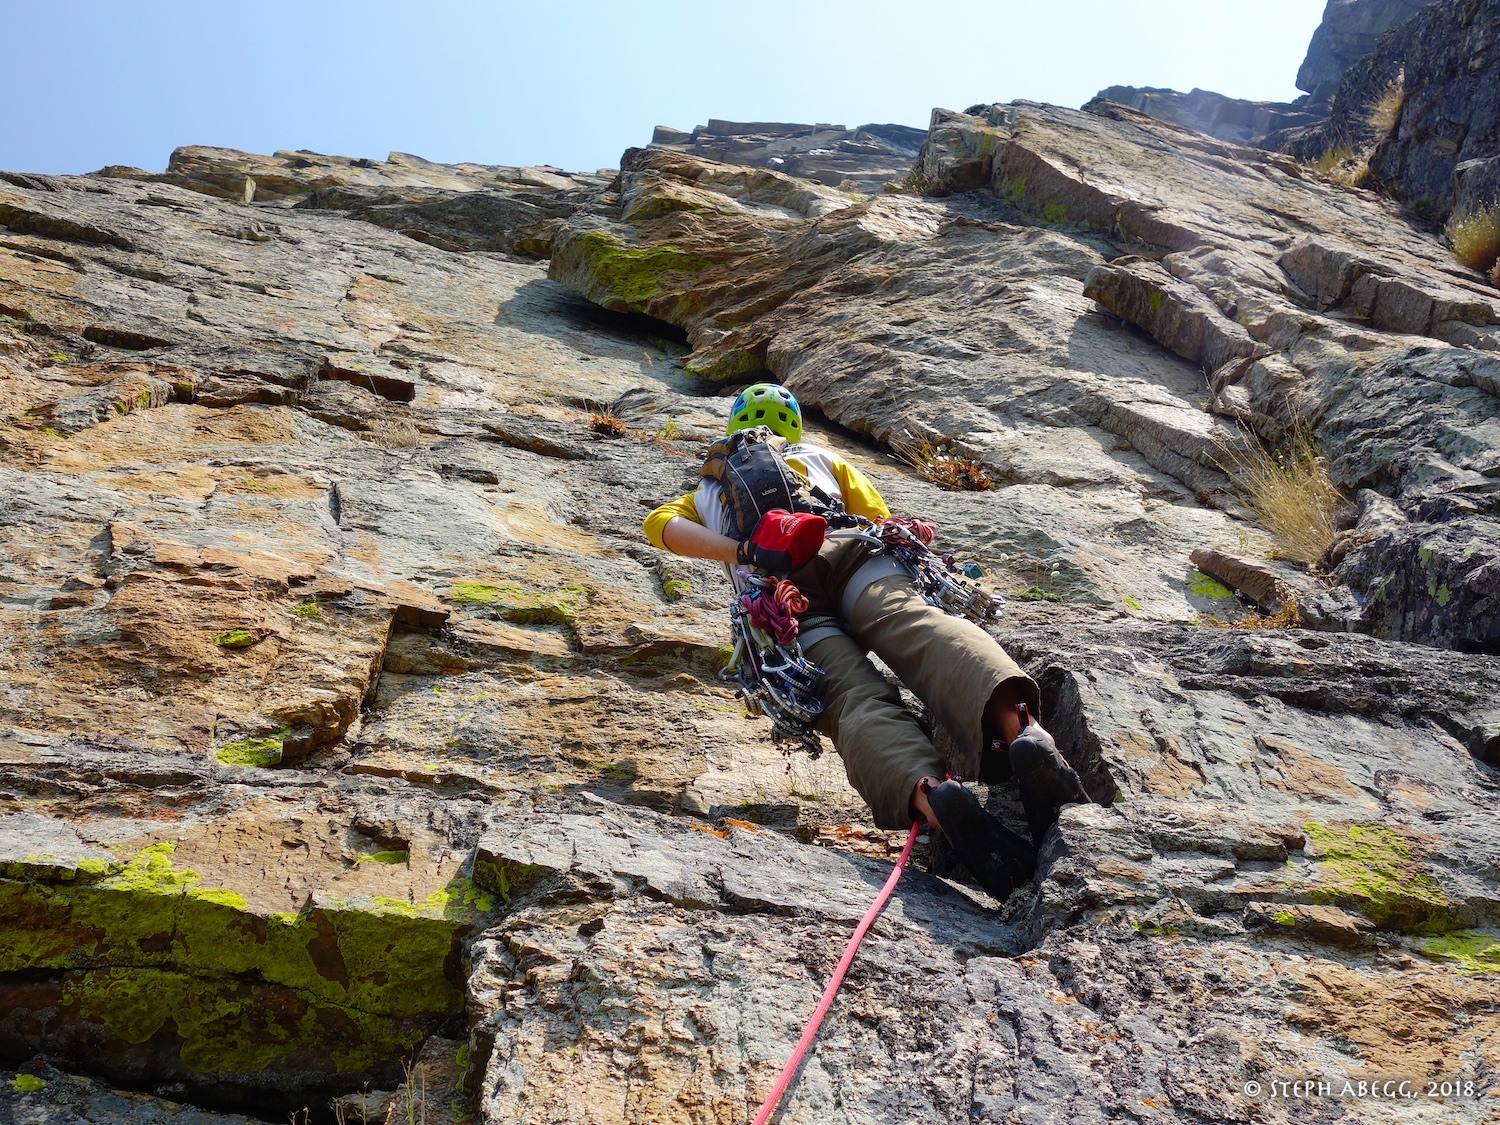
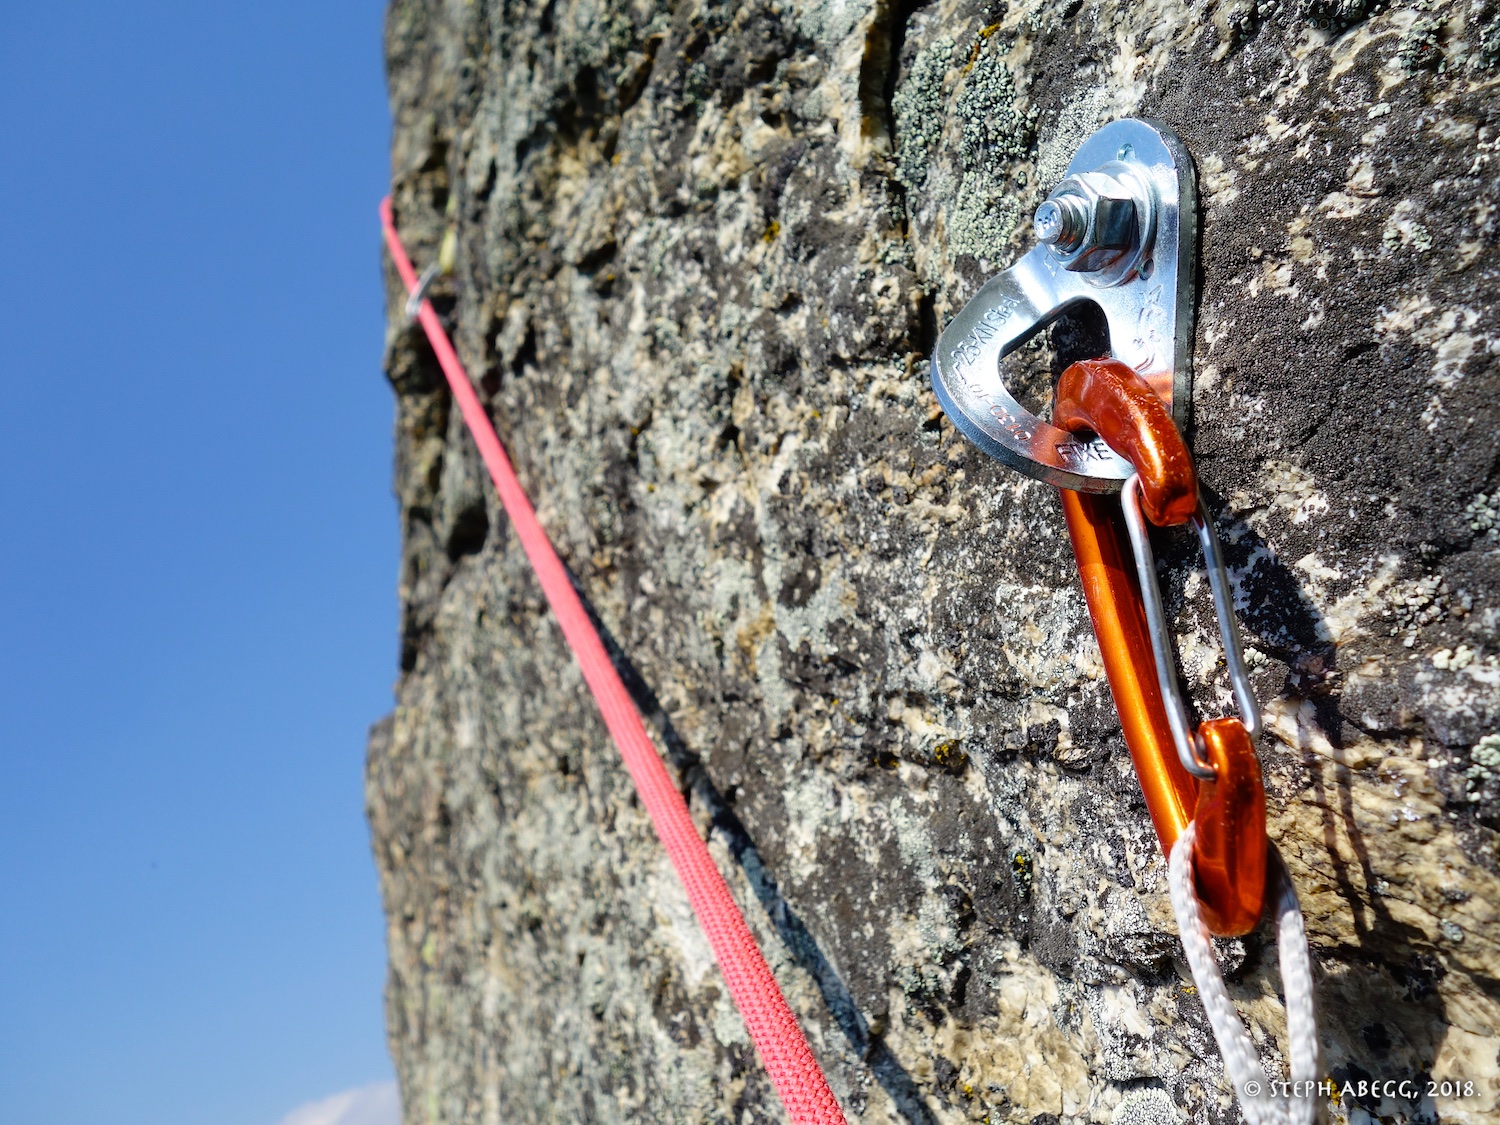
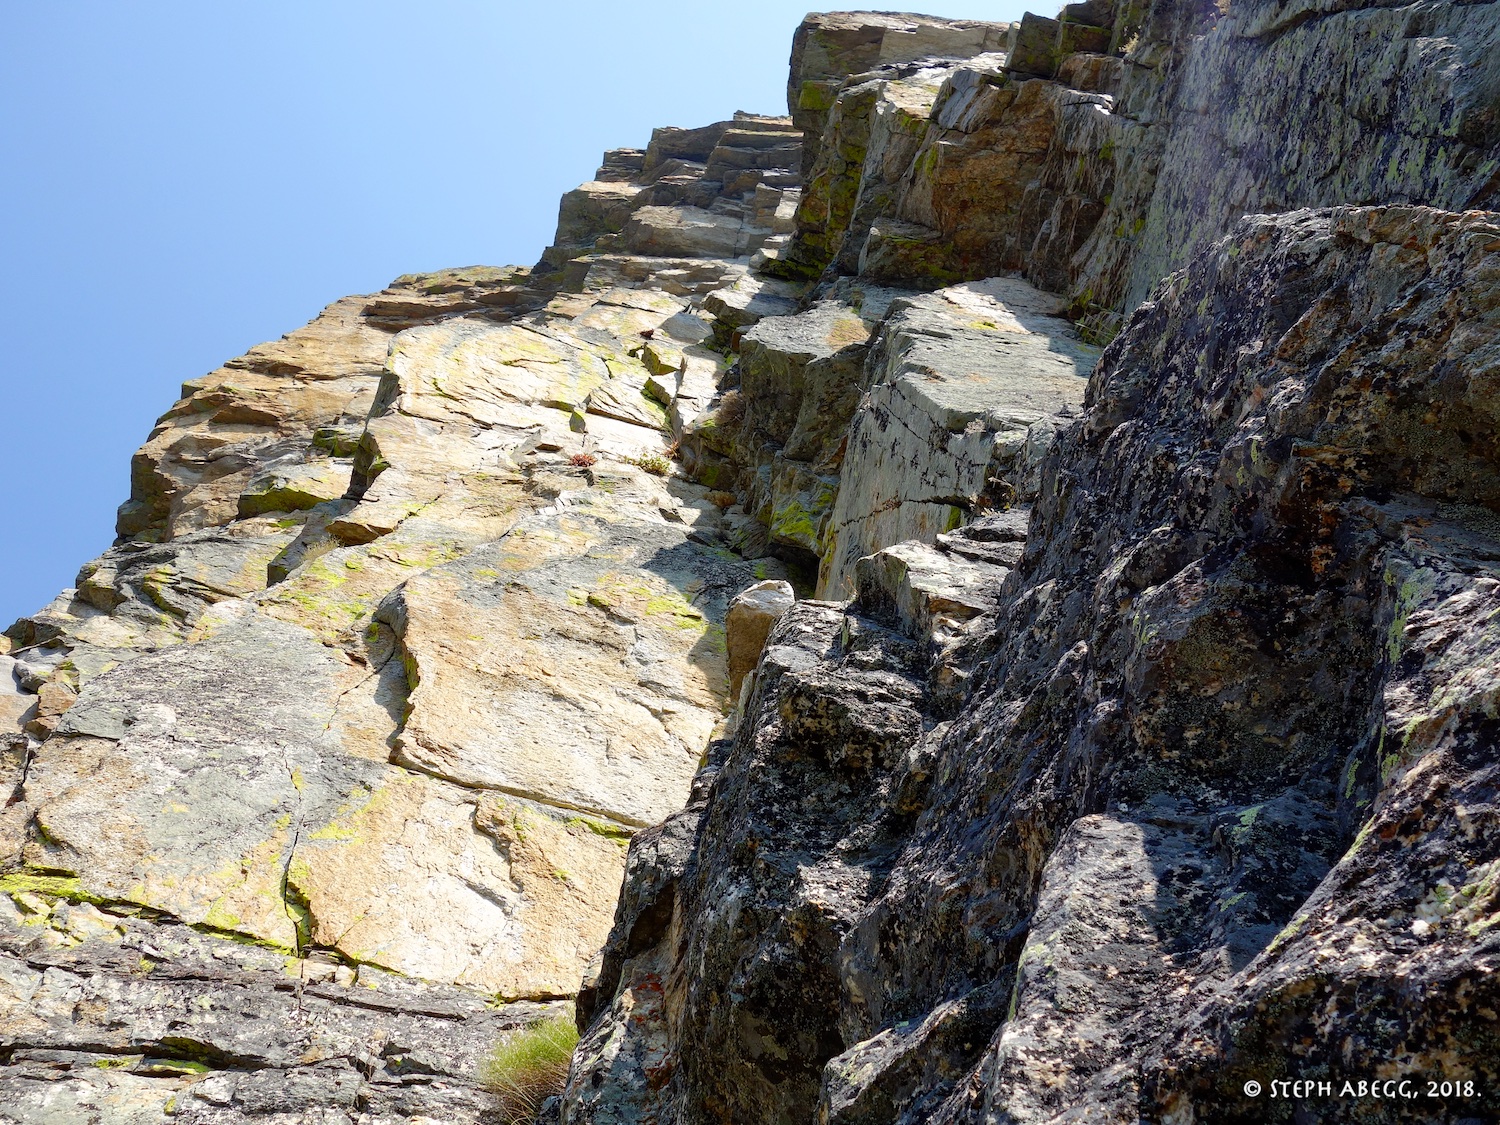
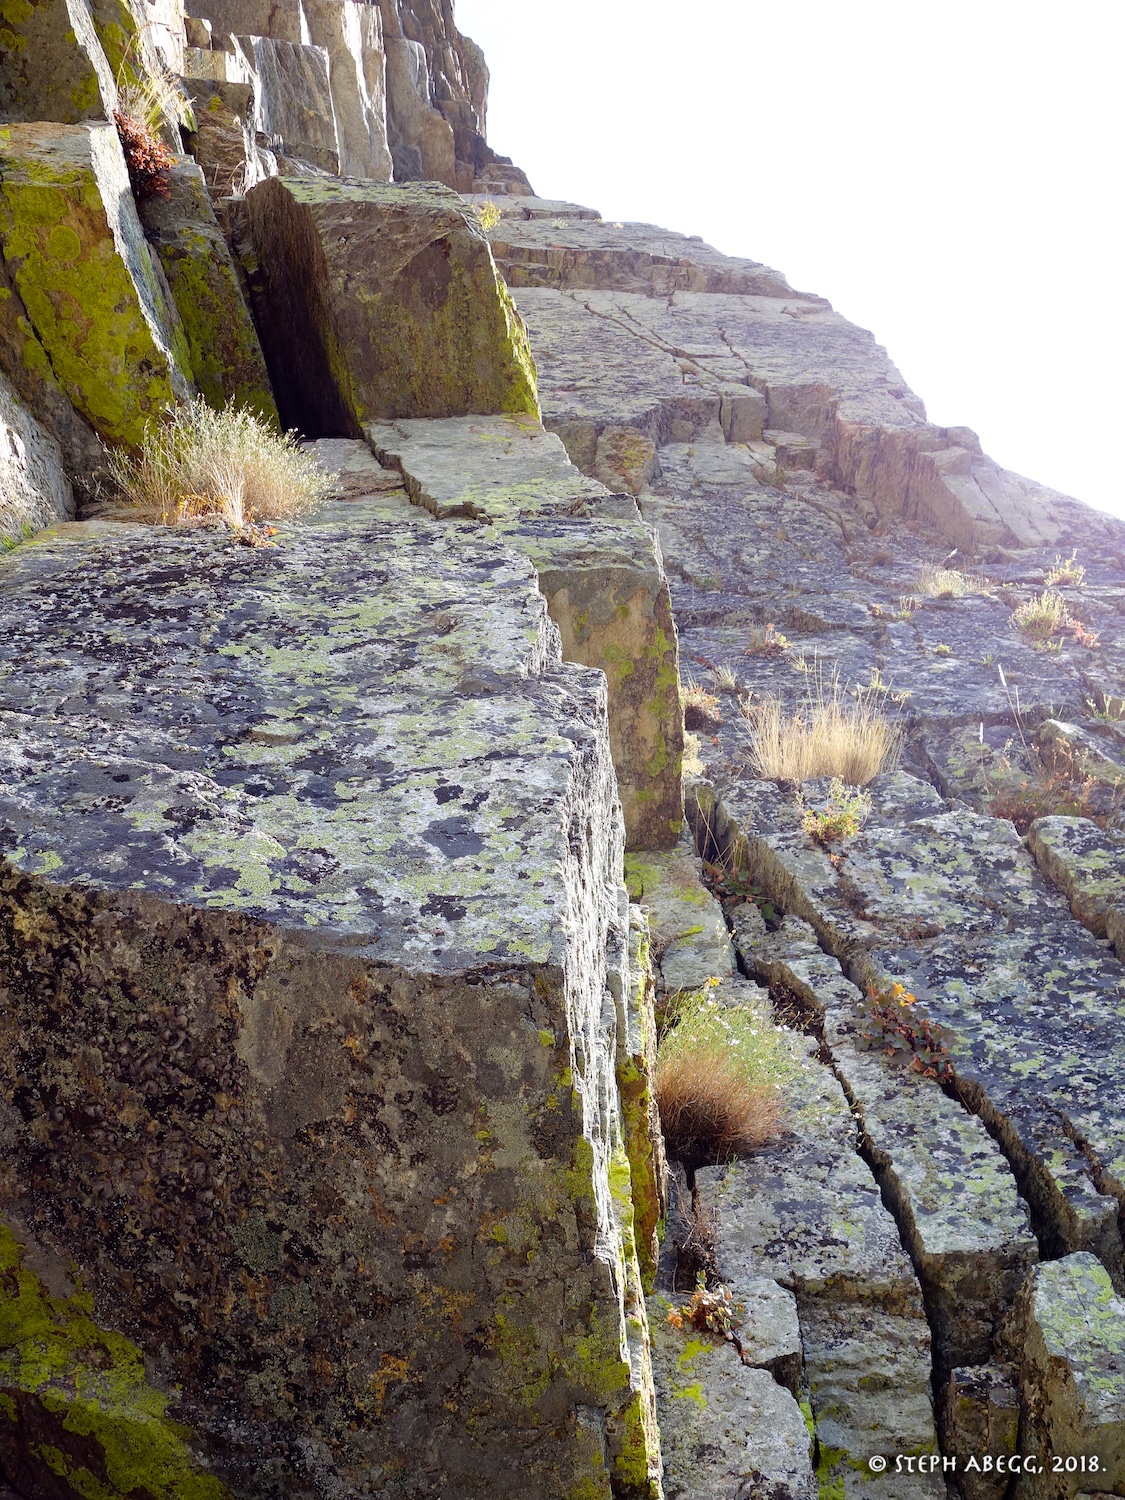
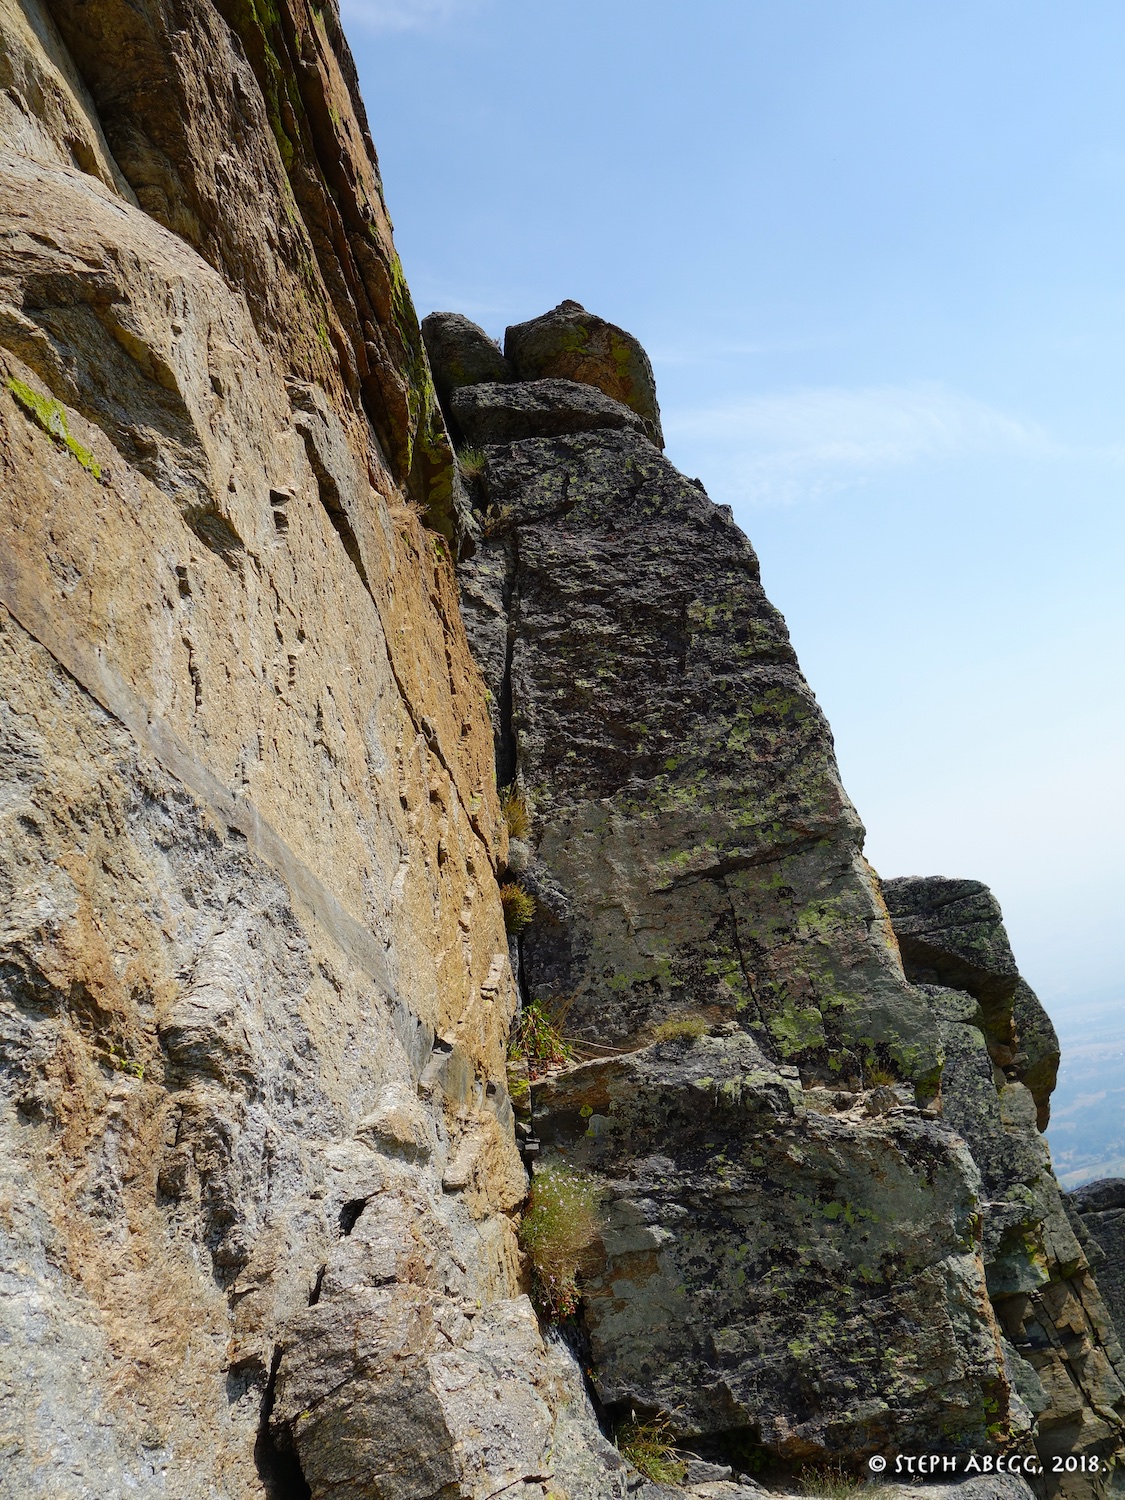
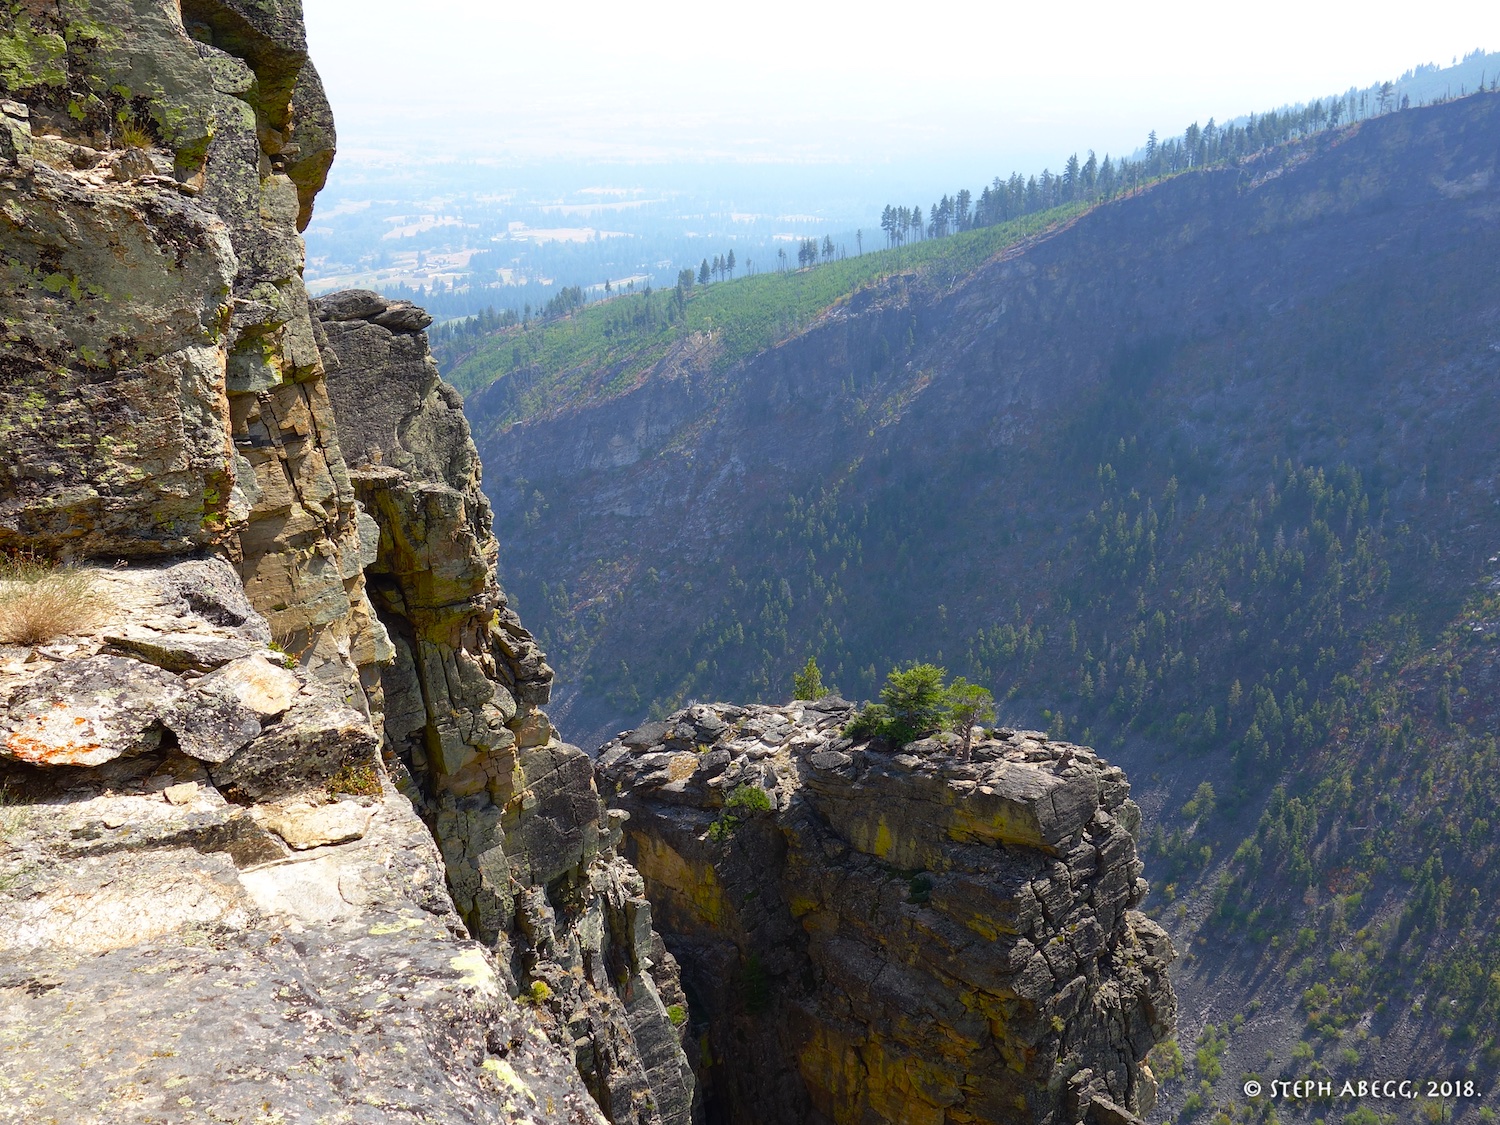
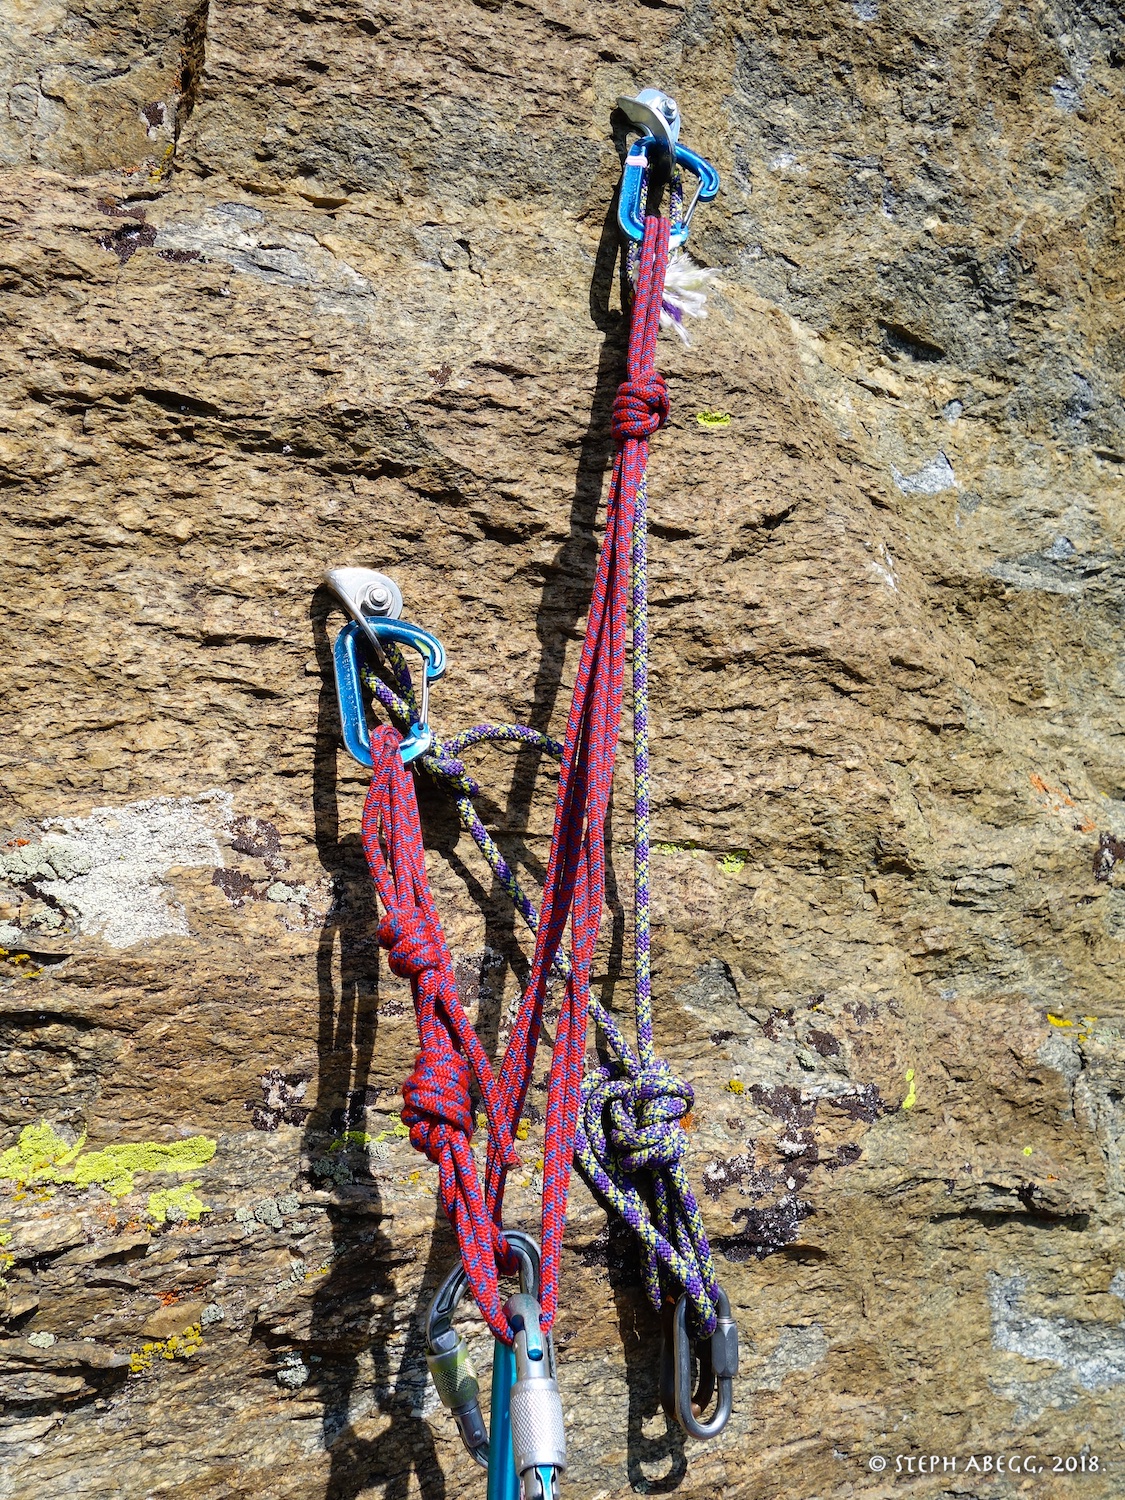
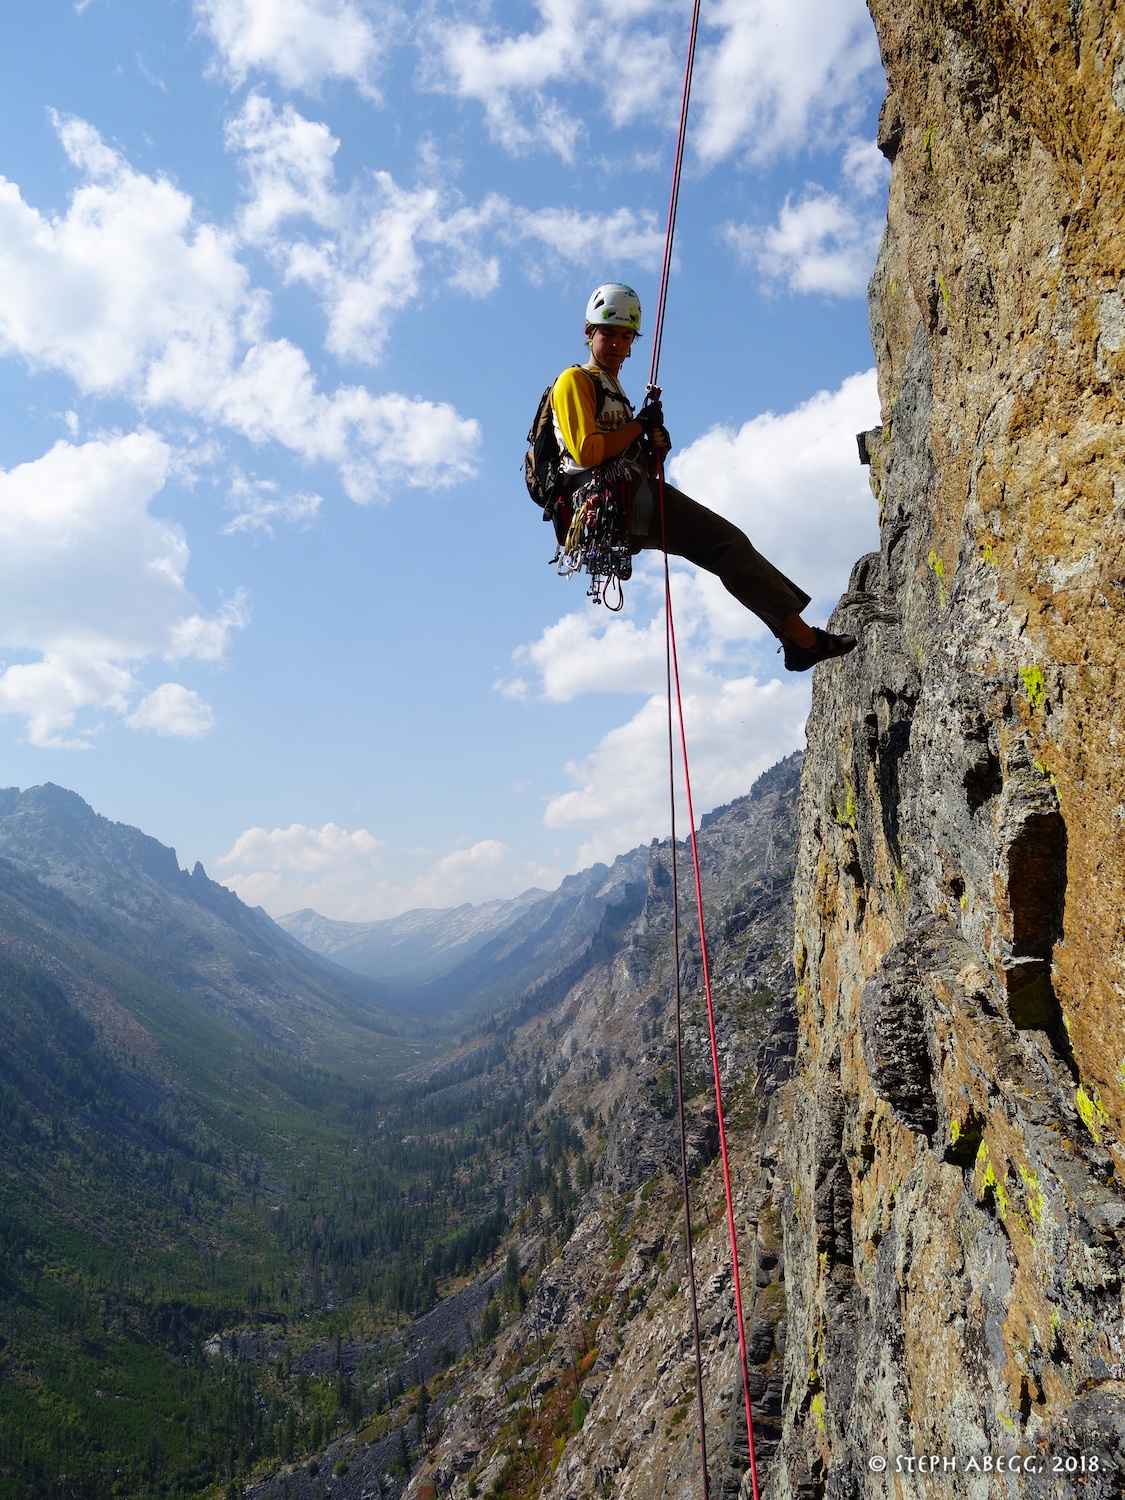
Sawed Off Heads variation, which takes the giant left-facing corner that is obvious from the ground. We found the Awakening Wall to be quite the adventure route, featuring steep corners, cracks, bolted face, and blocky runnouts, with just enough loose rock that you had to be careful of what you pulled on but enough good climbing to make it a worthy adventure. Although the route had an intimidating "5.10+ R" rating, the few cruxes were short and the "R" corresponded to sections of easier climbing on loose rock (where pro is not so great), so it seemed more like an approachable 5.10 adventure route to us. Josh and I were in for the adventure, so we had a lot of fun. We rappelled the route with double ropes.

This page gives an overlay and pitch-by-pitch photos for the climb.

Time Stats

Hike to base: ~1 hour
Climb: ~6 hours
Rappel route: ~1.5 hours
Hike to car: ~1 hour
Total car-to-car (includes breaks): 10.5 hours

Pitch-by-Pitch Photos

THIS TRIP REPORT IS STILL MOSTLY IN THE EMBEDDED HTML FORMAT OF MY OLD WEBSITE.

Photos:
Photo descriptions:
Approach
From Mill Creek Trailhead, hike the main trail about 3 miles until you come to the climbers' trail below No Sweat Arete. Follow the climbers' trail uphill to the base of No Sweat Arete and then up scree to below a small wall at the foot of the Great Awakening Wall. If rappelling the route, rack up and leave your packs here before scrambling up the wall (4th) to the base of the route. 
1.    
2.    


1. Approaching the route. The Great Awakening Wall is above, and No Sweat Arete (5.7) just right of this.
2. There is a short 4th class step to get to the base of the route (guidebook says low 5th, but seemed 4th to us, and we did not feel any need to rope up for it). We left our packs just below this step. The last rappel brings you right down to here.
Pitch 
1
5.8 DFU. Climb up and right on blocky ground to the bolted anchor on a grassy ledge. Just make sure not to pull on set pro on everything you touch.
3.    
4.    
5.     
3. Josh starting up Pitch 1. We had been worried about this pitch being runnout or spooky because of it's "5.9 R" rating in the Mill Creek guidebook. However, it felt more like the mountainproject "5.8 DFU"—you just don't want to pull on or set pro on everything, but the climbing is fairly easy.
4. Climbing on Pitch 1.
5. Bolted belay anchor at the top of Pitch 1. All of the belays are bolted on this route, which is nice because not all of the rock/pro is confidence-inspiring.
Pitch 
2
Sawed Off Heads variation
Sawed Off Heads variation: mid-5th. Climb the blocky ramp to the right to the base of the large left-facing corner.
(Standard route: 5.10. Leaves the ramp before the left-facing corner and climbs a thin dihedral and a thin crack.)

6.  6. The "5.7 R" traverse to the base of the Sawed Off Heads variation. This felt more like "5.0 DFU" to us.

Pitch 
3
Sawed Off Heads variation
Sawed Off Heads variation: 5.10. Sustained pitch up the steep left-facing corner.
(Standard route: 5.10. Apparently a splitter hand crack.)
7.    
8.   
7. Looking up the first corner pitch of the Sawed Off Heads variation.
8. Adventurous 5.10 corner climbing. This variation apparently got its name from some close calls that the first ascent team had with some loose blocks. Some looseness still remains, but this could be cleaned up over time as the route is climbed more. Fortunately, there is pretty good pro throughout.
Pitch 
4
Sawed Off Heads variation
Sawed Off Heads variation: 5.10. Continue up the steep left-facing corner. Ends at the anchor at the top of Pitch 5 of the standard route.
(Standard route: 5.10. Head up. Apparently a couple of bolts so must be facey climbing.)

9.    
10.    
11.    
12.    


9. Looking up the second corner pitch of the Sawed Off Heads variation.
10. More adventurous corner climbing ahead.
11. Josh enjoying the corner.
12. Josh nearing the top of the corner.
Pitch 
5
(standard route only)
(Standard route: 5.10+. Thin traverse with some bolts to the left-facing corner that is the top of the Sawed Off Heads variation.
No photos. We did the Sawed Off Heads variation and didn't climb this.
Pitch 
6
5.8/9. Climb up crack a short distance to a blocky ramp to the anchor.
13.  13. Looking up Pitch 6 from the belay. 

Pitch 
7
5.10+. Climb up flake, then traverse left on bolts, then go straight up pods to a ledge.
14.    
15.  
14. Josh starting up Pitch 7. Climb the flake, then traverse left on ledgy face.
15. Nice beefy bolts protect the face climbing.
Pitch 
8
5.9. Climb a broken corner.
16.  16. Looking up Pitch 8.

Pitch 
9
5.10. Climb up steep triple cracks, finishing on face to a final ledge.
17.    
18.   
17. Looking up Pitch 9. You can see the triple cracks above.
18. The triple cracks section (photo taken on rappel).

Pitch 
10
(only if walking off)
(If walking off: 5.9. Climb short corner to the top. Only if you are walking off as bolts at top have apparently been destroyed.)
19.    

19. Looking over at the short corner to the top. Since we were rapping the route and apparently there is no rap station from the top, we did not climb this short pitch to the top.
Top!
Yay!
20.    
21.    
22.    

20. Josh at the belay anchor at the top of Pitch 9, the top of the route for us. There is a nice ledge here.
21. The view west up the Mill Creek Valley.
22. The view east towards Hamilton.
Descent
Rap the route from the top of Pitch 9, or climb Pitch 10 and walk off. We rapped and made  8 rappels with double 60's, skipping only the anchors at the top of Pitch 8 and rapping down the Sawed Off Heads anchors. Specifically:
(1) Top of Pitch 9
(2) Top of Pitch 7
(3) Top of Pitch 6 (possibly could skip, not sure if rope ends reach top of Pitch 5)
(4) Top of Pitch 5 (above Sawed Off Heads corner)
(5) Anchor midway through Sawed Off Heads corner (top of our Pitch 3)
(6) Anchor at base of Sawed Off Heads corner (top of our Pitch 2)
(7) Top of Pitch 1 (brings you all the way to packs at base of 4th class step) 
23.    
24.    
25.    
26.    
27.    
27.    
23. The anchor at the top of Pitch 9. The bolts were in excellent shape at all of the belay/rap anchors, and the tat was in good enough shape at all of the anchors, although some was getting close to needing replacement (probably would be a good idea to replace it in the spring after a harsh Montana winter).
24. Rappel with a view.
25. No Sweat Arete (5.7) from high on the route.
26. No Sweat Arete (5.7) from lower on the route.
27. Descending the hillside back down to the main trail.
28. Looking back up at The Great Awakening Wall from the descent.

Comments Pertaining to this Page / Trip Report

Useful beta. Updated route information. Corrections. Historical notes. Interesting facts. No fluff please.
Leave a Reply

Your email address will not be published. Required fields are marked *