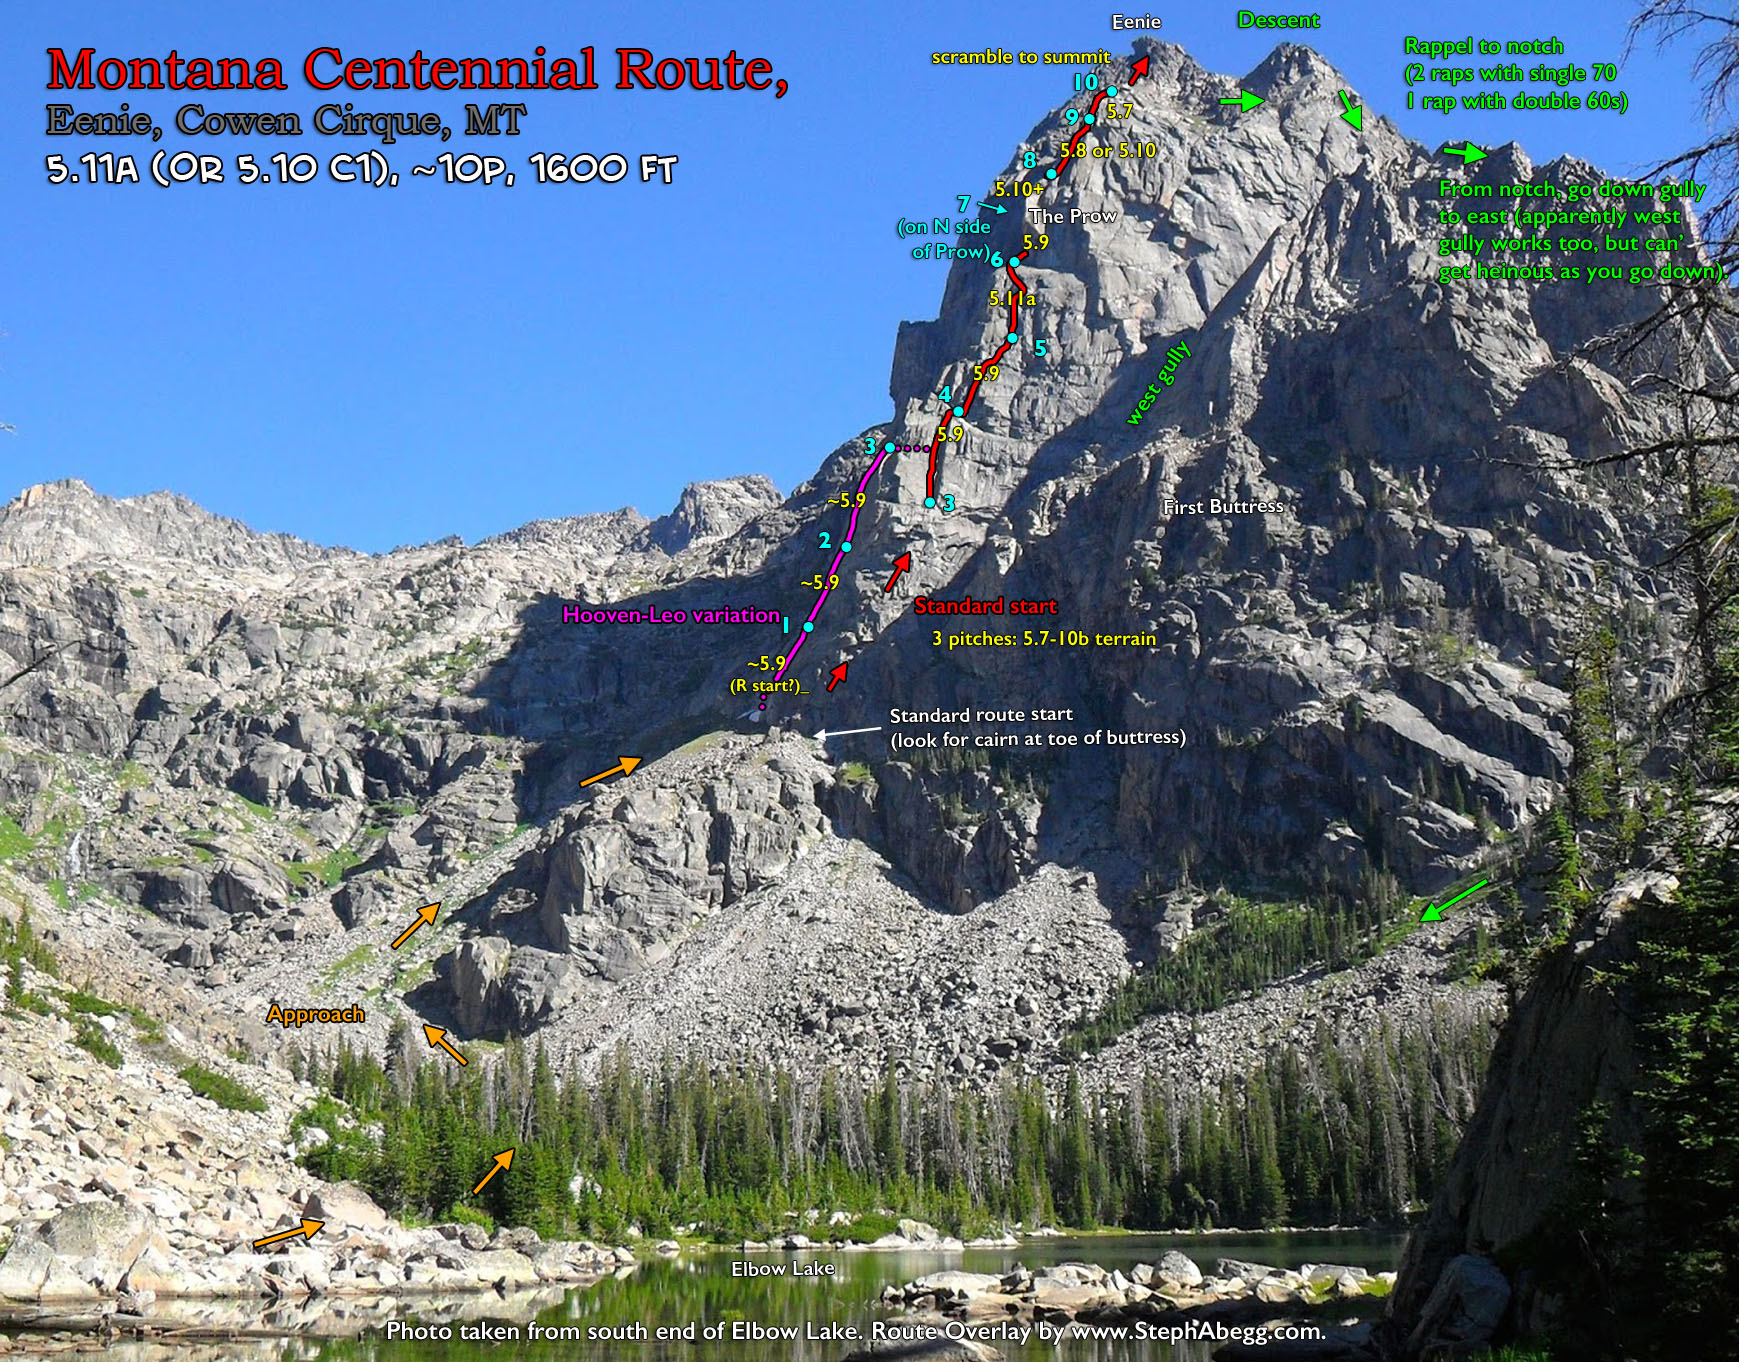
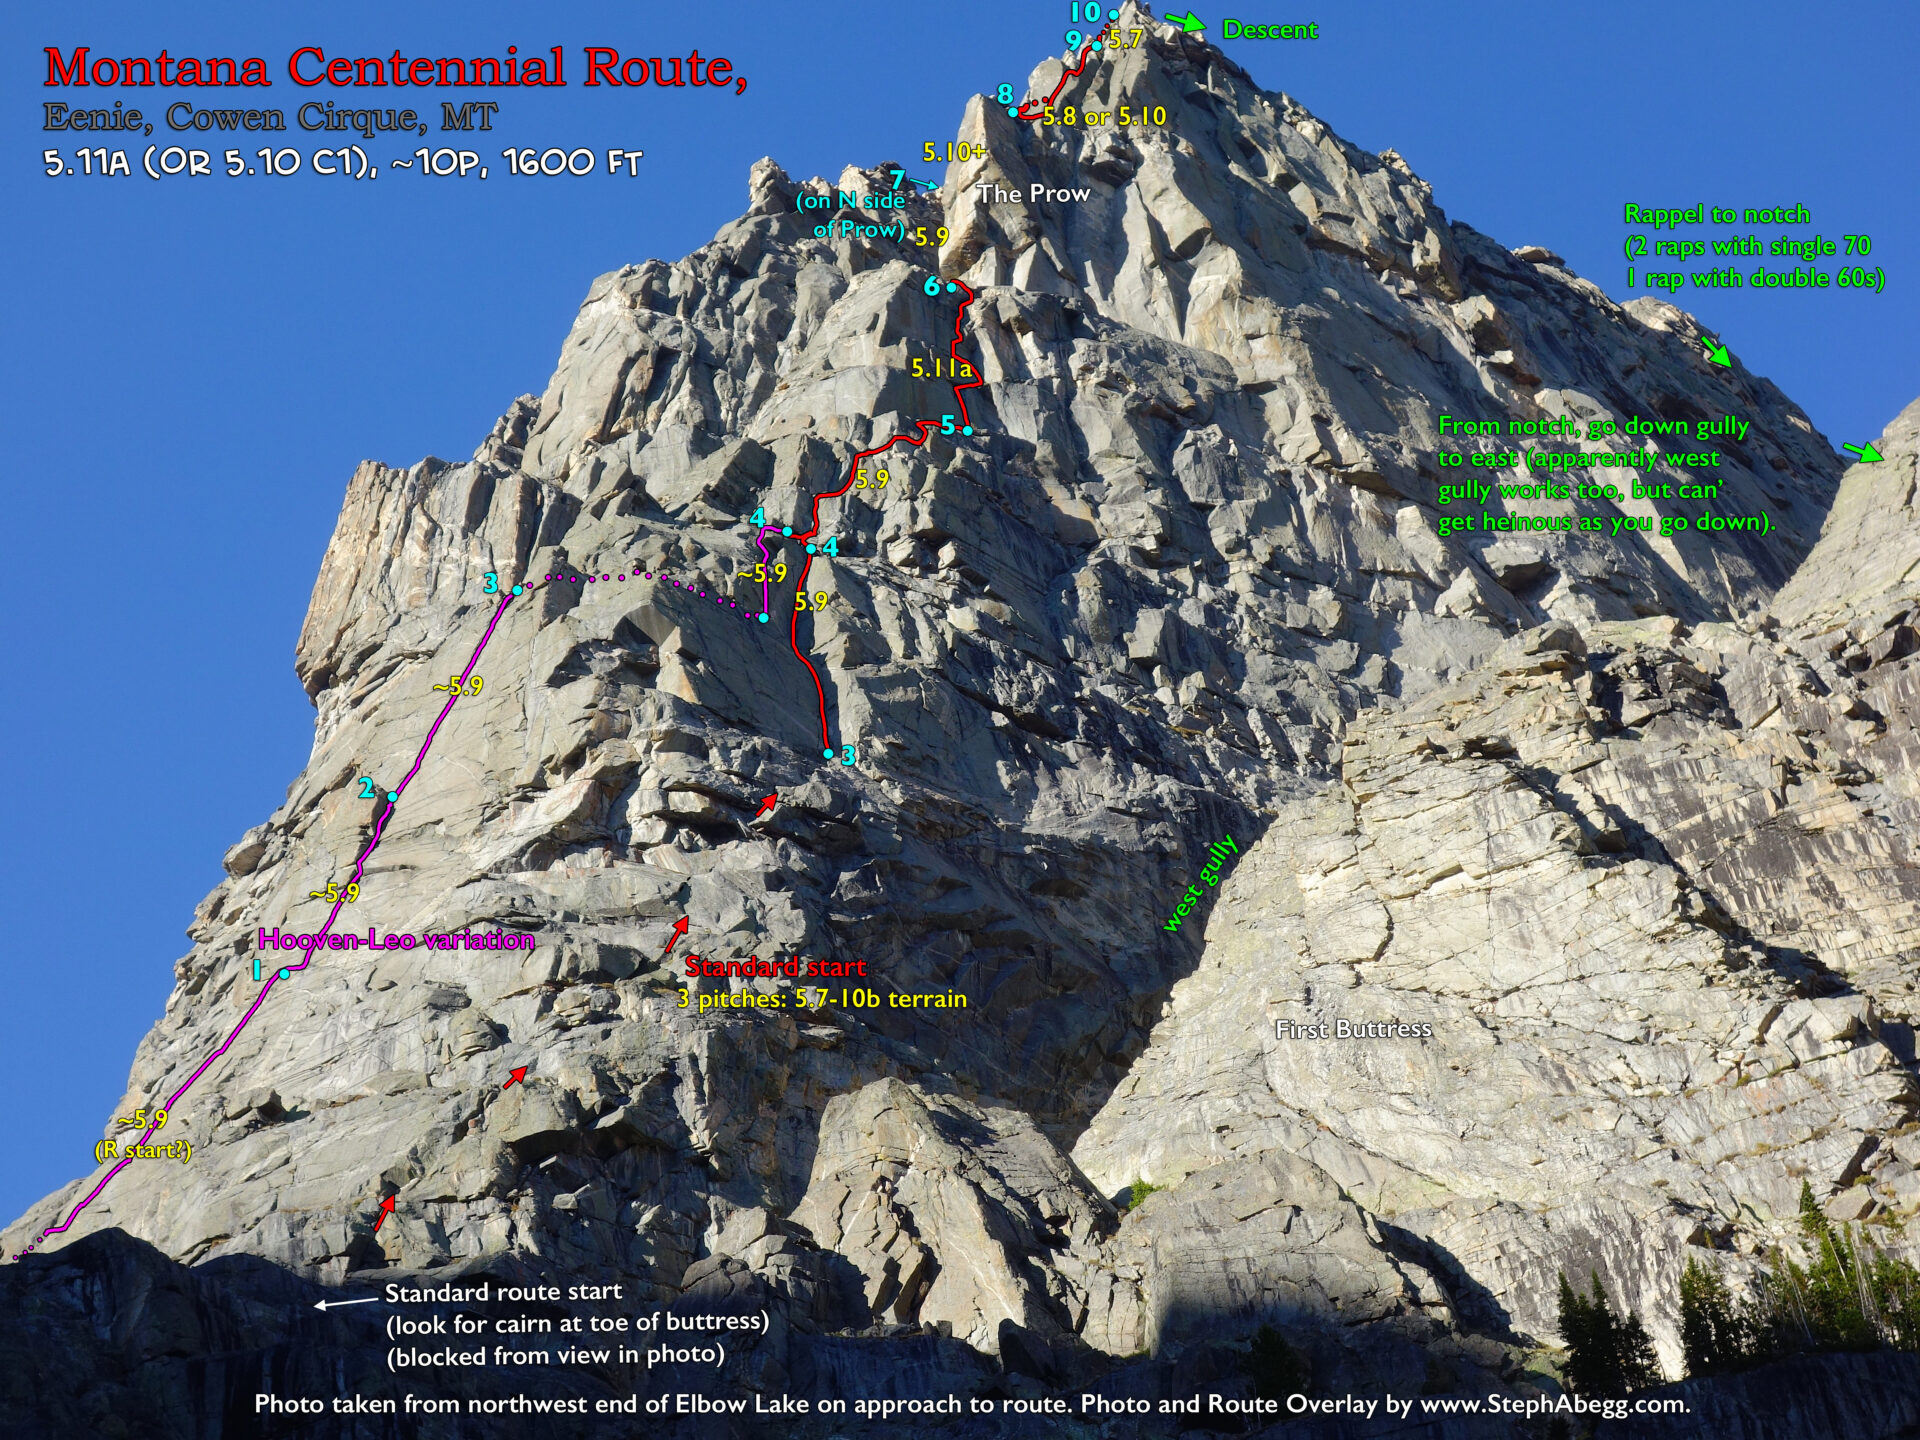
Eenie, Montana Centennial Route (5.11a or 5.10 C1, ~10p, 1600′)
Eenie
Route:
Montana Centennial Route
5.11a or 5.10 C1, ~10p, 1600'
One of the longest and best rock routes in Montana.
Region: Montana
Elev: 10,814 ft
Rock: Granite & Gneiss
Mode:
Date(s): September 5, 2018 (Wed)
Partner(s): Daniel Harvala
Route Overlays
CLICK TO ENLARGE
Map
CLICK TO ENLARGE
Intro
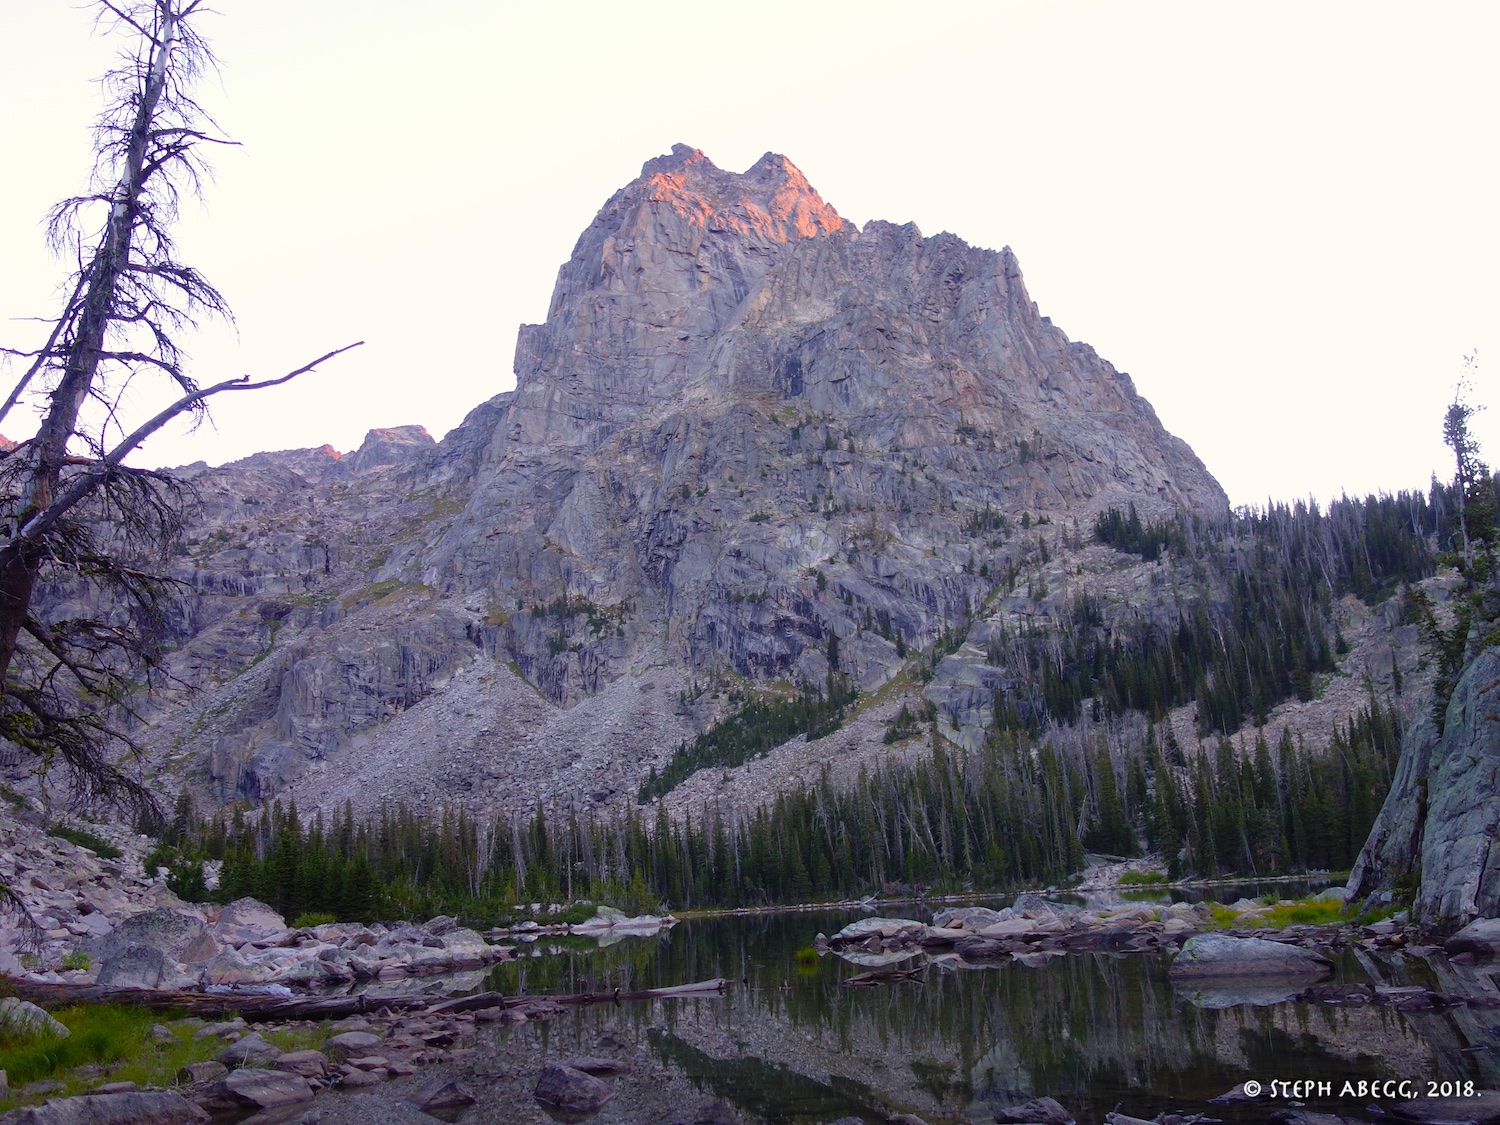
I had just finished a 4-day trip to Blodgett Canyon, and had had such a good time that I decided to stay in Montana for a few more days. I made a post on the Missoula Area and Bozeman Area Facebook groups that I was looking for a partner. Among the routes I listed was the Montana Centennial Route. Climbing 1600 feet up the south buttress of Eenie in Cowen Cirque in the Absaroka Range, the Montana Centennial Route is one of the longest technical routes in the state and a must do for anyone looking for a great alpine experience up some of the best rock in the state. I doubted I would find a partner on such short notice for this route, but listed it in my post anyway.
Later that day I got a text message from Bozeman local Daniel Harvala saying he had been trying to get on the Montana Centennial Route for a long time, and was psyched to go climb it. Only caveat was that he had a little less than 48 hours to squeeze it in between a hike with his dad and a tour with his band. 'Think we can do it car to car?" "Yeah, I think so." "Okay, let's do it!" "Awesome!"
Here's a trip report for our adventure. In my opinion, the Montana Centennial Route deserves every bit of hype it receives—this route has it all: pitch after pitch of engaging and well-protected climbing, mostly 5.9ish with a few short cruxes, comfortable ledges at all of the belays, awesome views. Daniel and I had a blast climbing this route together.
Time Stats
Times
3:25am: Leave trailhead 6:45am: Arrive at Elbow Lake 8:20am: Starting the climb 11:55am: Base of Pitch 6 (crux pitch & halfway point on route) 3:40pm: Top of route 4:25pm: Notch between Eenie and First Buttress 5:50pm: Packs at NW end of lake. 10:25pm: Trailhead
Splits
Trailhead to Elbow Lake: 3:20 Elbow Lake to starting climb: 1:35 Pitches 1-5 (to base of crux pitch): 3:35 Pitches 6-10 (crux pitch to top of route): 3:45 Top of route to notch: 0:45 Notch to packs: 1:35 Packs to trailhead: 4:35 Car to car: 19 hours
Pitch-by-Pitch Photos
THIS TRIP REPORT IS STILL MOSTLY IN THE EMBEDDED HTML FORMAT OF MY OLD WEBSITE. MOBILE Tip: Try Landscape mode. It is generally more mobile friendly.
Photos:
Photo descriptions:
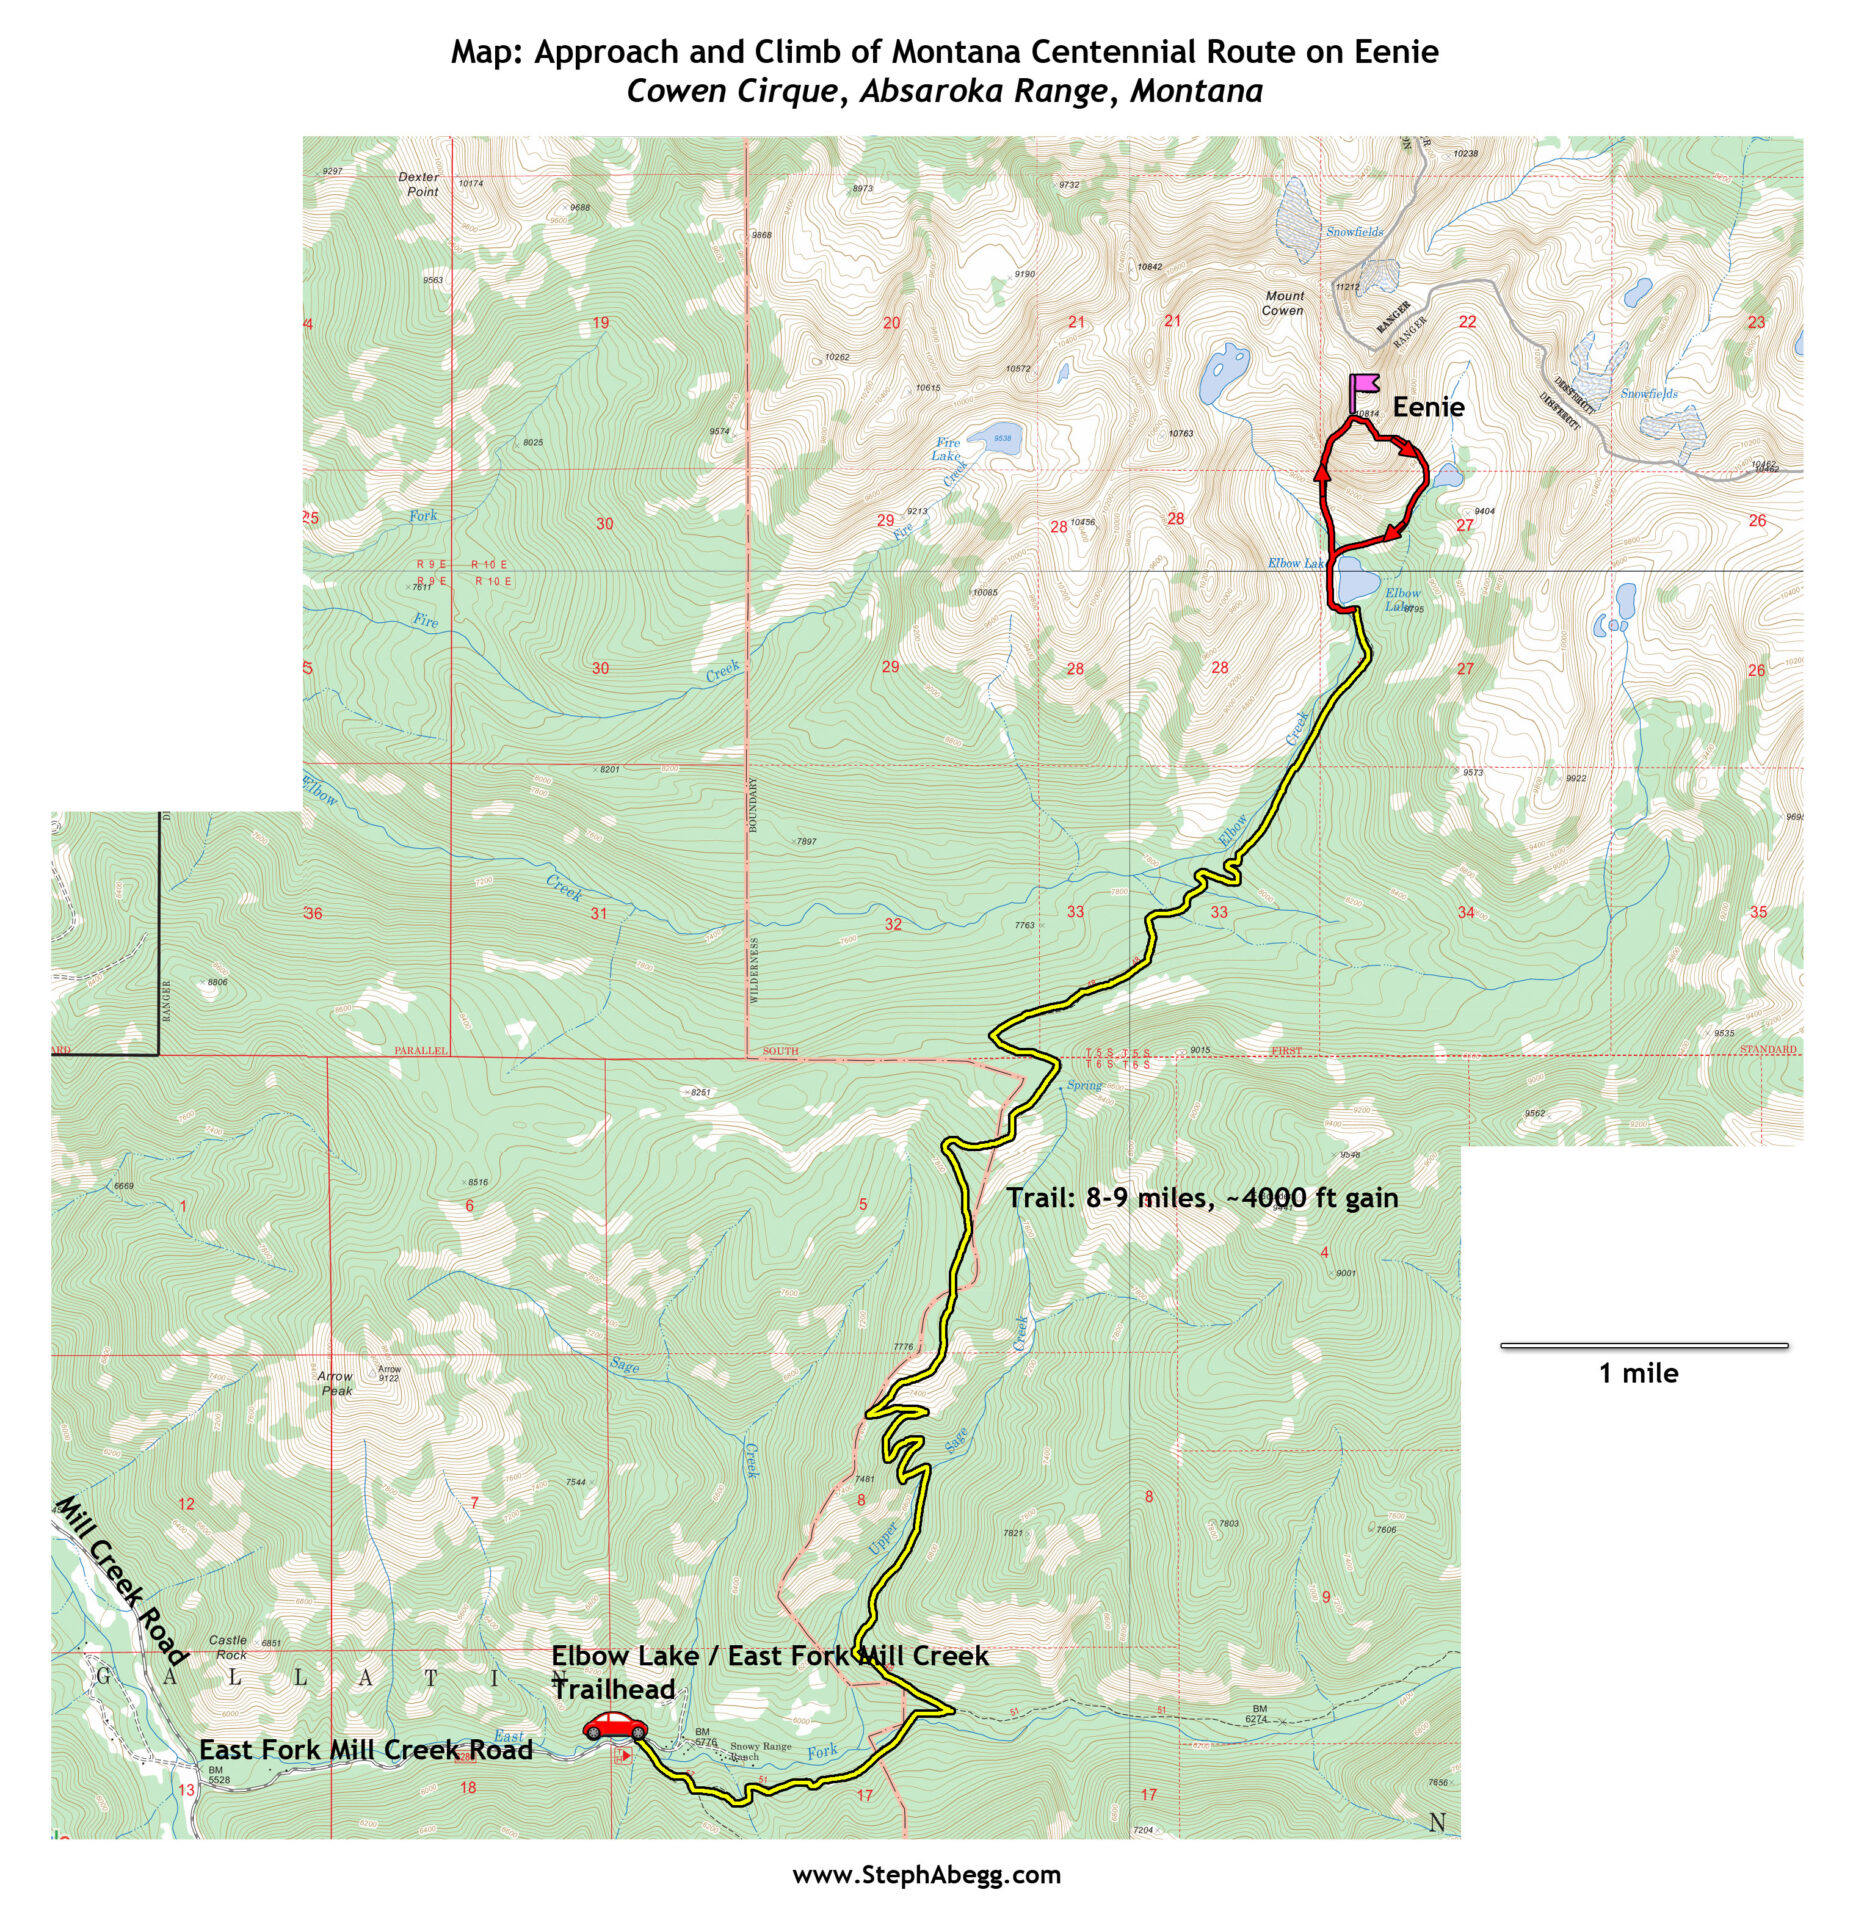
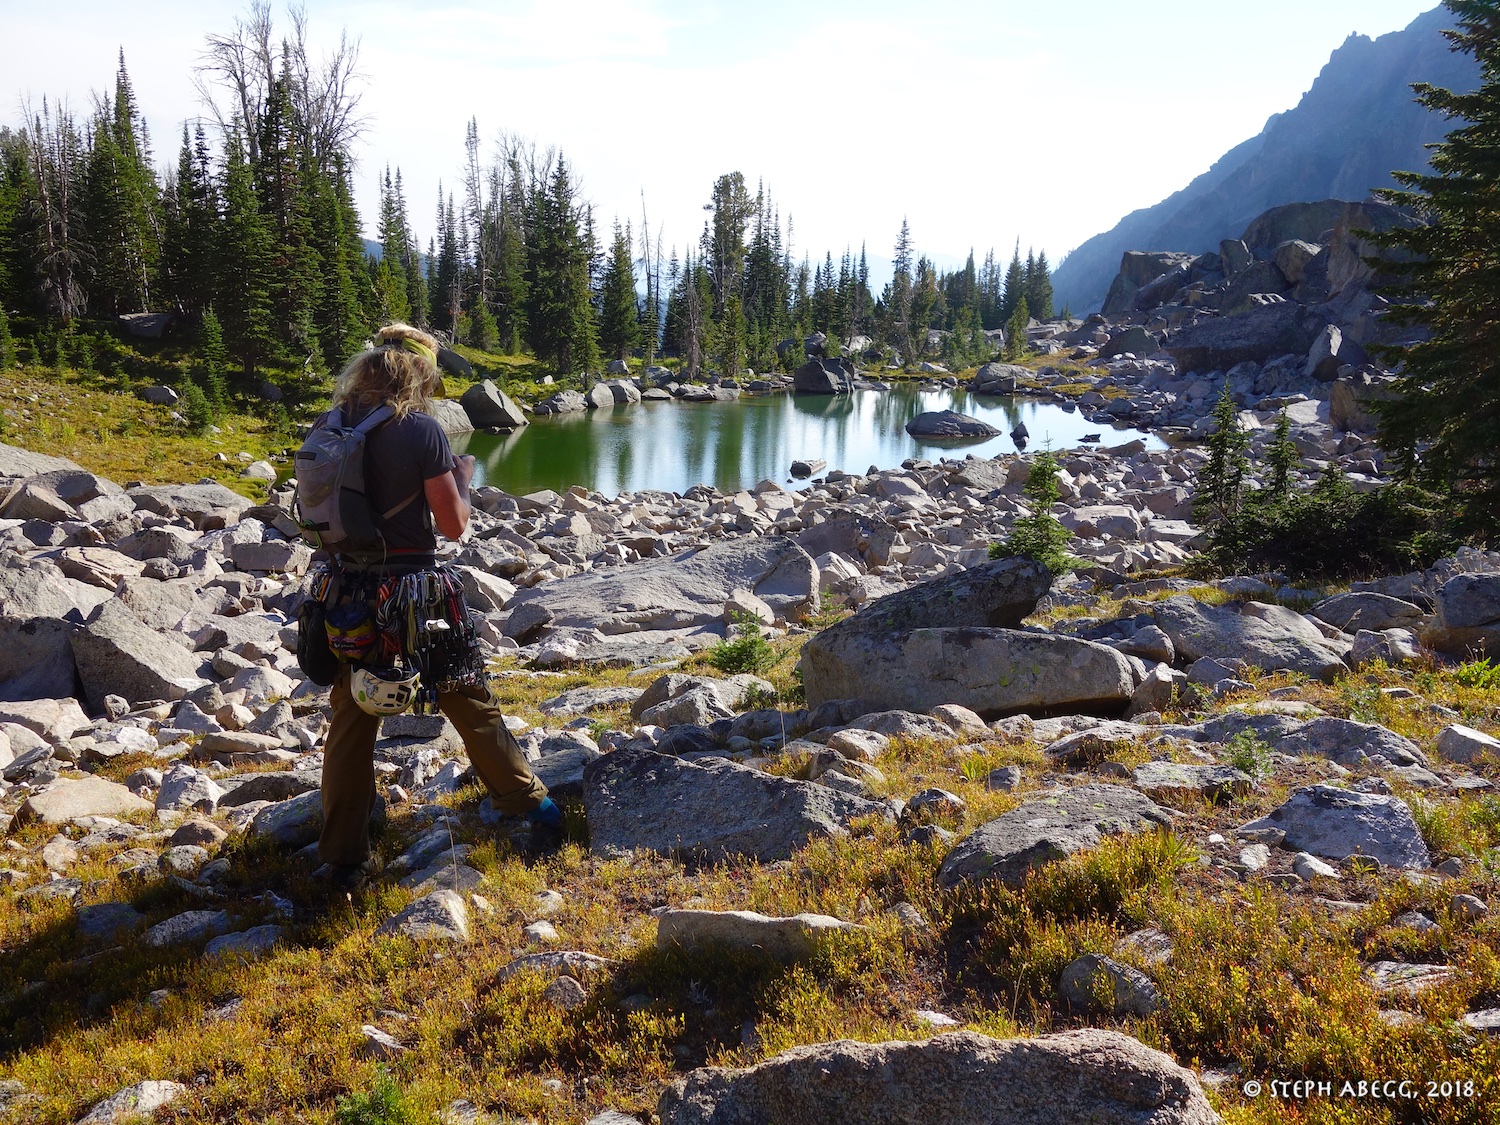
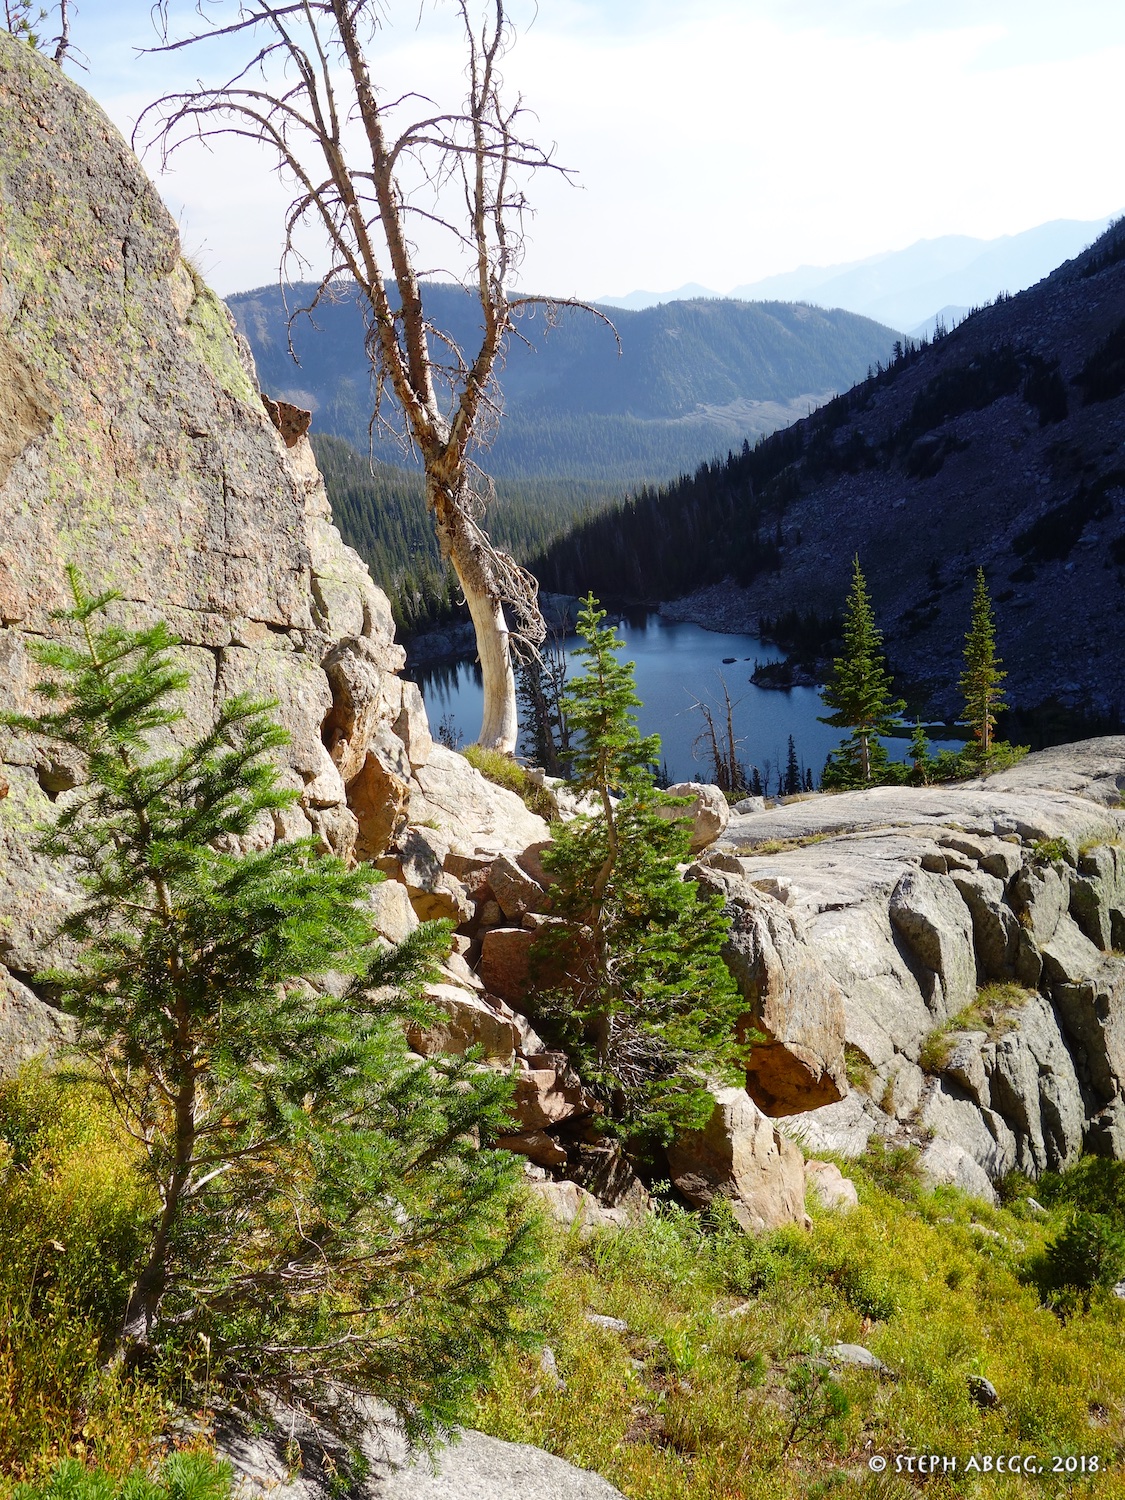
Approach
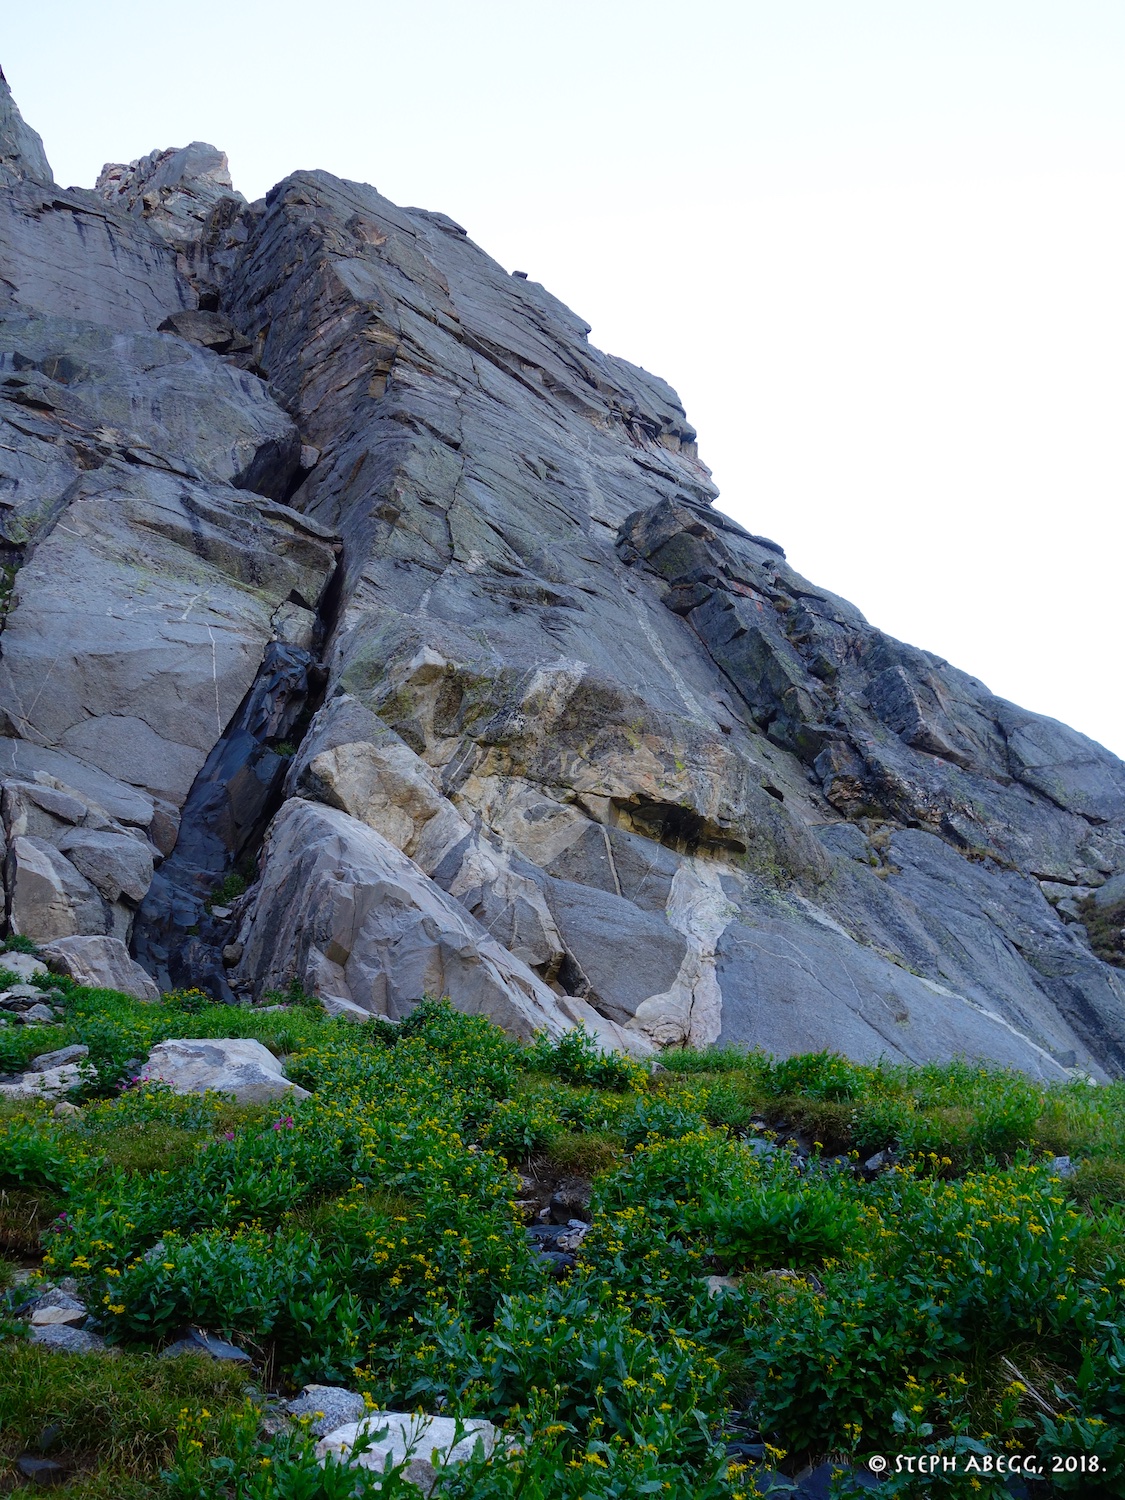
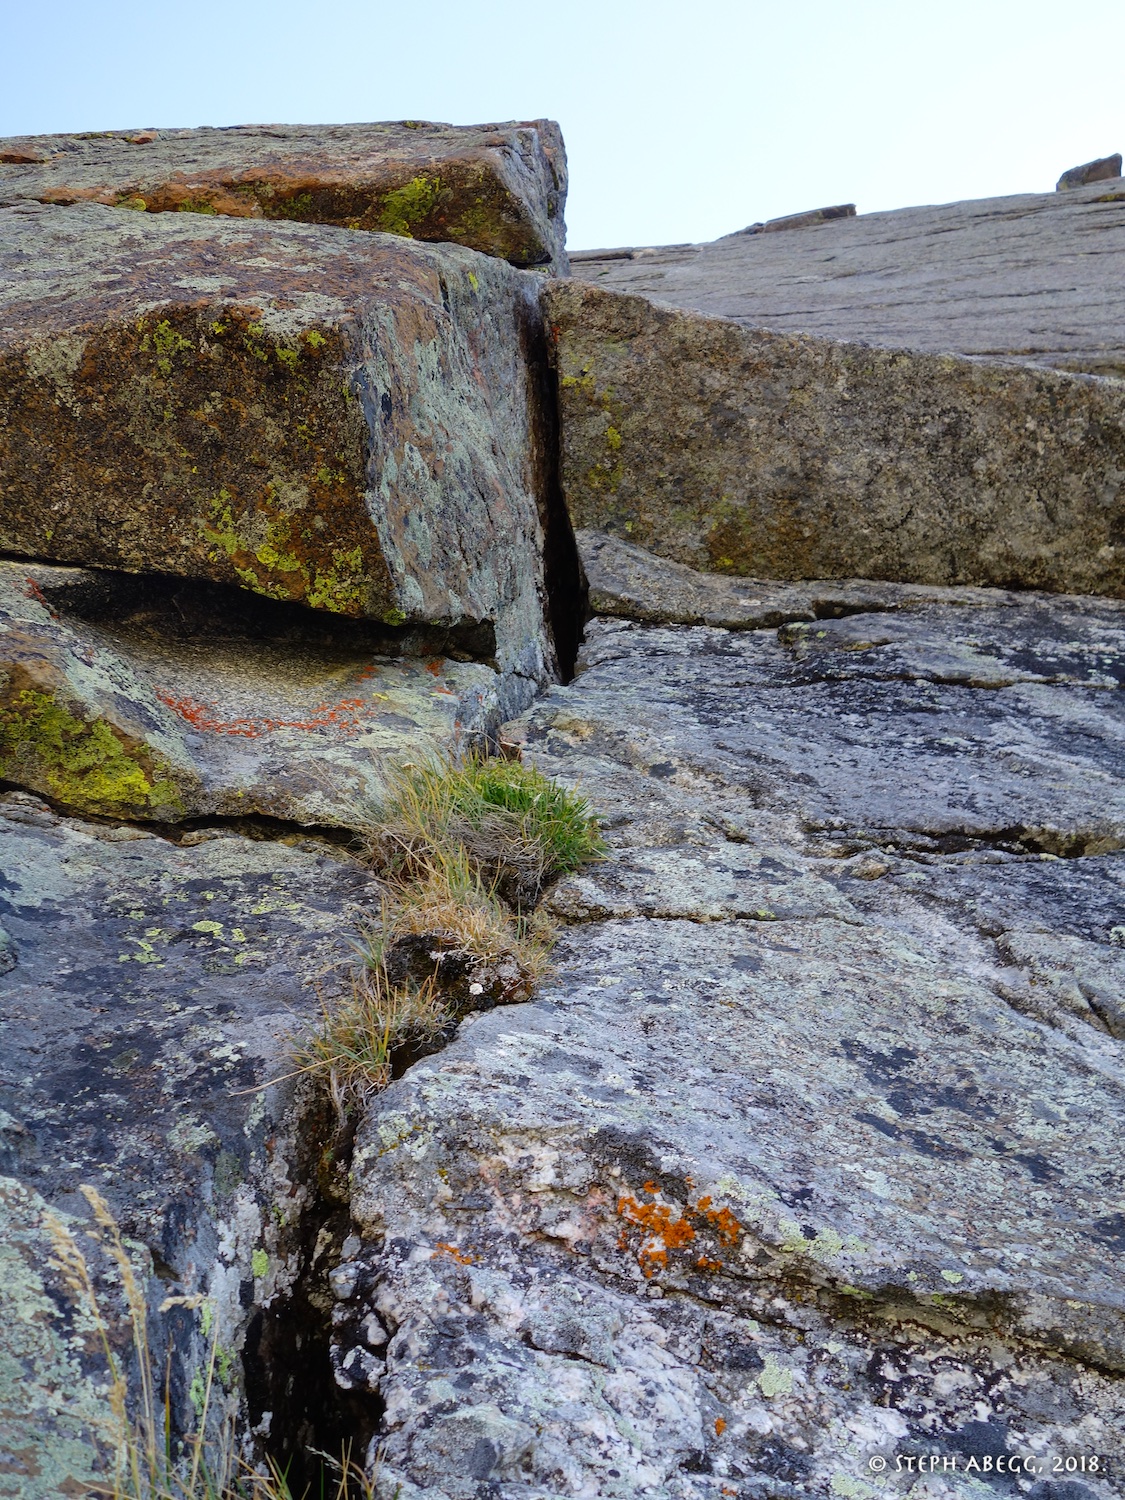
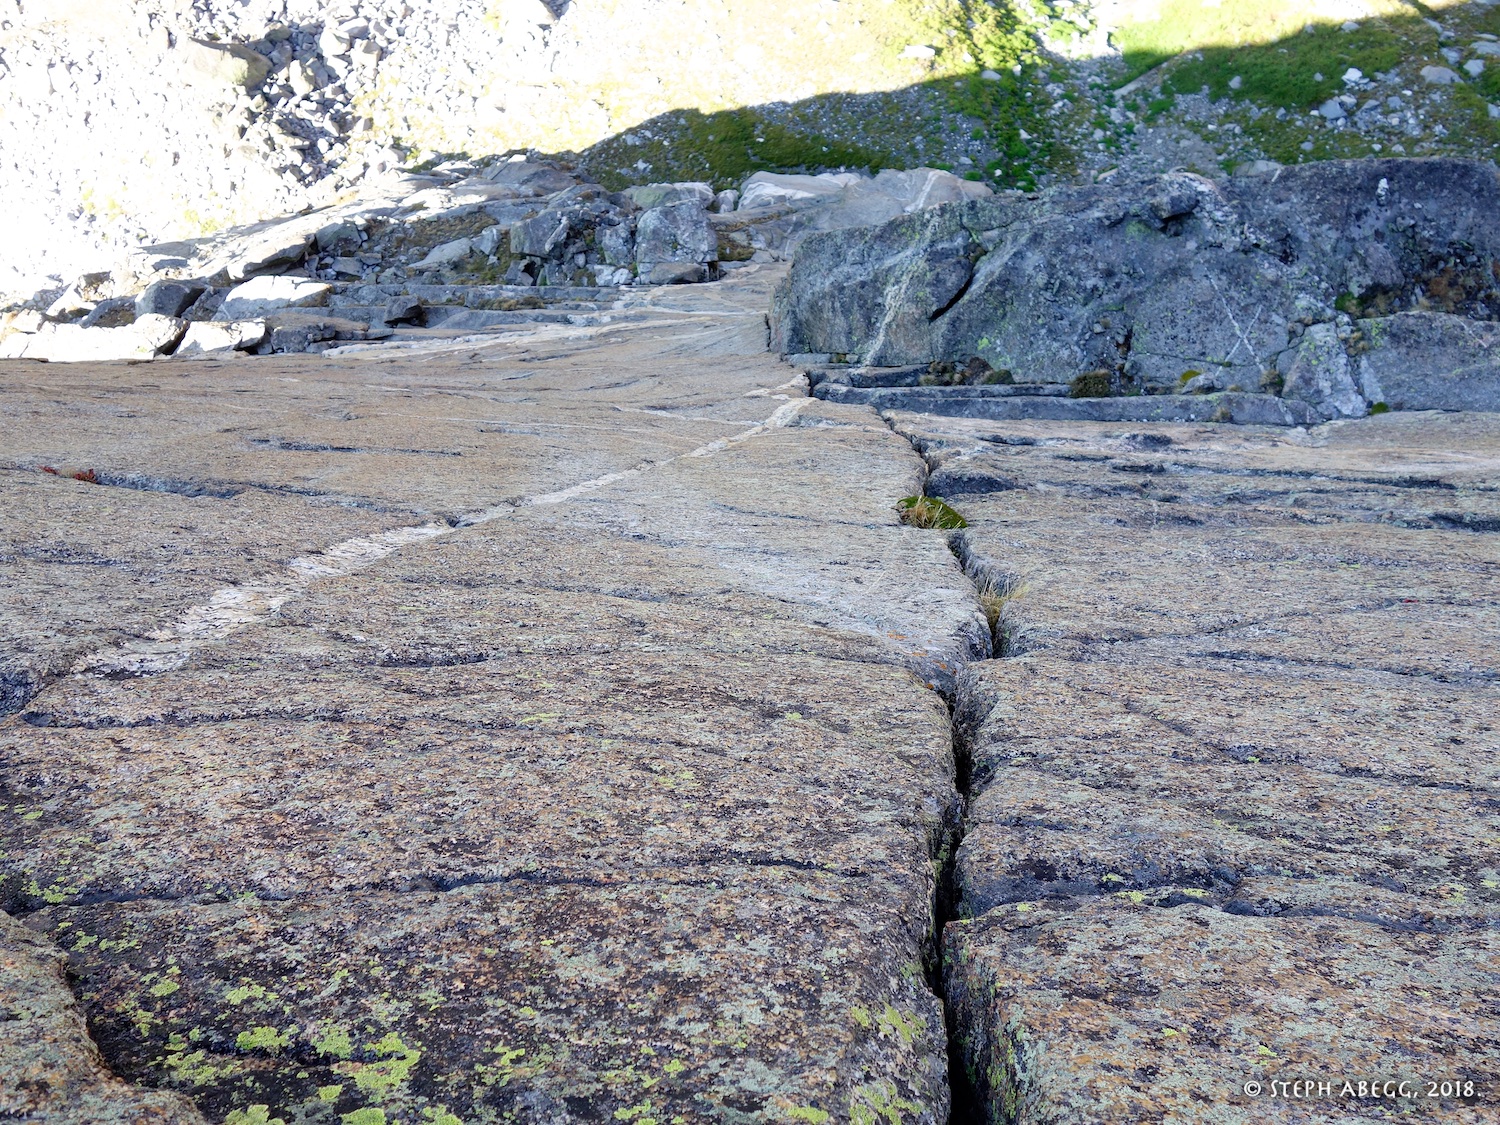
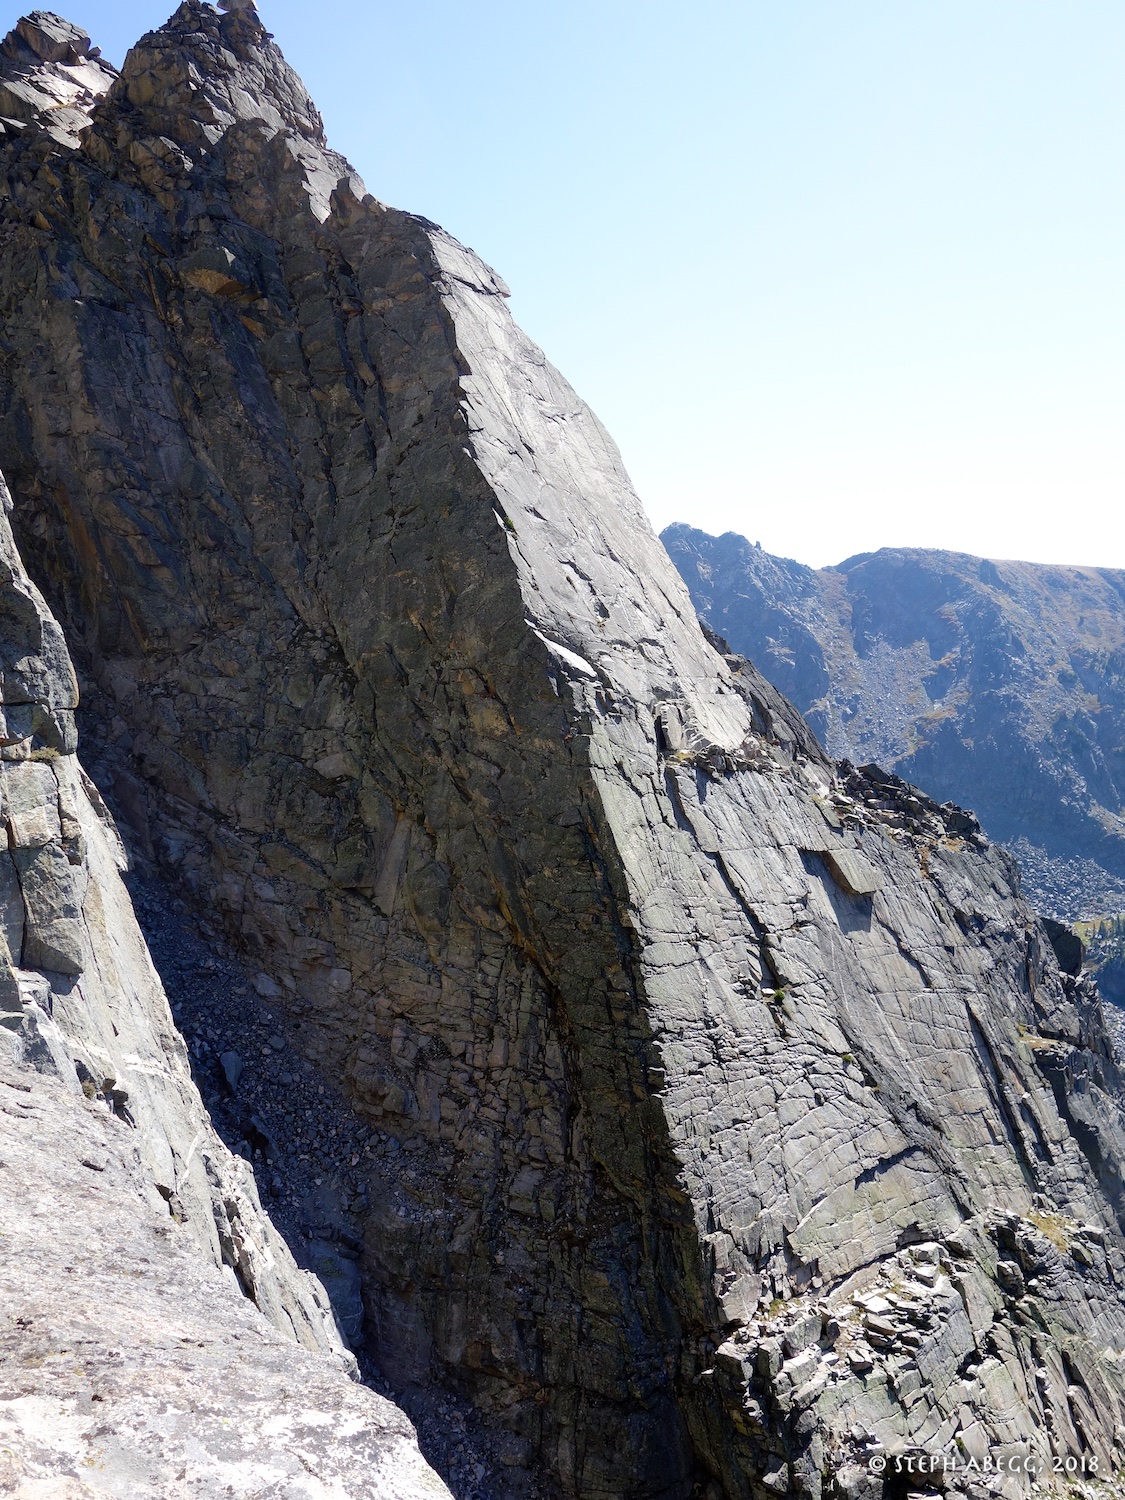
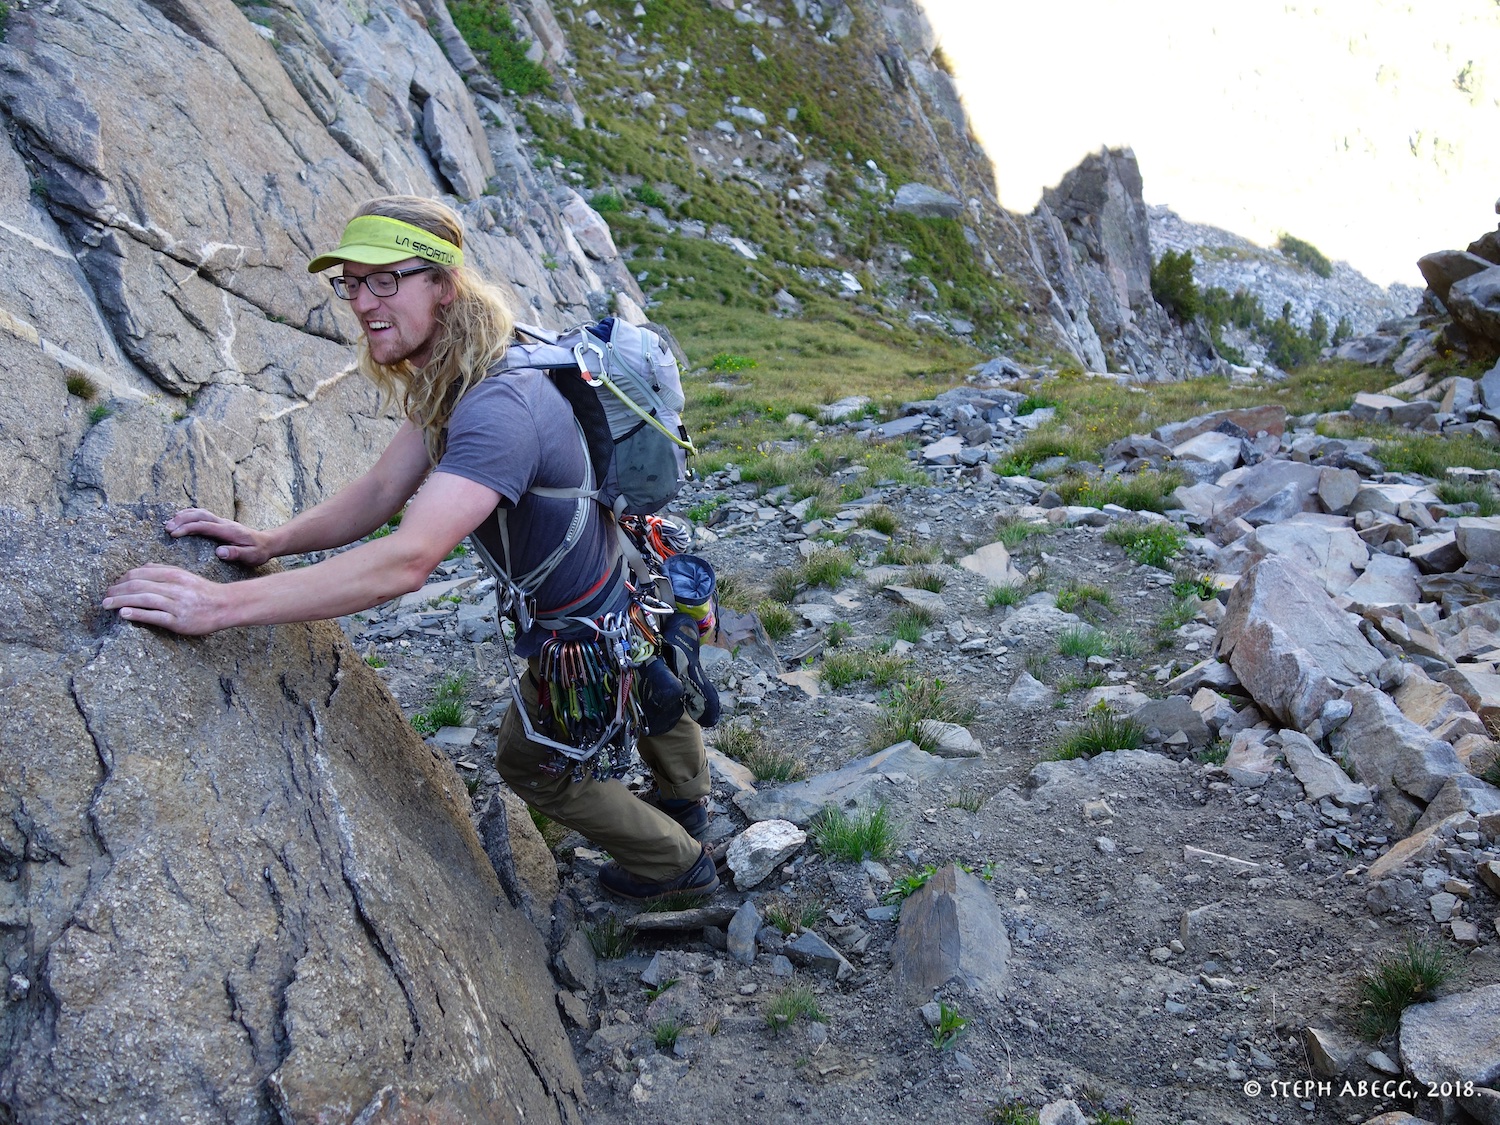
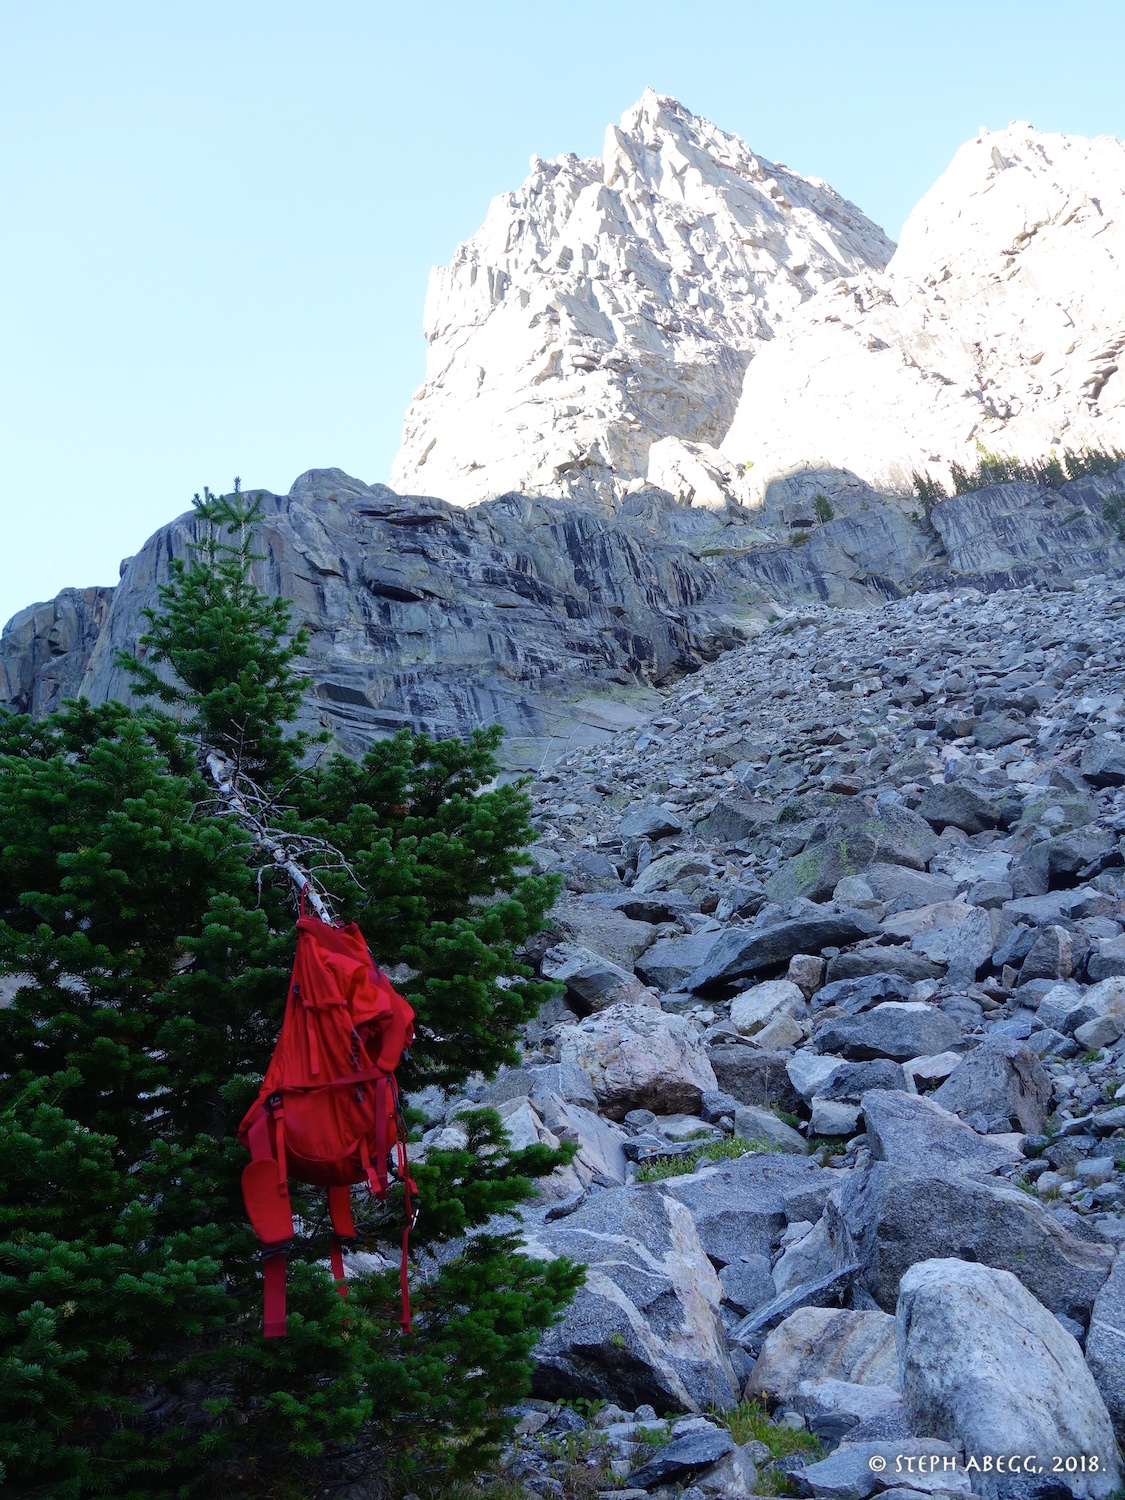
From Elbow Lake / East Fork Mill Creek Trailhead, hike to Elbow Lake (8-9 miles, ~4000 ft elevation gain). Nice camping here if you don't do the route car-to-car as we did. The route is located on the south face of Eenie, which is directly across Elbow Lake. To get to the base of the route, cross the creek just below Elbow Lake and follow a path over talus fields along the west bank. After the lake, follow the trail upward skirting left around a lower rock buttress; shortly before you reach a large square-shaped opening (the "Garage Door") through the wall, turn right and head up towards the base of the main buttress of Eenie. The standard route starts just around the right side of the buttress (small cairn marks start). The Hooven-Leo variation (which we did) starts about 100 feet up and left of the main route at the base of an obvious crack system splitting the face.
1.
2.
3.
4.
5.
6.
7.
8.
9.
10.
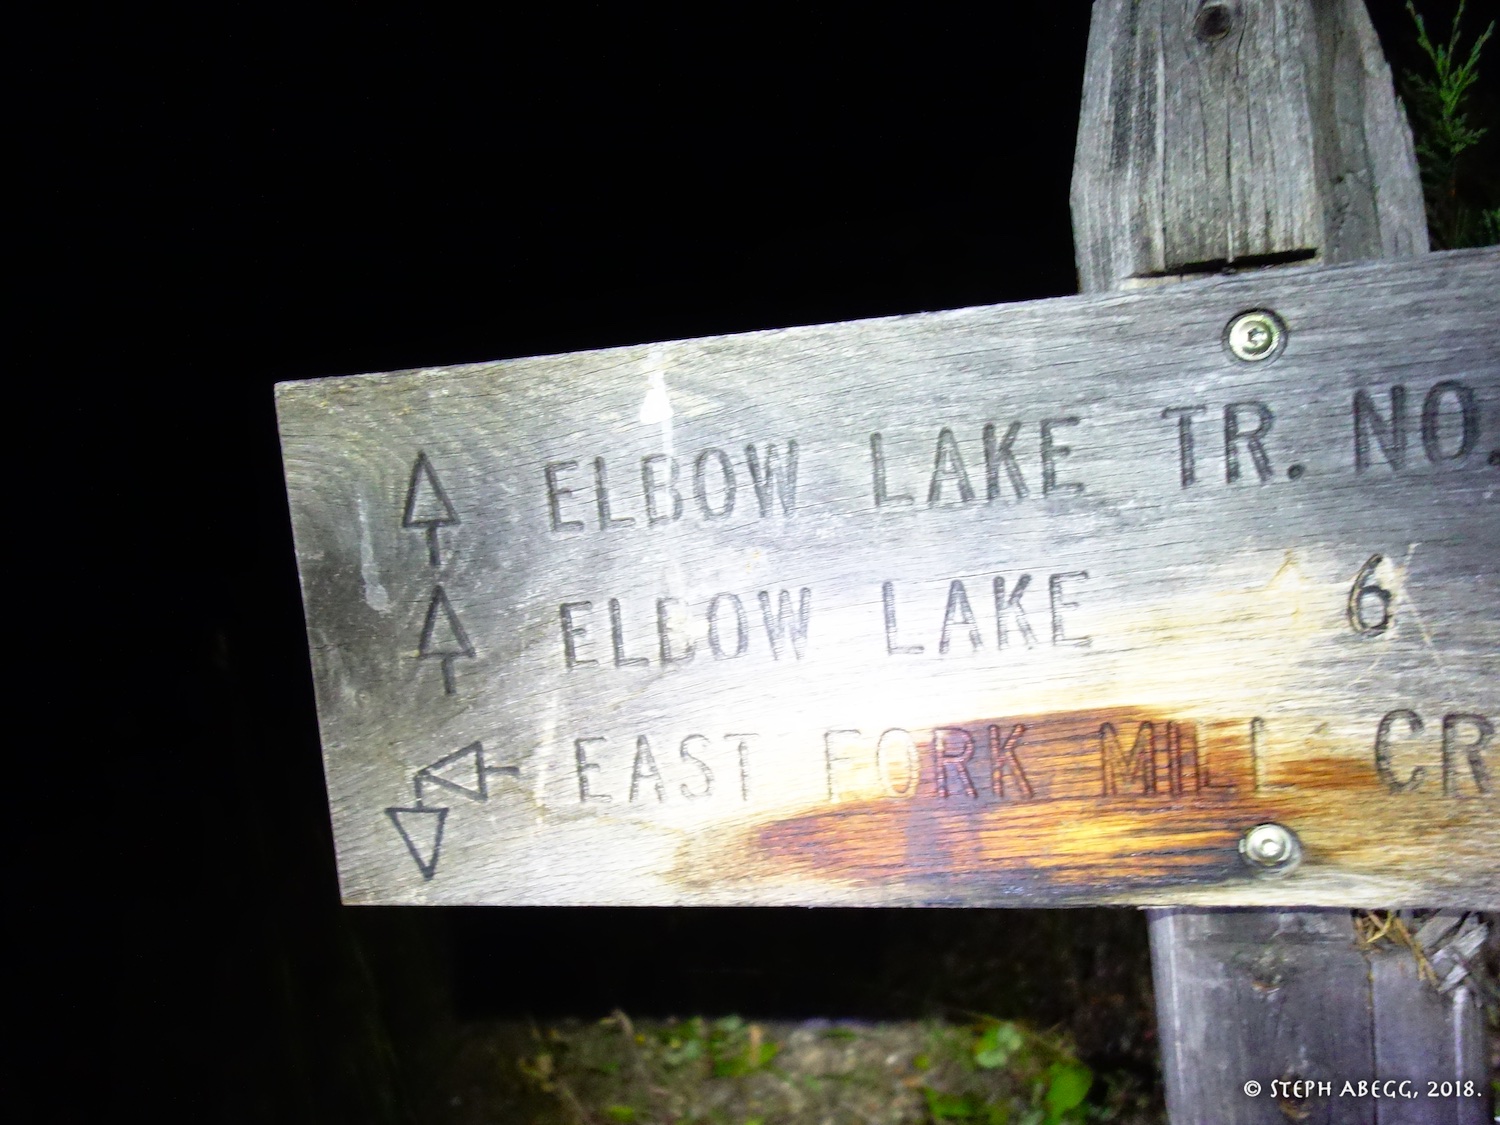
1.We were approaching in the dark. There was just one major junction, about 35 min into the hike.
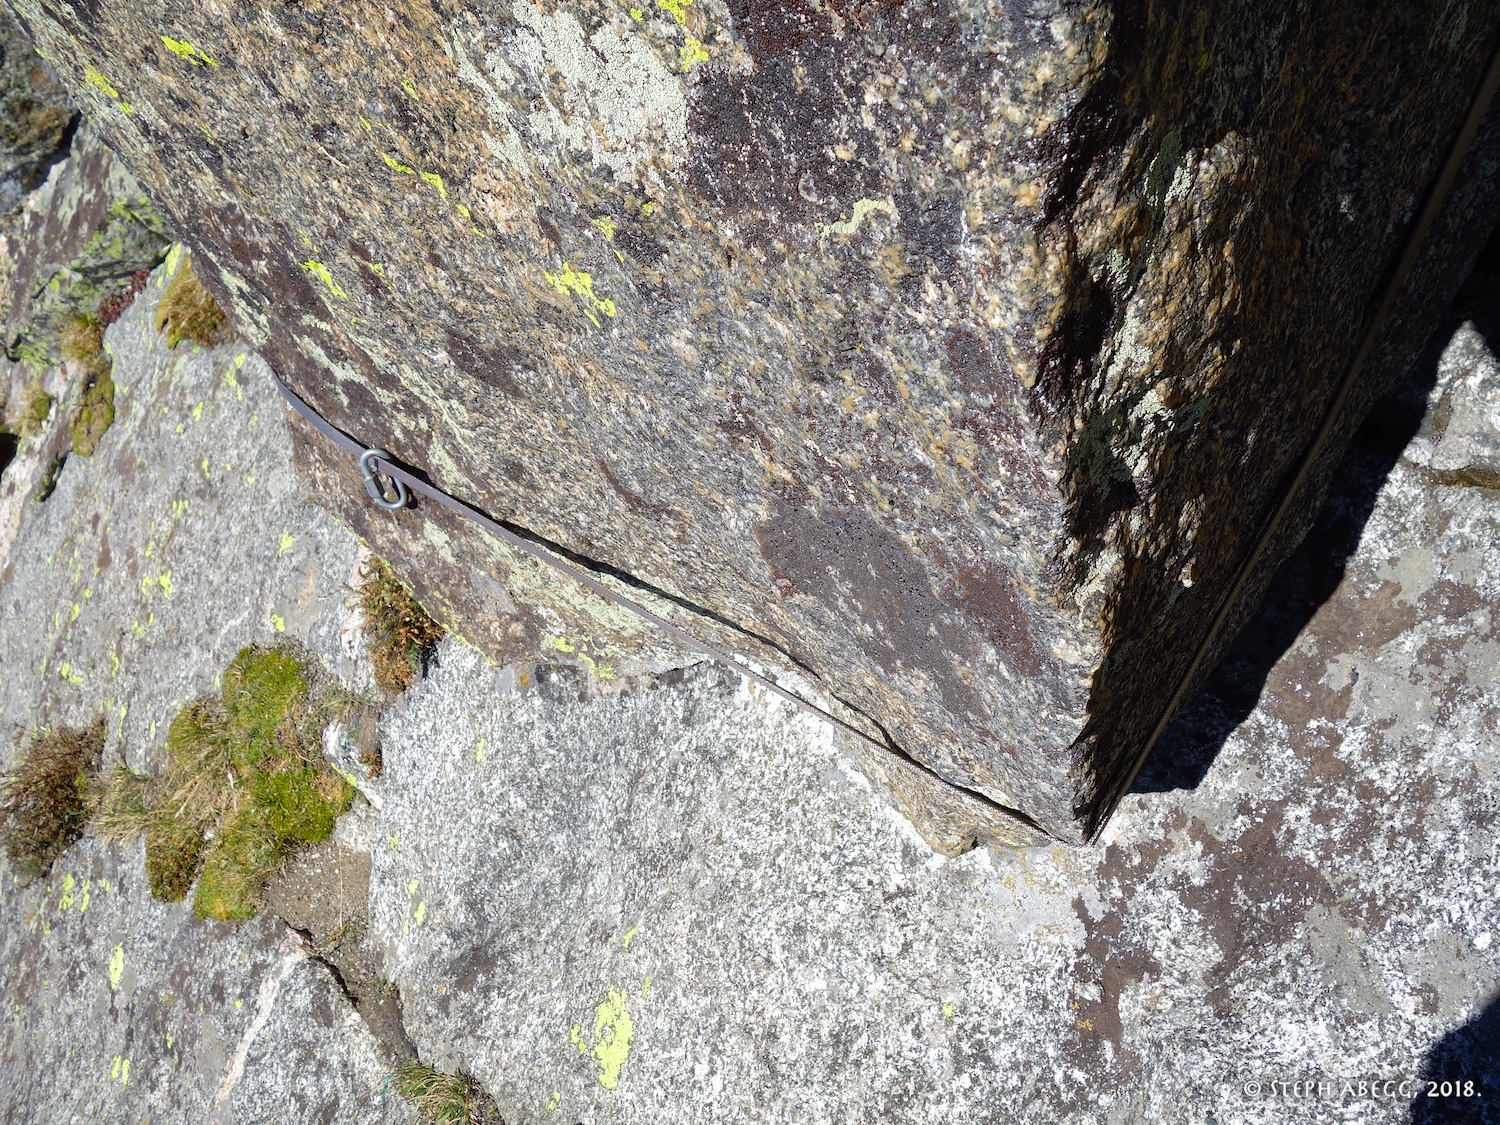
2. Eenie from Elbow Lake. We got there just as the first rays of sun were hitting the top of the peak.
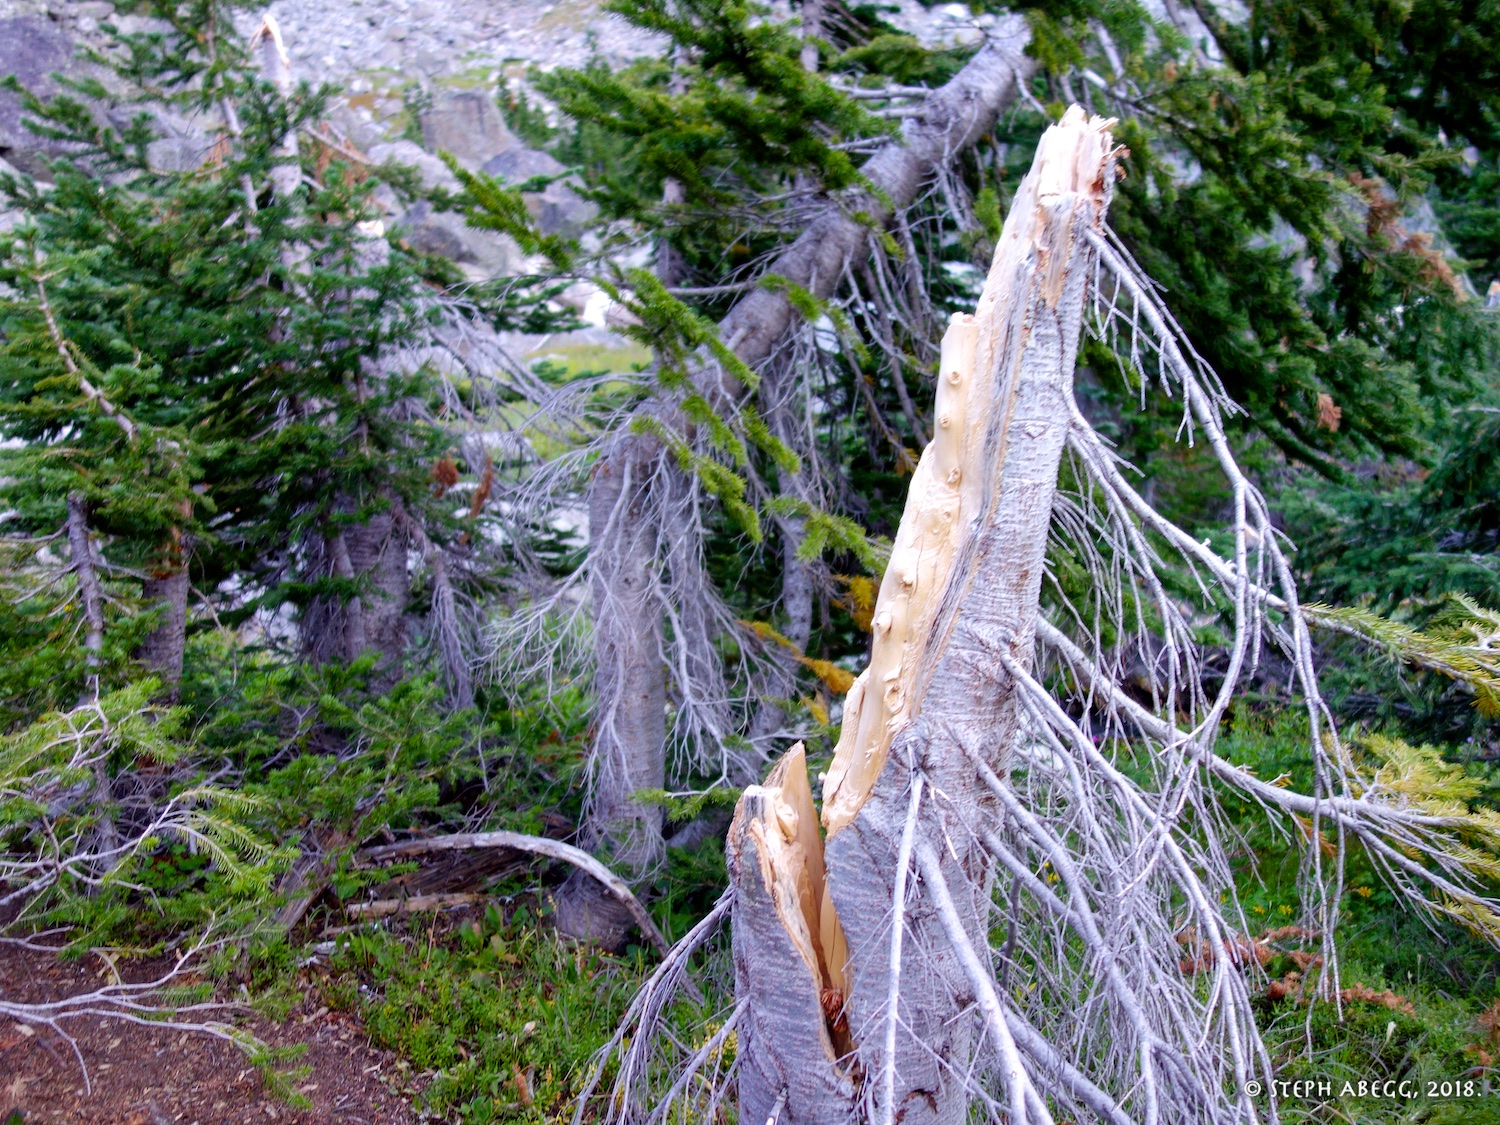
3. Avalanche damage.
4. Skirt left around the lower rock buttress.
5. Go right shortly before you reach the large square-shaped opening (the "Garage Door") through the wall. You can see the Garage Door in this photo.
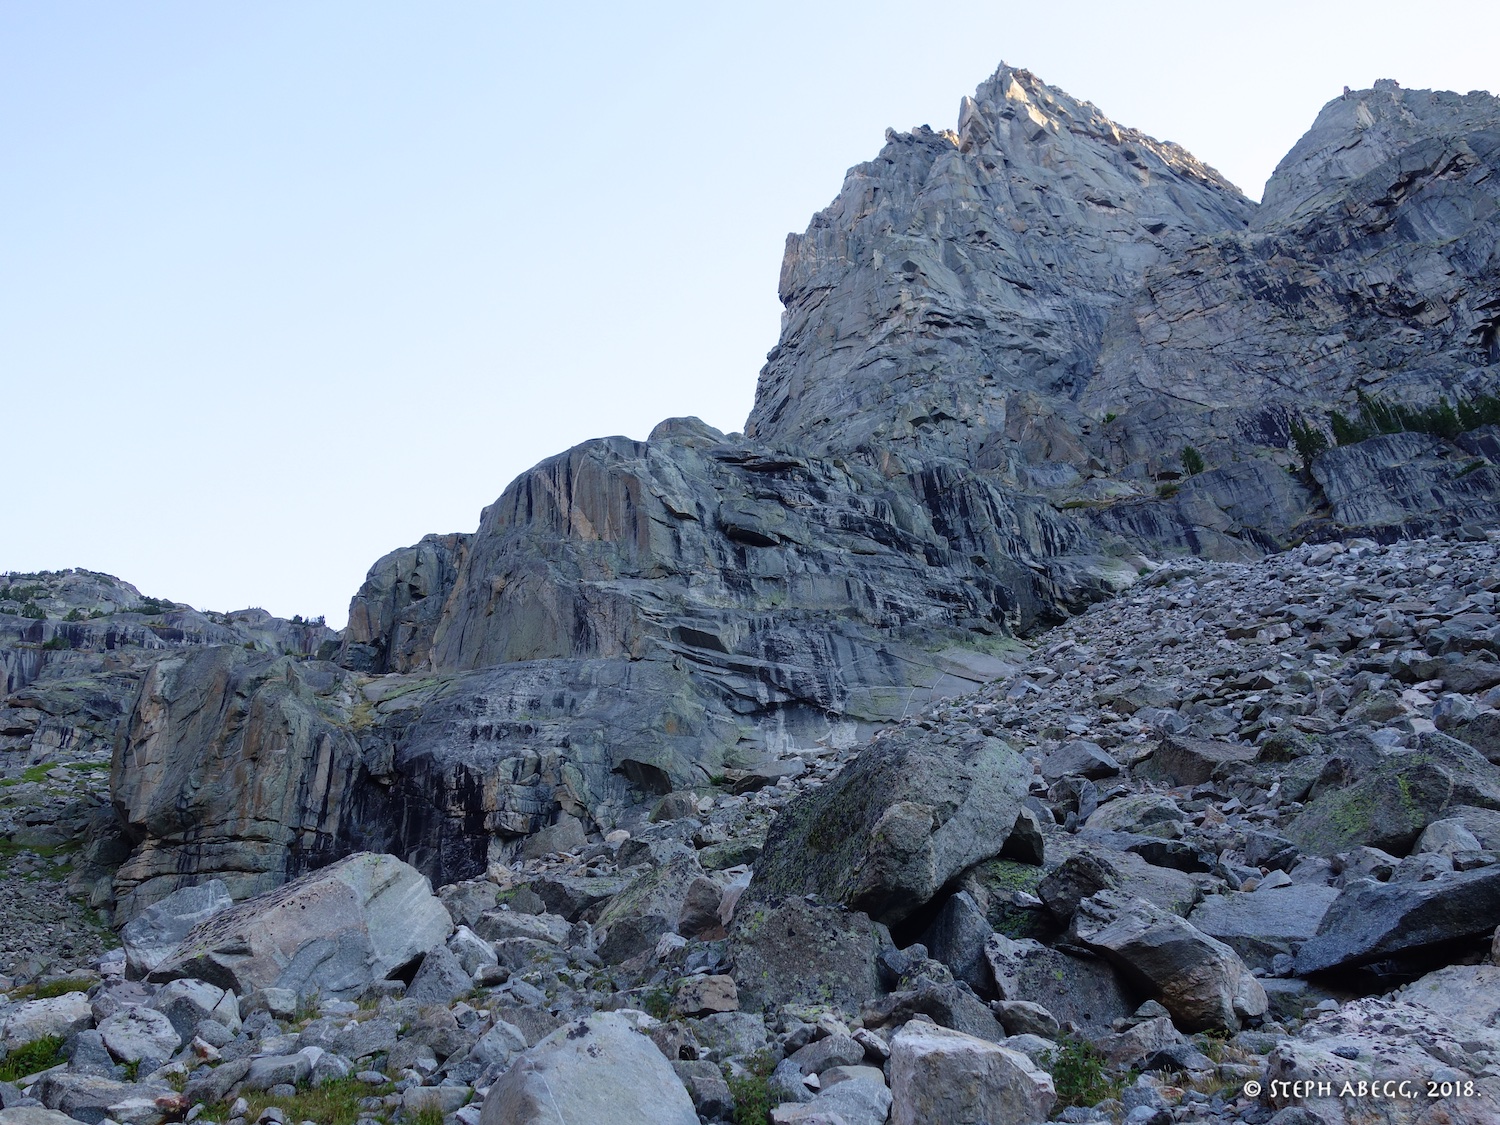
6. The buttress is on the right. The standard route starts just around the right side of this buttress. The Hooven-Leo variation goes up the splitter cracks about 100 feet left of this.
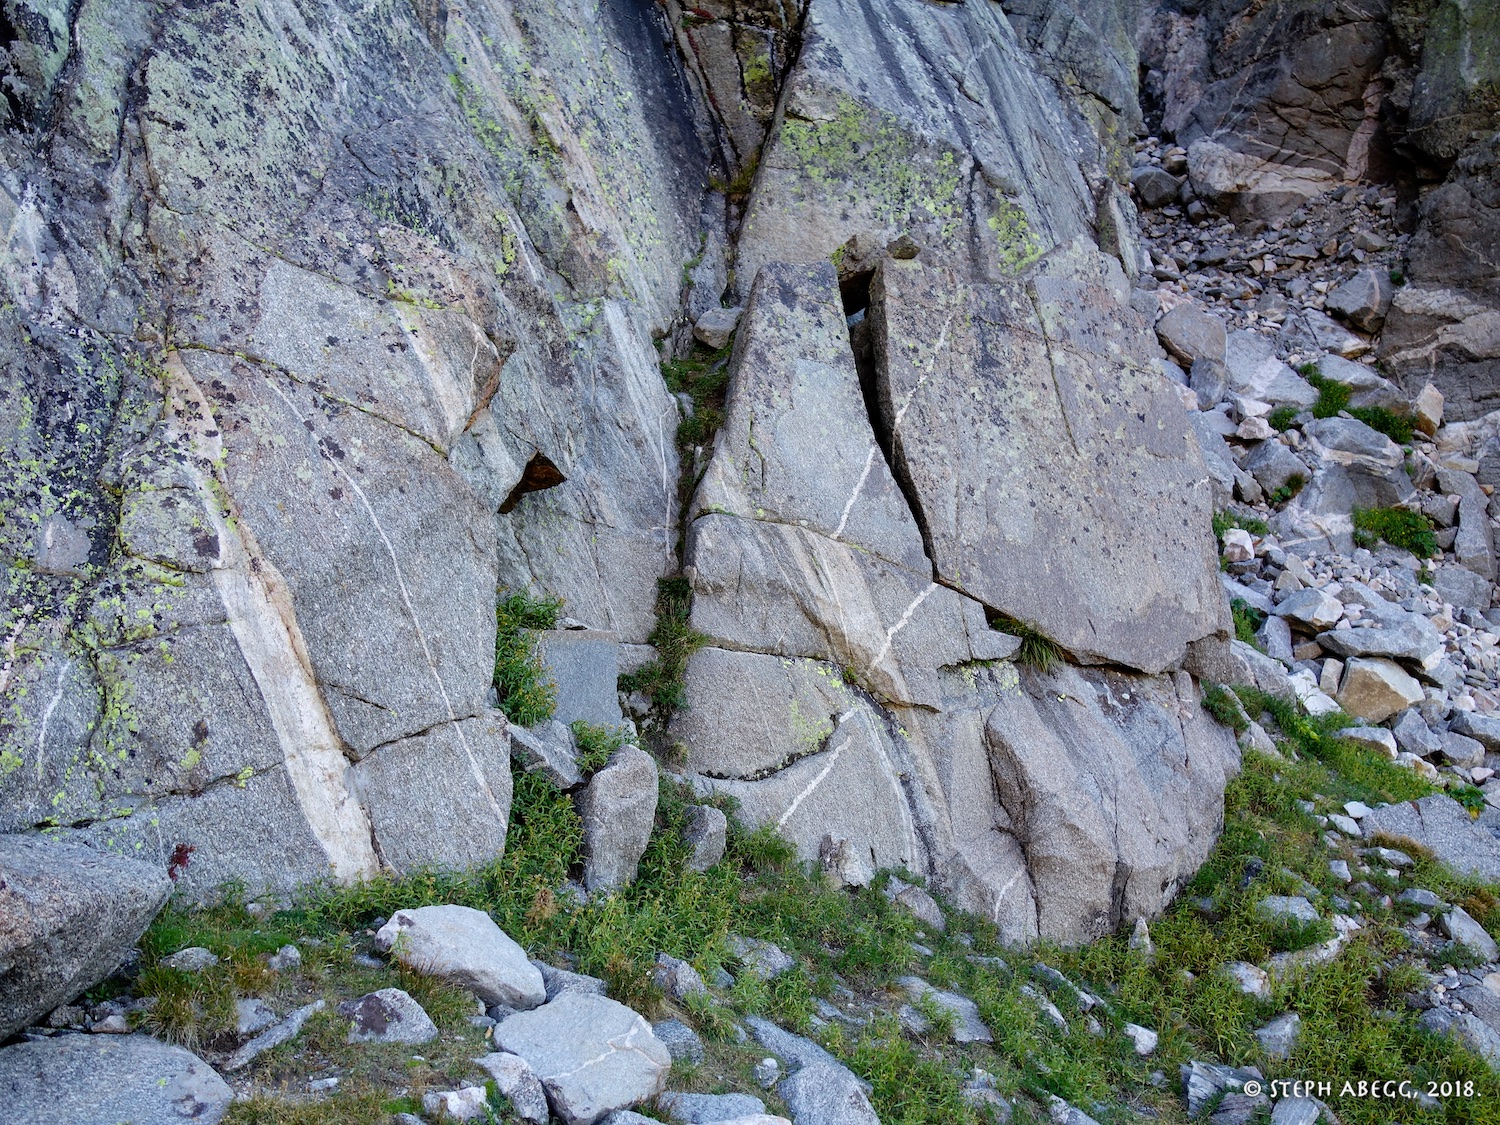
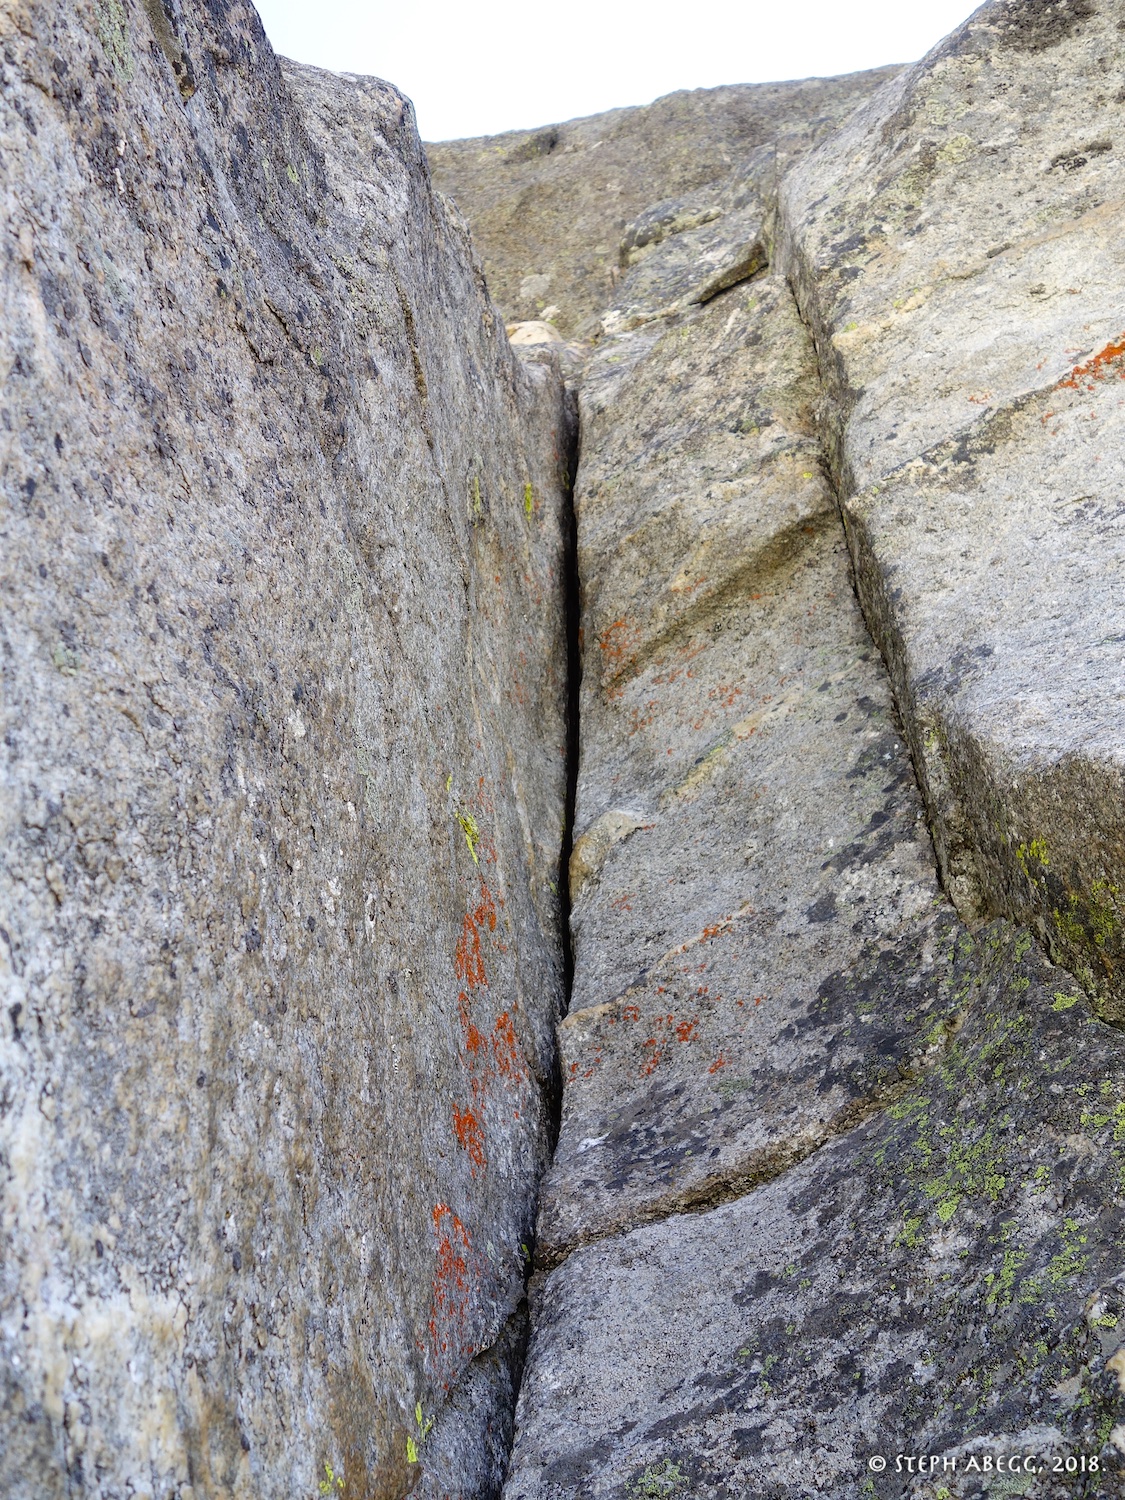
7. A closer view of the splitter crack system making up the Hooven-Leo variation (this is about about 100 feet left of the standard route). If you like crack climbing and easy route-finding, go this way.
8. Looking up from the base of the standard route (this is about 100 feet right of the Hooven-Leo variation). Apparently this way has some good climbing as well, but the route-finding looks a bit more devious. Disclaimer: Since we climbed the Hooven-Leo variation, I am only guessing this is the location of the standard route, based on the route description for it and the tiny cairn below this section of the buttress.
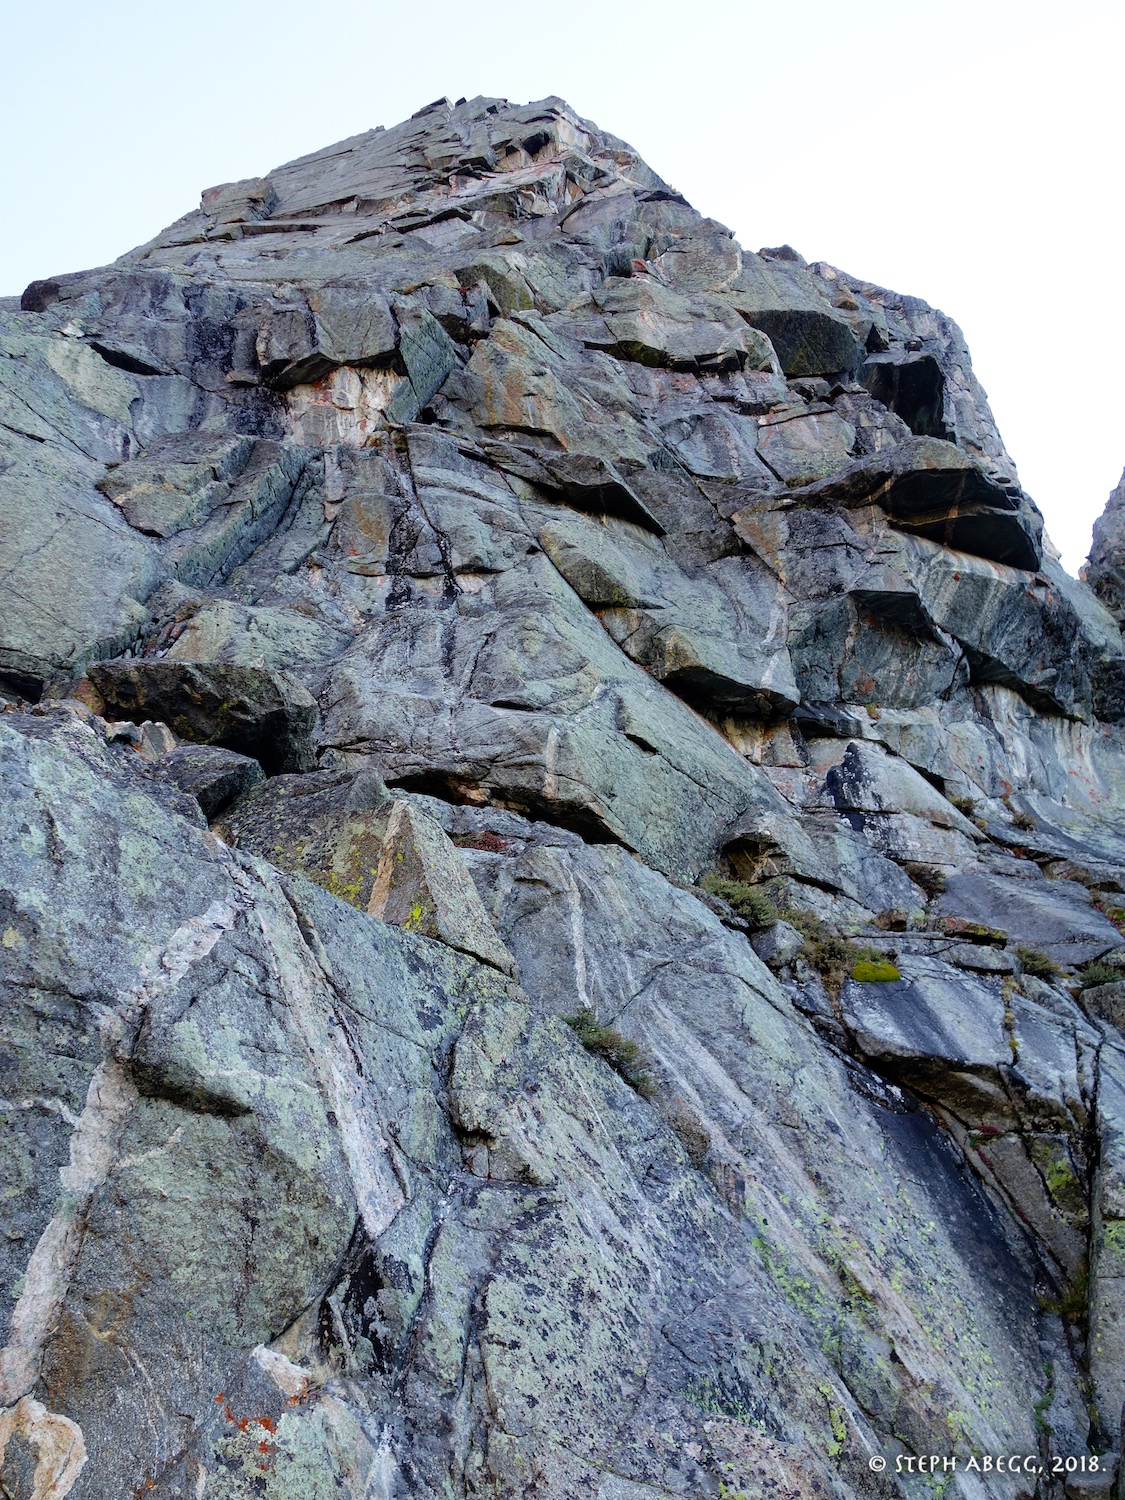
9. Since we did not do the standard route, I cannot say for sure, but I think the small pile of rocks just left and down of center in this photo marks the start of the standard route. 10. About 50 feet of 4th class scrambling up a dike system to get to the base of the Hooven-Leo variation.
Pitch
1
(Hooven-Leo variation)
Hooven-Leo: ~5.9 (R at the start maybe), ~160 ft. Climb the crack to a small stance where the crack system jogs right. Standard: See mountainproject or guidebook.
11.
12.
11. To access the crack system (which flares out for the first 20 feet above the start ledge), climb unprotectable terrain up the chimney on the left and make a committing step onto the face. From there, traverse easily to the crack, plug in a piece, and jam upwards!
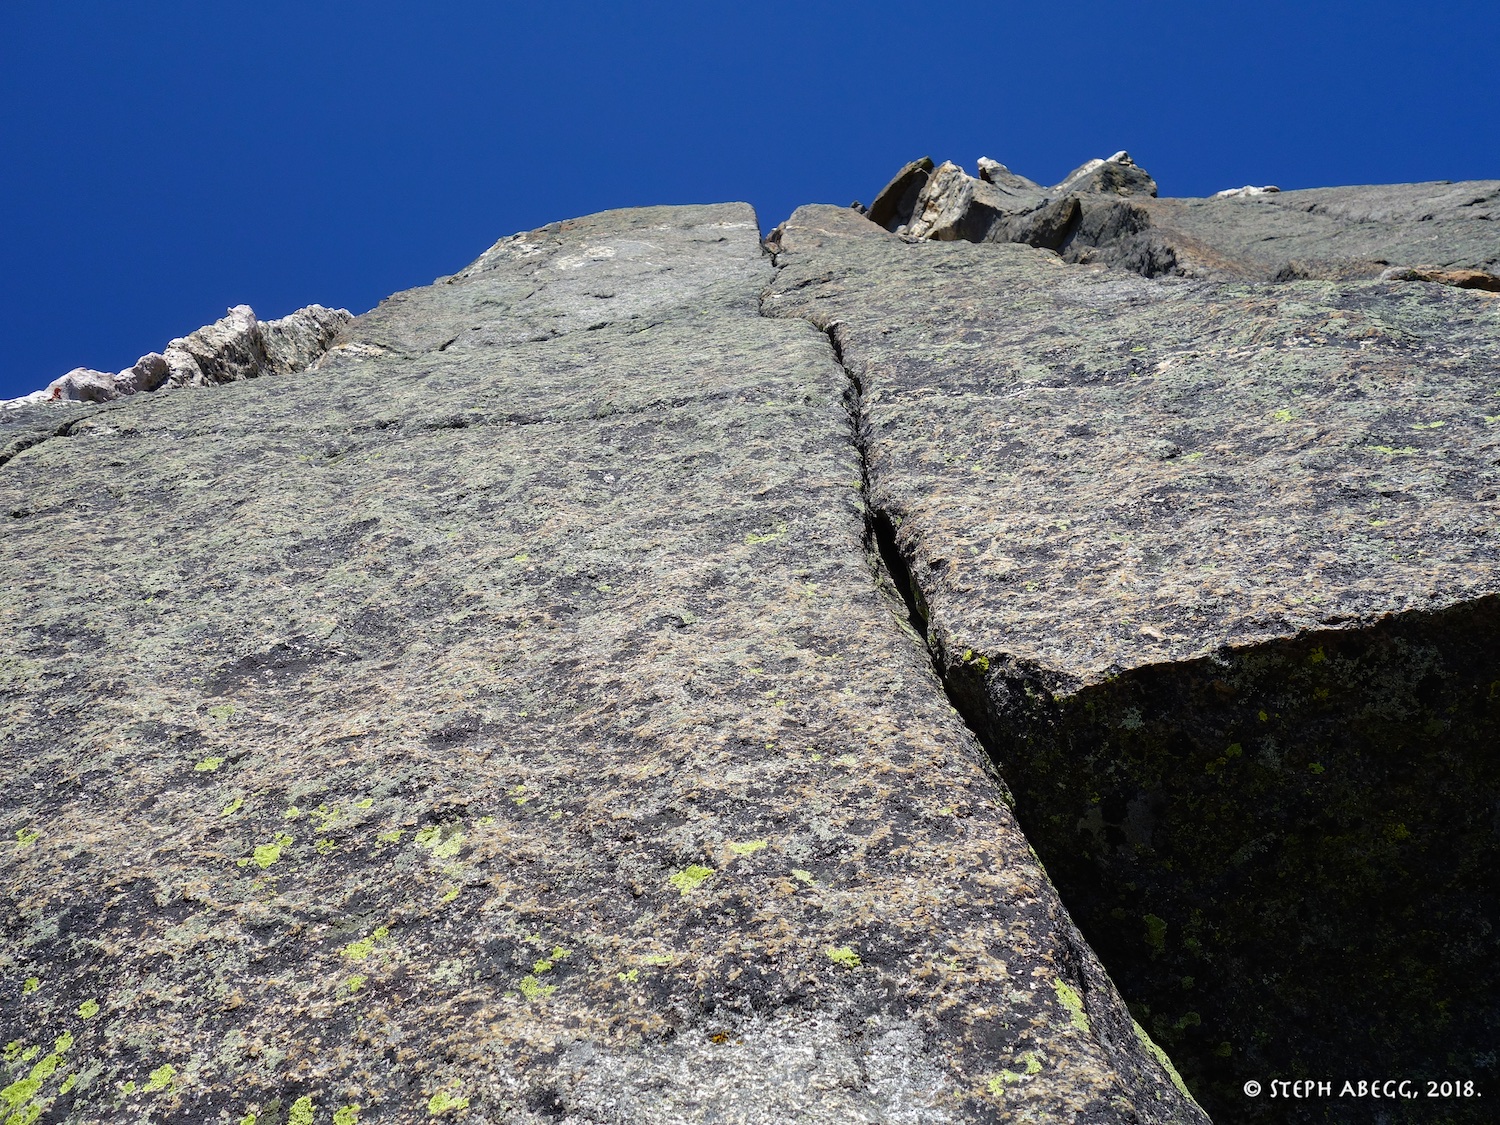
12.Crack climbing! There is some minor vegetation in the first half of this pitch, but not enough to detract from the climbing. There is no more vegetation in the subsequent pitches.
Pitch
2
(Hooven-Leo variation)
Hooven-Leo: ~5.9, ~120 ft. Continue up the crack, climbing past a small roof along the way. Belay at a nice ledge. Standard: See mountainproject or guidebook.
13.
14.
15.
13.Looking up at Pitch 2 from the belay at the top of Pitch 1.
14. This crack eats offset nuts.
15. A roof midway up Pitch 2. Probably the crux of the pitch, but great jams.
Pitch
3
(Hooven-Leo variation)
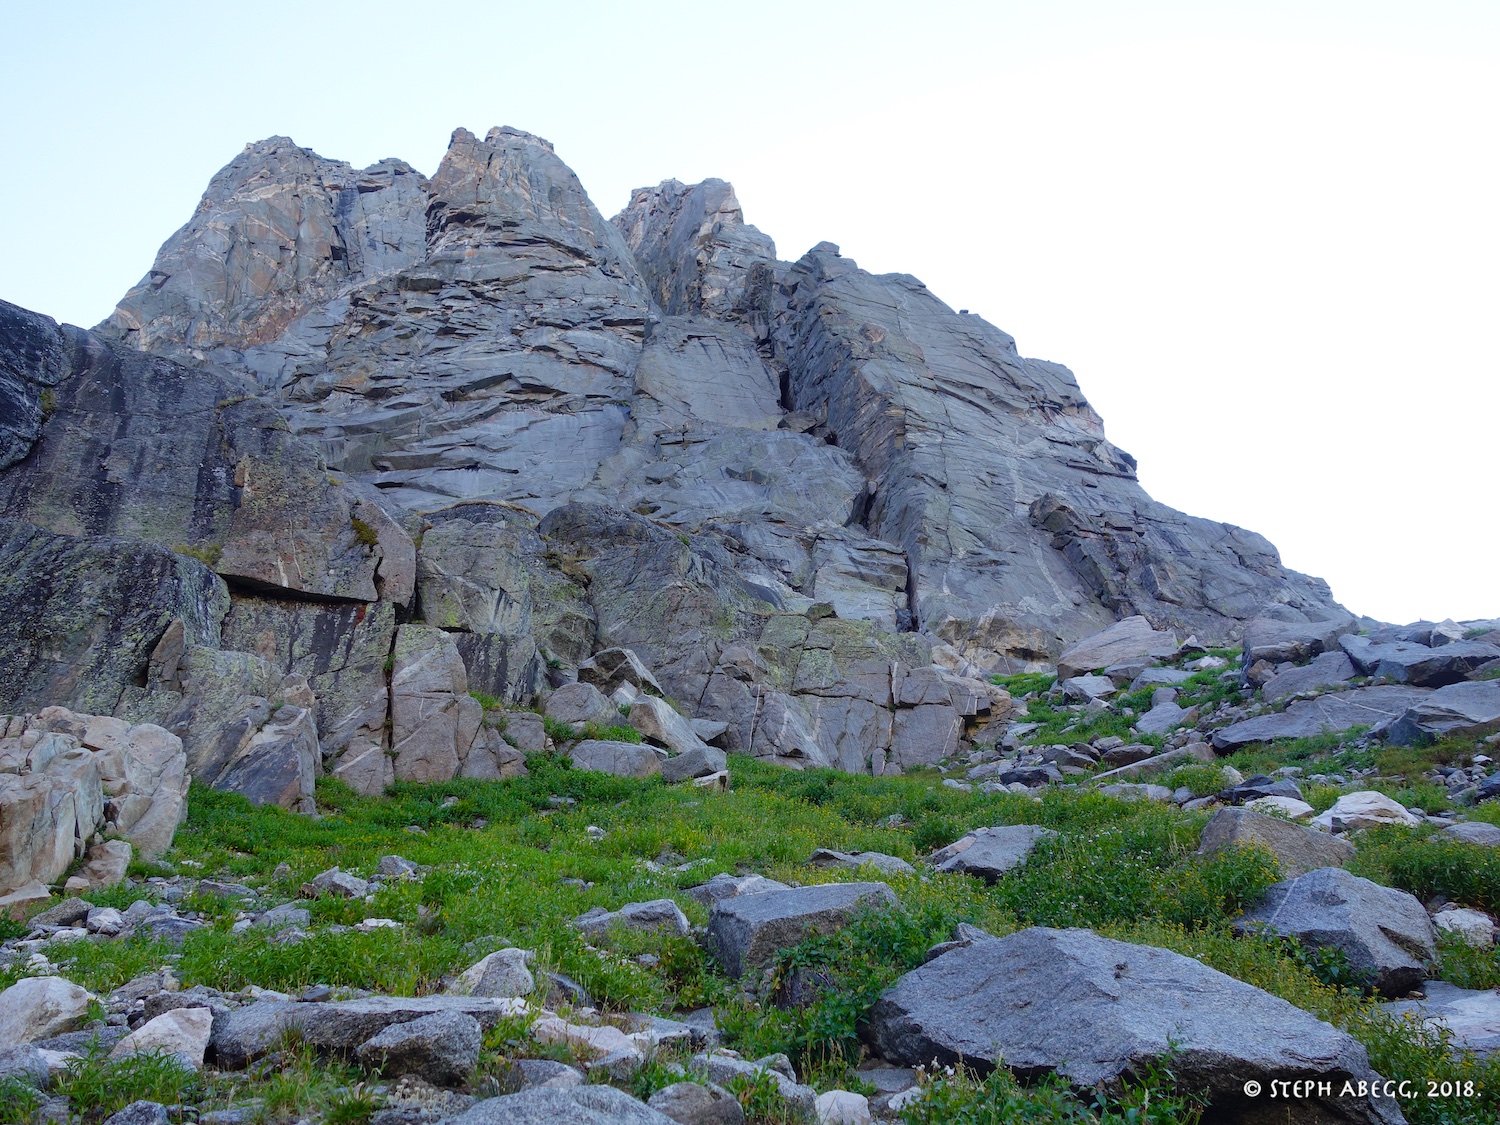
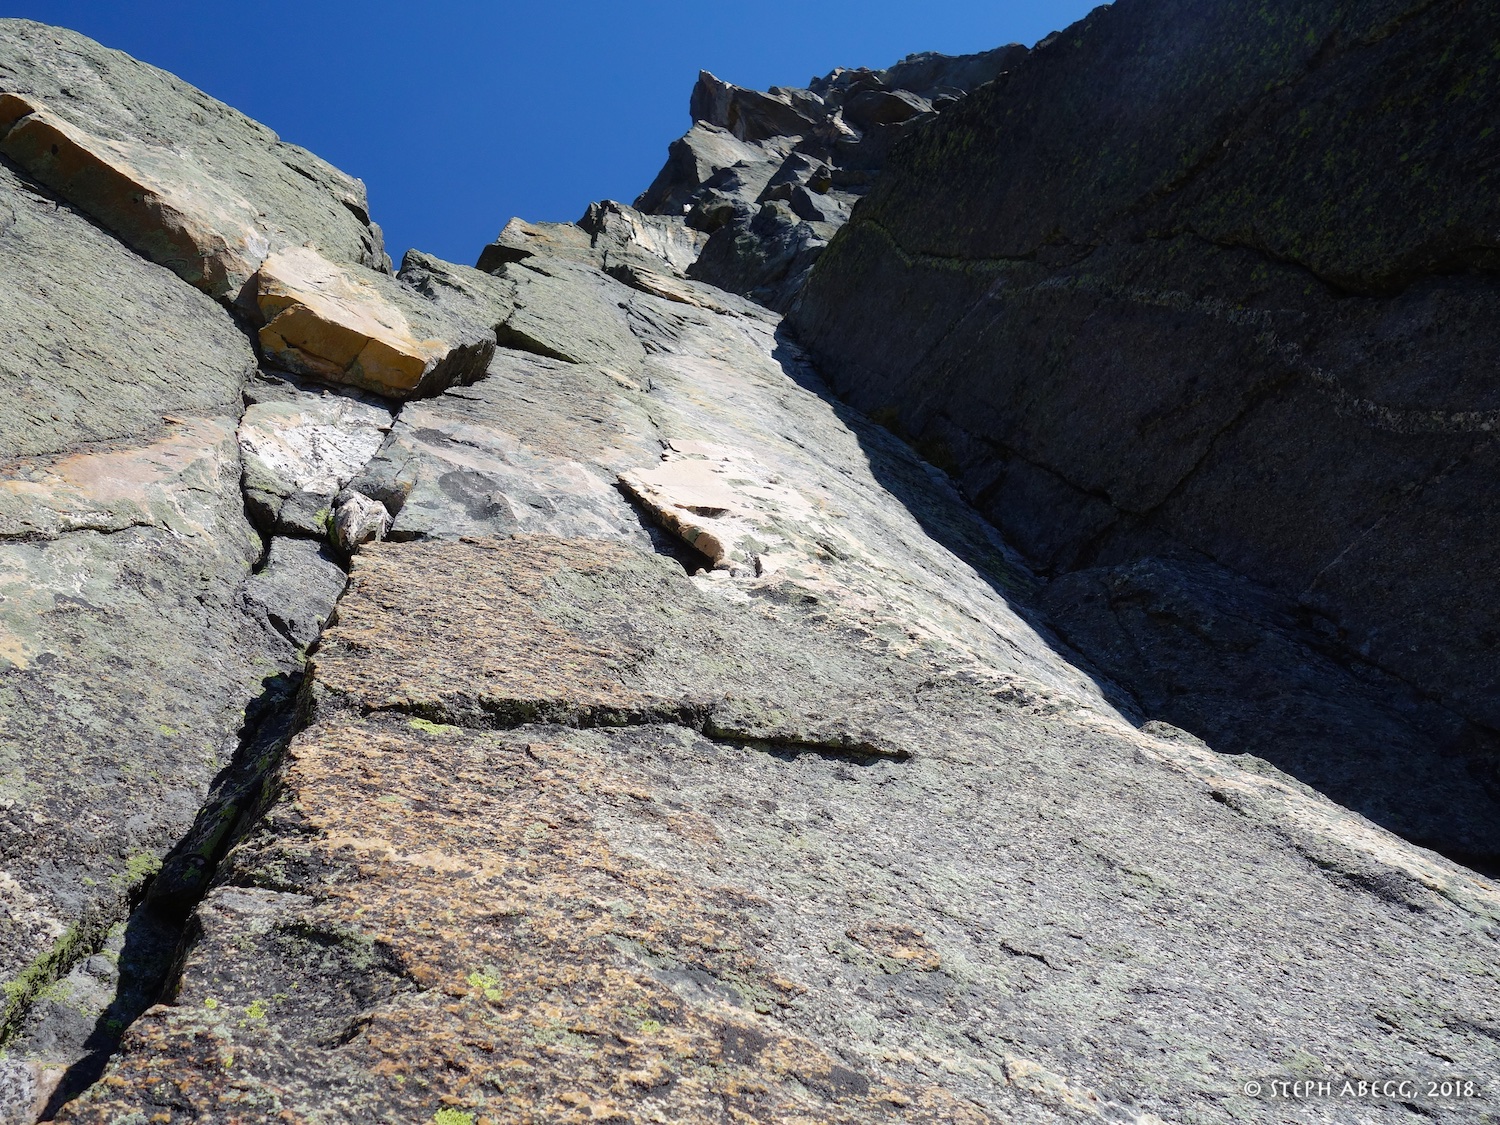
Hooven-Leo: ~5.9, ~120 ft. Continue up the crack to a big ledge. To get to the standard route to here, walk right along the ledge to the large dihedral system; from our best interpretation of the route description for the standard route, this ledge intersects the standard route midway up Pitch 4 of the standard route). It looks like could also probably continue directly upward and traverse to the standard route at the base of Pitch 5 or 6.
16.
17.
18.
16.Daniel starting up Pitch 3.
17. Looking down midway up Pitch 3. 18. The ledge at the top of Pitch 3 of the Hooven-Leo variation. We traversed rightward along this ledge to intersect the standard route at the large dihedral system (this intersection point is probably midway up Pitch 4 of the standard route).
Pitch
4
(variation to left of dihedral)
Variation (oops!): ~5.9, ~120 ft.Climb flakes to a crack system to the left of the dihedral. End on a ledge that slopes down and right. Standard: I think you climb the diehdral on the right to the ledge. Goes at 5.9 according to topo.
19.
20.
19. At the time, we were a bit unsure of where the standard route was when we traversed in from the Hooven-Leo variation, so we ended up heading up the flakes and cracks on the left in this photo. The terrain was a bit grungy, but otherwise the climbing was quite good and not a bad option. We later concluded the standard route probably goes up the dihedral on the right in this photo (it had looked a bit tricky to protect when I scoped it out from below, but probably could find small cams and nuts here and there).
20. Looking down from our variation to the left of the dihedral. In this photo, you can clearly see the obvious dihedral below the ledge that makes up the first half of Pitch 4 of the standard route.
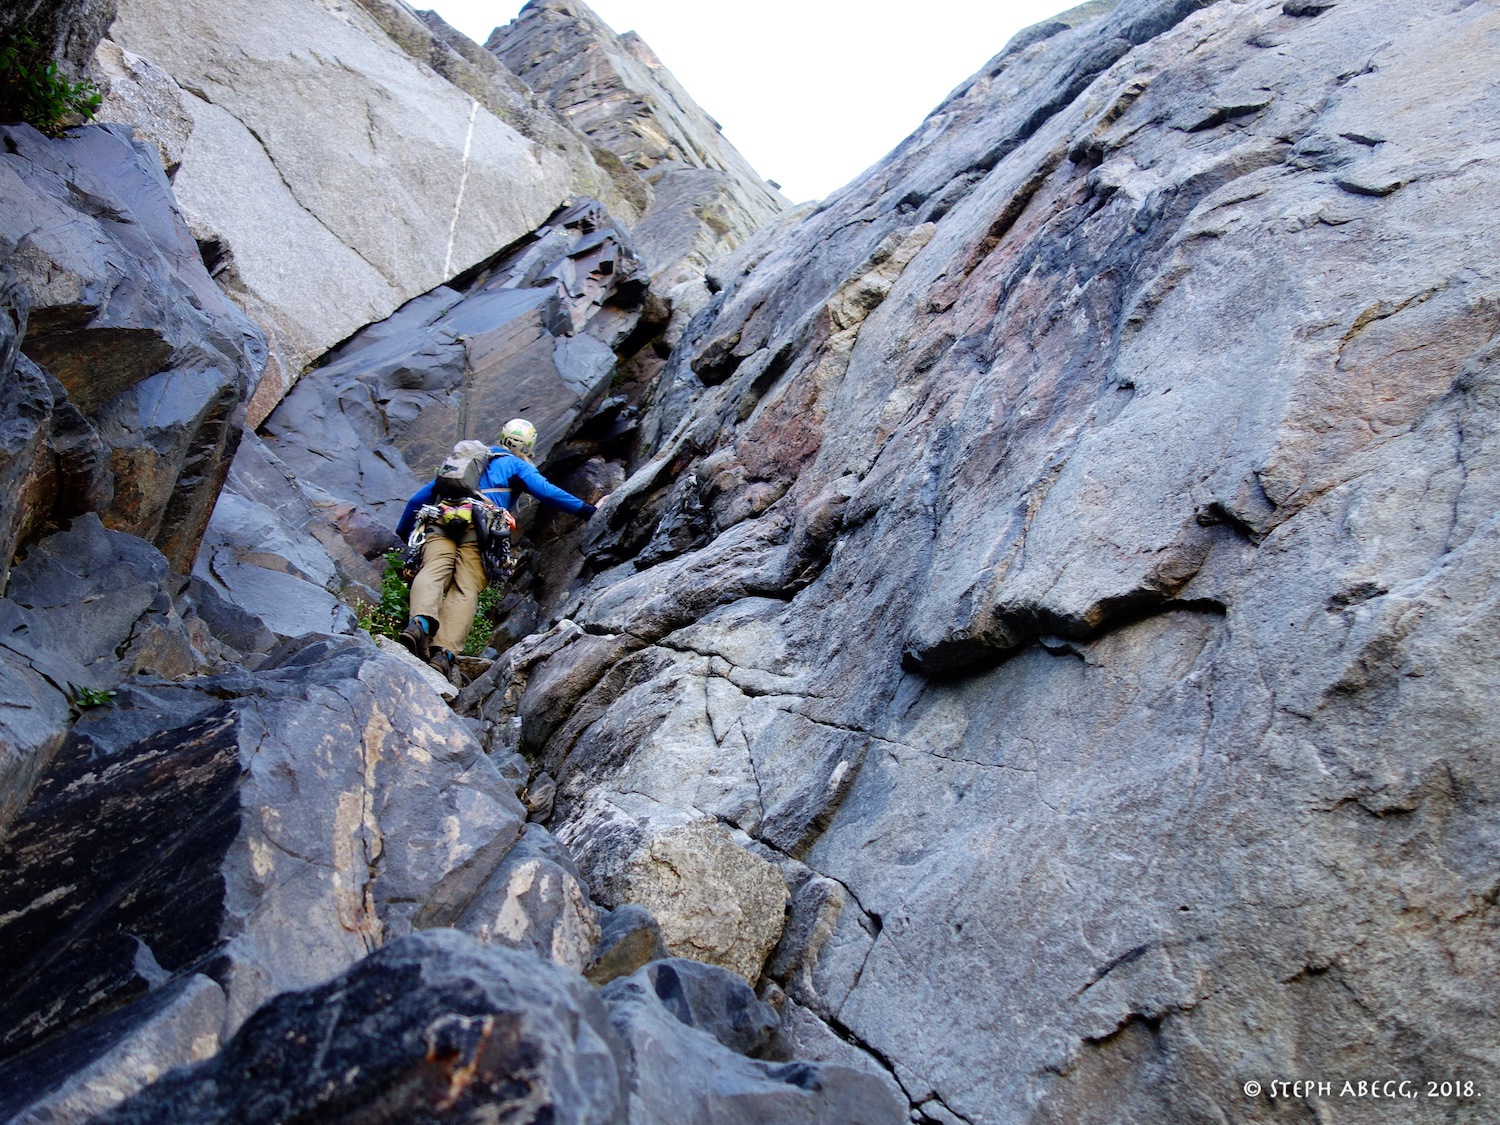
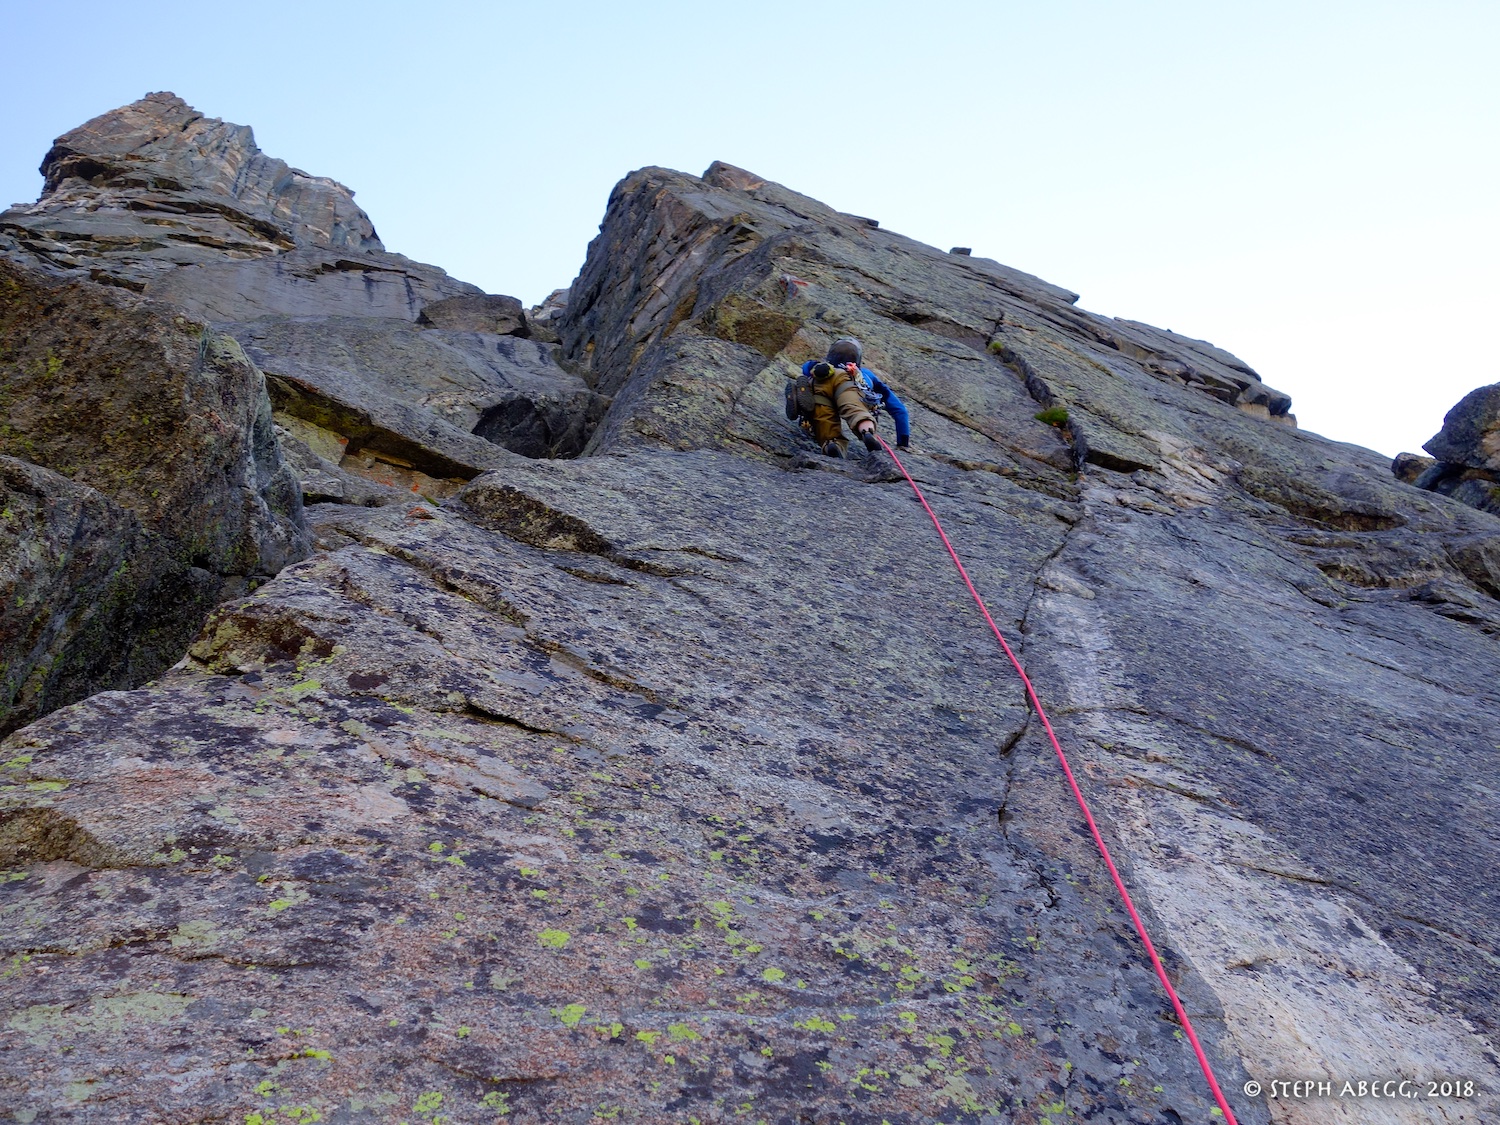
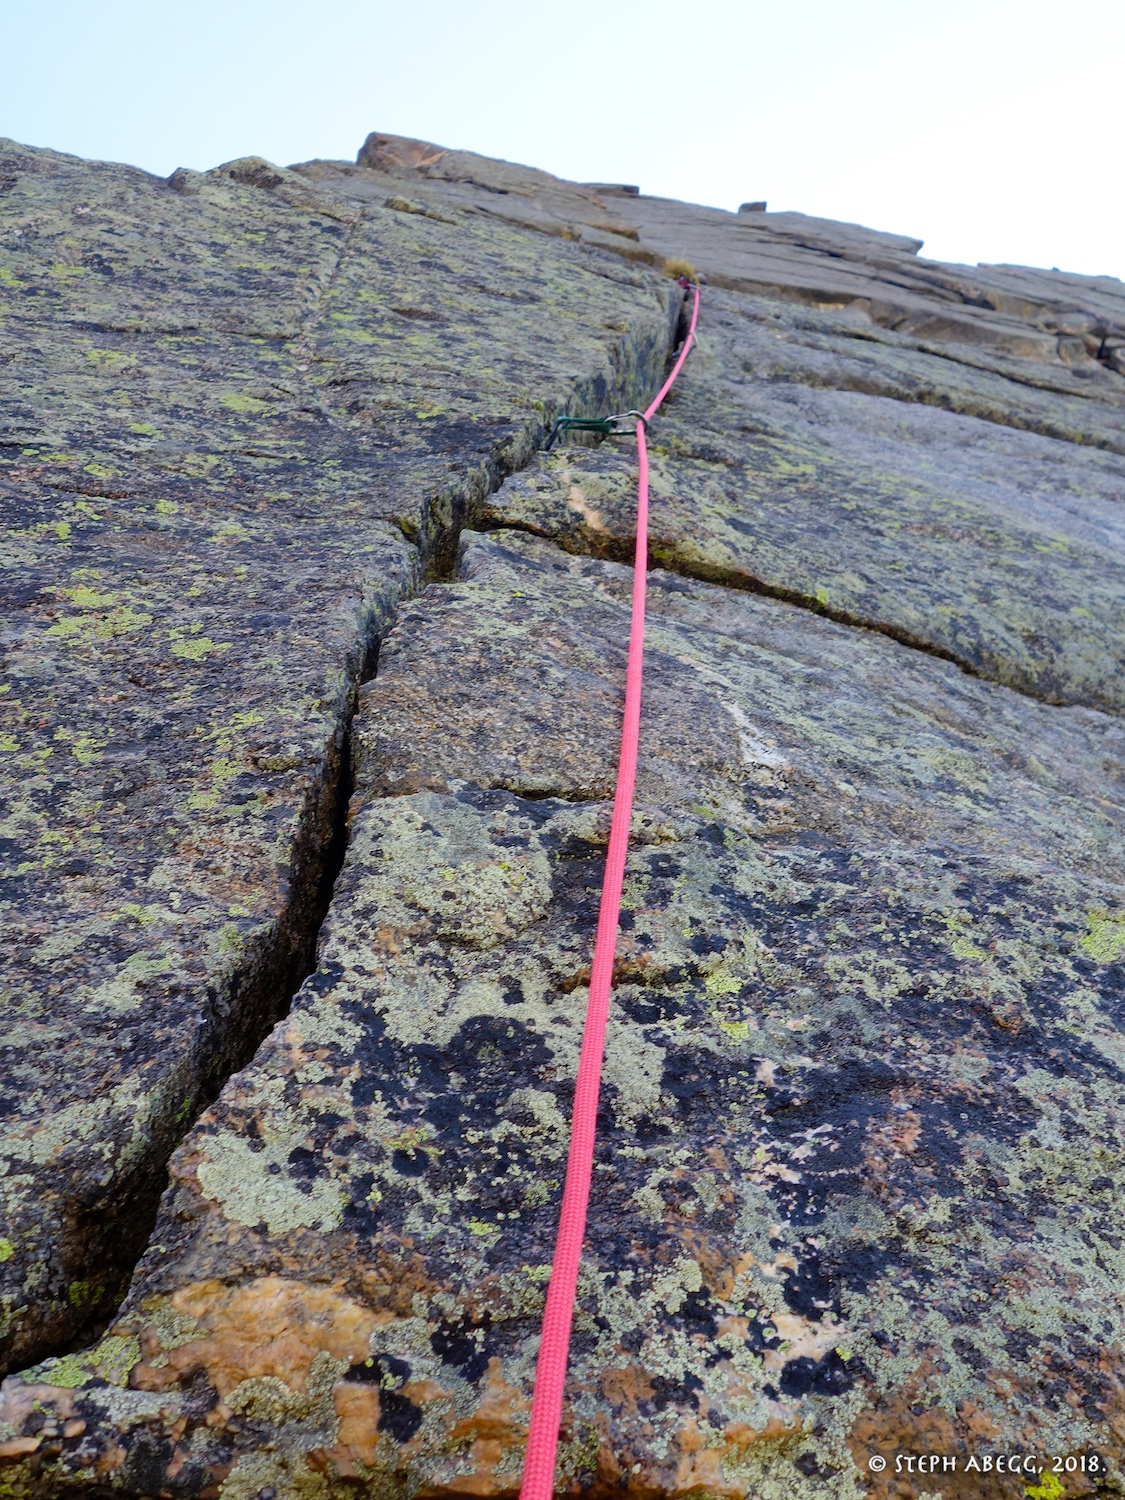
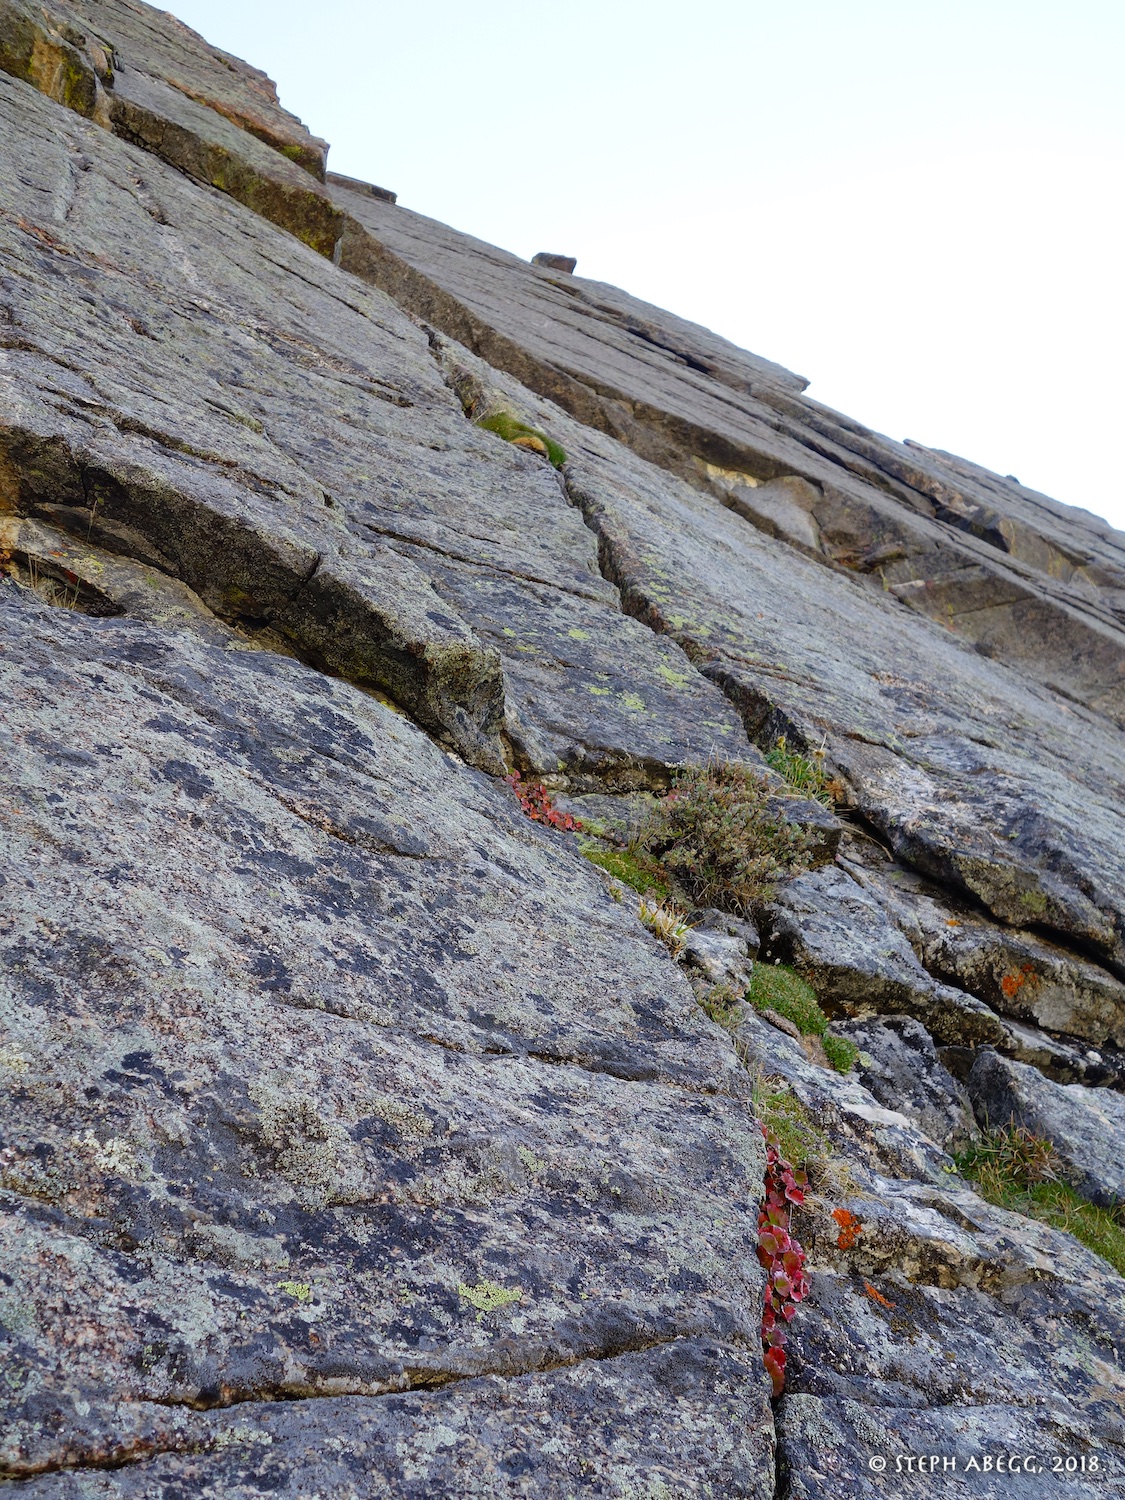
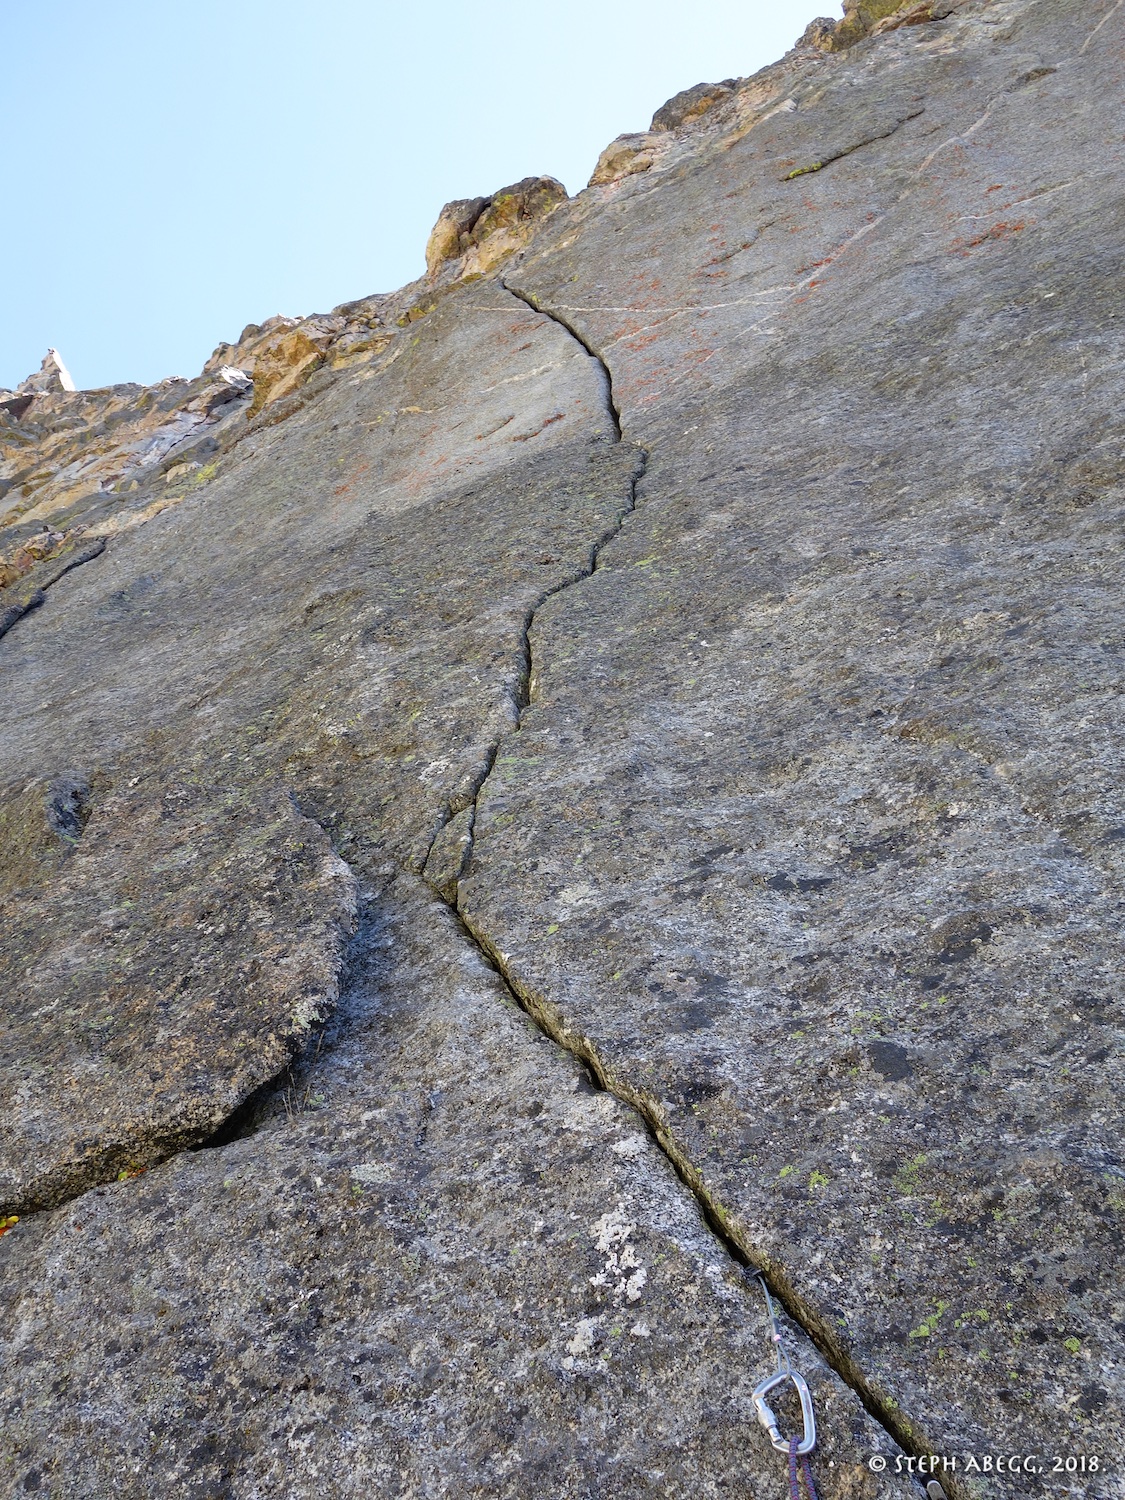
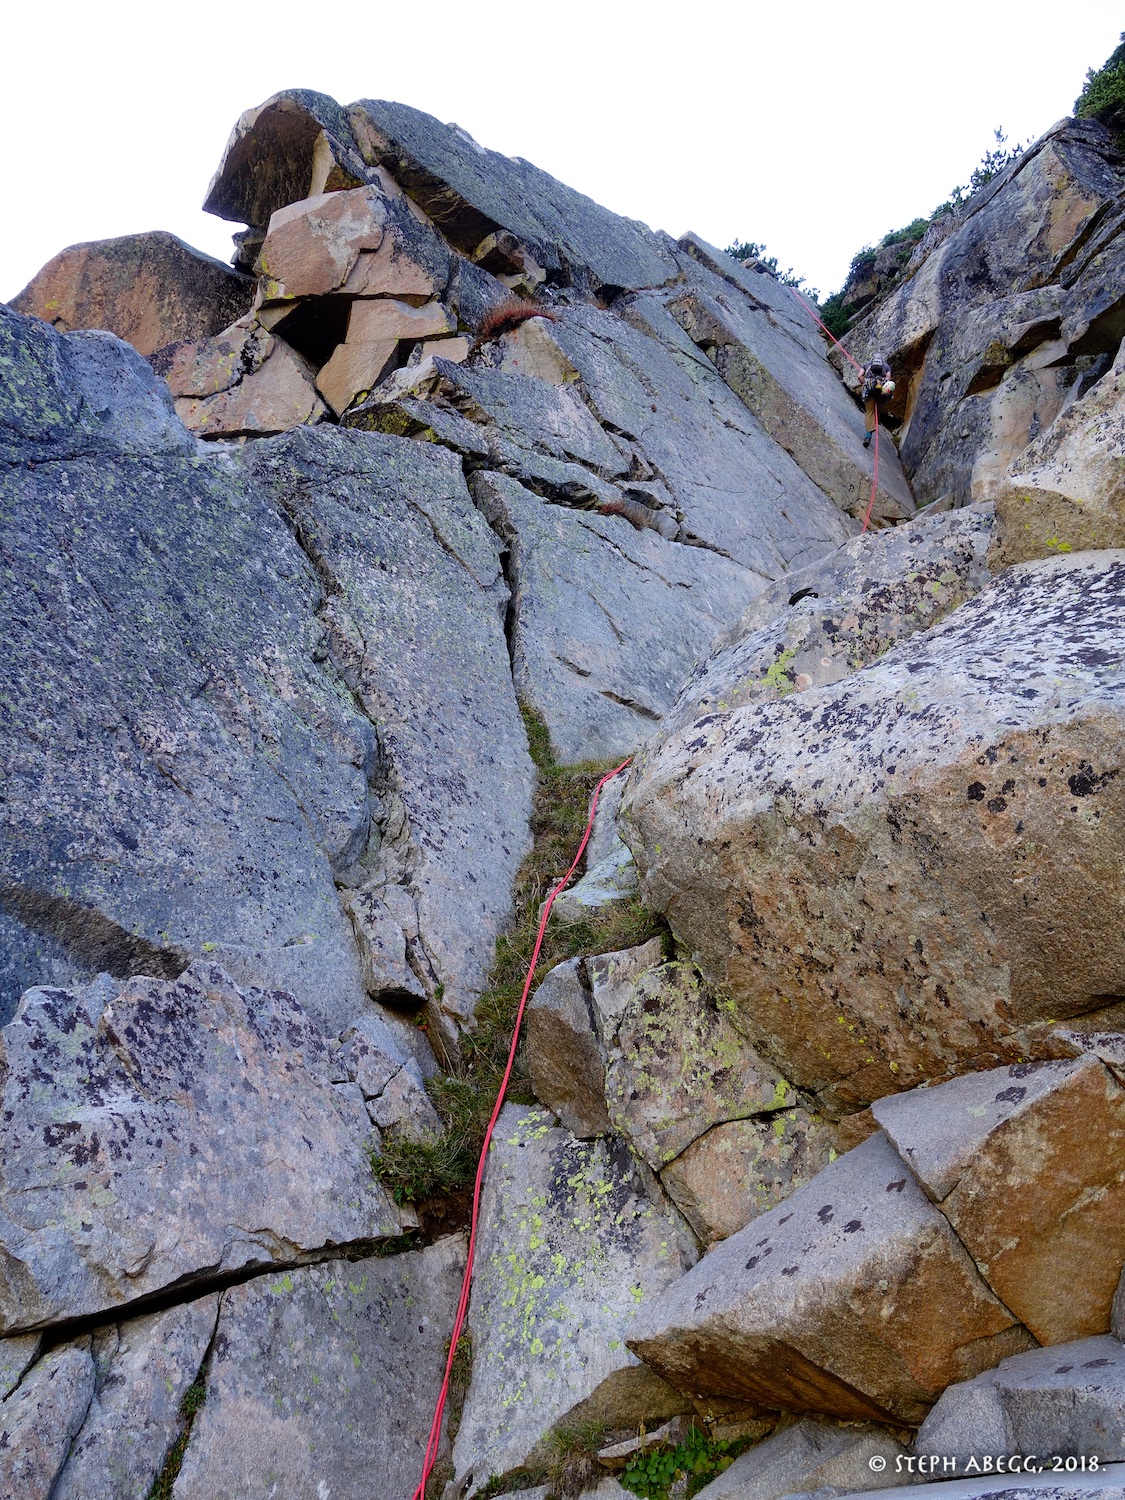
Pitch
5
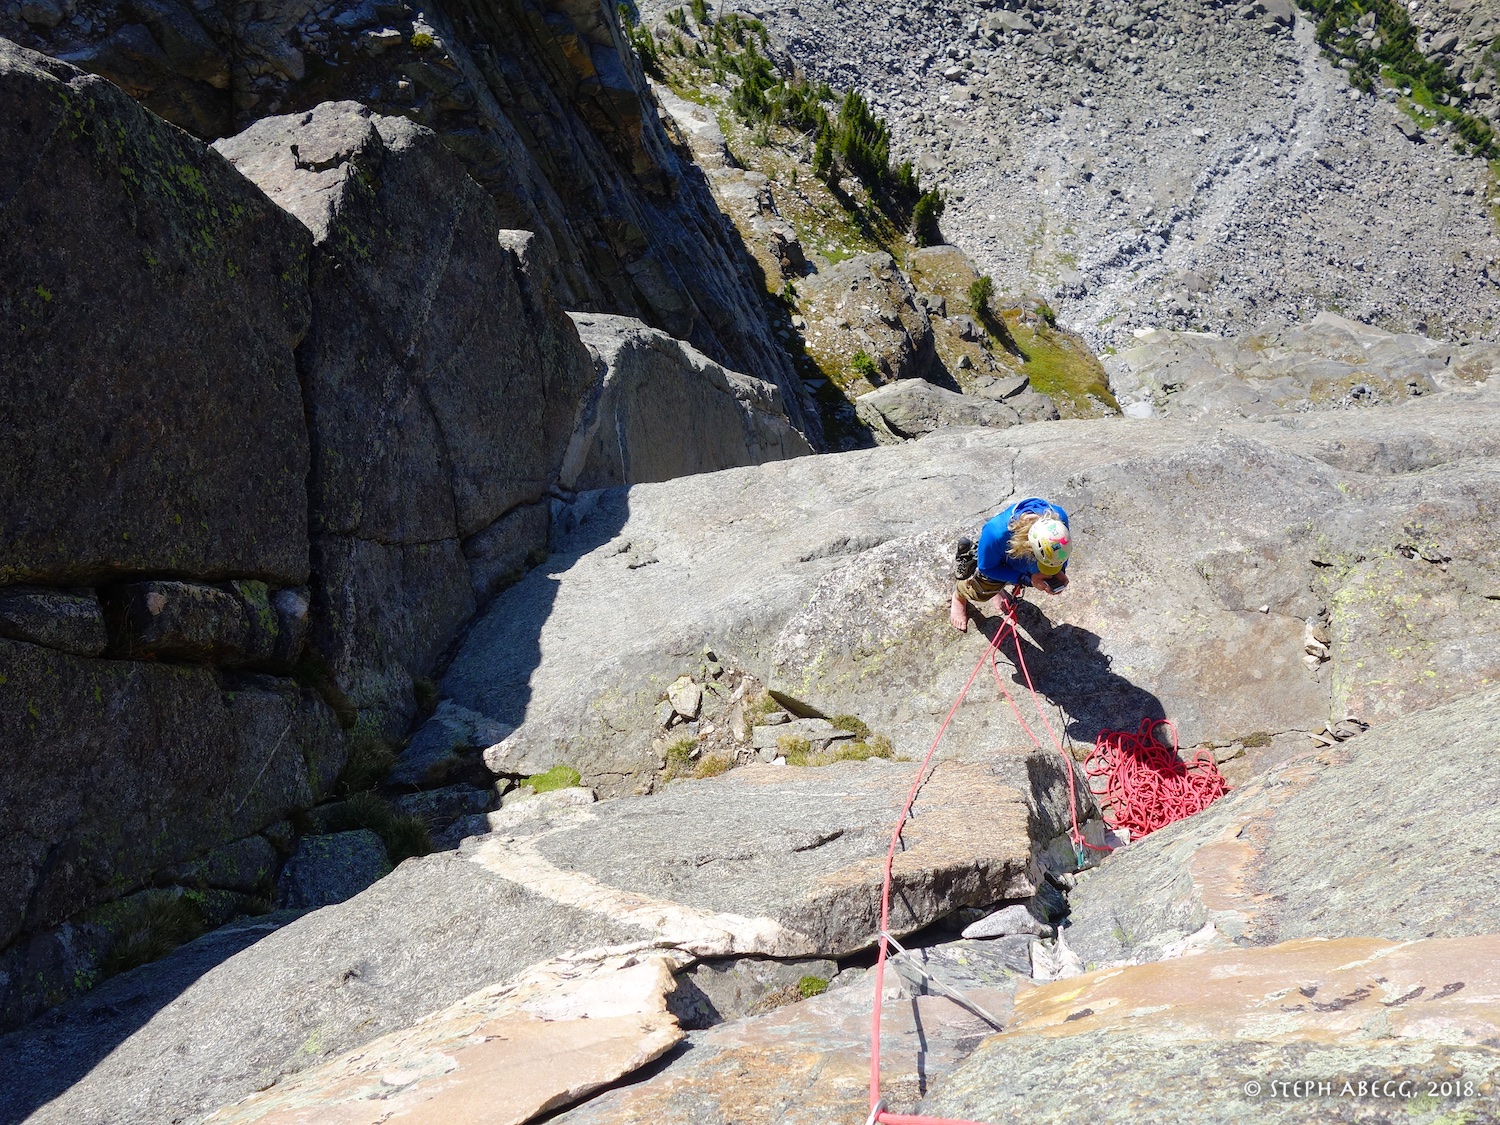
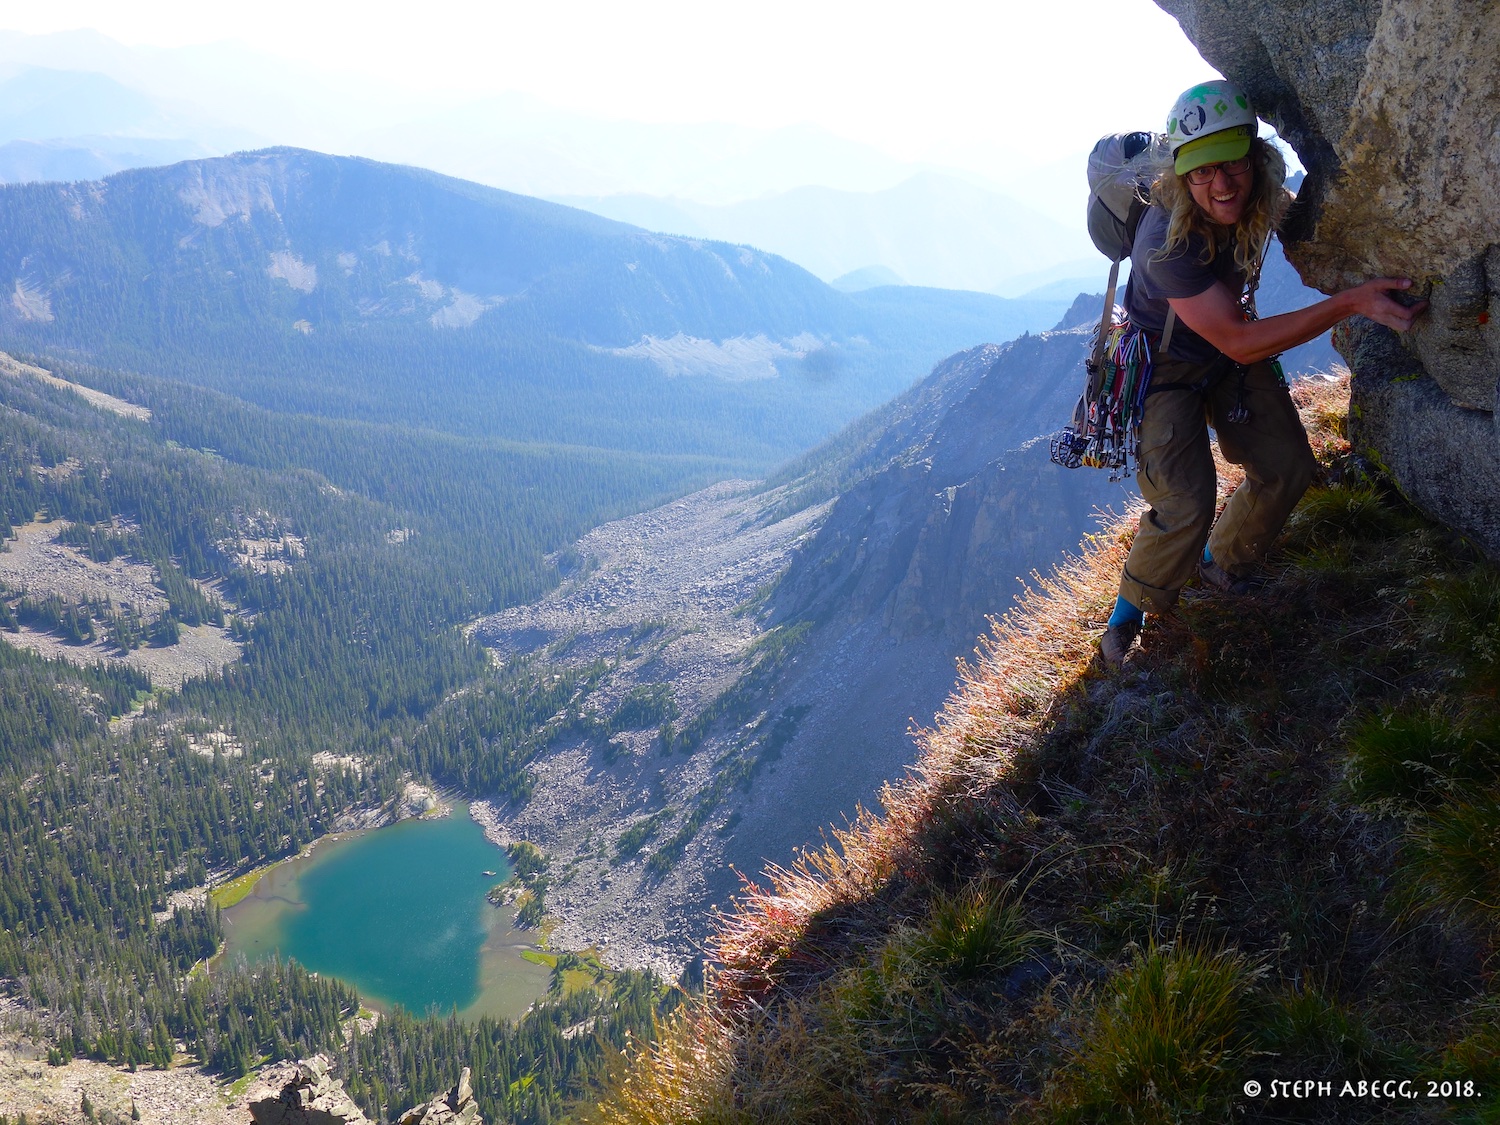
5.9, ~200 ft. Climb up some loose blocks to a short finger crack. Continue up and right up a hand crack in a corner. Continue up and right on easier climbing over short faces and ledges ending at a large ledge and belaying at a large detached block below Pitch 6. Note: You have to be thoughtful about gear placement and how you climb up and right to avoid heinous rope drag. We had to break this pitch into two shorter pitches because of rope drag around a bulge (which could have been avoided if I had climbed higher up around the bulge of rock instead of around the front of it). Another note: There was a sling with a rap ring around the large block. This is the last feasible place to bail on the route, but you will probably have to build some of your own anchors if you have just a 70.
21.
22.
23.
24.
25.
21. Looking up Pitch 5.
22.A fun hand crack midway up Pitch 5.
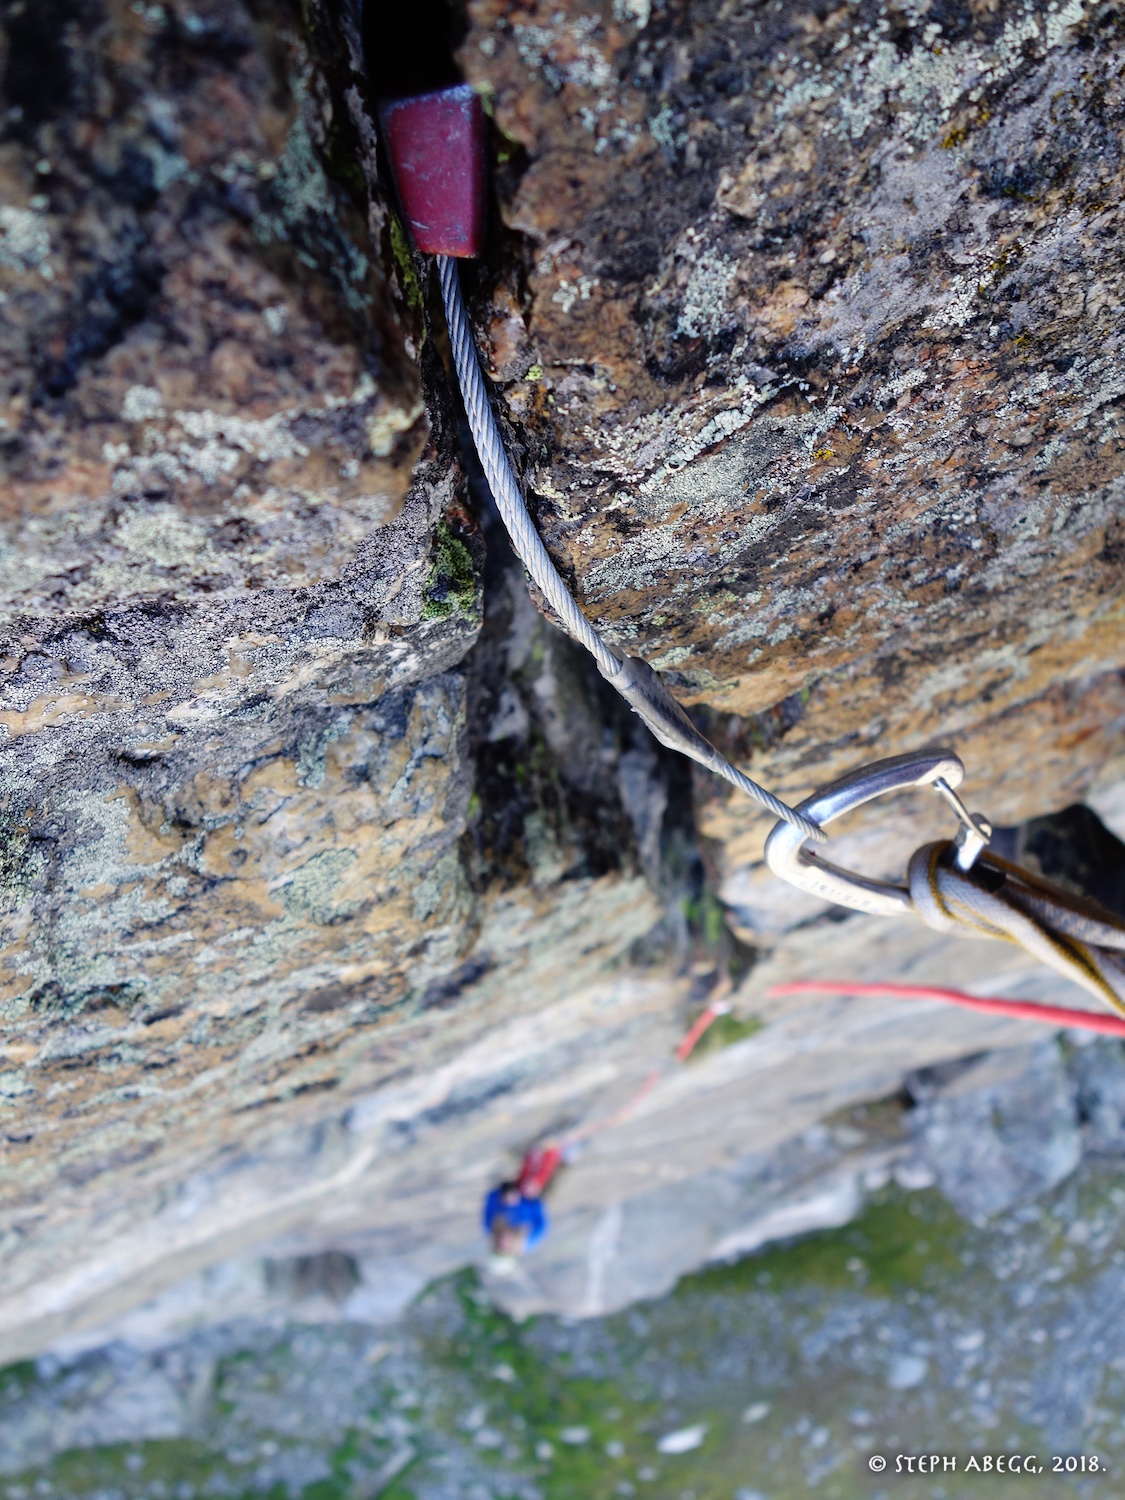
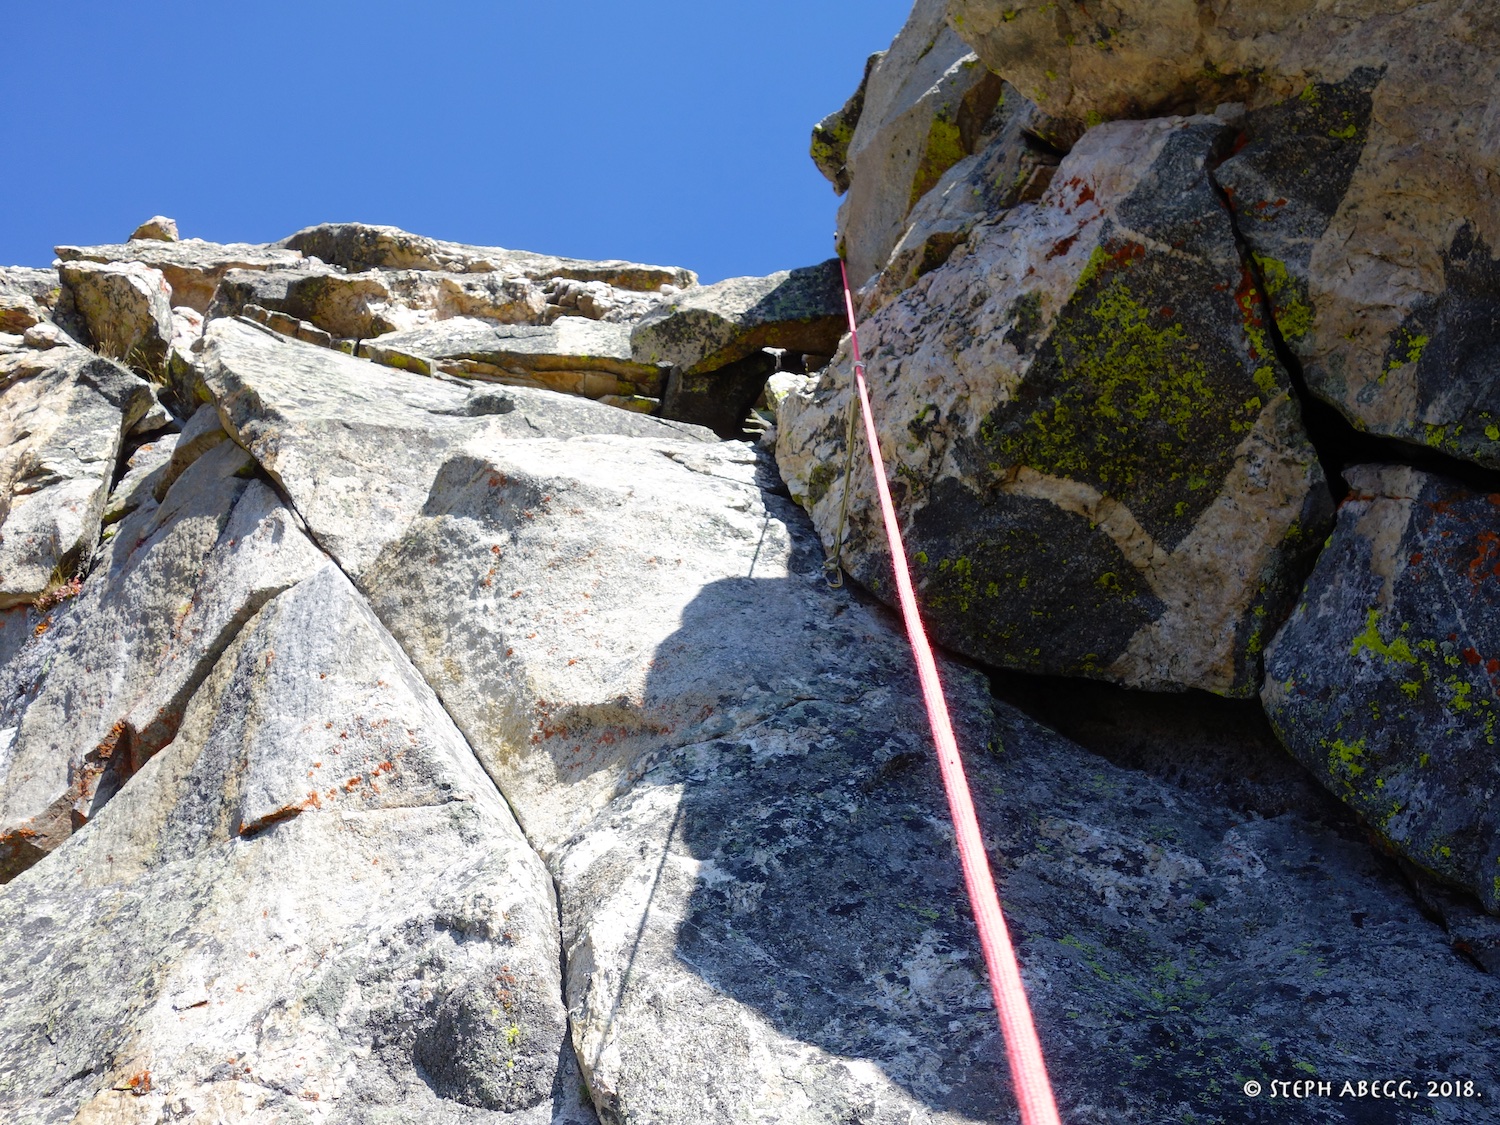
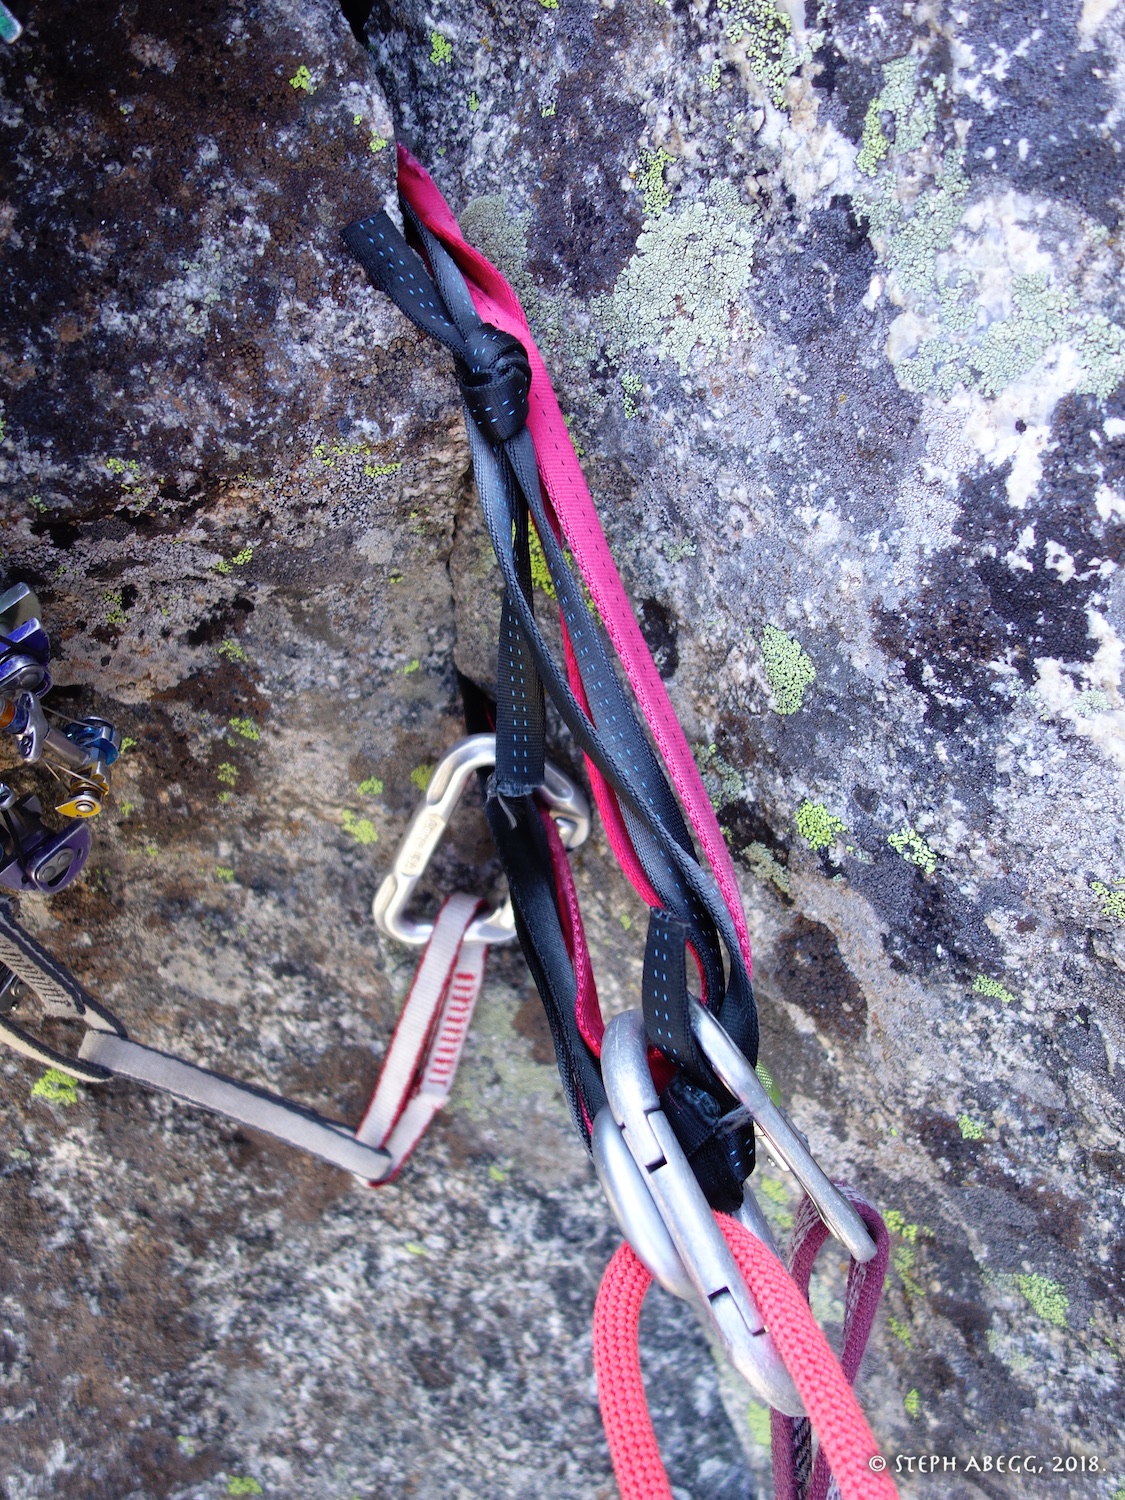
23. The second half of Pitch 5. We had to break up Pitch 5 into two pitches due to heinous rope drag around a bulge, but some forethought could have avoided the rope going around the bulge. 24. A rap anchor around the large block at the base of Pitch 6. This is your last easy place to bail. But hopefully you don't have to bail since you hiked a long way to get in here and there's great climbing above!
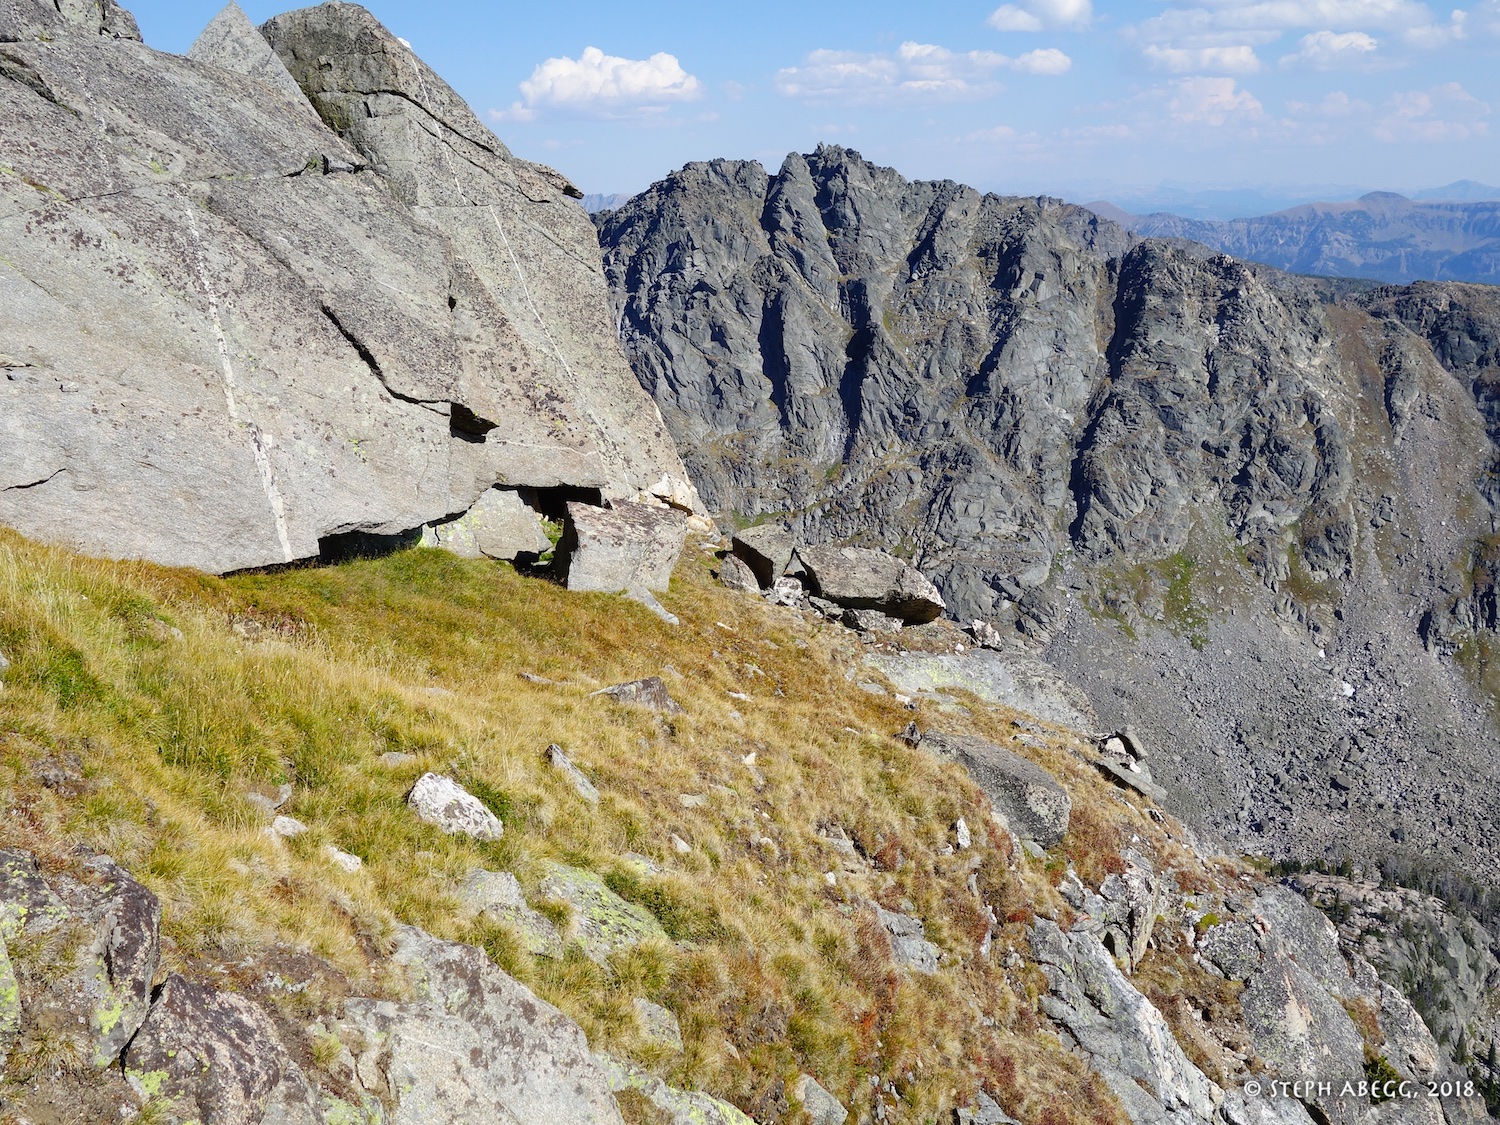
25. Some good looking rock on the buttress to the right of the route....
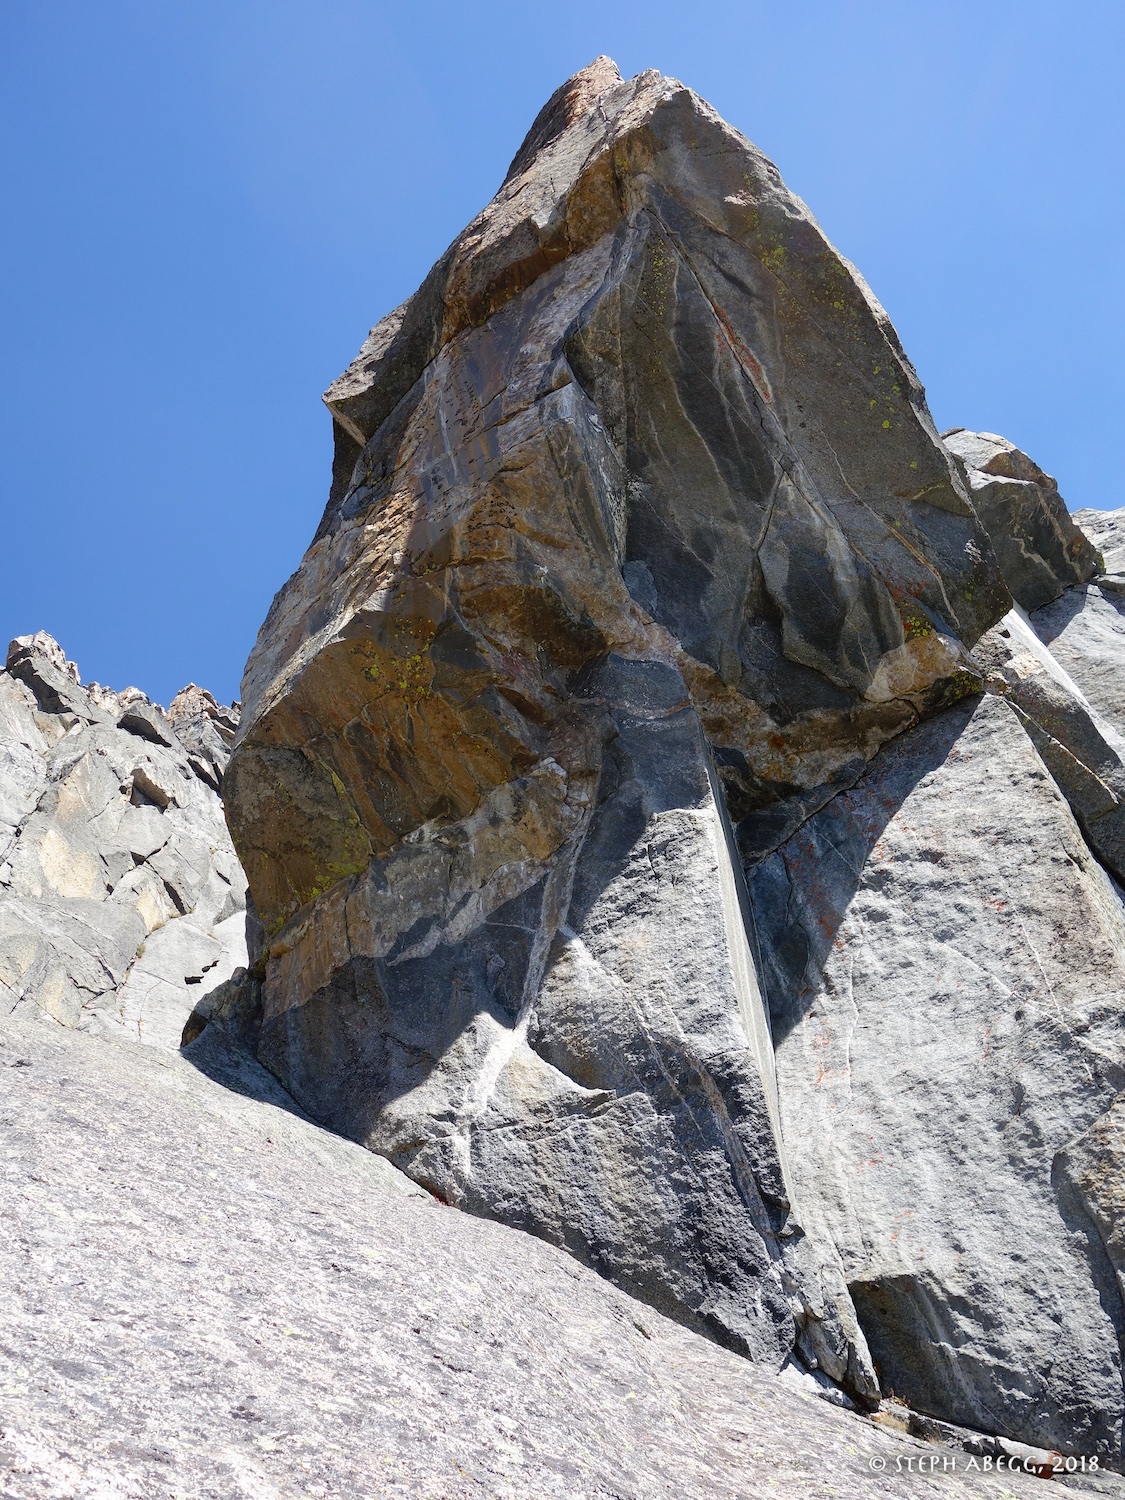
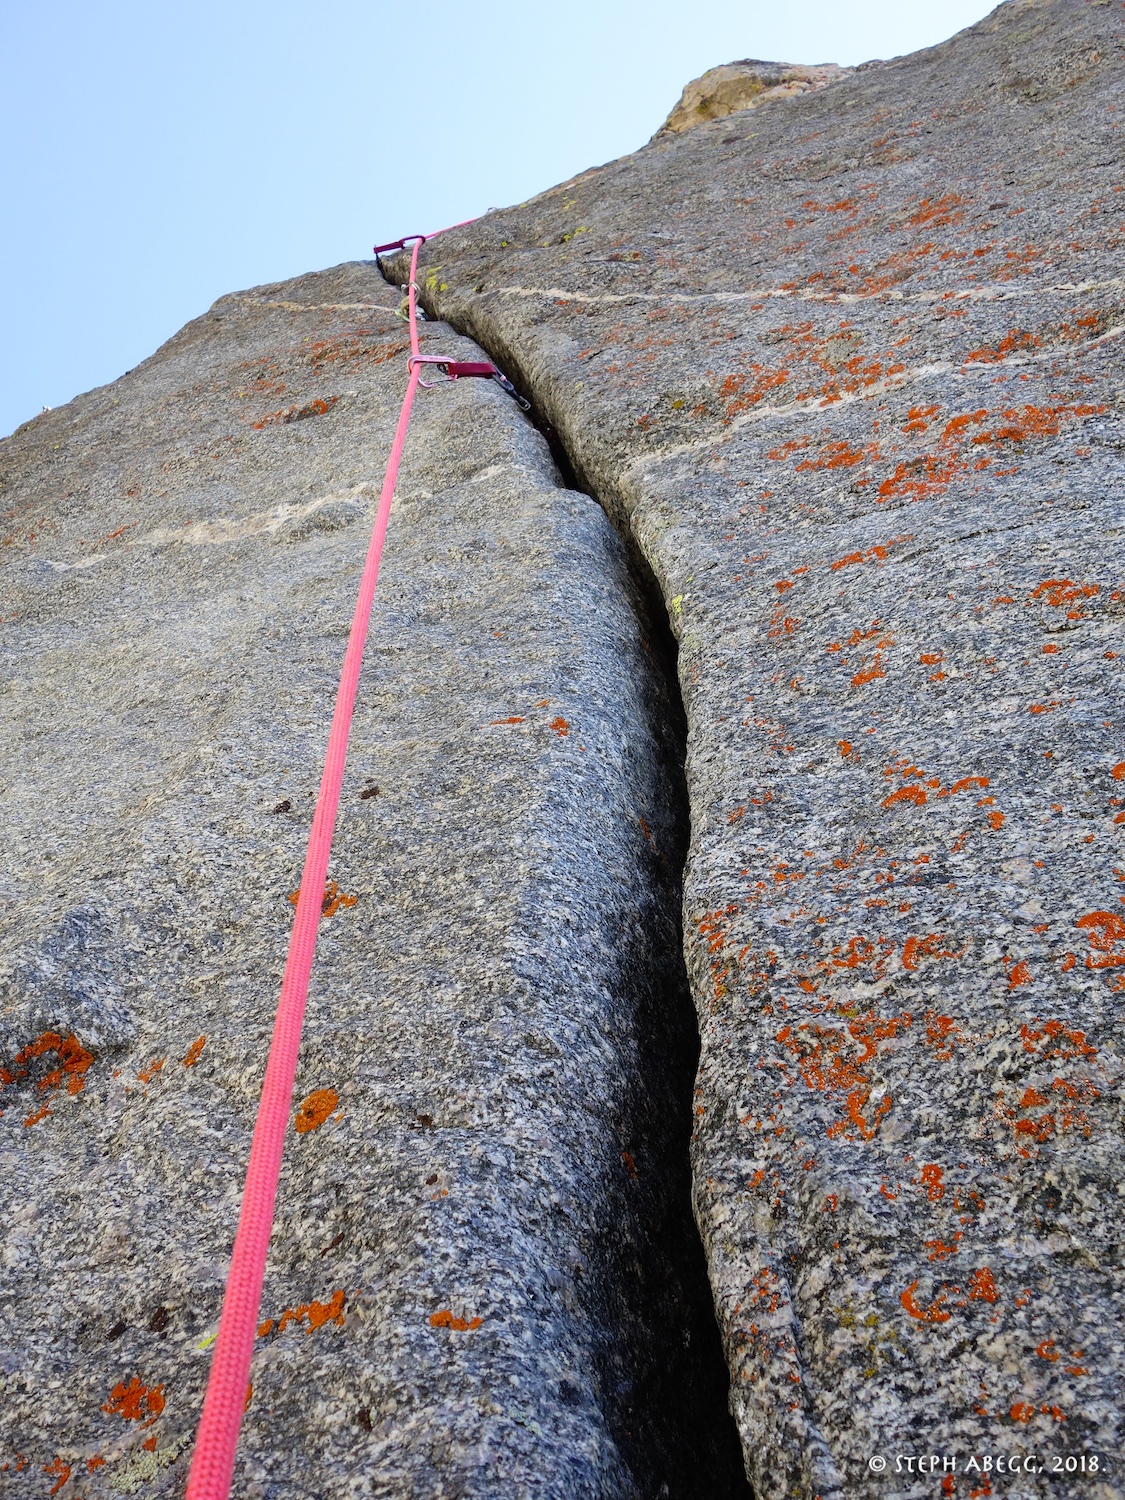
Pitch
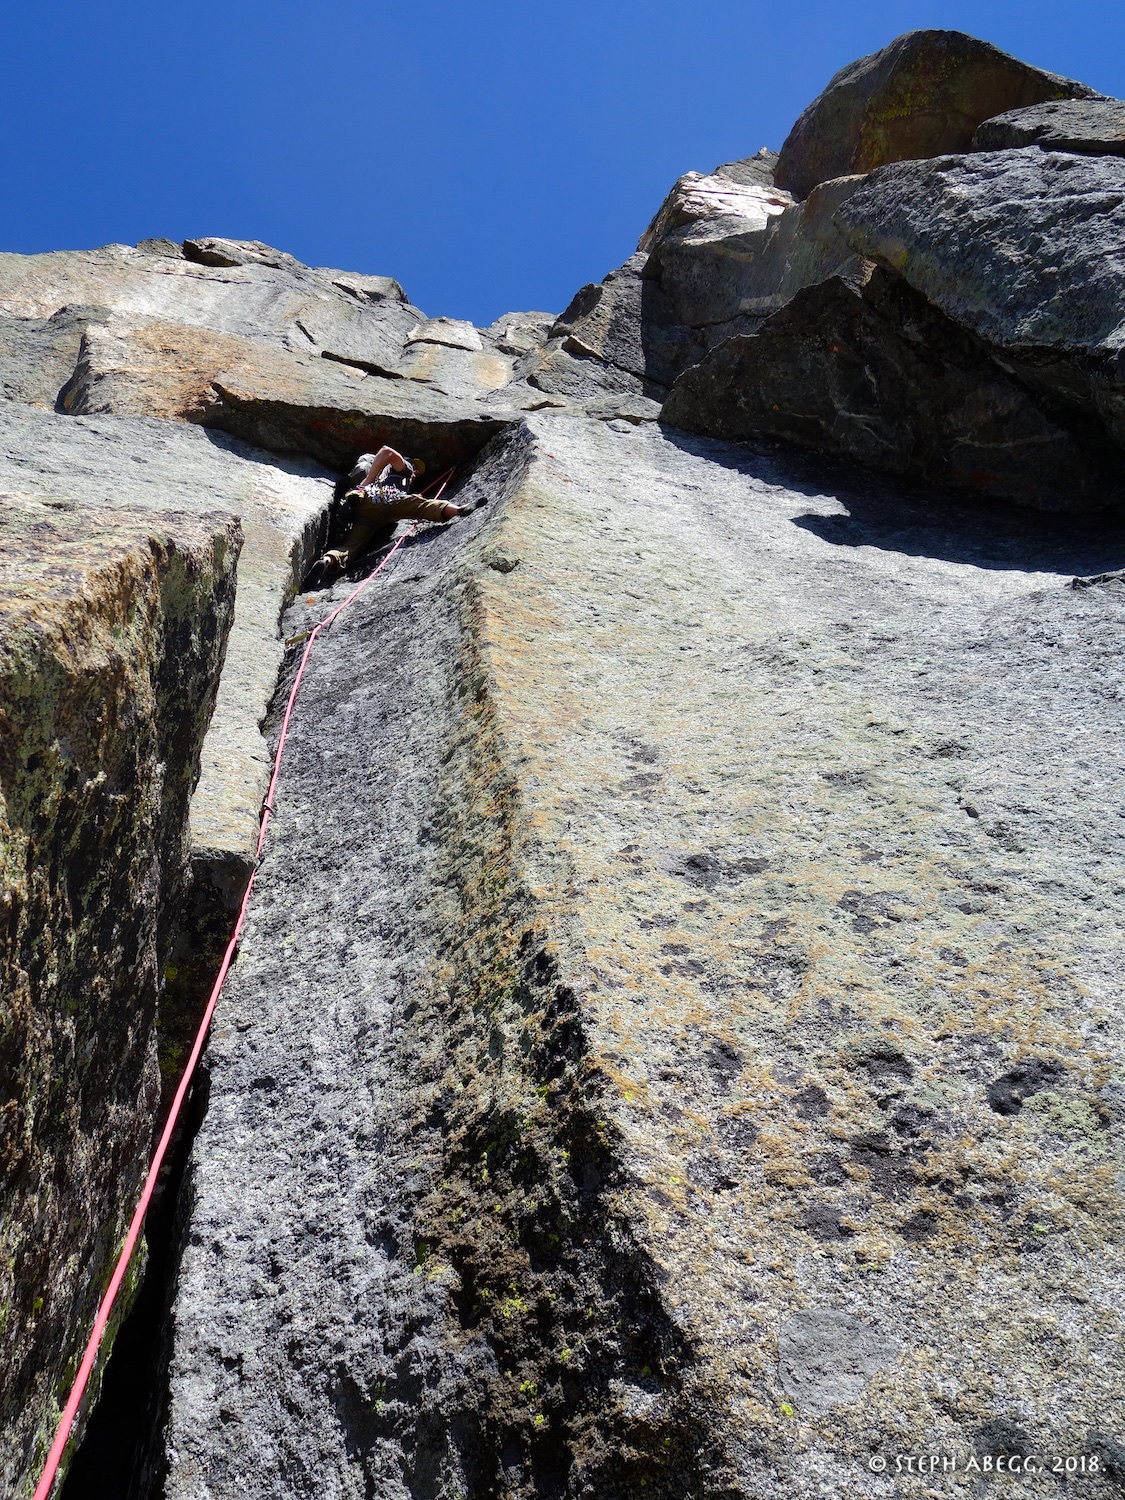
6
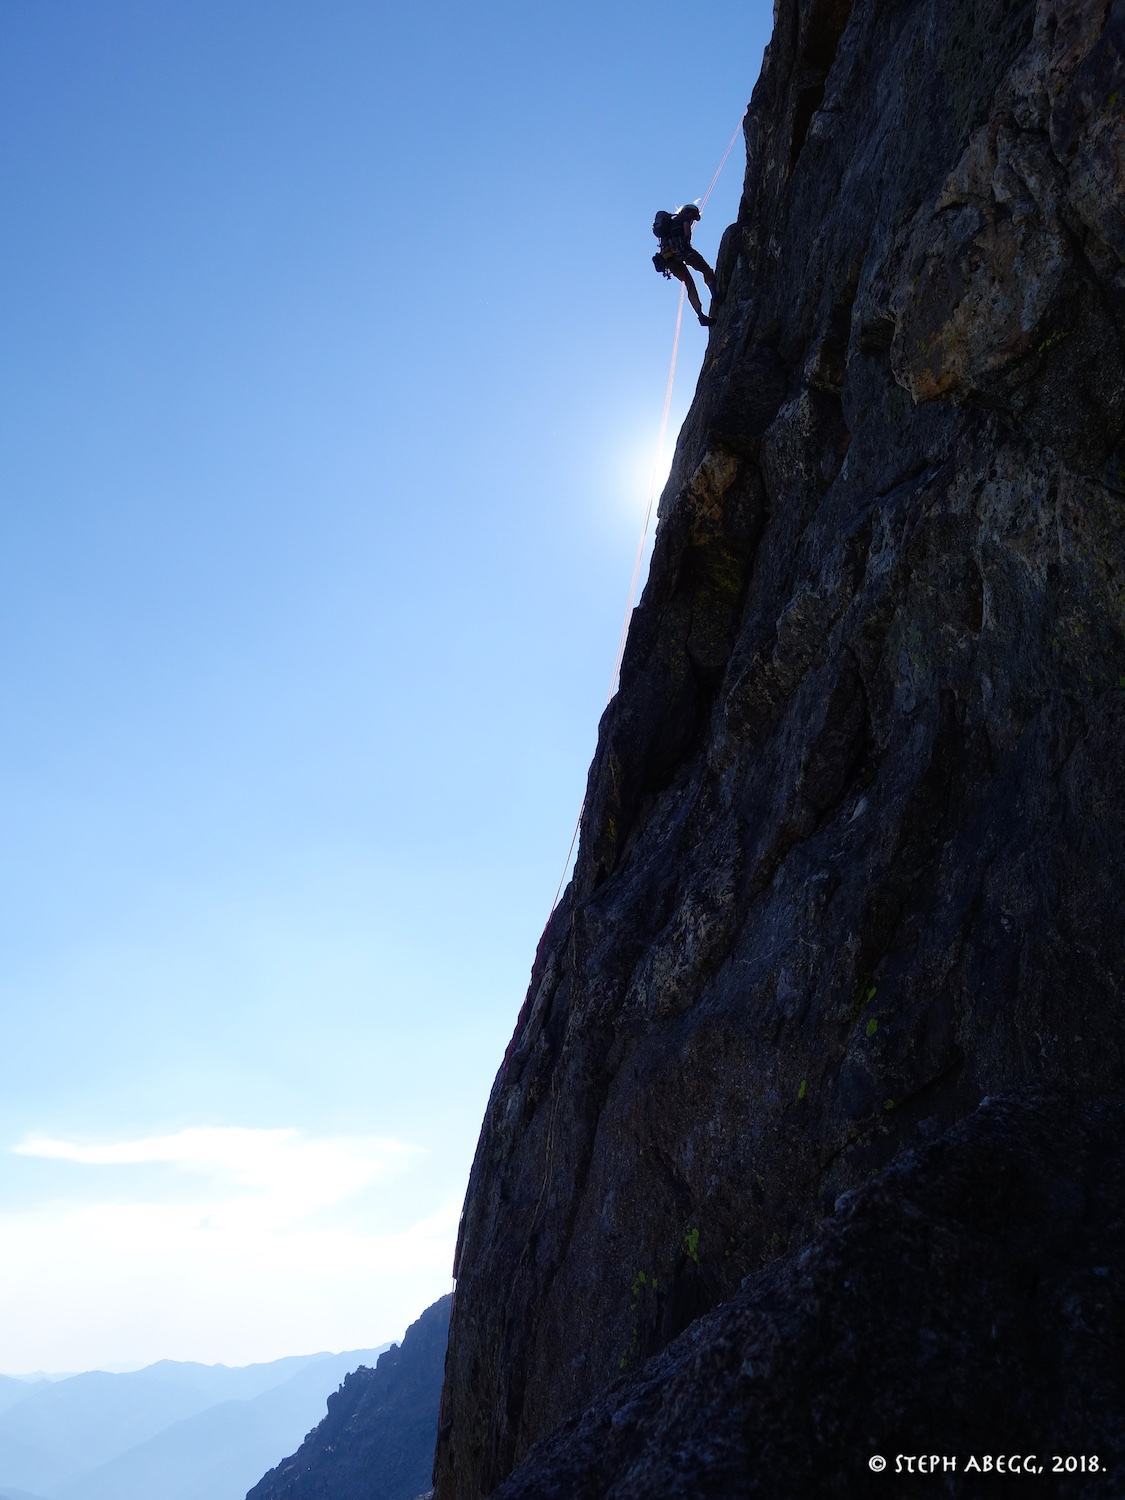
5.11a/b (crux). Climb on top of the large block, climb a hand/finger crack to a large roof, hand traverse right along the roof to a ledge on the right. From here, climb up a finger crack to another roof; the crux occurs transitioning rightward to another finger crack. Continue up to a large sloping ramp below the Prow.
26.
26.Just below the hand traverse. The crux section is above this.
Pitch
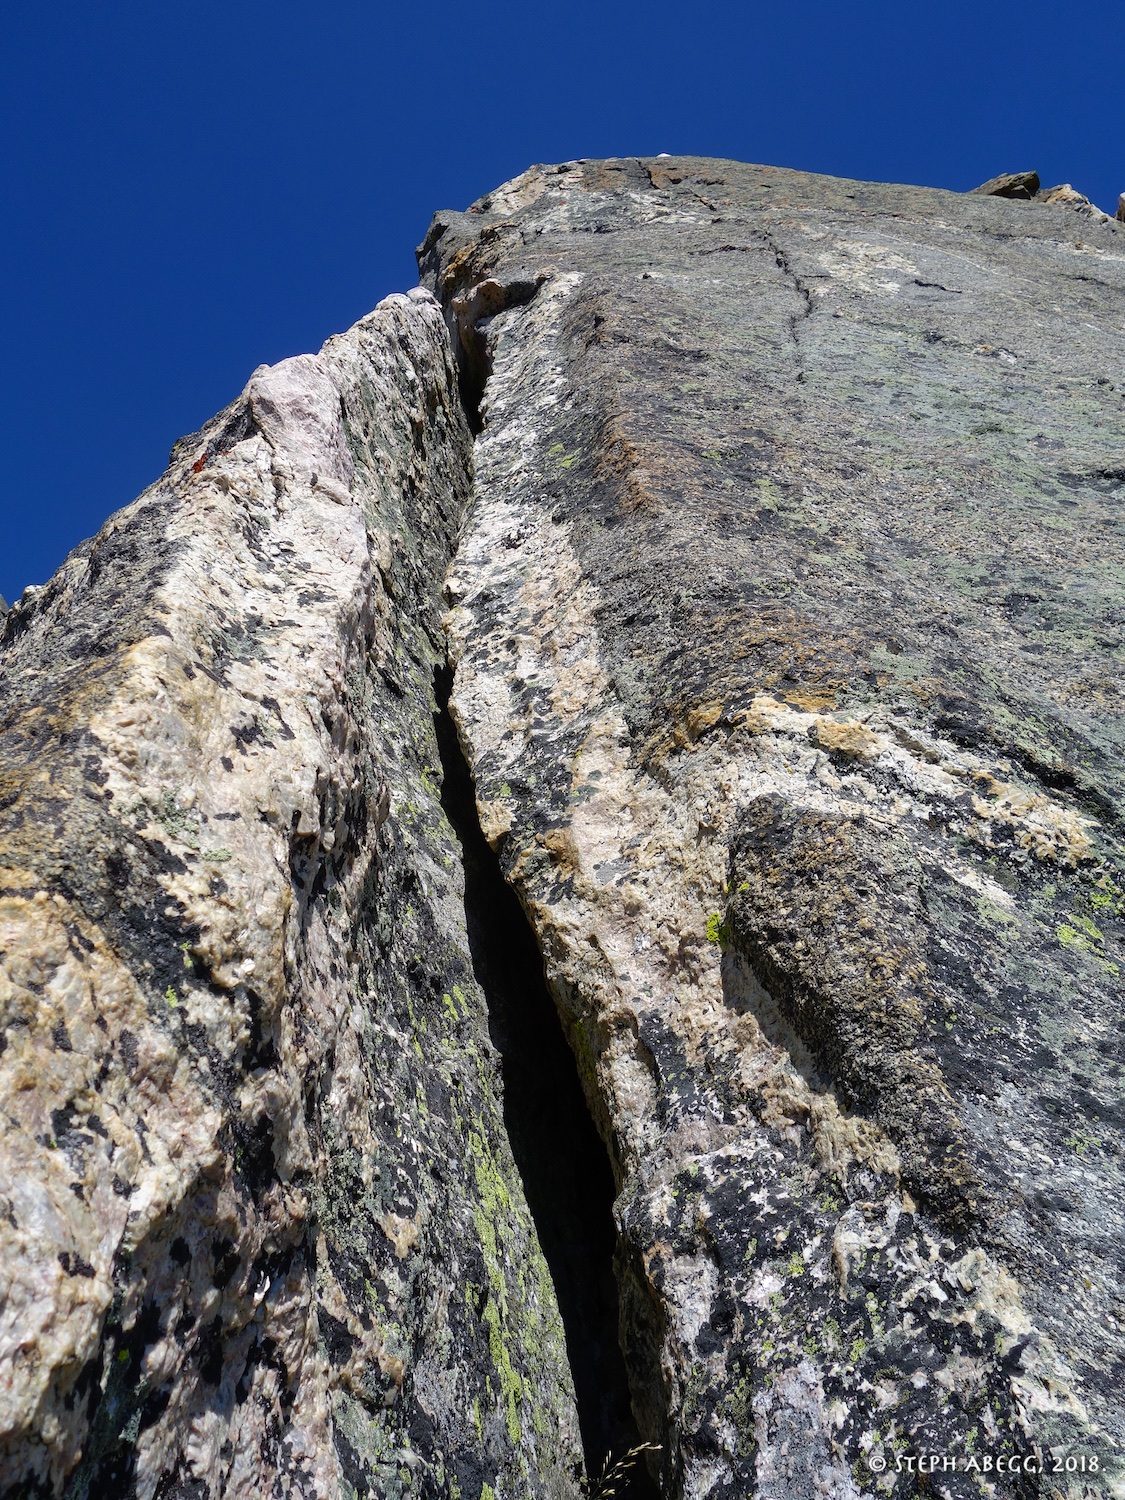
7
5.9. Climb up the ramp to the corner of the Prow and step around to the left (north). Climb up a short crack and then hand traverse left to a ledge below the obvious Pitch 8 crack splitting the face. Use long slings and set minimal gear on the first half of this pitch to avoid rope drag.
27.
28.
29.
27.Pitch 7 goes left around the Prow. Run it out or set long slings on any pieces.
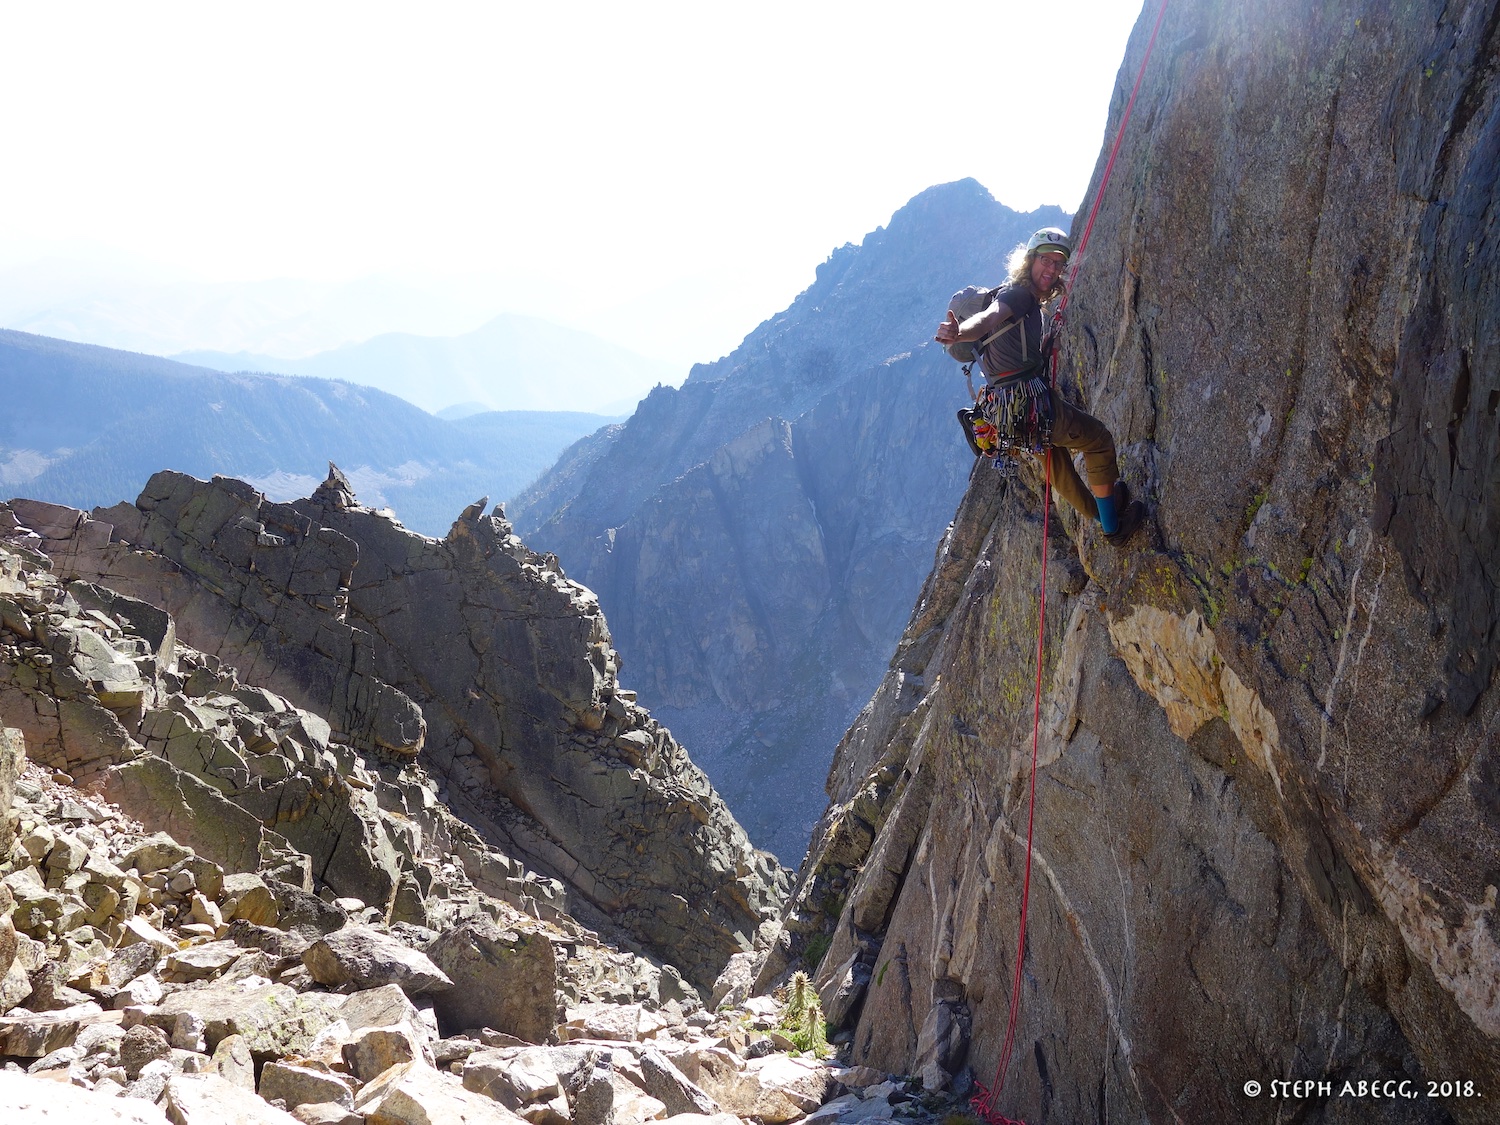
28. The 5.9 crack just left of the edge of the Prow. Climb this.
29. Daniel on the awesome 5.8 hand traverse that finishes the pitch.
Pitch
8
5.10+. Climb the obvious splitter, which gets steeper towards the top, but has such secure jams that the 10+ rating is just because of the enduro nature. After the splitter, continue up broken cracks to a sloping ledge on top of the Prow. Pitch numbering note: The mountainproject description we had listed this as Pitch 9 for some reason (it just jumped from Pitch 7 to 9 and skipped 8). Not sure if/when the mountainproject description will be corrected.
30.
31.
30.Yay, we get to climb this splitter!
31. It's steep, but the secure hand jams make it feel pretty cruiser if you don't run out of gas.
Pitch
9
5.8 or 5.10. The 5.8 option is to start up a wide crack and then make an airy traverse to the finger crack on the right. The 5.10 option is to downclimb a bit to the base of the finger crack and climb directly up the finger crack. In either case, continue up the finger crack to a flare with a hand crack in the back. Continue up a hand crack in a corner, step around a block, and belay at a ledge in an alcove. Pitch numbering note: The mountainproject description we had listed this as Pitch 10.
32.
33.
34.
32.Don't go up this. It quickly becomes a #5-sized offwidth and doesn't lead anywhere you want to go. Instead, go right a bit further to a finger crack.
33. Looking up the finger crack. This is the 5.10 direct start. Or do an airy 5.8 slab traverse into it. The direct start might be a bit harder, but it's more protectable.
34. A fun hand crack in a corner. You can climb this as part of Pitch 9 or 10. It is easy enough to tack onto Pitch 9 without any additional drag.
Pitch
10
5.7. Climb up and make a bouldery move up a face on ledges and jugs. Continue upward to a nice platform with large blocks on it.
35.
36.
35.A bouldery move at the start of Pitch 10.
36. The last few moves to the top of the route!
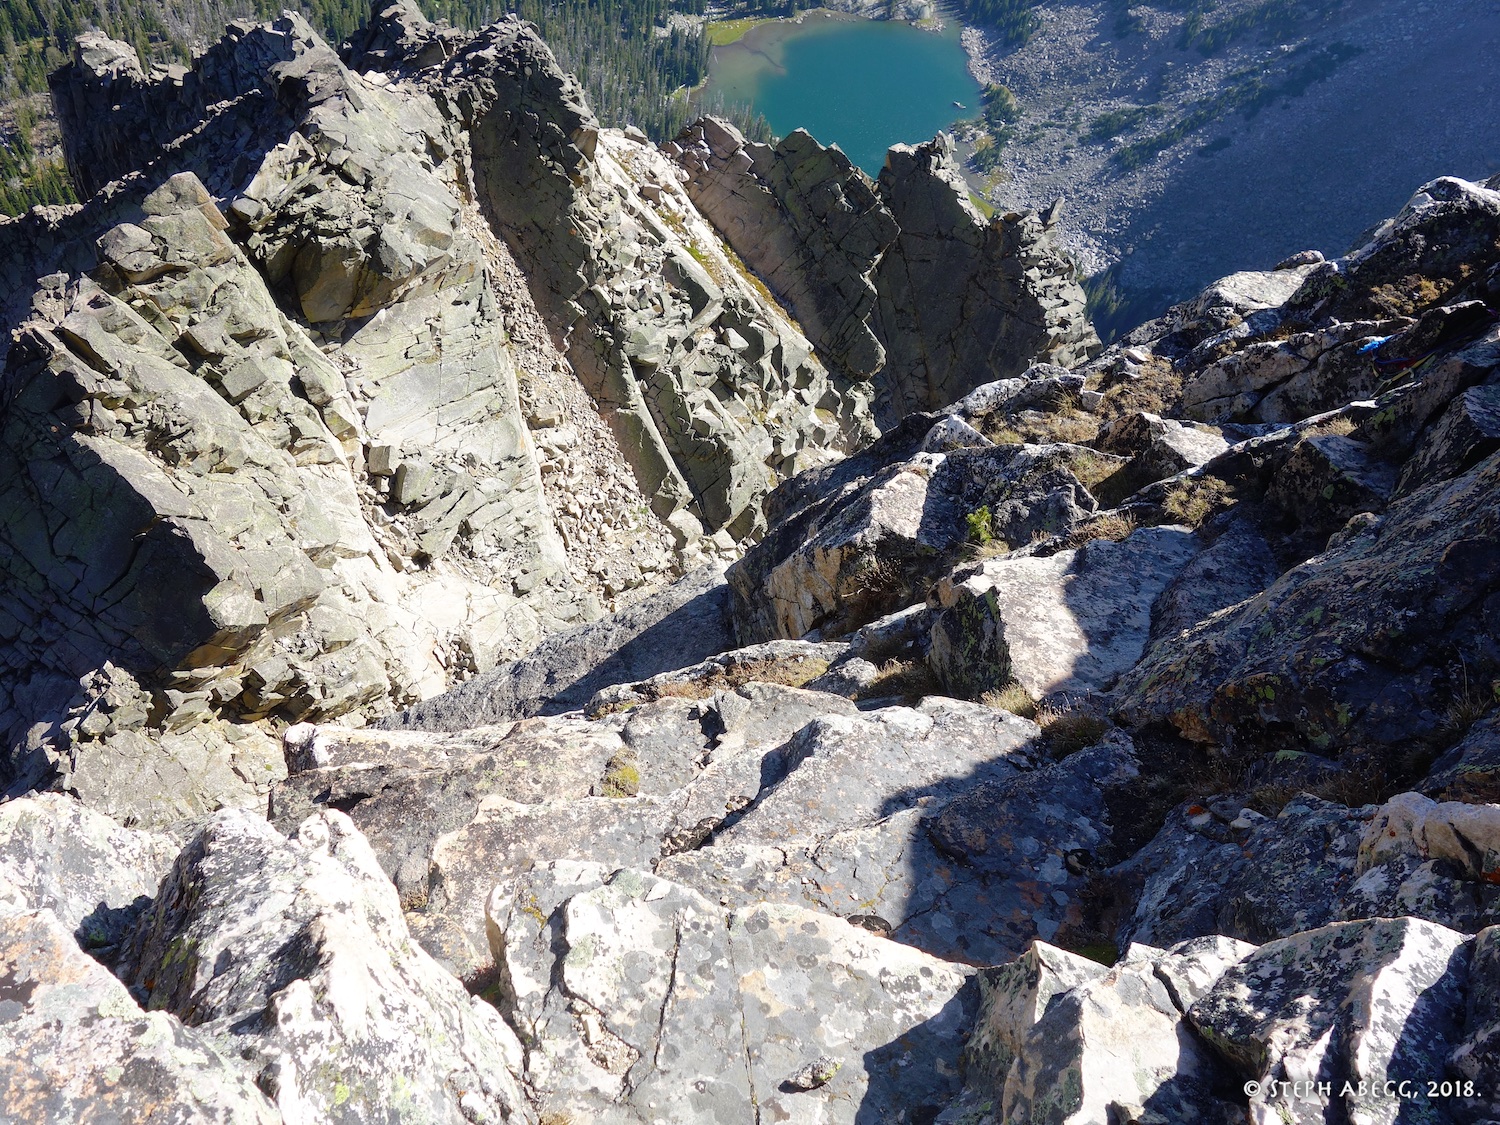
Top of route
The main route ends at the large platform with large blocks on it.
37.
38.
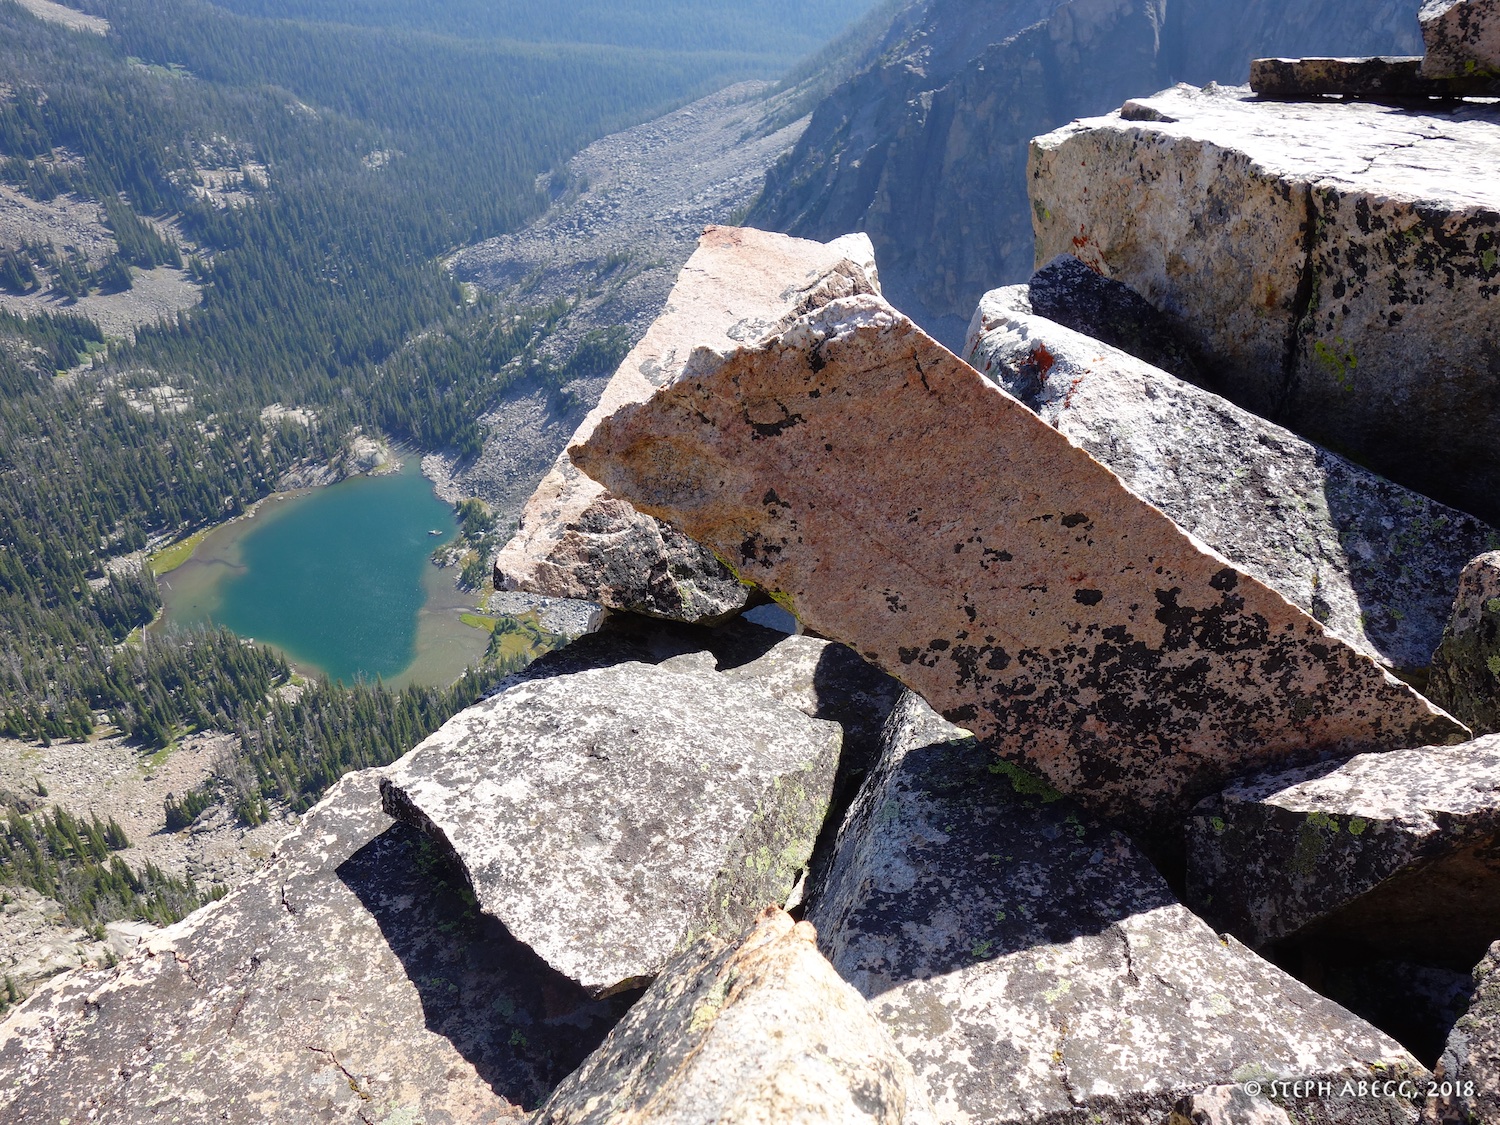
37.Looking down at Elbow Lake from the top-out ledge.
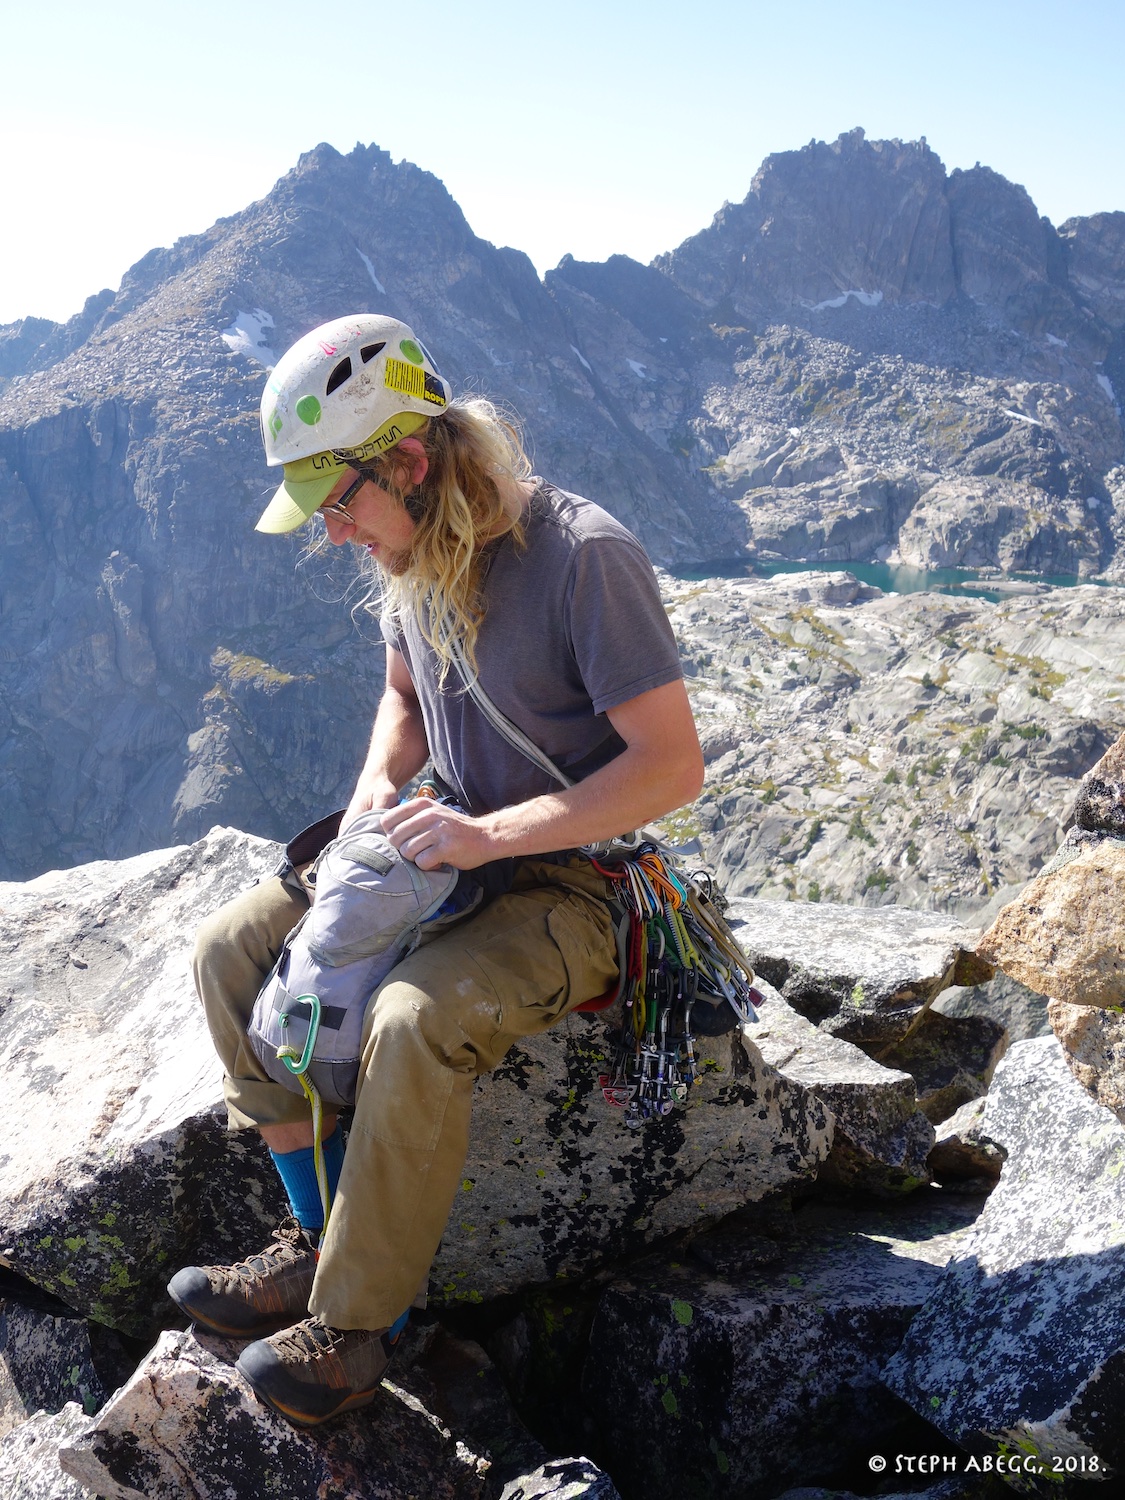
38. Daniel on the top-out ledge. There is a pretty lake in the high basin behind him.
Summit of Eenie
From the large platform at the end of the route, you can scramble to the summit of Eenie. Or start the descent.
39.
39.Looking up towards the summit of Eenie. Looks like an easy scramble from here. But in interest of getting back to the car we forwent the summit bid.
Descent
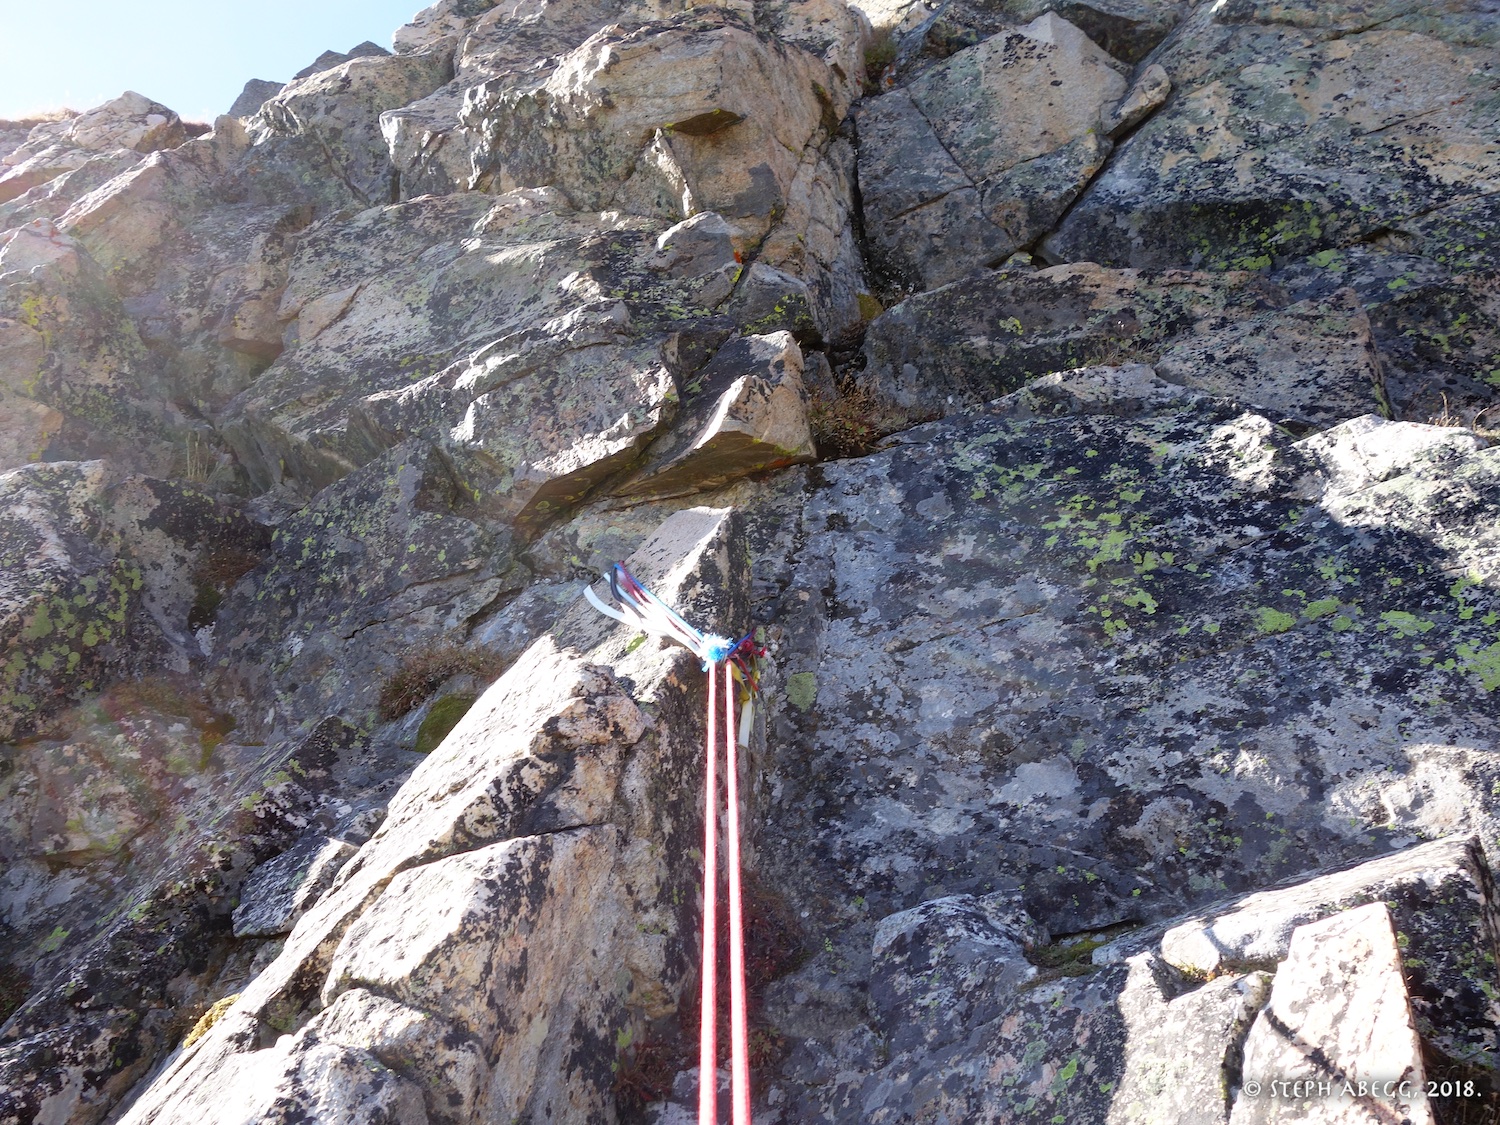
The descent is easy if it is light outside, and could be quite tricky to navigate in the dark. From the platform at the top of Pitch 10, scramble right to a grassy slope. Ascend the grassy slope to a higher grassy bench. Continue rightward along this grassy bench (one short exposed section) to just above the notch between Eenie and First Buttress. Look for a slung block. Rappel to the notch (2 rappels with a single 70 or 1 rappel with double 60's). From here there are two options: (1) head down gully to the east—longer but pretty mellow and pleasant terrain or (2) head down the gully to the west—shorter and more direct, but apparently gets pretty sketchy as you go down. We chose to go east (option 1). We had to do one 20-30m rappel off a slung tree to get down a cliff band just above the small lake below. Then we circled around the southeast side of Eenie and back down to the west side of Elbow Lake. Overall, a pleasant and safe descent. I am curious about Option 2 simply because it appears more direct, although being more direct does not always mean quicker....
40.
41.
42.
43.
44.
45.
46.
47.
48.
49.
50.
51.
52.
53.
54.
55.
56.
40. Scramble left along this grassy ledge to get to the rap station above the notch between Eenie and First Buttress (this is the higher grassy bench mentioned in the description above). 41. A short exposed section. Elbow Lake below. 42. Looking down towards the notch between Eenie and First Buttress. The first rap station is on a slung horn on the right side of the photo. Rap down to notch (2 rappels with a single 70 or one rappel with double 60s). 43. Rap Station 1. 35m to an intermediate rappel or 60m to notch. Tie knots if you are rapping with a single 70! 44. Rap Station 2. 33m or so. With rope stretch, double 60s should get you down from Rap Station 1. 45. Daniel on the rappel. 46. The rappels dump you off near the notch. 47. Looking at the west gully option. There are lots of tracks going down this way, but according to various comments we had read on mountainproject, it sounds as if the gully steepens and the descent becomes a bit heinous towards the end. 48. Starting down the east gully option. Less direct, but safe and pleasant. 49. One rappel to get down a cliff band just before the lake. 50. We found this rap station above the cliff, so other climbers have obviously arrived at this same location above the cliff band. Thanks tree. 51. The small lake below the east gully descent. The sediment pattern is cool. 52. Another small pond/lake along the way as we circled the southeast side of Eenie back down to the north side of Elbow Lake. 53. Sunlit grass as we circled the southeast side of Eenie back down to the north side of Elbow Lake. 54. View of Elbow Lake along the way. 55. We had left our extra gear at the northwest end of Elbow Lake. It might have been a tad quicker if we had racked up at the outlet of the lake instead. 56. We enjoyed sunset in the pretty forest during the hike out.
Useful beta. Updated route information. Corrections. Historical notes. Interesting facts. No fluff please. Please do not put links in your comment, as my spam filter will filter those comments out.