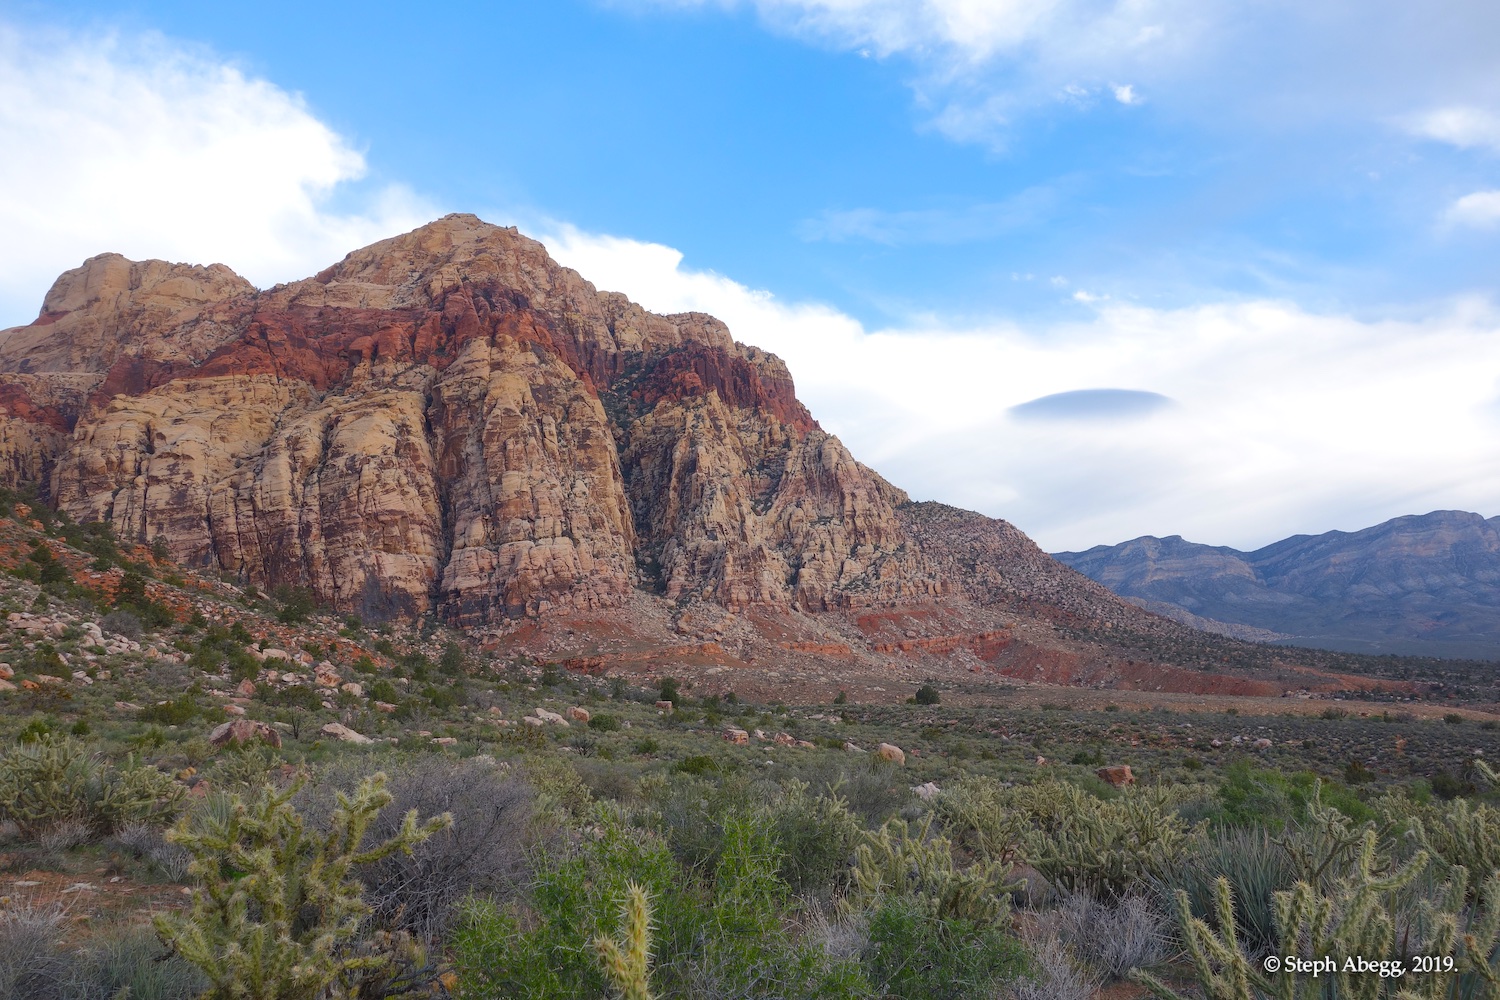
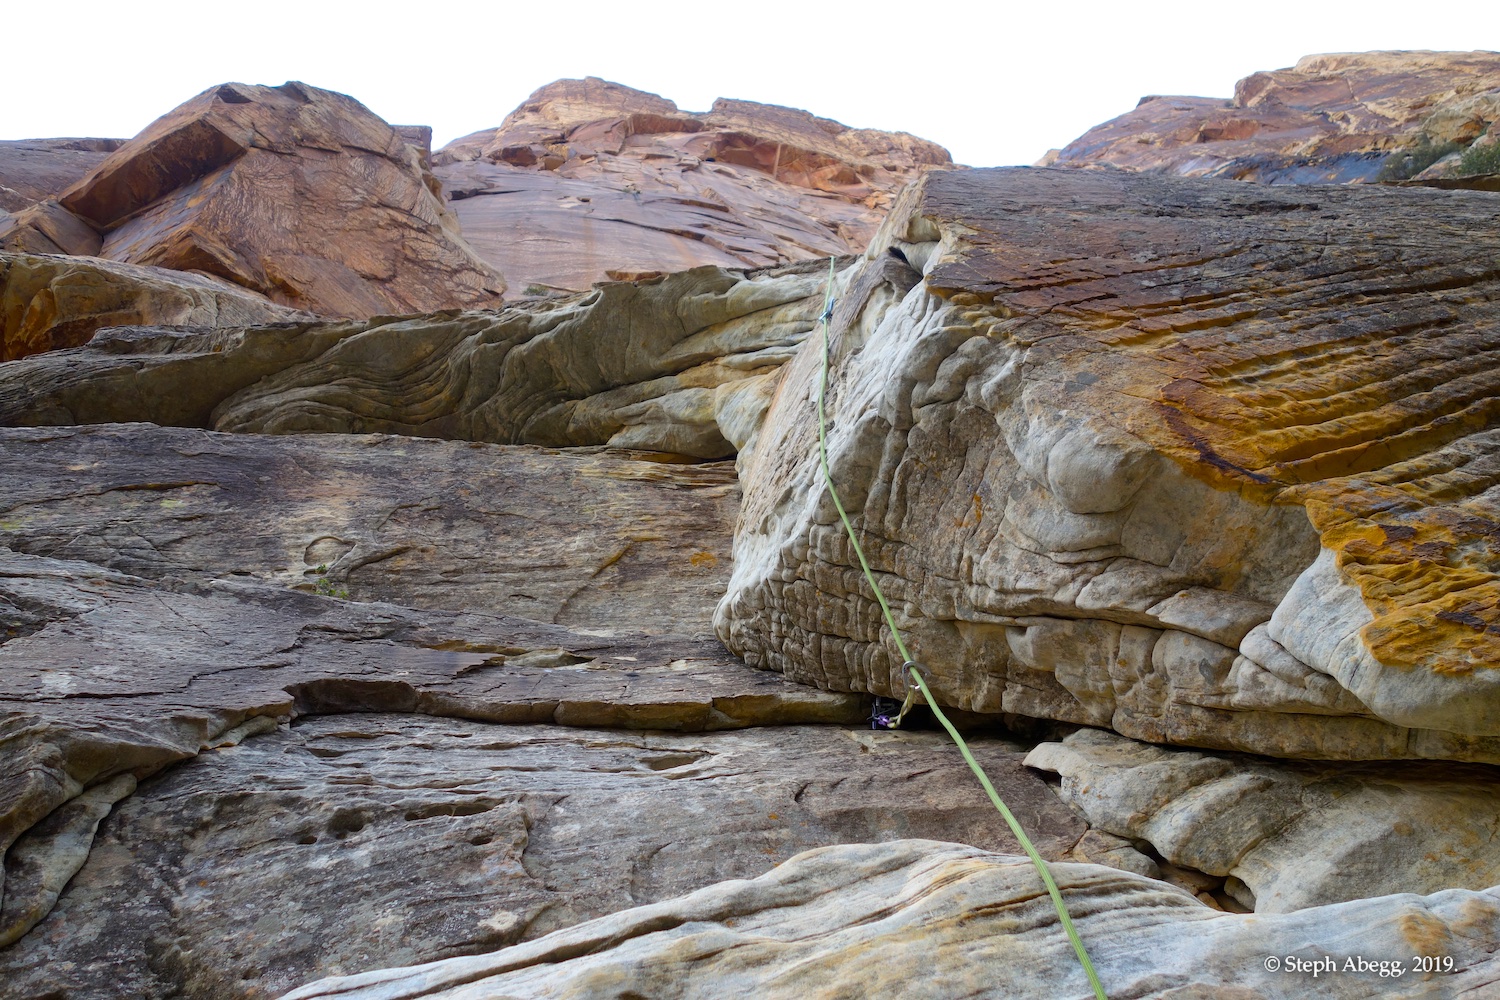
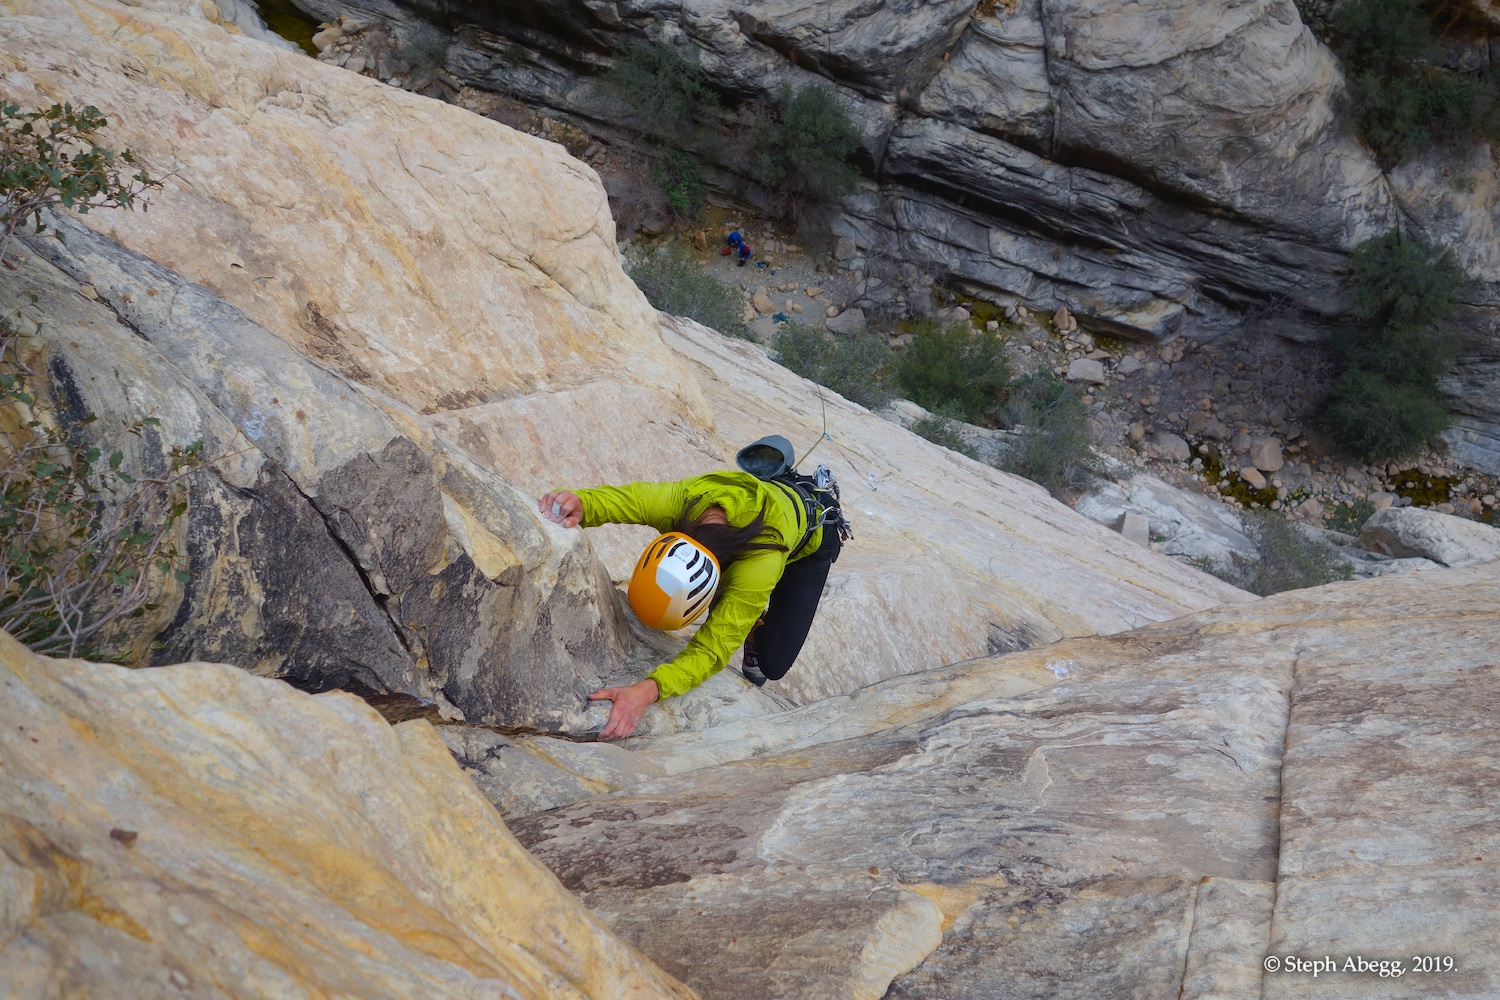
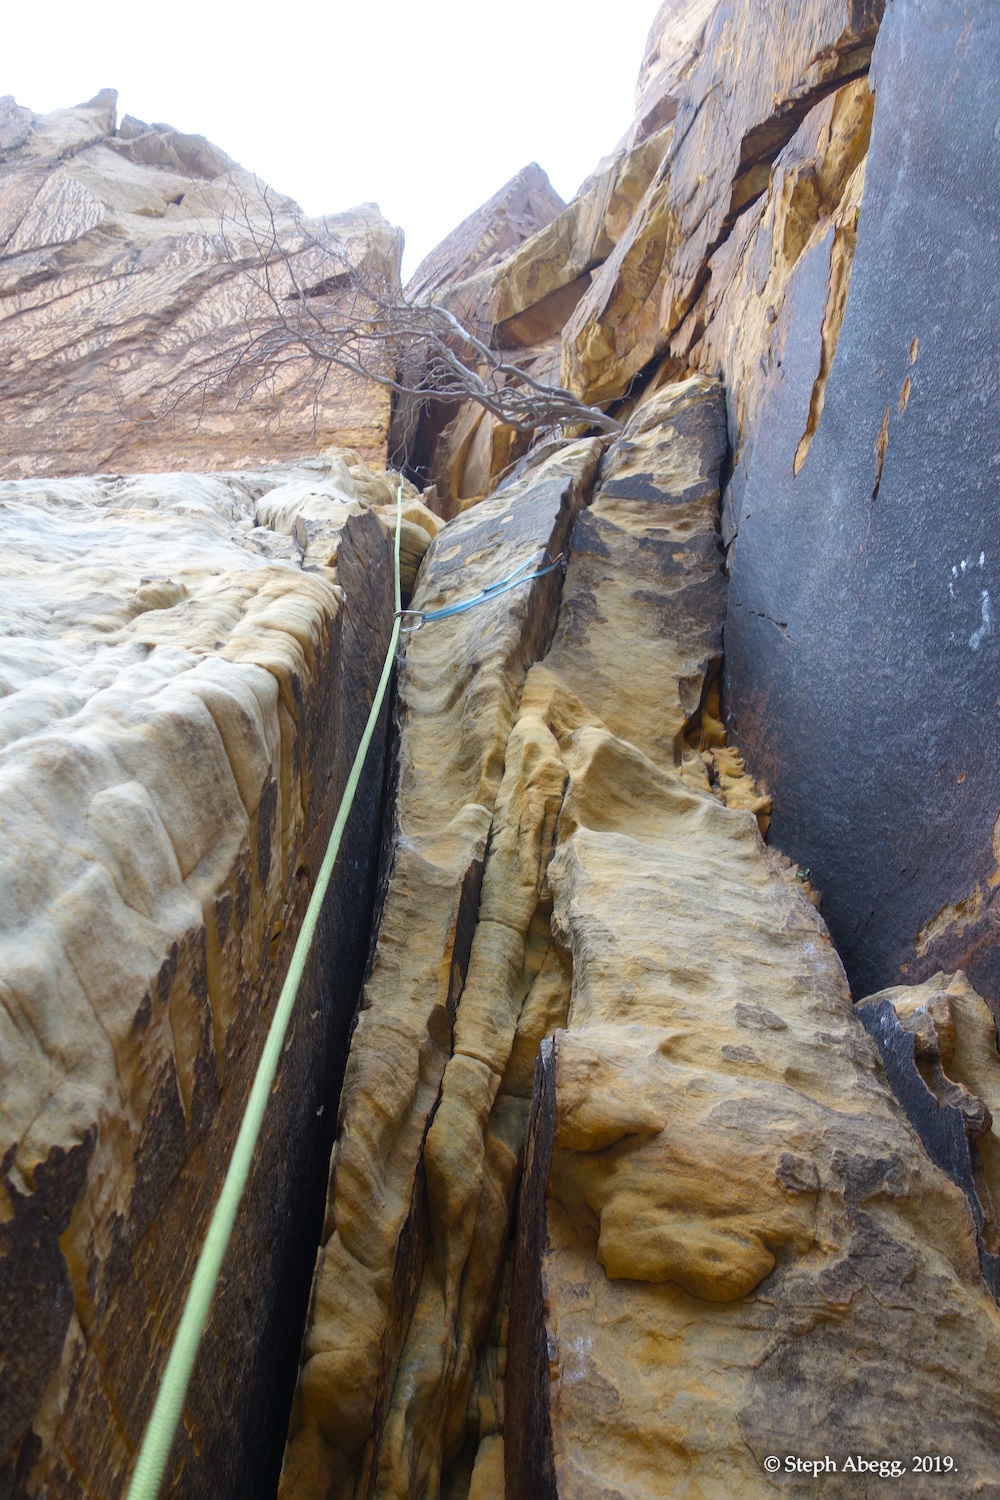
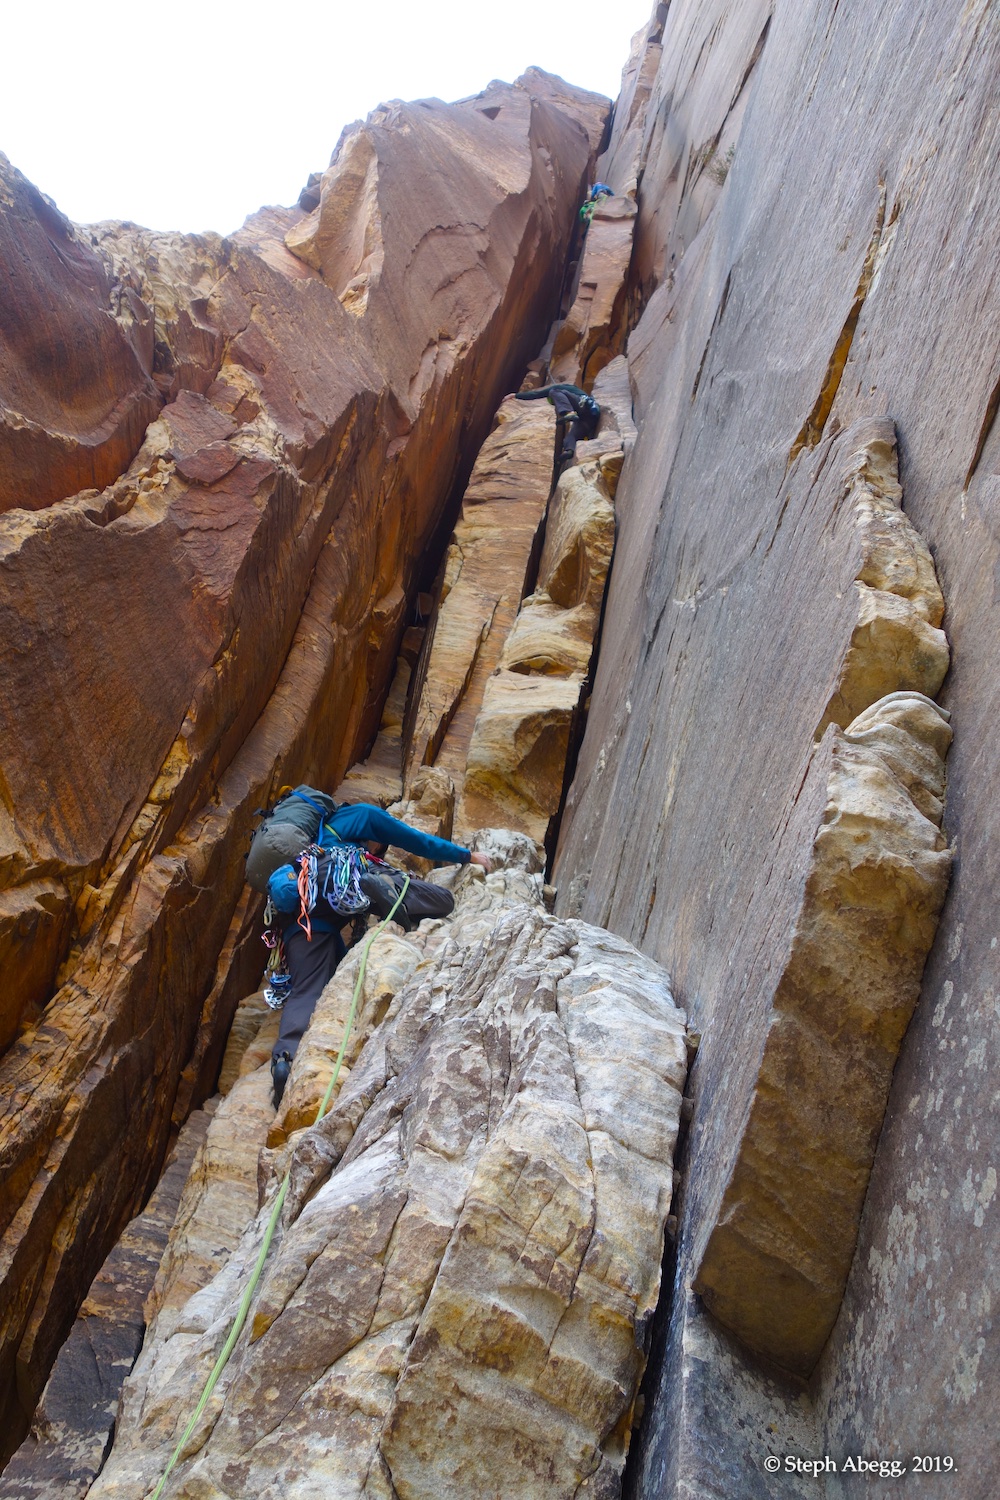
Red Rocks Spring Break 2019
Routes:
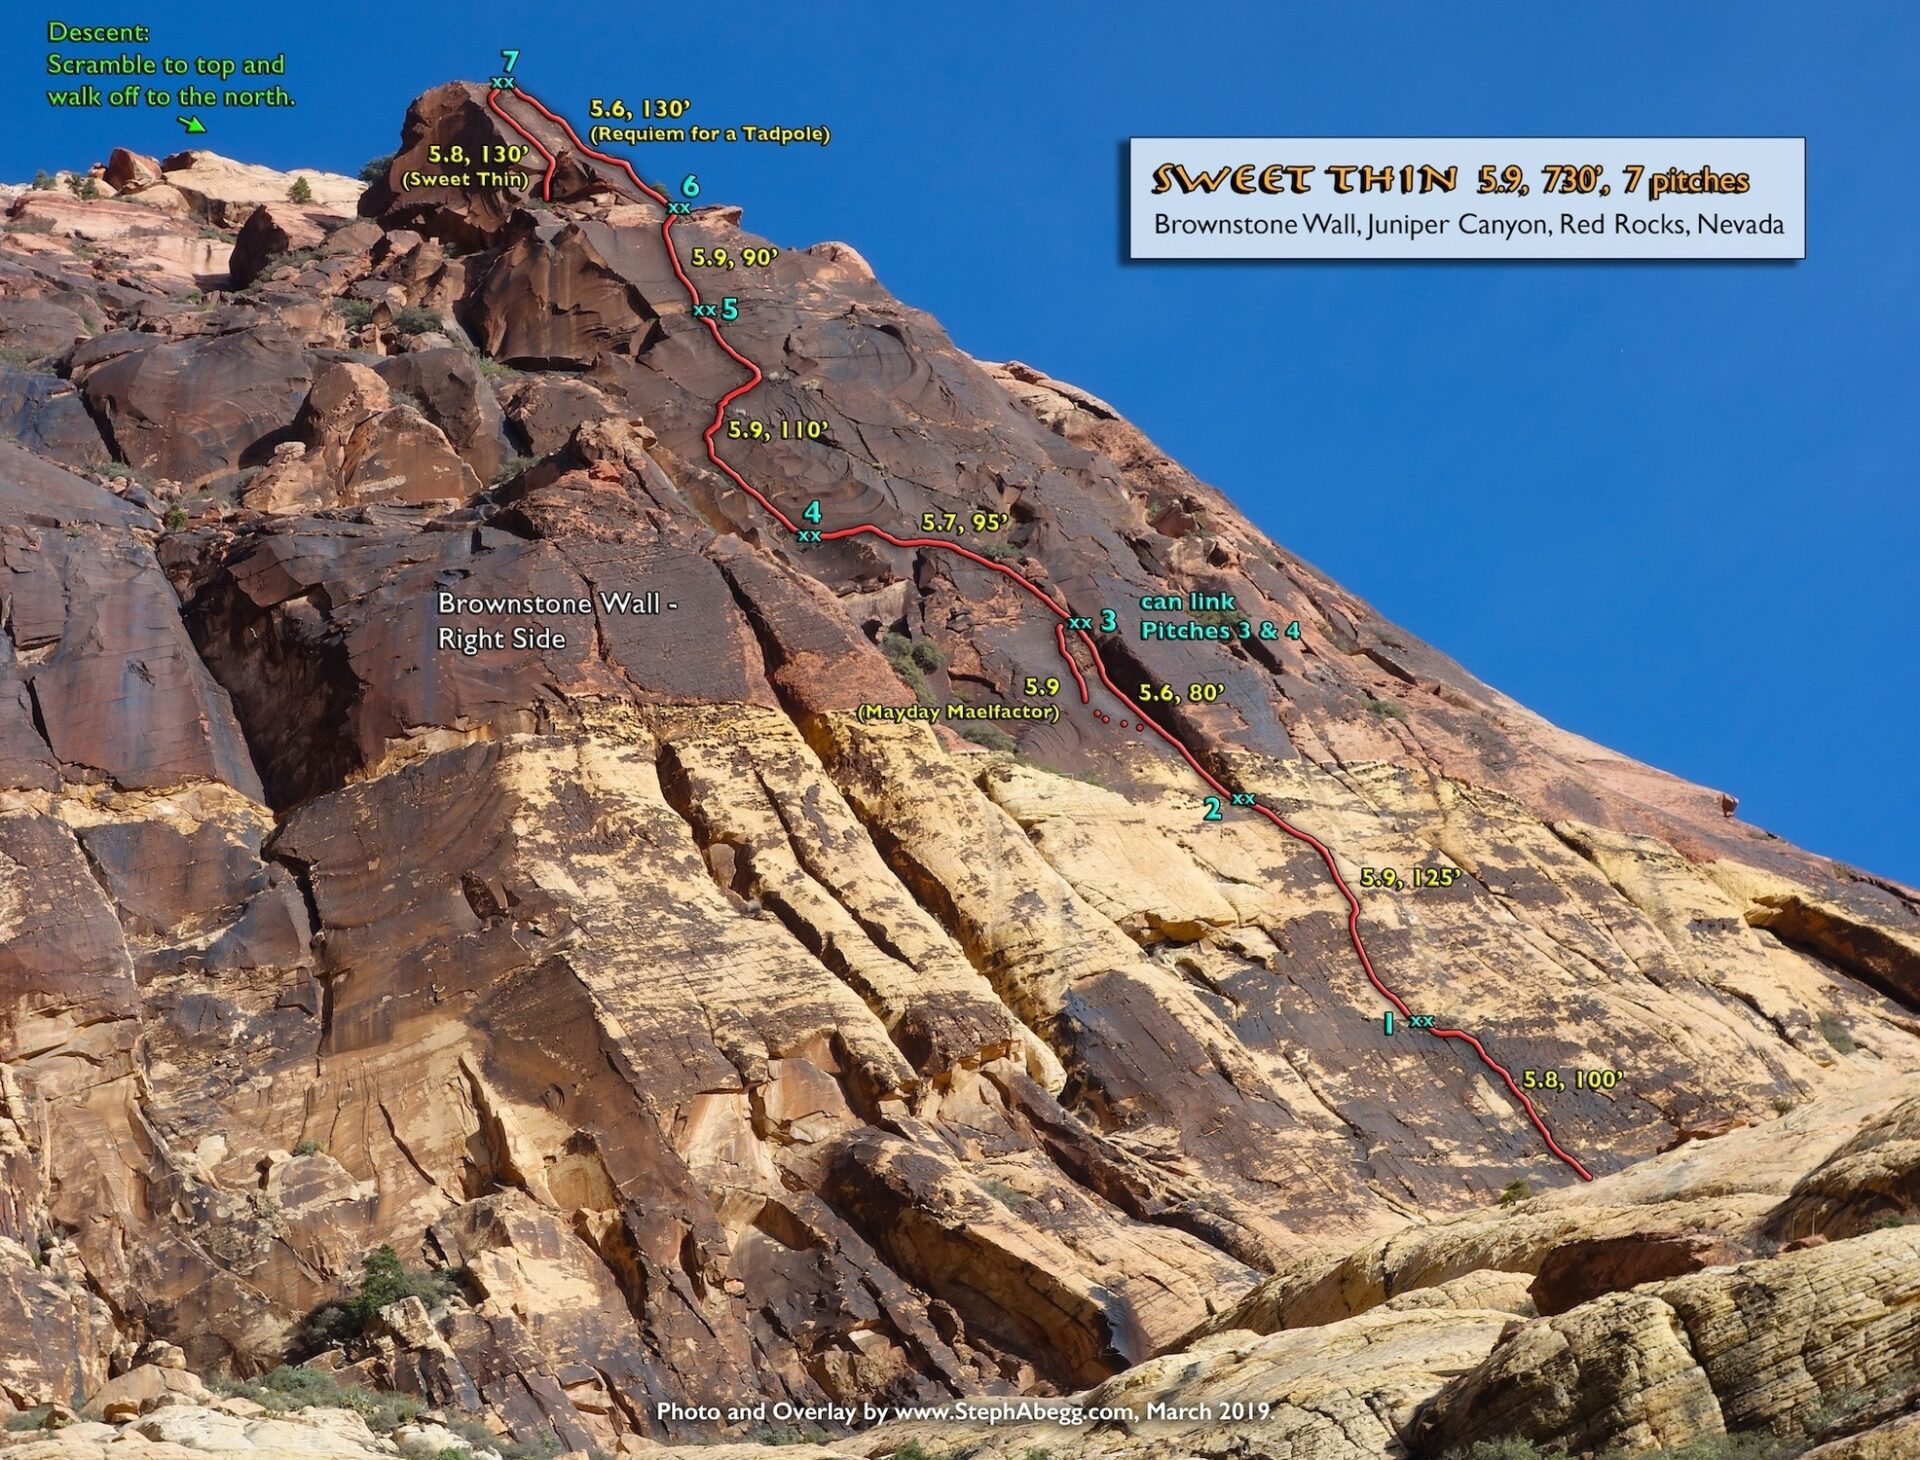
- Sweet Thin (5.9, 7p, 730')
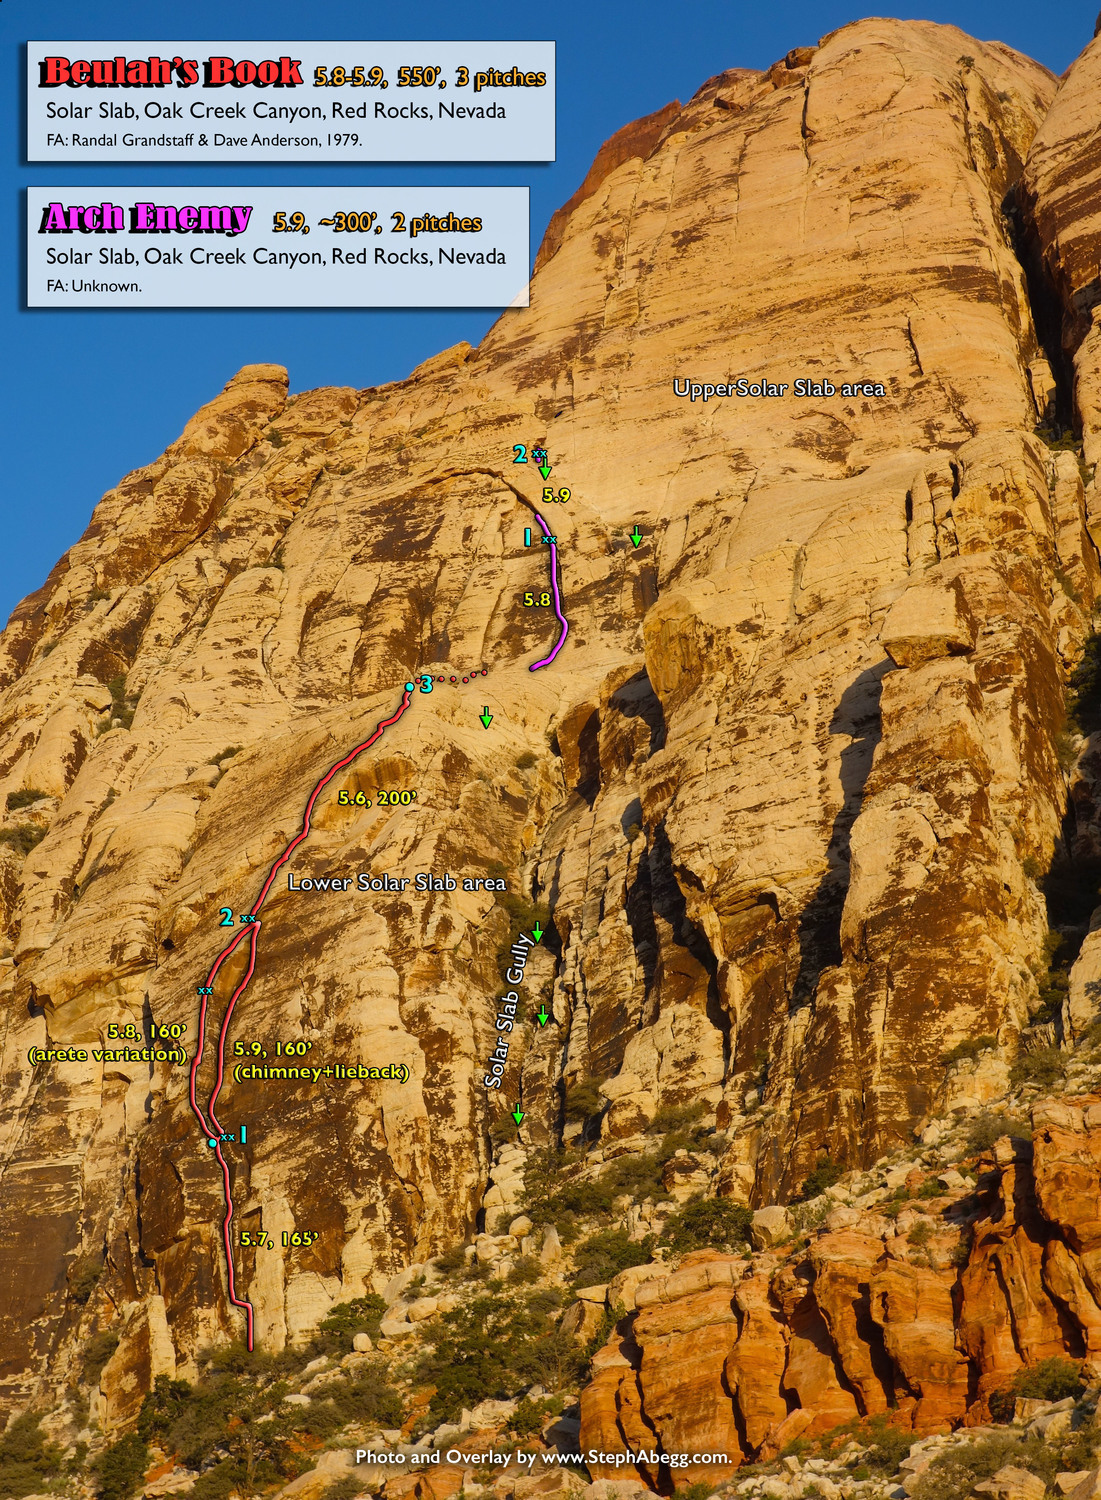
- Beulah's Book (5.8-5.9, 3p, 550') + Arch Enemy Pitch 1 (5.8, 180') + Heliotrope Pitch 1 (5.7, 140')
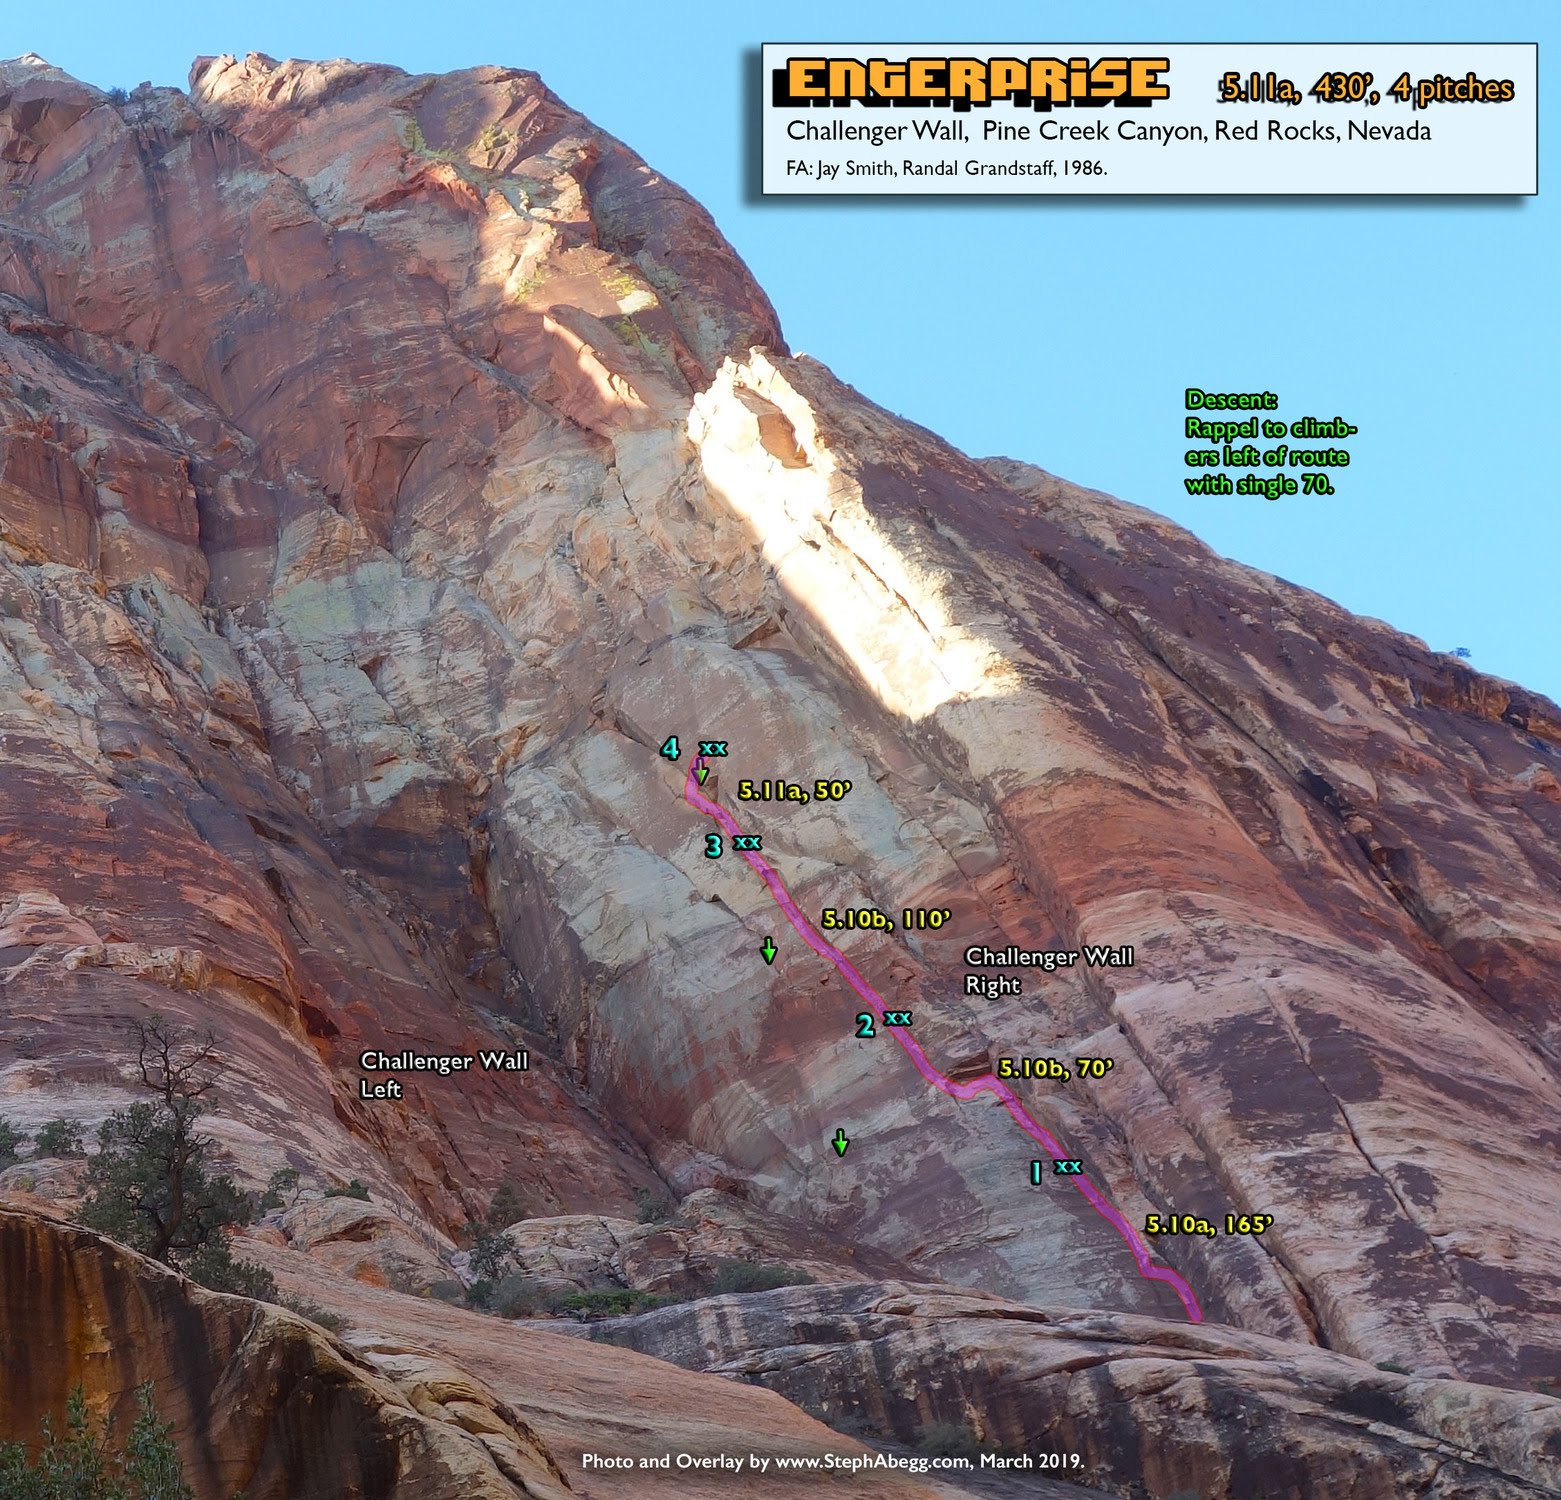
- Enterprise (5.11a, 4p, 430')
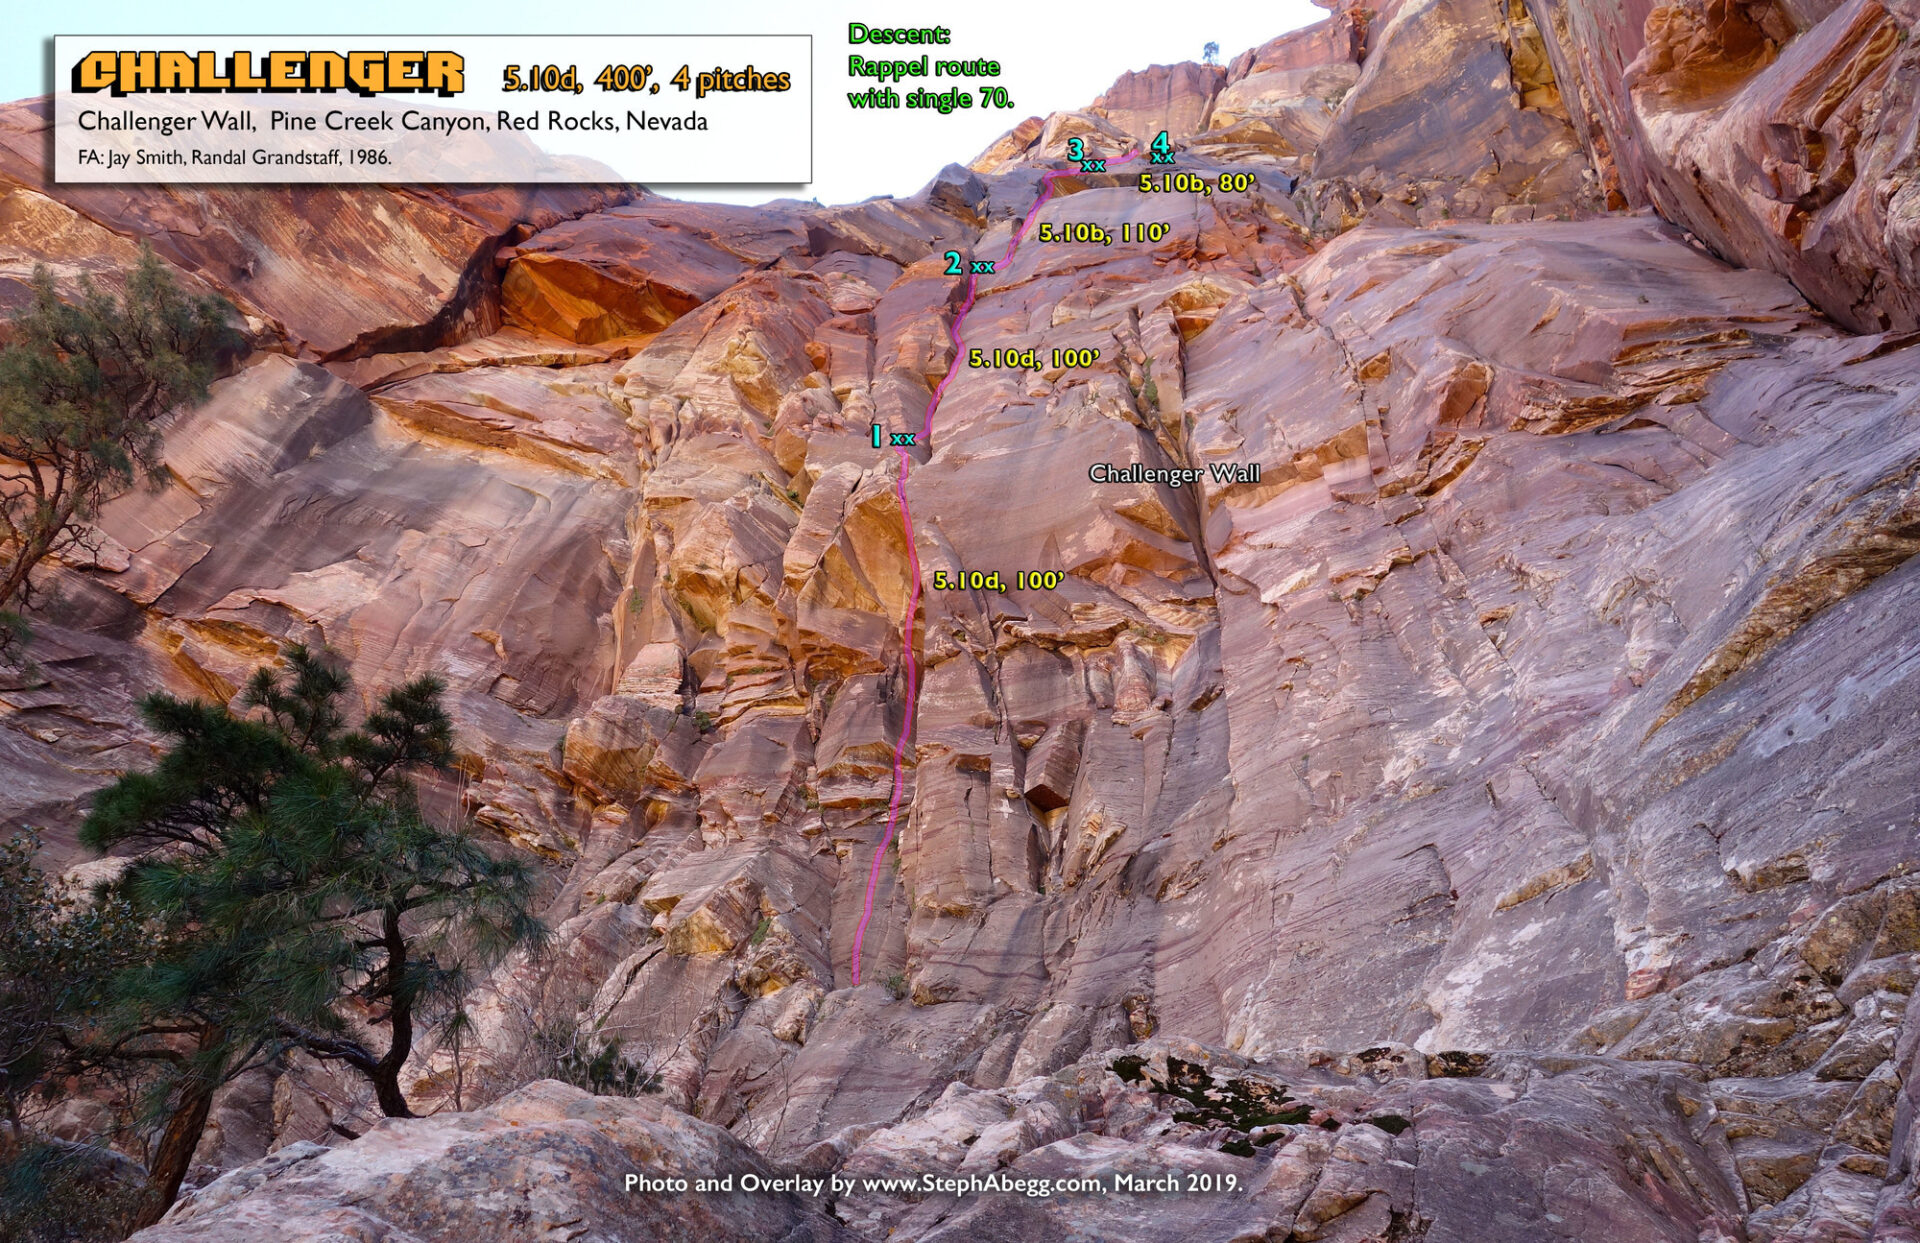
- Challenger (5.10d, 4p, 400')
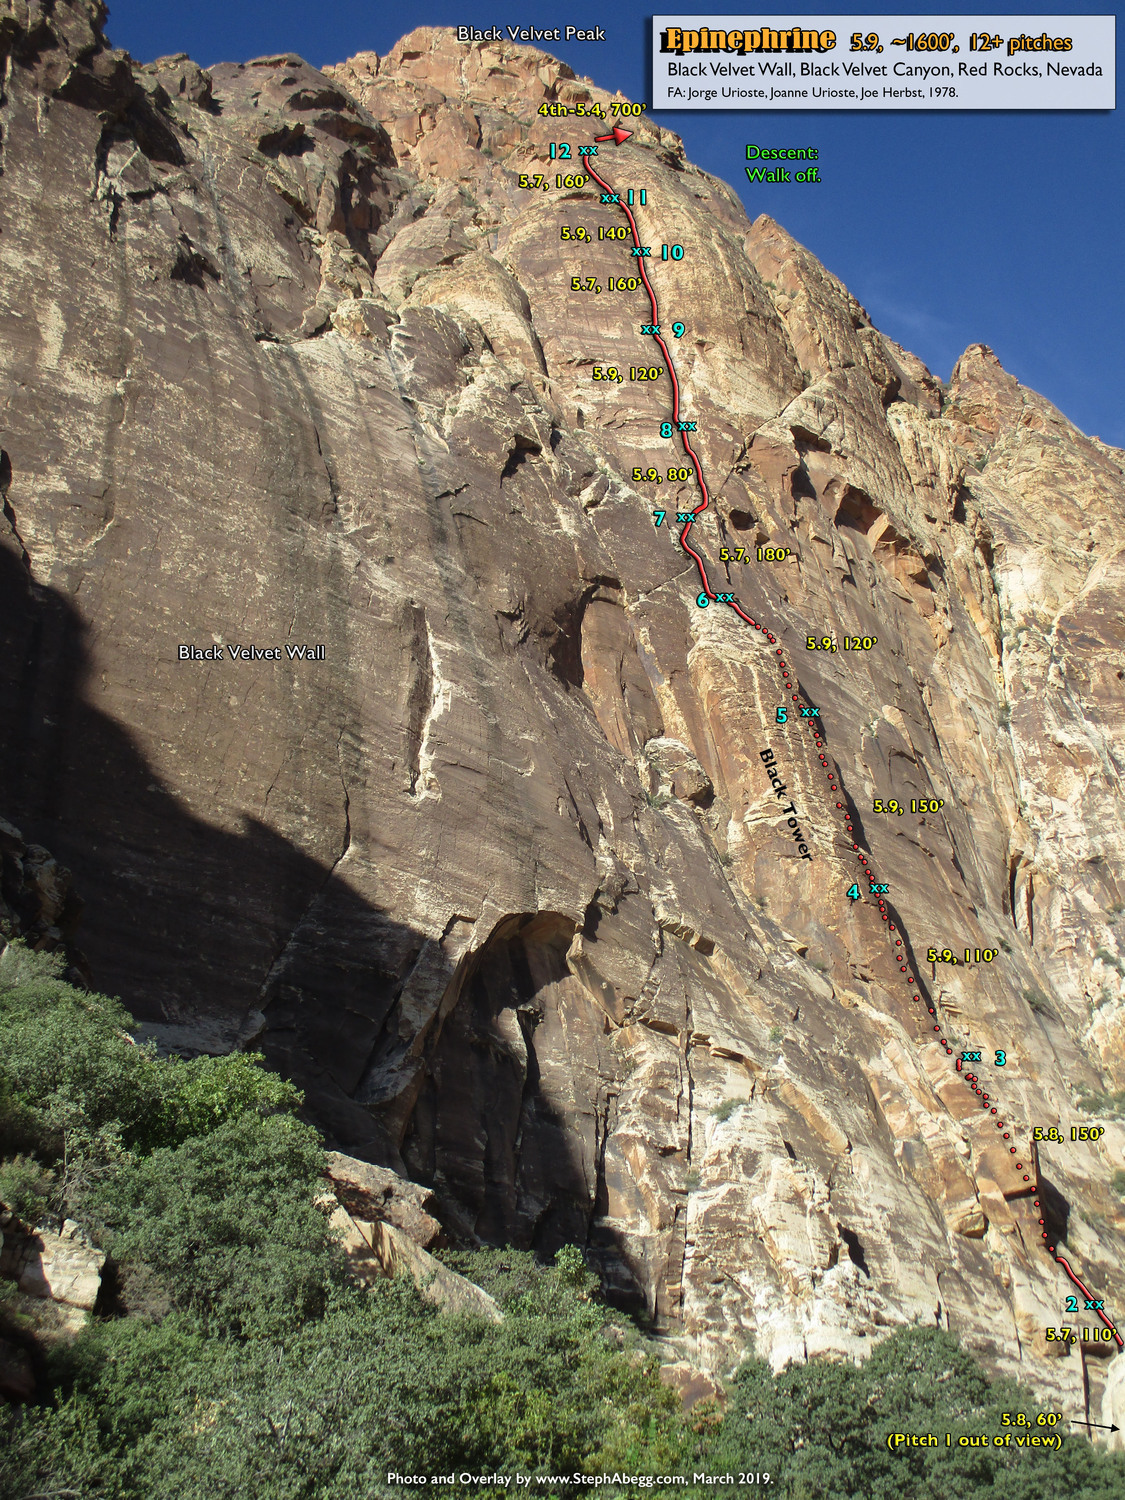
- Epinephrine (5.9, 12+p, ~1600')
- Cragging at Mud Springs Wing
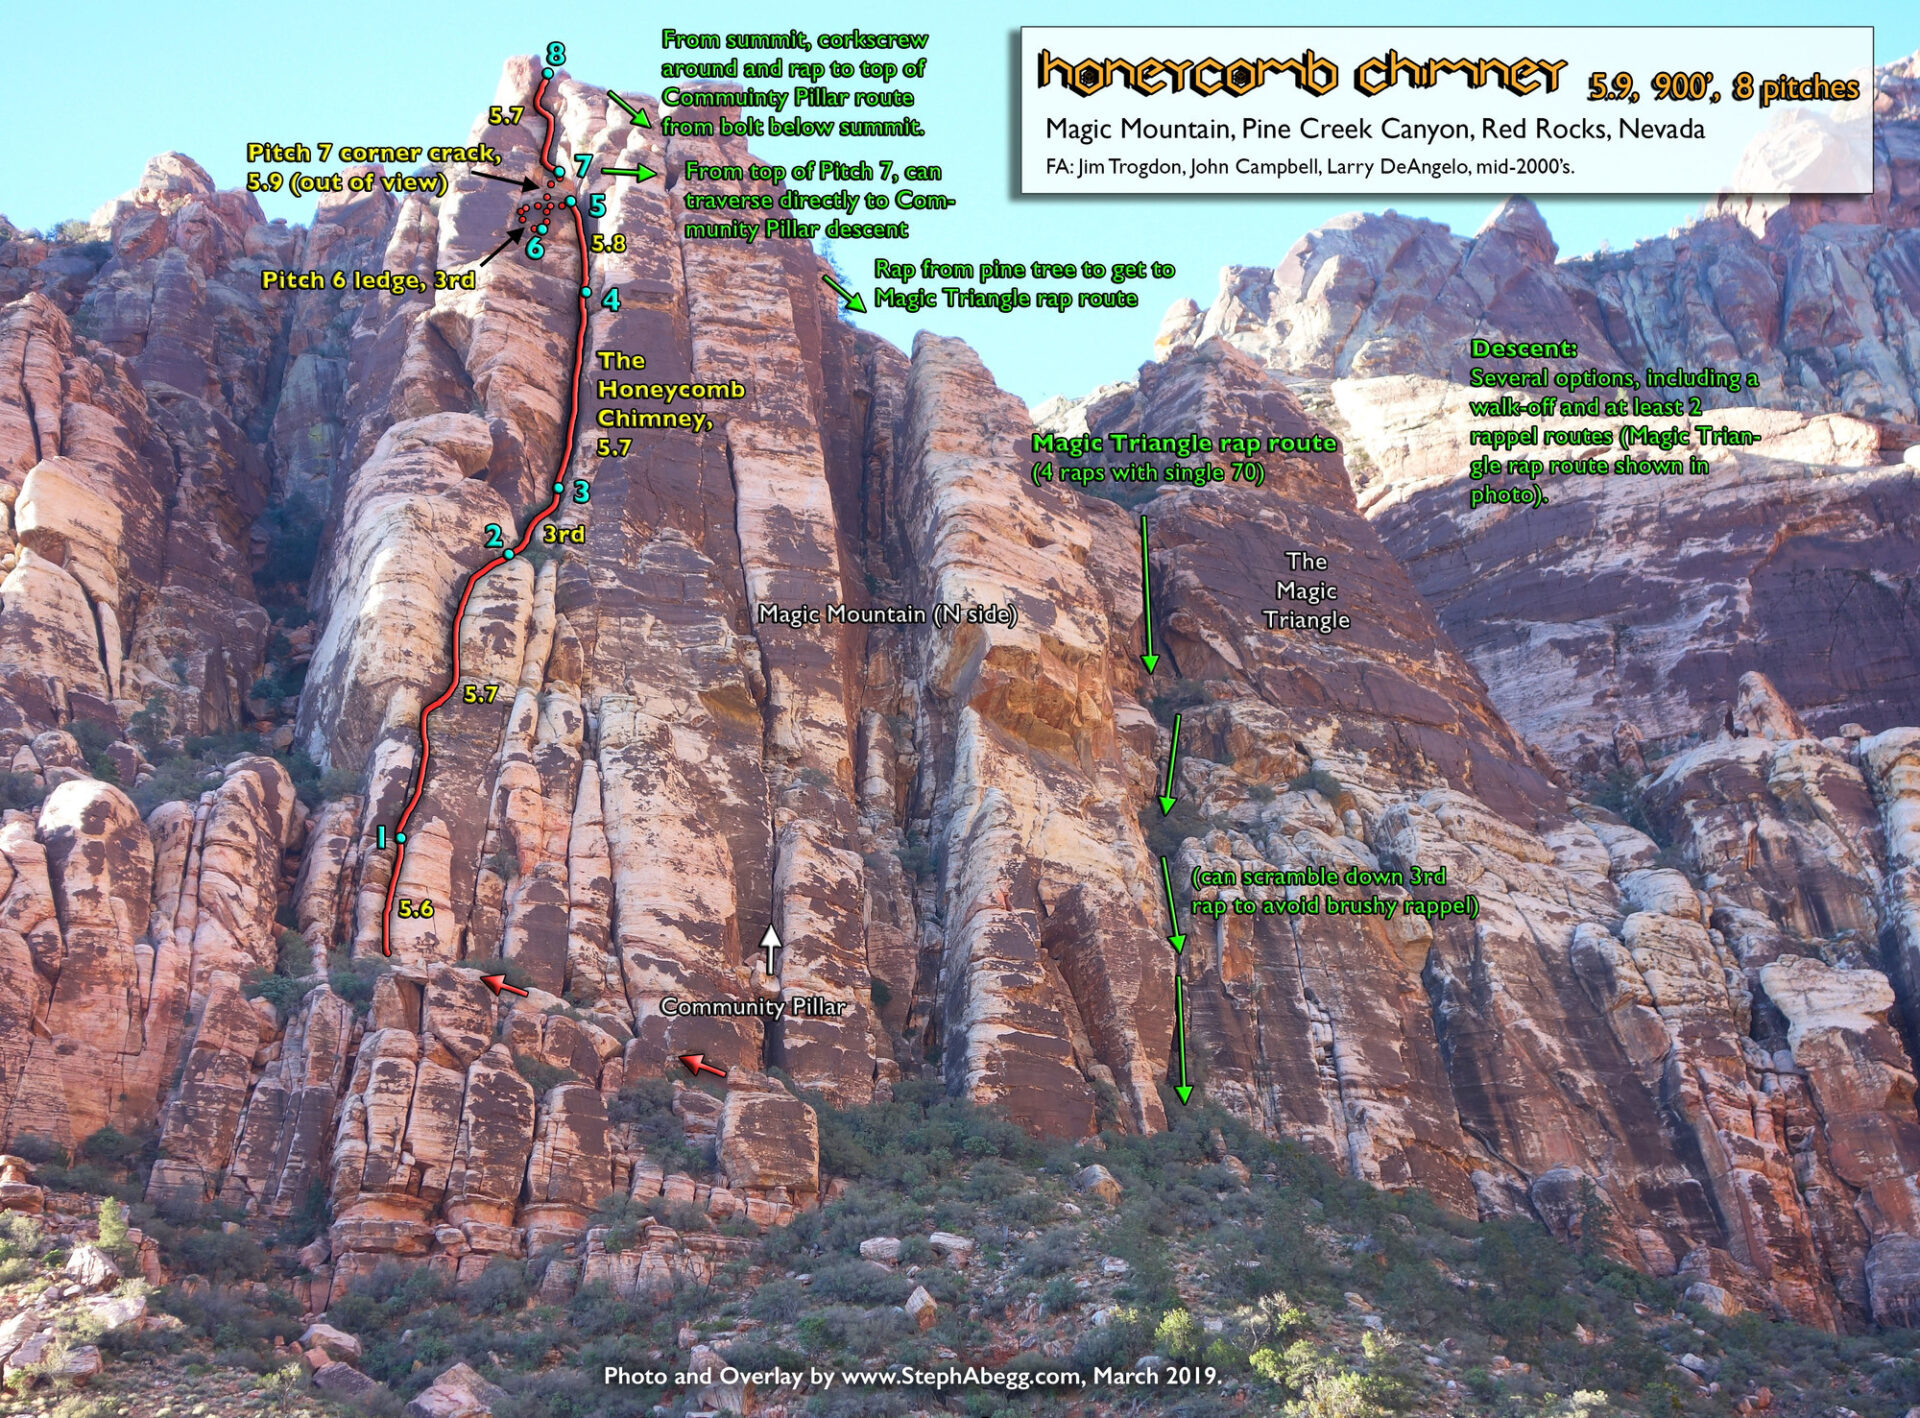
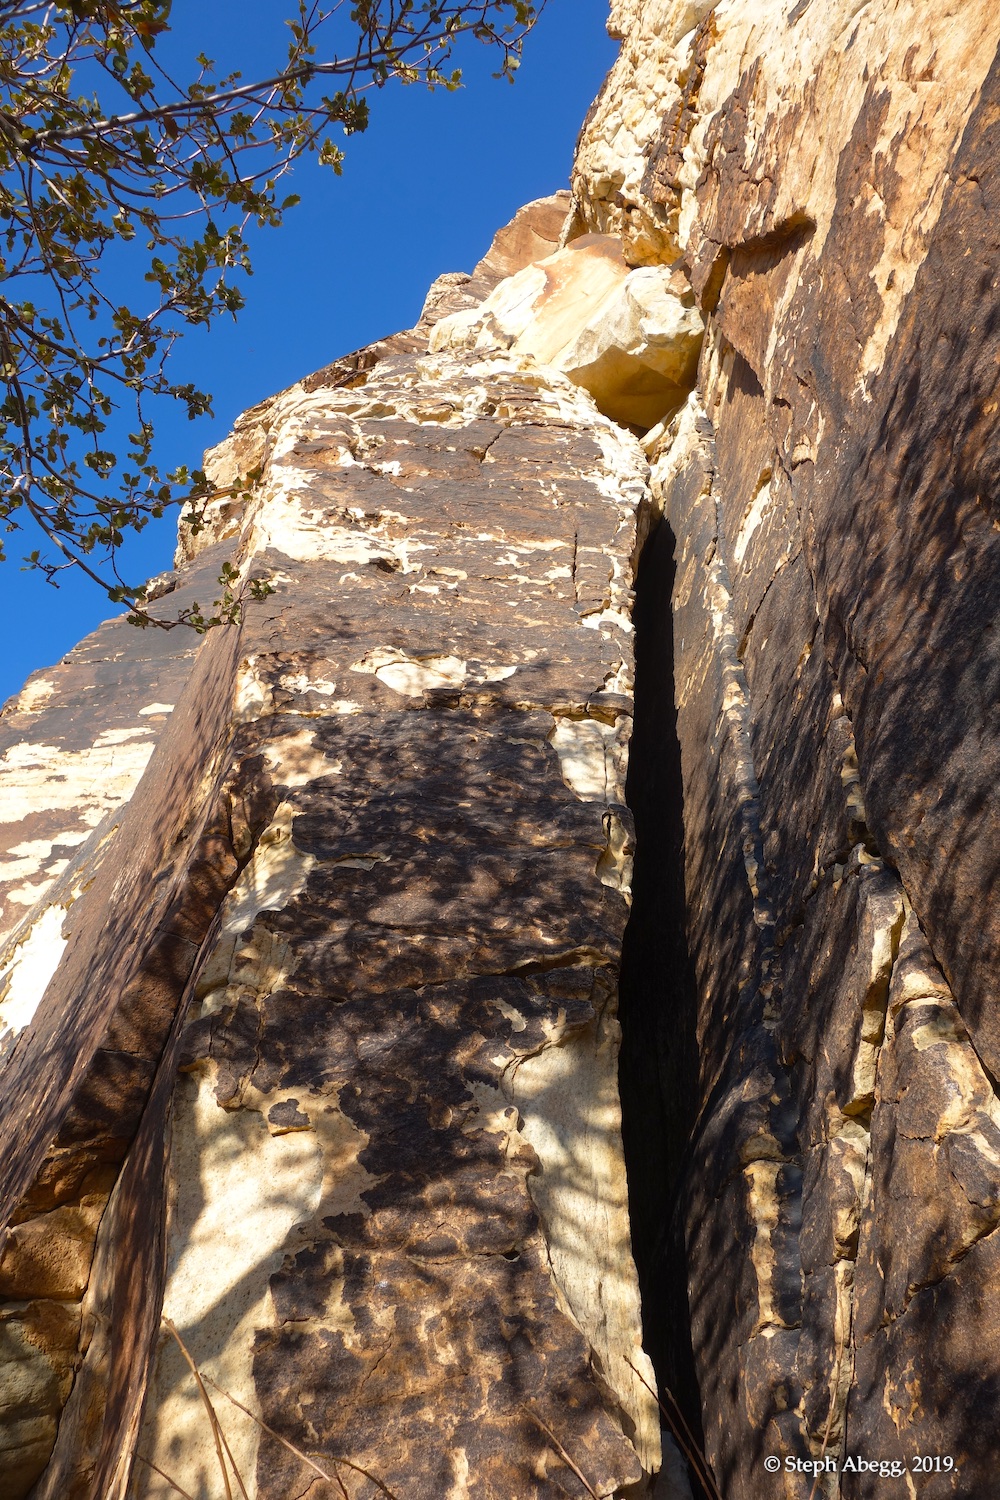
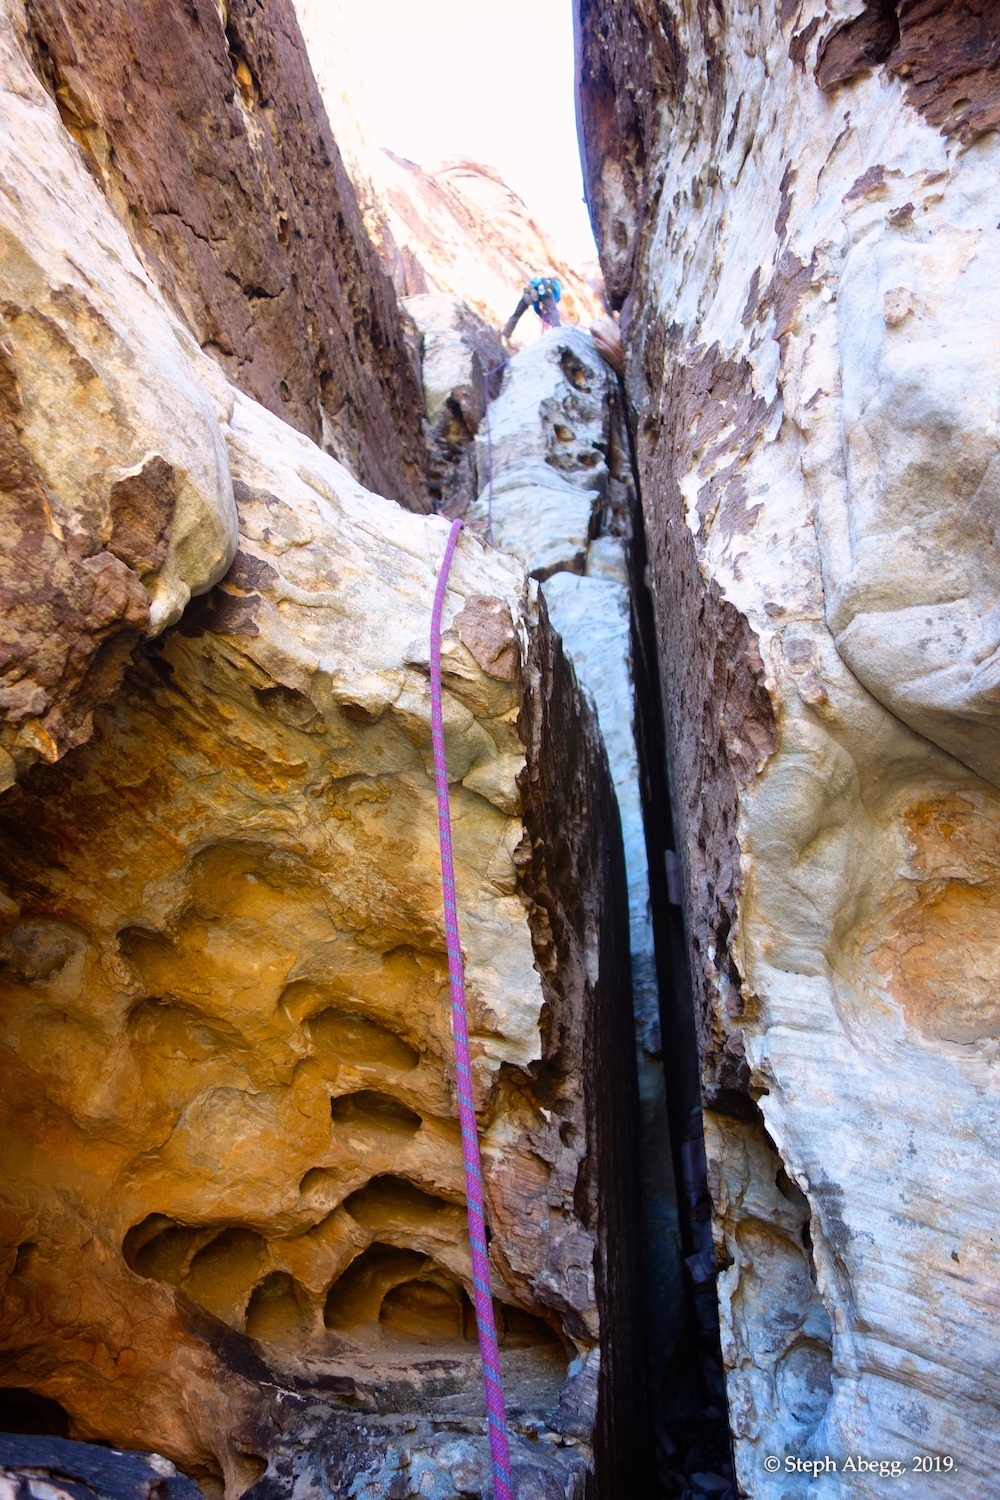
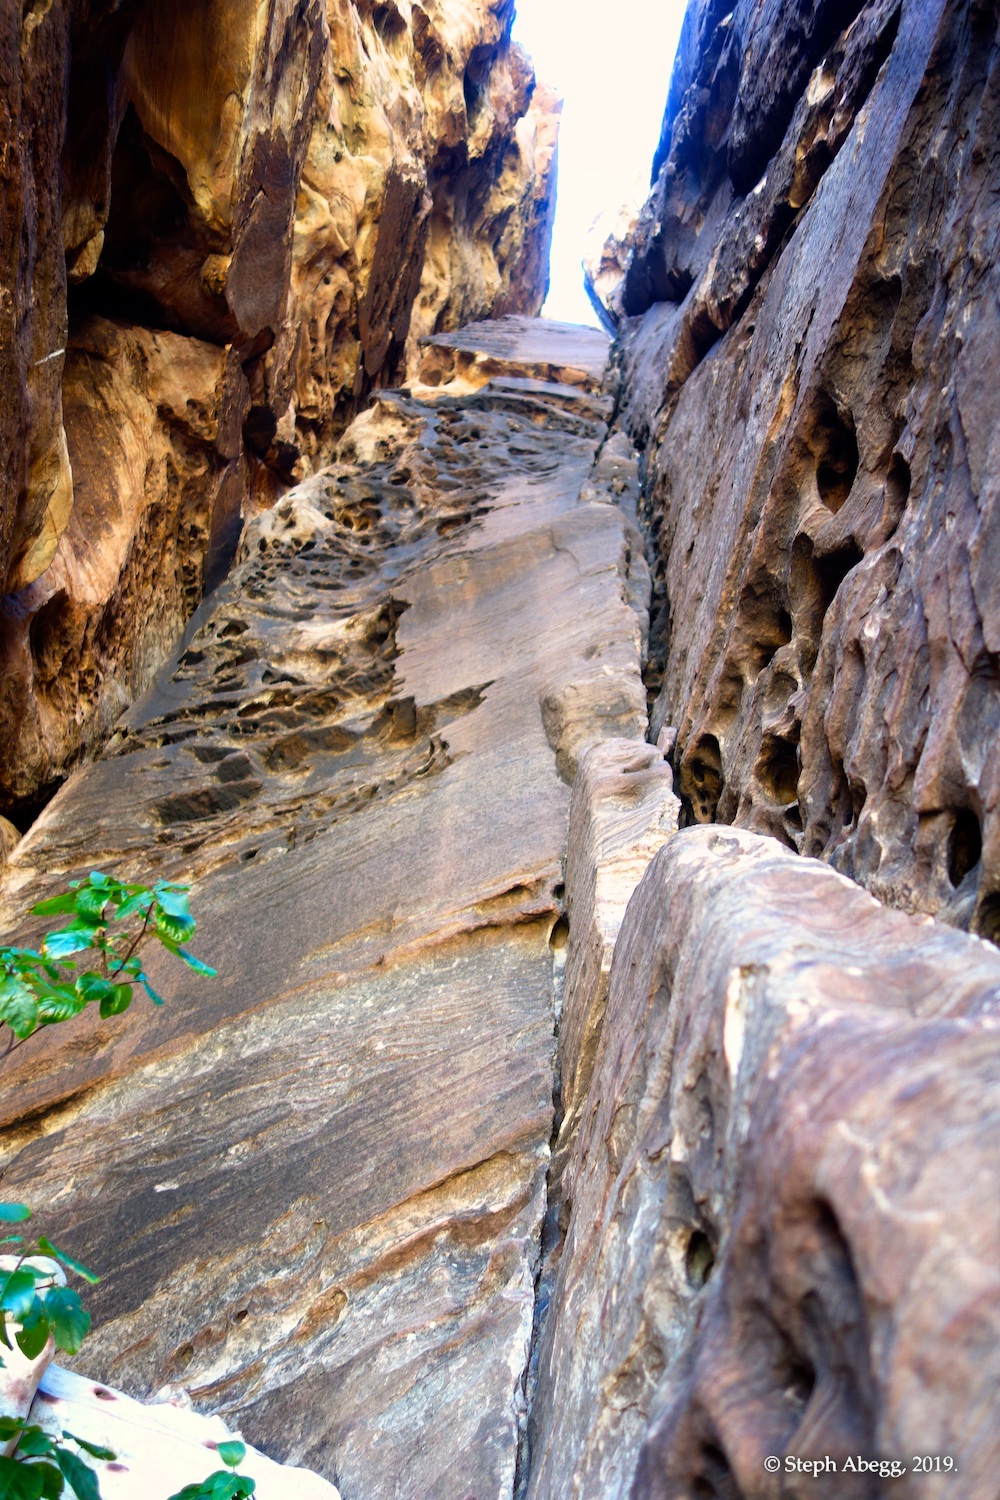
- Honeycomb Chimney (5.9, 8p, 900')
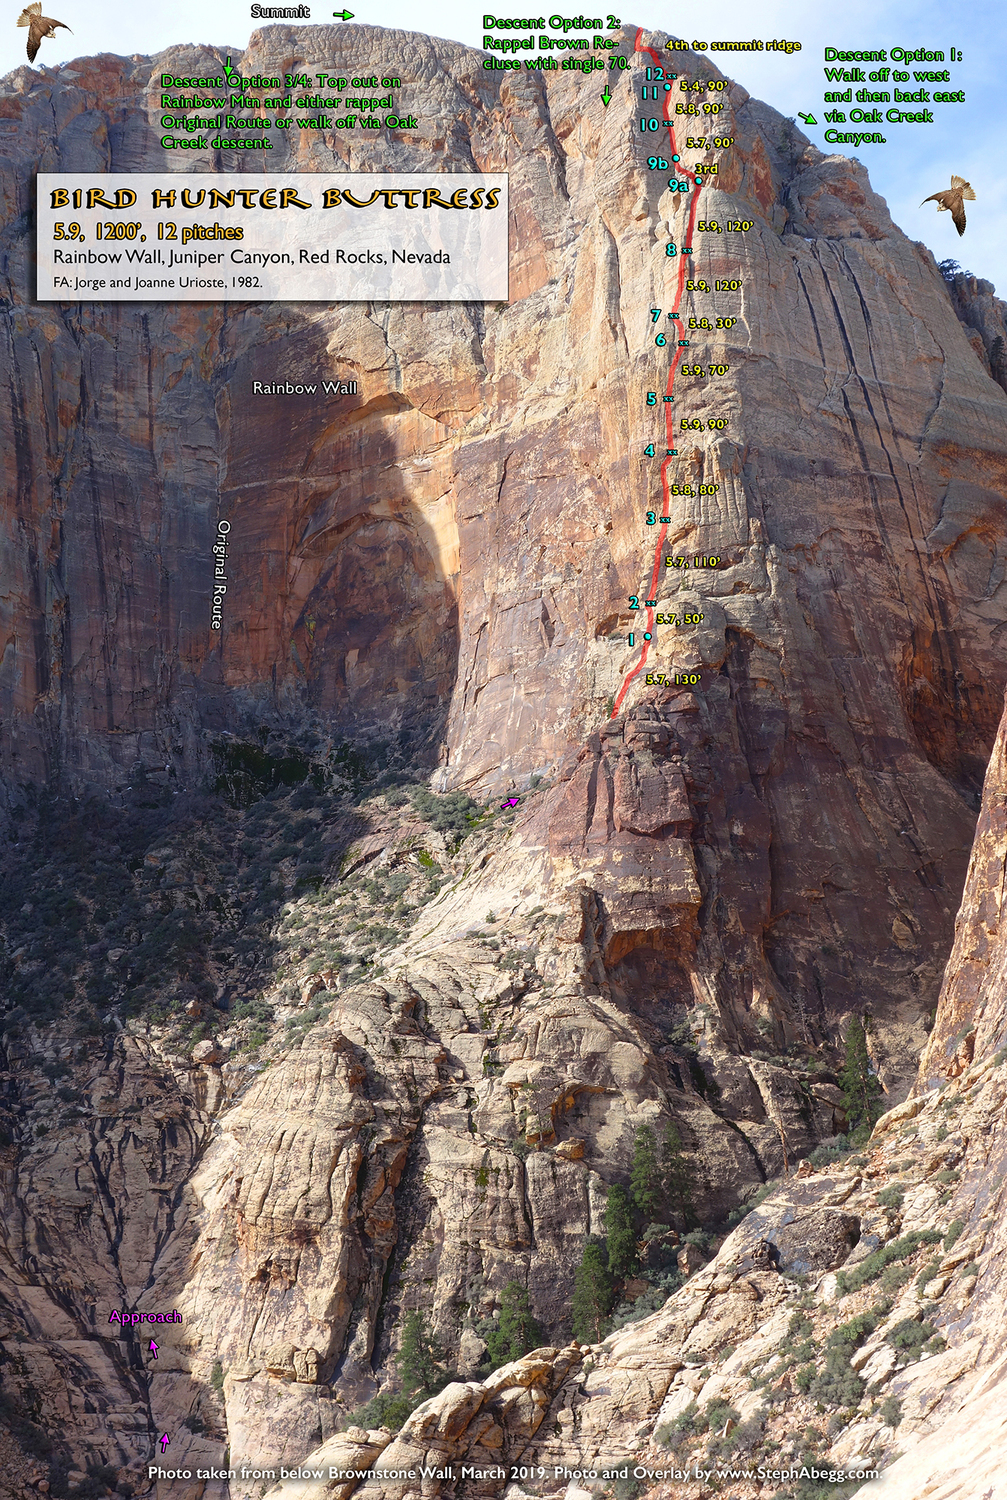
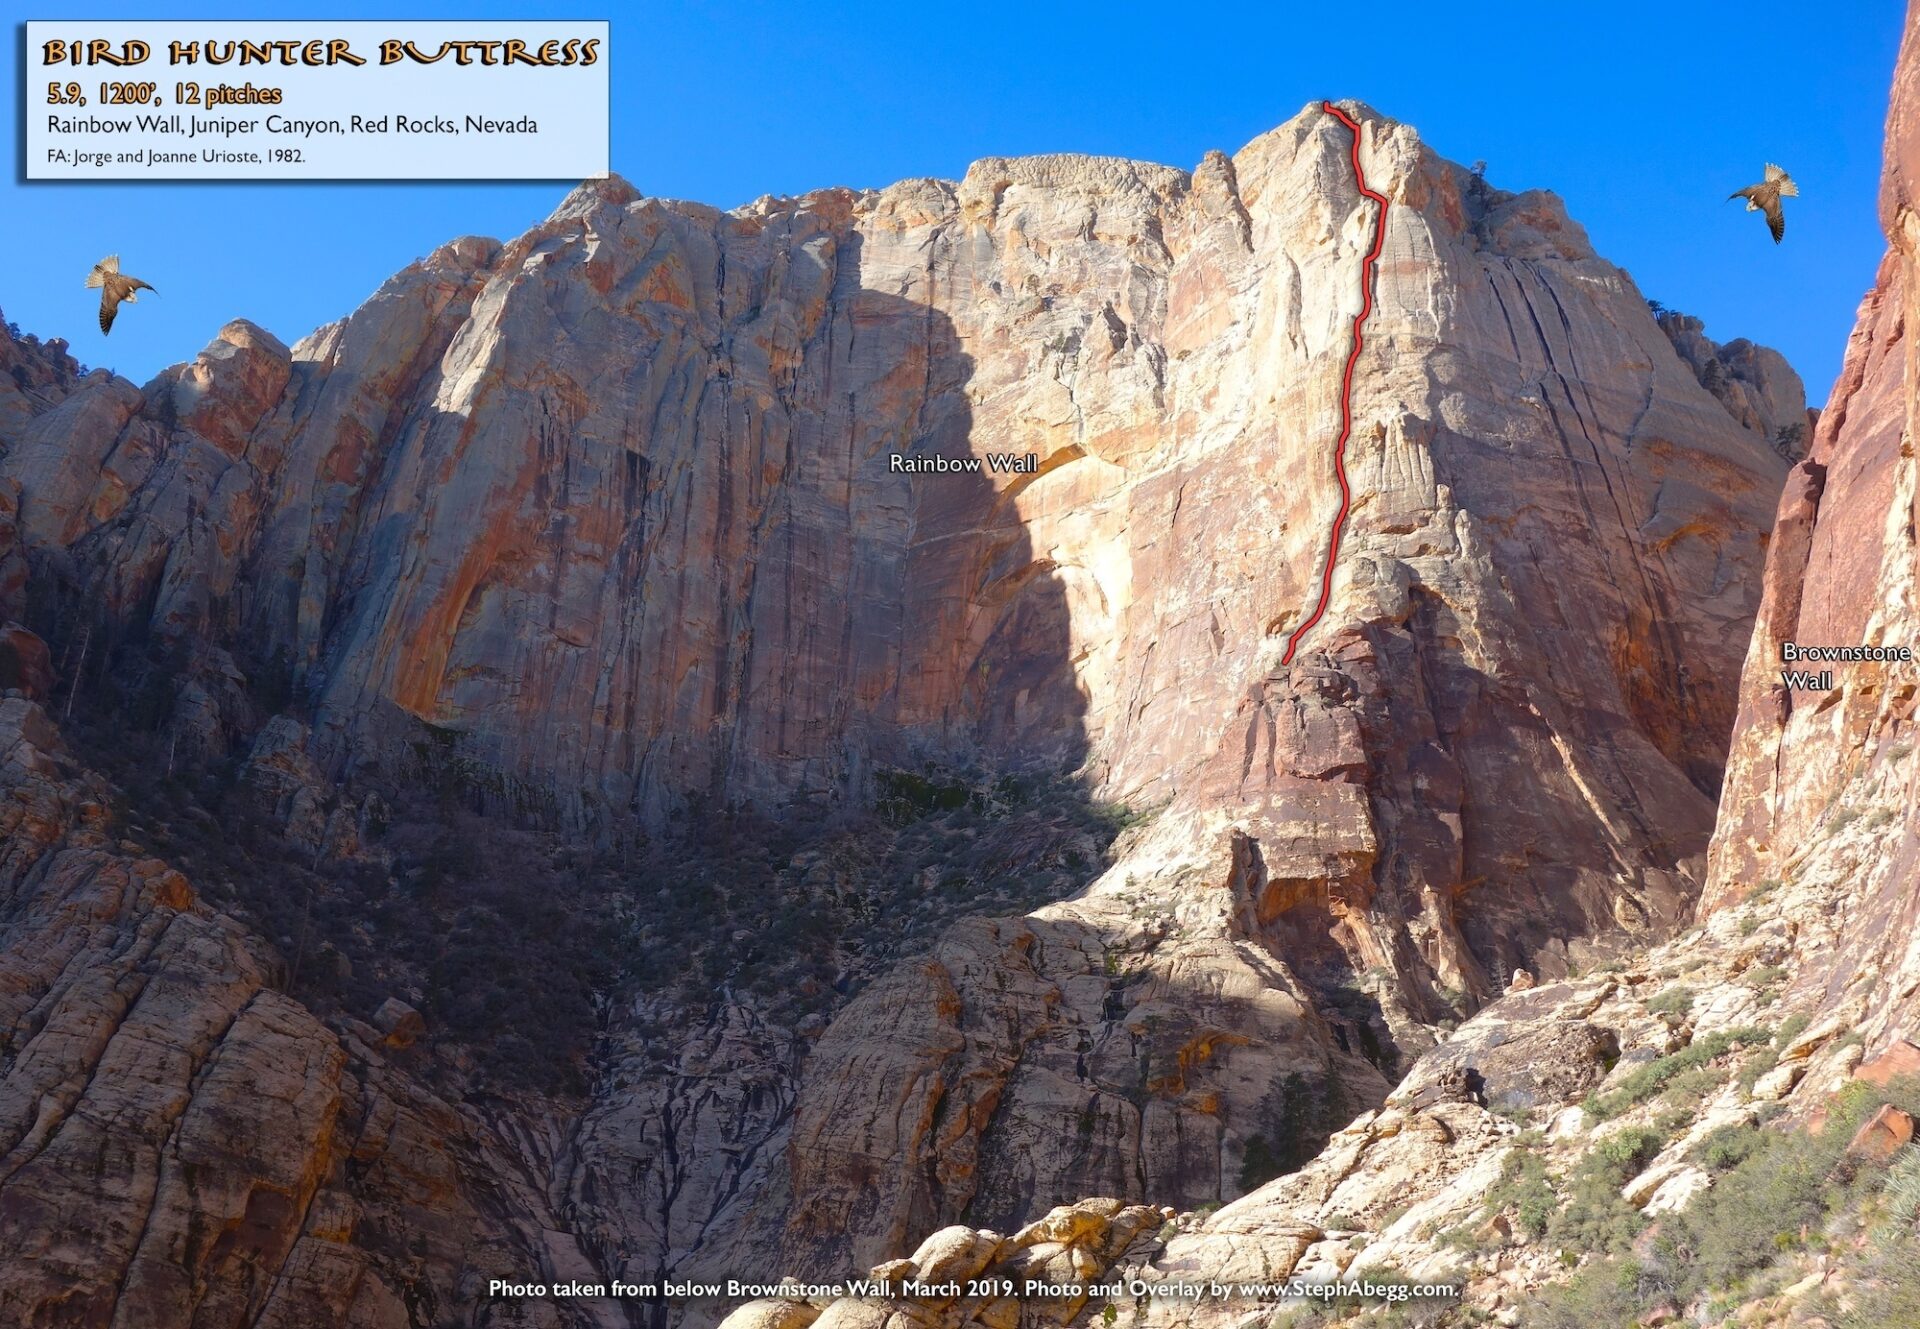
- Bird Hunter Buttress (5.9, 12p, 1200')
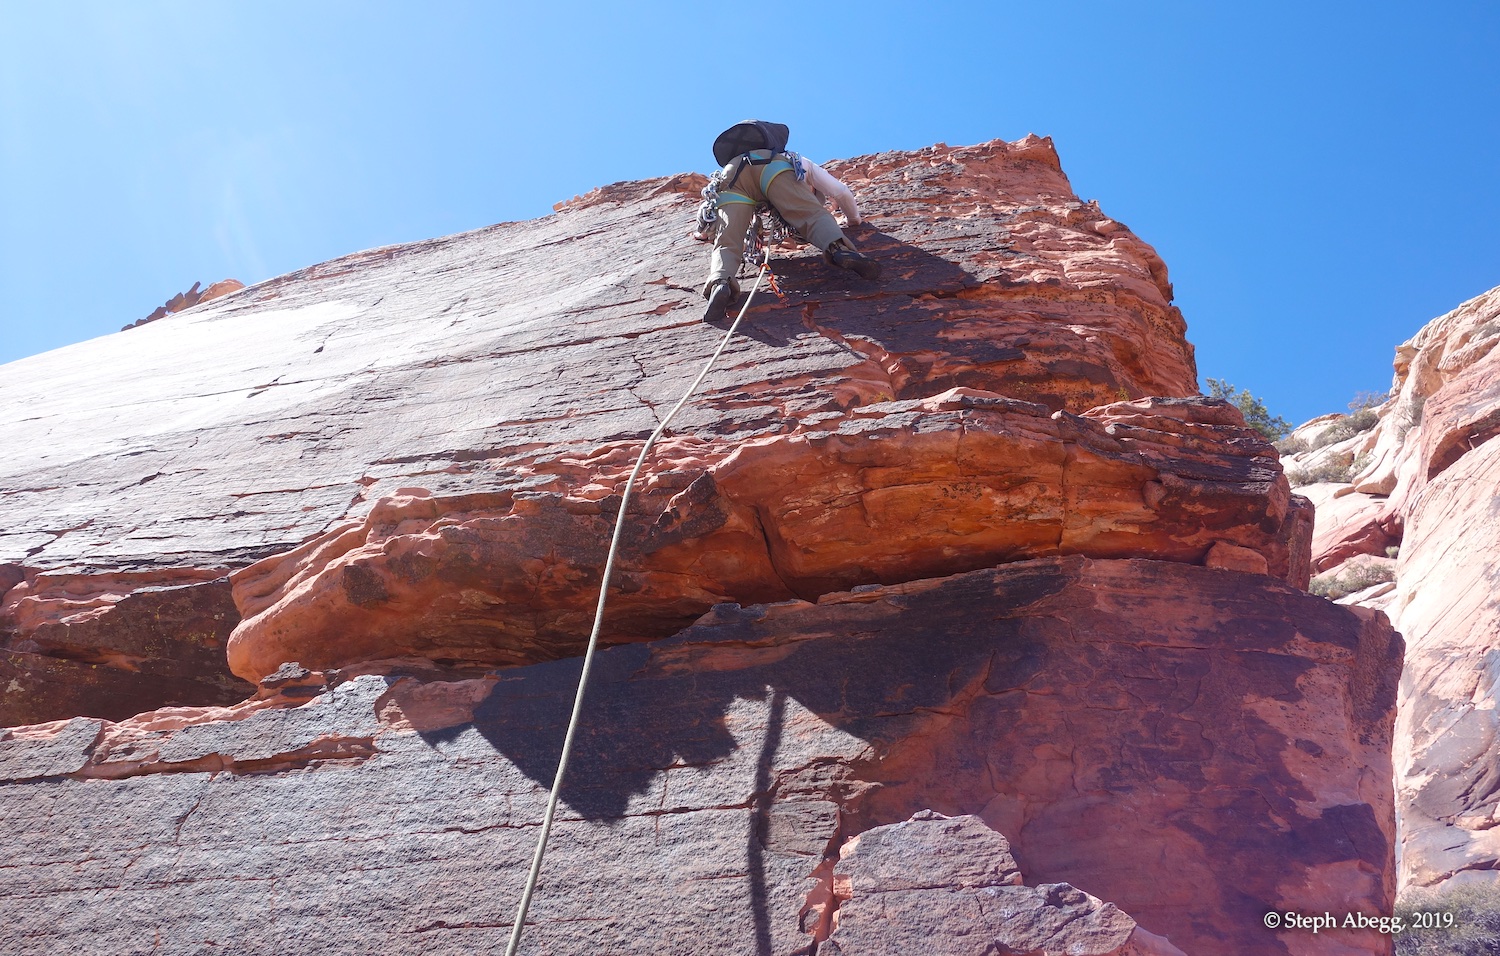
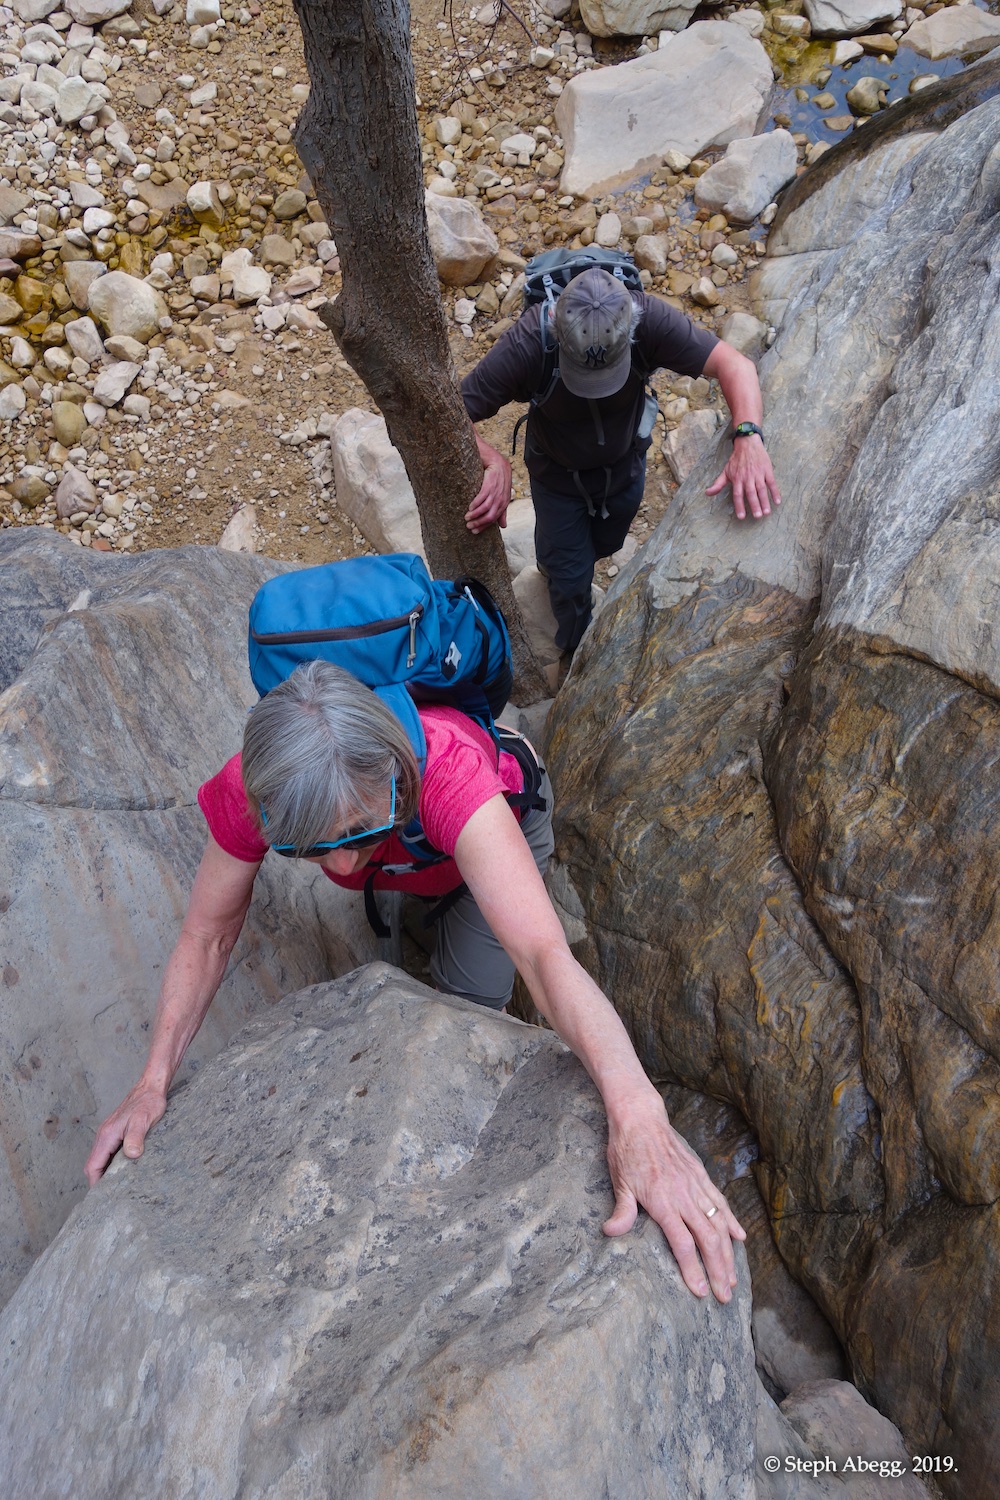
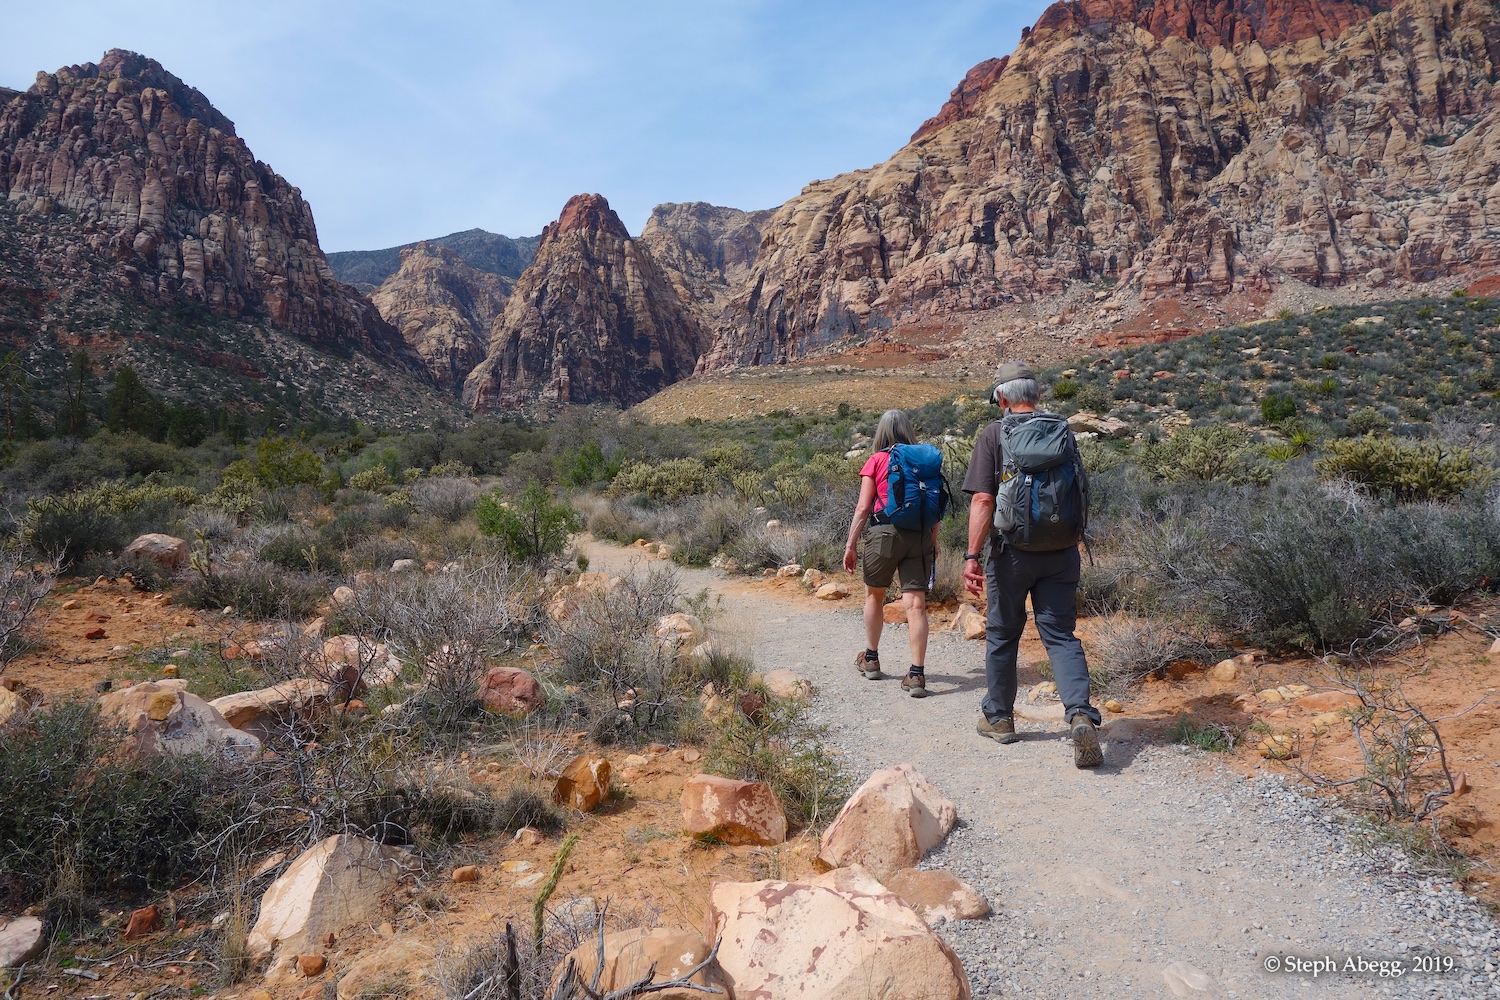
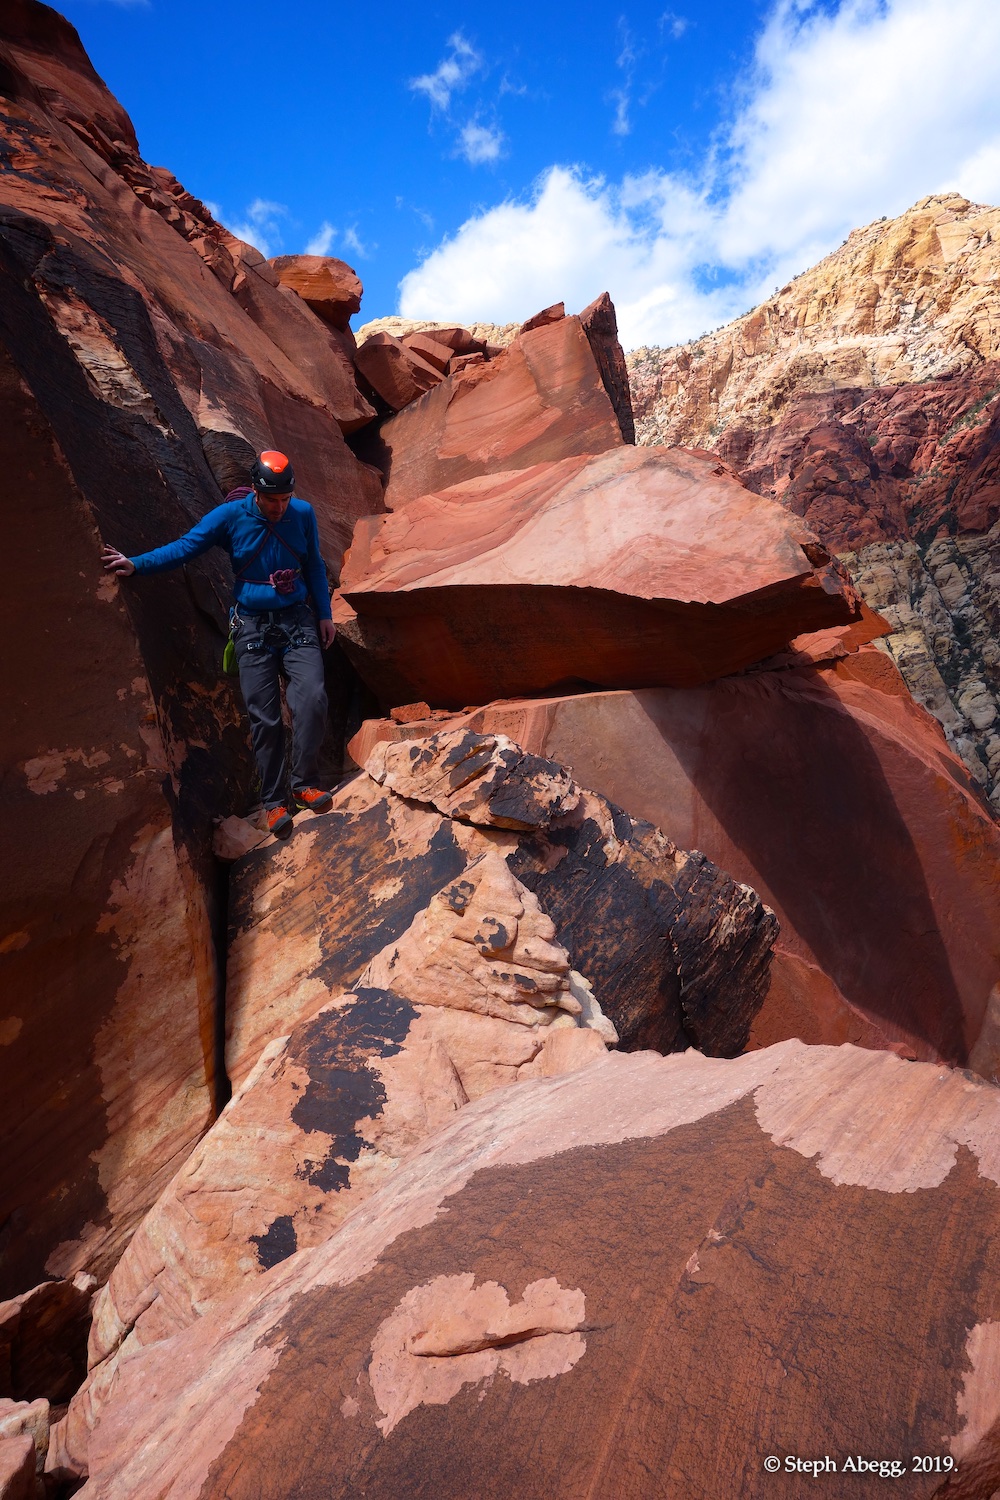
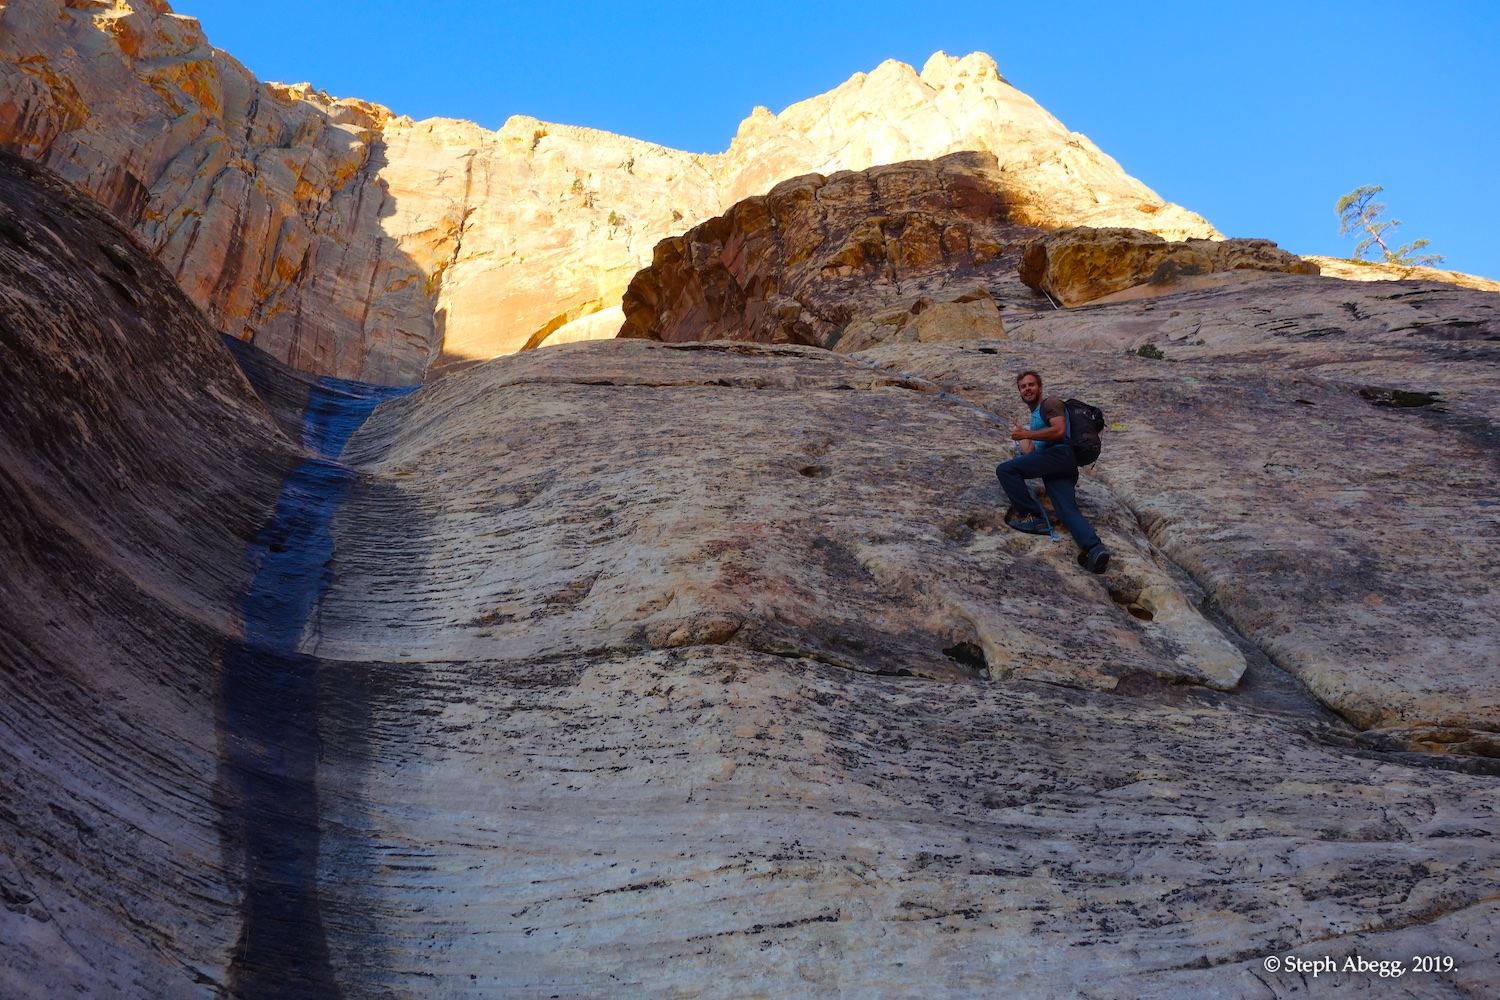
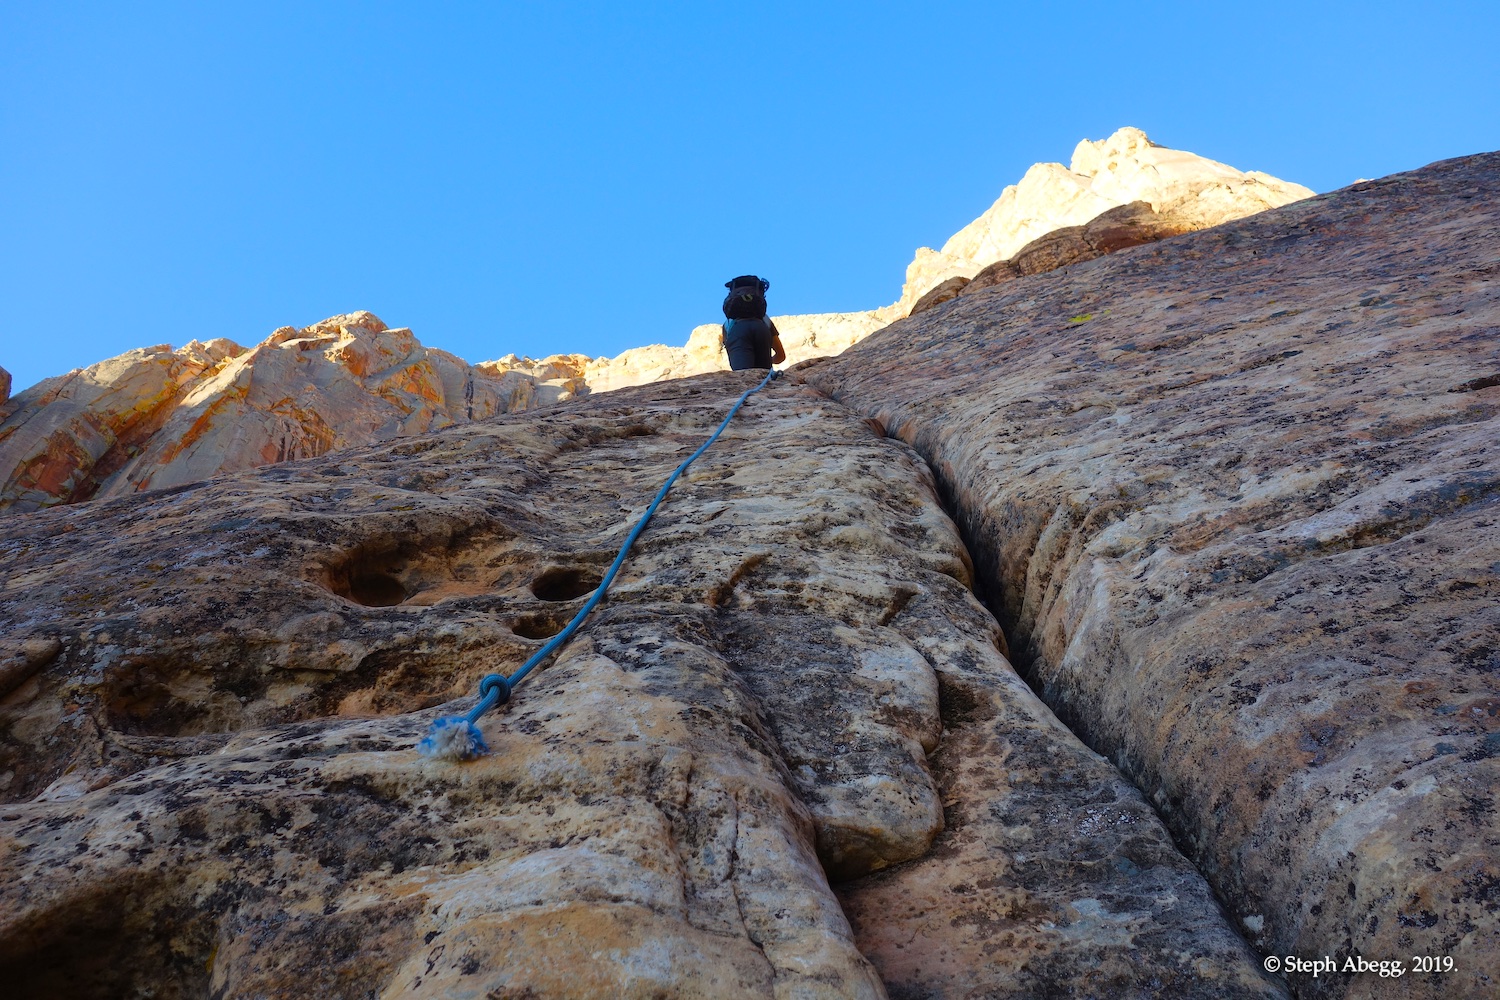
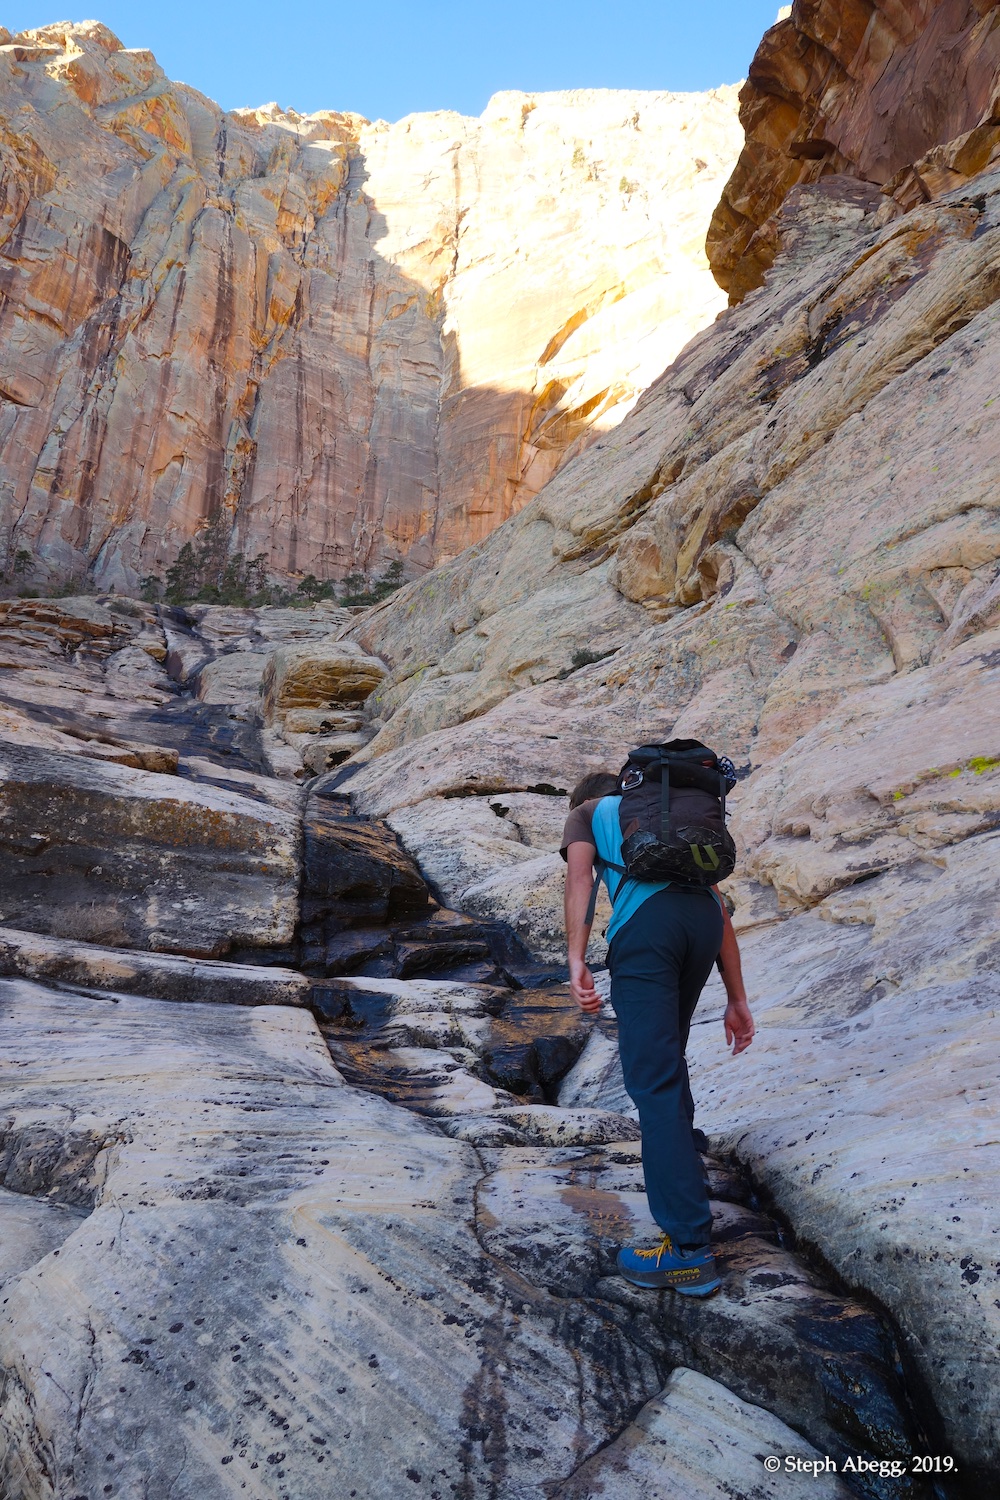
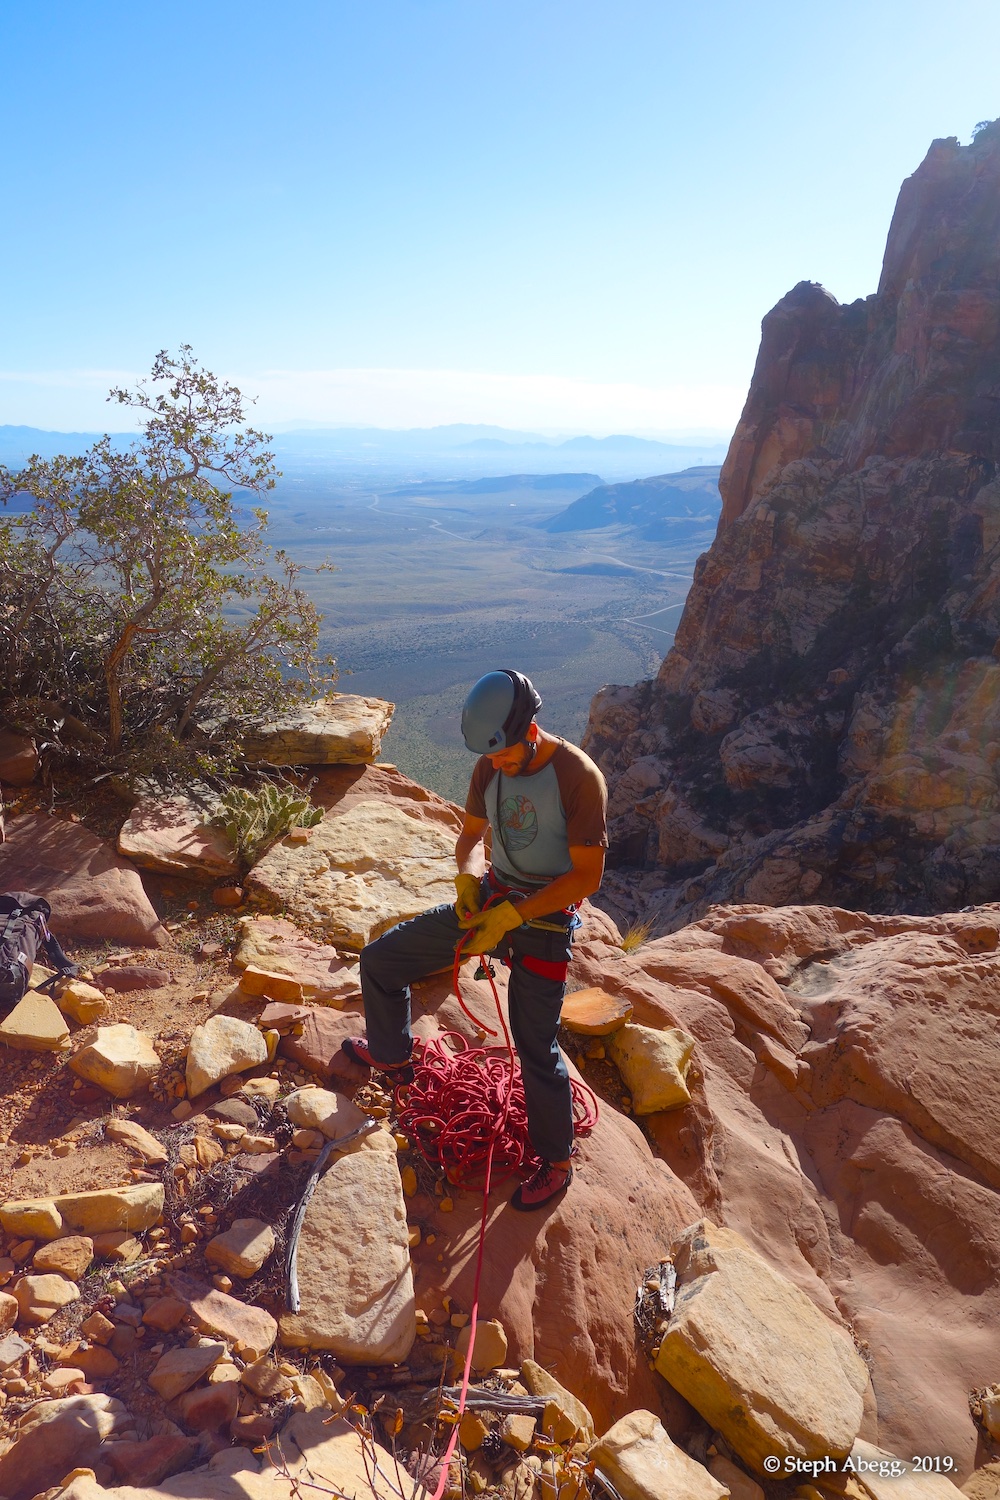
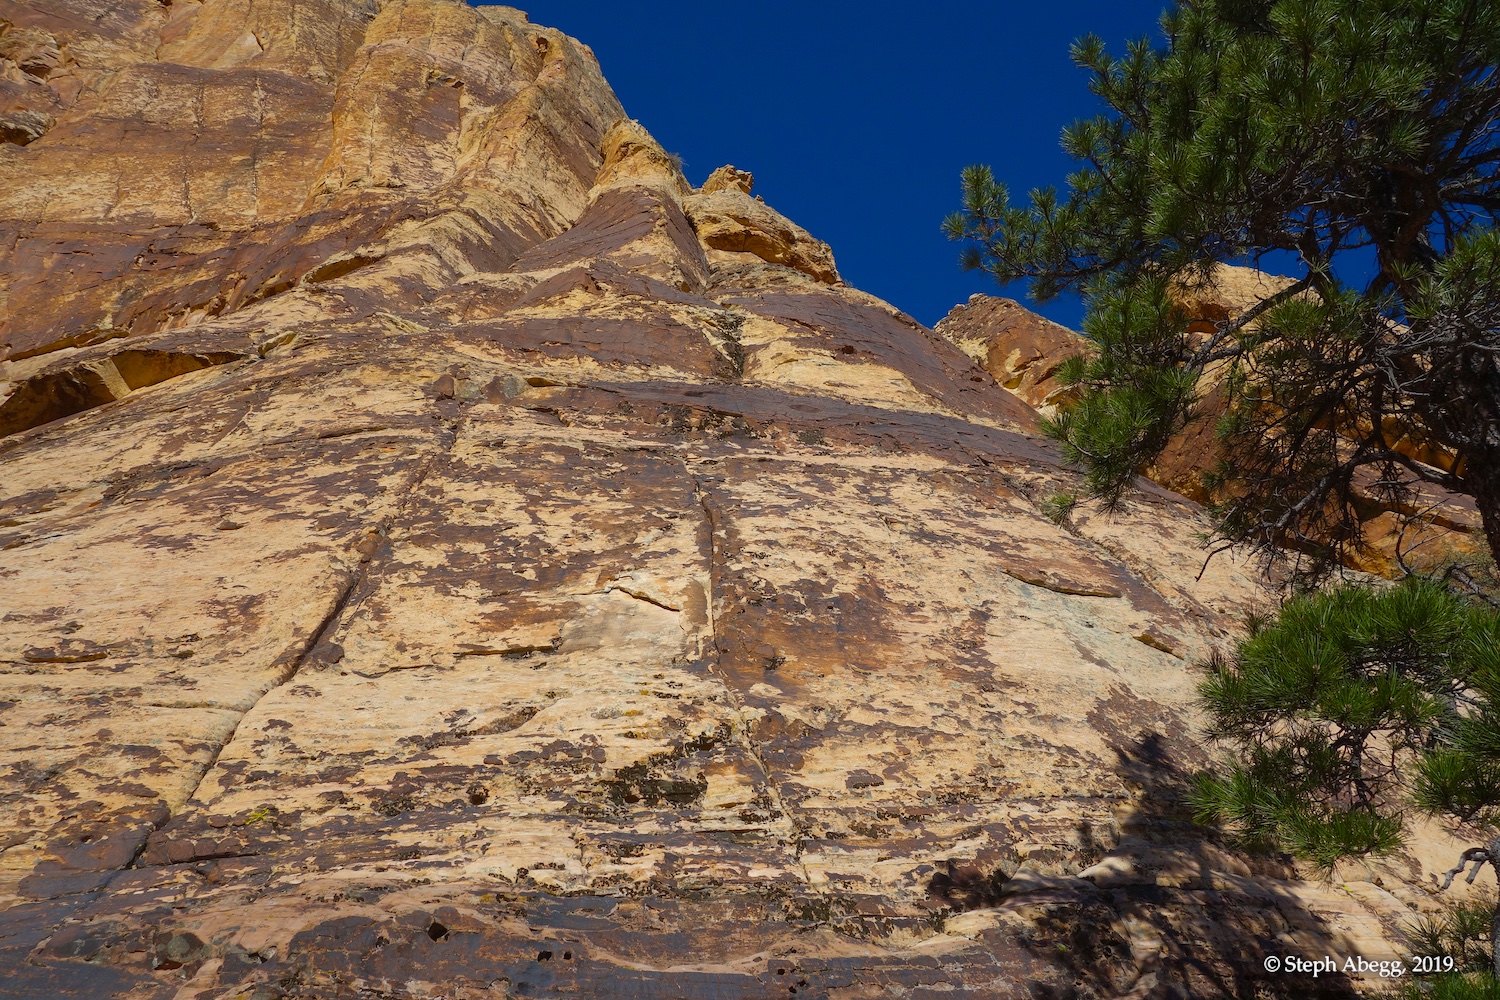
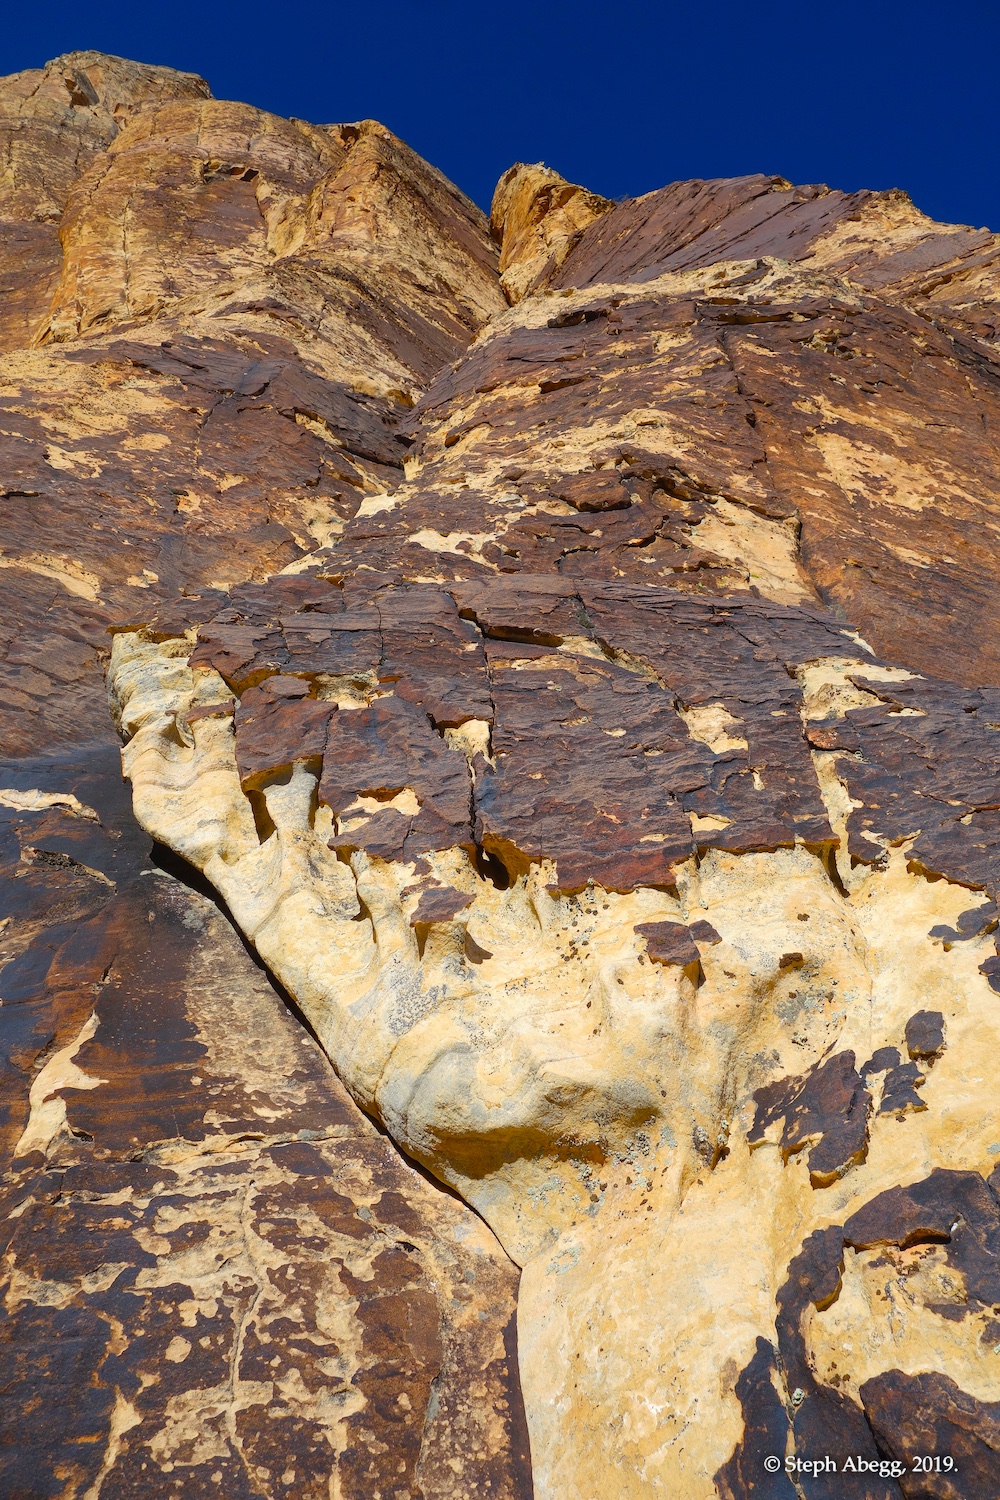
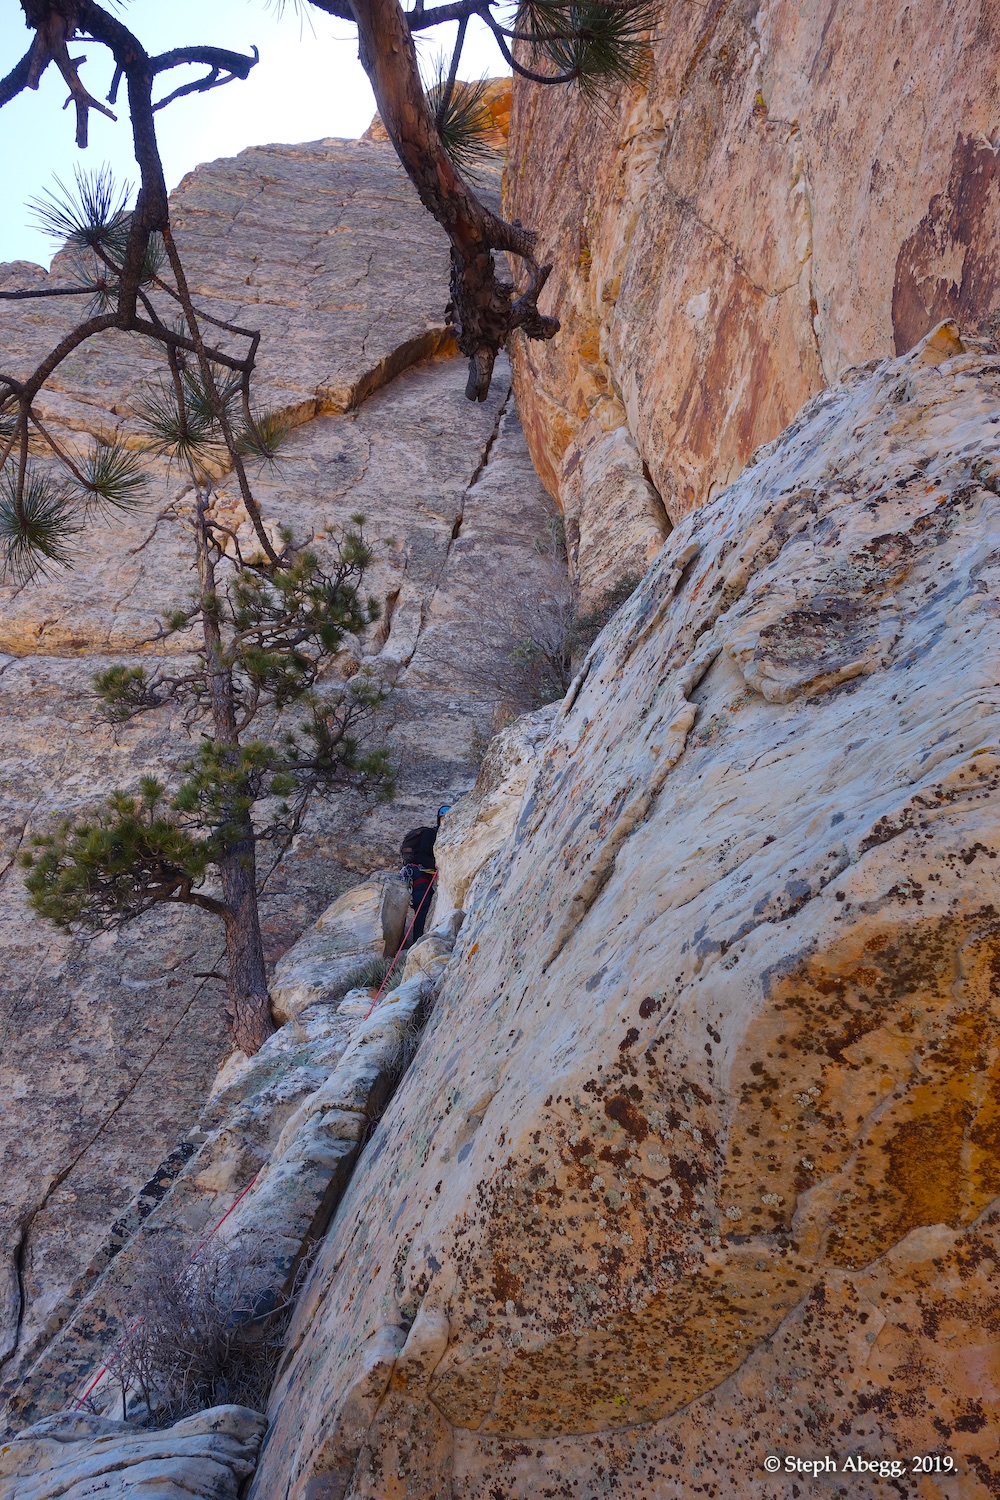
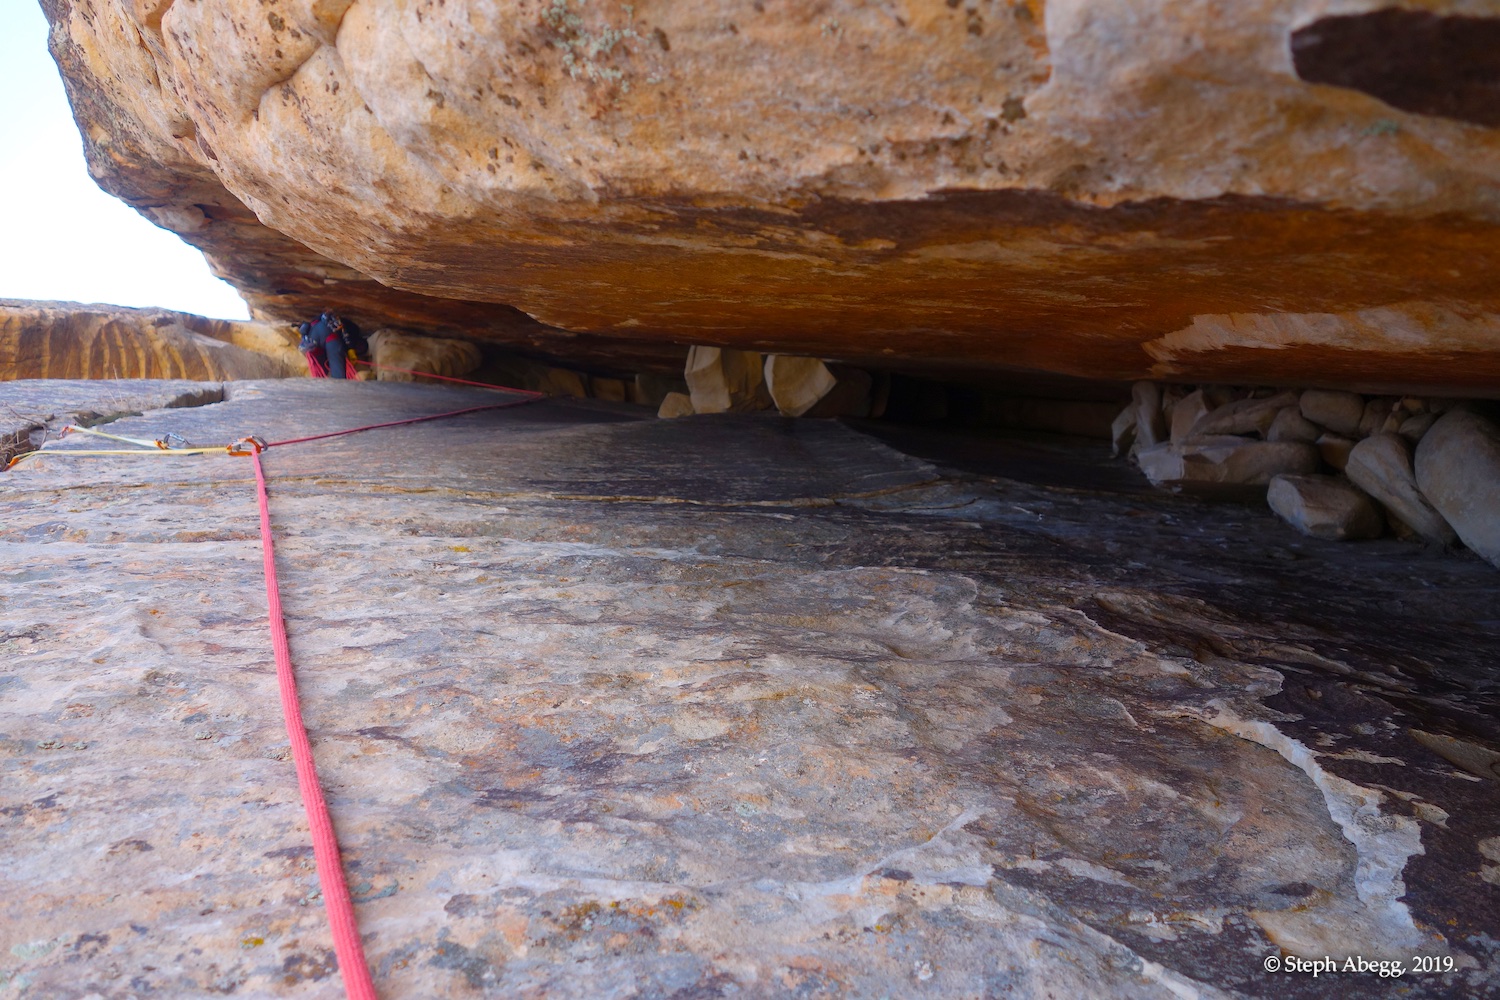
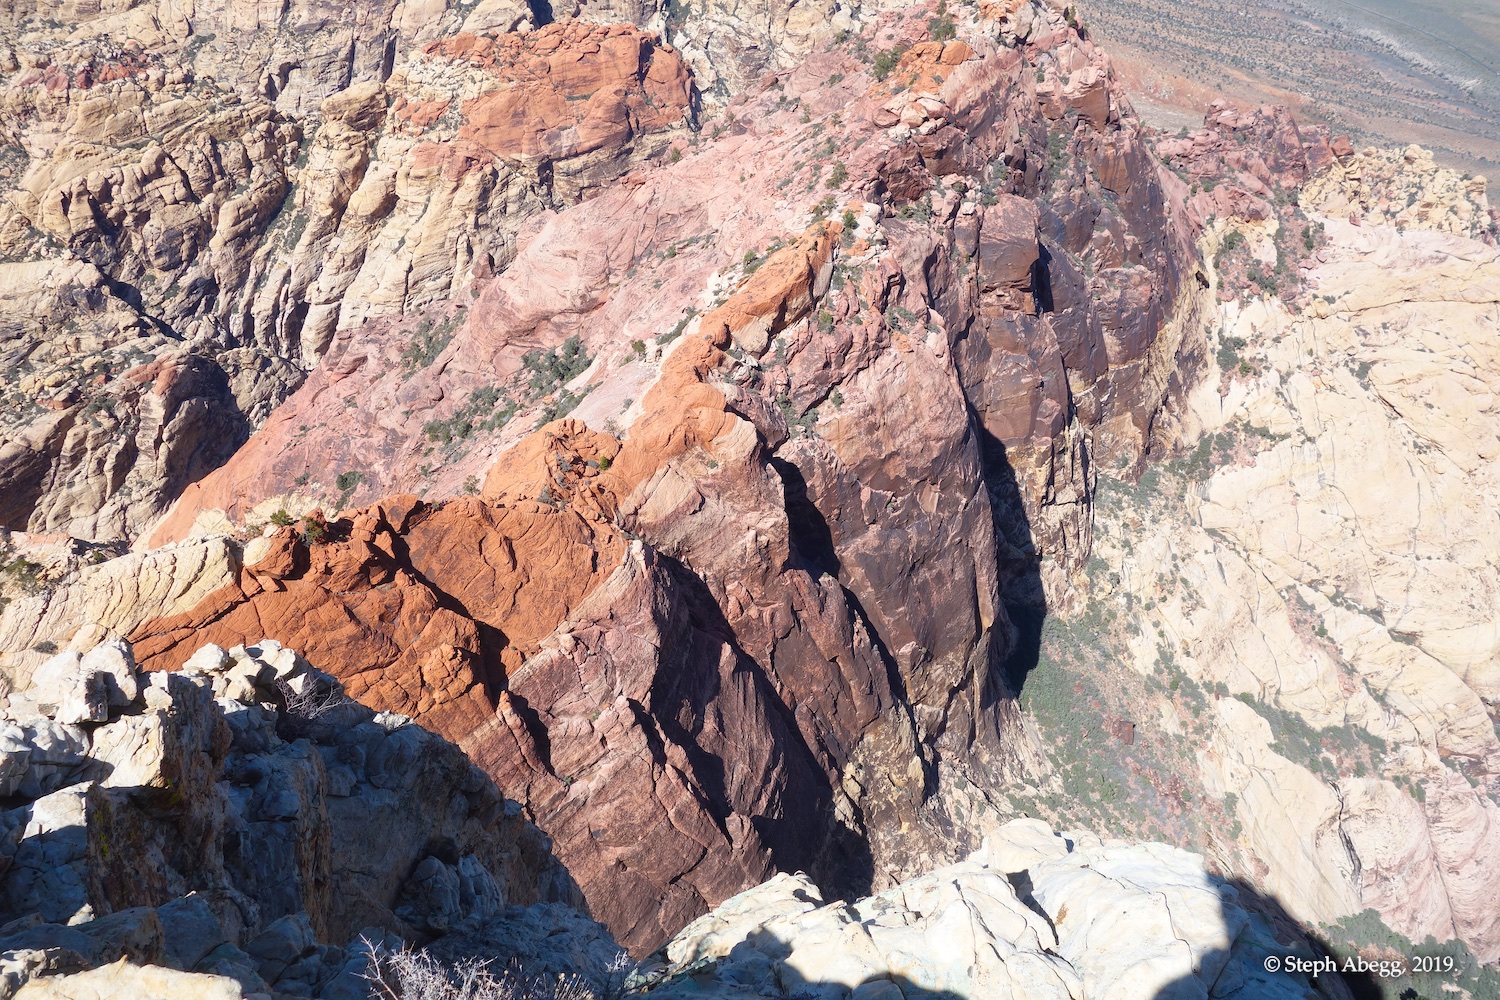
Eight climbs in eight days on my eighth trip to Red Rocks.Climbing desert towers and cliffs: A little desert dessert to cap off a full summer of climbing!
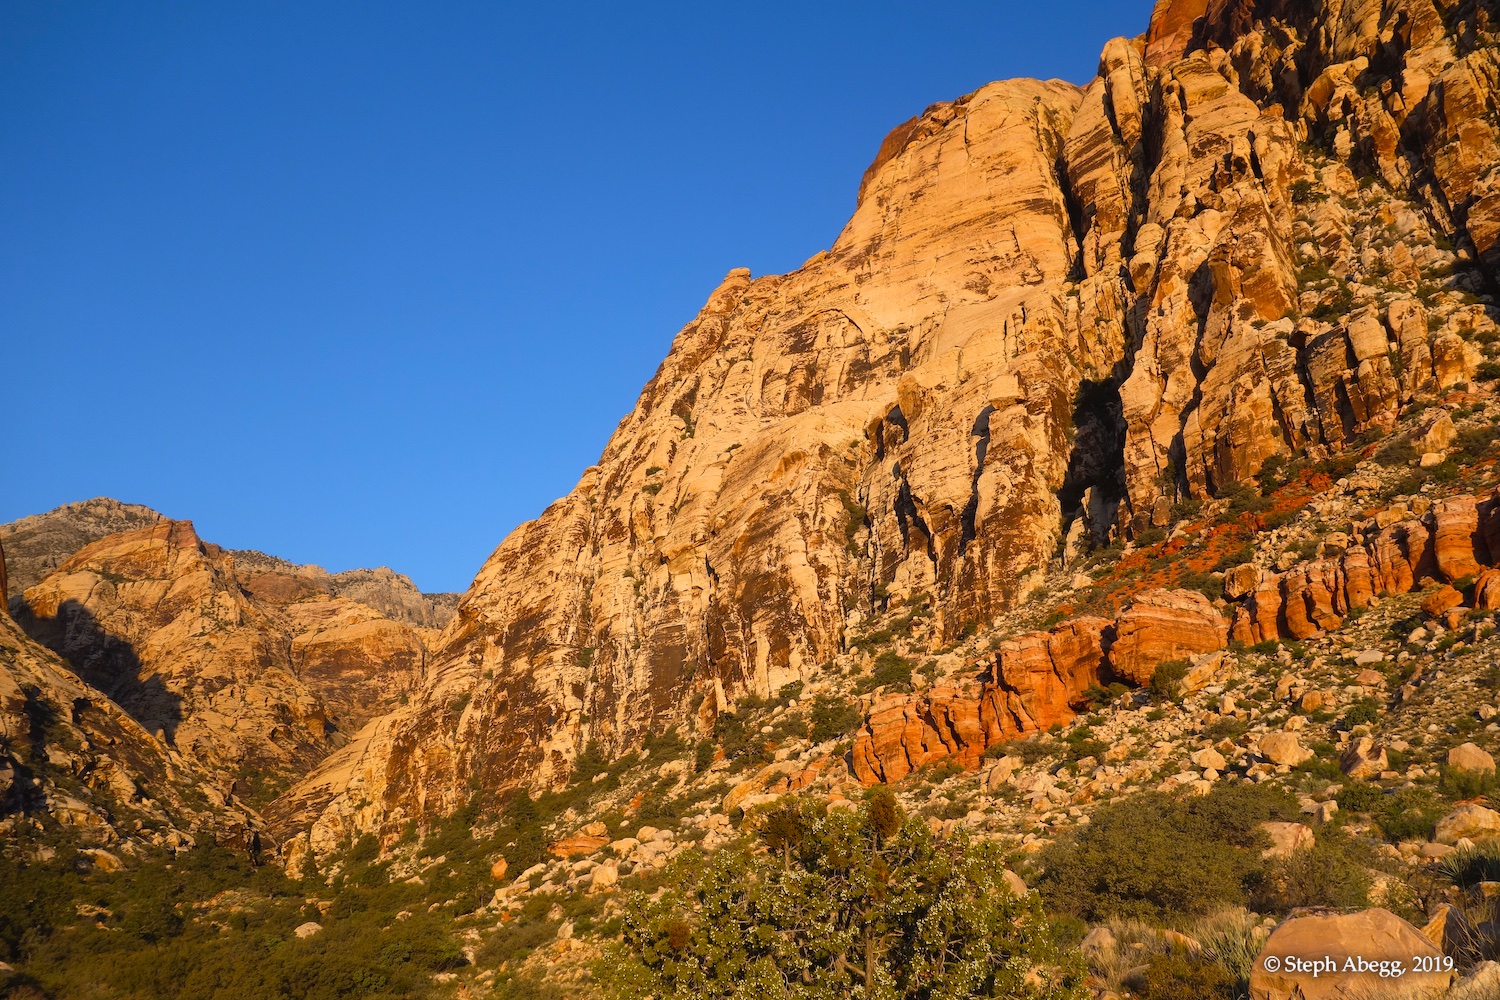
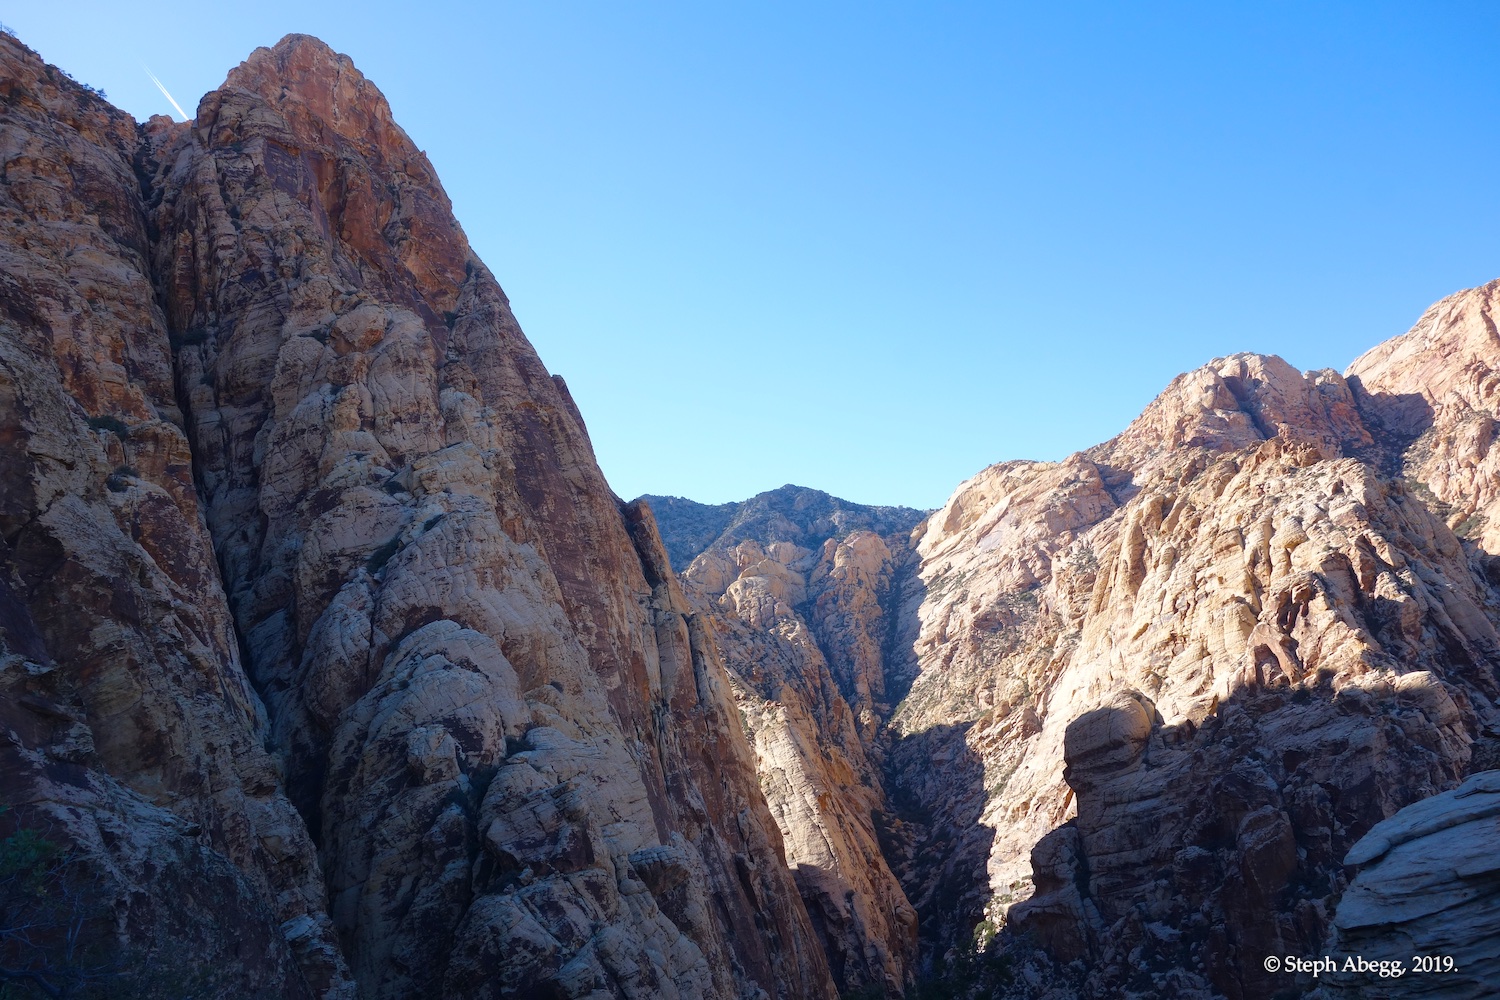
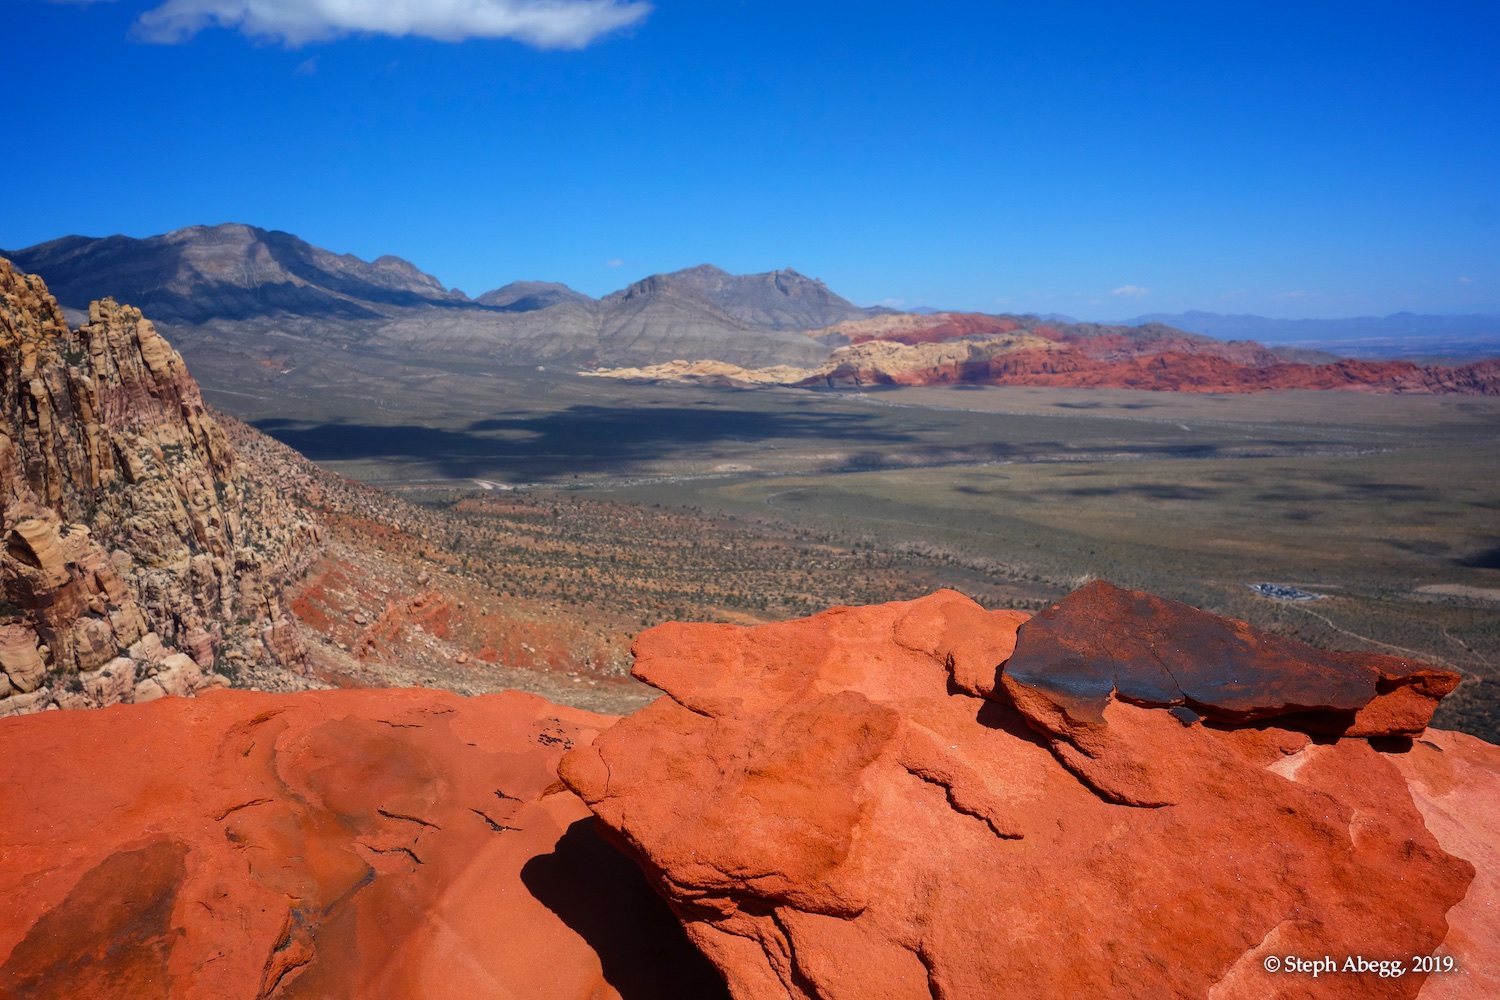
Region: Nevada
Elev: 4,000-6,000 ft
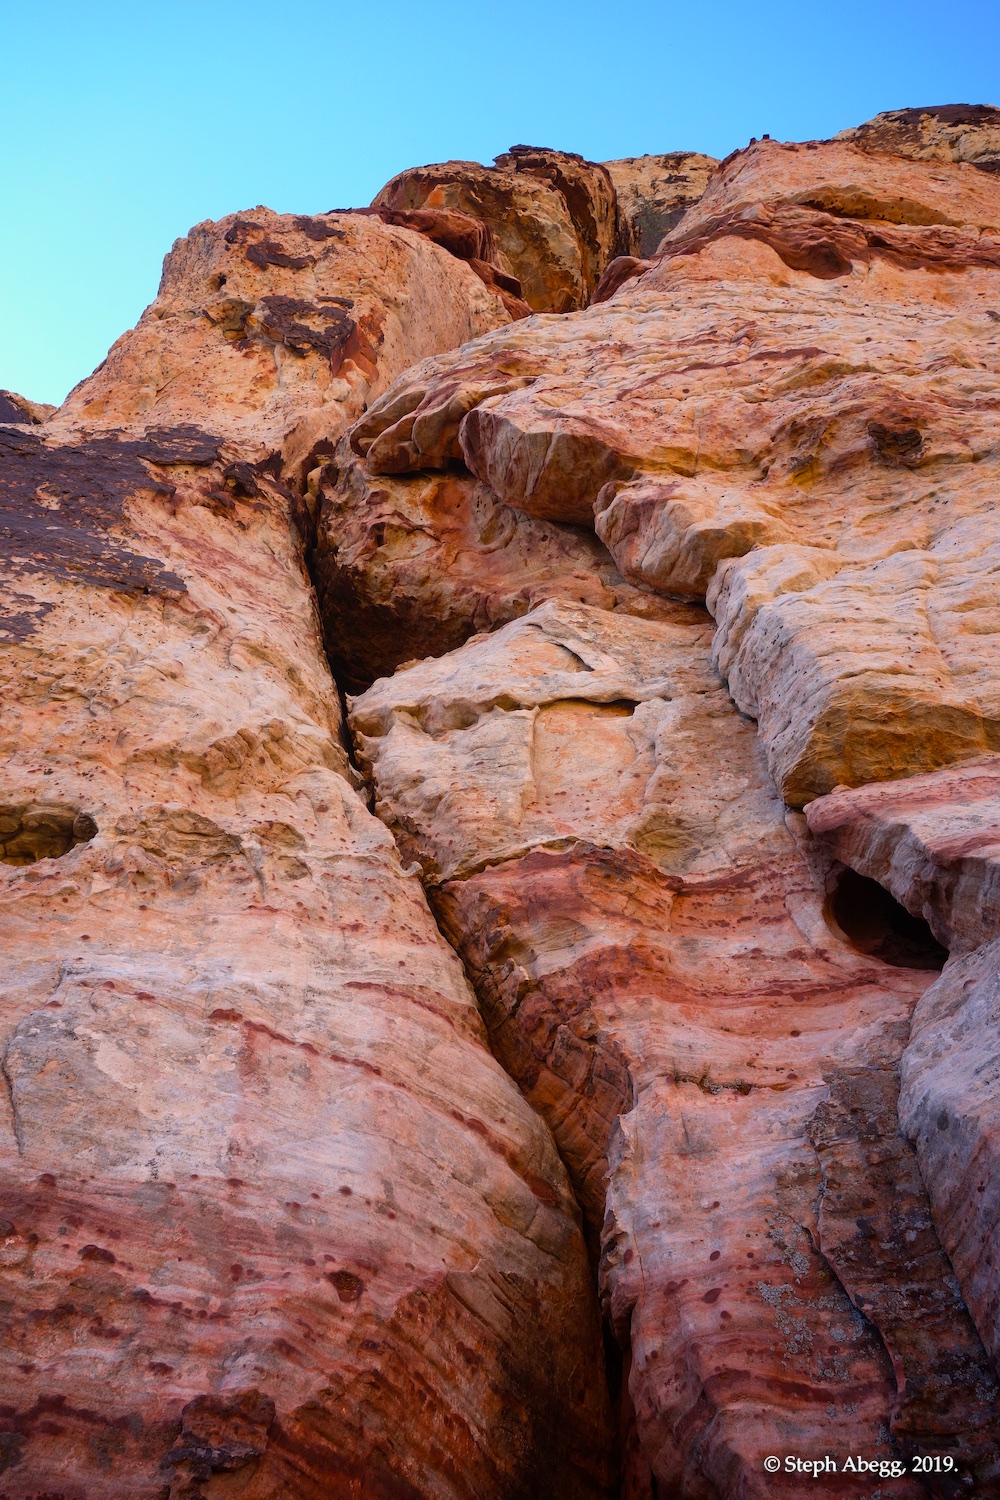
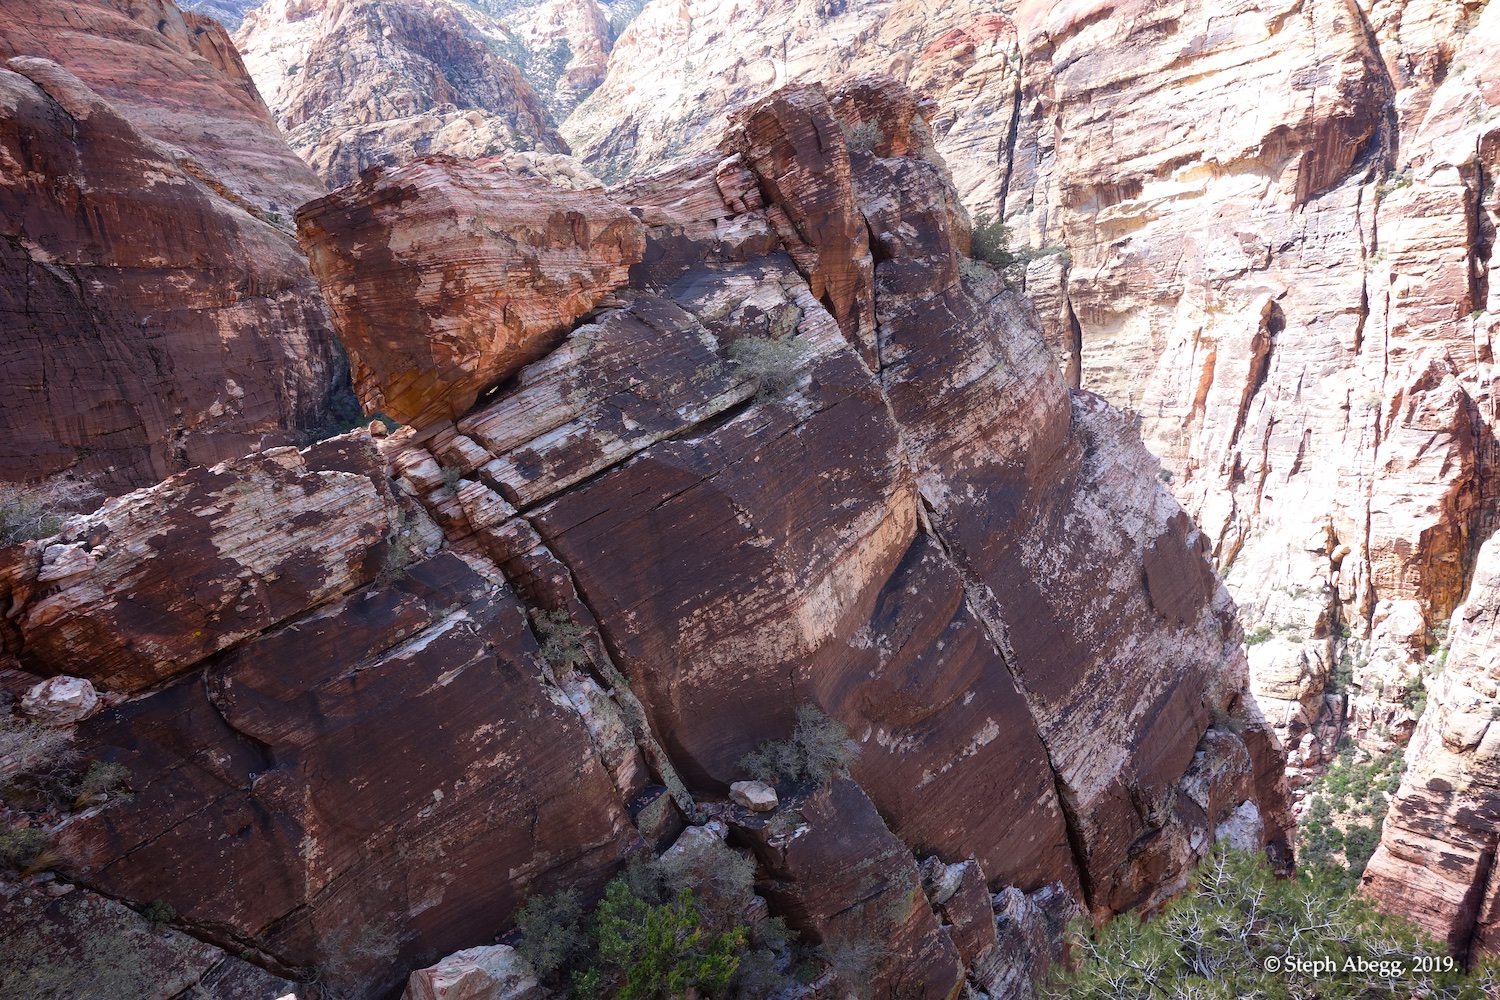
Rock: Aztec Sandstone
Mode:

Date(s): March 23-30, 2019 (Sat-Sat)
Partner(s): Sherri Lewis (Climbs 1-2) / DR (Climbs 3-7) / Danny Urioste (Climb 8) / Marty & Sue Abegg (Rest Day)