Red Arch Mountain, Shune’s Buttress (5.11+, 6-8p, 800′)

Red Arch Mountain

Route:

Shune's Buttress

5.11+, 6-8p, 800'

Region: Utah
Elev: ~5,500 ft
Rock type: Navajo sandstone
Type: 
Date(s): April 30, 2025 (Wed)
Partner(s): Nate Beckwith

Route Overlay

CLICK TO ENLARGE

Intro

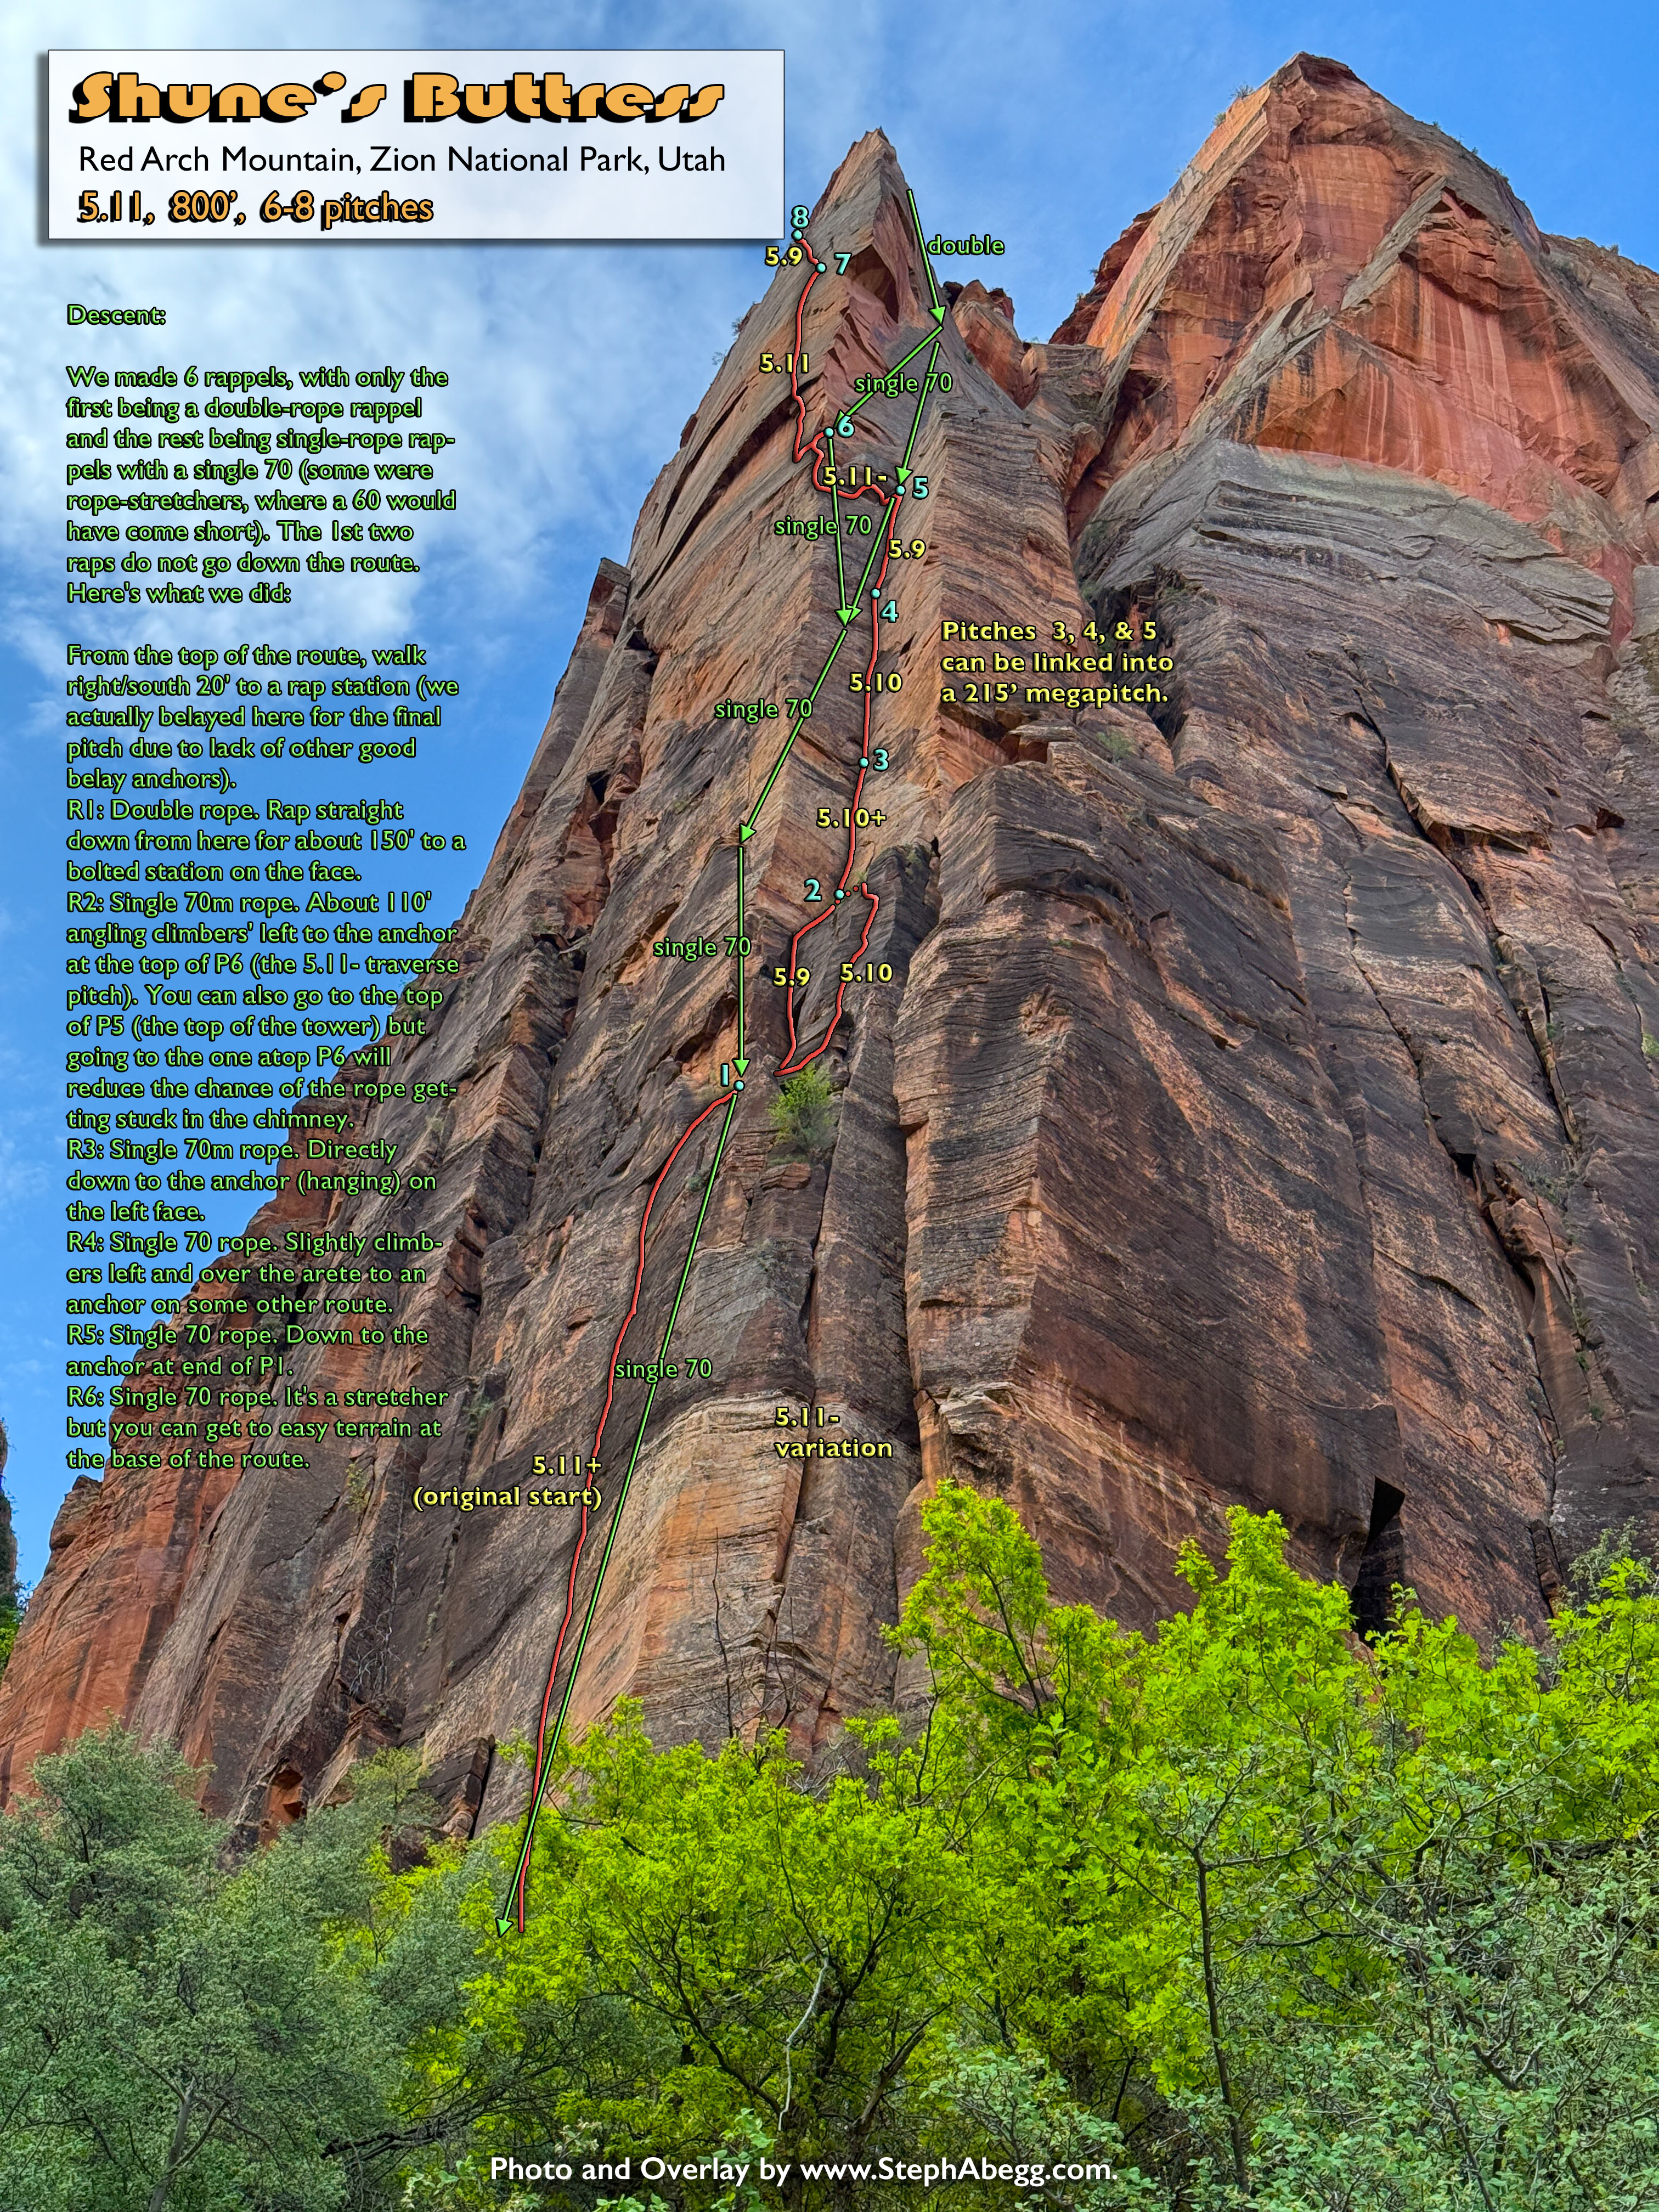
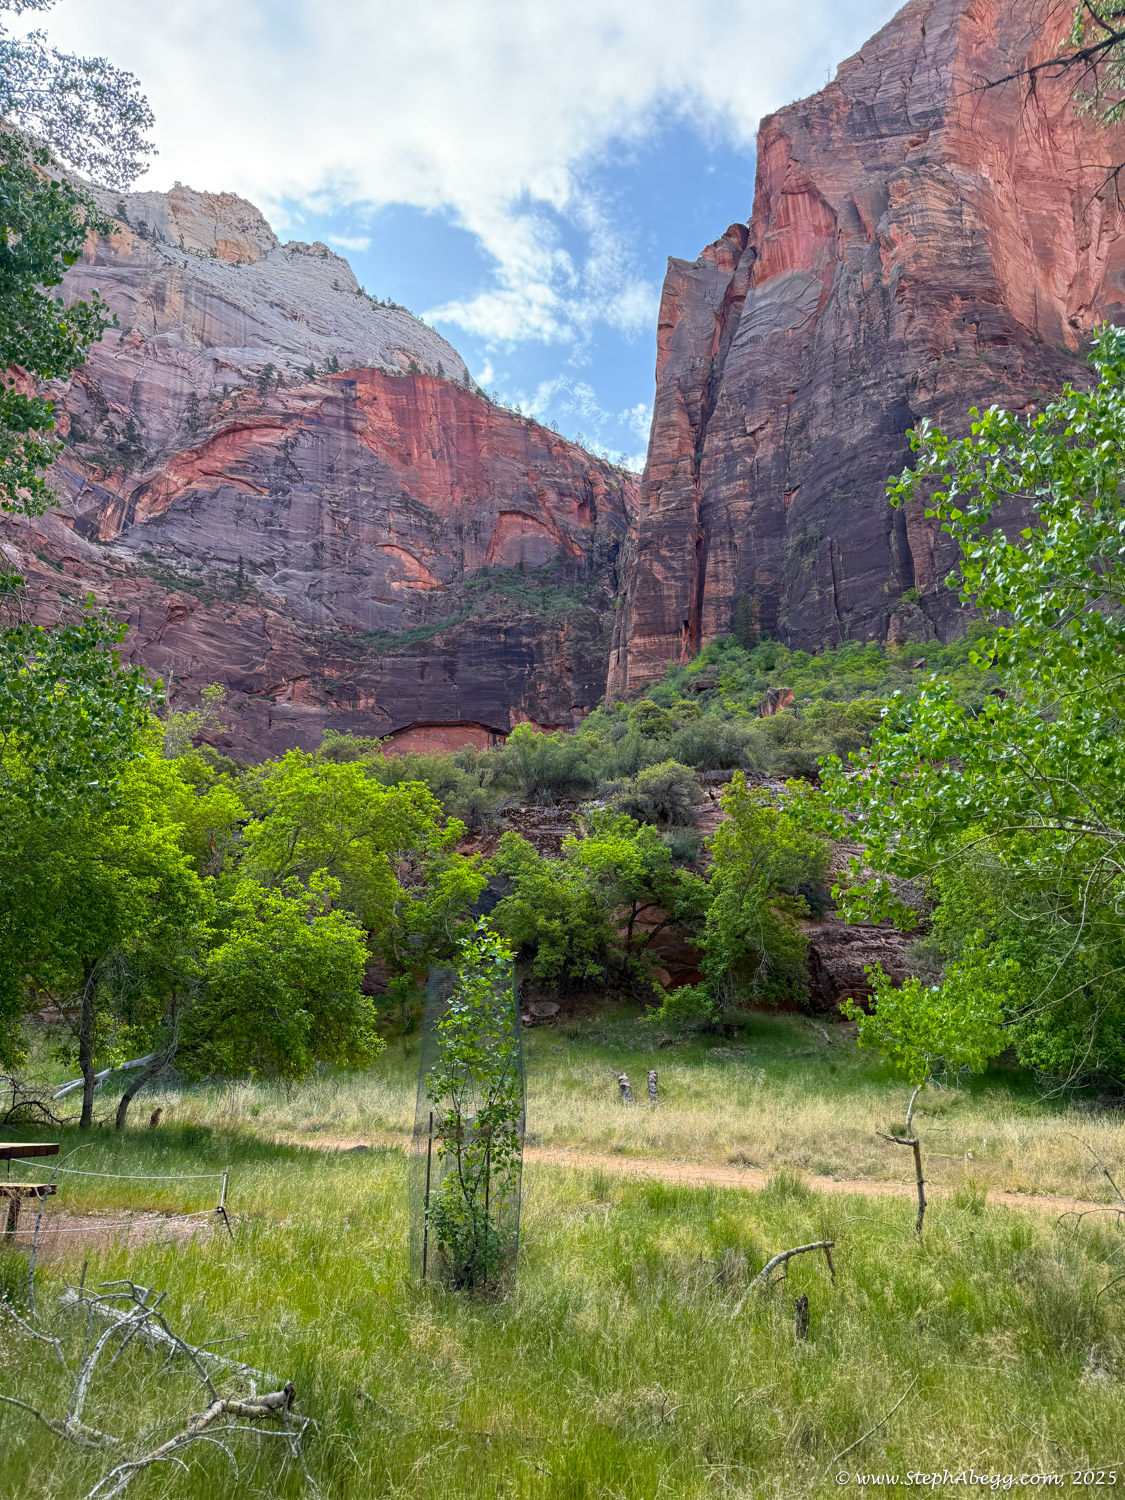
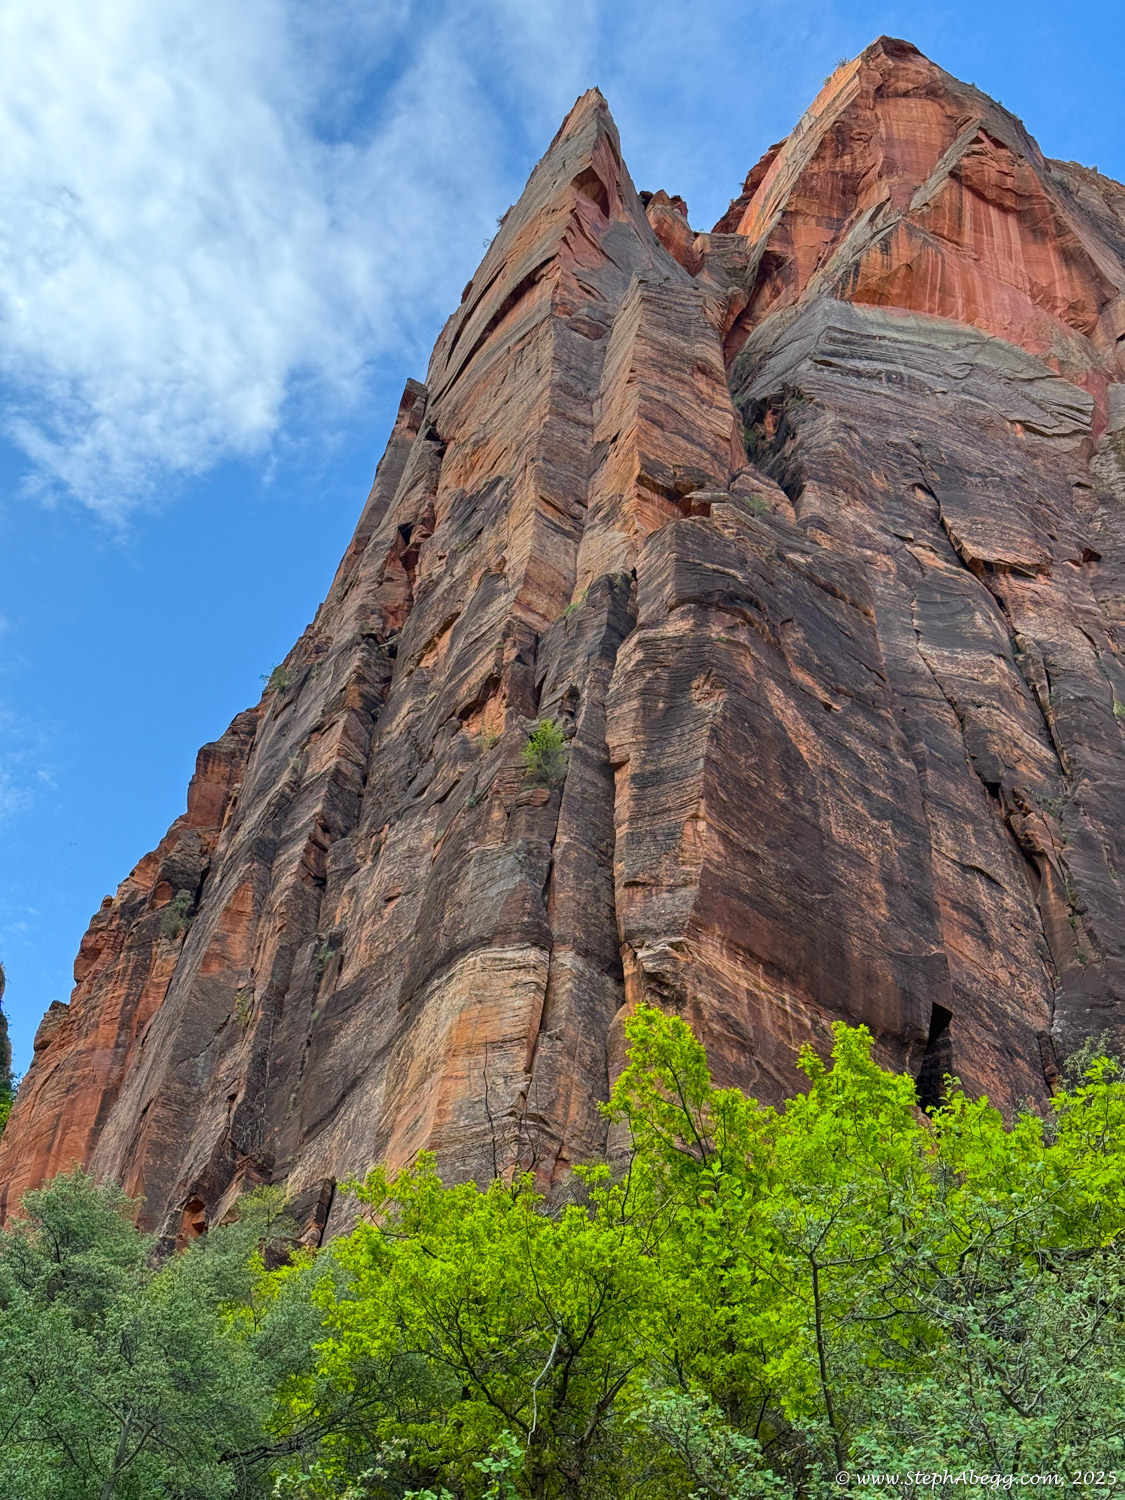
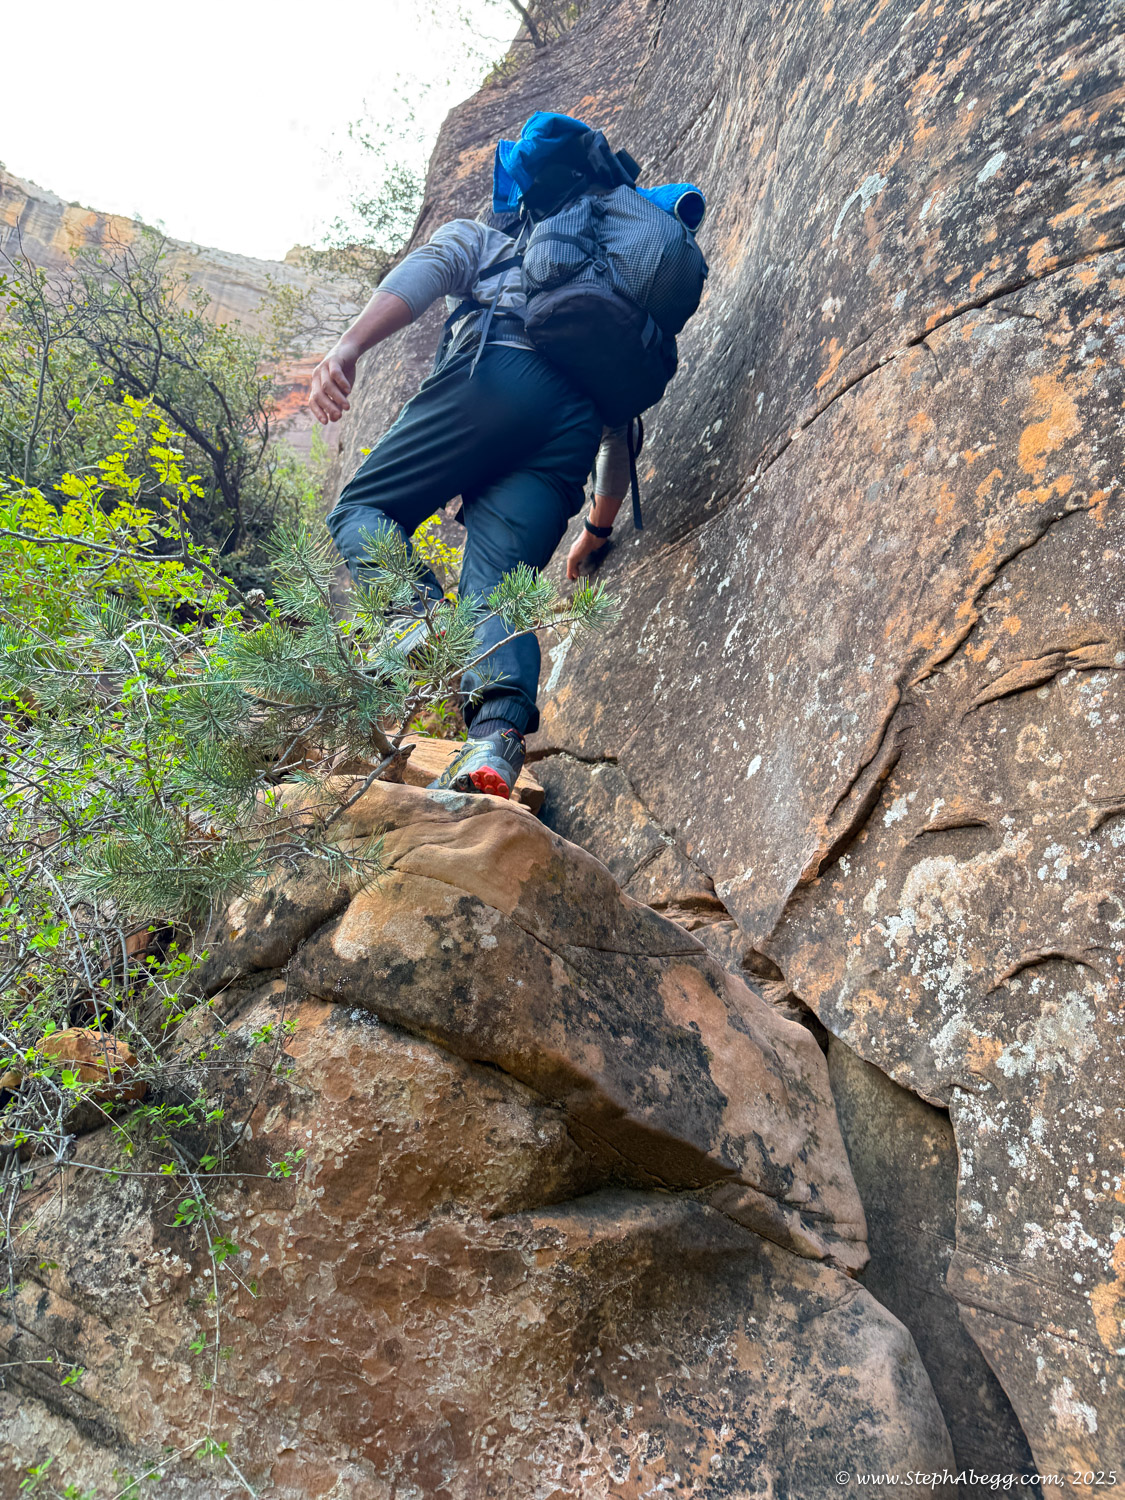
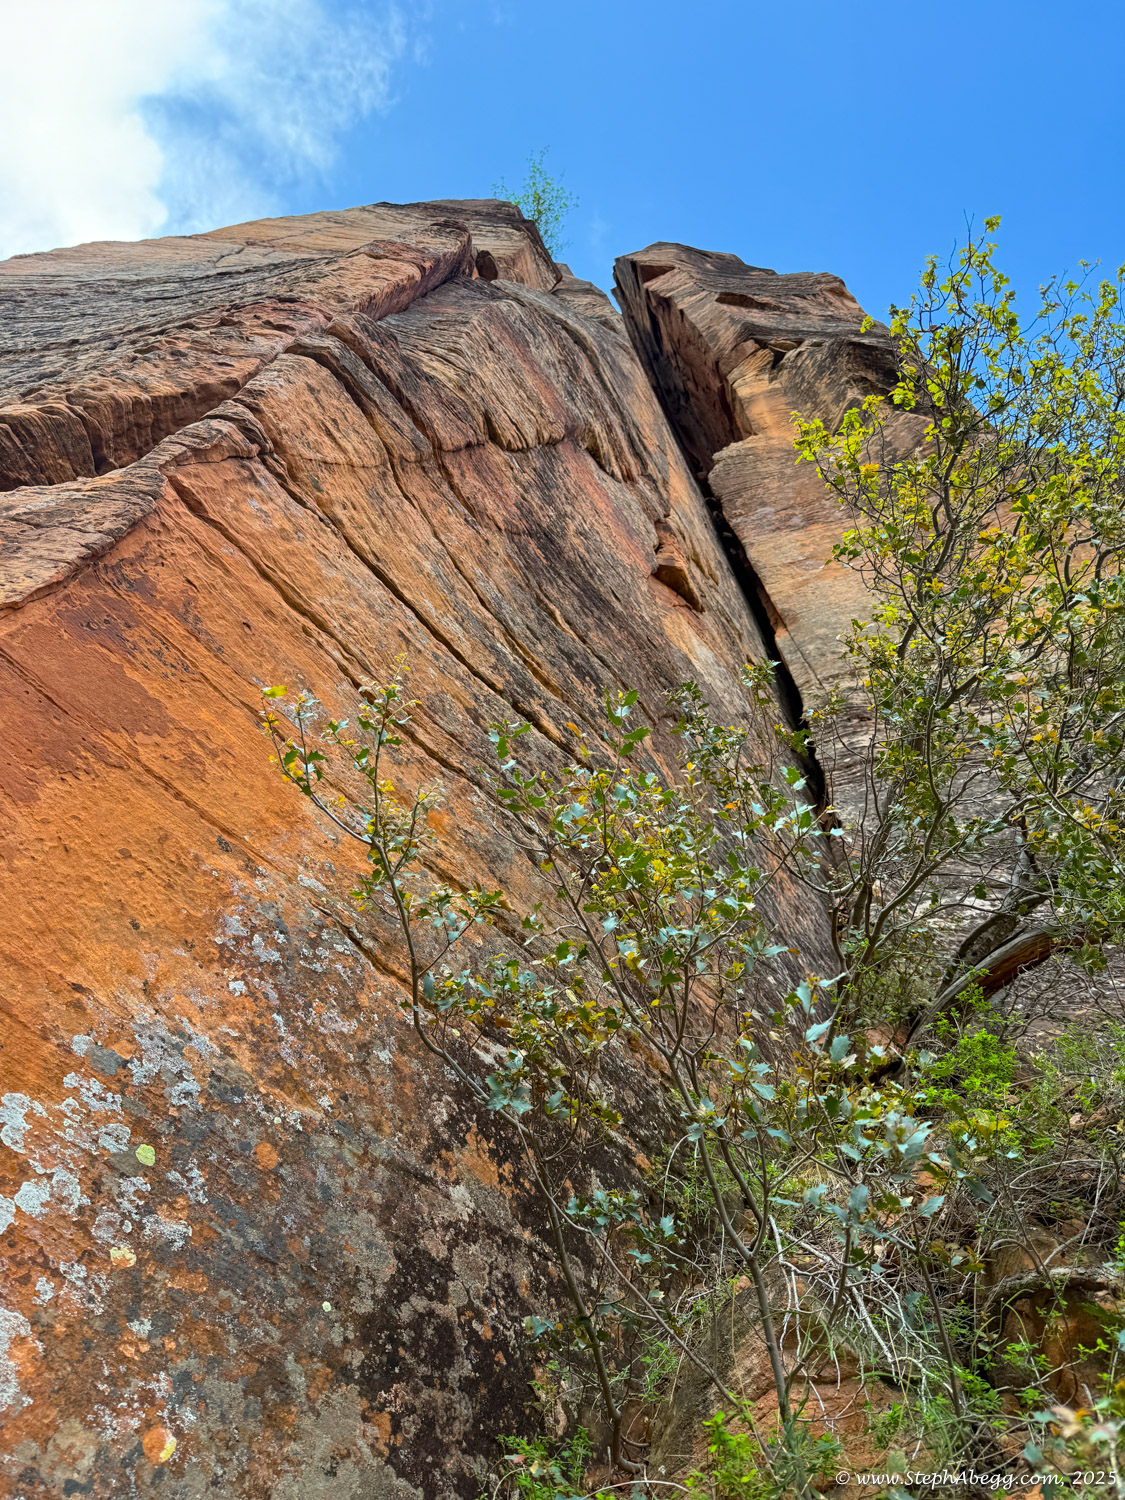
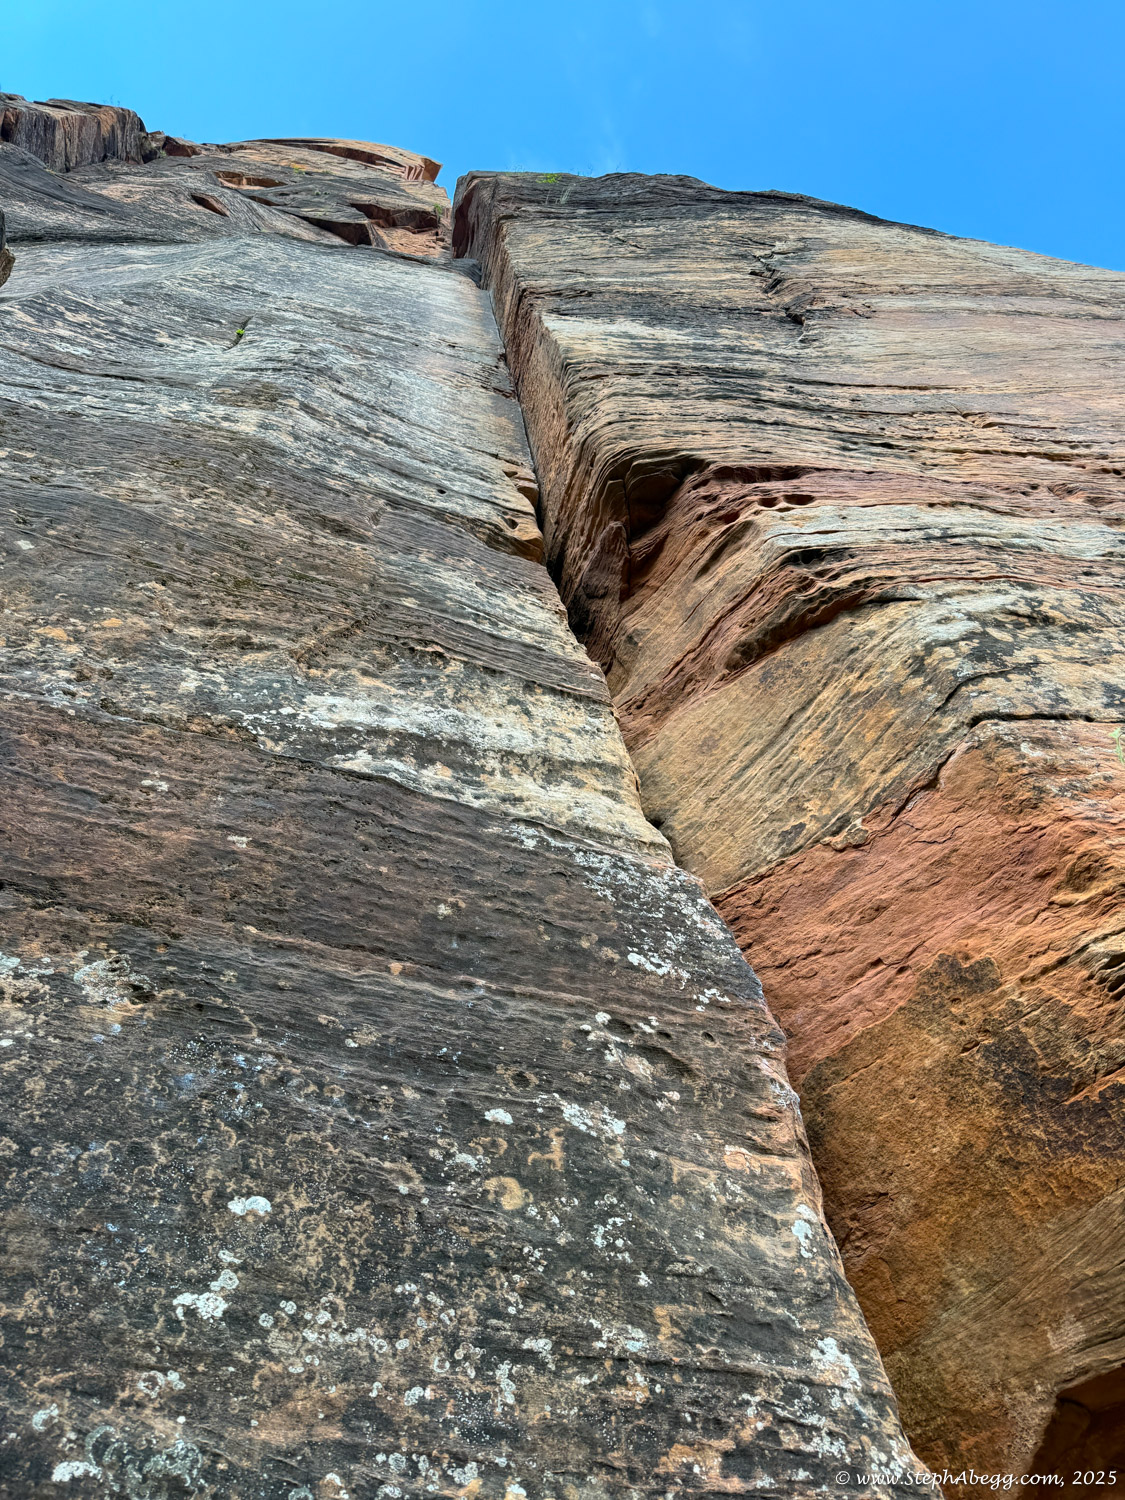
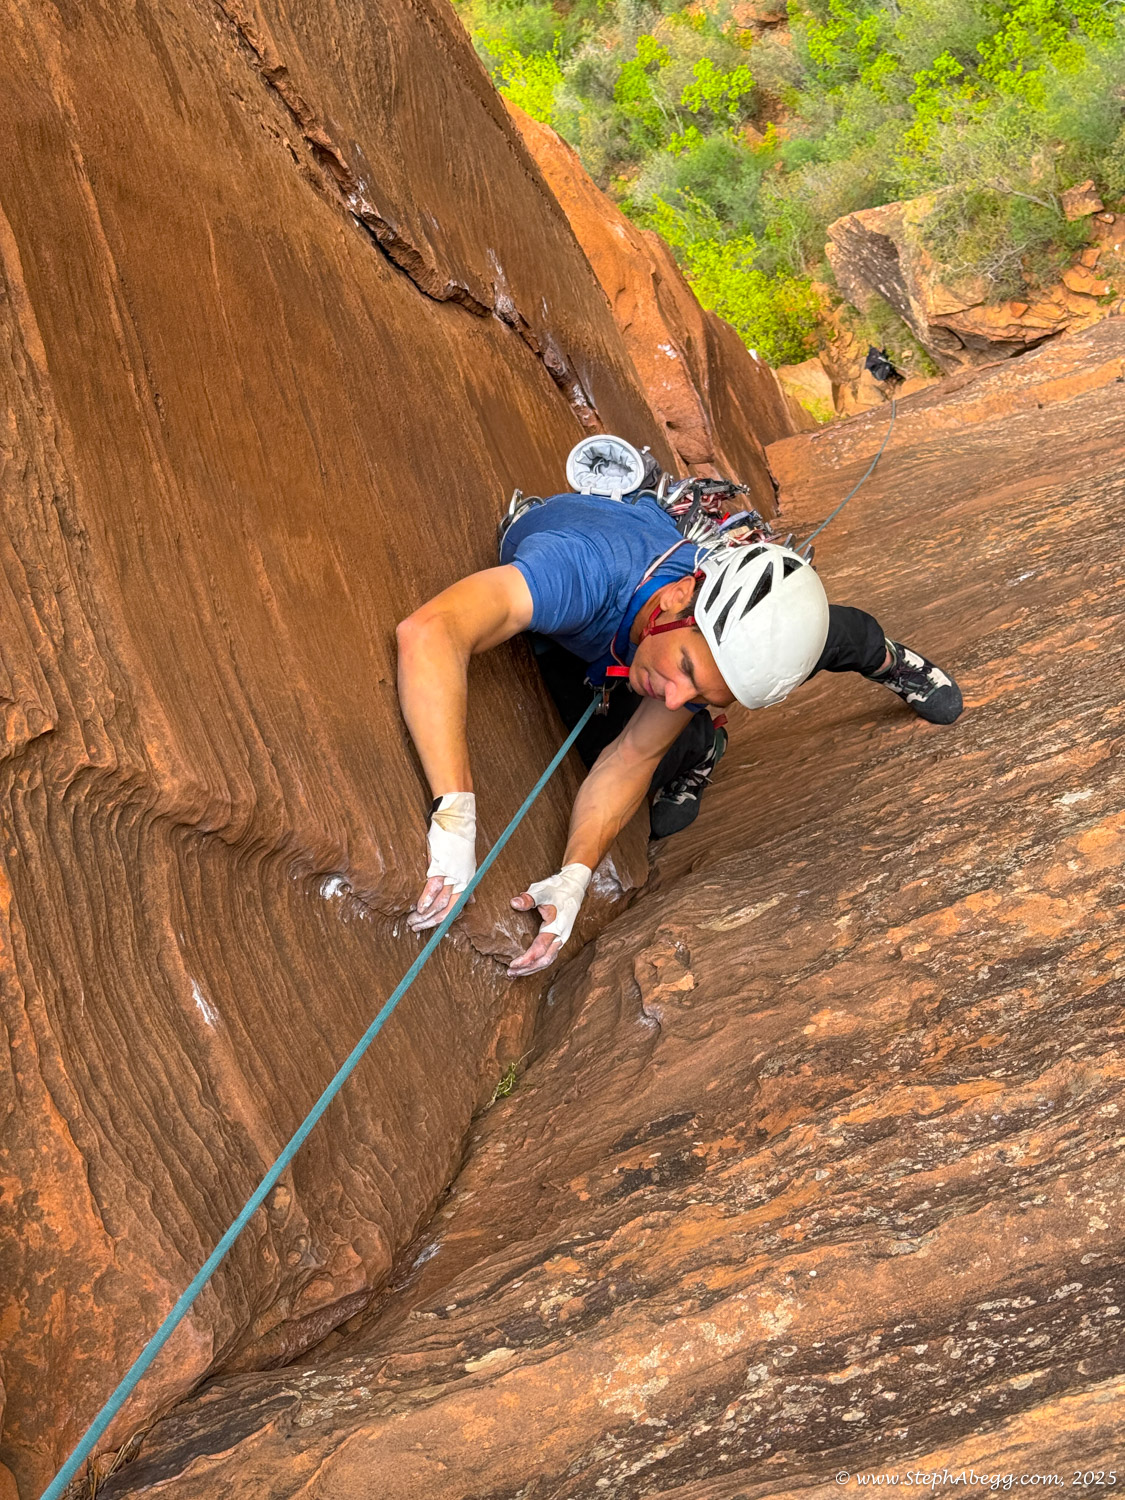
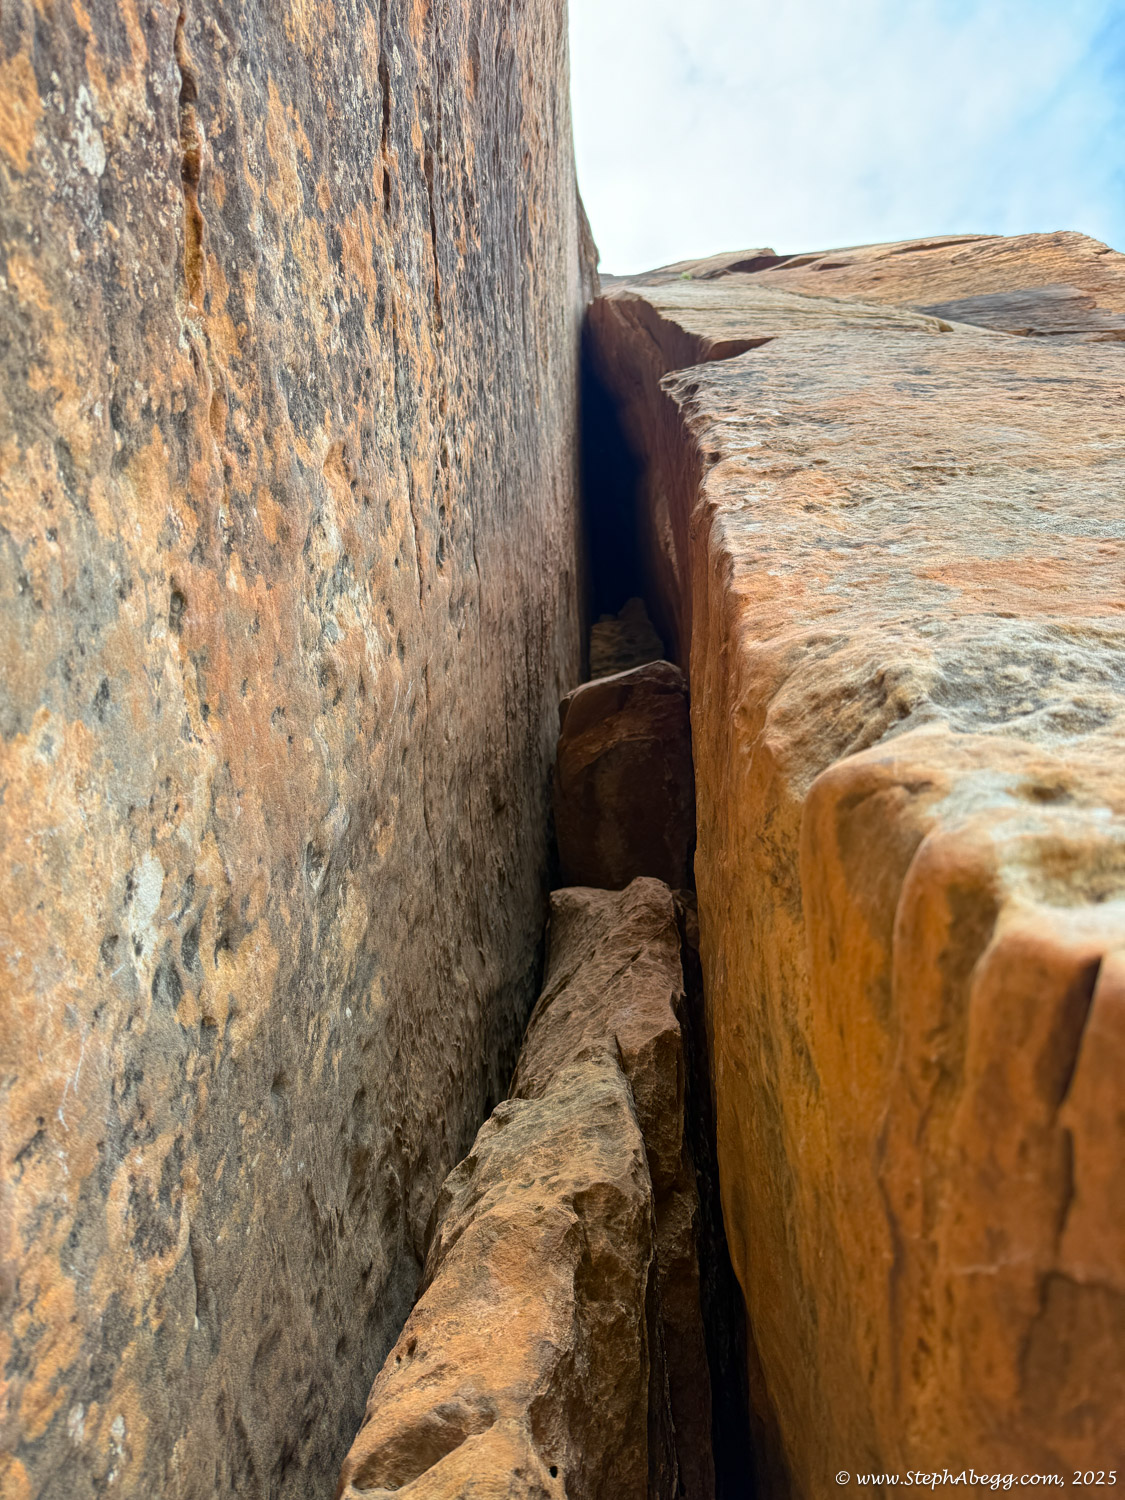
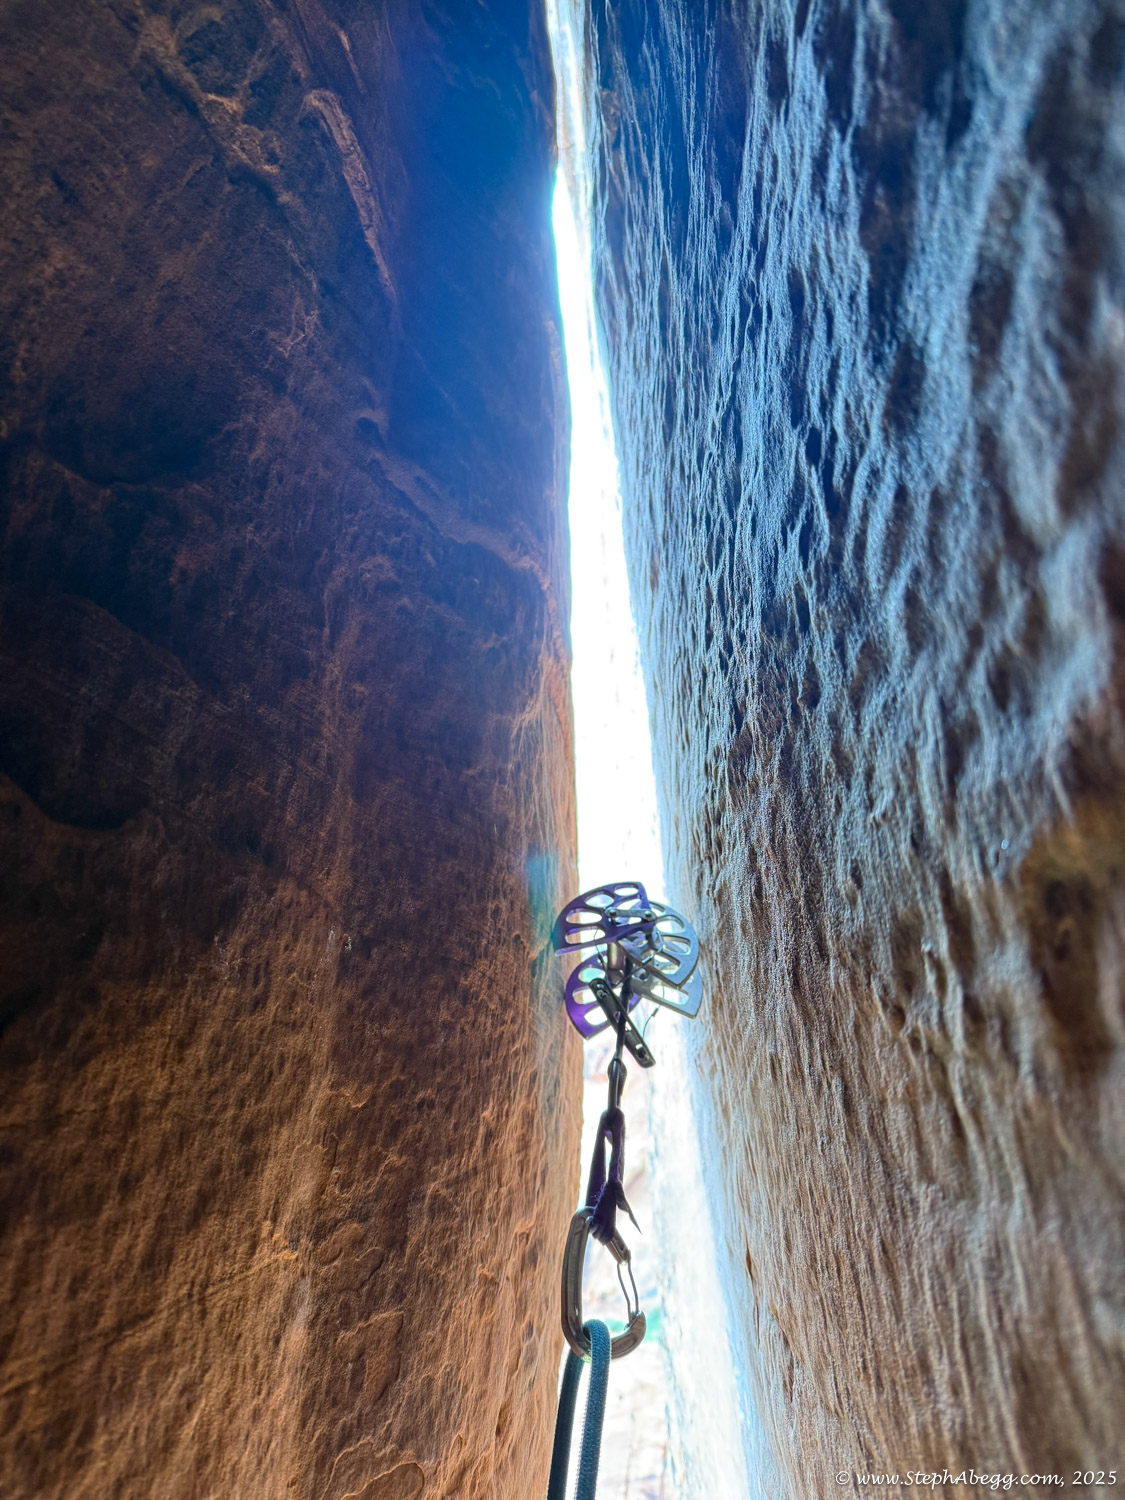
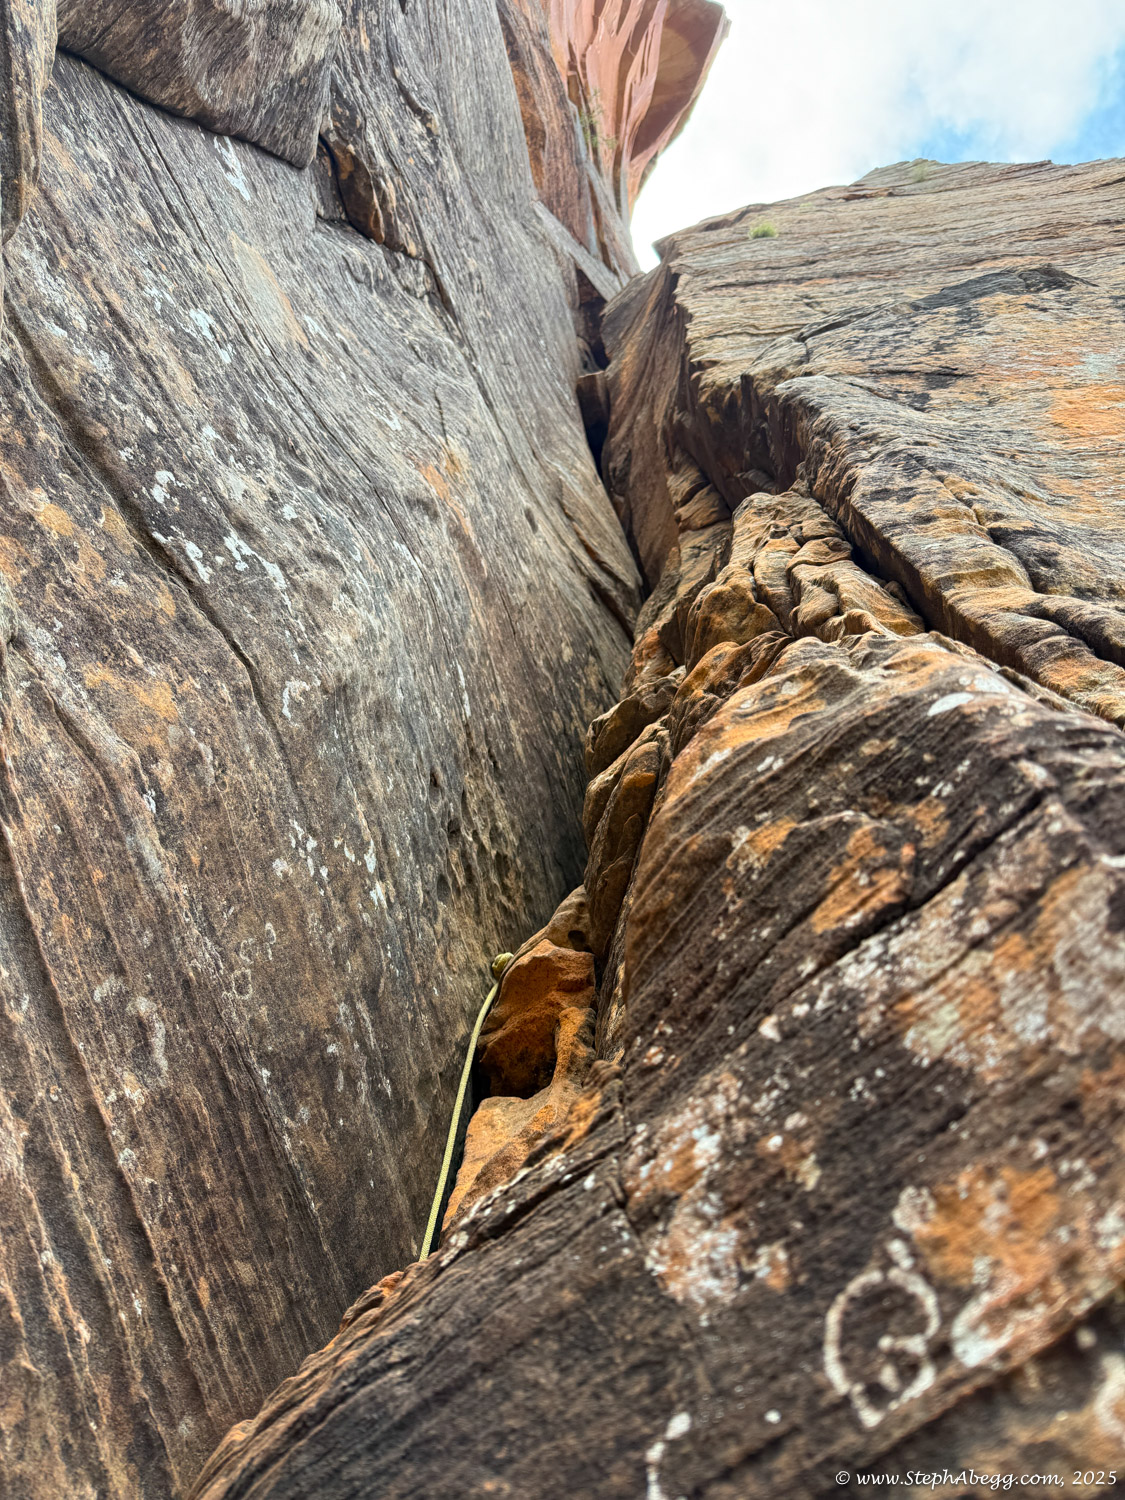
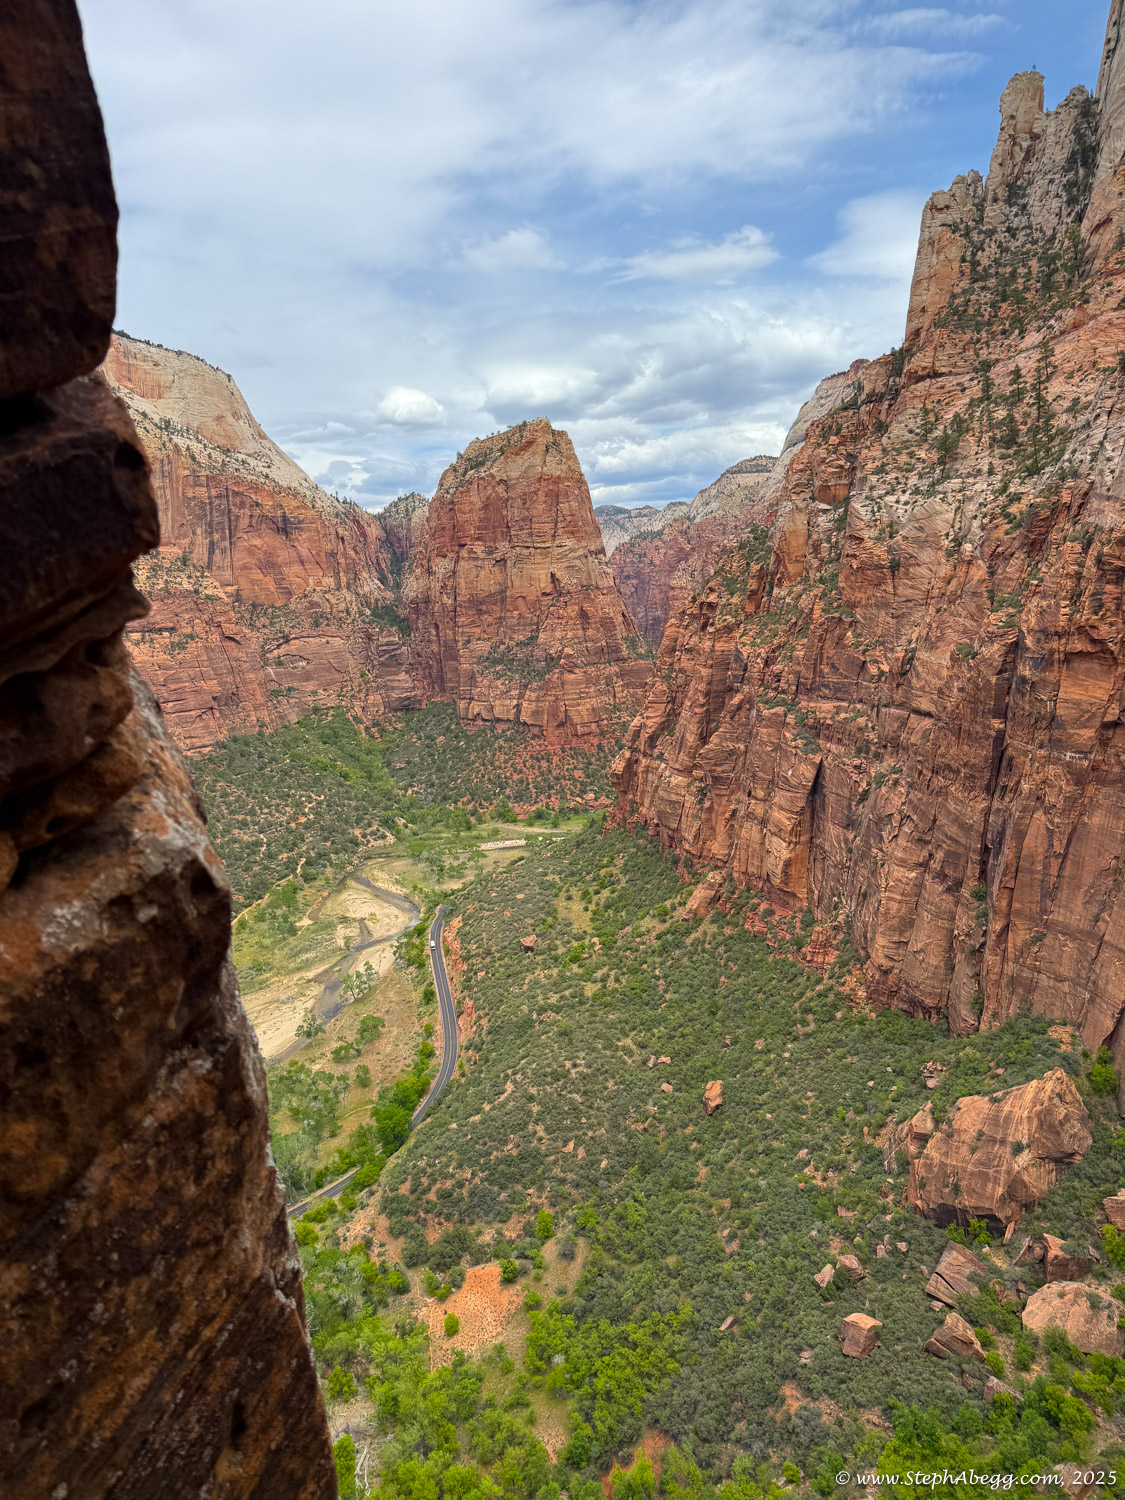
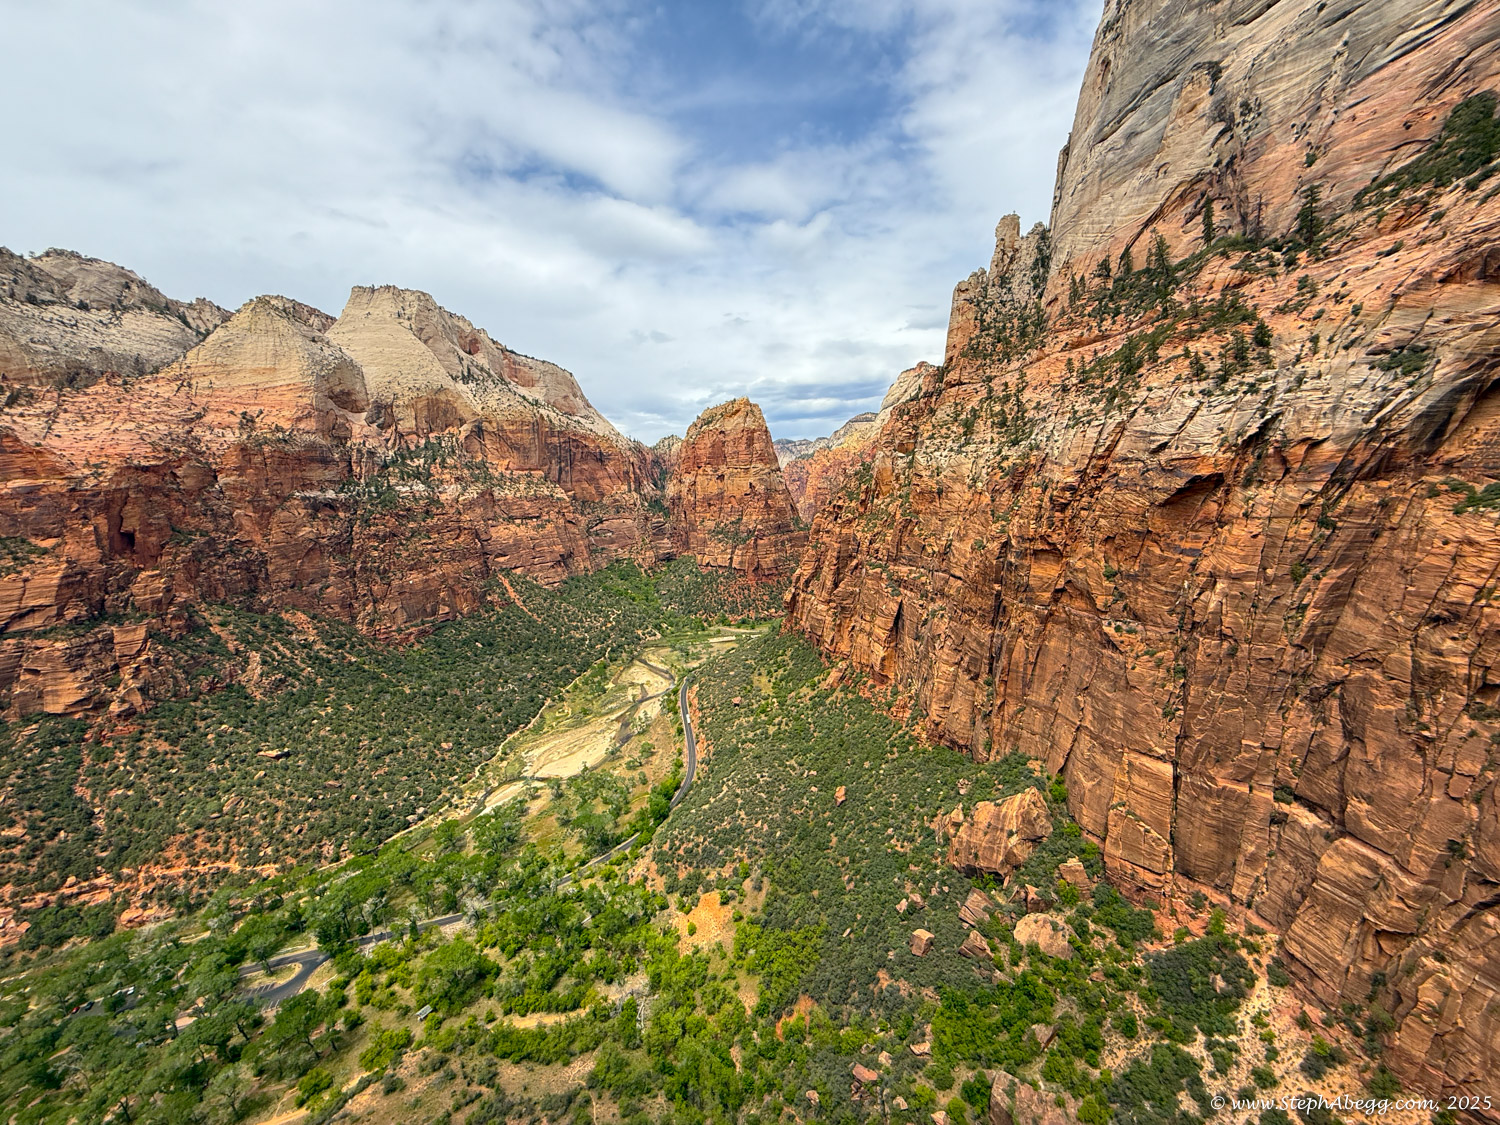
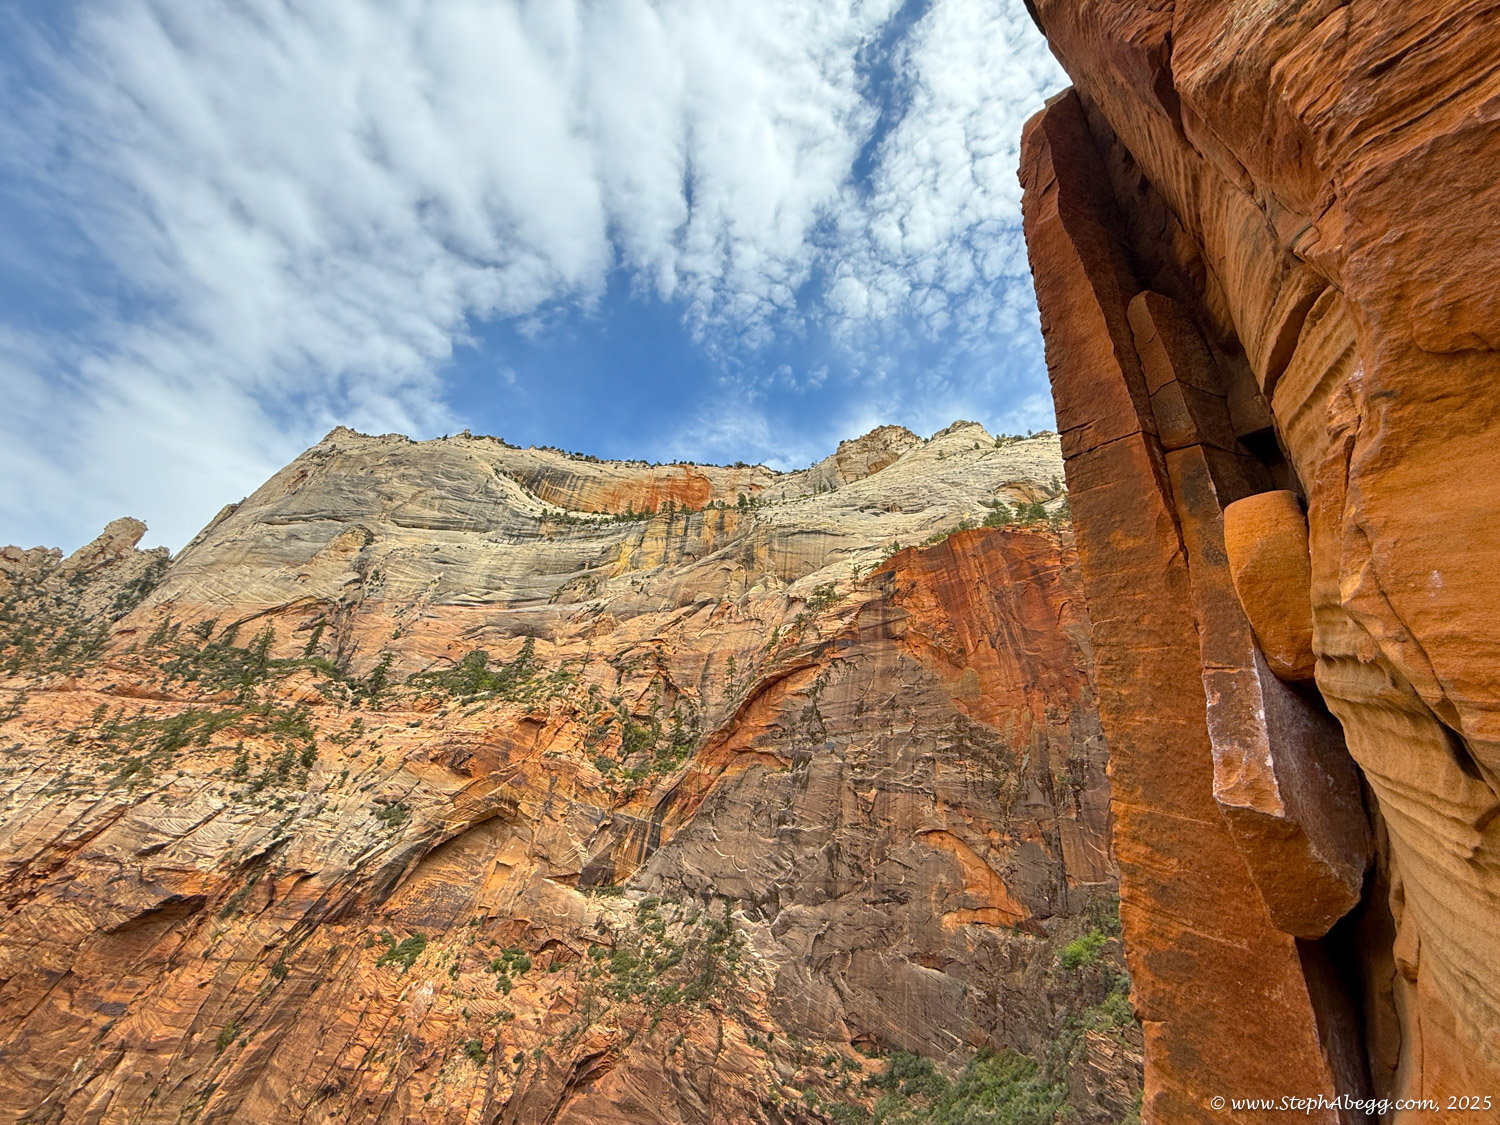
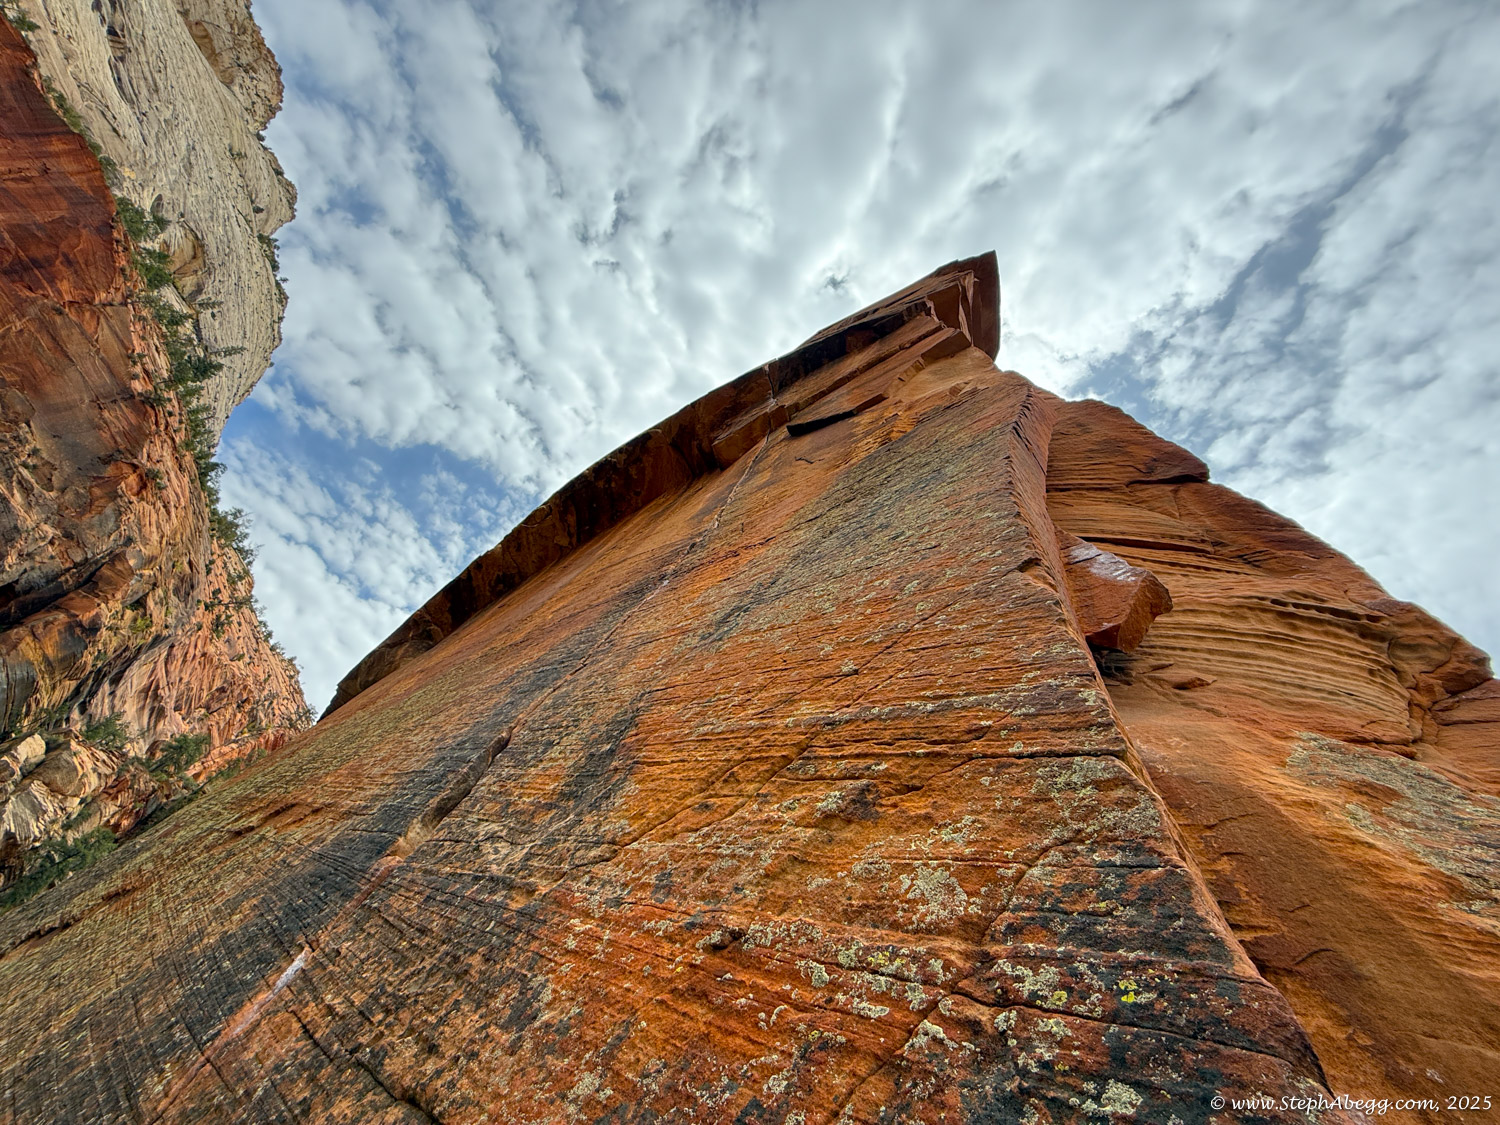
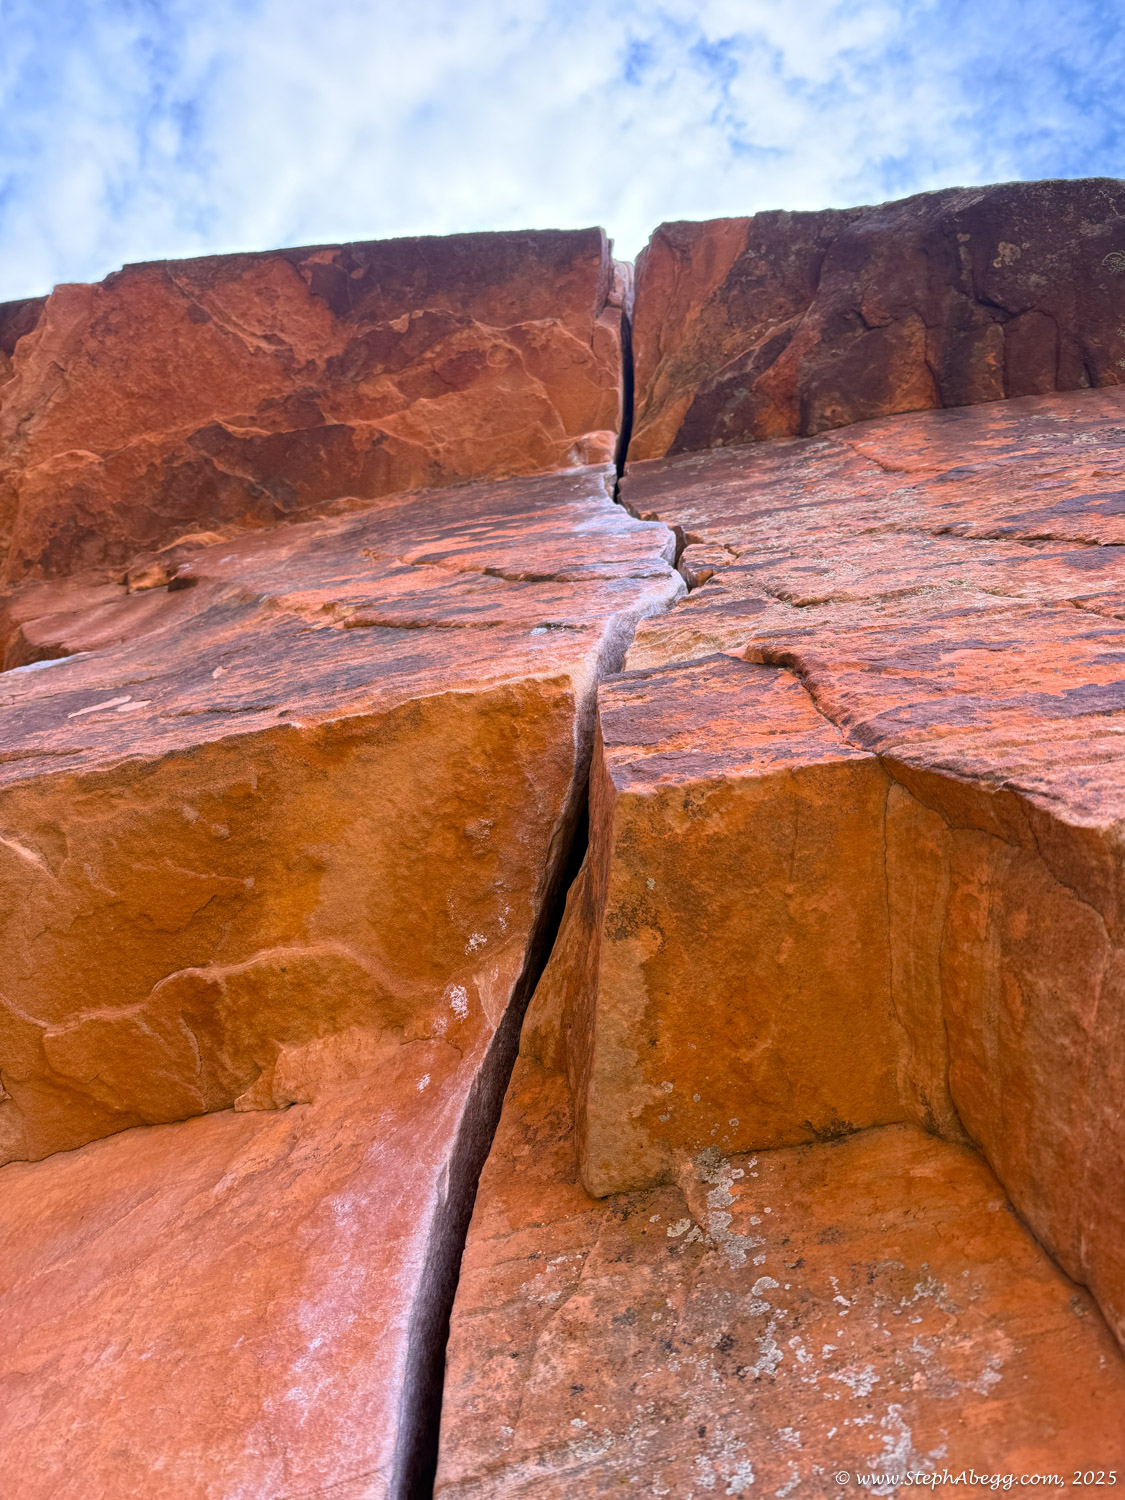
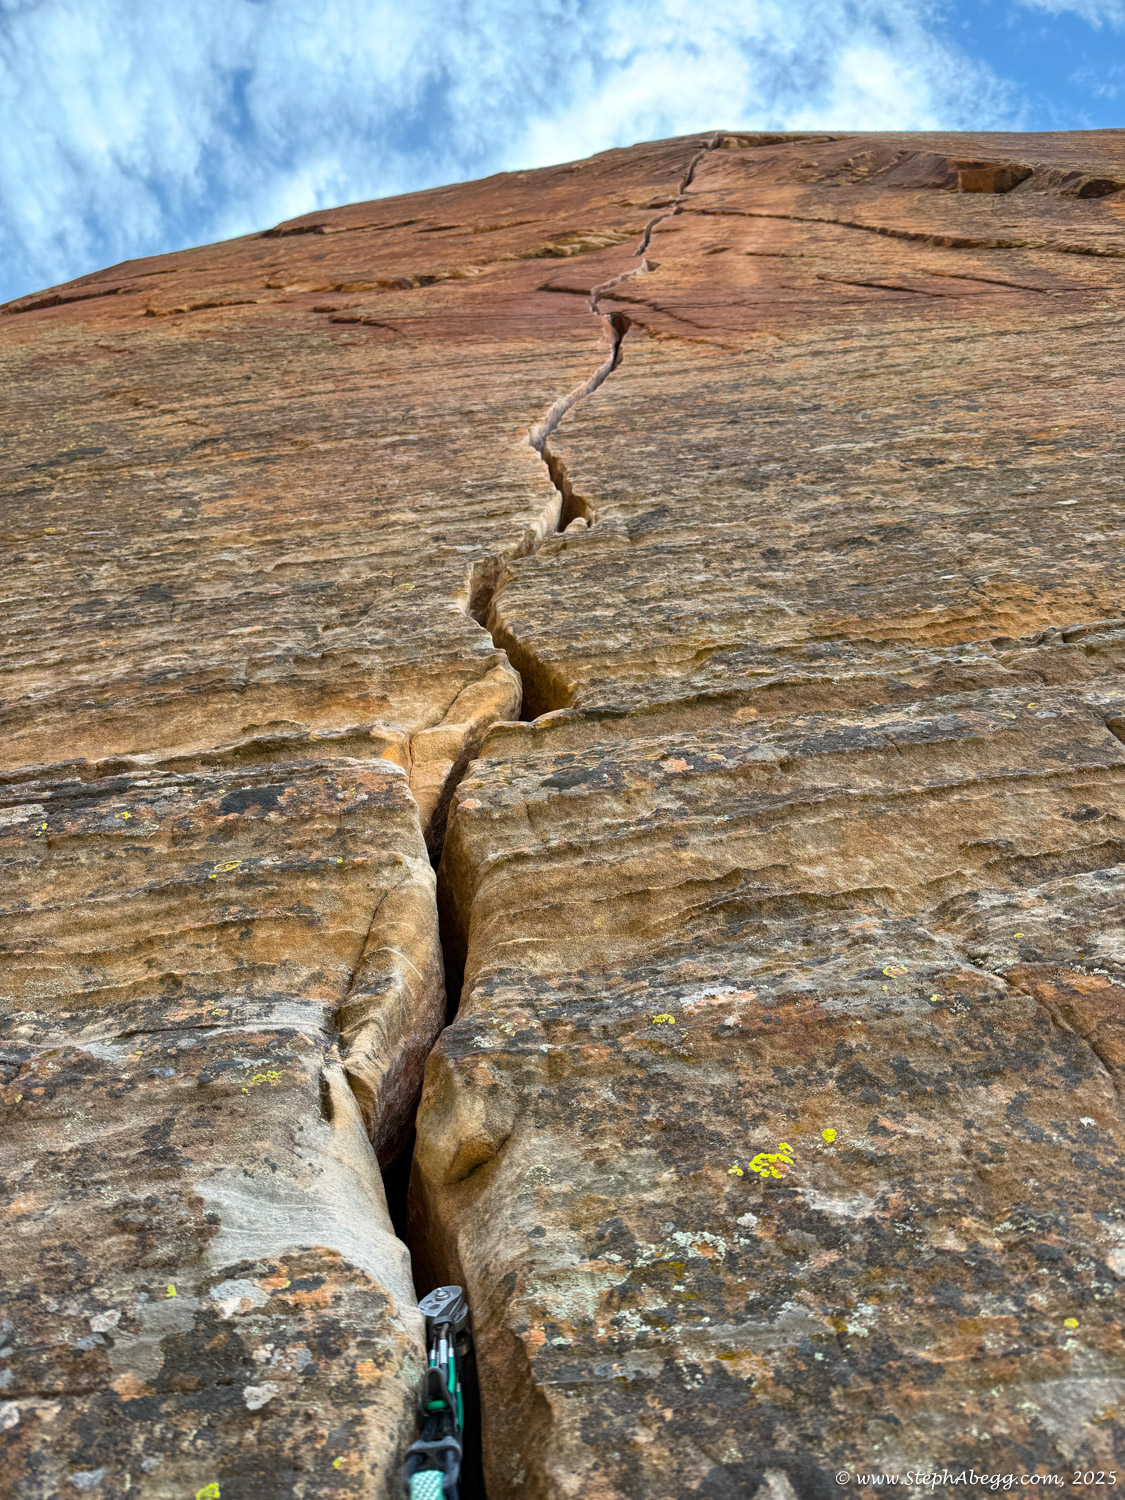
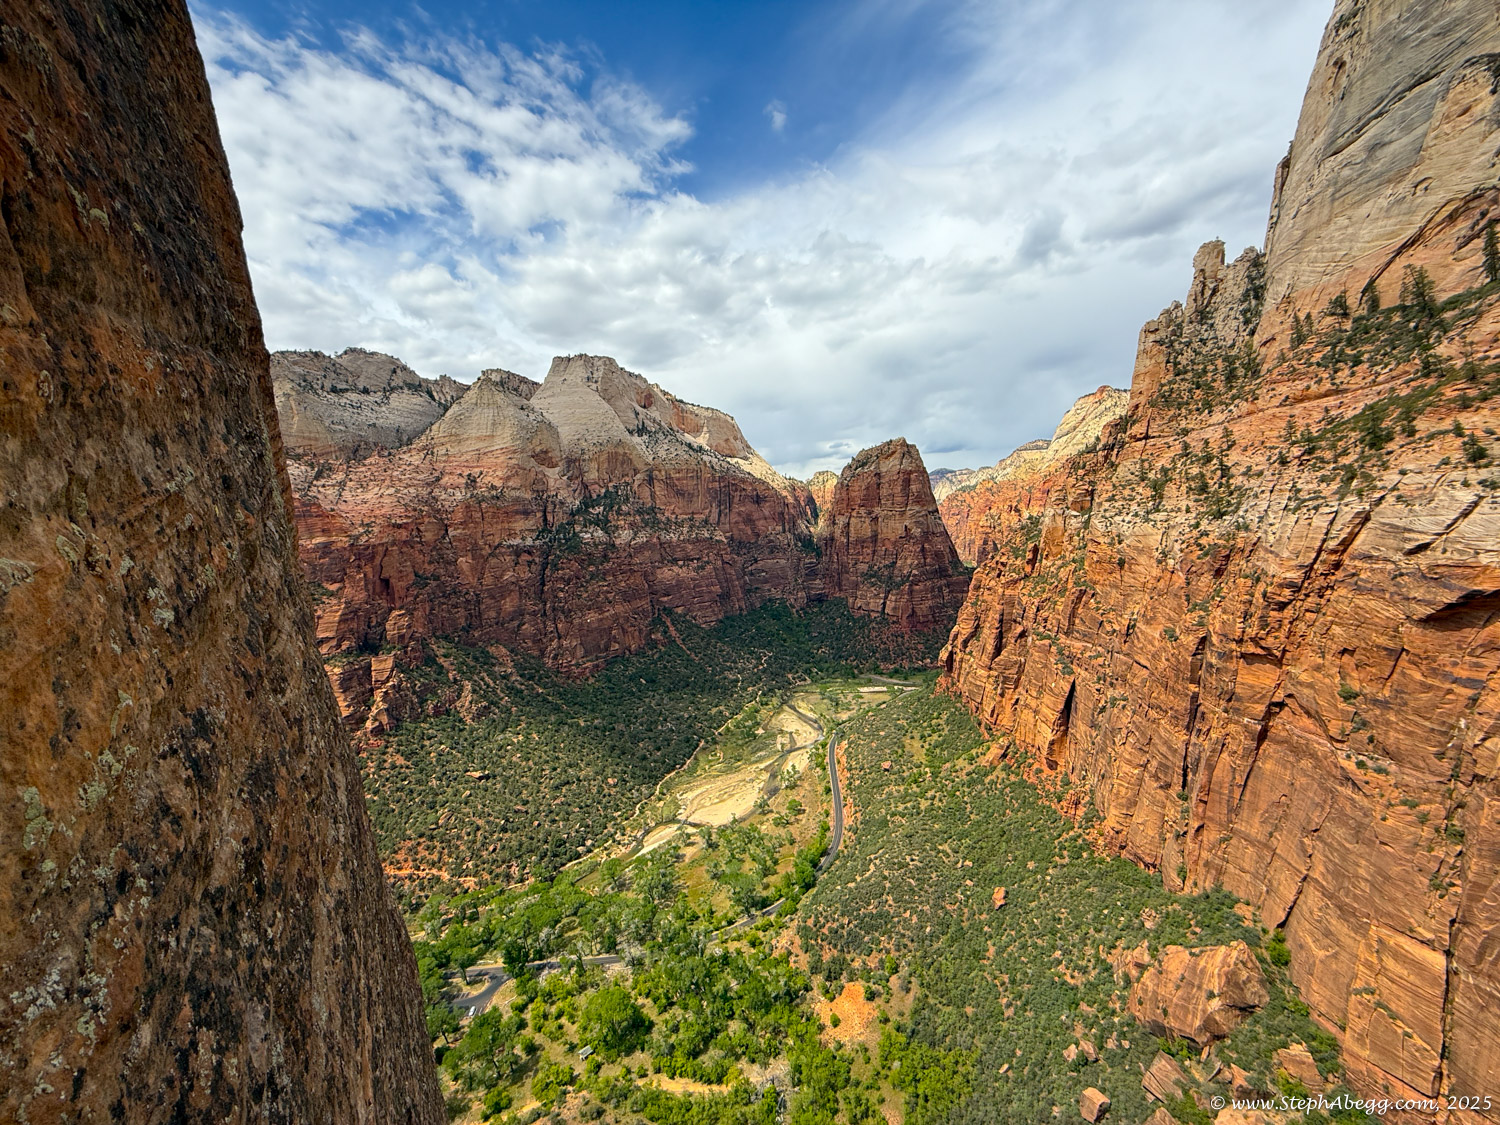
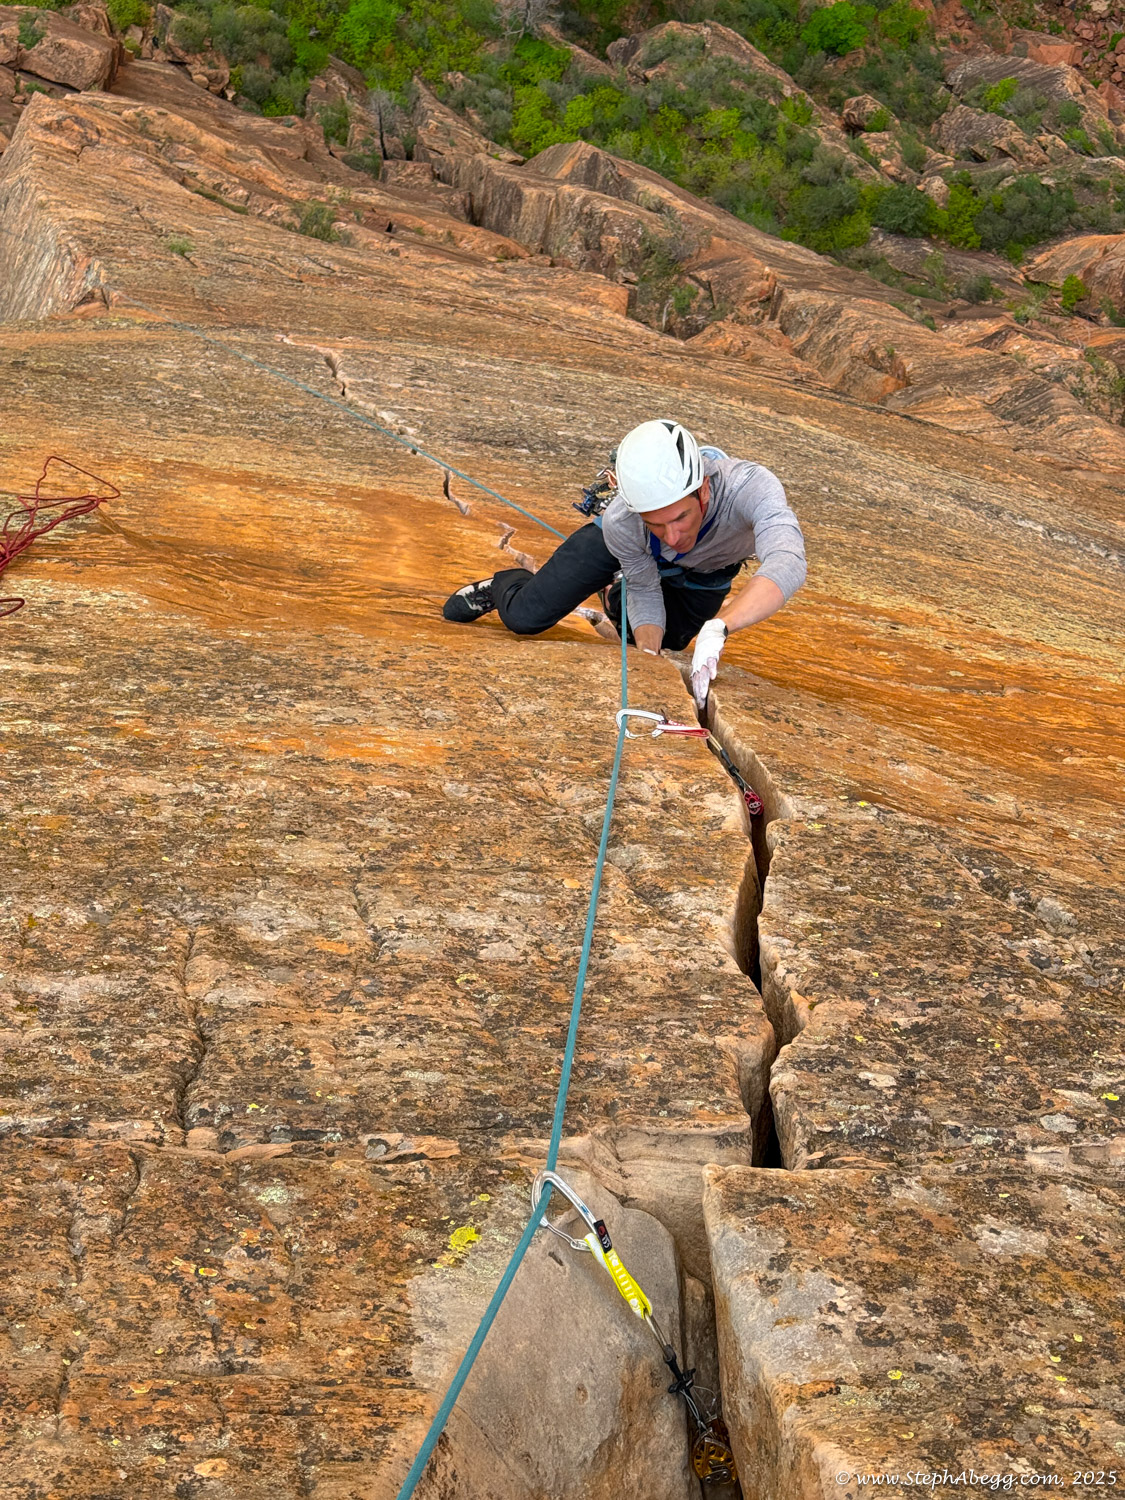
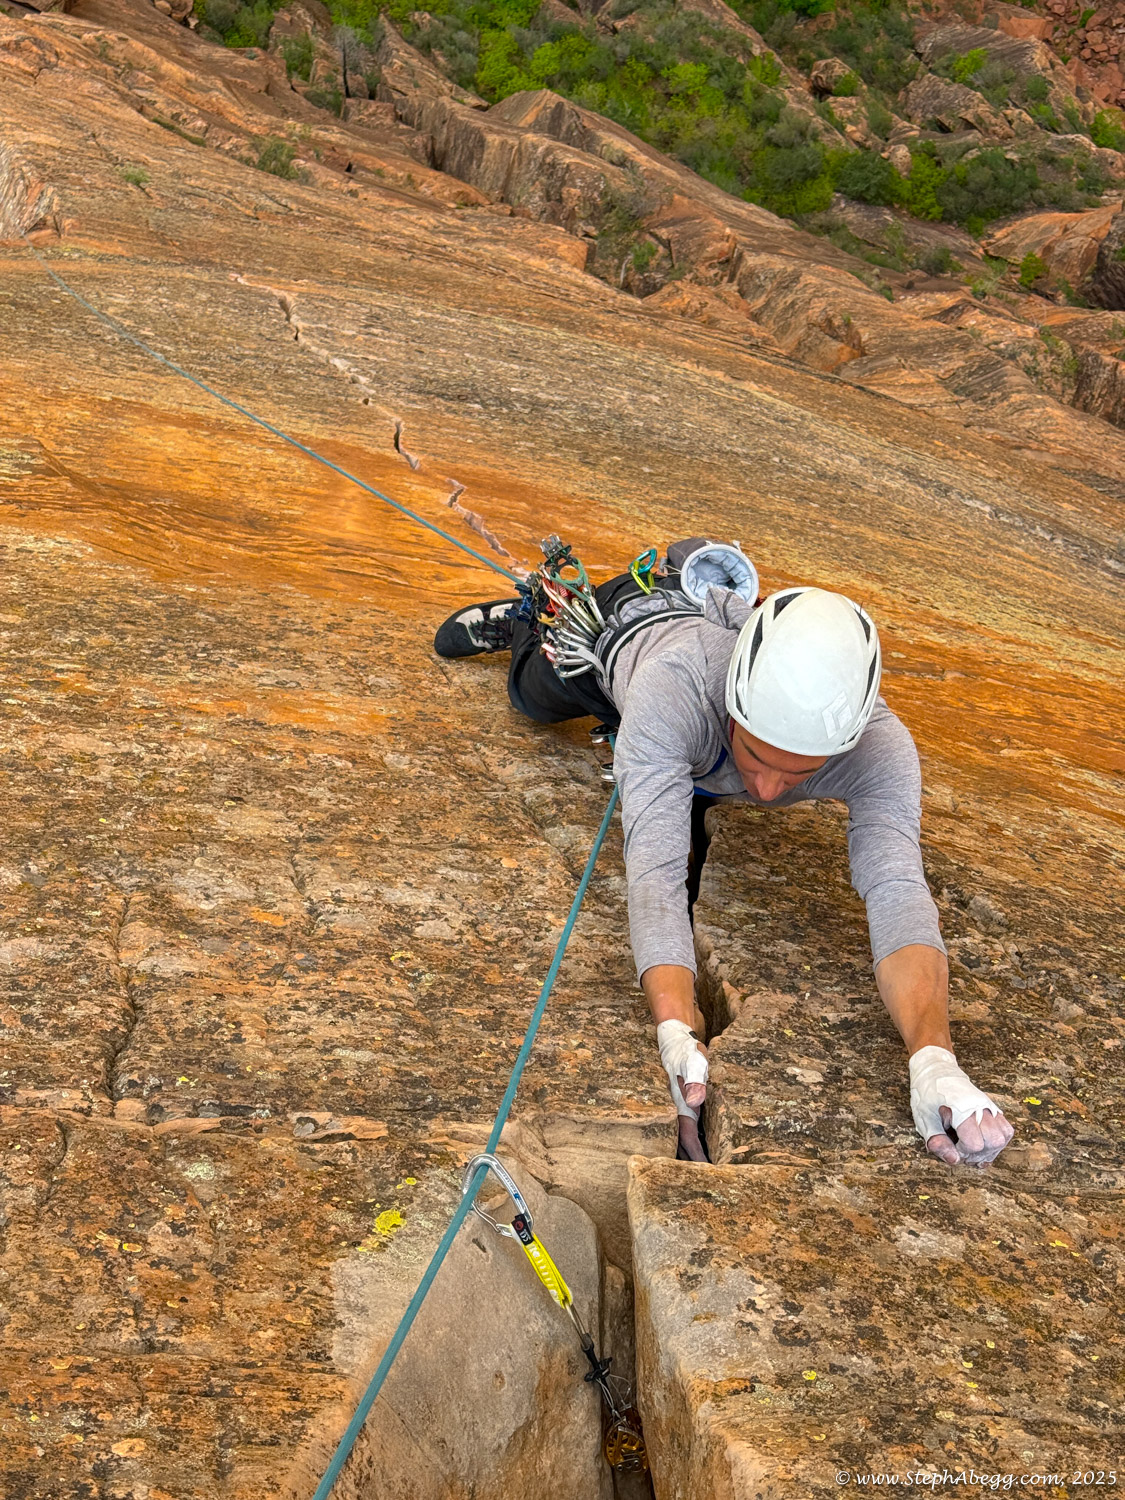
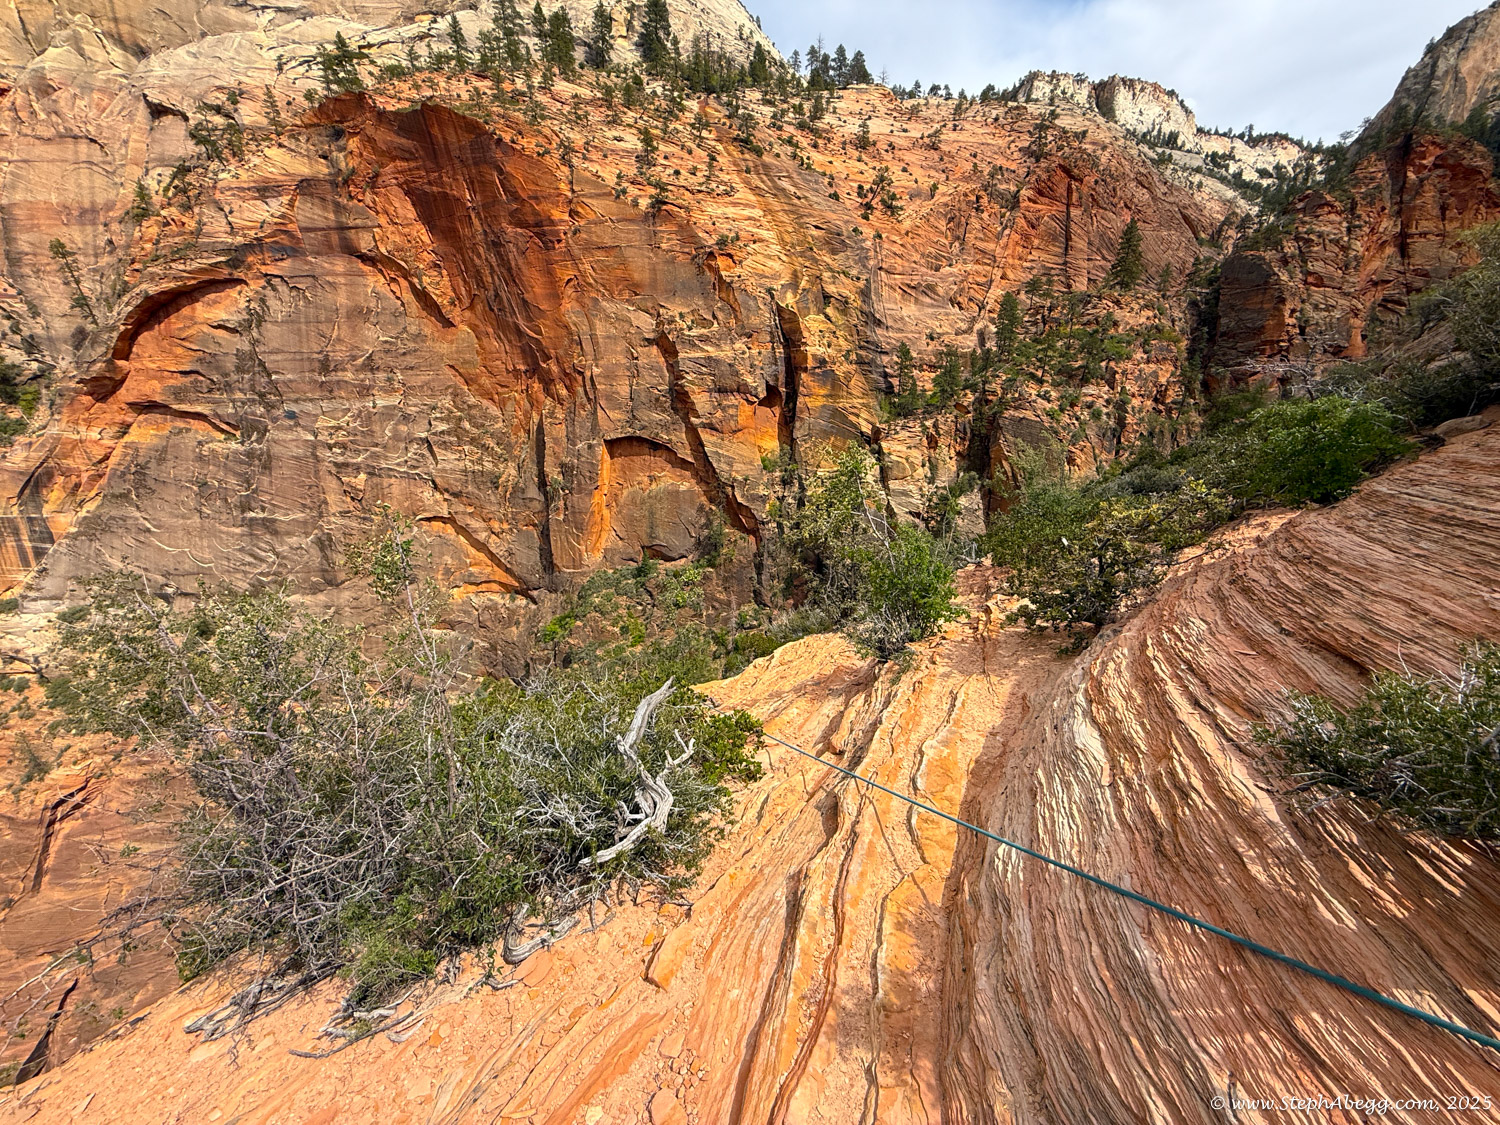
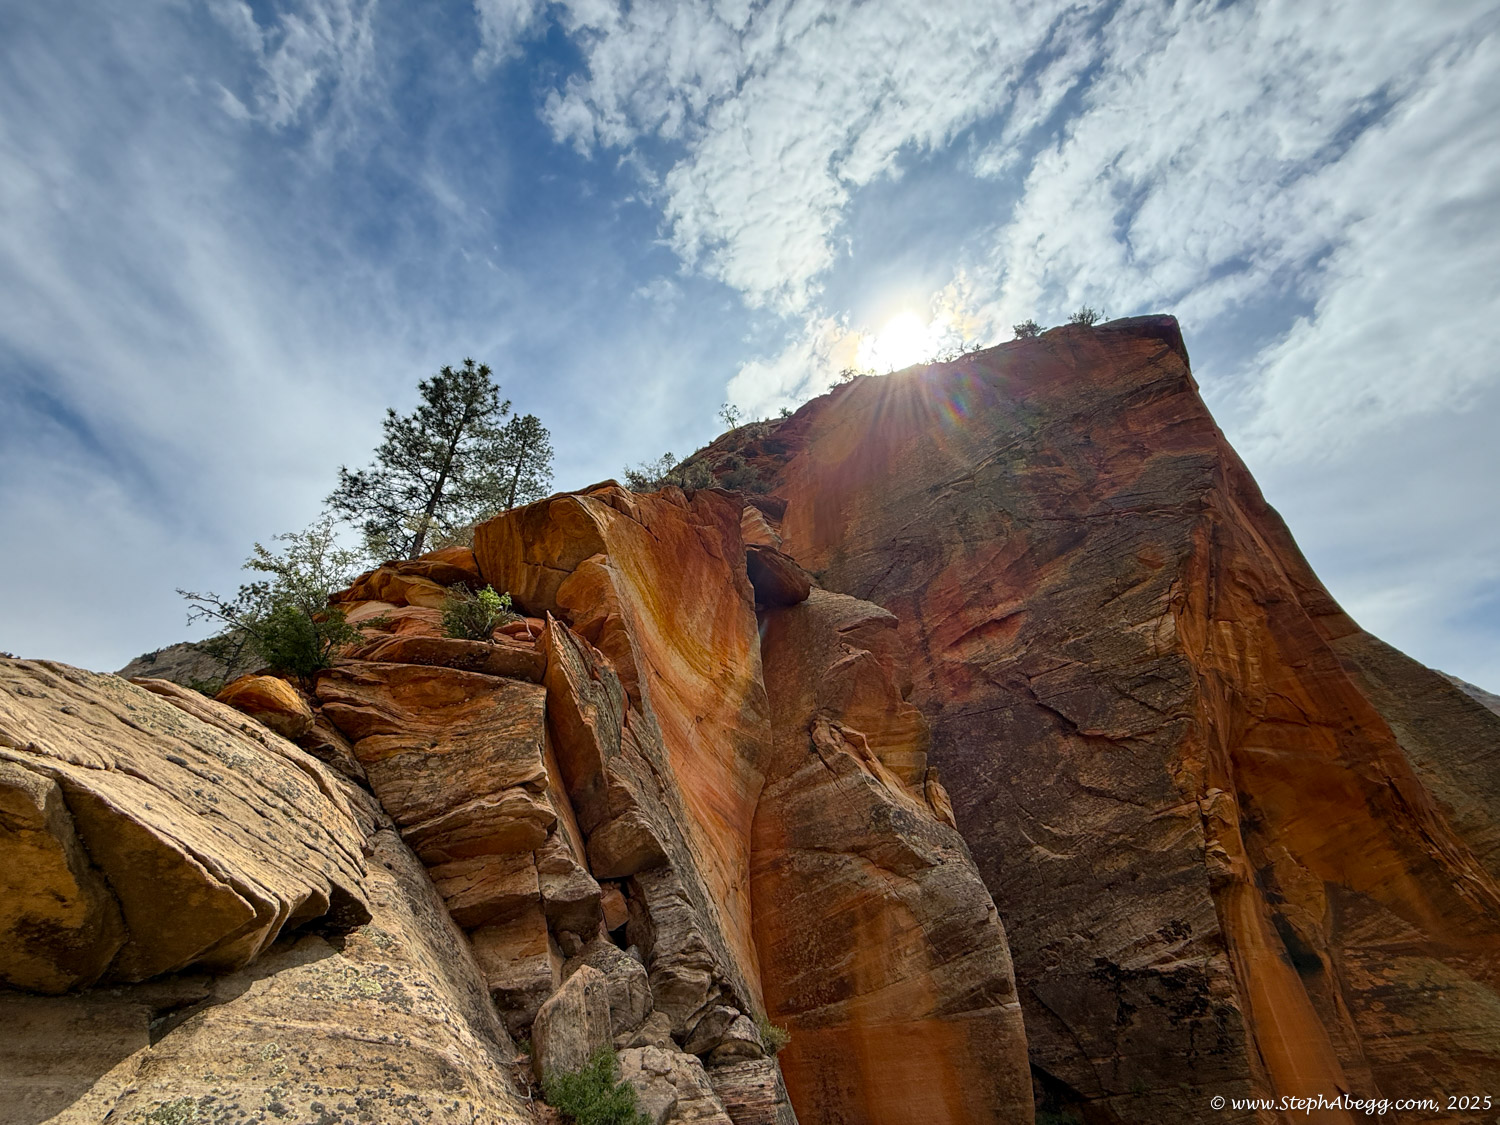
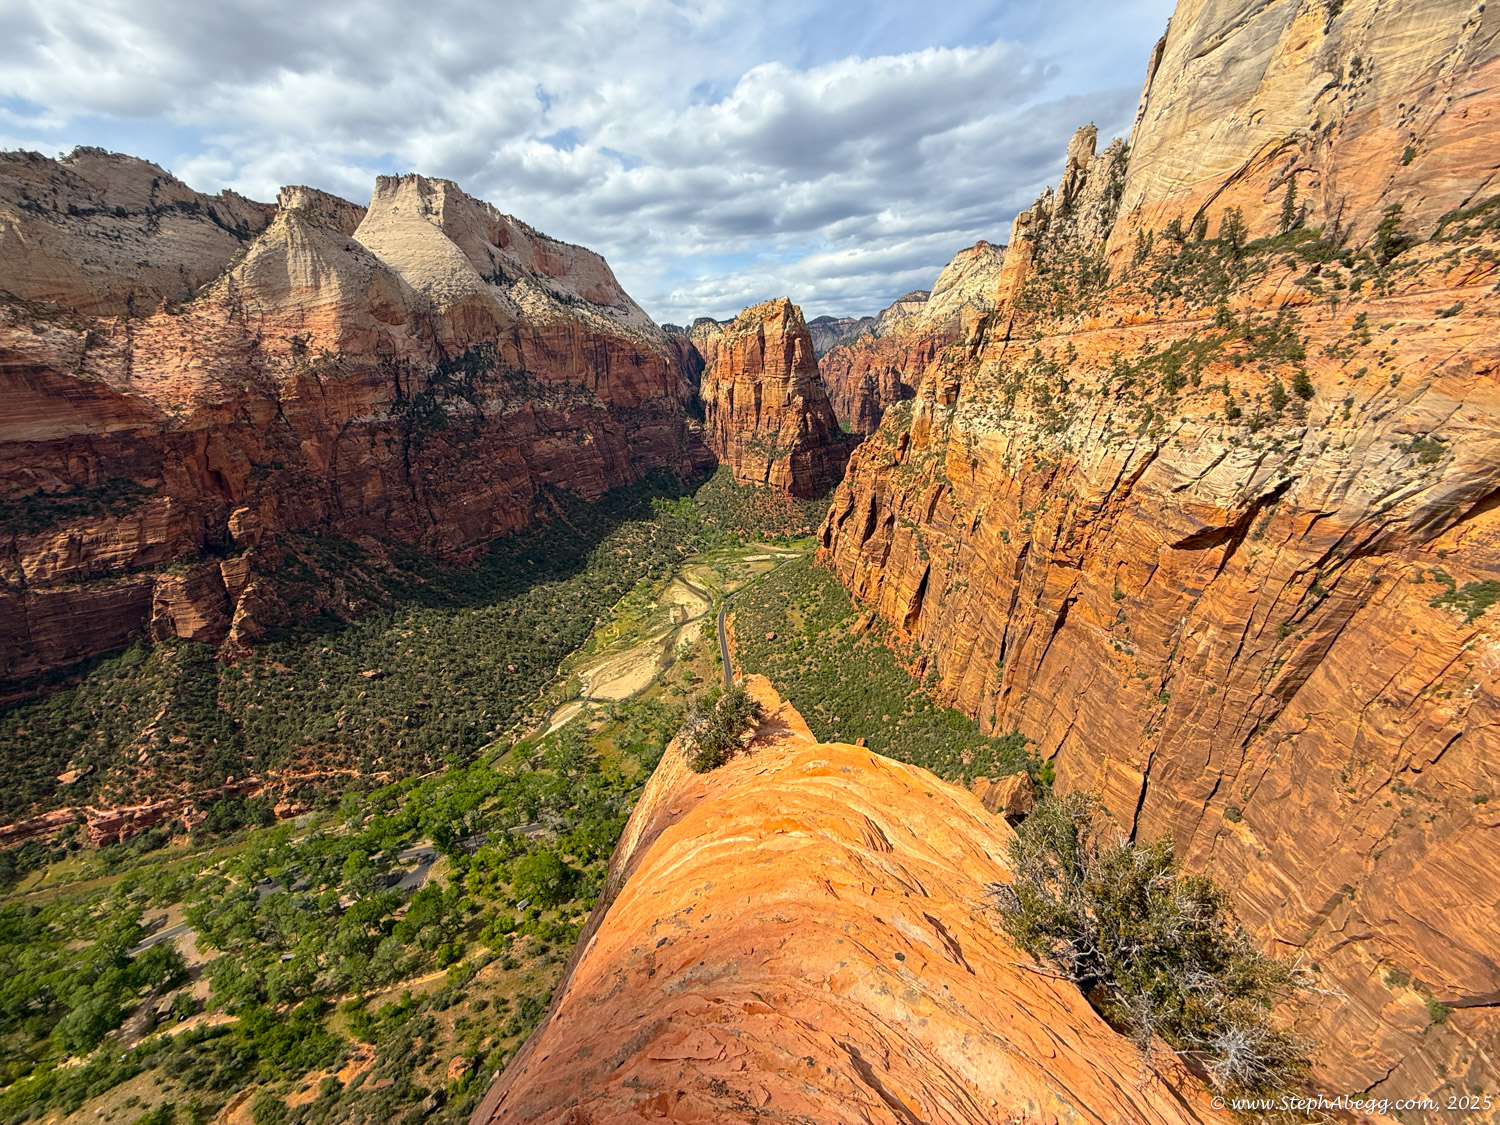
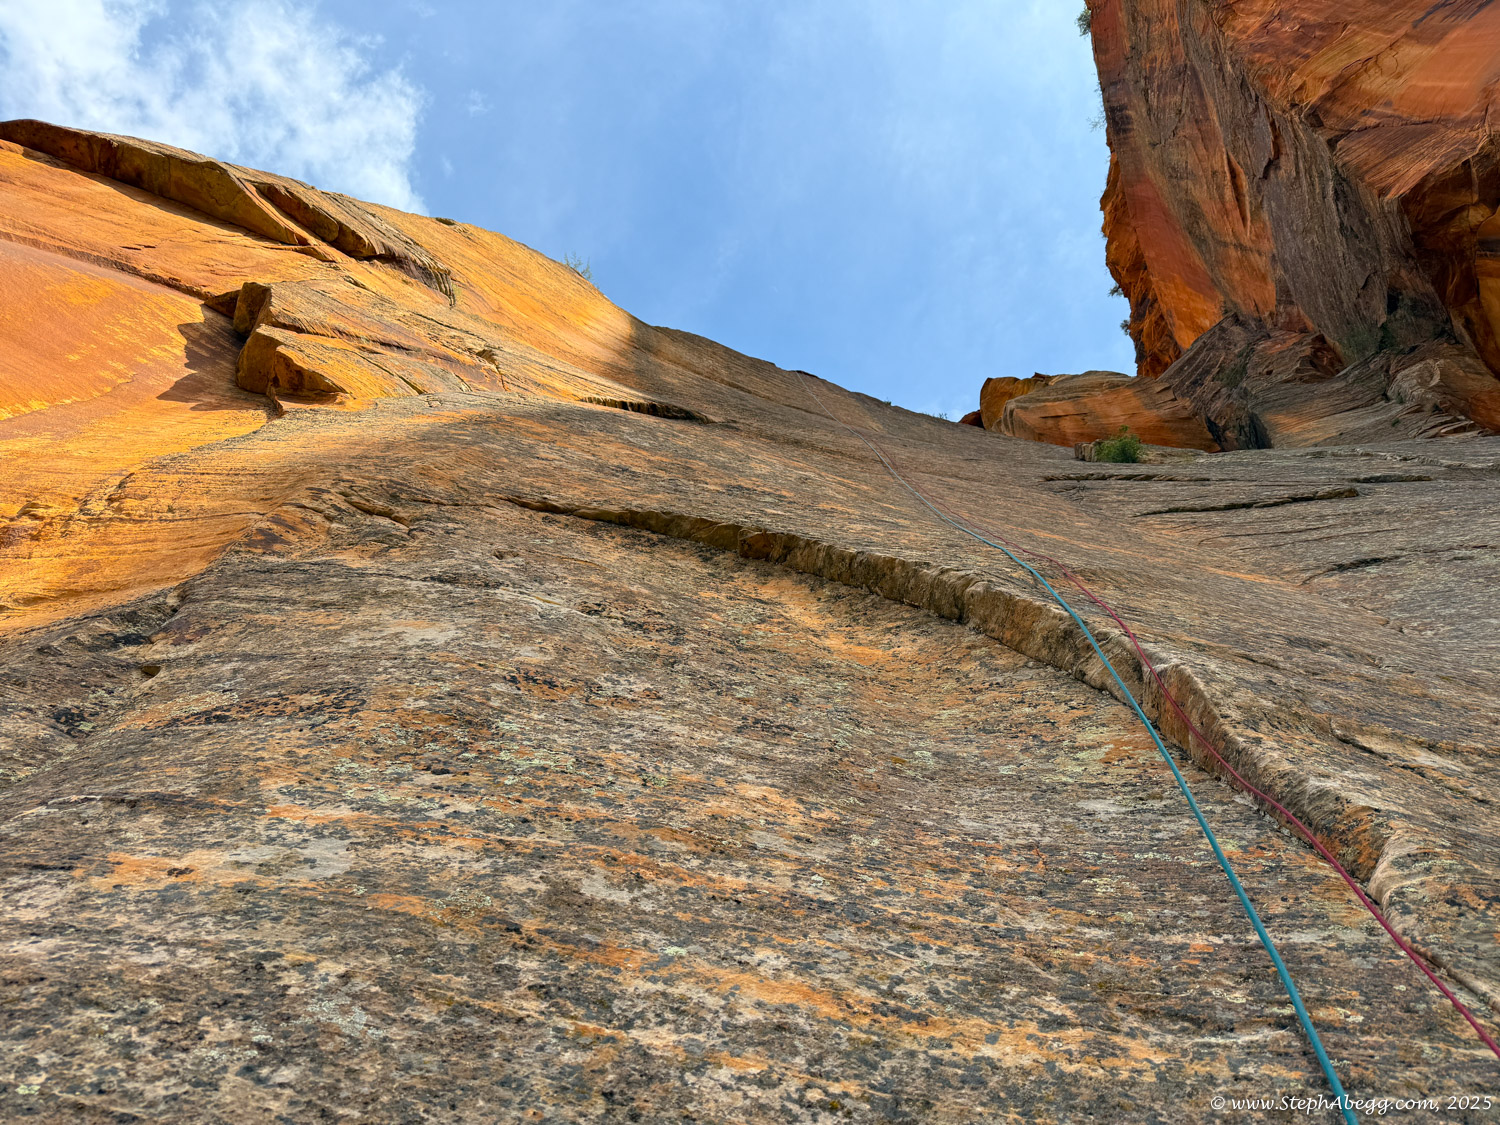
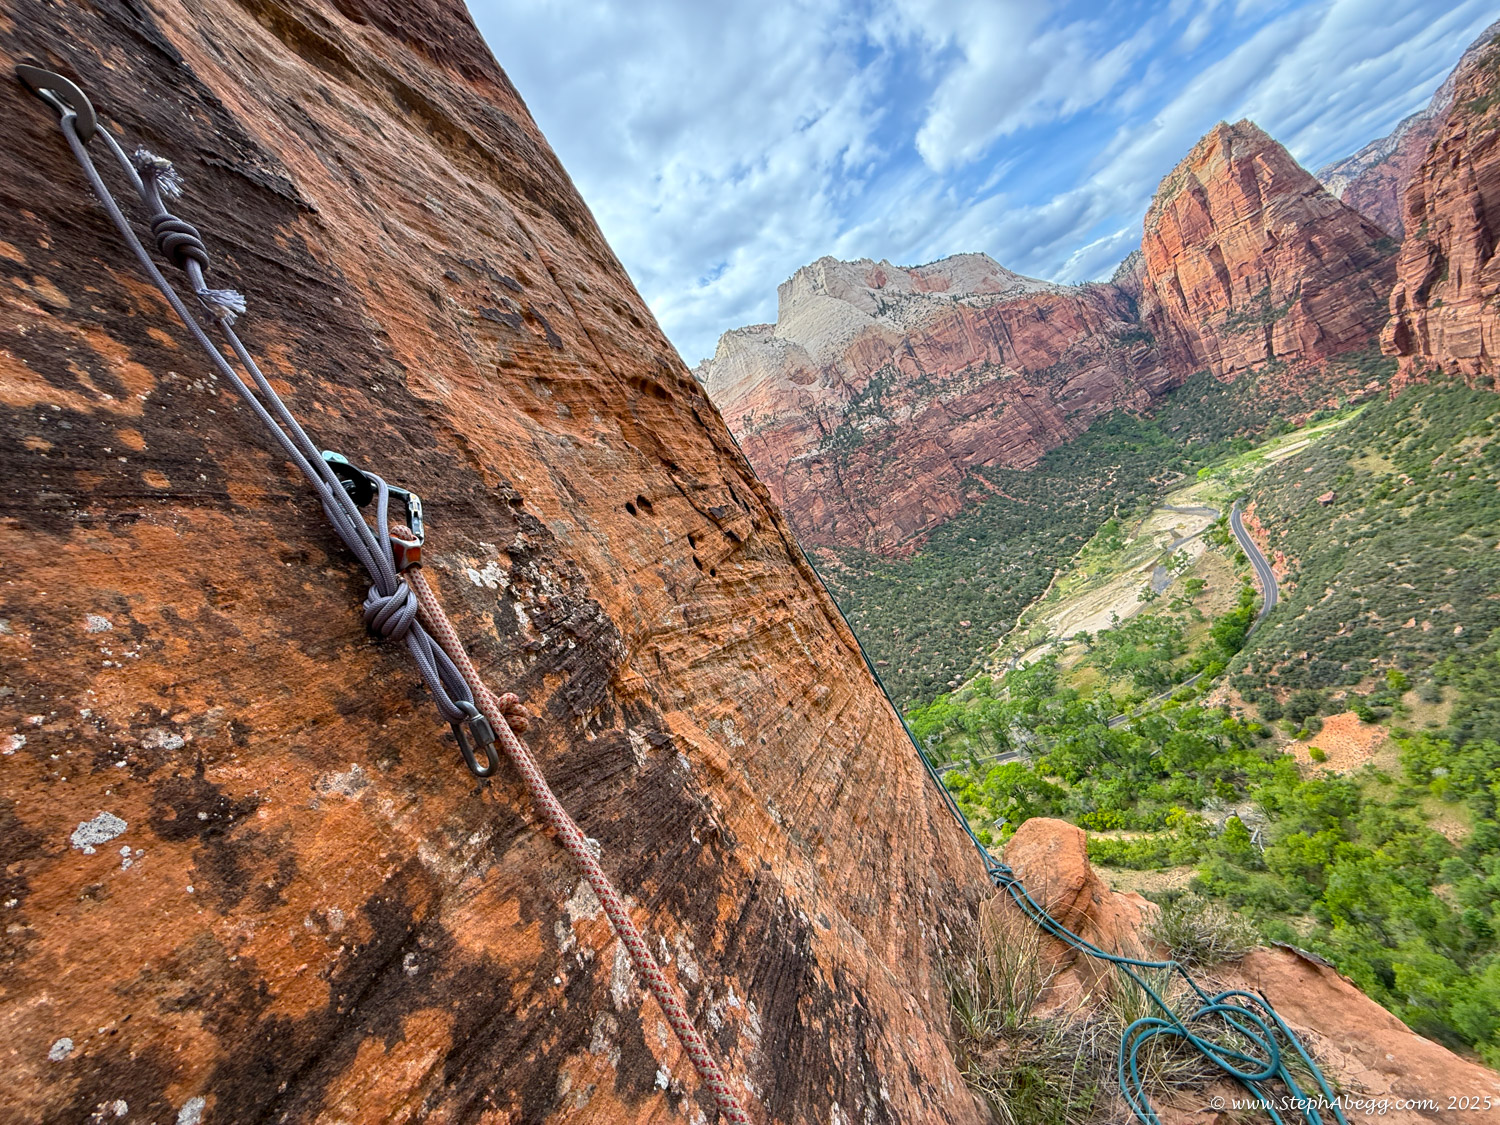
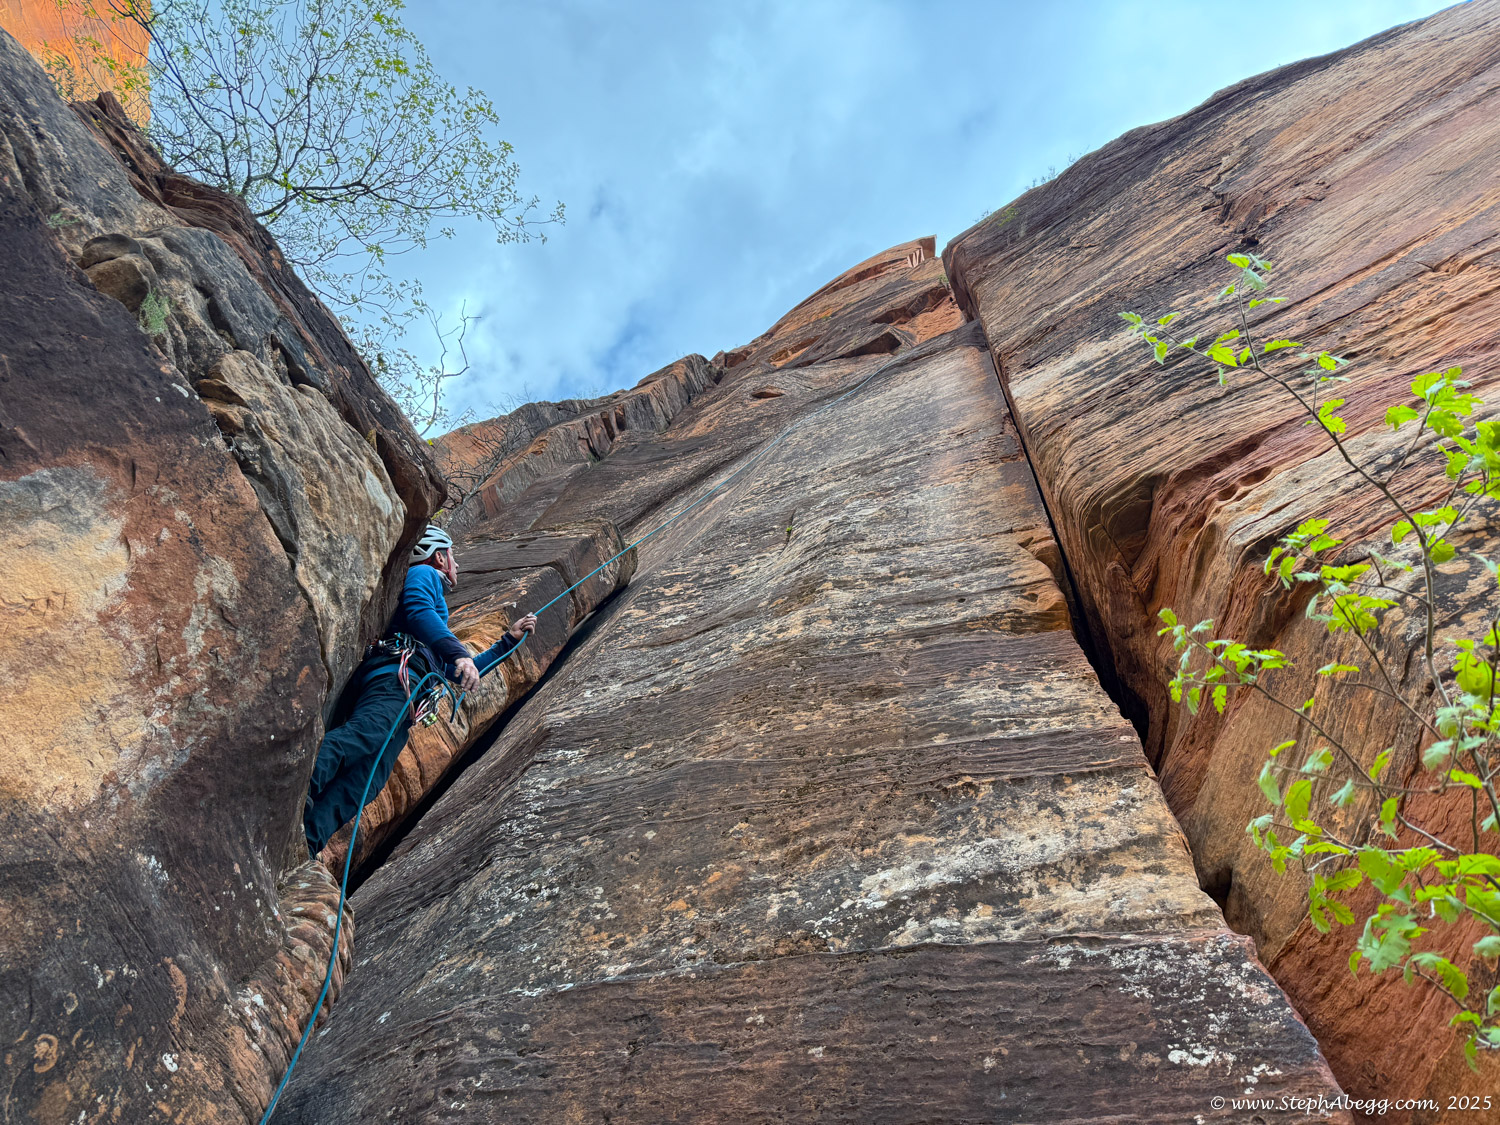
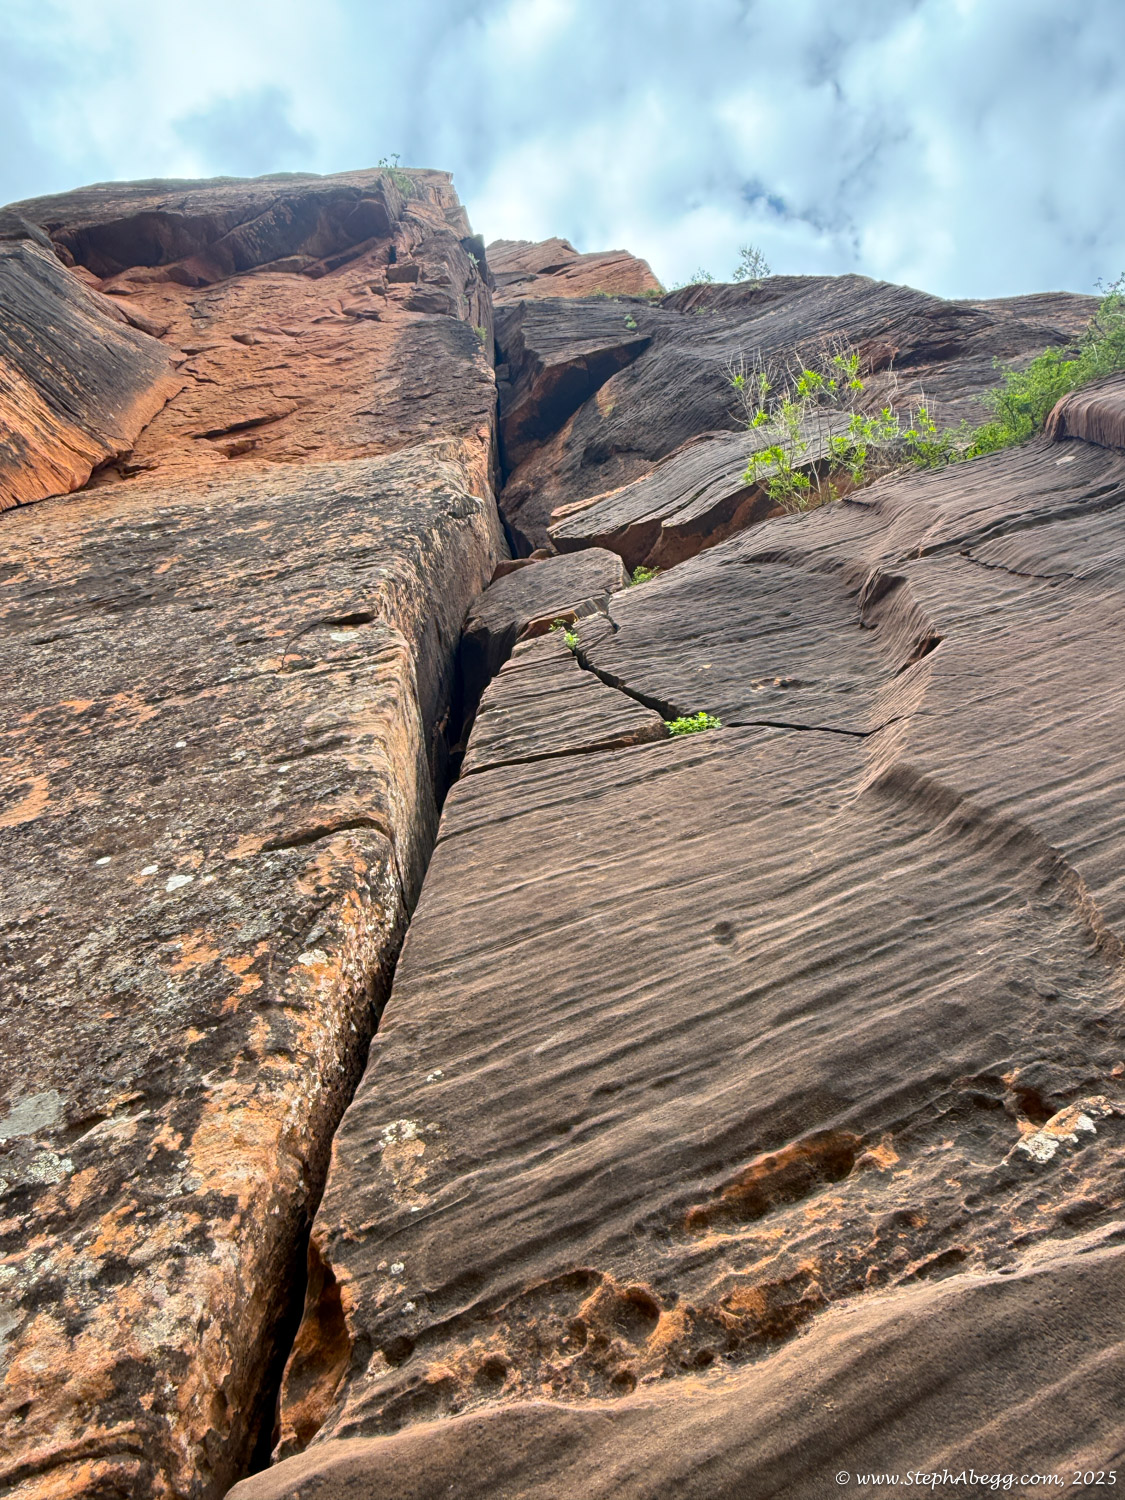
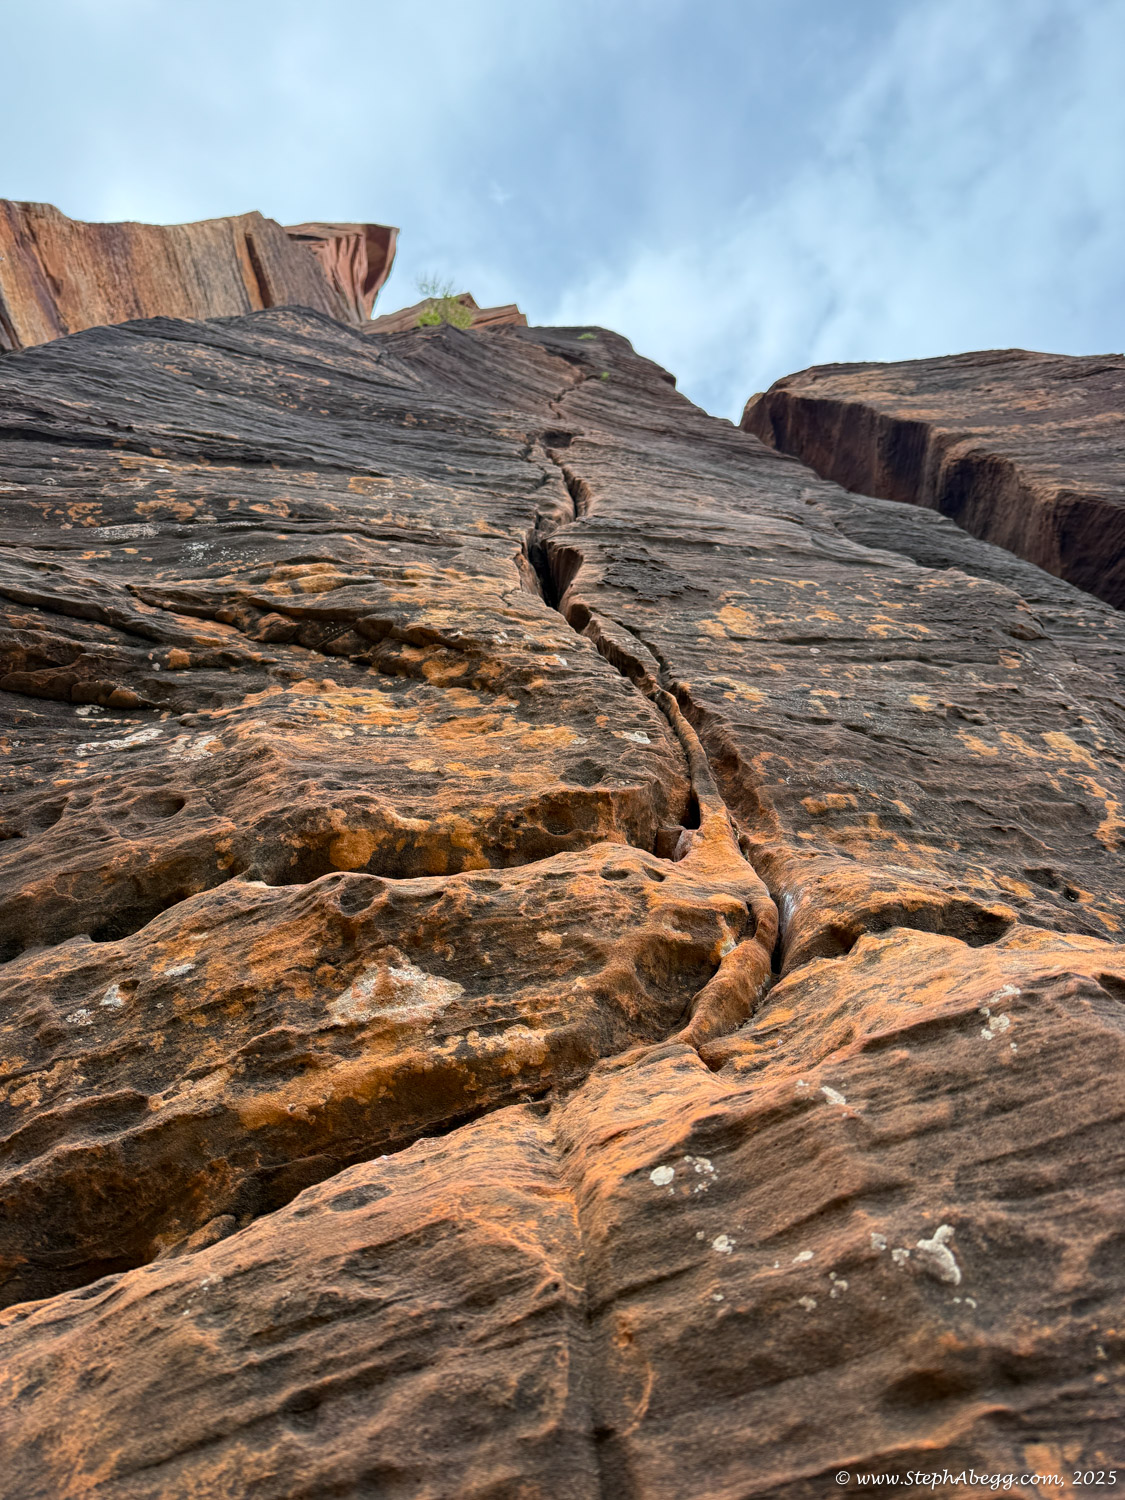
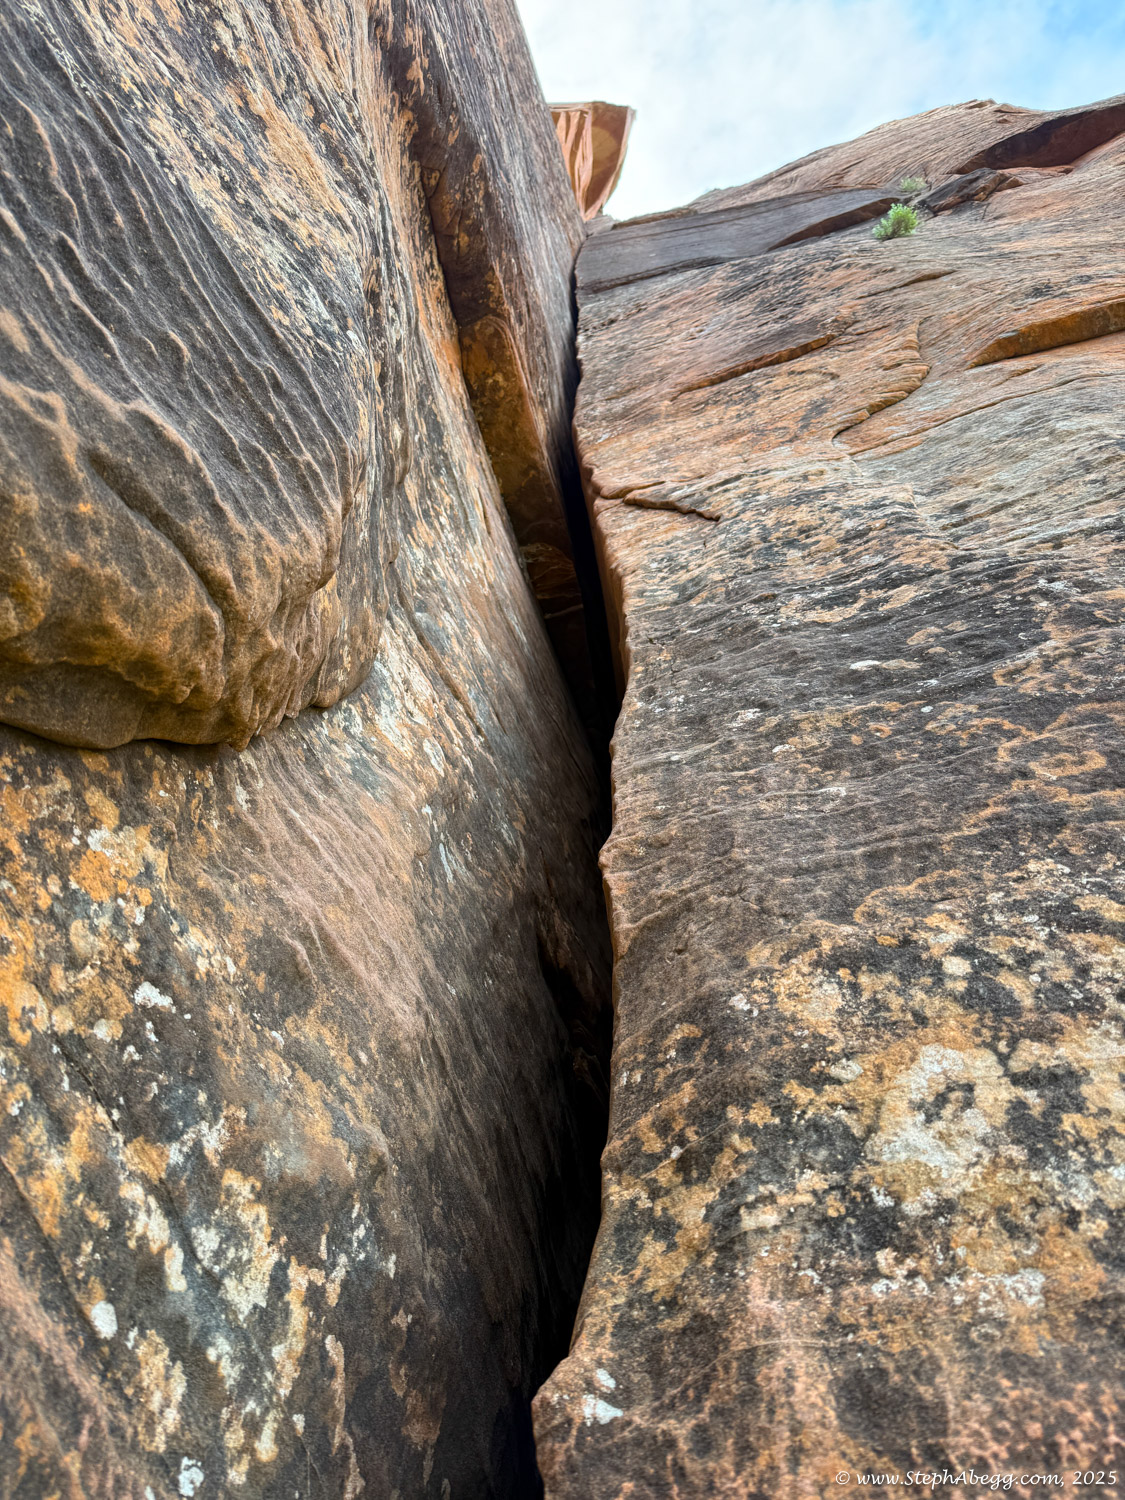
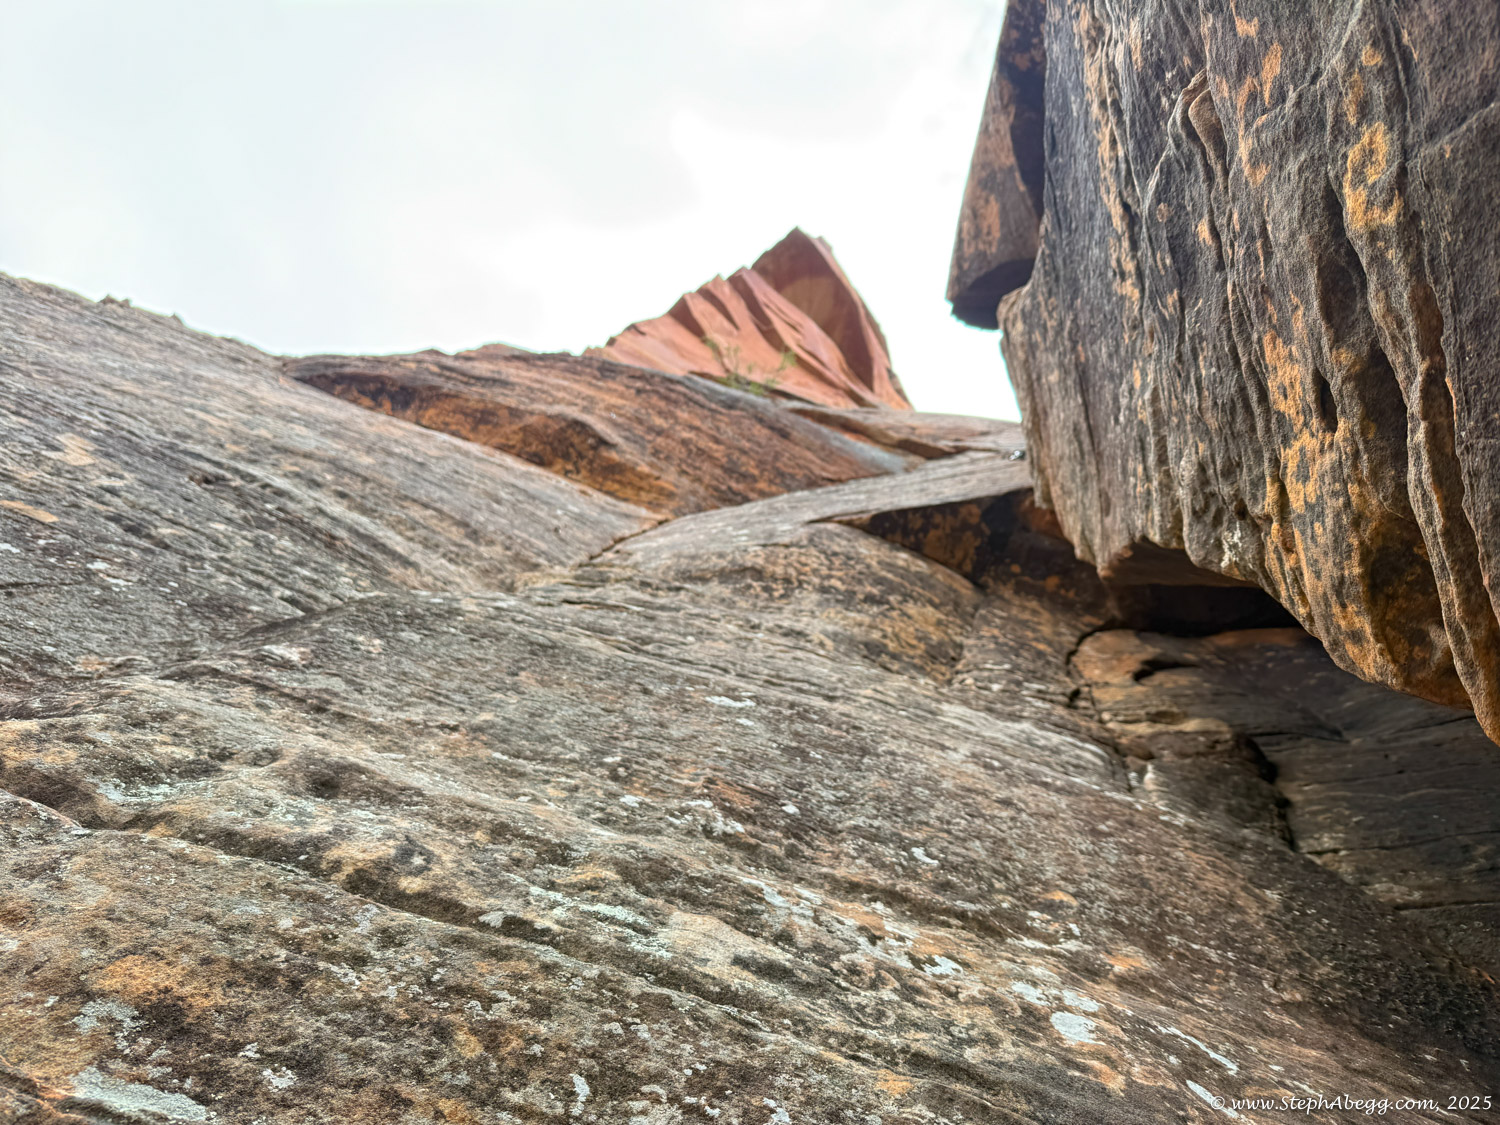
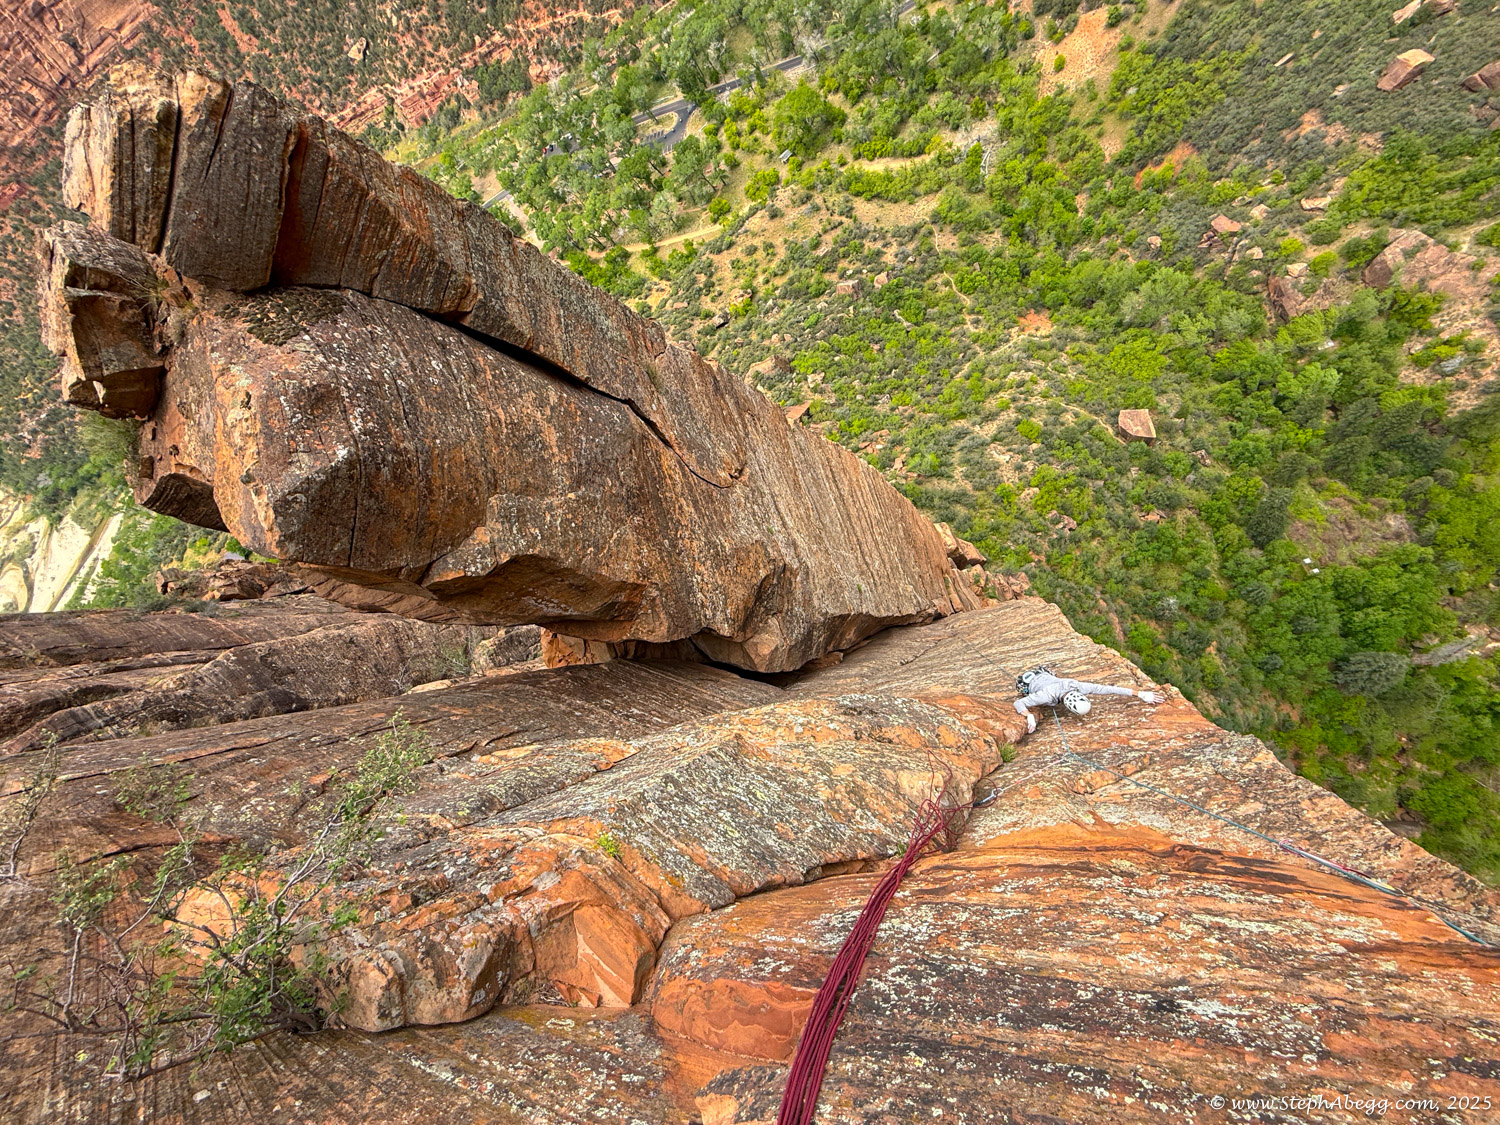
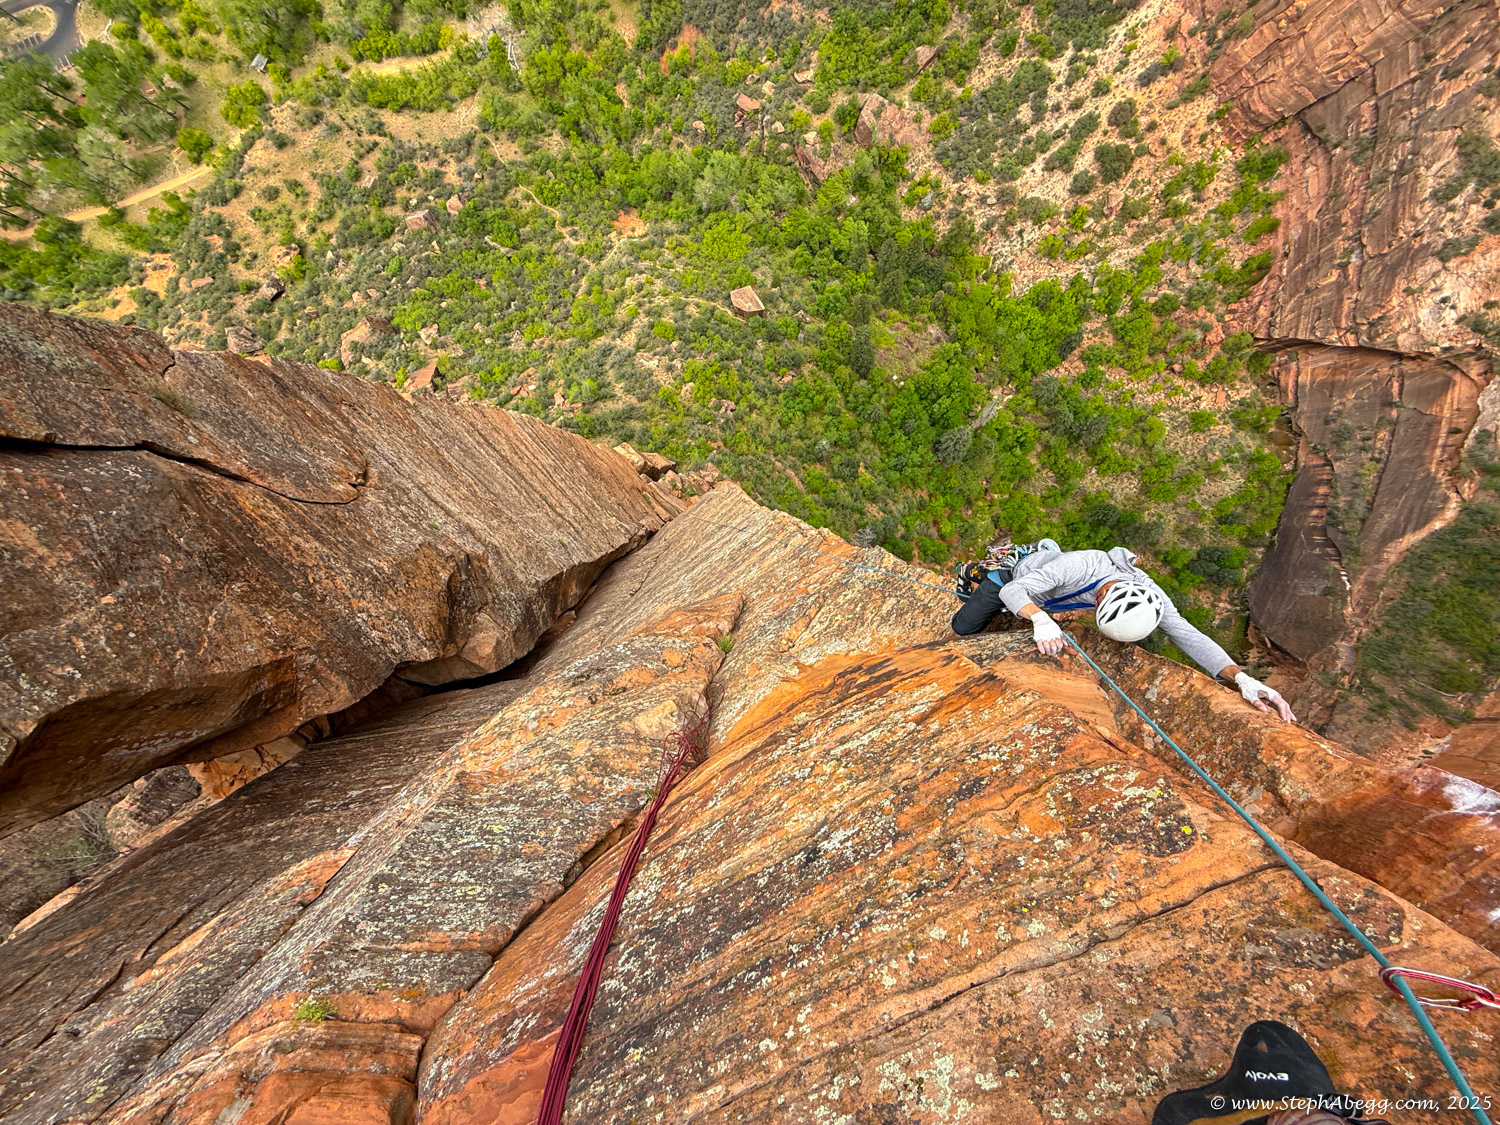
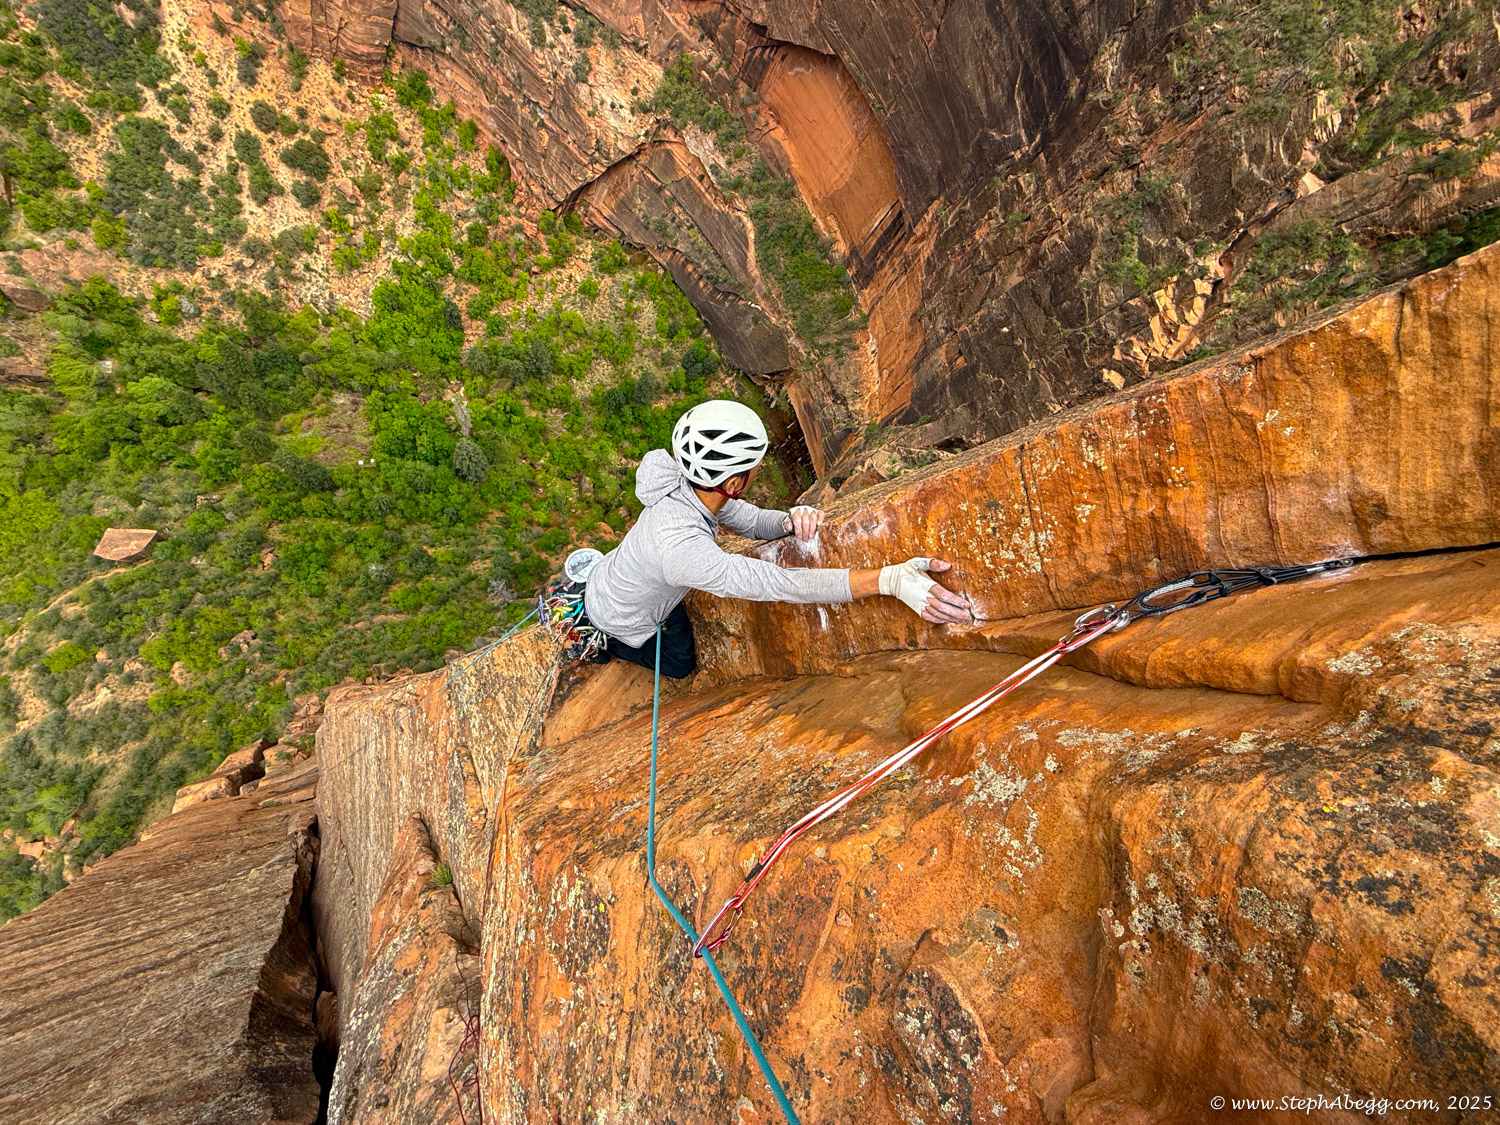
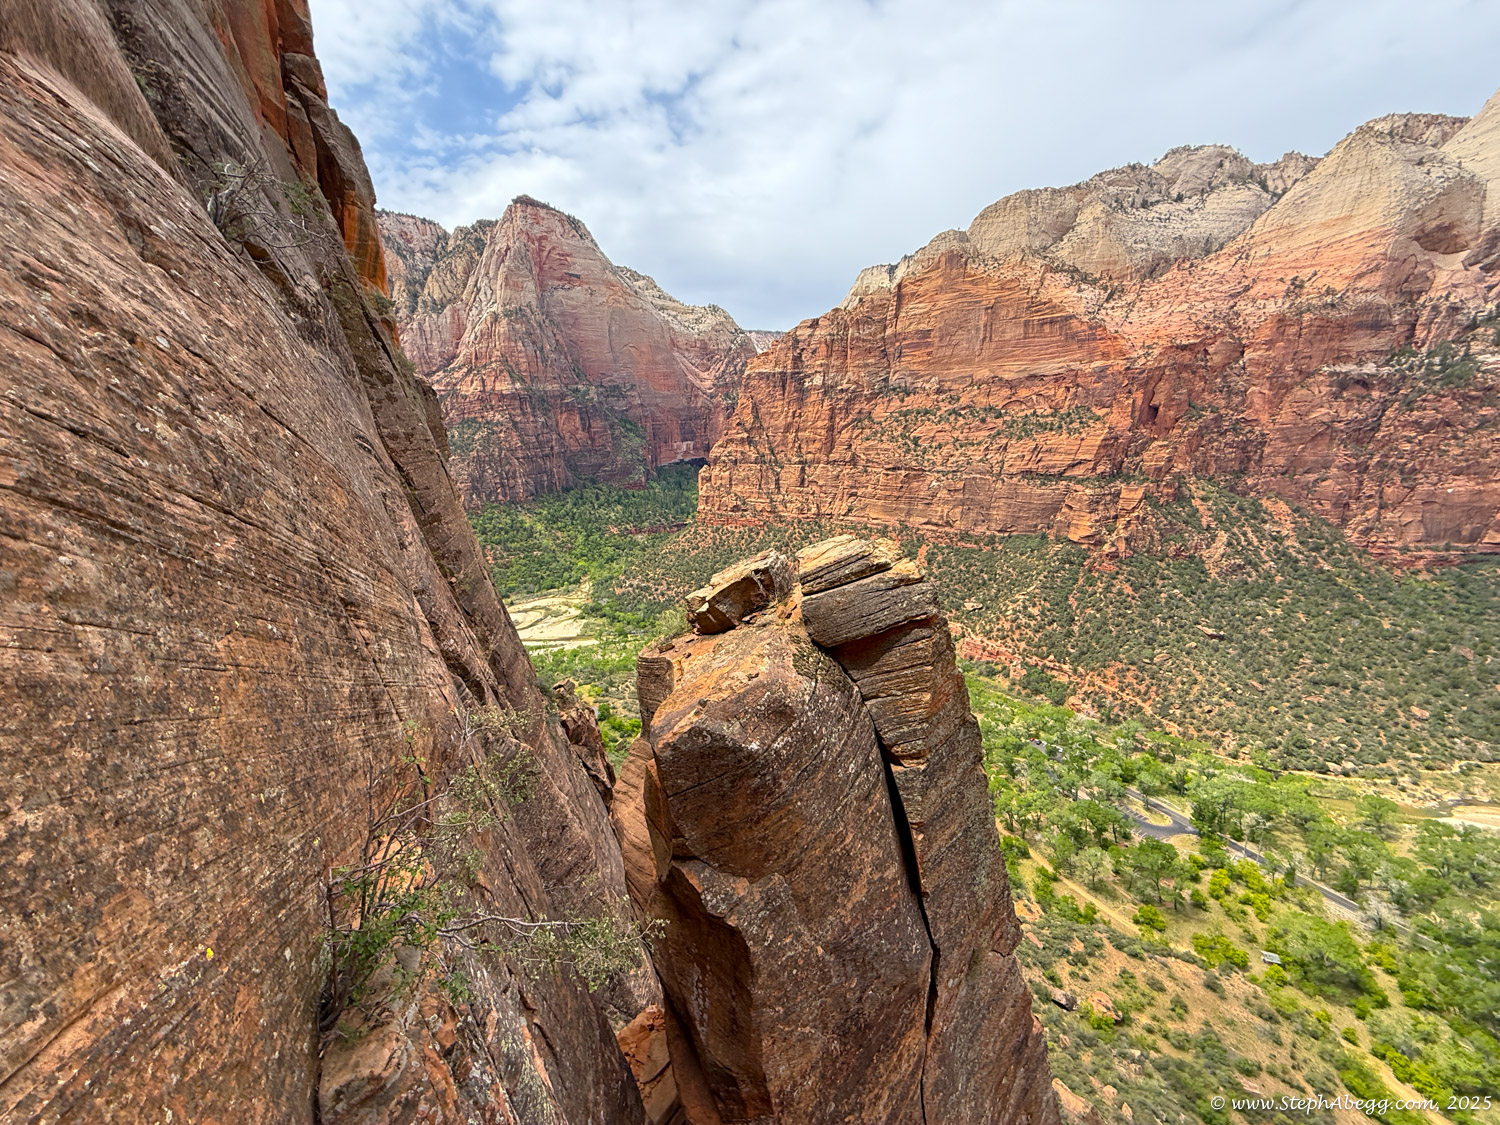
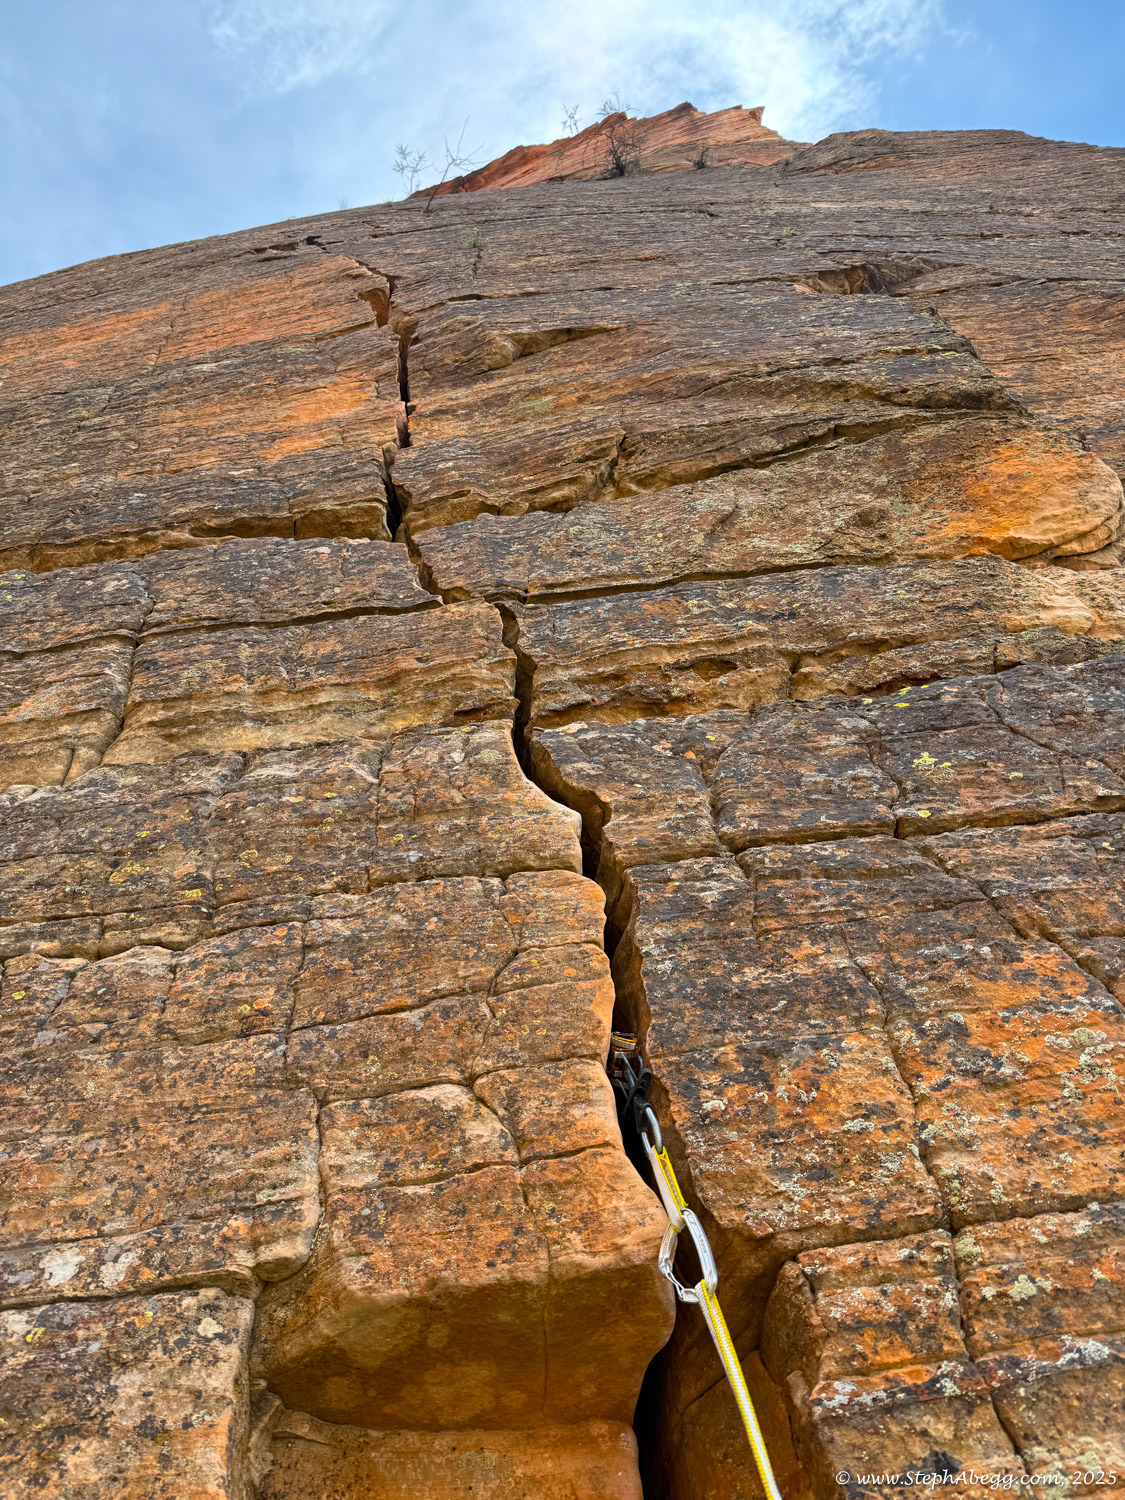
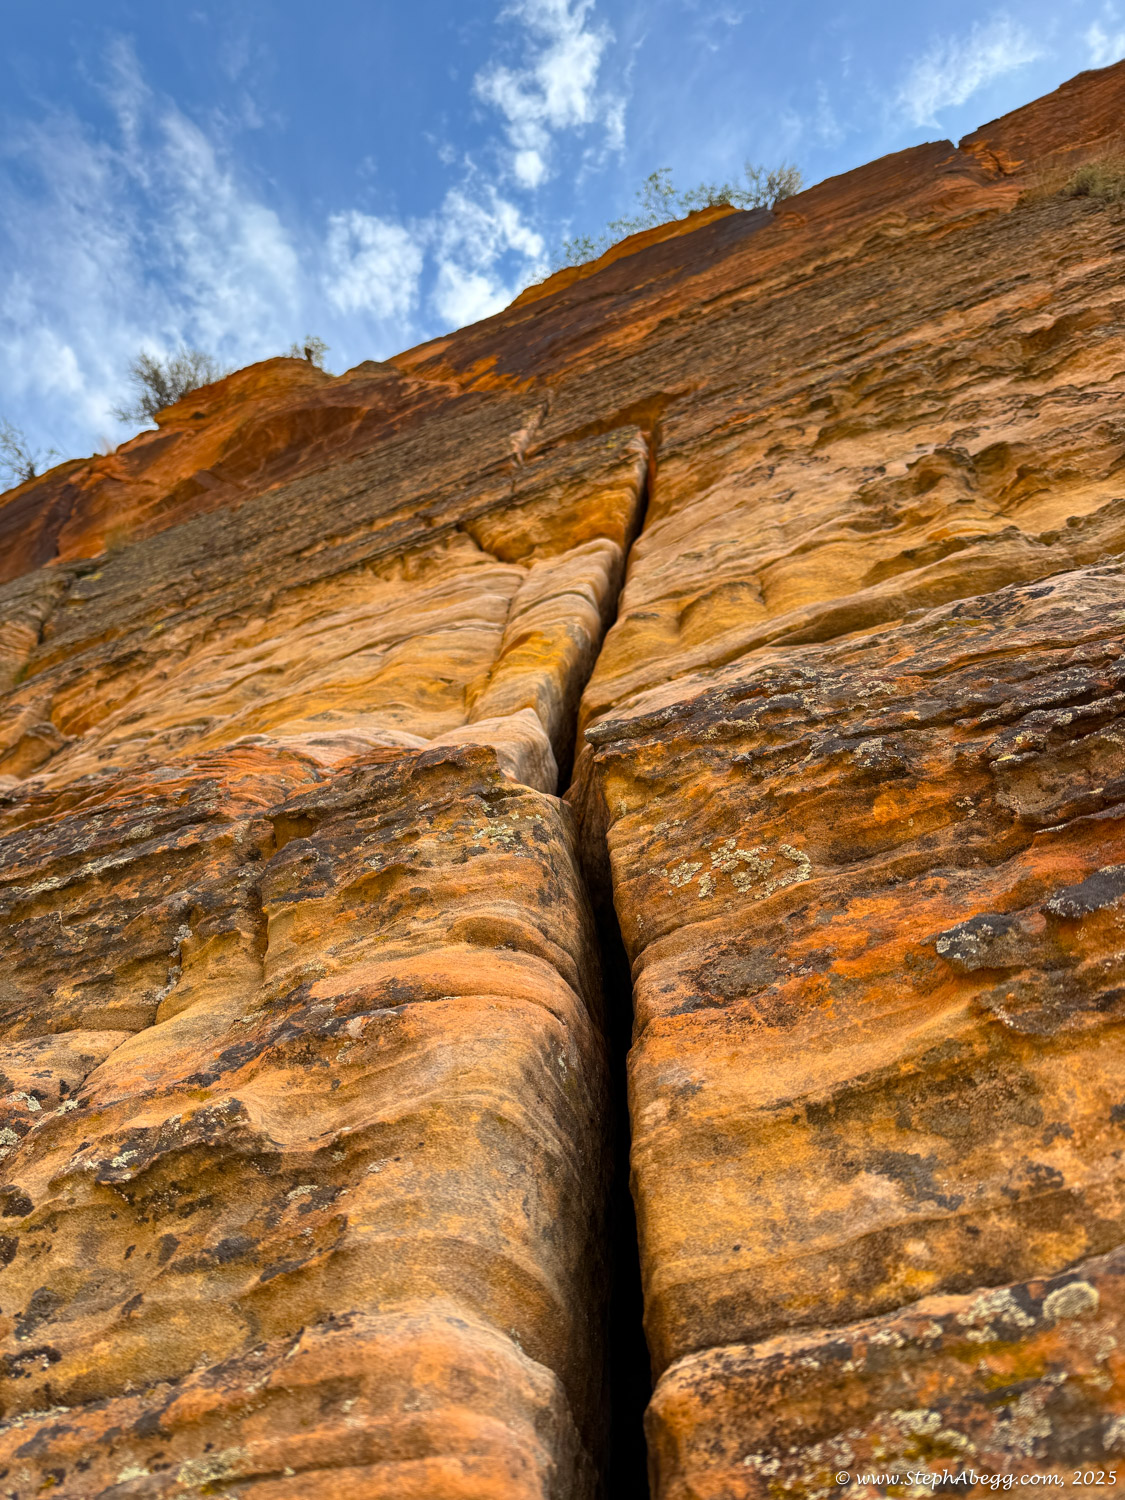
Shune's Buttress is one of Zion's mega classic long, free routes, and one of Zion's finest routes of its grade. The route follows clean cracks and corners up the northwest prow of Red Arch Mountain. The northern aspect of this climb offers good shade in warmer months.

Historical note: the route is named after Shunesburg, a small village which used to exist near the base of the buttress.

Nate and I climbed 
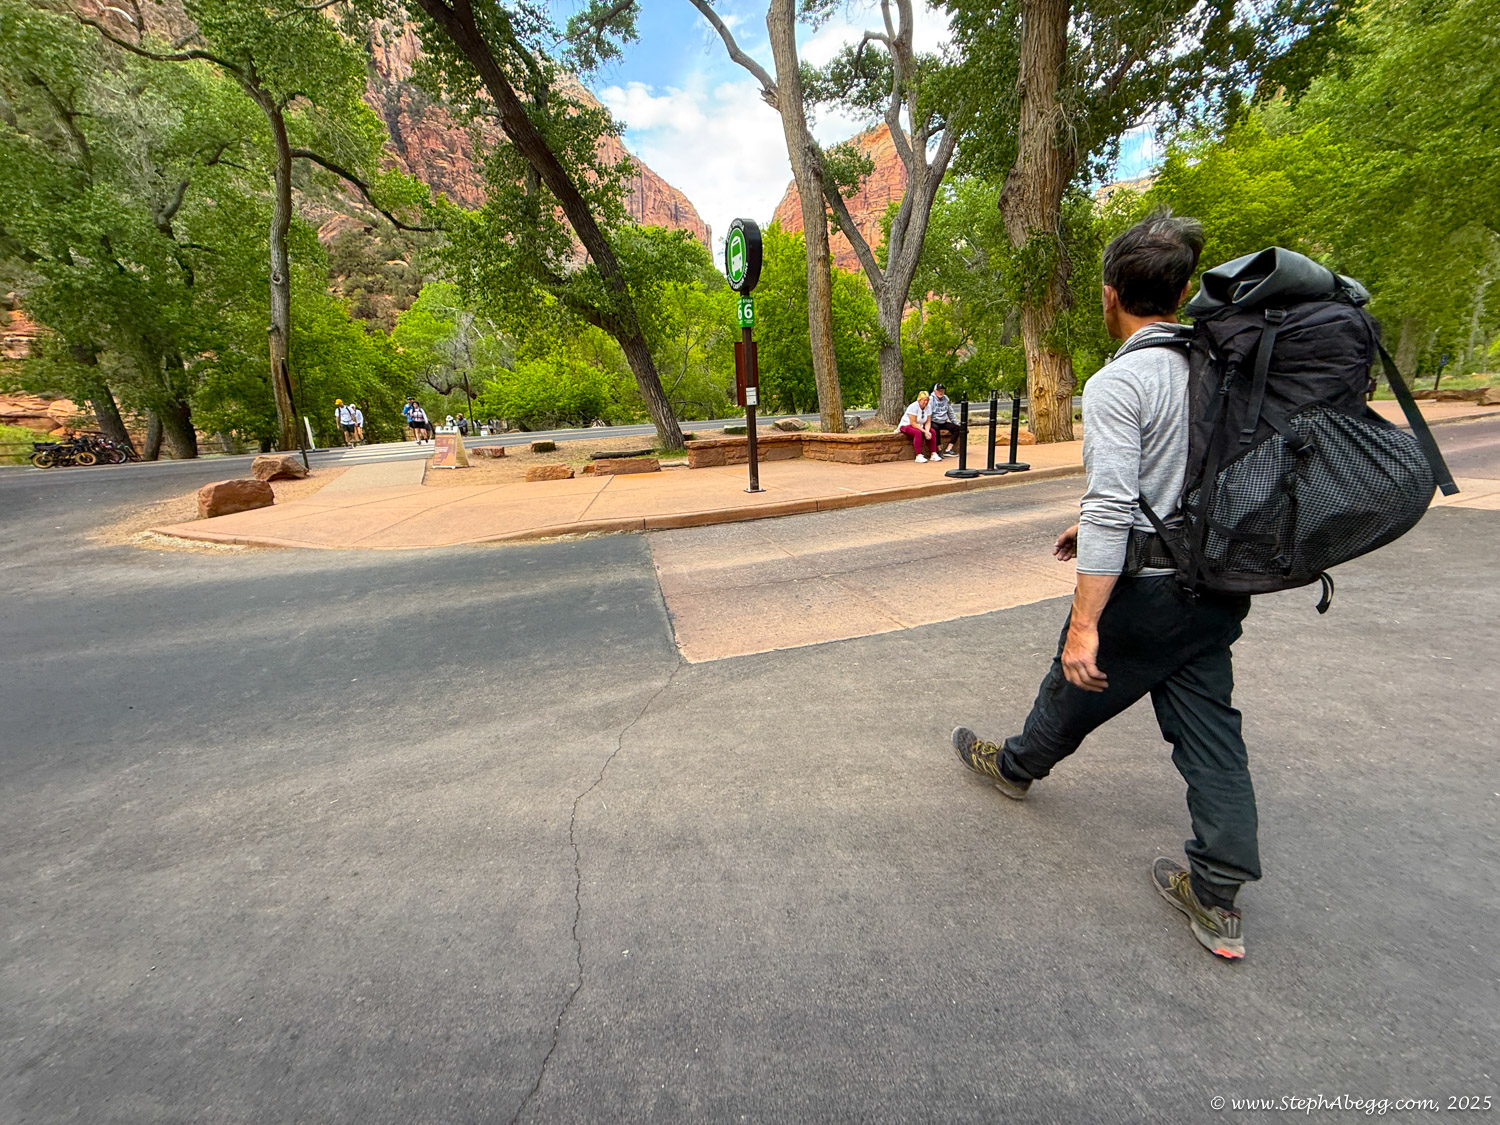
Shune's Buttress in April 2025, at the end of a 6-week climbing roadtrip. [Funny story: I had left my home in Estes Park on what I planned to just be three days in the Creek before returning home. It ended up being a six week climbing road trip. Our first stop after sandstone splitters in Indian Creek was the uber-classic Moonlight Buttress in Zion. Then we climbed the steep limestone of Lime Kiln Canyon; the renowned overhanging limestone at Clear Light Cave; big routes in Red Rocks like Rainbow Wall and Resolution Arete and Texas Hold'Em as well as several days of sport climbing in Calico Hills and Calico Basin to get strong. On the drive back to Colorado, we bookended the trip with another stop in Zion and waded/hiked The Narrows and climbed 
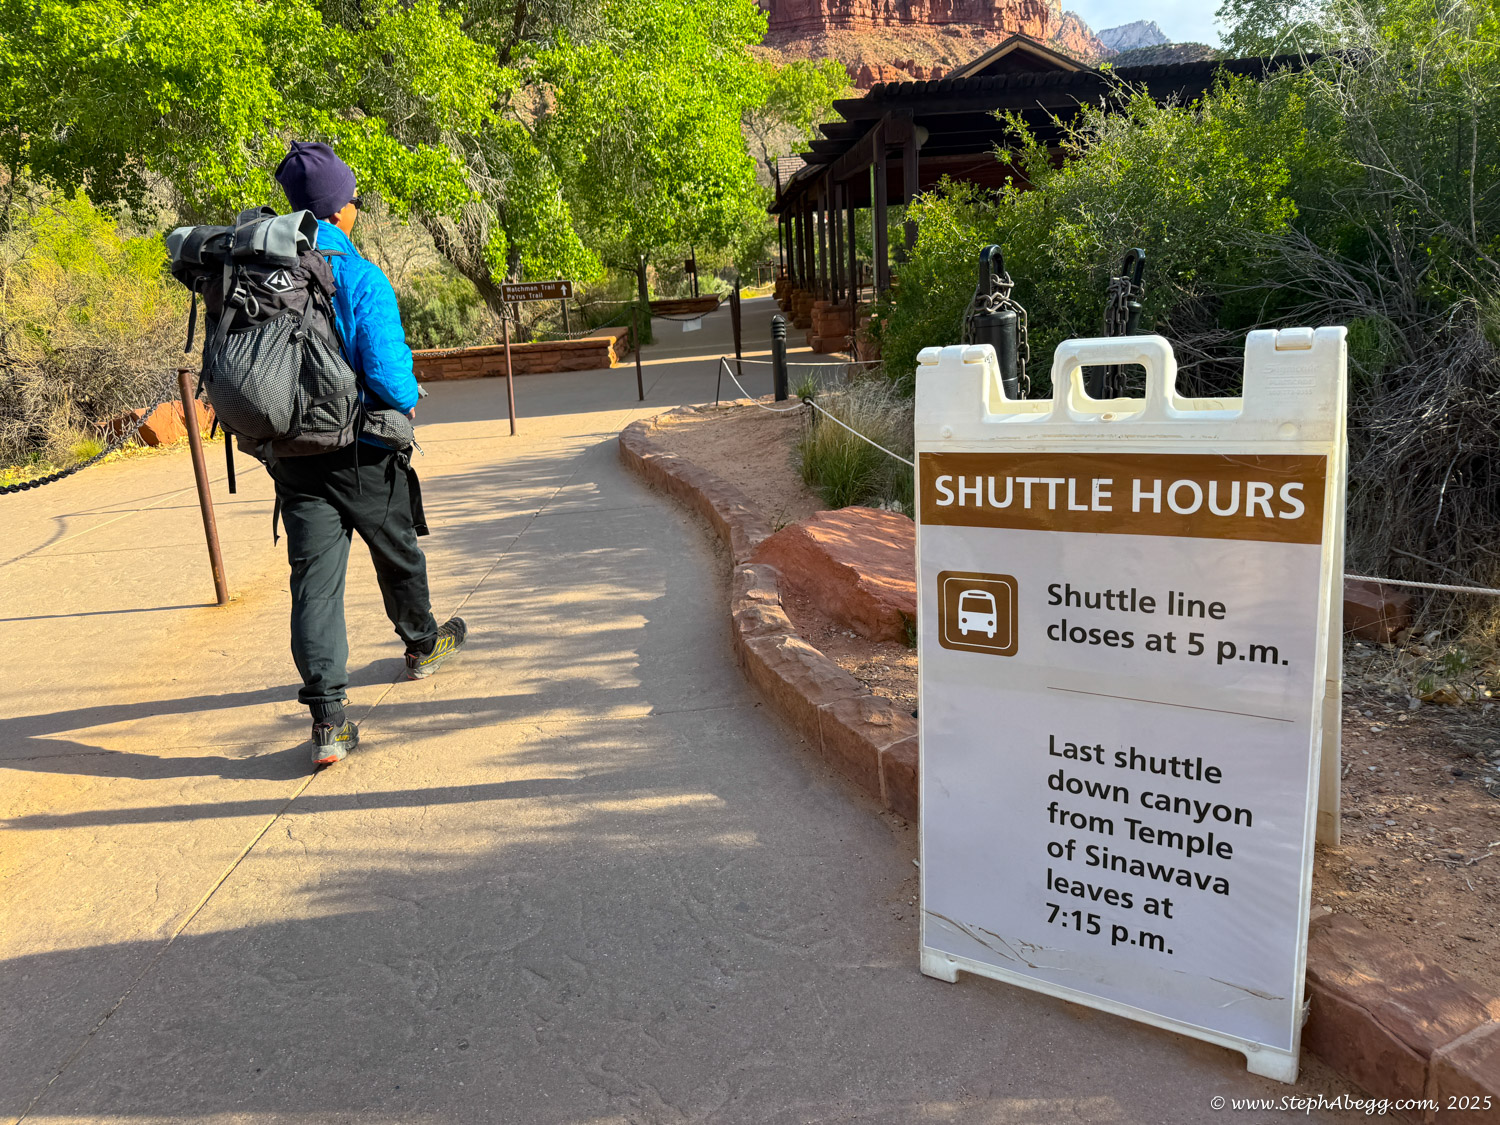
Shune's Buttress (this page).]

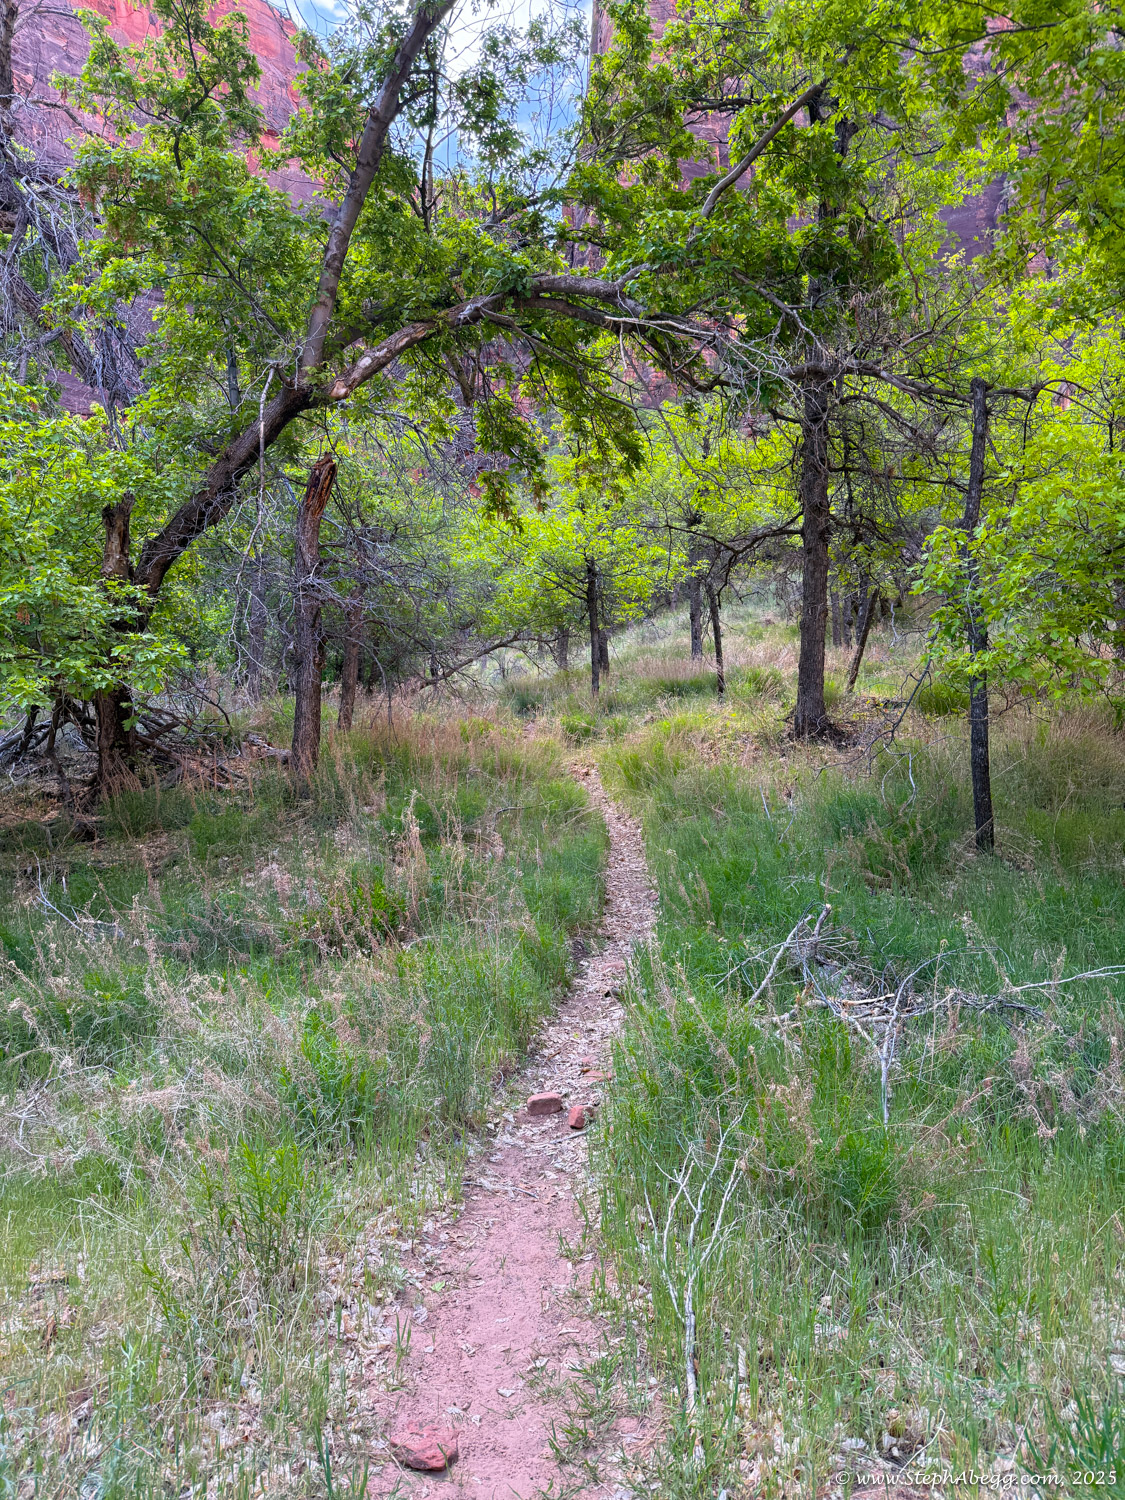
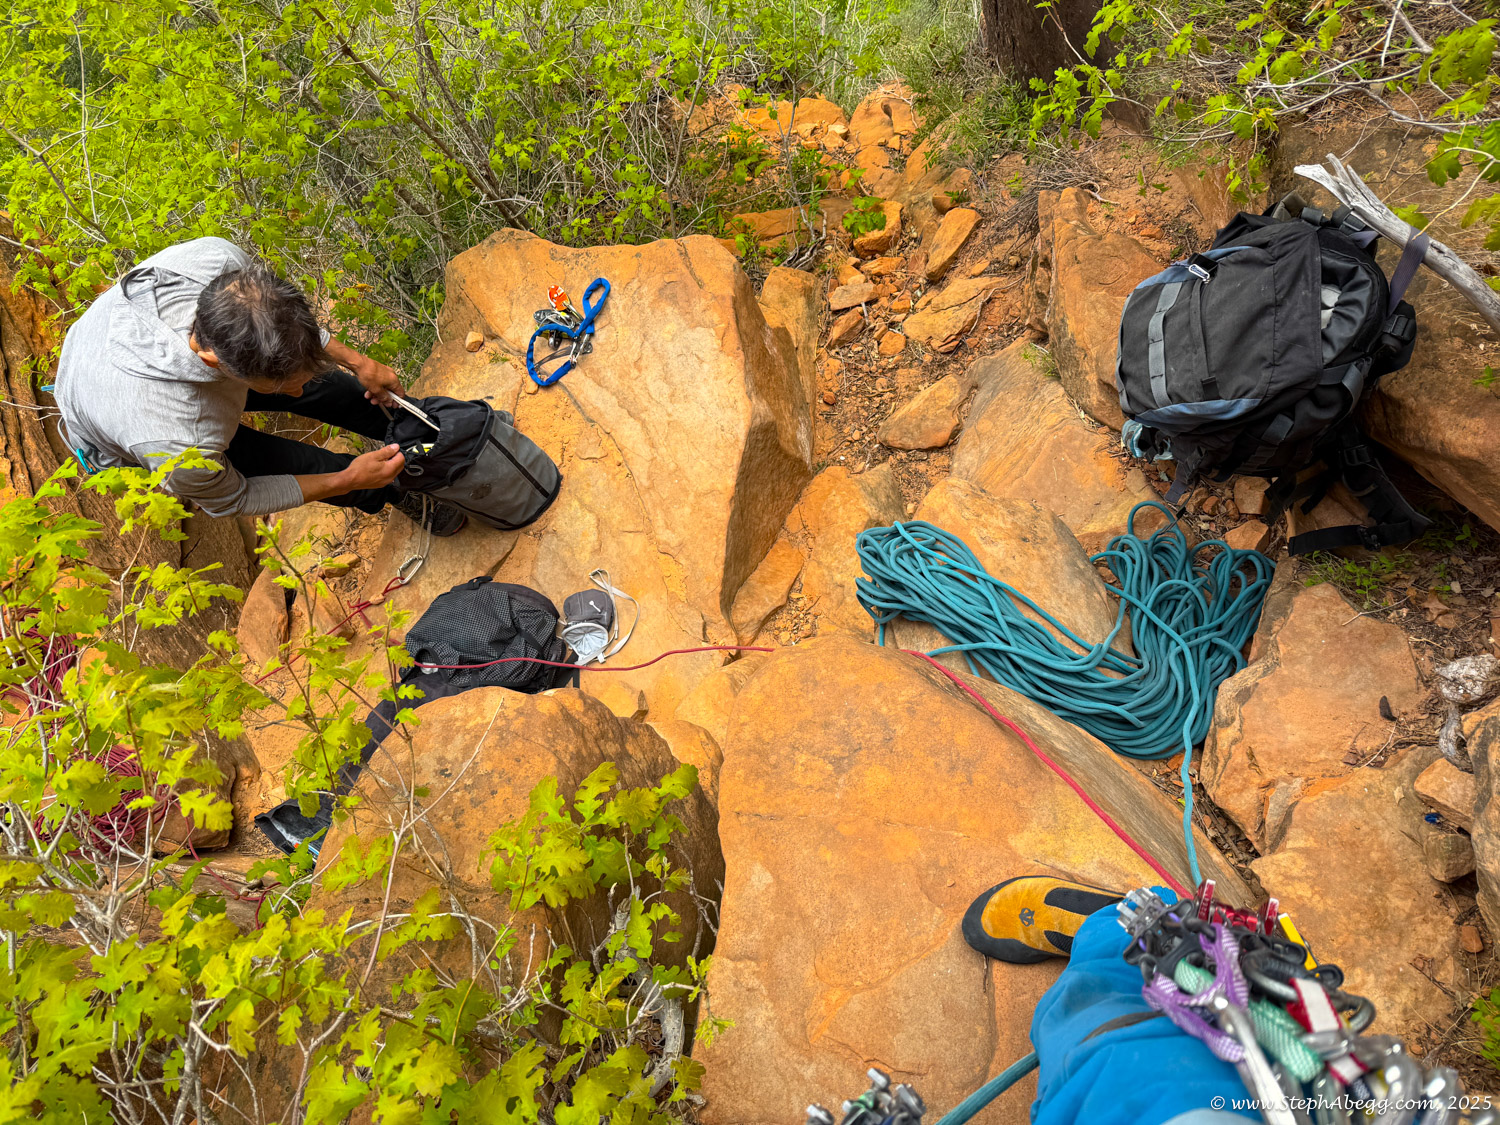
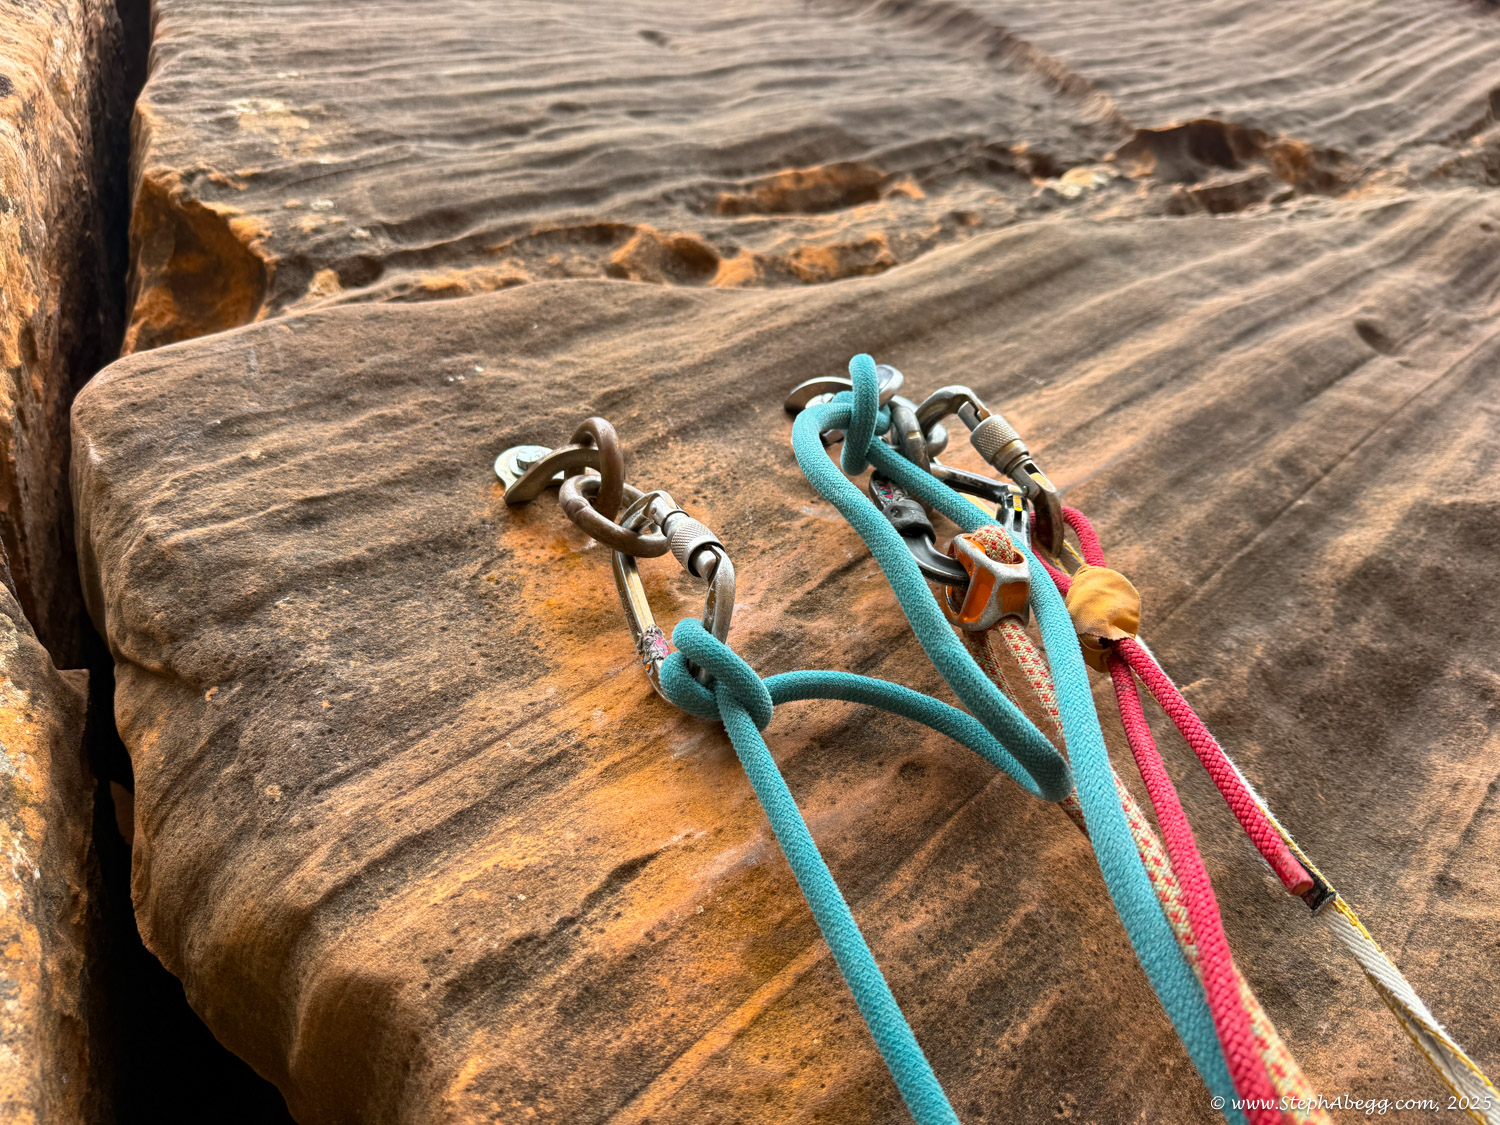
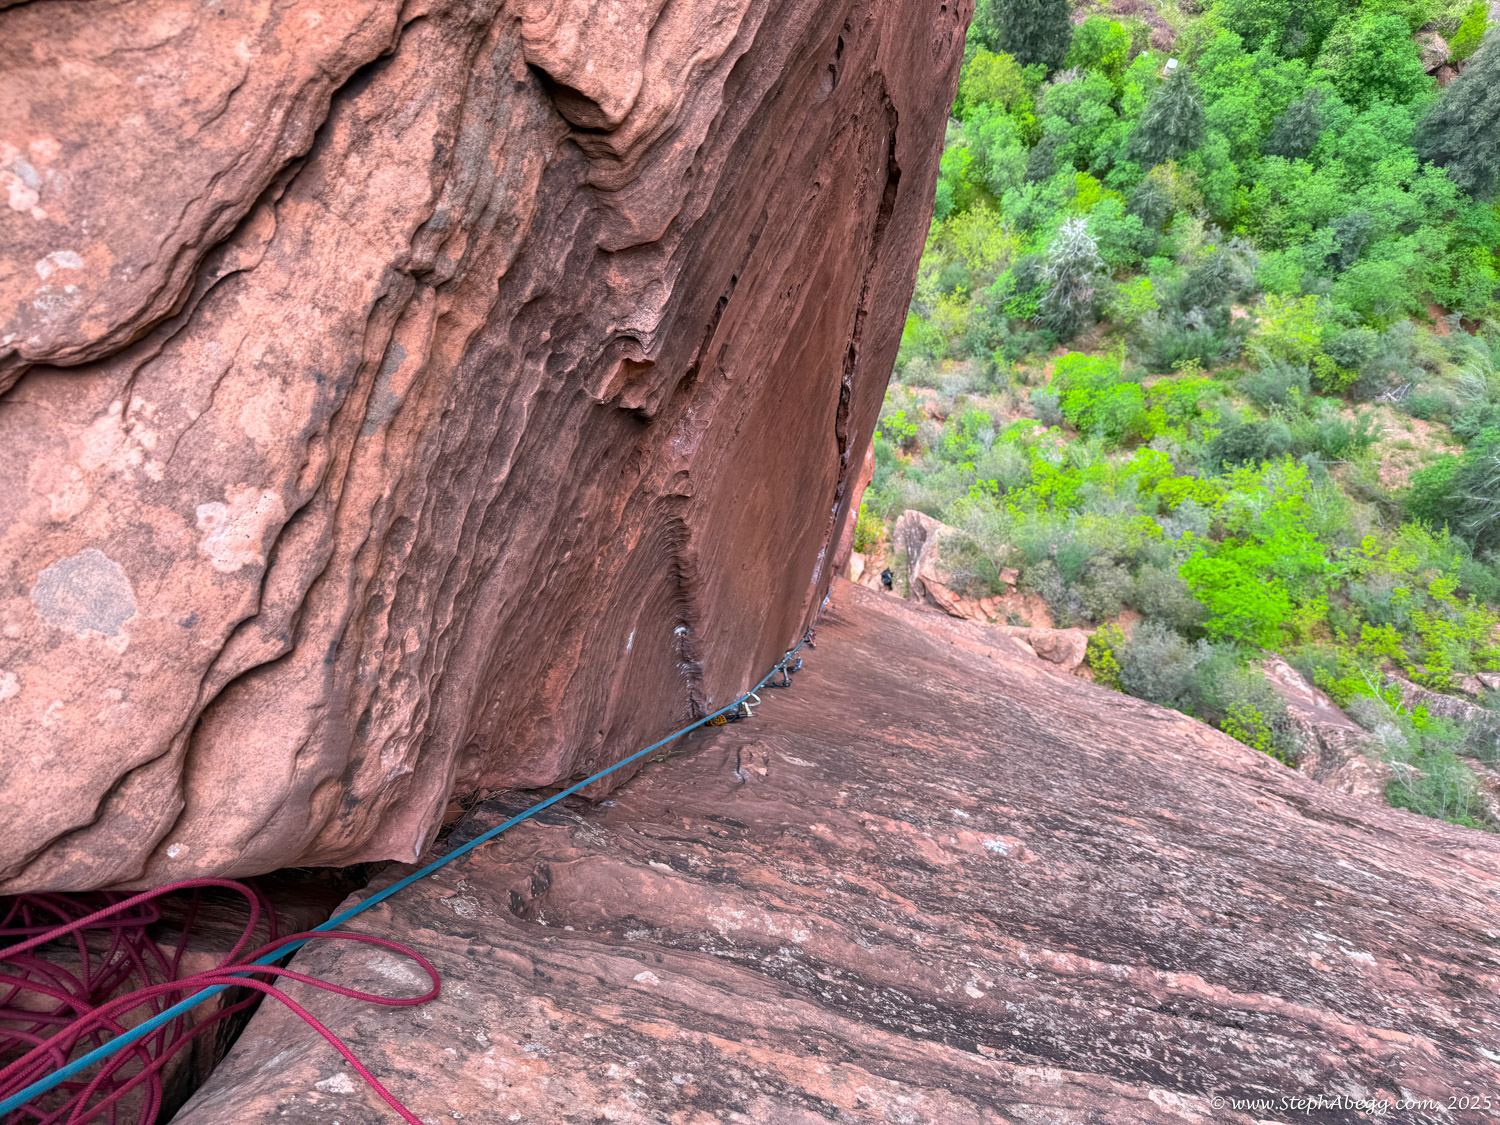
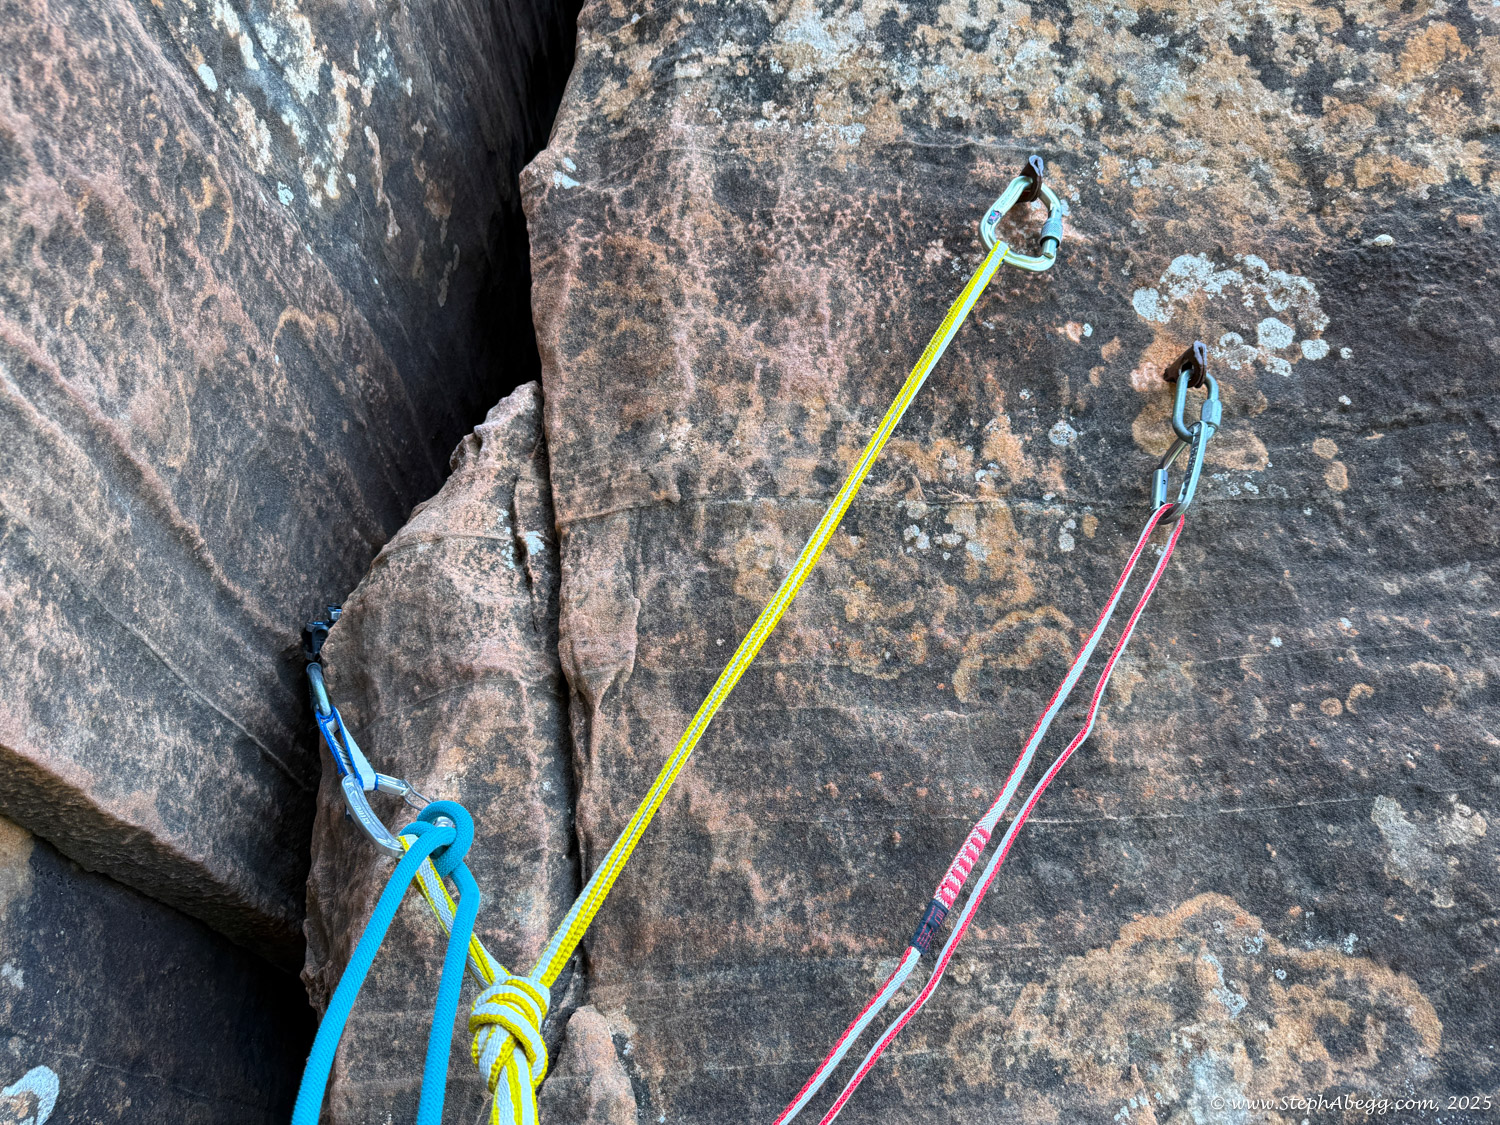
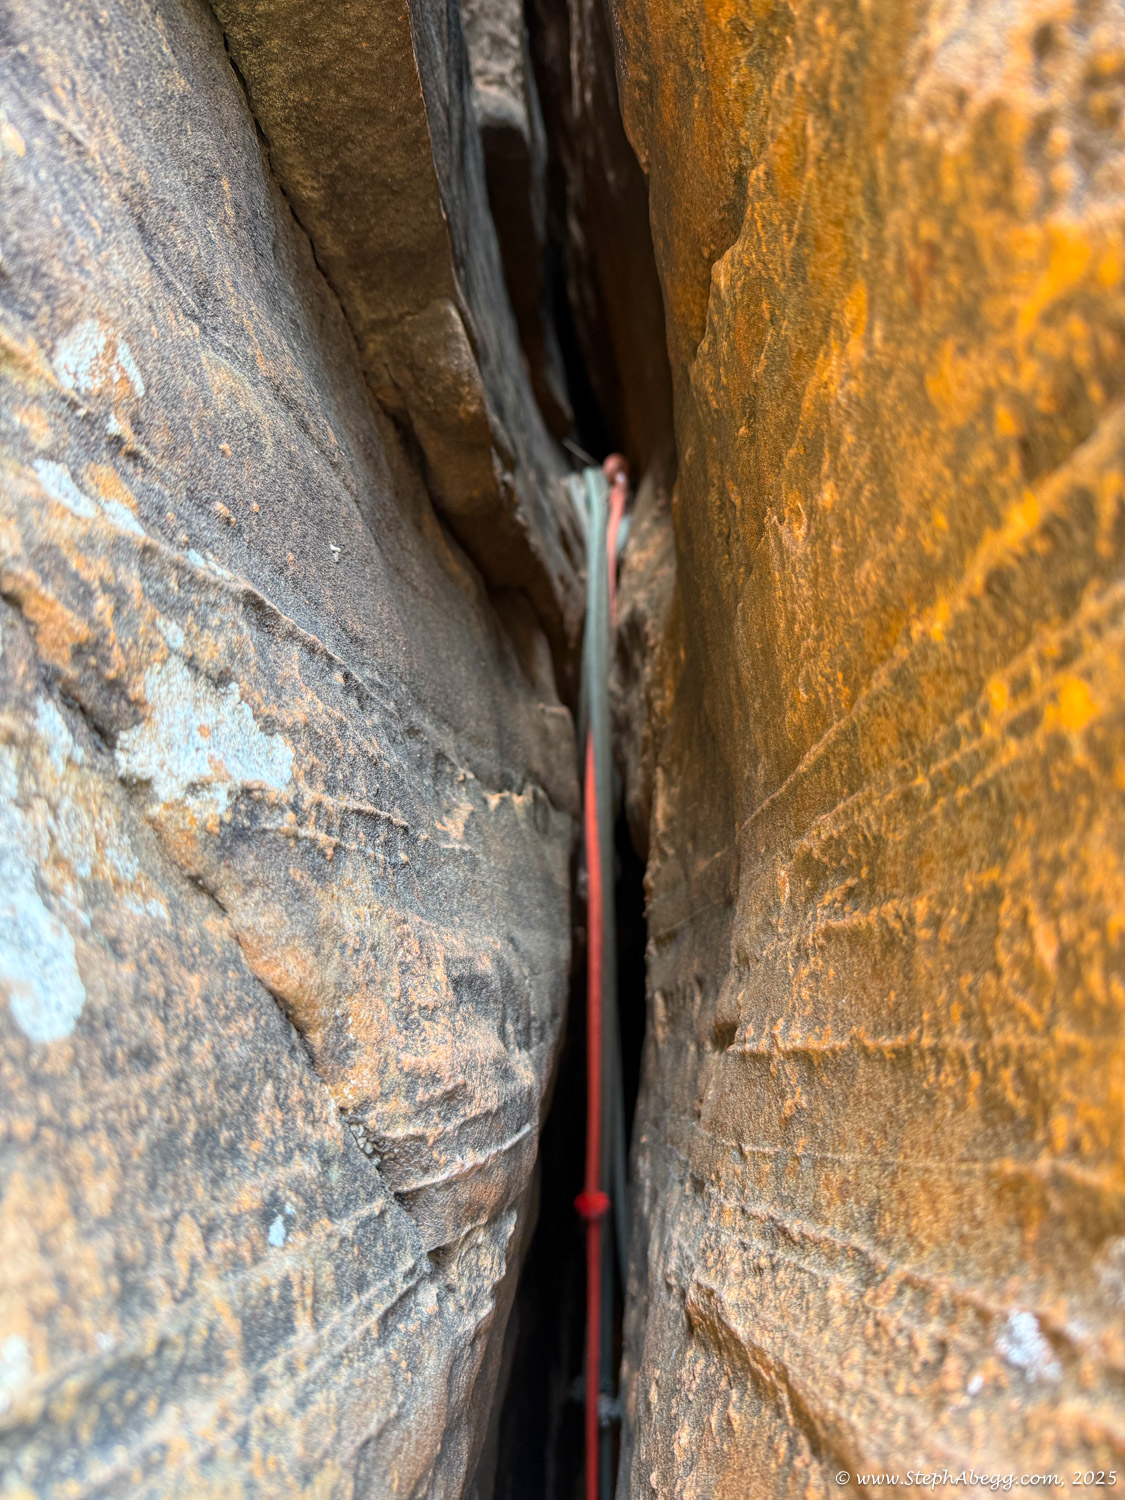
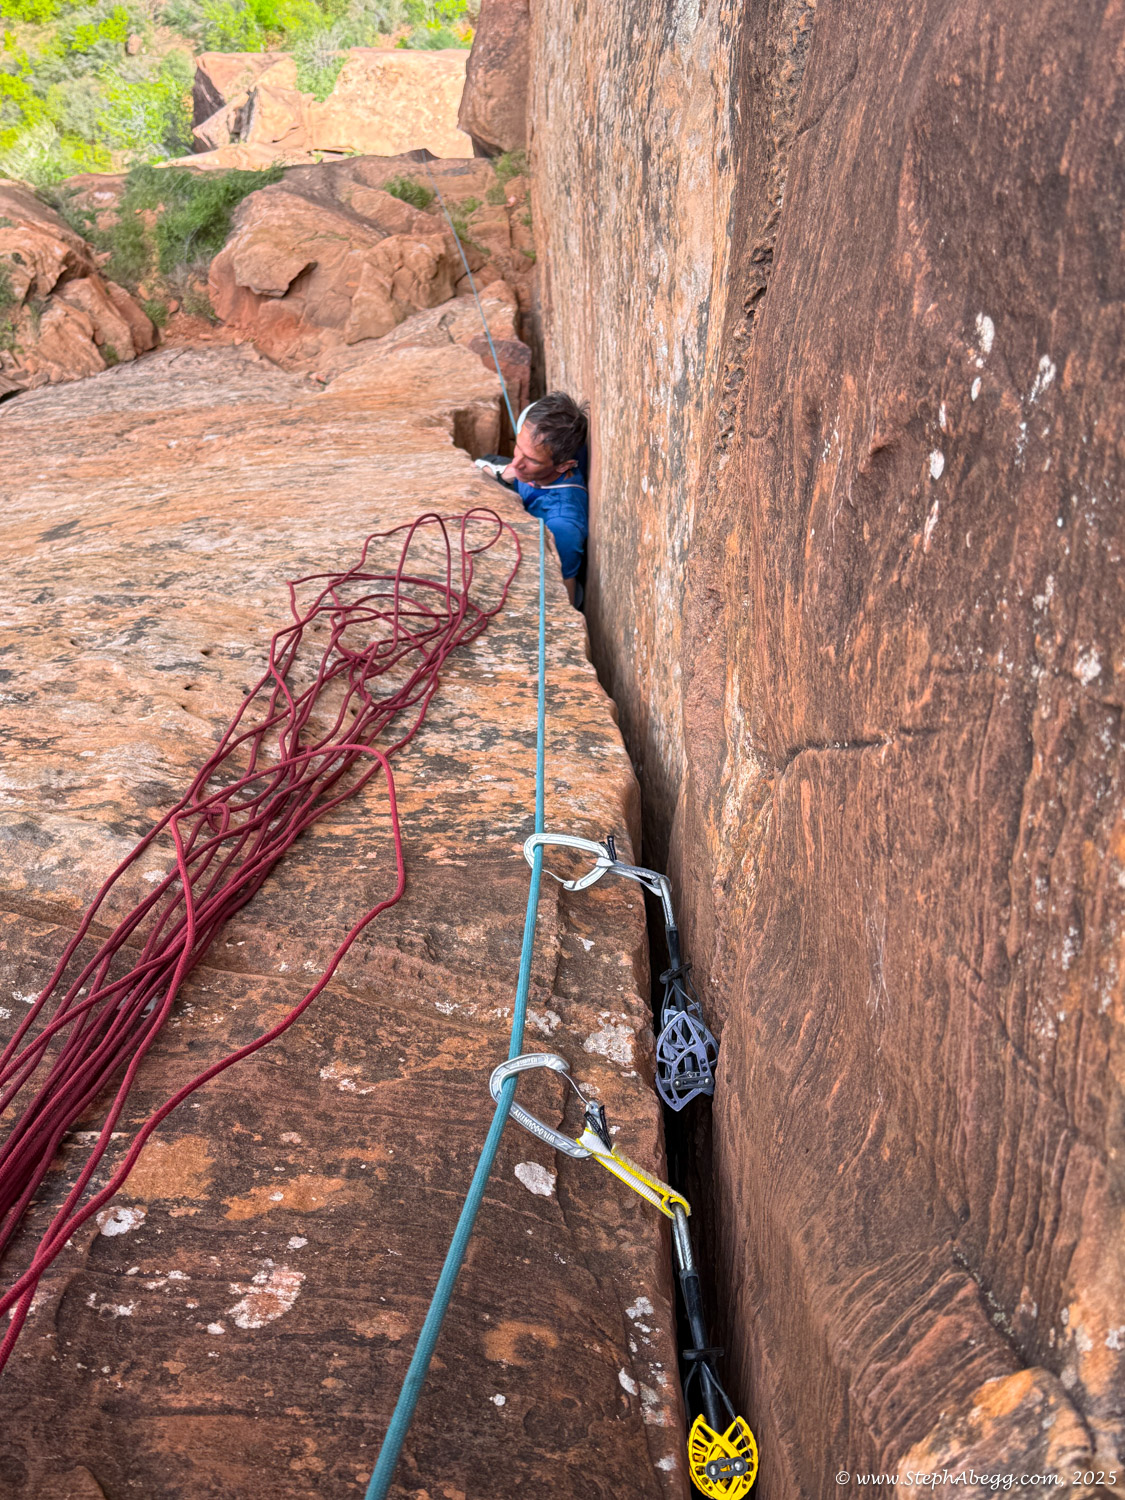
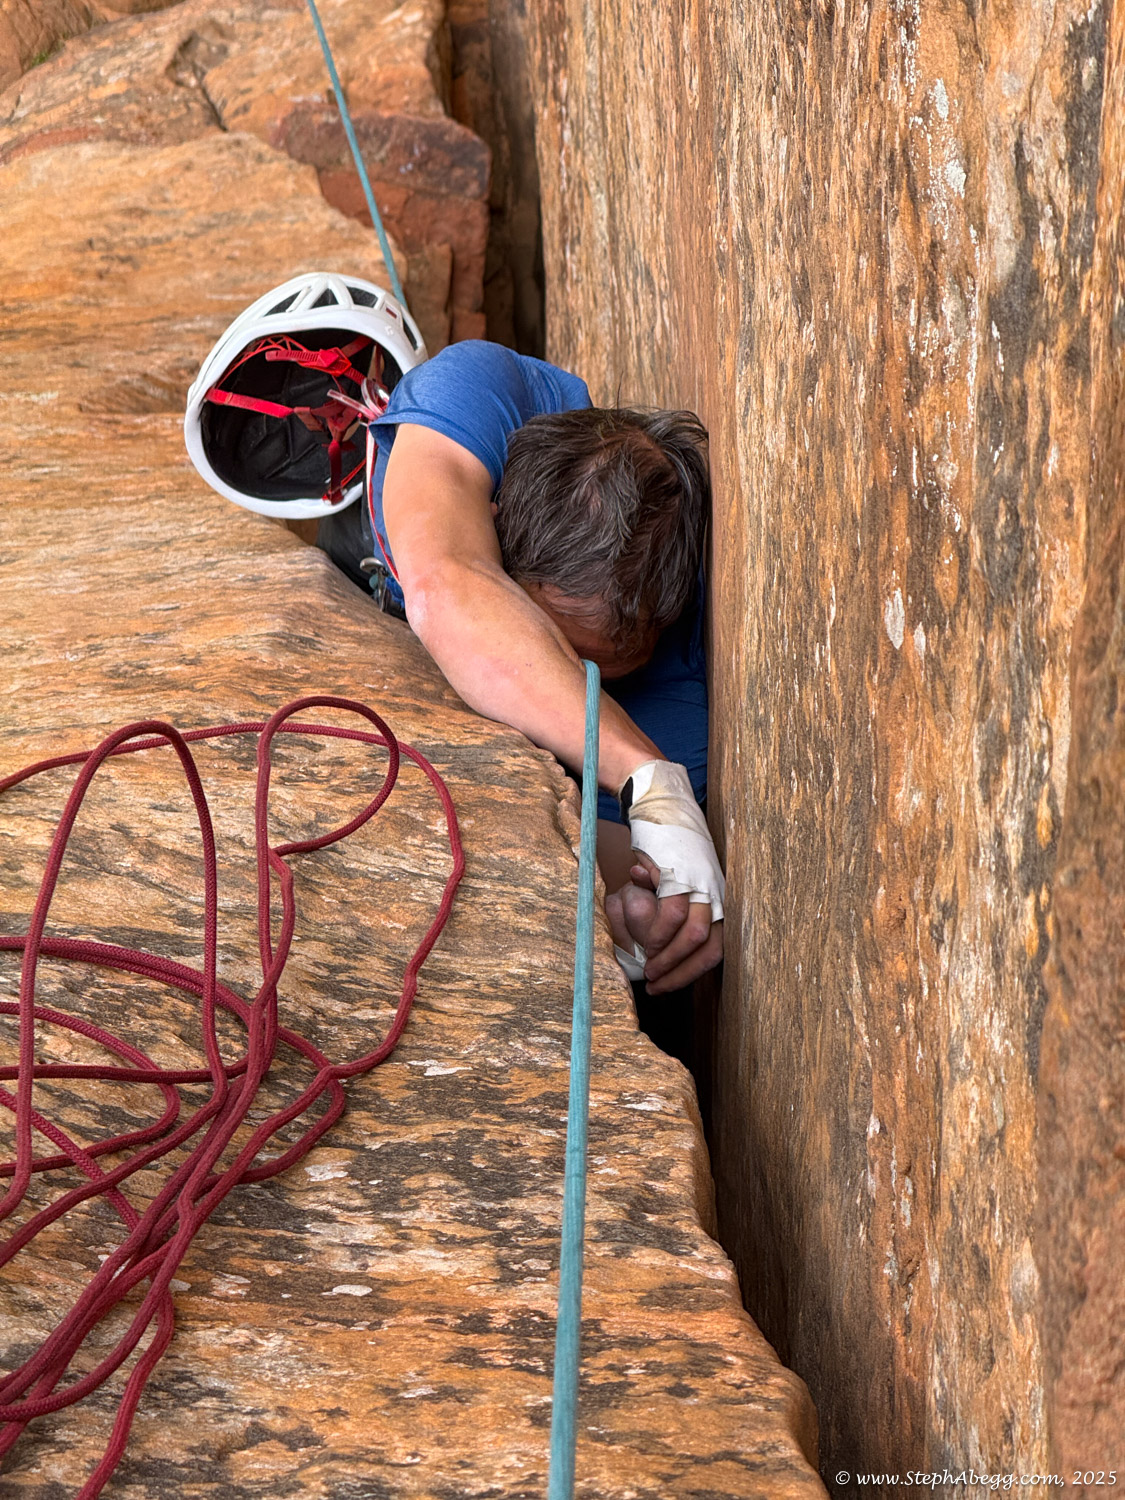
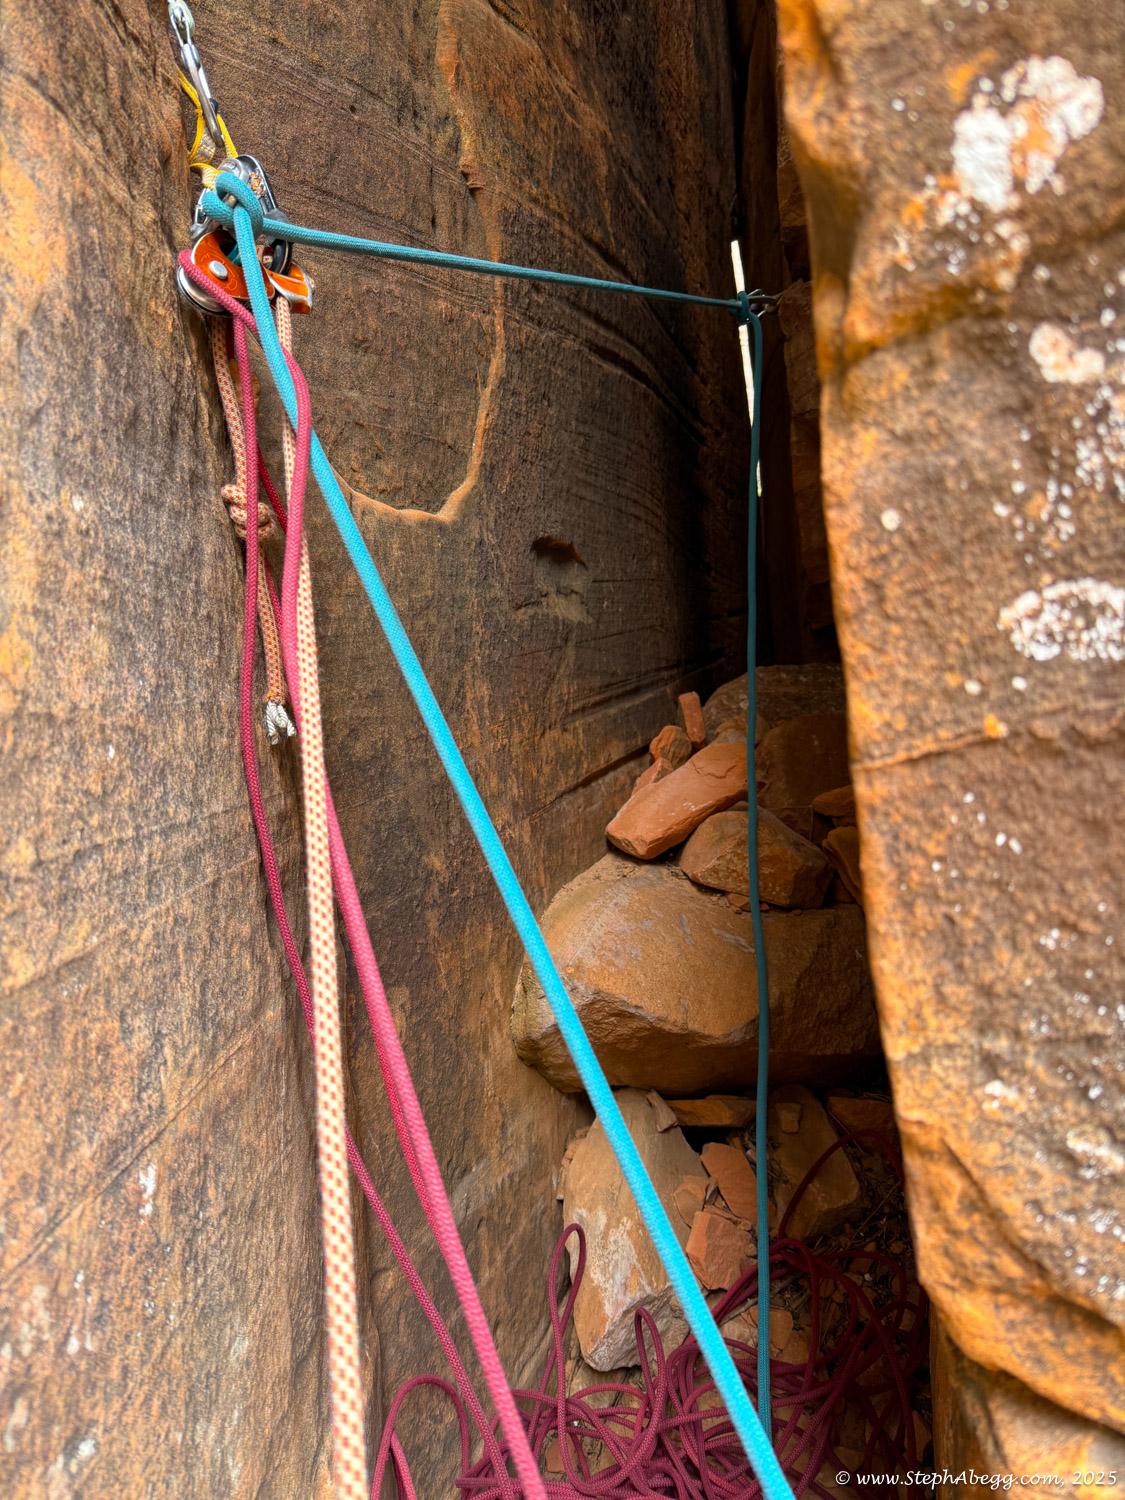
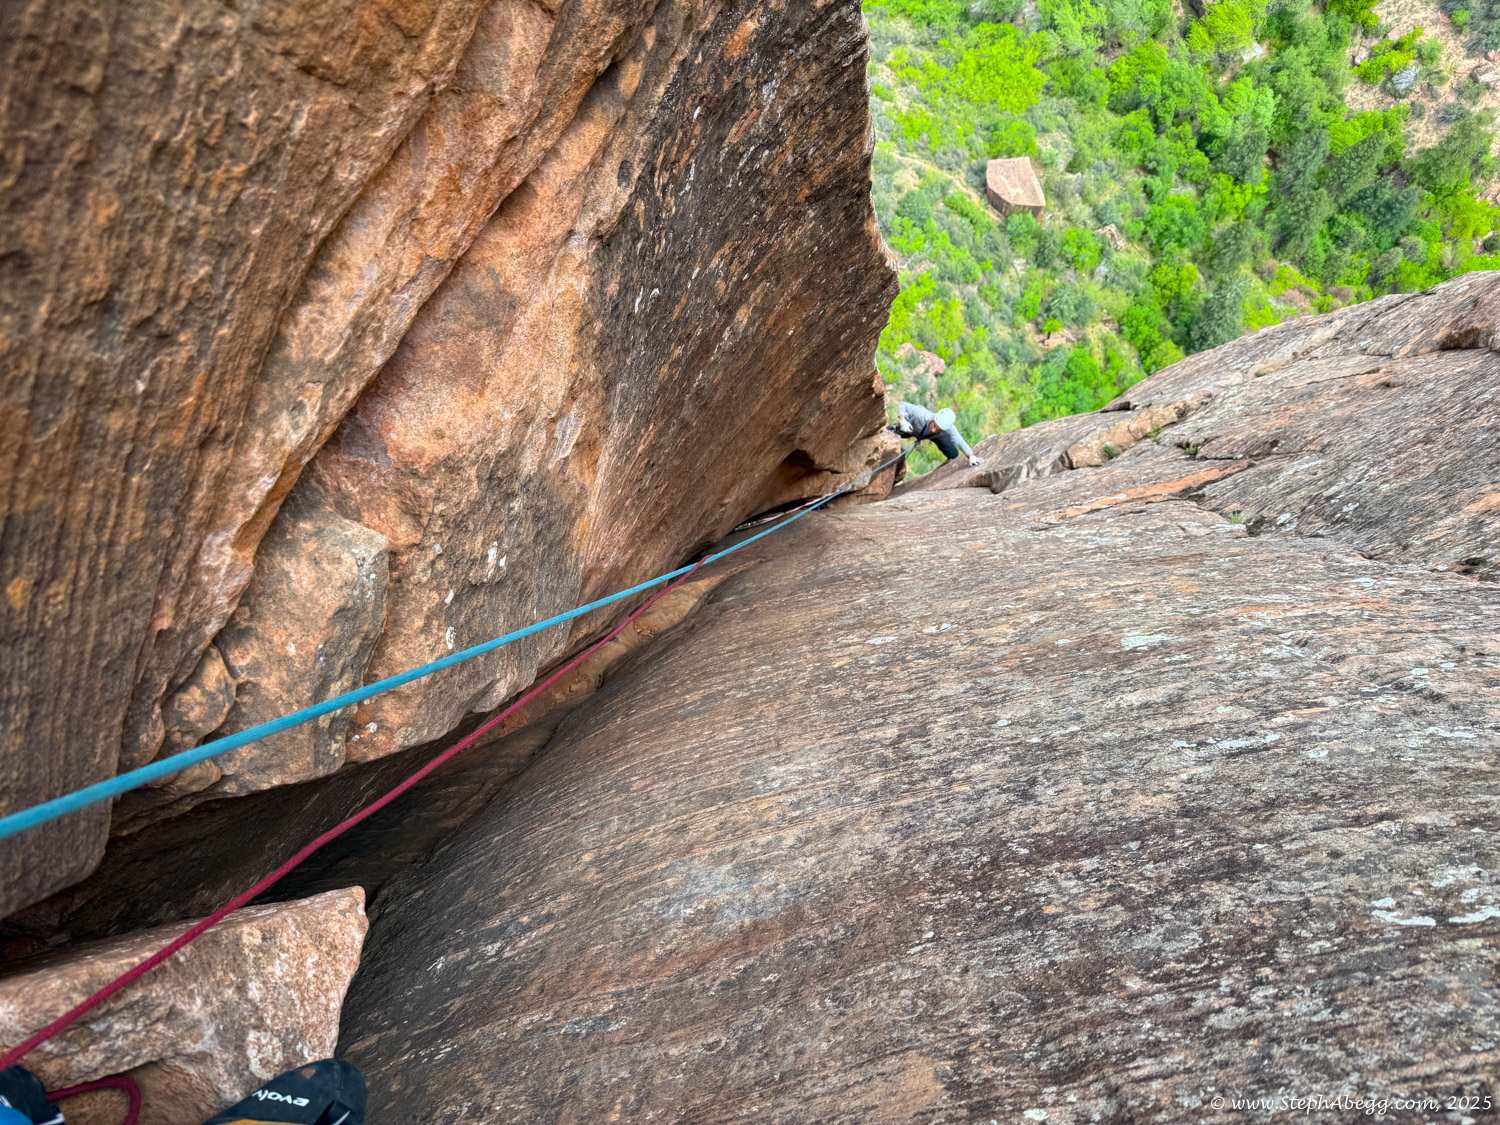
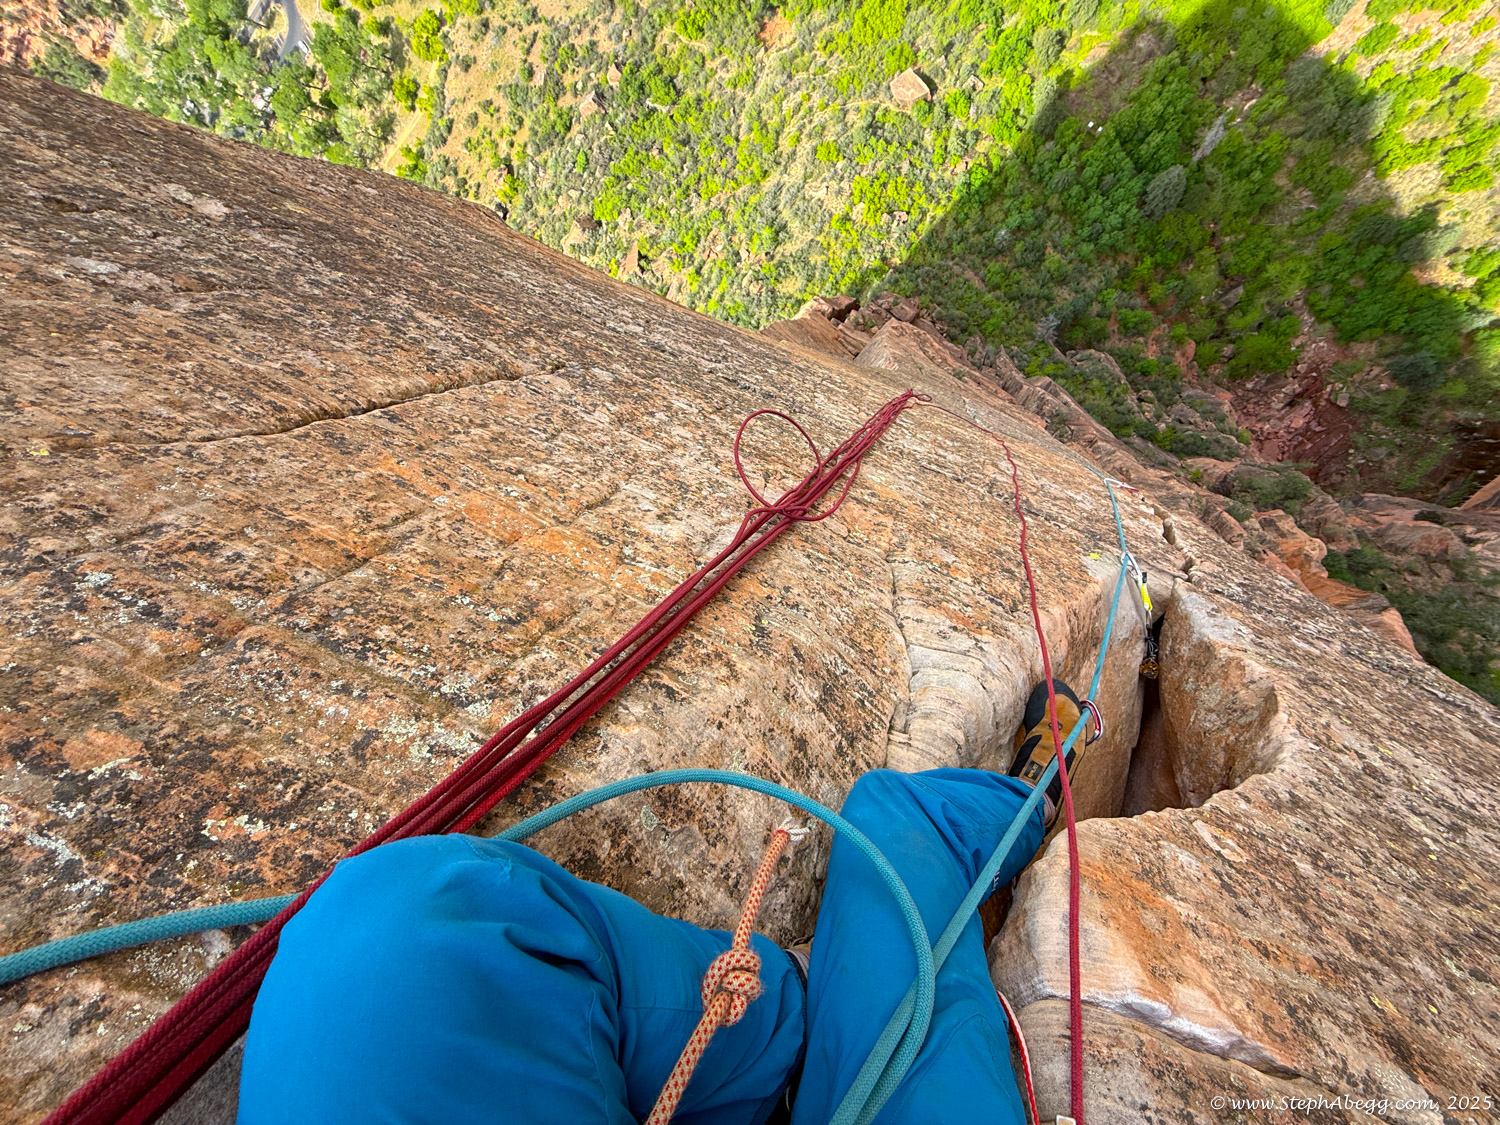
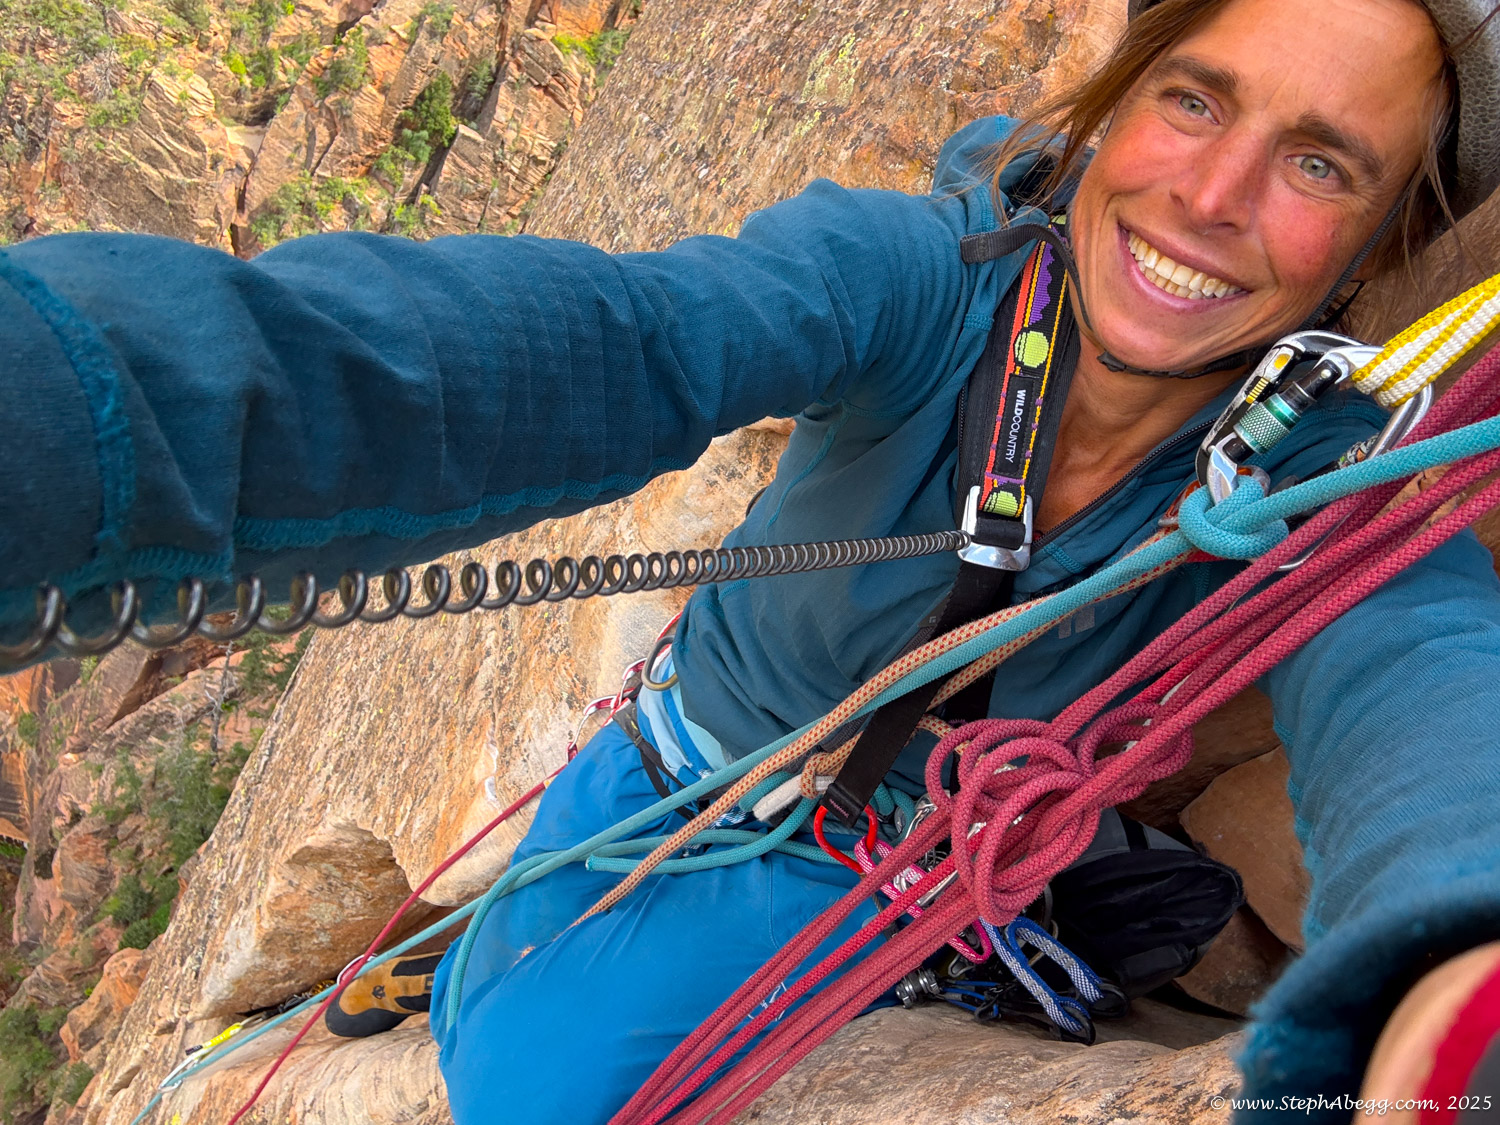
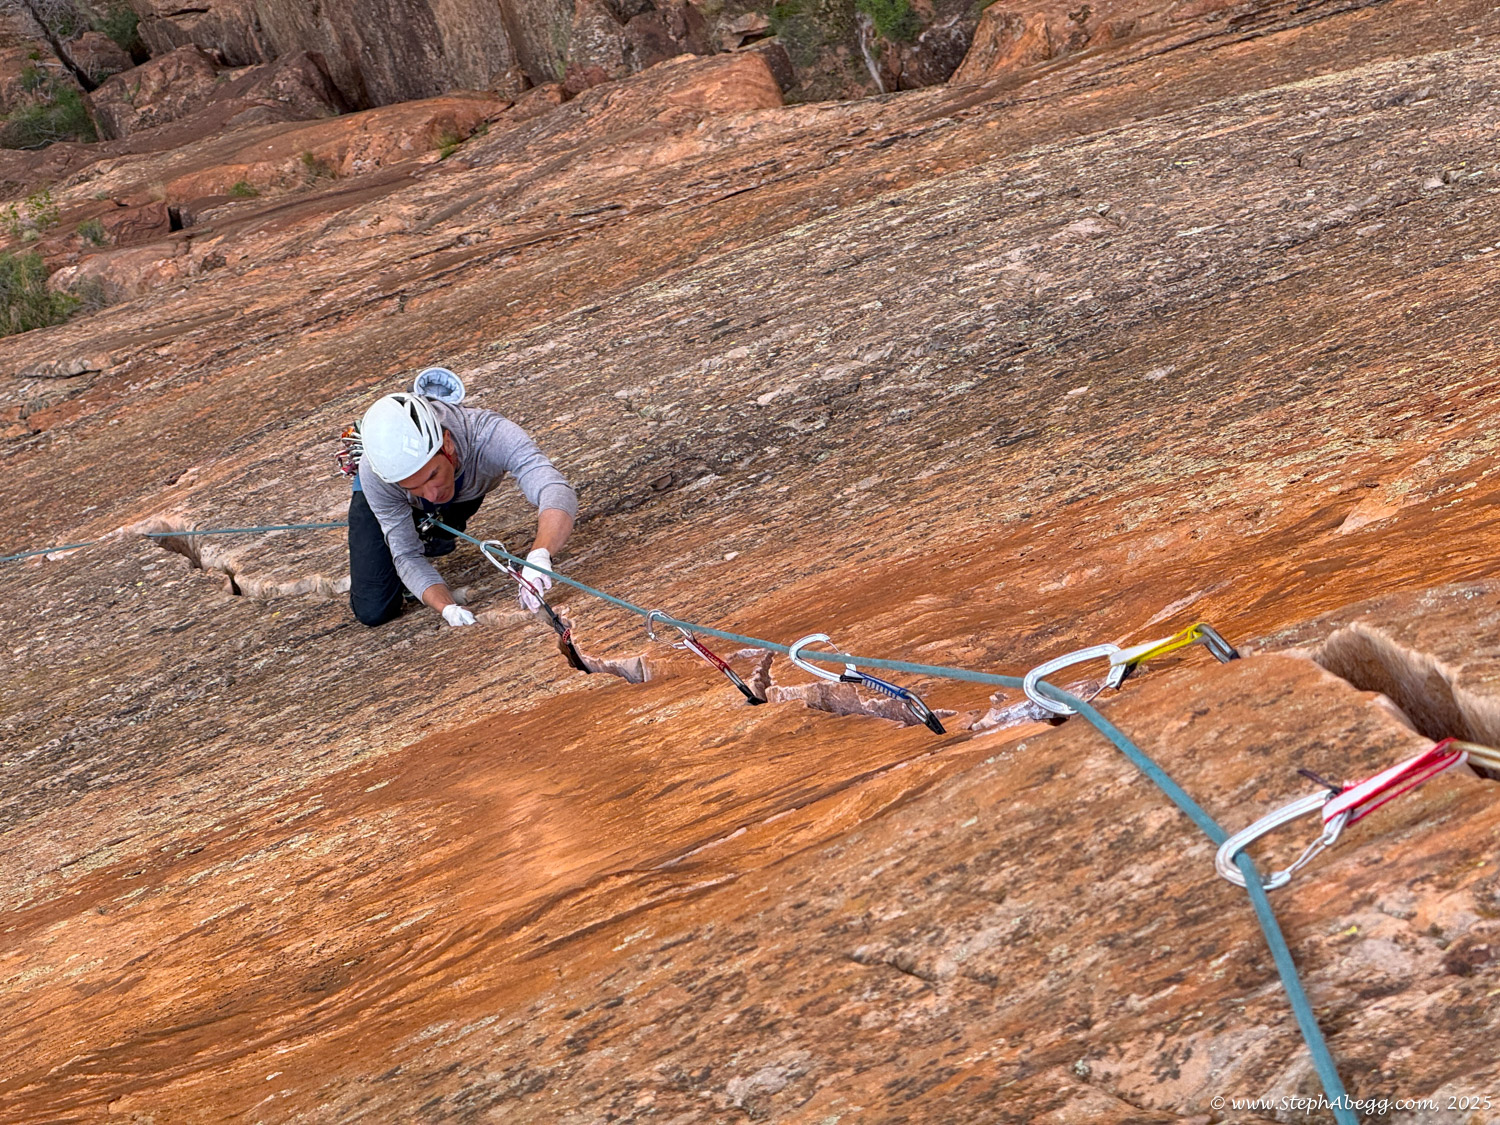
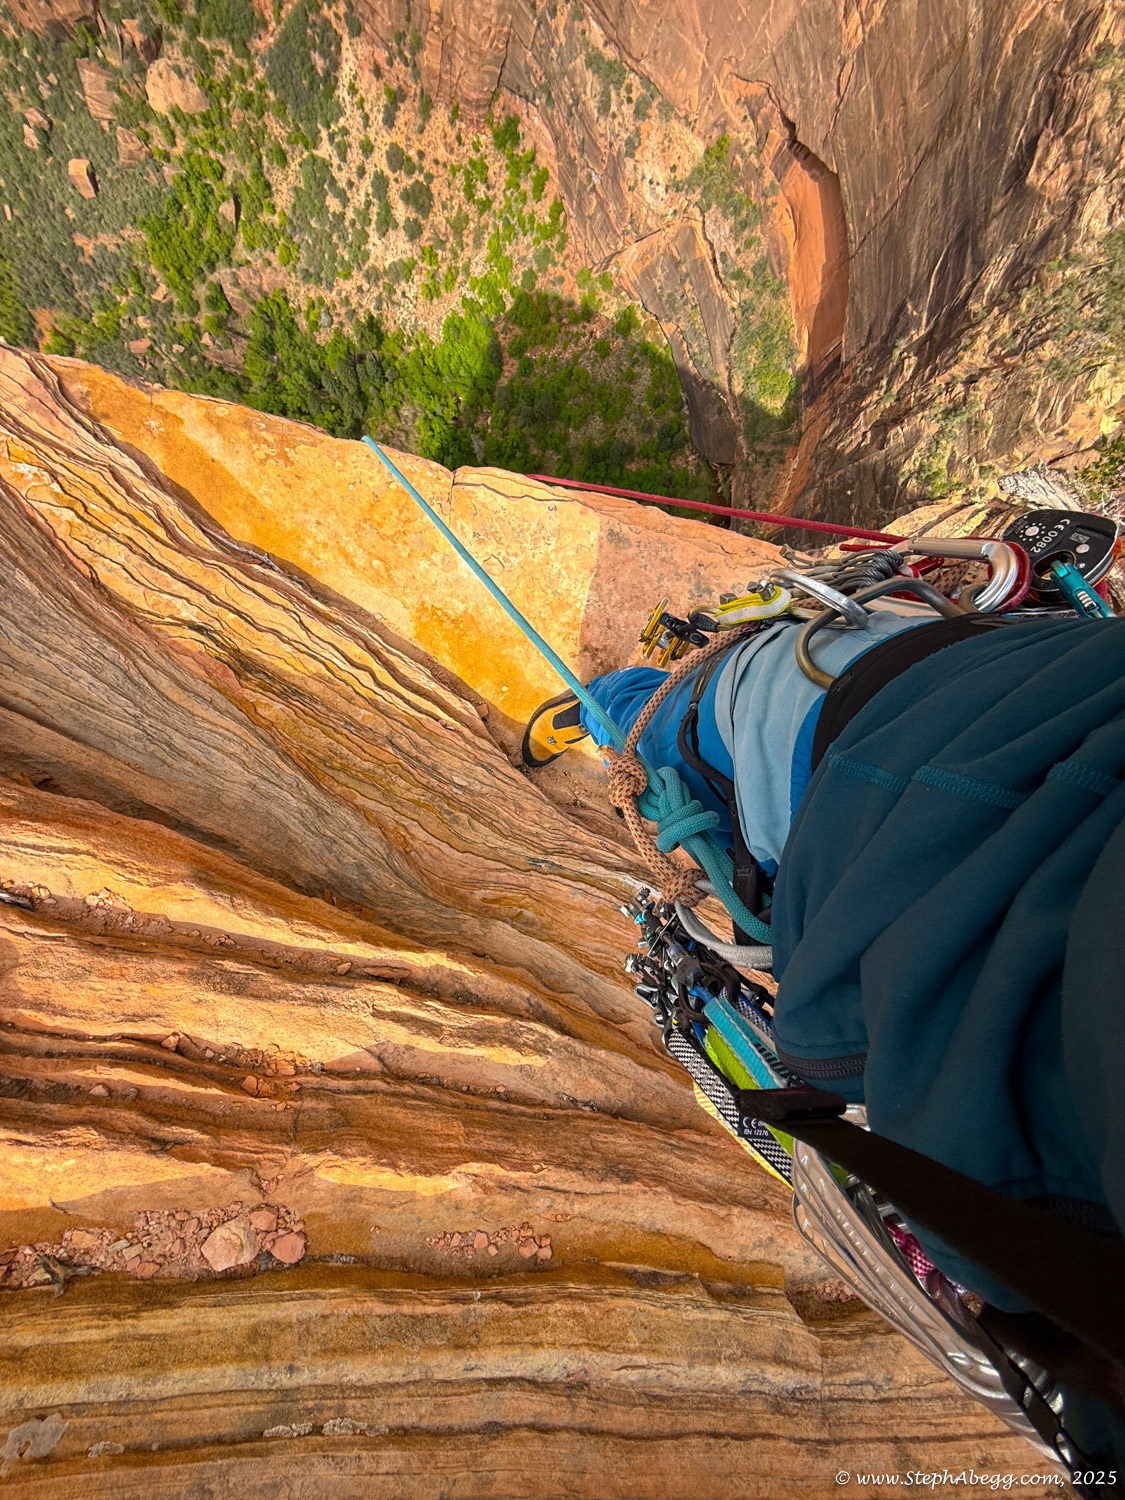
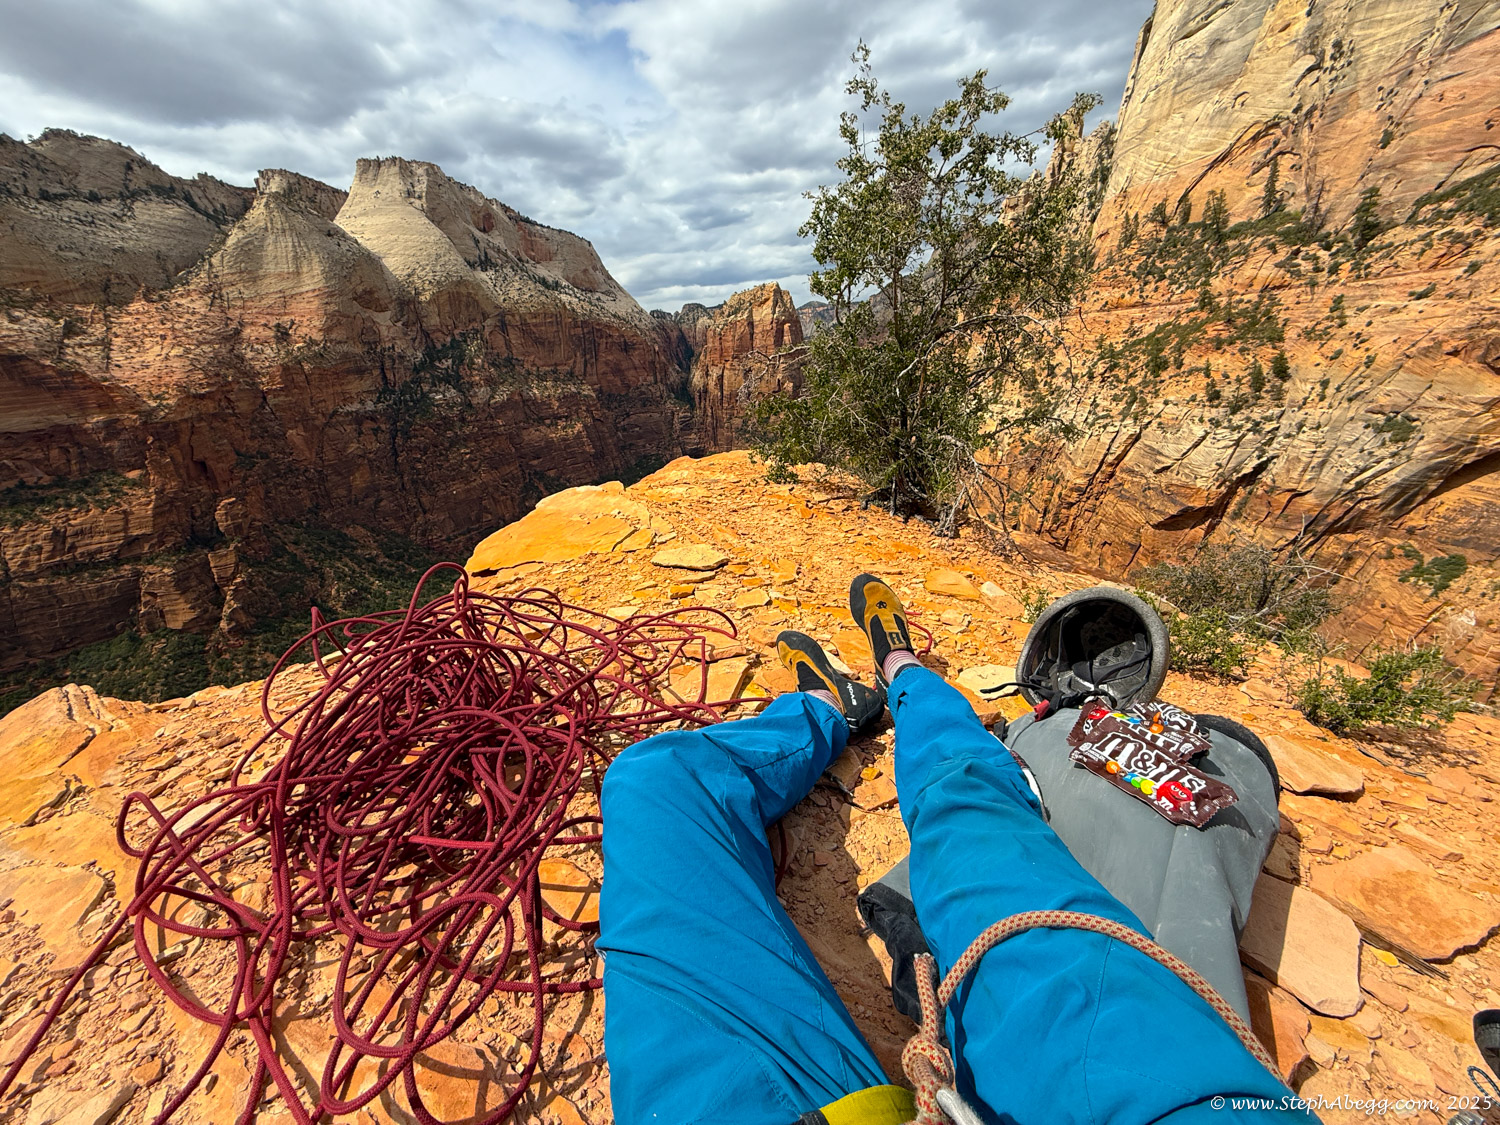
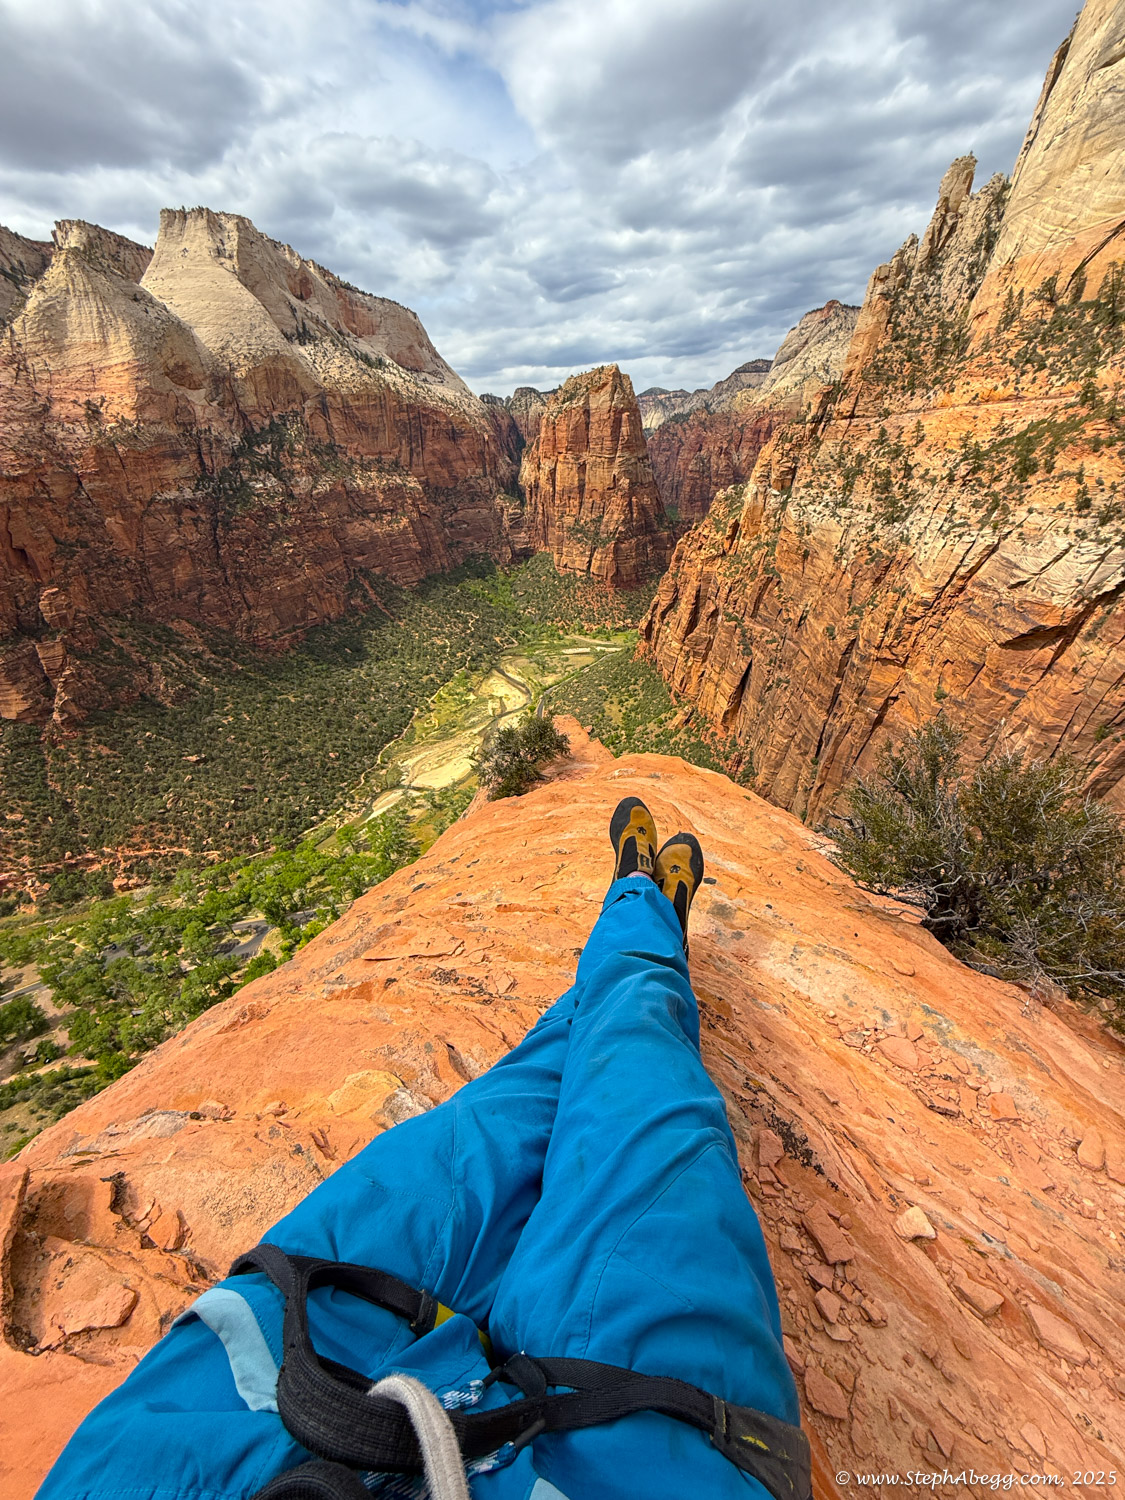
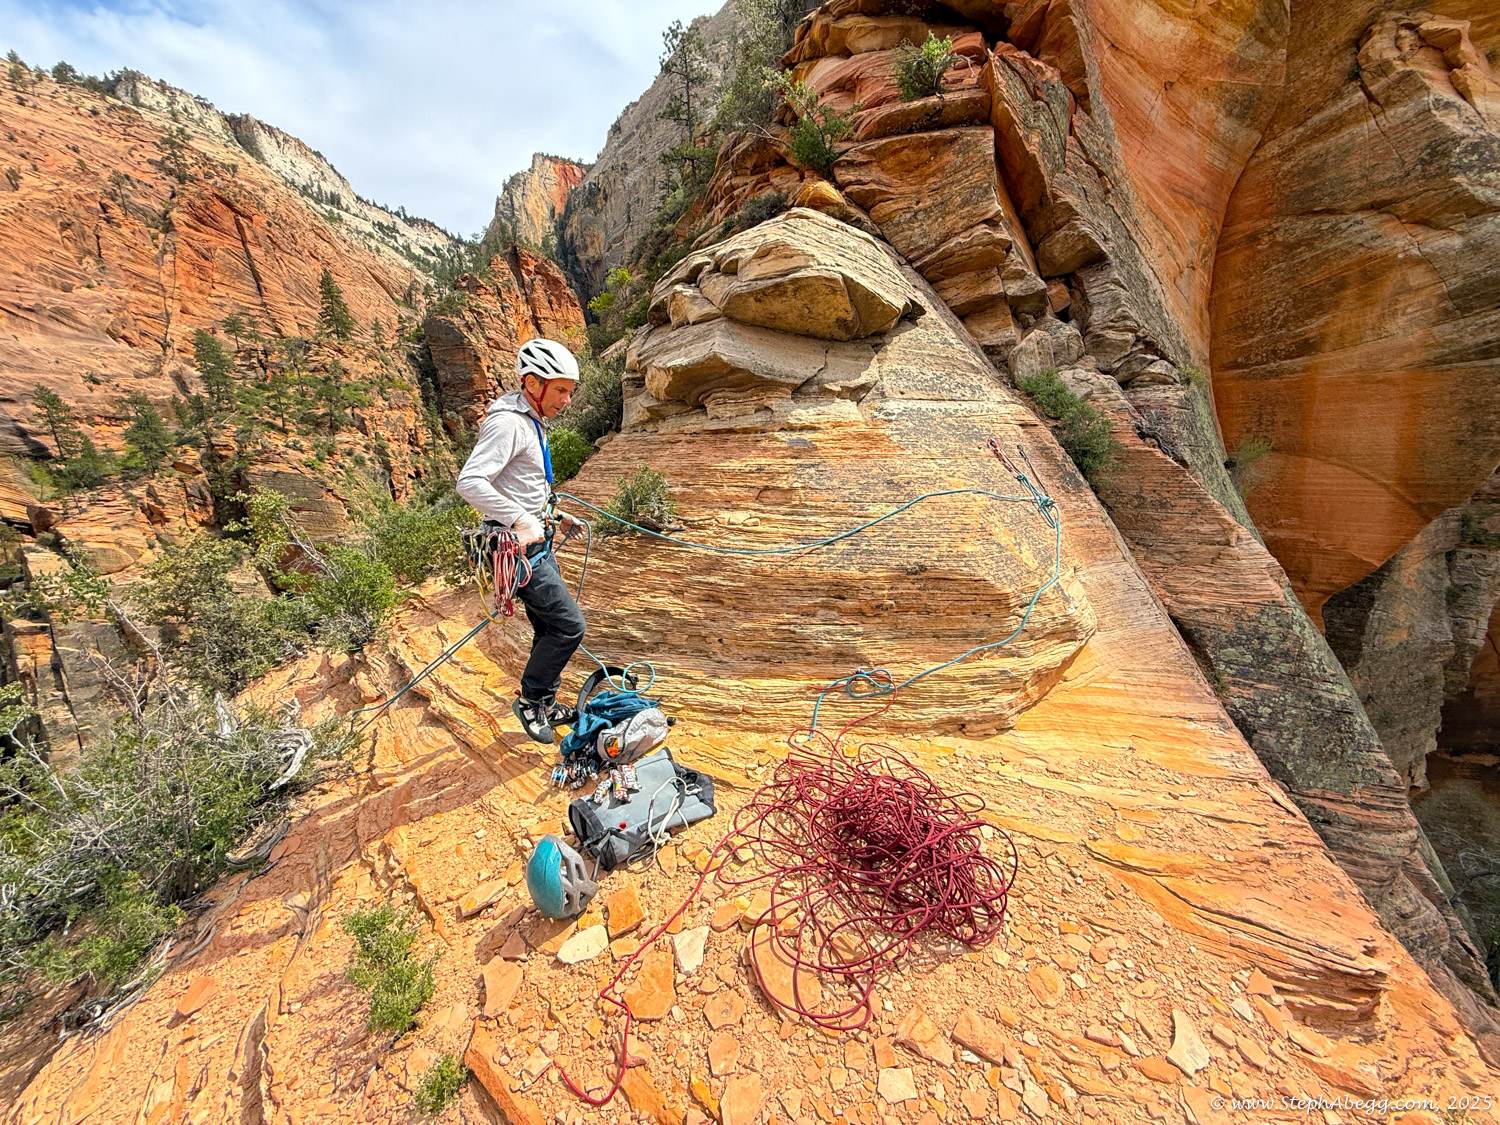
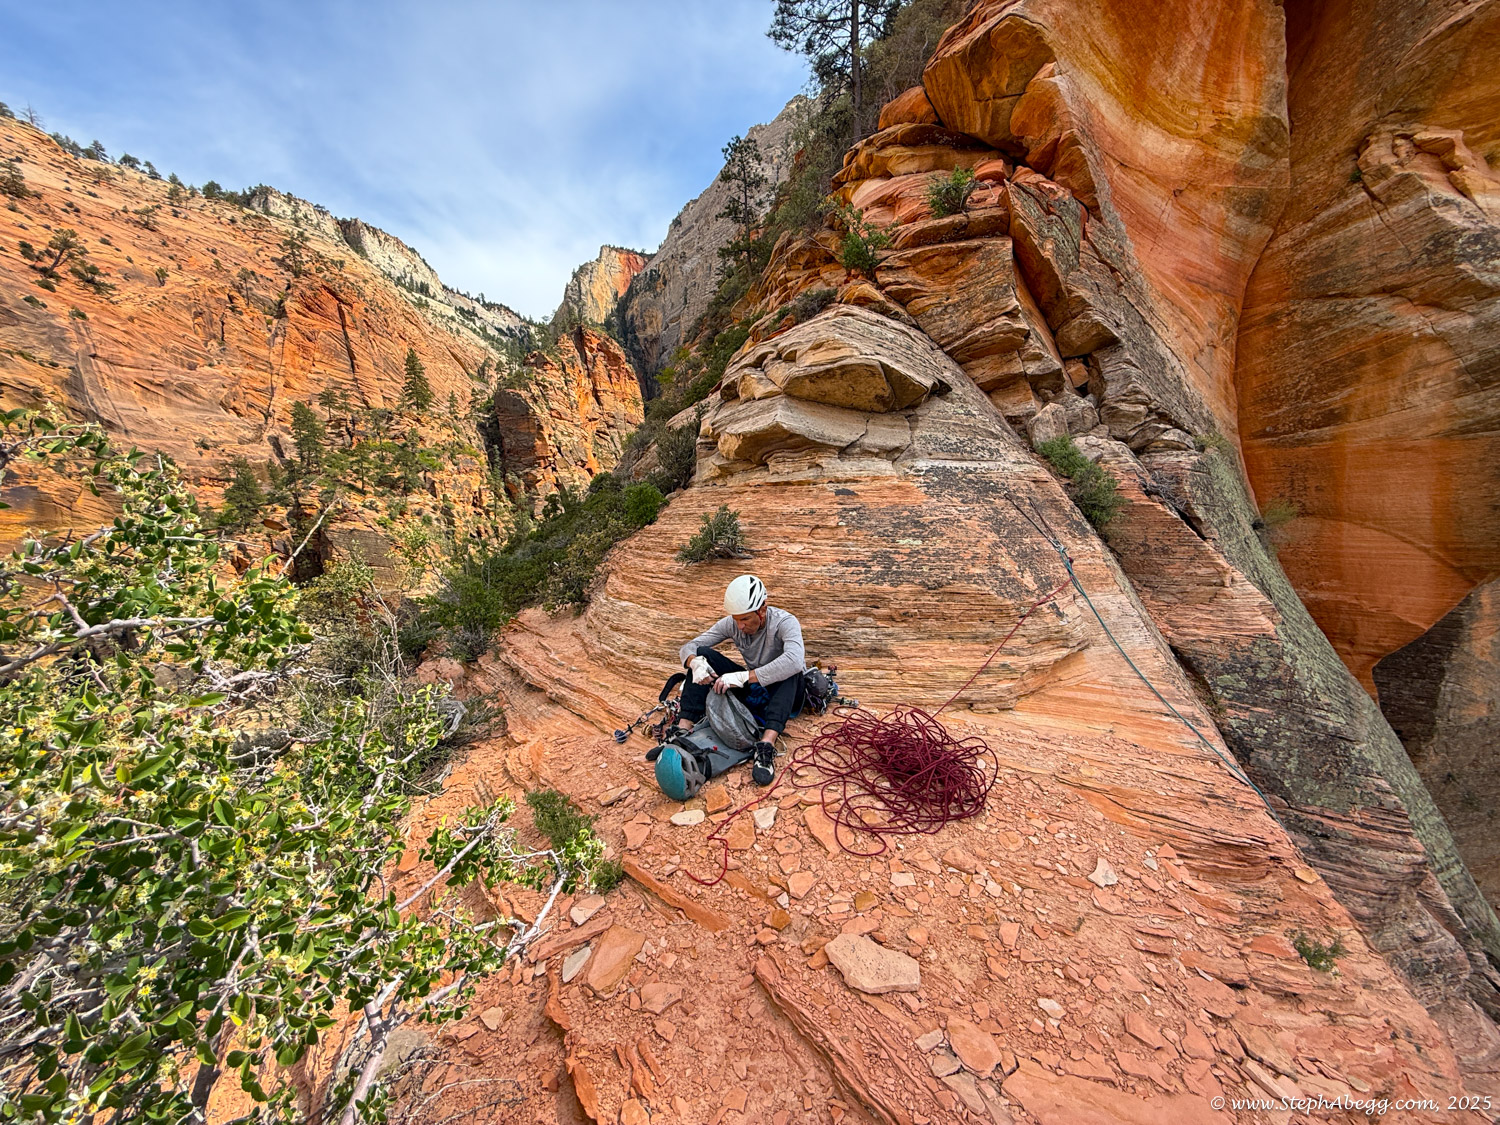
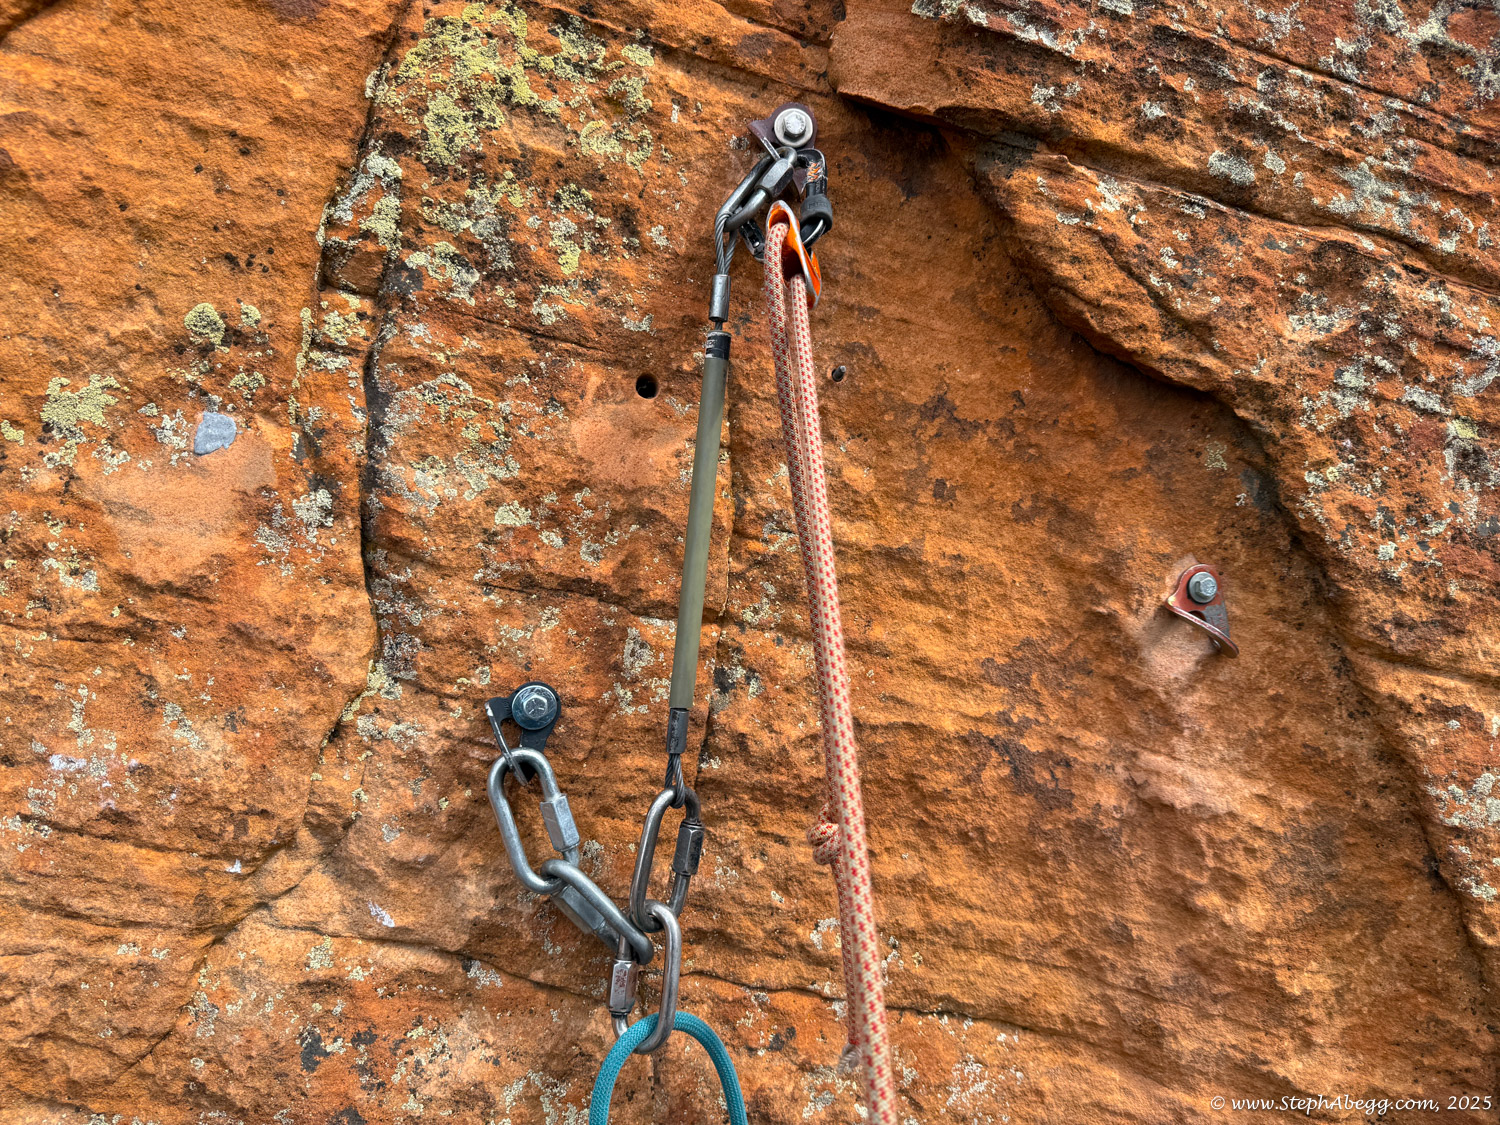
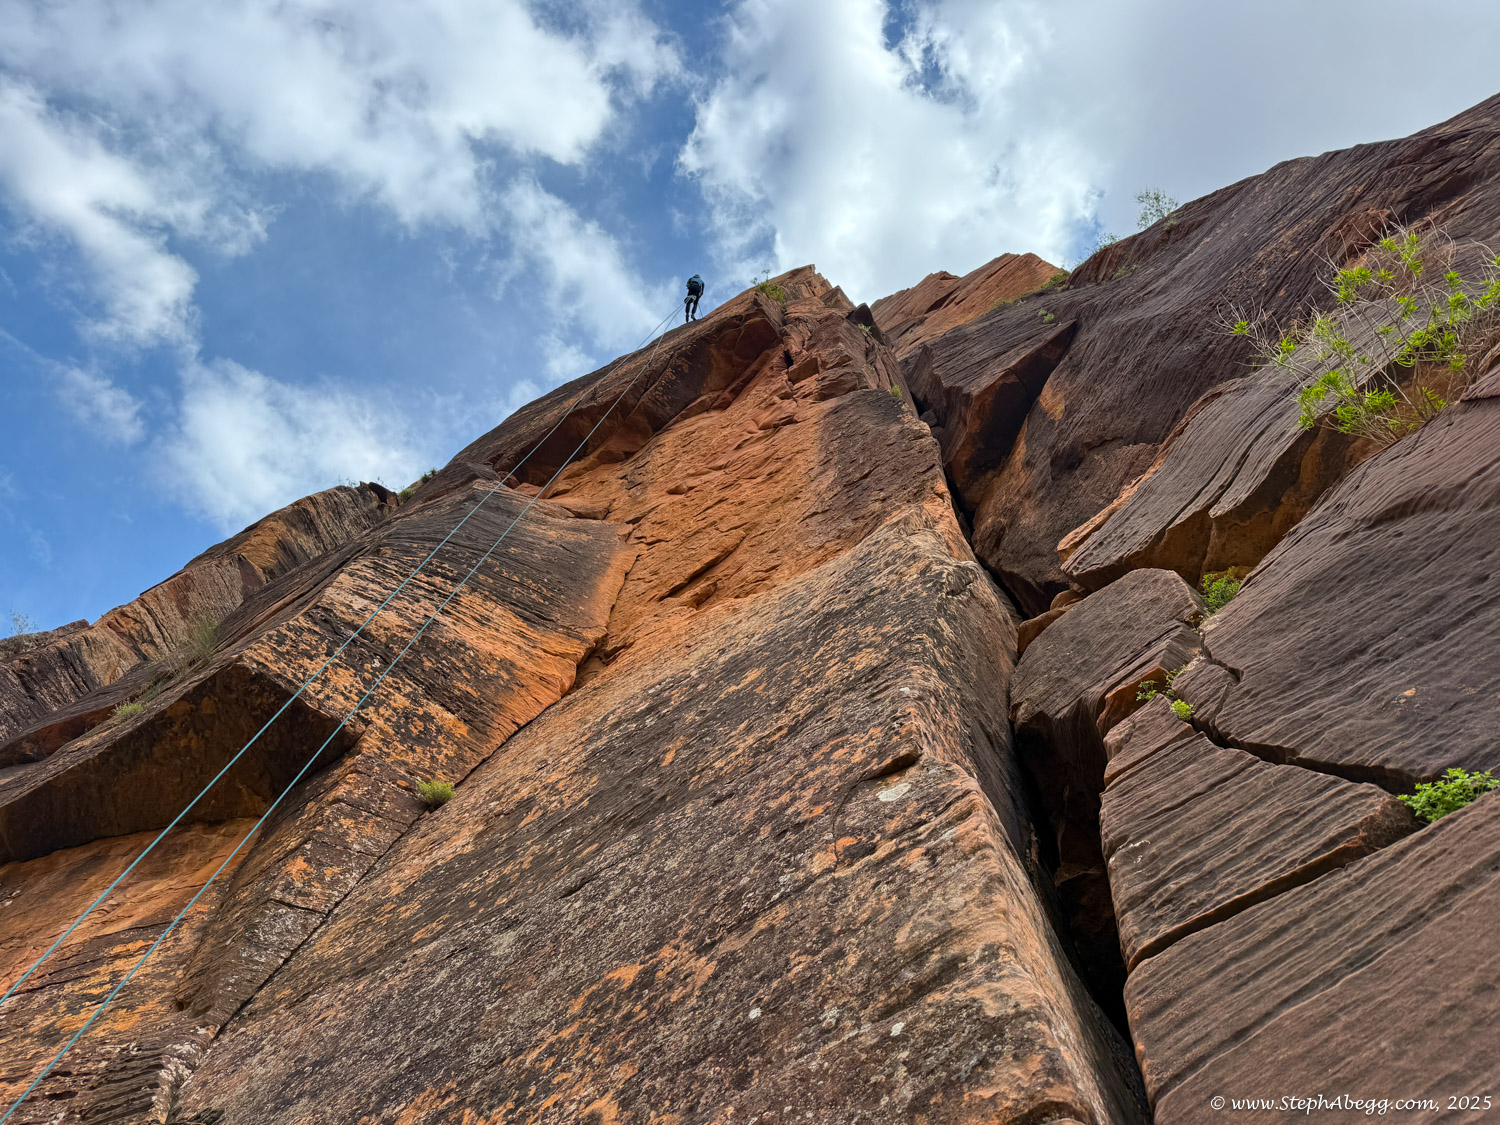
In an effort to work off my debt to Nate of pitches led vs. pitches followed, I offered to lead the entire route. We climbed in fix and follow method, so I got a nice break at the top of every pitch while Nate enjoyed toprope soloing all day. Since there is a necessary double rope rappel (the first rappel), we brought a tag line and hauled a pack with extra water, food, and light long sleeve shirts. It was warm enough we did not need a belay puffy and we were comfortable in t-shirts. We had the route to ourselves.

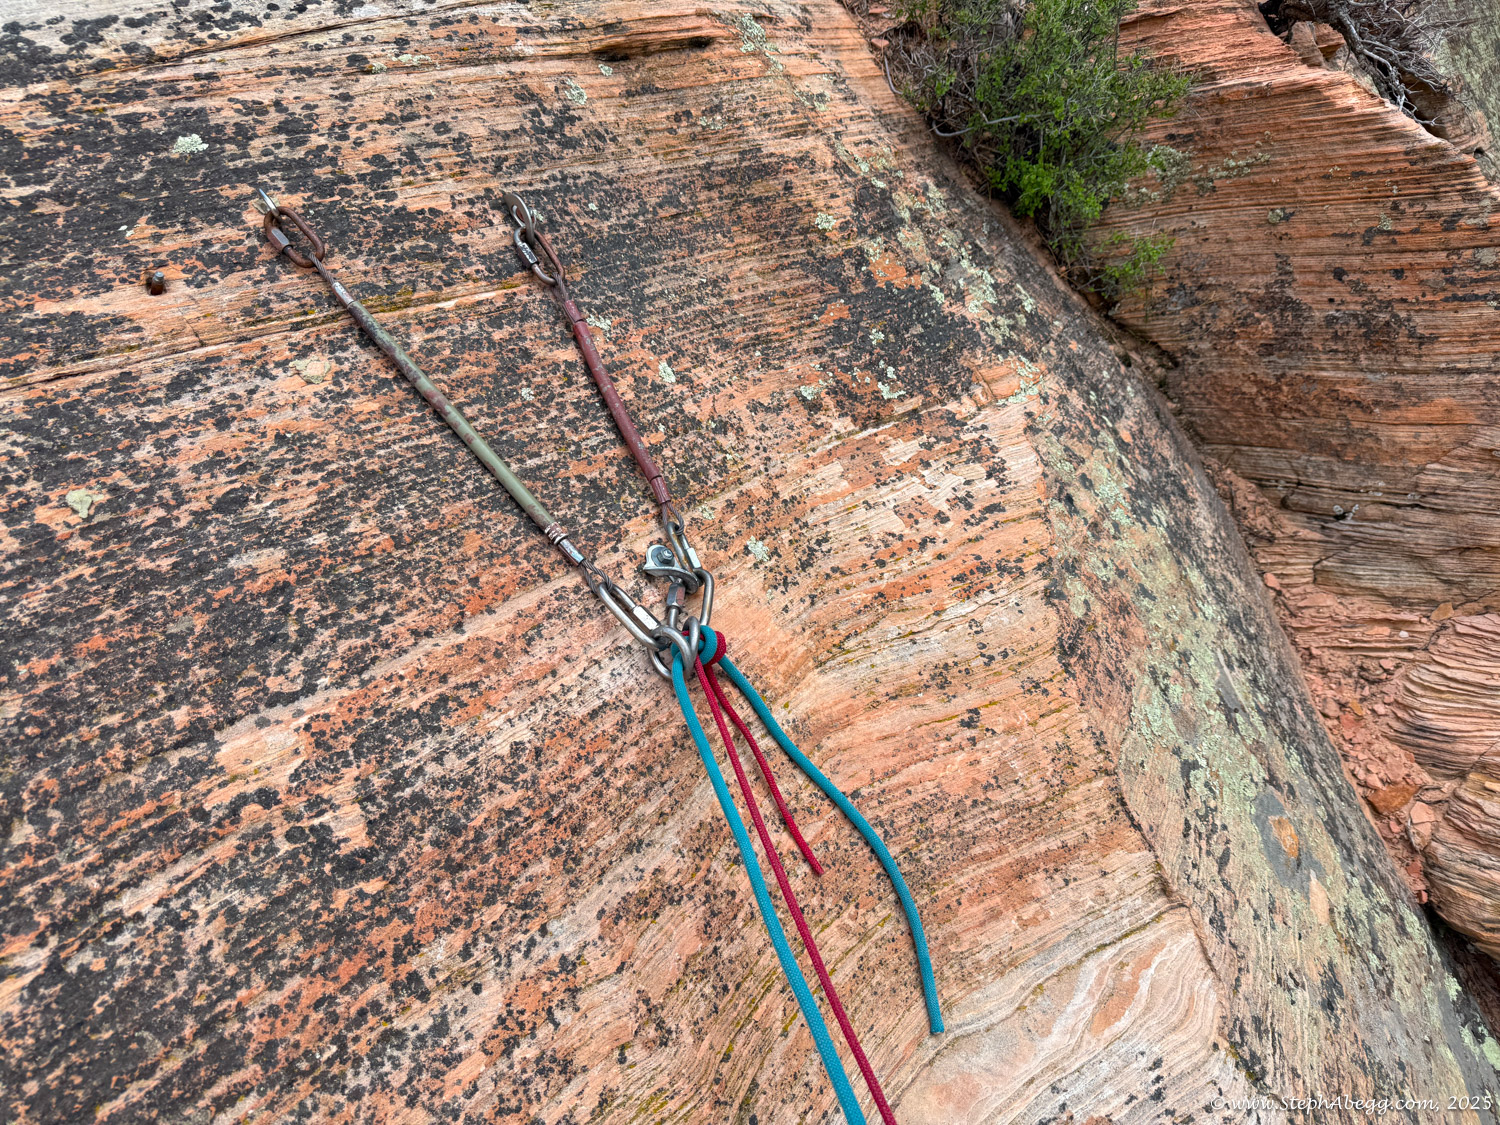
The following page gives a route overlay, time stats, and photos from our climb. What an fun last climb to our amazing six-week roadtrip!

Time Stats

Times
Shuttle leaves Visitor Center: 8:50 am
Shuttle drops us off at the Grotto: 9:13 am
Base of route: 9:36 am
Start climbing: 10:02 am
Top of route: 3:42 pm
Begin rappels: 4:13 pm
Base of route: 5:05 pm
Grotto: 5:37 pm
Back to Visitor Center: 6:00 pm
Splits
Approach: 23 min from the Grotto, 46 from Visitor Center
Climb route: 5 hours 40 minutes
Rappels: 52 min
Total time (Visitor Center to Visitor Center): 9 hours 10 minutes

Rack

This was our rack:
2 black, 2 blue, 2 yellow, 2 purple, 2 green Totems (roughly equivalent to camalot sizes #0.2 to #0.75)
2 red aliens (roughly equivalent to #0.5 camalot)
1 #0.75, 3 #1, 3 #2, 3 #3, 2 #4, 1 #5 camalot
Set of nuts
8 alpine draws

This was a good rack for the route if you plan to link pitches 3 and 4. If not linking those pitches, you can drop a couple of the large cams (ie. just bring 2 #3, 1 #4). I appreciated having the #5 camalot in a few sections, although it would be possible to protect safely without it, if you have double #4. I never placed both black totems on any pitch and I only placed one nut on the entire route. It was nice to have several cams in the purple totem / red alien / #0.5 camalot as well as #1 and #2 camalot sizes for Pitch 7.

Pitch-by-Pitch Photos

Approach

Bus + 2nd
Get off the bus at the Grotto picnic area. Walk east and north through the picnic area for a couple of hundred yards until you intersect a creek which descends just to the north of Red Arch Mountain. Follow a trail east up the creek (starts on the south side of the creek), taking a right fork at some point (the left seems to lead to water tanks), and eventually reaching the base of the buttress. Make a final scramble and you are at the base of the route. Approach time from bus stop: about 20 minutes.

Pitch 1

5.11+ (original start) or 5.11- (right variation)
Two options.

The original and more obvious line climbs a beautiful left-facing corner. Climb the wide pod to the long section of sustained 1-1.5" crack. There is a ledge on the left halfway up with anchors, but continue upward to a higher ledge with a bolted anchor. The last 20' of the pitch are classic Zion funky climbing.

A variation and slightly easier pitch added later climbs a crack 100 feet to the right of the original start. This variation starts in a crack right on the prow that begins below a small roof. It ends on the same ledge as the original line described above.

We climbed the left/original/harder/better option.

Pitch 2

5.9 or 5.10
Two options. Climb the groove/chimney/funky thing (5.9) or climb the finger and hand crack in the black face to the right (5.10).

We climbed the 5.10 option.

Pitch 3

5.10+
Be prepared for some offwidth and groveling, and leave your helmet behind so you don't get it stuck. Chimney up the obvious corner until it starts to pinch down—don't clip the bolt in the bowels, instead place a #4 or #5 Camalot up above your head and try and figure out how to slide out to the outside of the bombay and switch to stacks and fist jams. 

This is a short pitch that ends at drilled pin anchors on the right. This pitch can be easily linked with the next pitch if you have enough big cams.

Pitch 4

5.10
Continue up. An initial wide section leads to sustained big hands and fists and hands. Belay on bolts on left.

This pitch can easily be linked with the previous or with the next. For a 215-foot megapitch, link Pitches 3, 4, & 5.

Pitch 6

5.11-
Clip a bolt up and left of anchor and continue face climbing up and left (or possibly down first and then left) to the arete, and then climb jugs on the arete to a bolted belay near arete. 40' long—not much gear after bolt, but way easier to anchor.

Pitch 7

5.11
On the Indian Creek five star scale, this pitch gets at least five stars--non stop action, full-on exposure, and just enough rests to allow you to savor the experience. Downclimb from anchor about 10' then step left around arete and span out to the finger crack on the face. Backclean your gear for about 15 feet; mostly fingers with some feet. Crank up the steepening finger to big finger to tight hands crack through the roof, with the occasional face hold. Go for another 50' over the roof to a hanging belay at a pod; there is a bolt at this belay which is backed up with hand sized pieces. About 100' long. Rack: omit the nuts and pieces bigger than a #3 Camelot (you can place one on the pitch but even that is not needed); bring everything else. The pitch eats #0.3, #0.5, #1, and #2 especially.

Pitch 8

5.9
Handcracks and face holds forever on this fun, left-trending, 165' pitch. The rock is a tad friable at times. The rock at the top does not lend itself to any great belay anchors, so you can try to find better rock above or belay off the upper rappel anchor around the corner to the right.

Descent

Rappel (need two ropes)
We made 6 rappels, with only the first being a double-rope rappel and the rest being single-rope rappels with a single 70 (some were rope-stretchers, where a 60 would have come short). The 1st two raps do not go down the route. Here's what we did:

From the top of the route, walk right/south 20' to a rap station (we actually belayed here for the final pitch due to lack of other good belay anchors). 
R1: Double rope. Rap straight down from here for about 150' to a bolted station on the face.
R2: Single 70m rope. About 110' angling climbers' left to the anchor at the top of P6 (the 5.11- traverse pitch). You can also go to the top of P5 (the top of the tower) but going to the one atop P6 will reduce the chance of the rope getting stuck in the chimney.
R3: Single 70m rope. Directly down to the anchor (hanging) on the left face.
R4: Single 70 rope. Slightly climbers left and over the arete to an anchor on some other route. 
R5: Single 70 rope. Down to the anchor at end of P1.
R6: Single 70 rope. It's a stretcher but you can get to easy terrain at the base of the route.

Comments Pertaining to this Page / Trip Report

Useful beta. Updated route information. Corrections. Historical notes. Interesting facts. No fluff please.
Please do not put links in your comment, as my spam filter will filter those comments out.
Leave a Reply

Your email address will not be published. Required fields are marked *