A beautiful fall day on an 8-pitch route above the Hannegan Pass trailhead.
Region: Washington
Elev: Top of route: 5,000 ft (Summit of Mamie: 6,108 ft)
Rock: Granitic
Mode:
Date(s): October 20, 2018 (Sat)
Partner(s): Doug Hutchinson
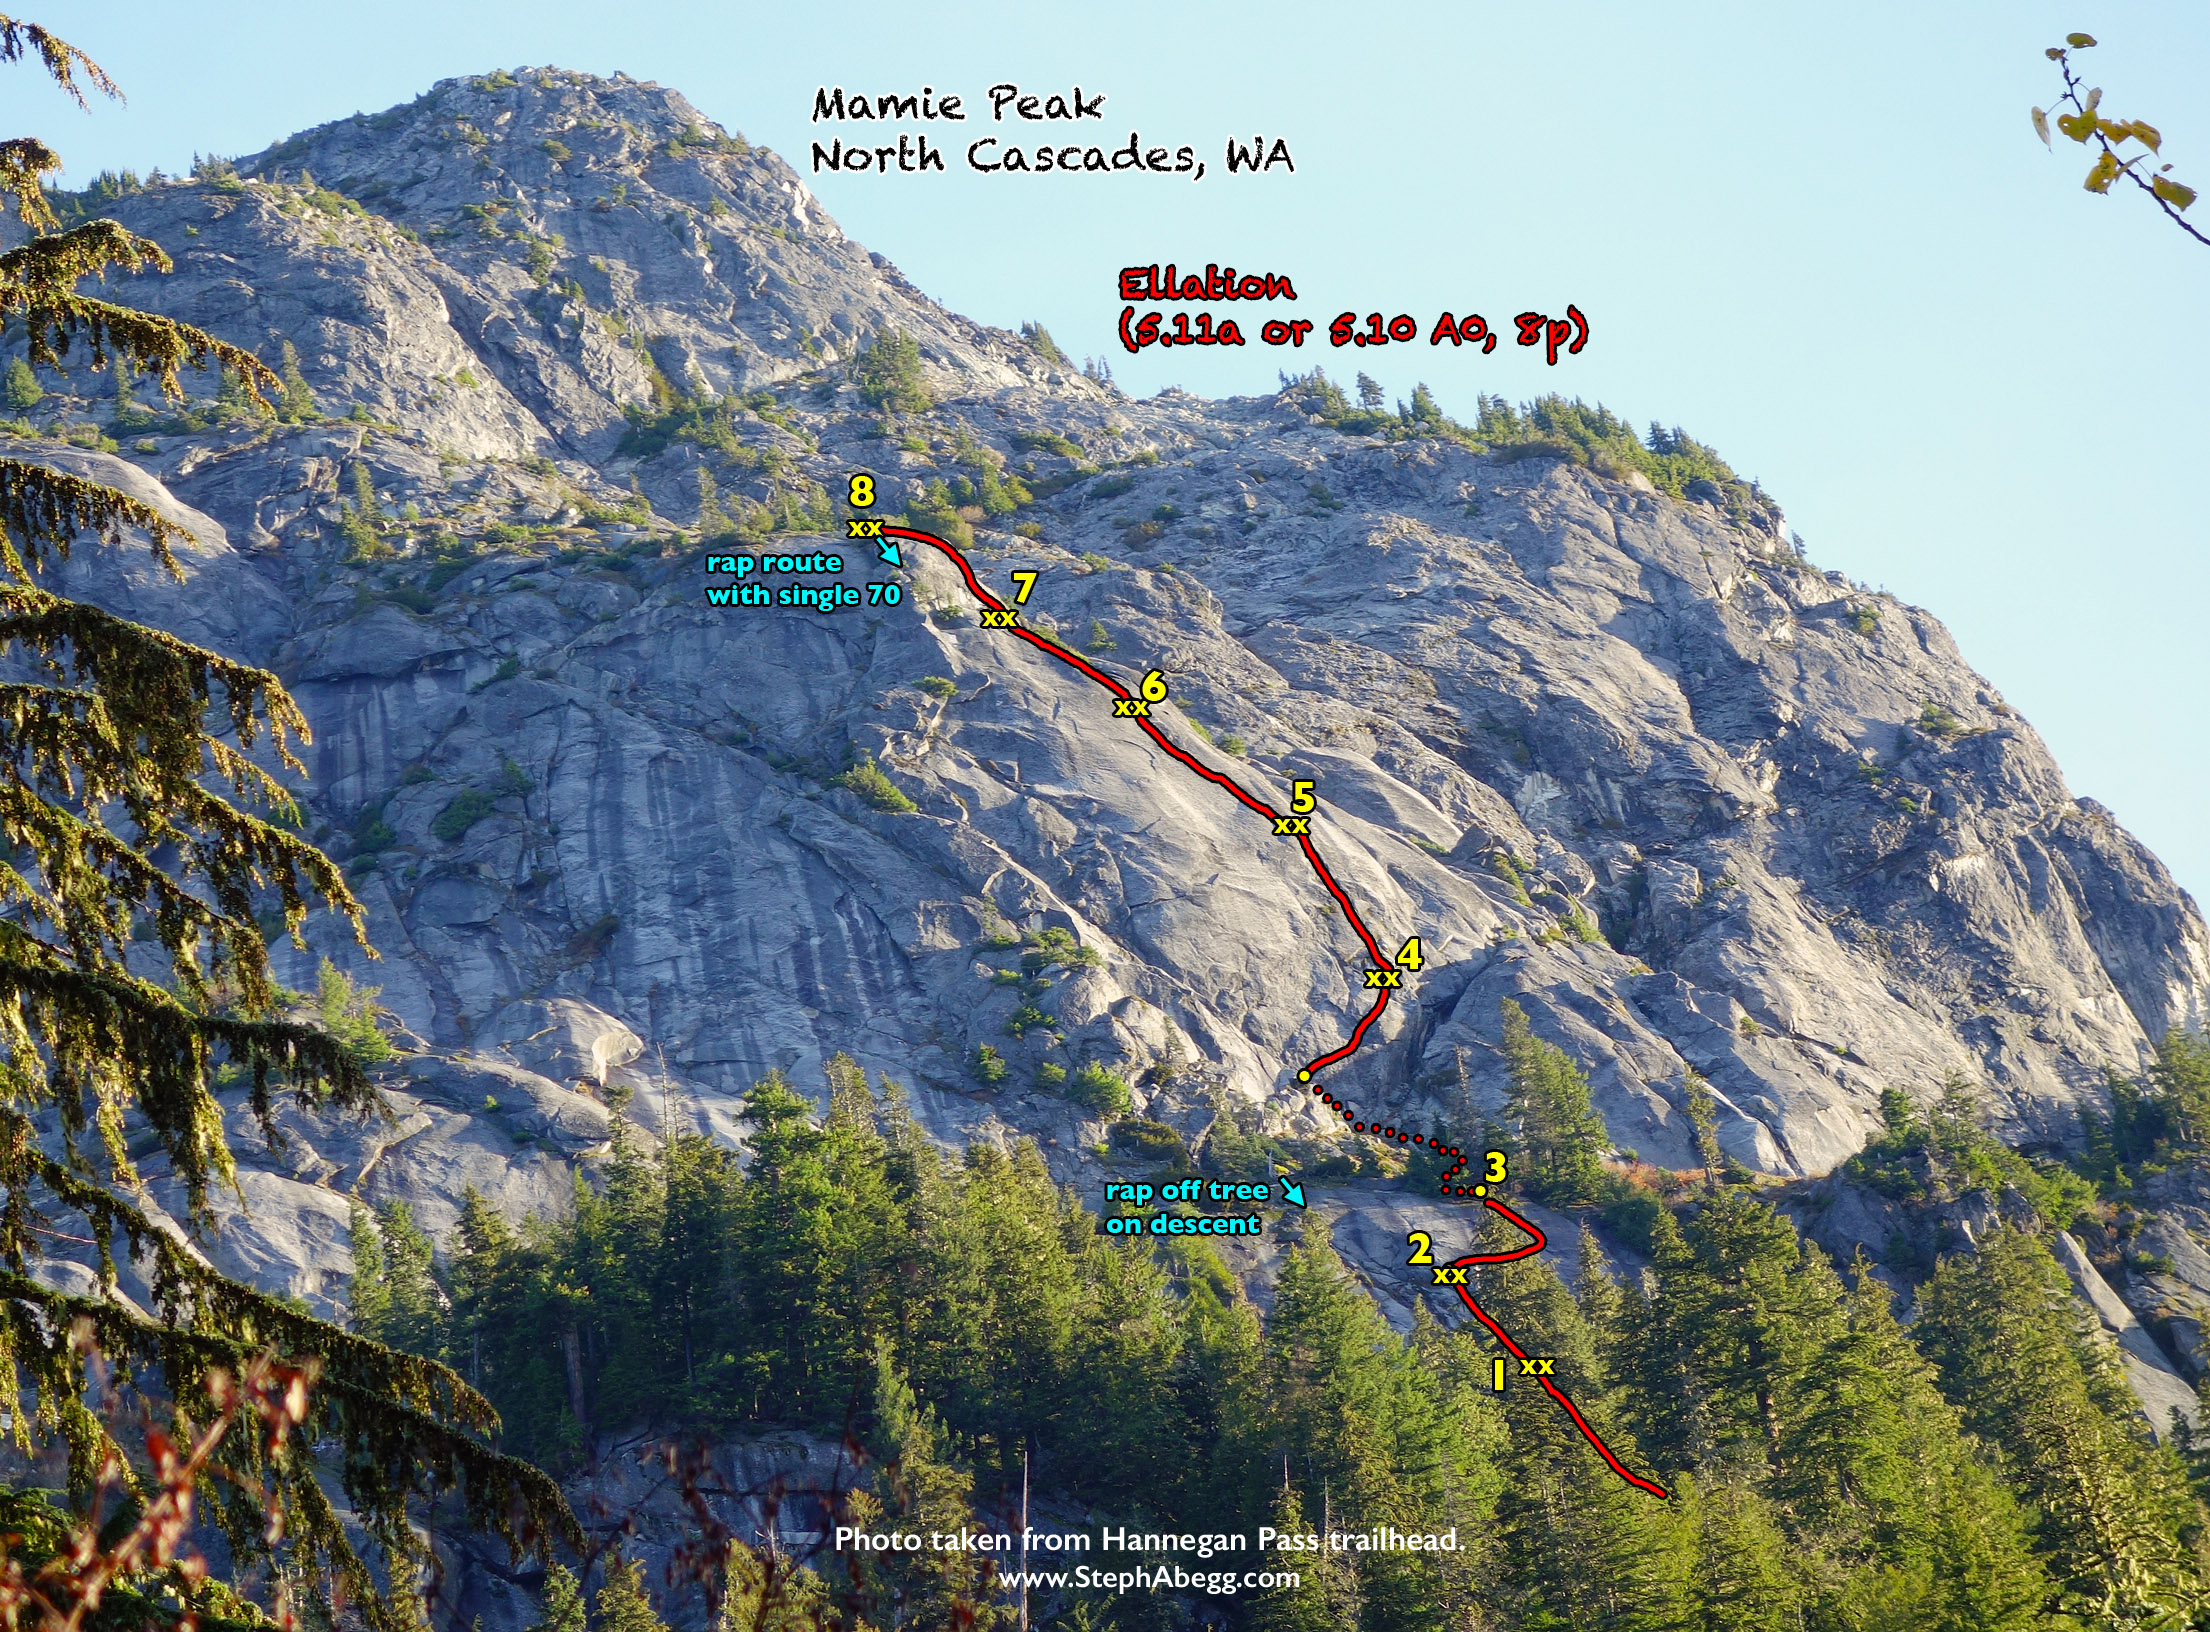
Route Overlay
CLICK TO ENLARGE
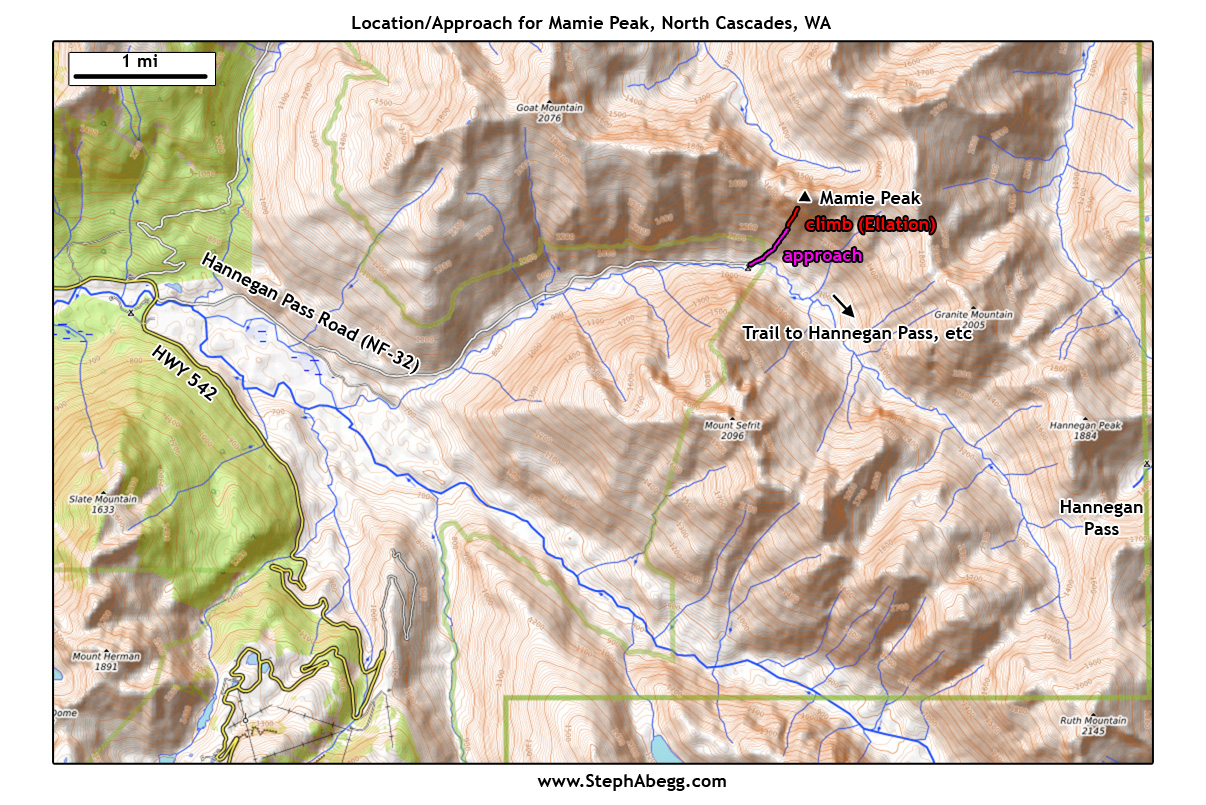
Map
CLICK TO ENLARGE
Intro
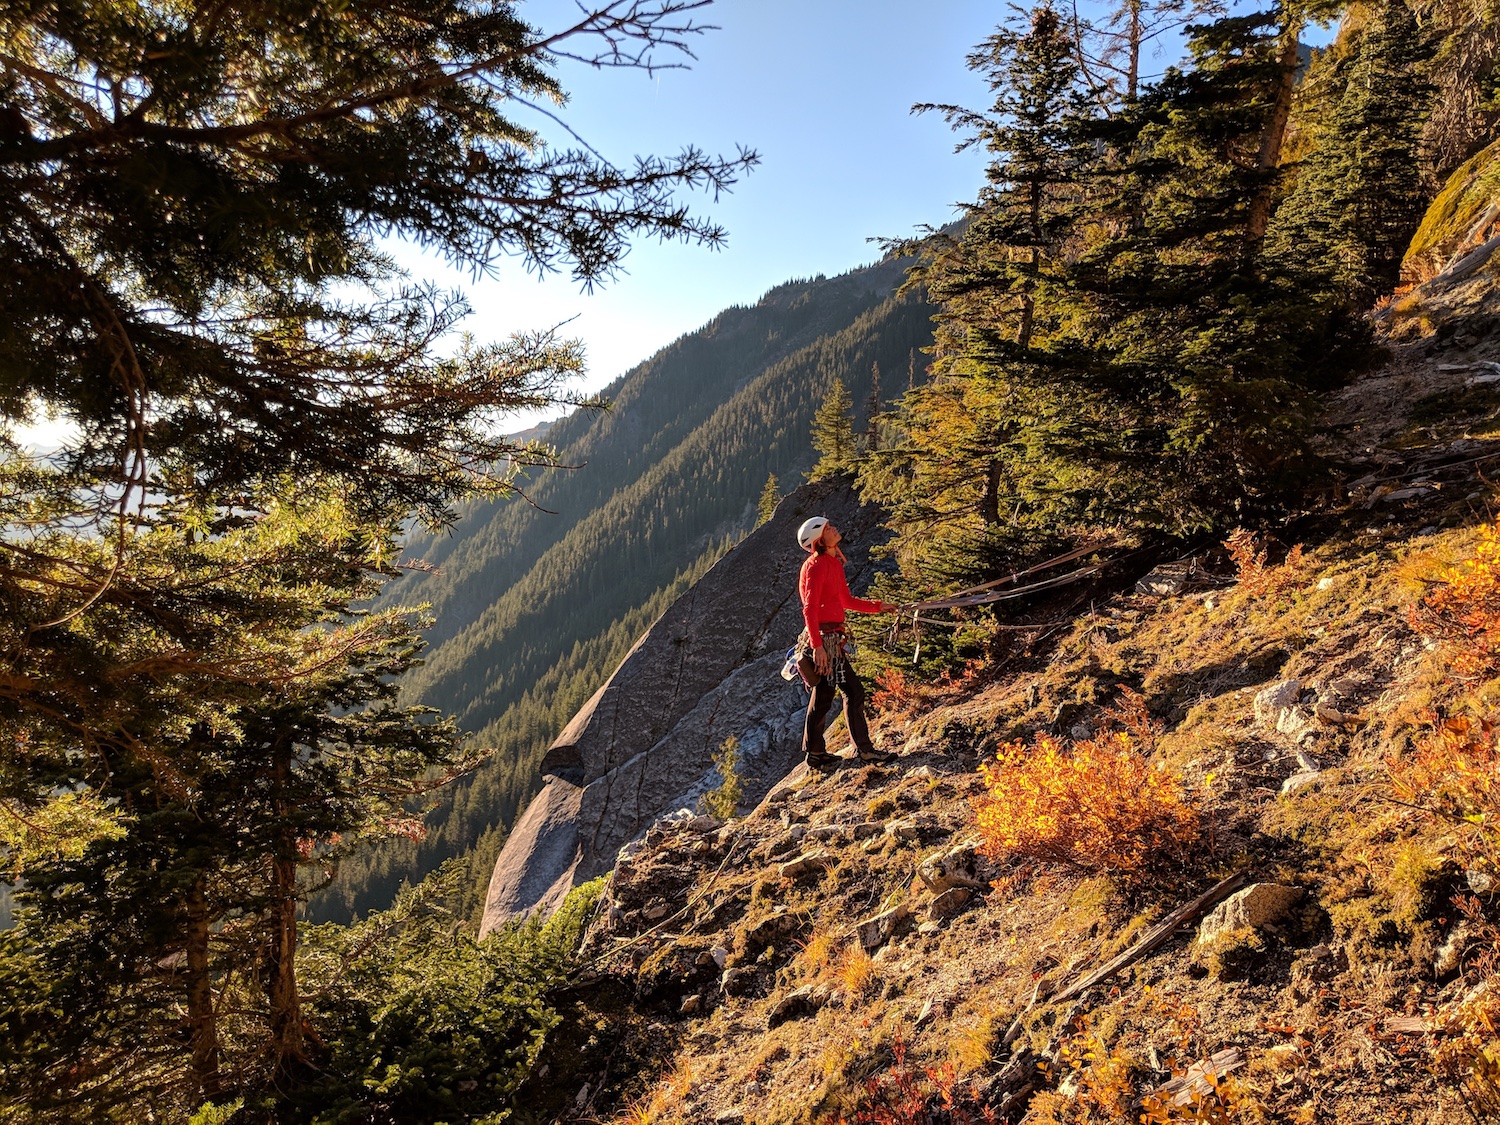
#tanktoptober on Pitch 6.
Ellation is a 700-foot 8-pitch route up the center of Mamie Peak. Where is Mamie Peak? you might ask (since I did when I first heard about the route). I had actually passed right under Mamie Peak several times, never even looking up to notice it. The tiered walls of Mamie Peak are visible from the popular trail to Hannegan Pass, just a few minutes after leaving the trailhead. Ellation is relatively recent to the area, put up in 2009 by Darin Berdinka and Matt Alford. According to a comment on mountainproject, the route is named after one of the FA'ers daughter's, Ella. Creating this route required quite a bit of cleaning, but the result was a high-quality route with a quick approach, doable in a casual day.
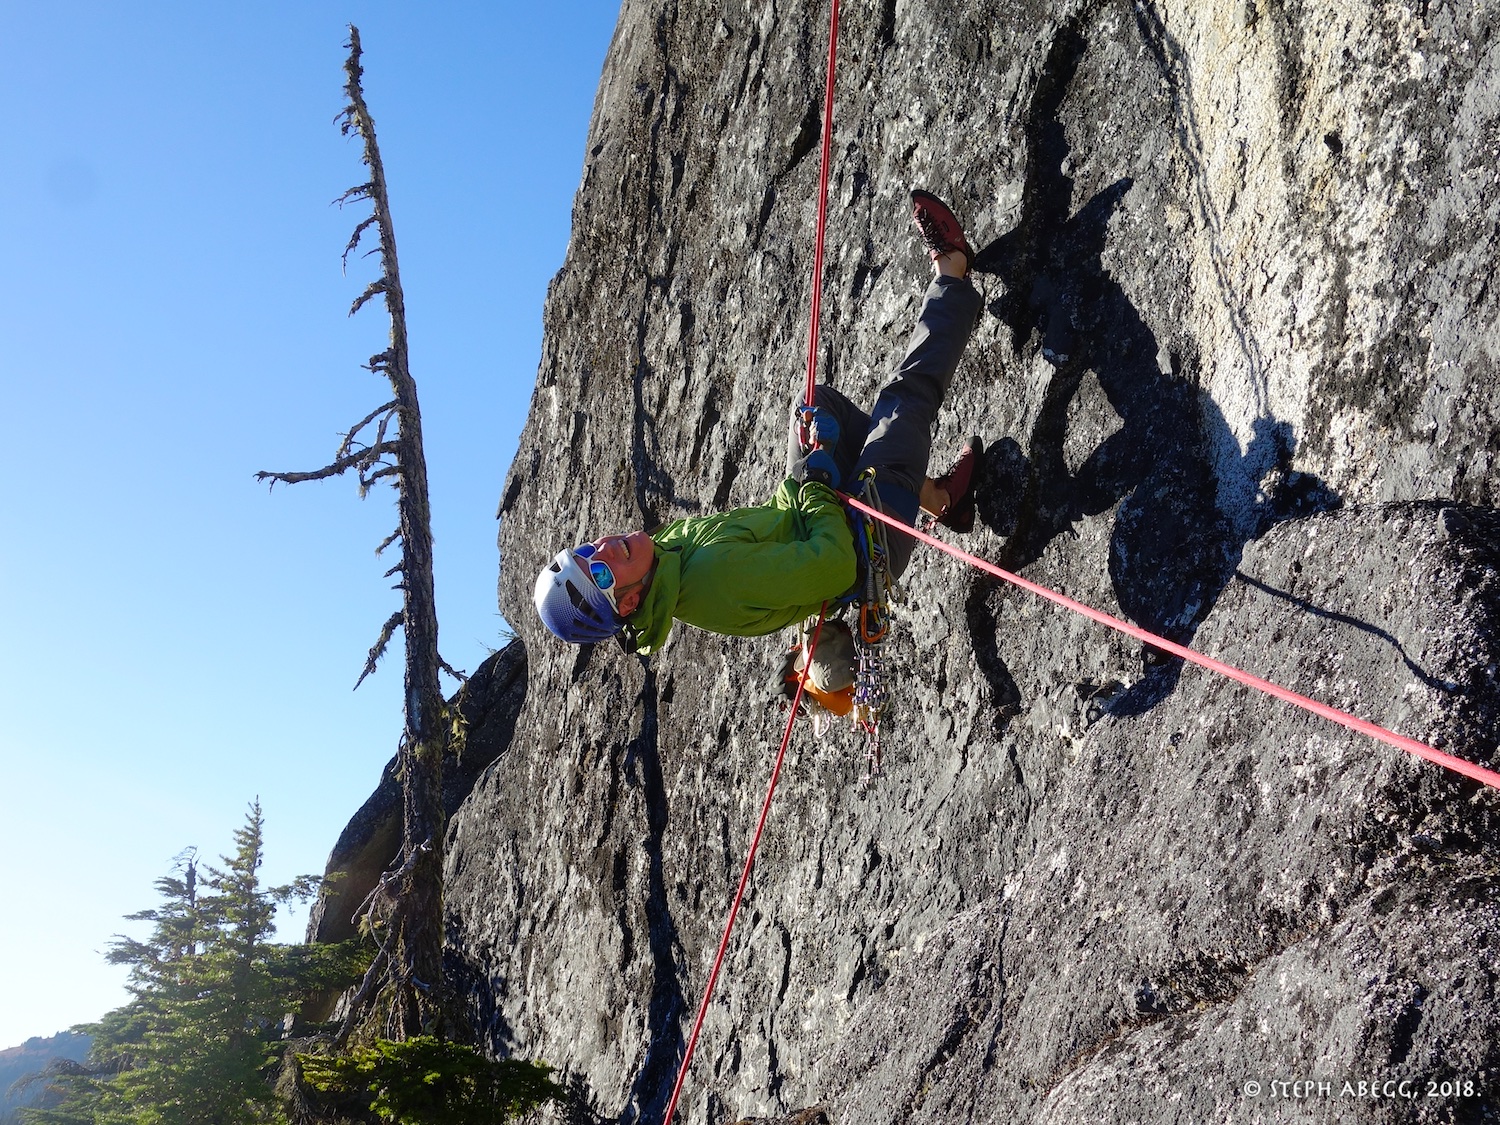
Ellation begins with three pitches up a techy slabby lower wall, which leads to a headwall and five exposed pitches up the center of a buttress riddled with knobs, corners, and discontinuous crack systems. The rock is surprisingly good for an area not known for its rock climbing, and the climbing is similar in nature to Darrington climbing, being a mix of face, friction, corner, and crack. The climbing is pretty sustained at the 5.9-5.10 range with a couple of 5.11 moves for added challenge. Both Doug and I are more comfortable in a crack than on a slab, so we felt that the route was no gimmie at the grade and that the overall flavor of the climbing was a bit heady—at least every pitch has at least one section where you are forced to do some tricky or insecure moves above your protection (the friction slab at the top of Pitch 3 was our mental crux of the route, and there were a few hardish moves above bolts on Pitches 4 and 6 as well that gave us pause as well). We wouldn't have complained about and extra bolt here and there, but that said, the FA'ers did an excellent job of putting up enough bolts to at least keep it safe. Most pitches are protected by a mix of bolts and gear (we had a double rack from red X4 to #1 and singles #2 and #3; the doubles was a set of offset cams, which worked great on this route).
Despite a few moments of squeamish moves above bolts, the fun quota was high, and Doug and I had an enjoyable day climbing Ellation. It was probably the warmest October day I've experienced in Washington: "#tanktoptober" Doug called it when we were in t-shirts by the time we reached Pitch 2. The fall colors were out and we were treated to views of Ruth Mountain at the head of the valley. The setting of this route is sublime. This is a great "almost alpine" rock climb and an excellent way to spend a day.
The following page gives a route overlay and some photos from the climb.
Pitch-by-Pitch Photos
(Eight of the following 44 photos were taken by Doug. In my opinion, his photos are the best in the following set.)
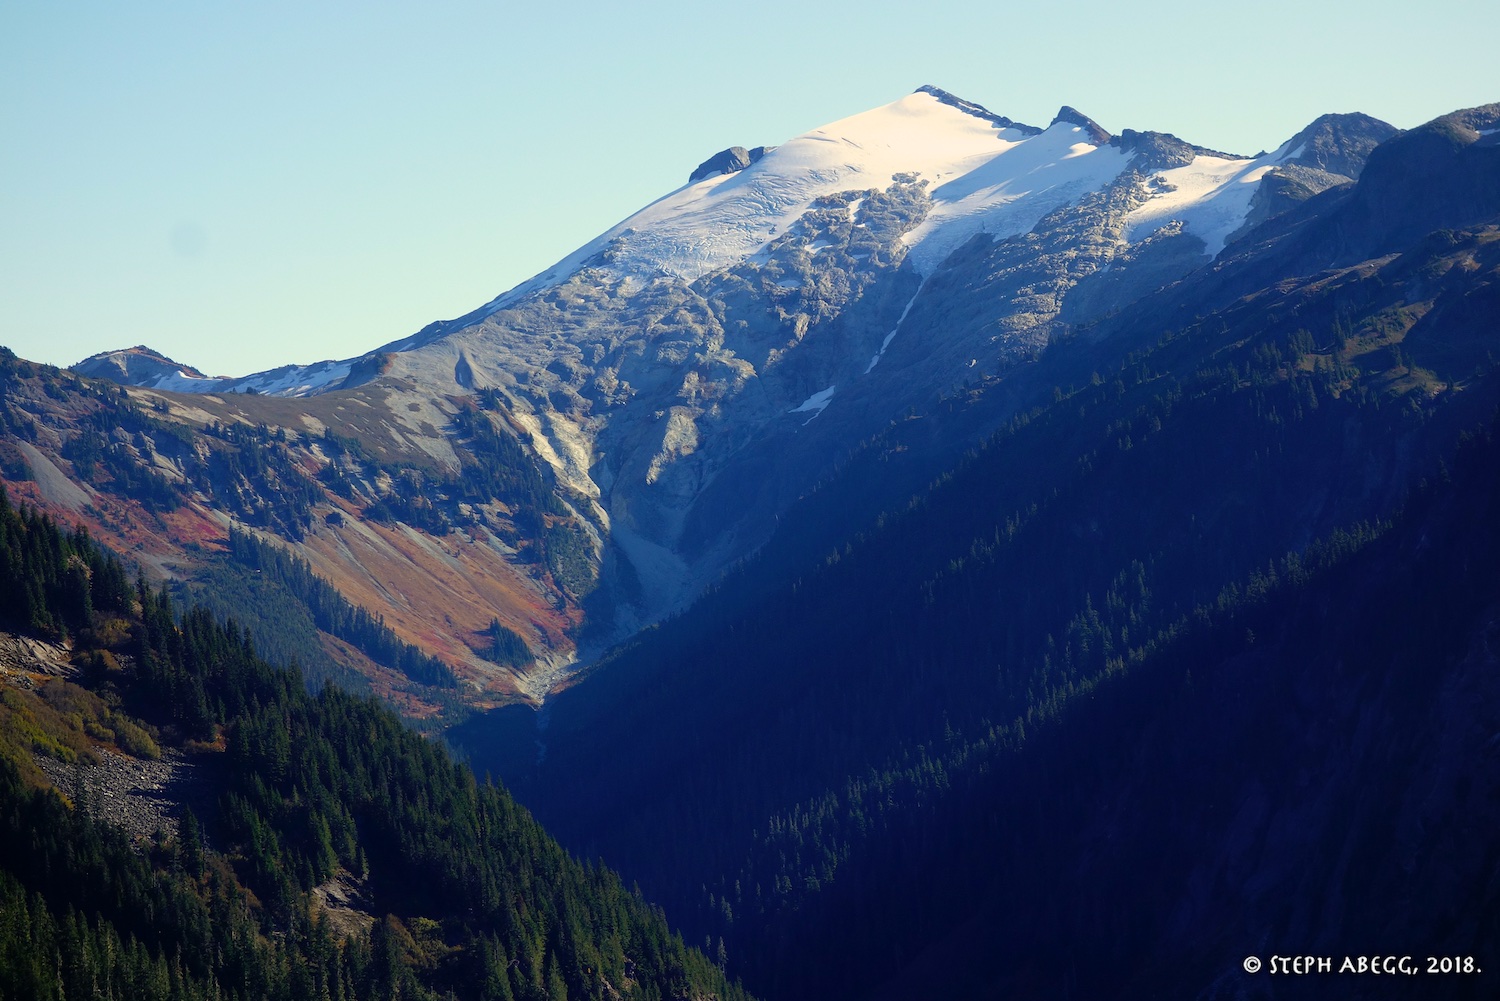
THIS TRIP REPORT IS STILL MOSTLY IN THE EMBEDDED HTML FORMAT OF MY OLD WEBSITE. MOBILE Tip: Try Landscape mode. It is generally more mobile friendly.
Photos:
Photo descriptions:
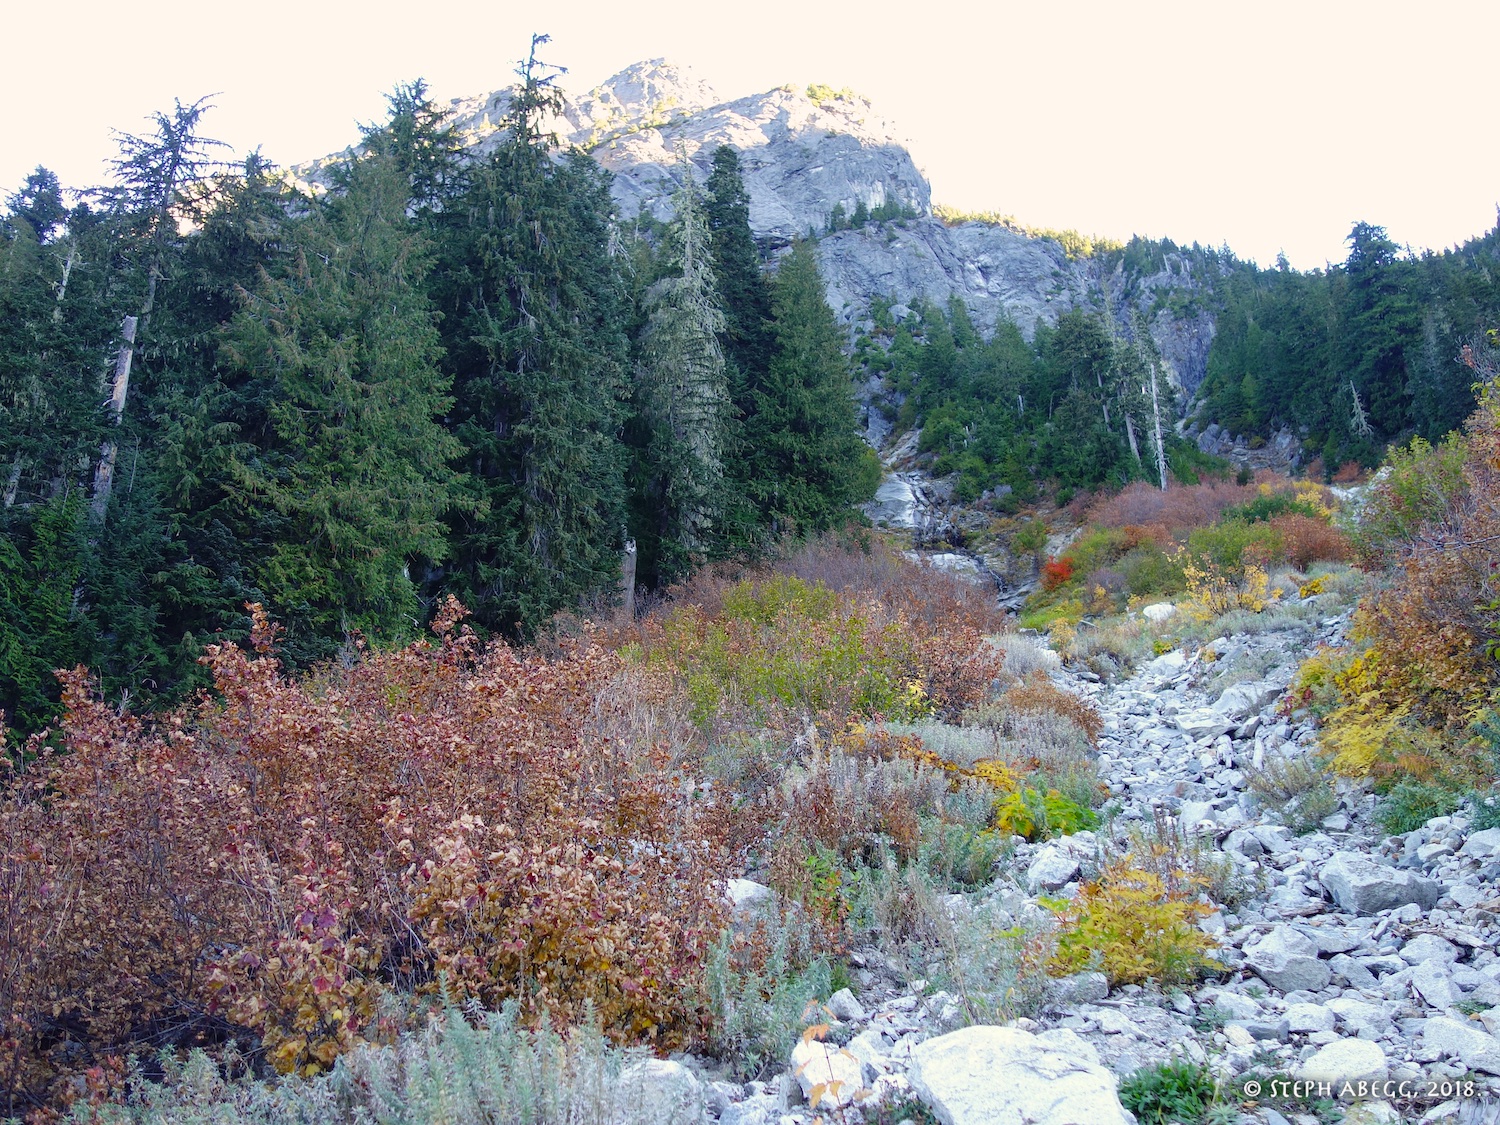
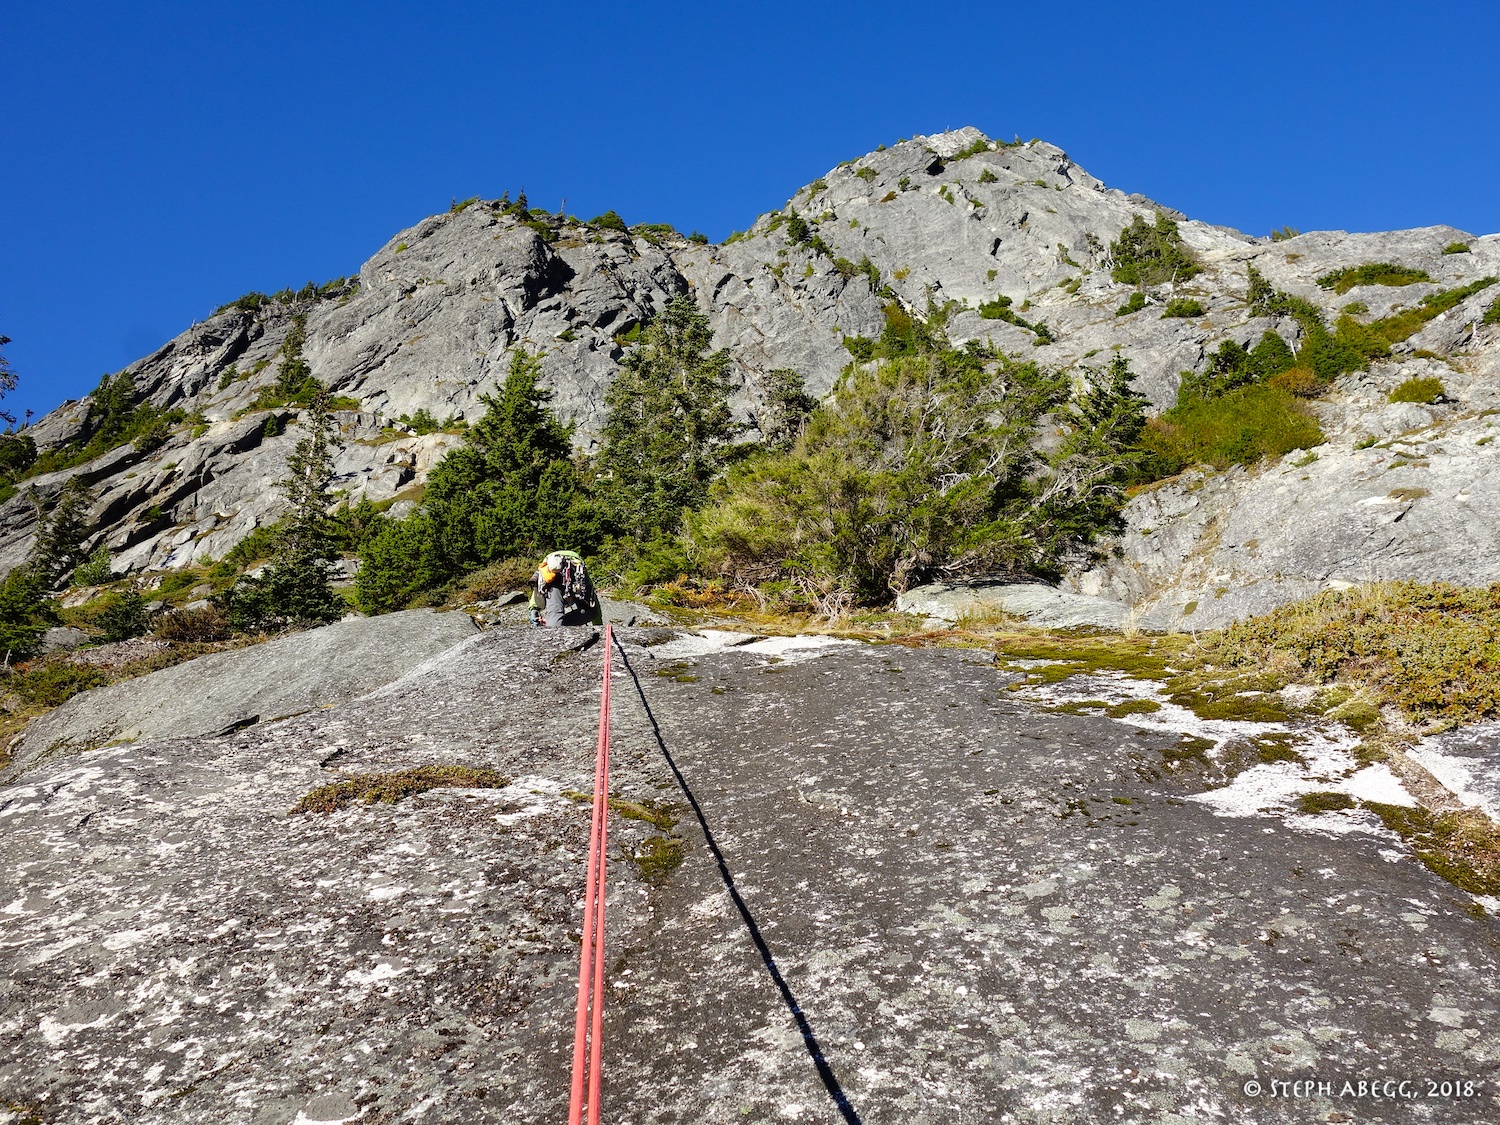
Approach
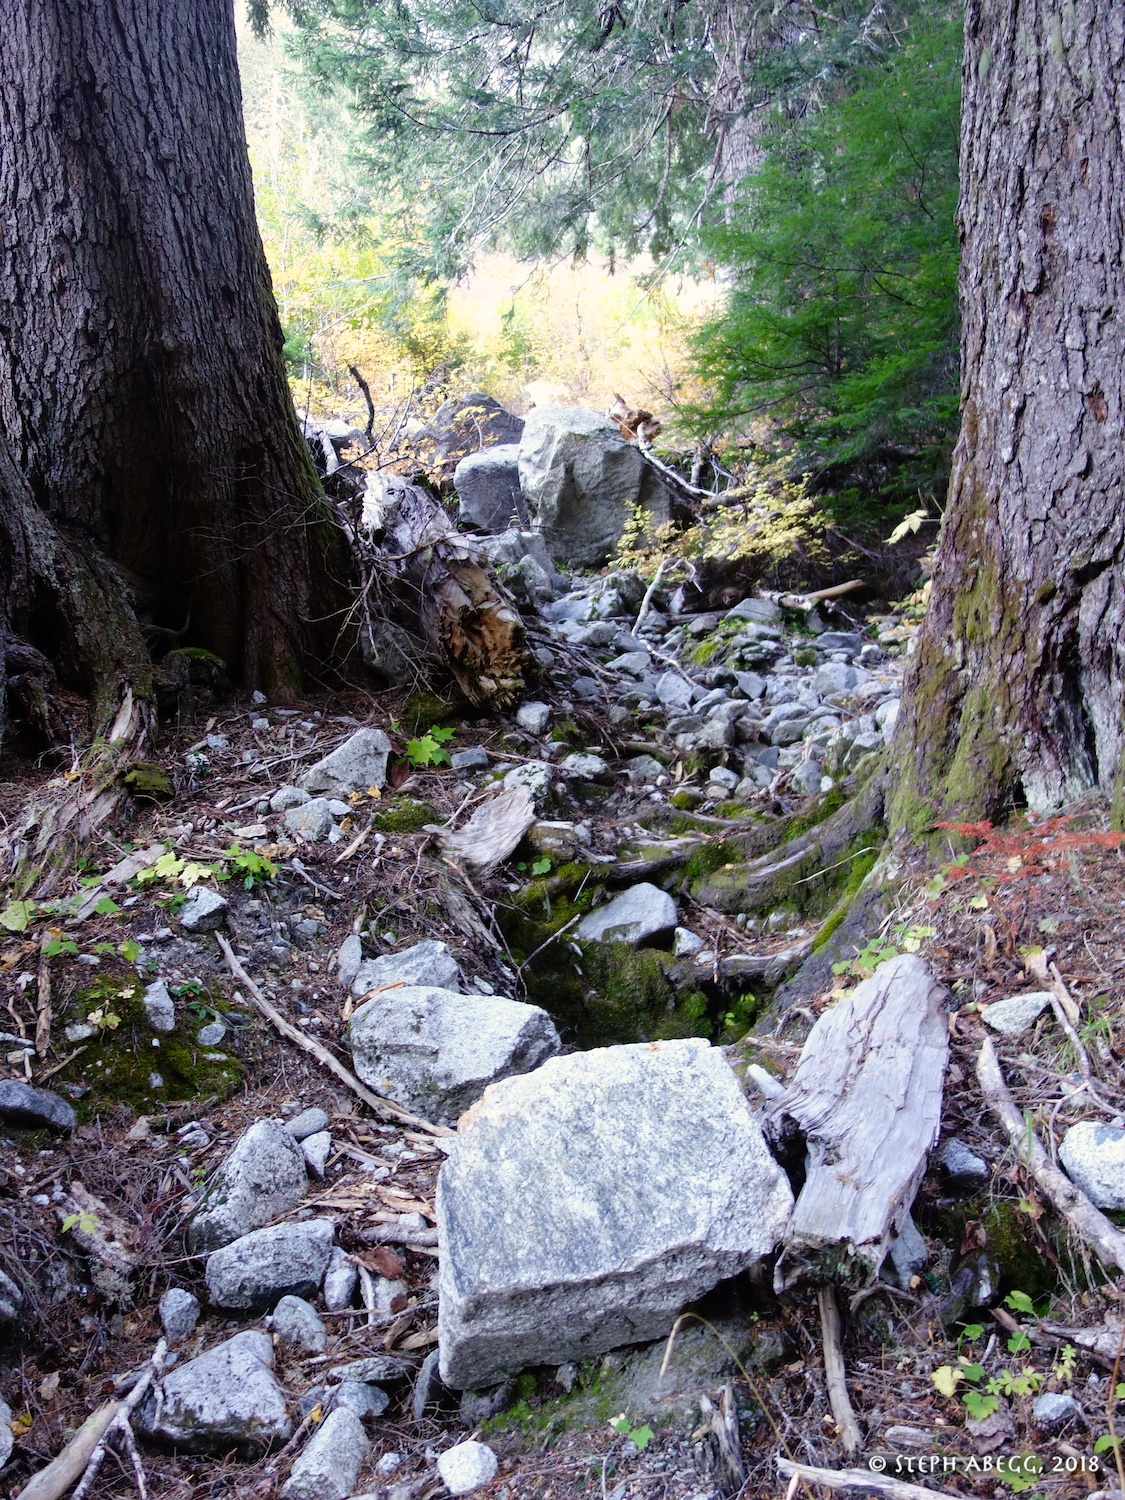
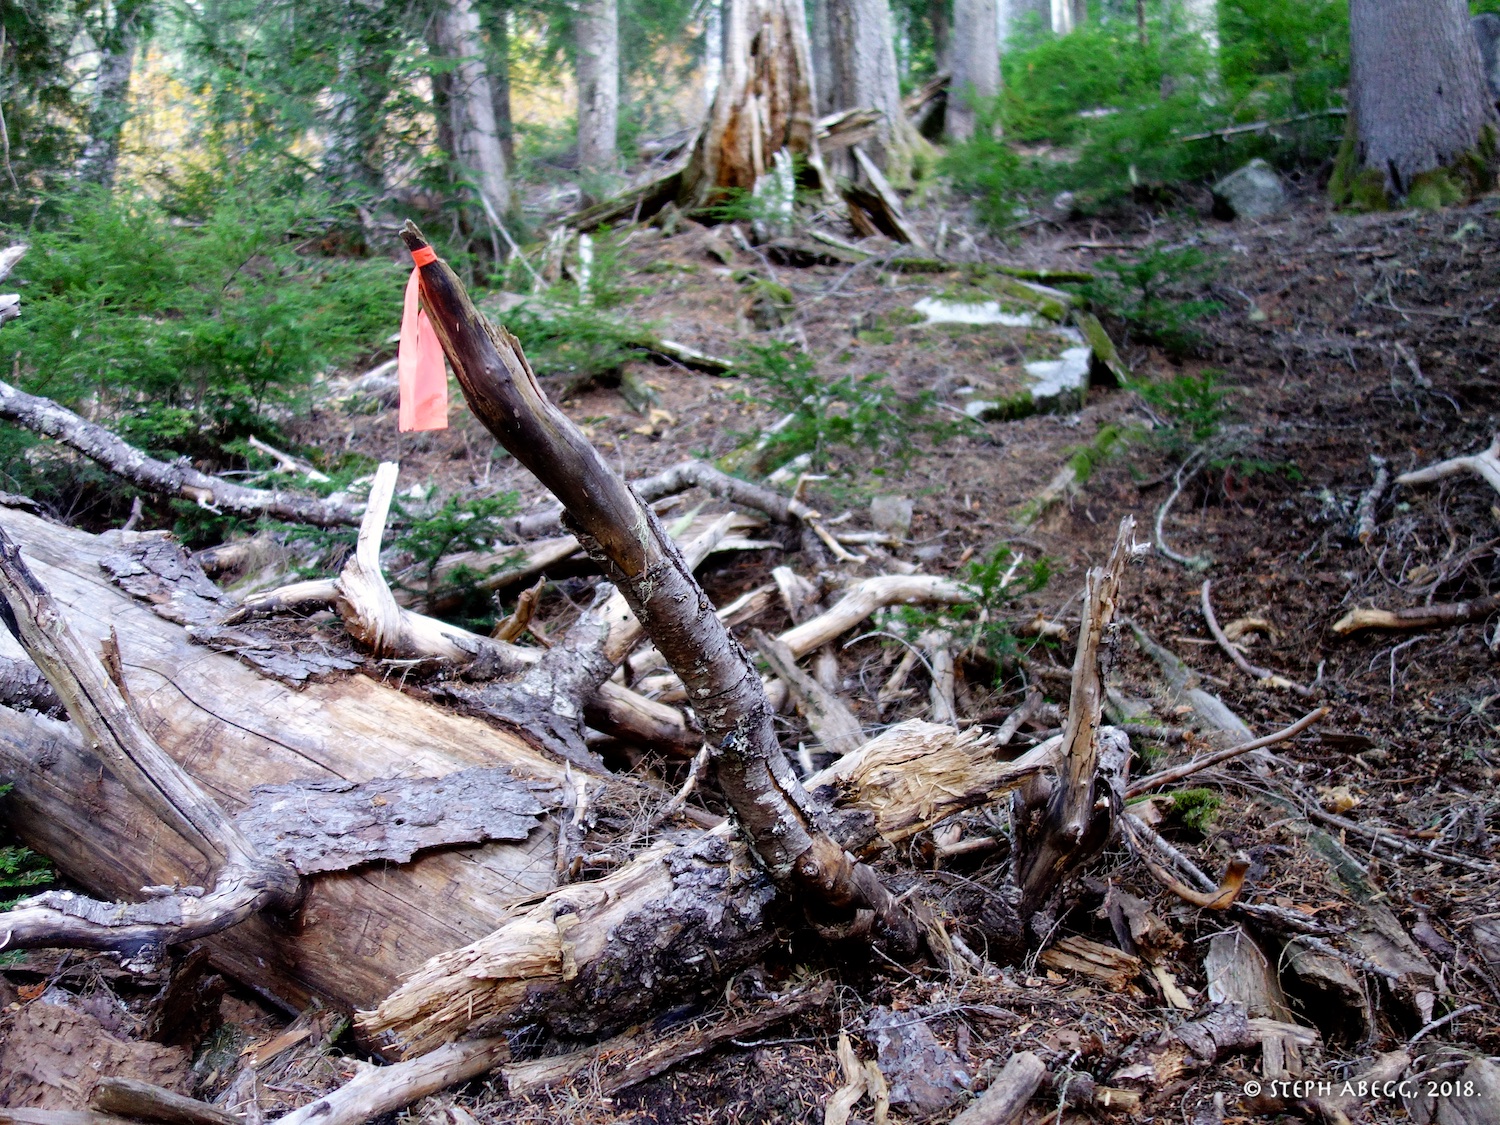
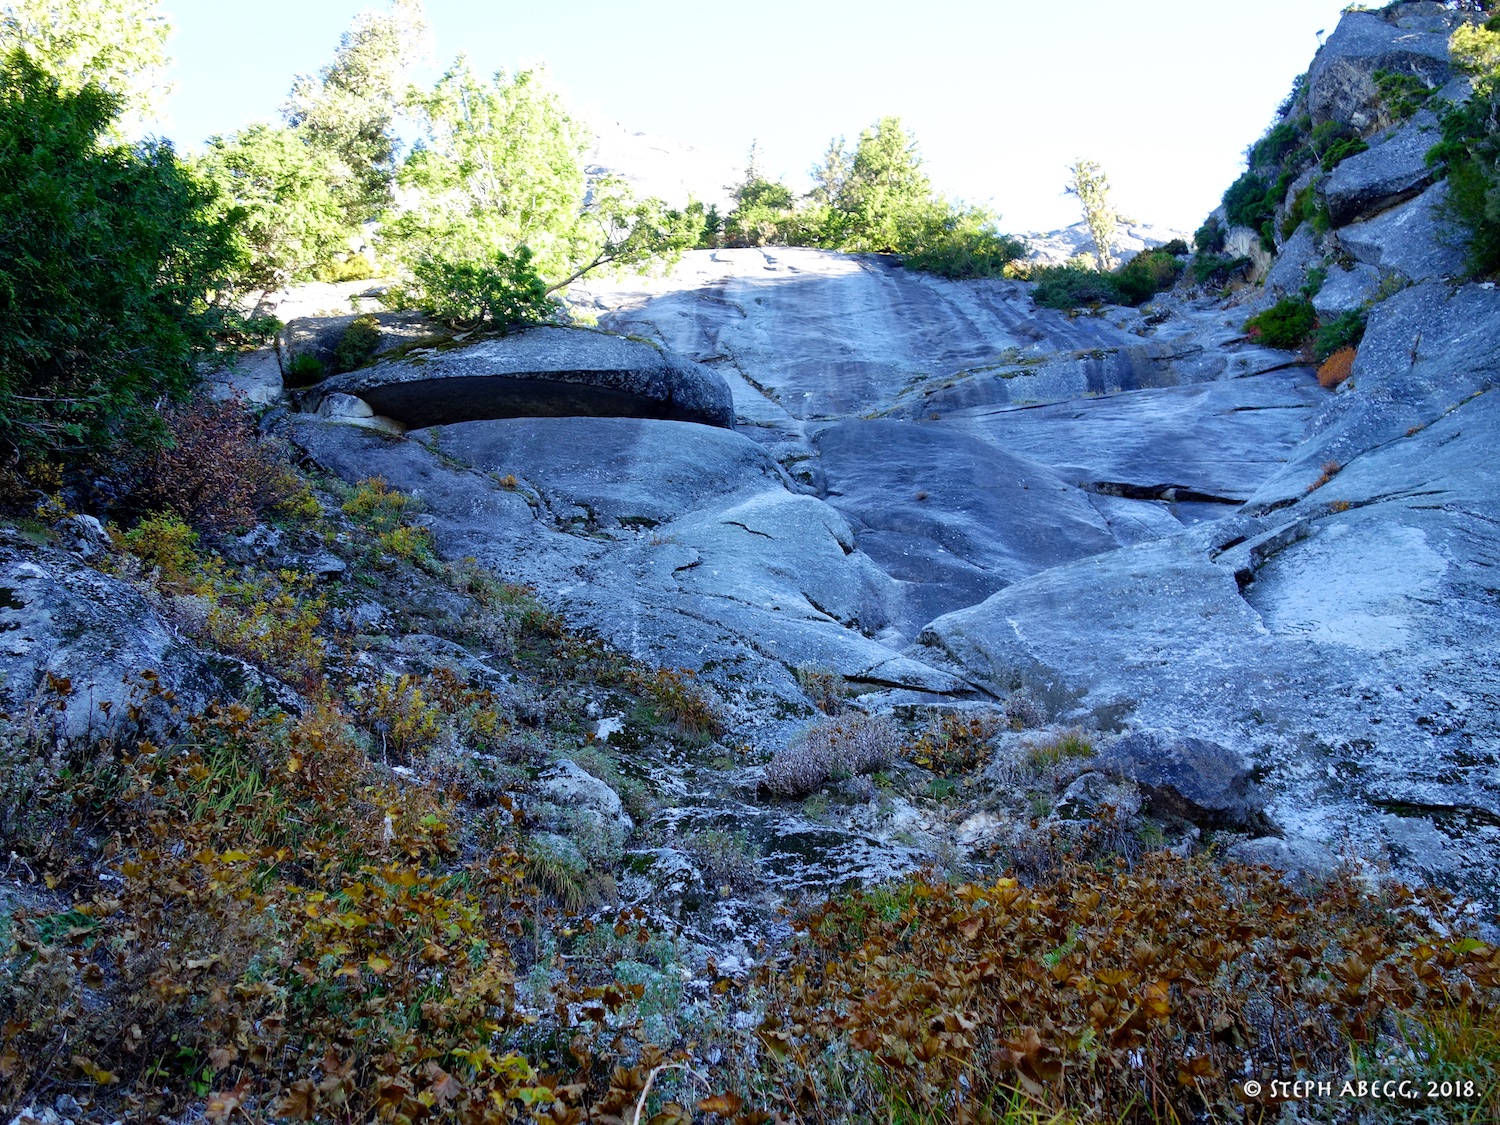
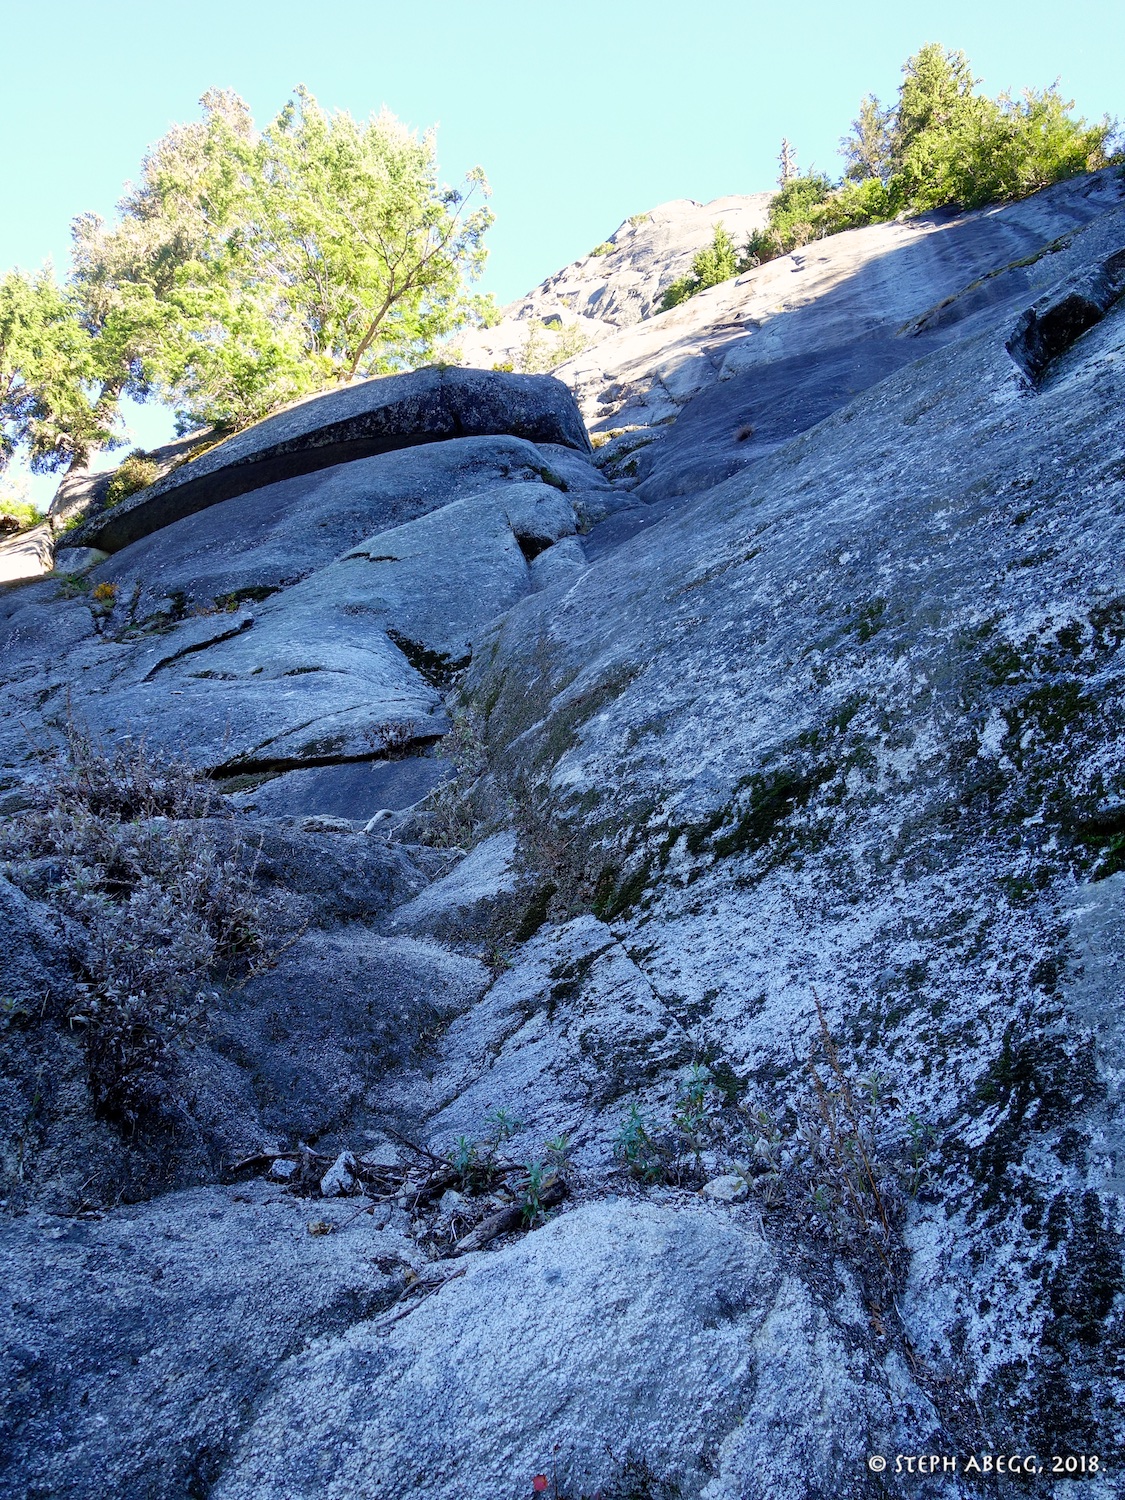
Start up the trail to Hannegan Pass. Just 5 minutes from the parking lot, leave the trail and hike up towards a giant white boulder (you can see this boulder in a clearing about 1 minute before you turn off the trail). Hike past the boulder, then cut left into steep timber. There is a climbers' path the entire way to the base of the route. See guidebook and mountainproject for more detail. The approach takes ~1 hour.
1.
2.
3.
4.
5.
6.
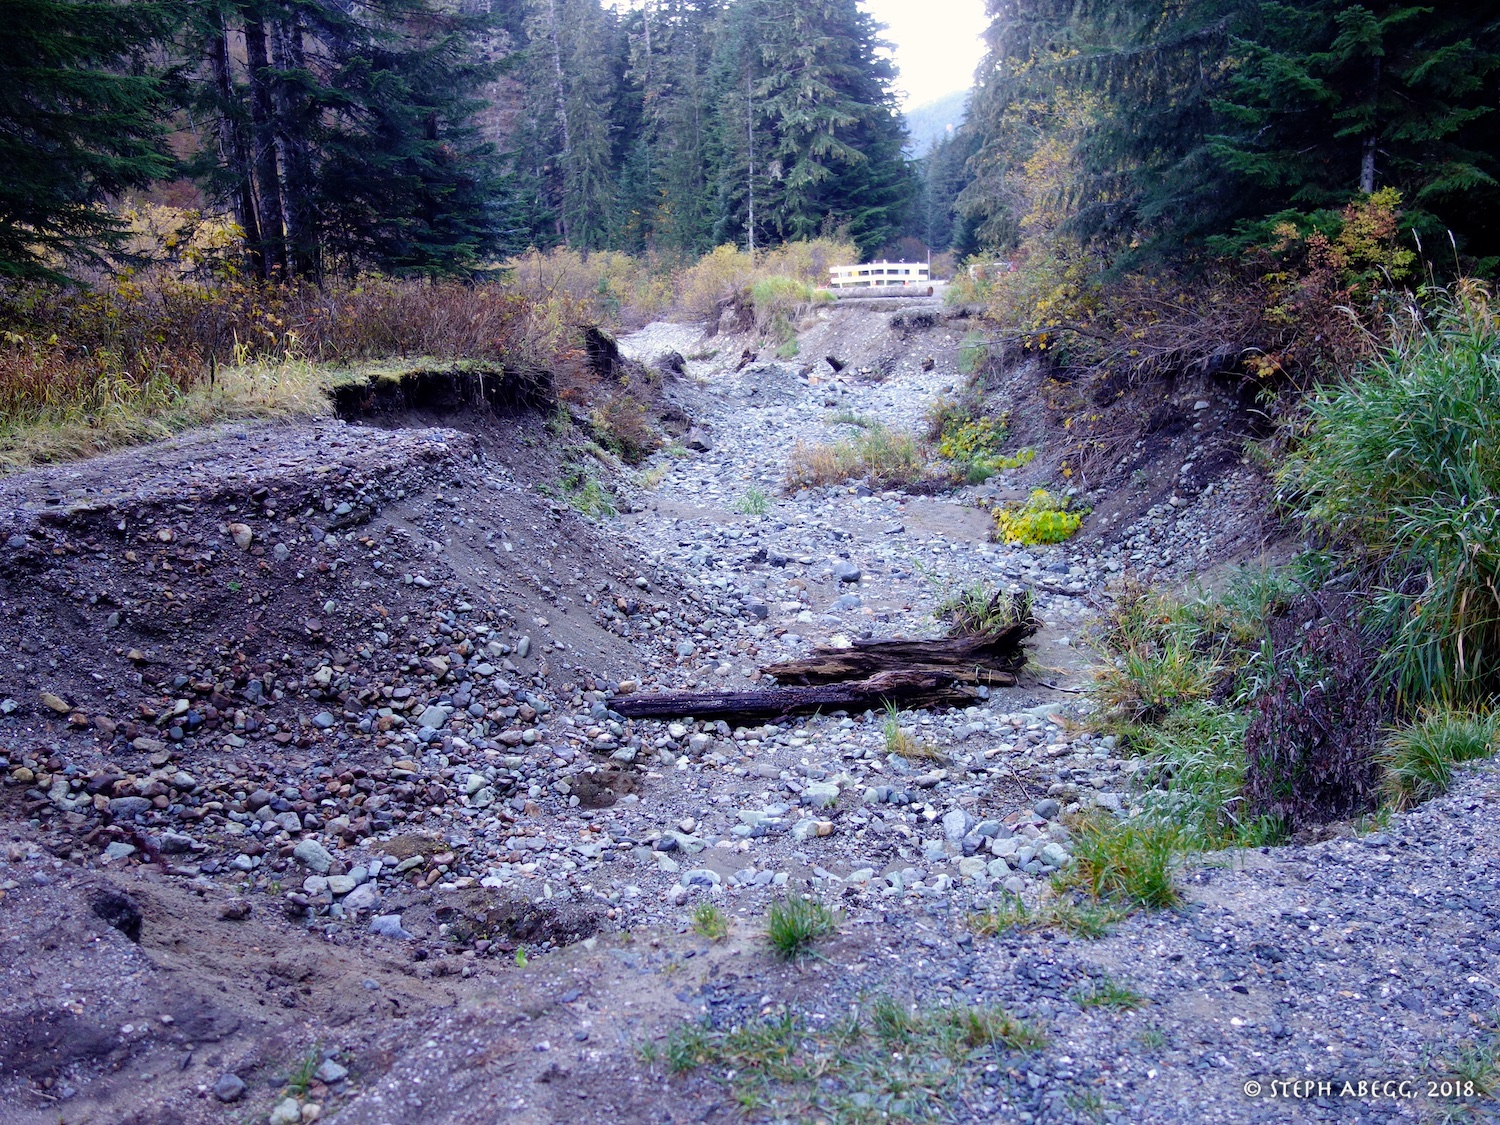
1.There is a washout just before the Hannegan Pass trailhead. This happened sometime between August 2017 (the last time I had been at the trailhead, when there had been no washout) and October 2018. Fortunately, the washout is just before the trailhead and you can park on the side of the road before the washout. My geologist friend Doug McKeever says this about the washout: "I believe that the washout is partly due to a large rockfall event that occurred about 3 years ago from the adjacent steep slope on the south toward Mount Sefrit. This rockfall, which stopped just short of one of the campsites, diverted Ruth Creek toward the road, significantly aiding the erosion during a recent flood of Ruth Creek "
2. This photo was taken about 4 minutes up the trail. Note the large boulder in the clearing and Mamie Peak above. In about a minute, you want to turn left and head up towards the boulder. 3. Within a minute after leaving the trail, you should encounter a wash which you ascend easily to the large boulder.
4. This photo was taken from the boulder looking up towards Mamie Peak. In about 50 feet (or so) look for a path cutting left through brush towards the timbered slope on the left. The path had been cut out (thanks!) so there was no 'shwacking required.
5. Follow a path up the steep timbered slope. The path is pretty easy to follow. There is some occasional flagging to help keep you on track. 6.Nearing the base of the route.
Pitch
1
5.8. Bolted groove to a spacious ledge. This pitch tends to collect dirt from the ledge above so probably will always be a bit grungy. I wouldn't complain about a couple of more bolts.....
7.
7. Looking up Pitch 1.
Pitch
2
5.10-. Climb a flake, then a thin crack, then some face moves to a bolted belay.
8.
9.
8. Looking up Pitch 2.
9. Looking down Pitch 2.
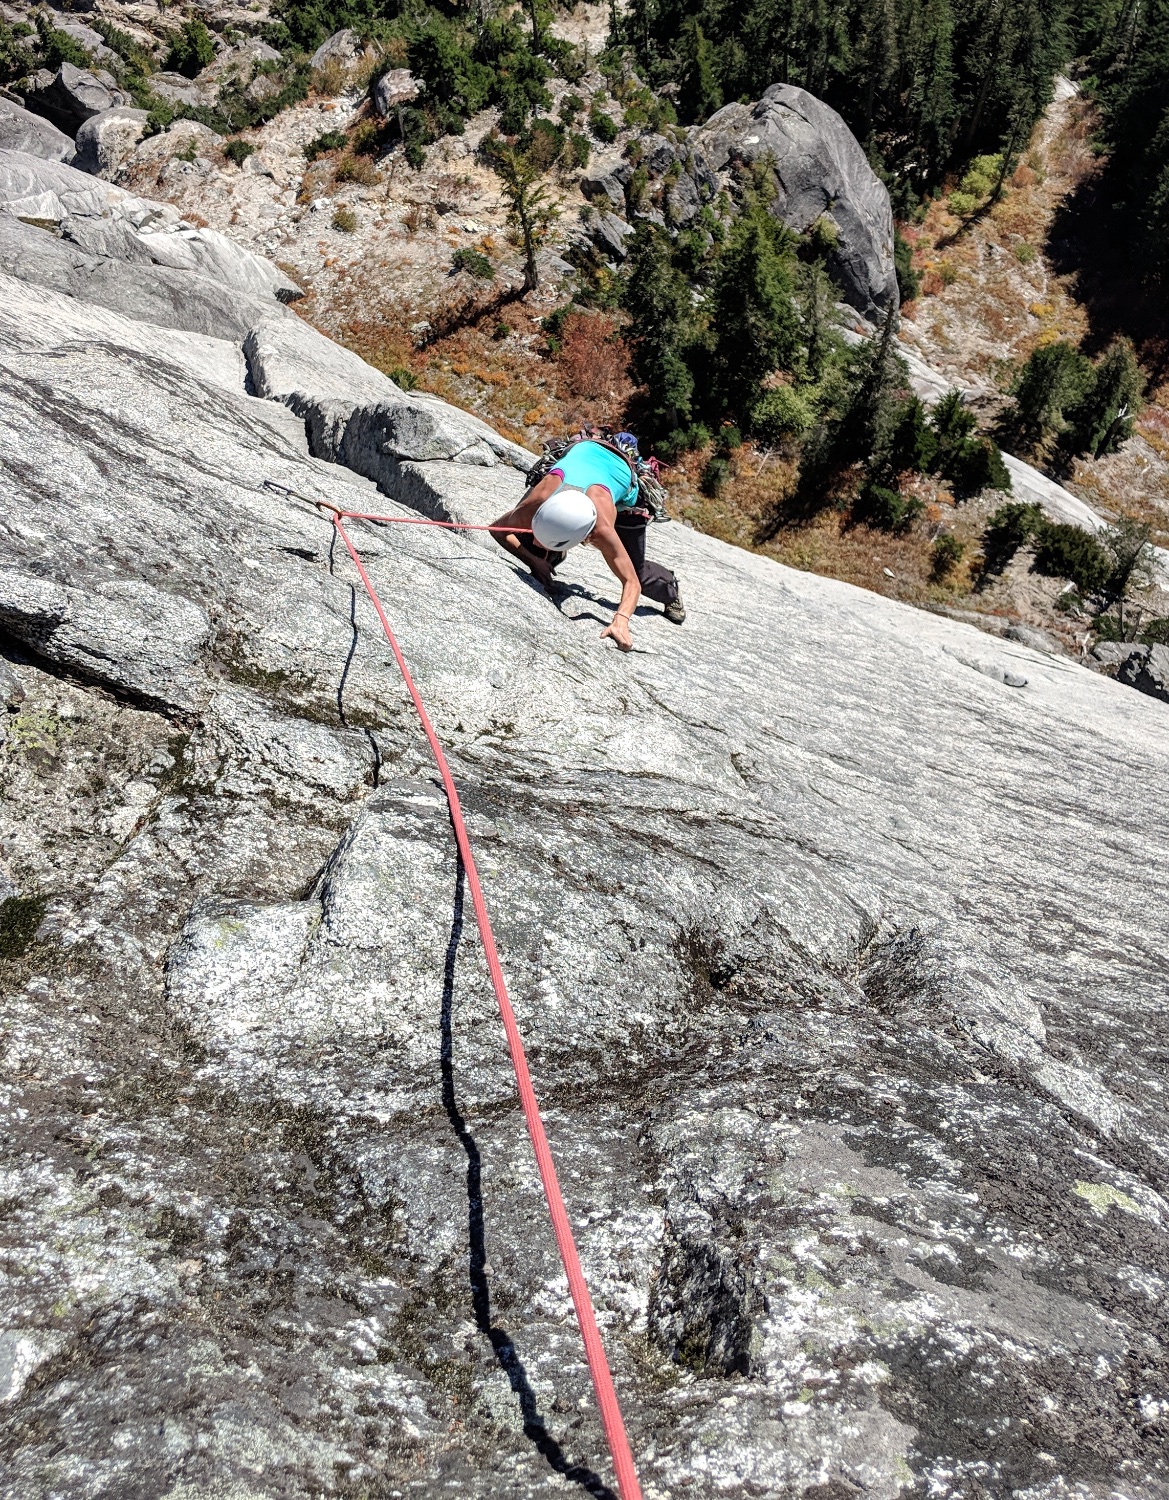
Pitch
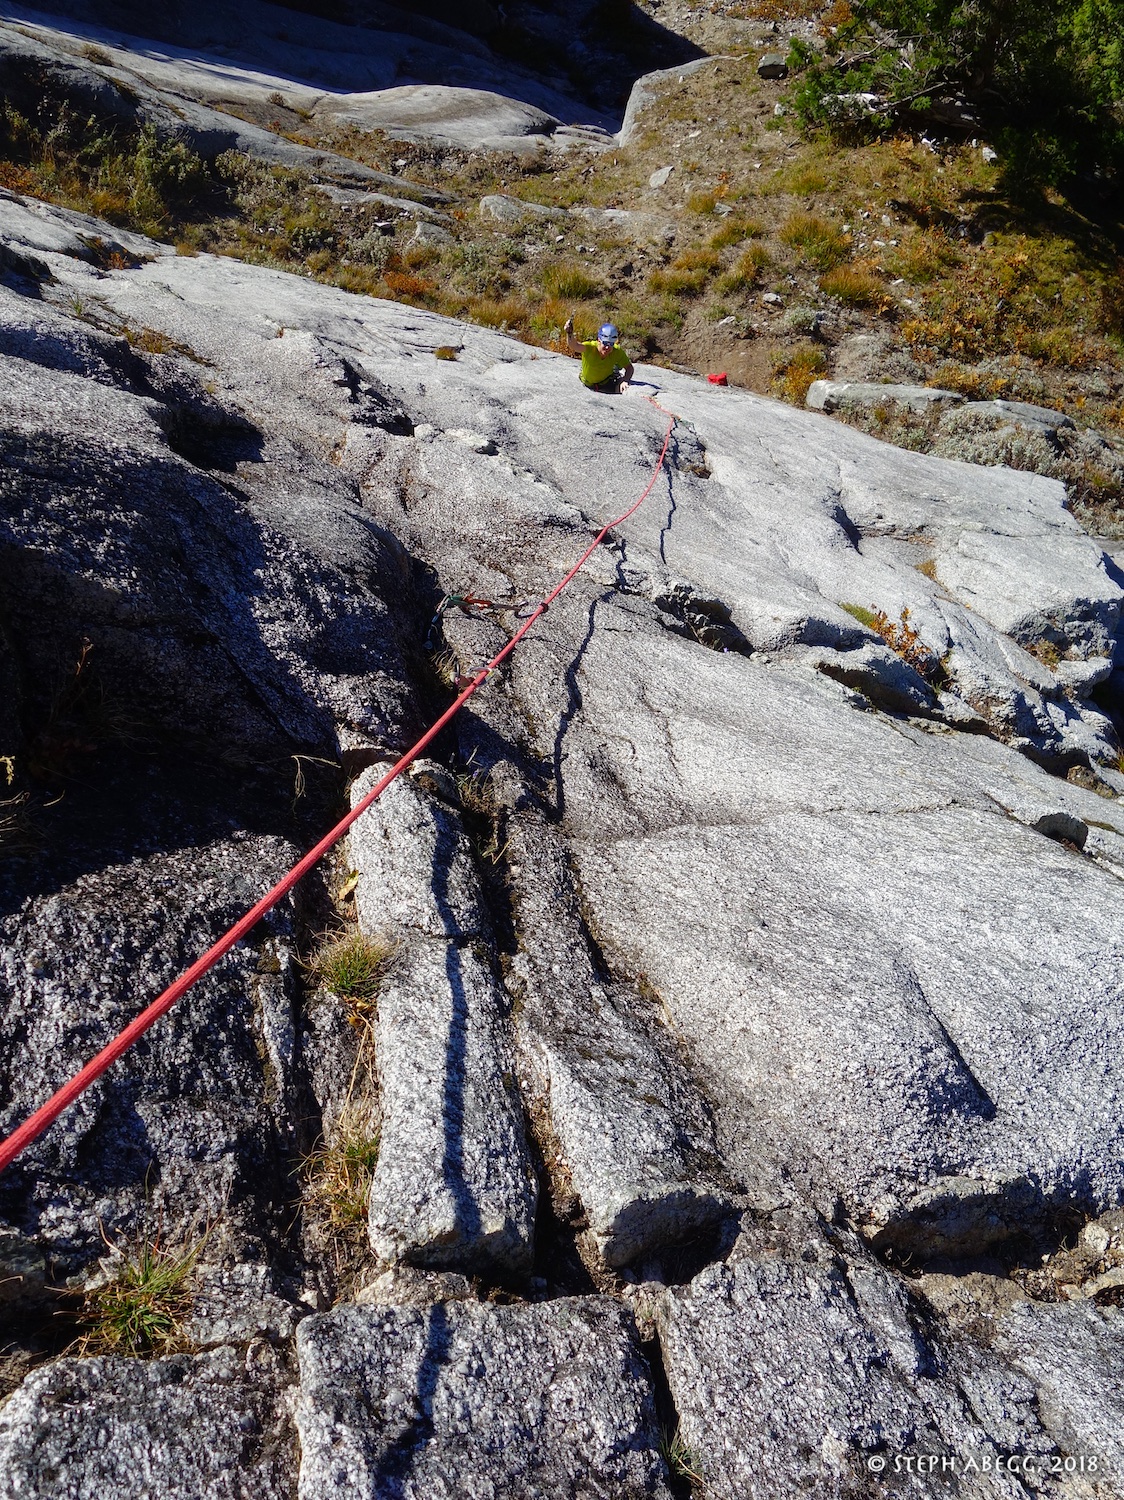
3
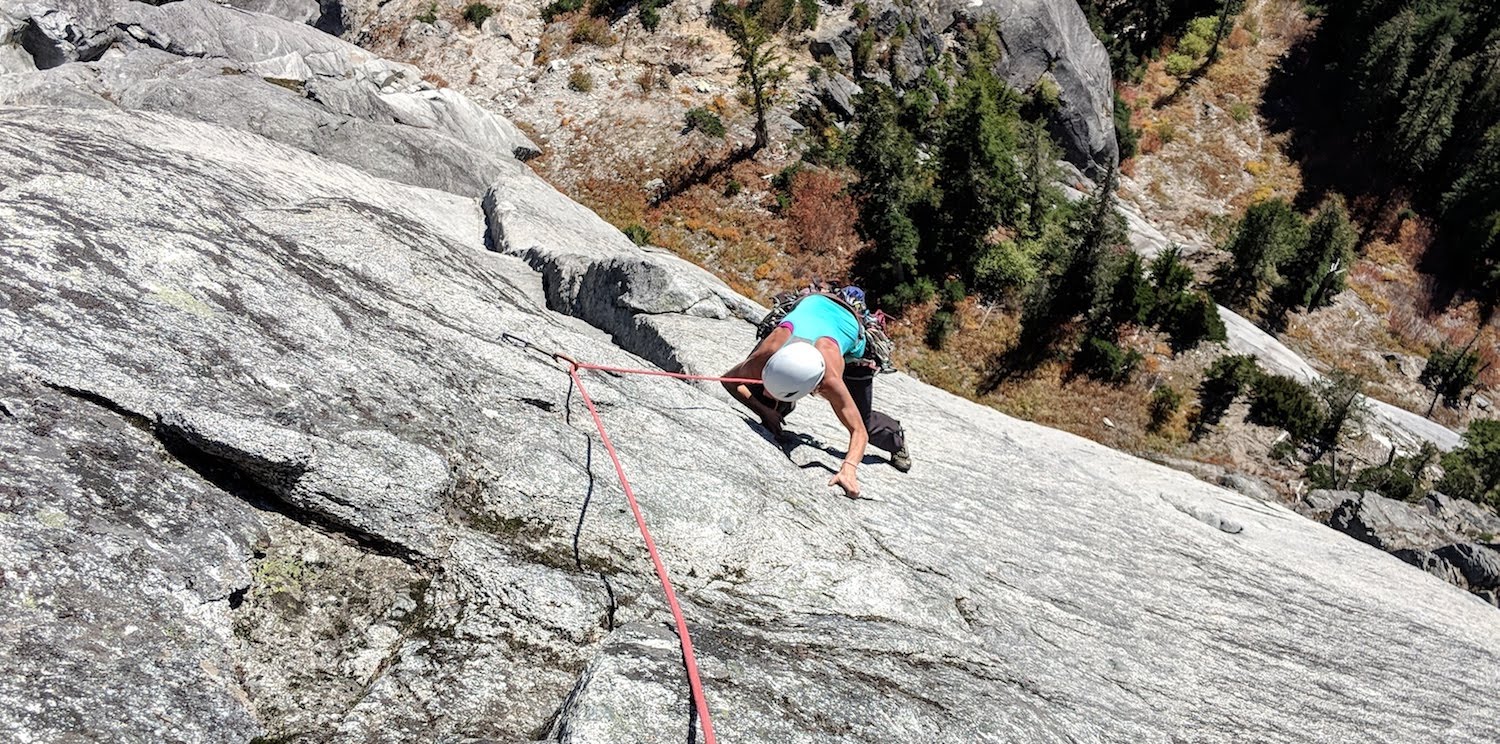
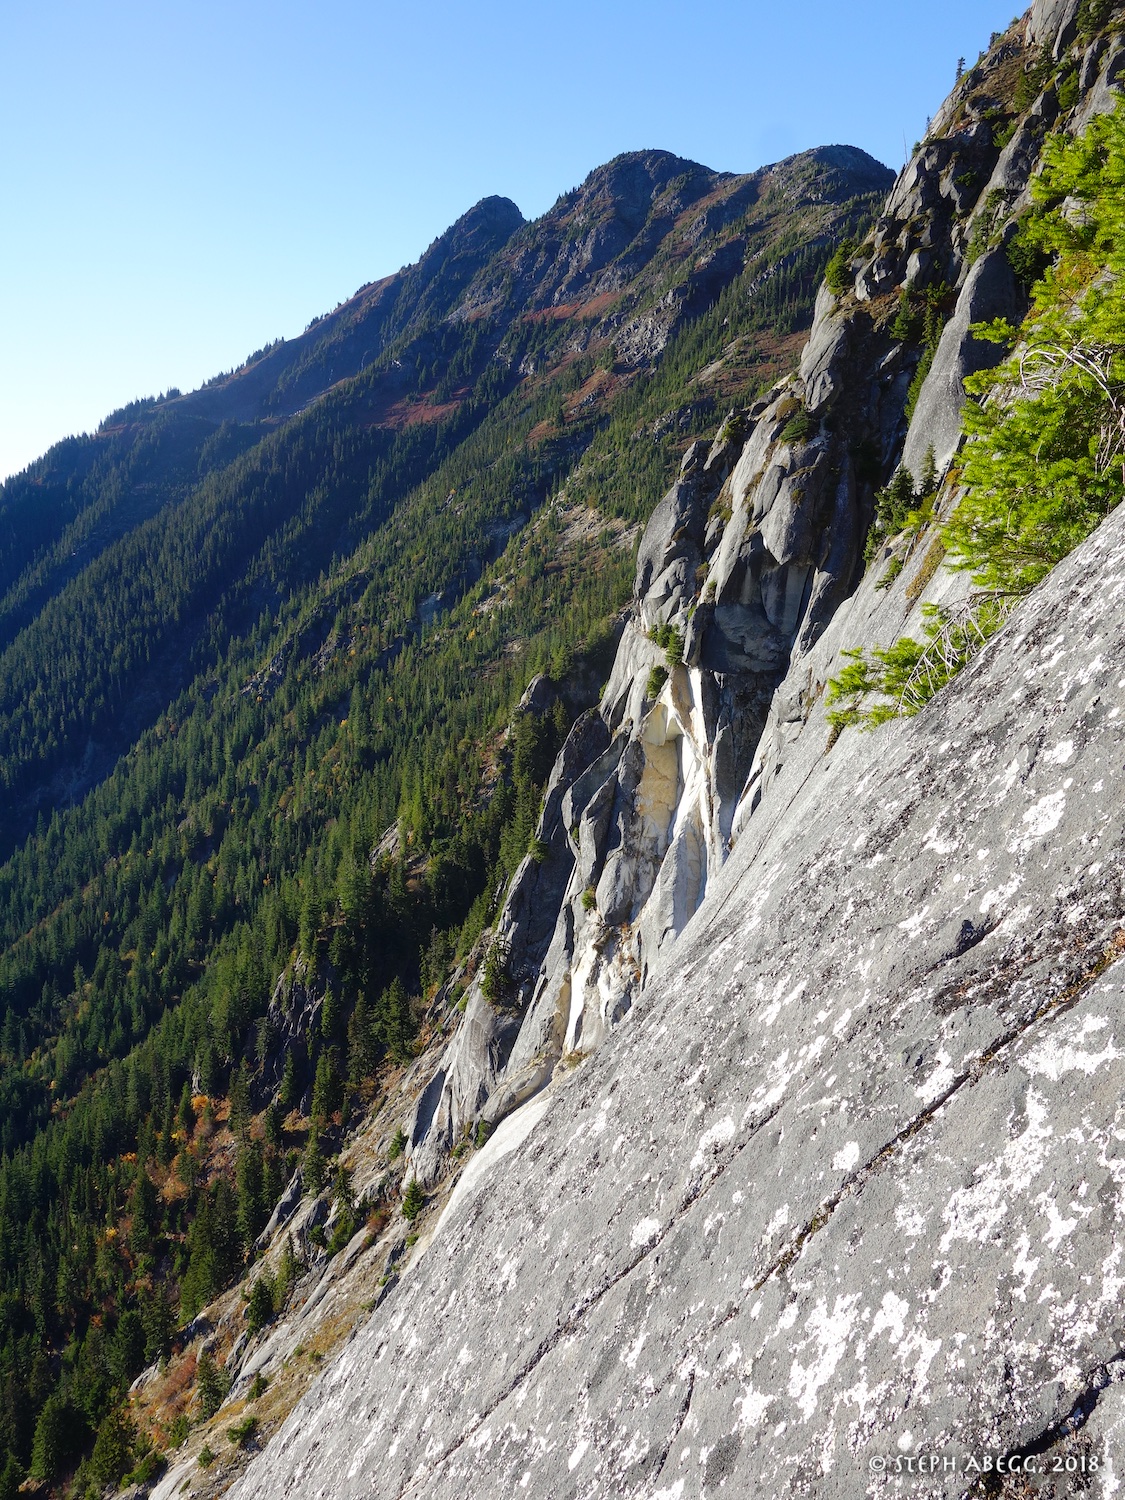
5.10+. Creep right across right-leaning seams (bolts and a few cams). Then climb directly up a steep face on desperate friction moves; there are just enough bolts to keep you safe, but they are spaced enough that you cannot just aid through this section. This was perhaps the headiest pitch of the climb for us. End at a large ledge and belay off a tree.
10.
10. Doug nearing the end of the rightwards traverse on Pitch 3, about to tackle the cruxy slabby finish.
Pitch
4
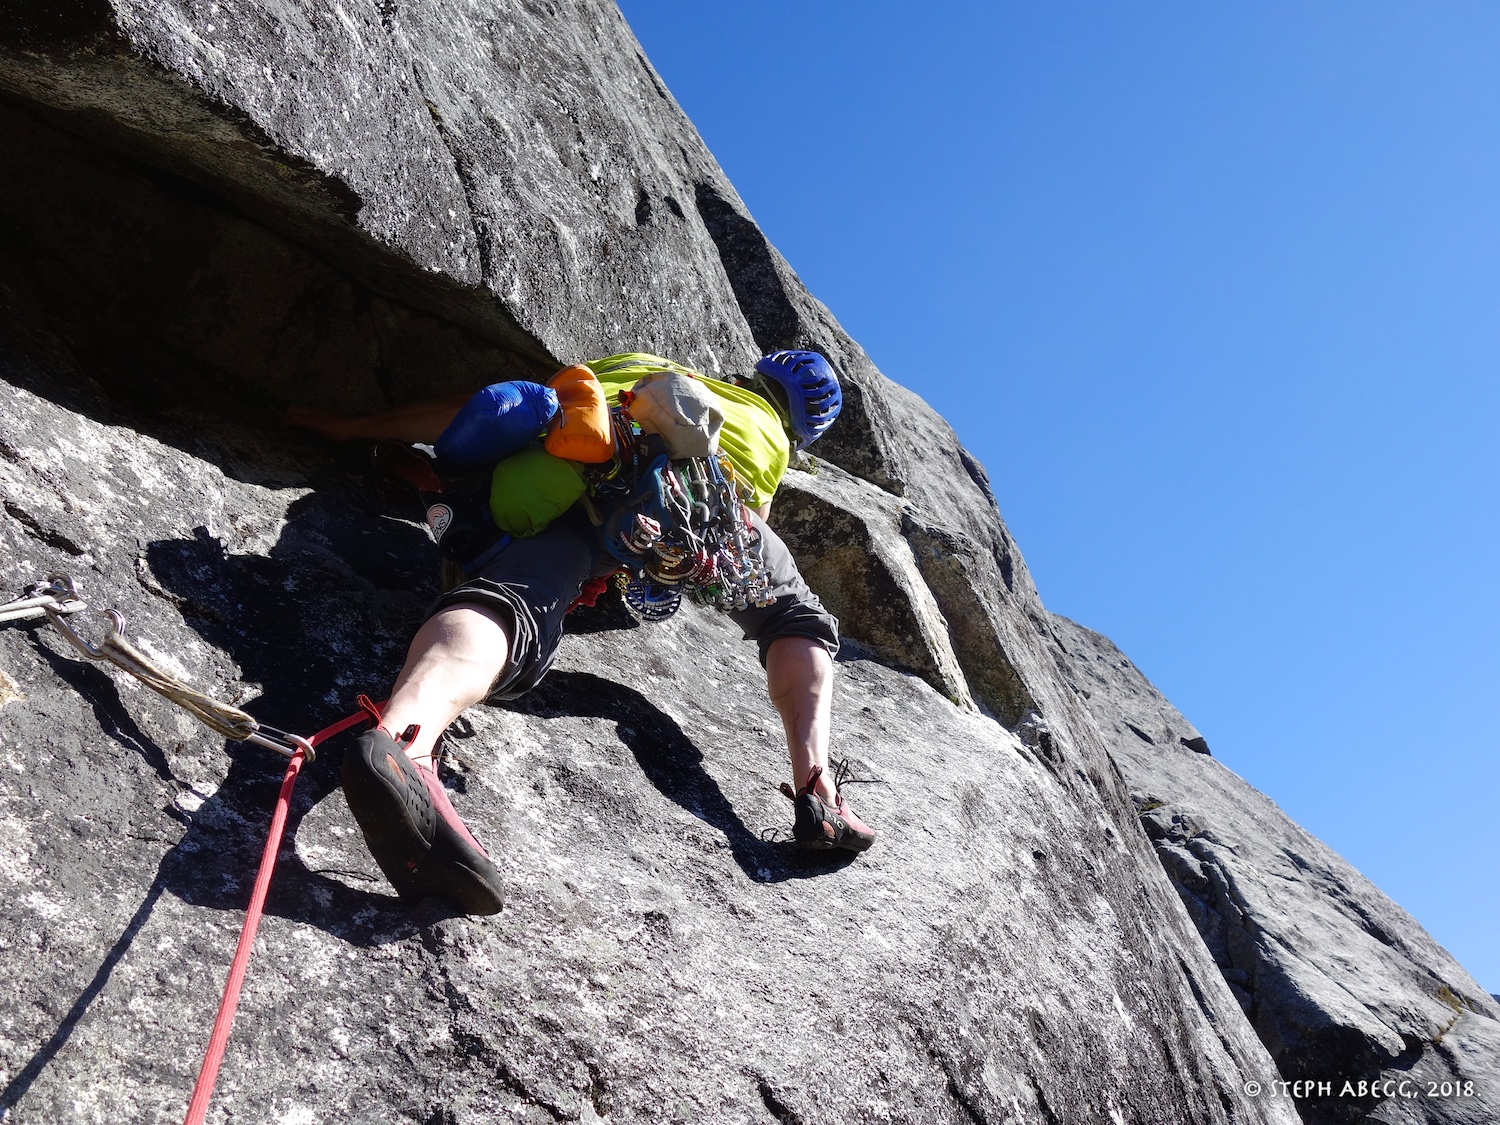
To get from the tree at the top of Pitch 3 to the base of Pitch 4, hike up and right through bushes towards the large wall above. Scramble (4th) up a ramp that cuts left to the base of Pitch 4. Look for a bolt just above eye-level below a small roof. Set a gear belay. 5.10. Climb nearly straight right on cool knobs, and then climb up and right on face holds. This pitch is well-bolted.
11.
12.
13.
14.
15.
11. Looking up towards the steep wall above Pitch 3. This photo shows where Pitch 4 starts and how to get there.
12. The 3rd/4th class ramp to the belay spot at the base of Pitch 4.
13. Doug starting up Pitch 4.
14. Doug on Pitch 4. 15.Me on the second half of Pitch 4. Face climbing is not my comfort zone, but it can be pretty rewarding once you are on top of the pitch looking down at the steep featureless face you just ascended.
Pitch
5
5.9. Head up a corner and finish with a short bolted layback. This pitch features the most "crack climbing" of any pitch on the route.
16.
17.
18.
19.
20.
21.
16. Looking up Pitch 5 from the belay anchor.
17. Looking down the beginning of Pitch 5 while on lead.
18. Doug nearing the top of Pitch 5, at the layback section.
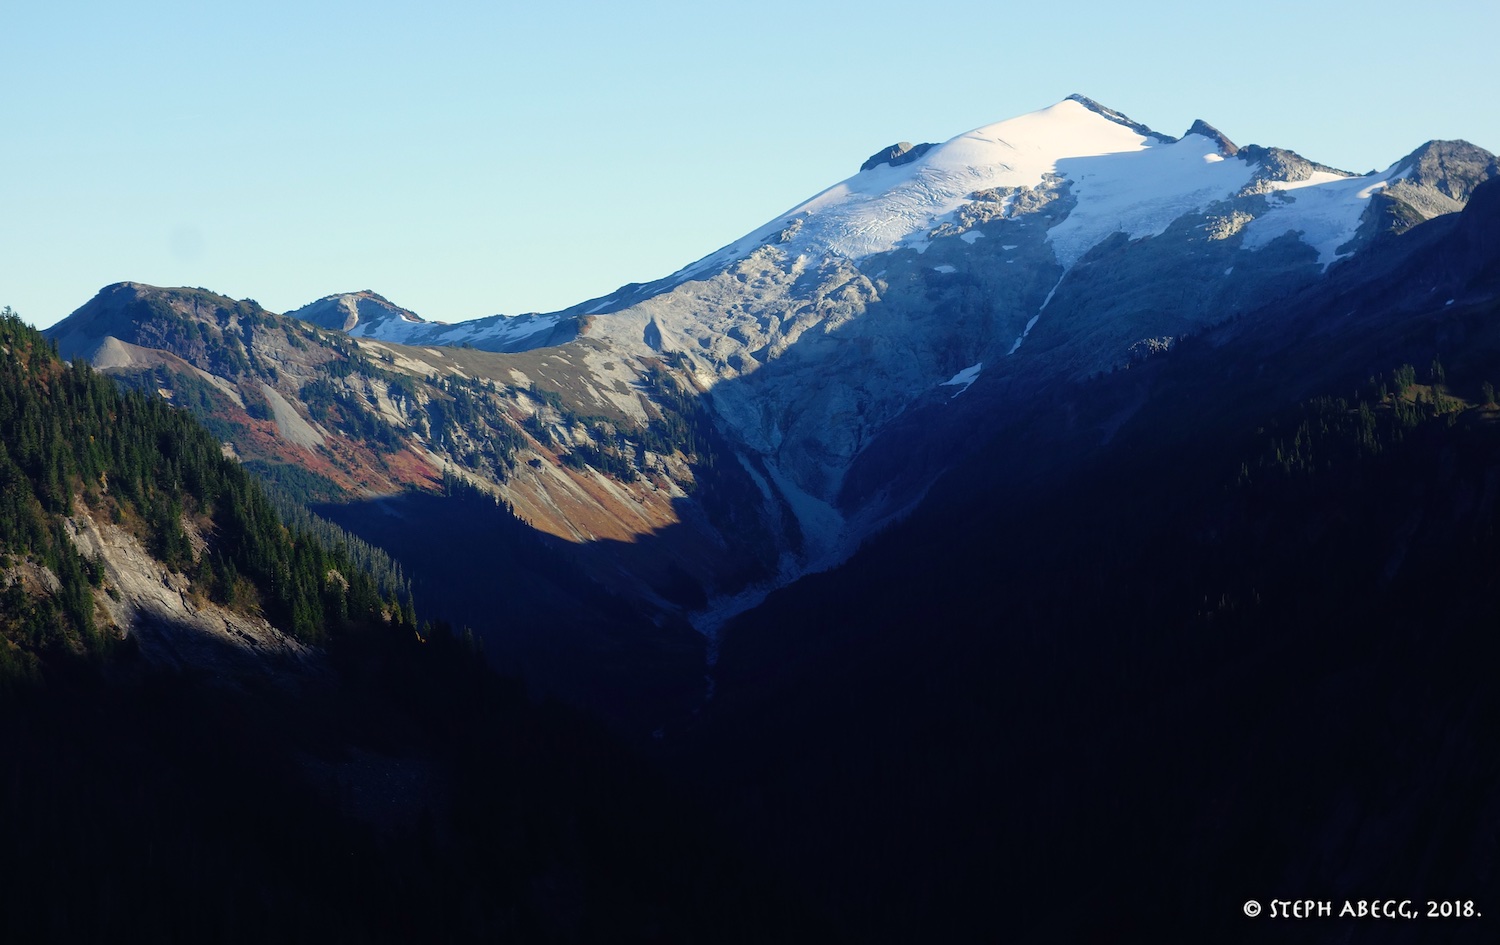
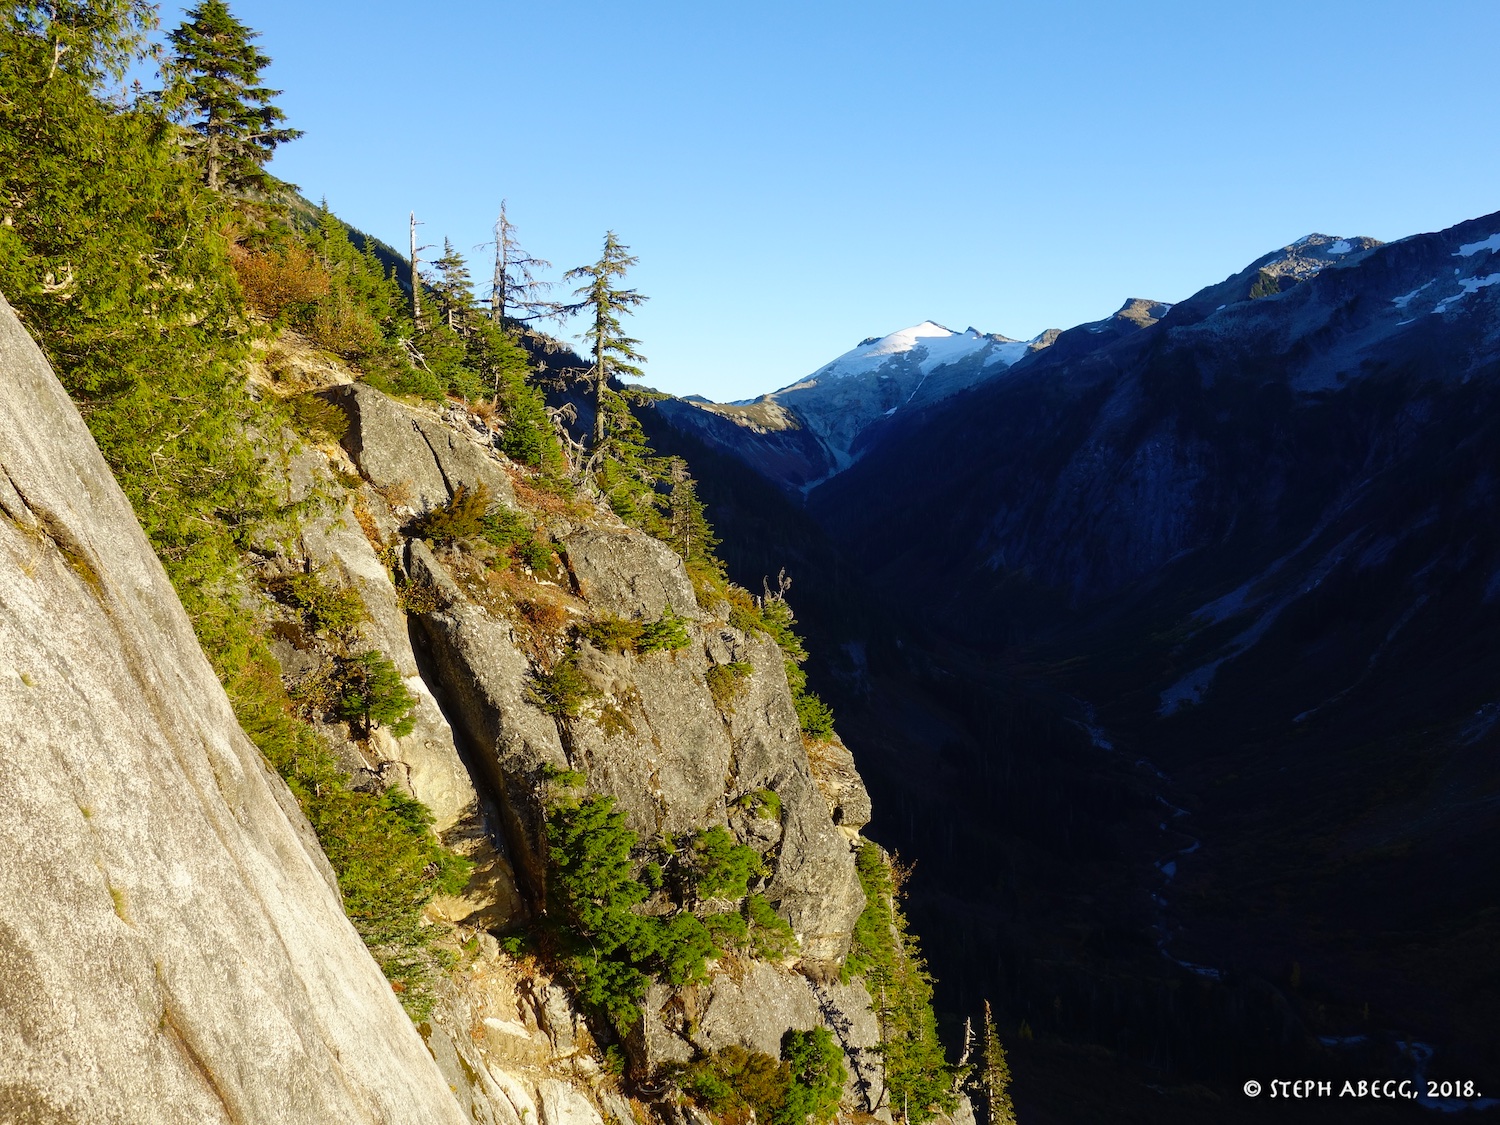
19. View to the east towards Ruth Mountain. This area is always beautiful, but has a special beauty in the fall. I have fond memories of hikes with my parents up to Hannegan Pass and Peak on fall weekends.
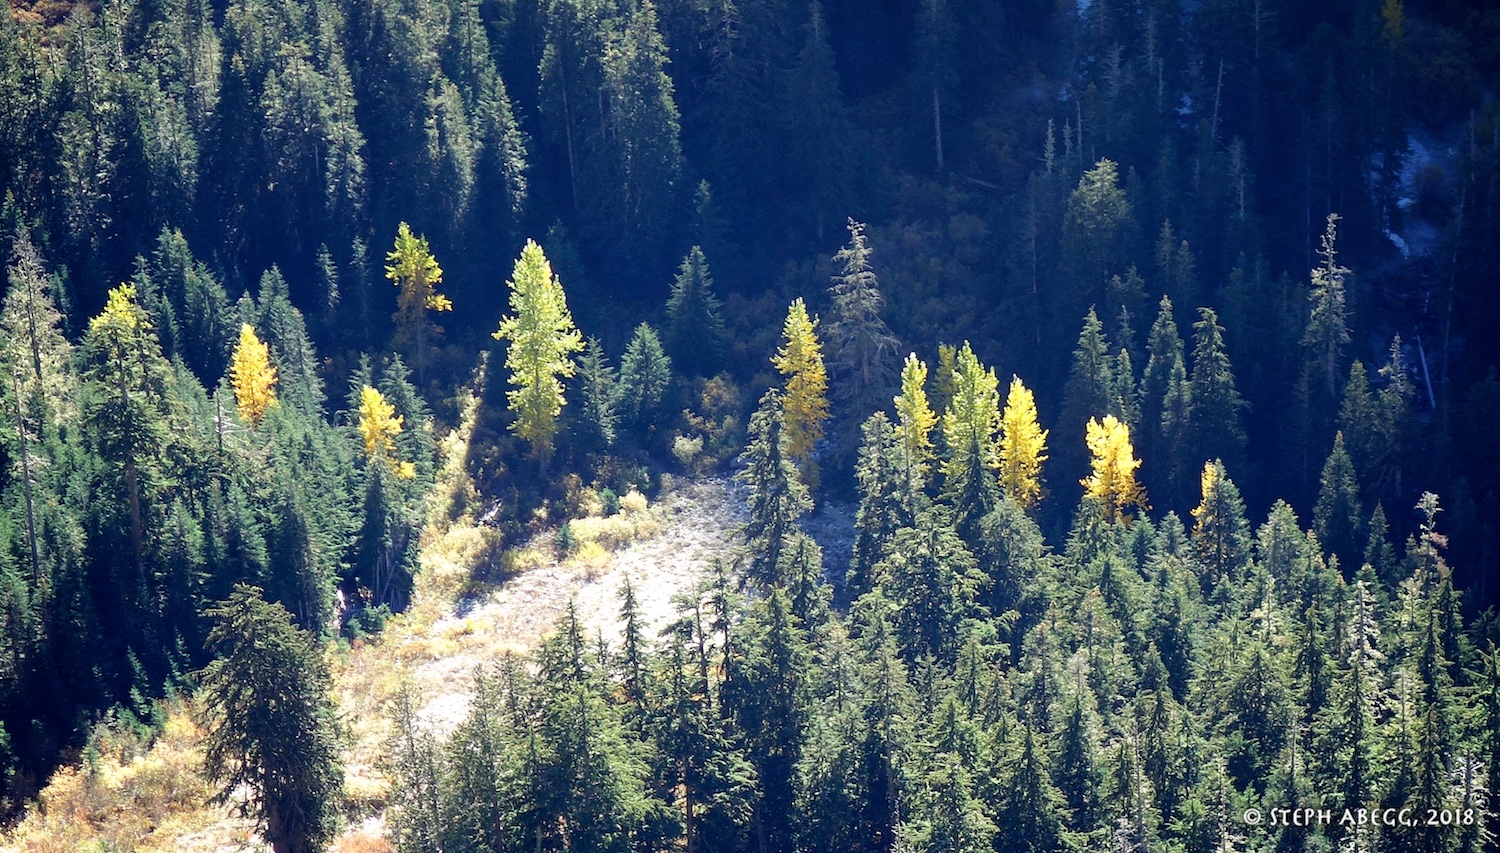
20. Ruth Mountain. I think being back in this area subliminally inspired me to repeat some of the dayhike memories with my parents, since the following weekend I did a dayhike with my mom involving a climb of Ruth Mountain. 21.Some yellow trees in the forest below.
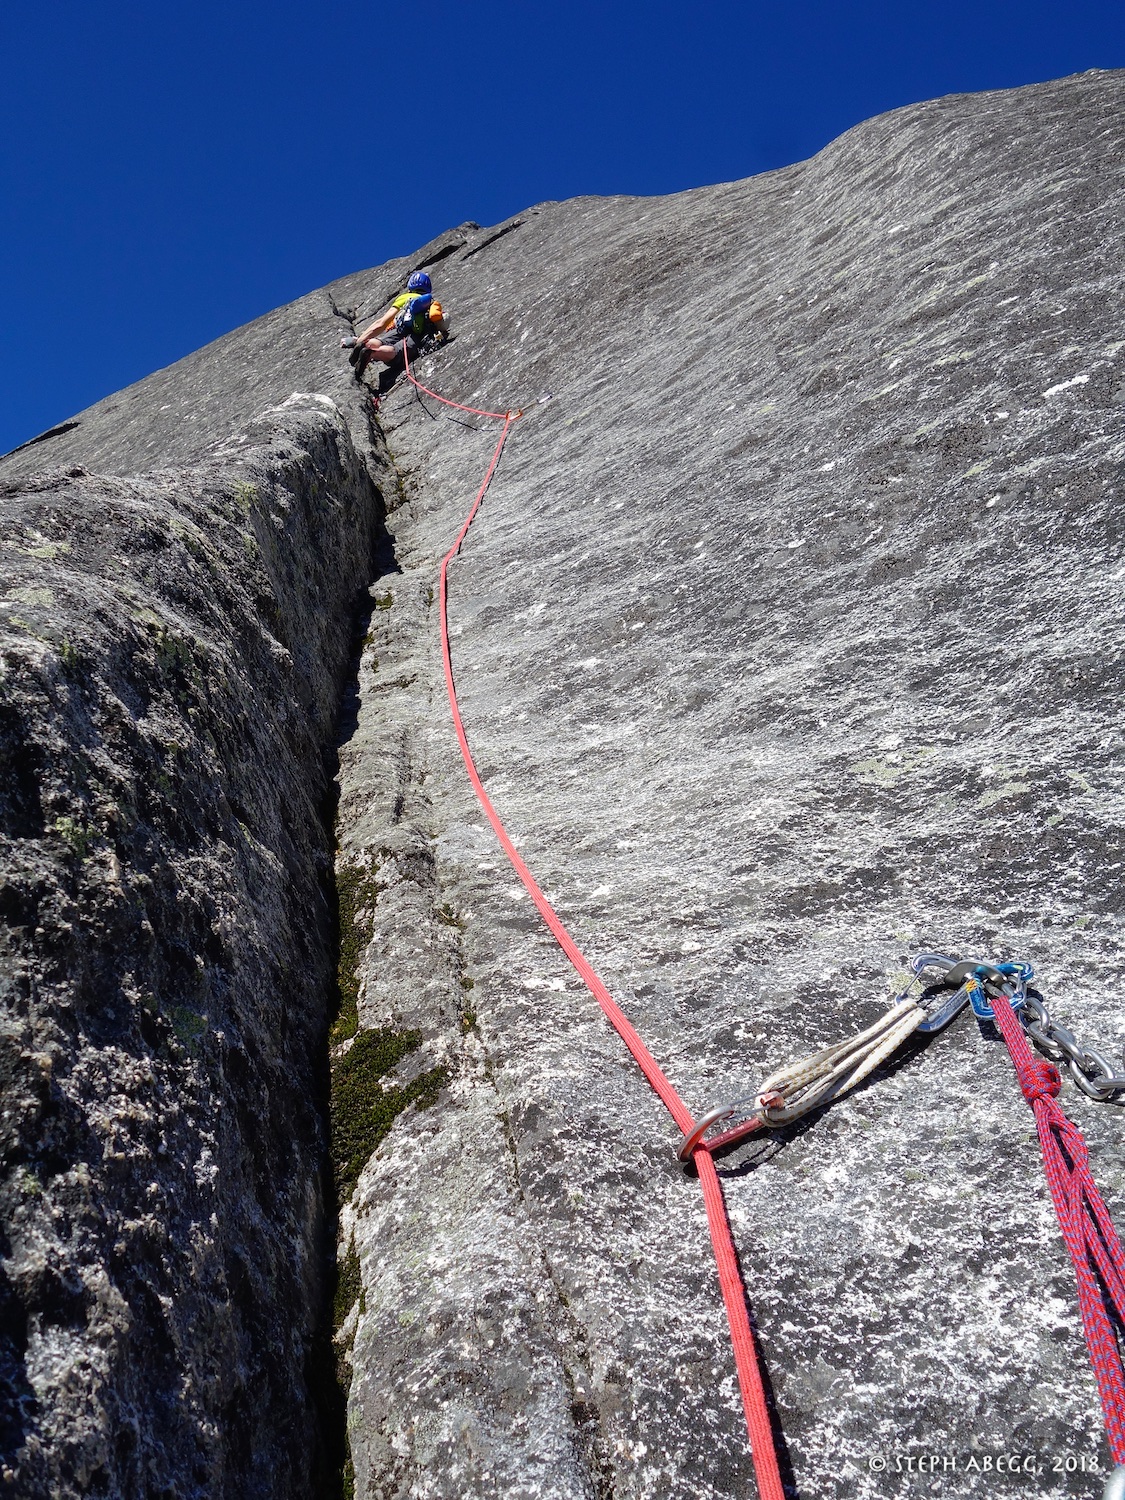
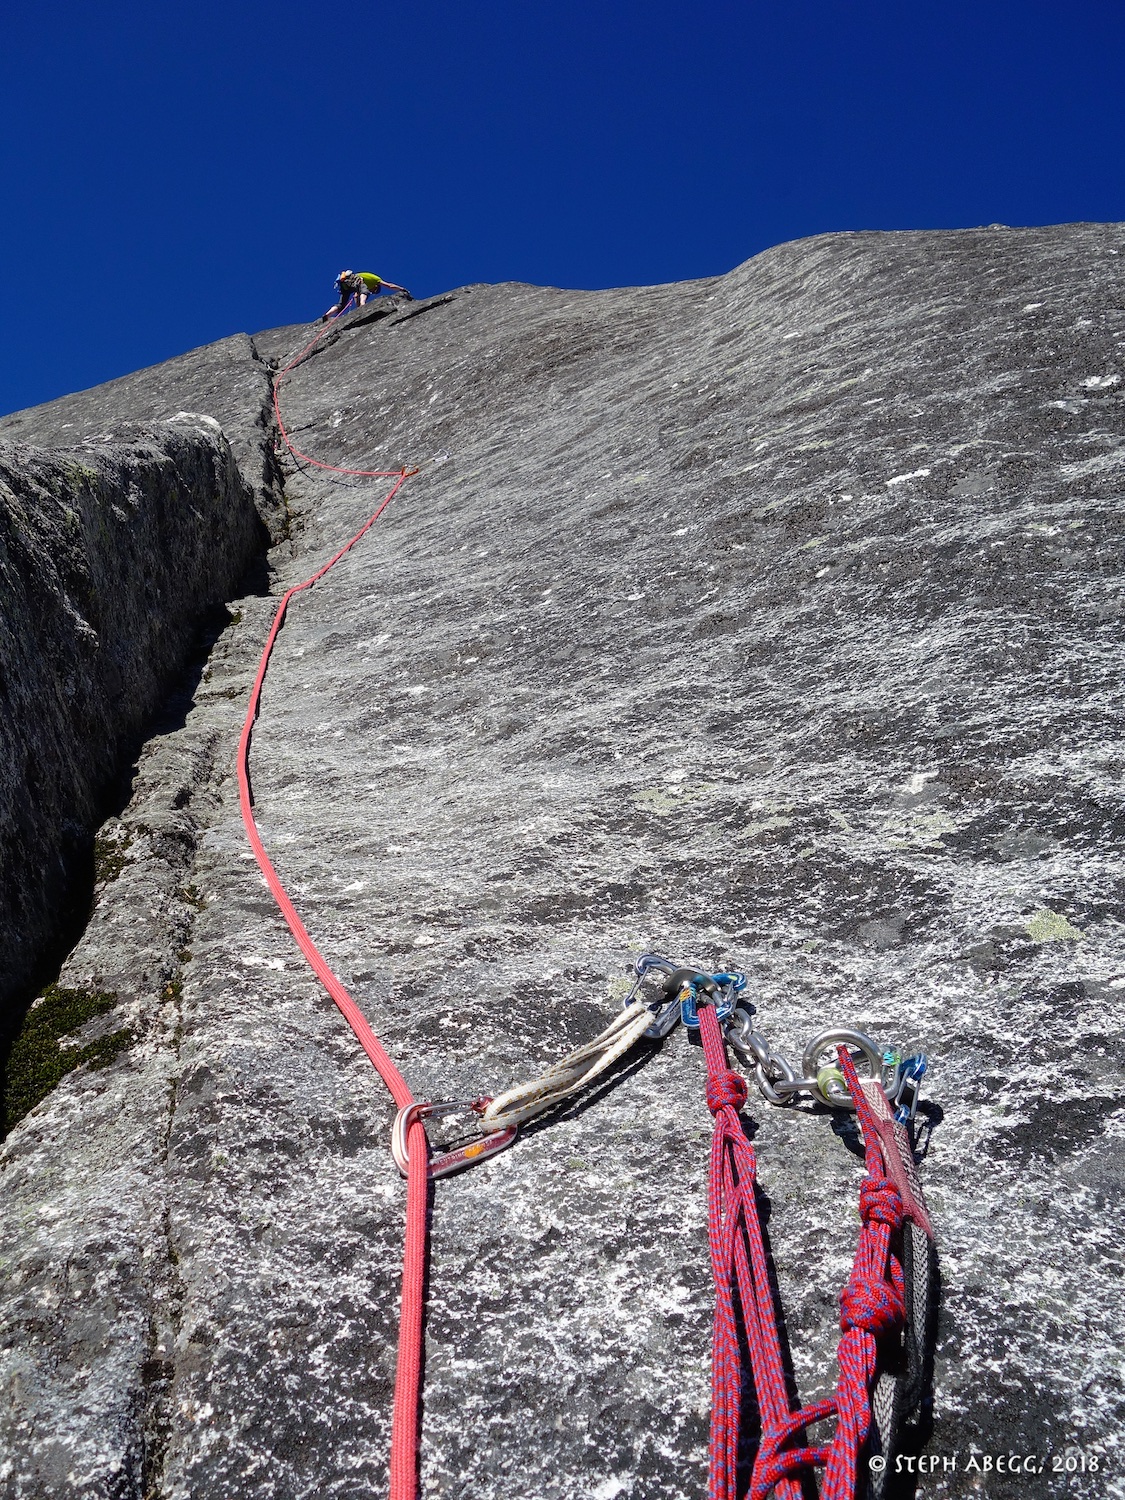
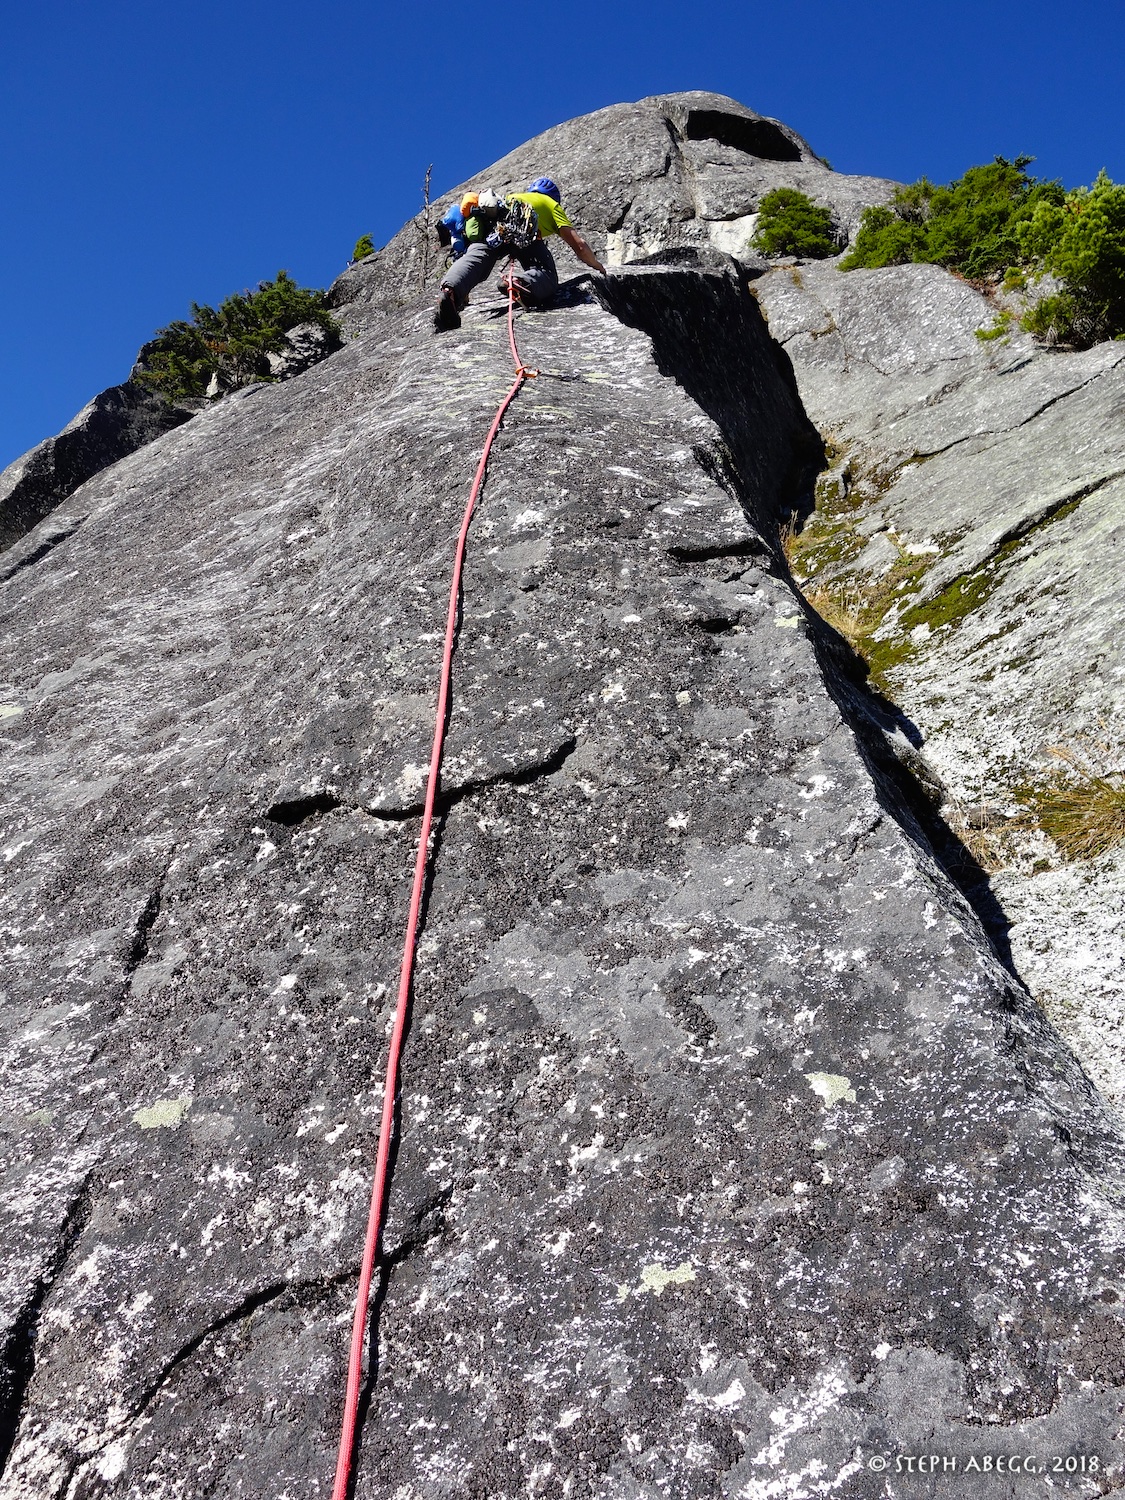
Pitch
6
5.10-.Climb a 5.7 ramp/corner (gear is sparse but there is a protection bolt and a couple of cams along the way); at the end of the corner, climb a steep bolted face to the belay. There were a few heady moves above gear, but not too bad.
22.
23.
24.
25.
22. Looking up the slabby 5.7 ramp/corner.
23. Doug on the final face moves before the belay.
24. Looking down the corner. It is a beautiful corner.
25. Me on the final face moves before the belay.
Pitch
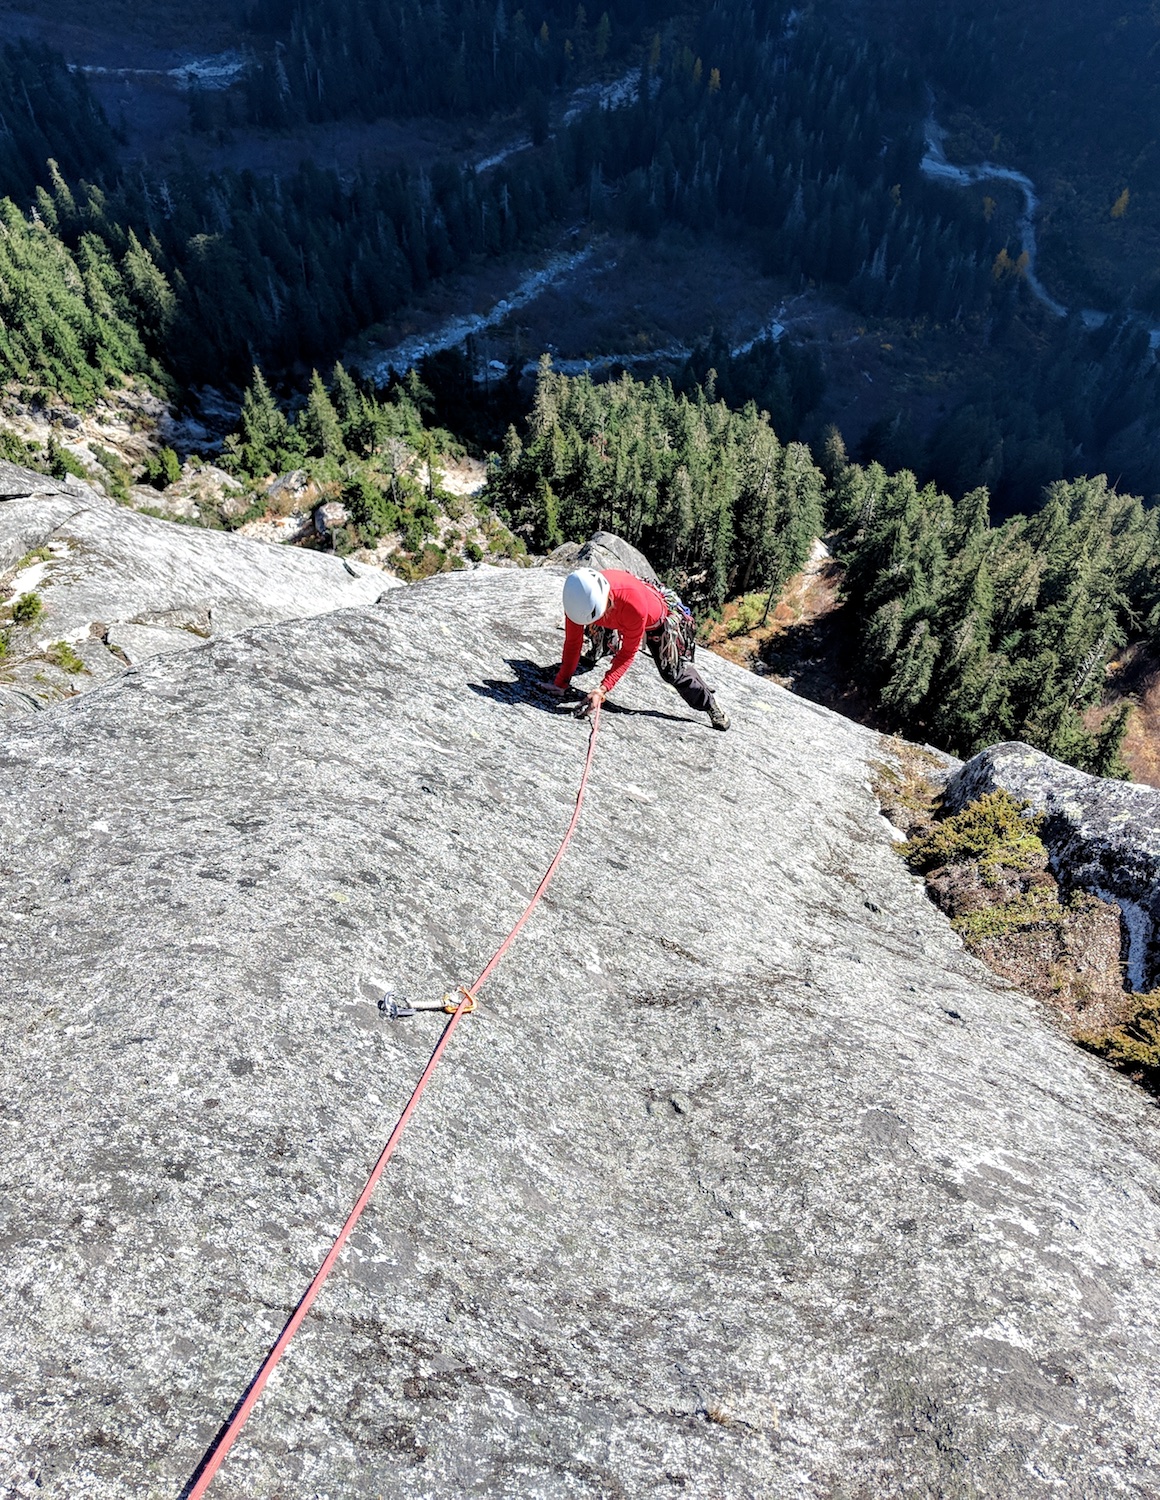
7
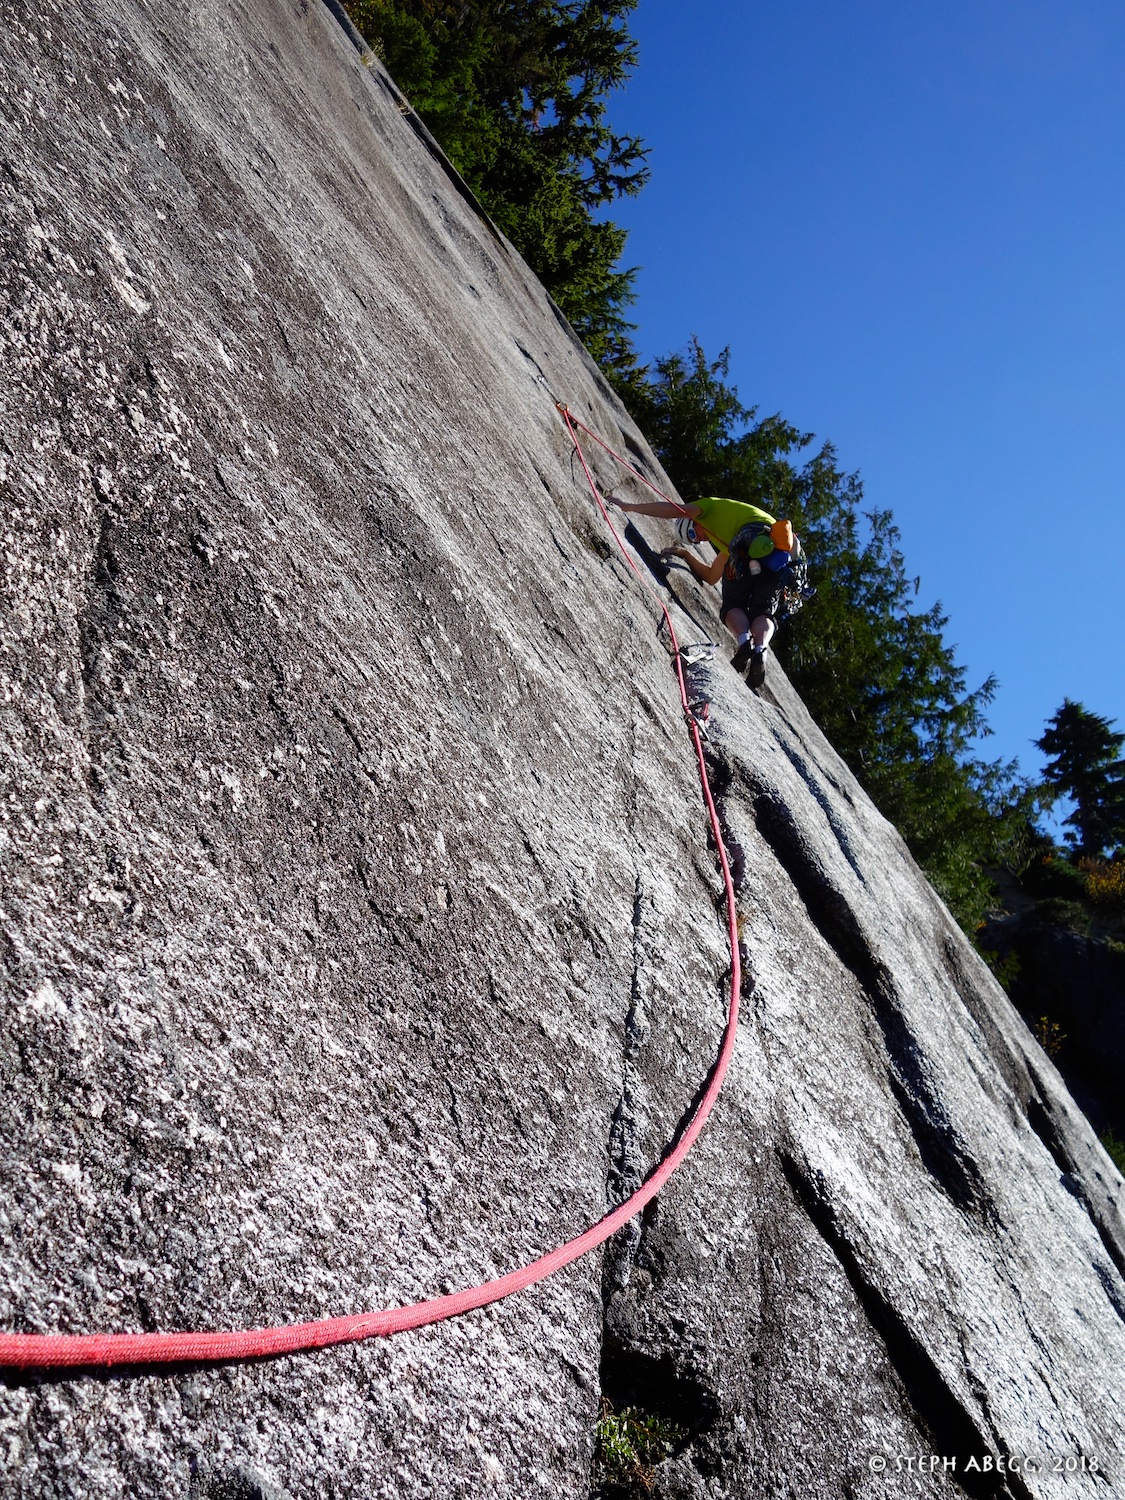
5.10+. Sustained friction climbing. Bolted with a few small cams in a short flake feature.
26.
27.
26.Doug padding up the bolted friction slab.
27. Me following in his footsteps.
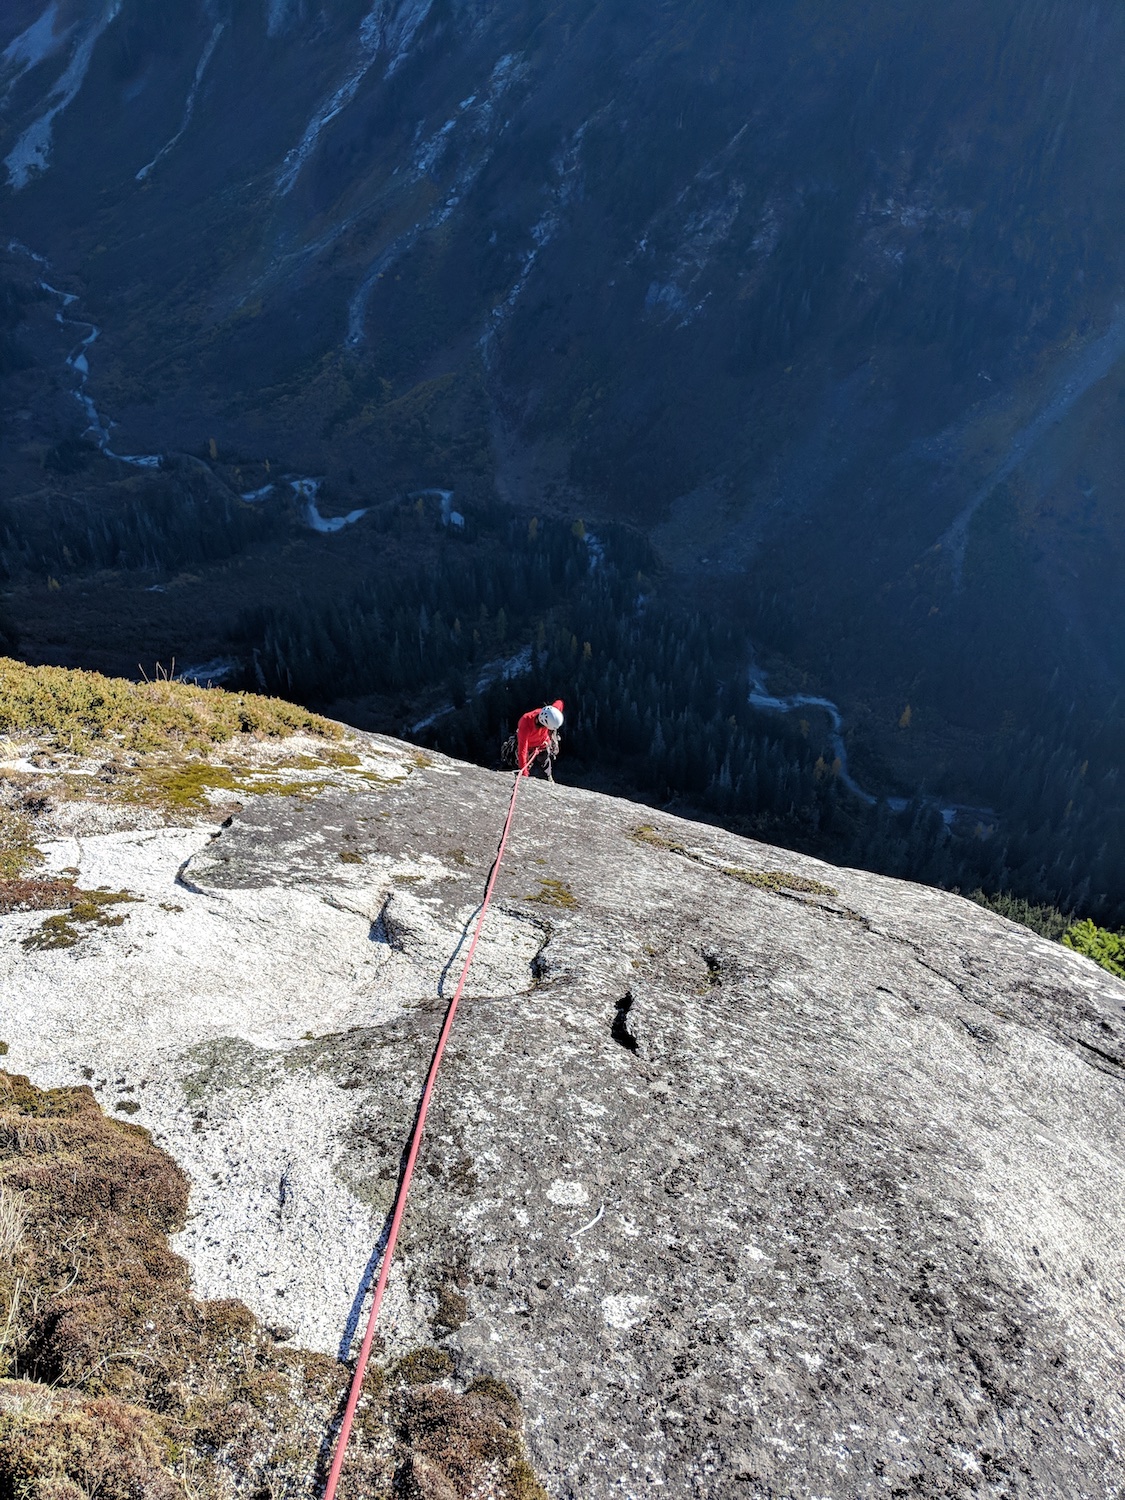
Pitch
8
5.11a or 5.10 A0.Climb a steep juggy face (2 bolts) and climb into a flaring corner which which slabs out onto the top of the wall. We didn't really identify where the "5.11a overlap" was. This pitch felt much more mentally mellow than Pitch 3 (or Pitch 4 or 6), as every single move was easily protected.
28. 29.
28.Doug on the steep moves at the start of the pitch.
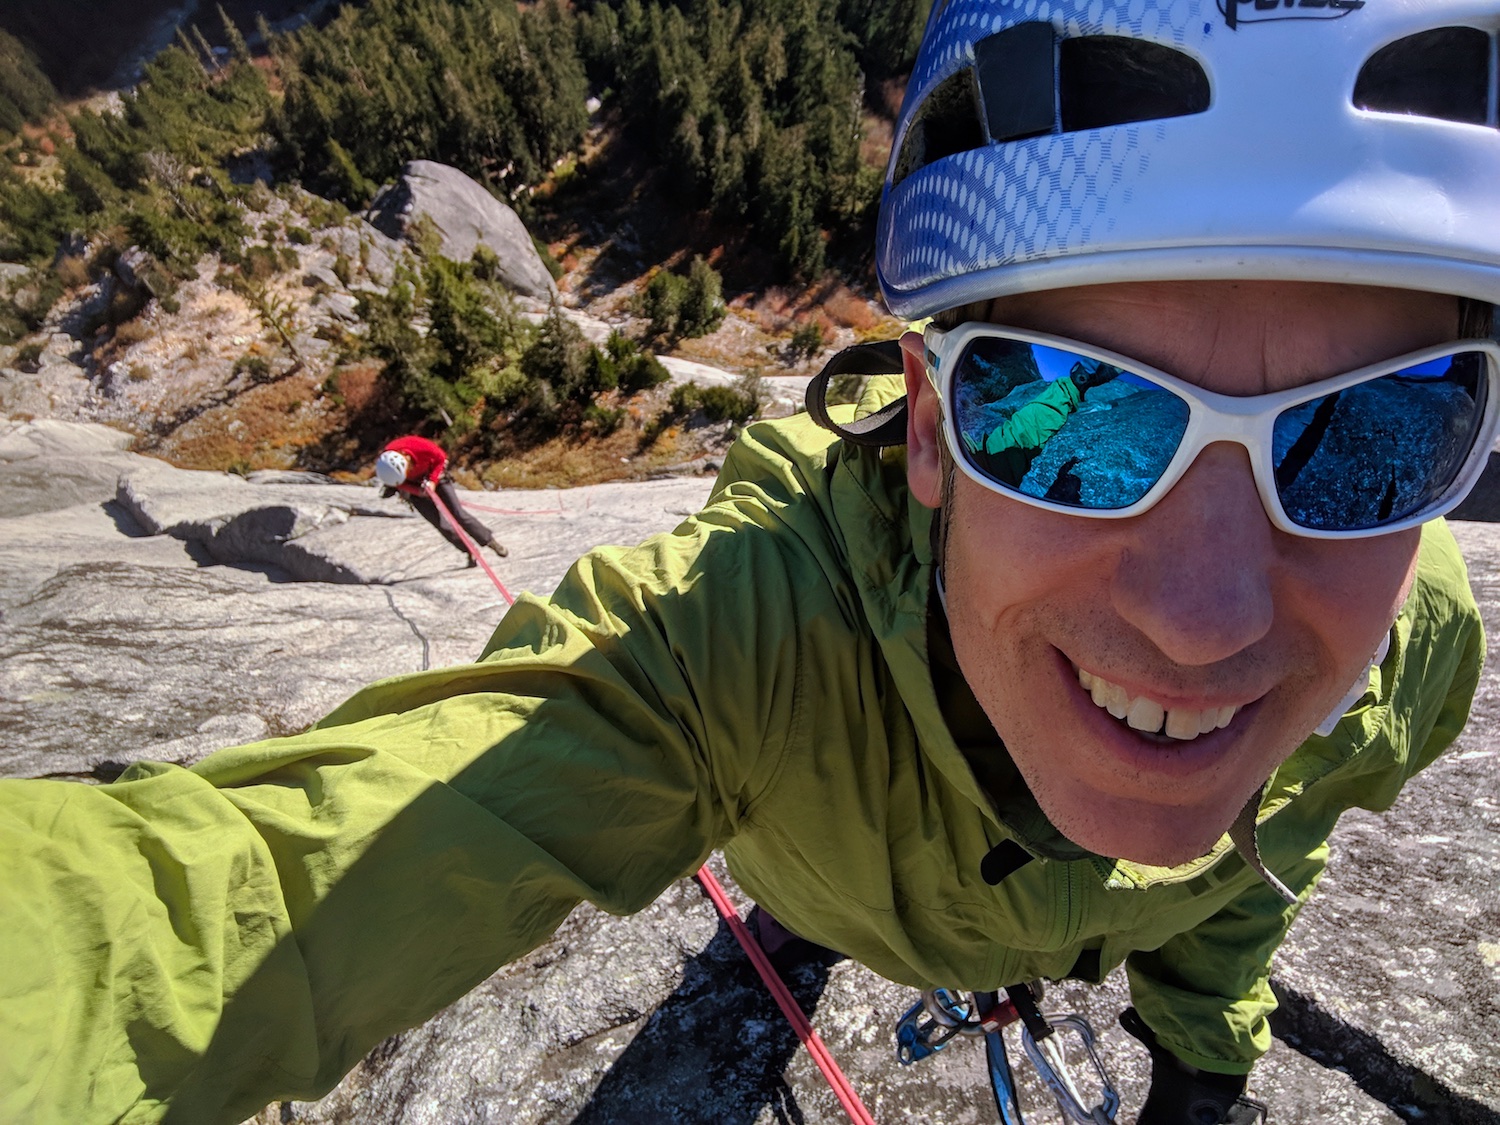
29. Topping out. Still warm in the sun while the valley below cools down in the shade.
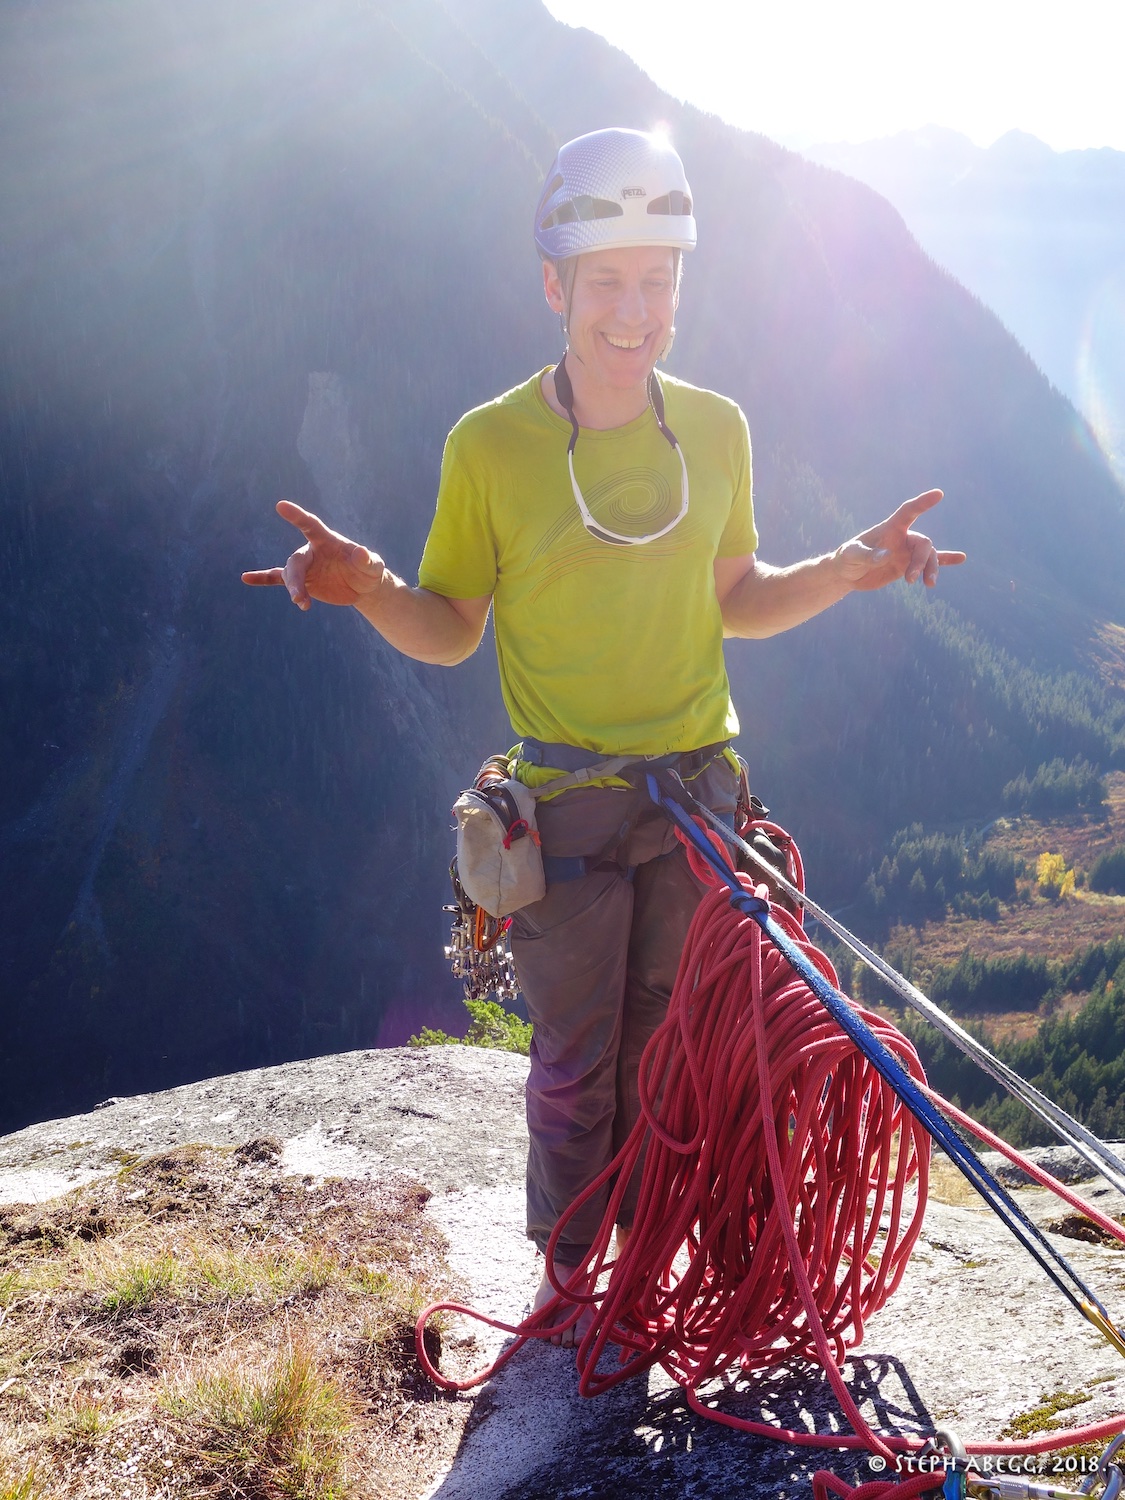
Top!
Yay! Enjoy the view!
30.
31.
32.
33.
34.
35.
30. Doug at the anchor at the top of the route.
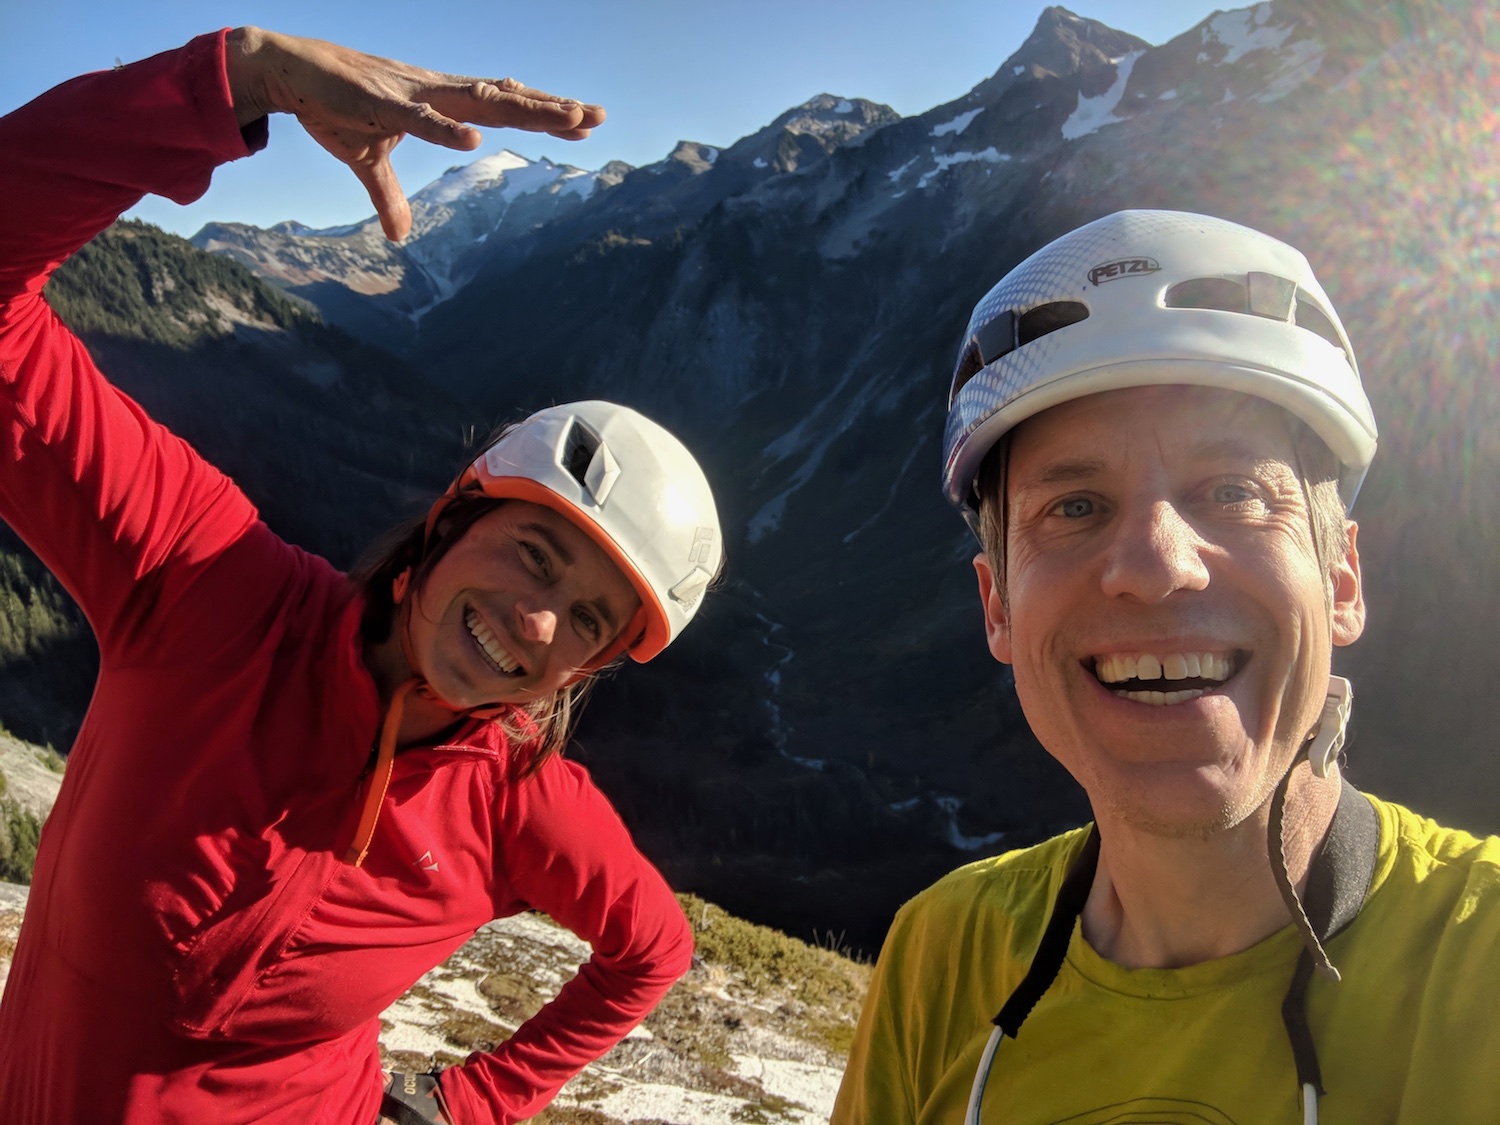
31. "Summit" photo.
32. Trying to grab Ruth Mountain.
33. Ruth Mountain.
34. Mamie Peak to the west. Lots of rock.
35. Mamie Peak to the east. Even more rock.
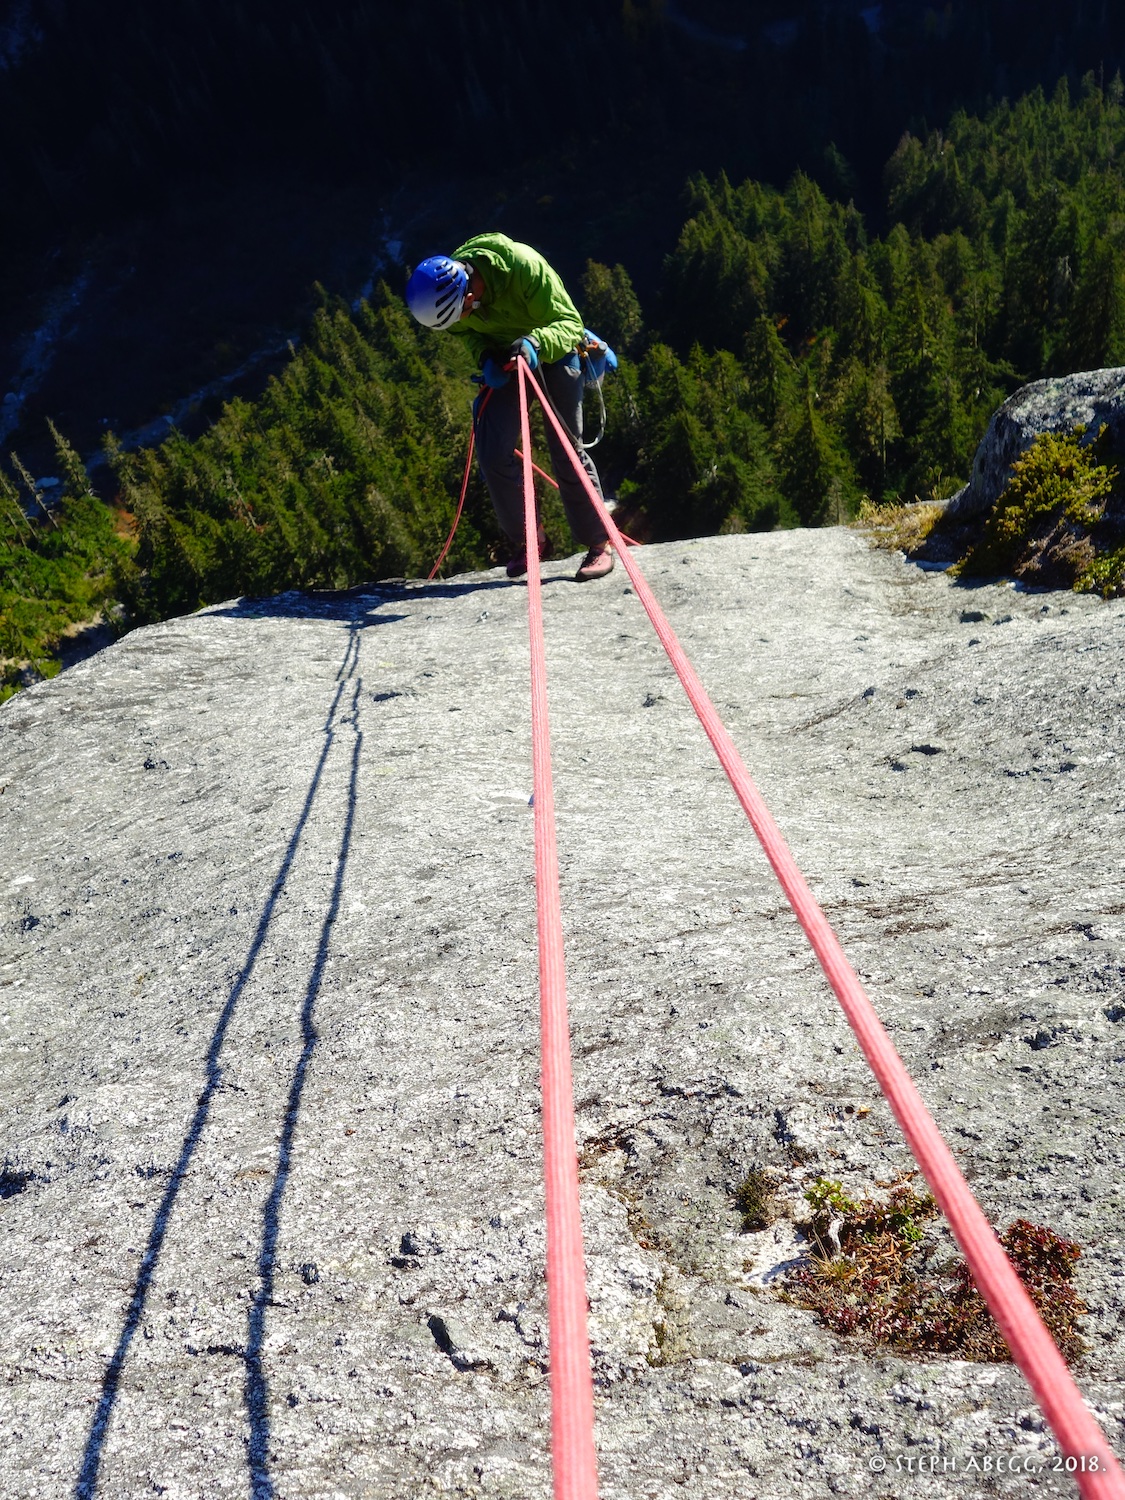
Descent
Rap route with single 70. The only rappel that is not off a belay anchor is the rap at the top of Pitch 3, which raps off a tree to climbers' left of the top of Pitch 3.
36.
37.
38.
39.
40.
41.
42.
43.
44.
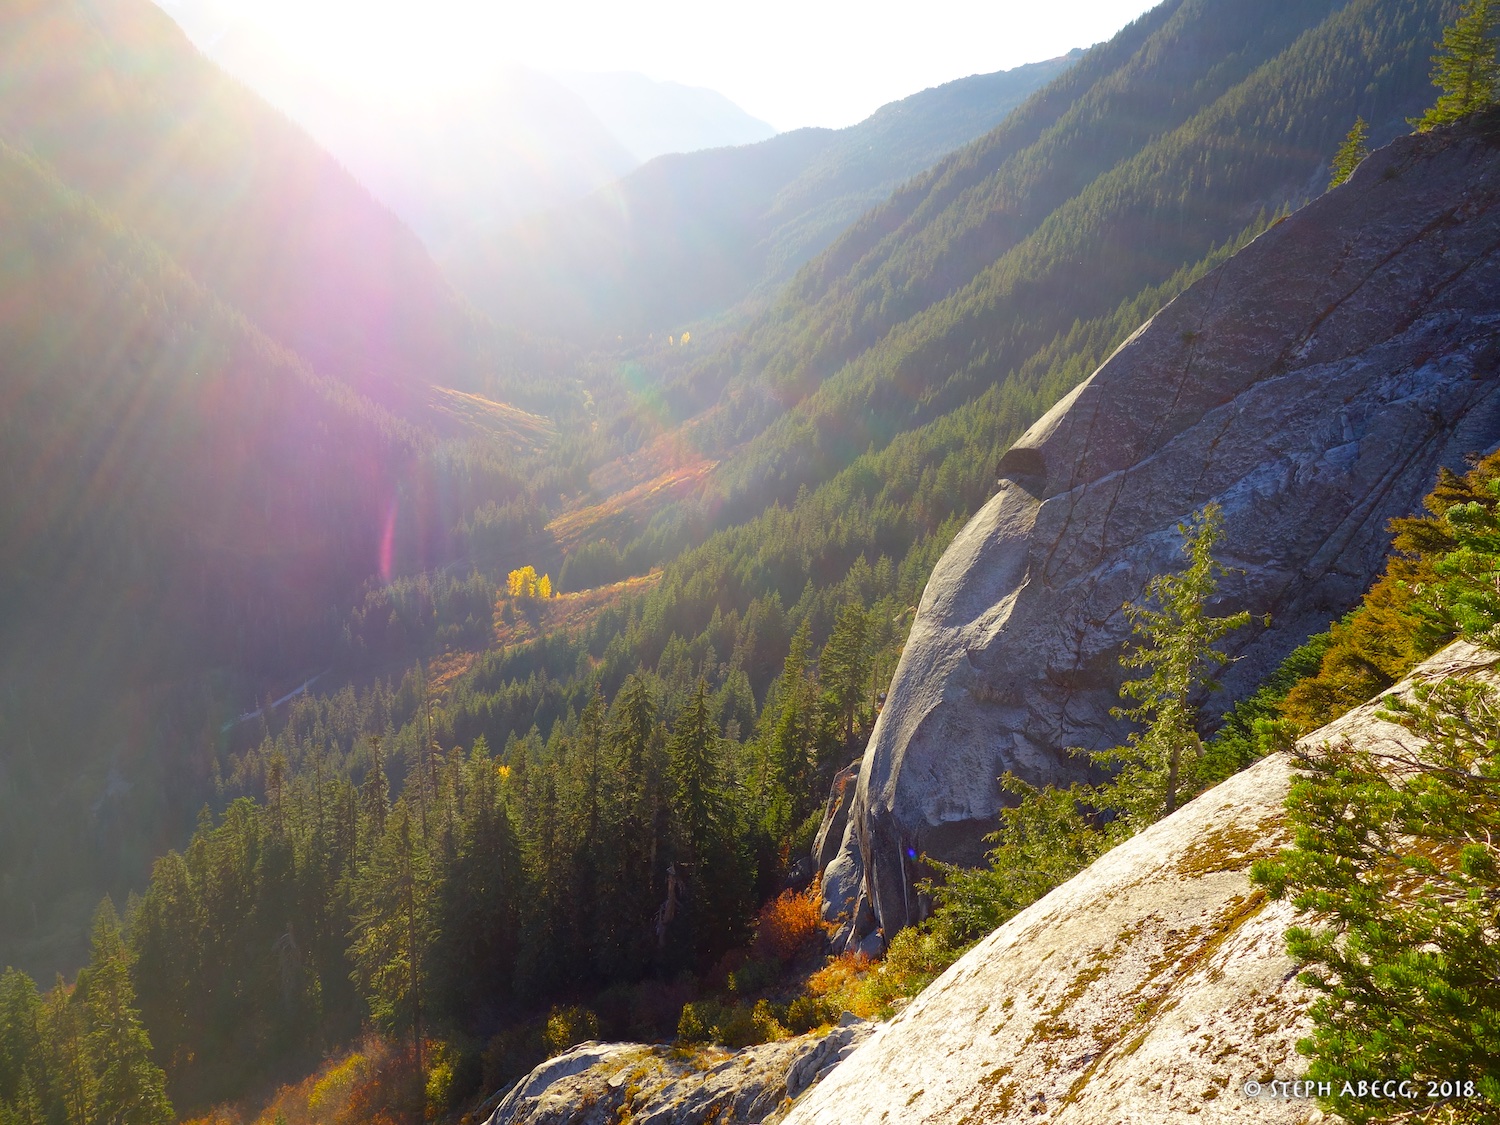
36. Starting the rappels. This photo shows how the route ends on the top of the buttress, but there are still several hundred feel to the top of Mamie Peak. It looks like you could probably find a 3rd/4th class way to the summit by going up the right ridge. Or there is potential for harder climbing (might need some protection bolts) directly up to the summit.
37. Doug enjoying the rappel.
38. Another rappel, this time looking down.
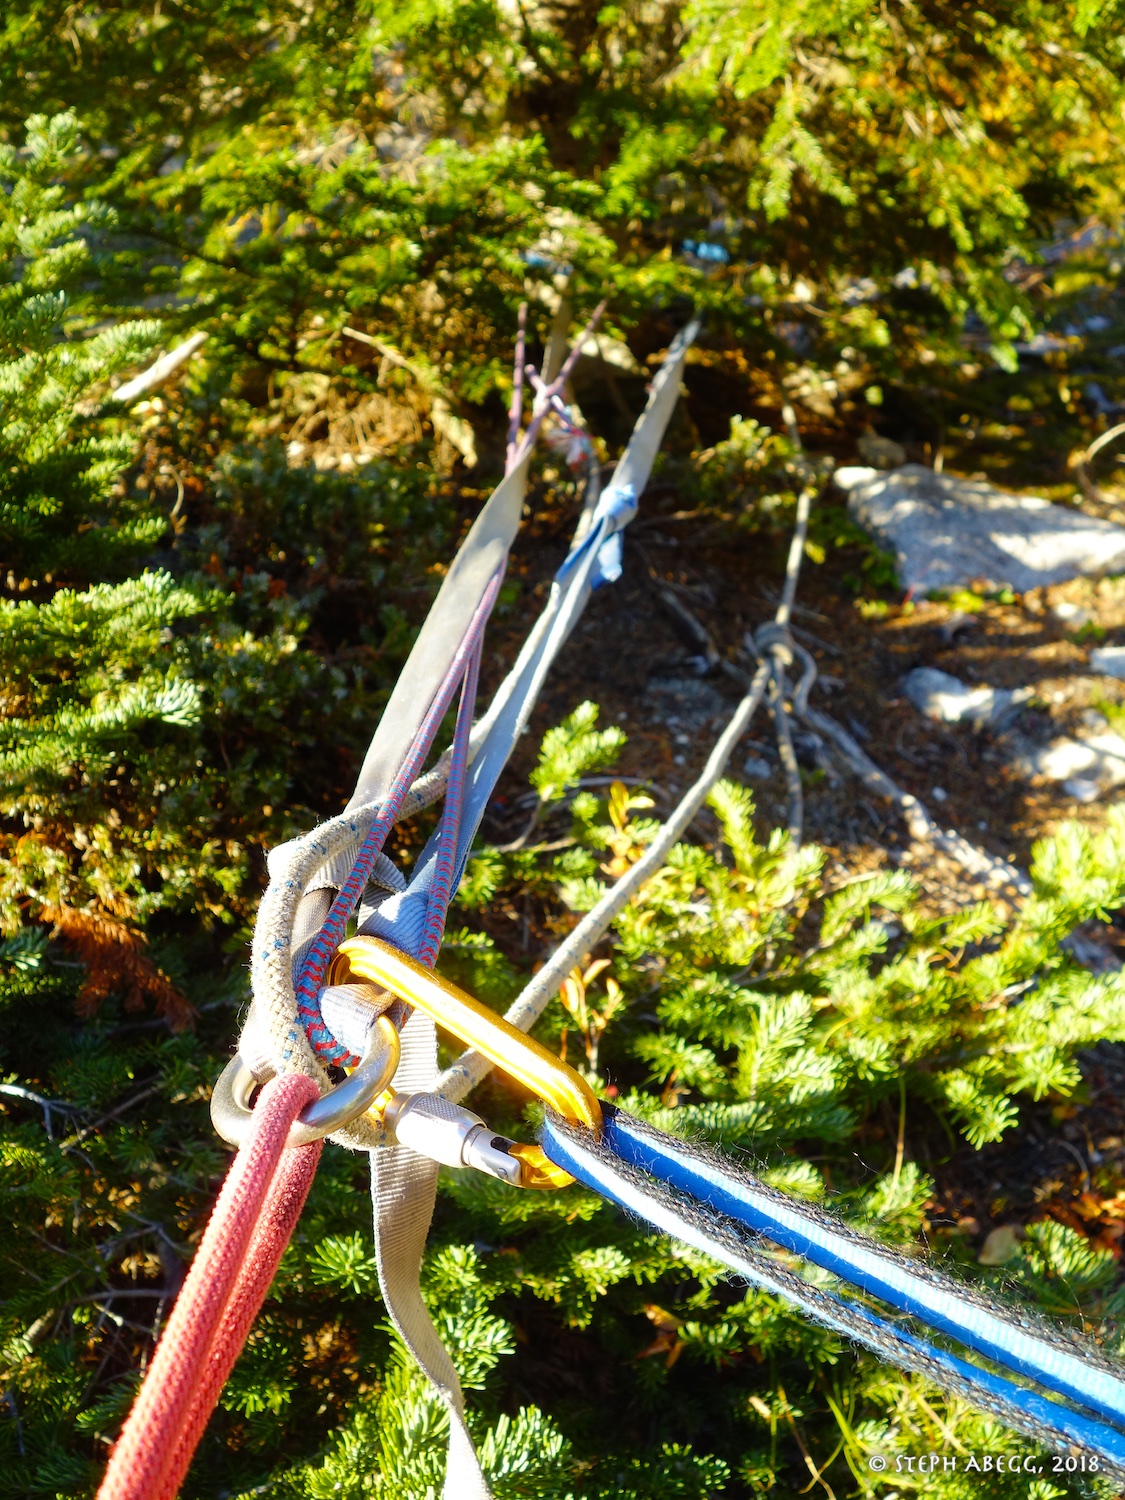
39. One of the rap stations. Apart from the top of Pitch 3, the anchors are all equipped with rap rings or chains. 40.Doug taking a selfie during the rappels.
41. Me at the rap station at the top of the lower wall (the rap is off the tree, a bit left of the top of Pitch 3.)
42. The rap slings for the rap off the tree.
43. View to the east during the rappels. The late afternoon shade is creeping across the valley but Mamie stays in the sun until the sun sets. Ruth Mountain is at the head of the valley. 44.The view out of the valley towards the west. It was a beautiful and summer-like October evening.
Useful beta. Updated route information. Corrections. Historical notes. Interesting facts. No fluff please. Please do not put links in your comment, as my spam filter will filter those comments out.