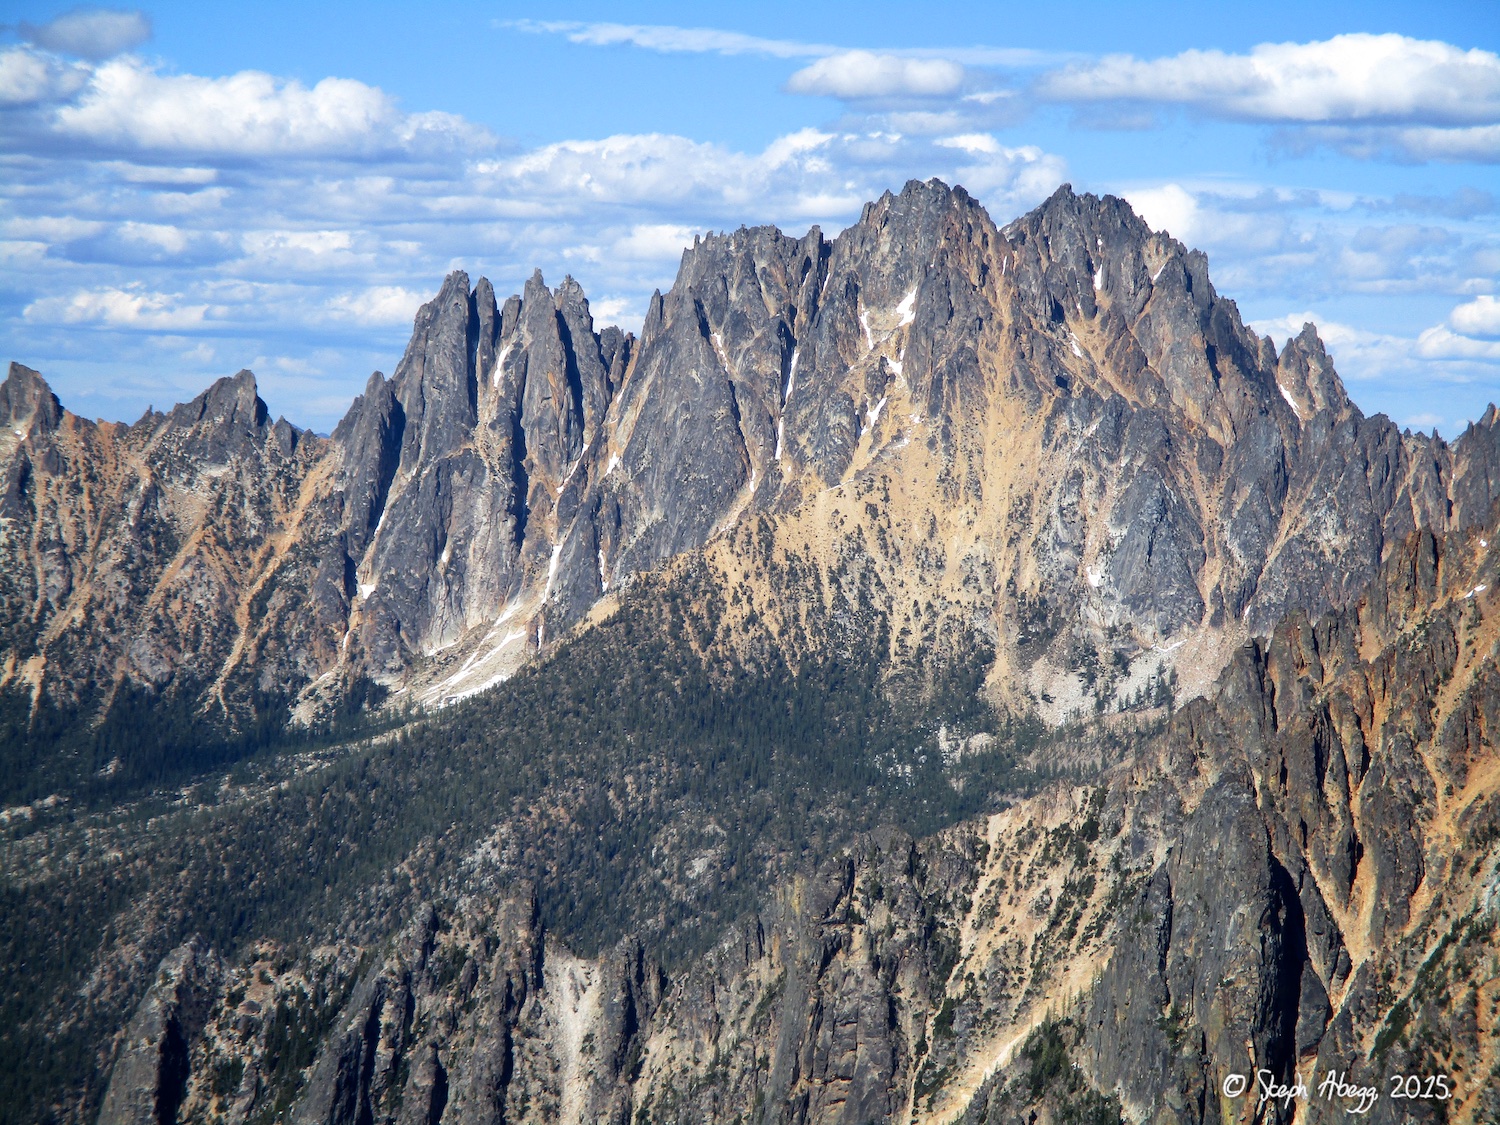
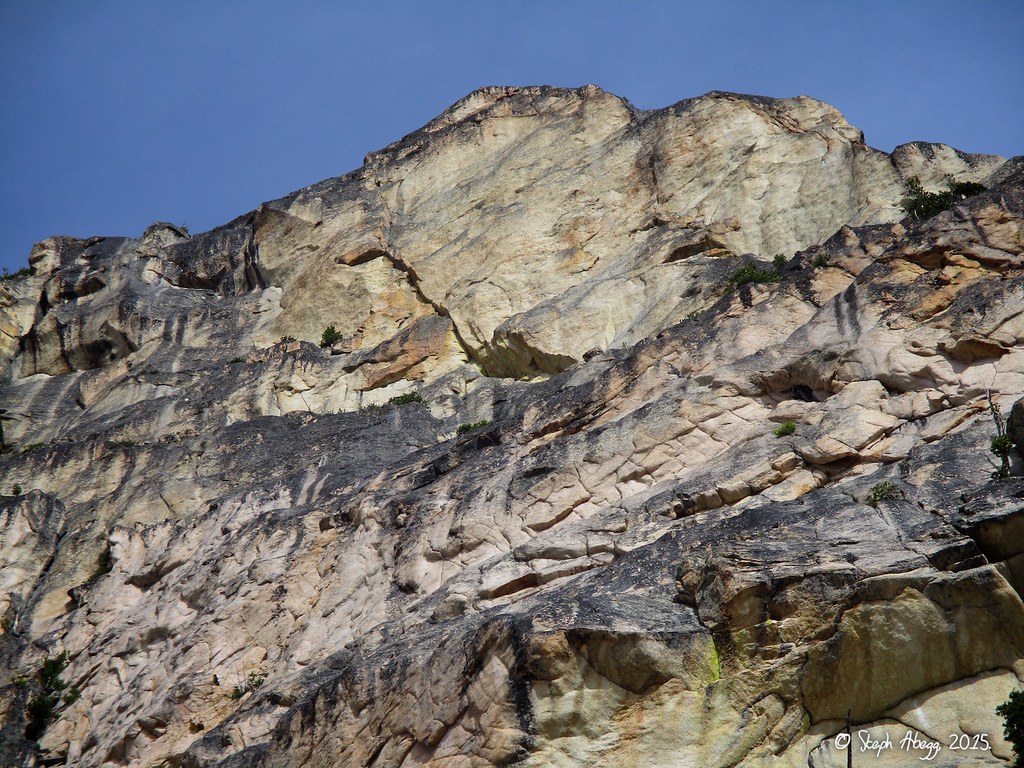
This route was first climbed in 2008. Named after a Neil Young song,
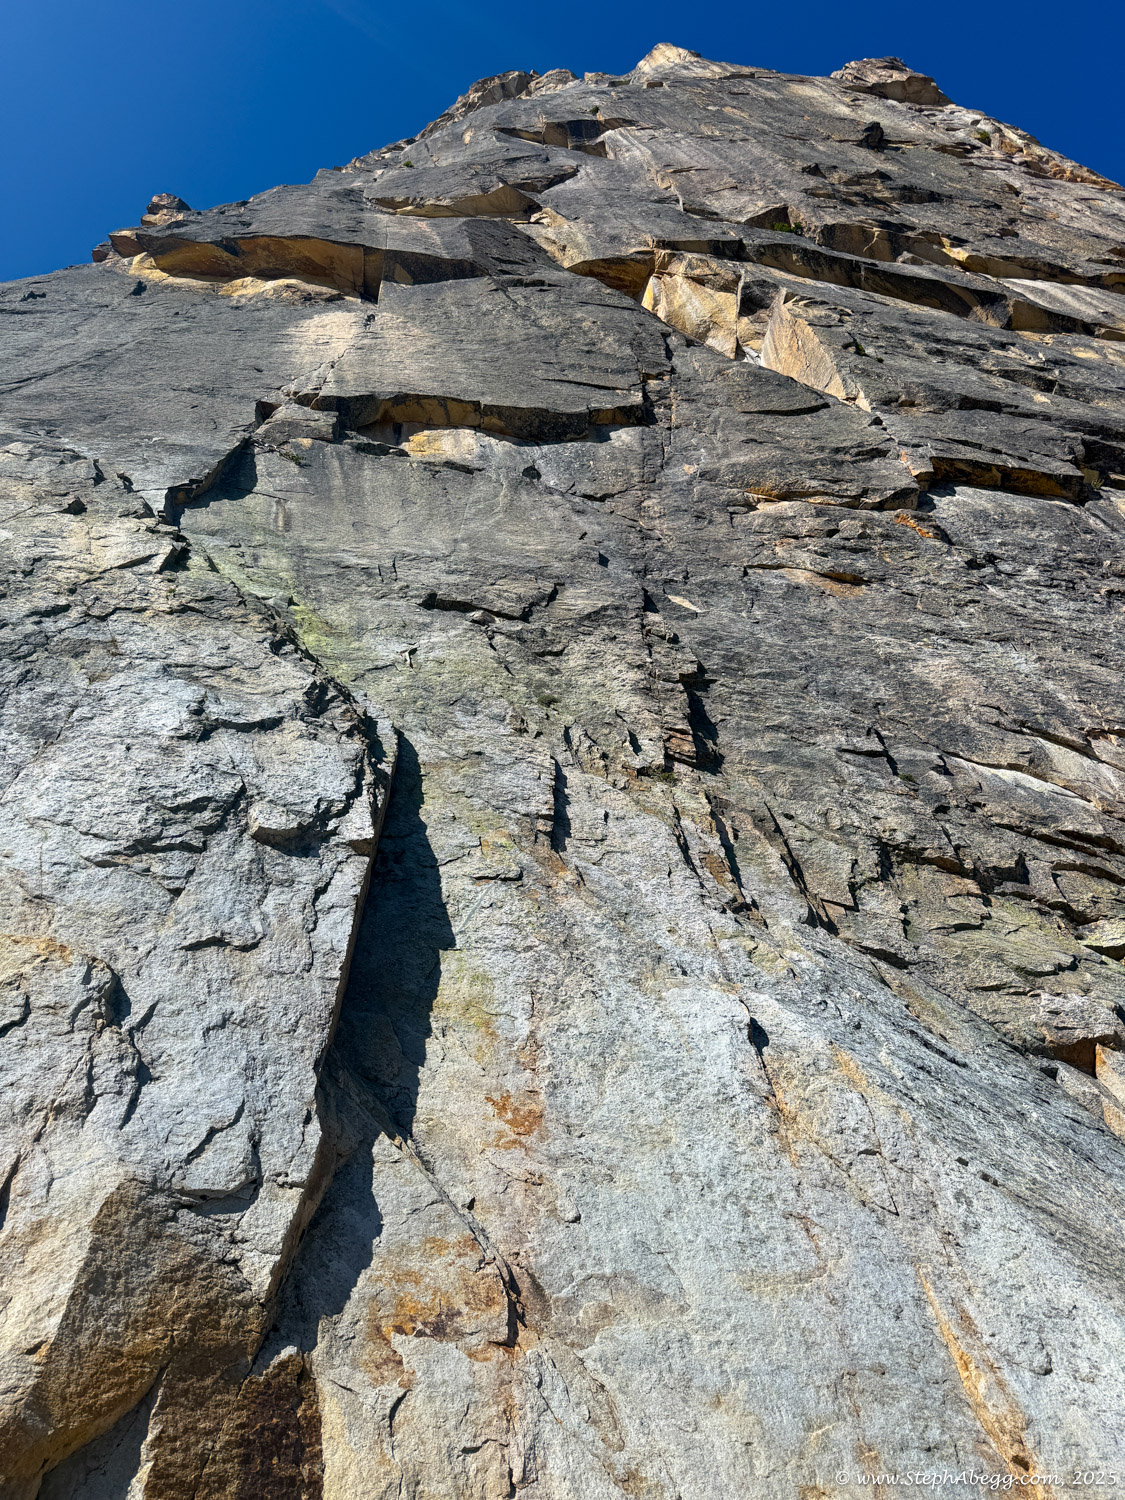
The Southern Man splits off from the
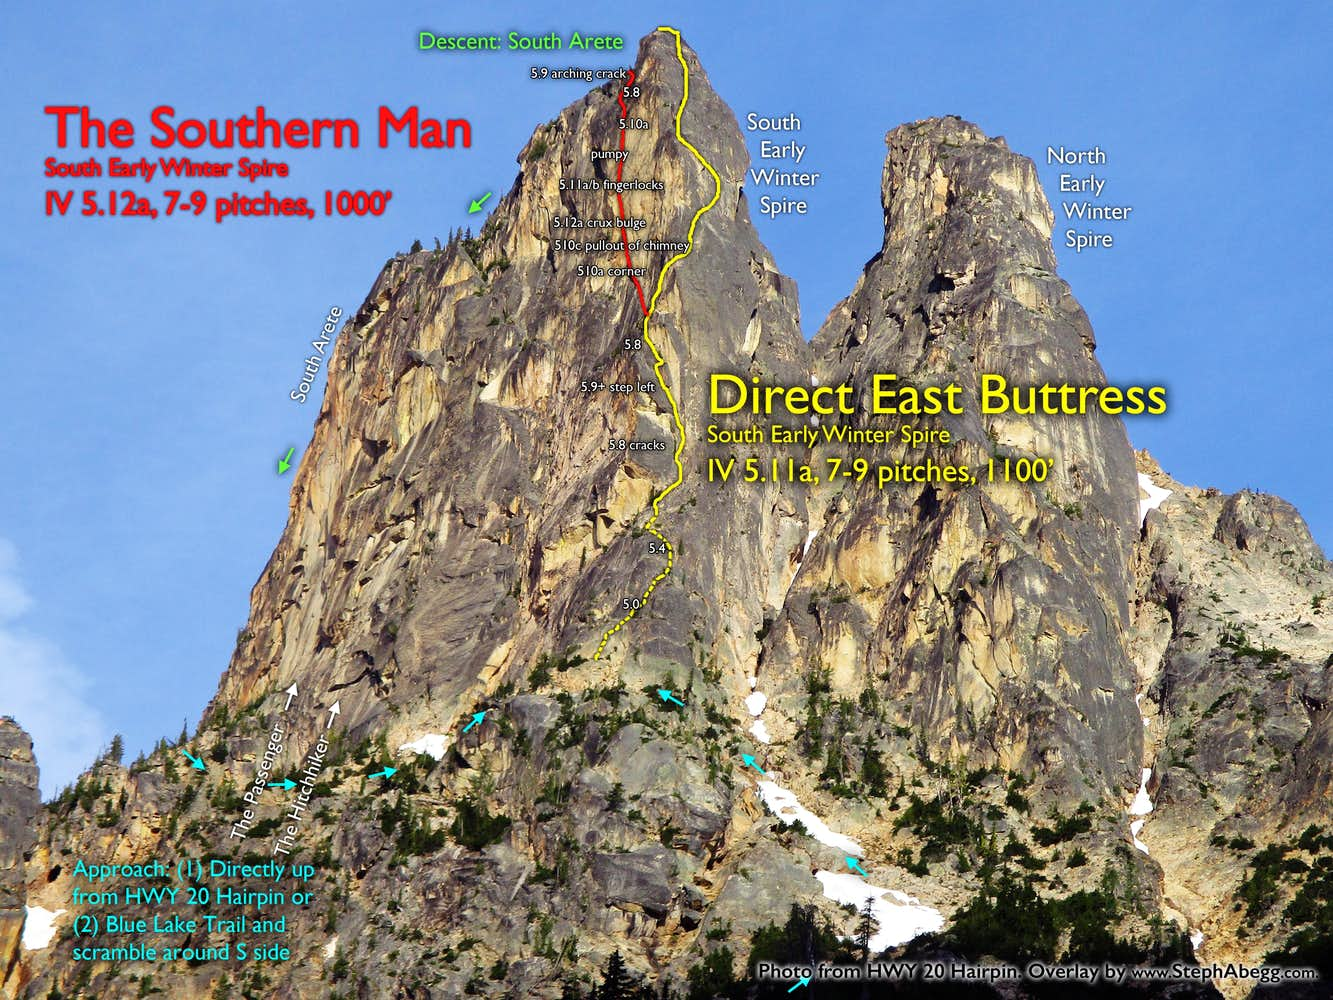
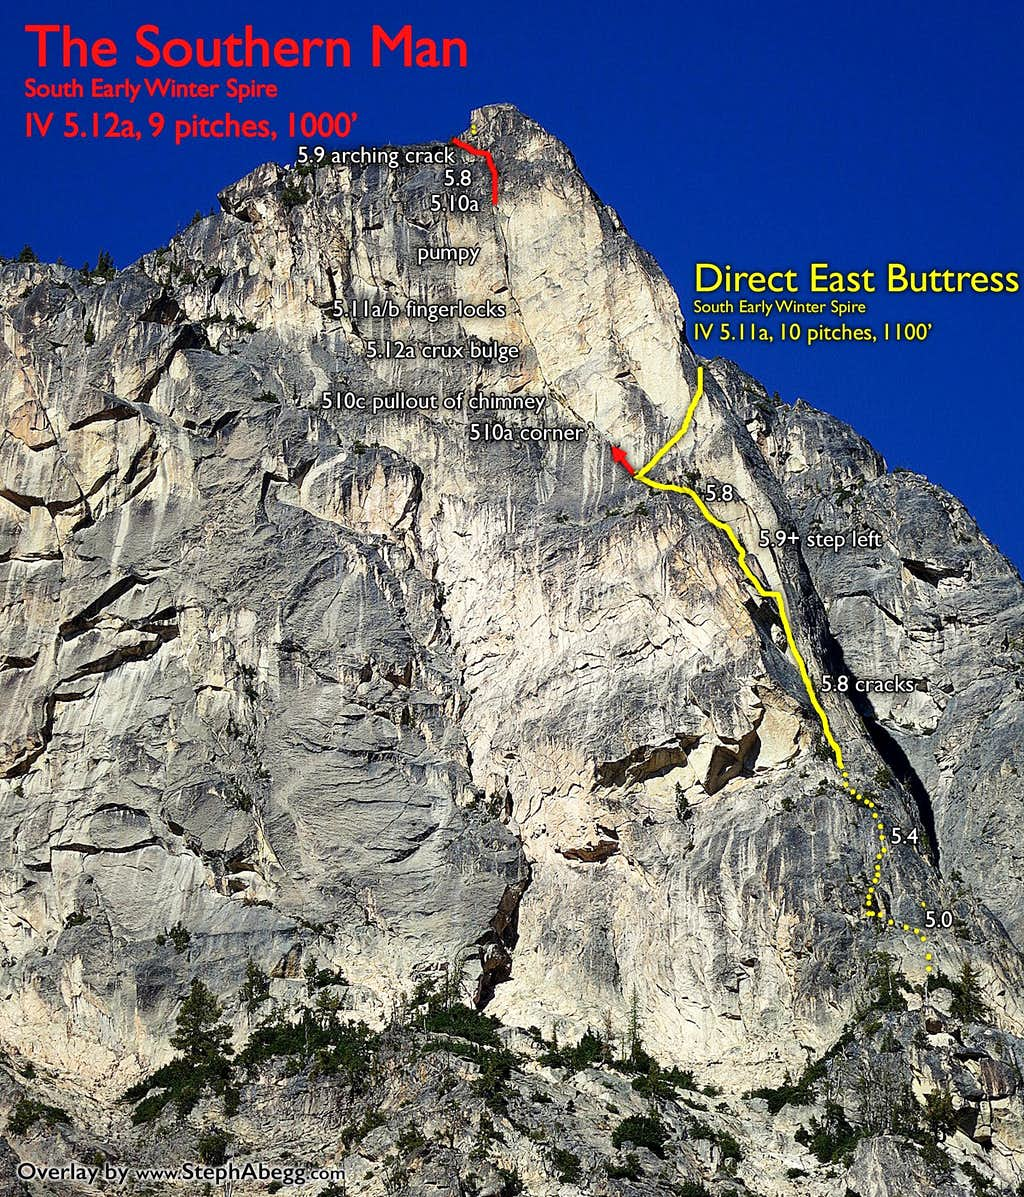
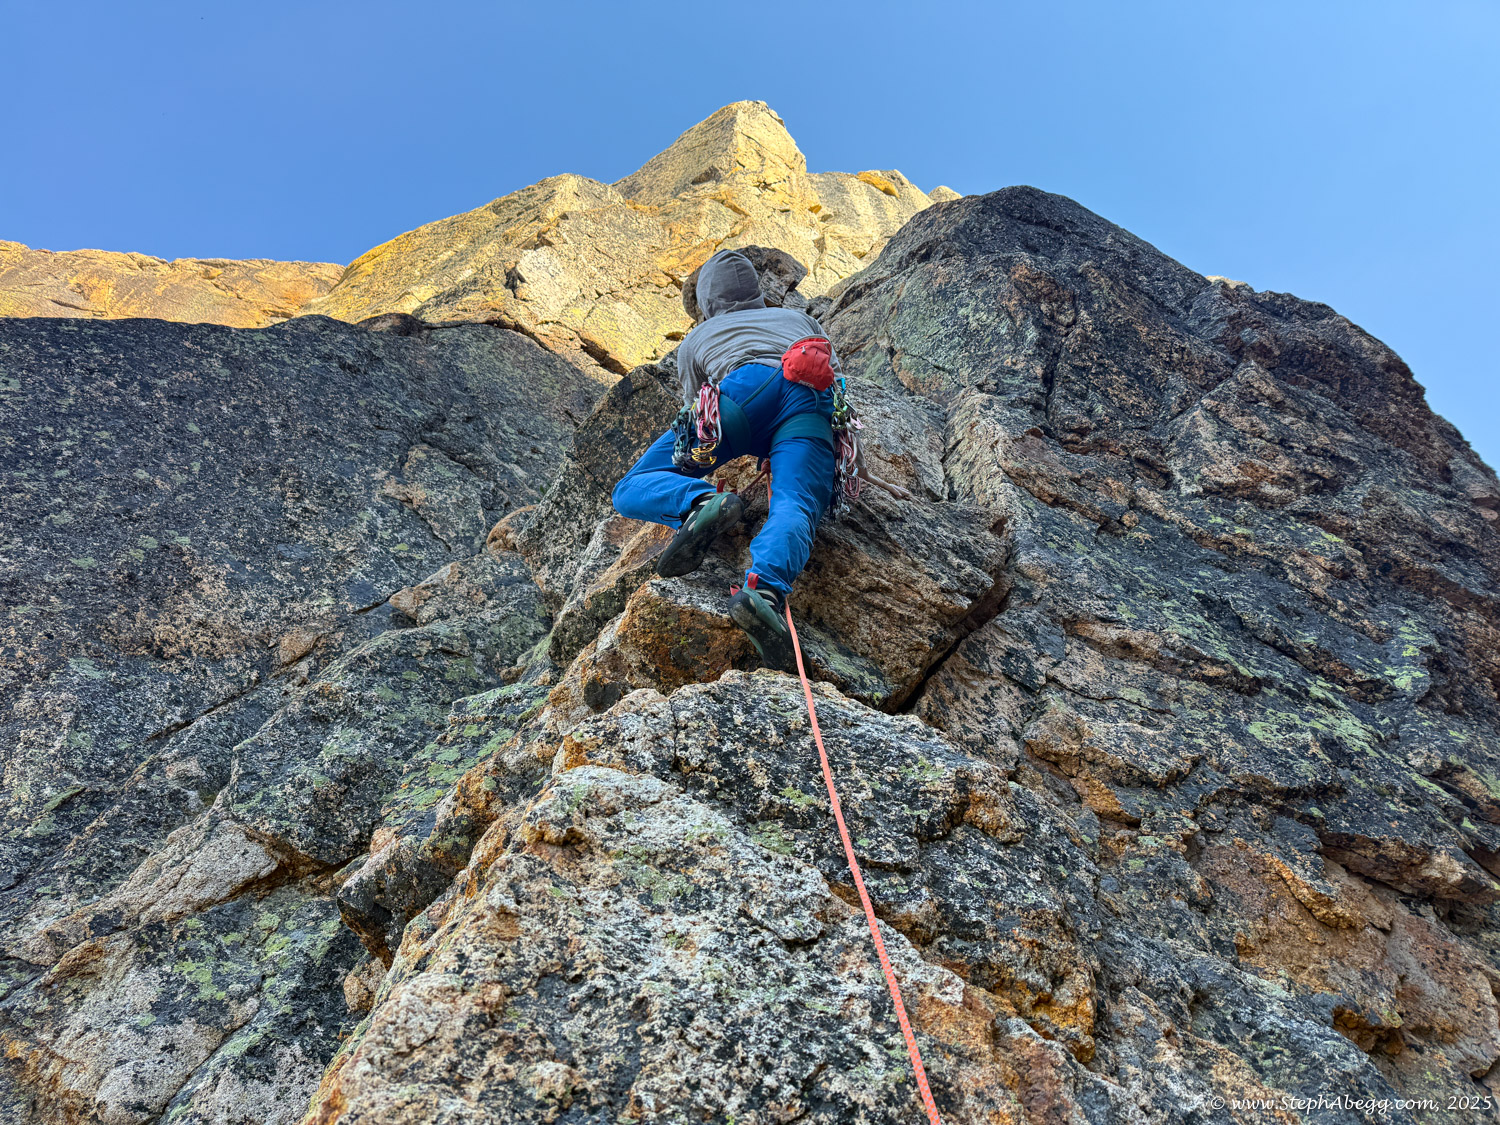
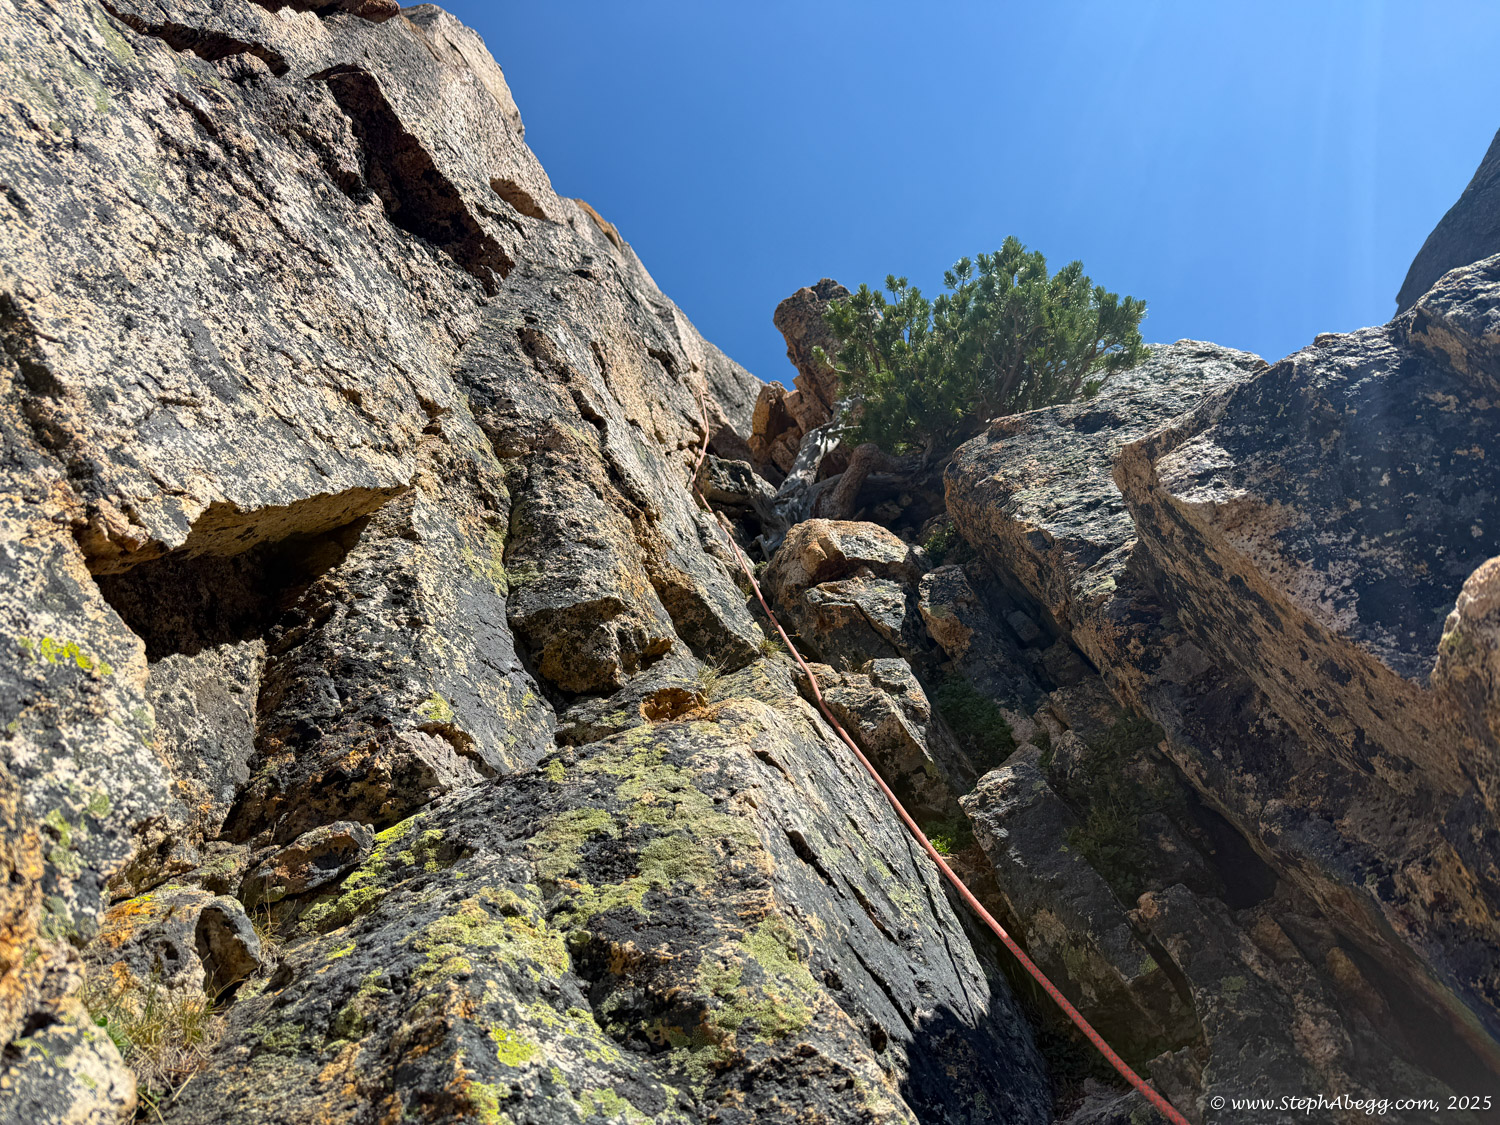
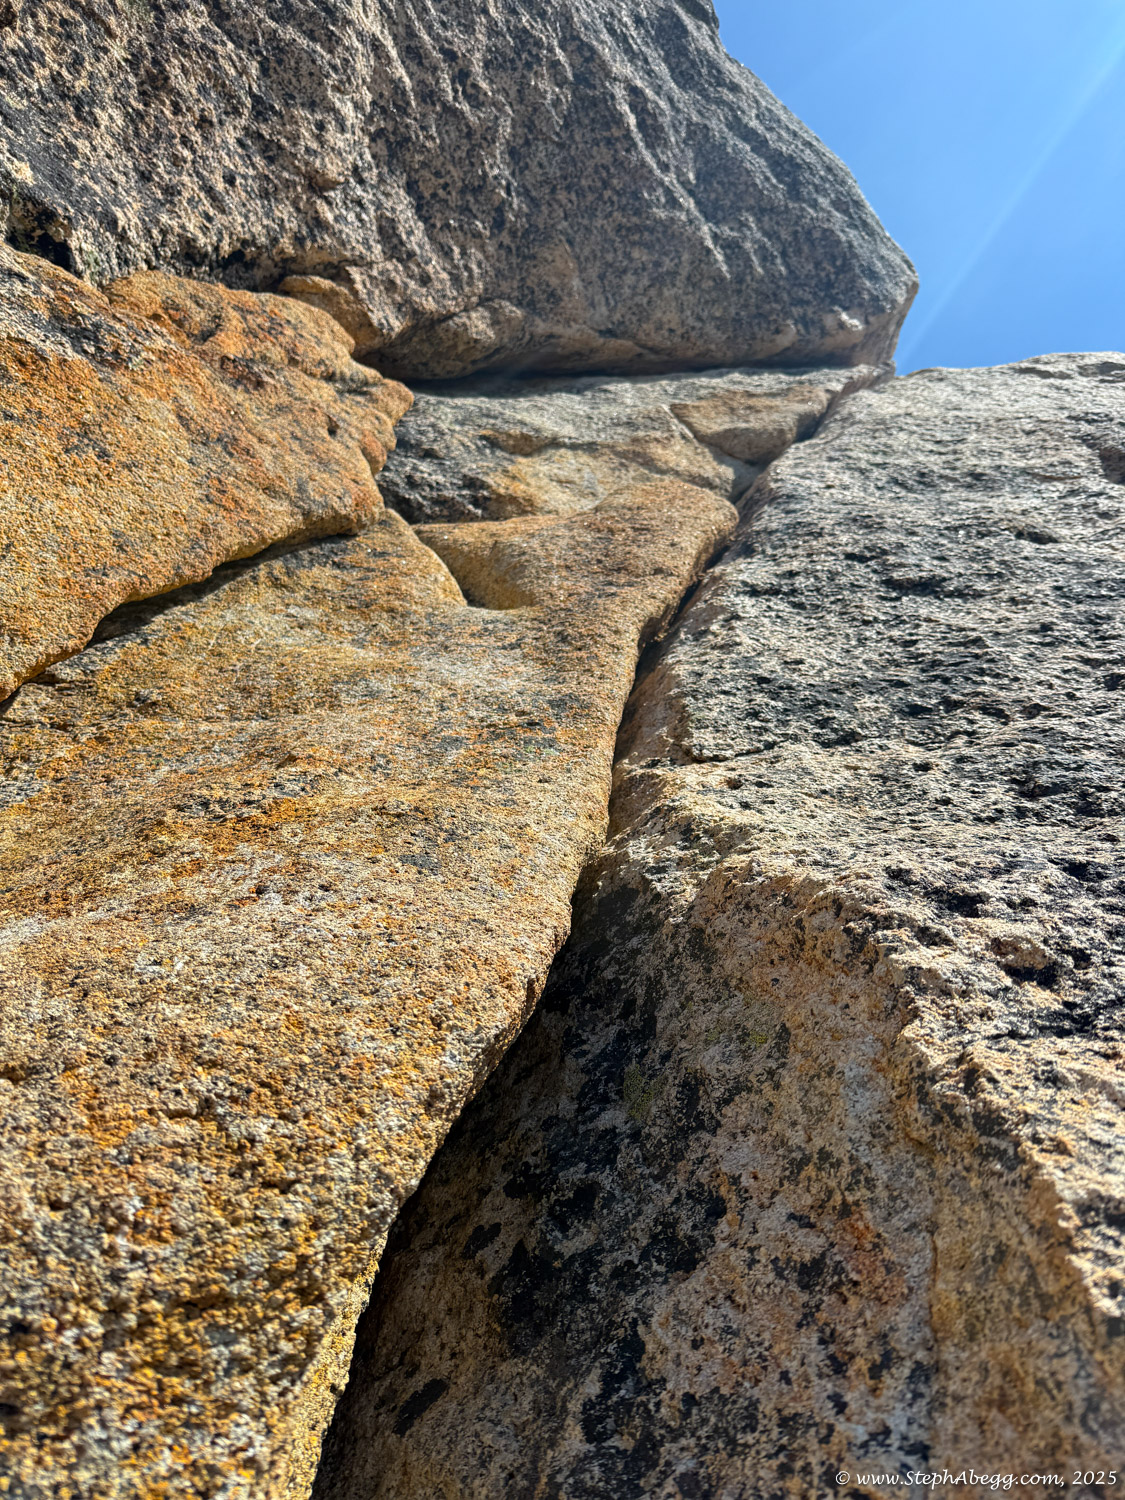
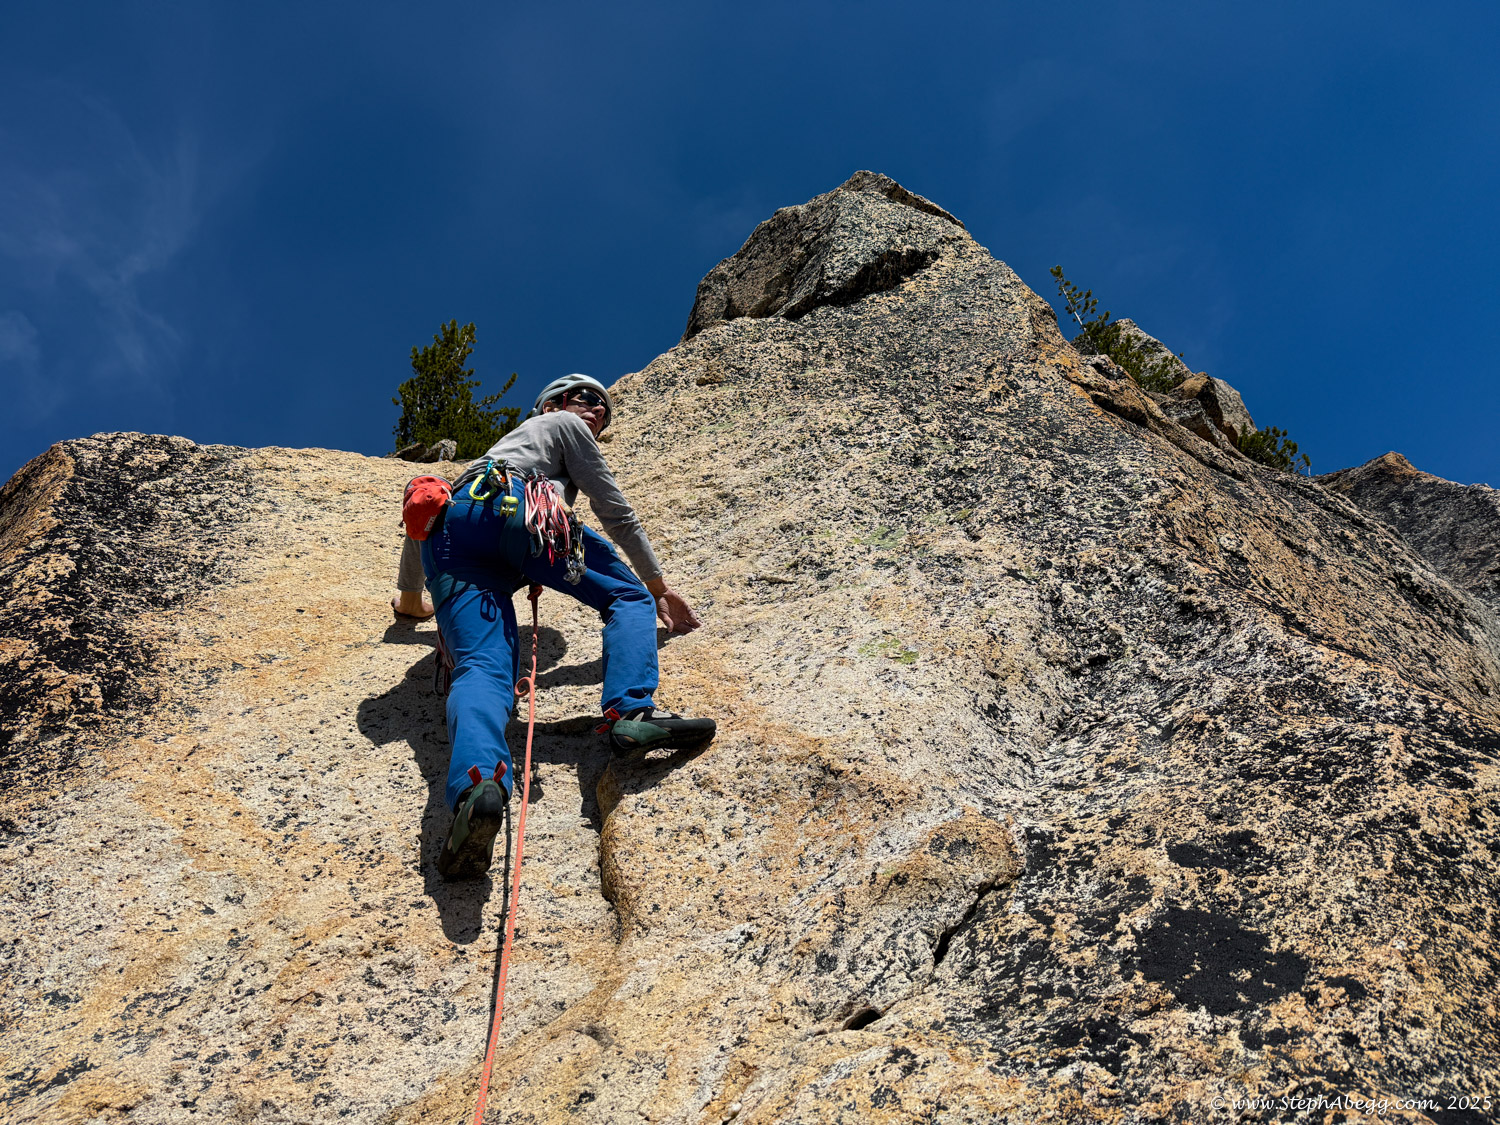
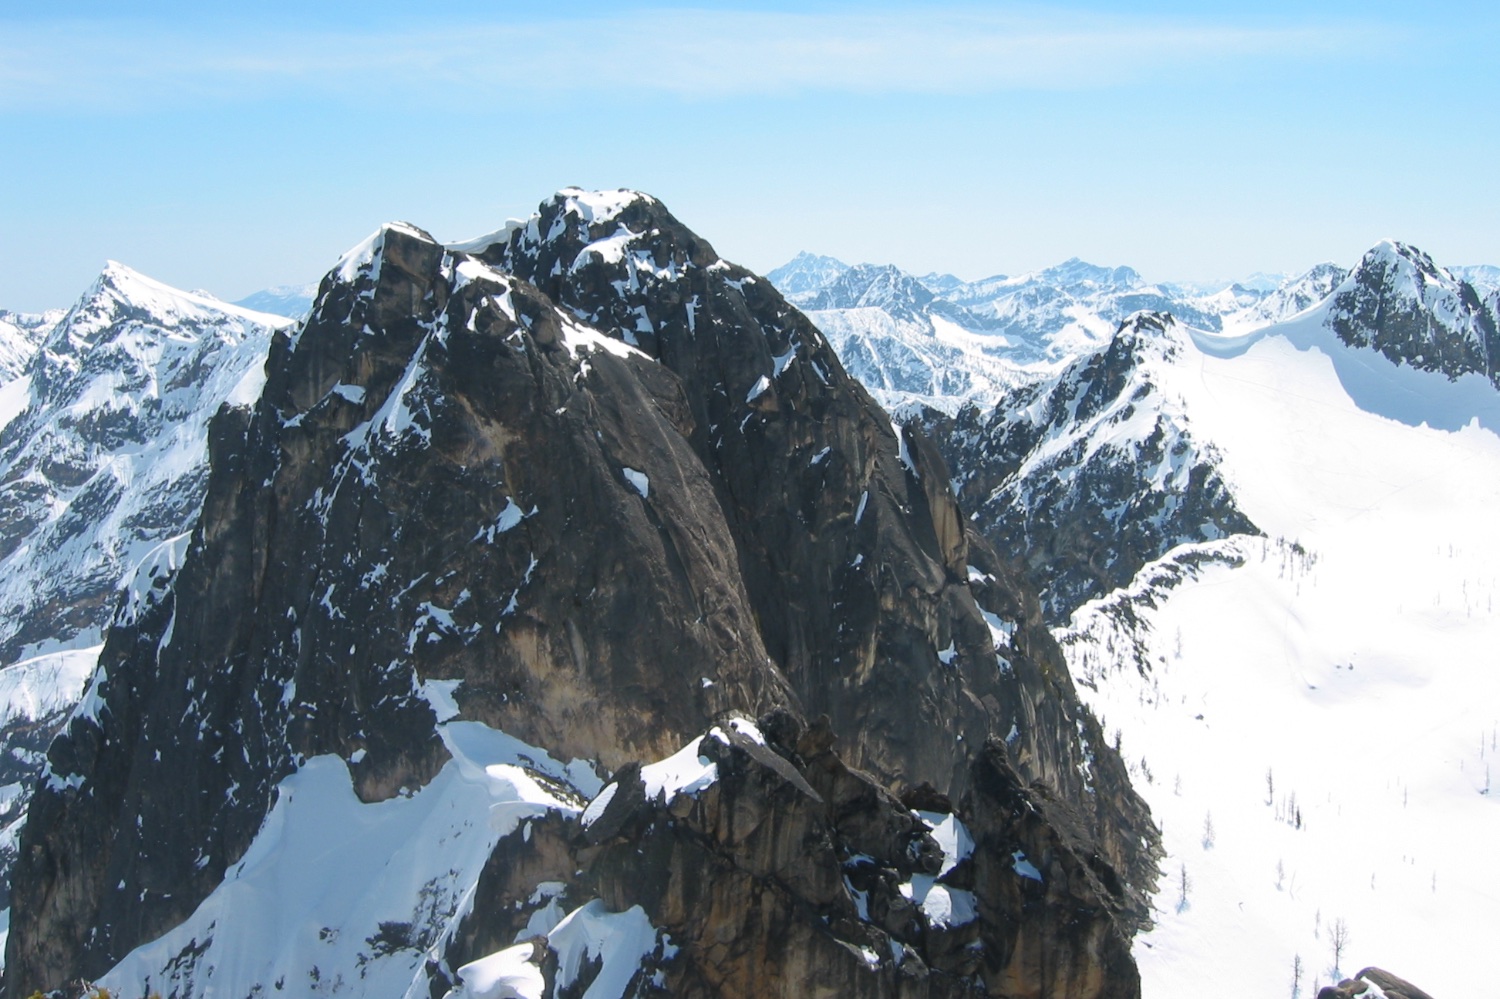
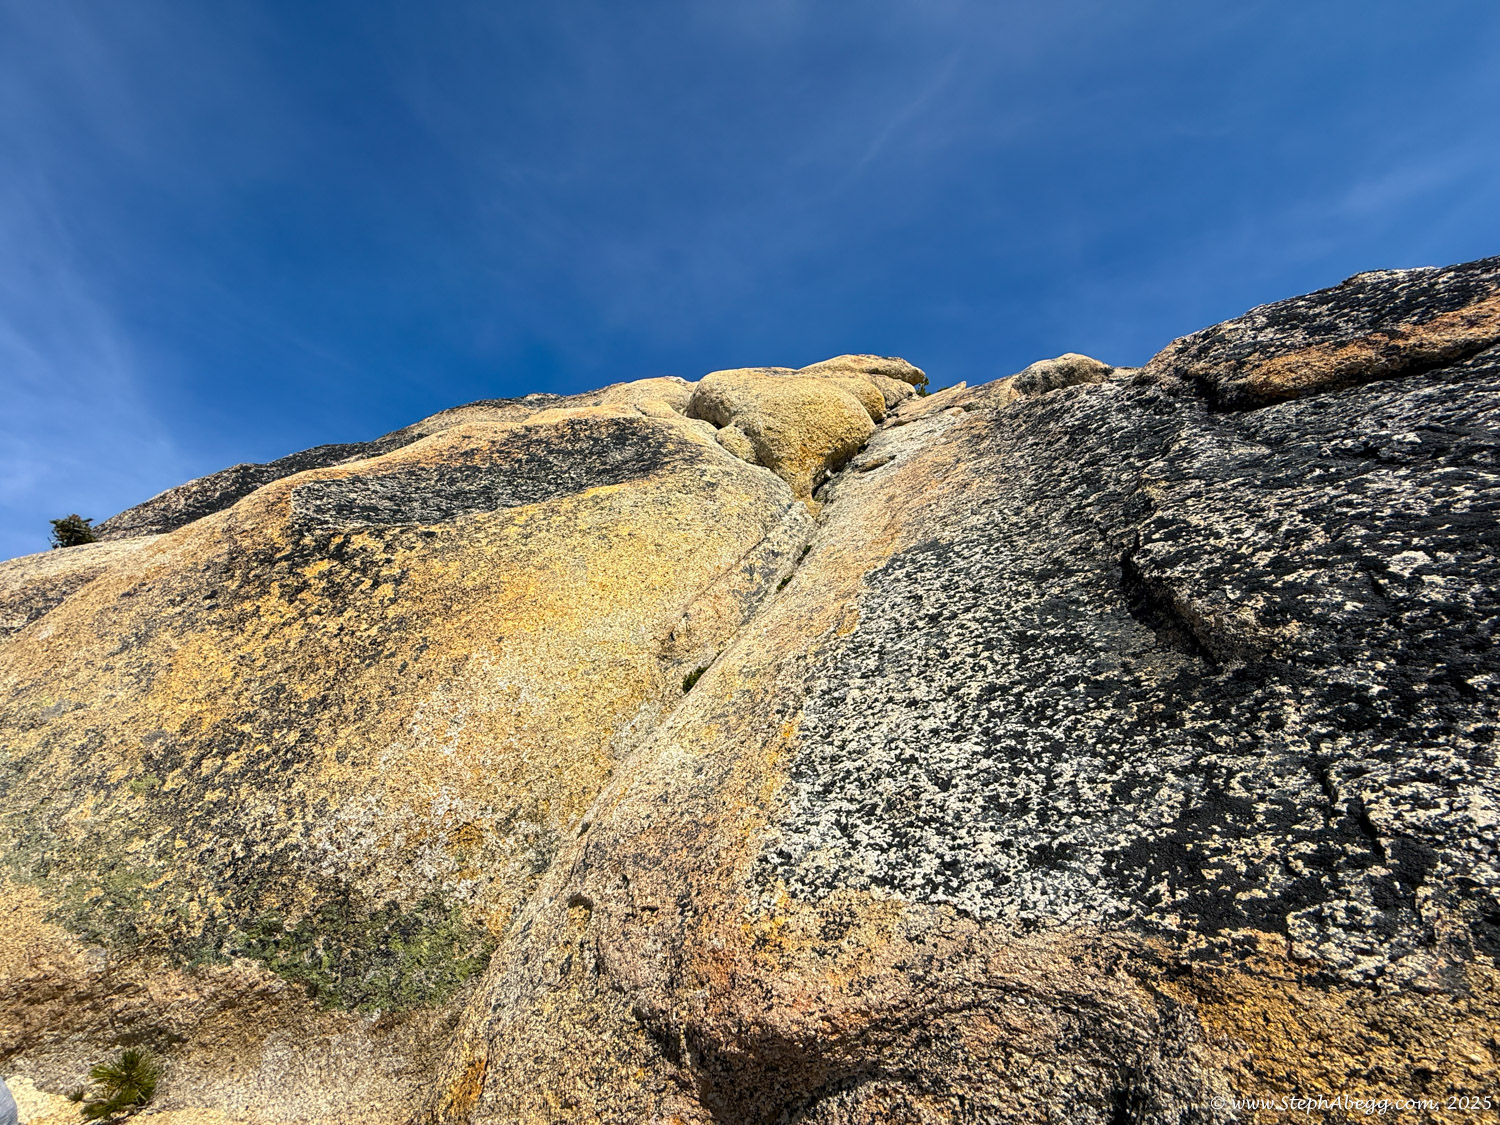
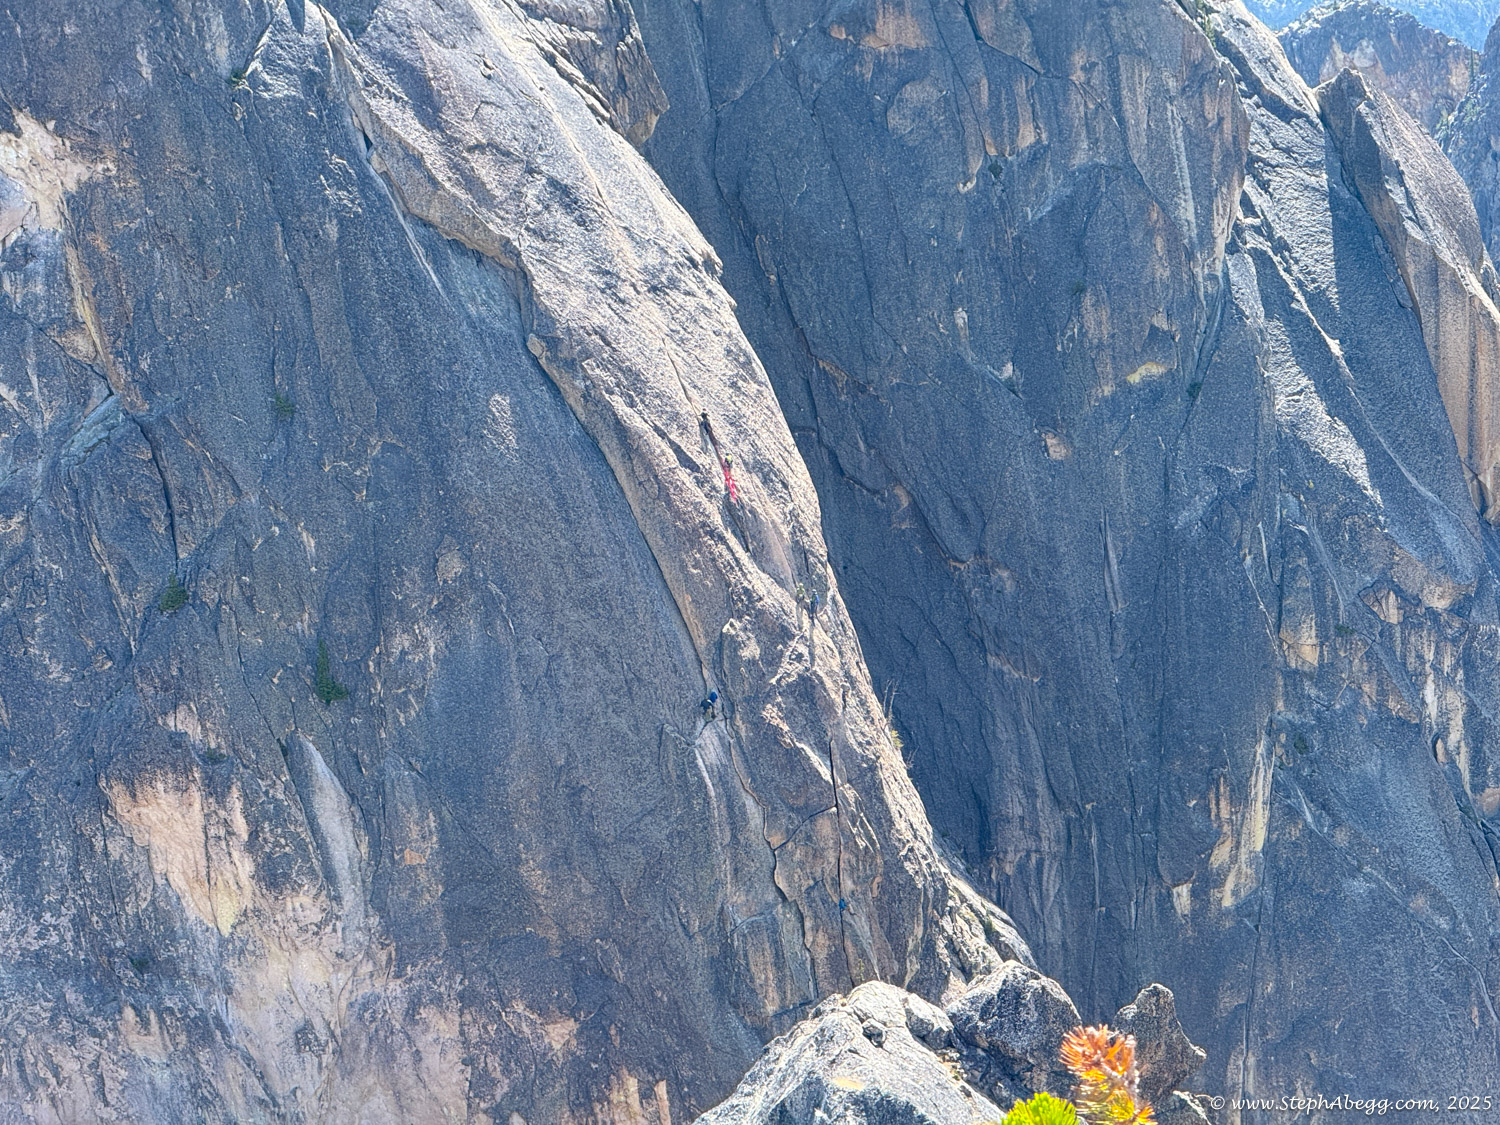
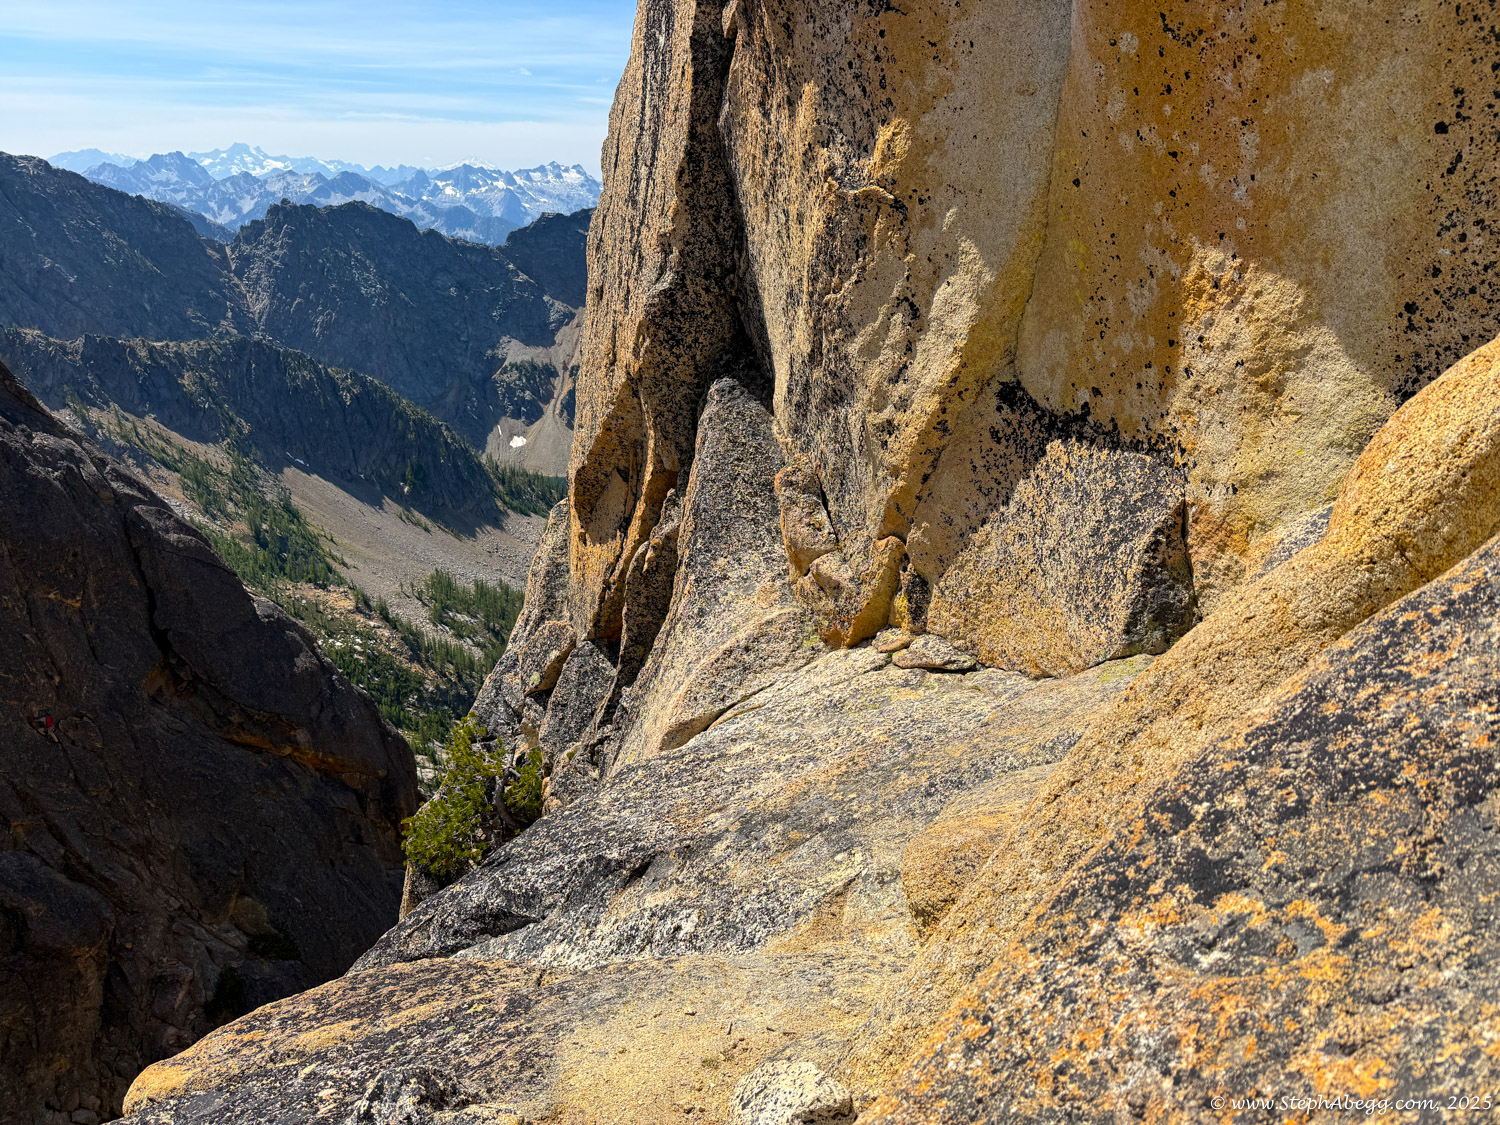
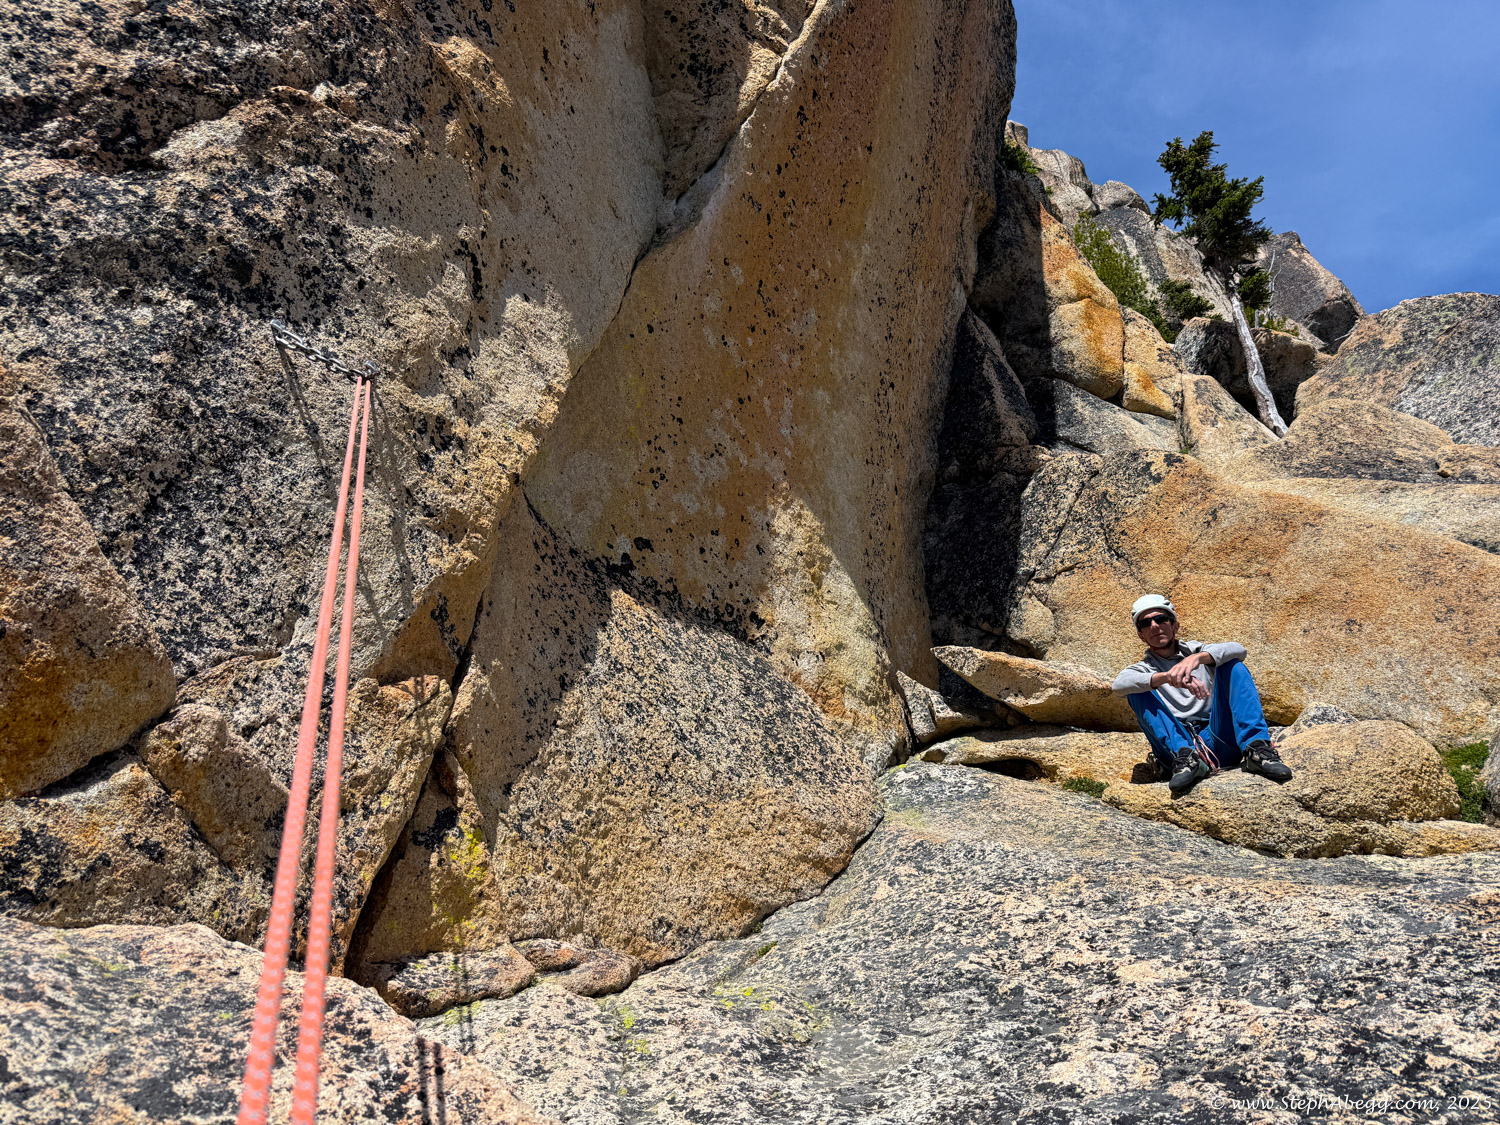
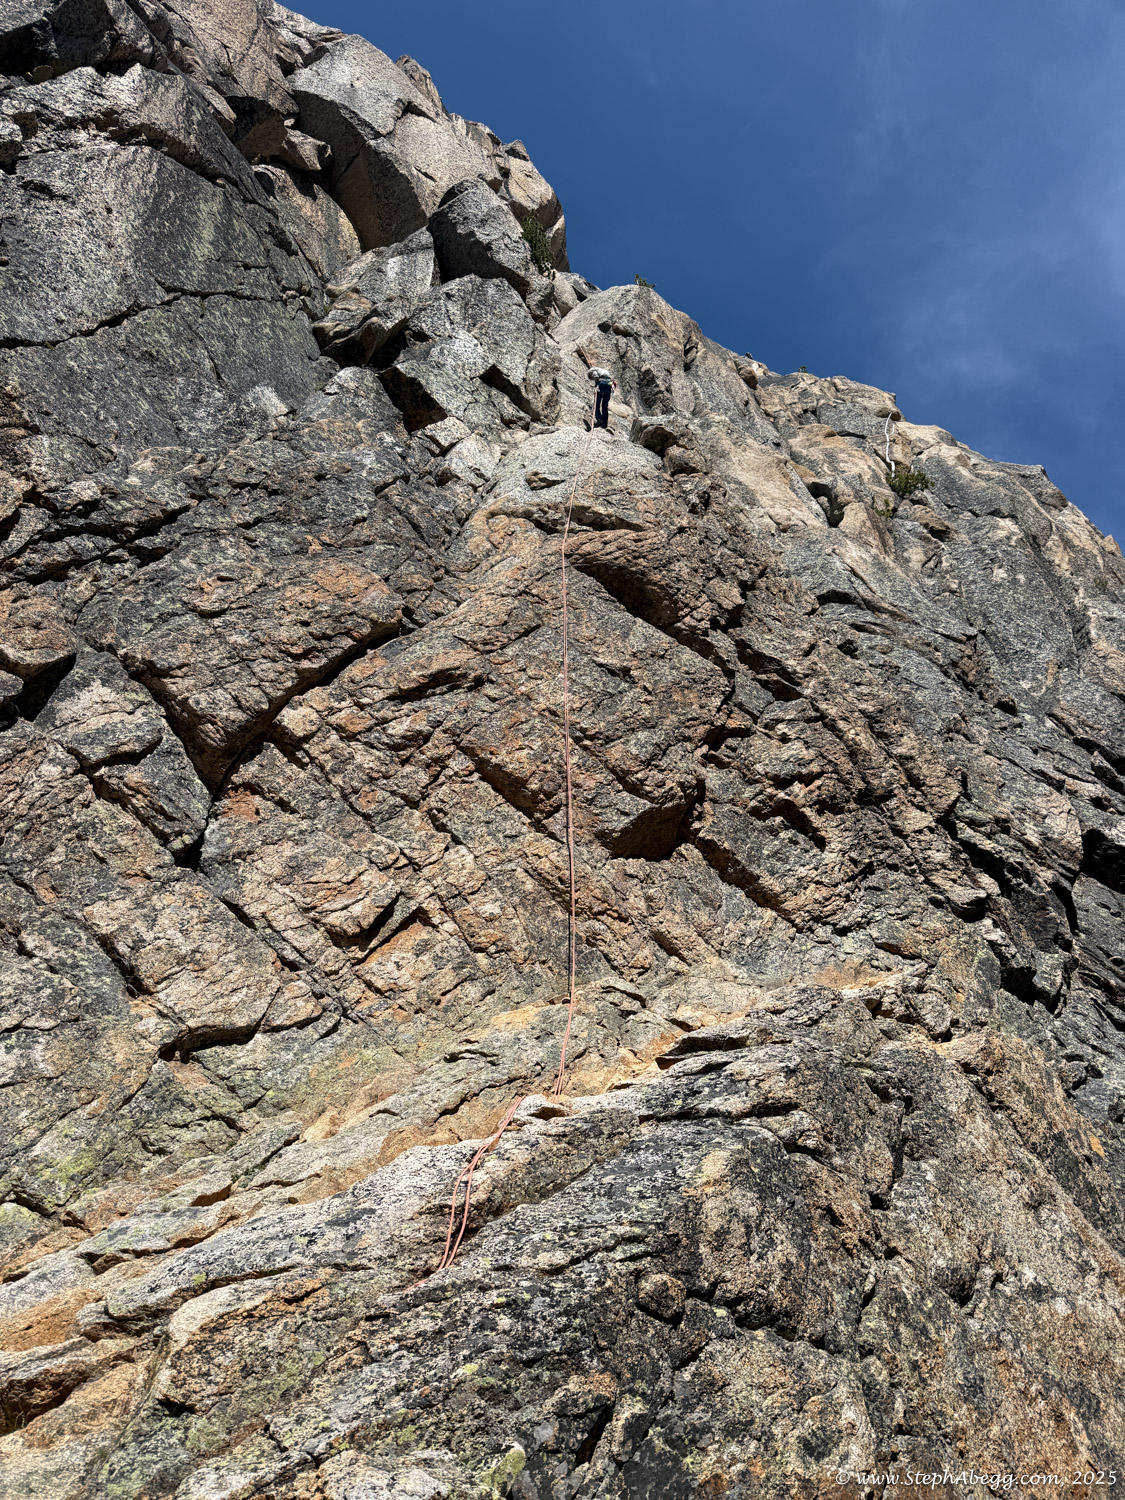
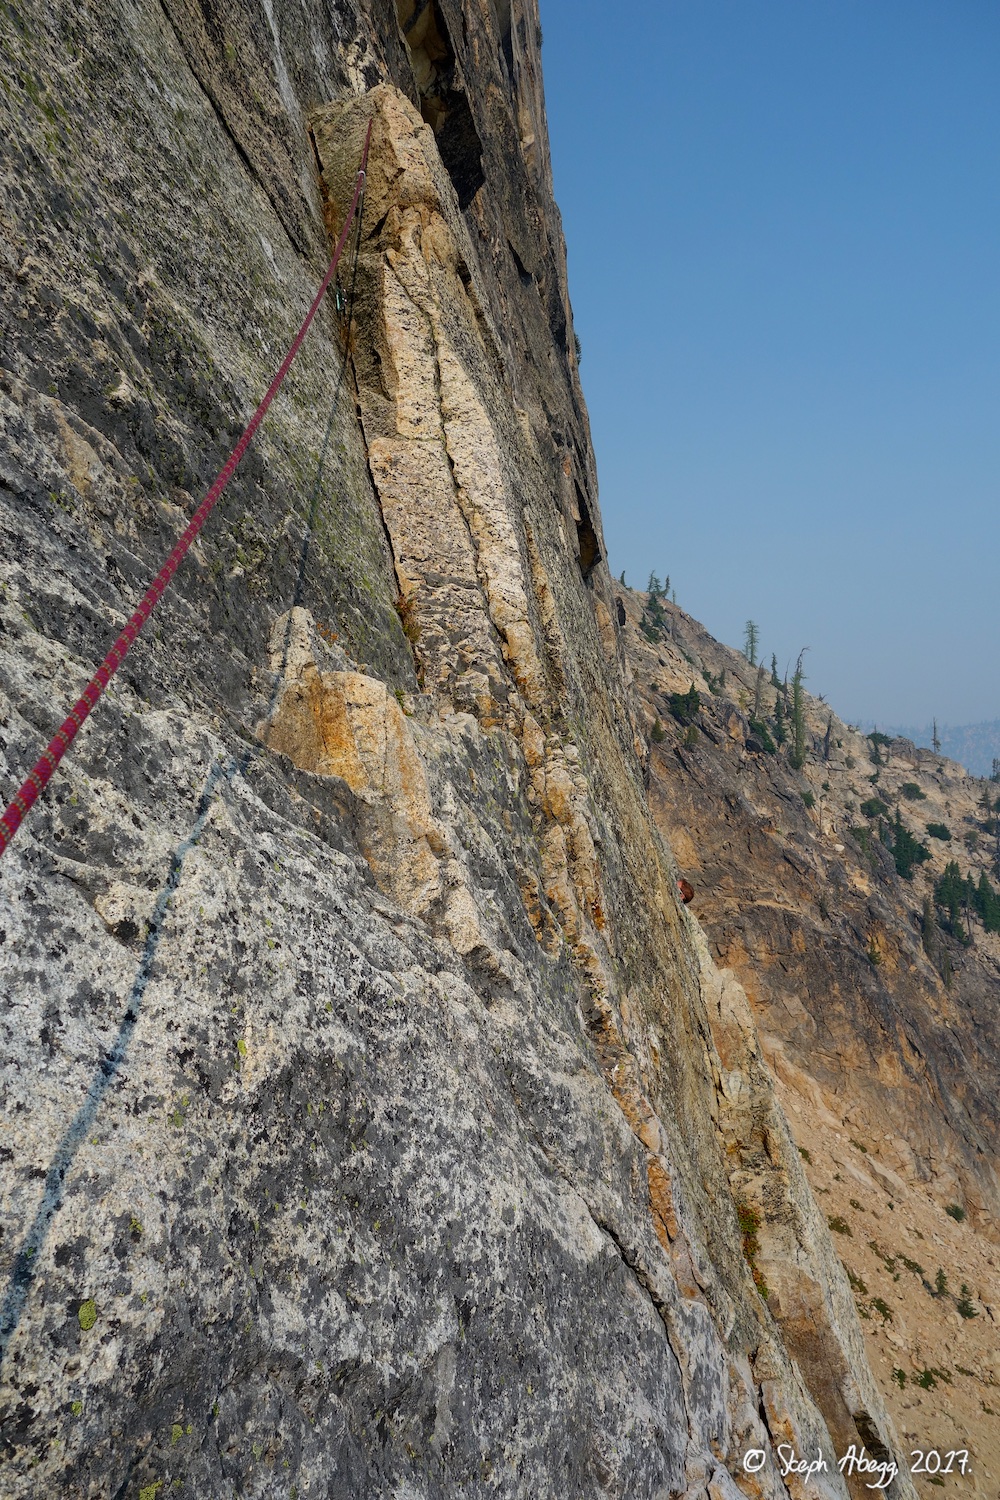
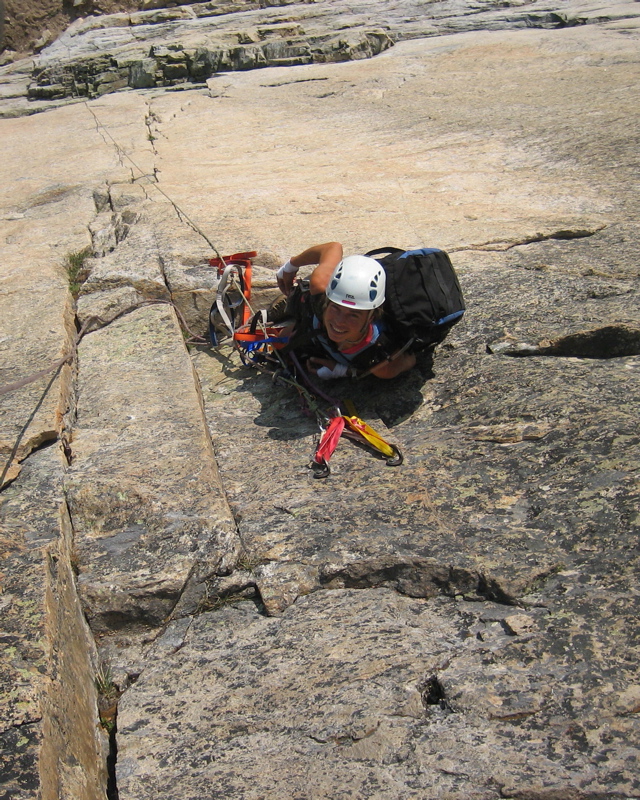
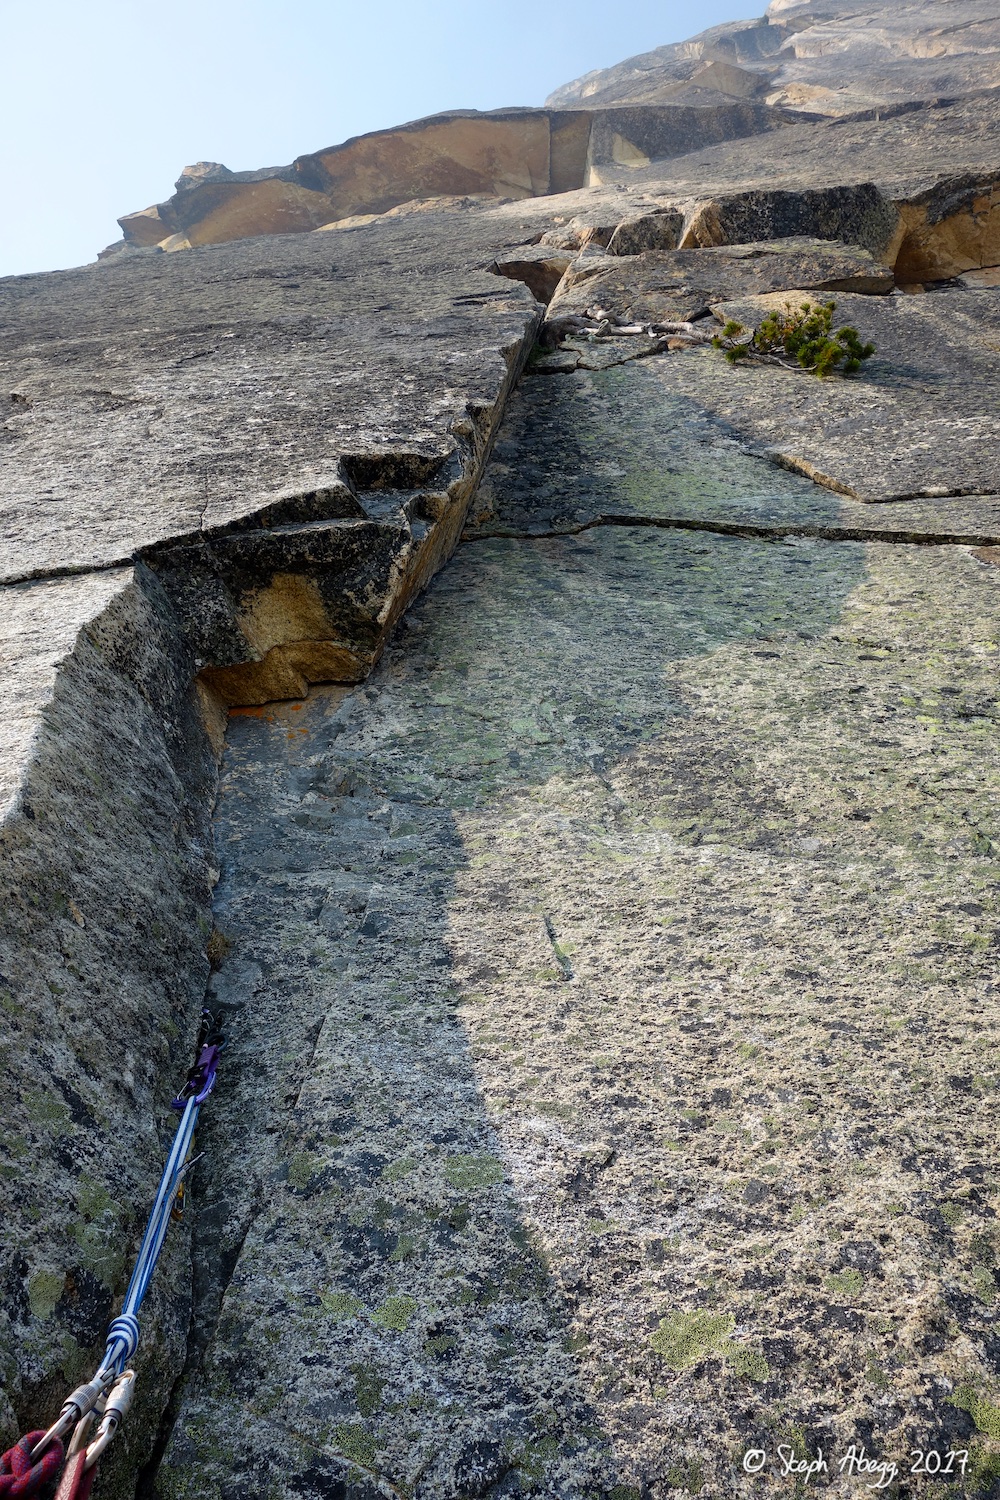
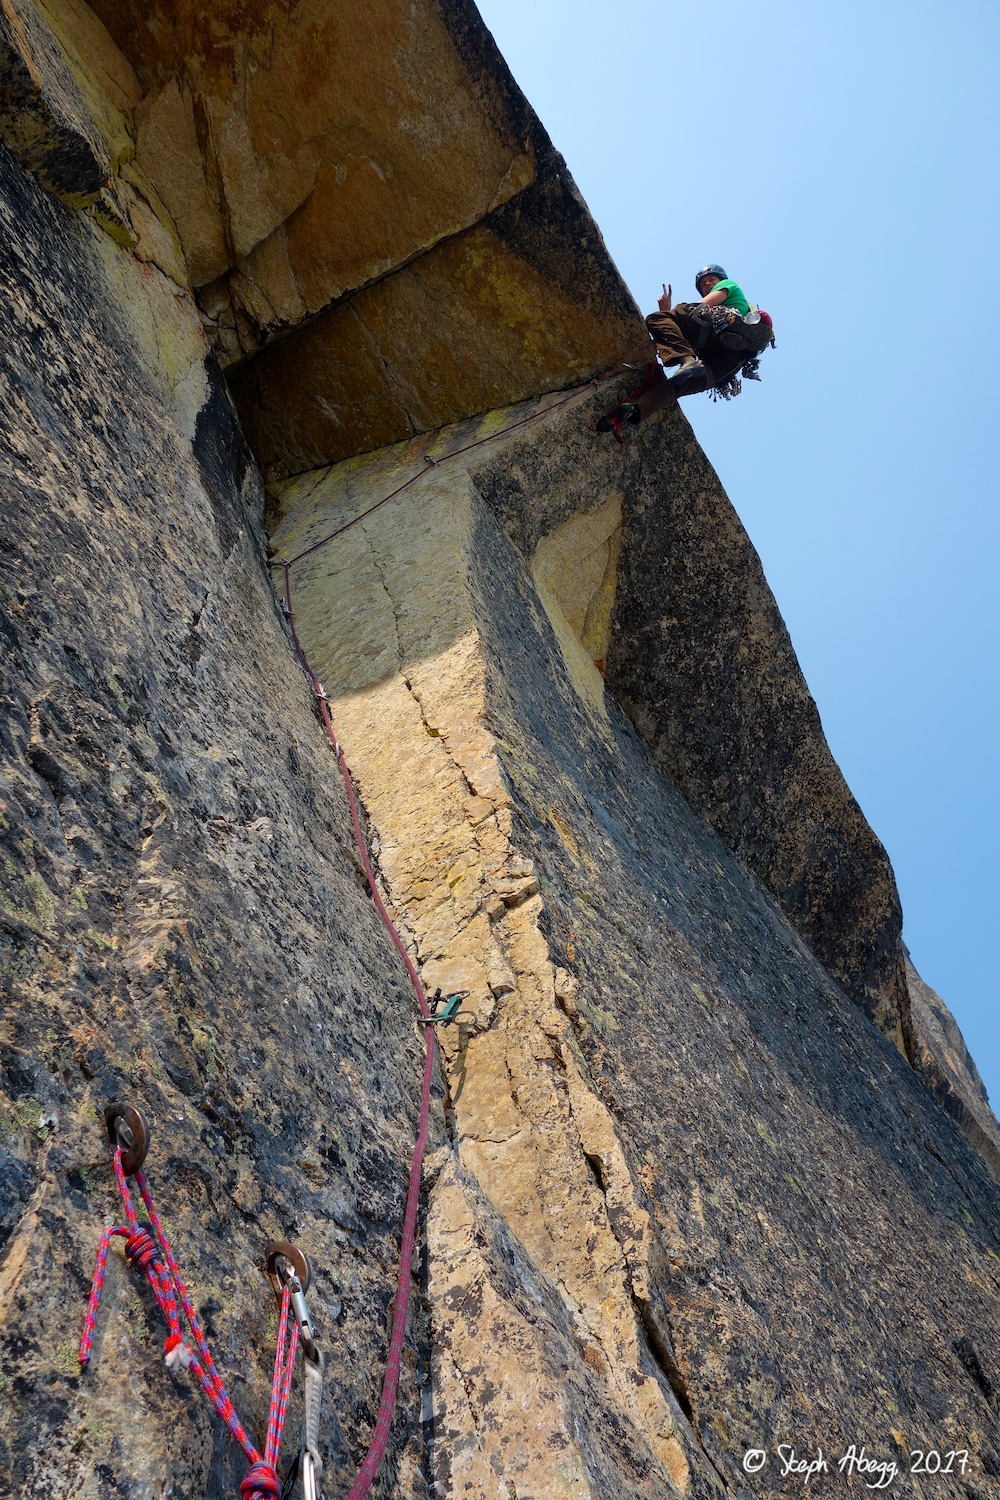
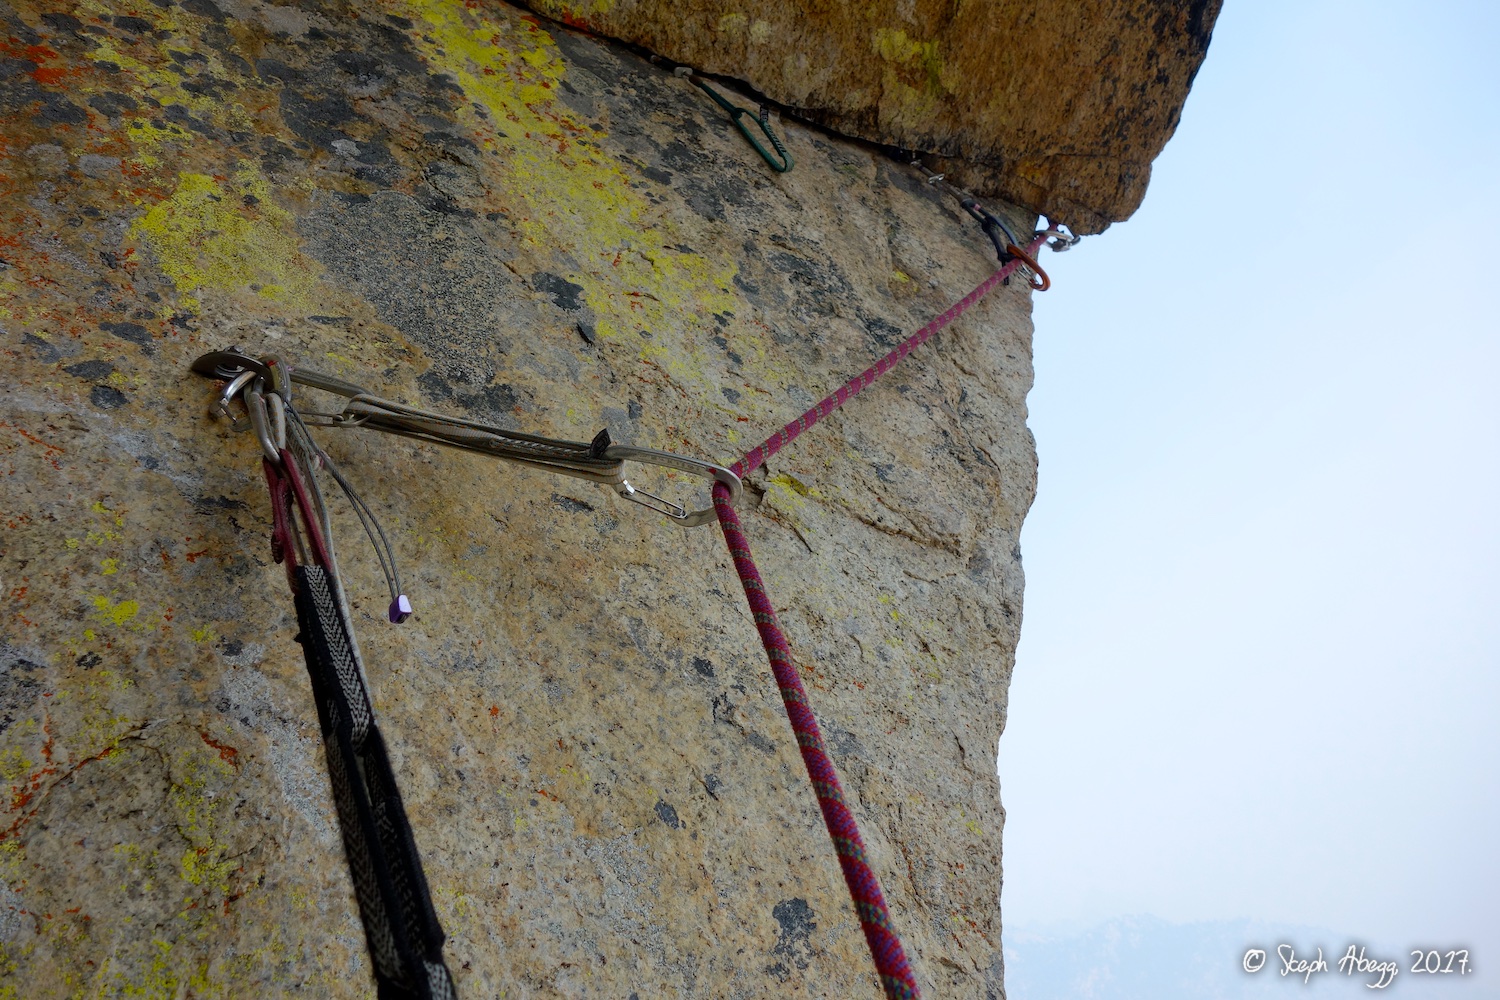
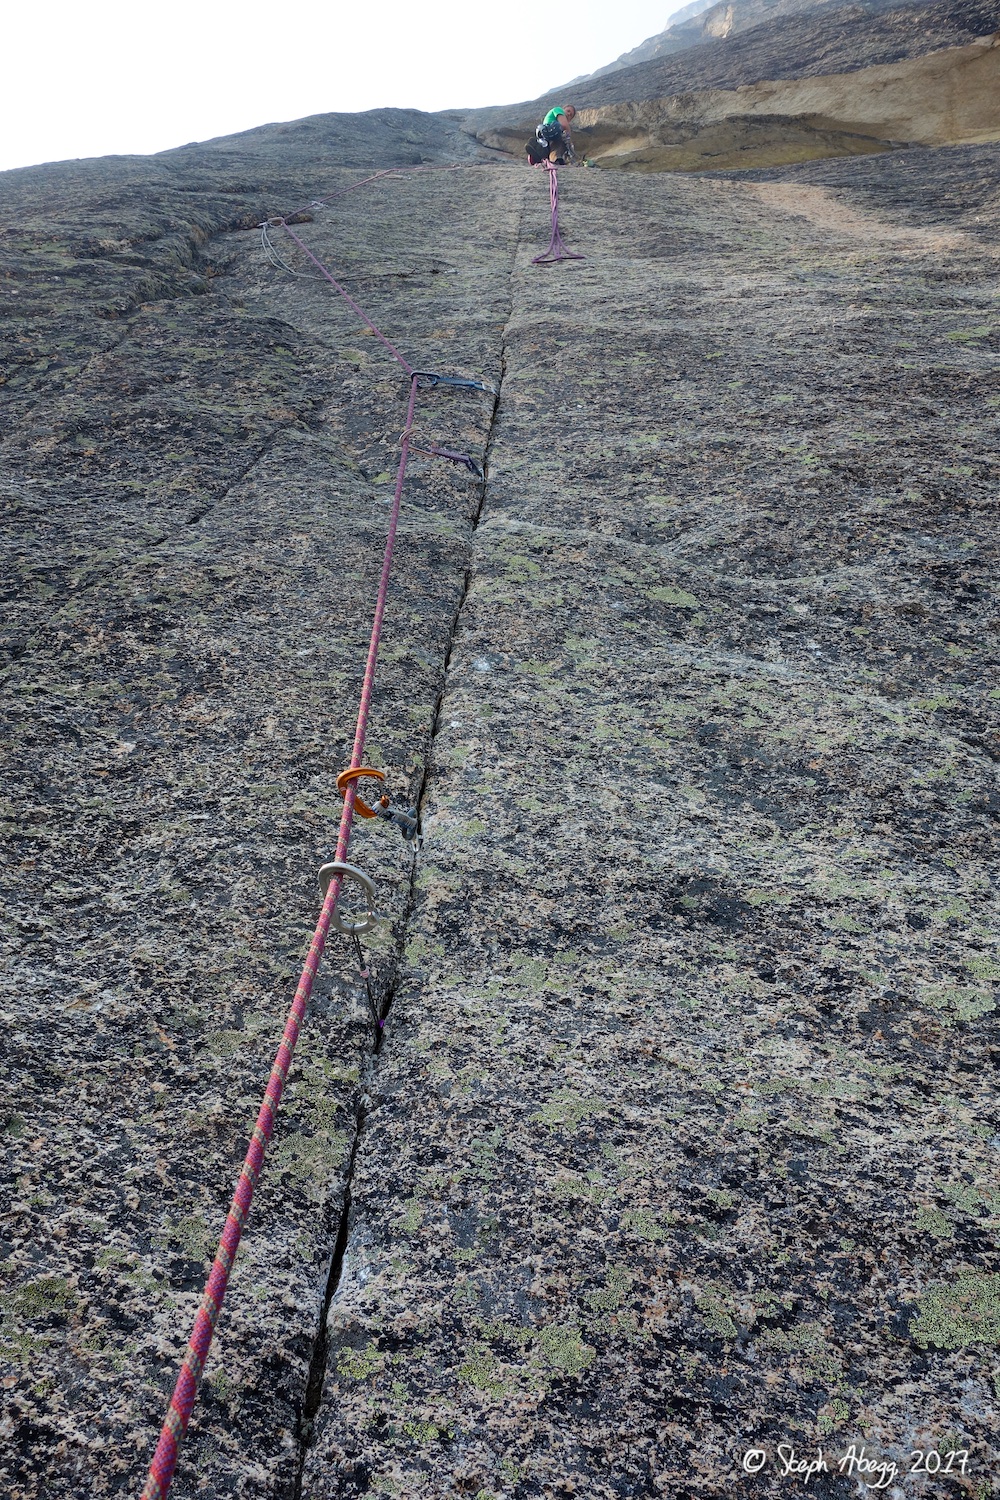
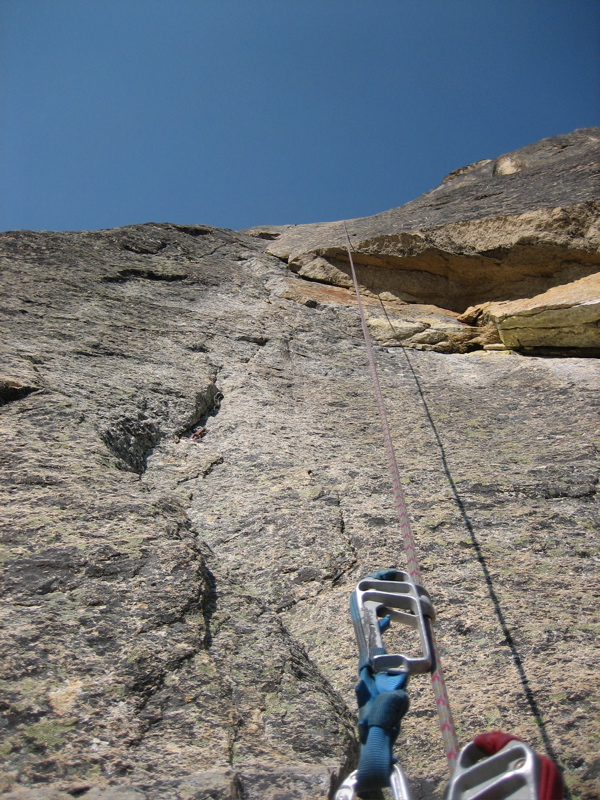
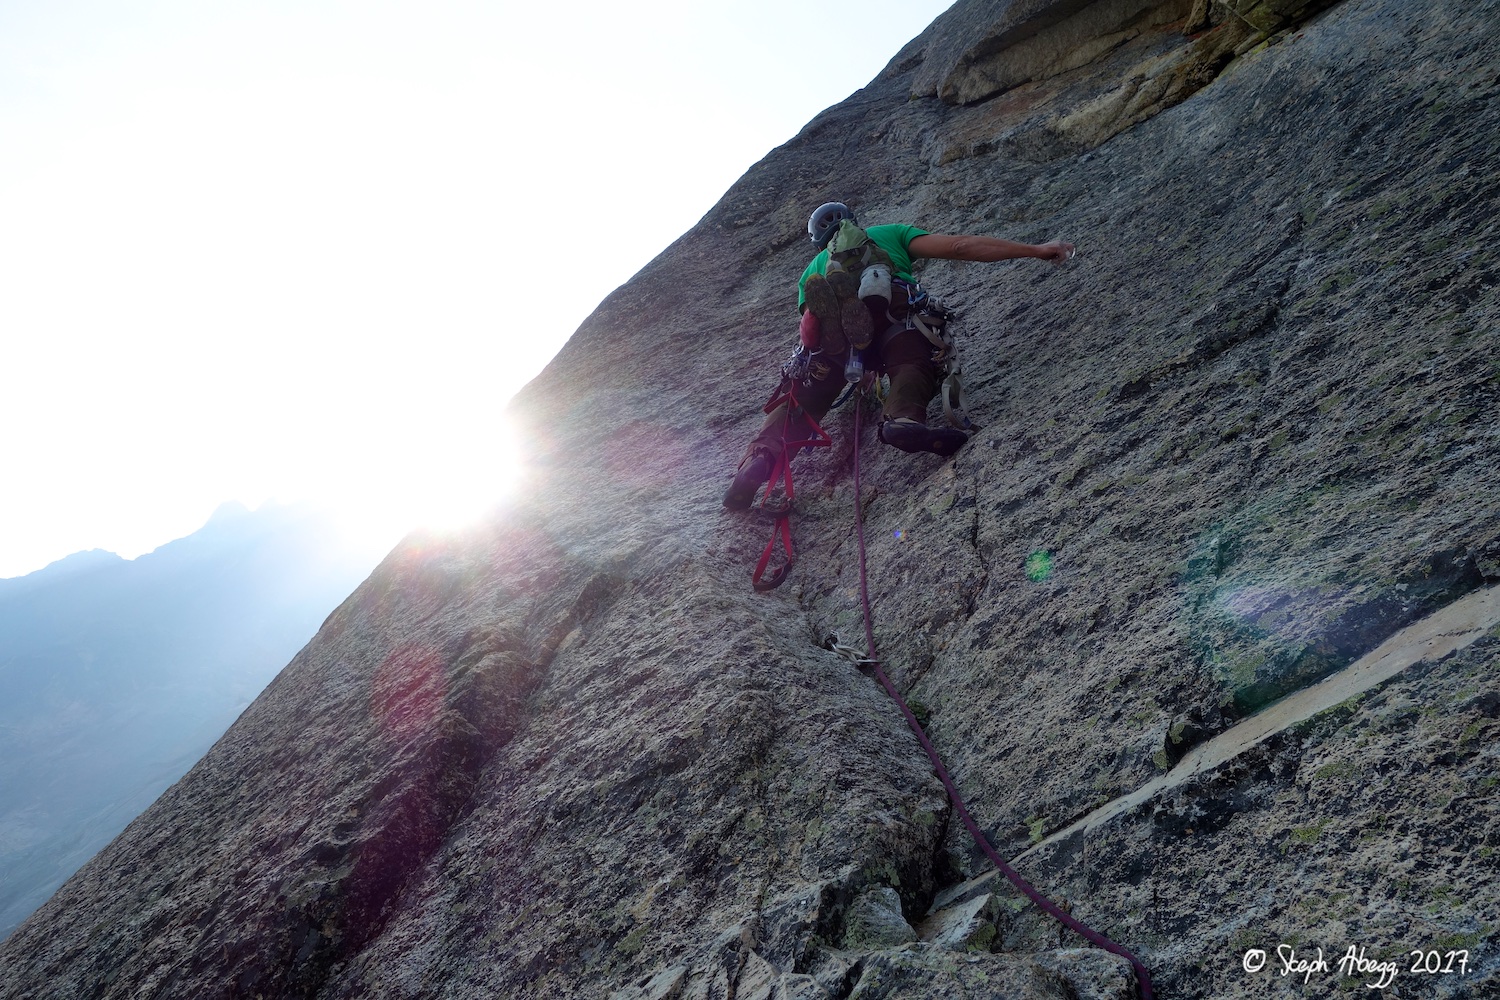
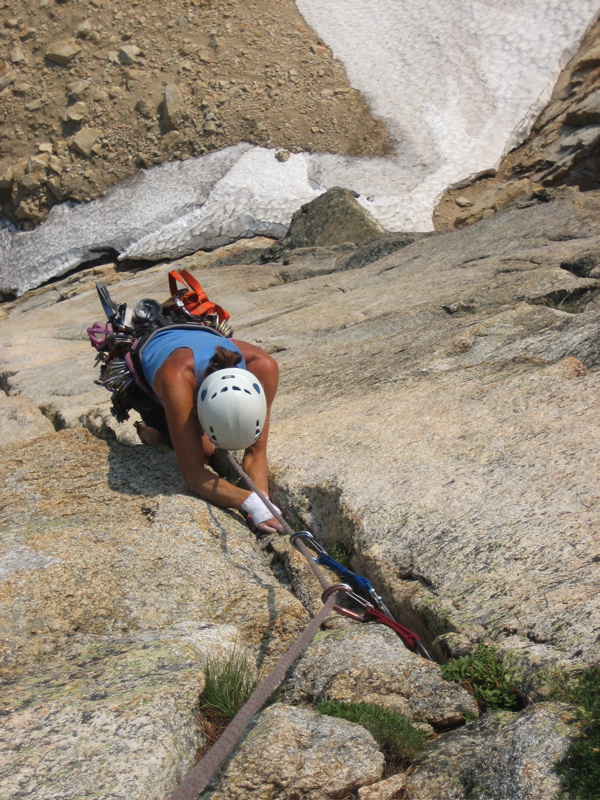
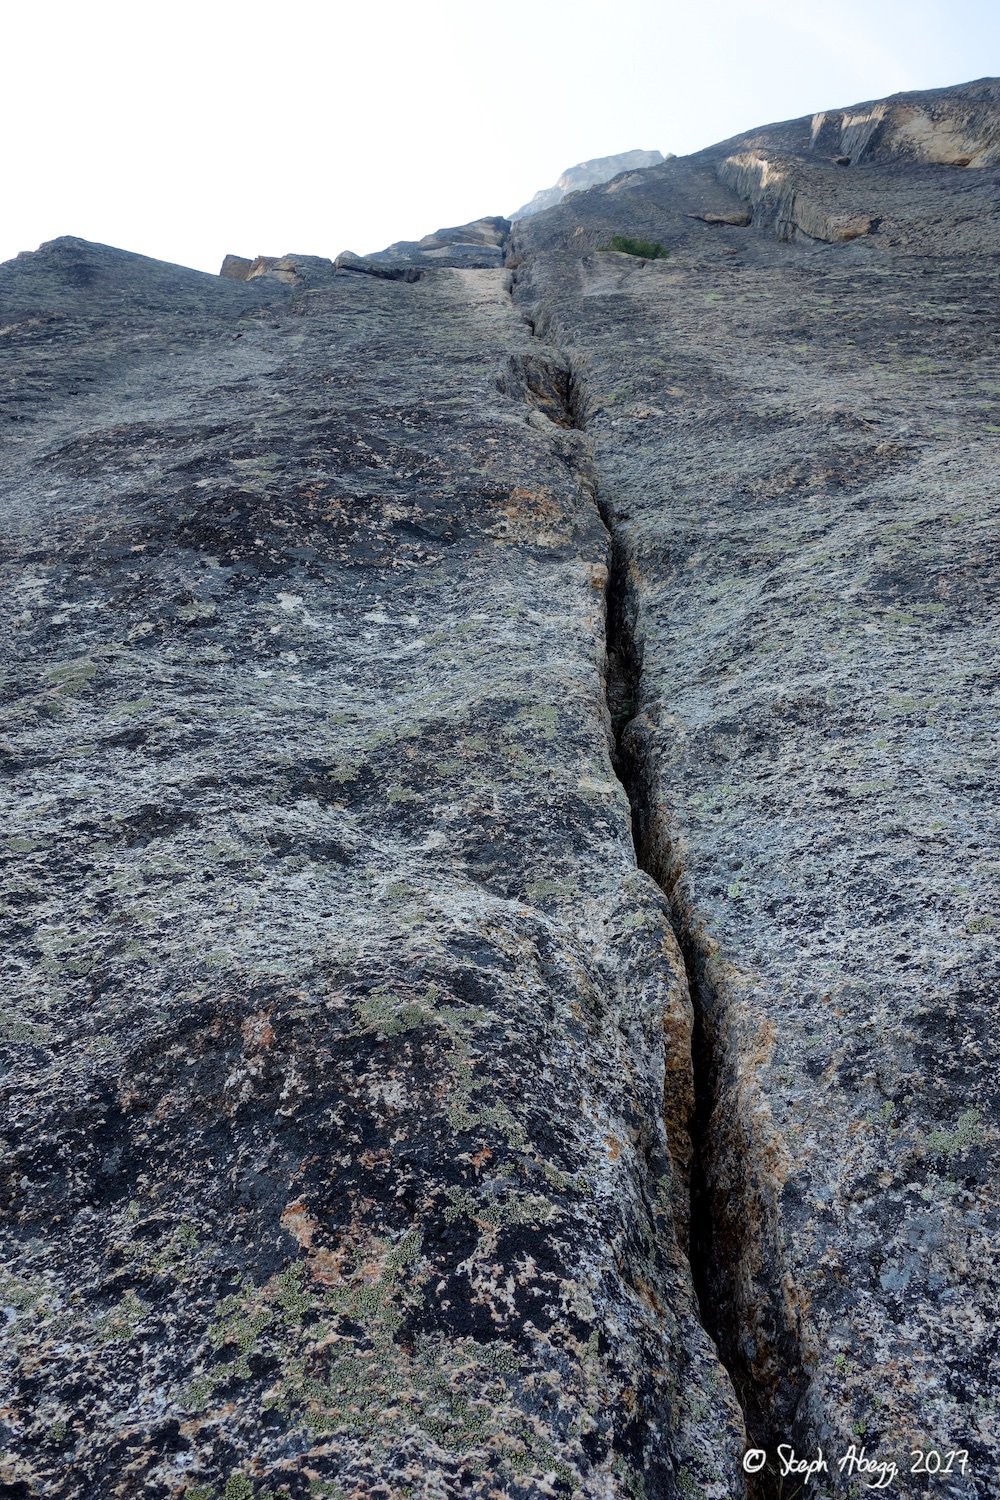
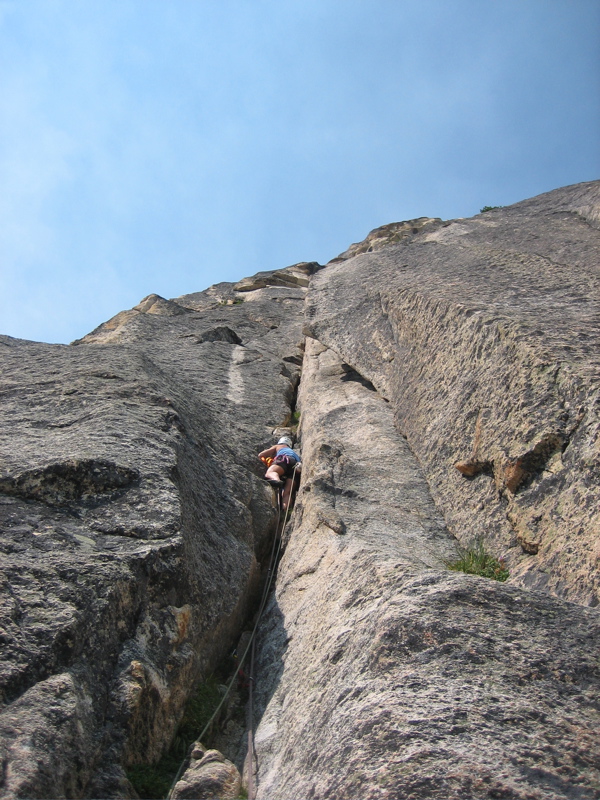
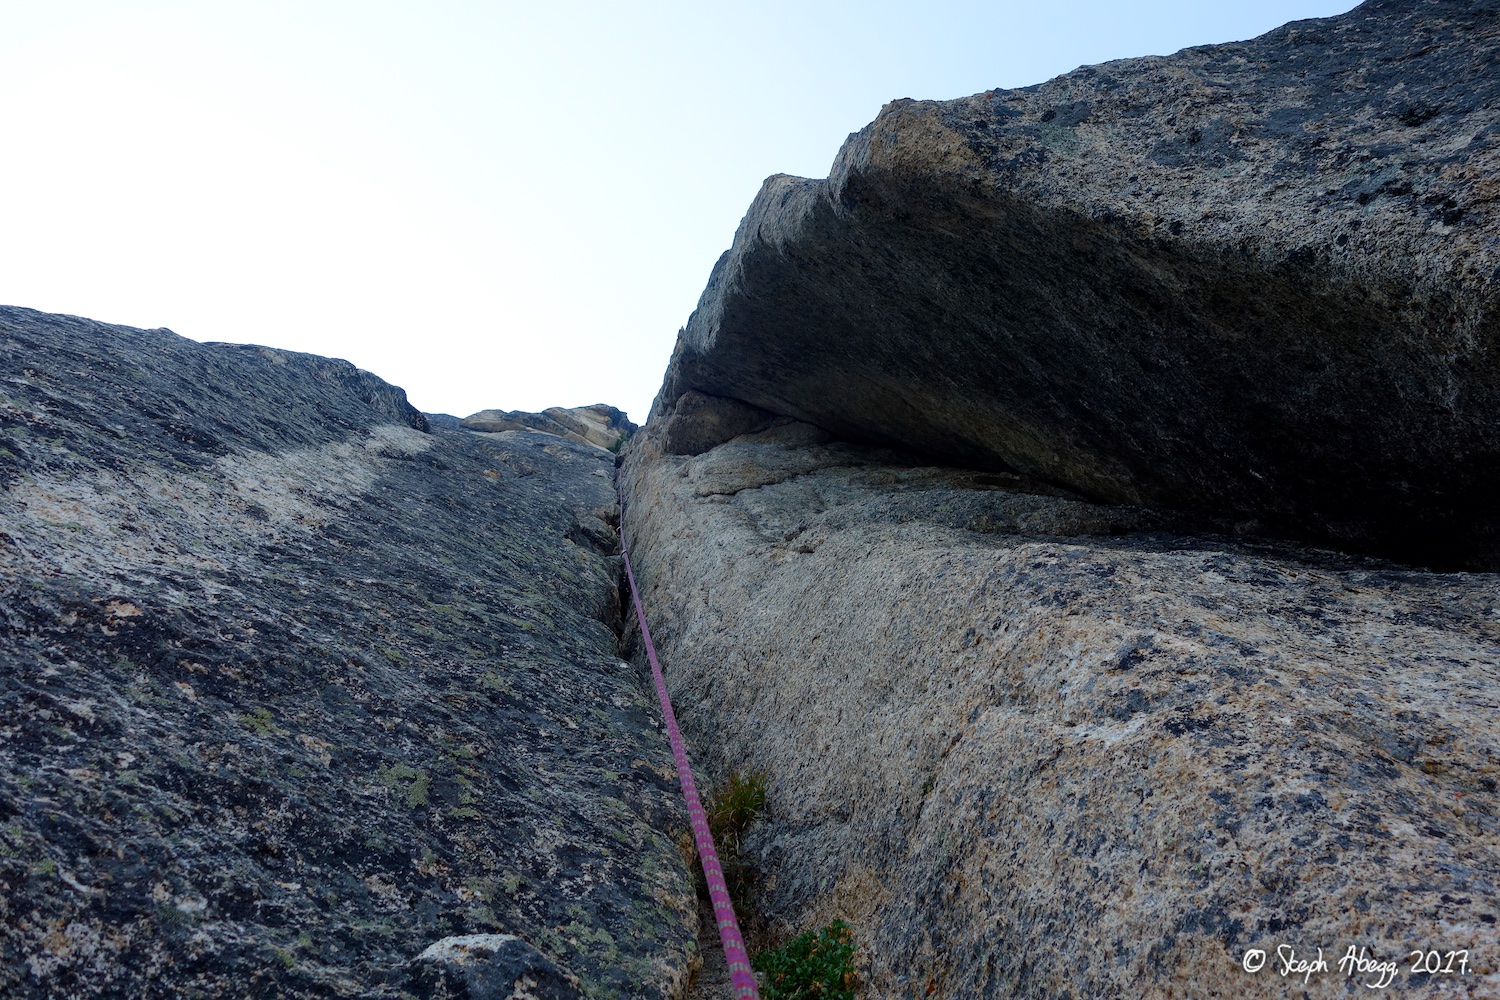
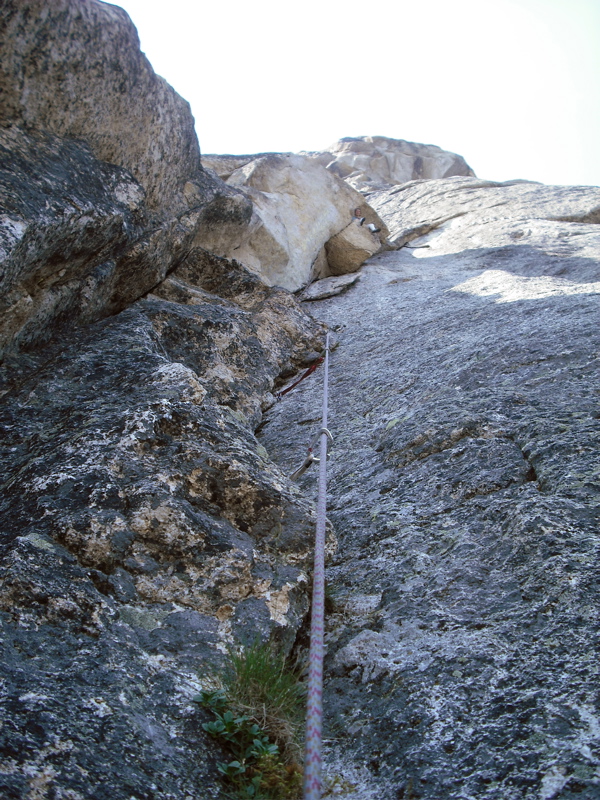
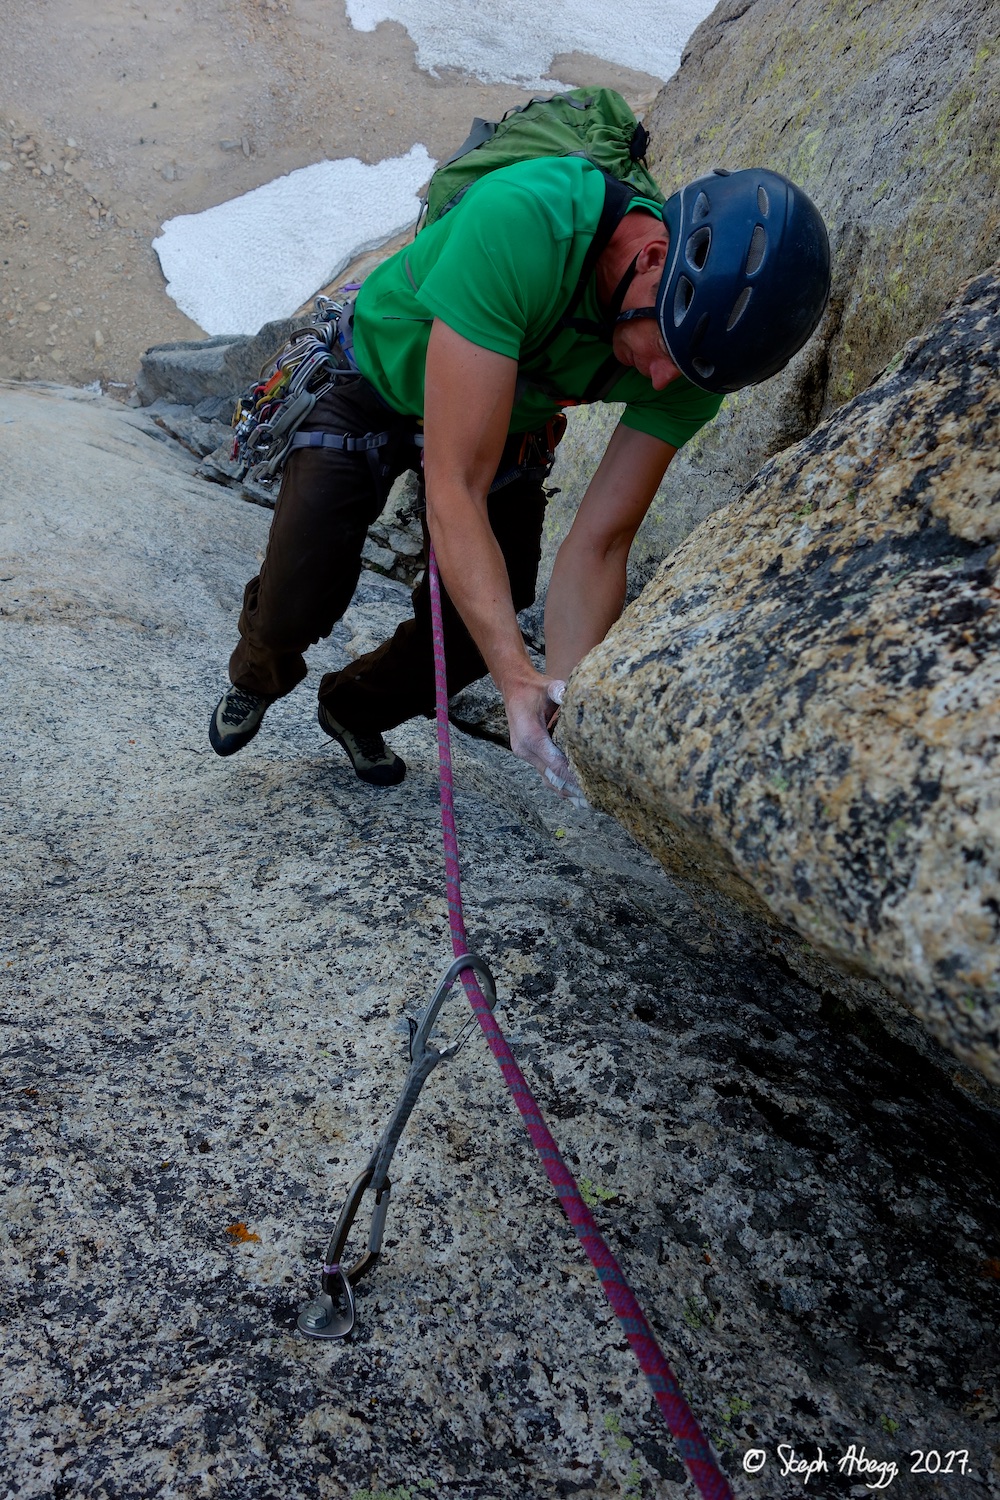
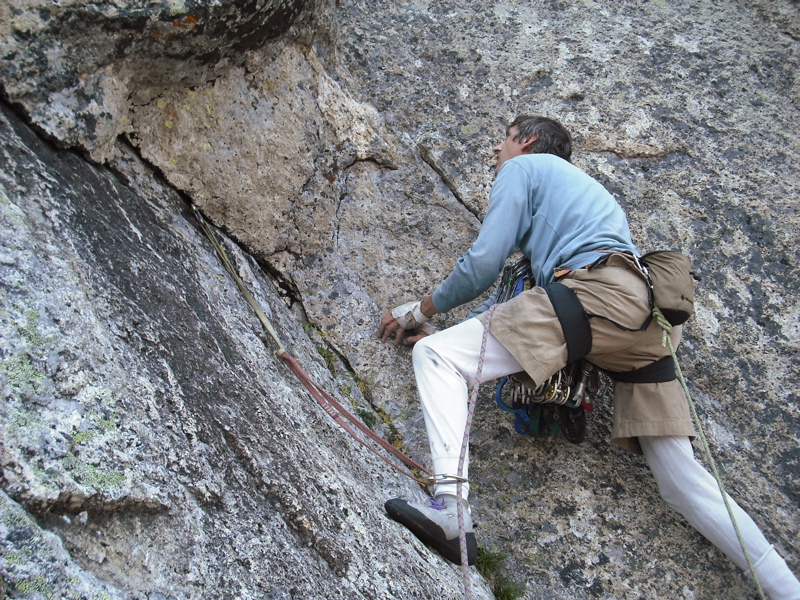
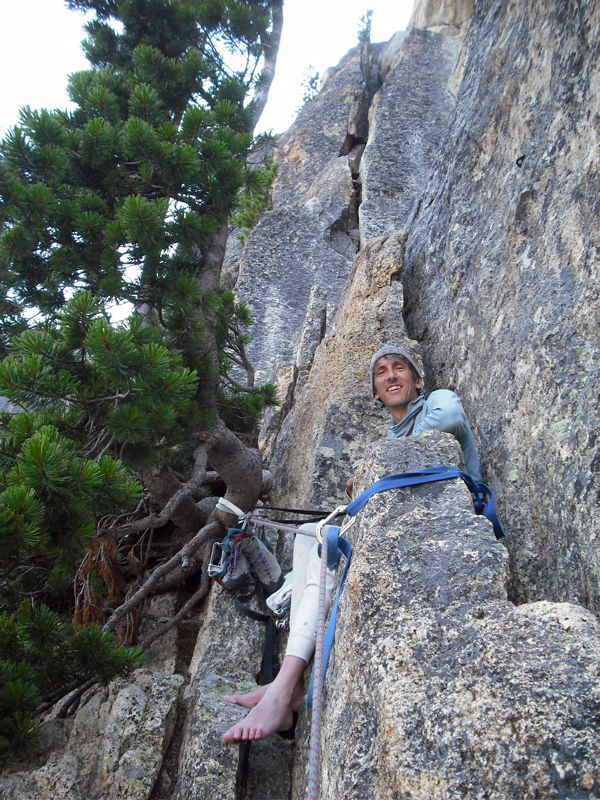
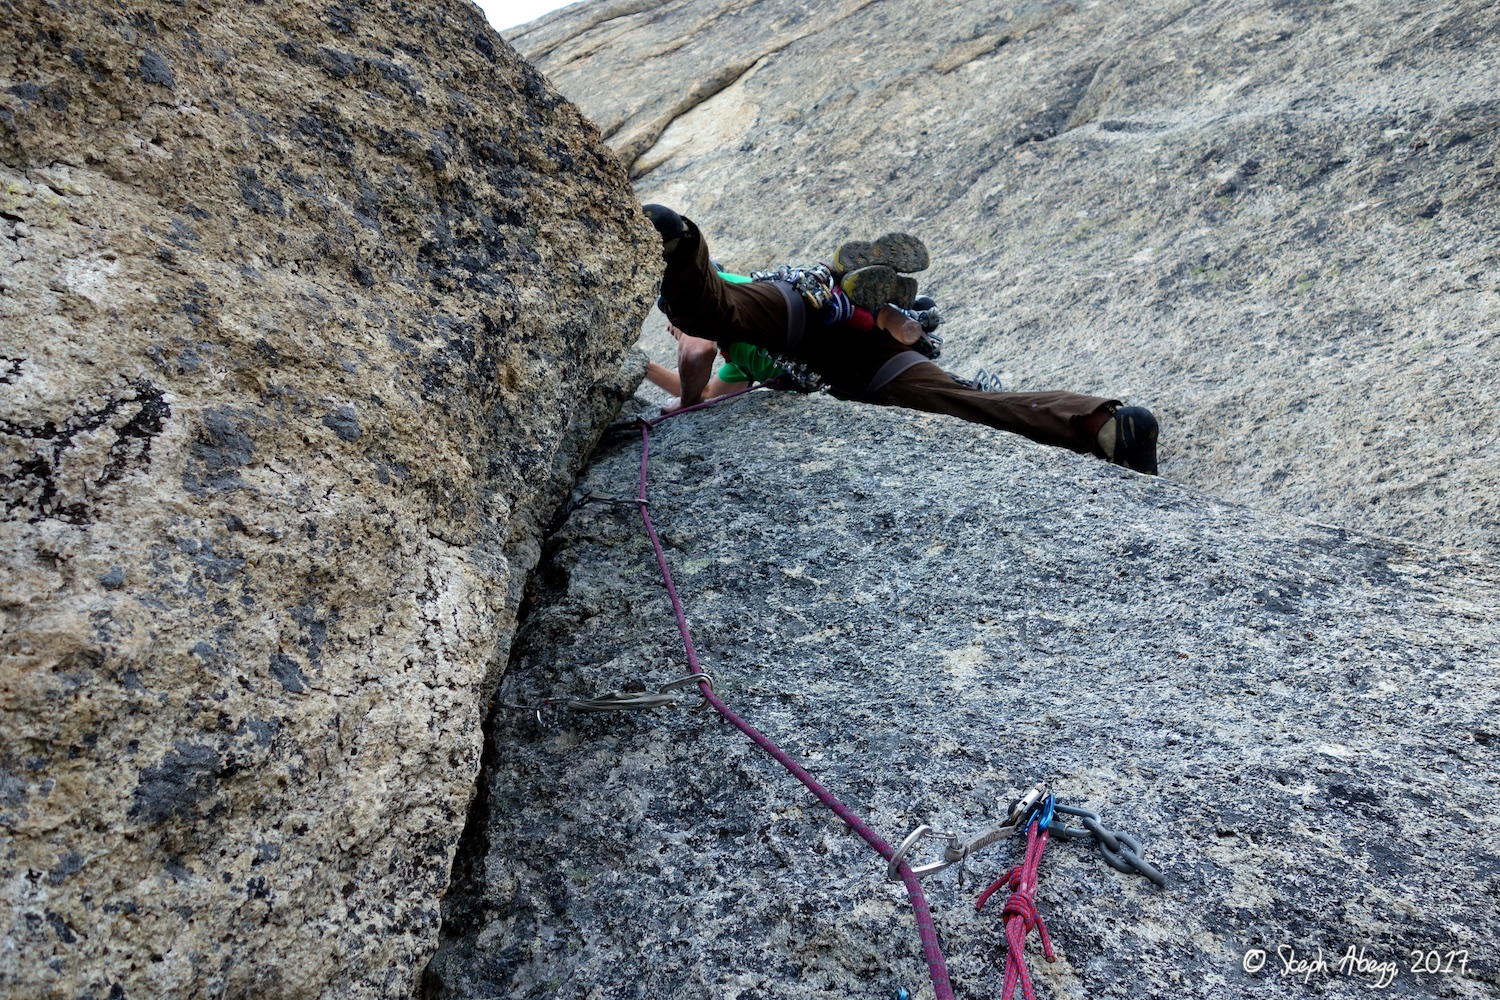
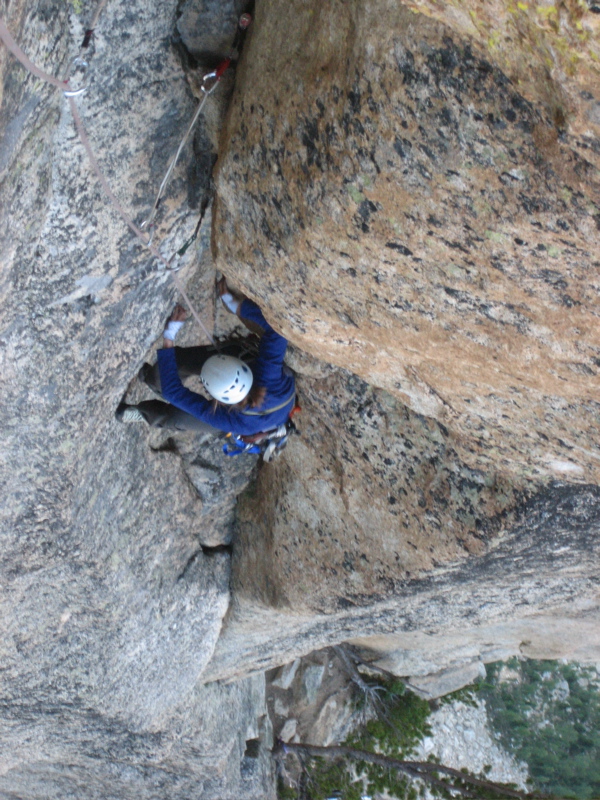
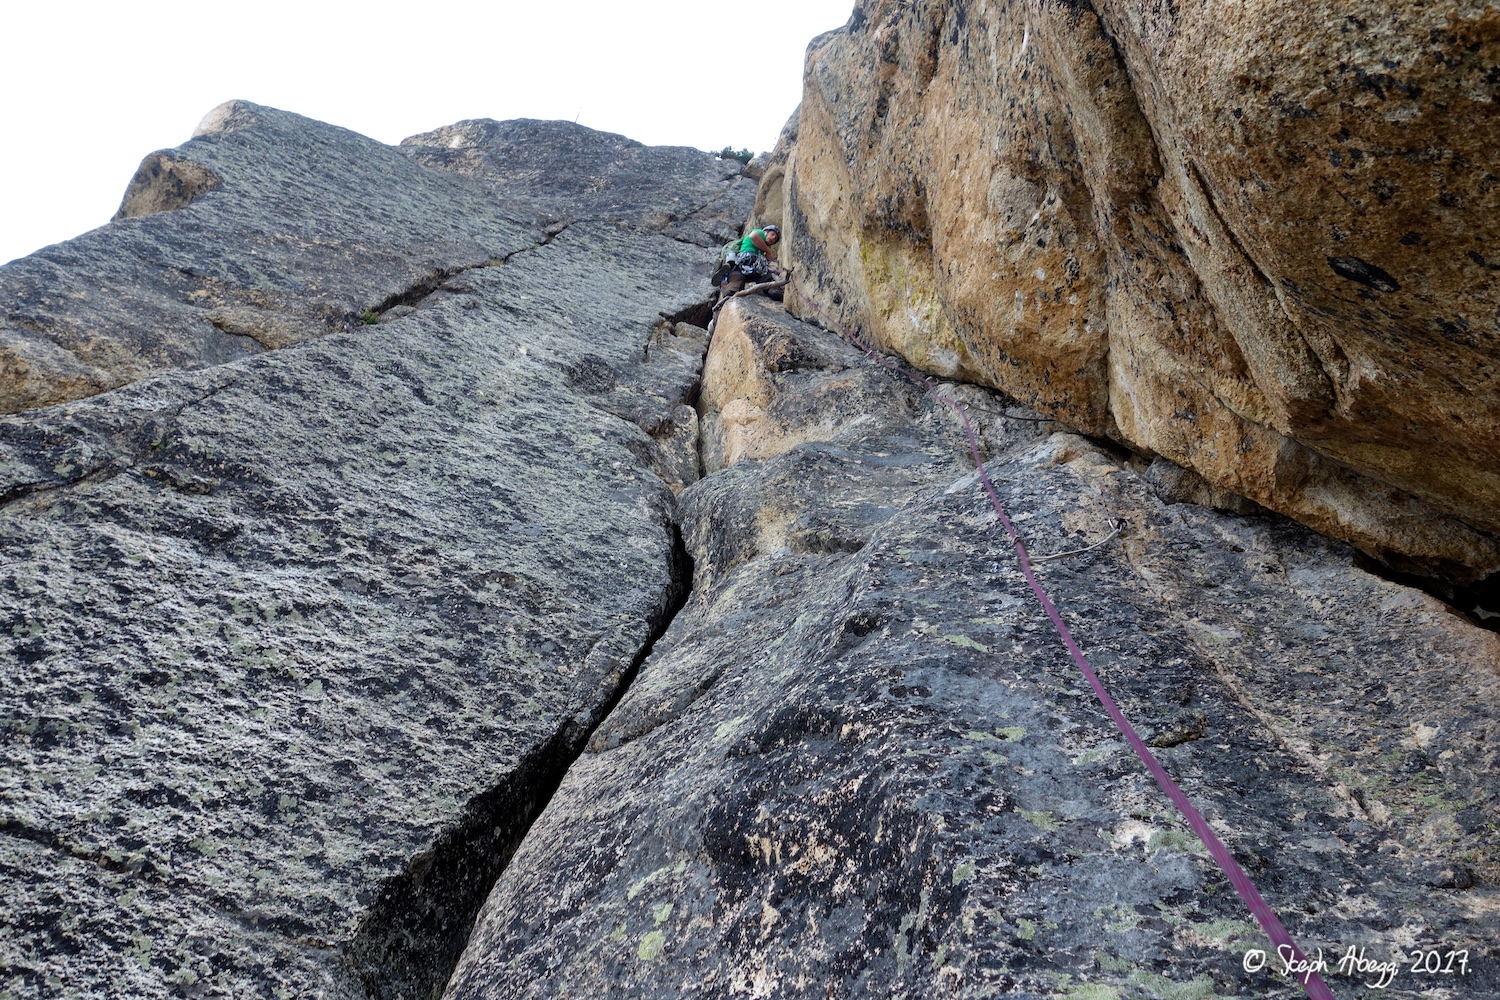
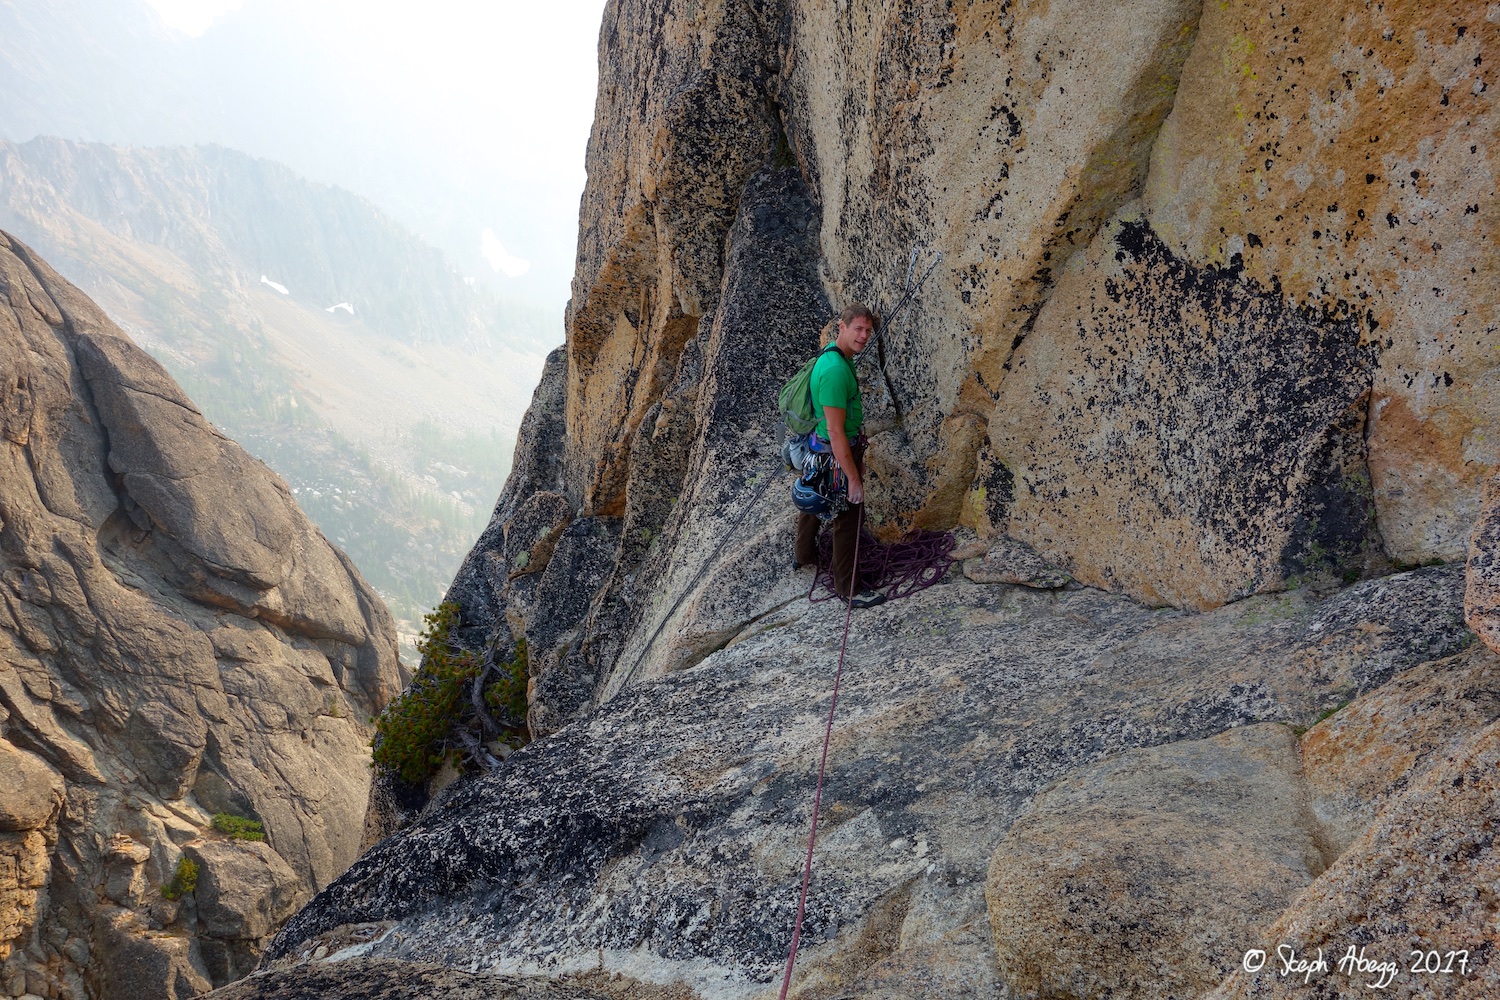
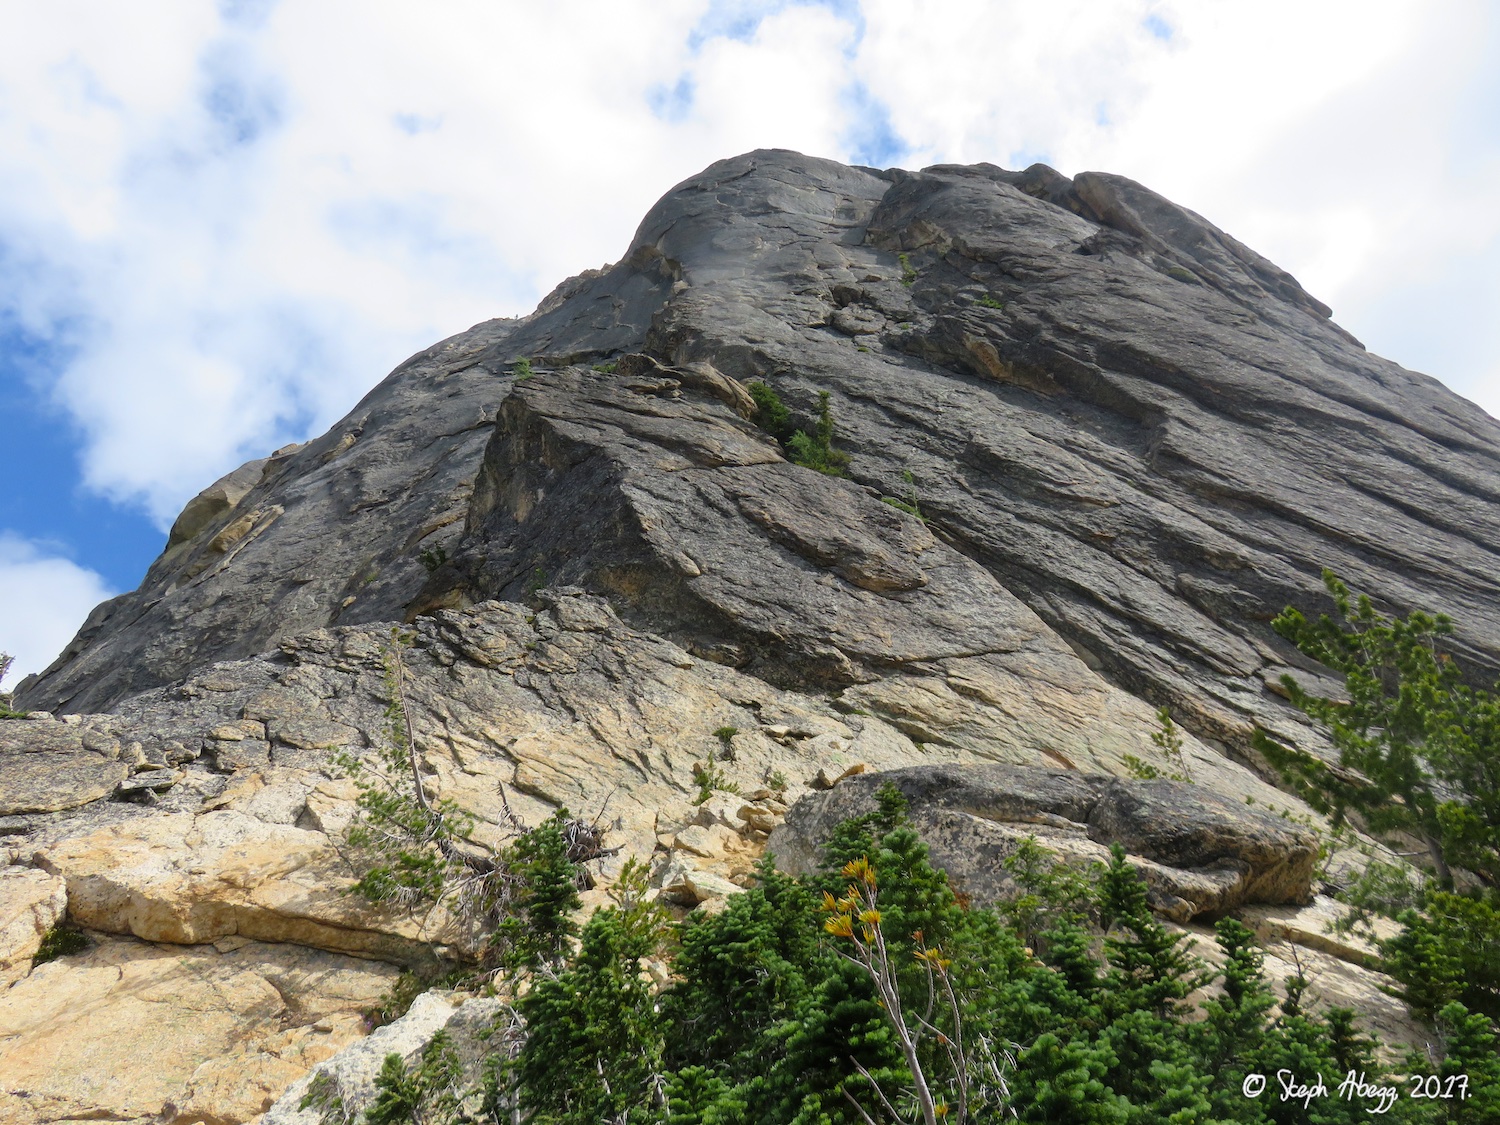
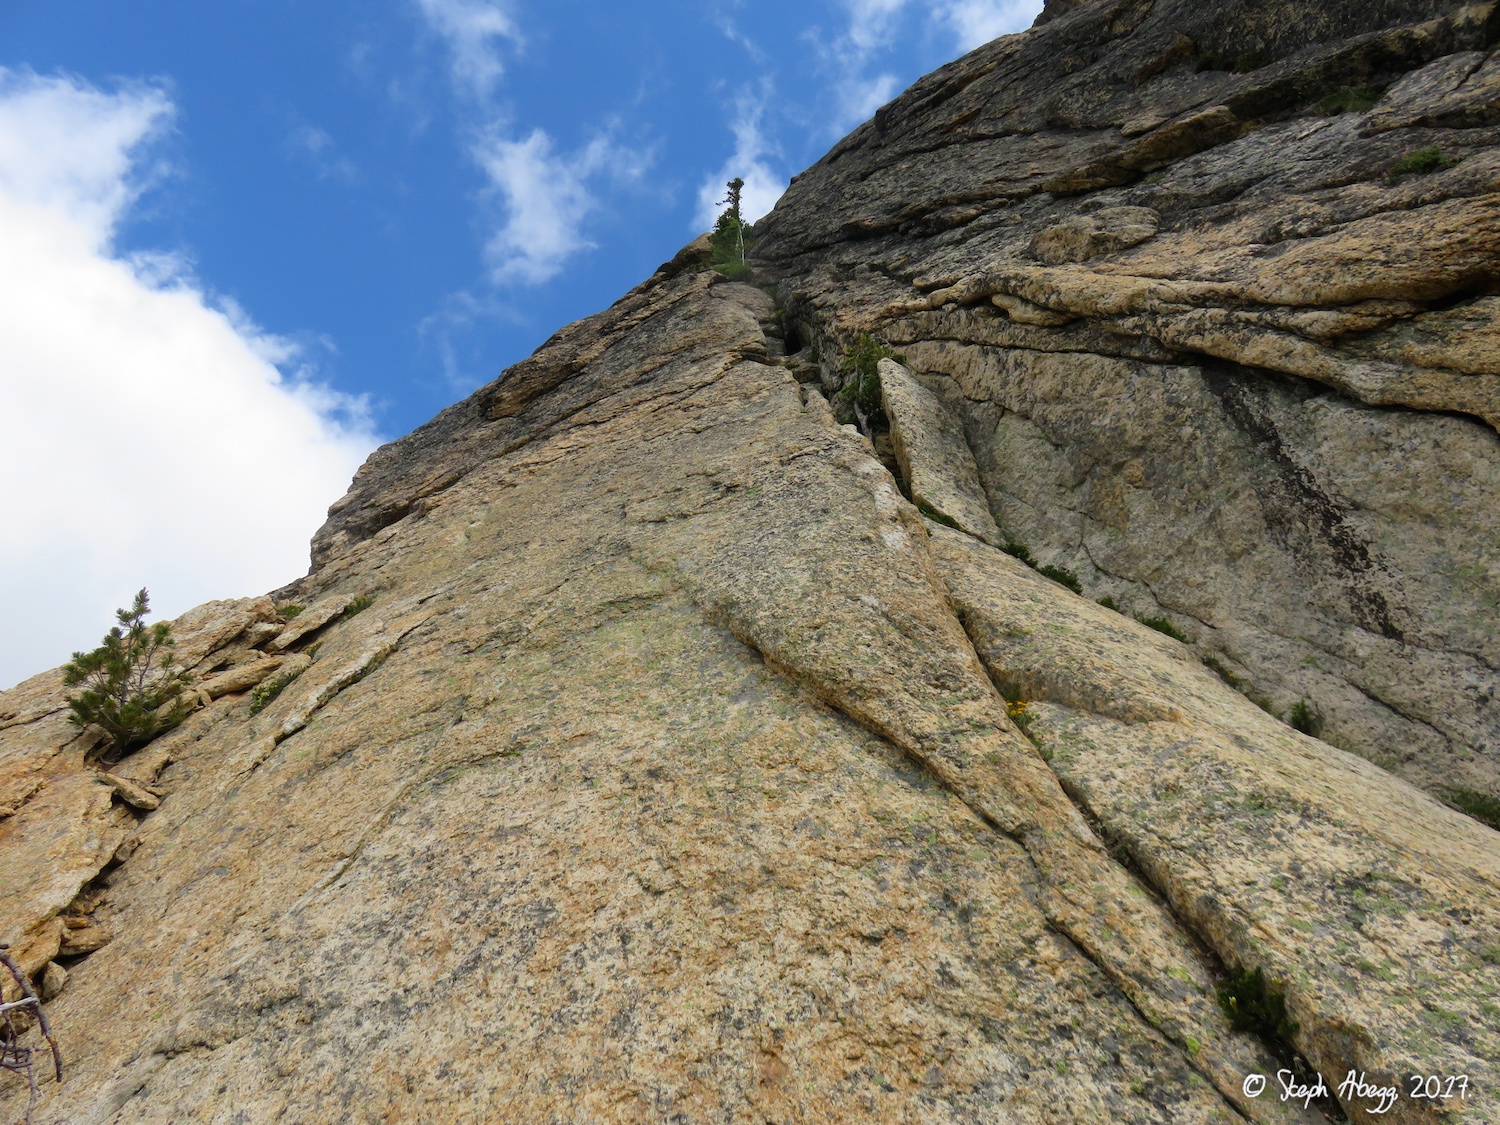
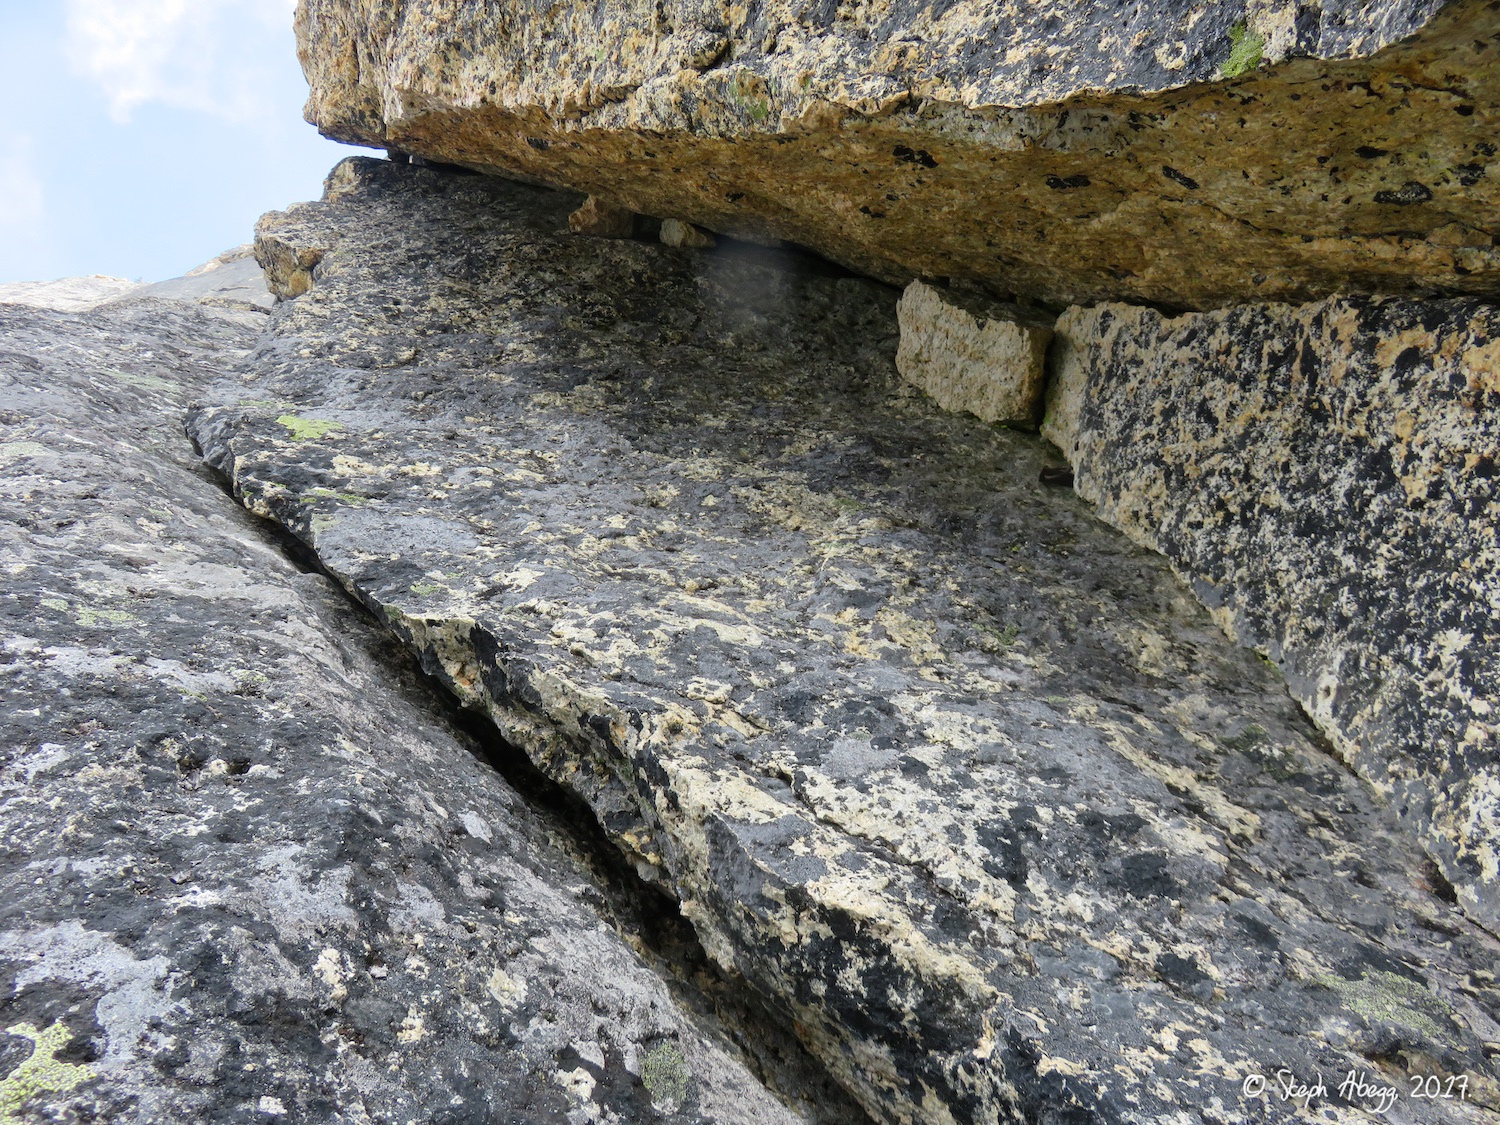
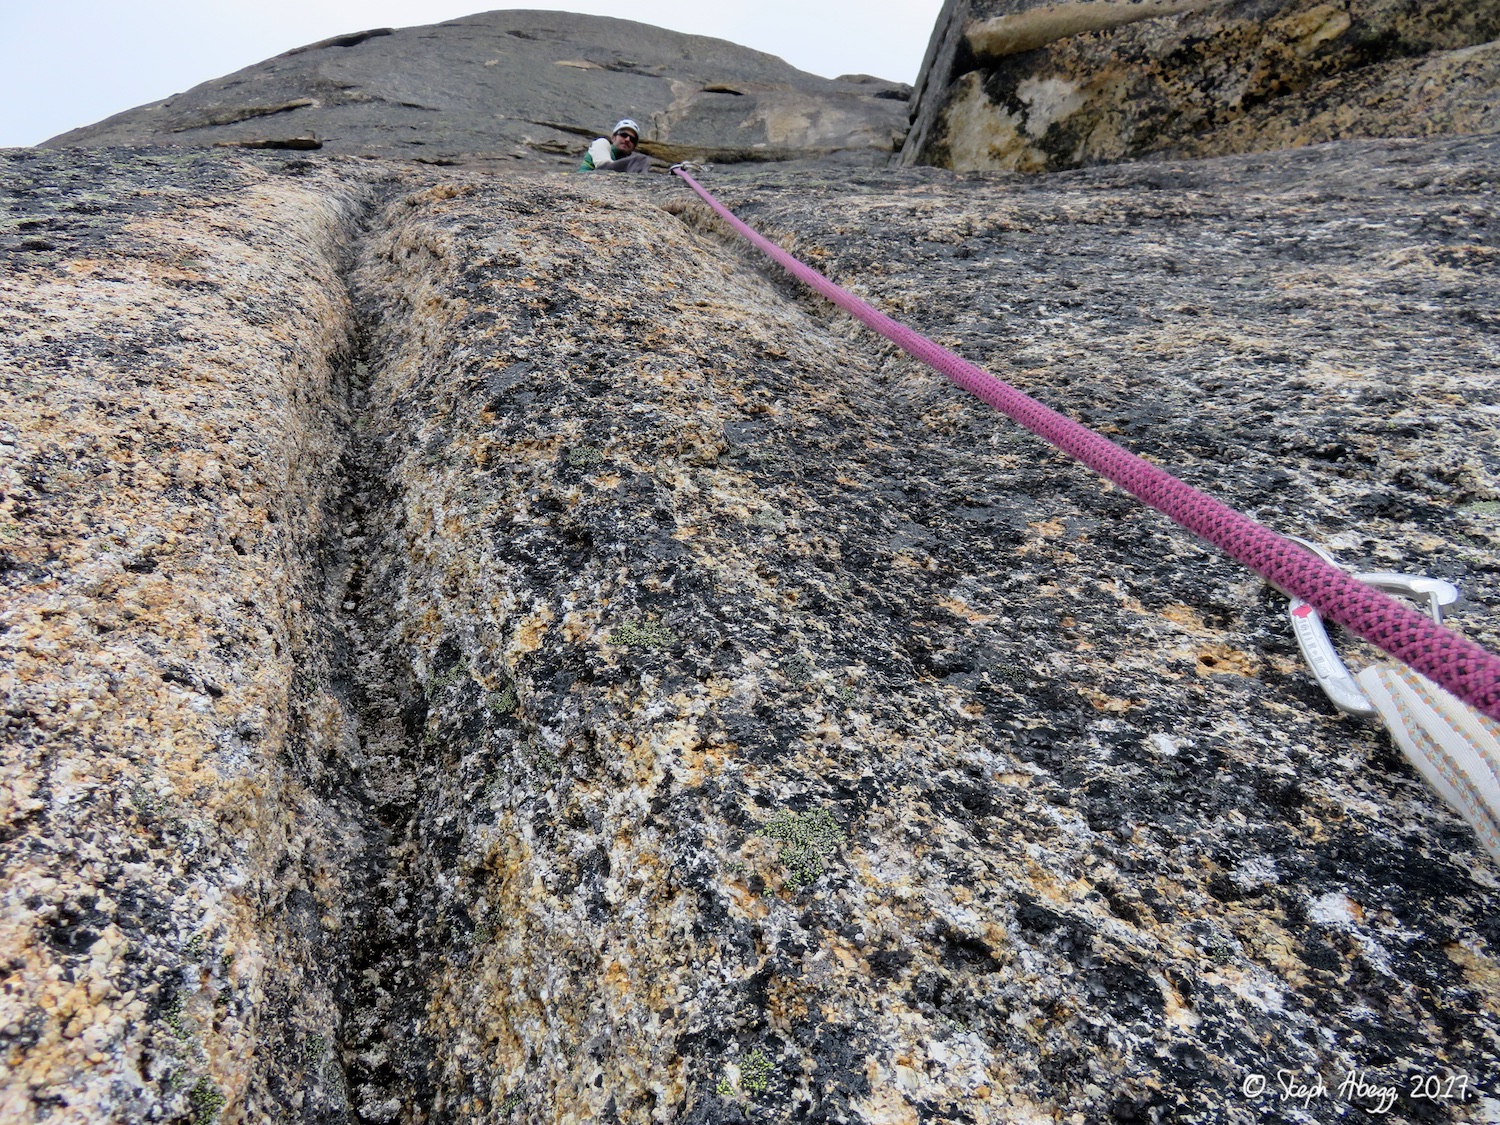
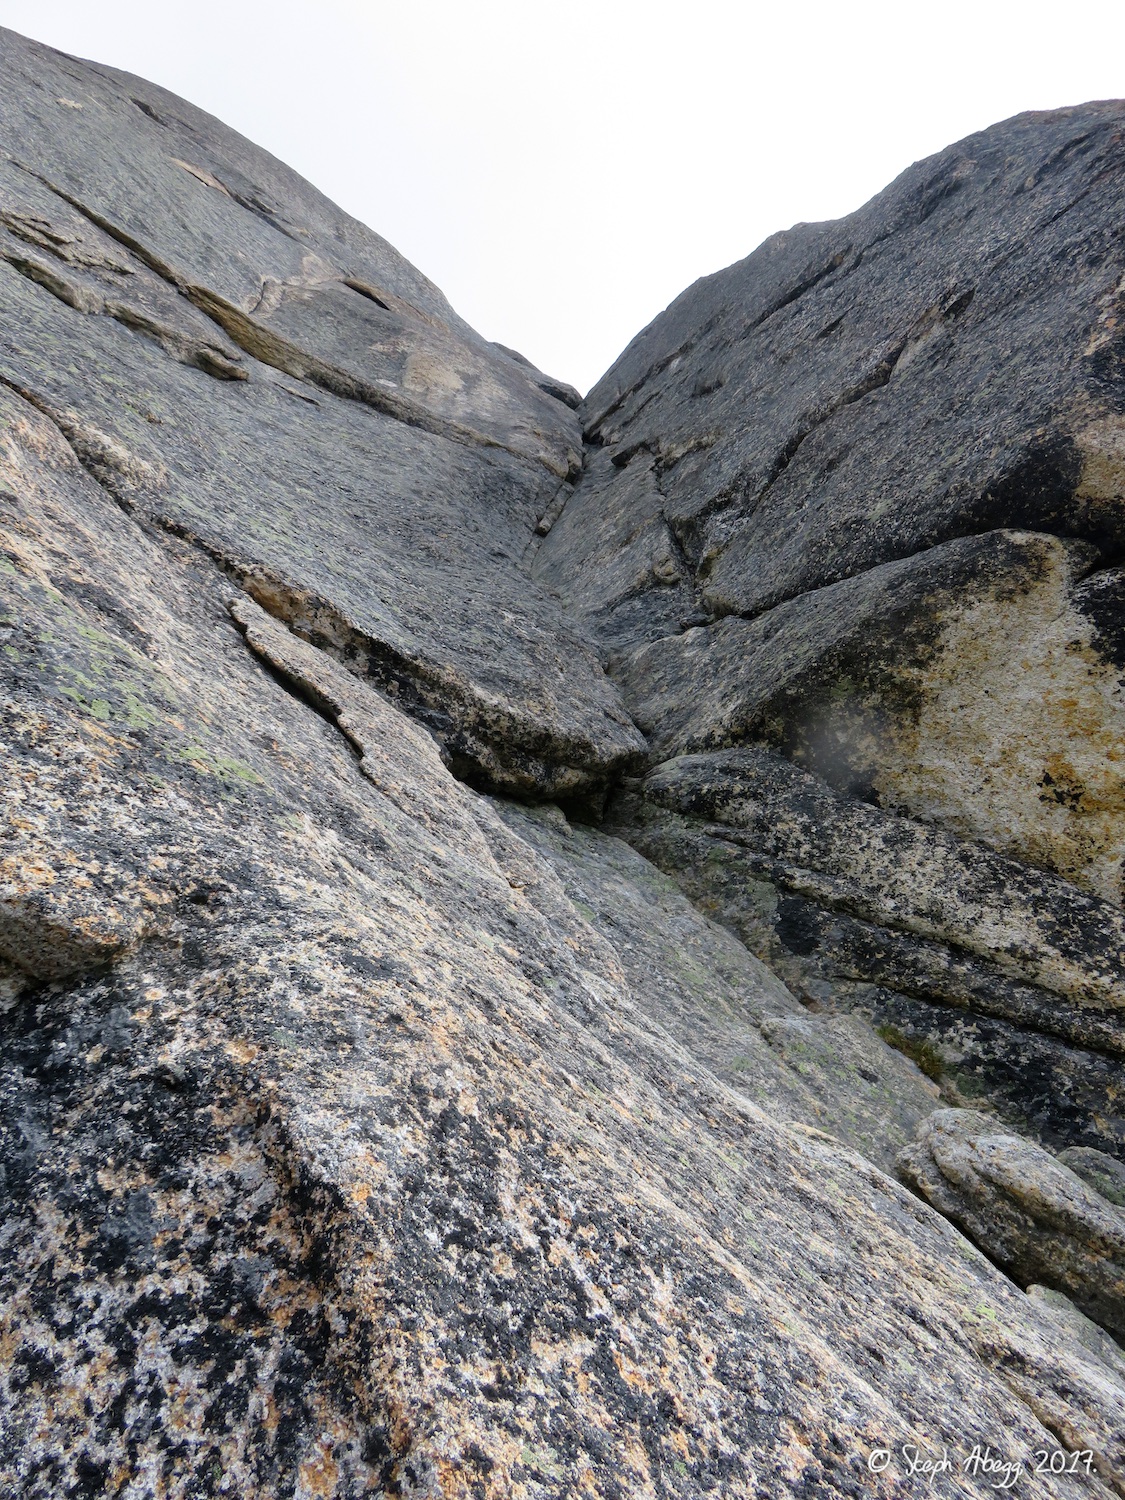
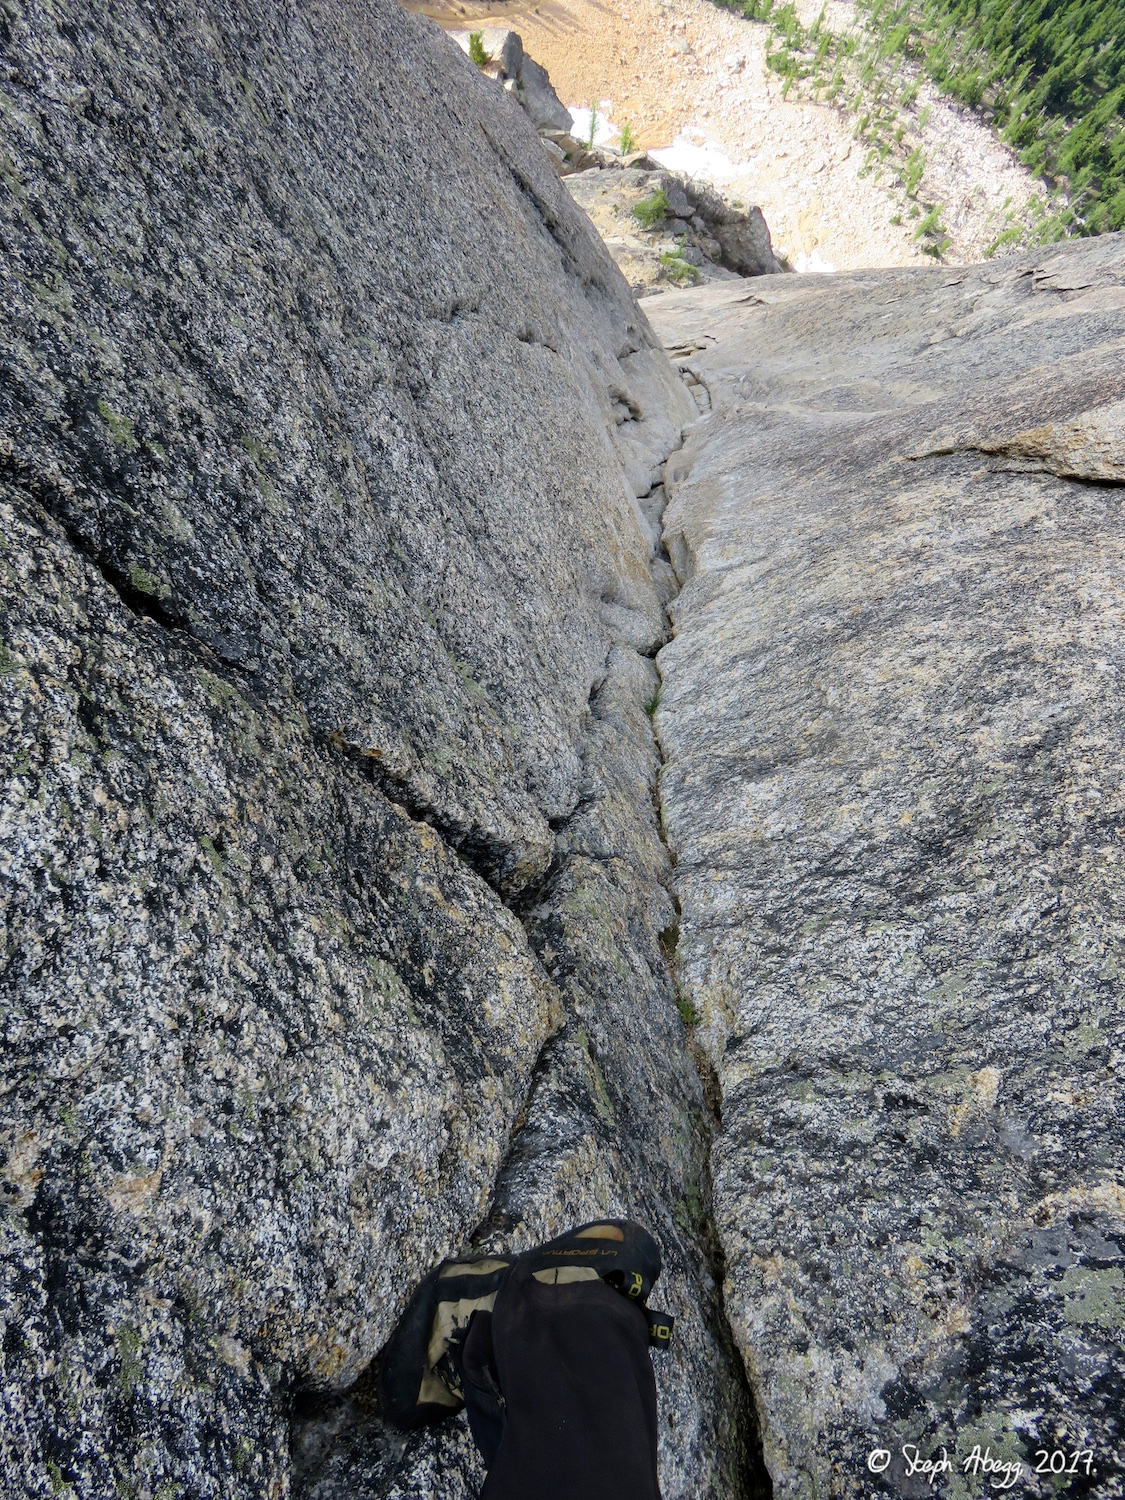
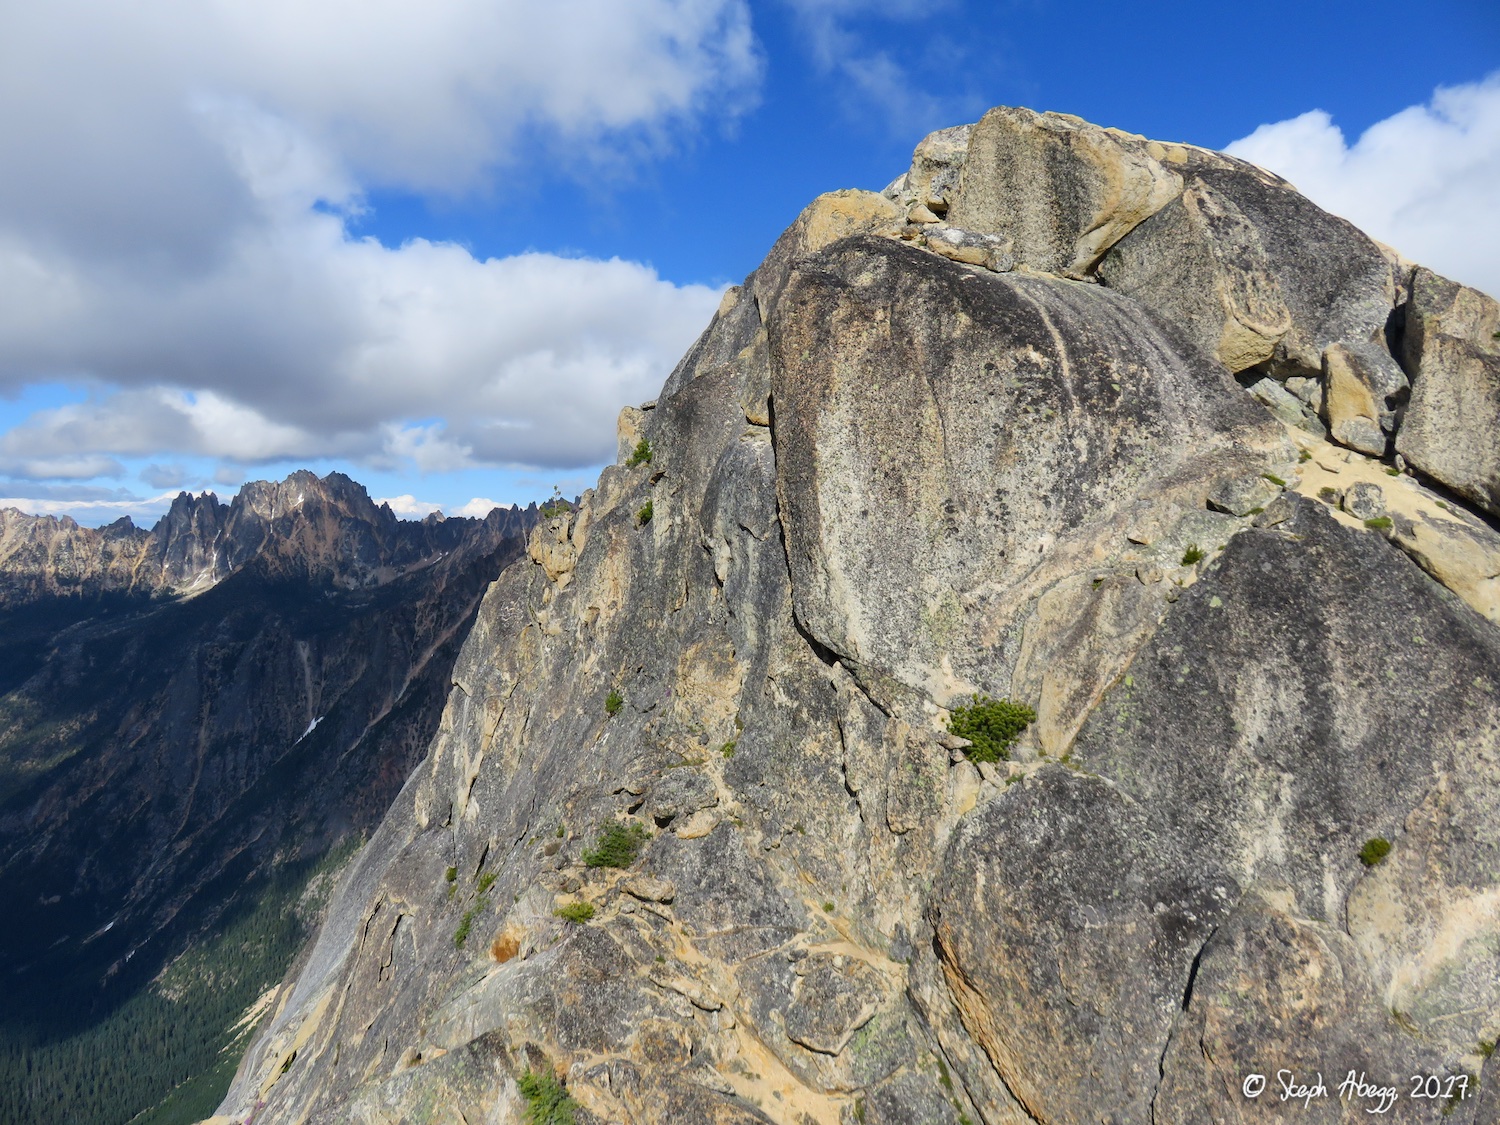
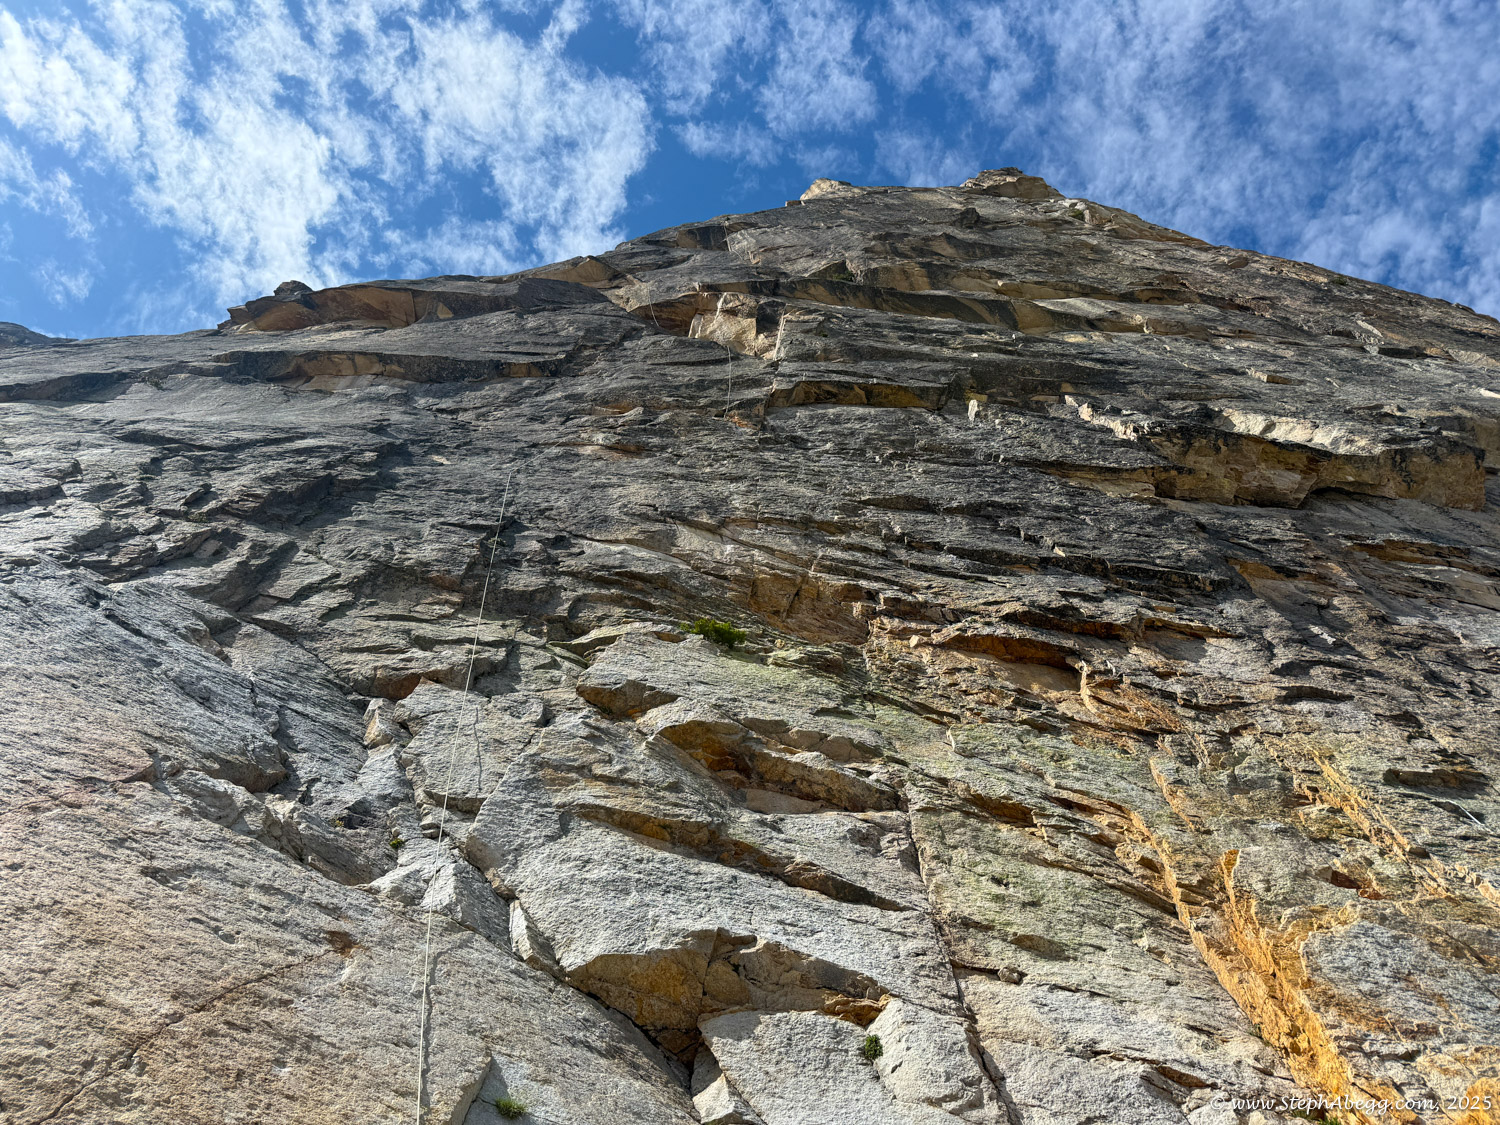
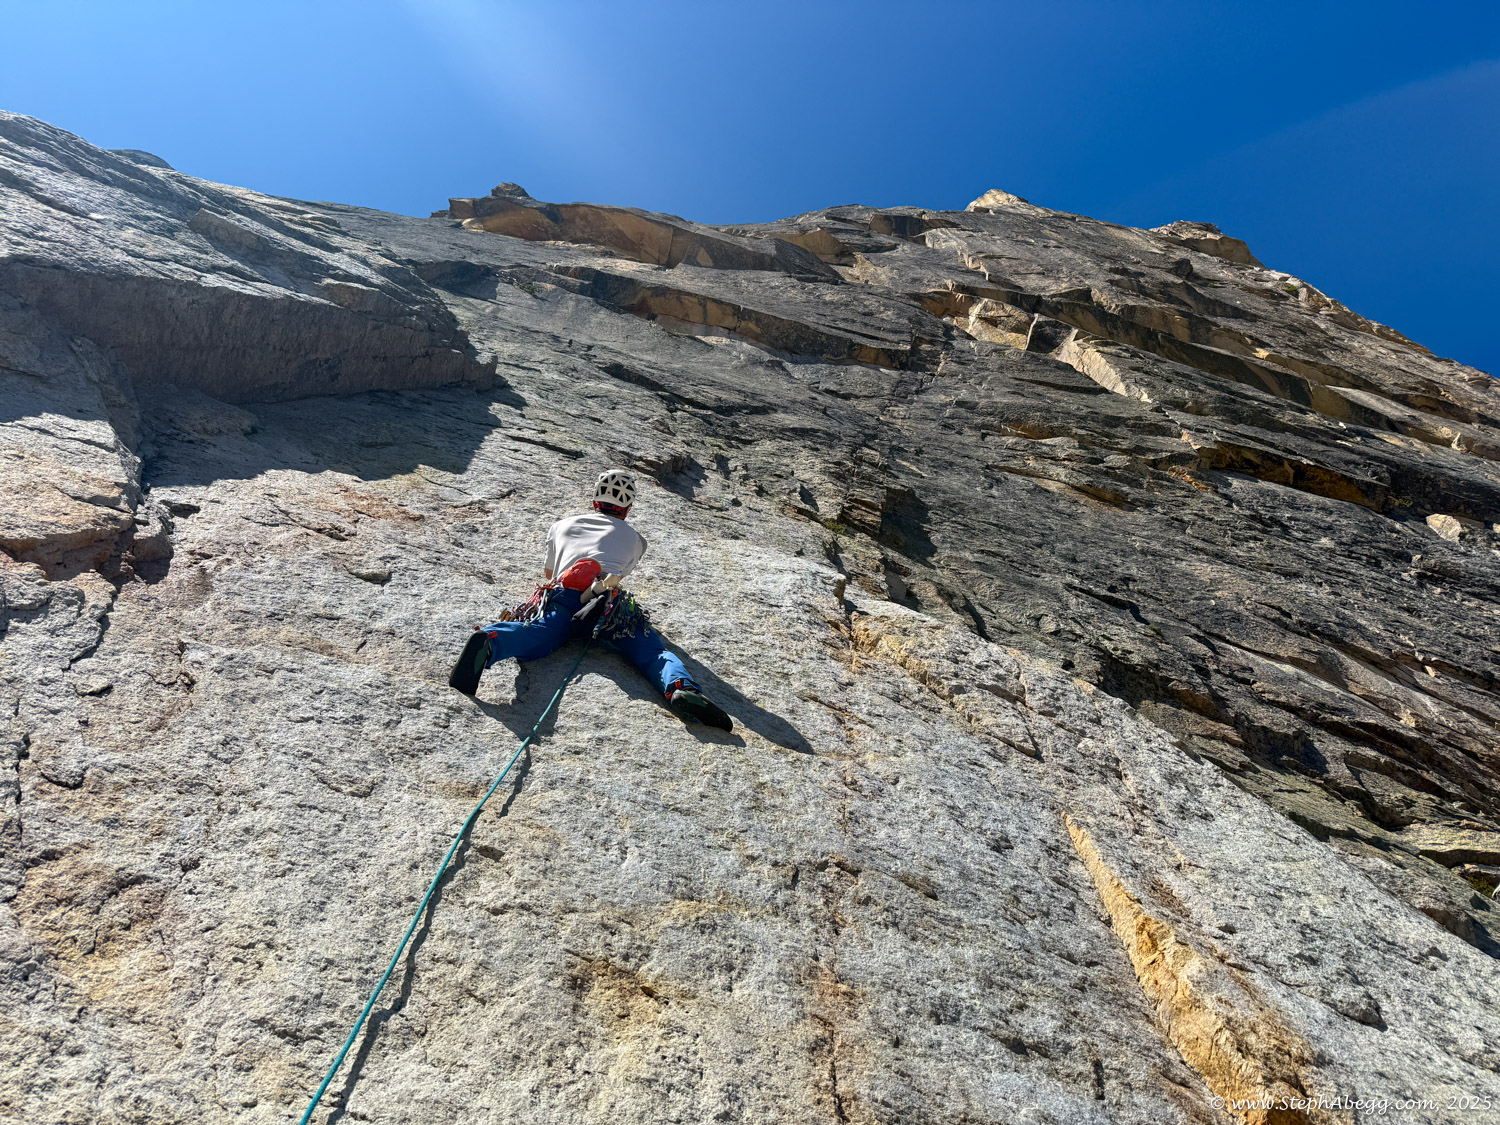
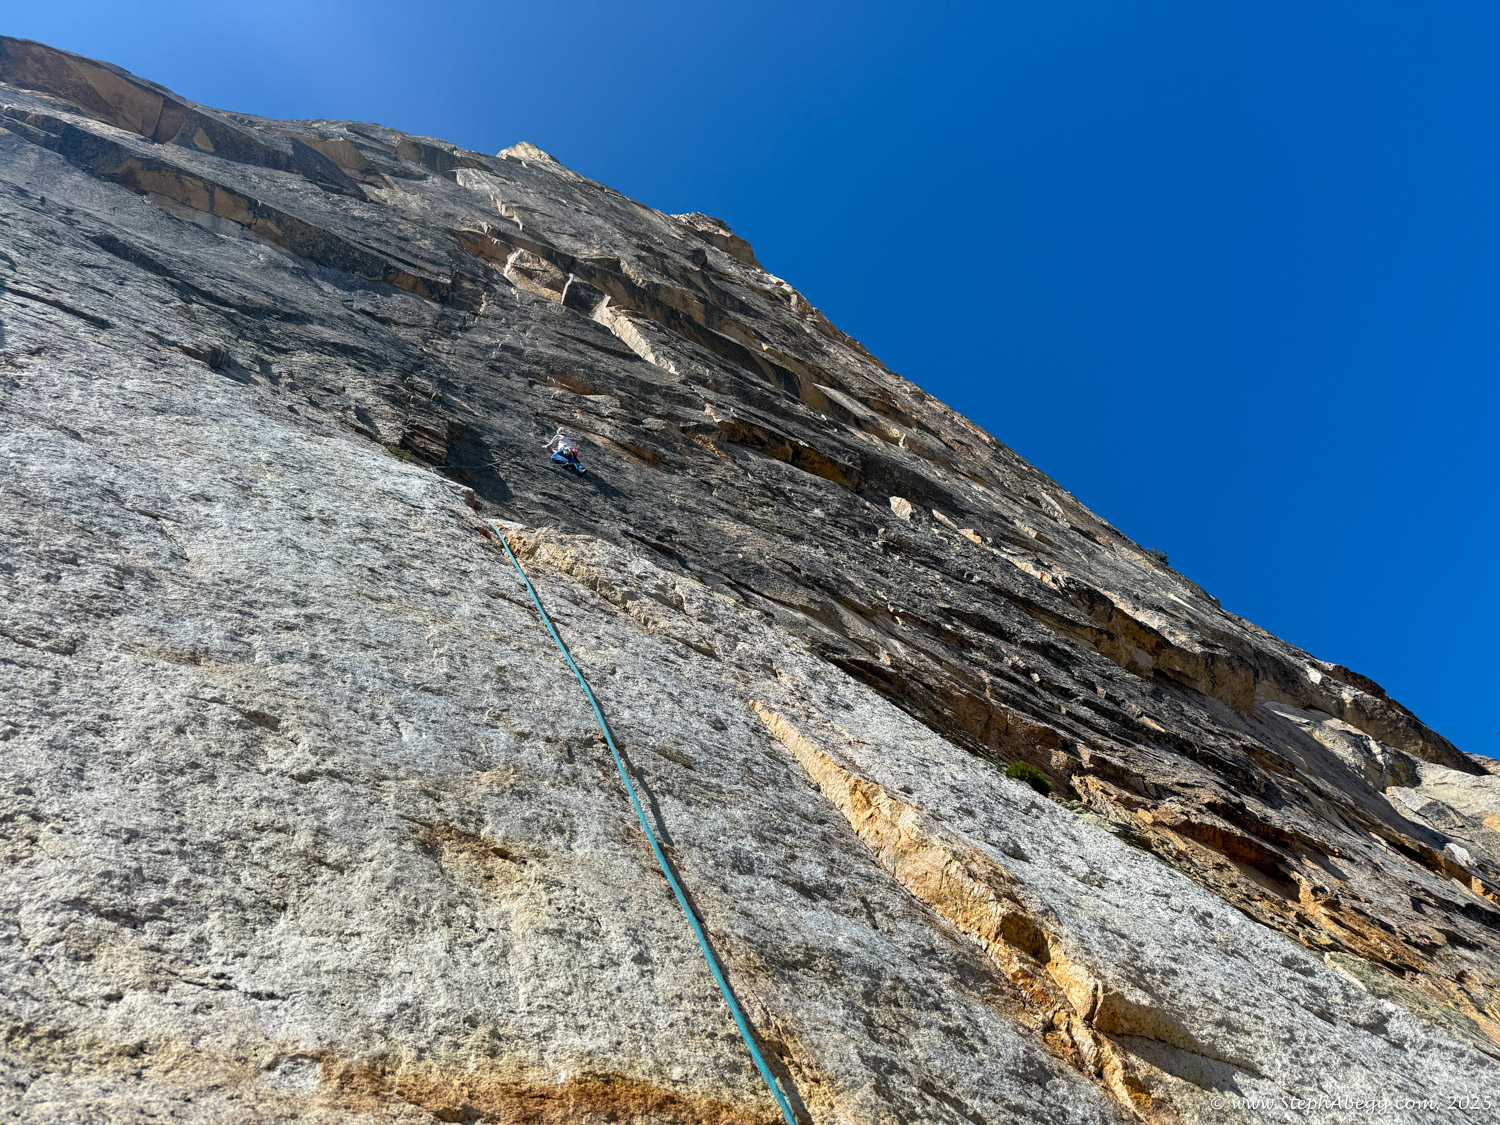
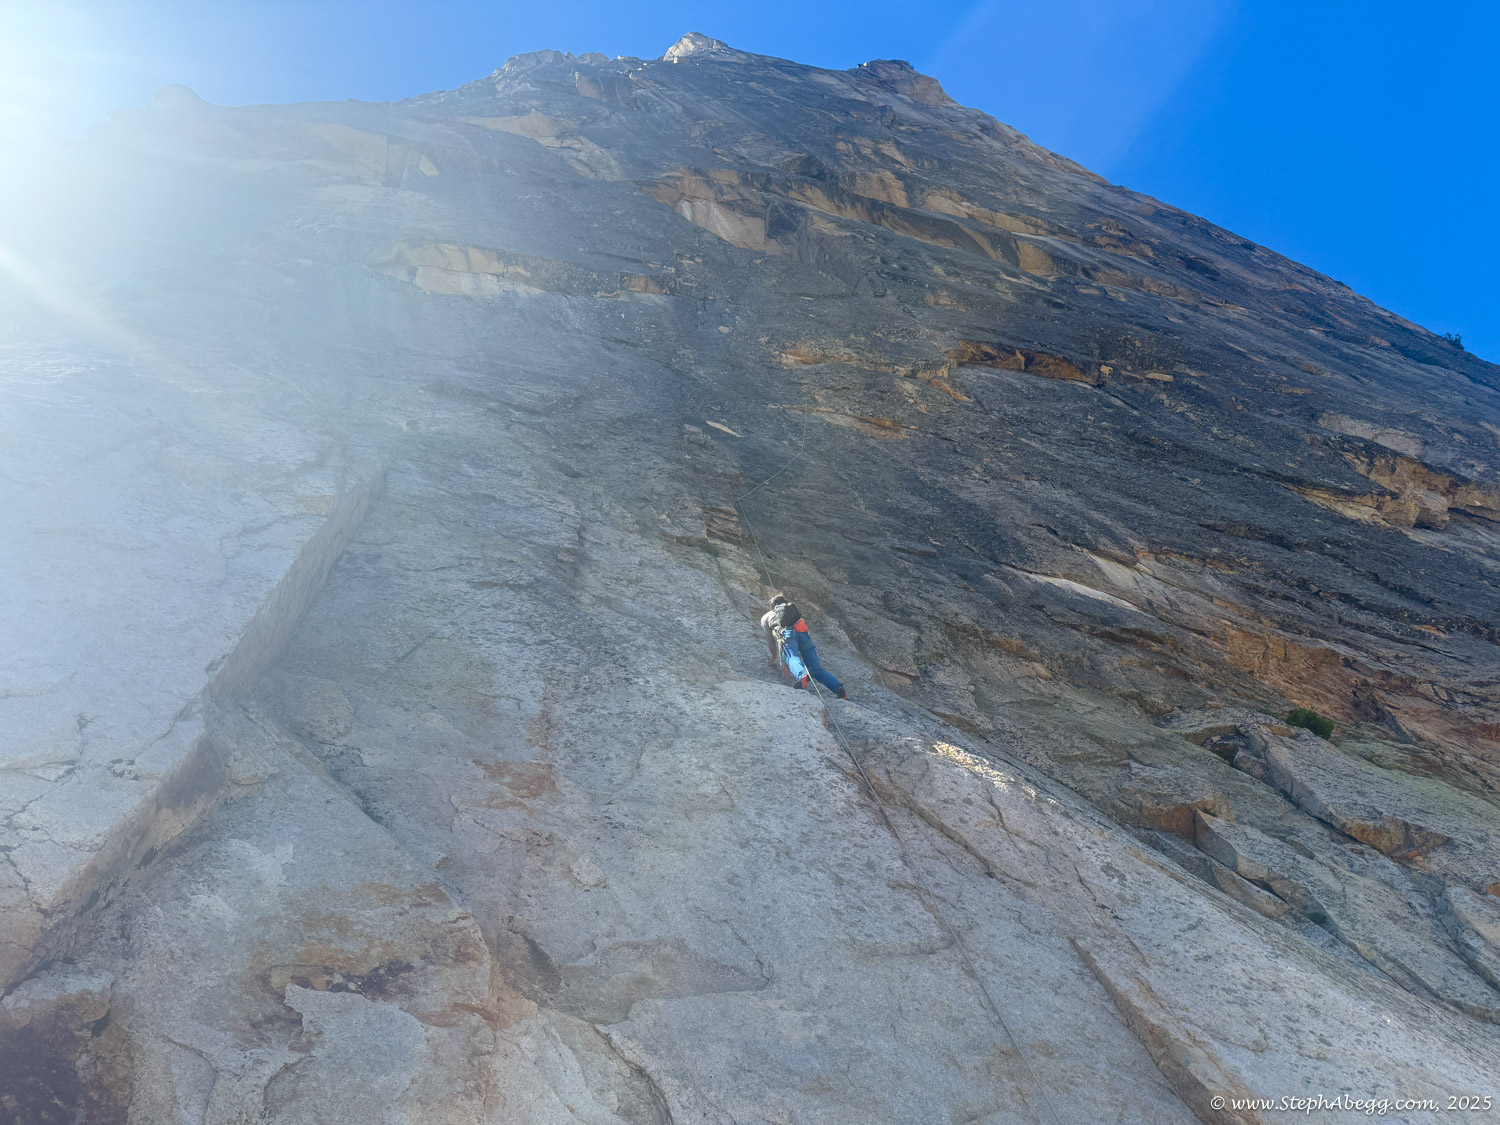
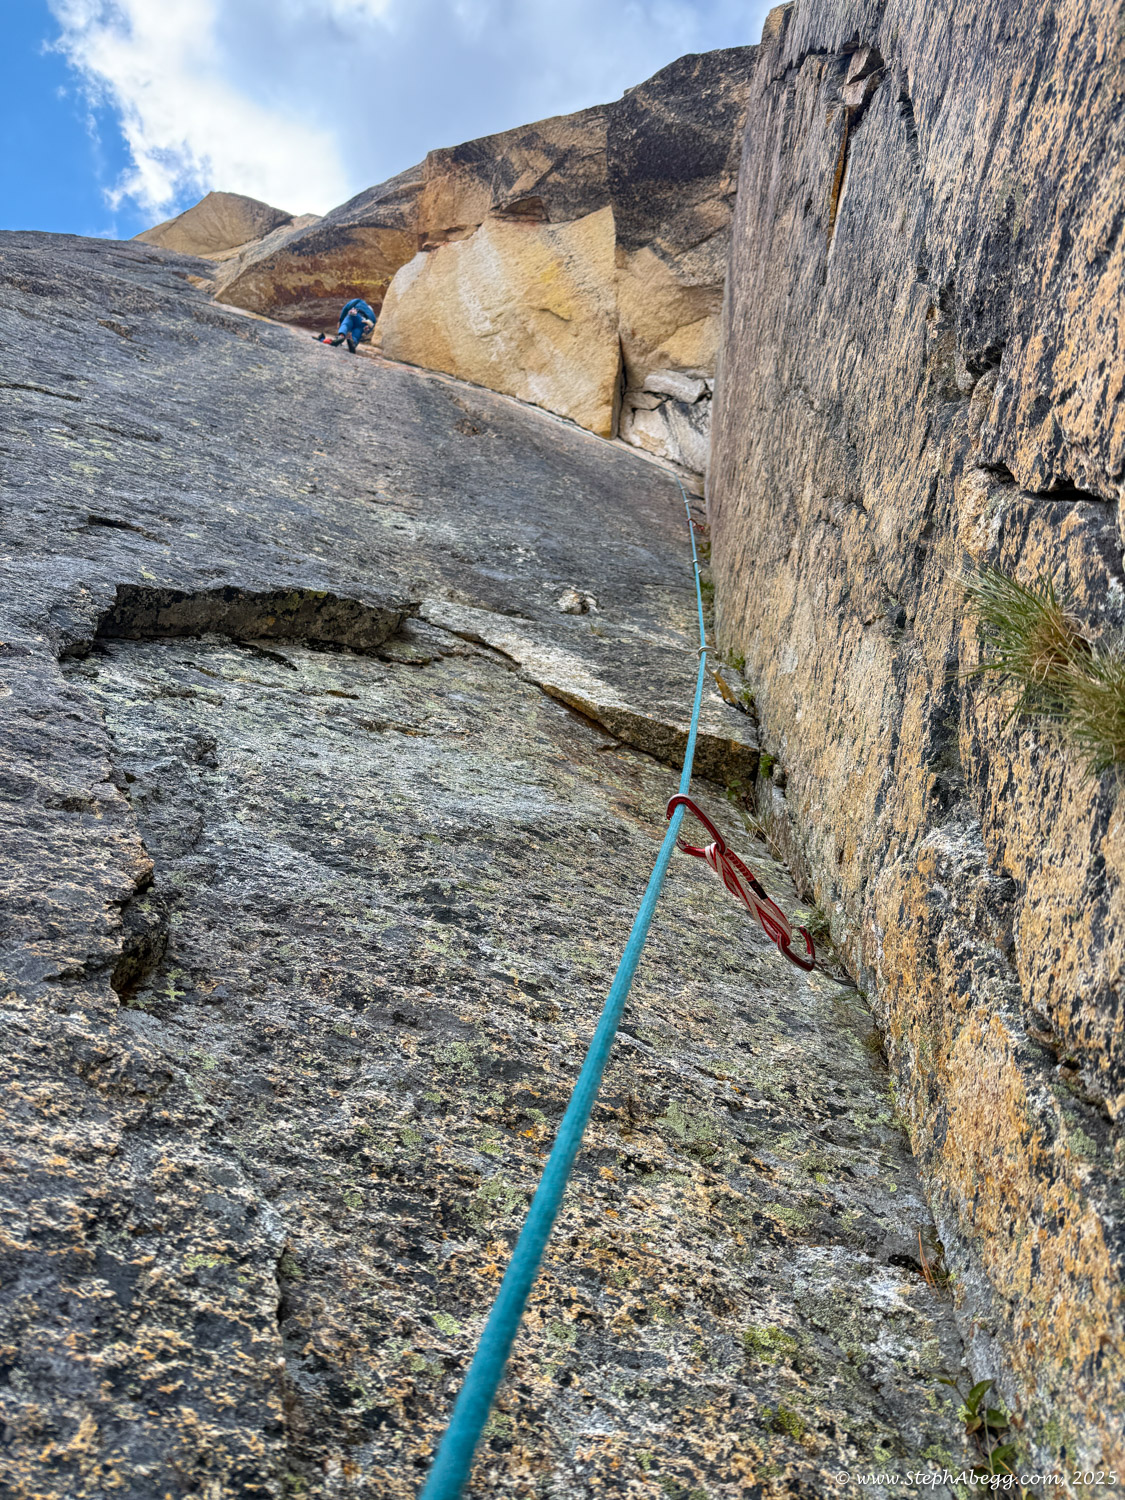
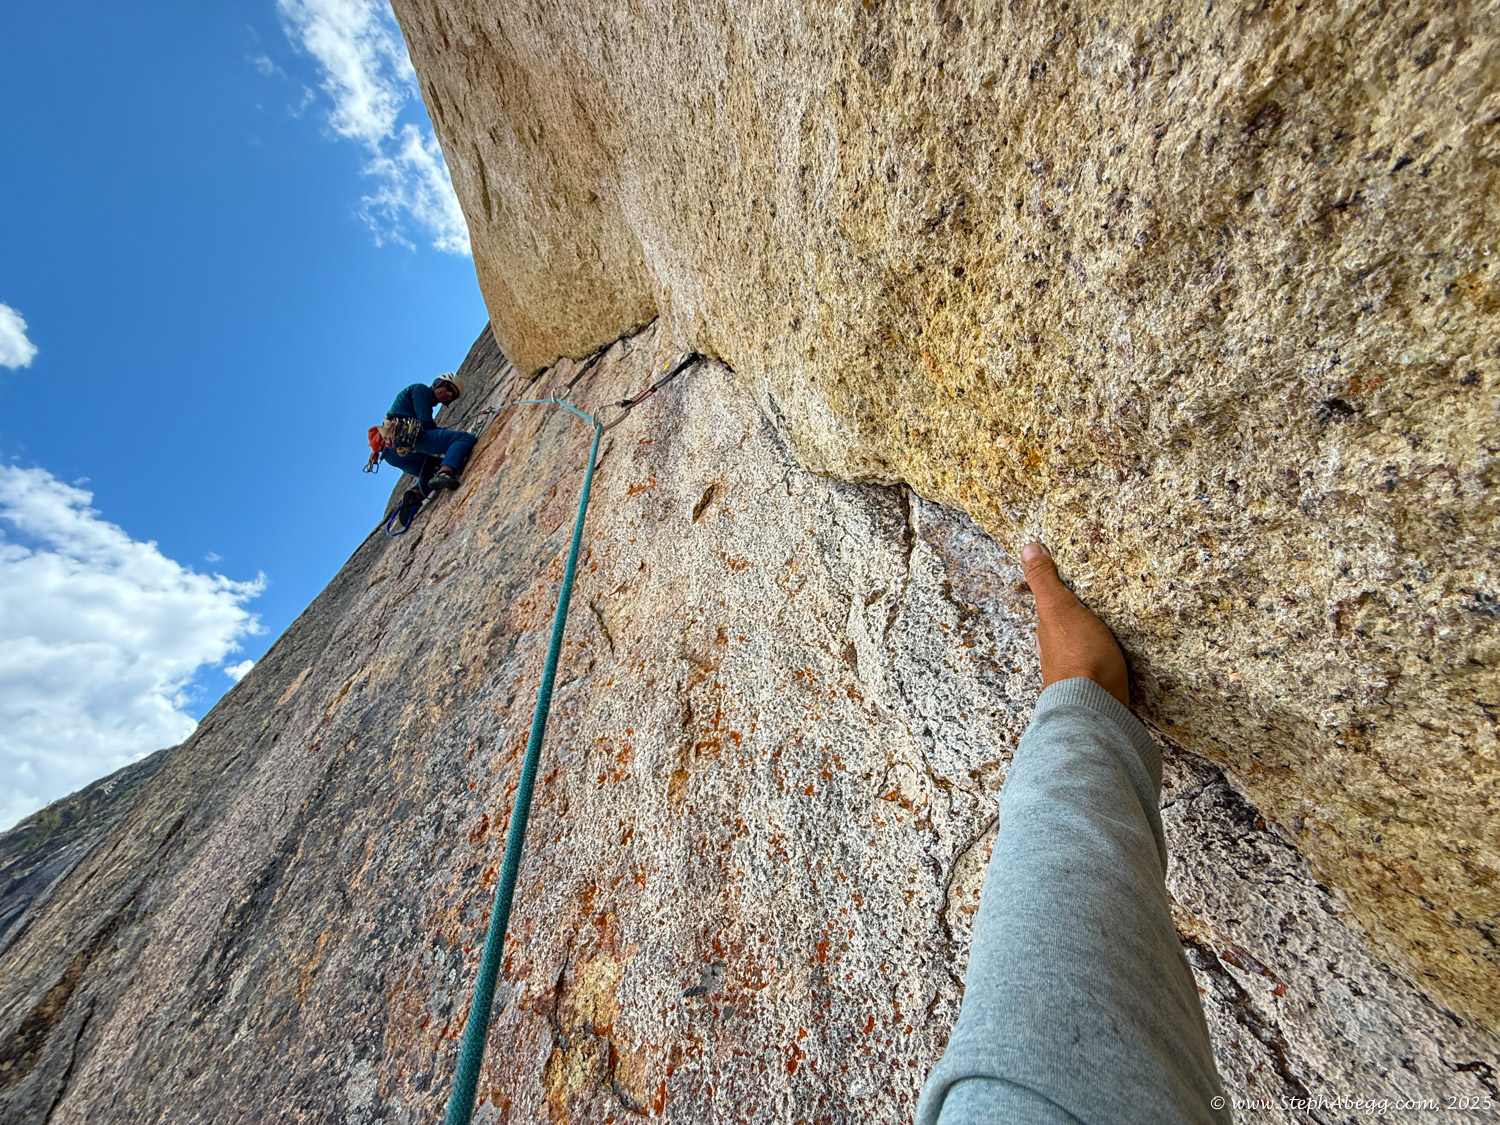
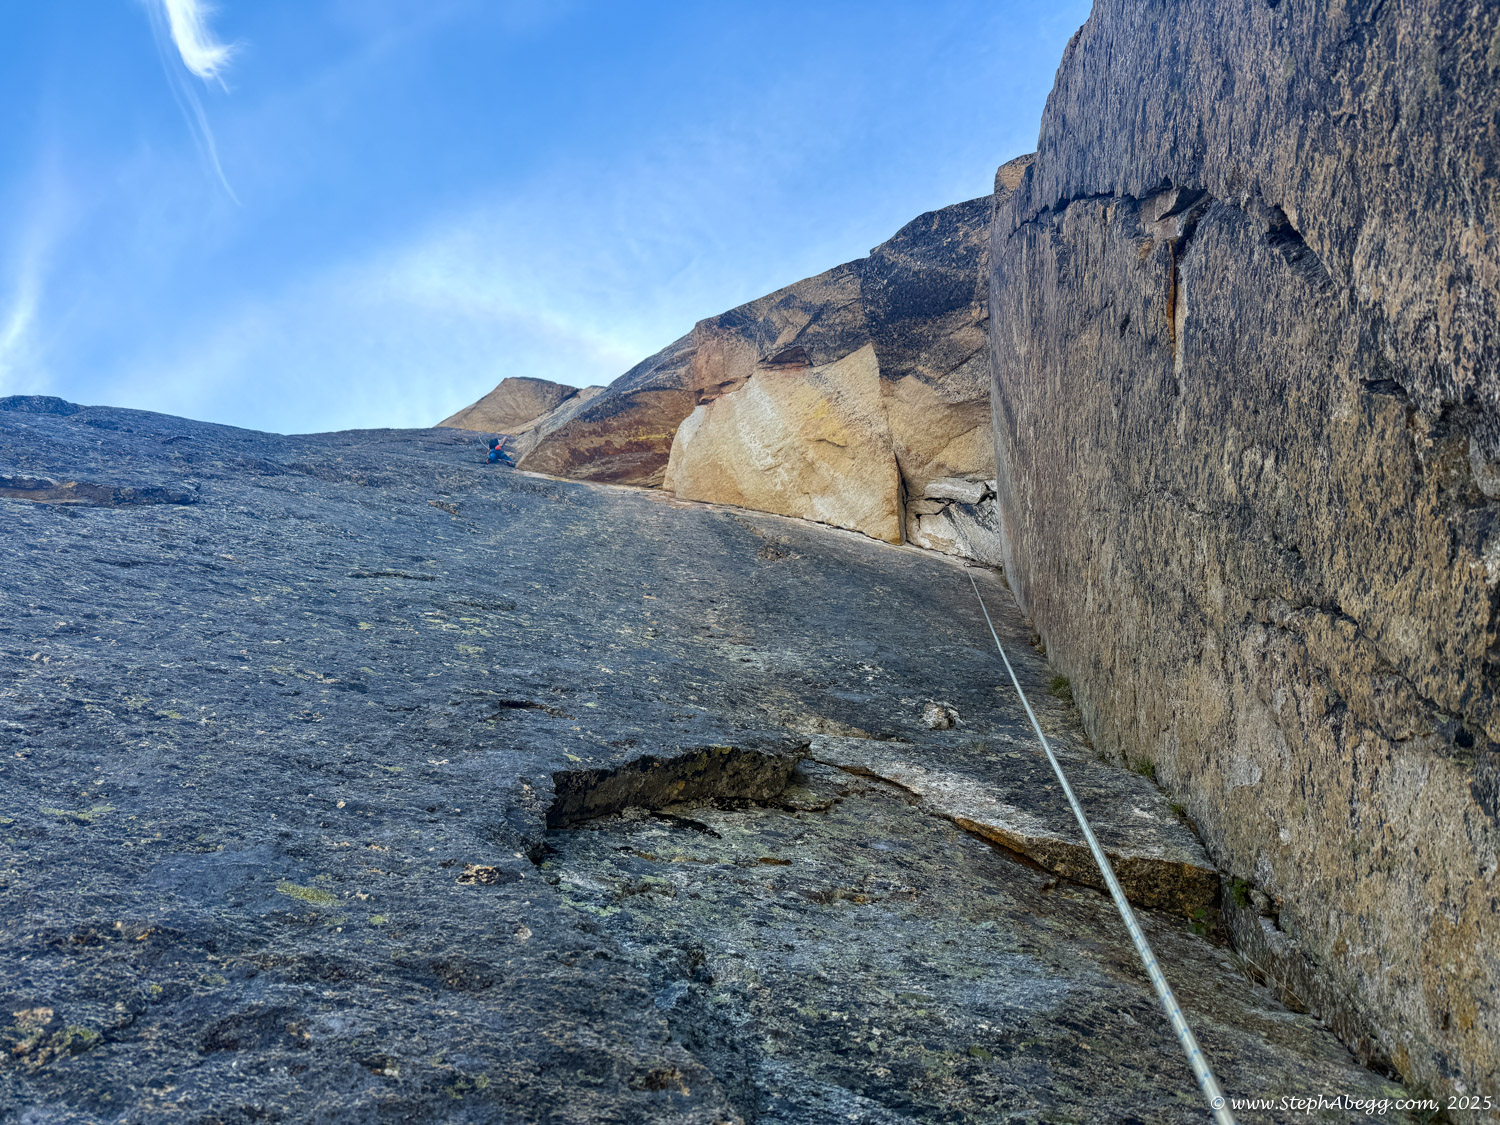
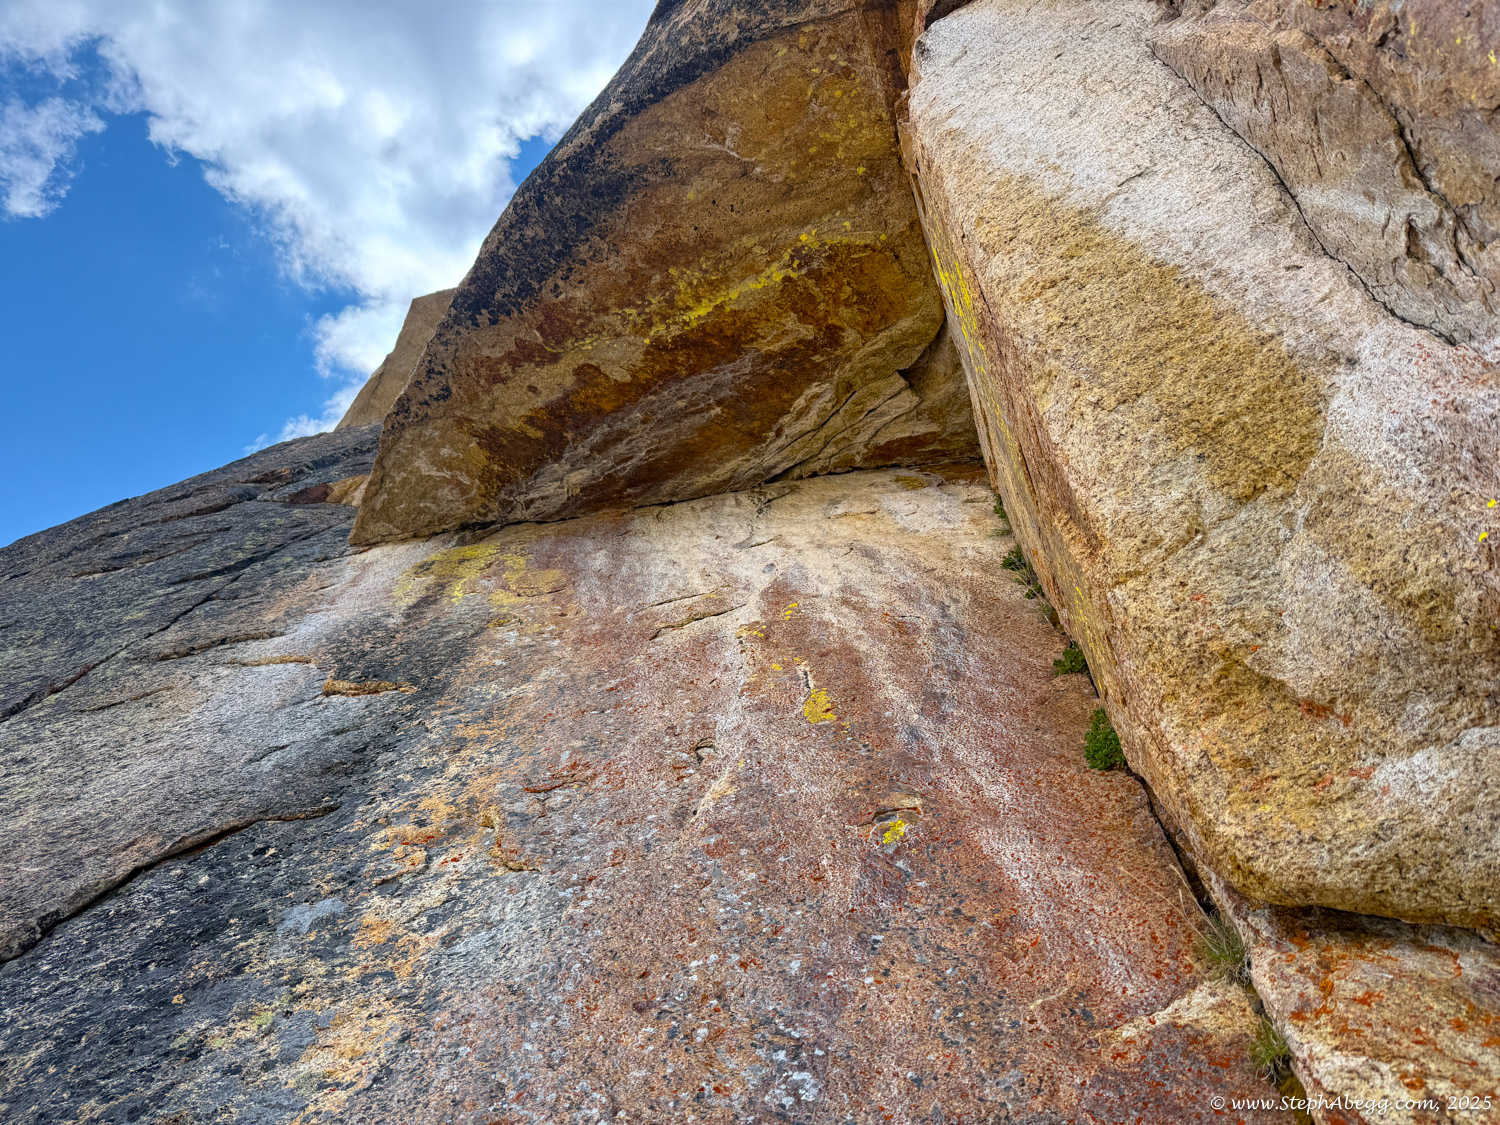
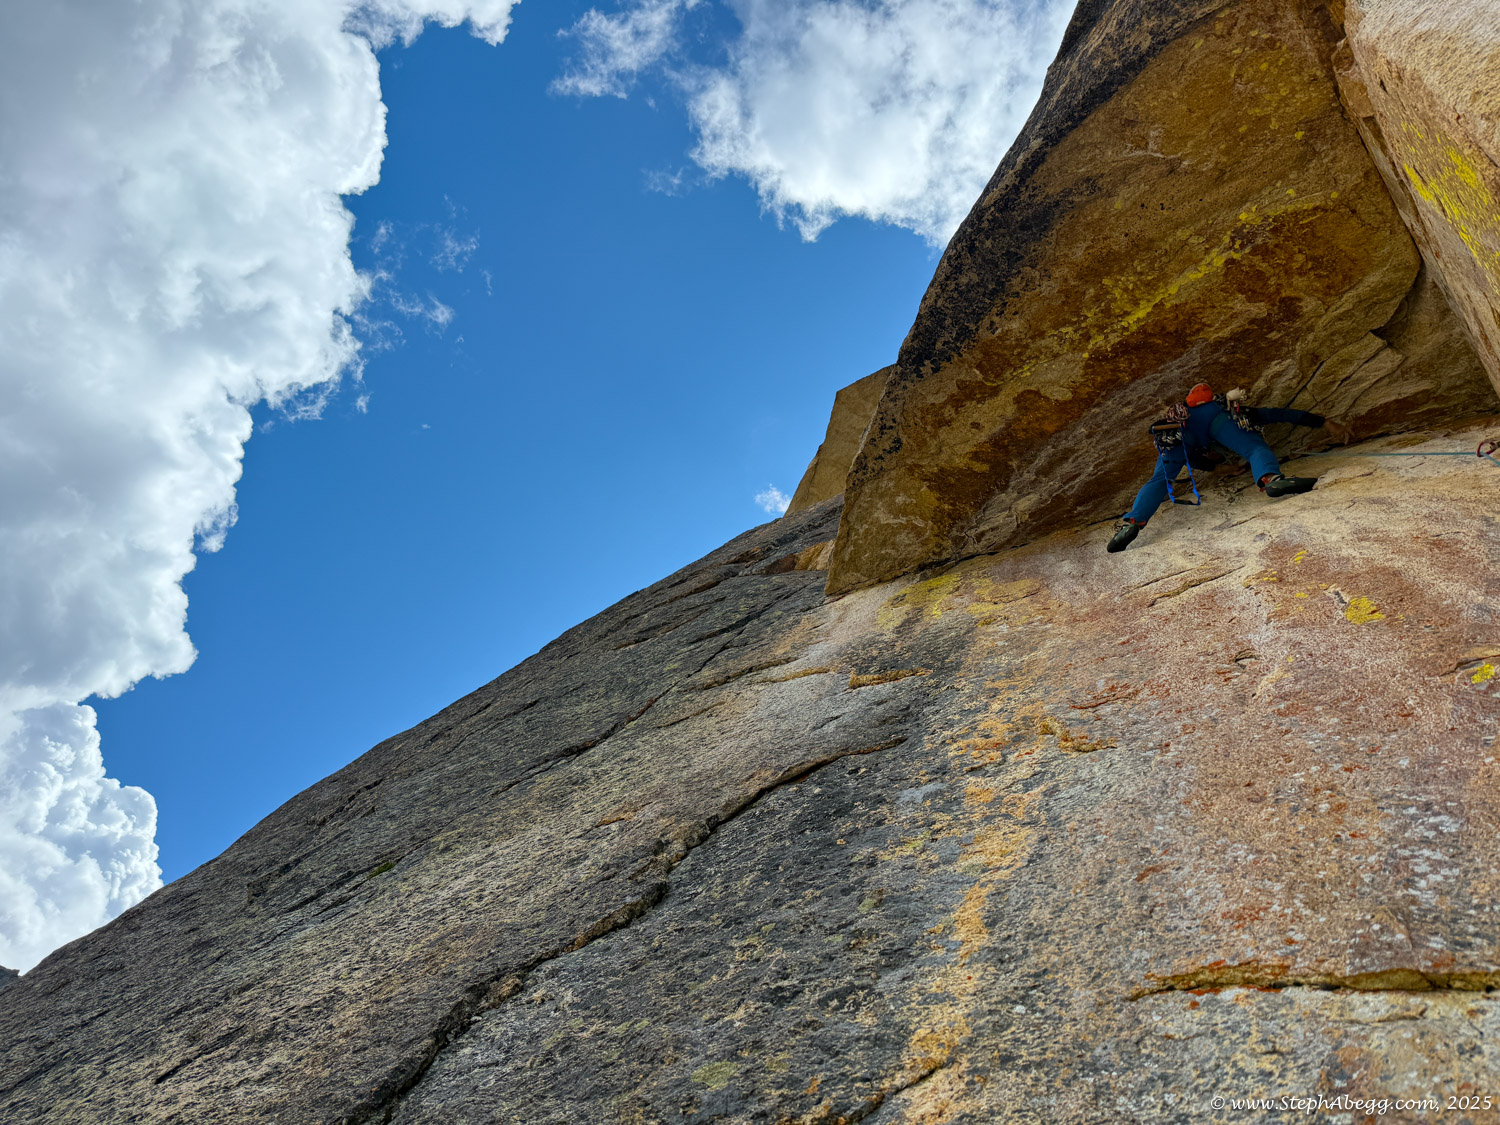
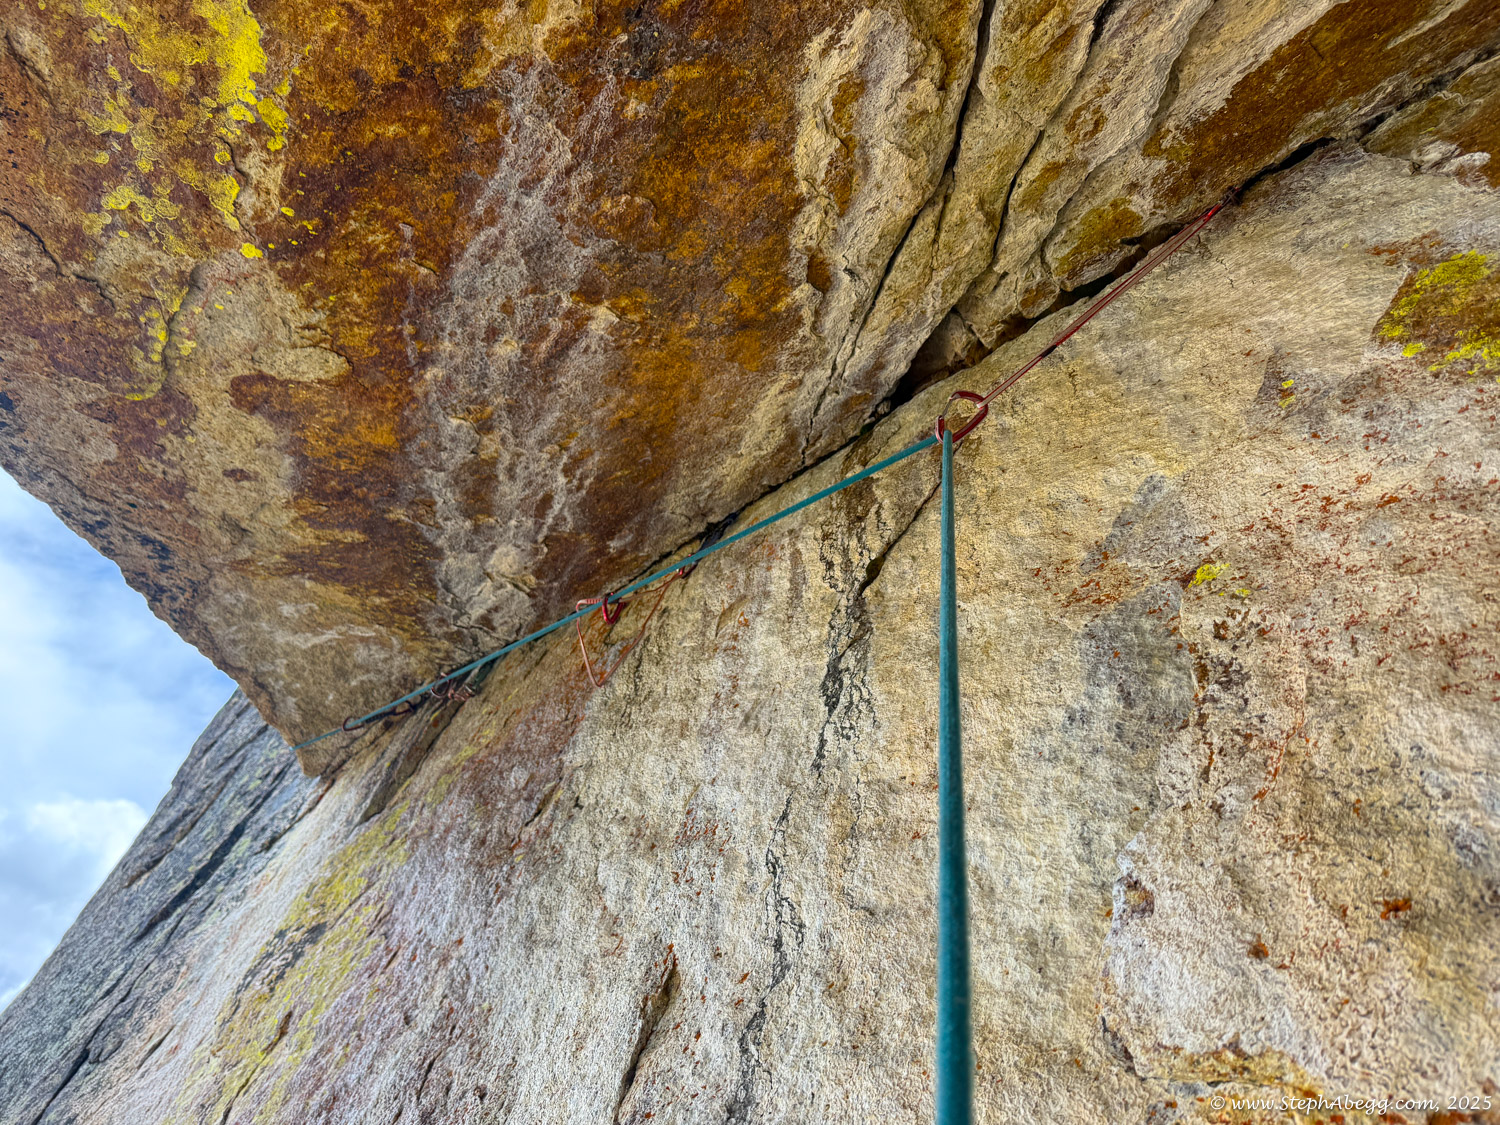
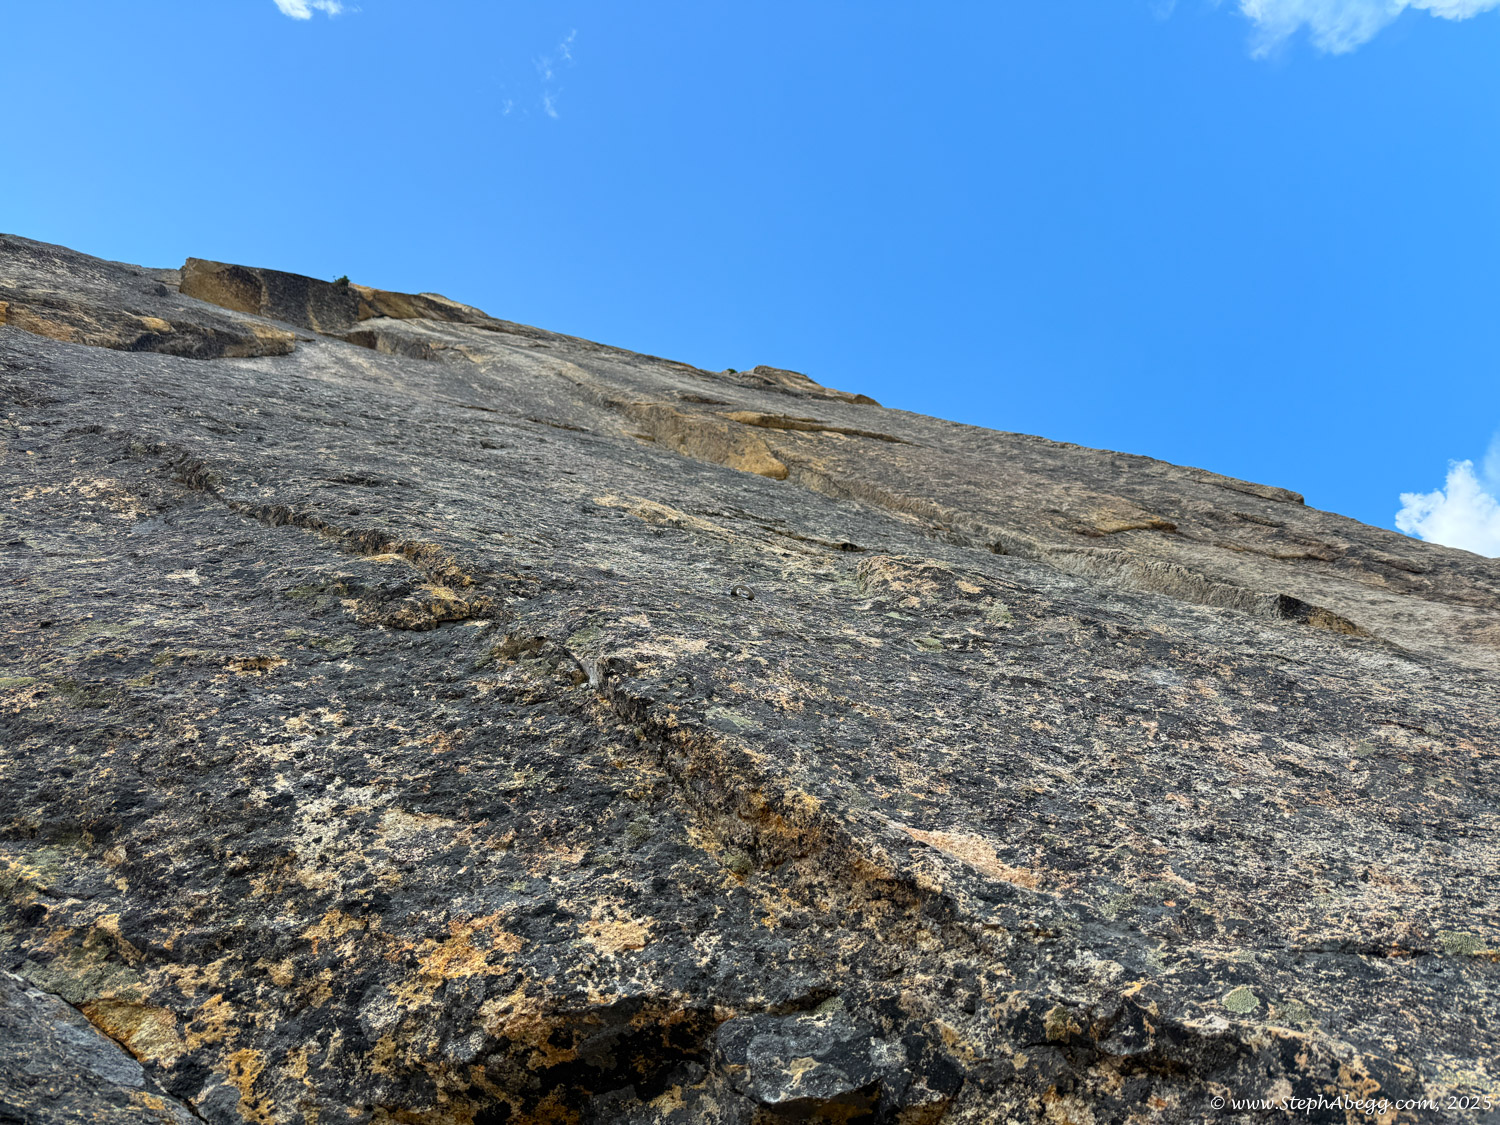
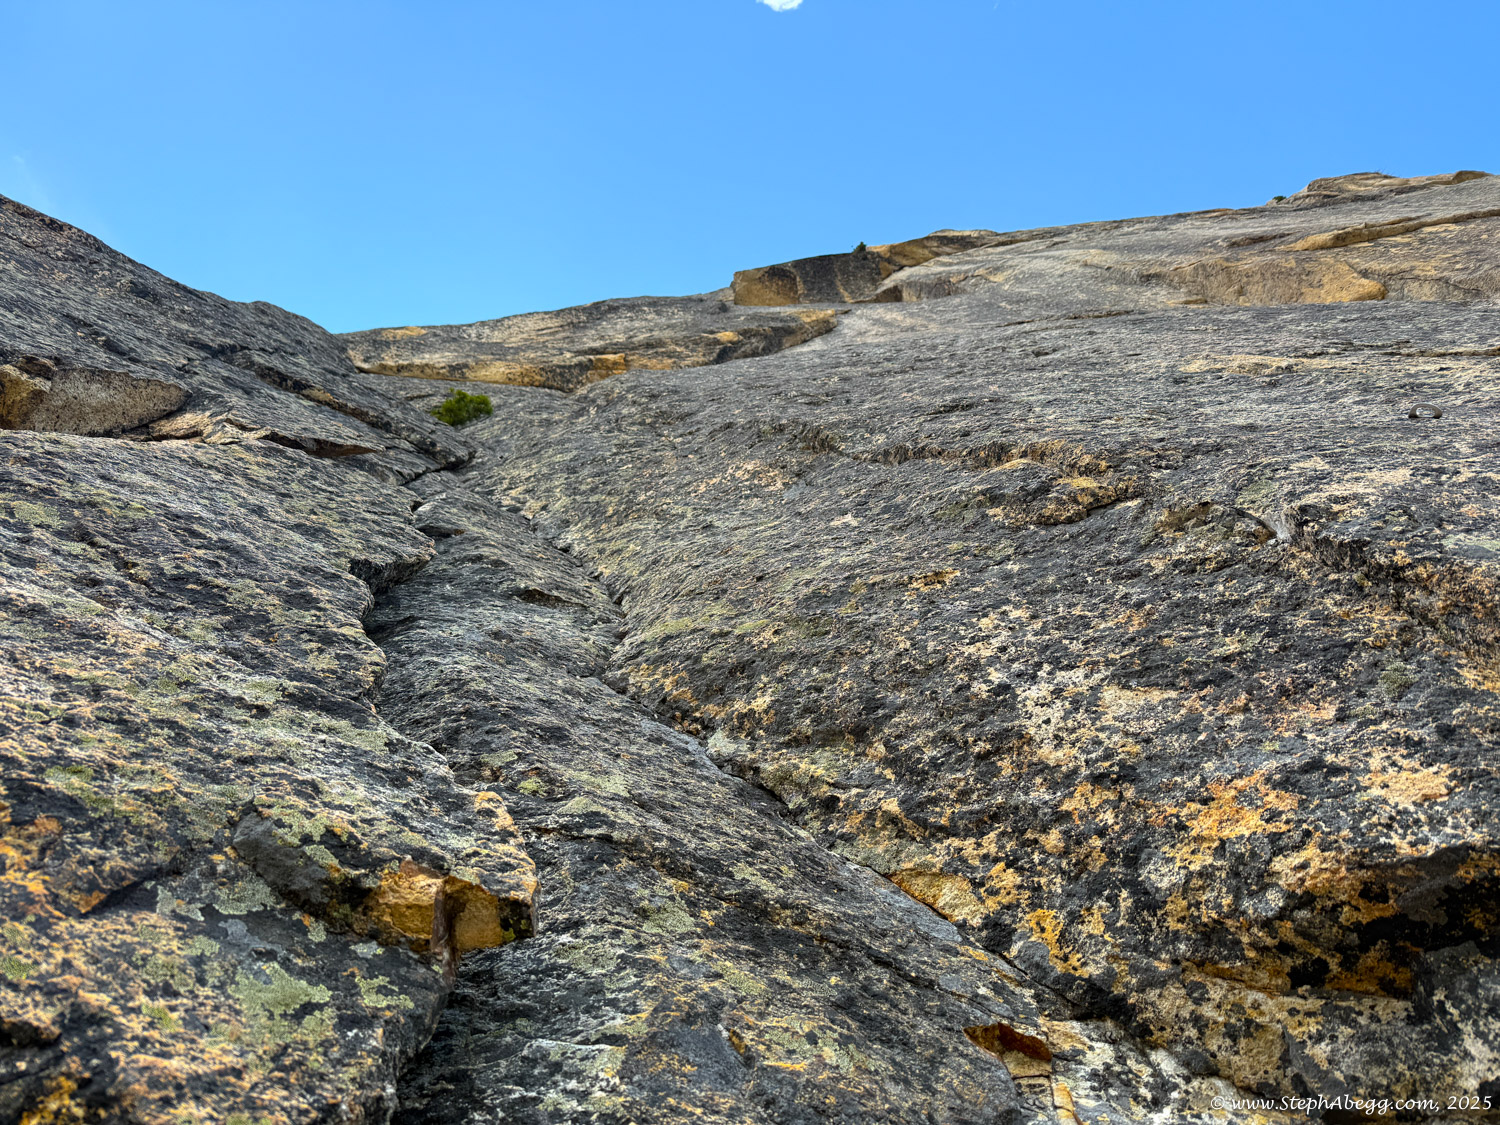
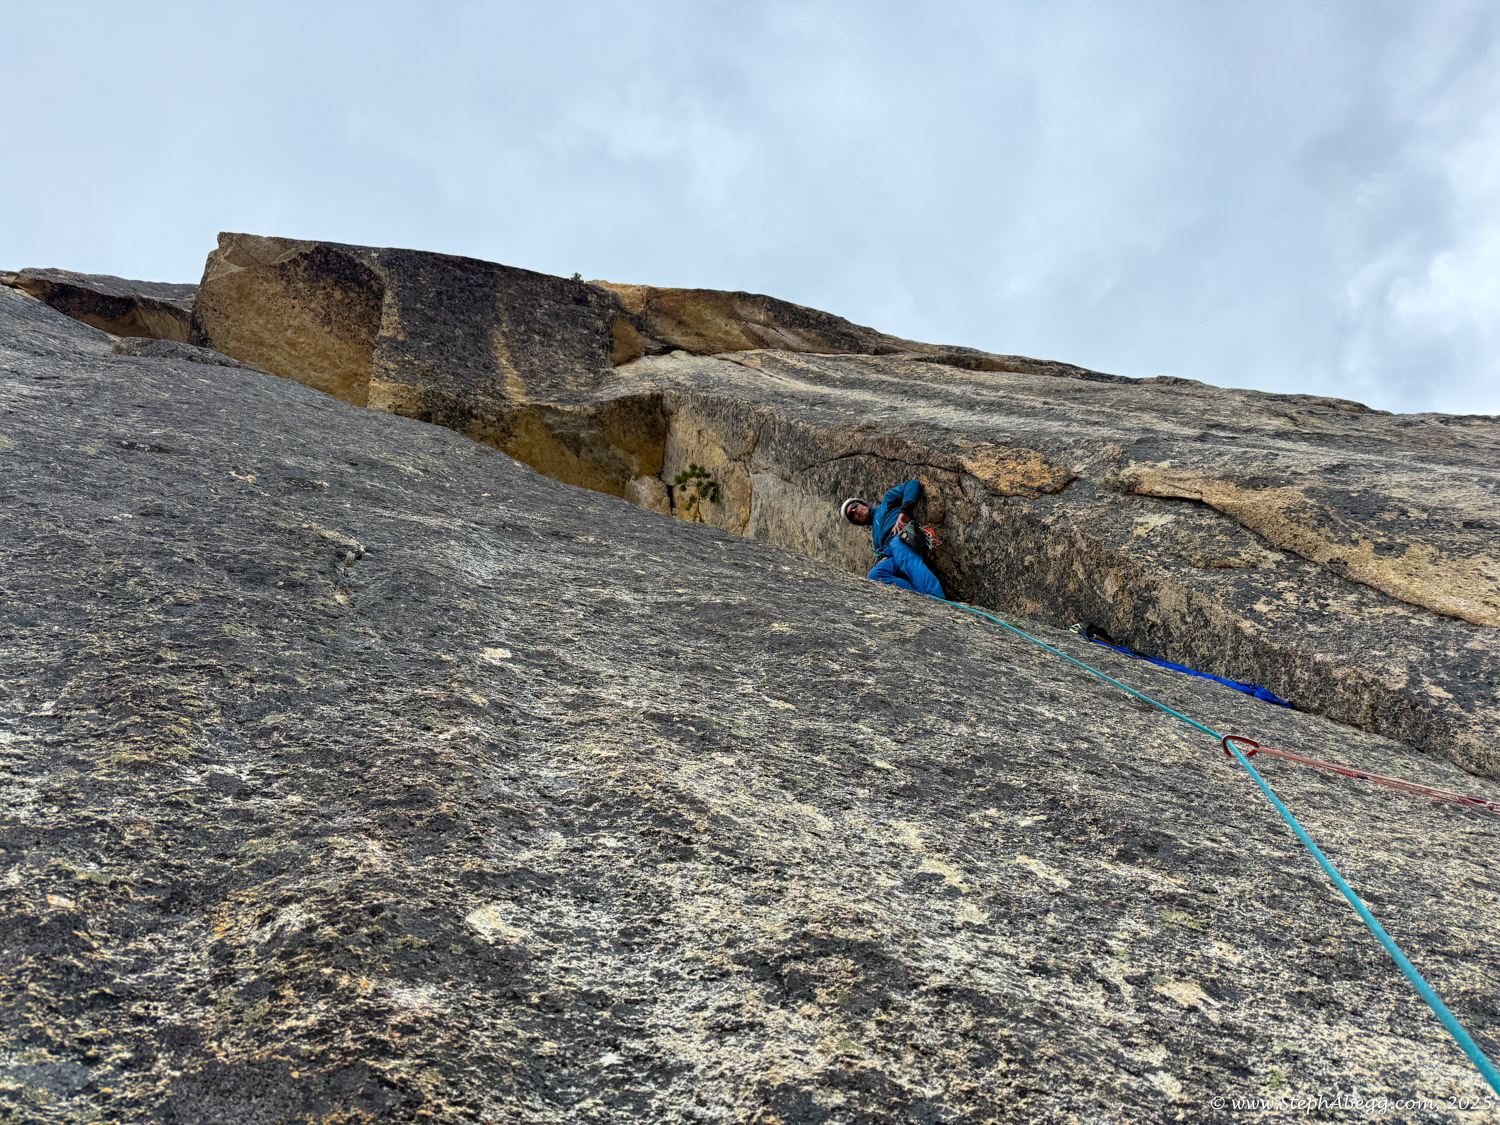
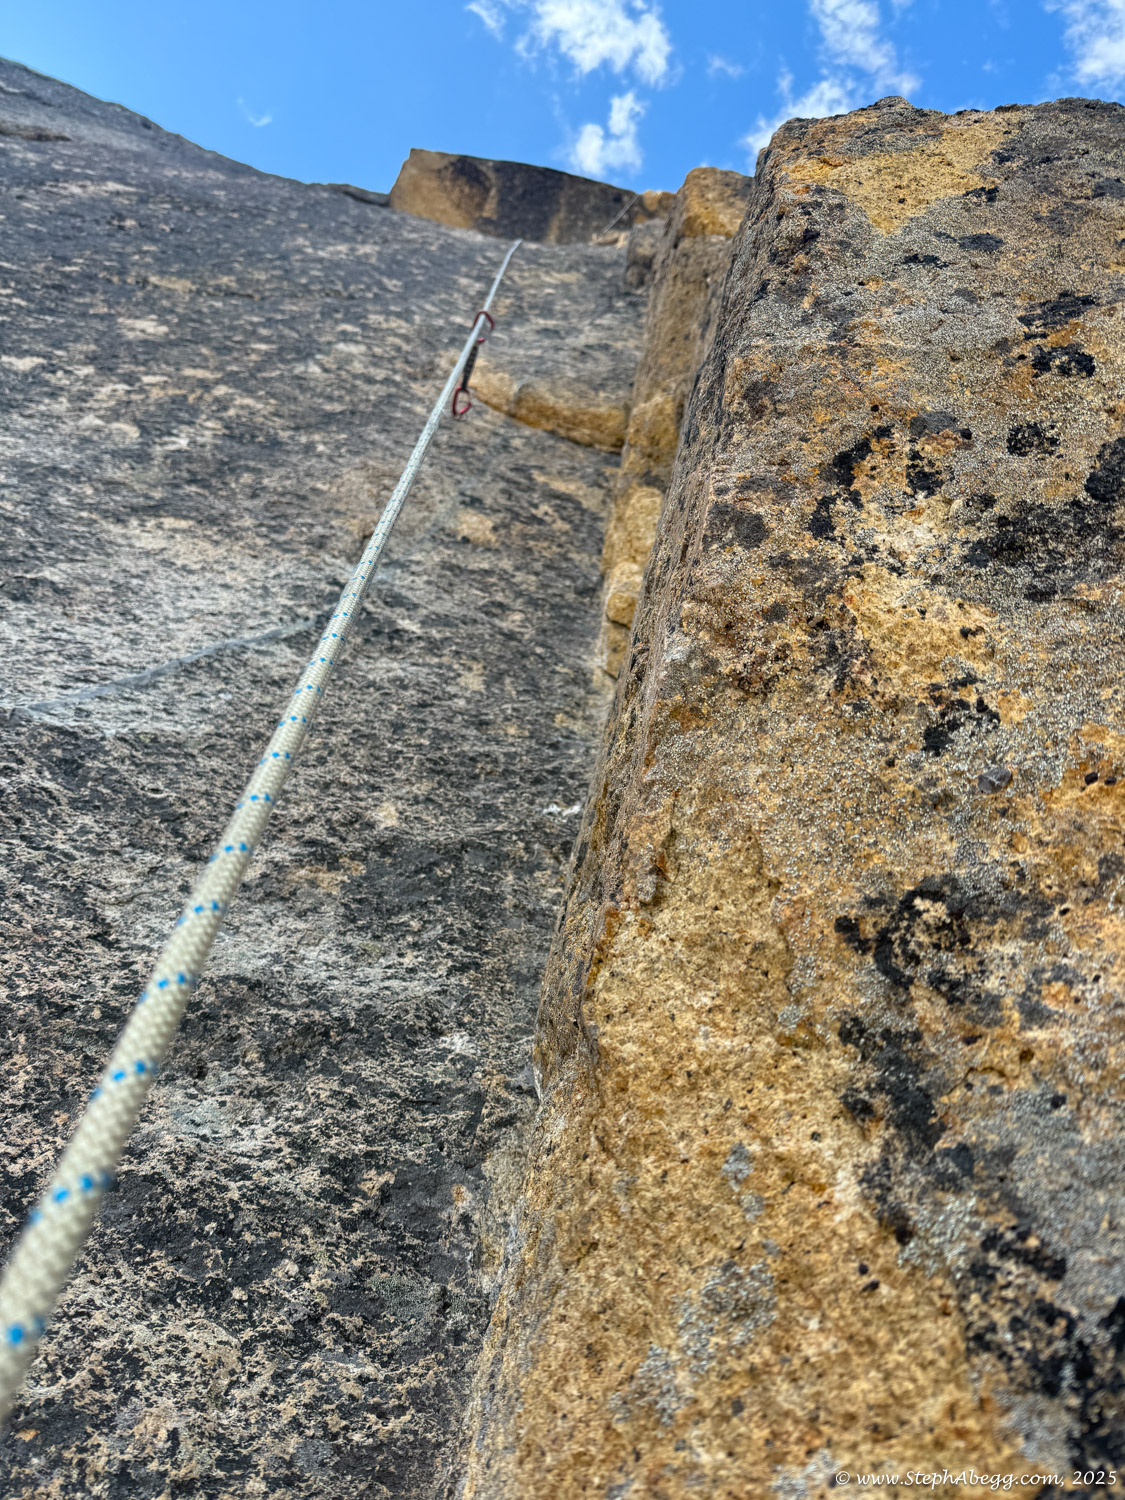
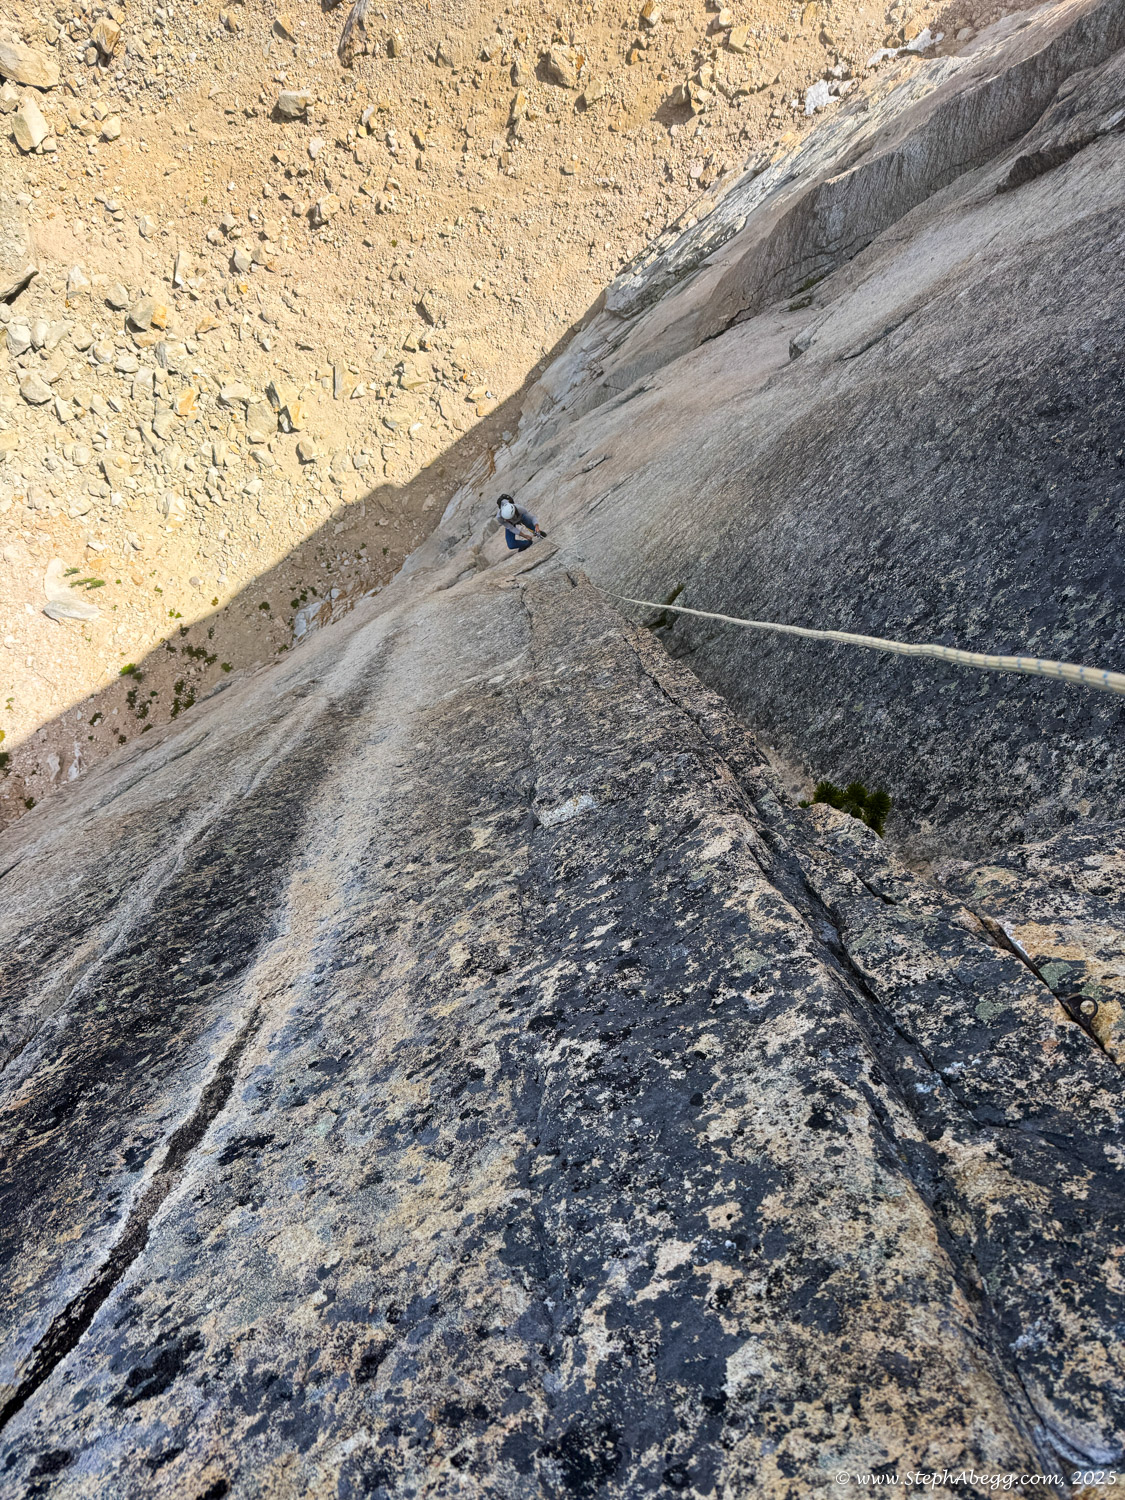
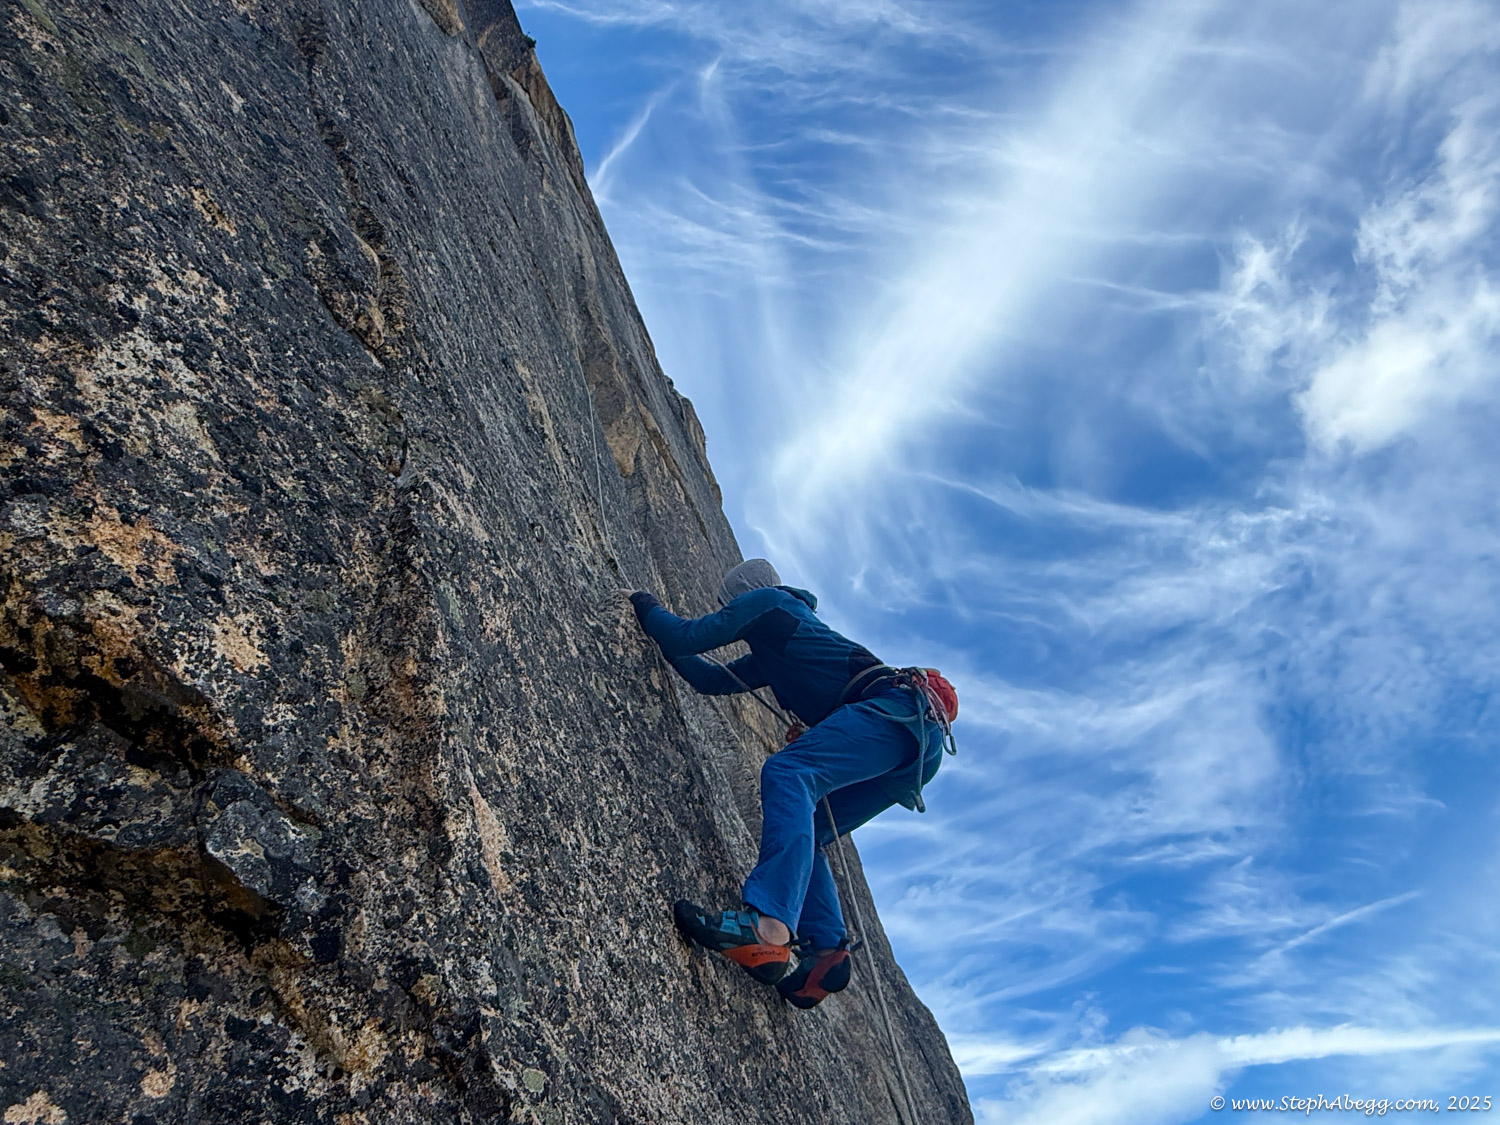
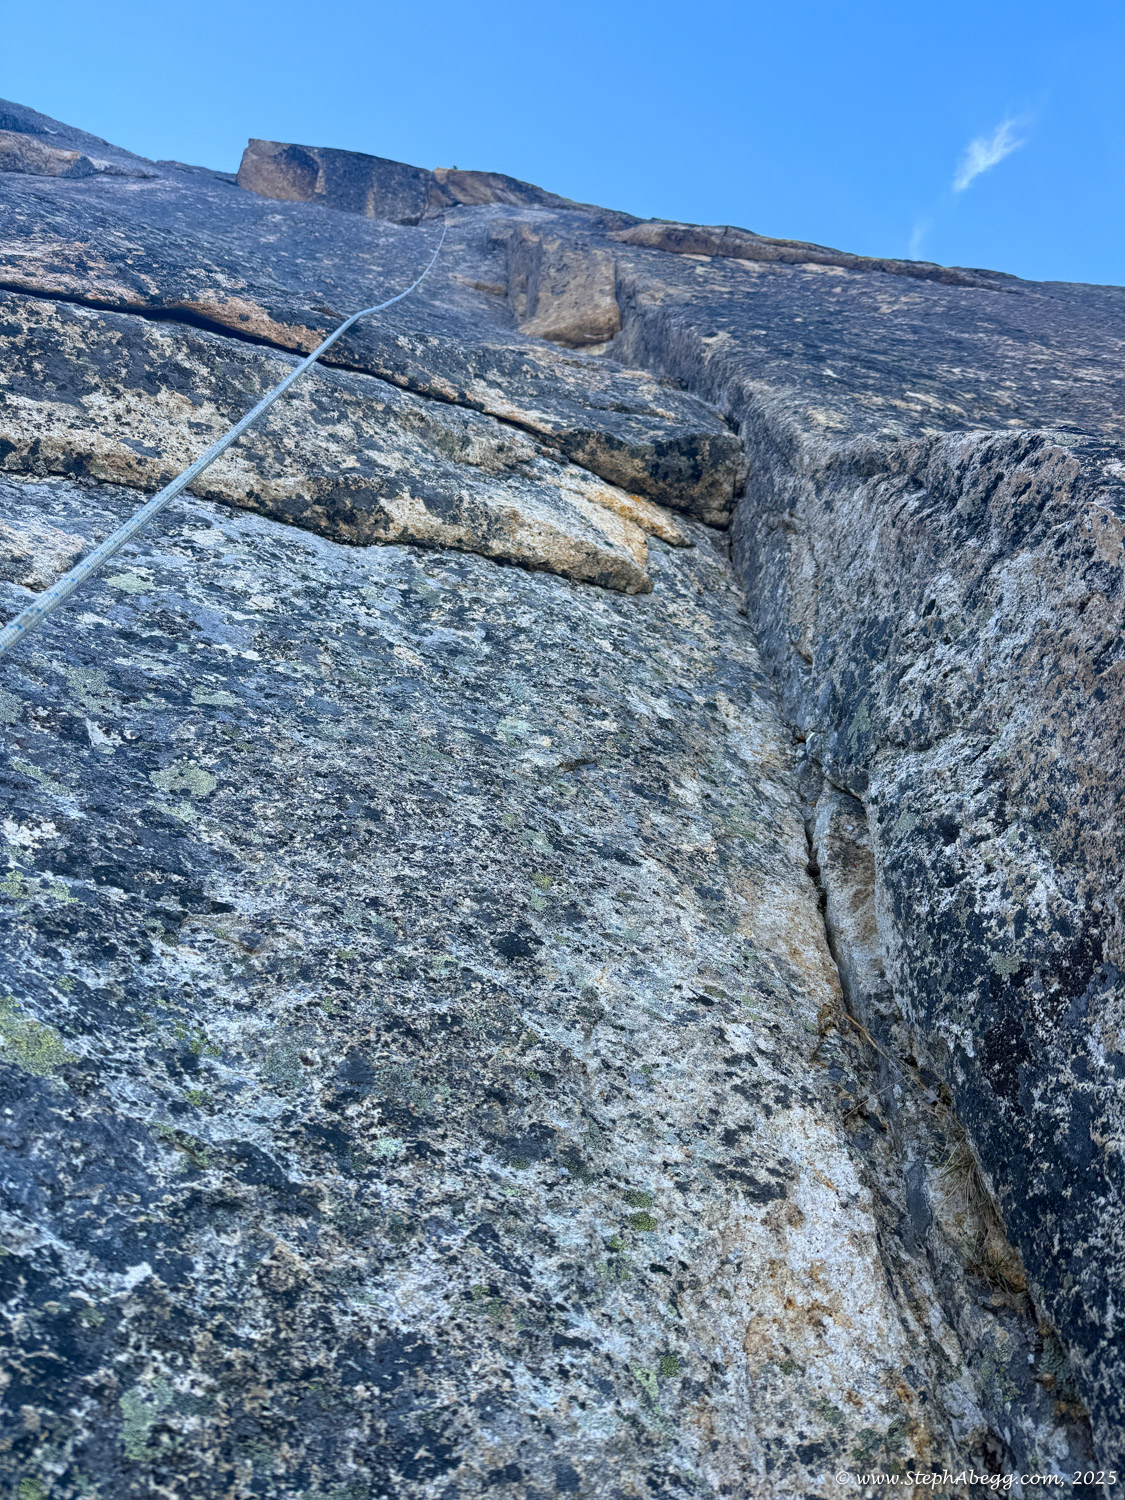
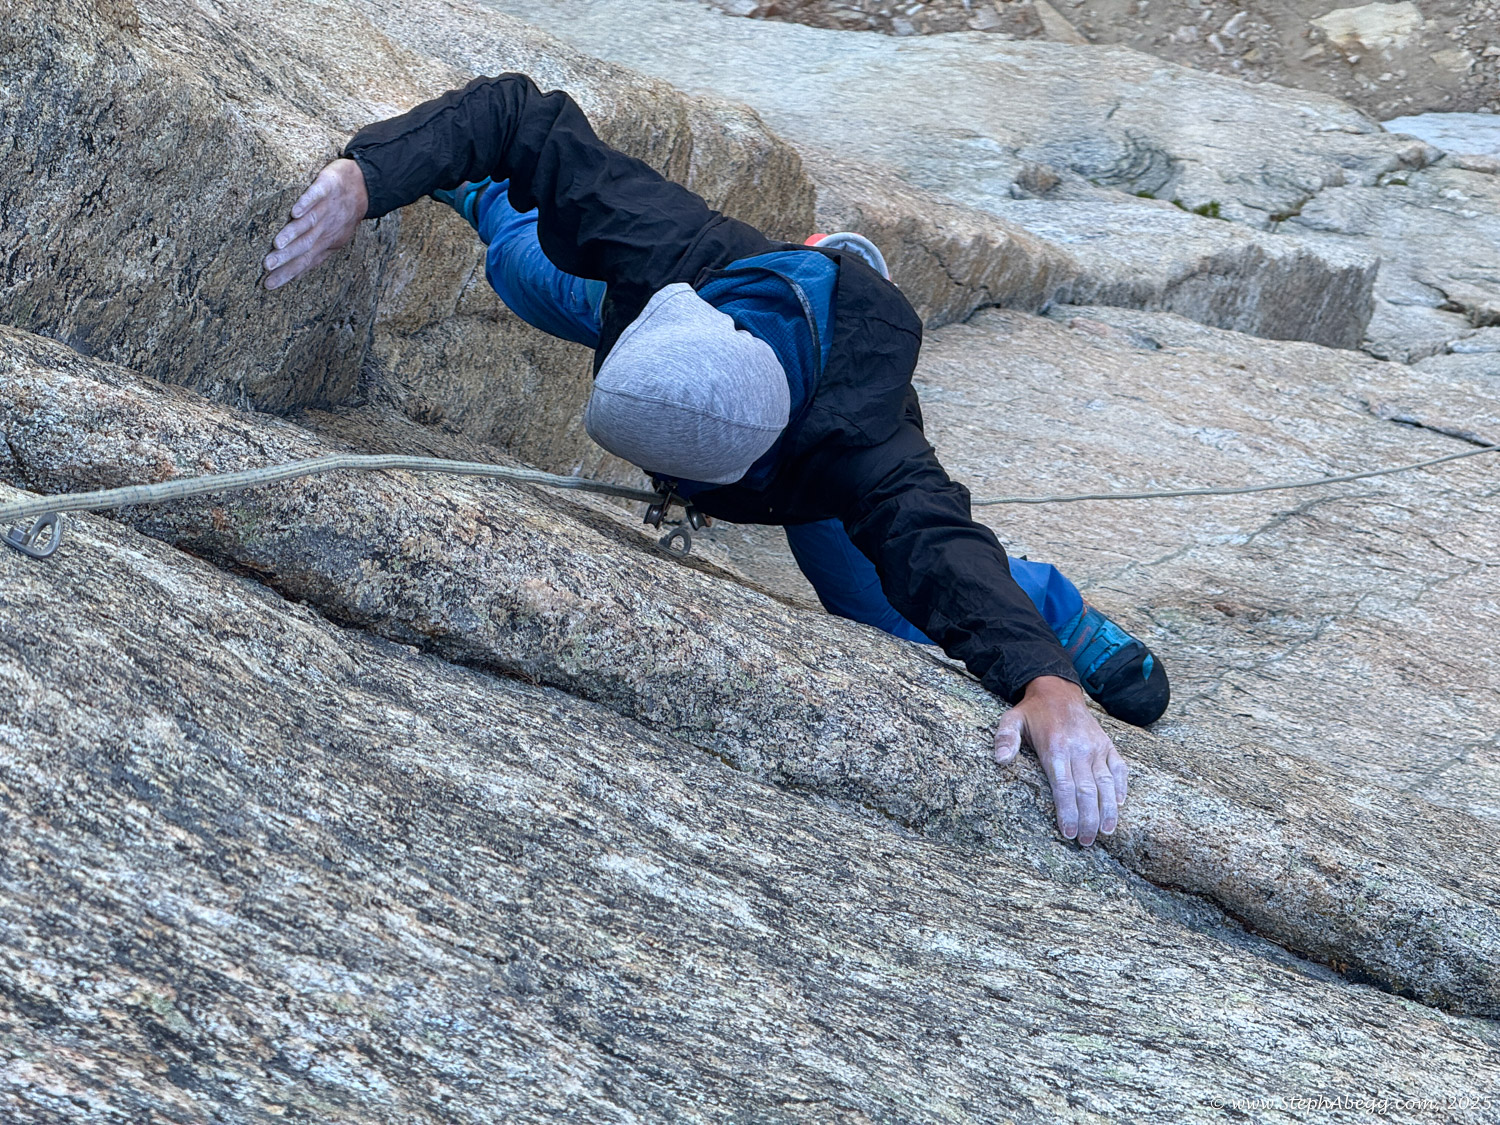
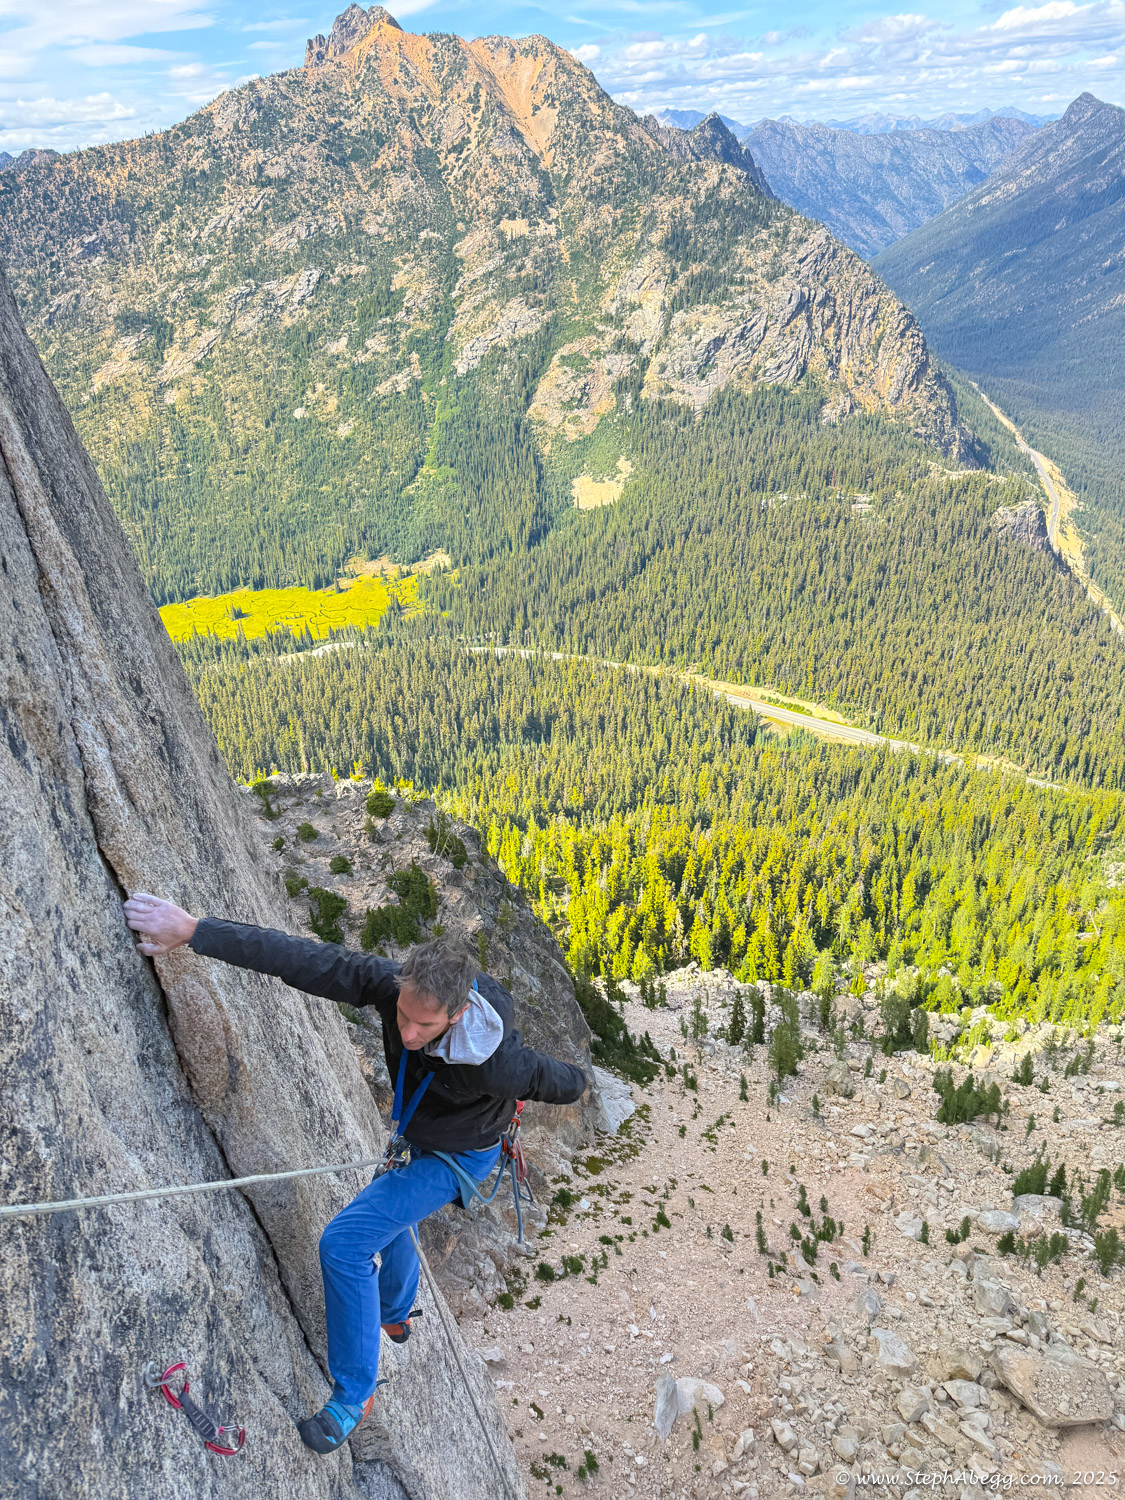
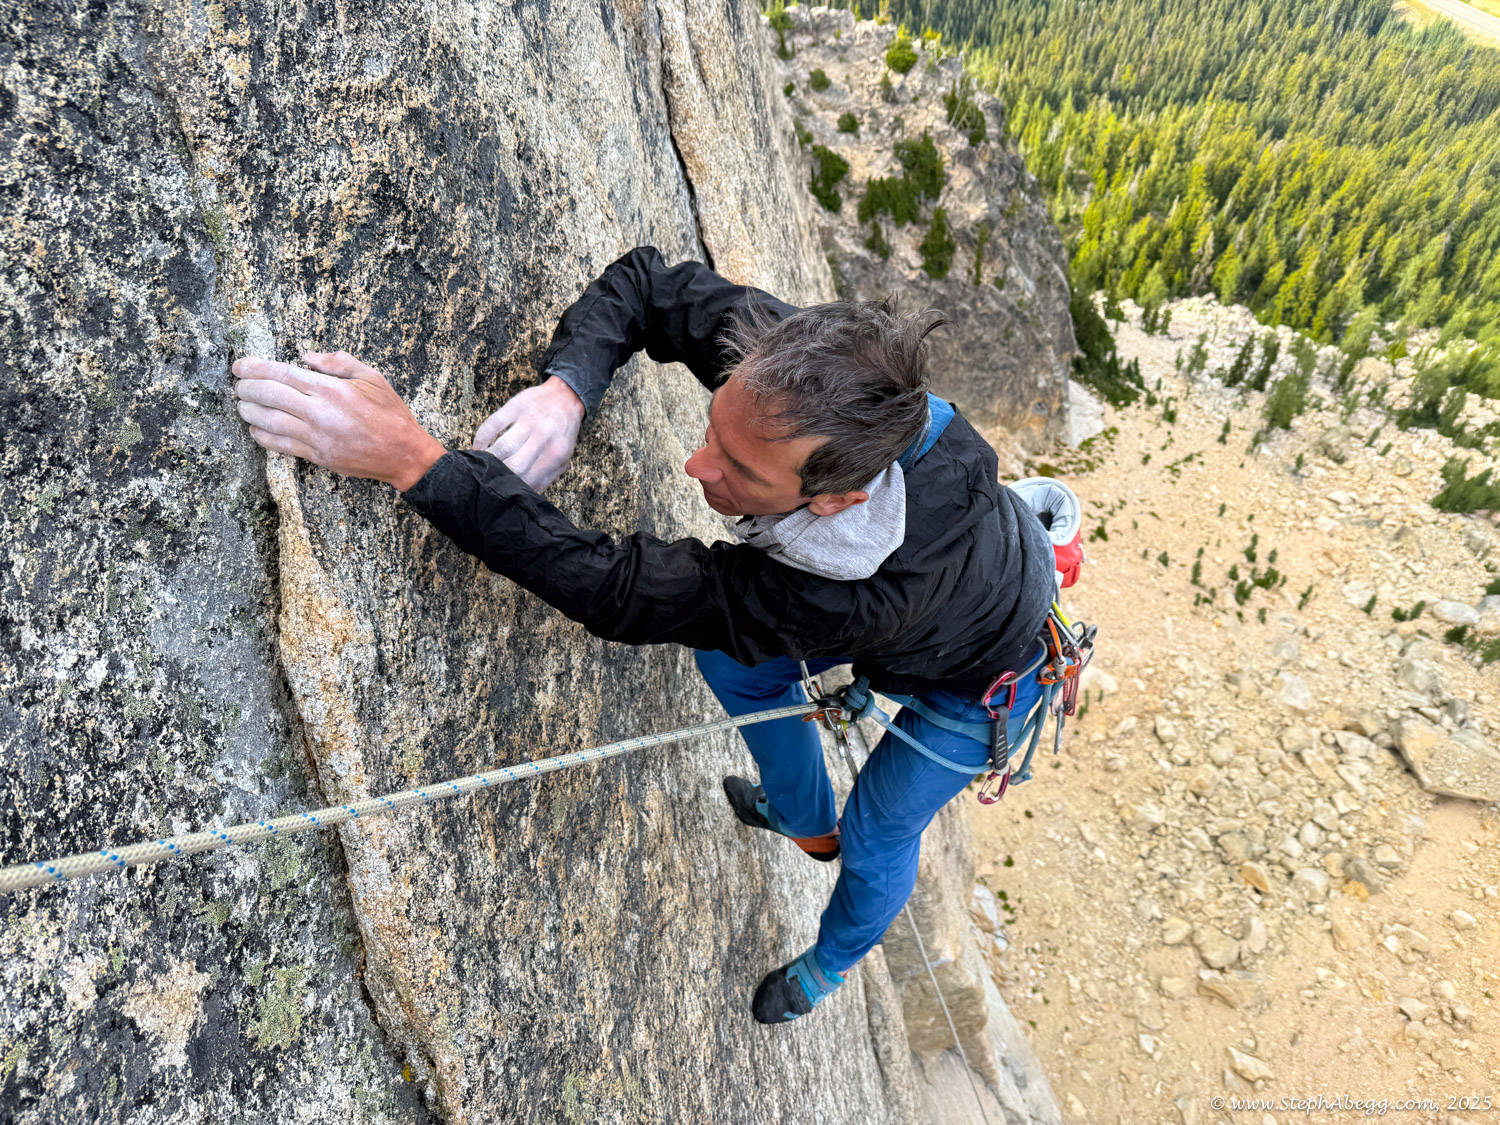
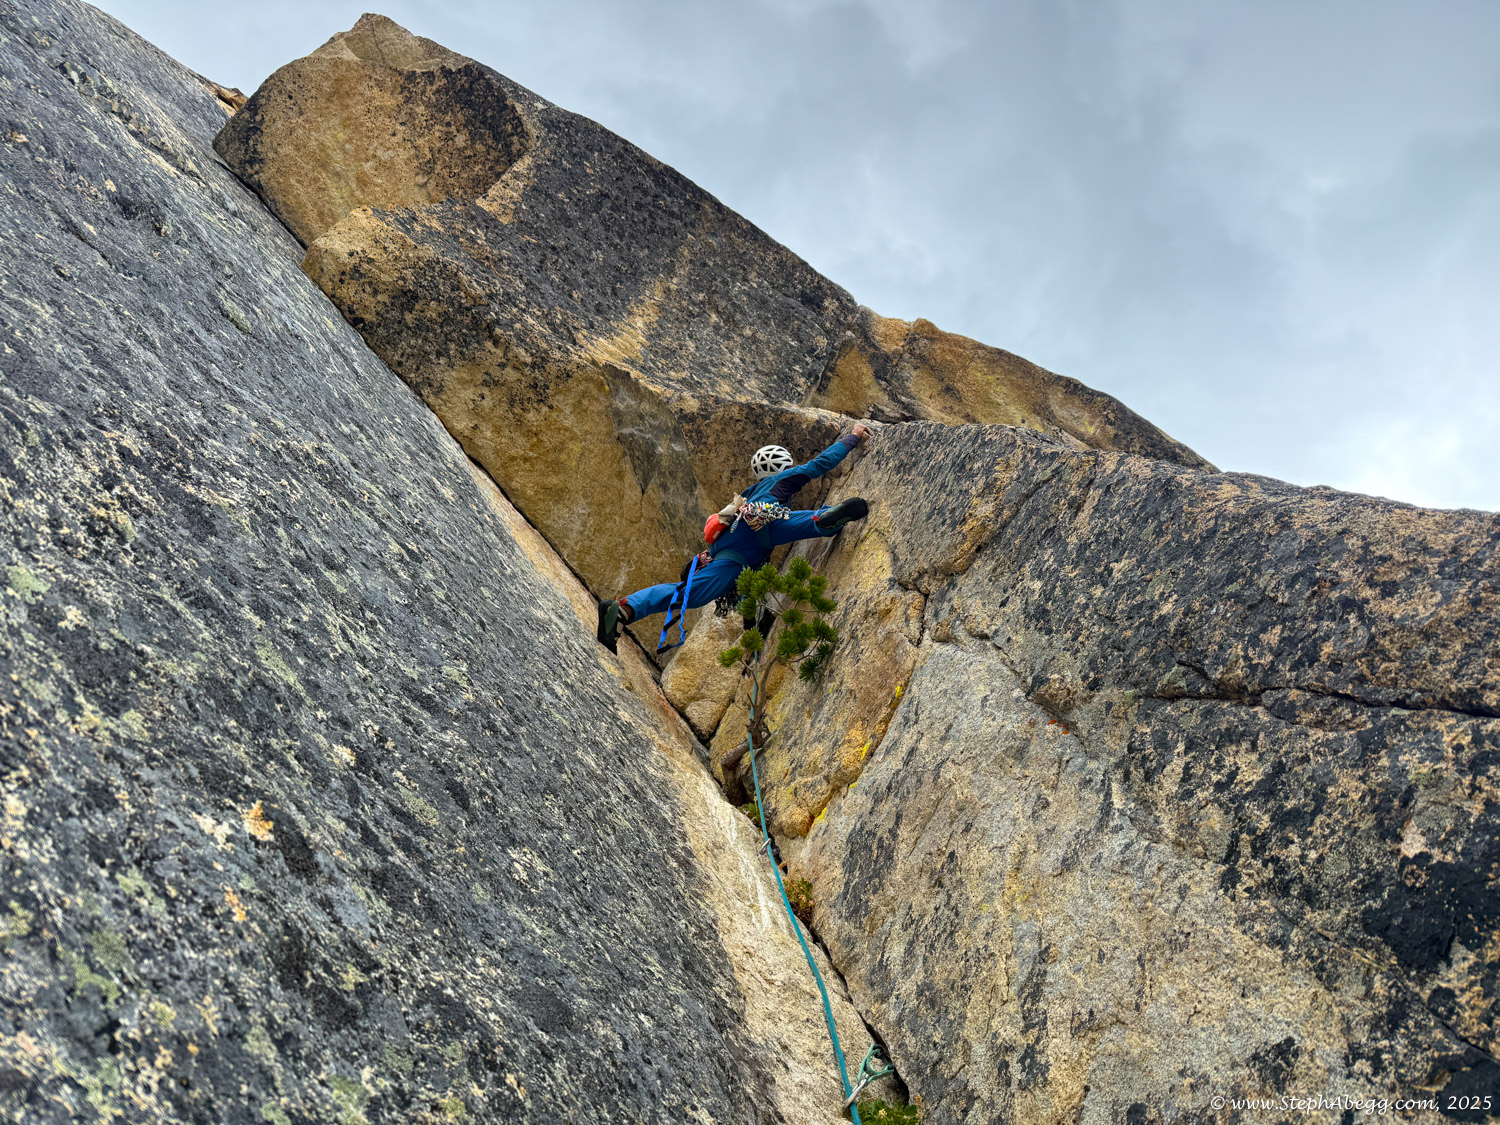
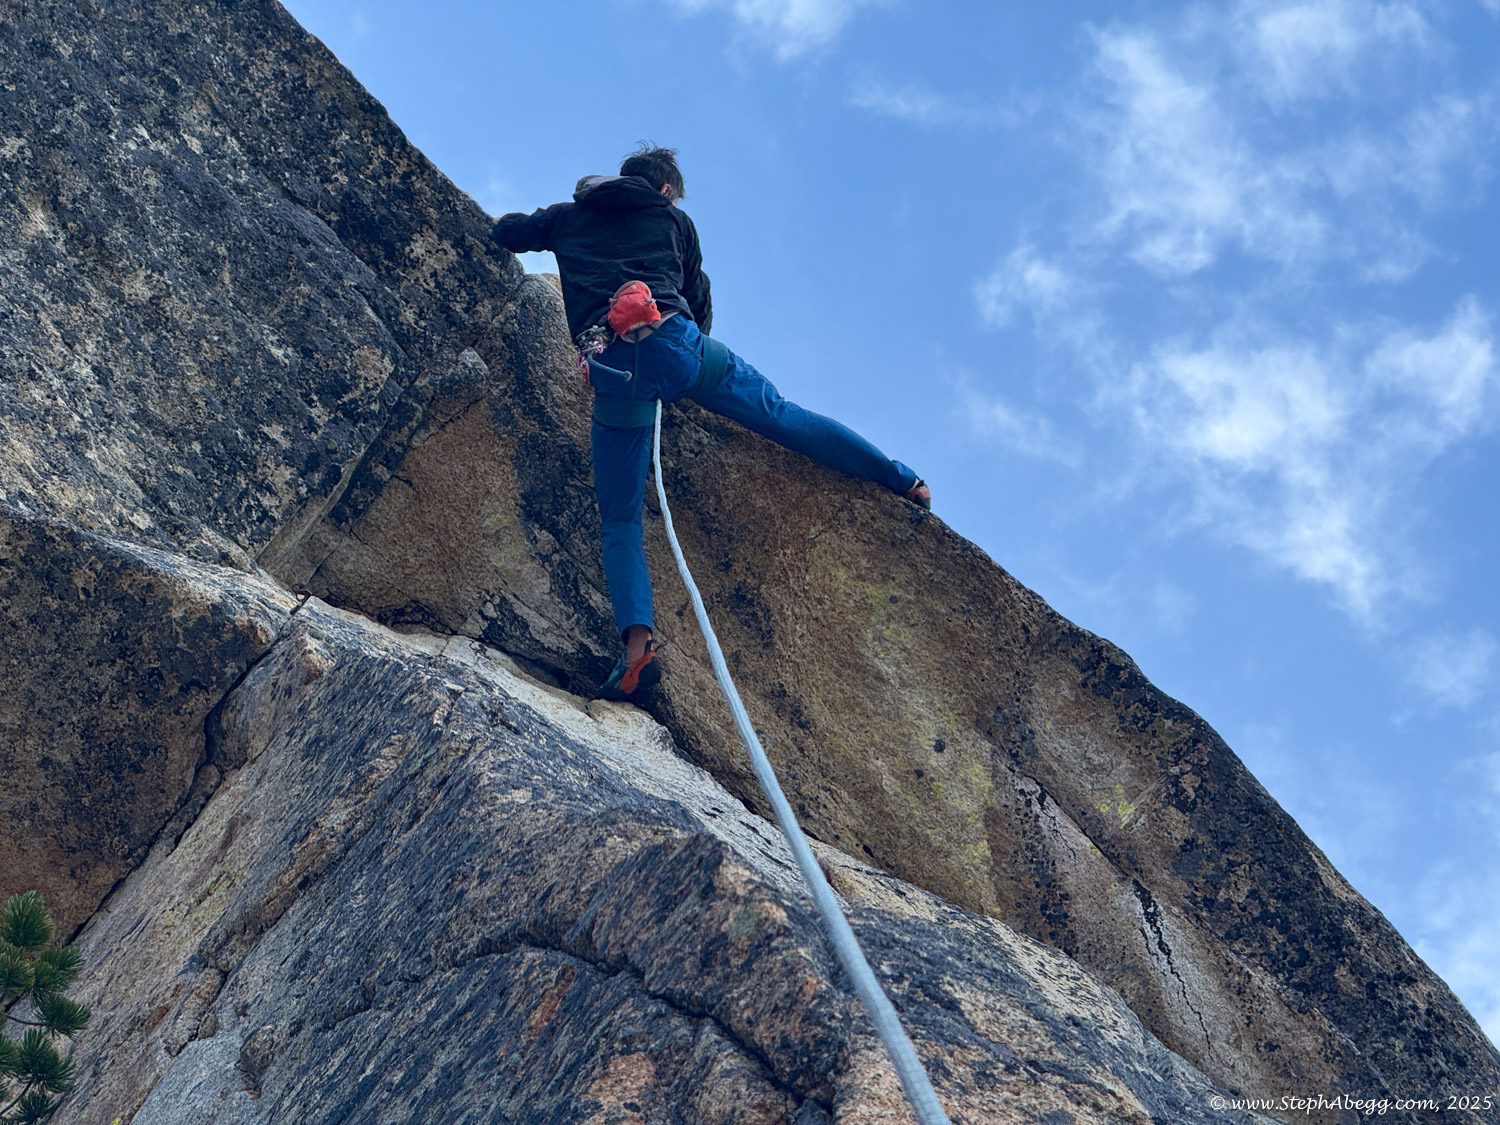
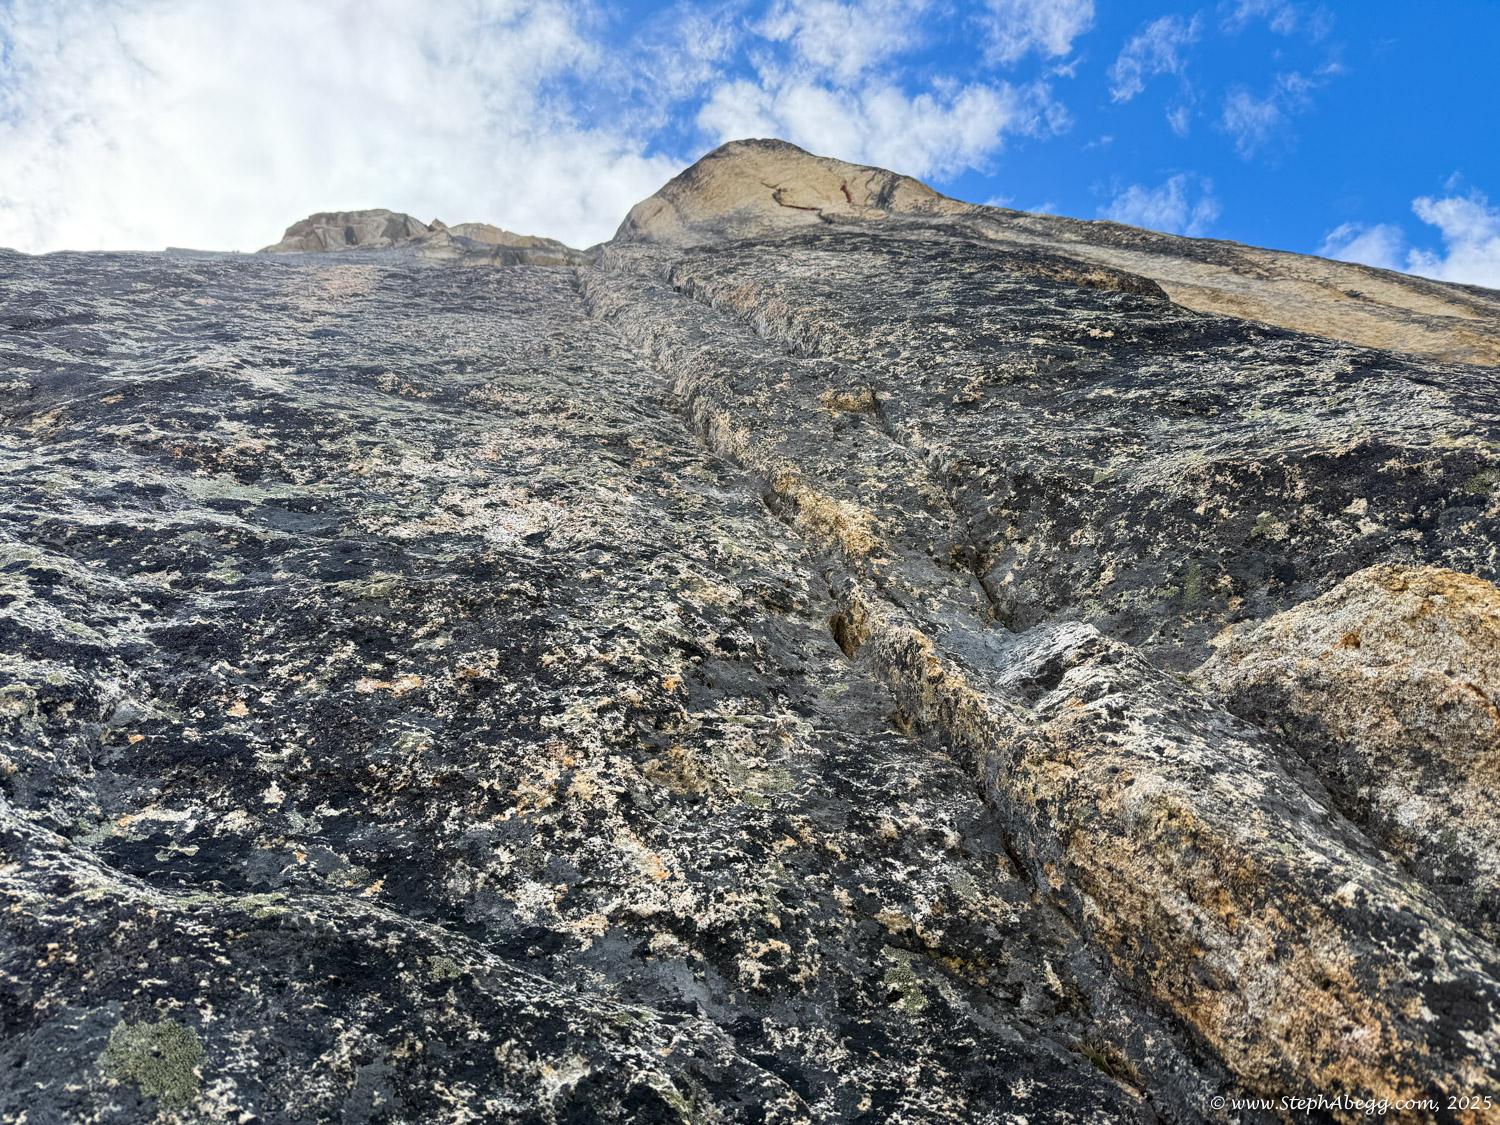
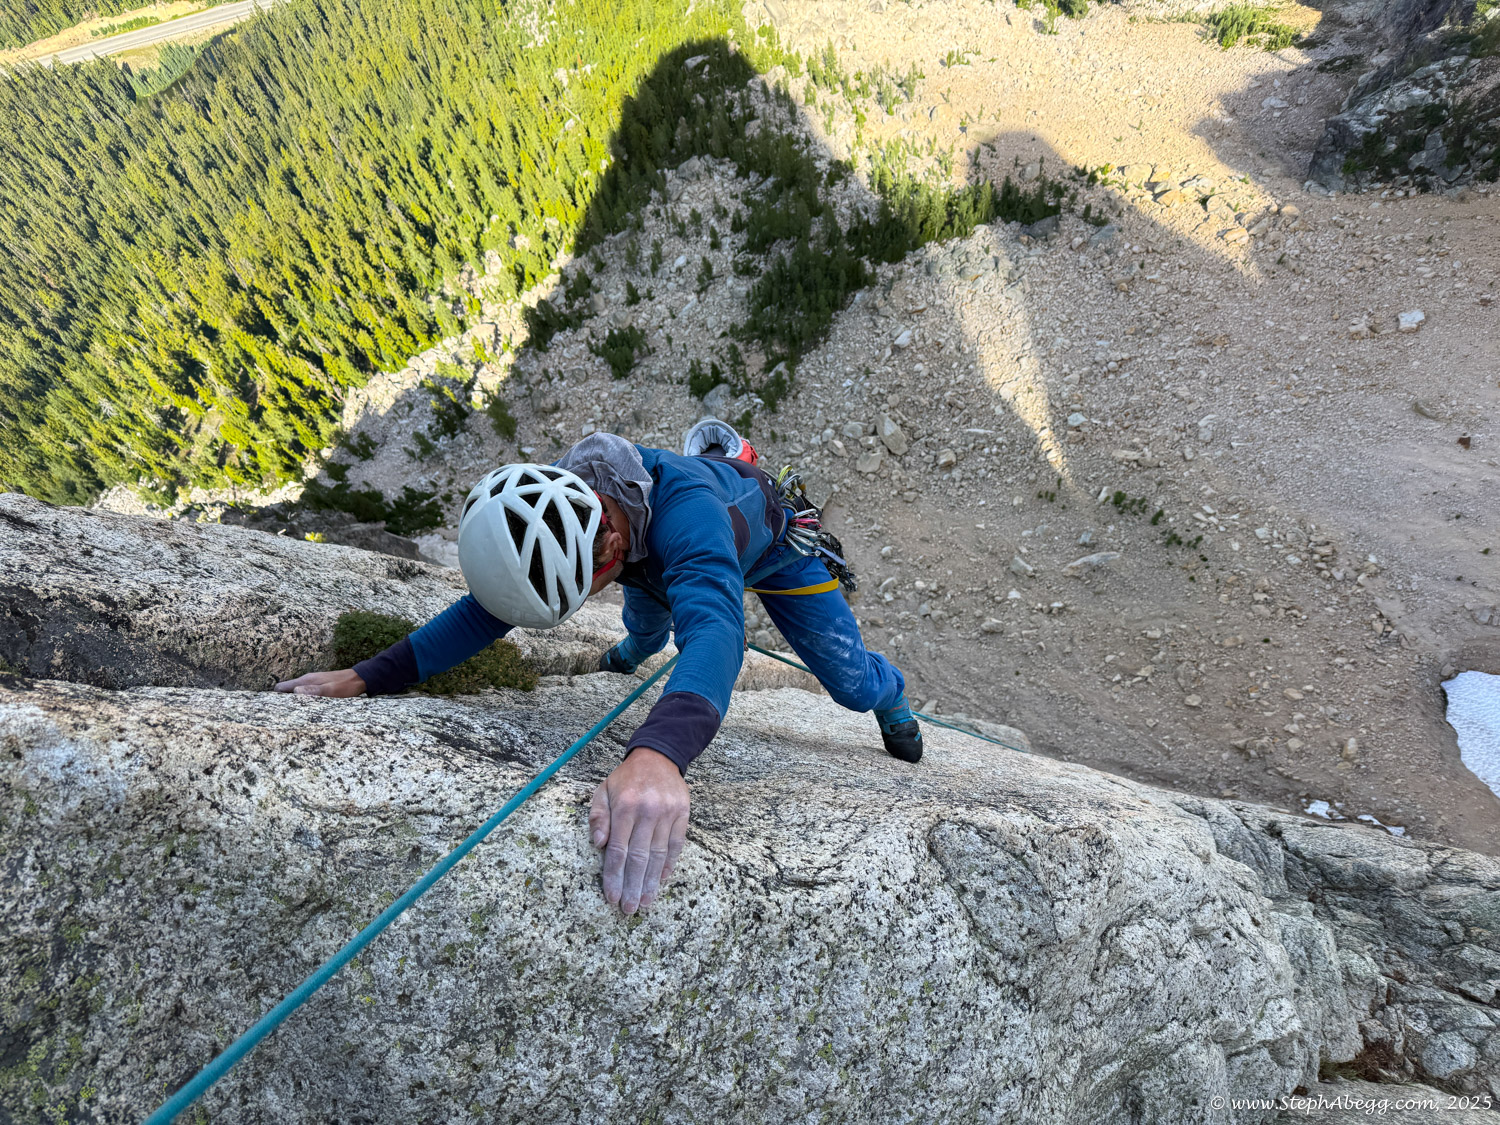
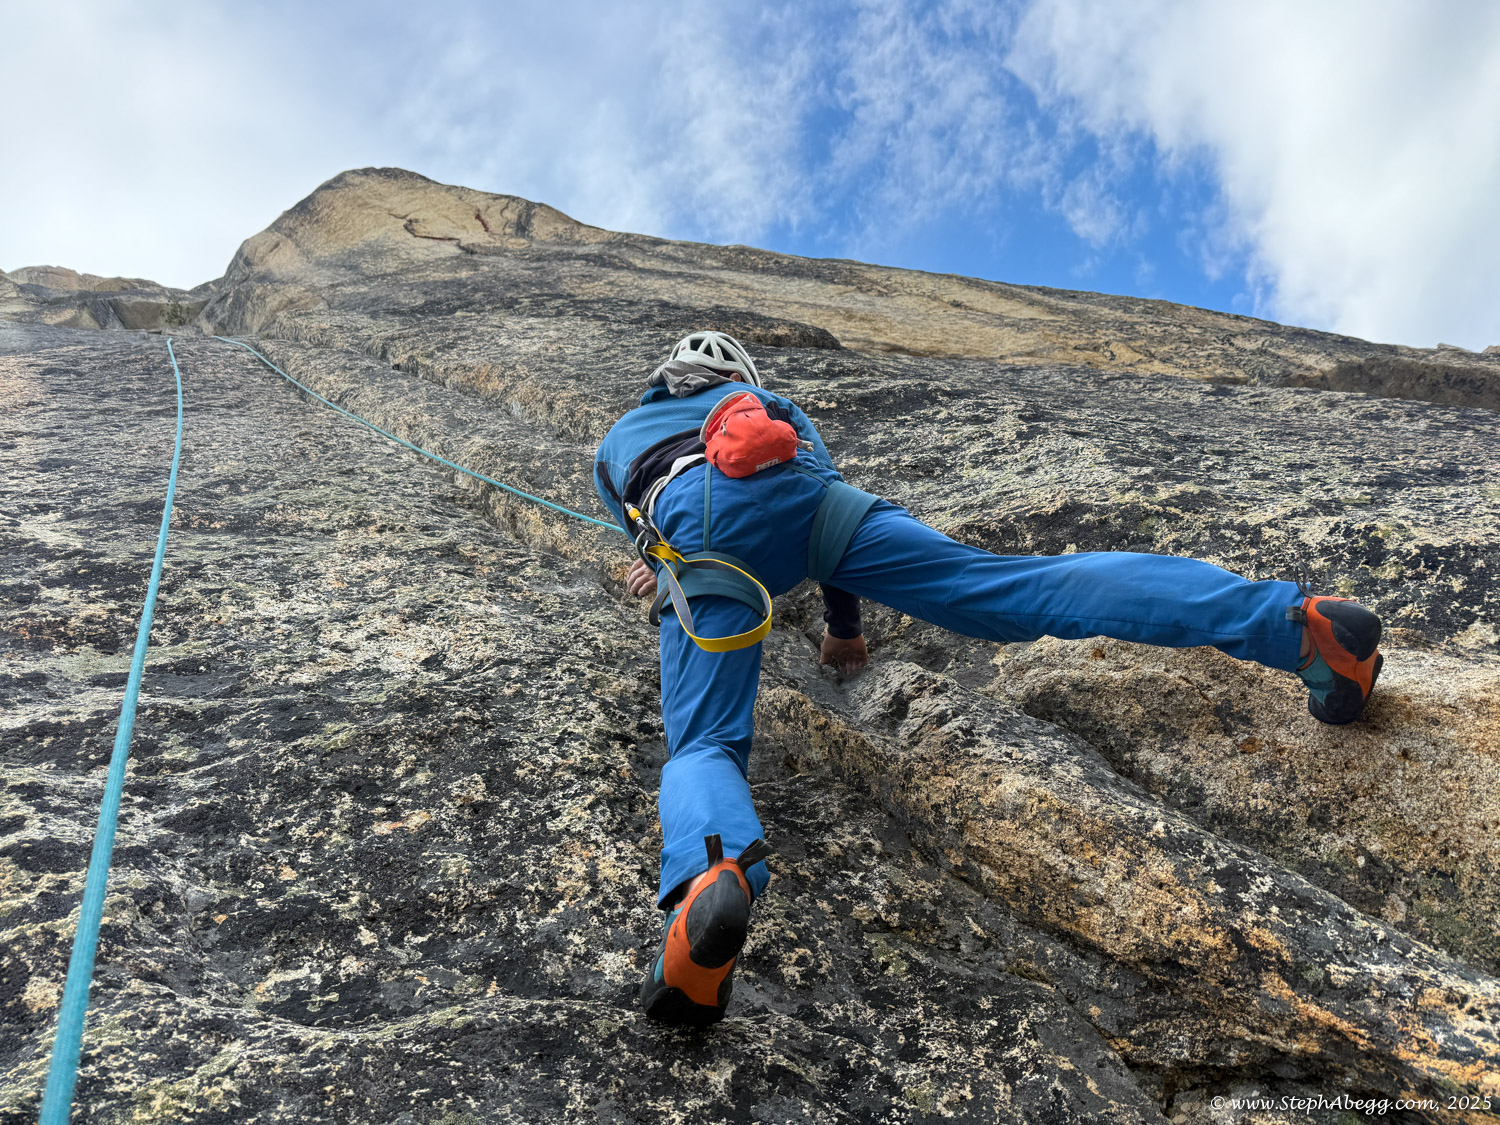
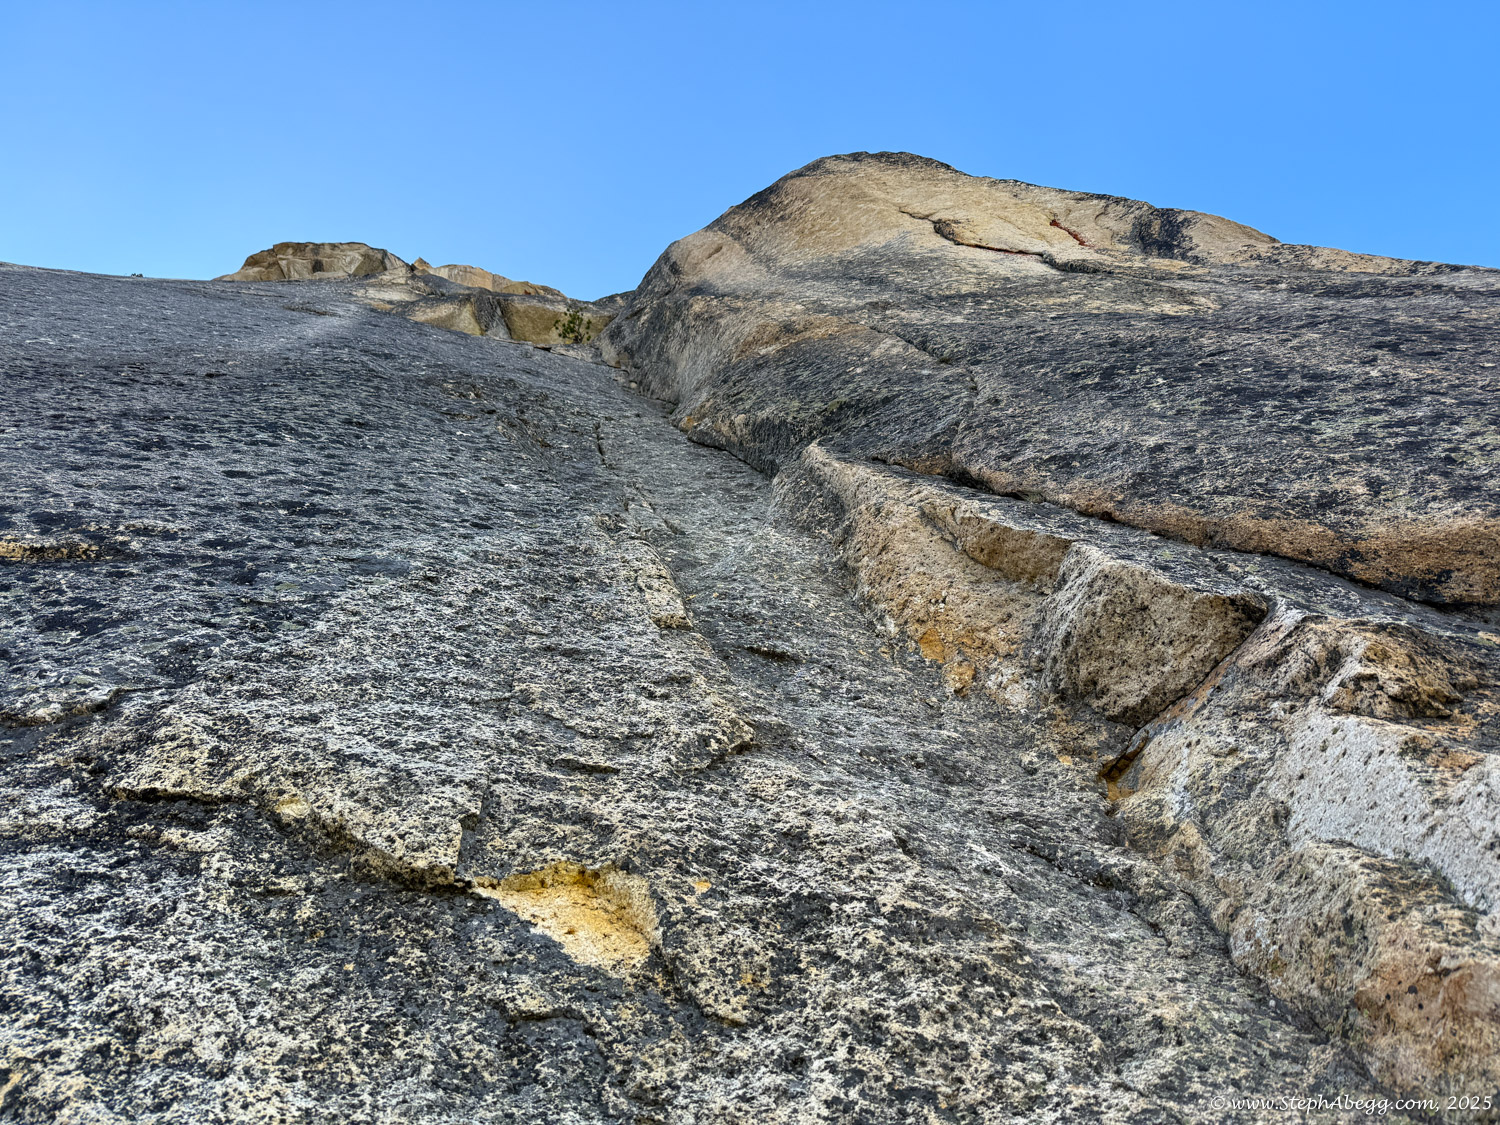
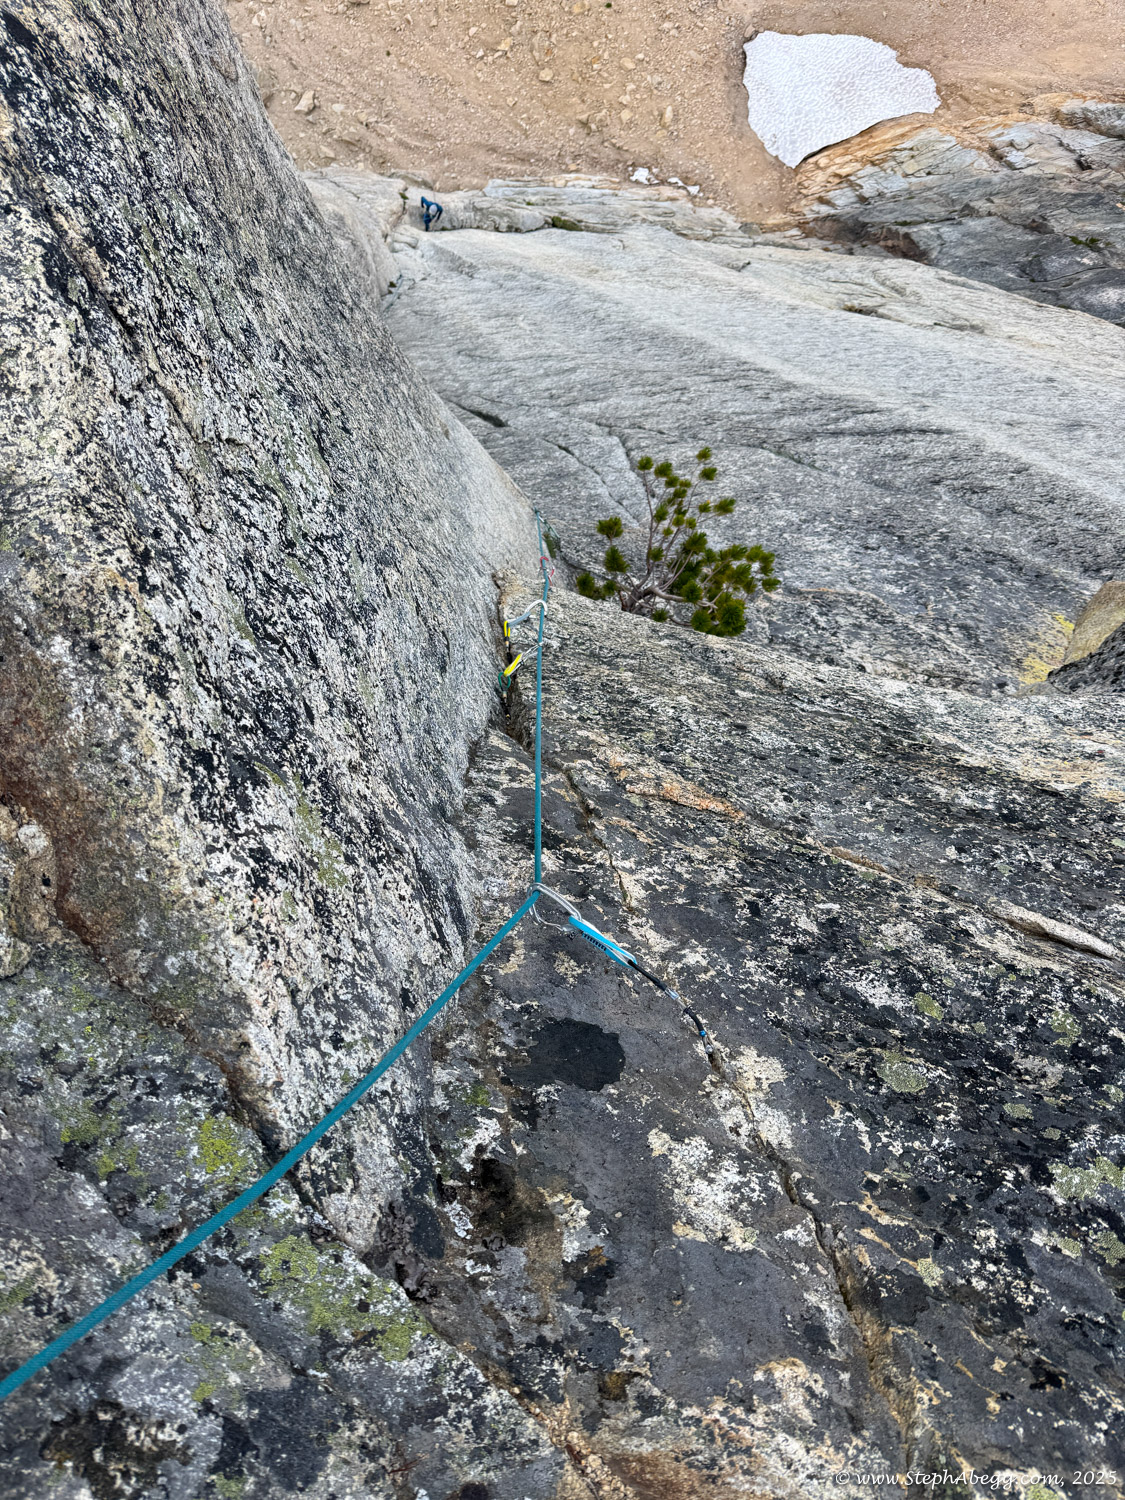
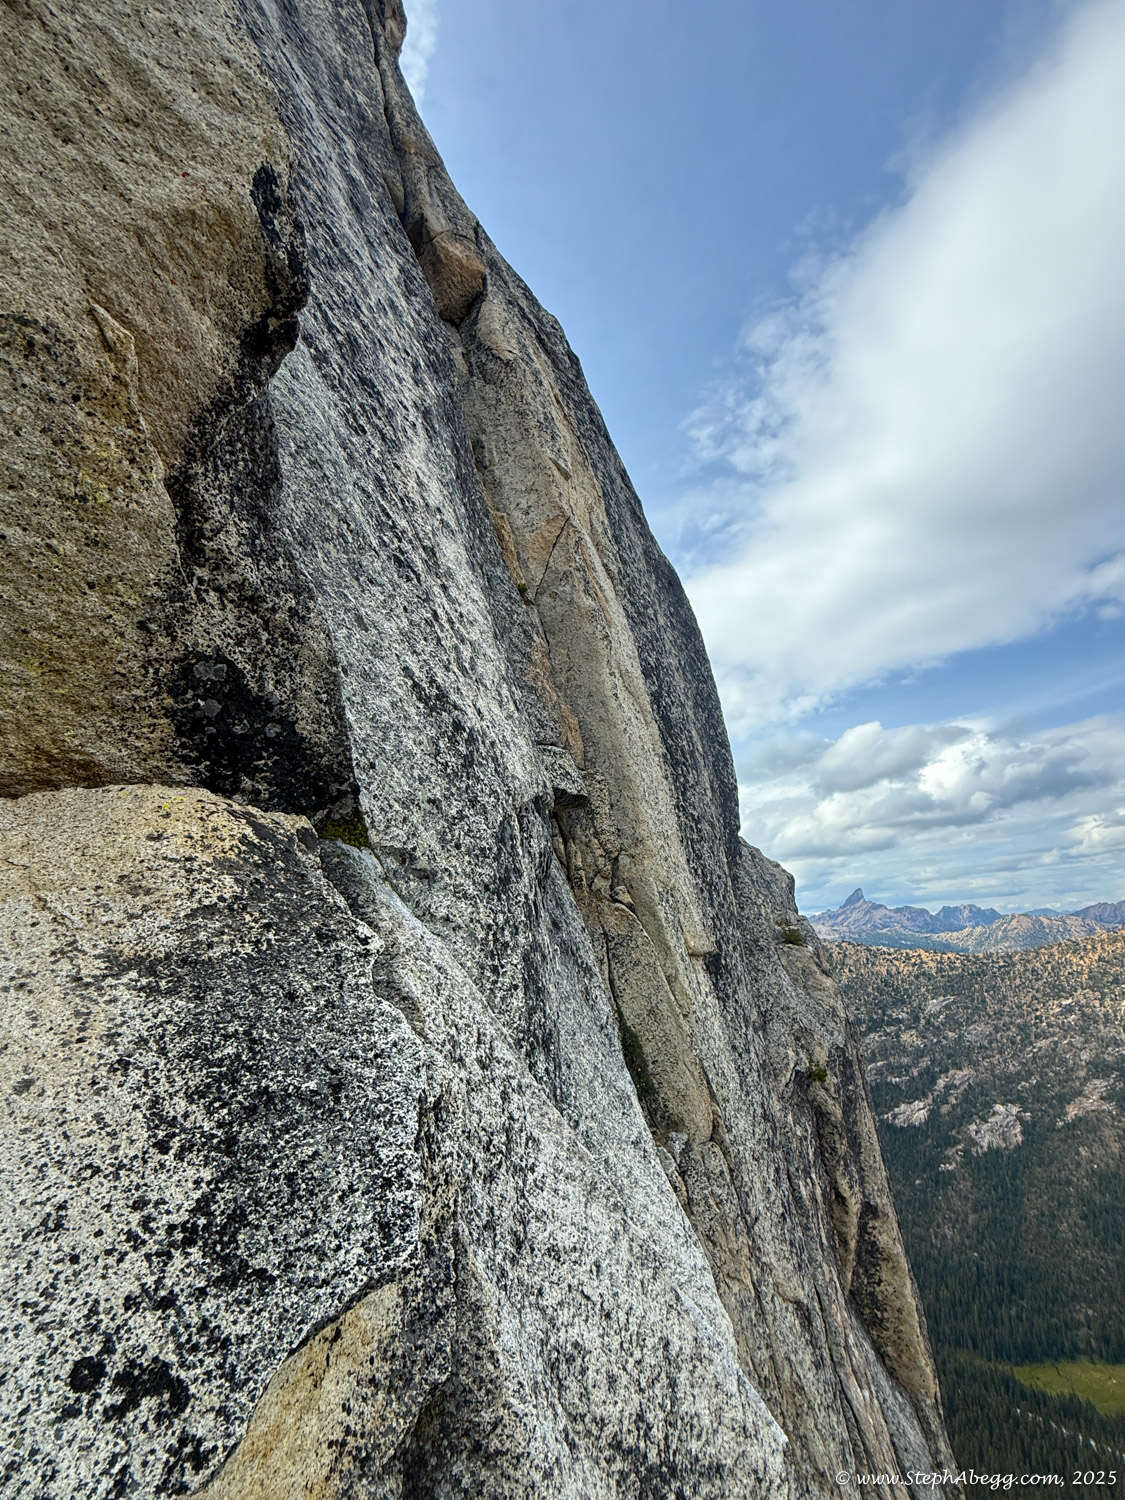
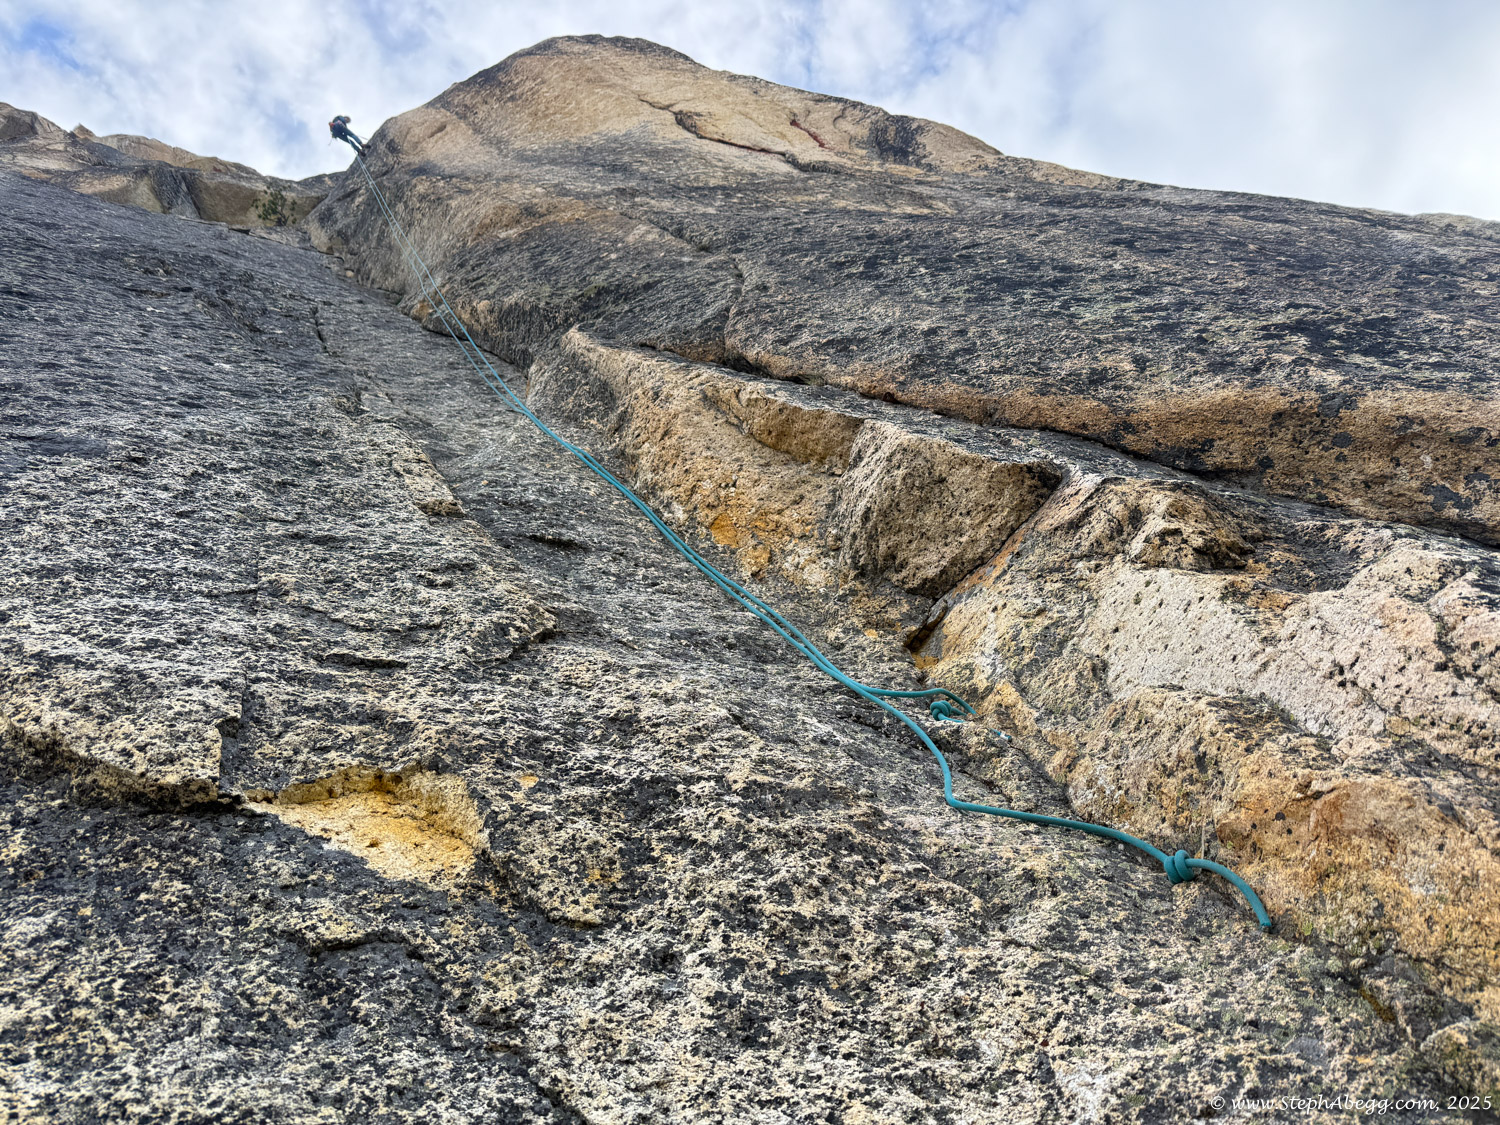
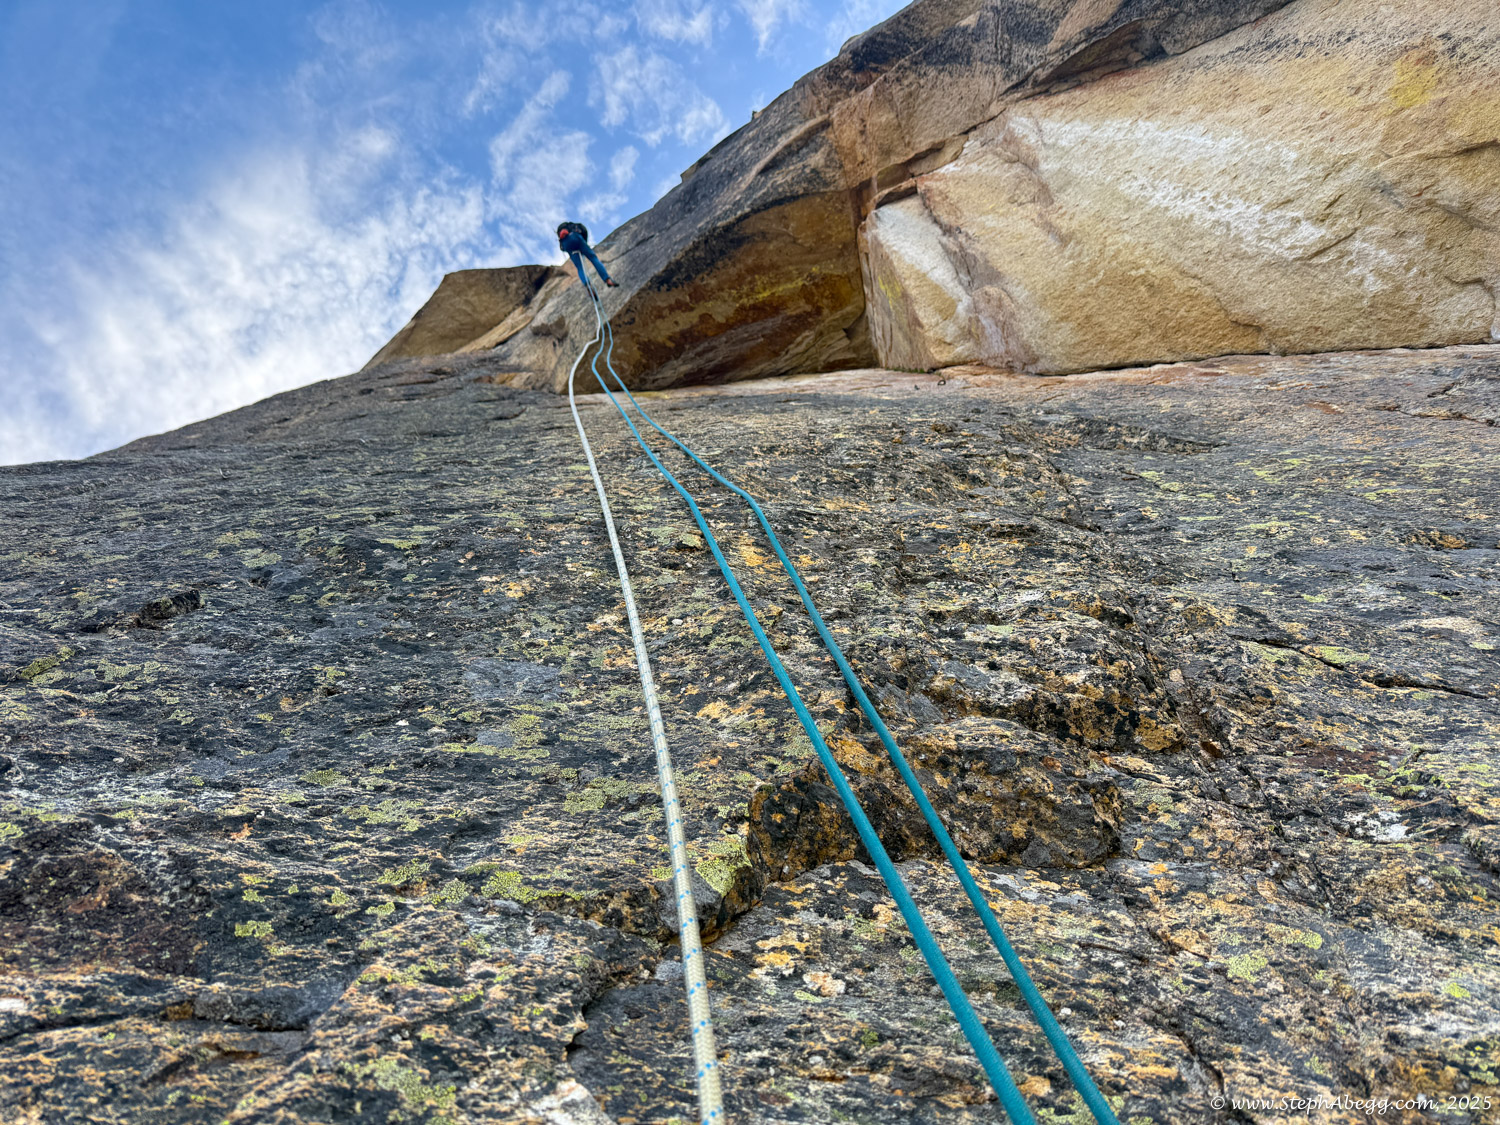
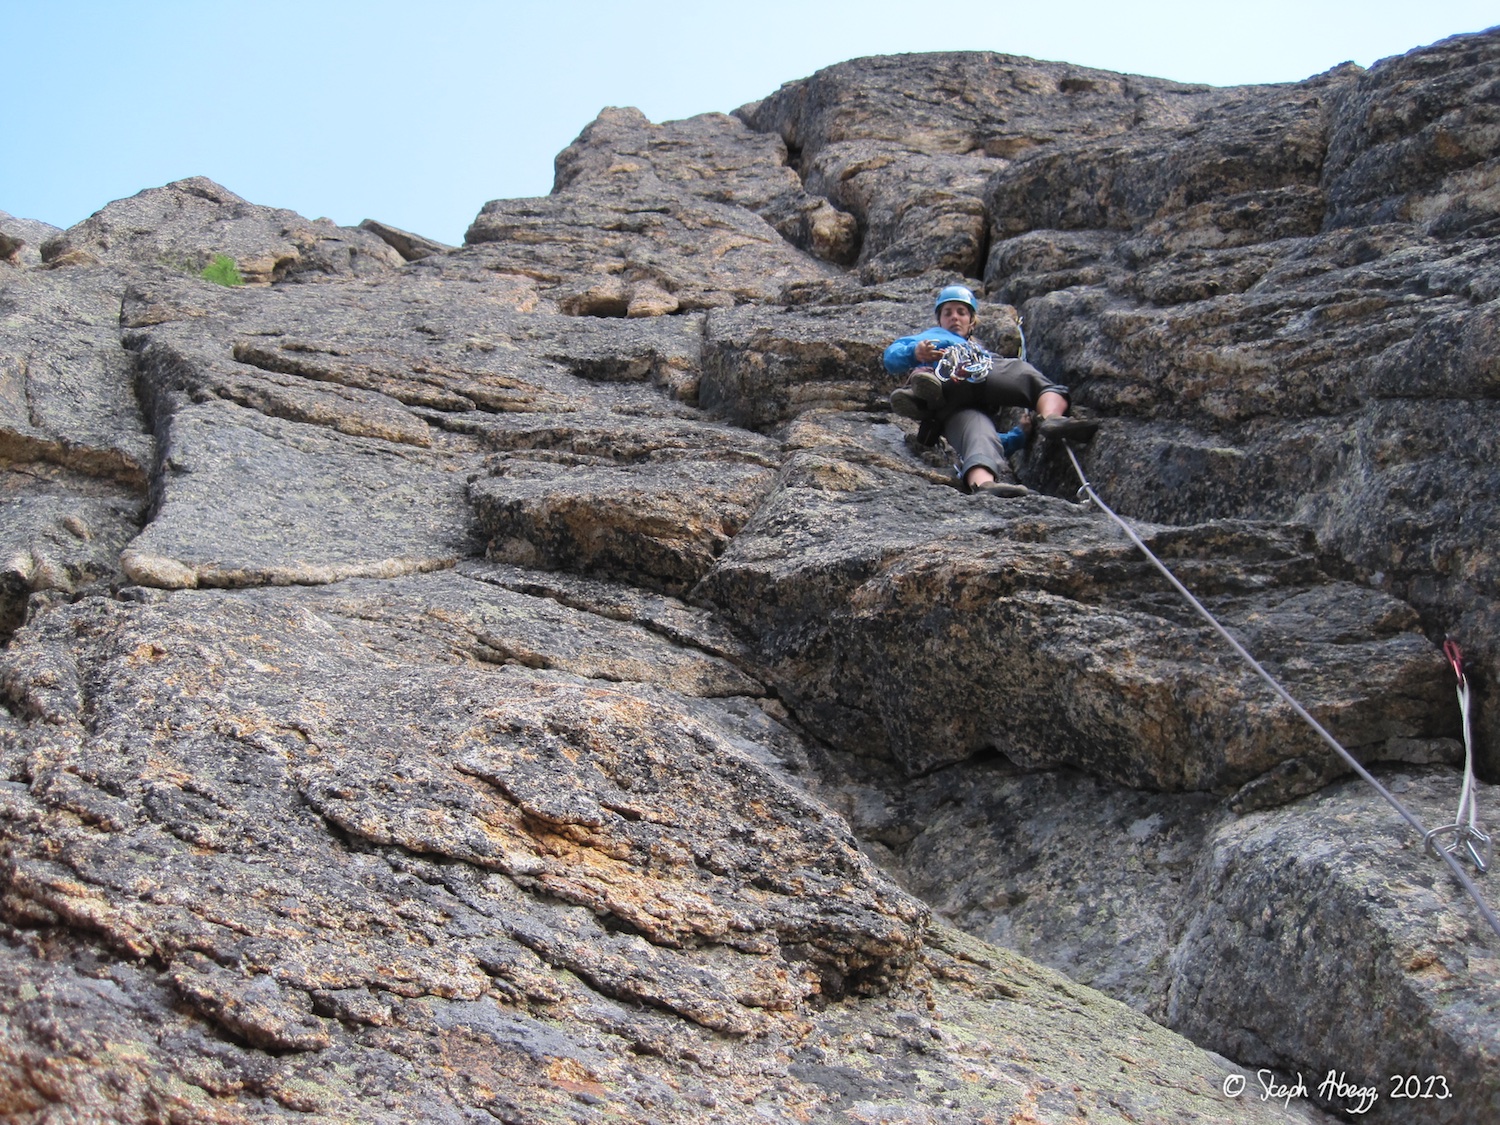
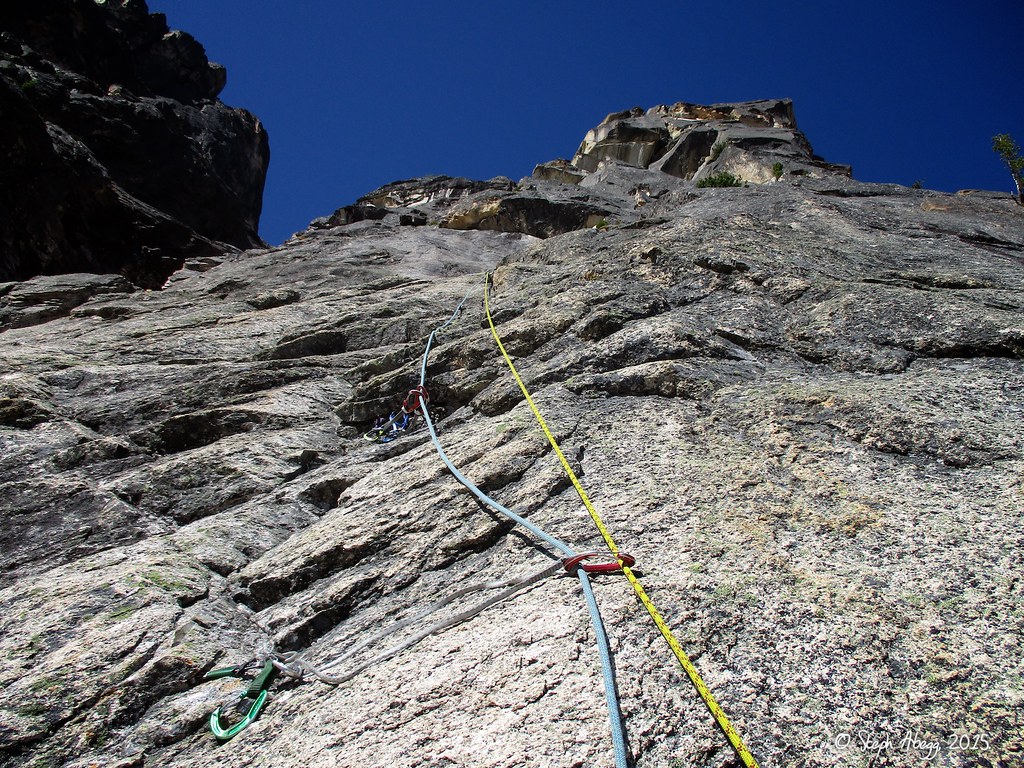
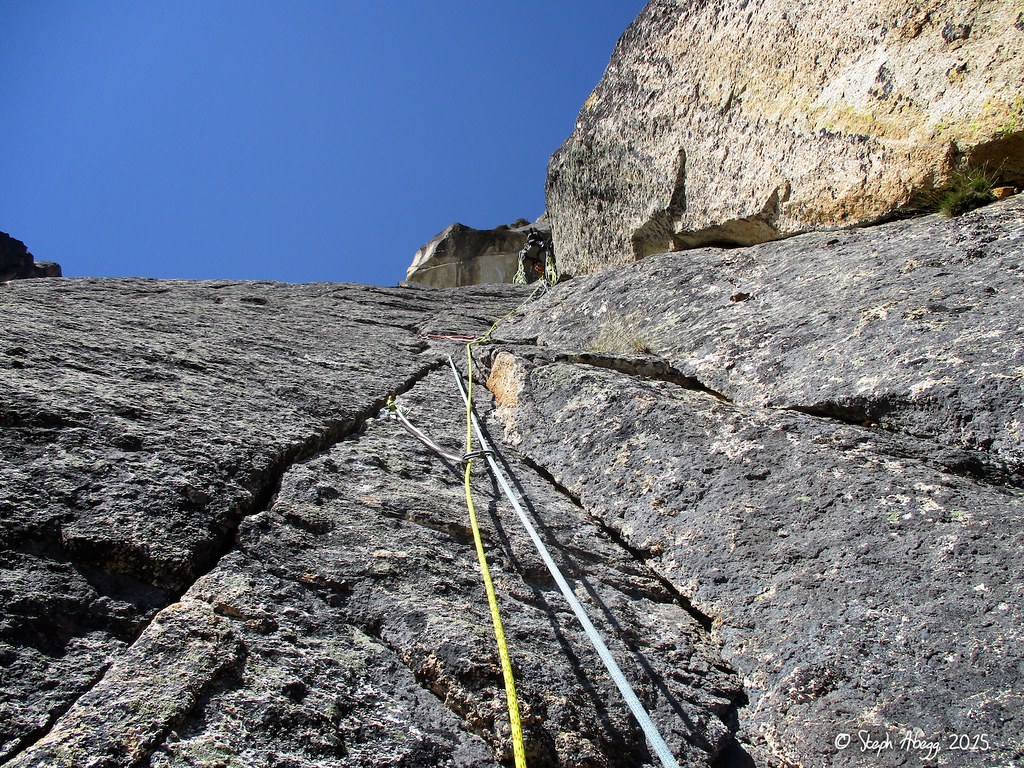
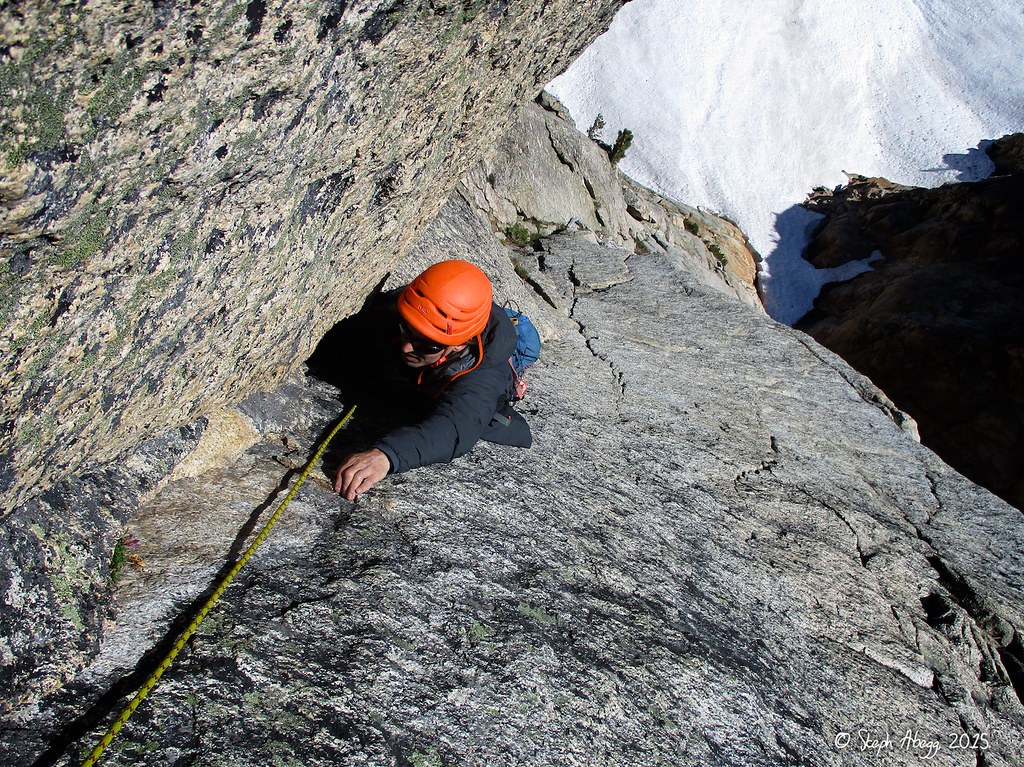
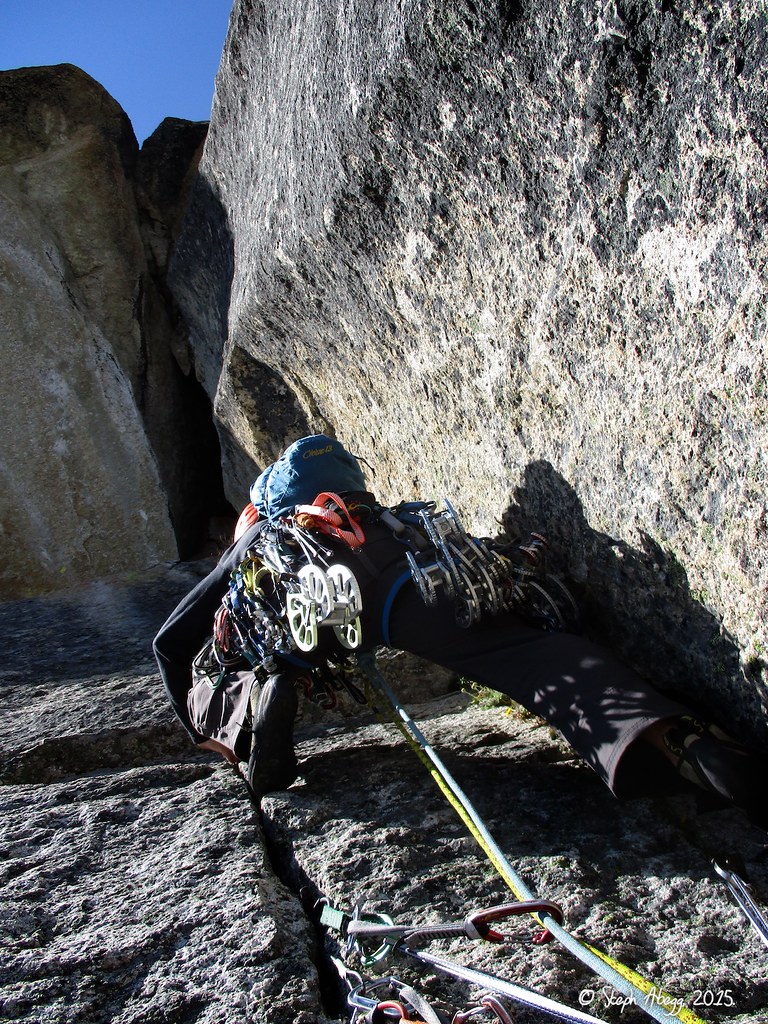
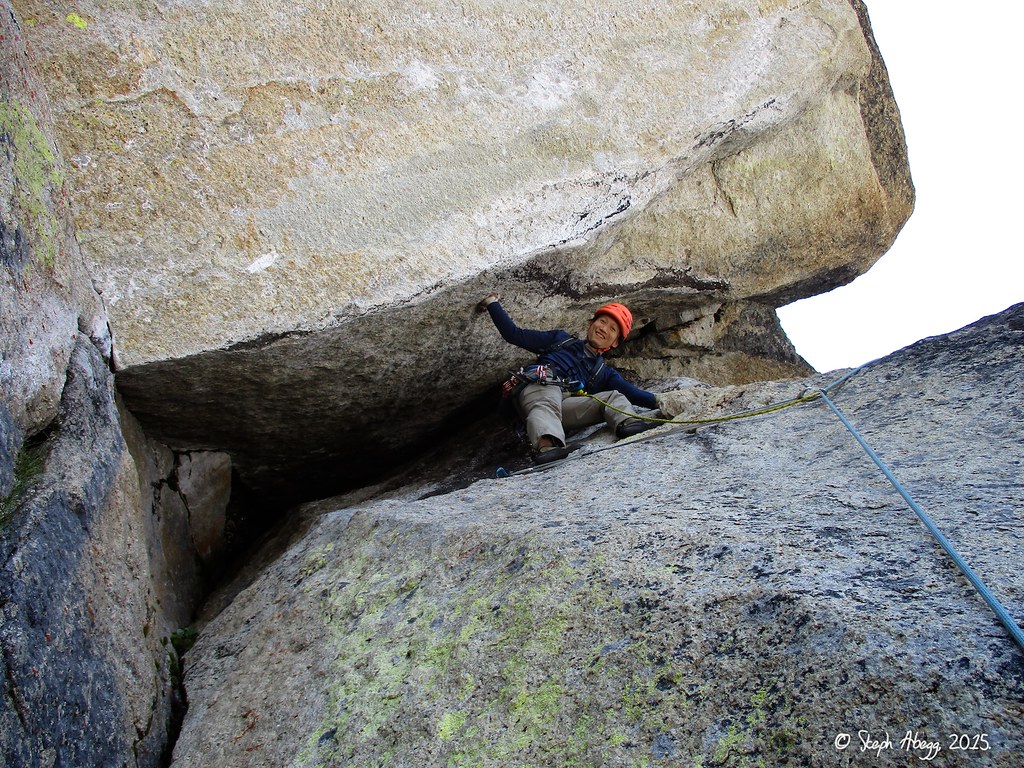
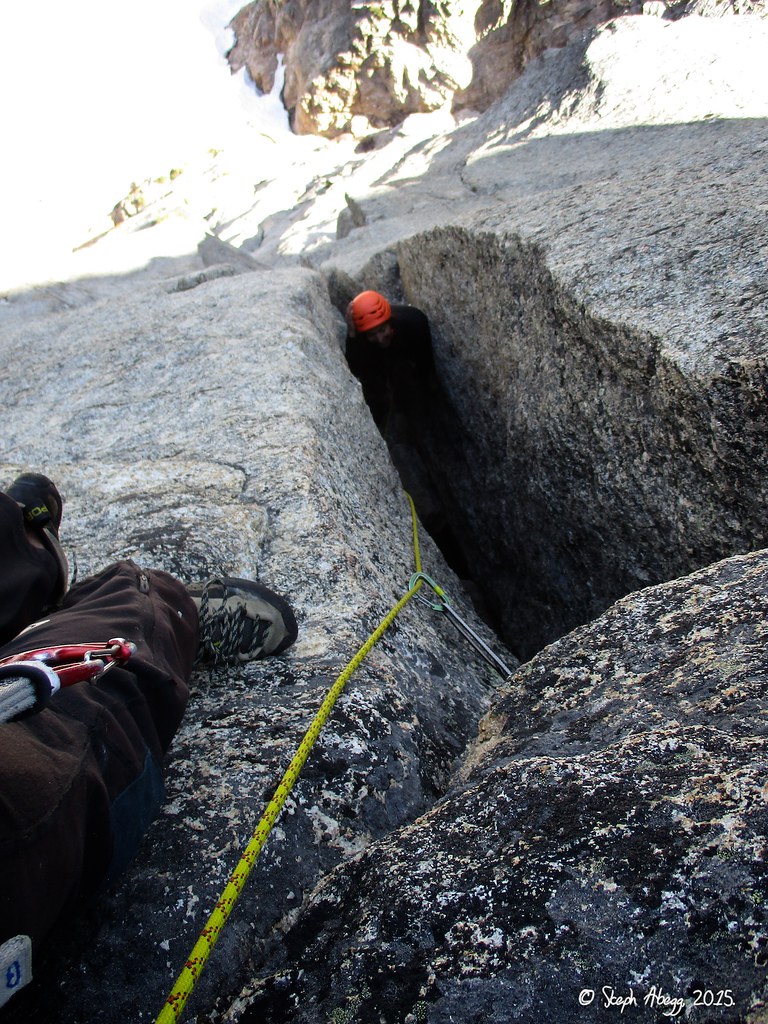
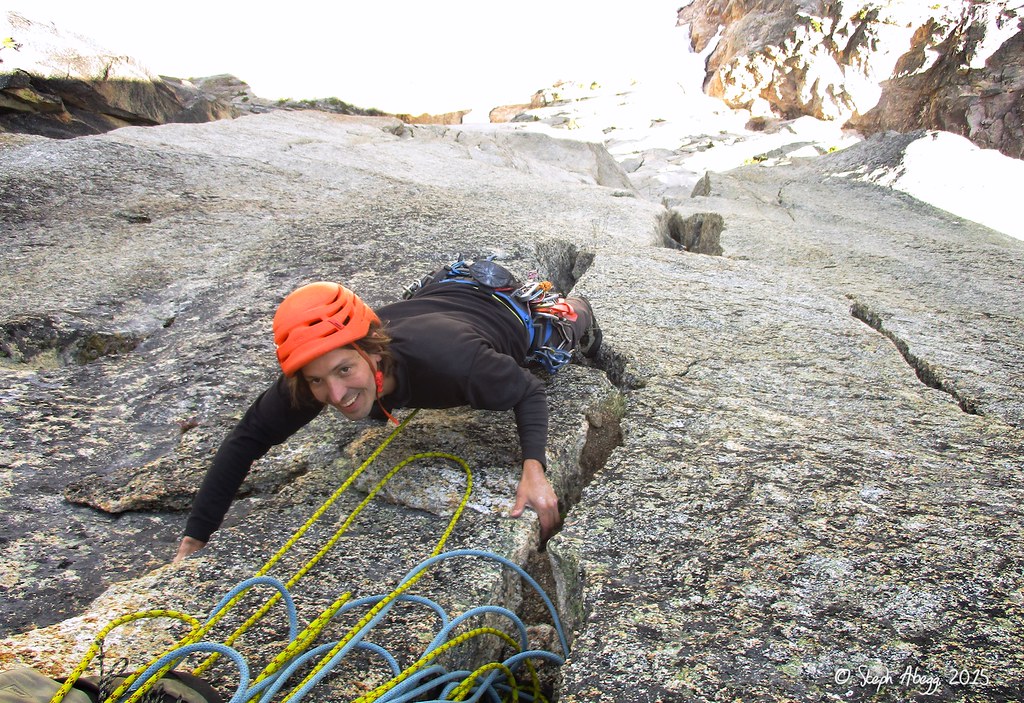
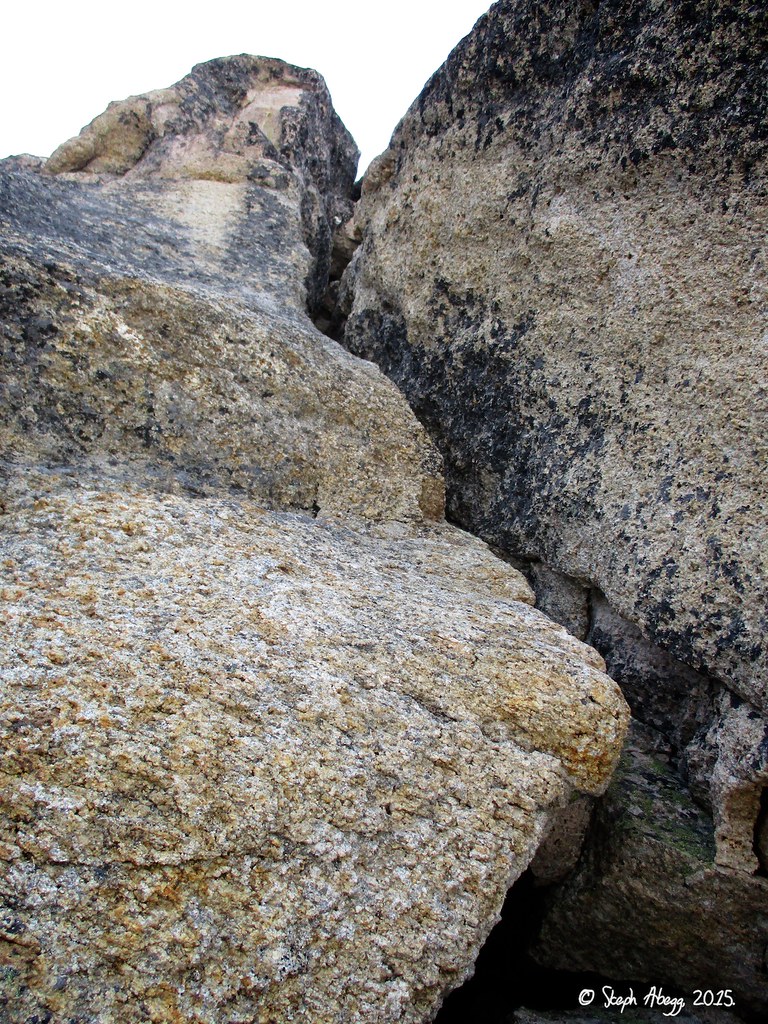
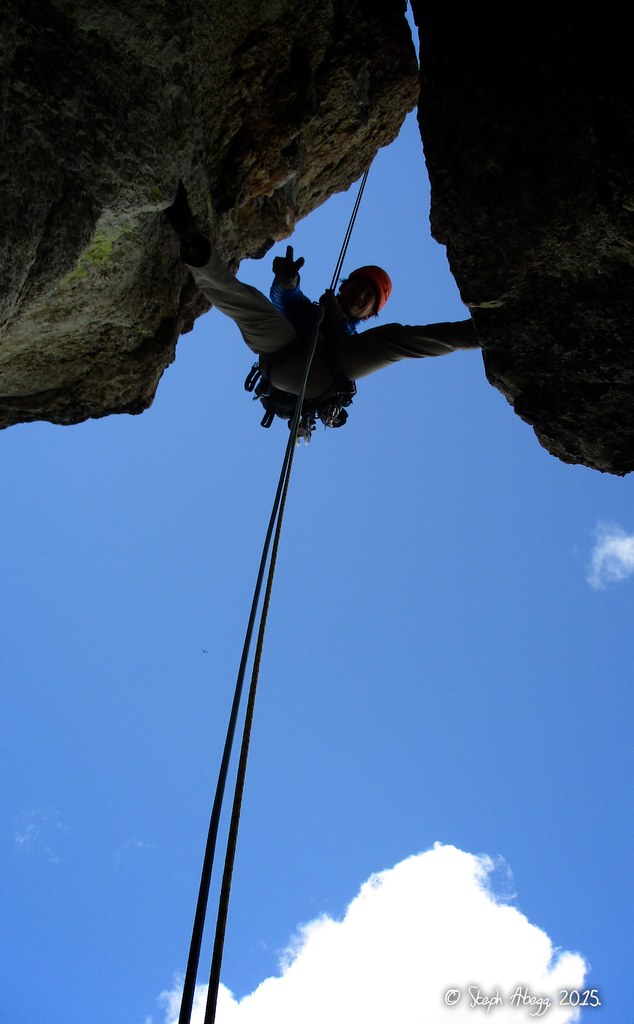
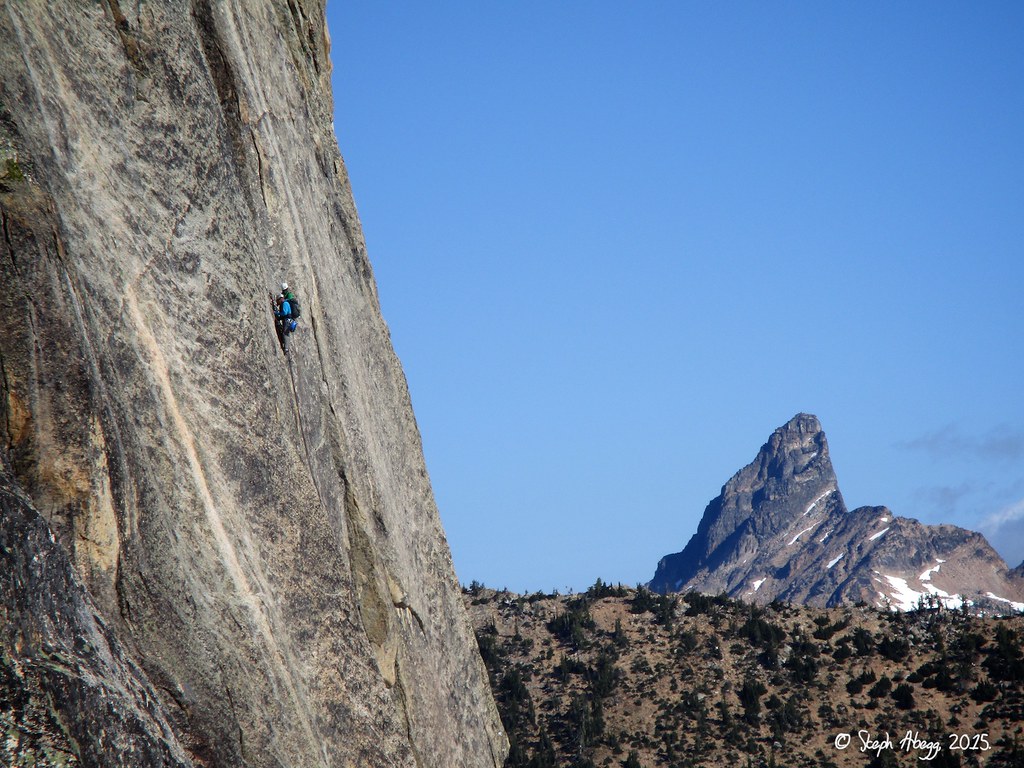
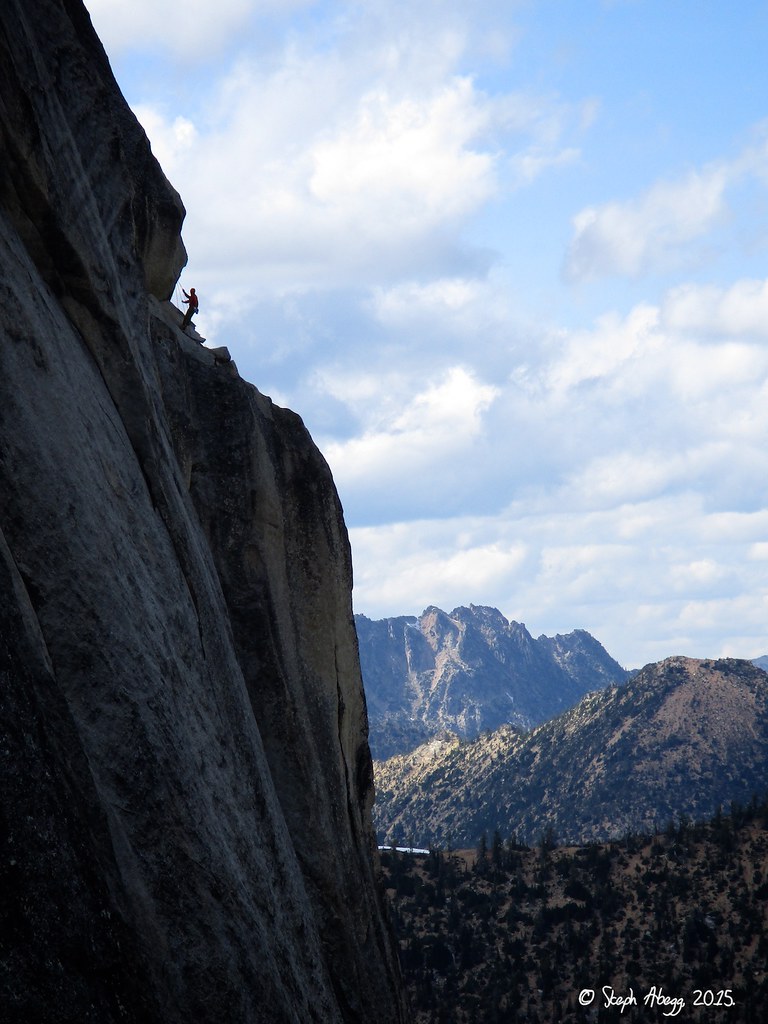
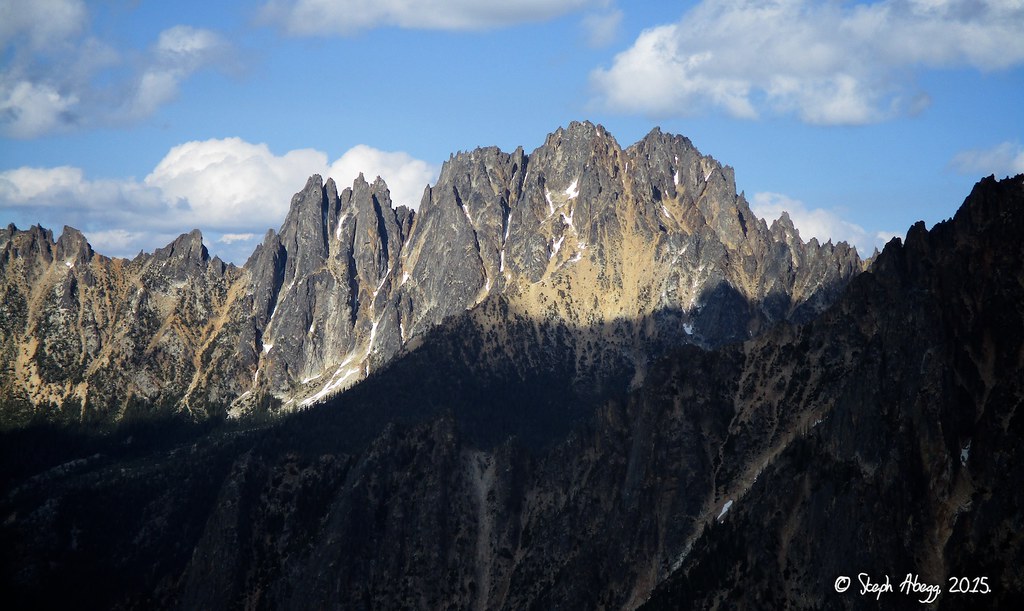
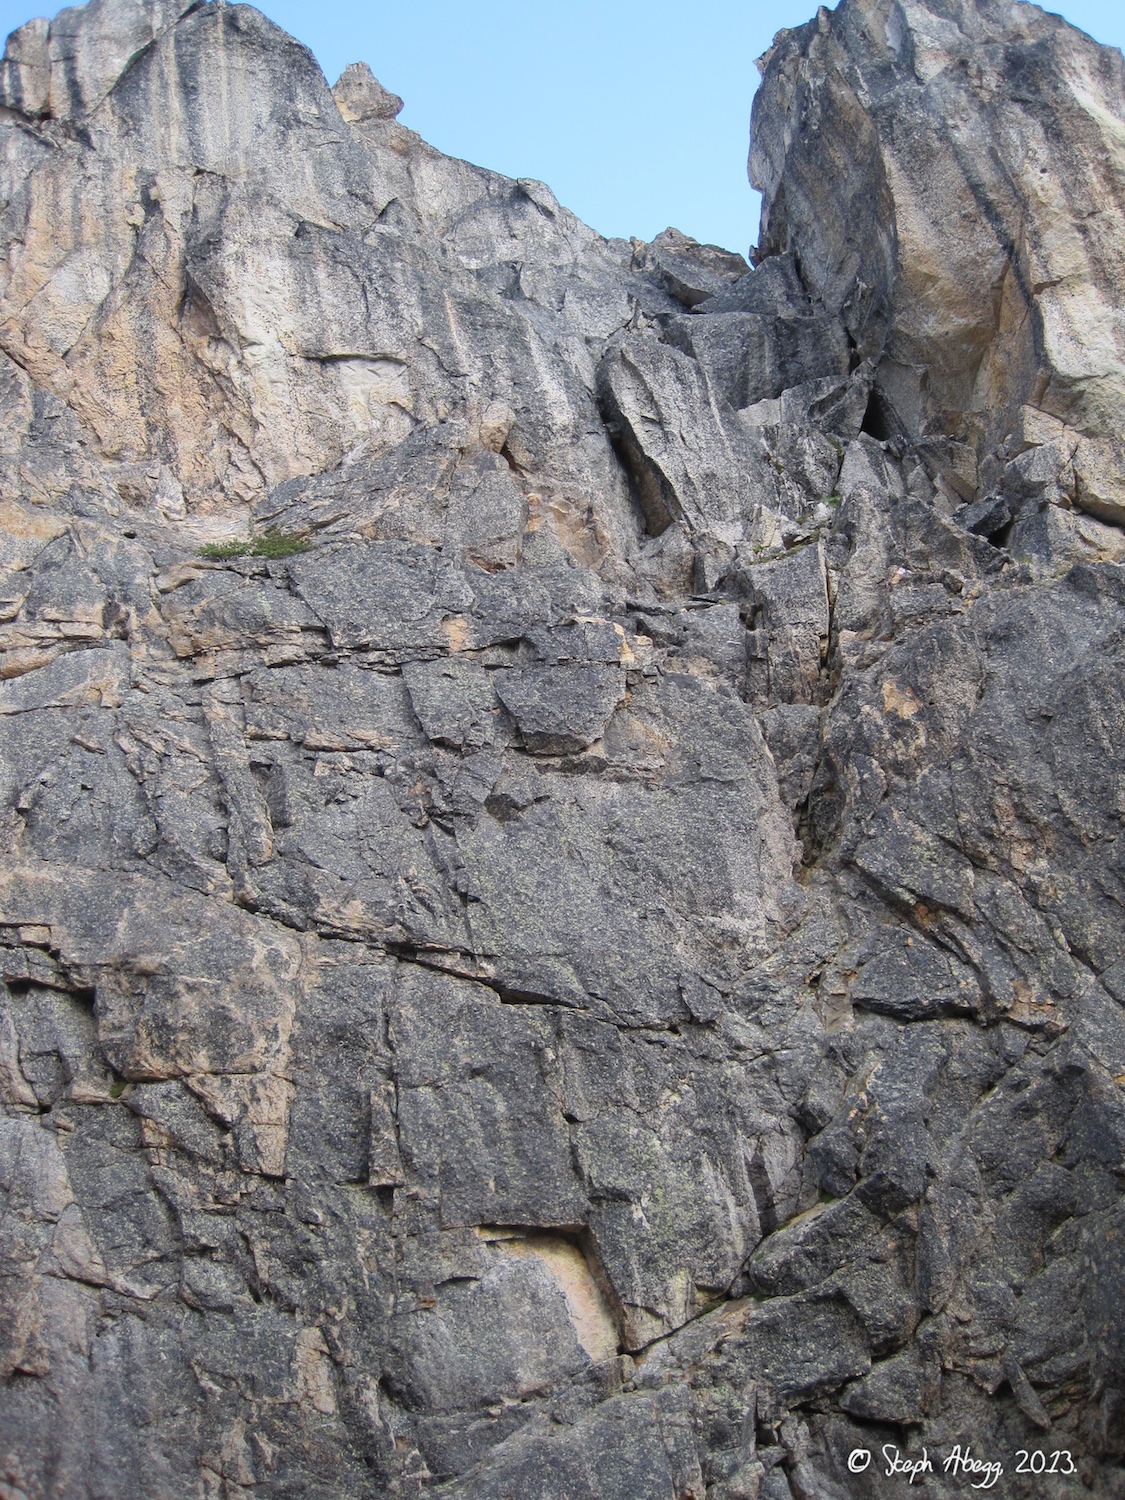
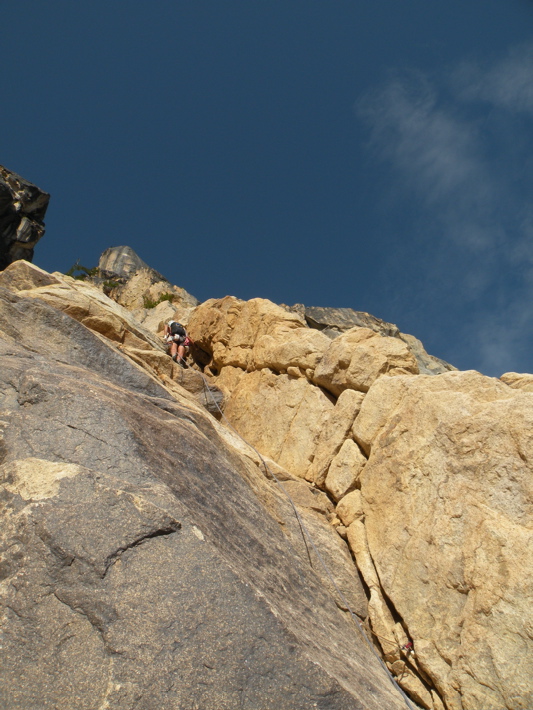
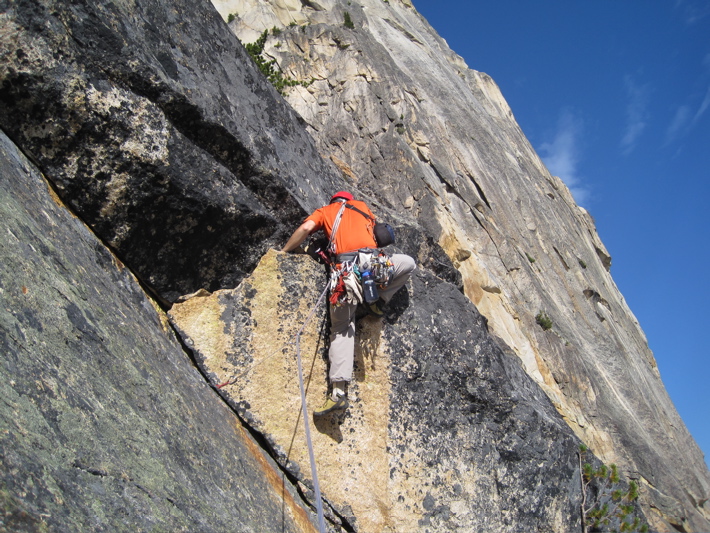
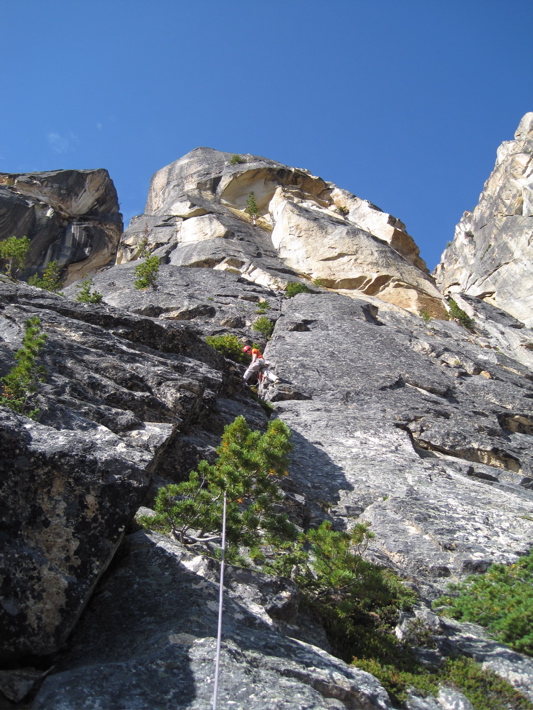
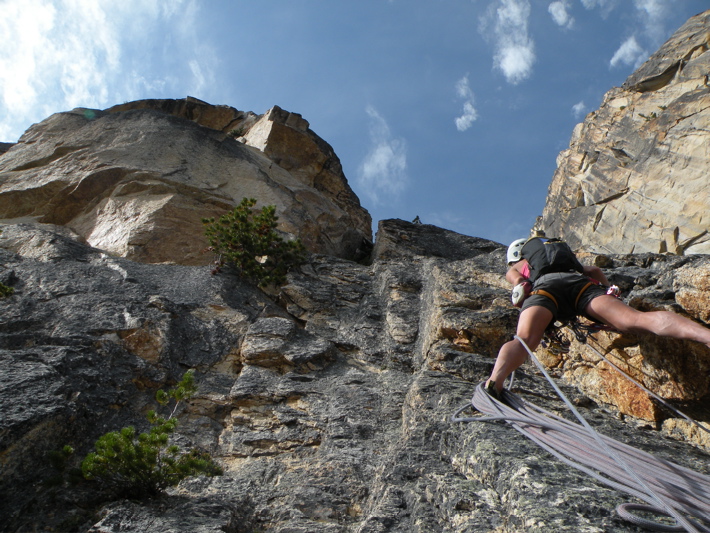
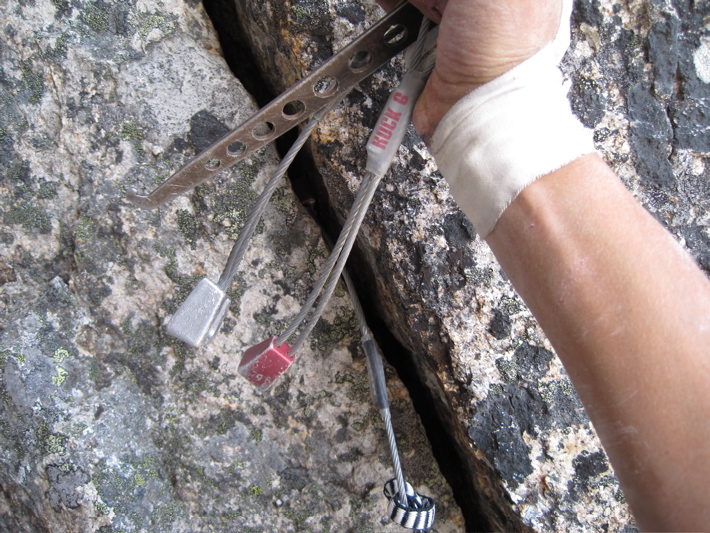
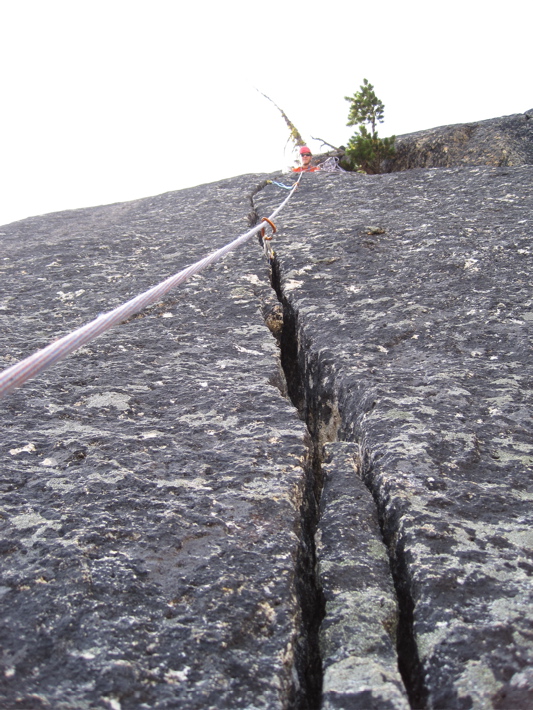
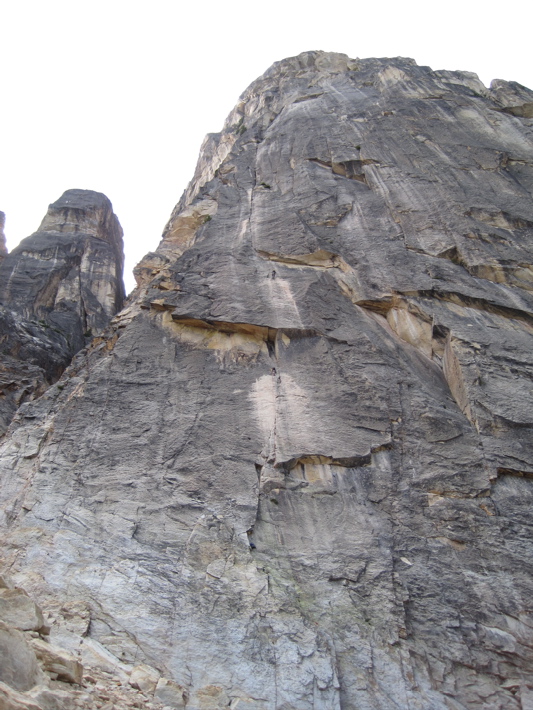
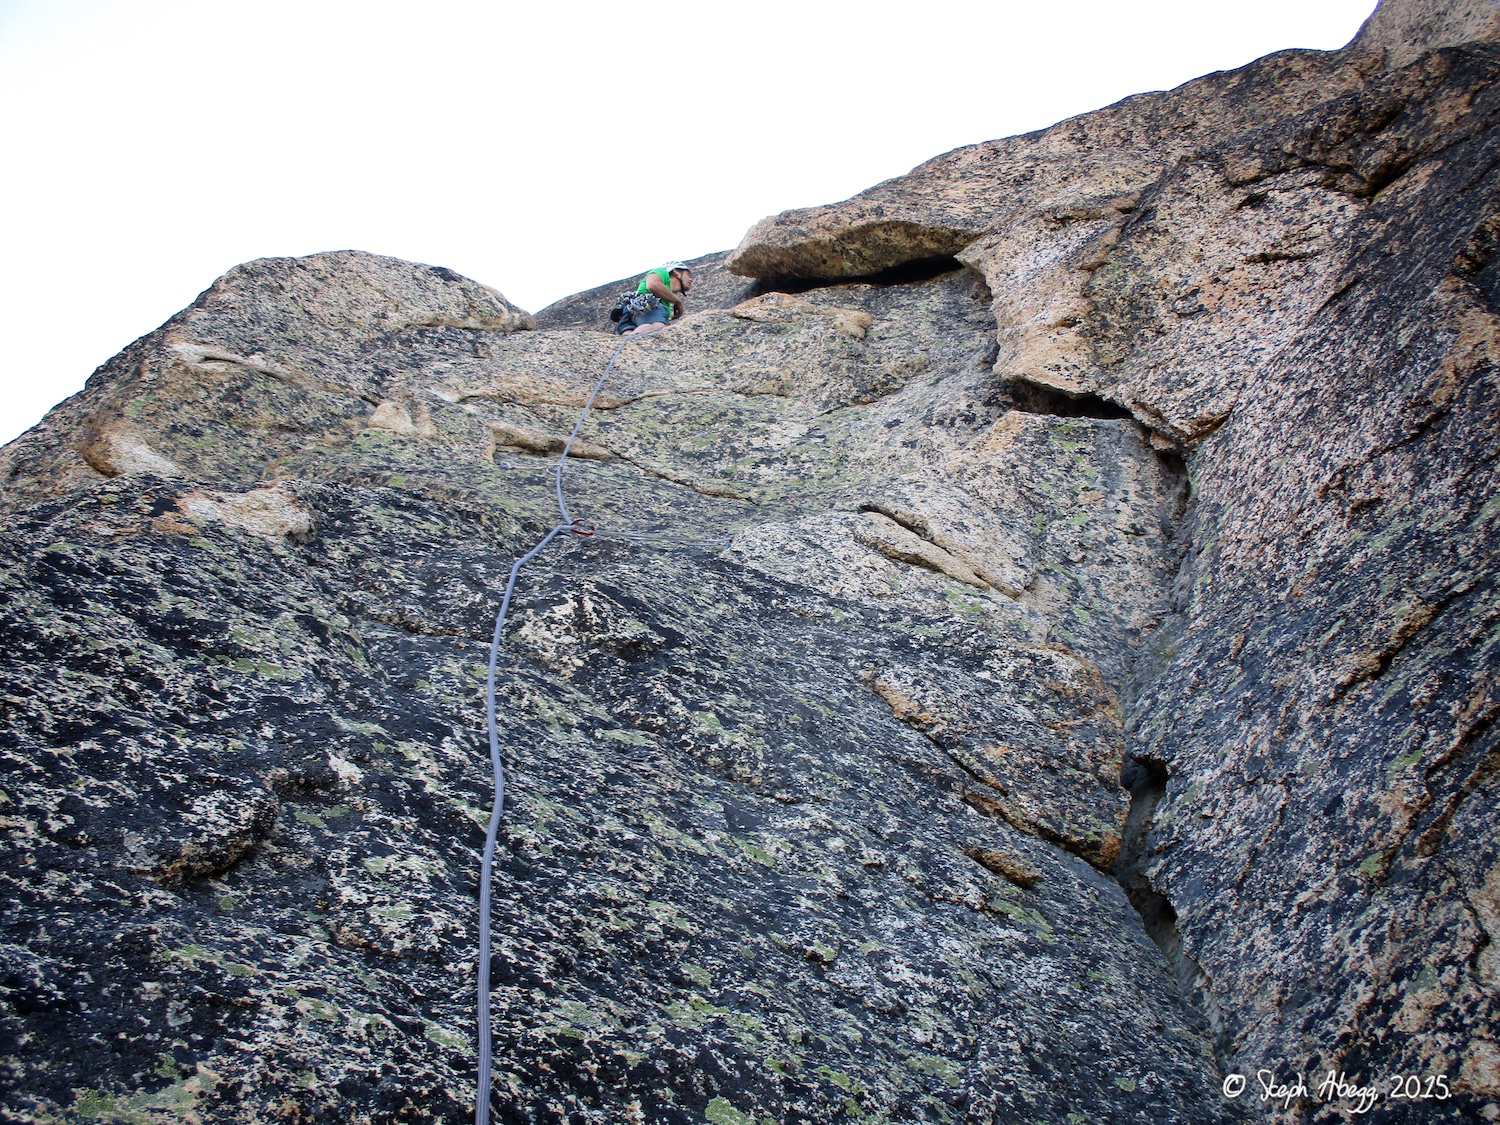
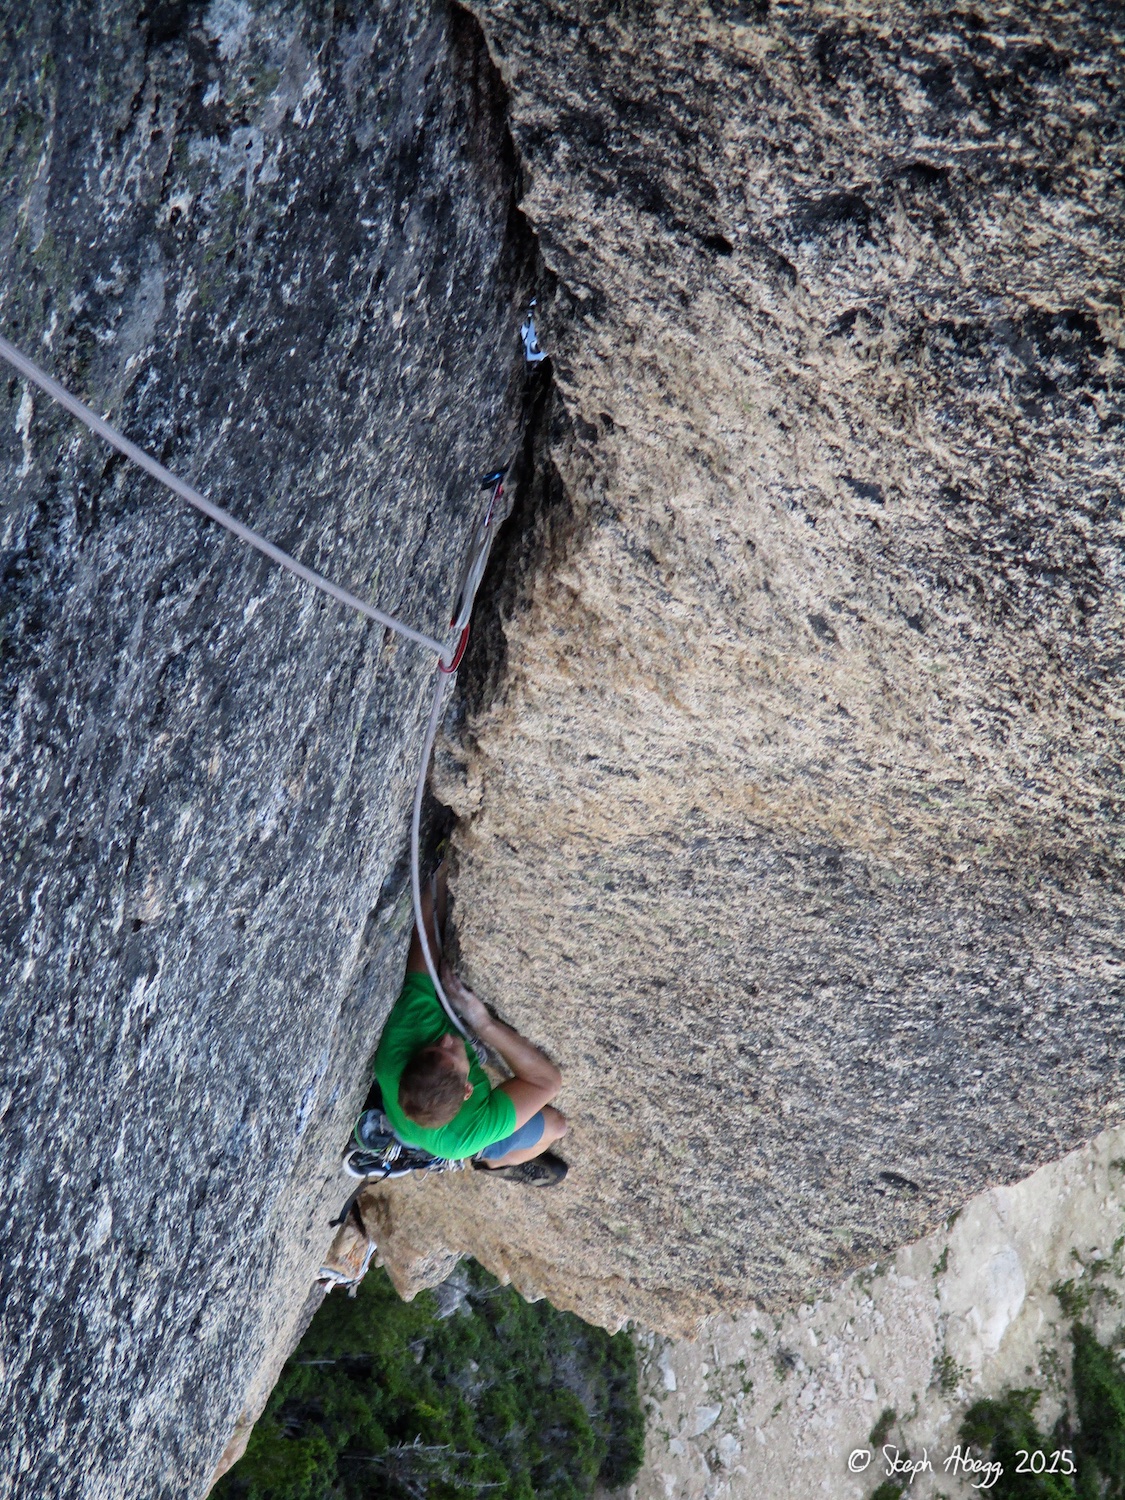
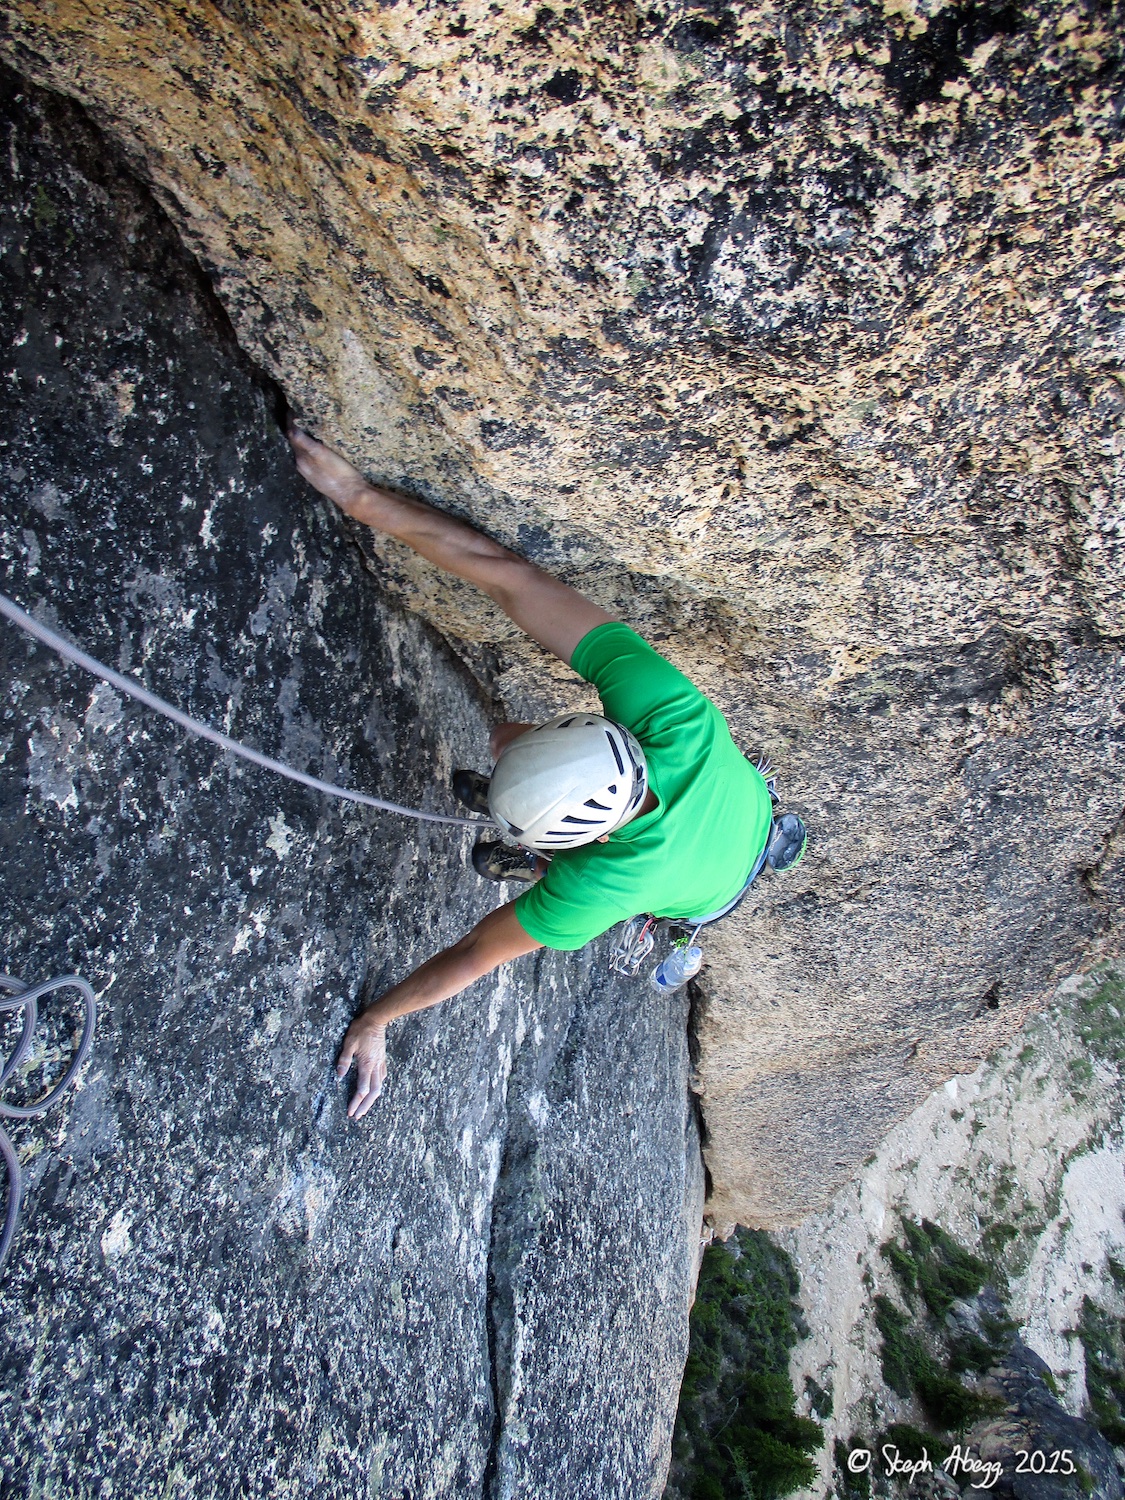
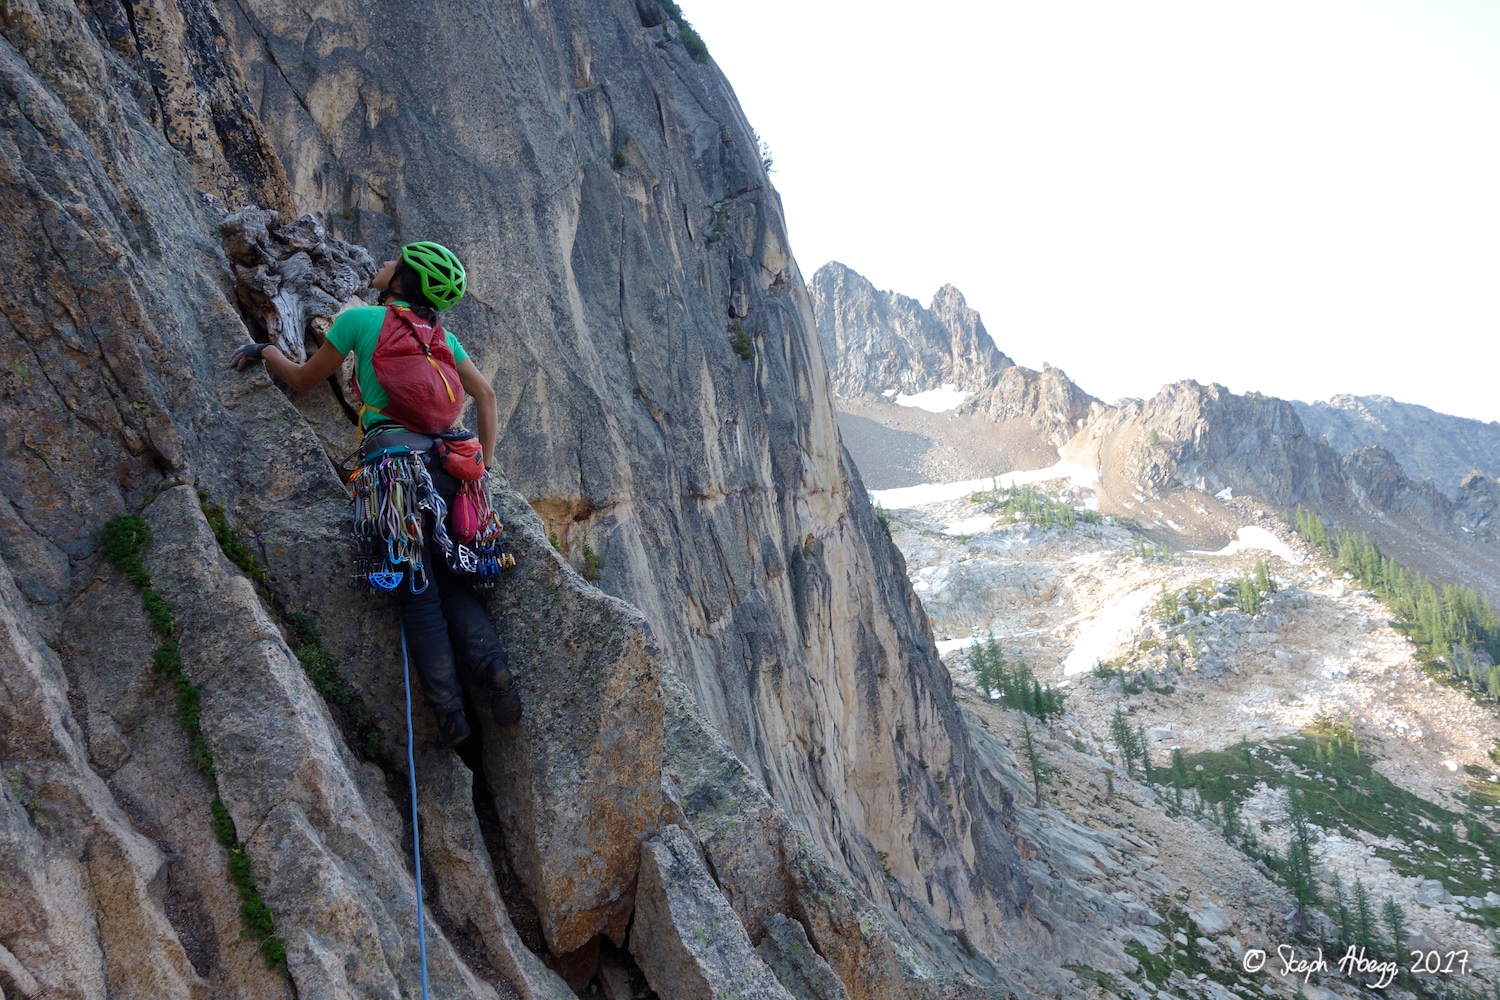
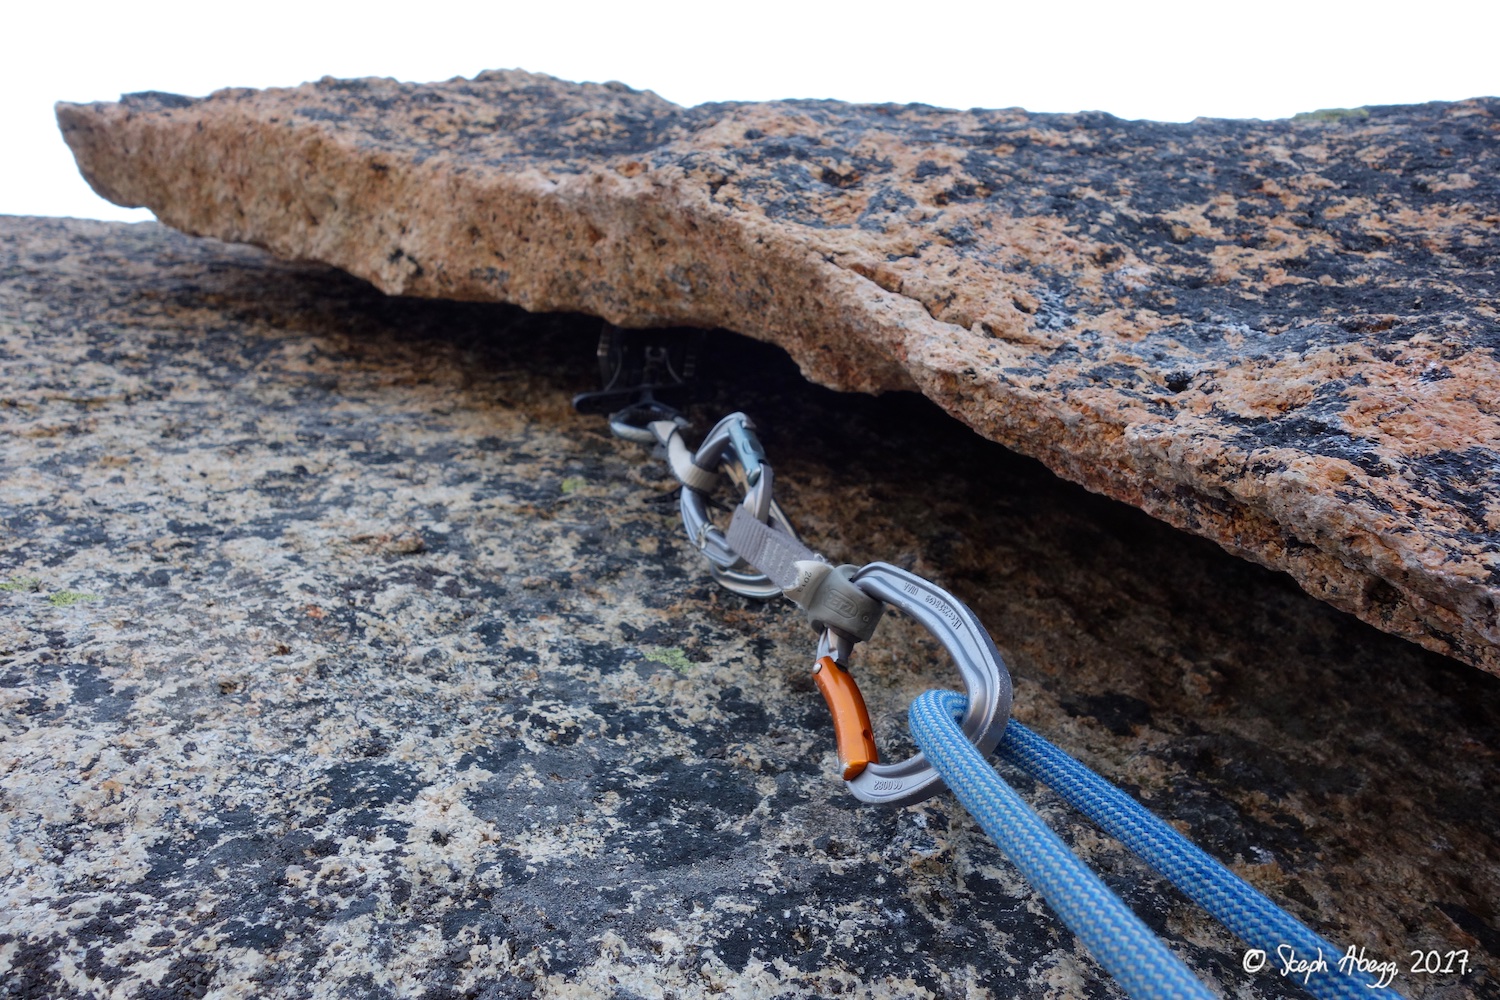
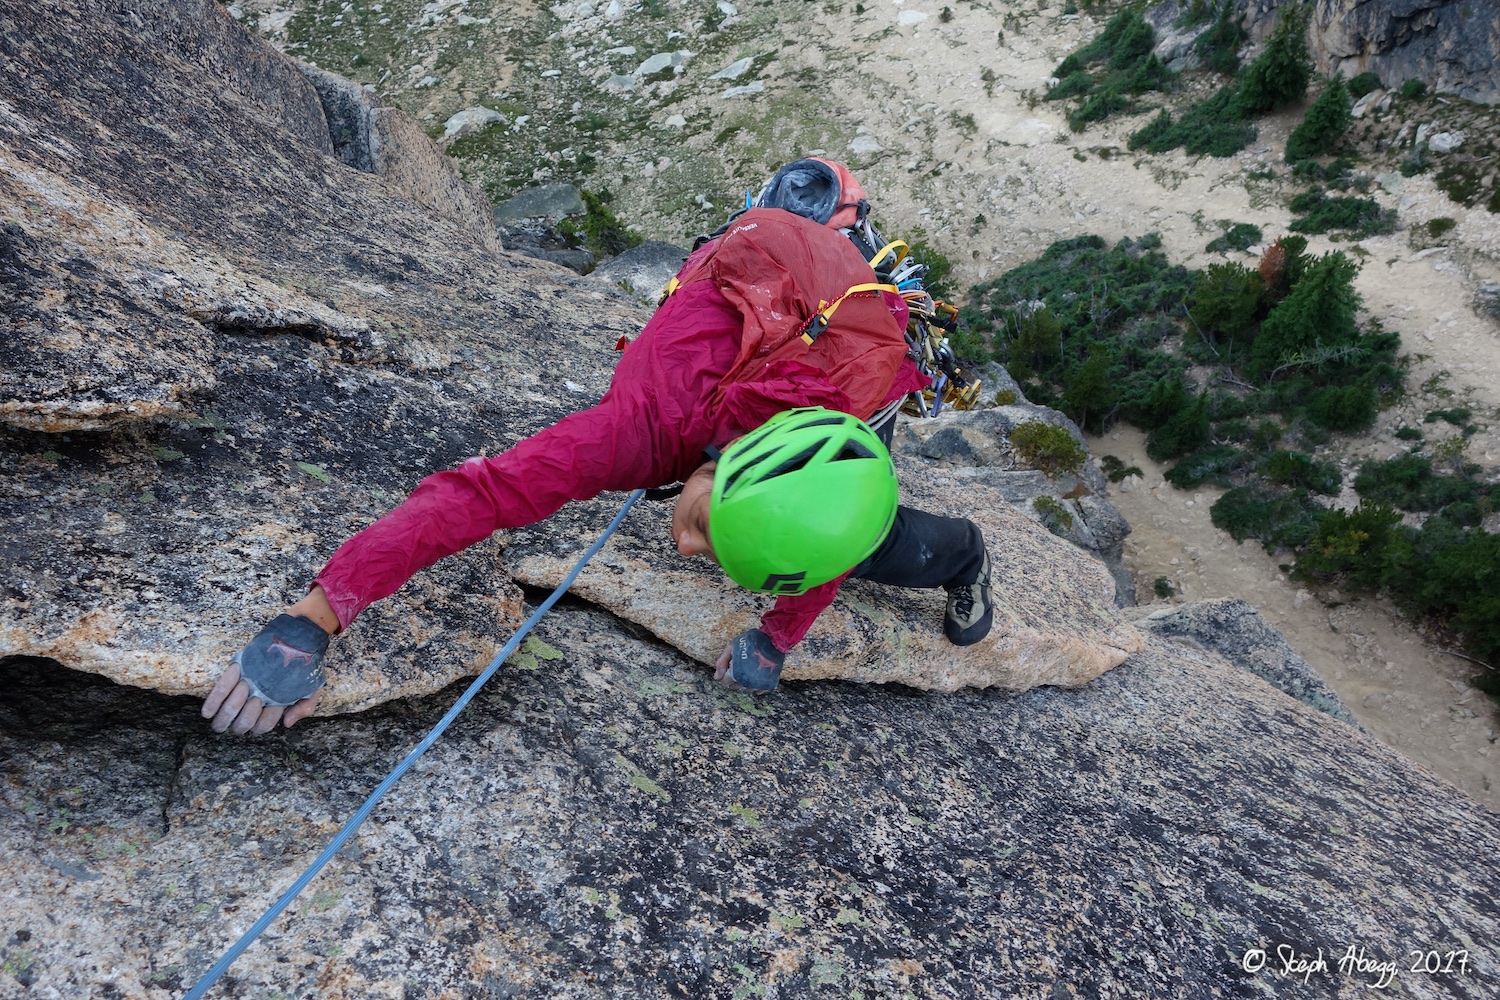
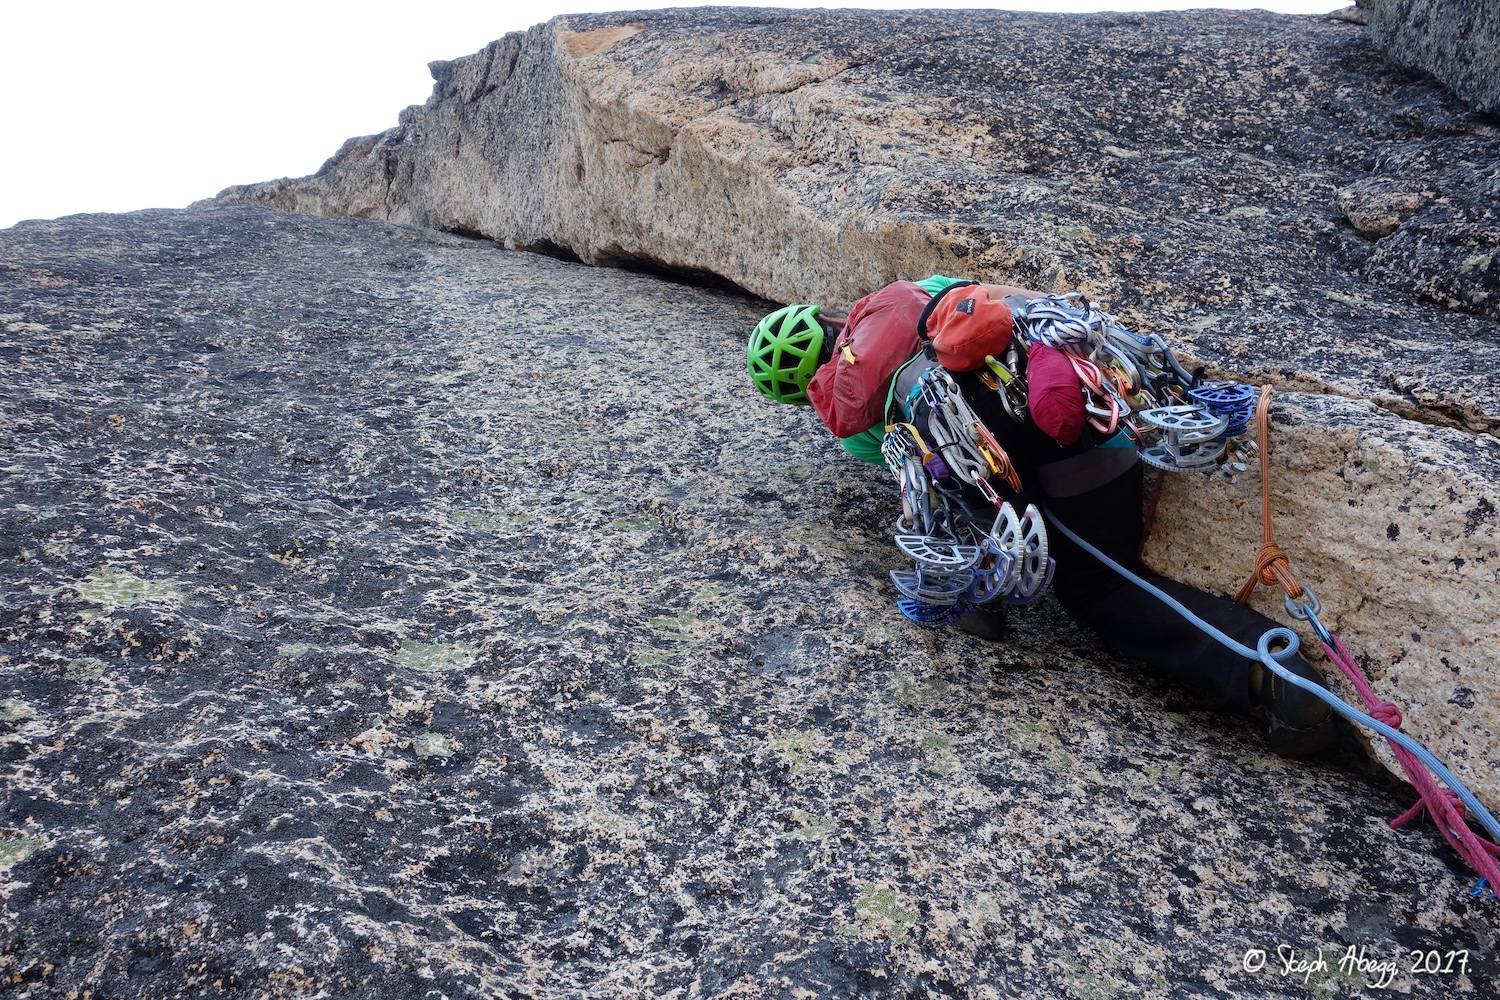
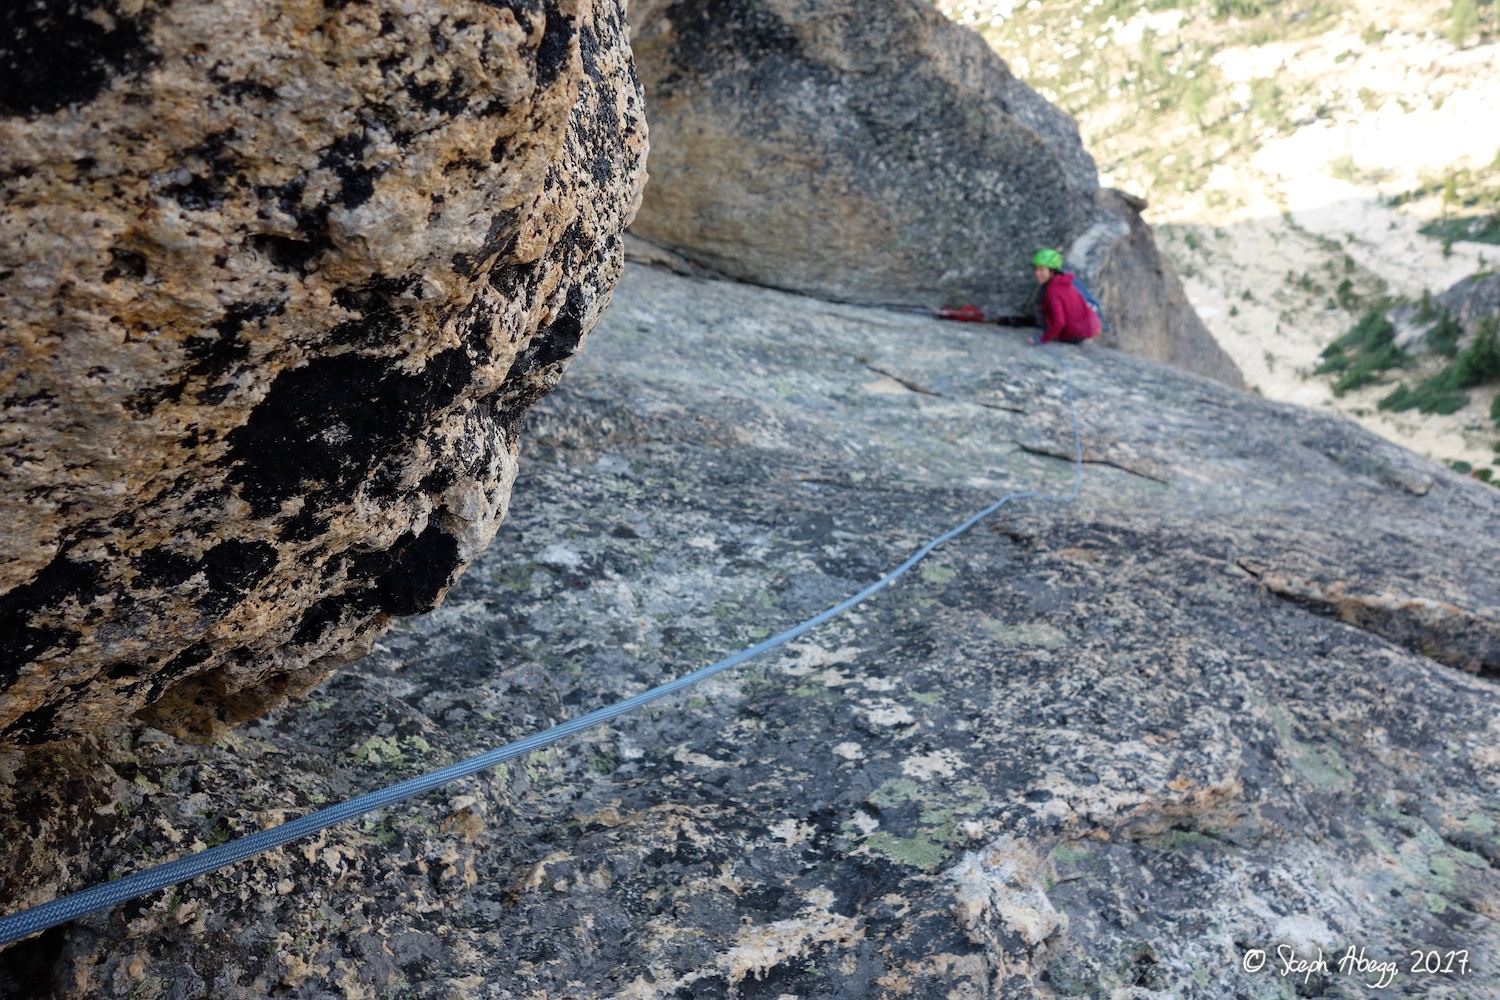
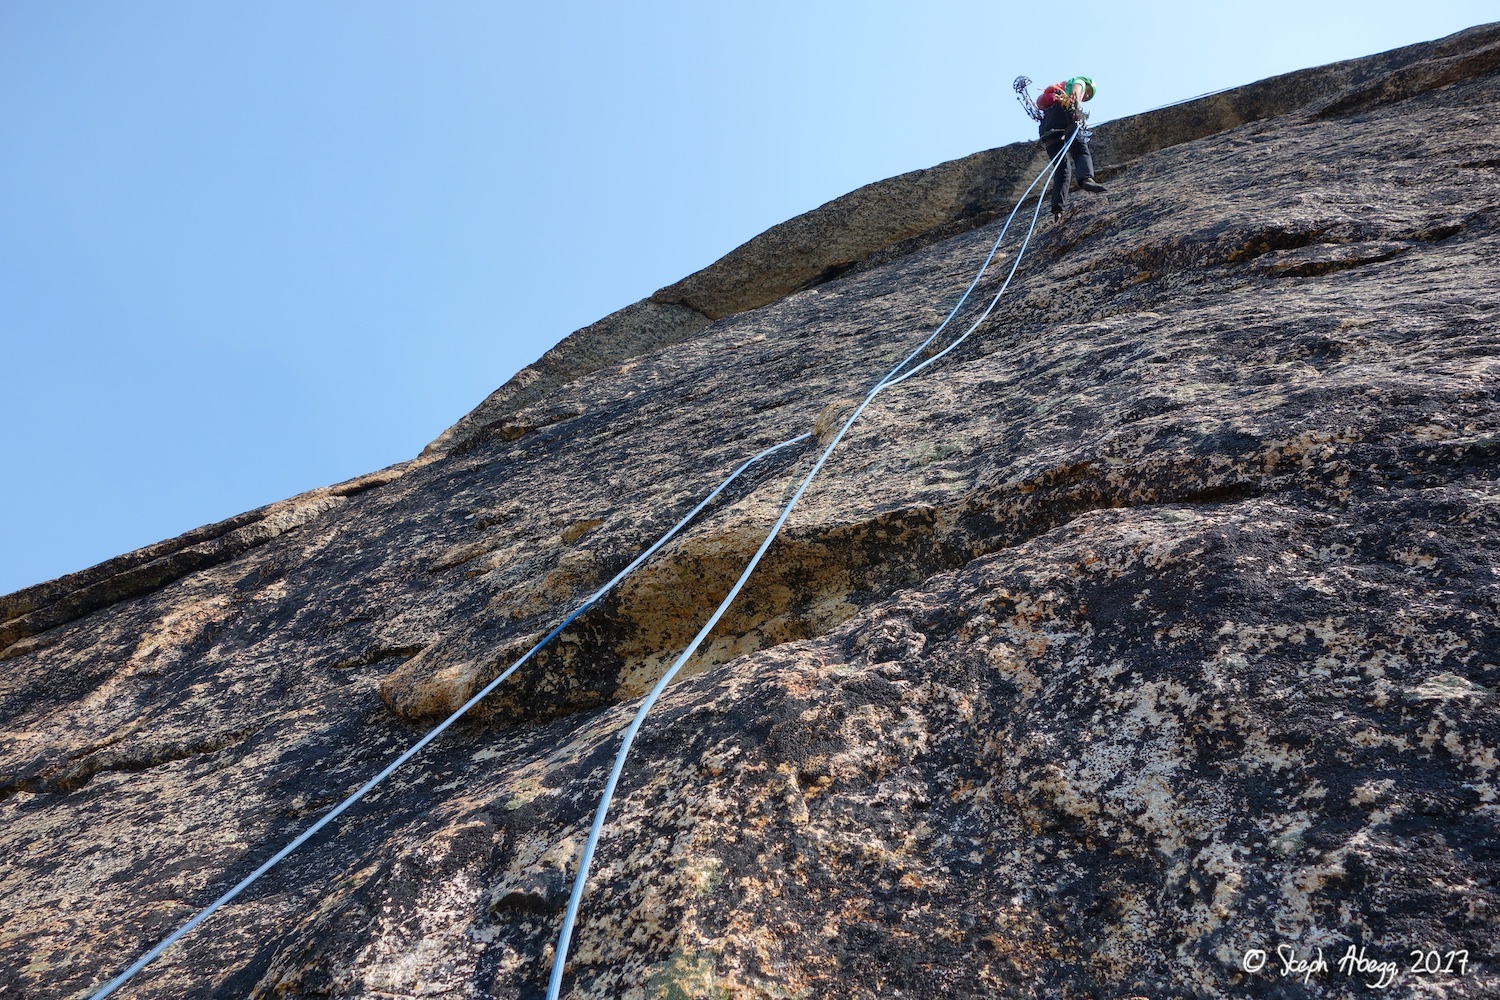
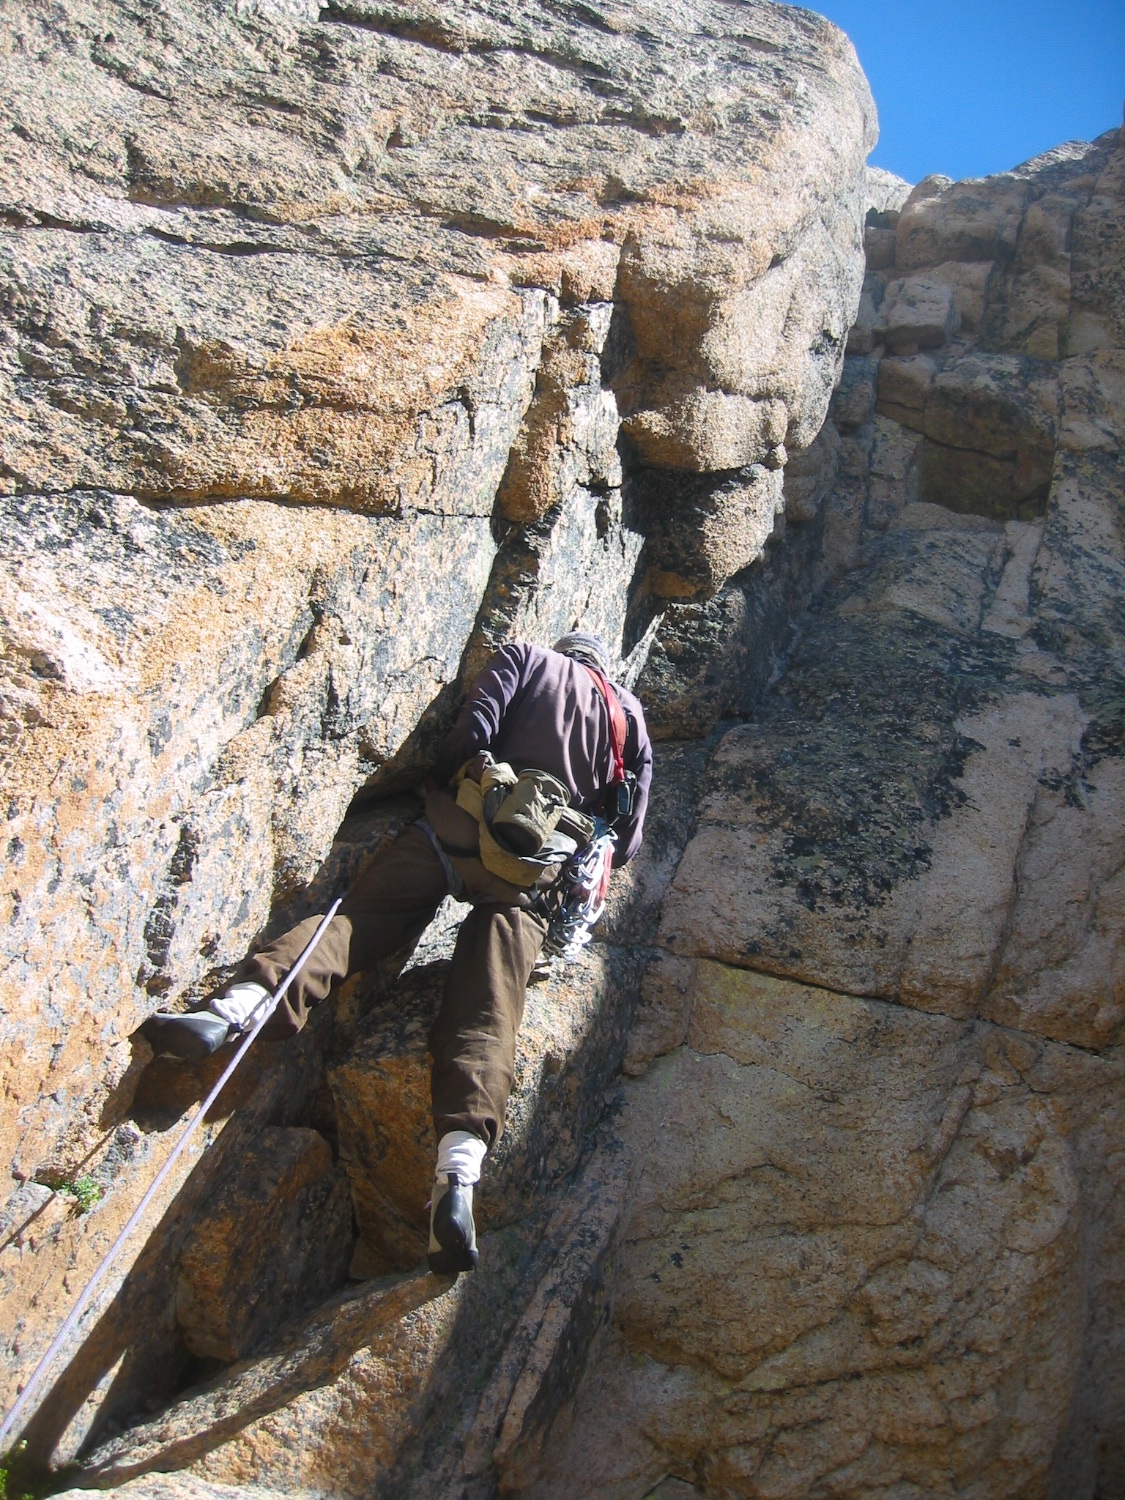
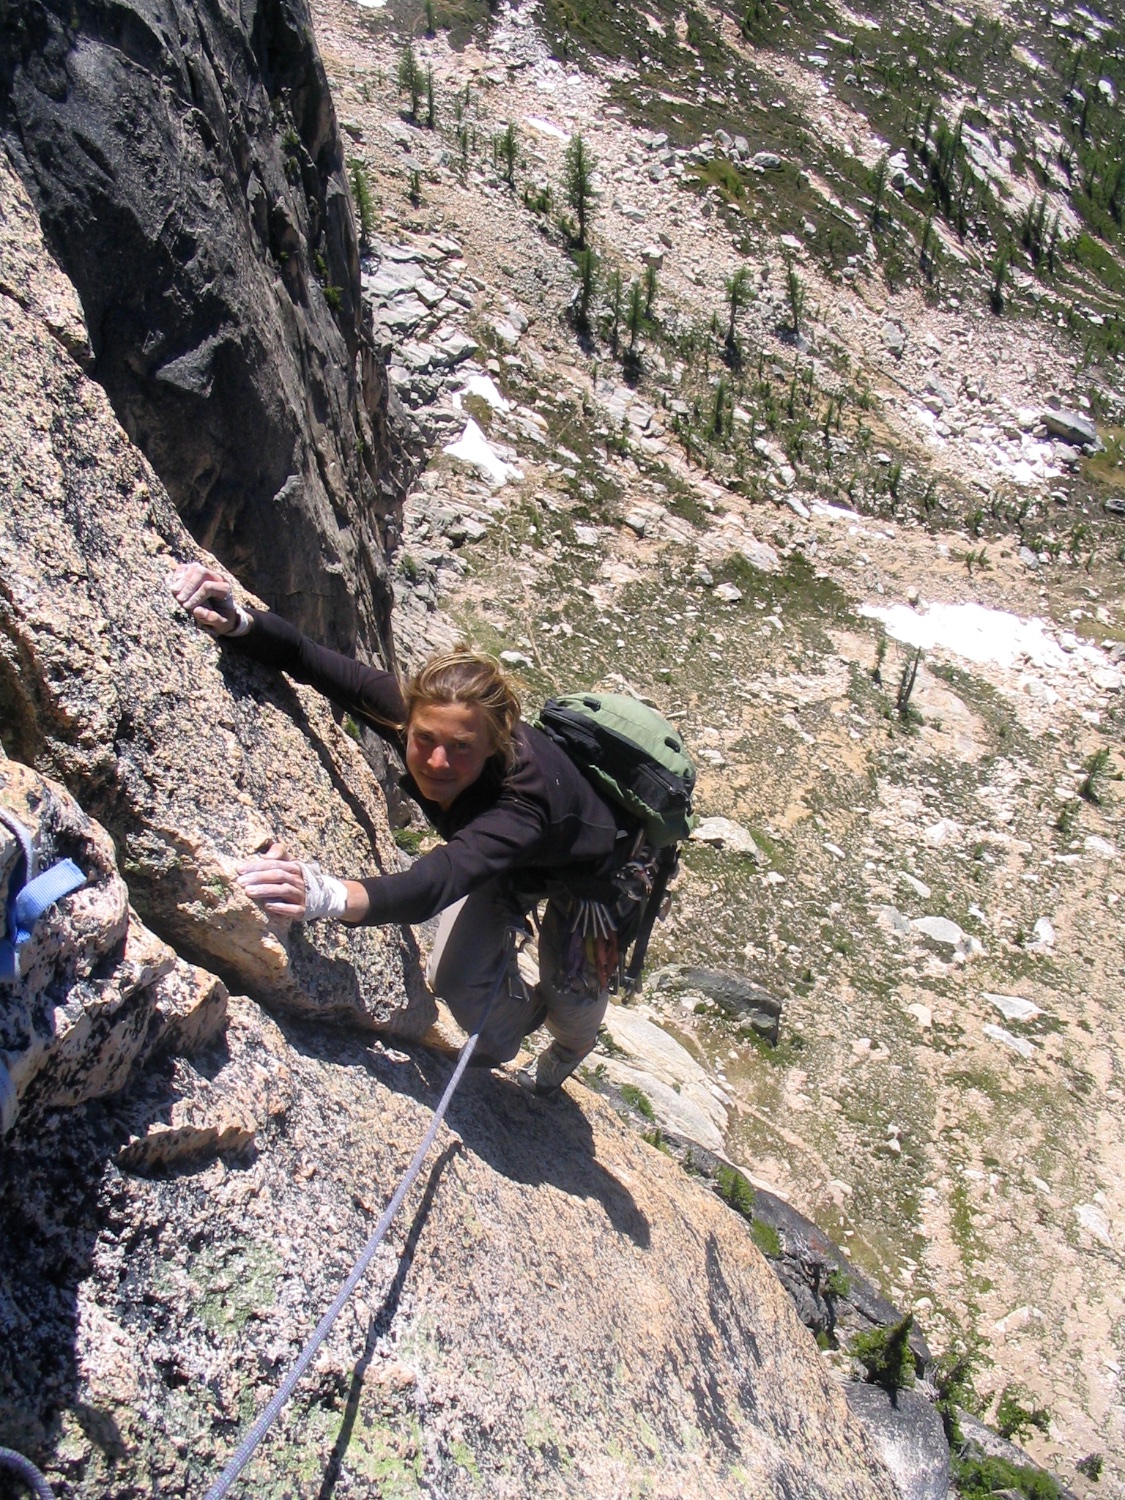
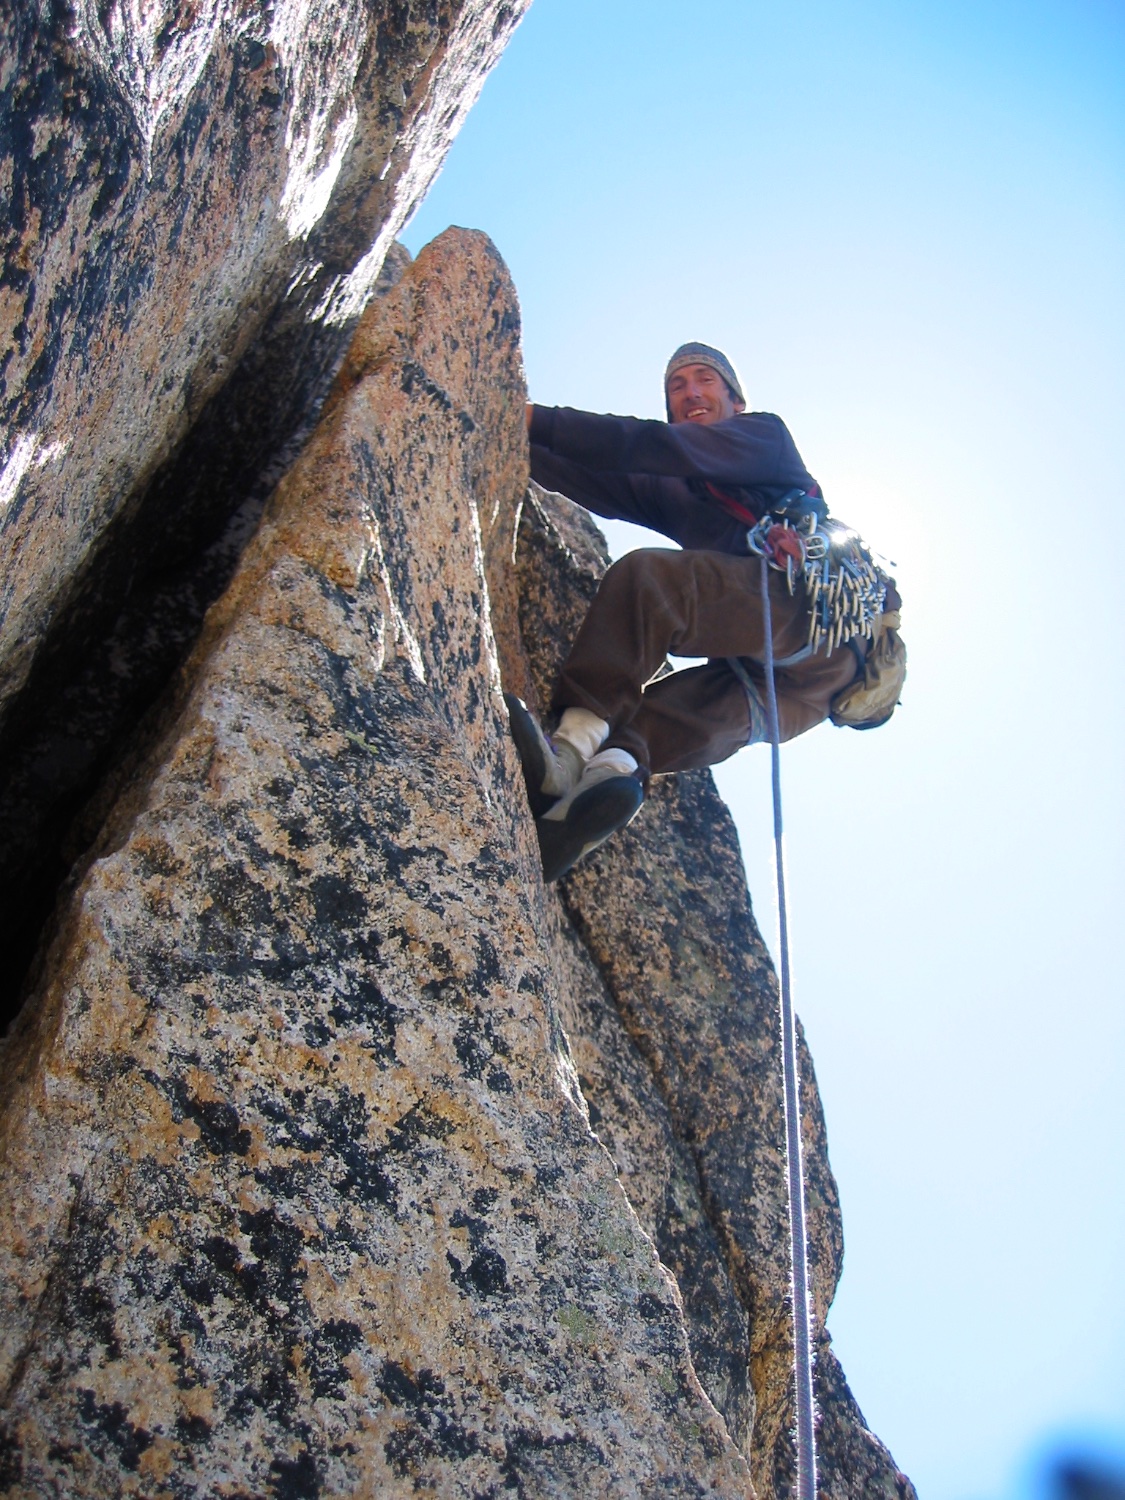
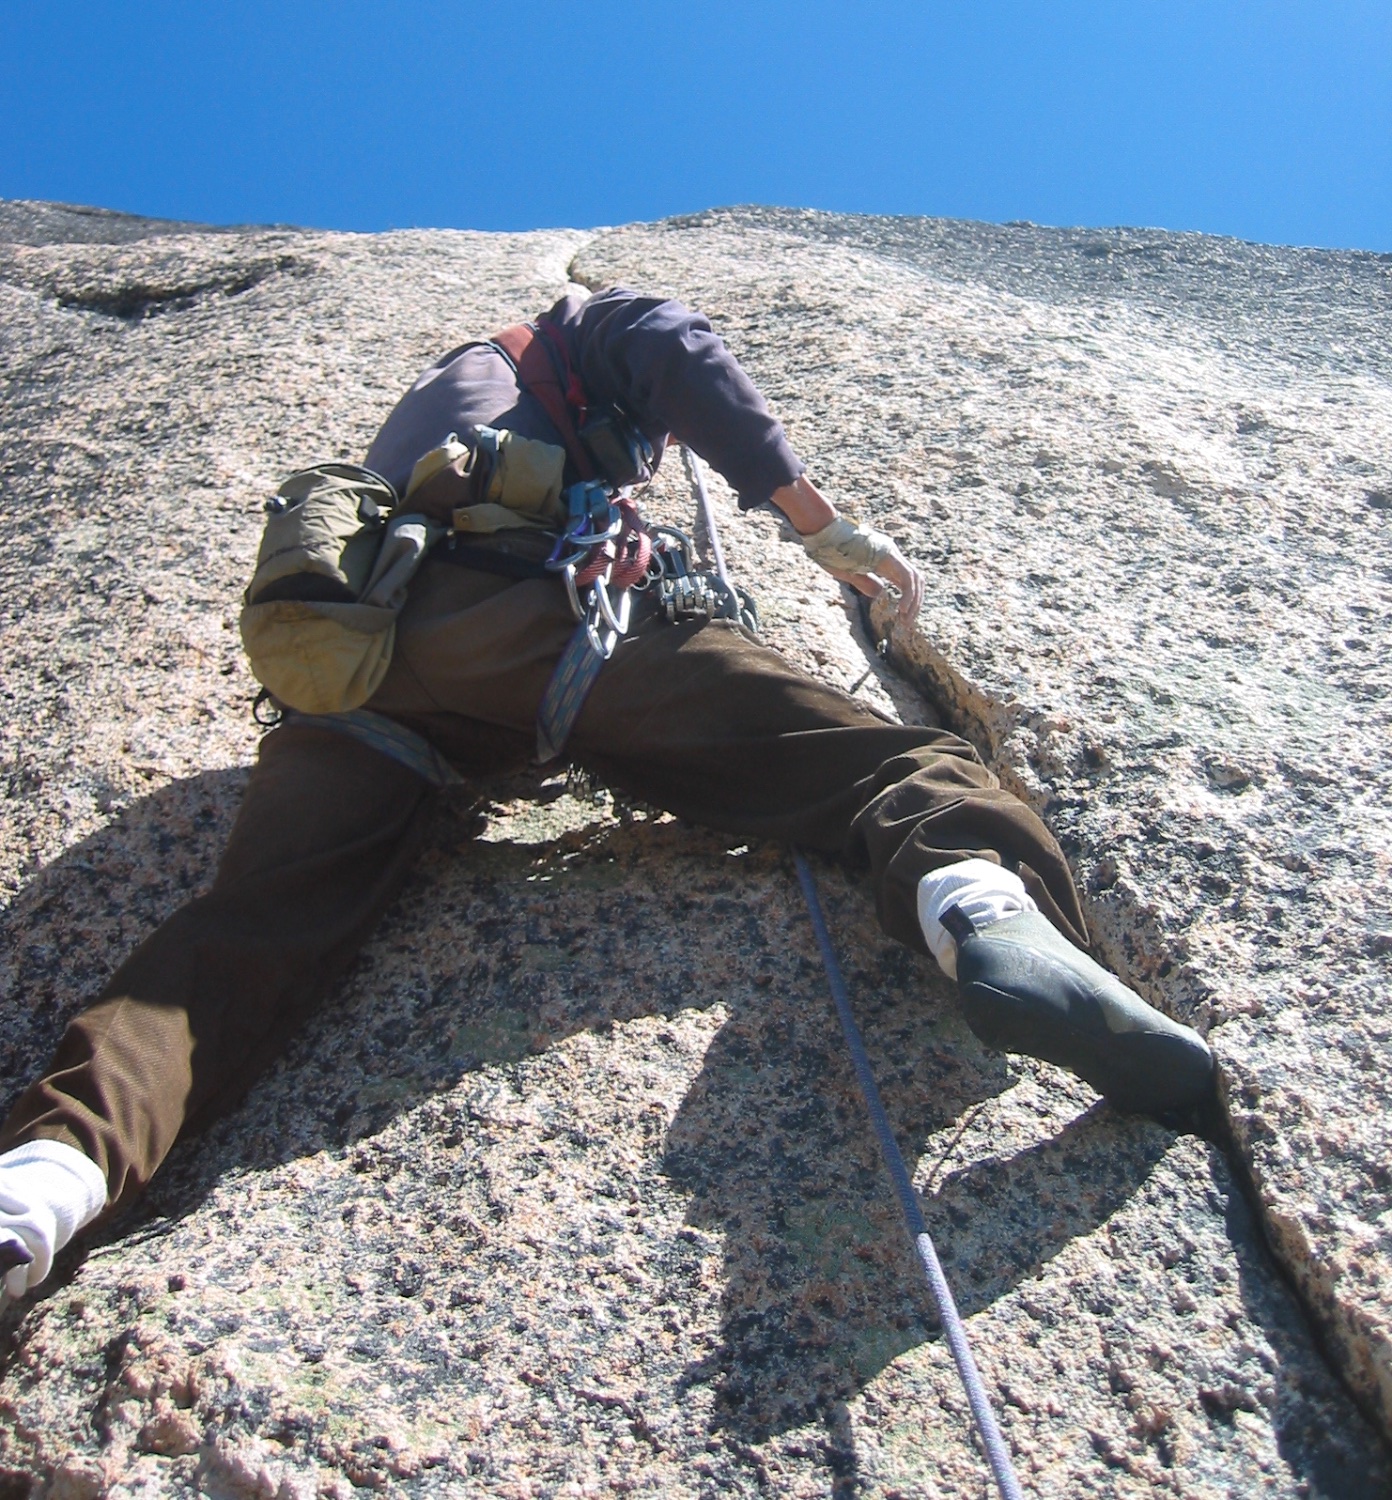
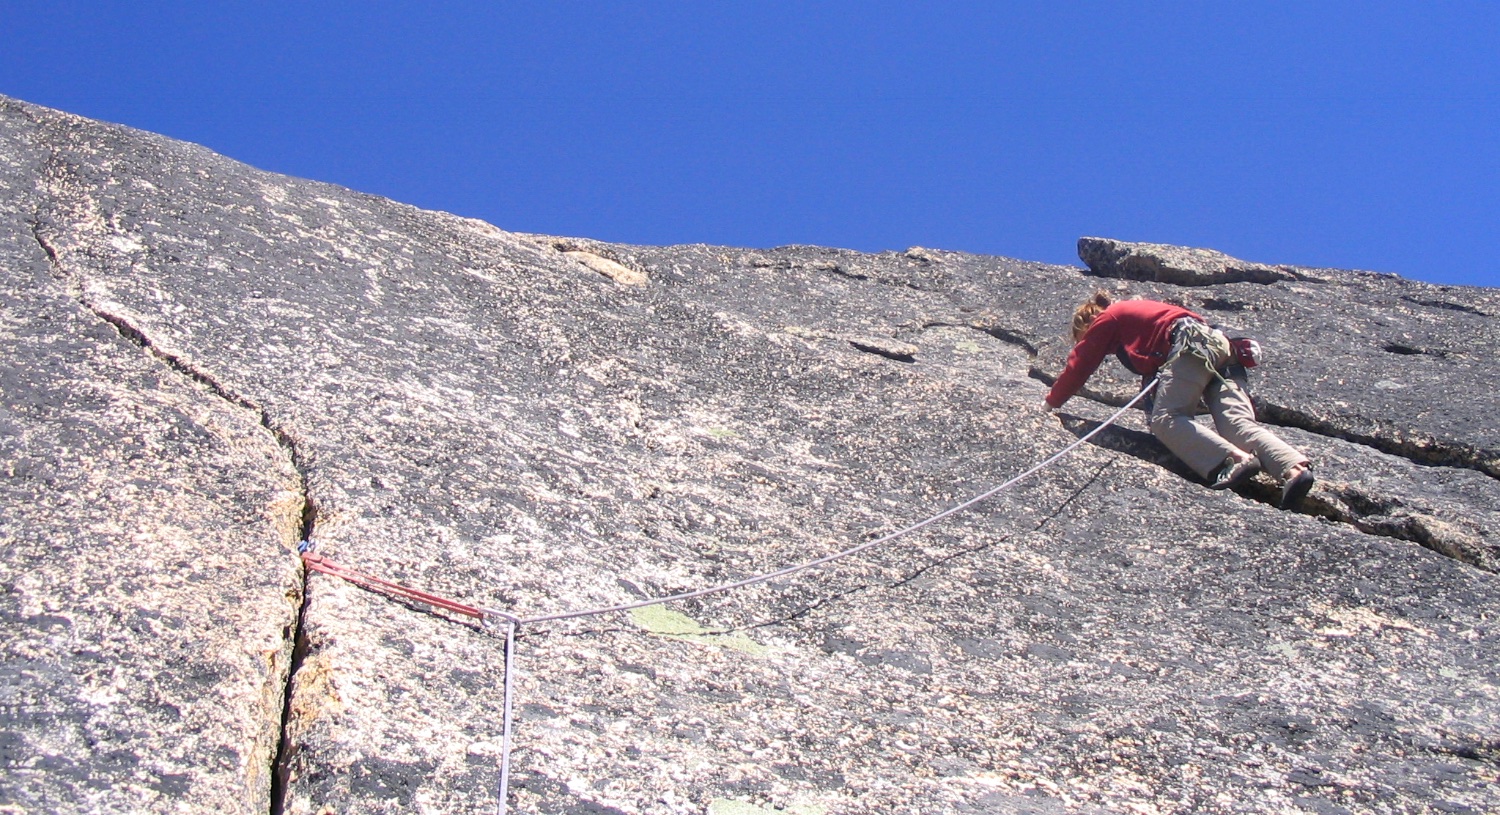
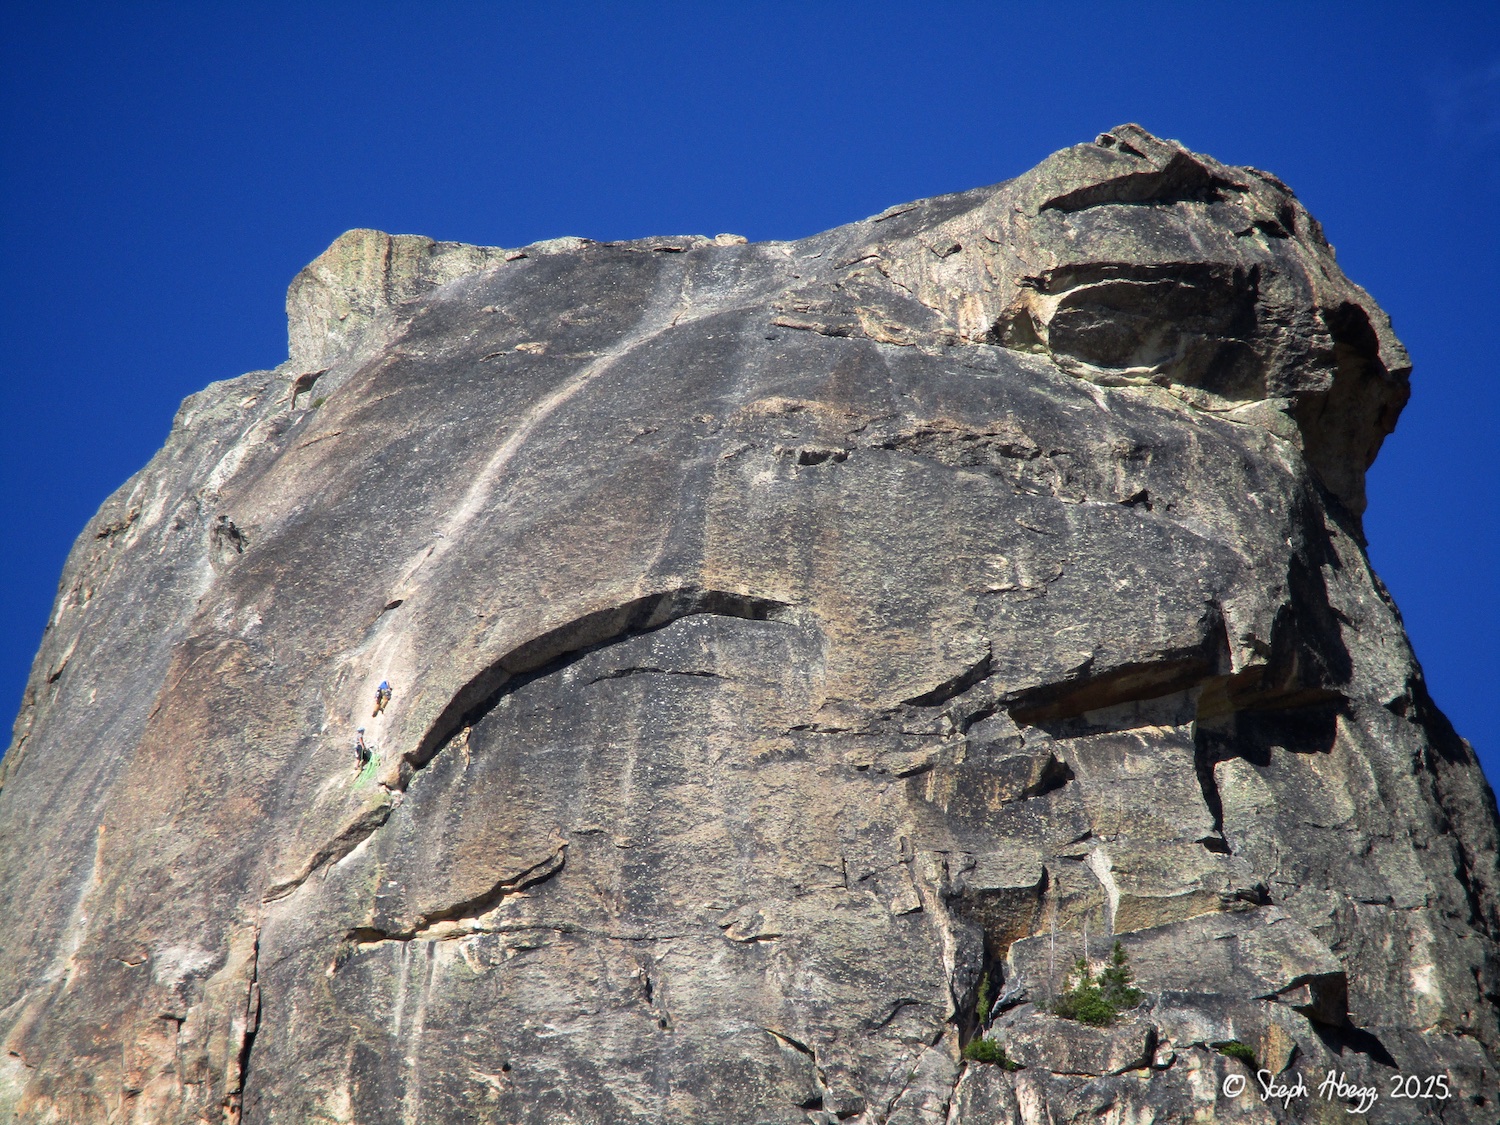
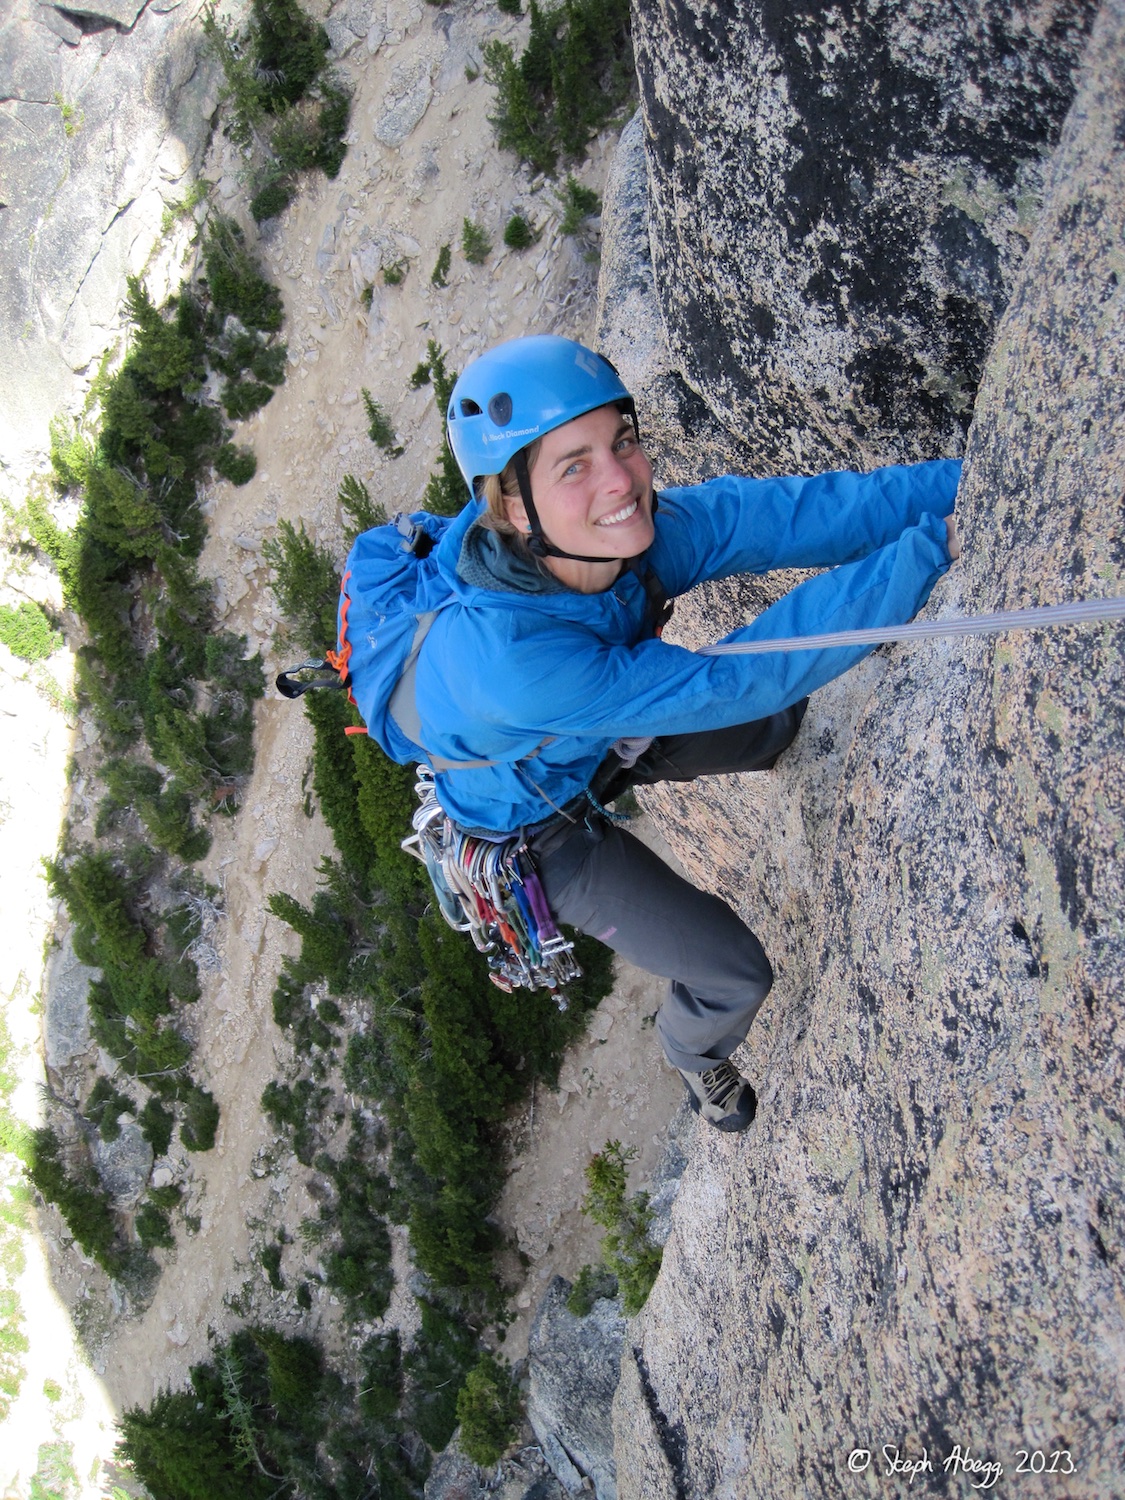
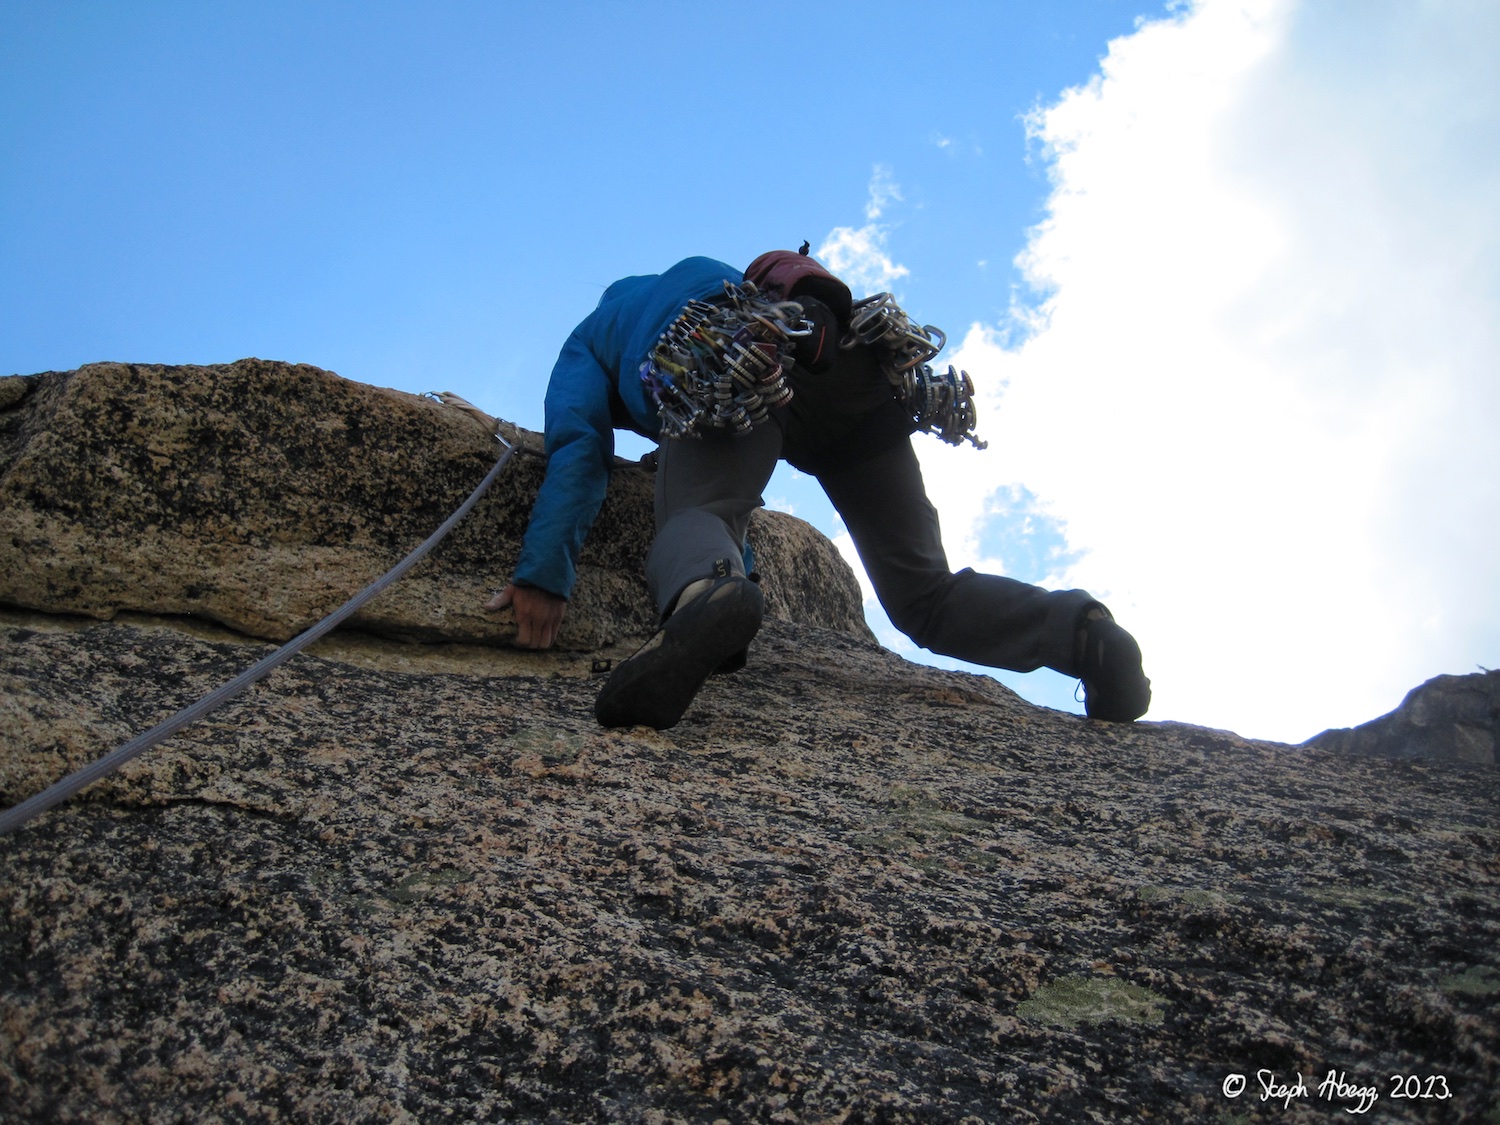
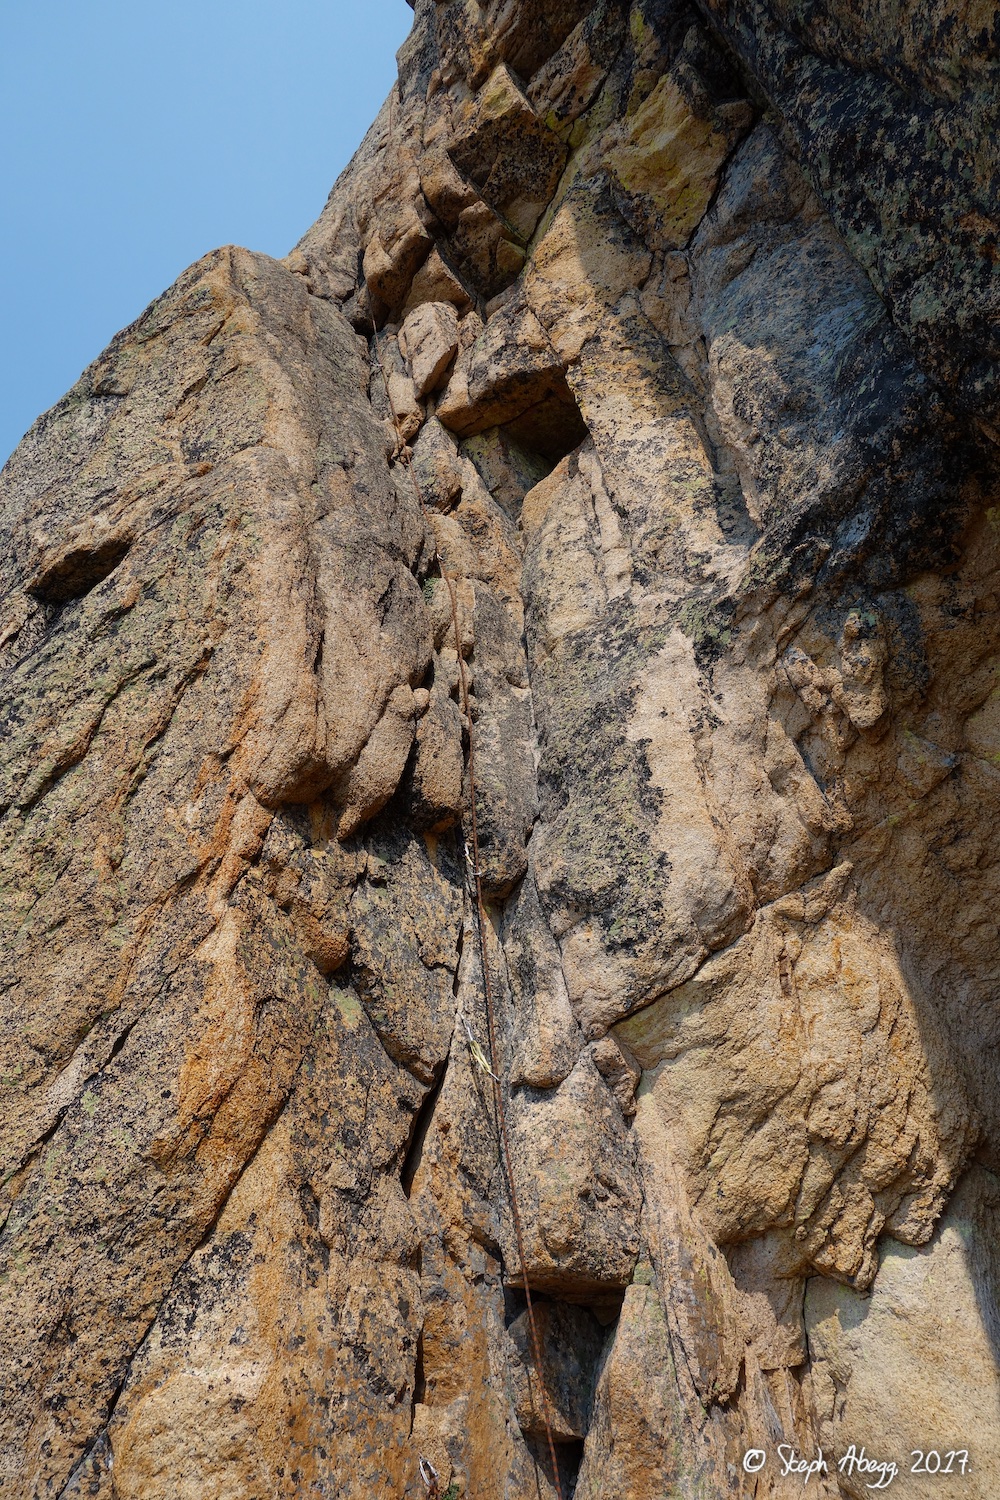
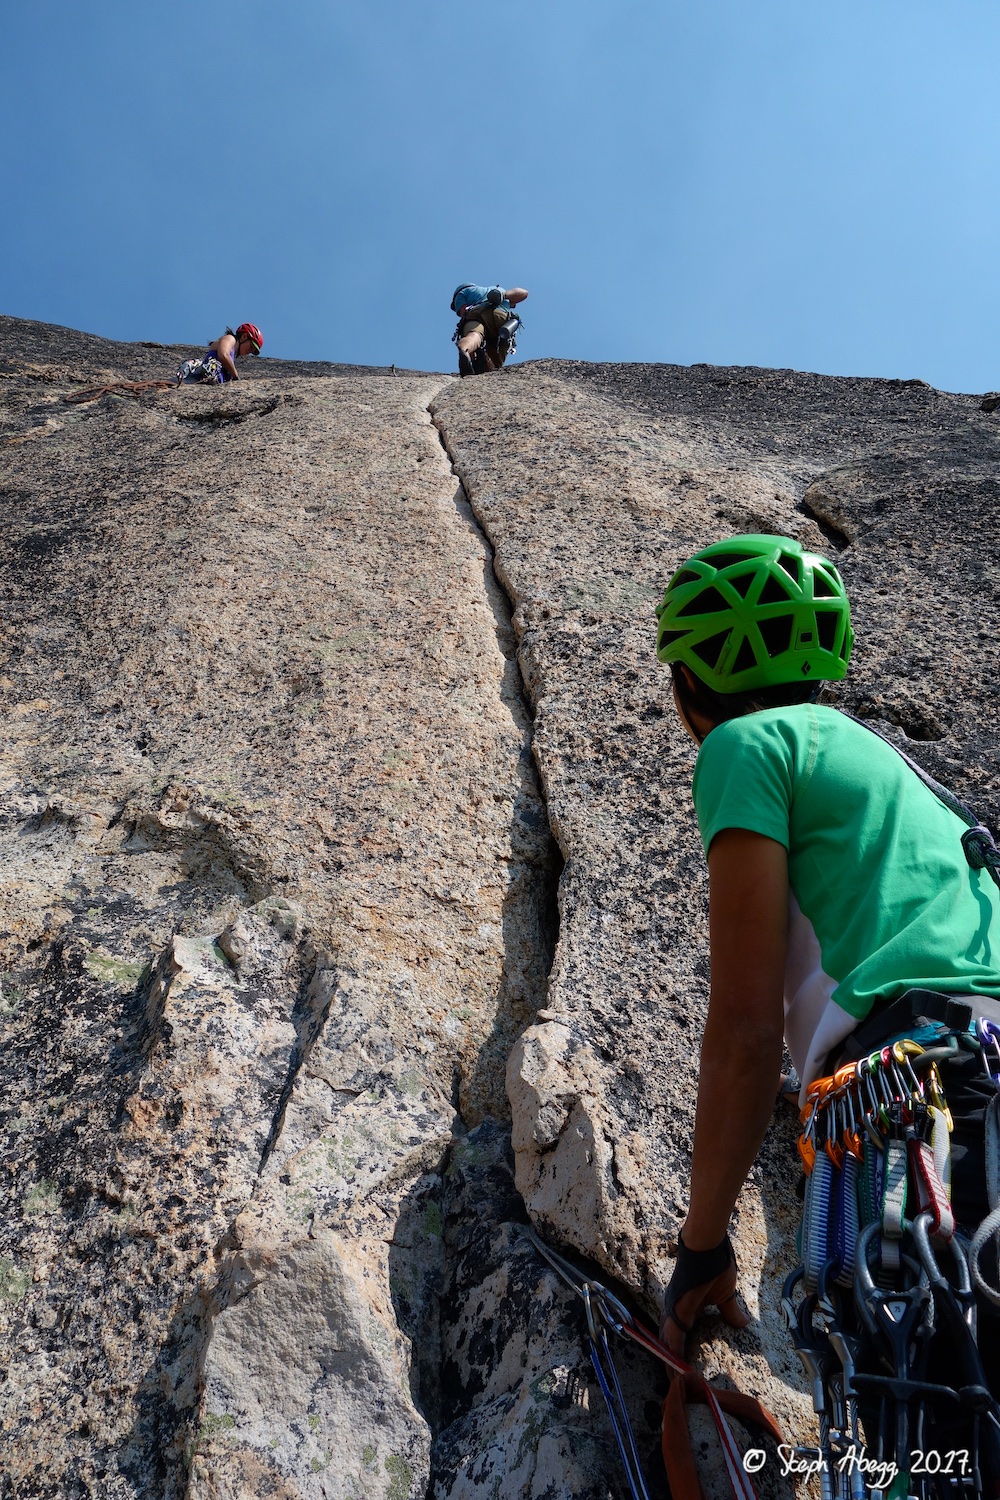
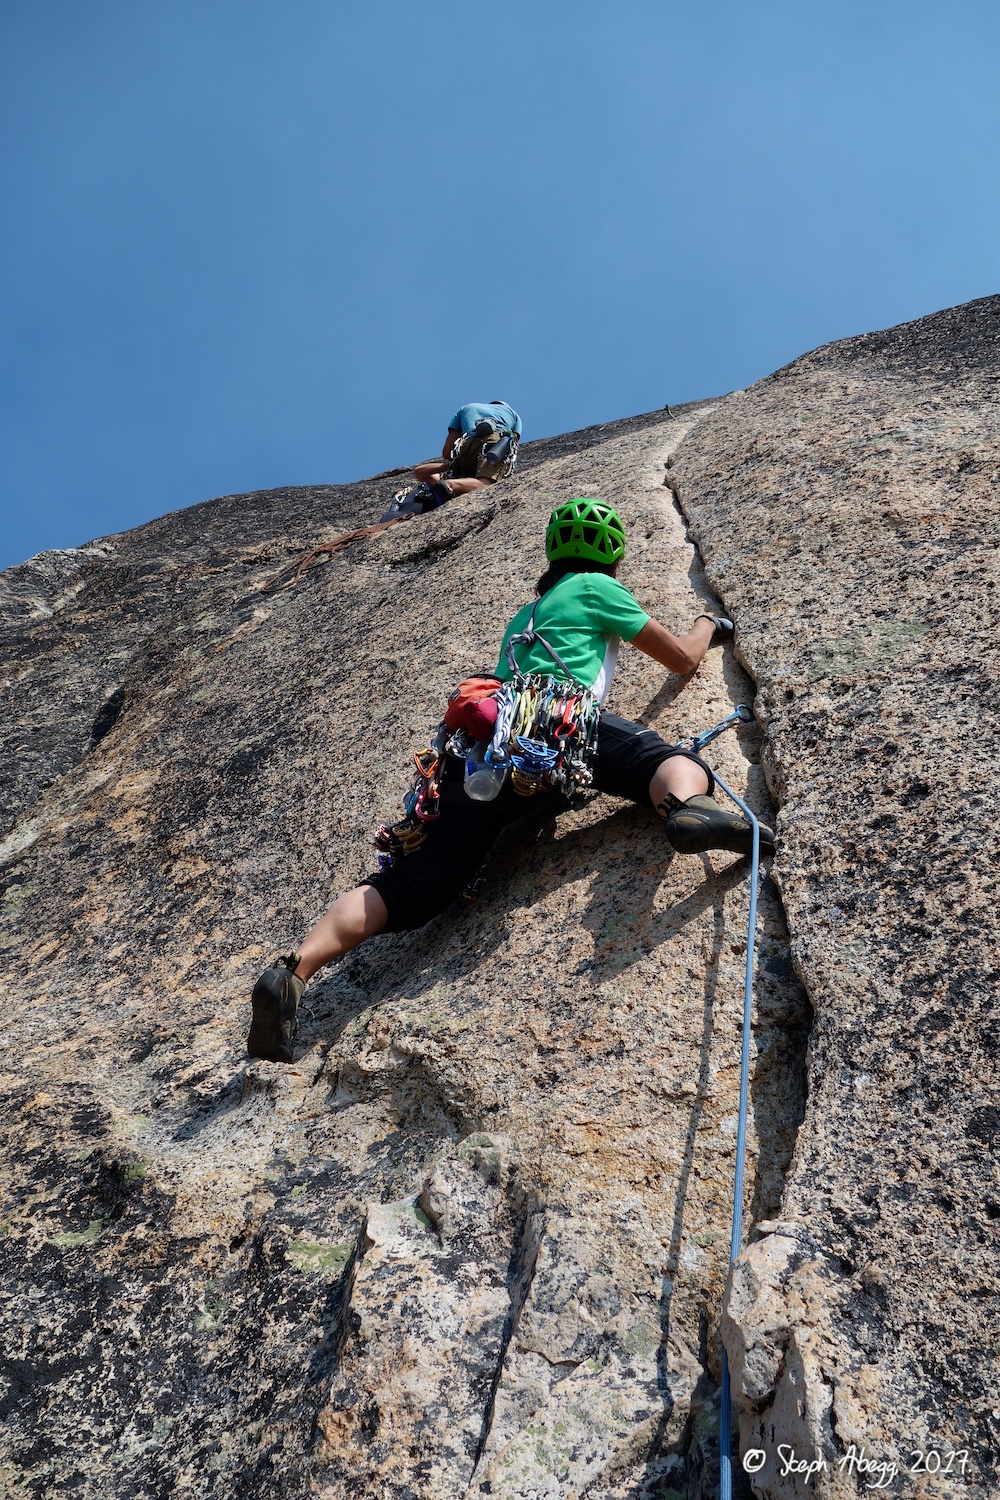
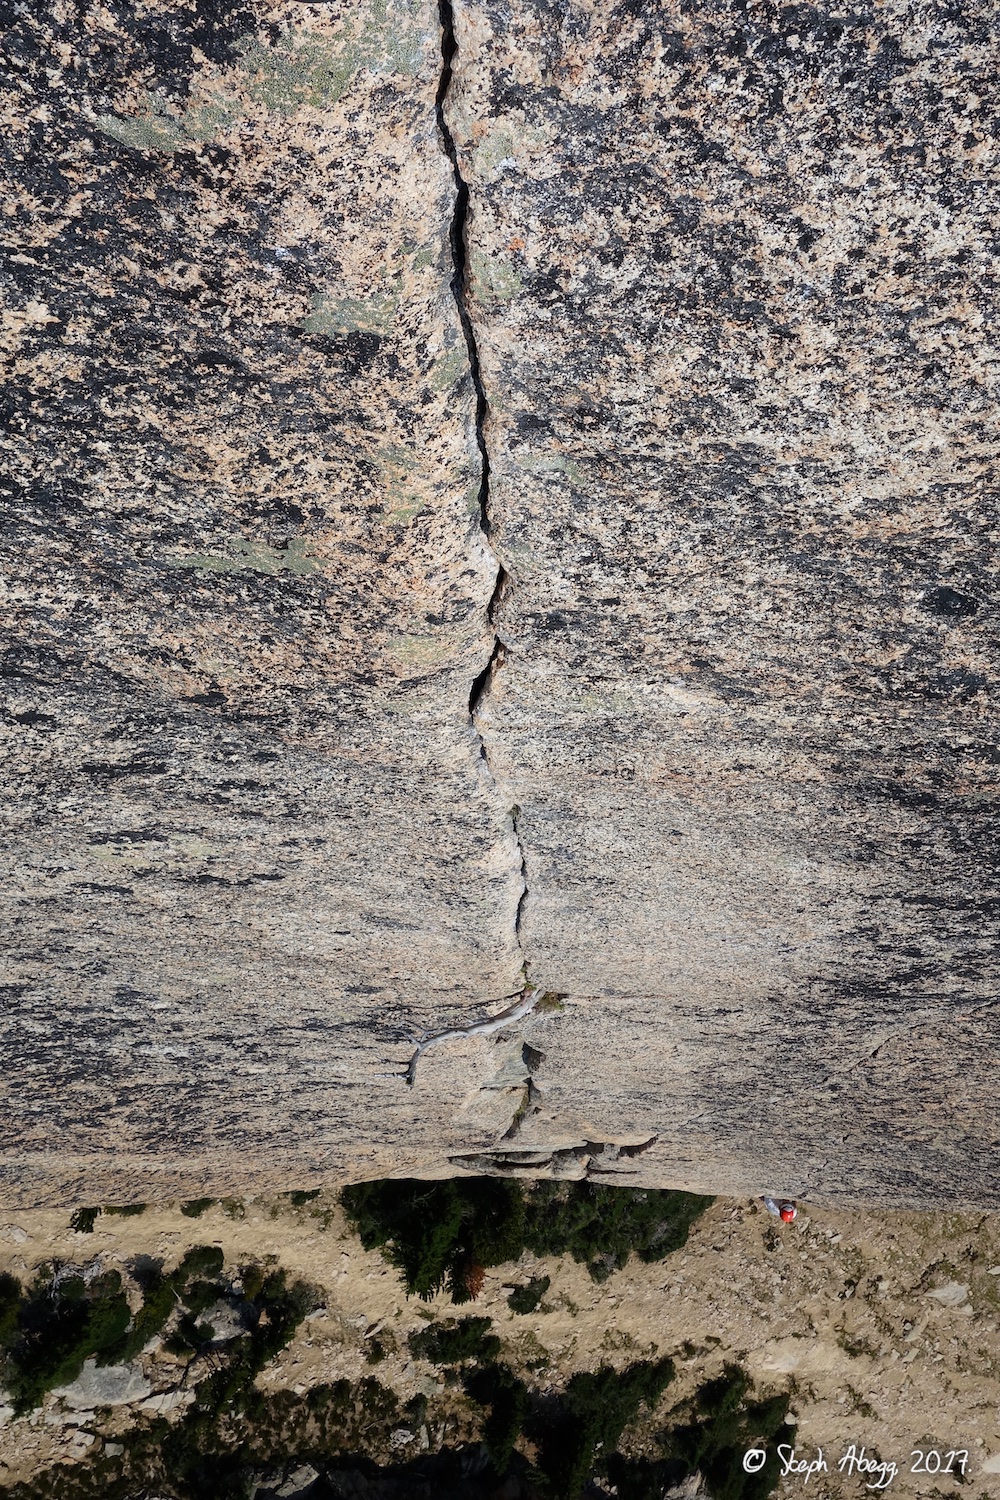
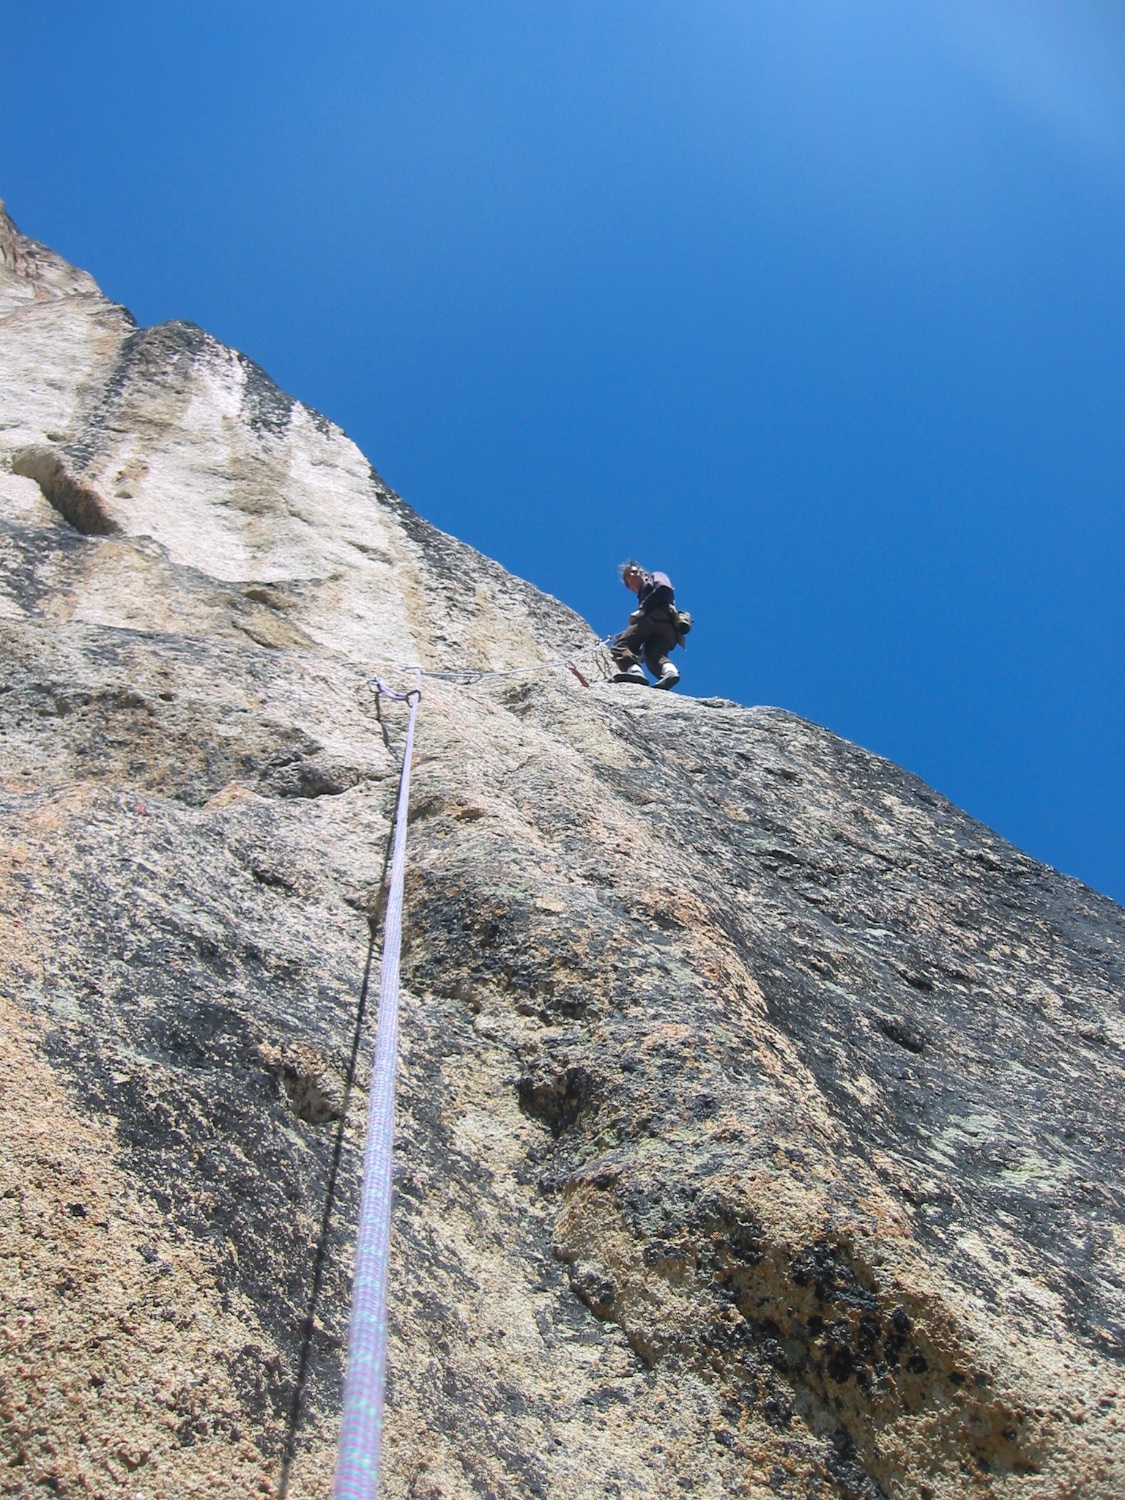
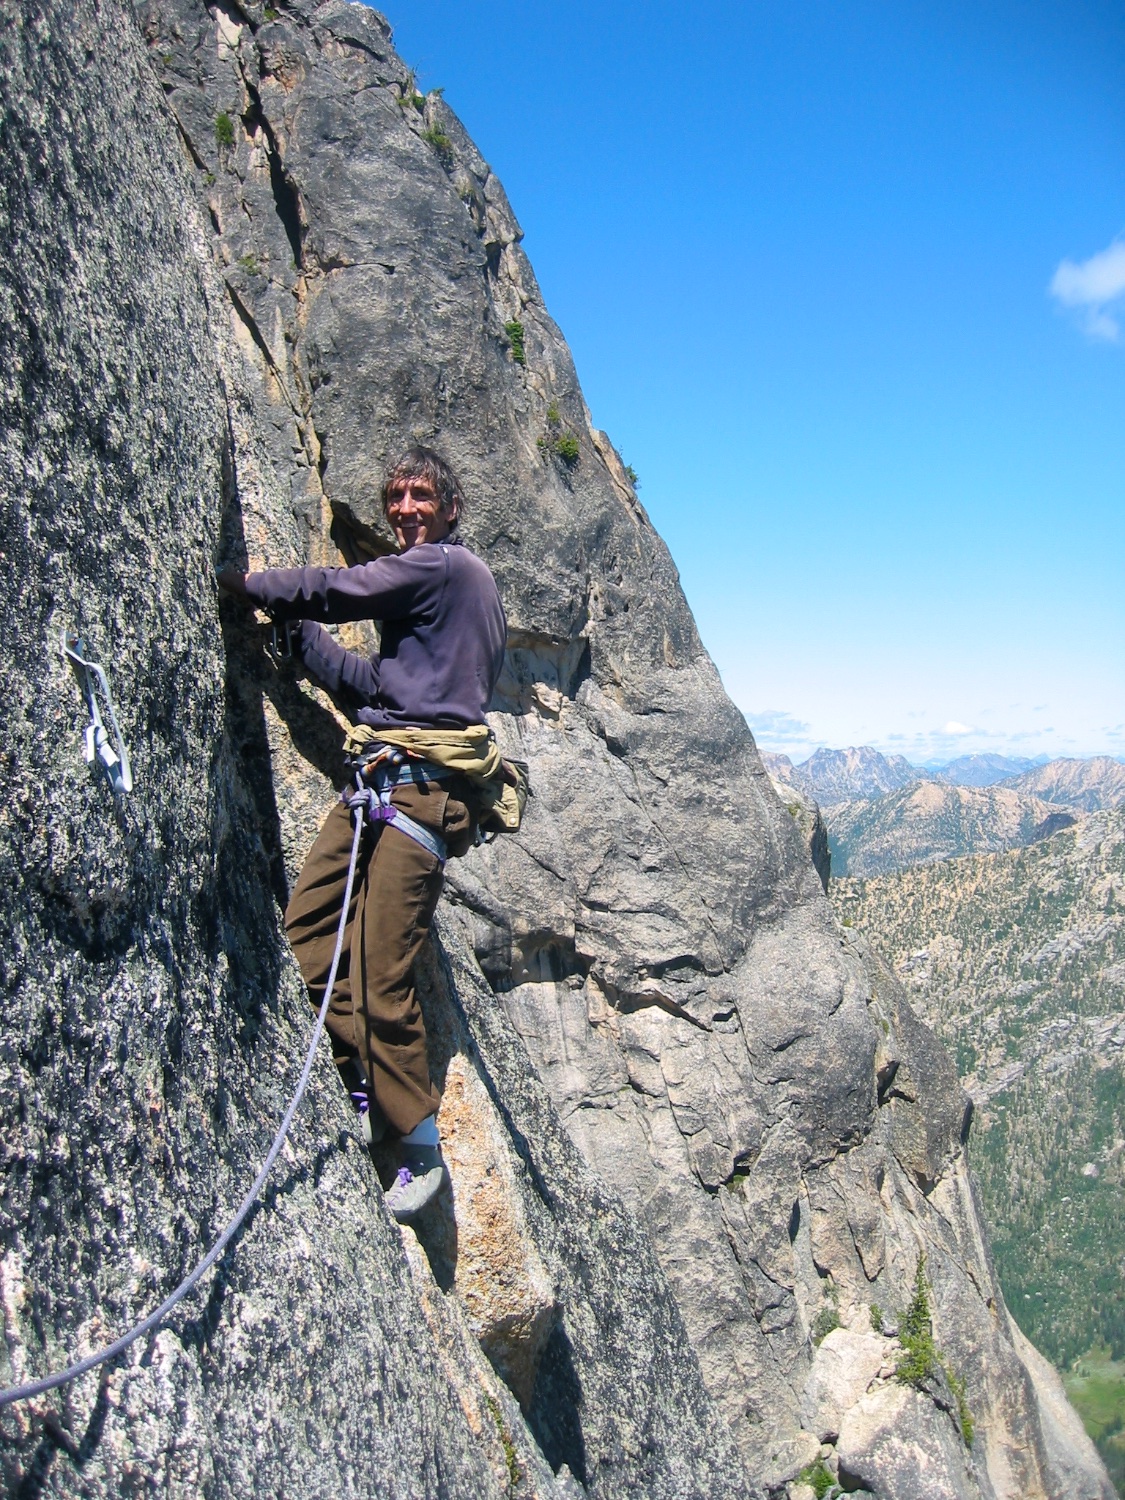
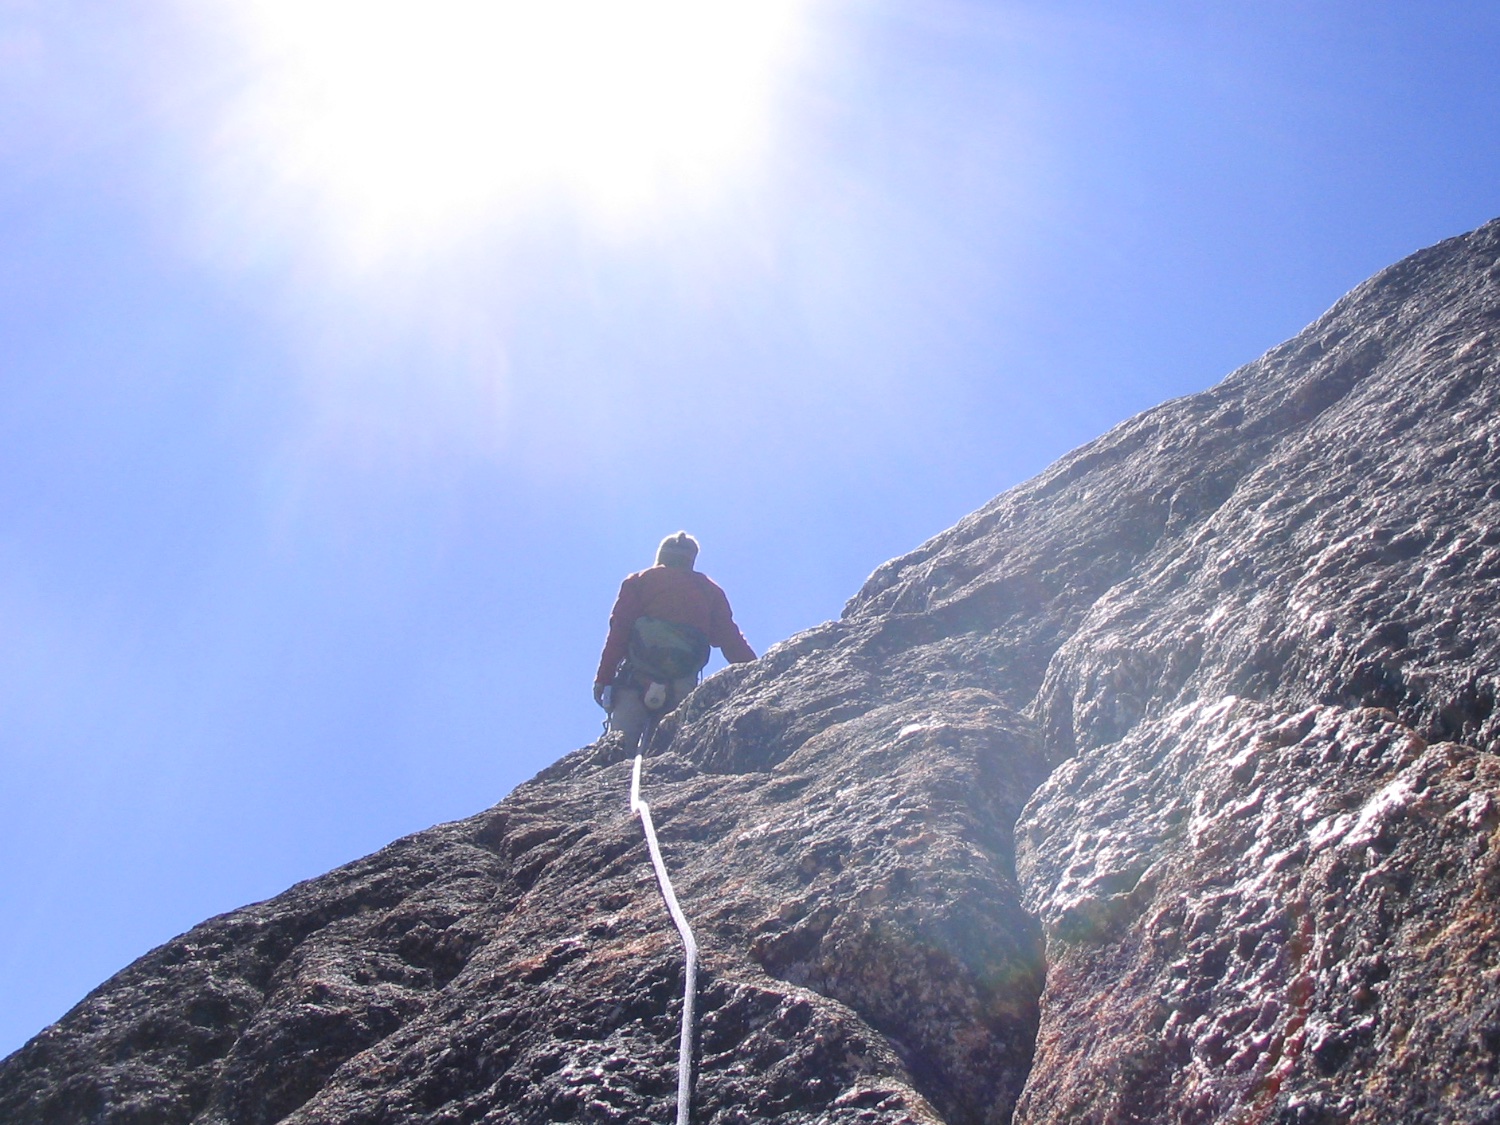
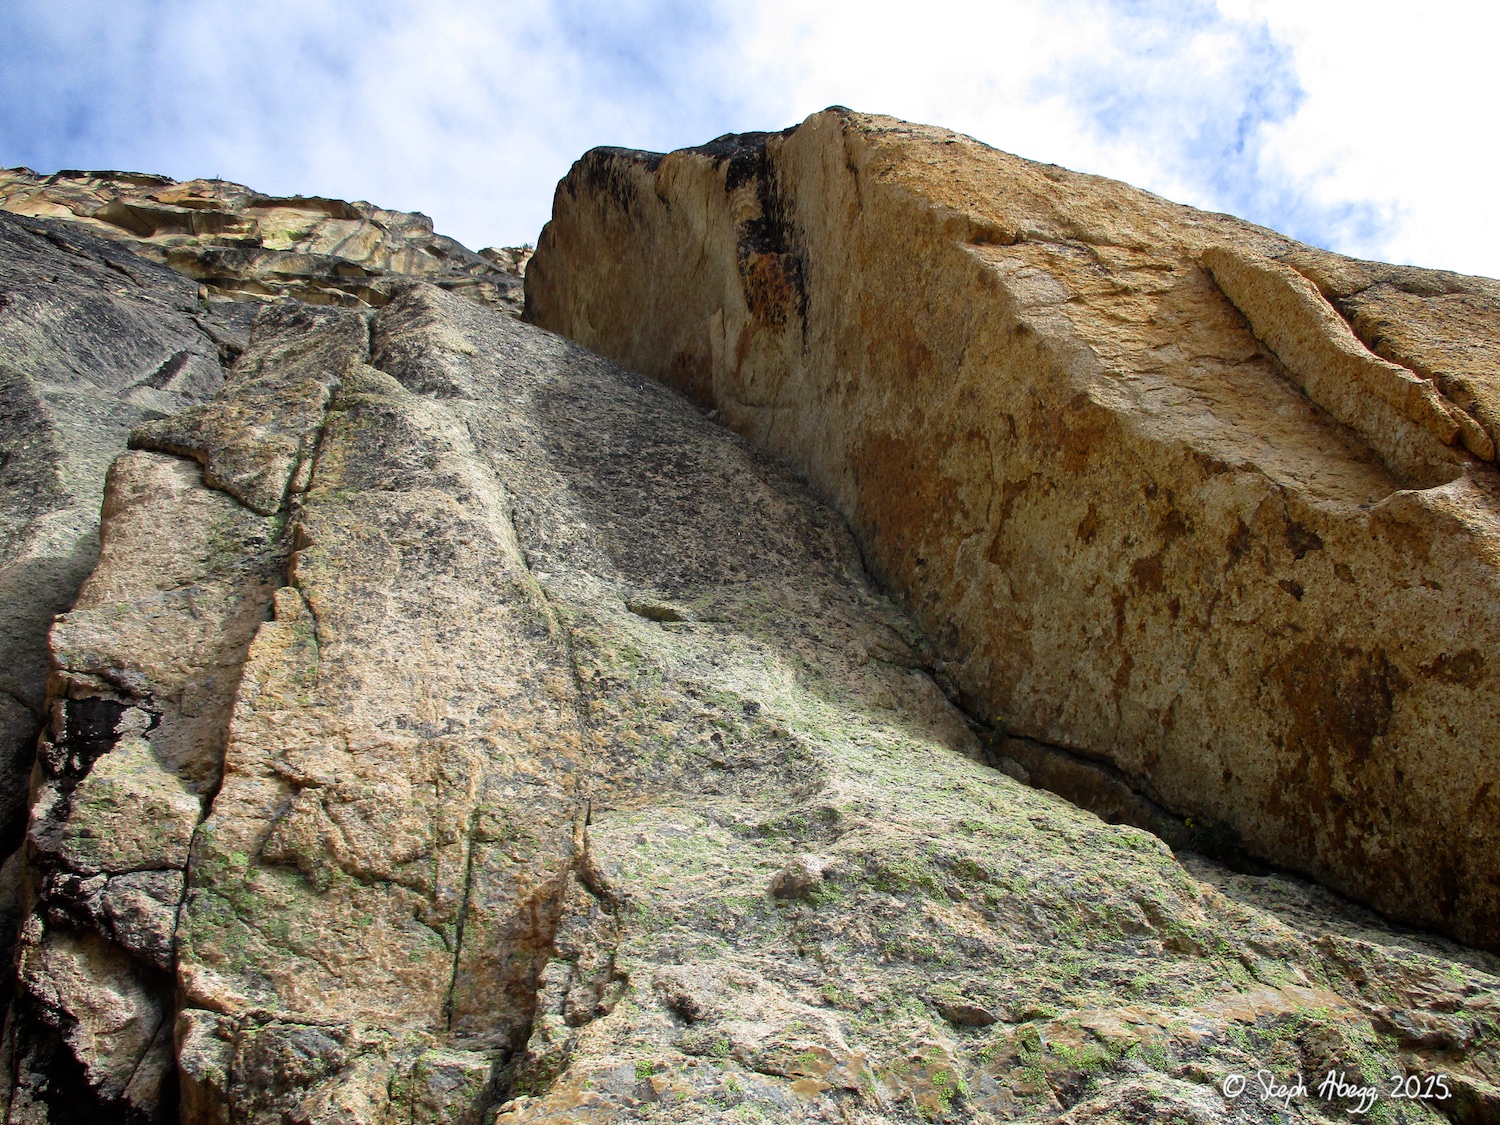
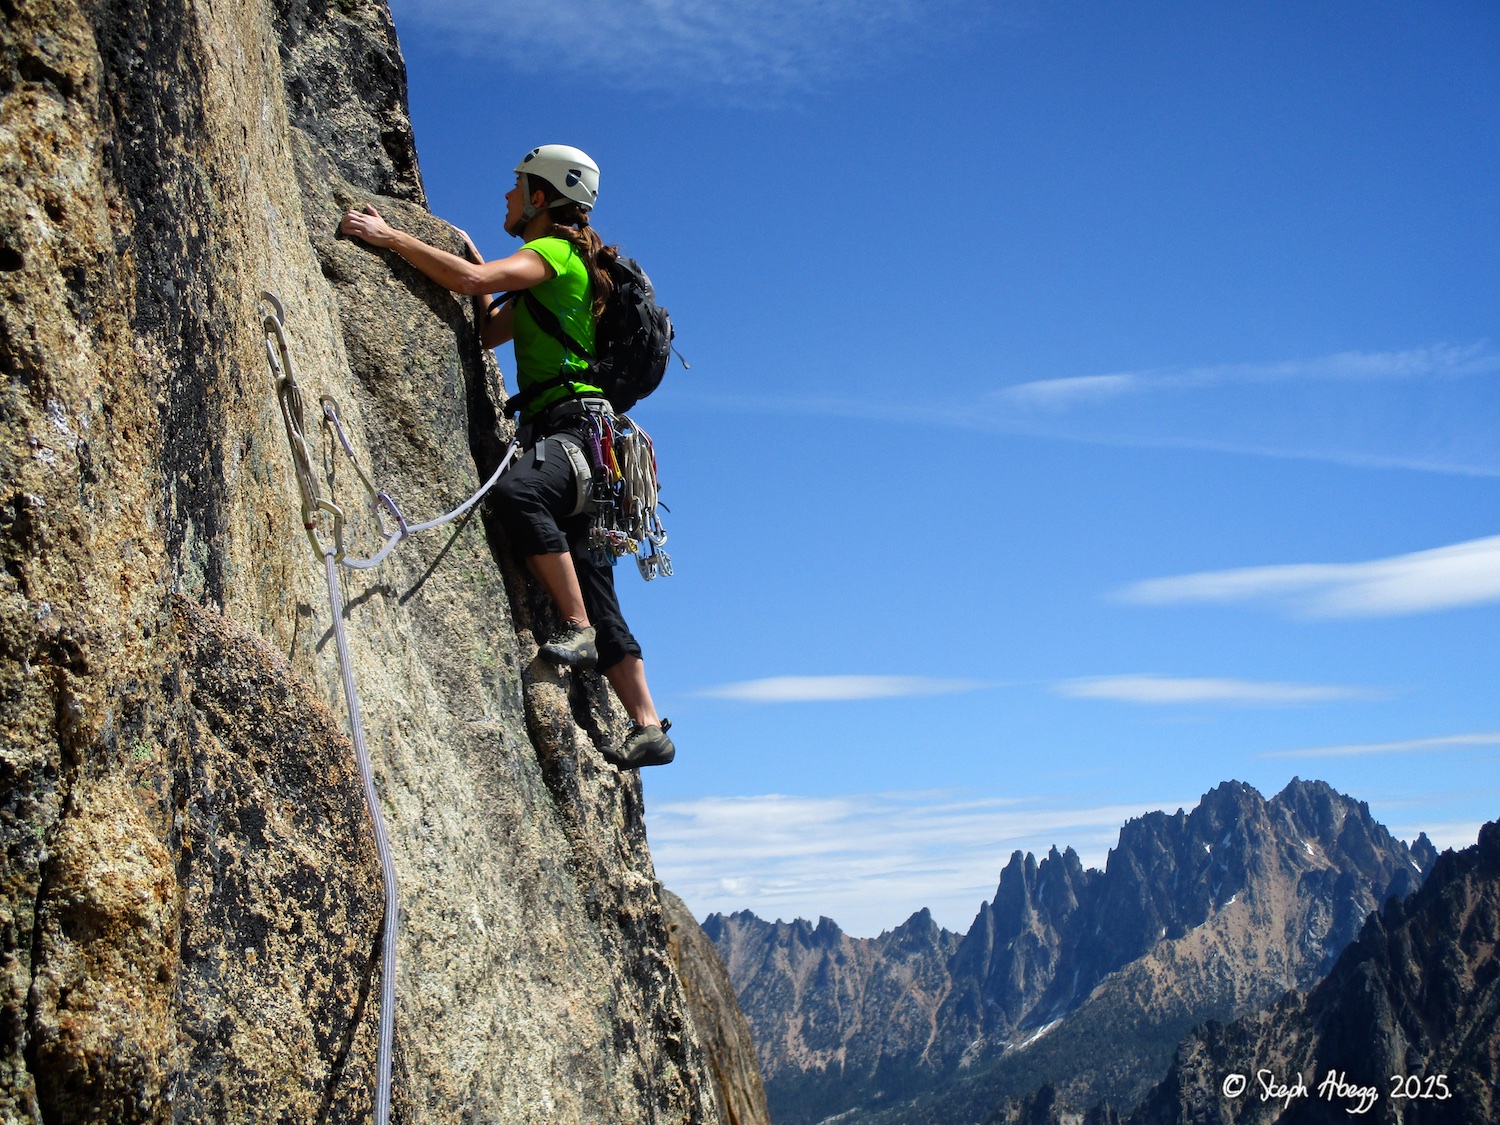
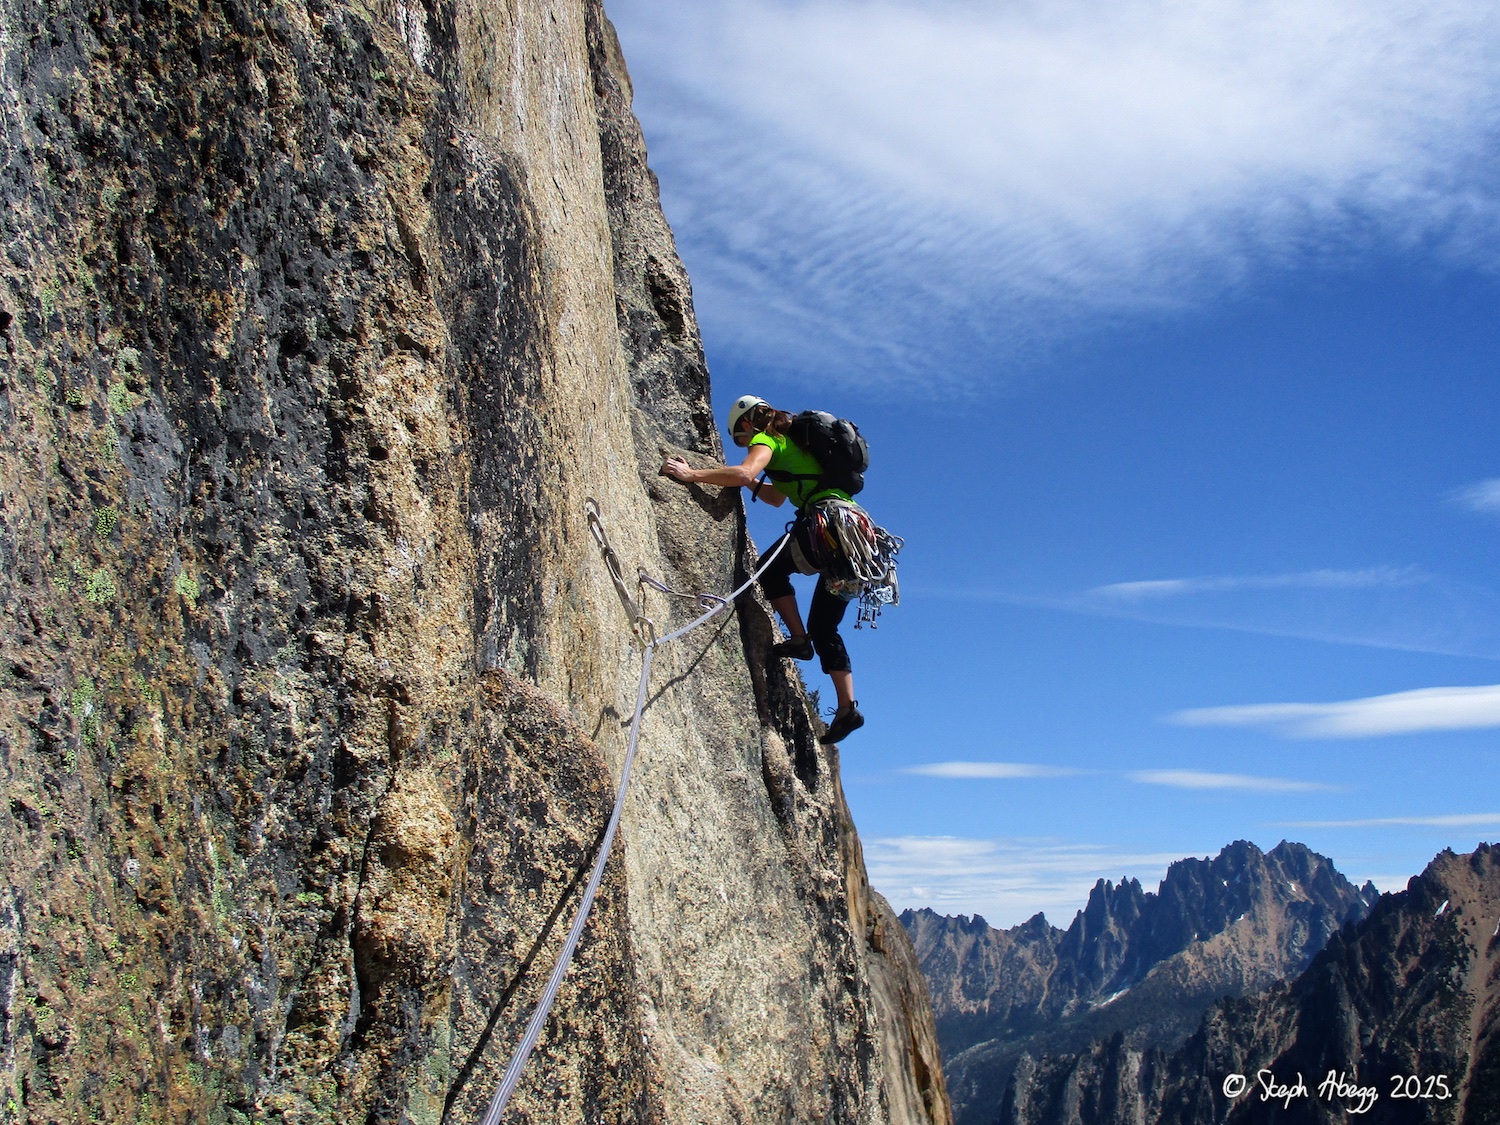
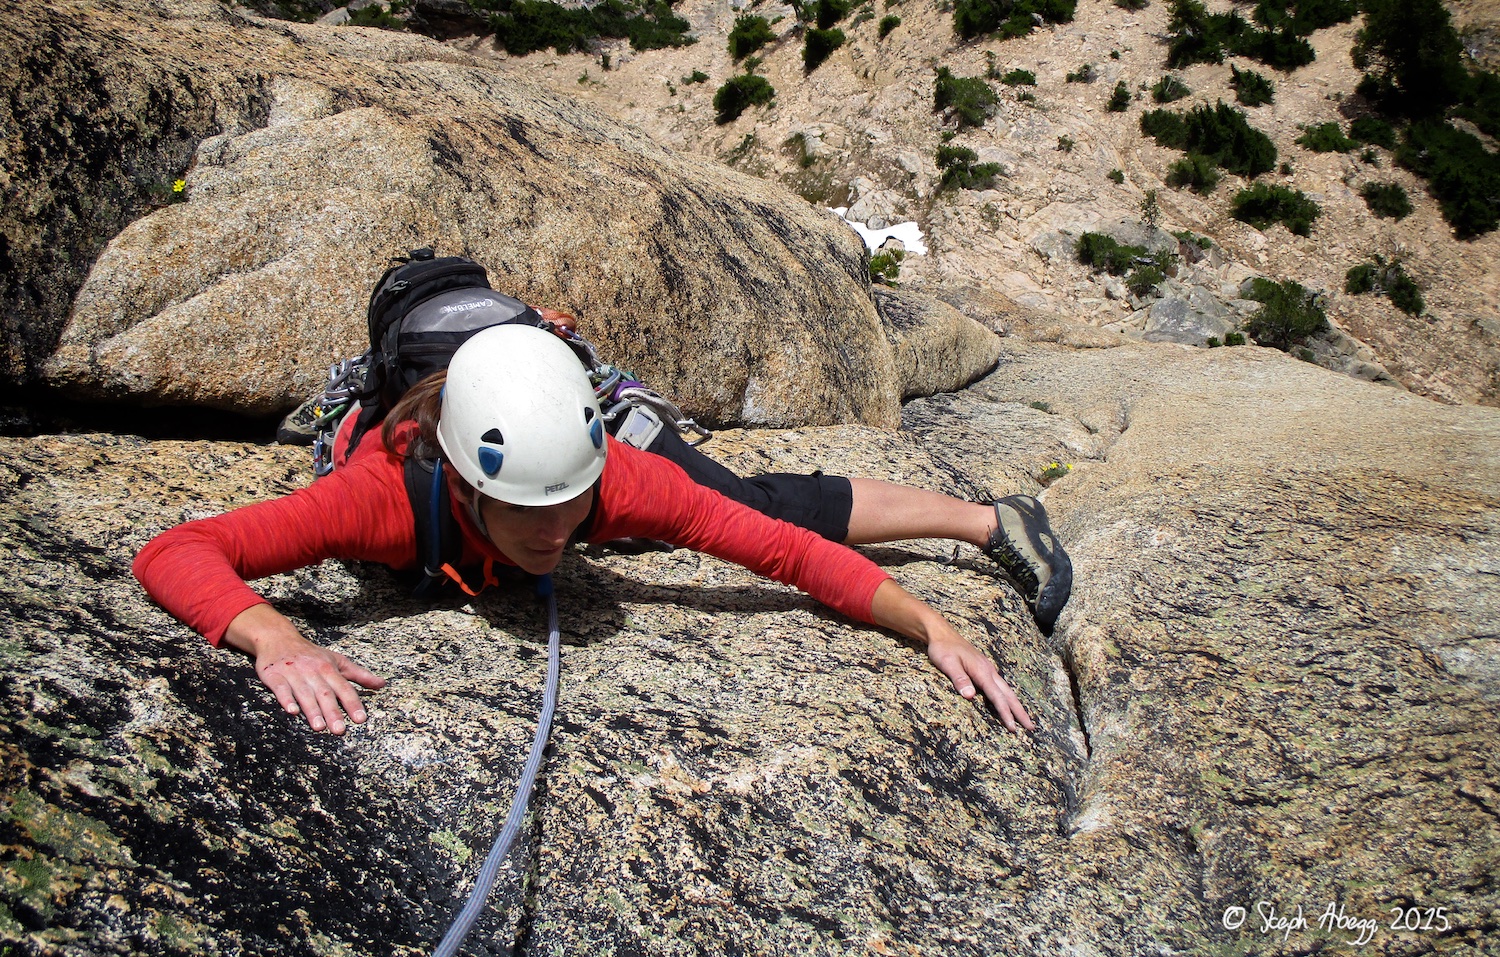
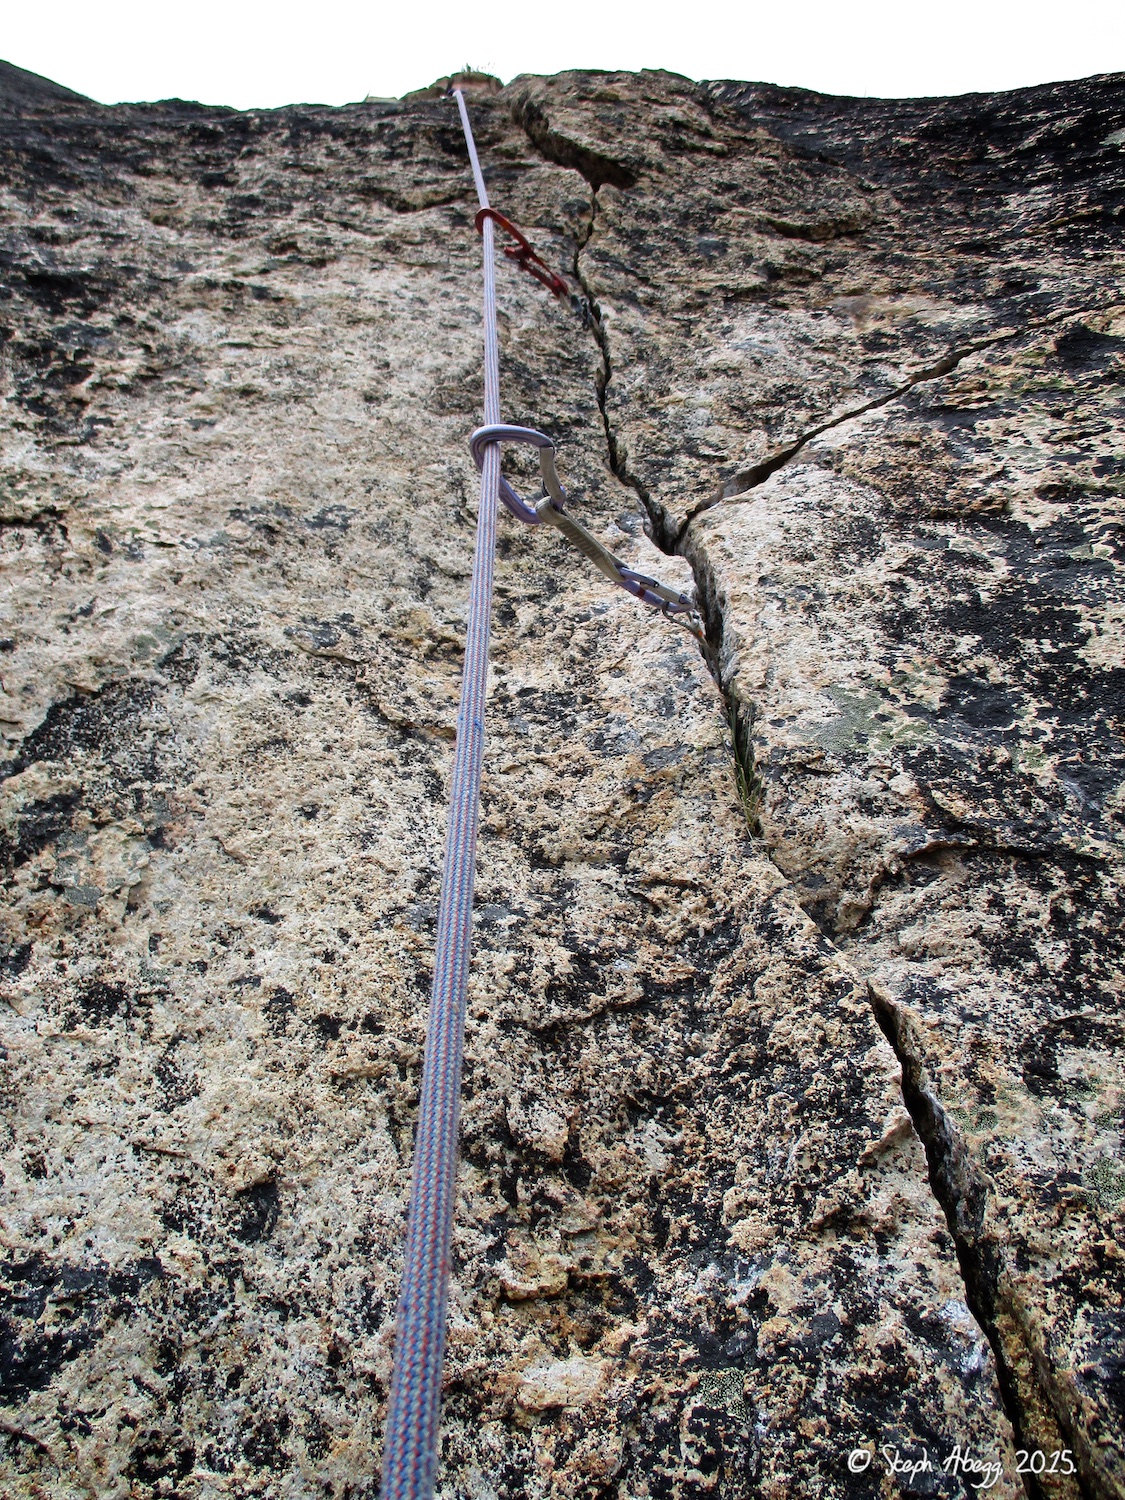
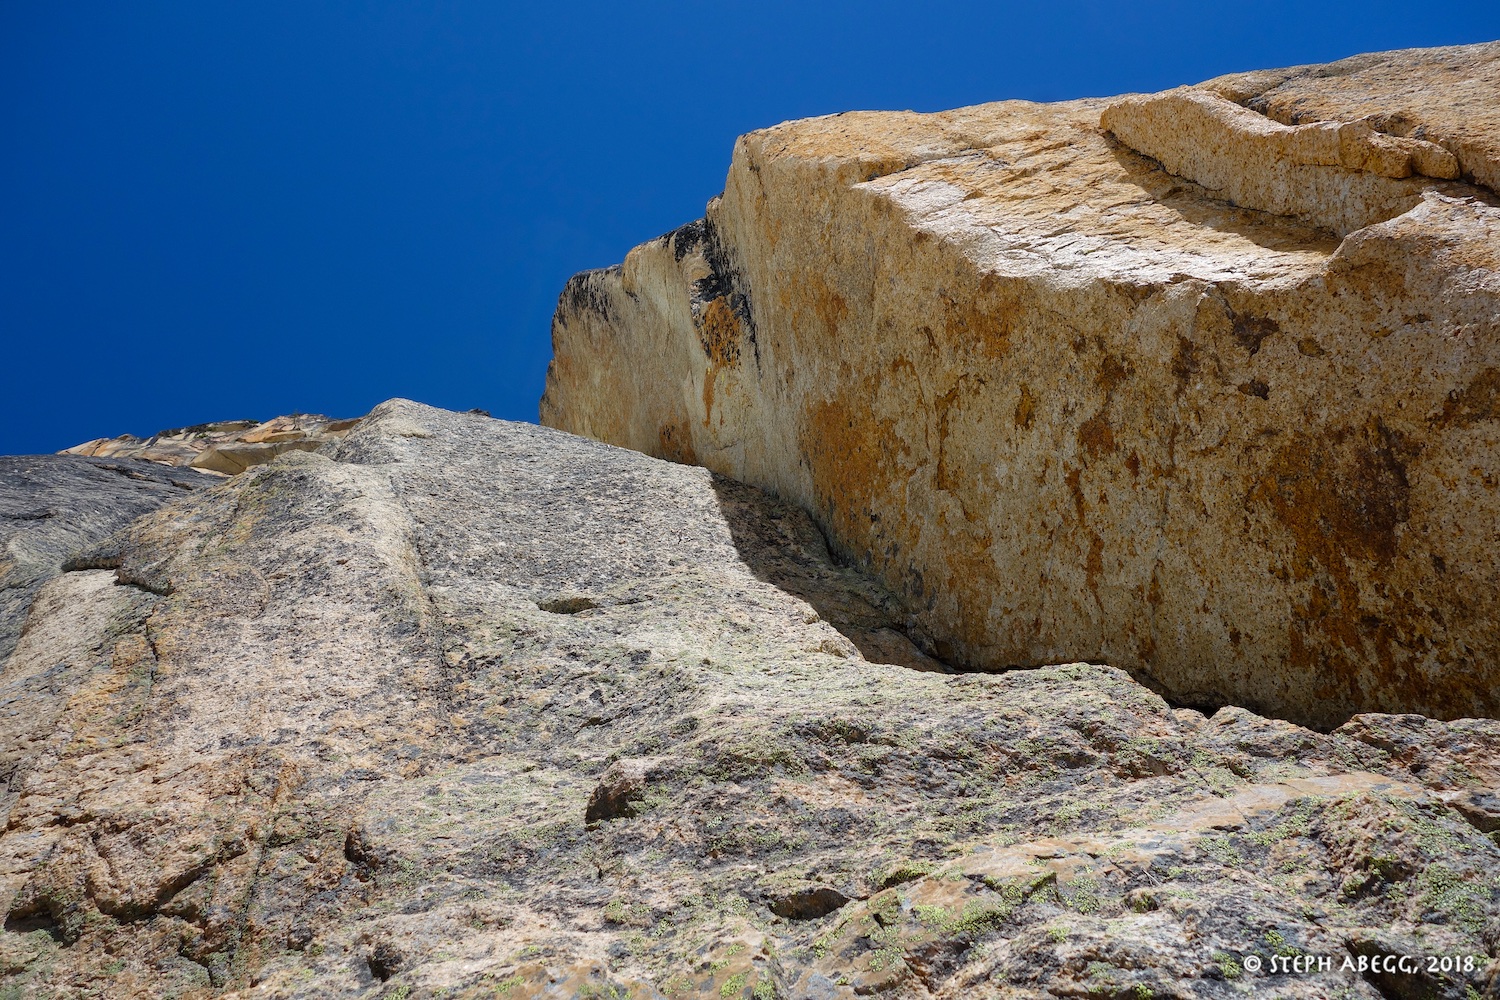
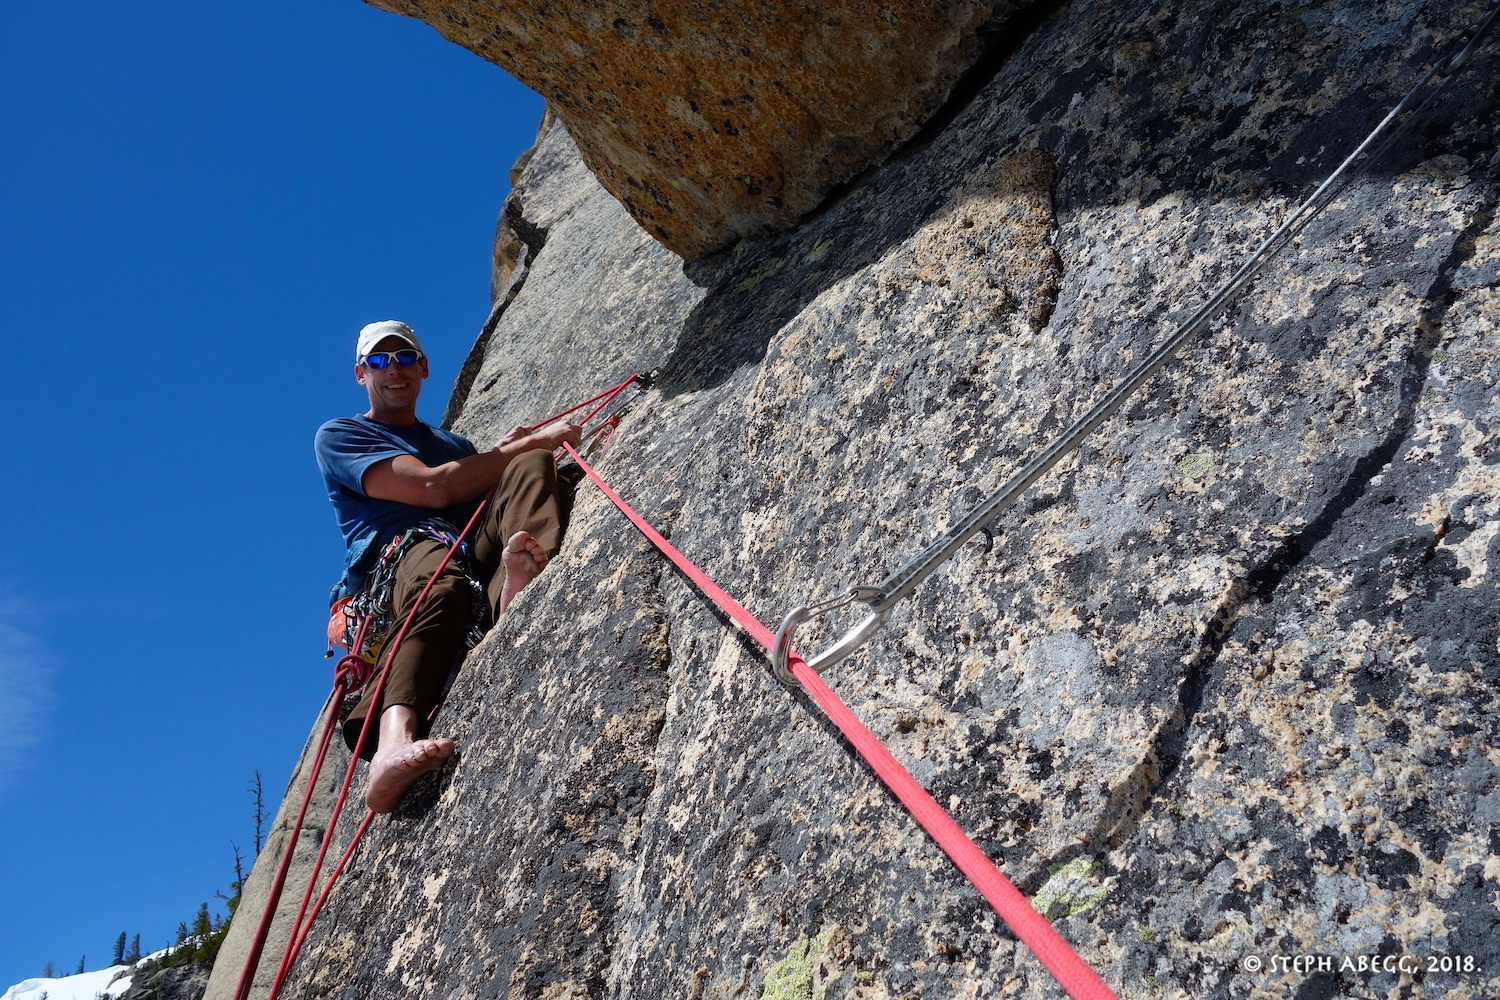
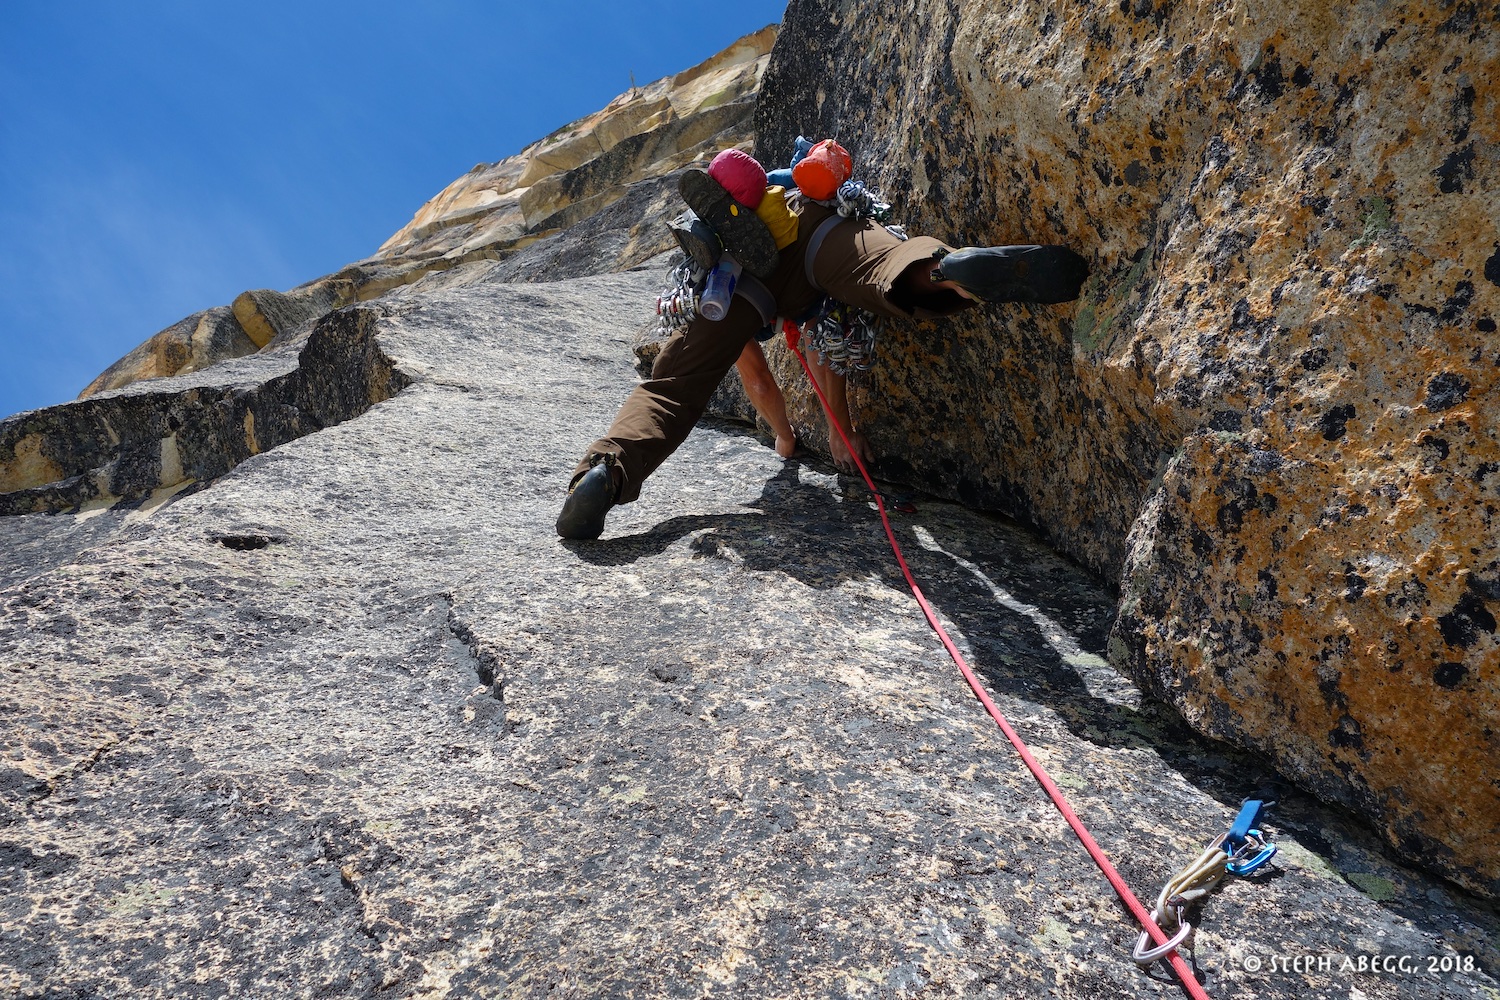
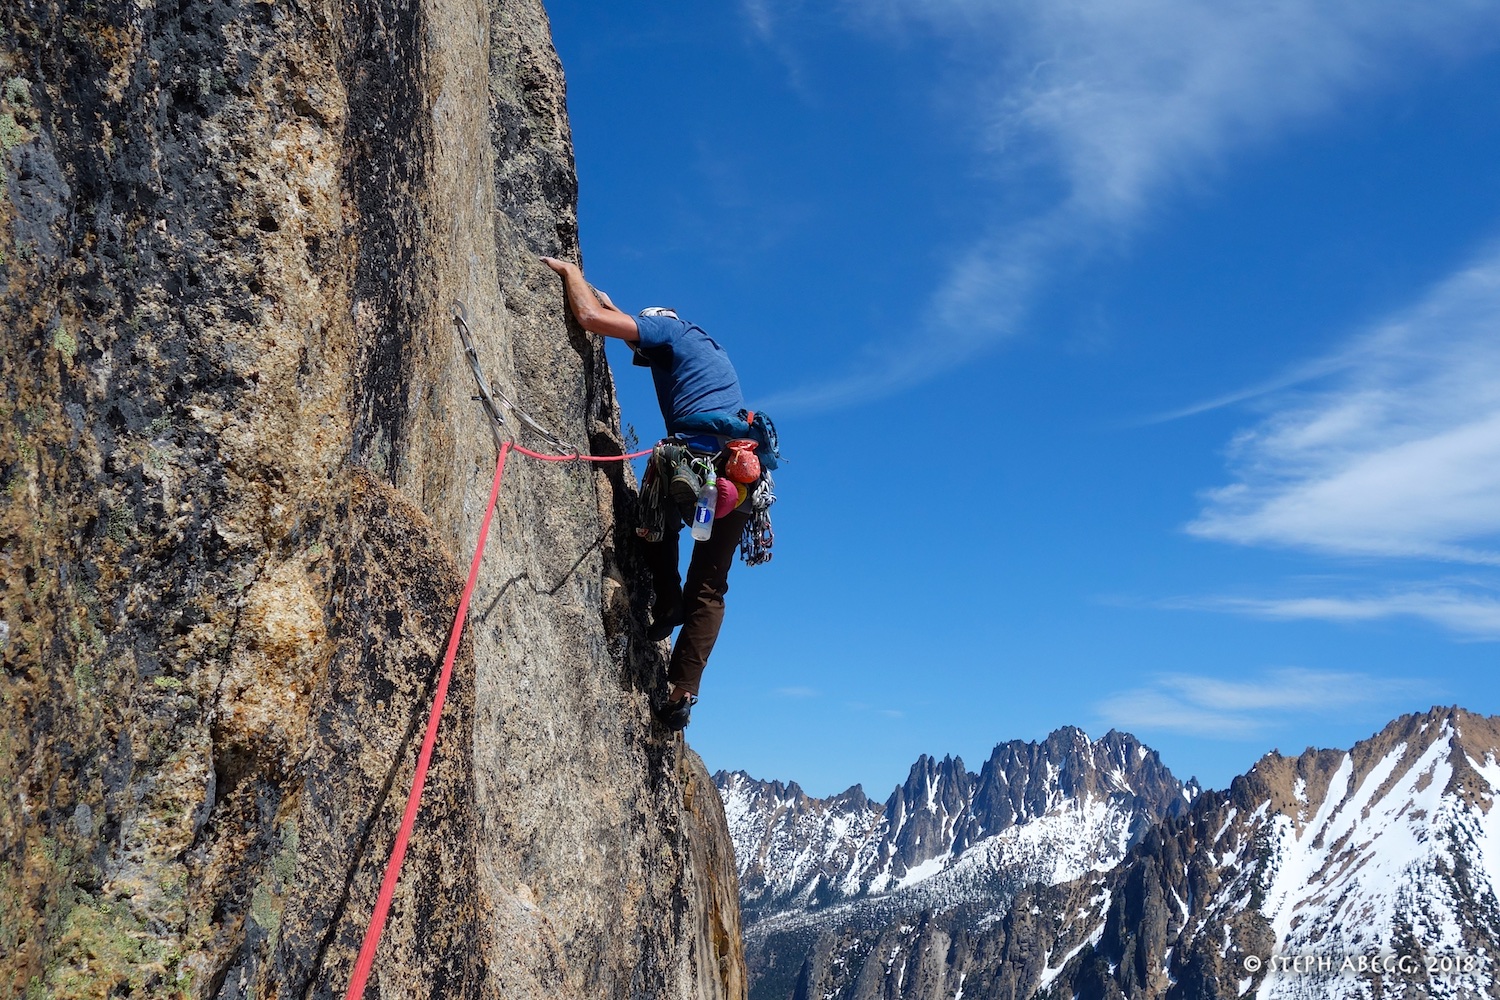
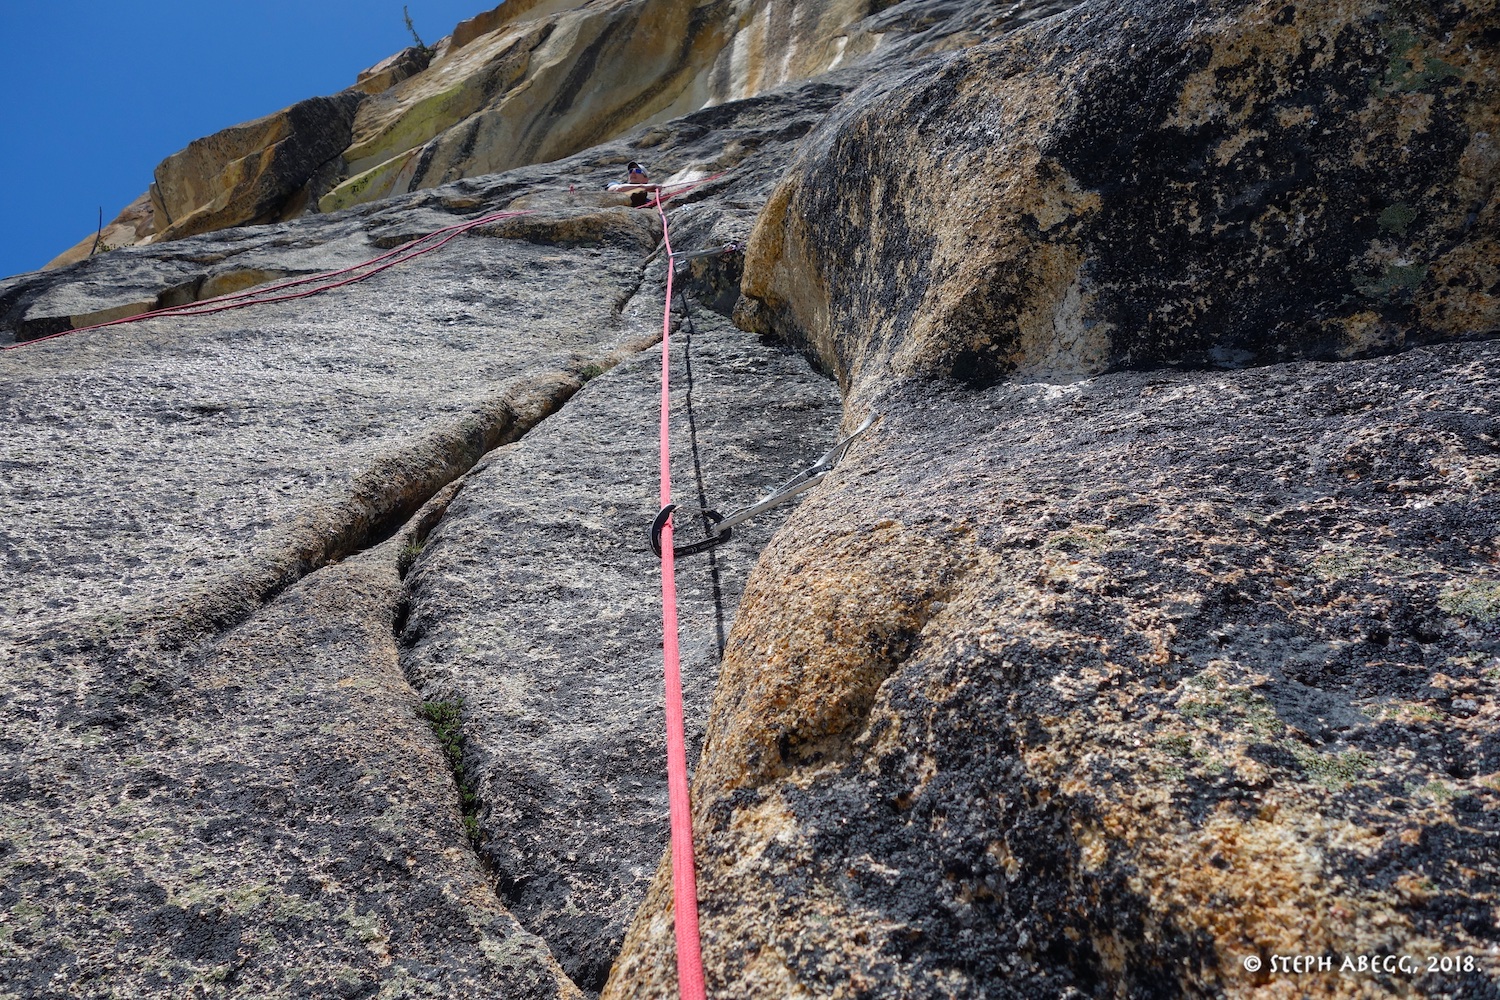
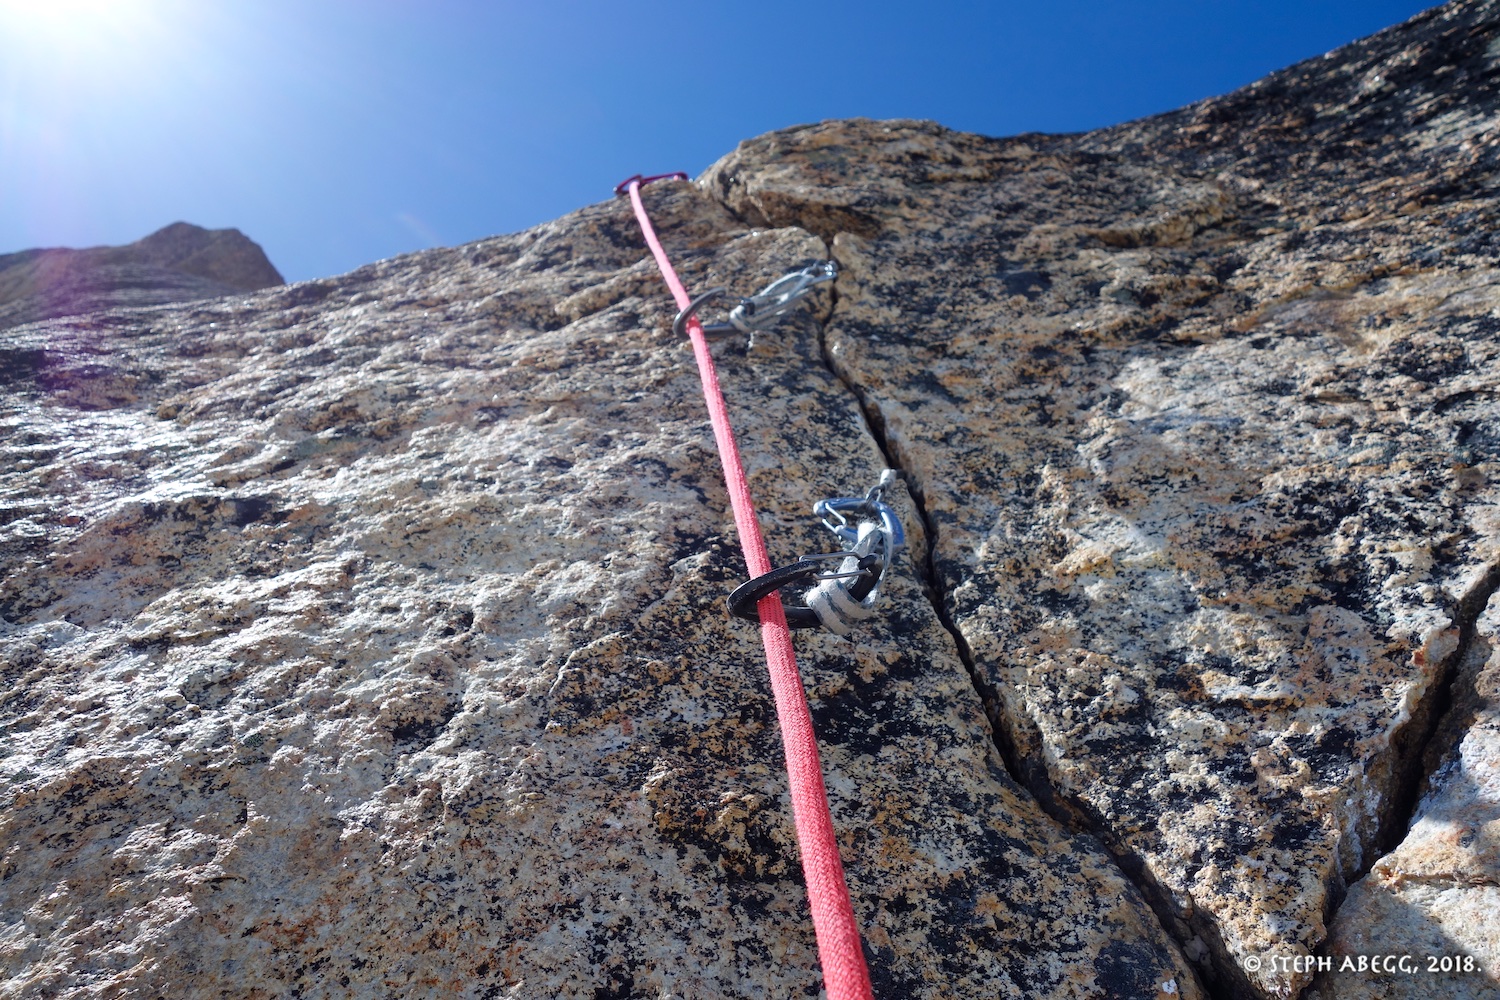
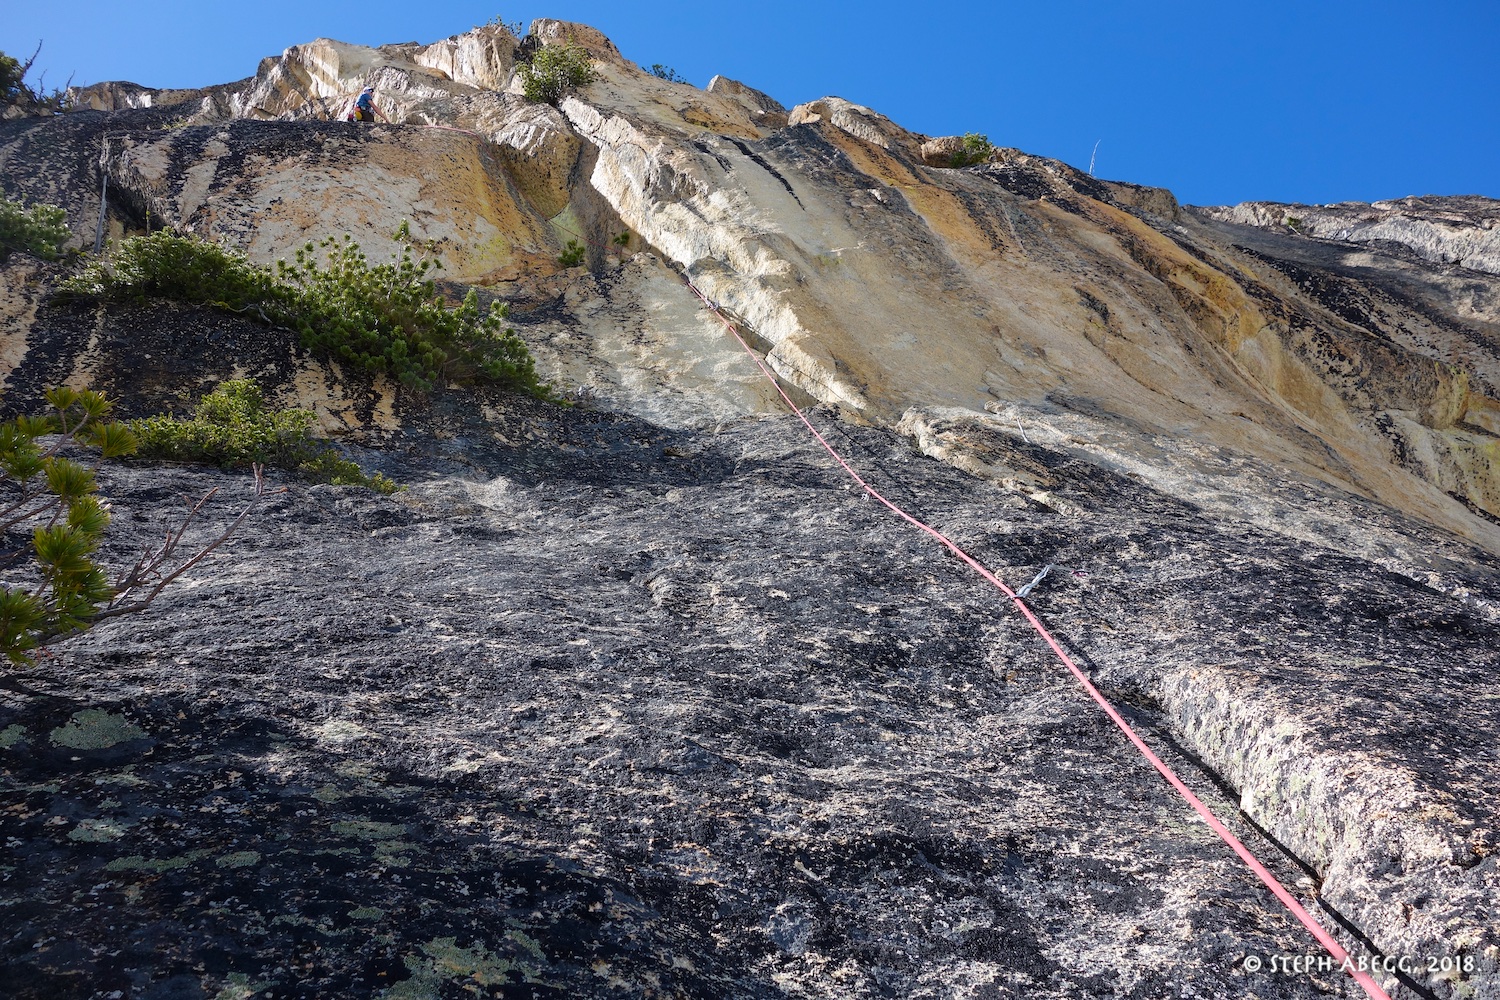
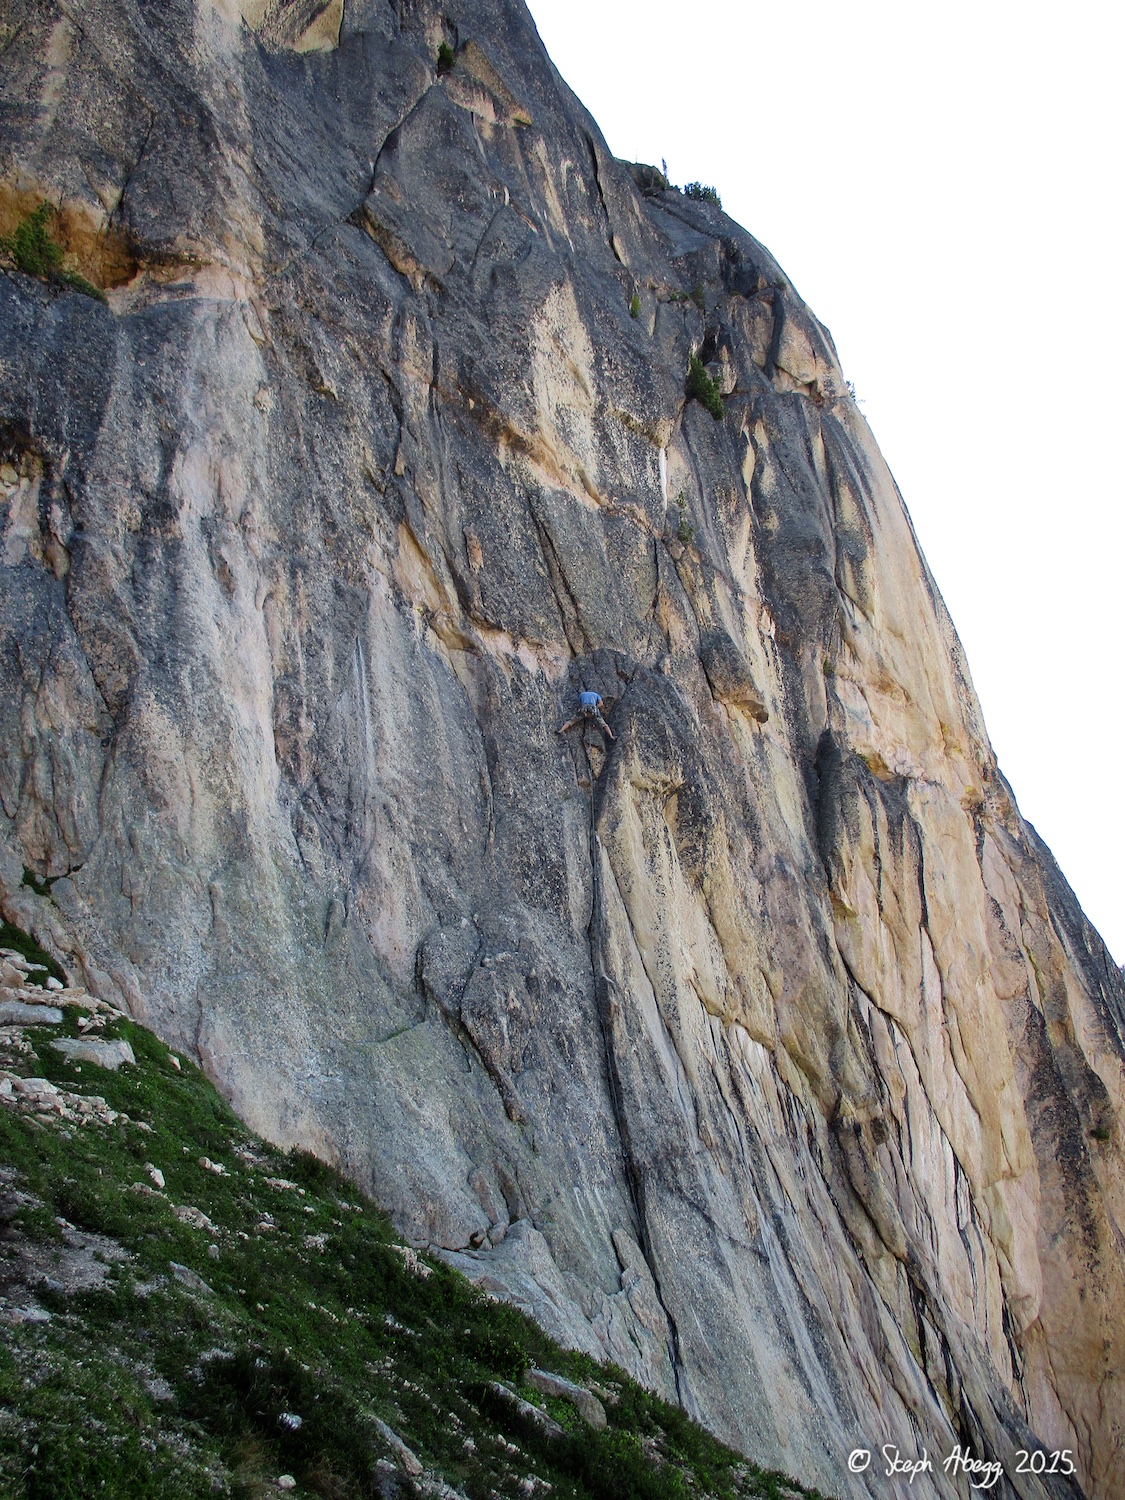
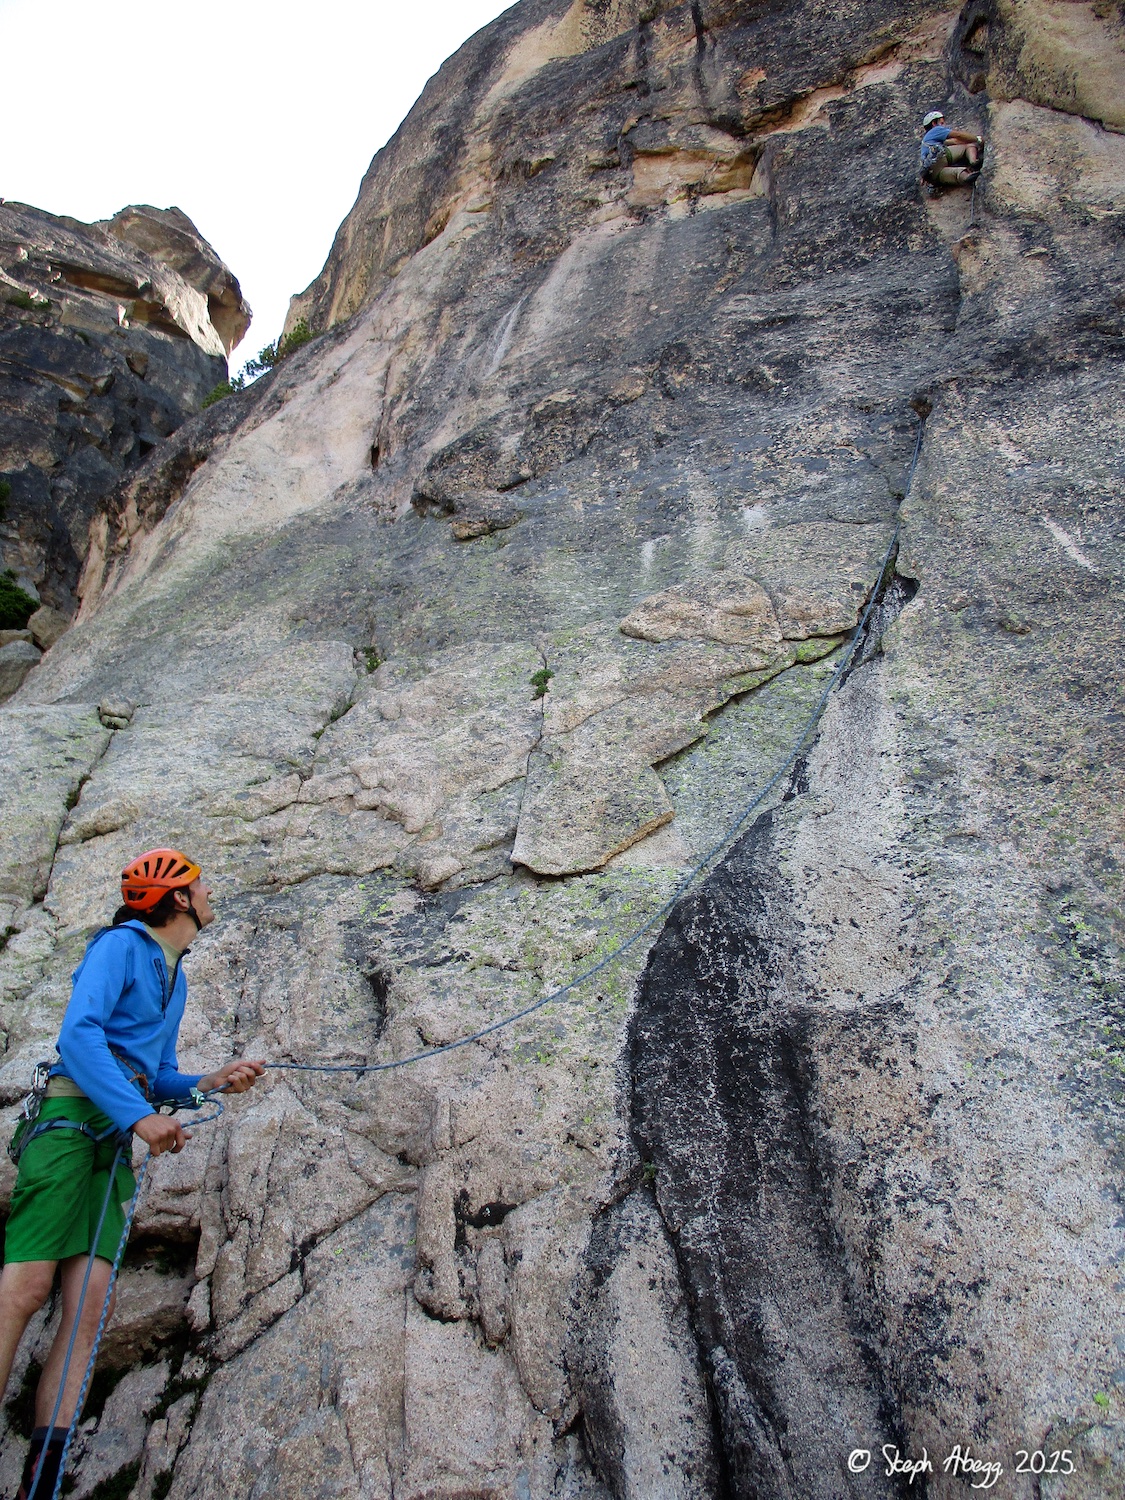
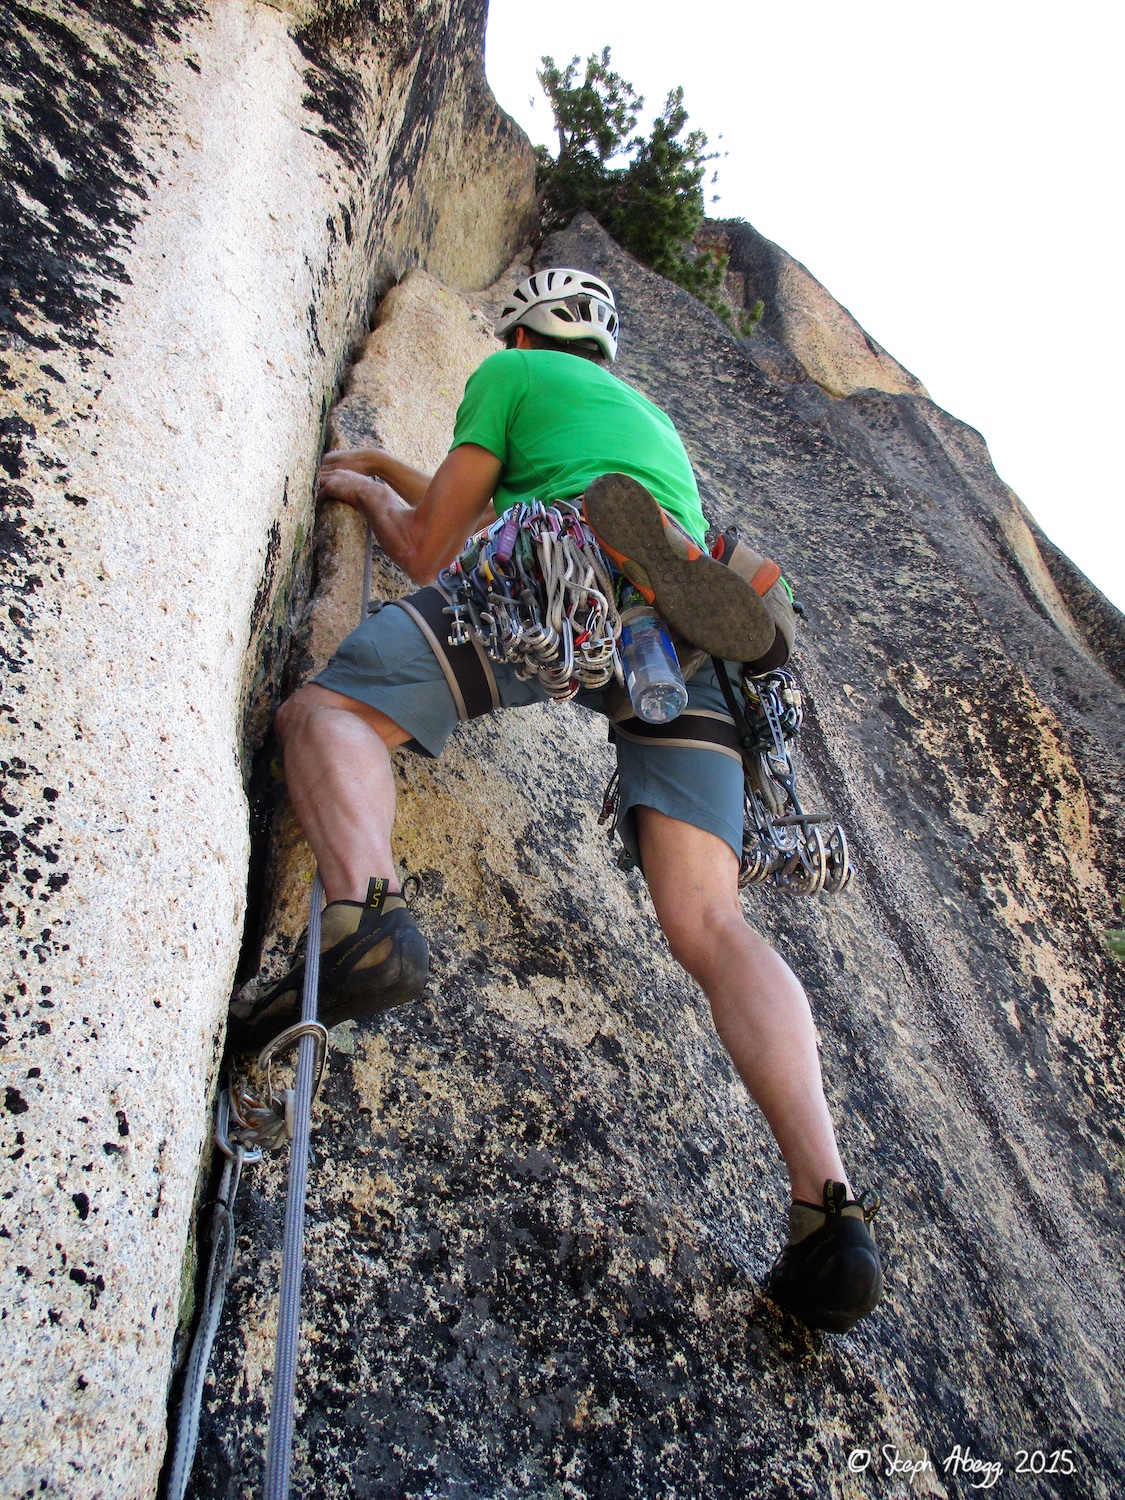
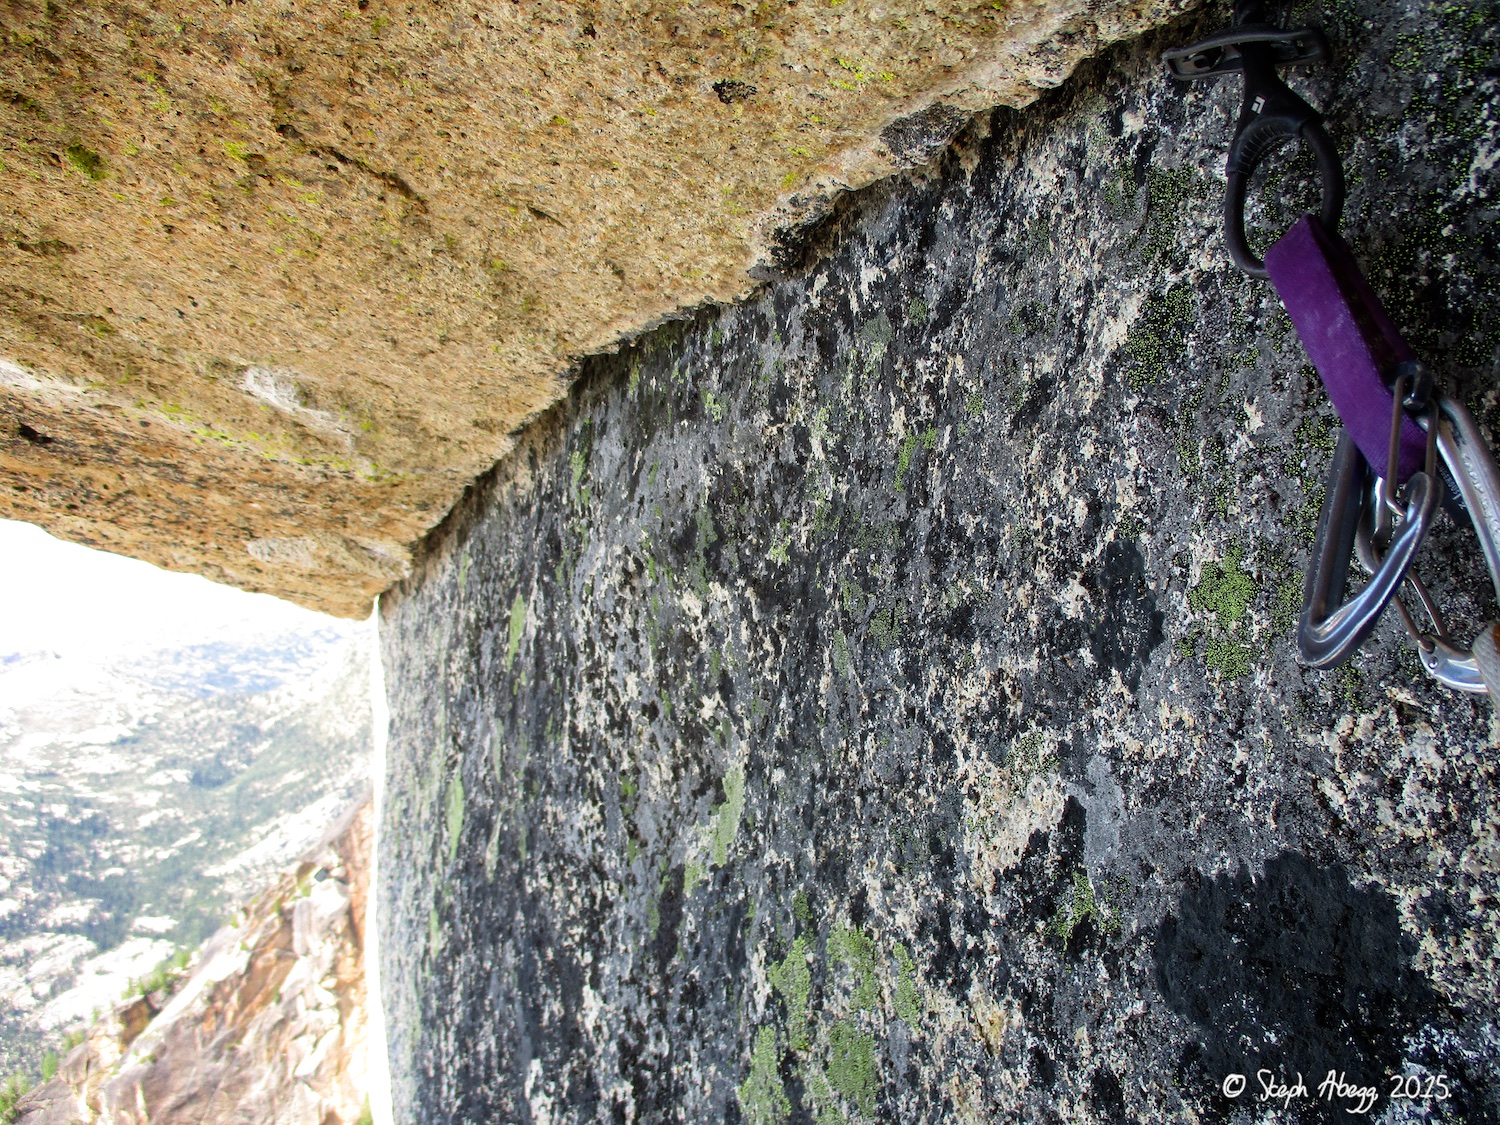
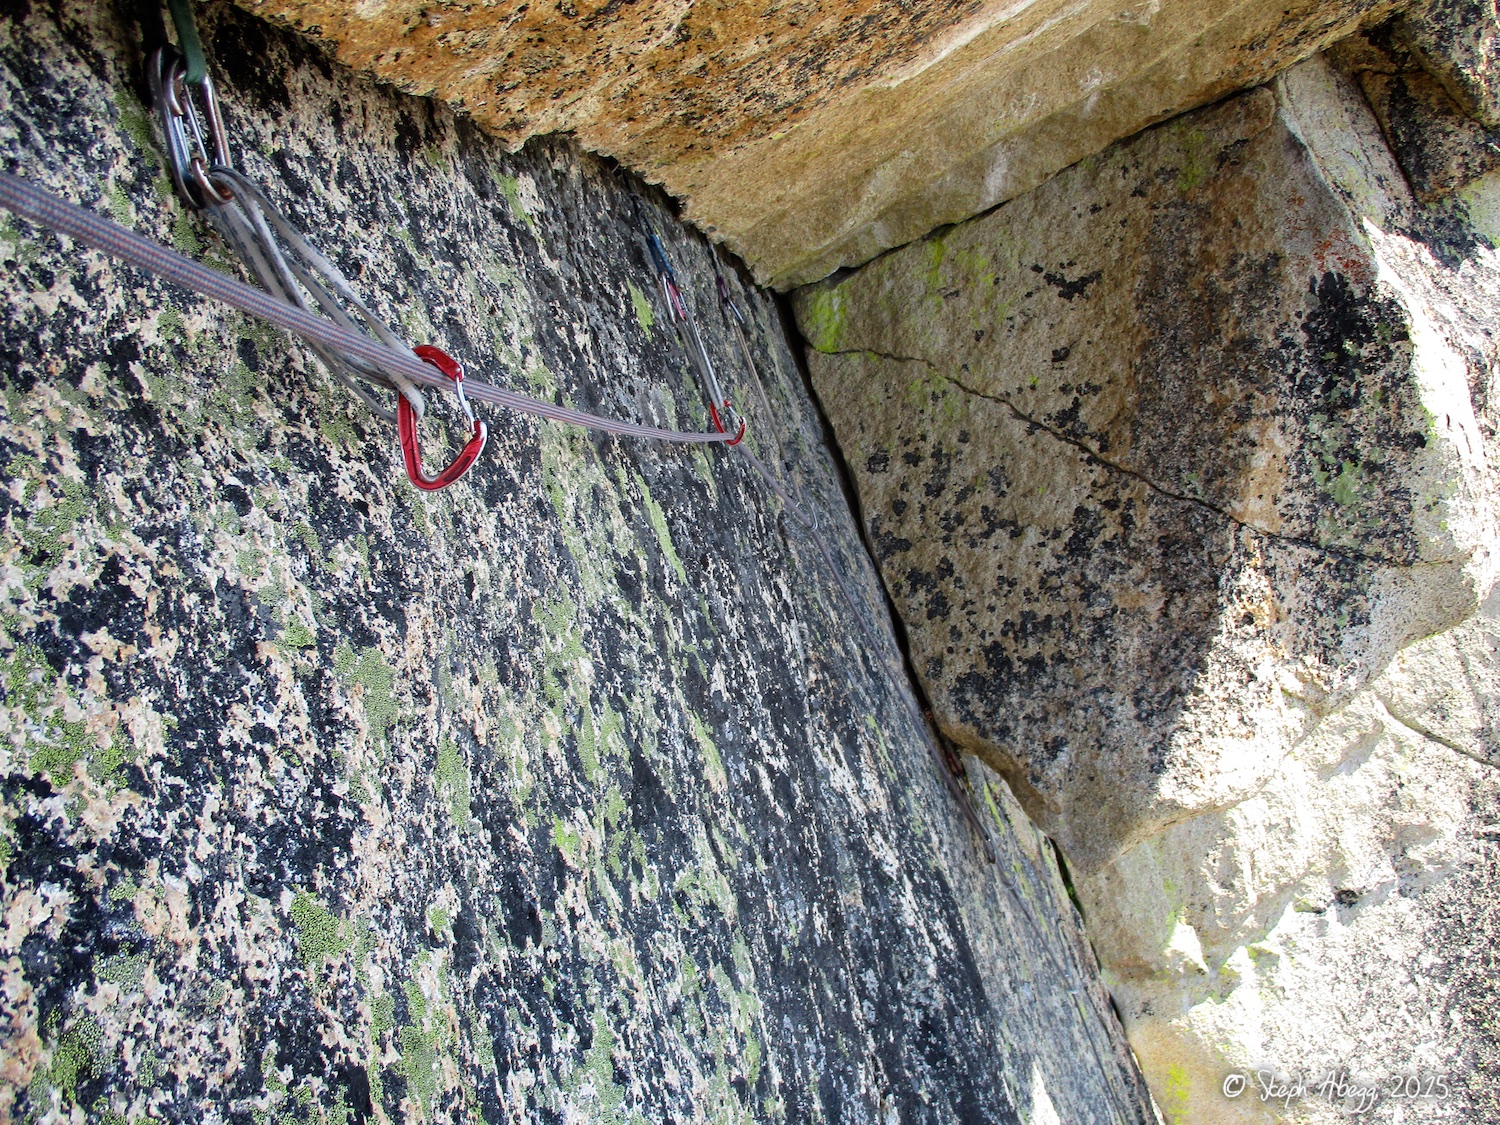
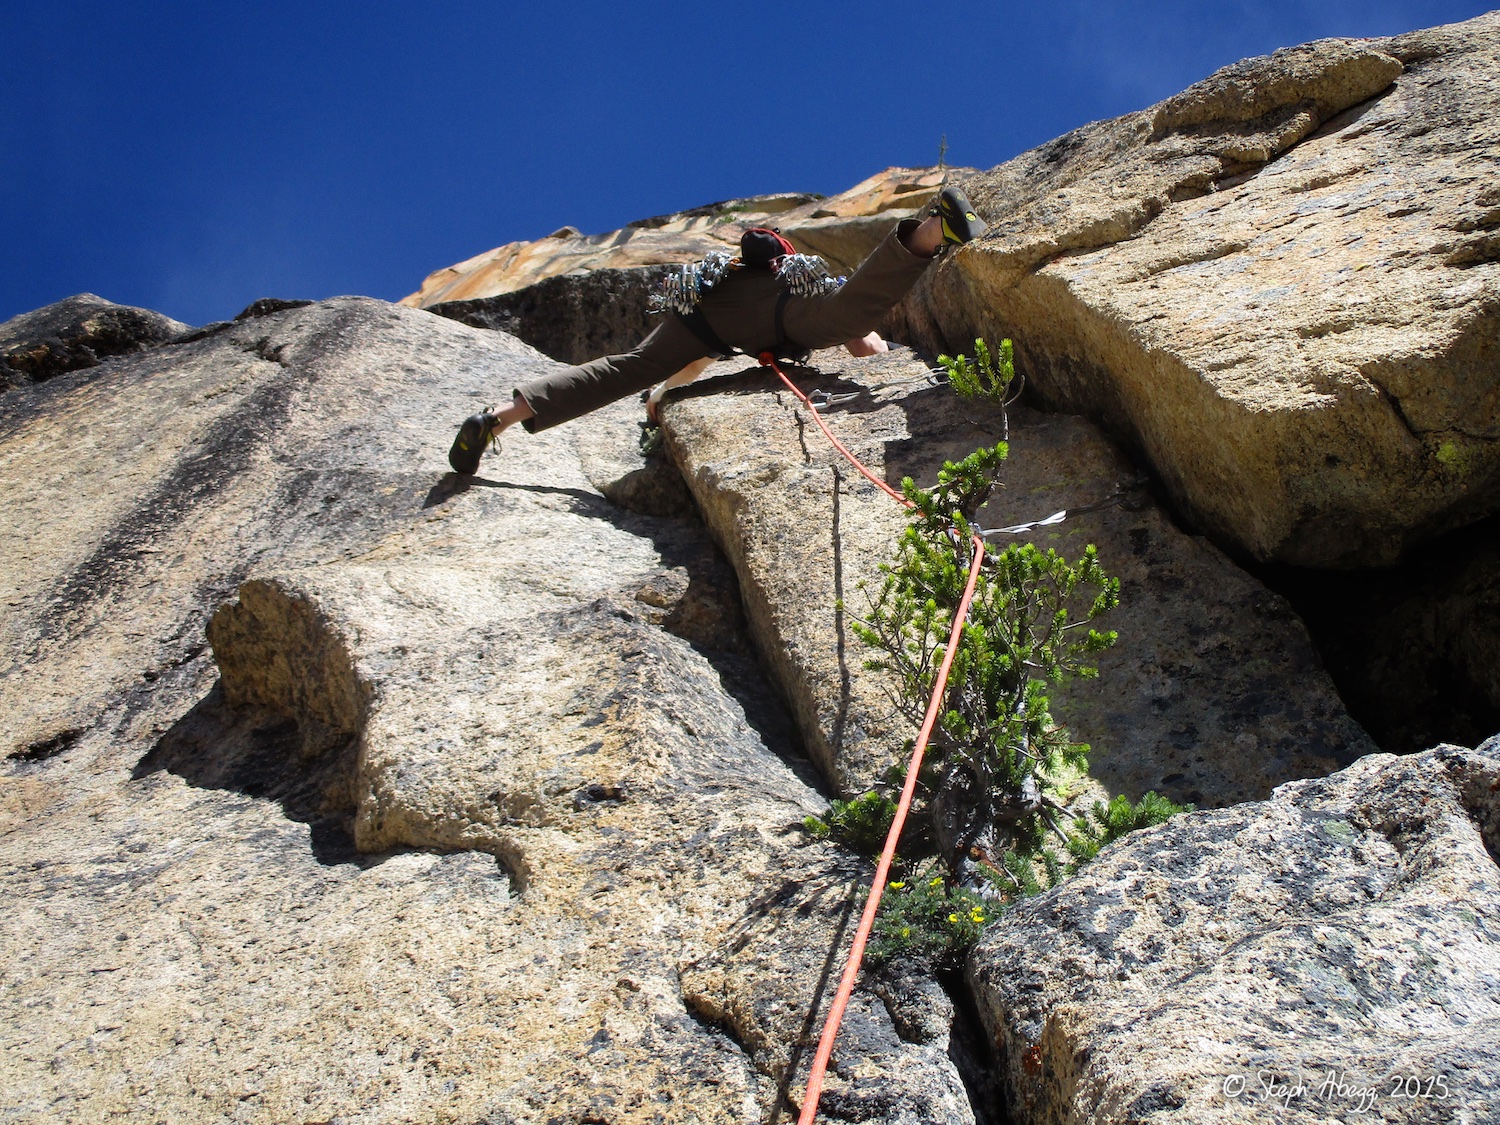
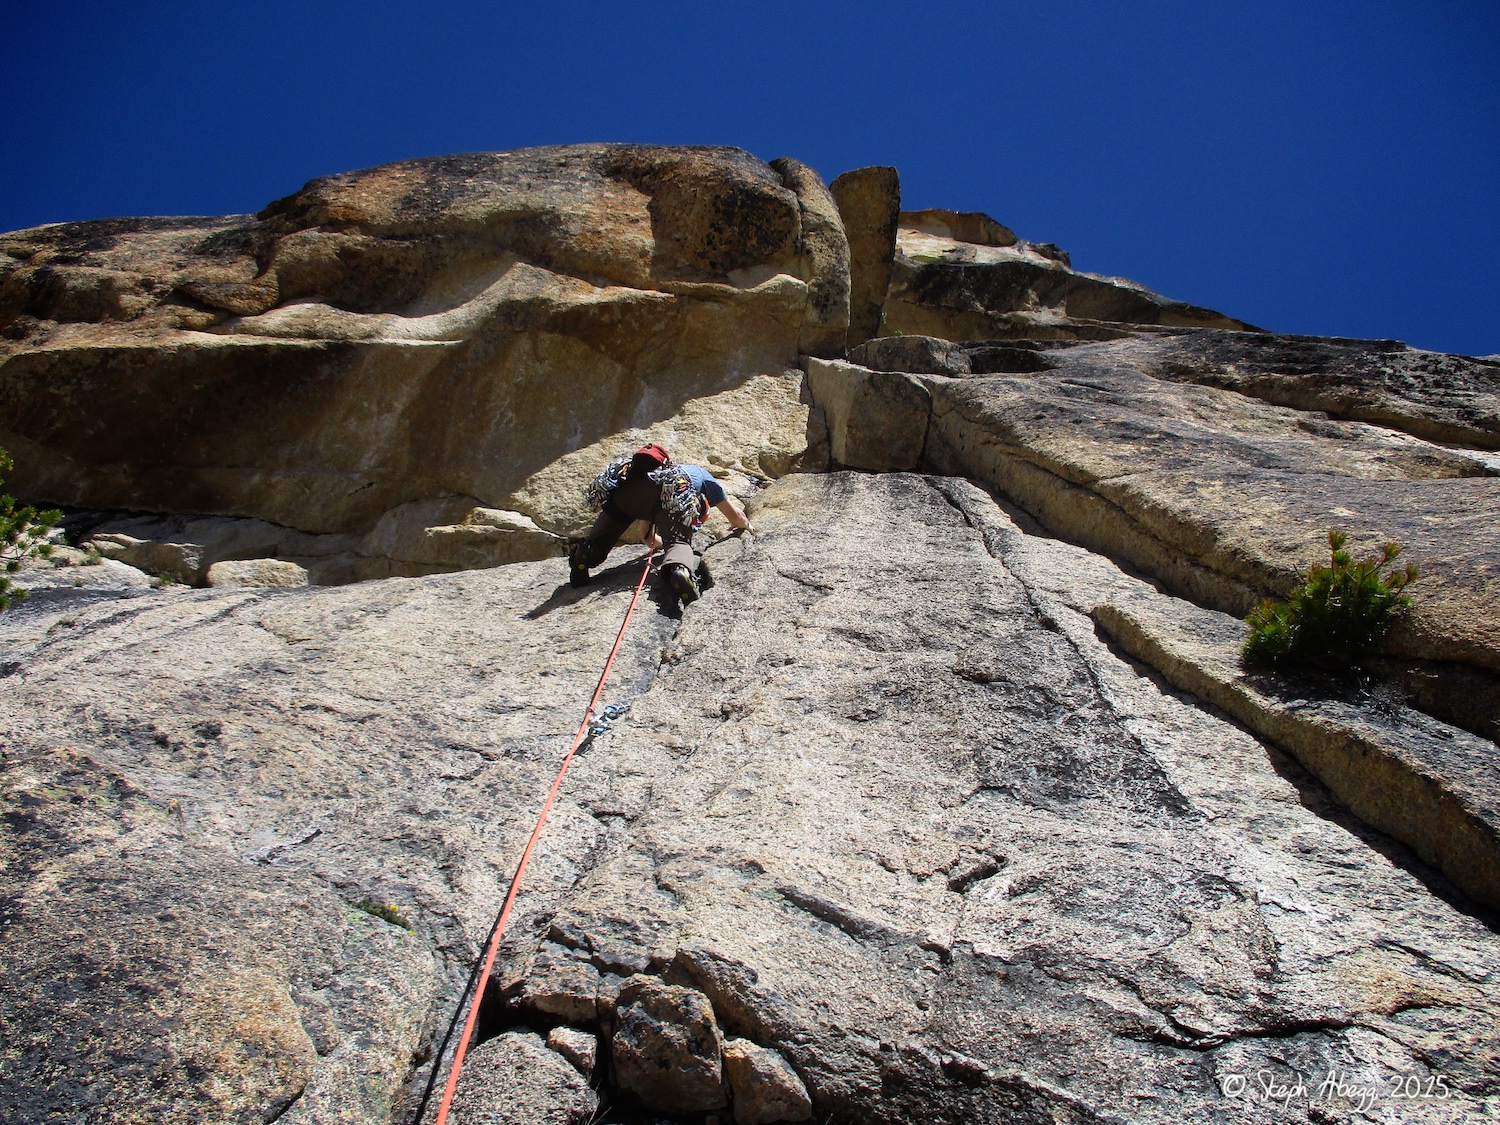
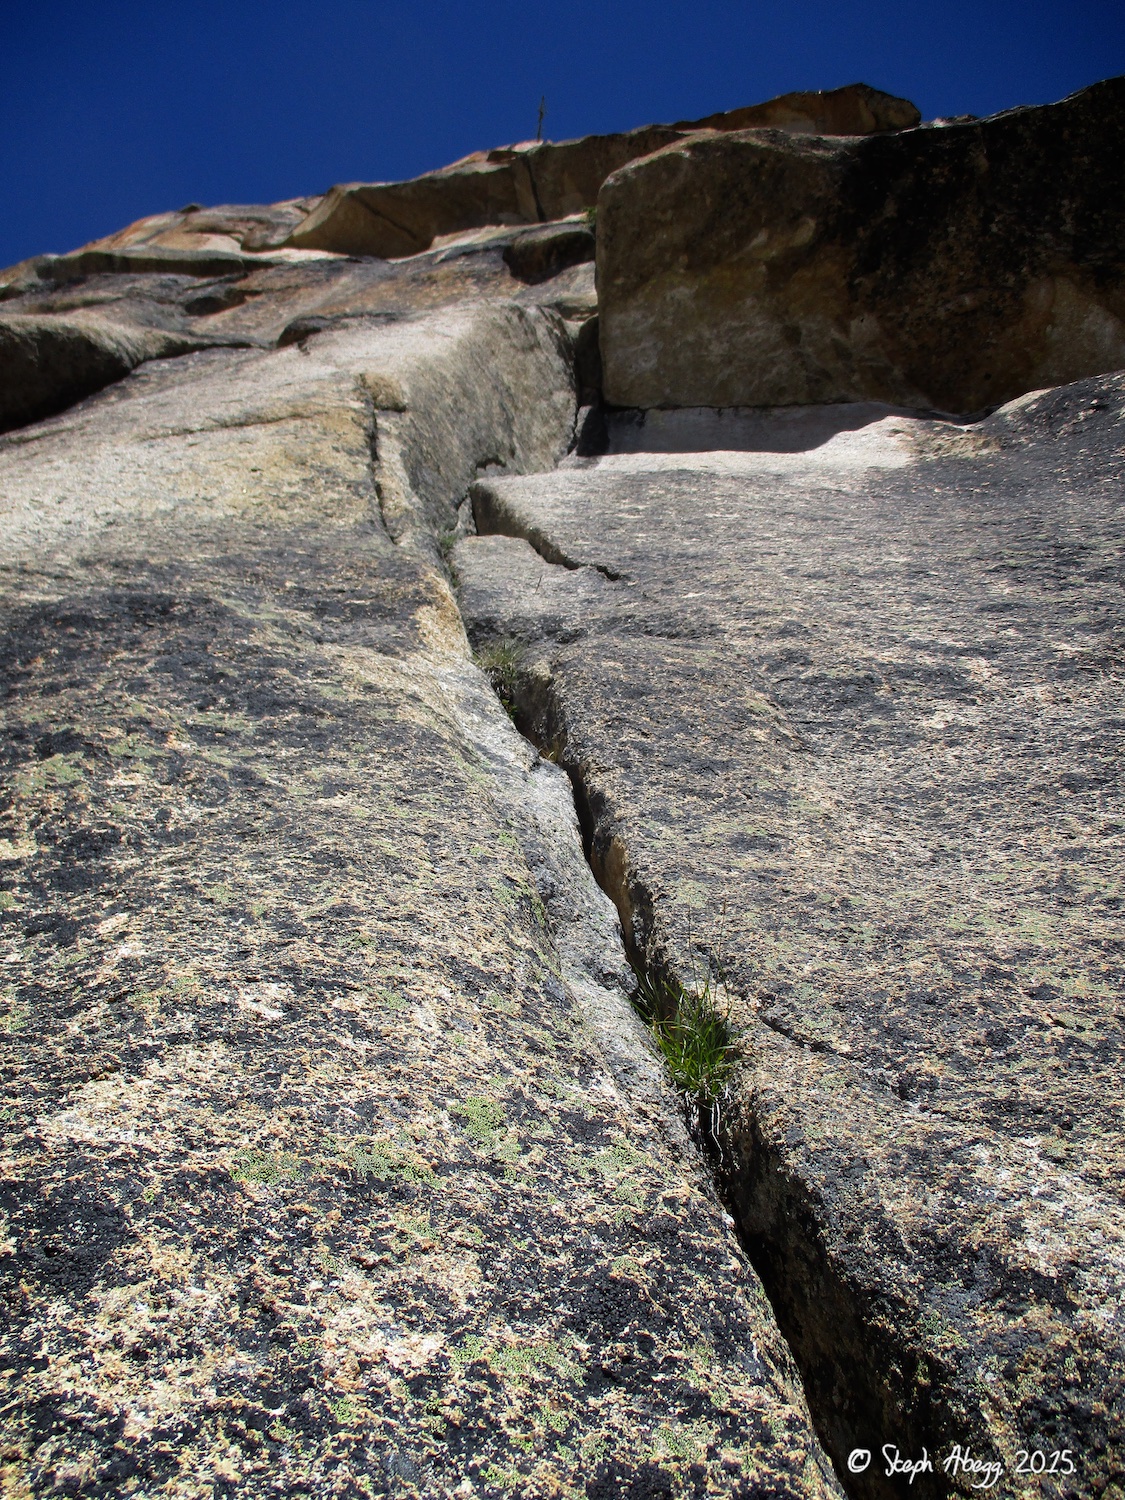
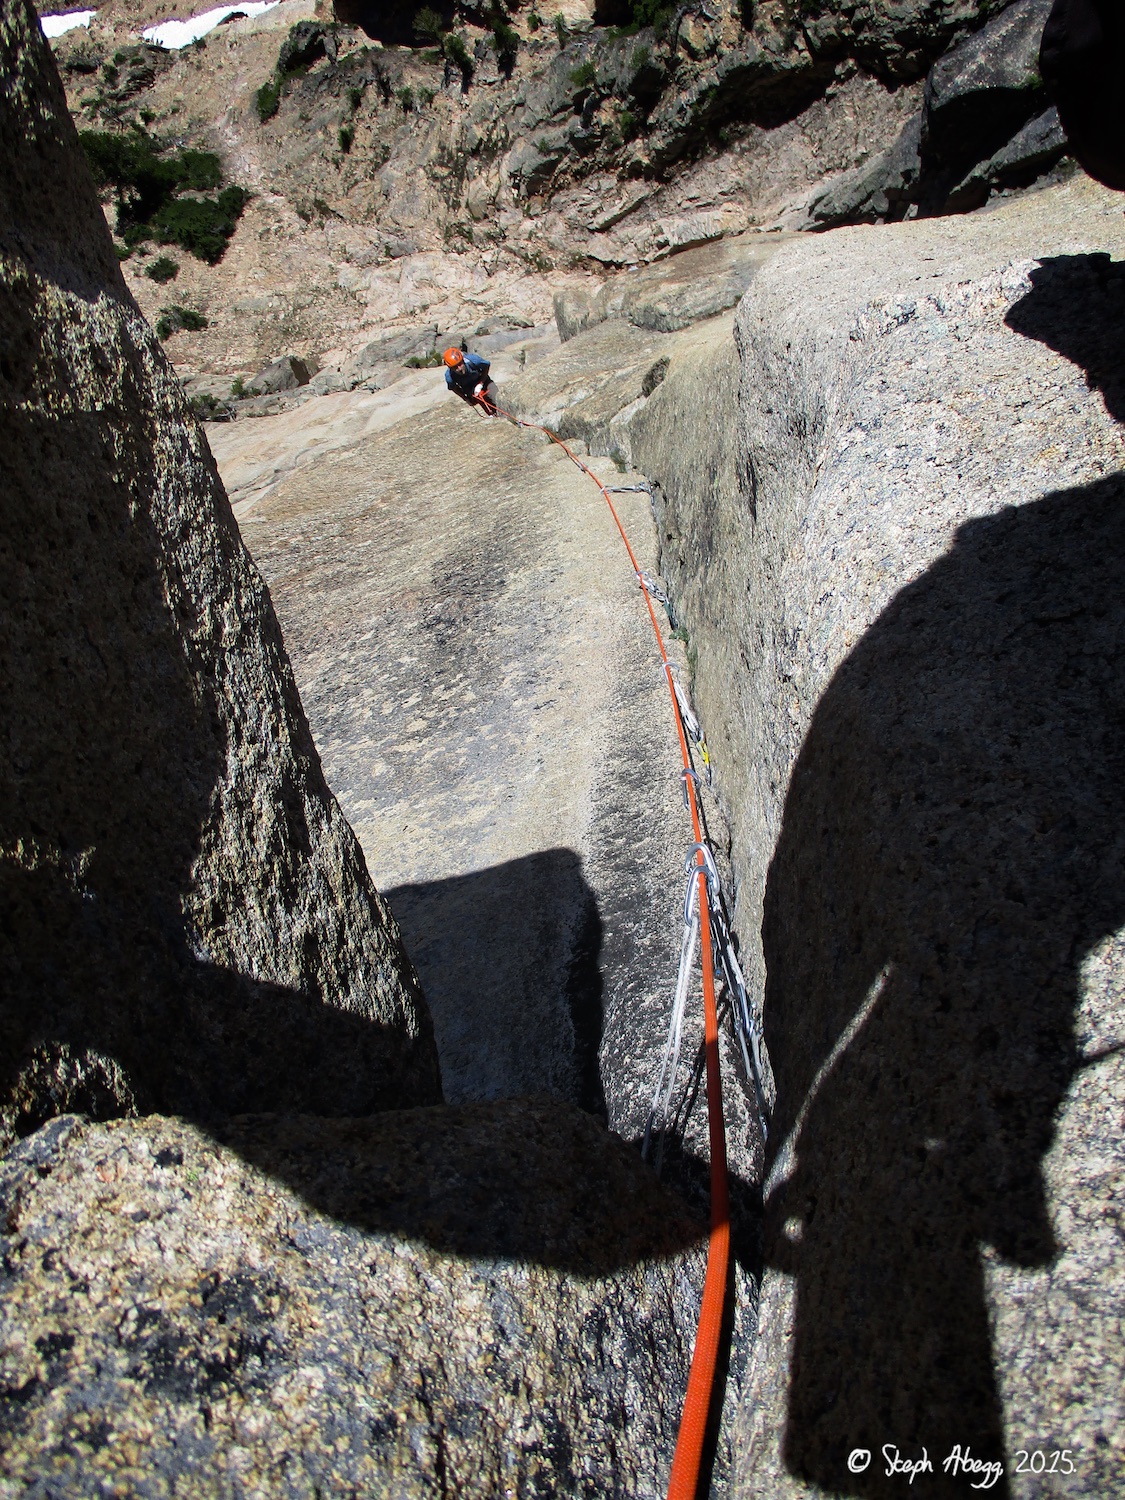
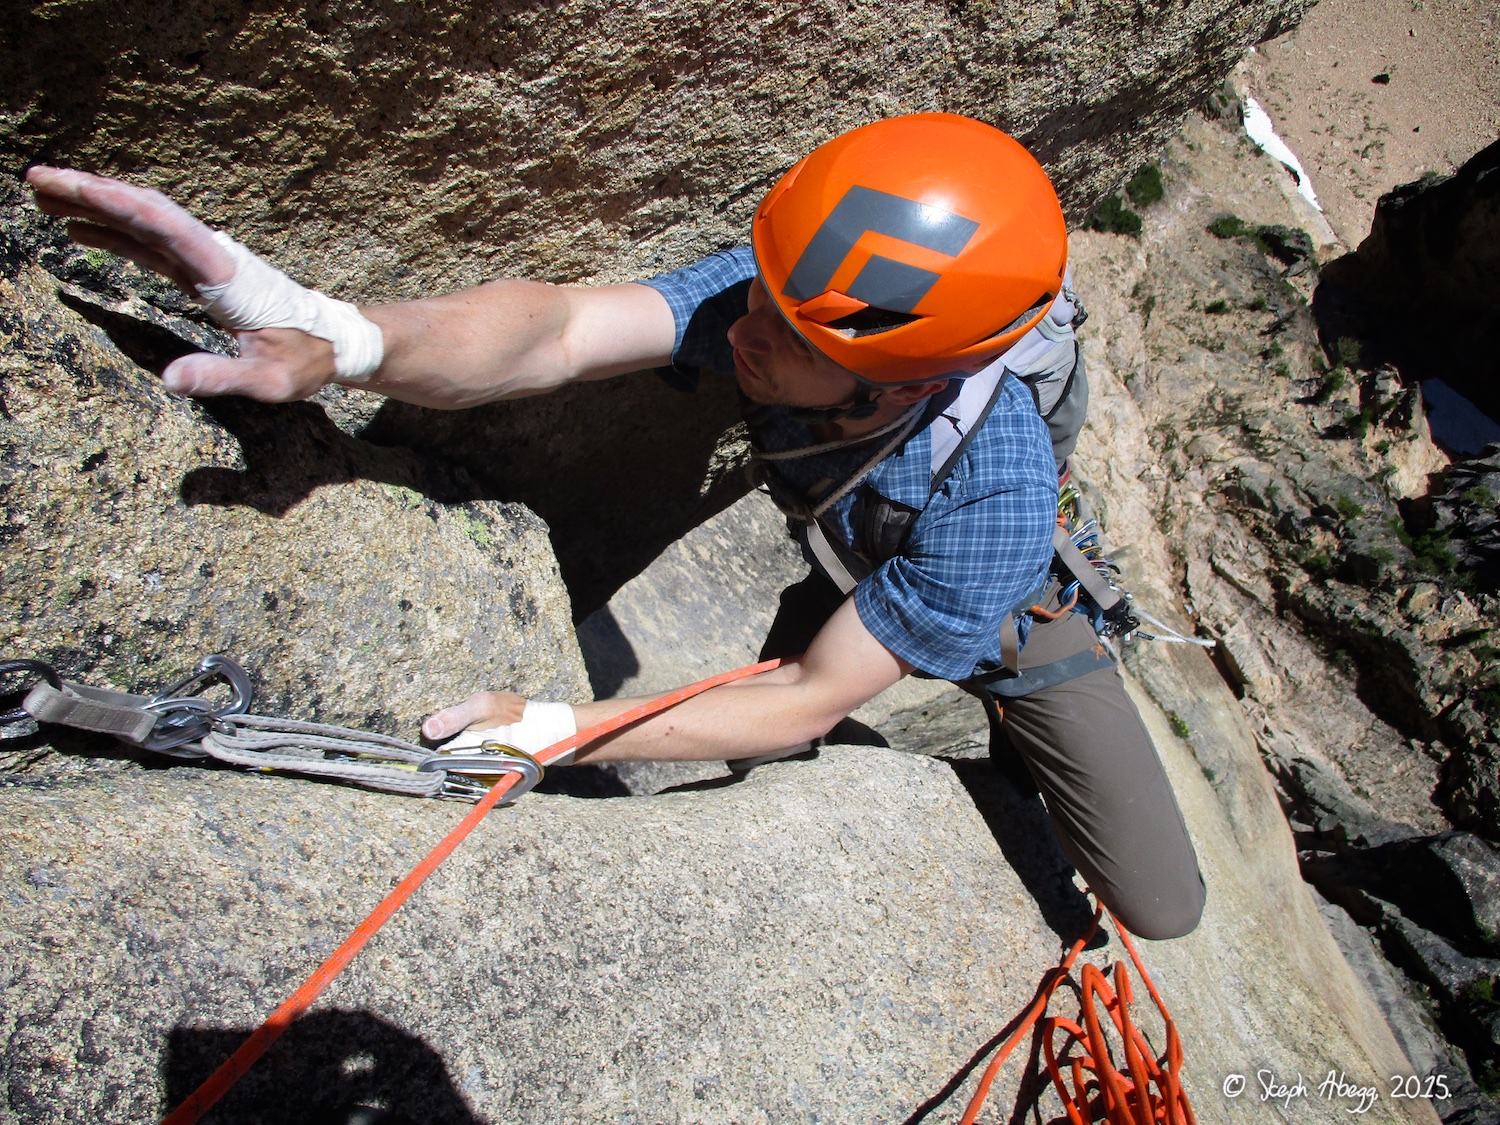
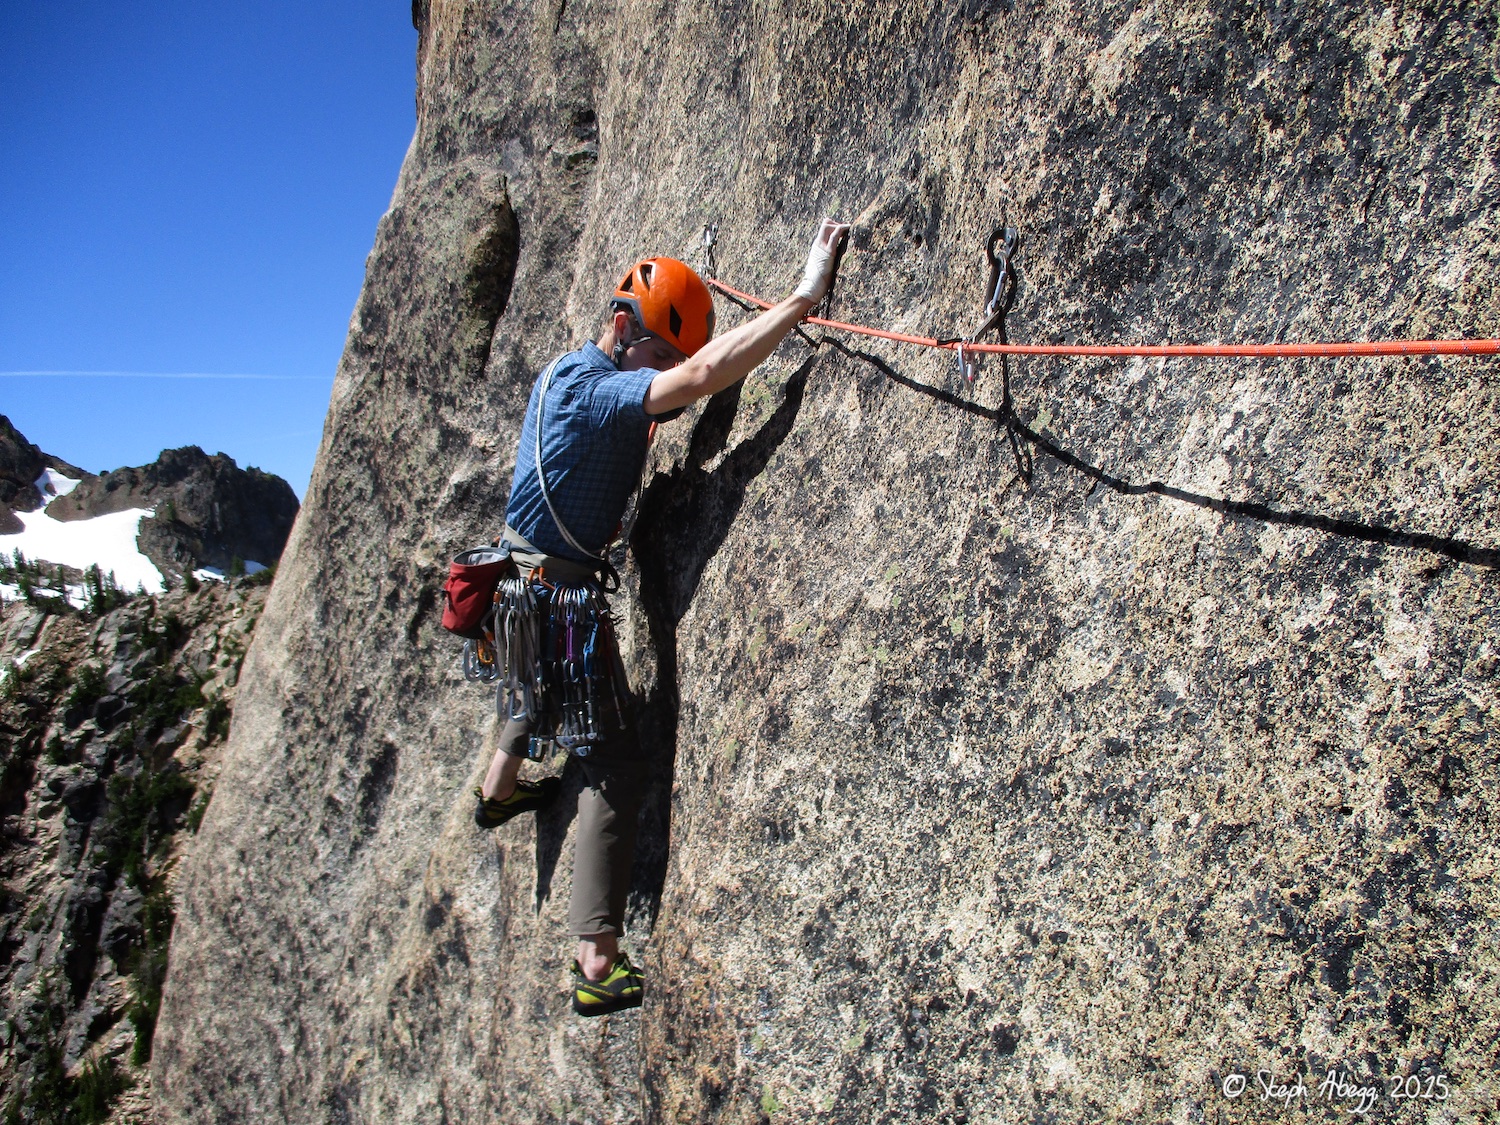
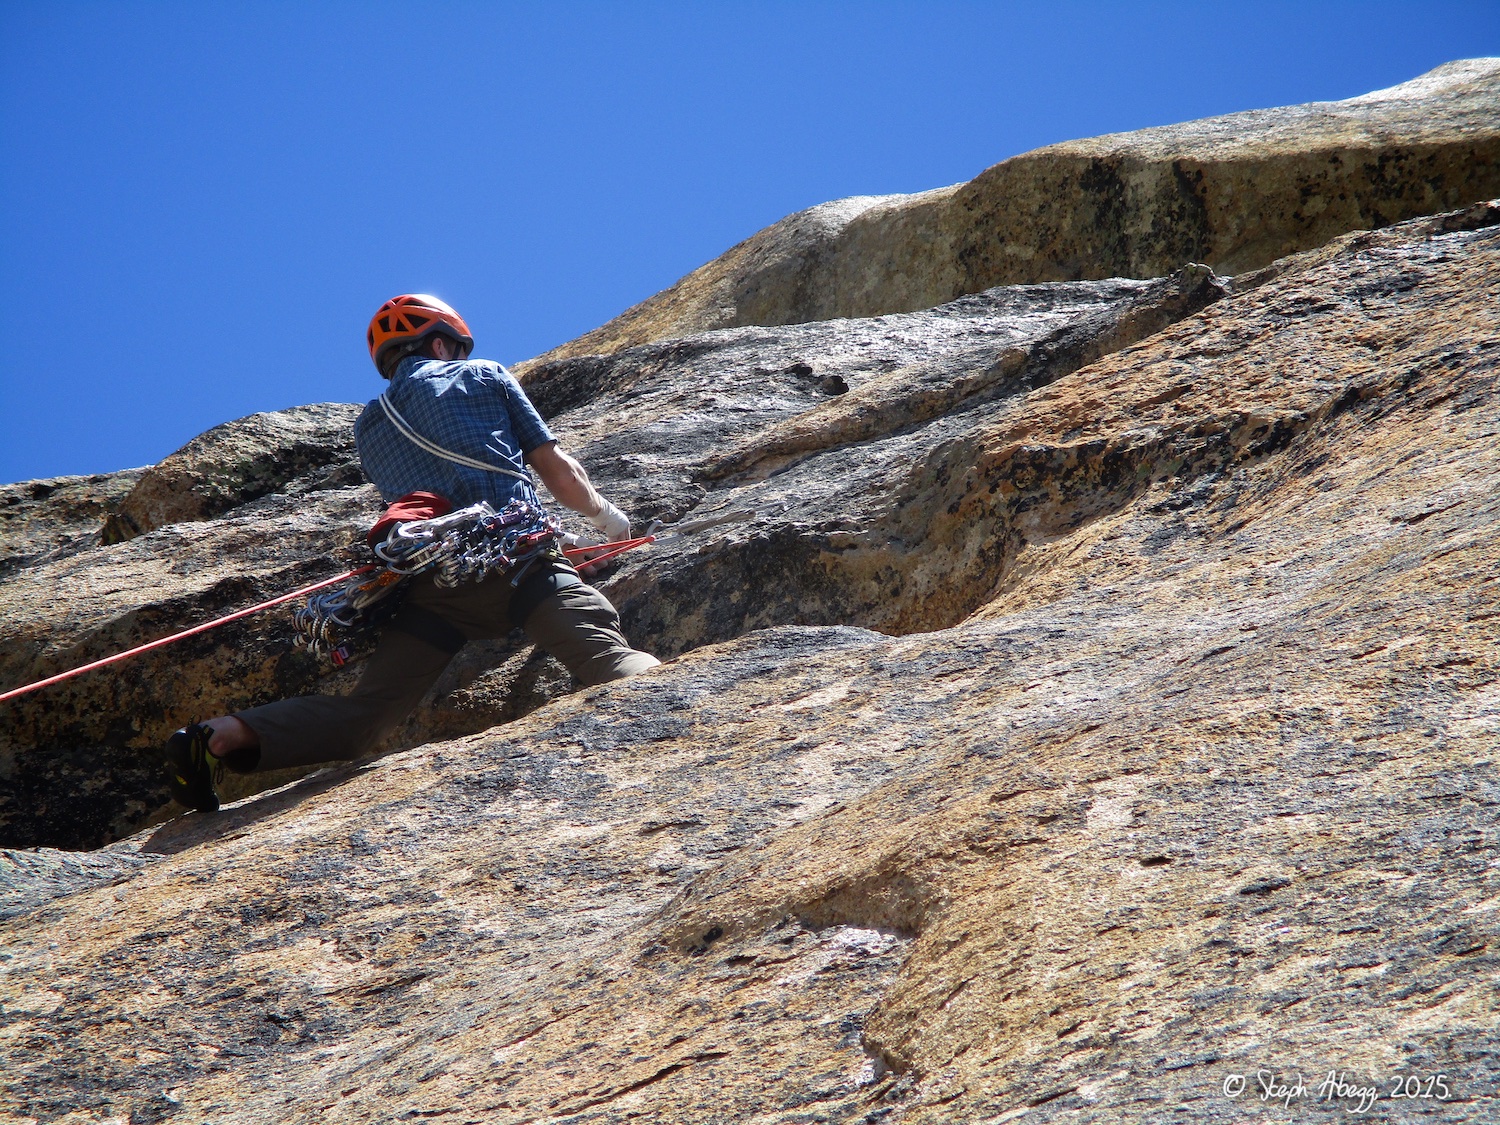
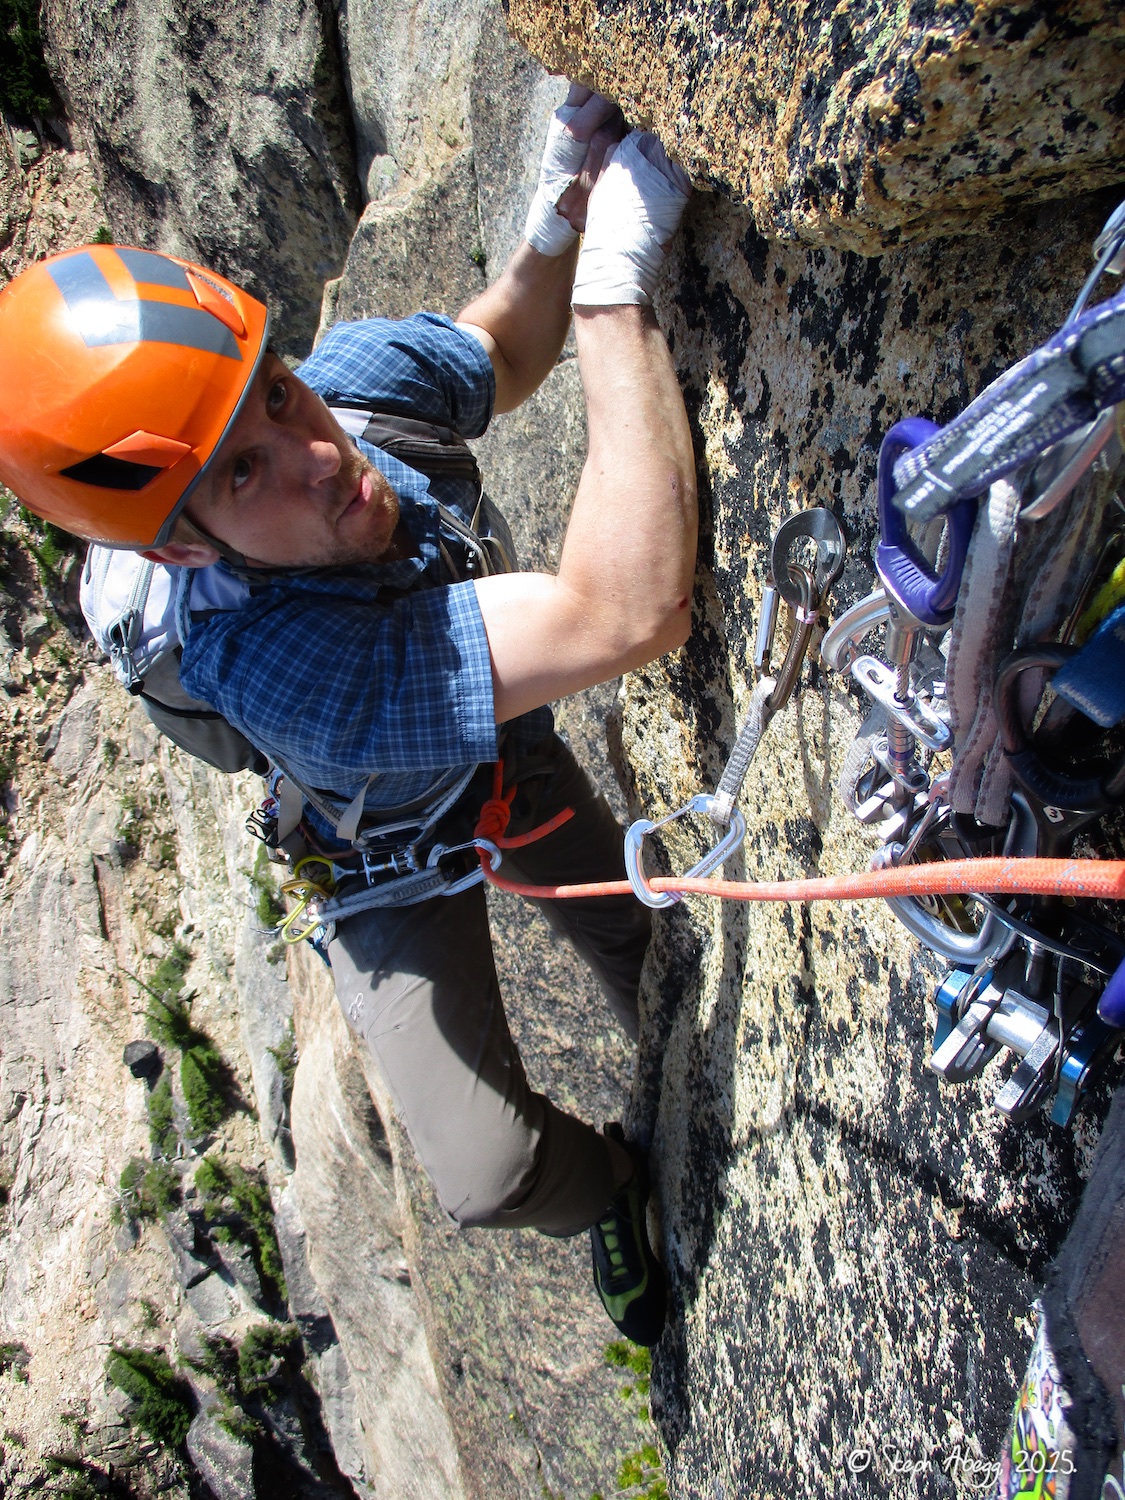
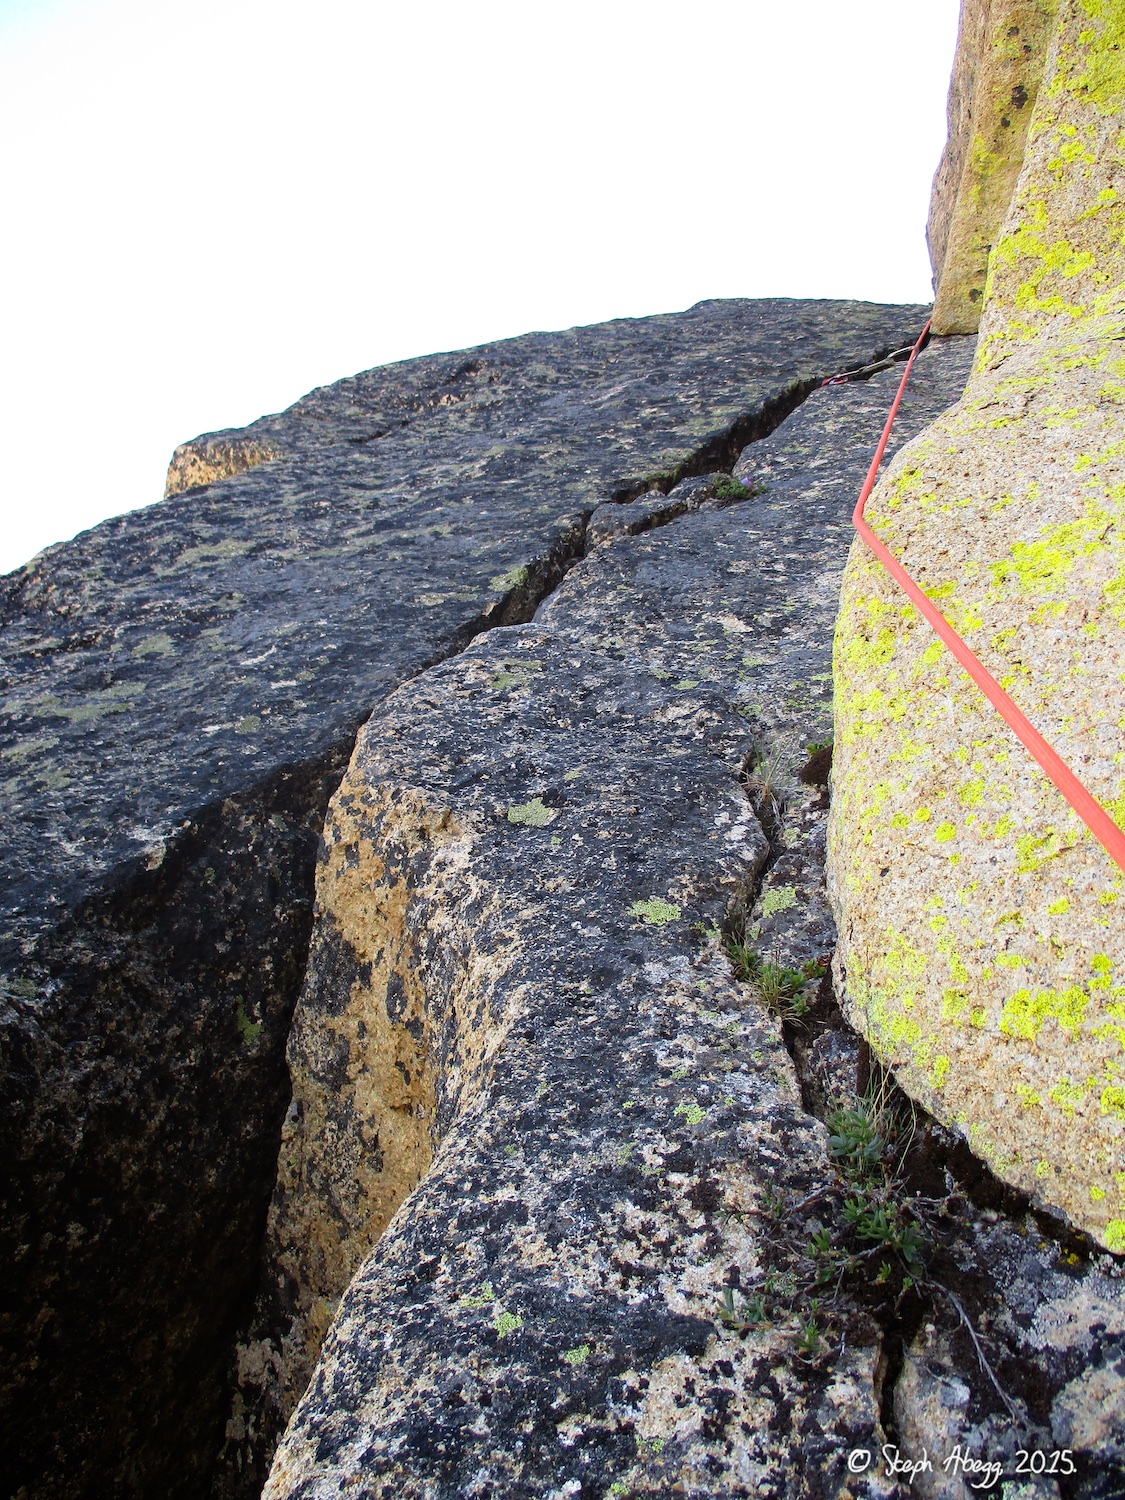
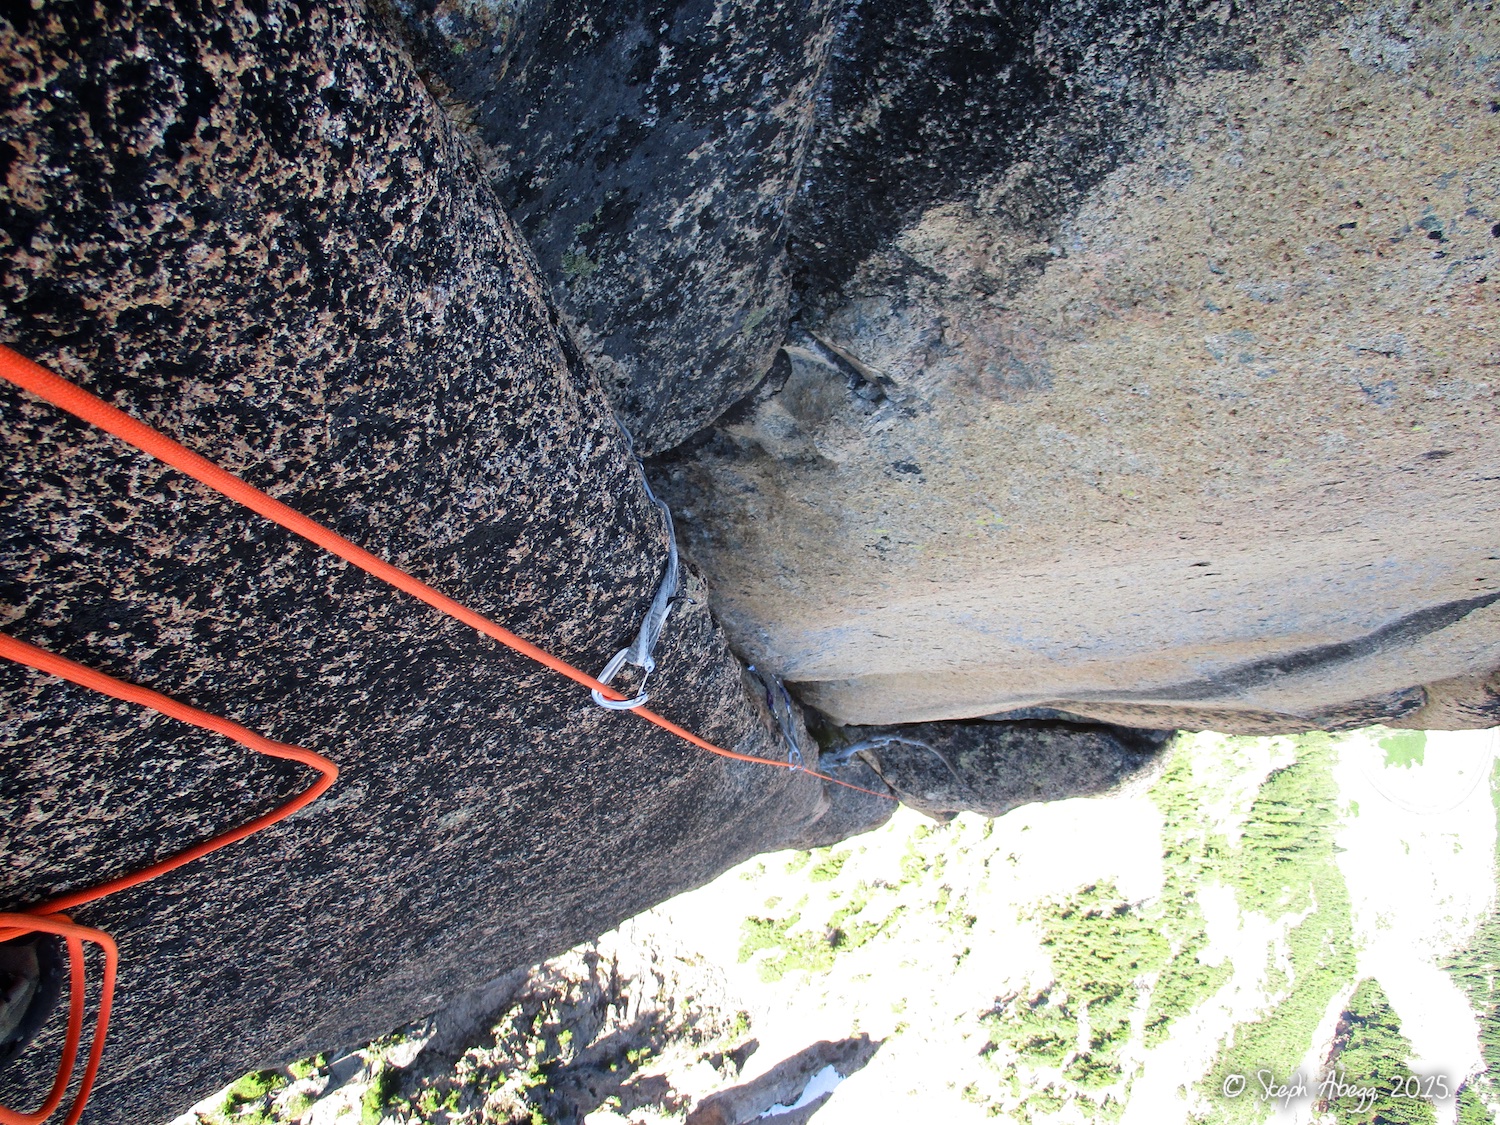
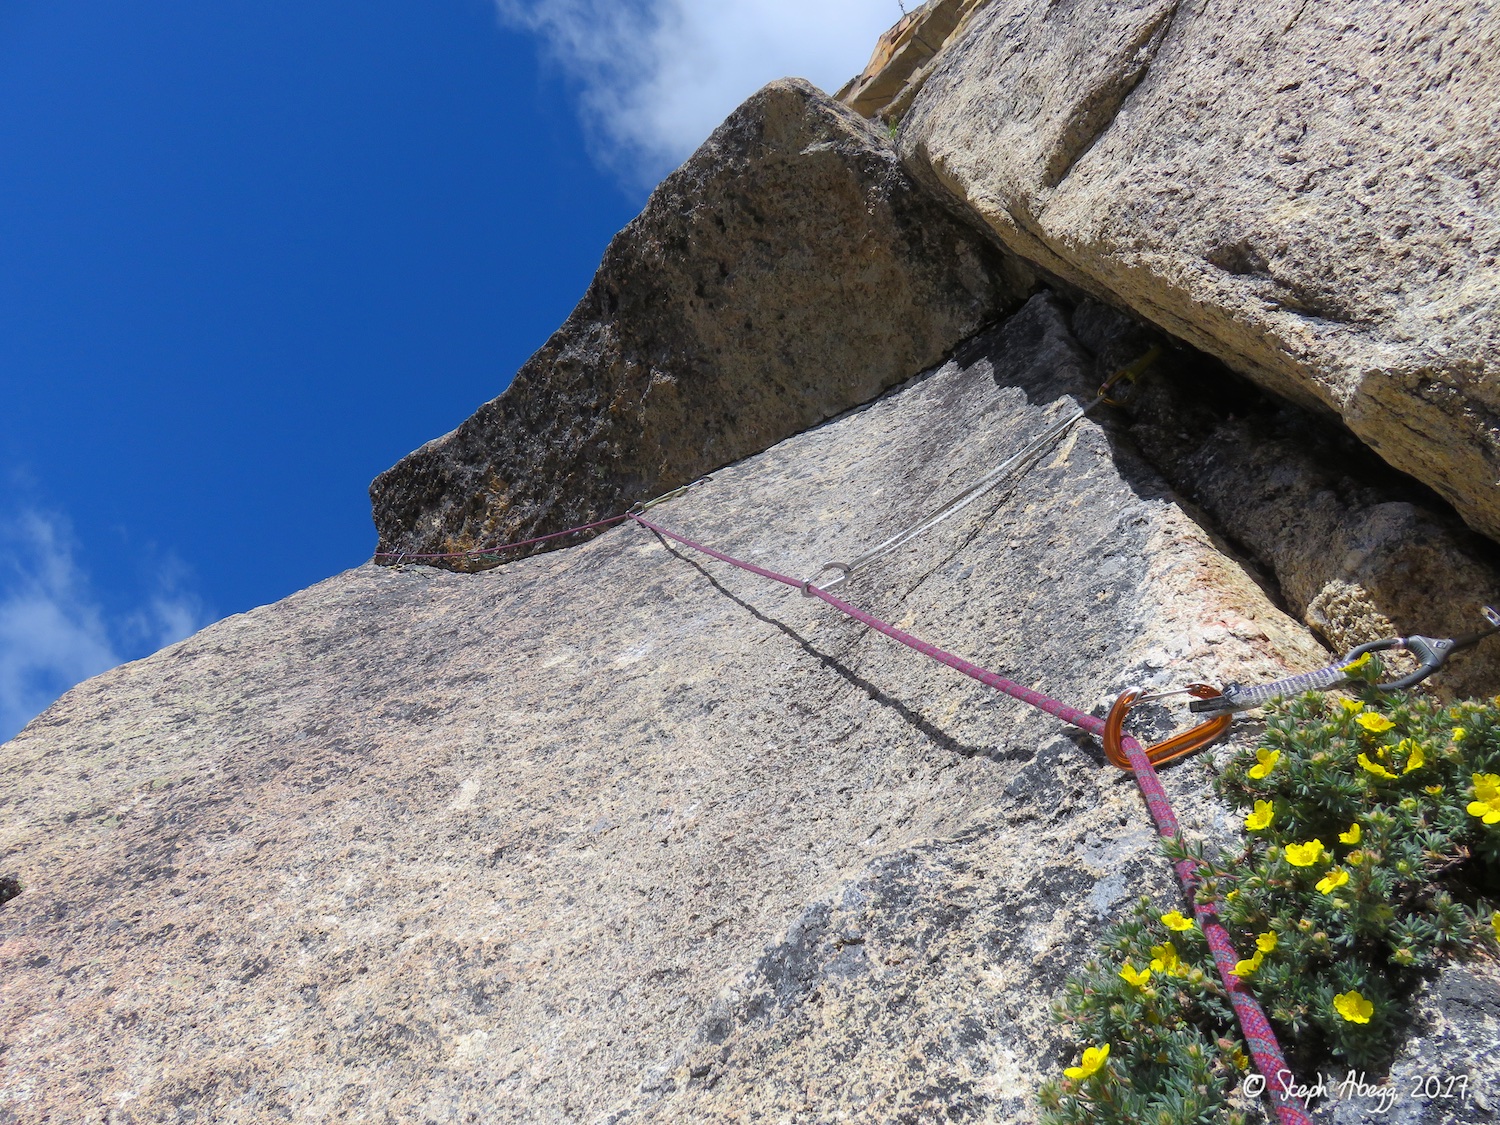
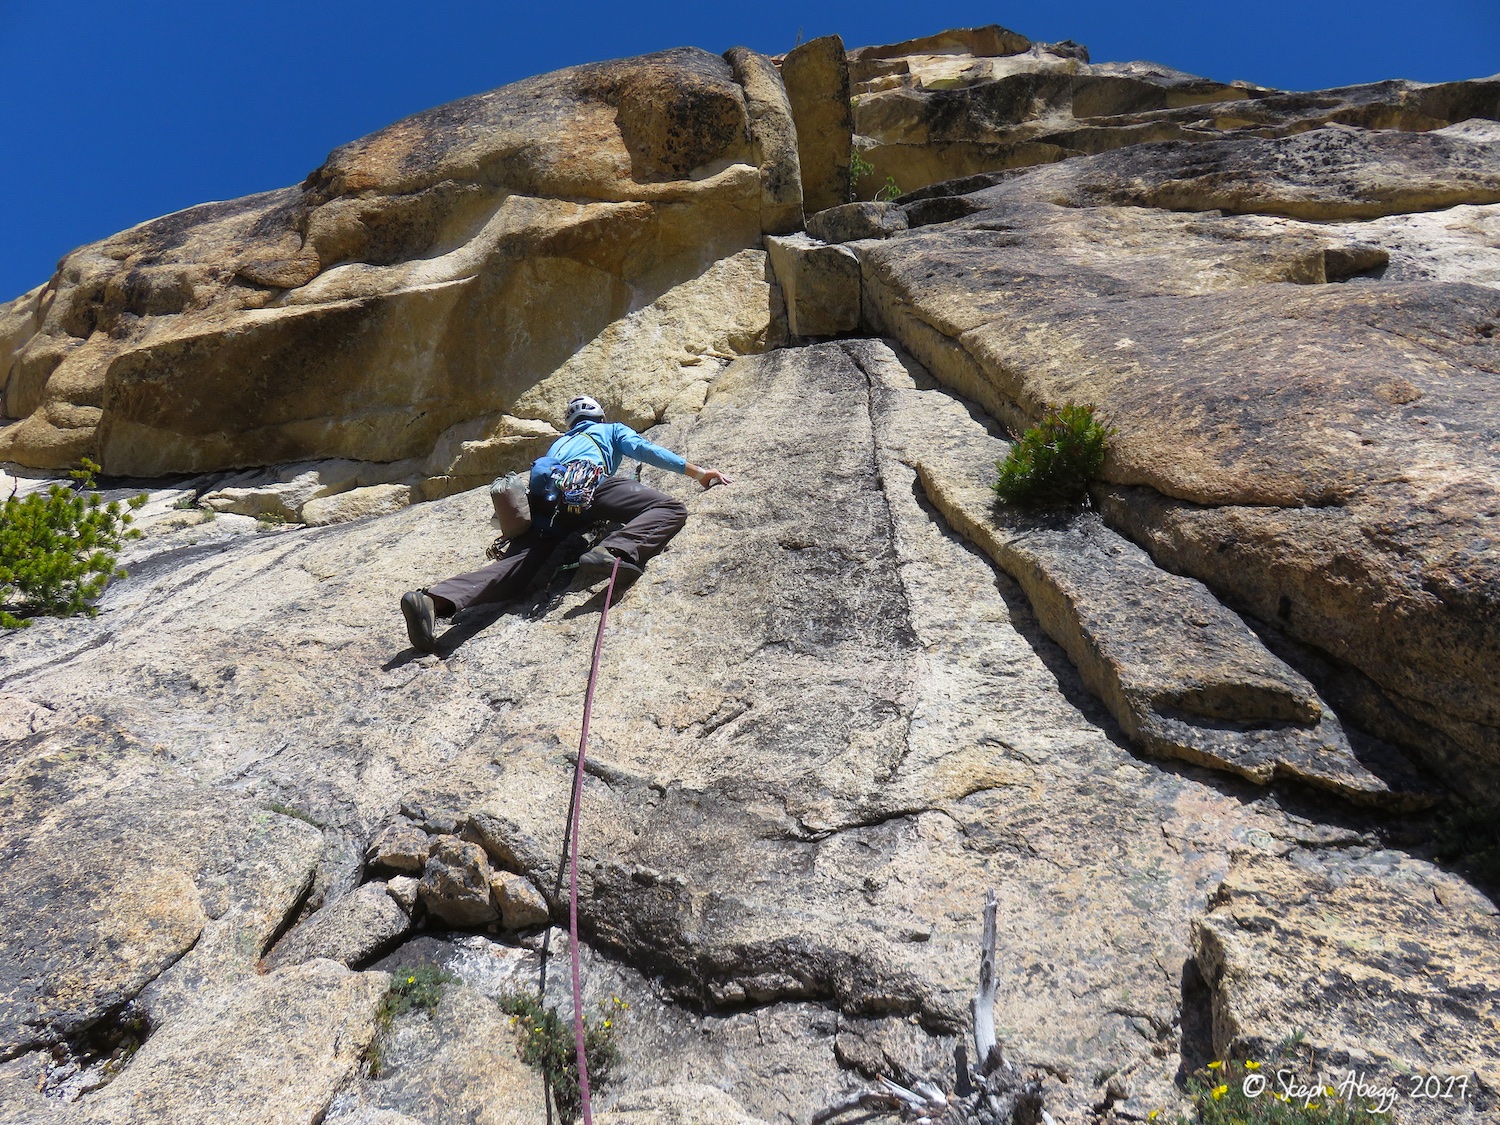
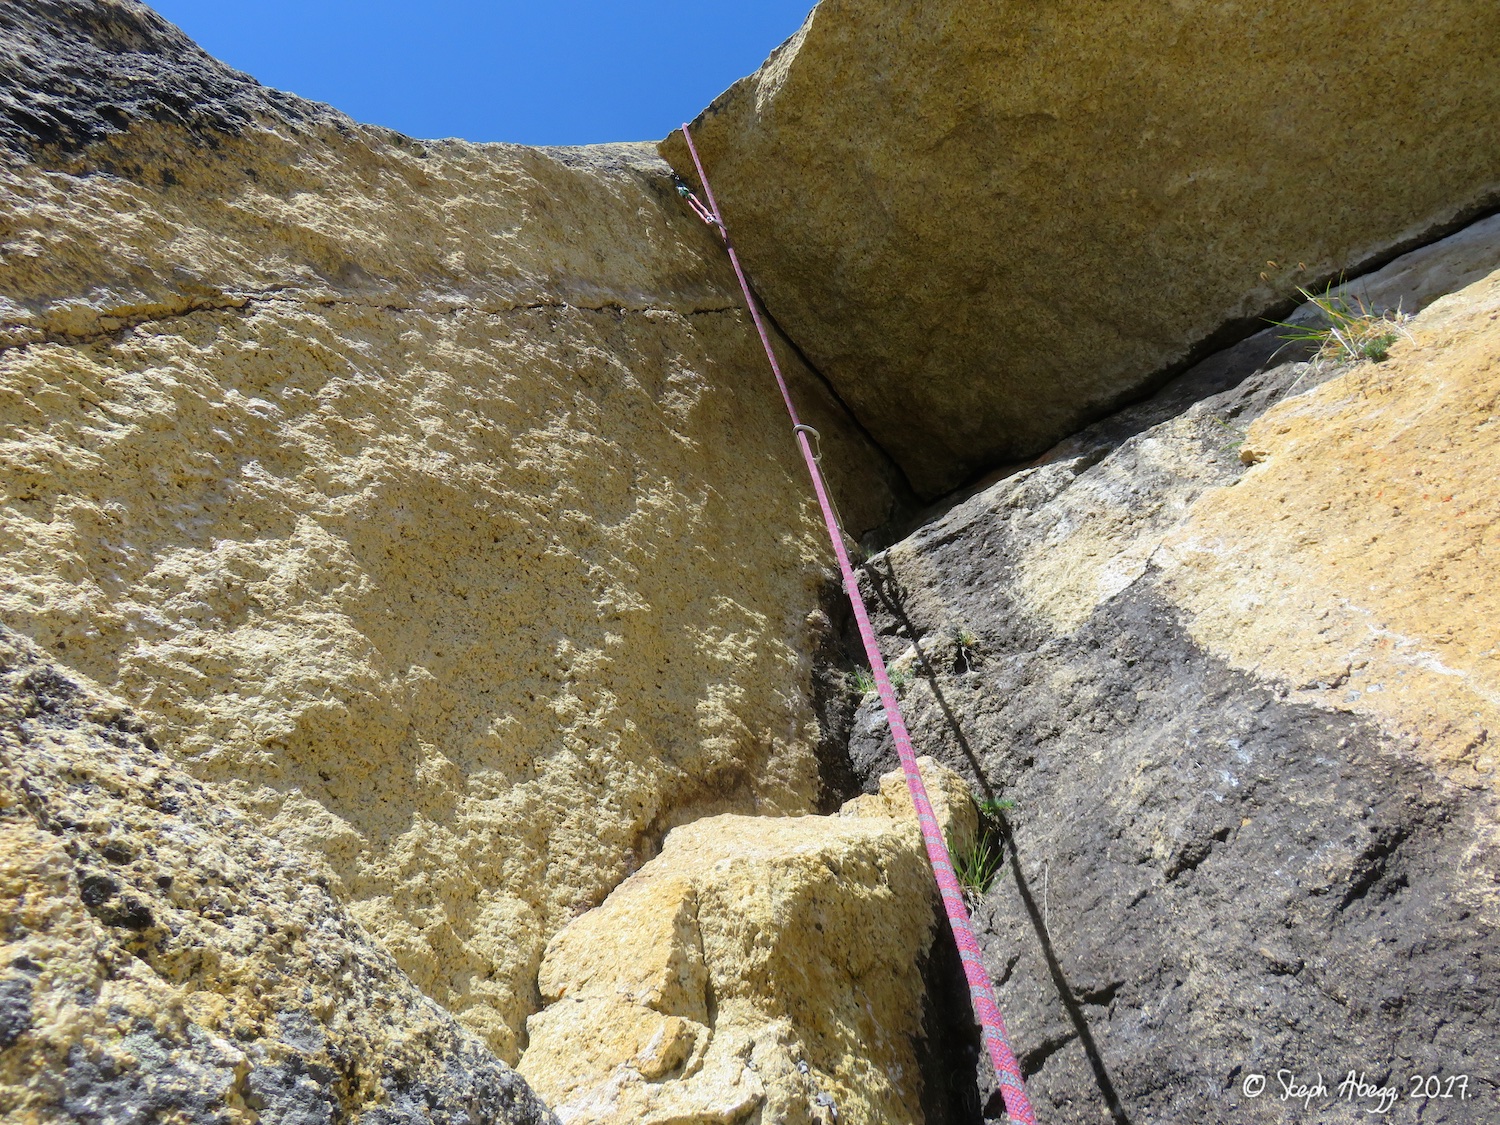
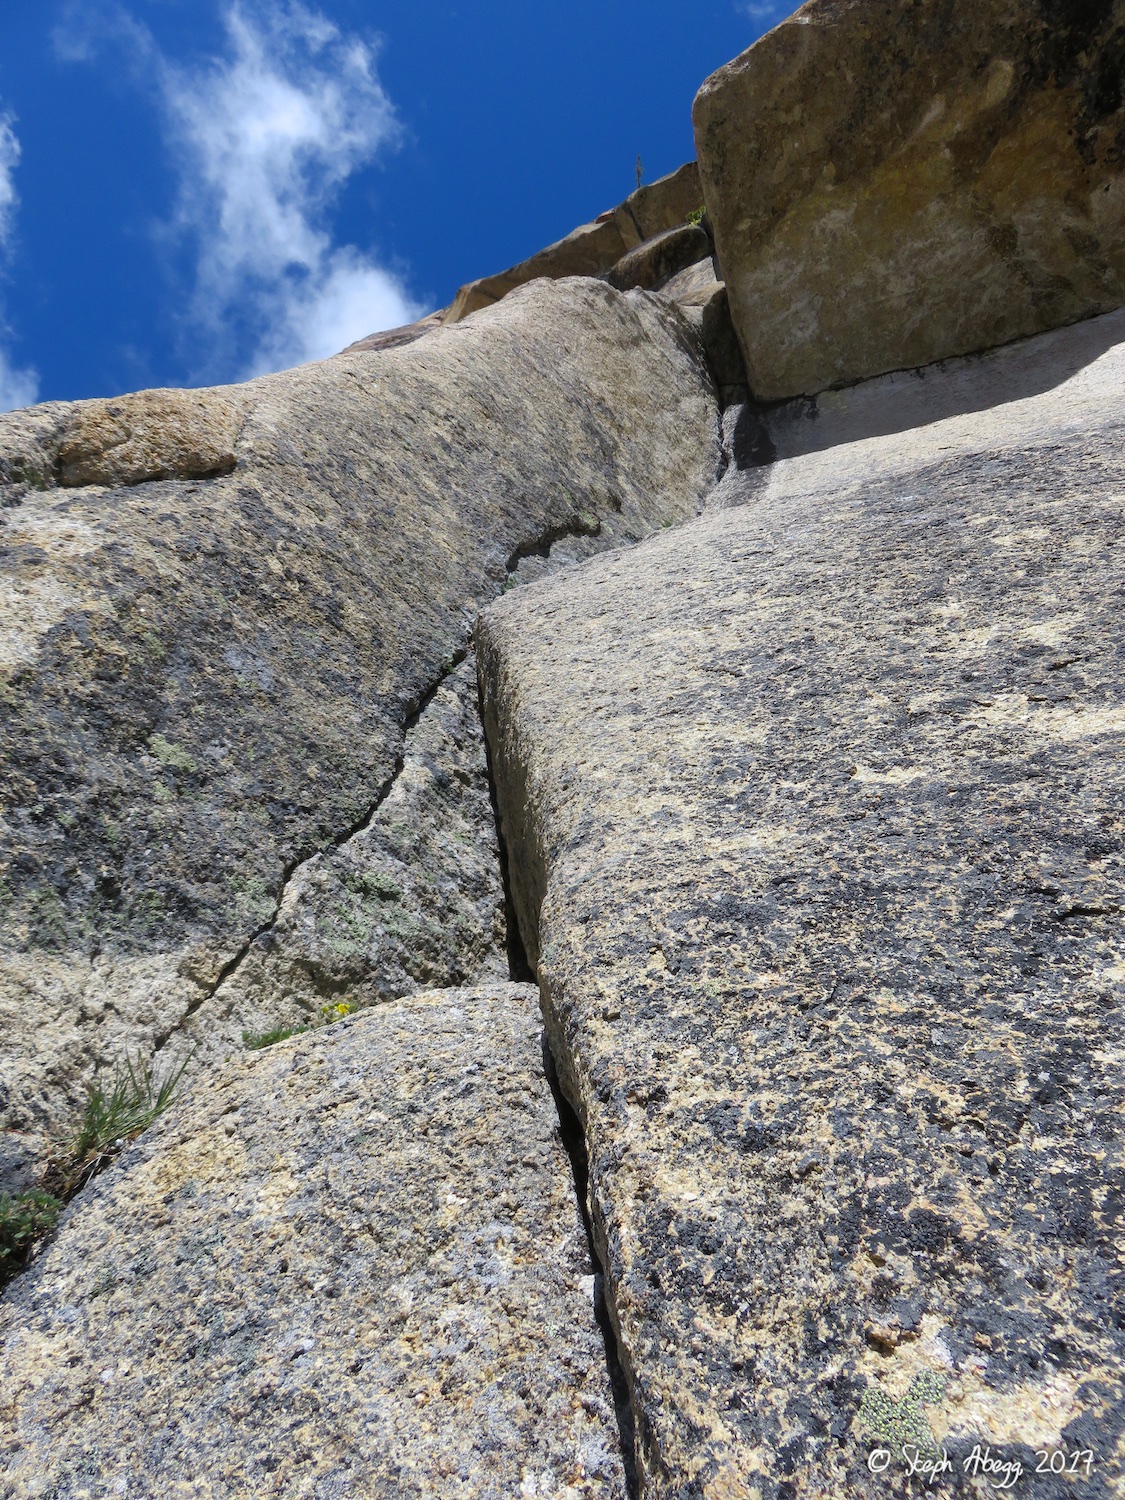
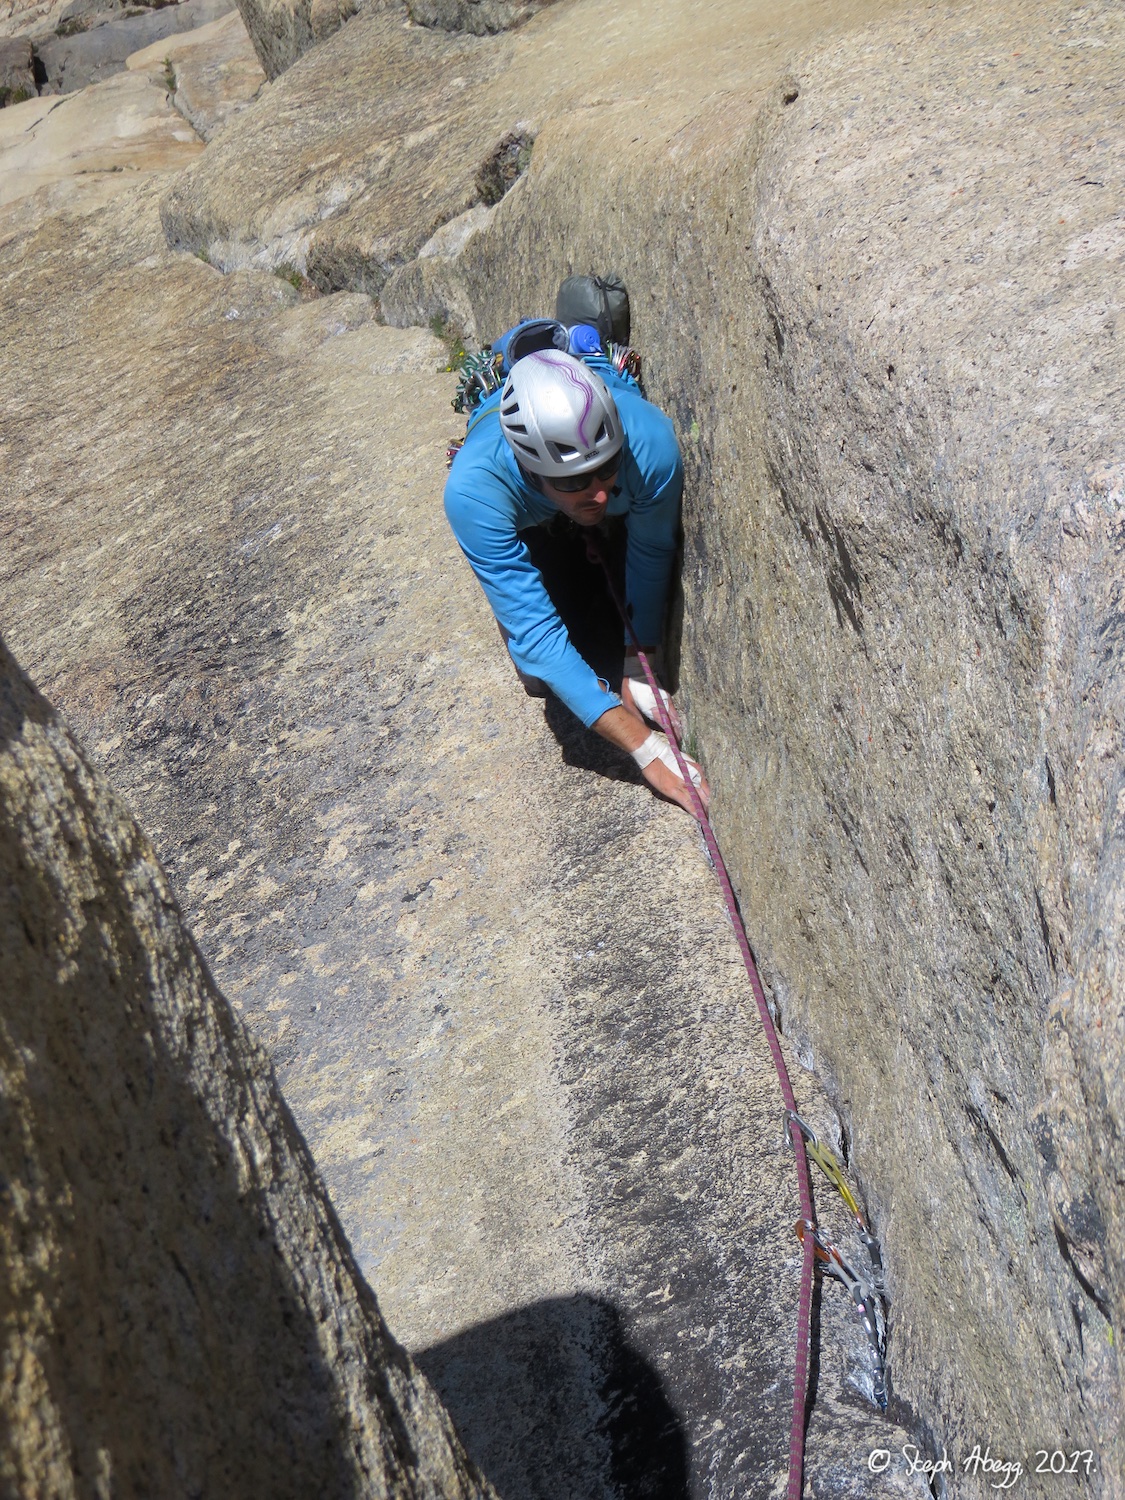
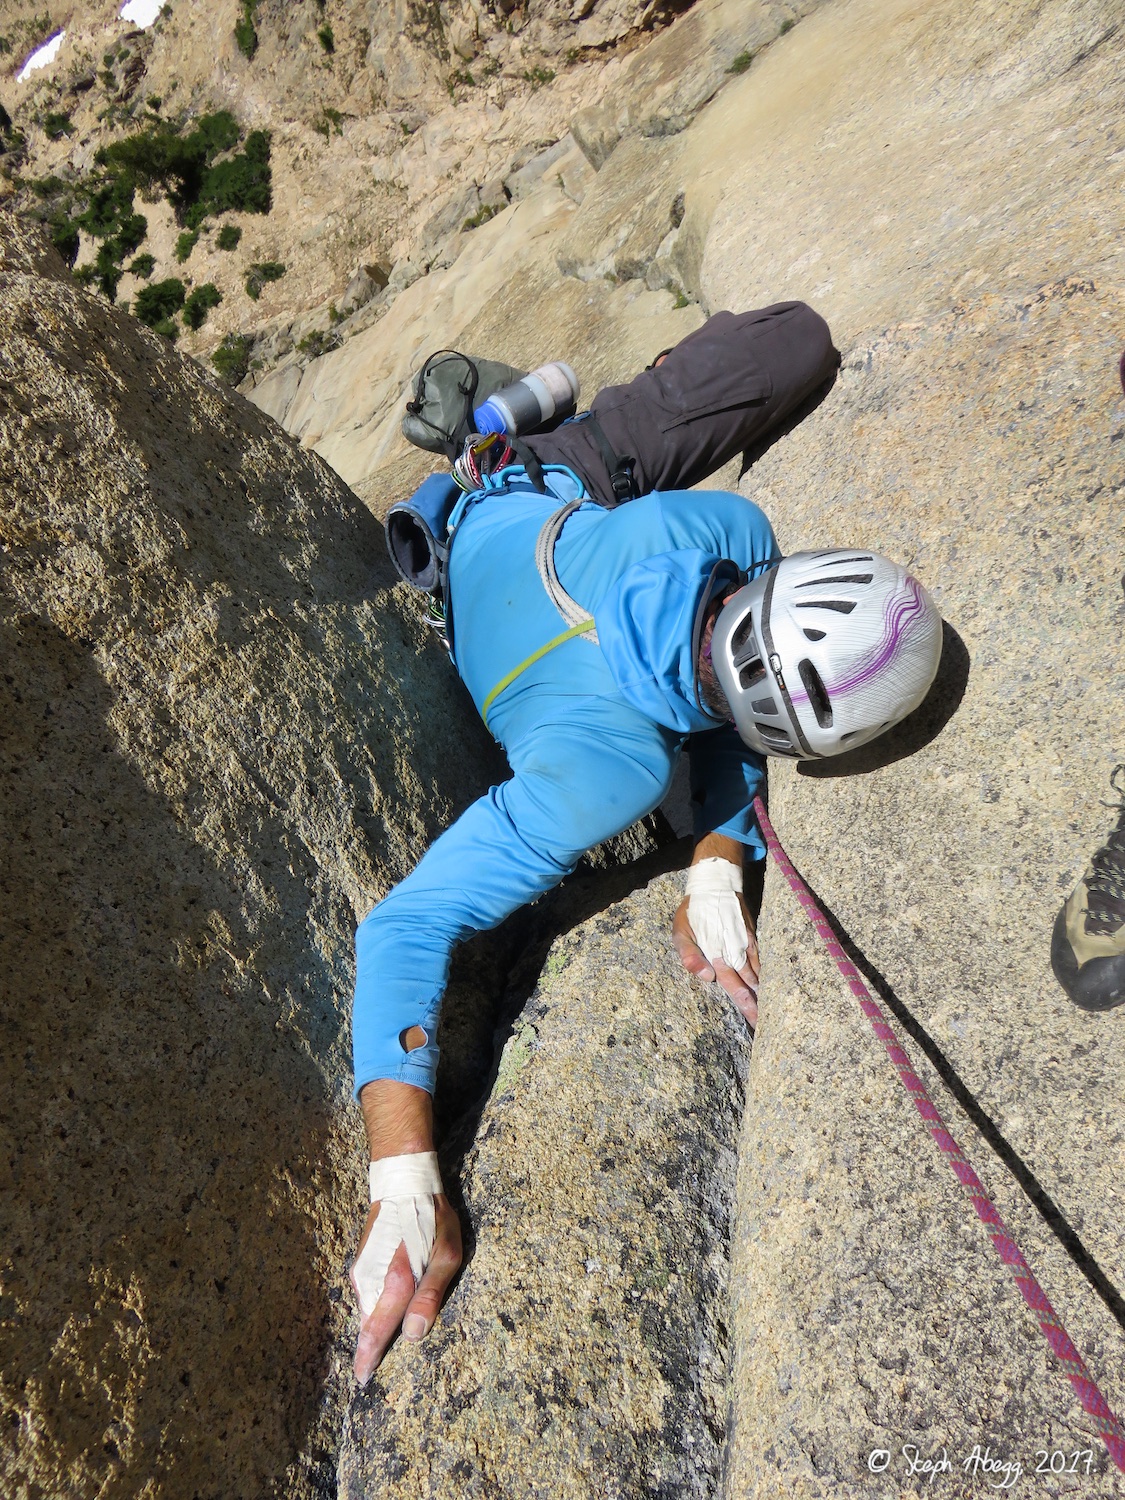
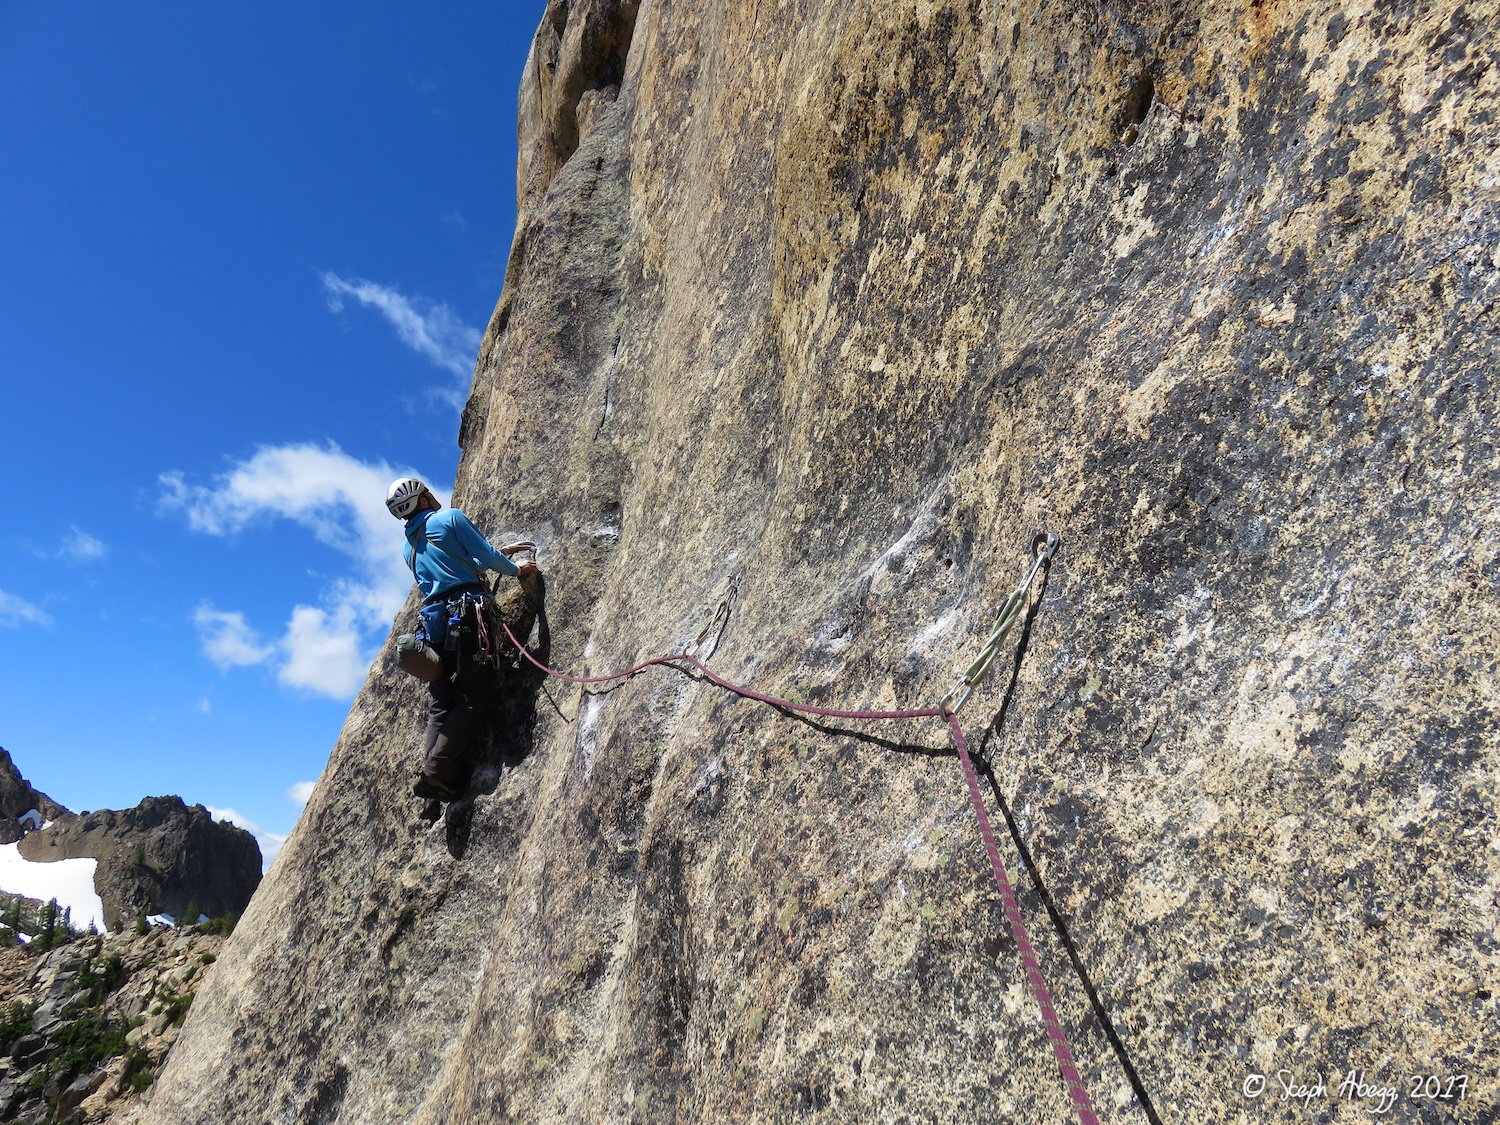
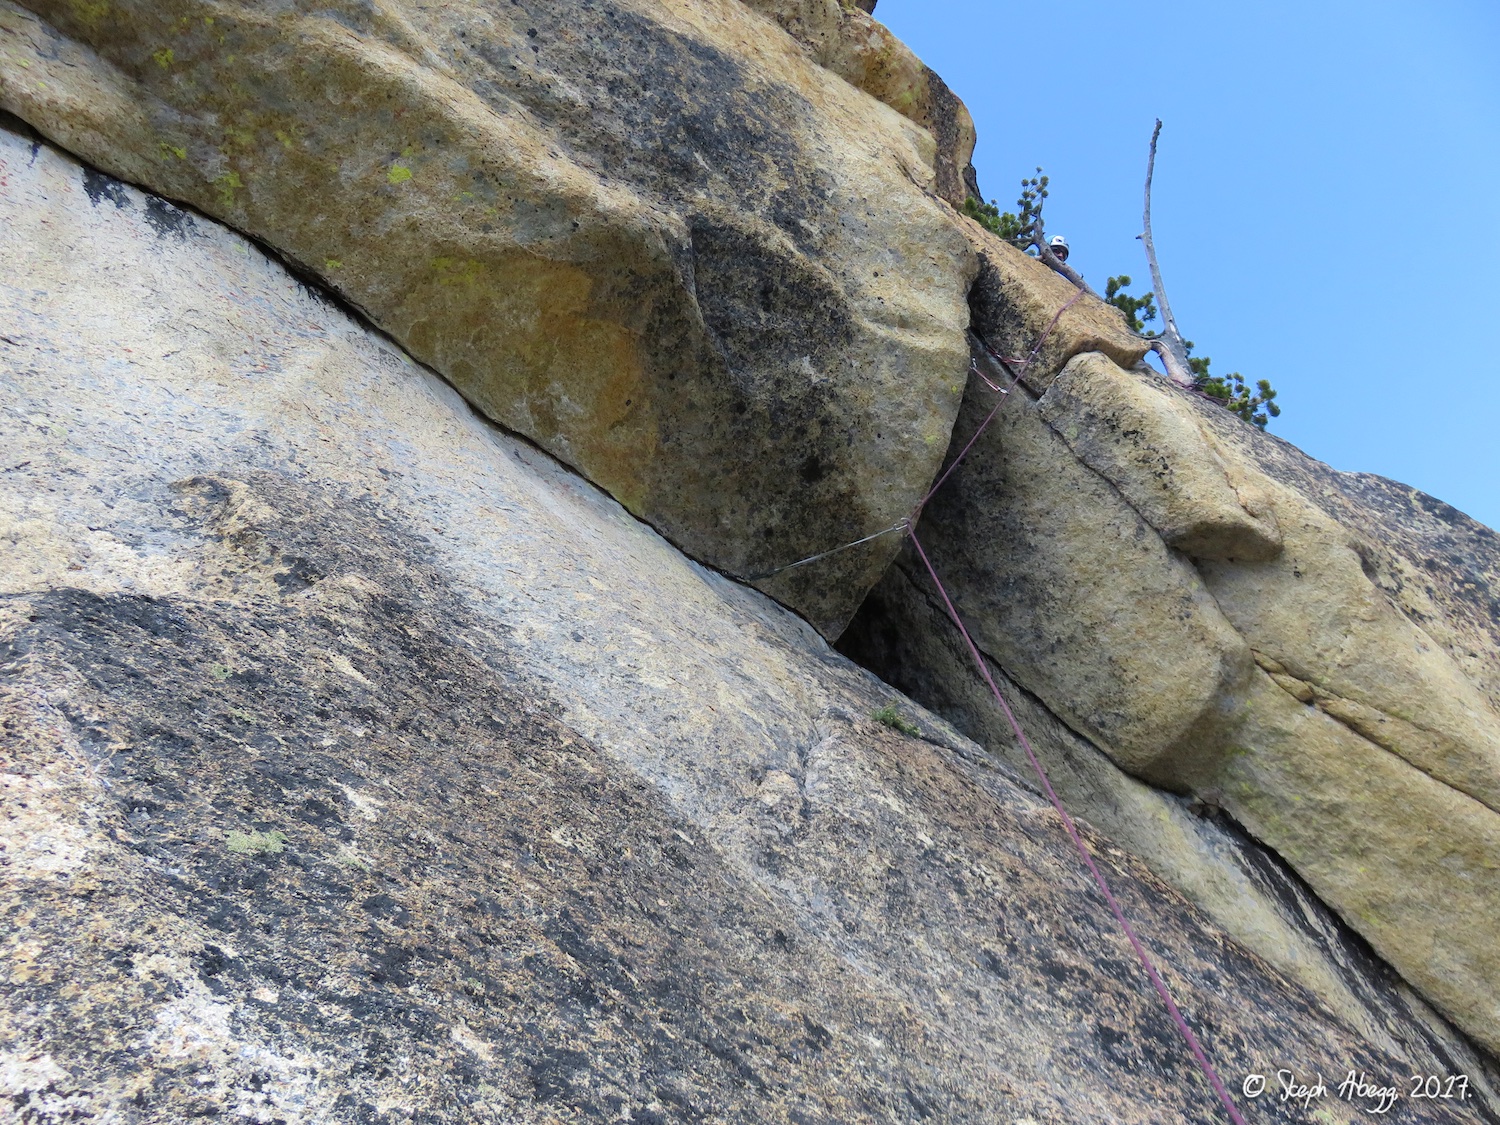
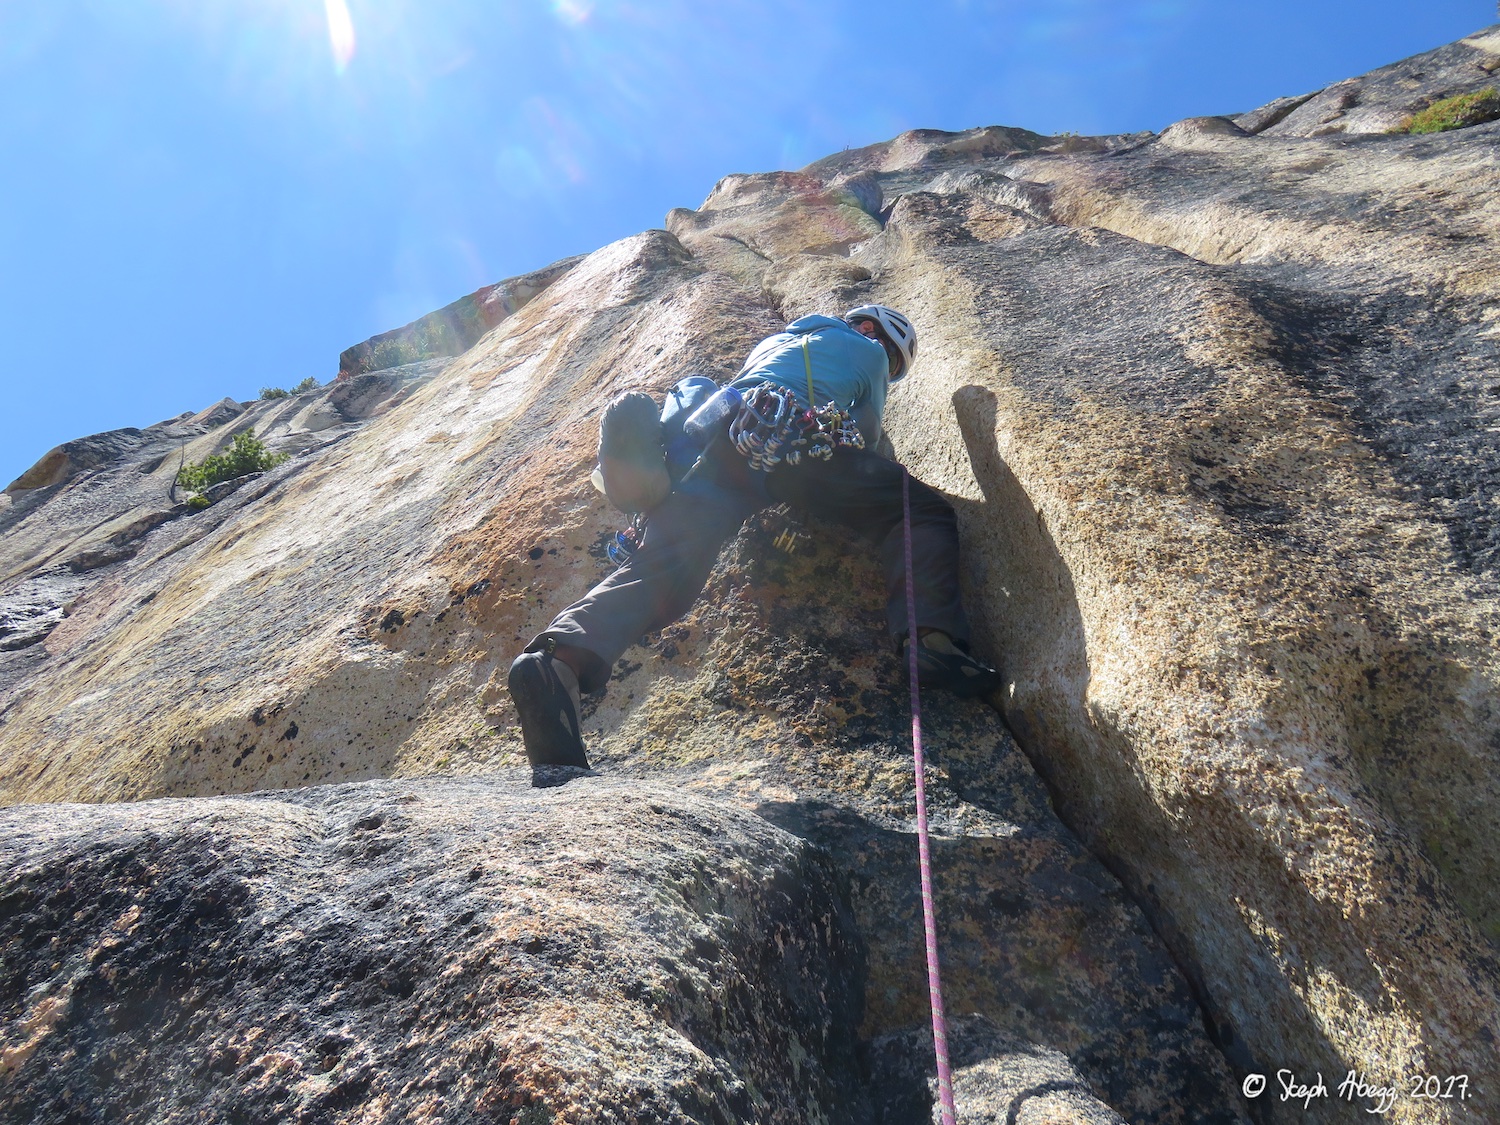
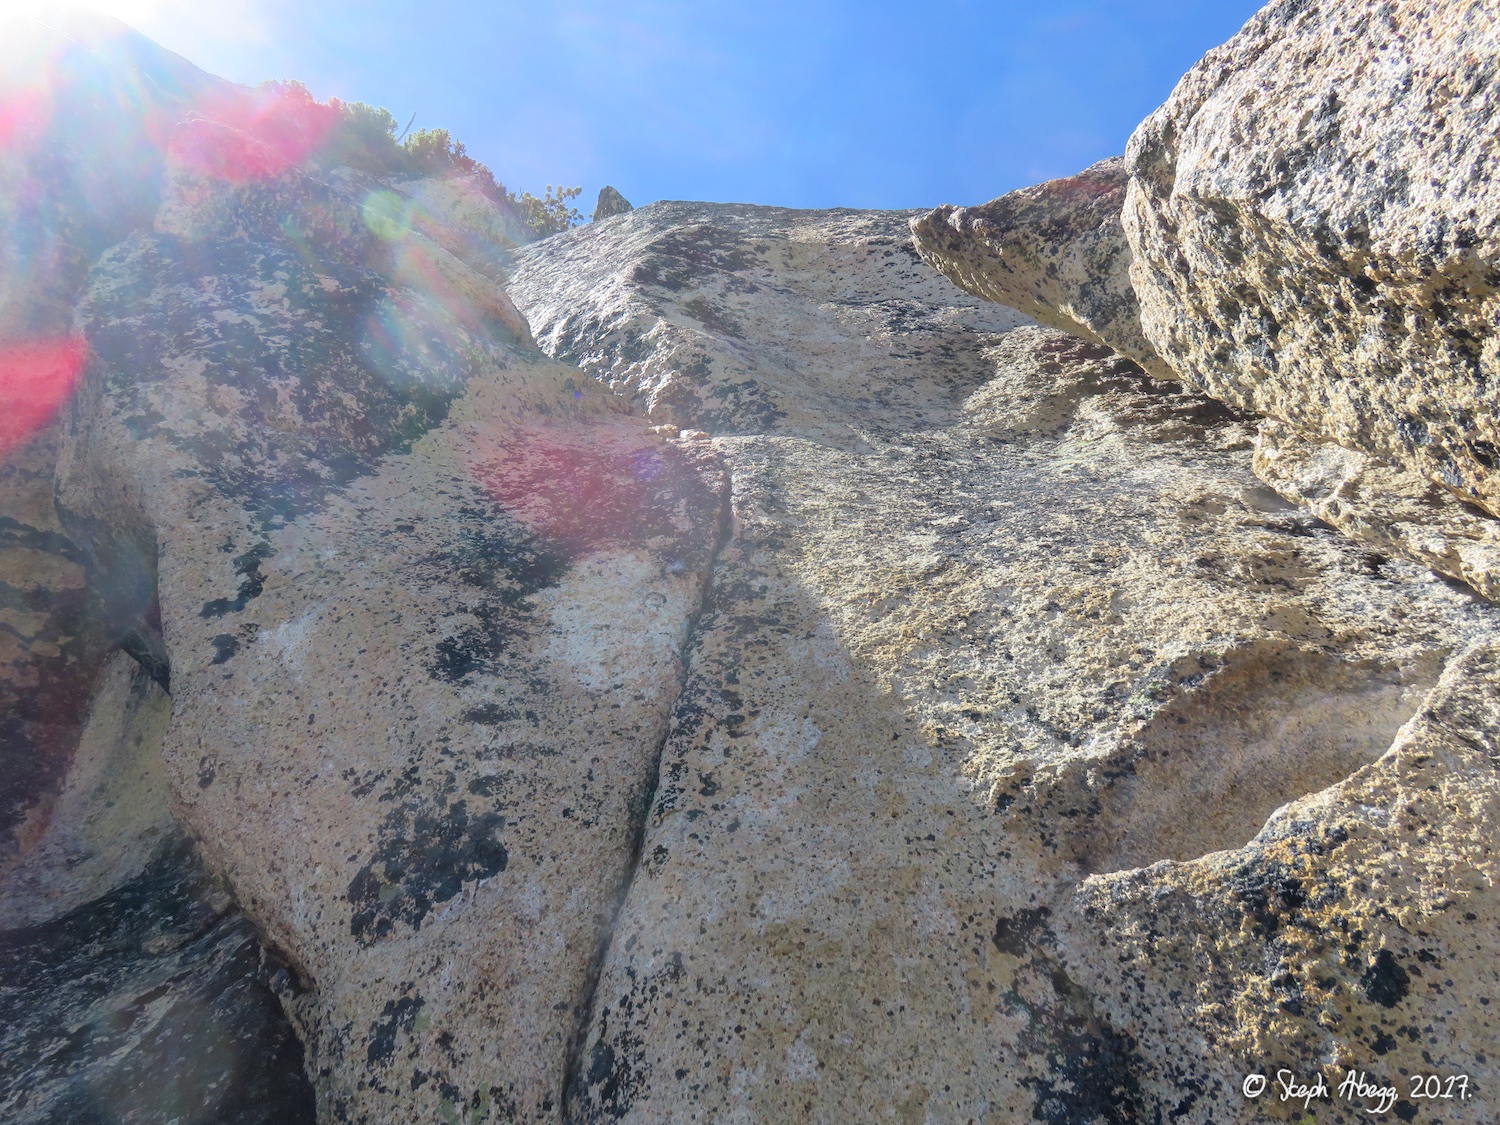
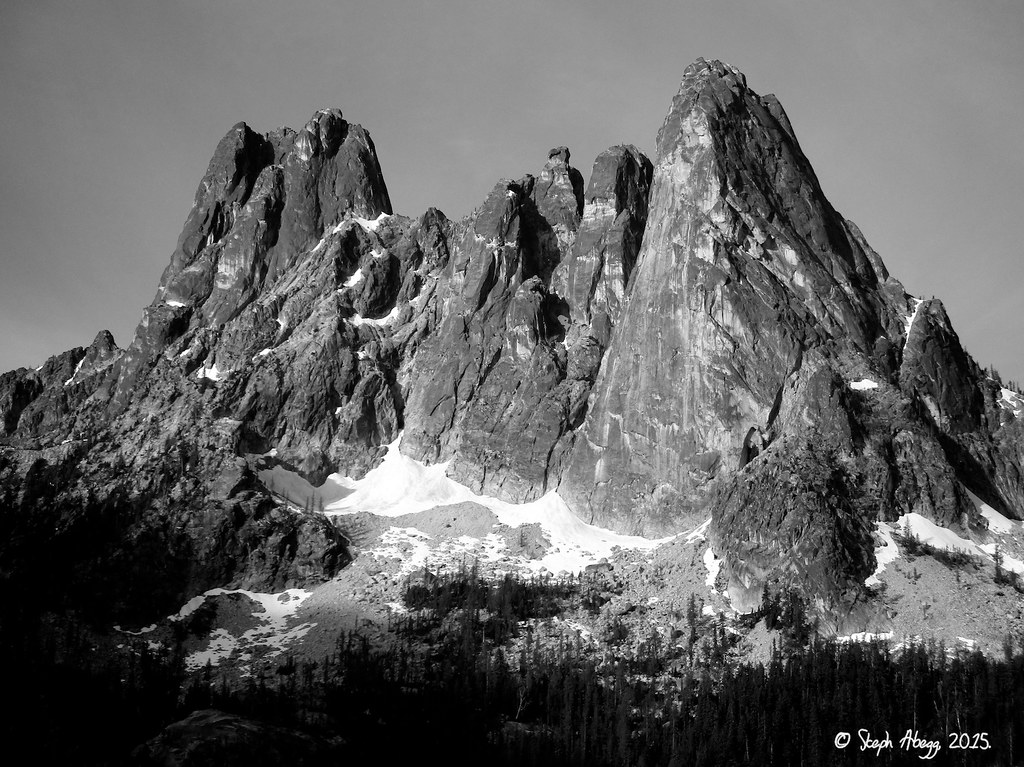
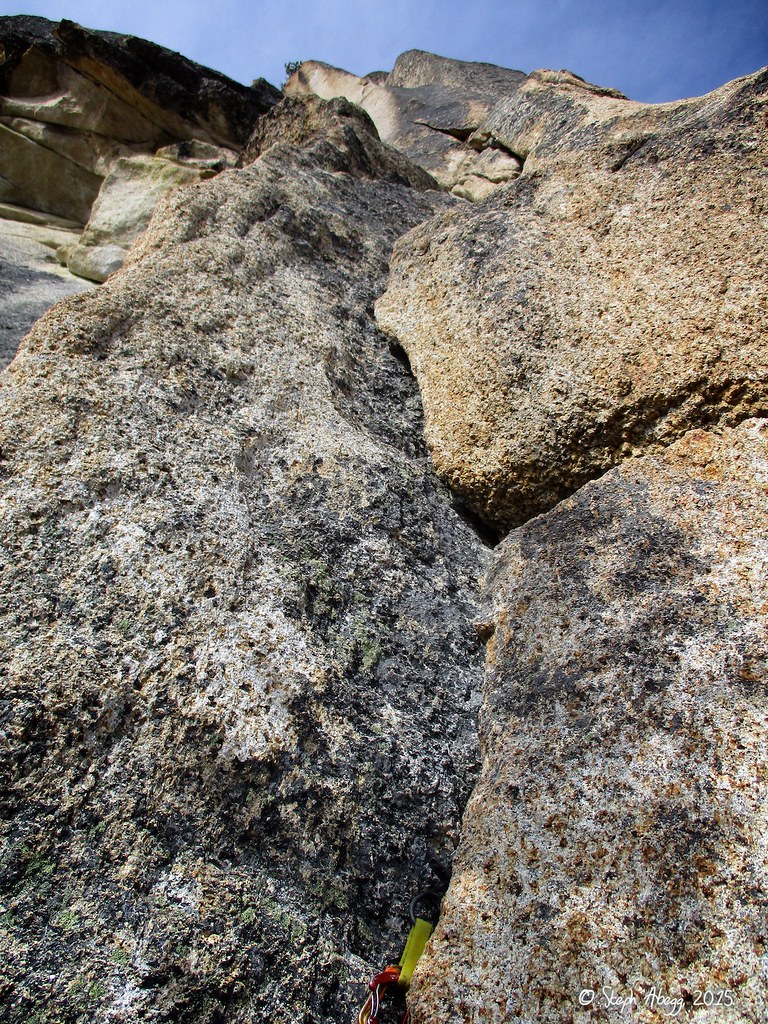
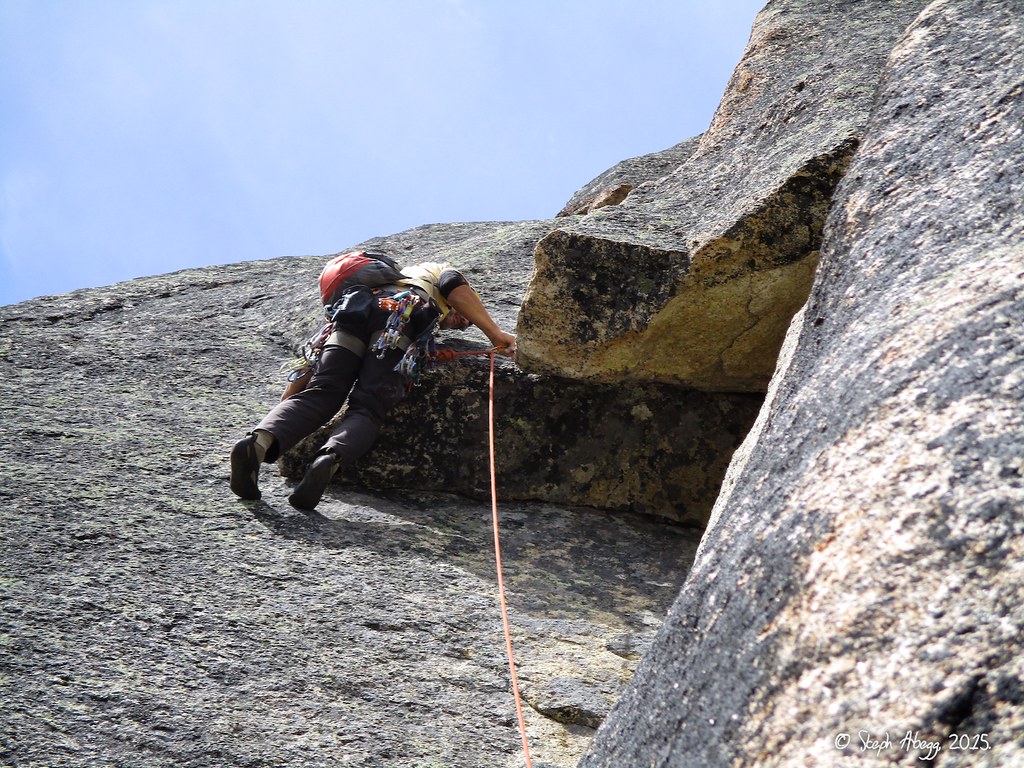
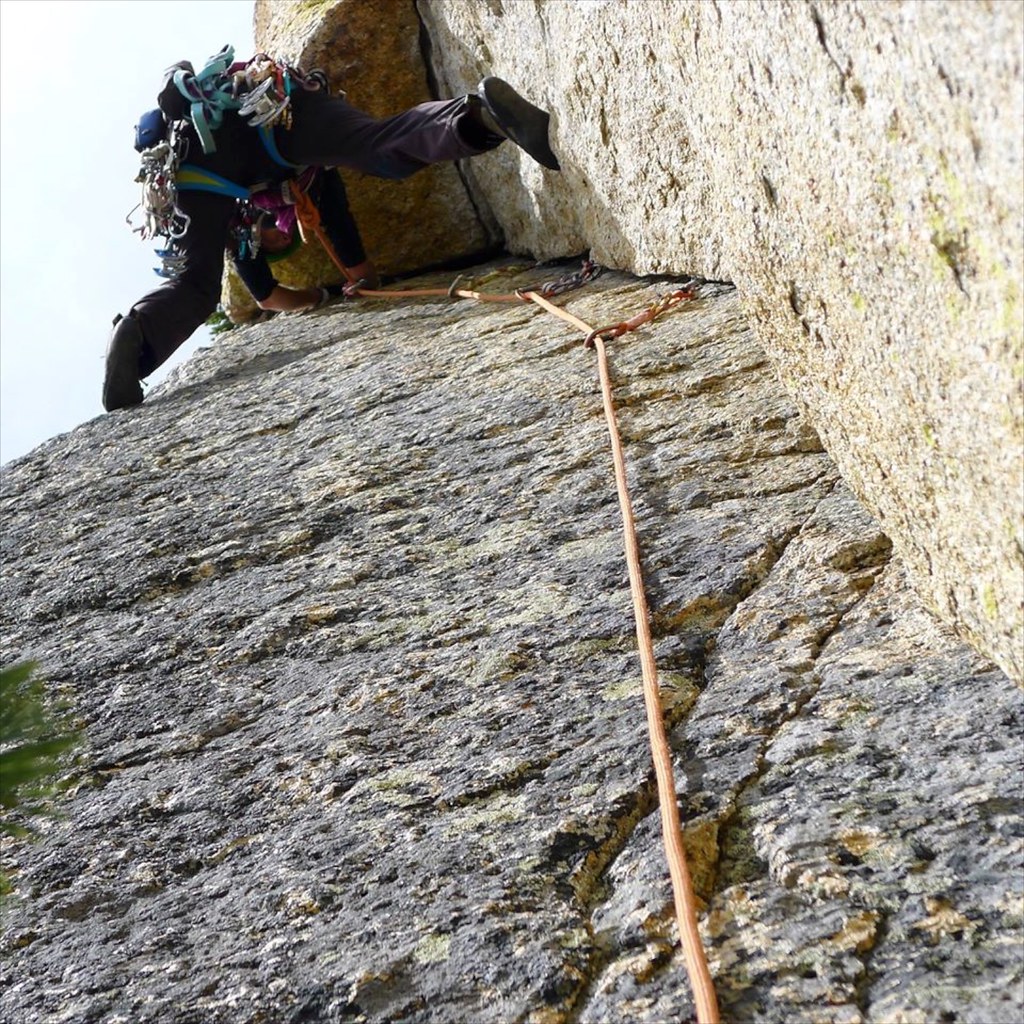
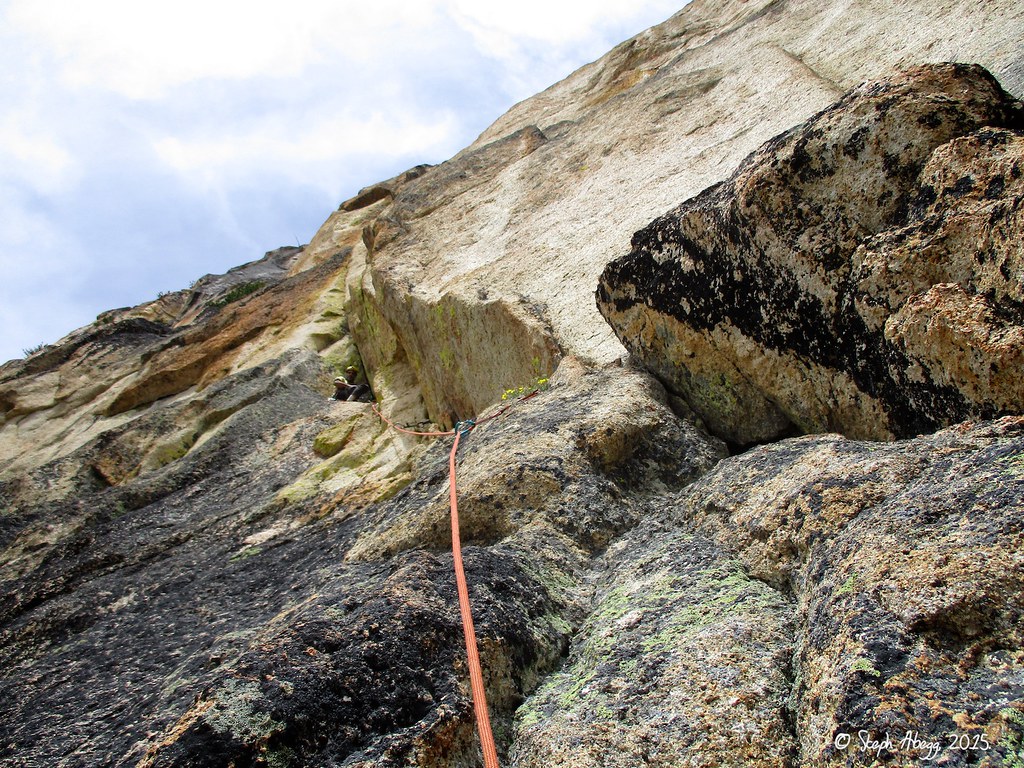
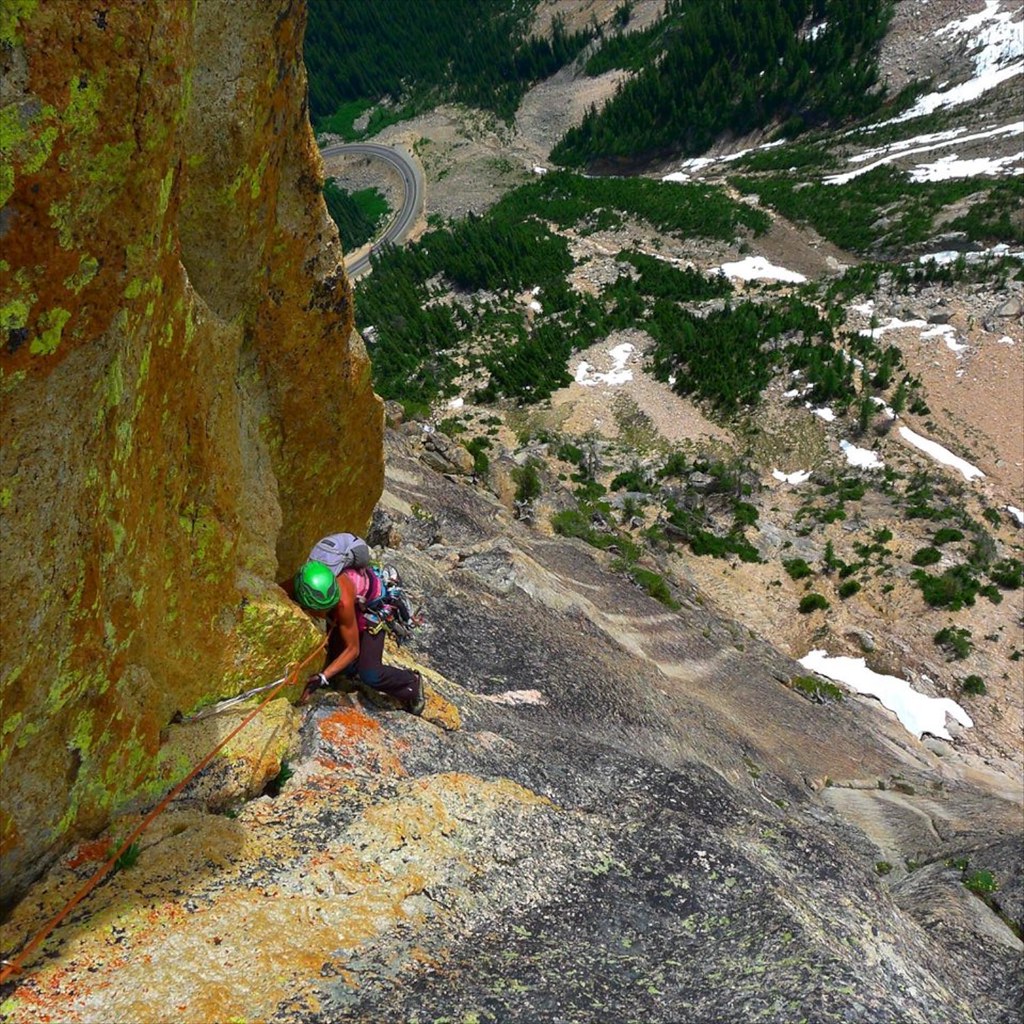
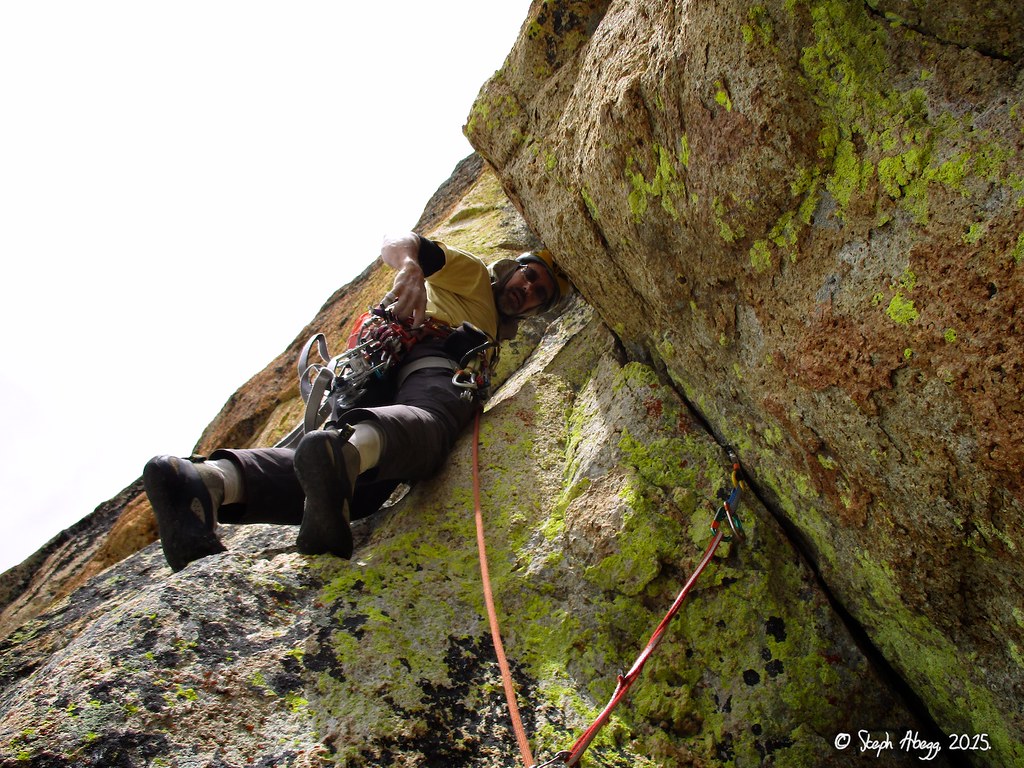
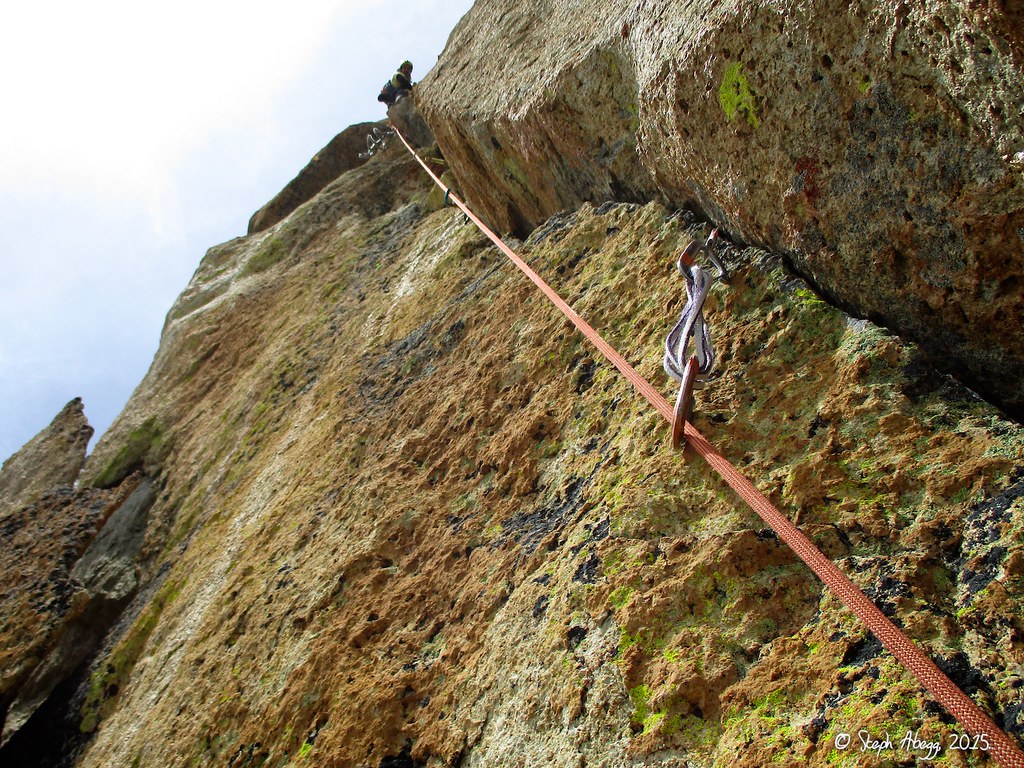
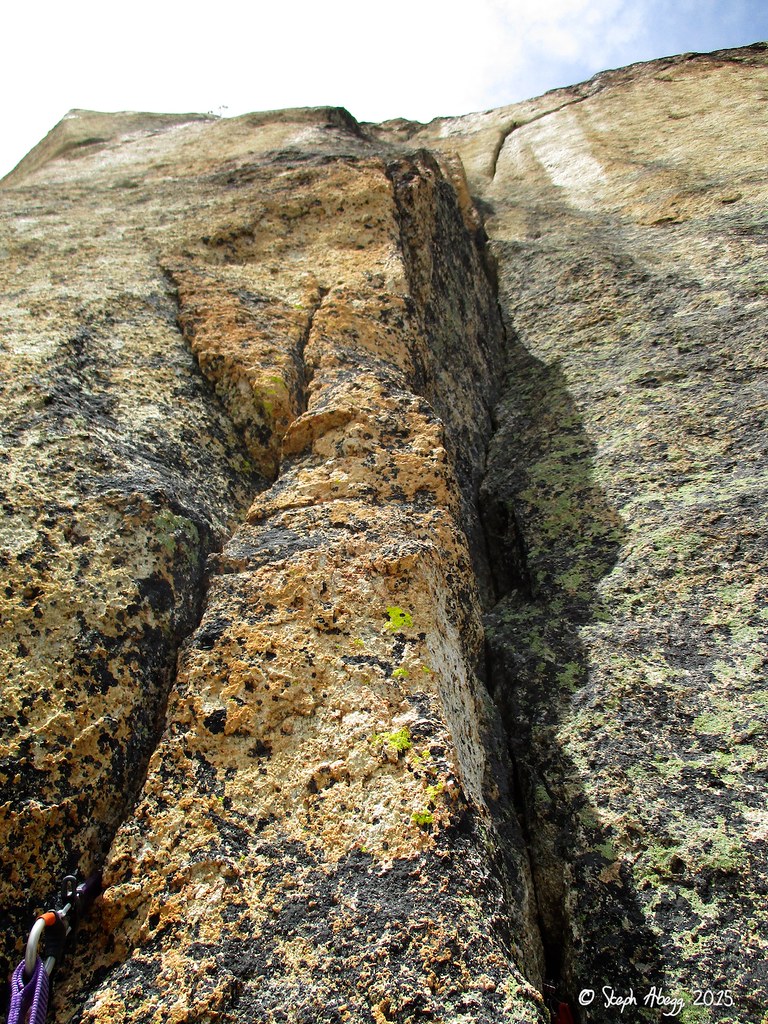
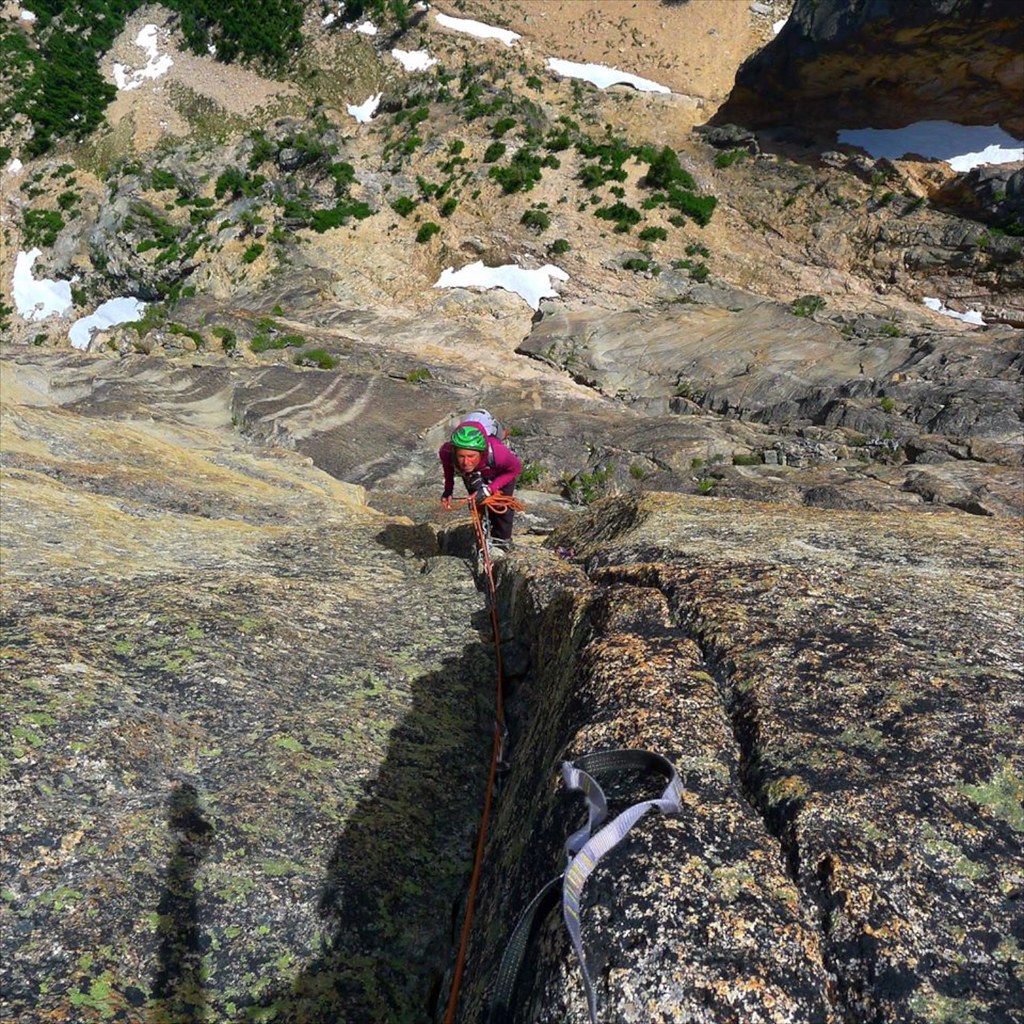
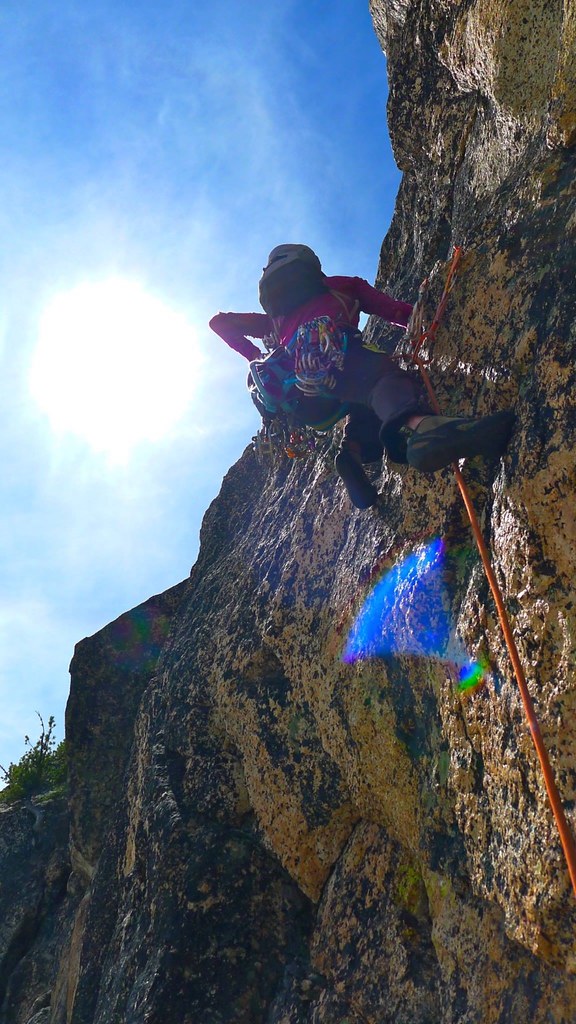
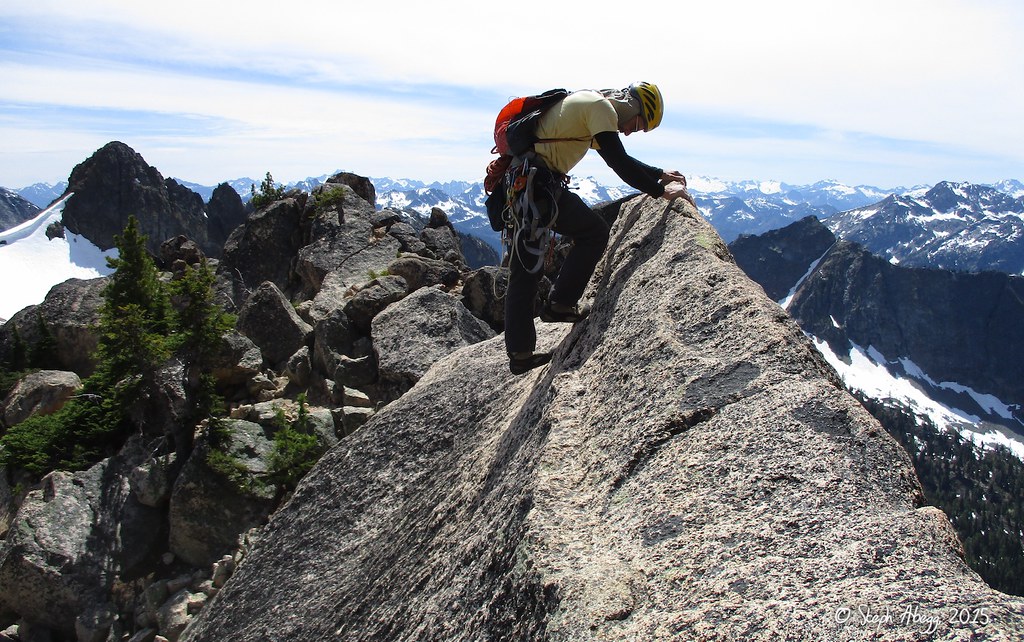
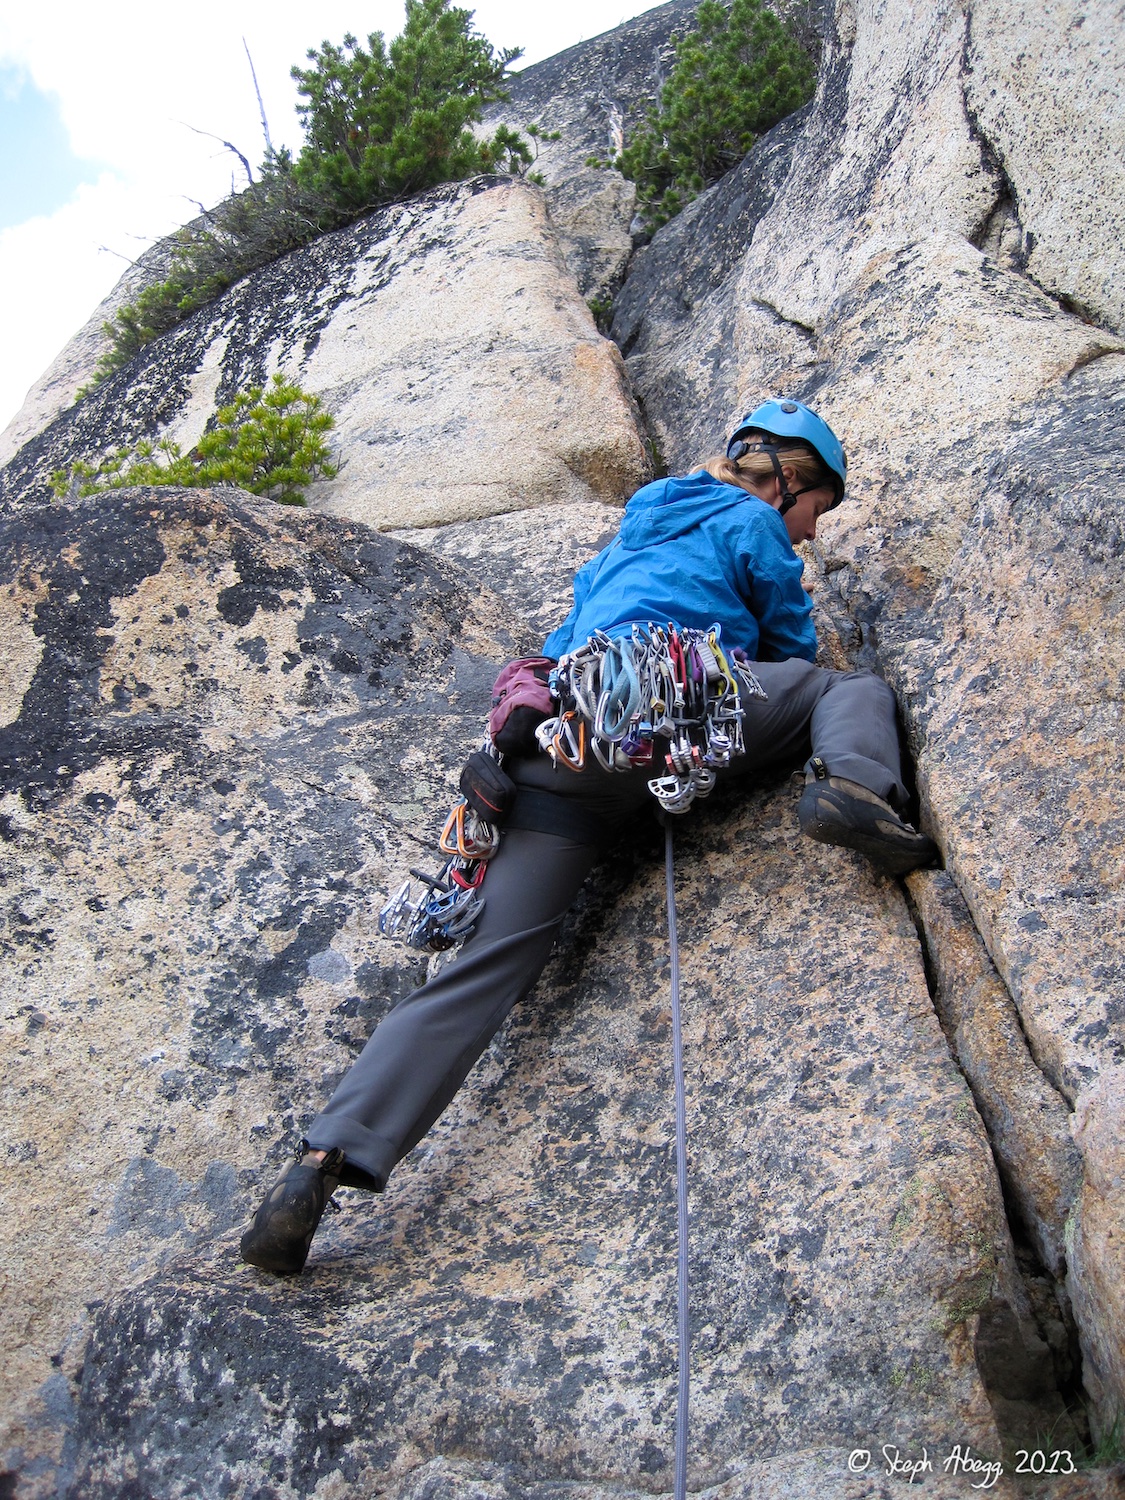
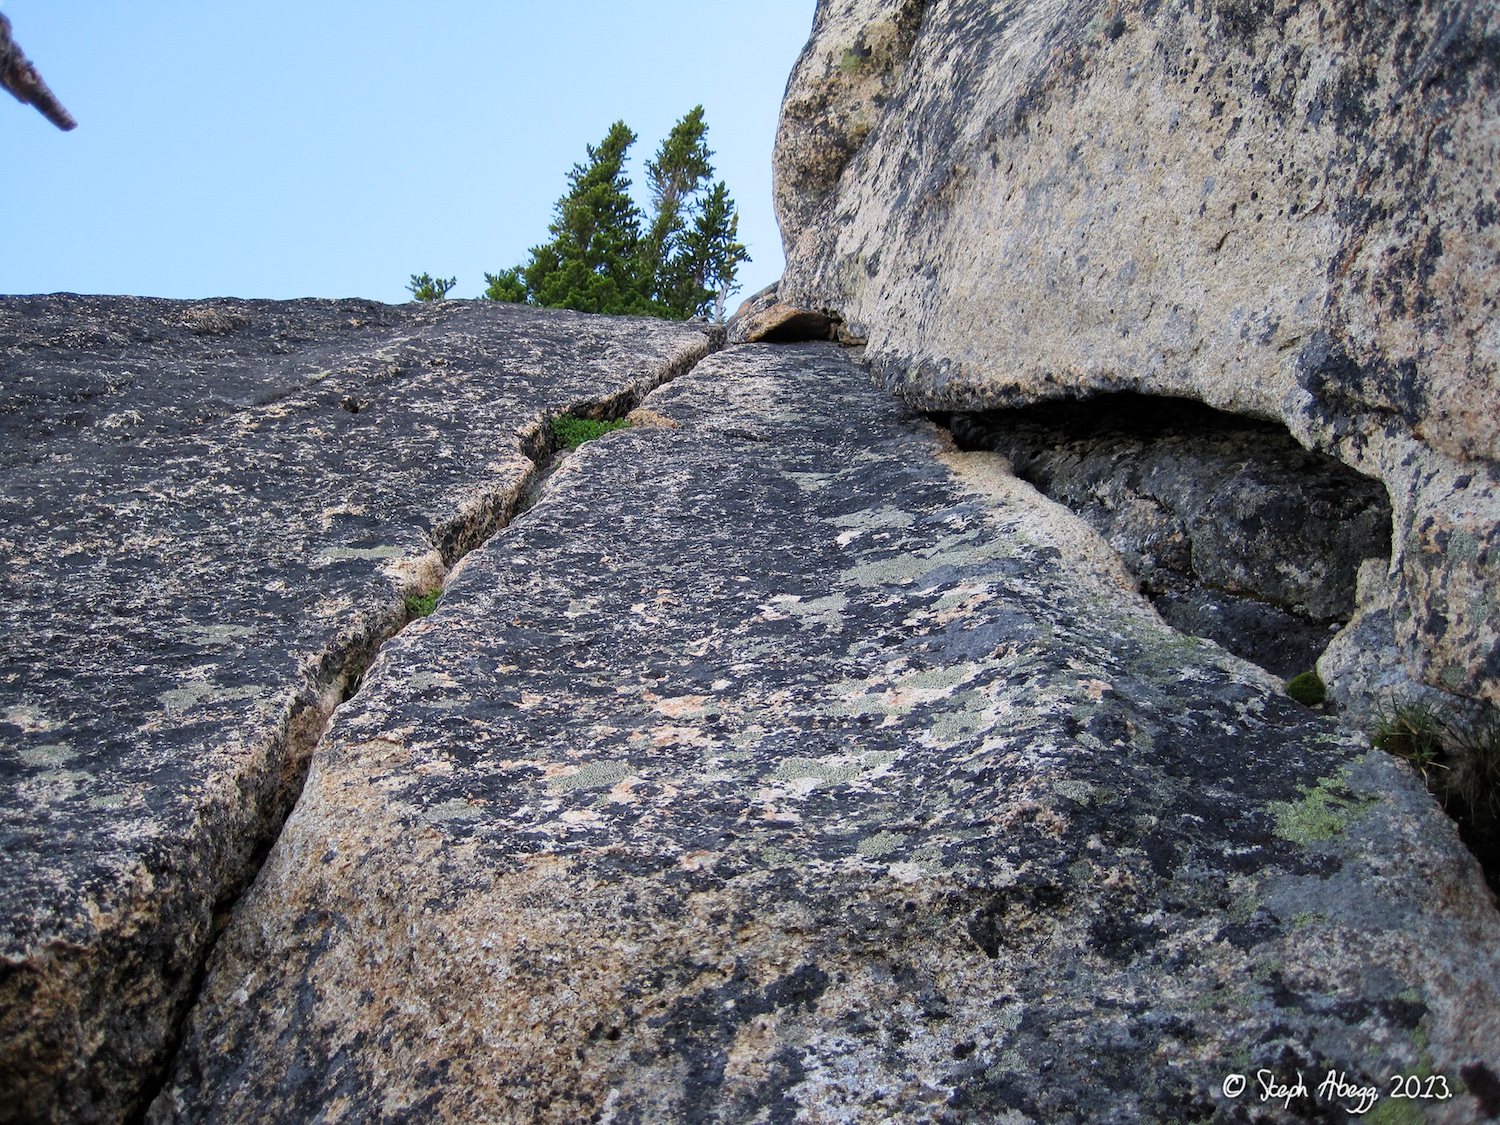
East Buttress route about halfway up and climbs the south-facing headwall on the upper south side for 5 pitches to the summit. The headwall pitches are steep and sustained 5.10 to 5.11 crack climbing, mostly fingers, with excellent finger locks. The 5.12a crux on the second headwall pitch is a short bulgy section with bad feet. Overall the rock is clean and solid for being a relatively new route on the wall.
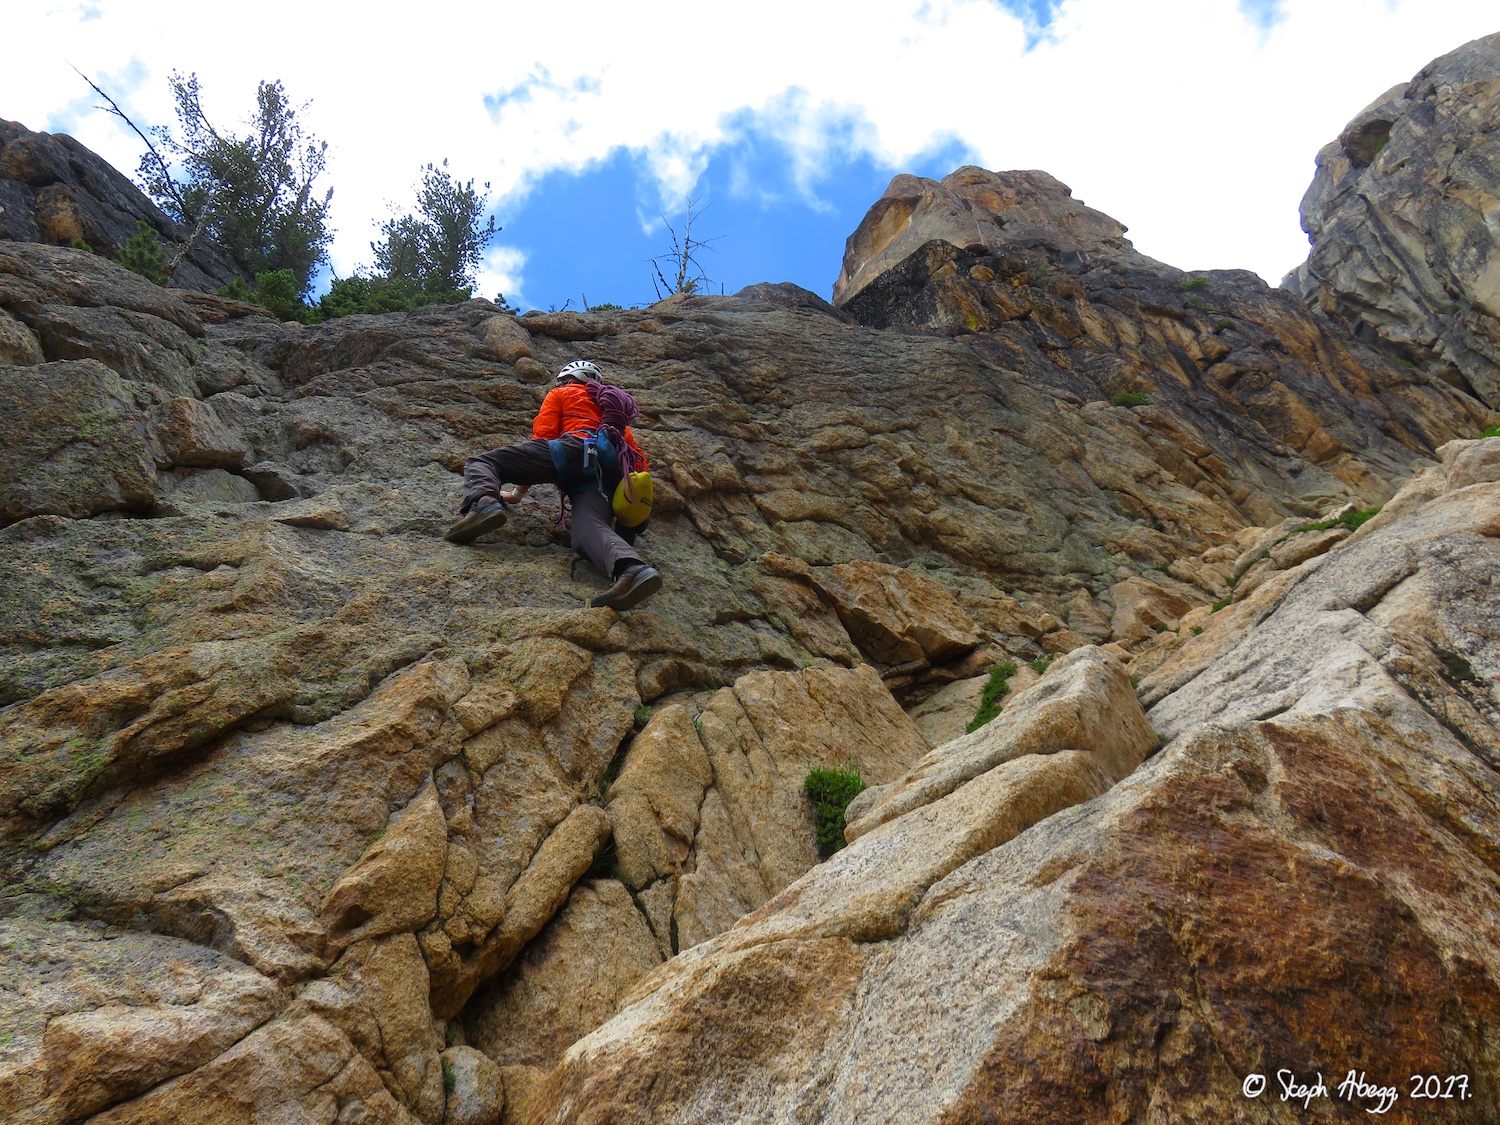
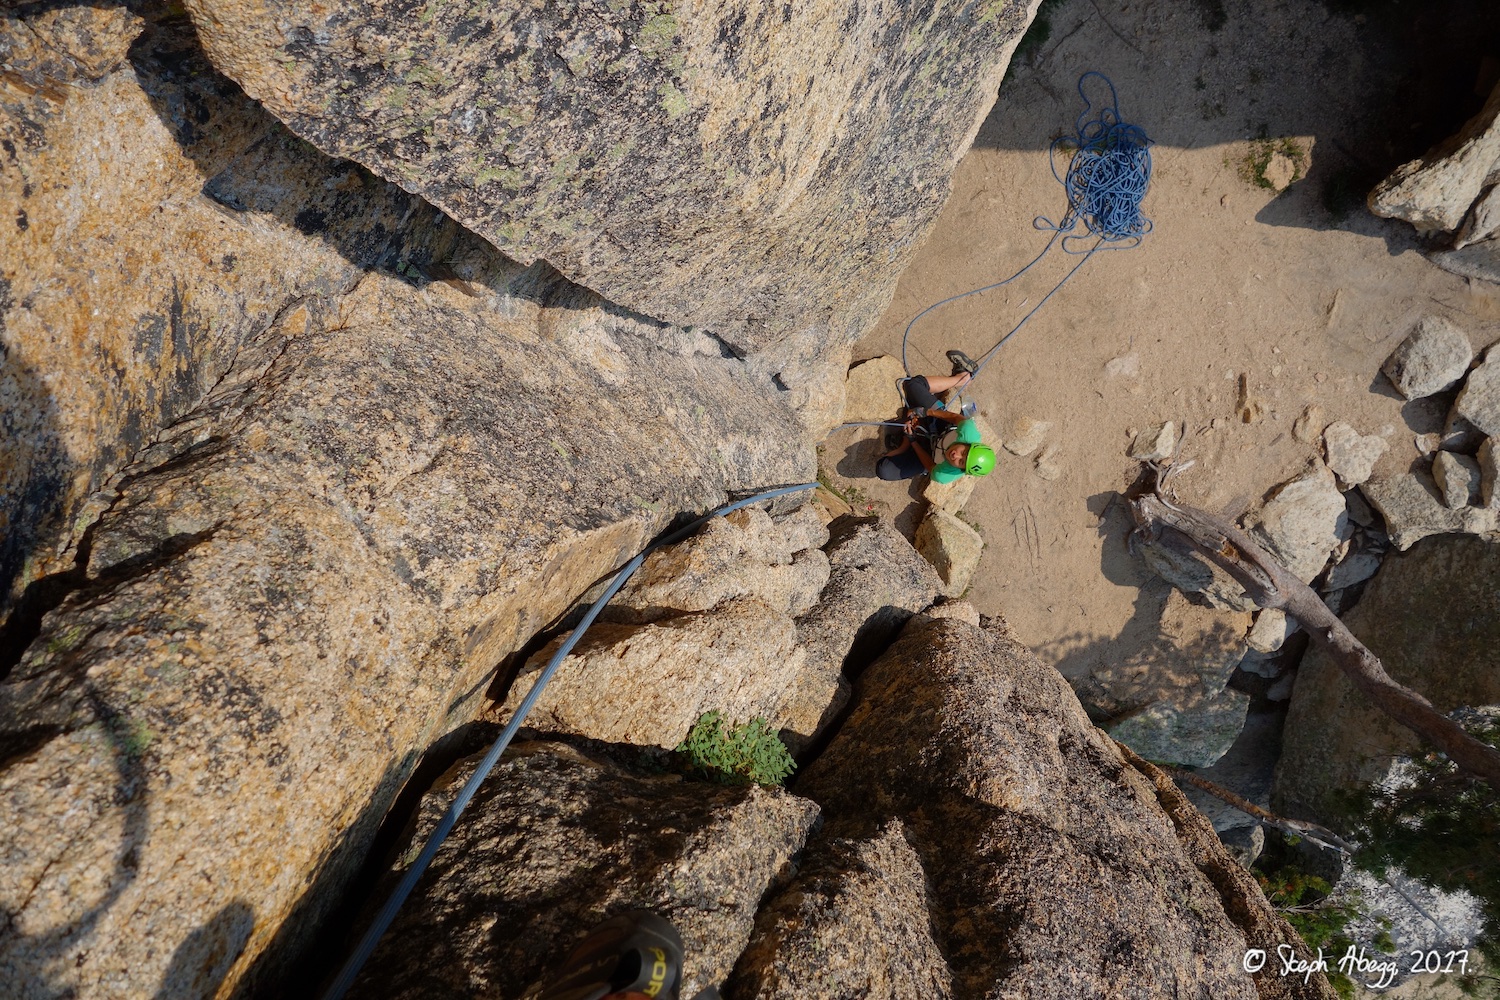
Wayne and I soloed the first couple of pitches of the
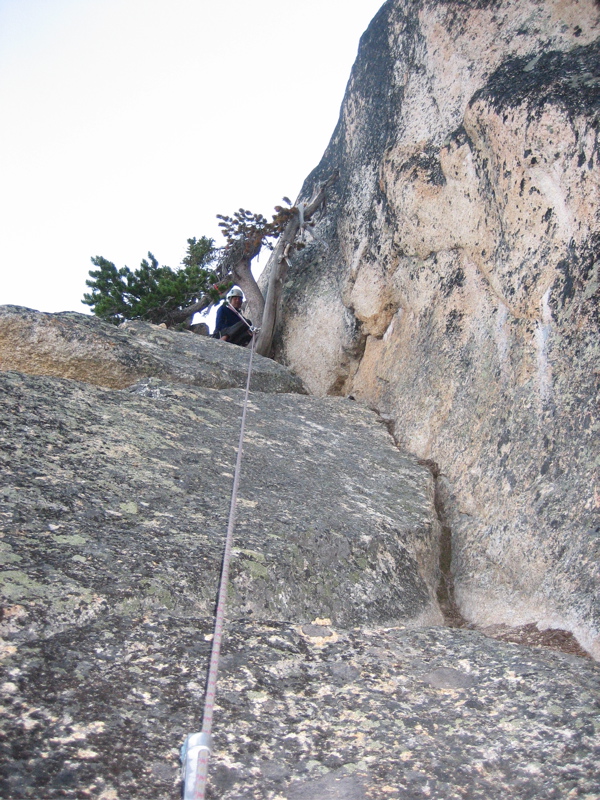
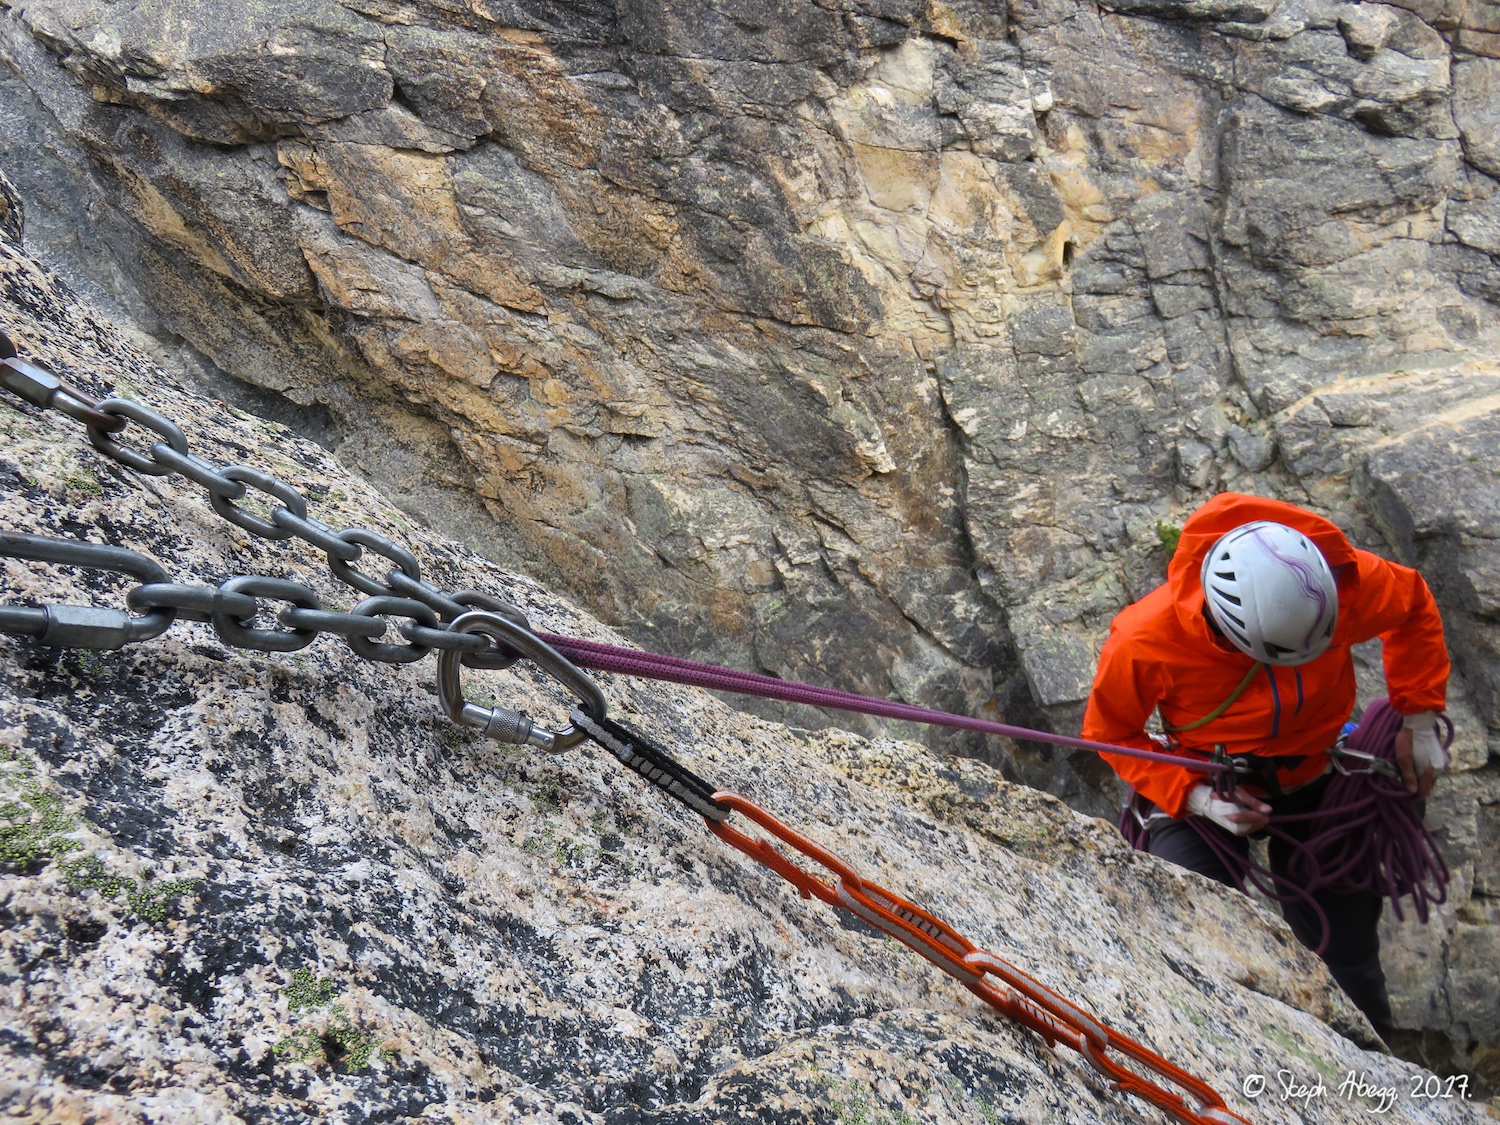
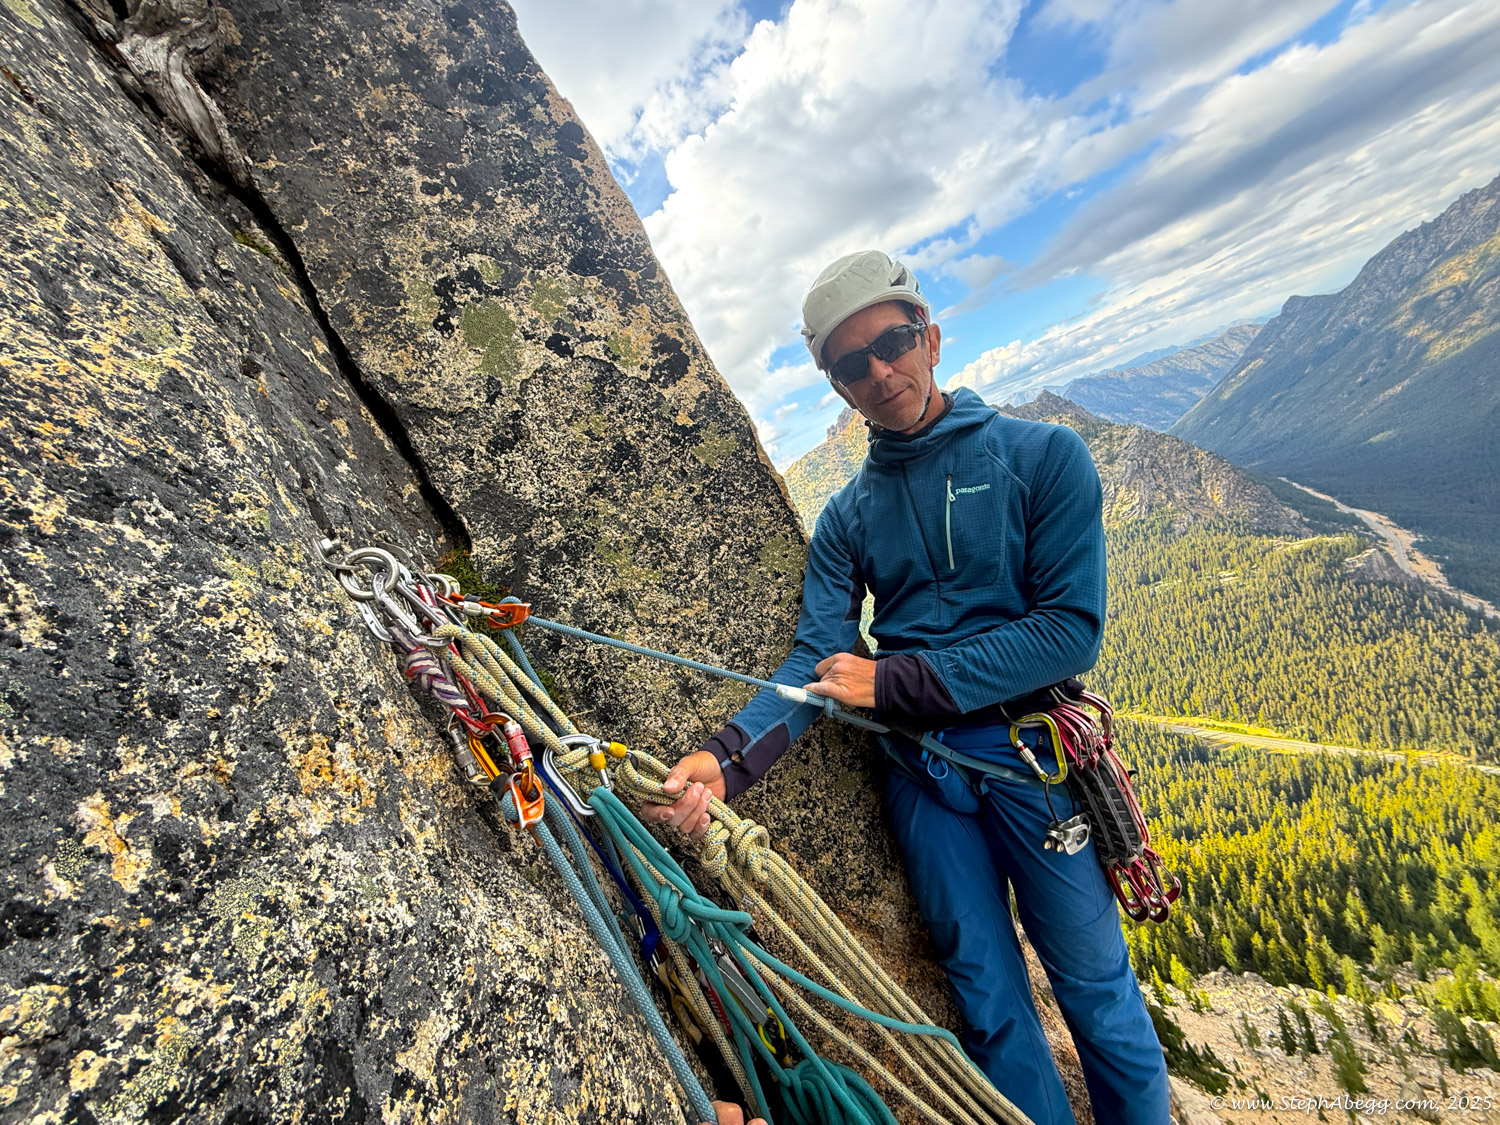
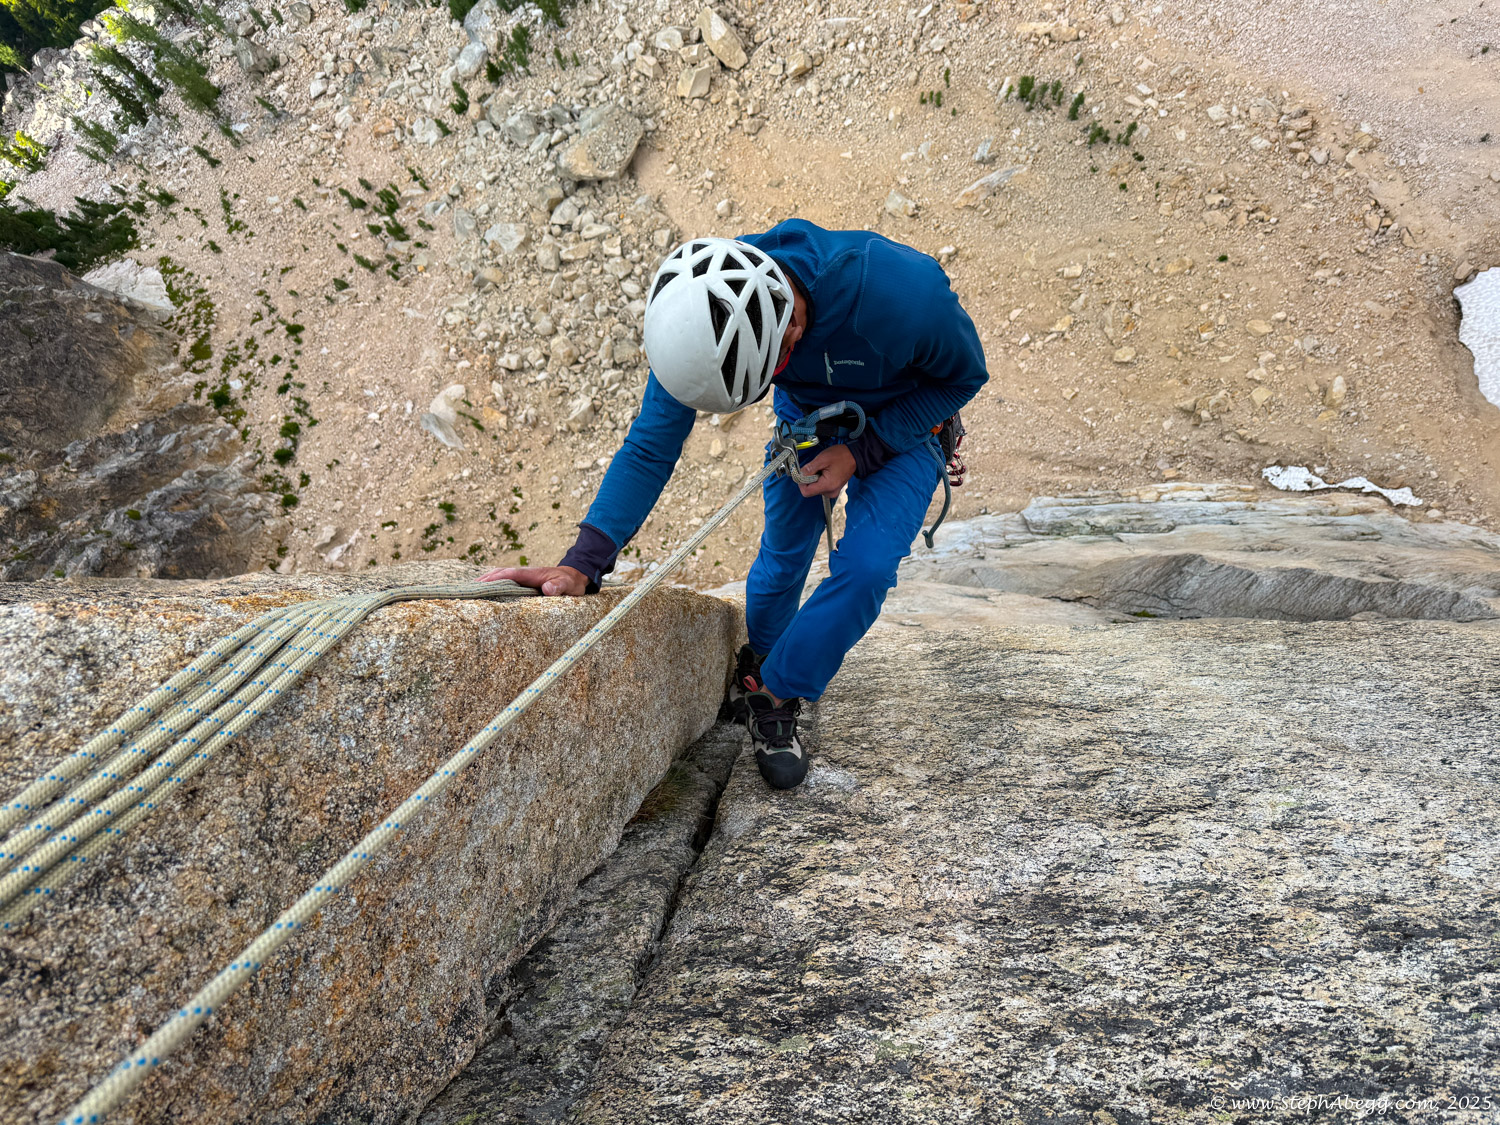
East Buttress, swung leads for the next few pitches of the lower
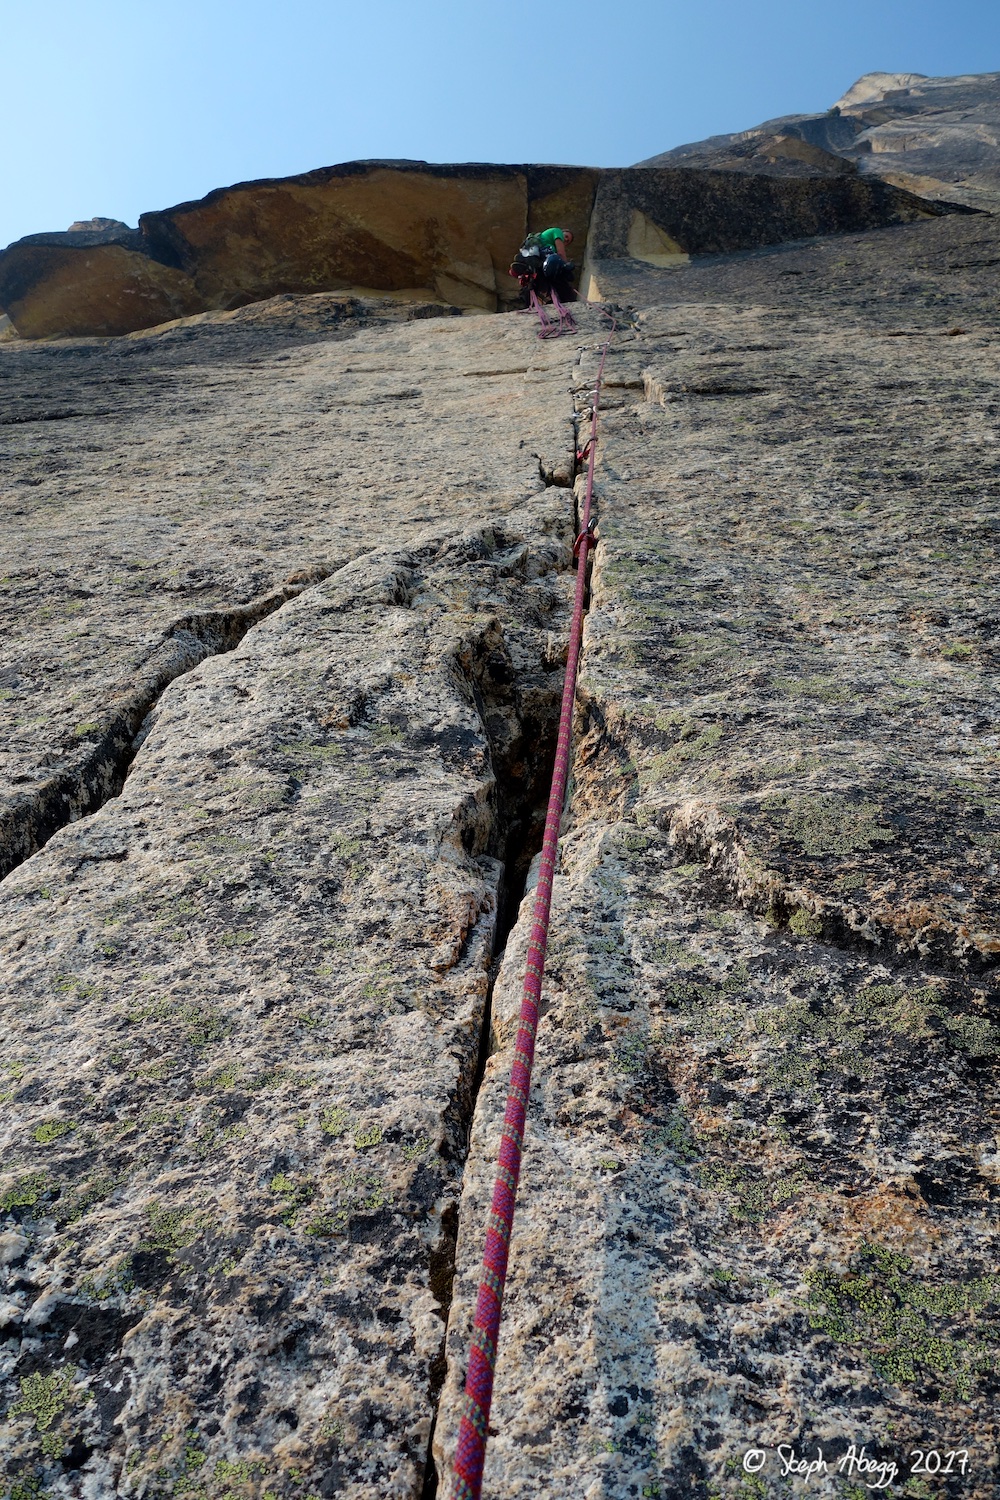
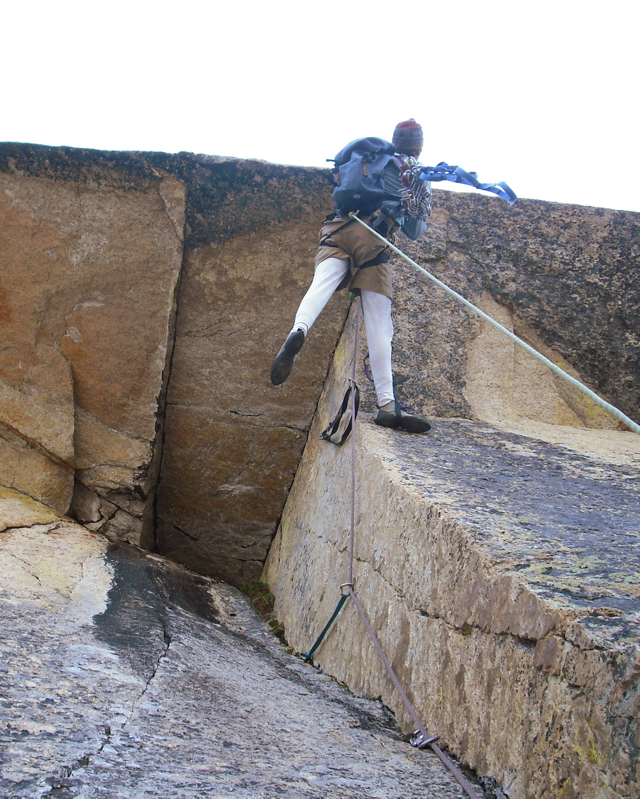
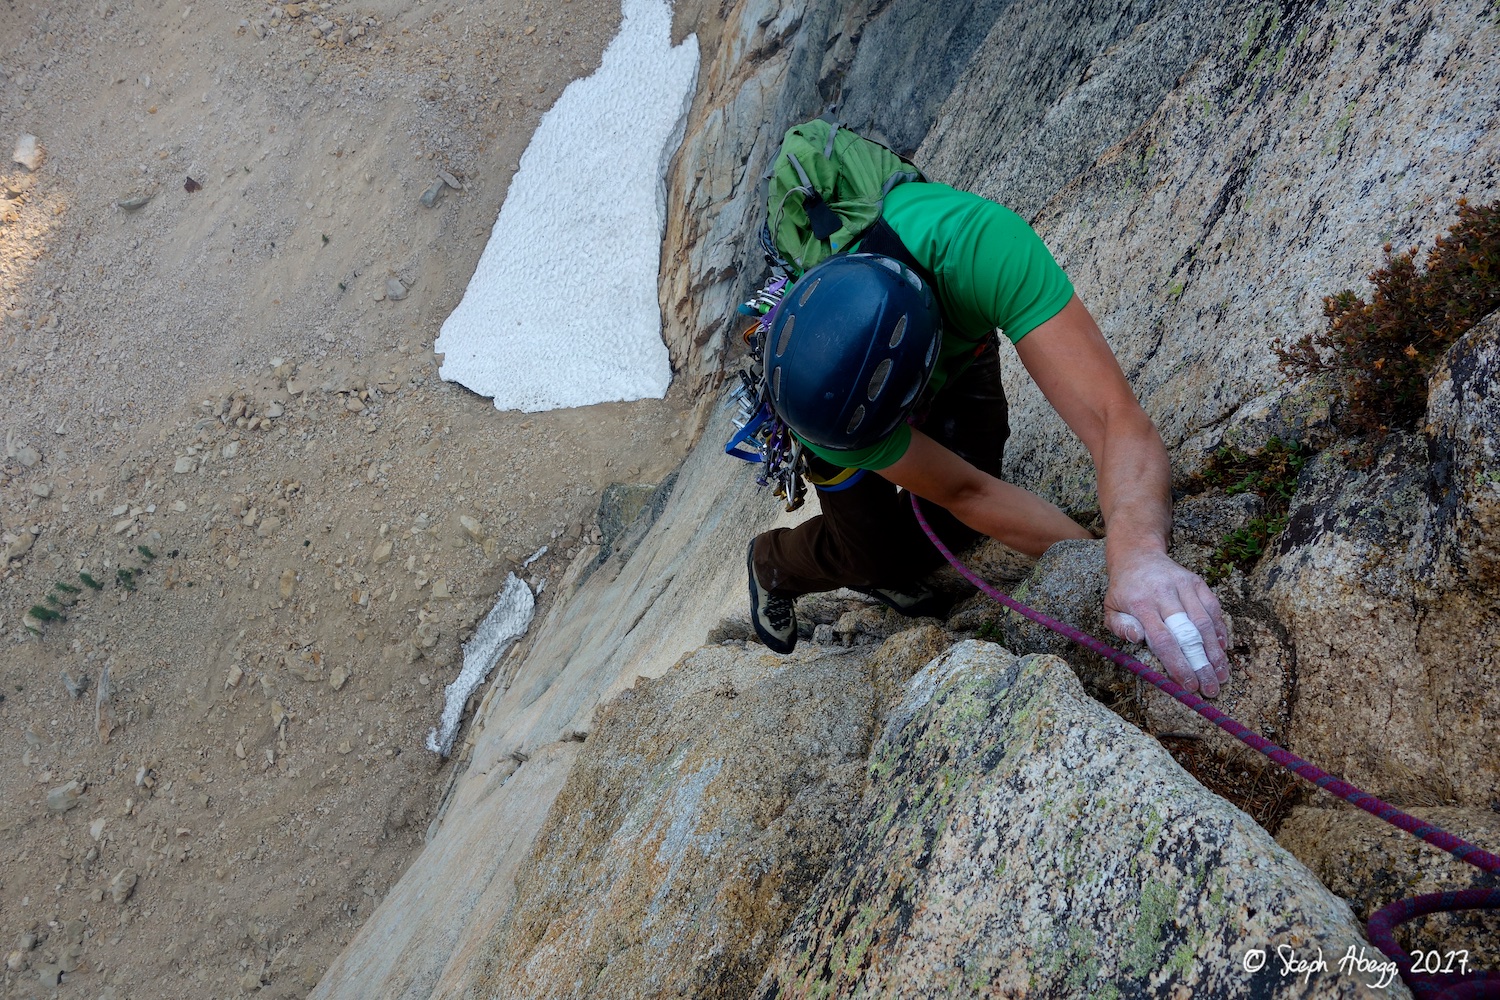
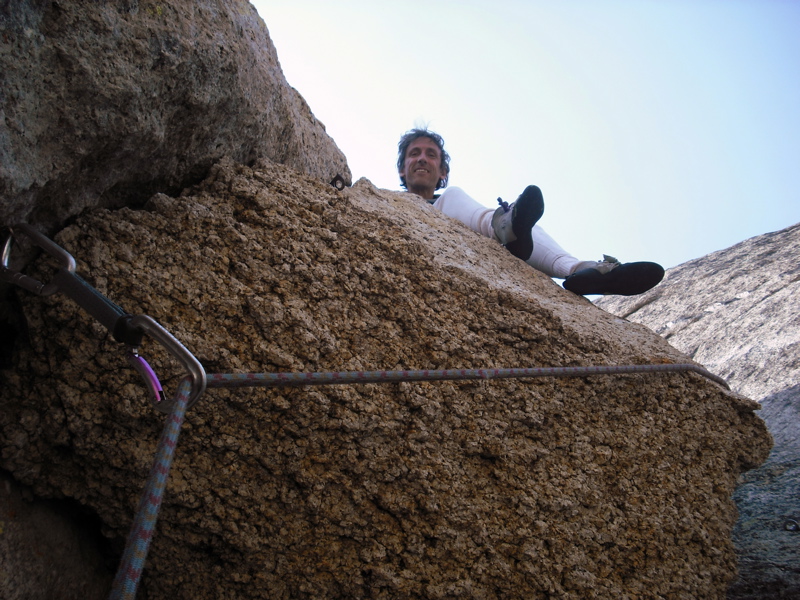
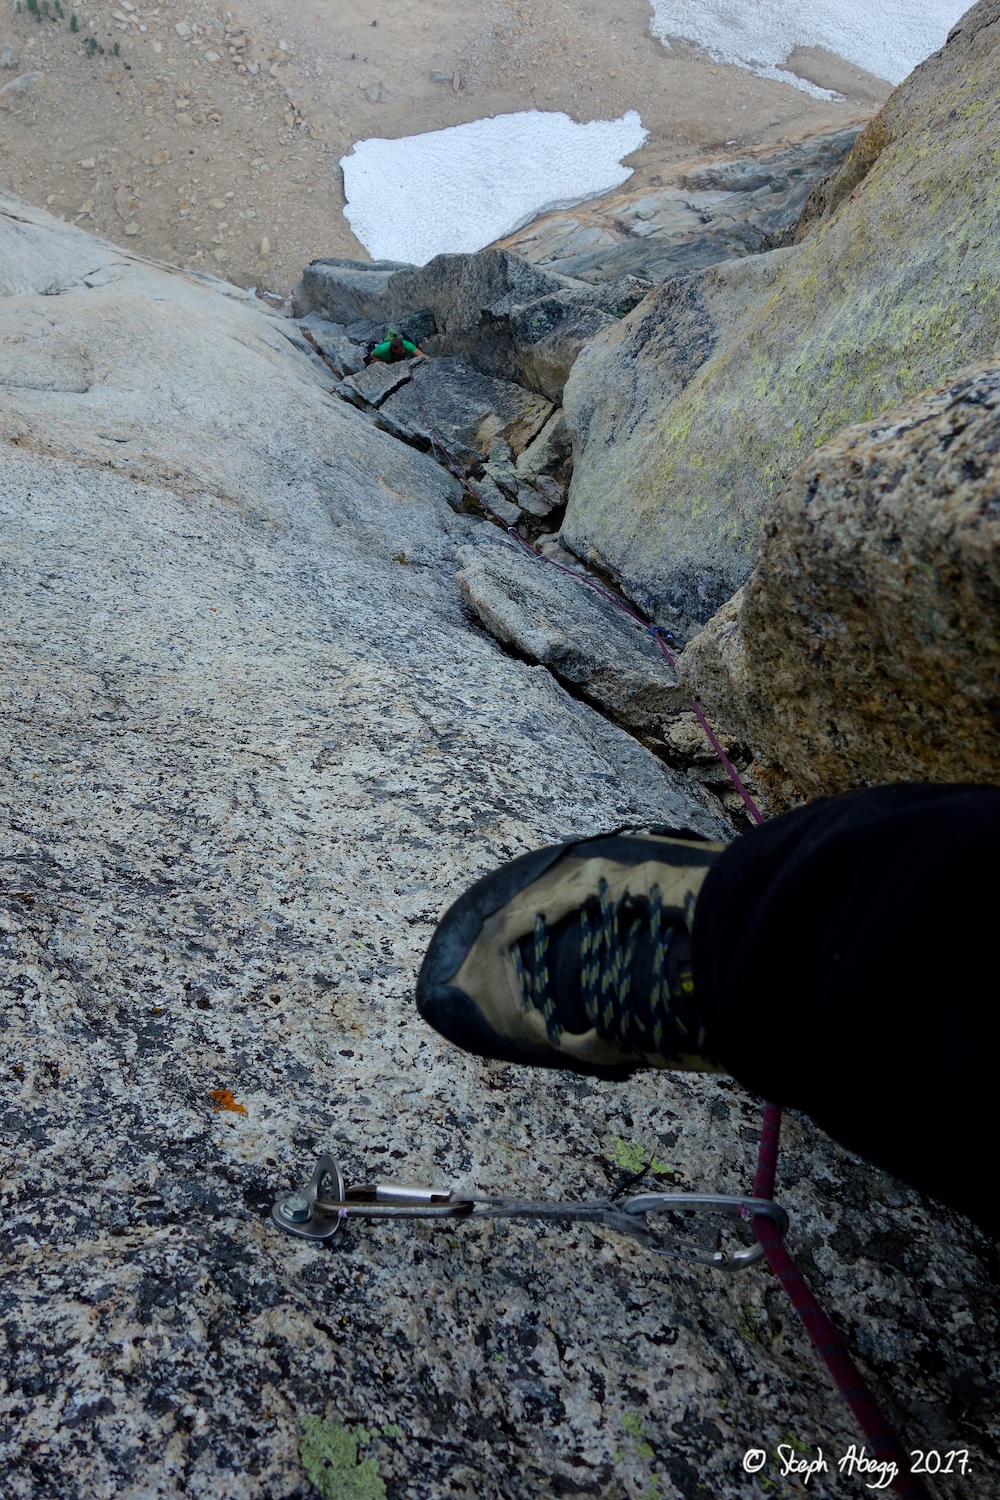
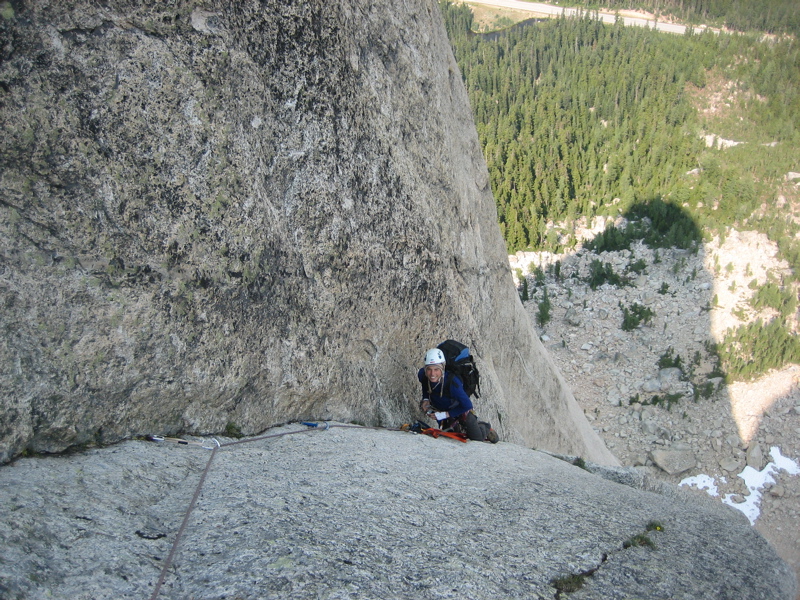
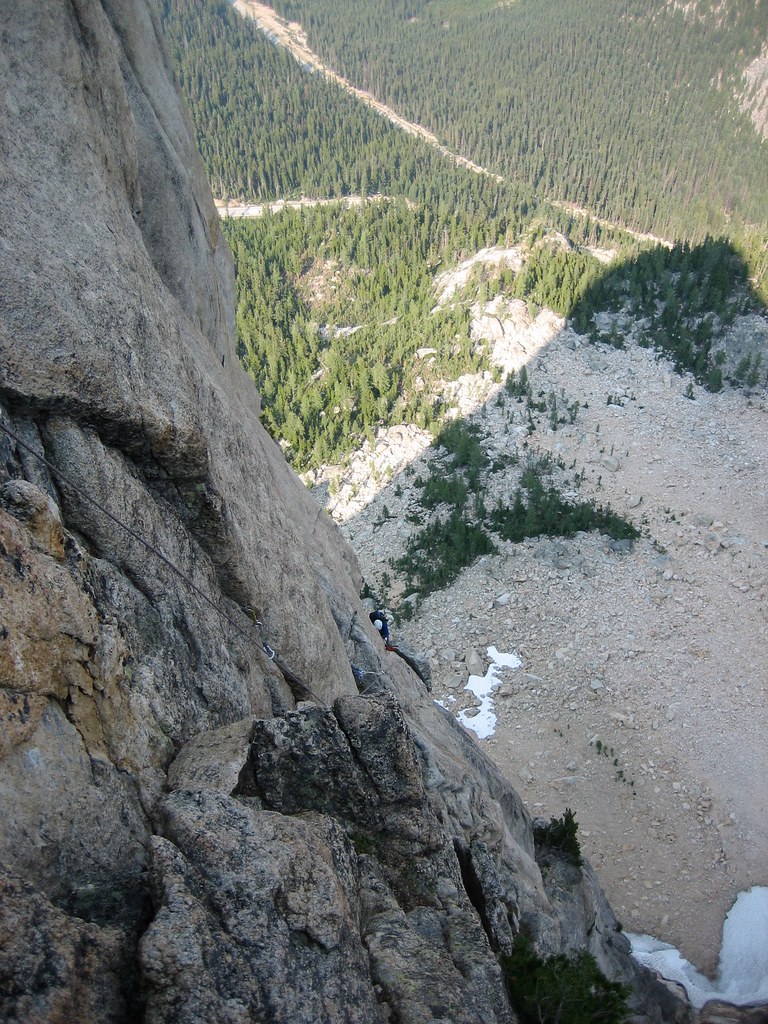
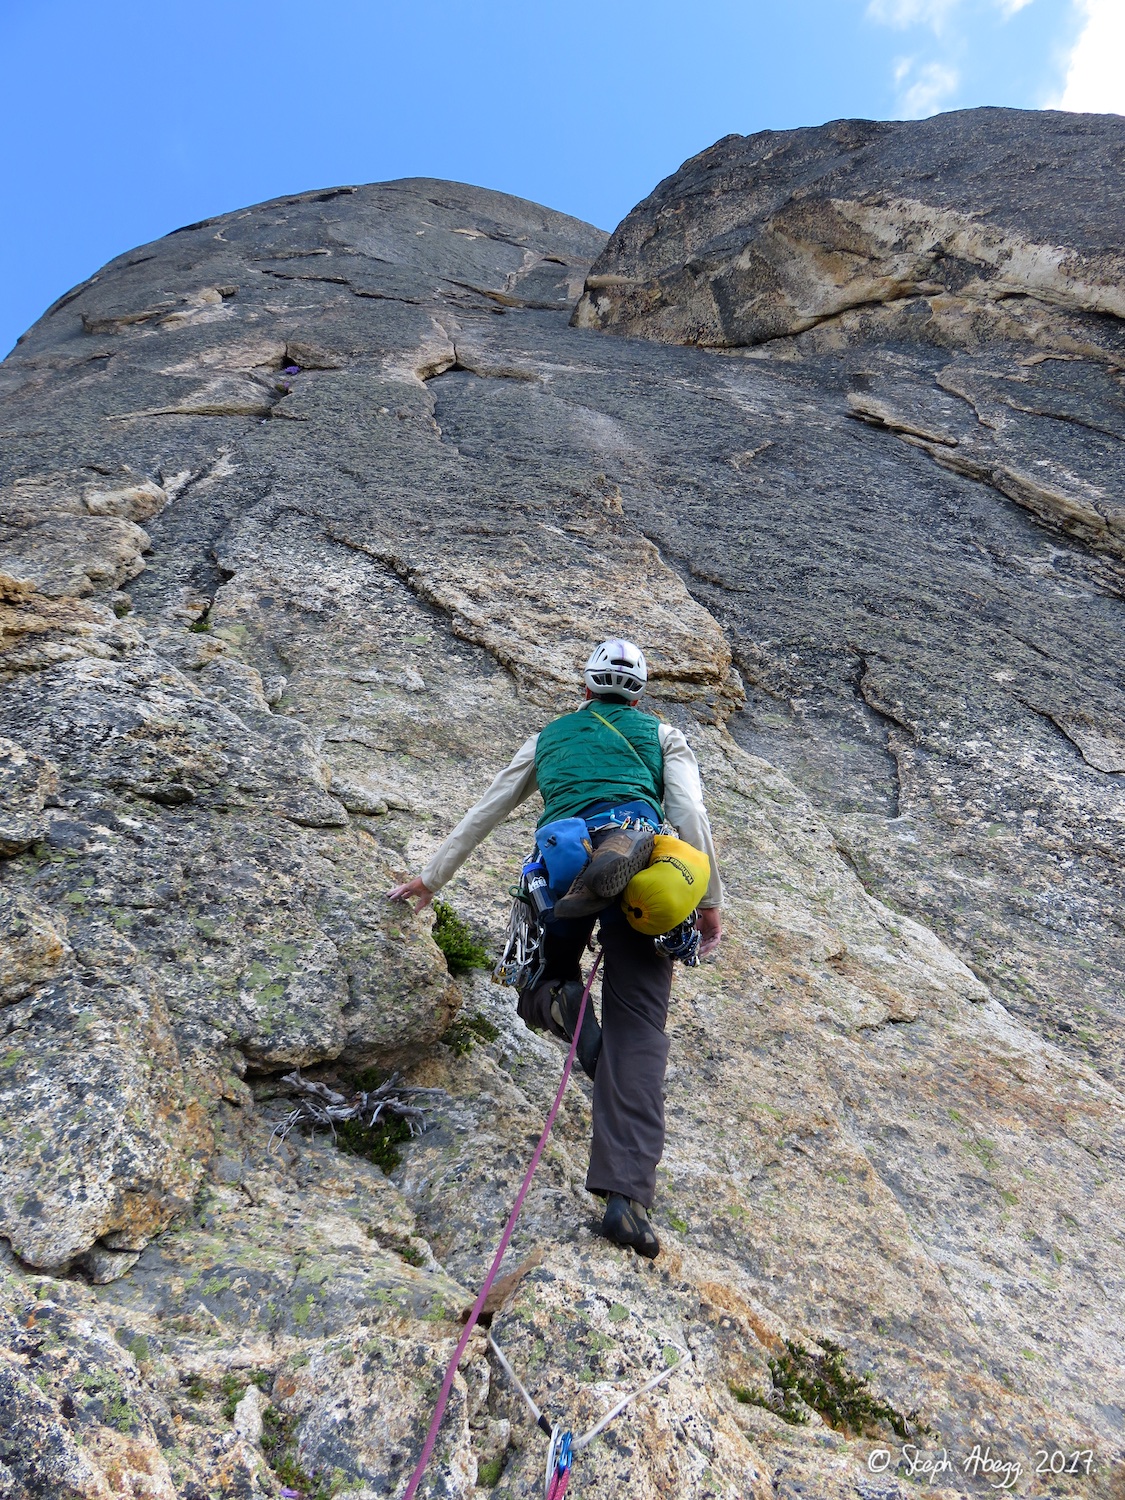
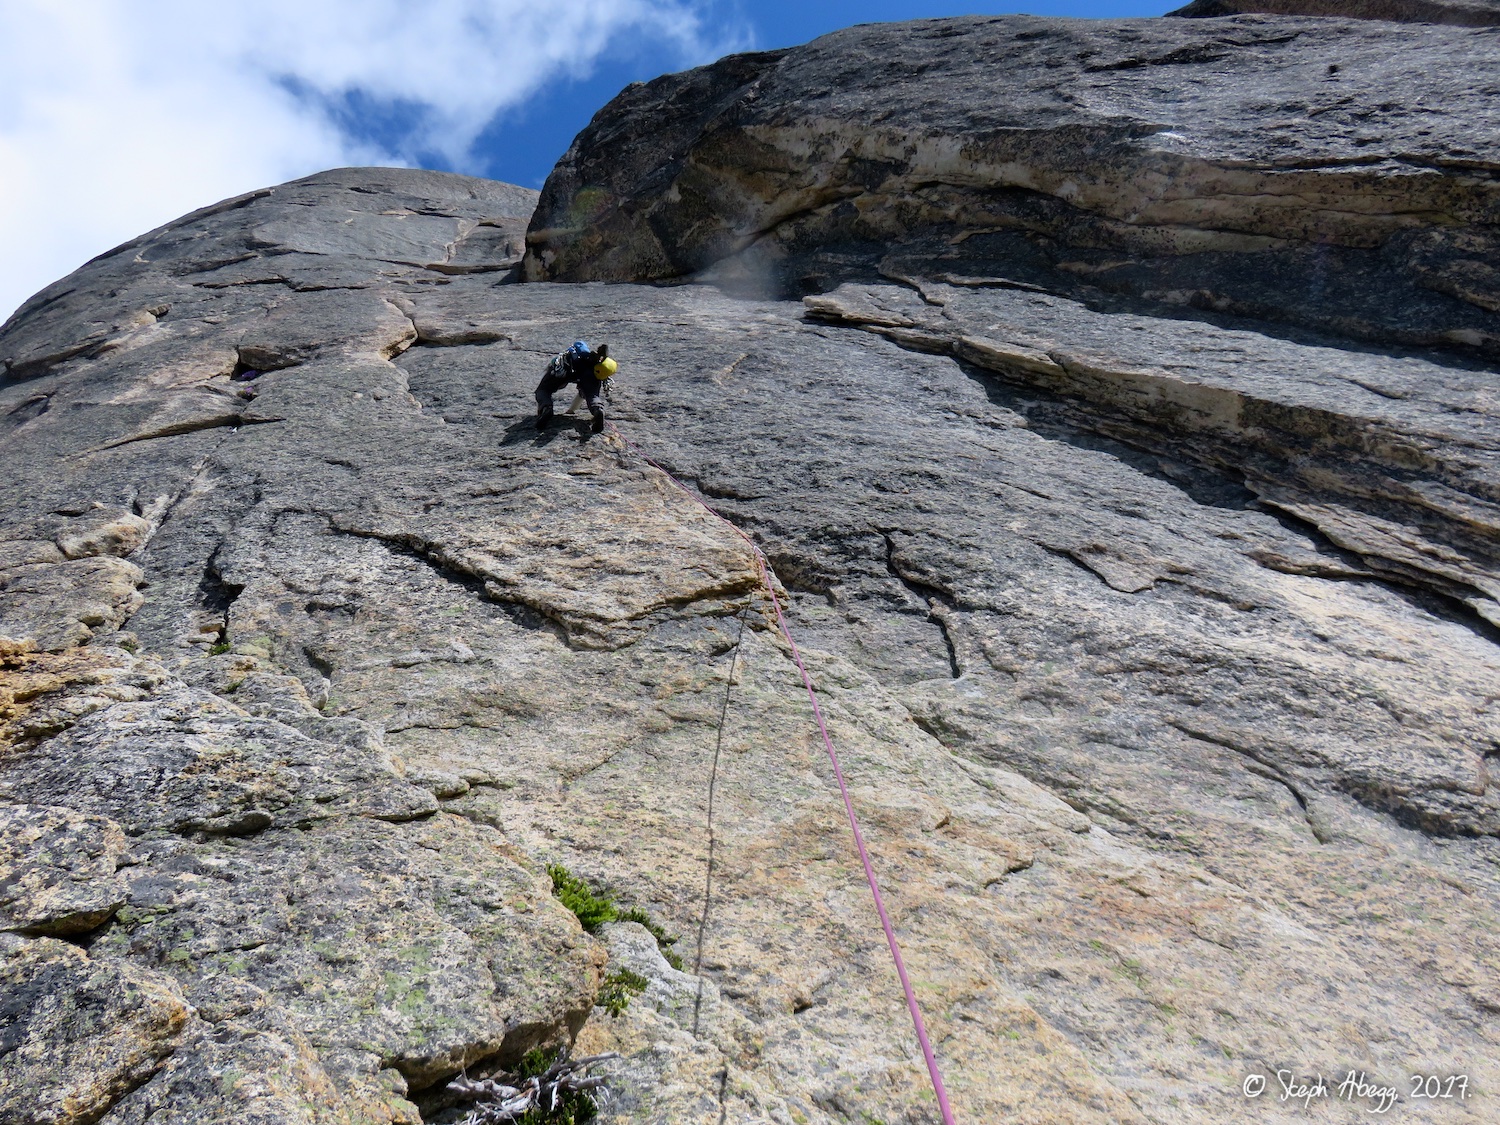
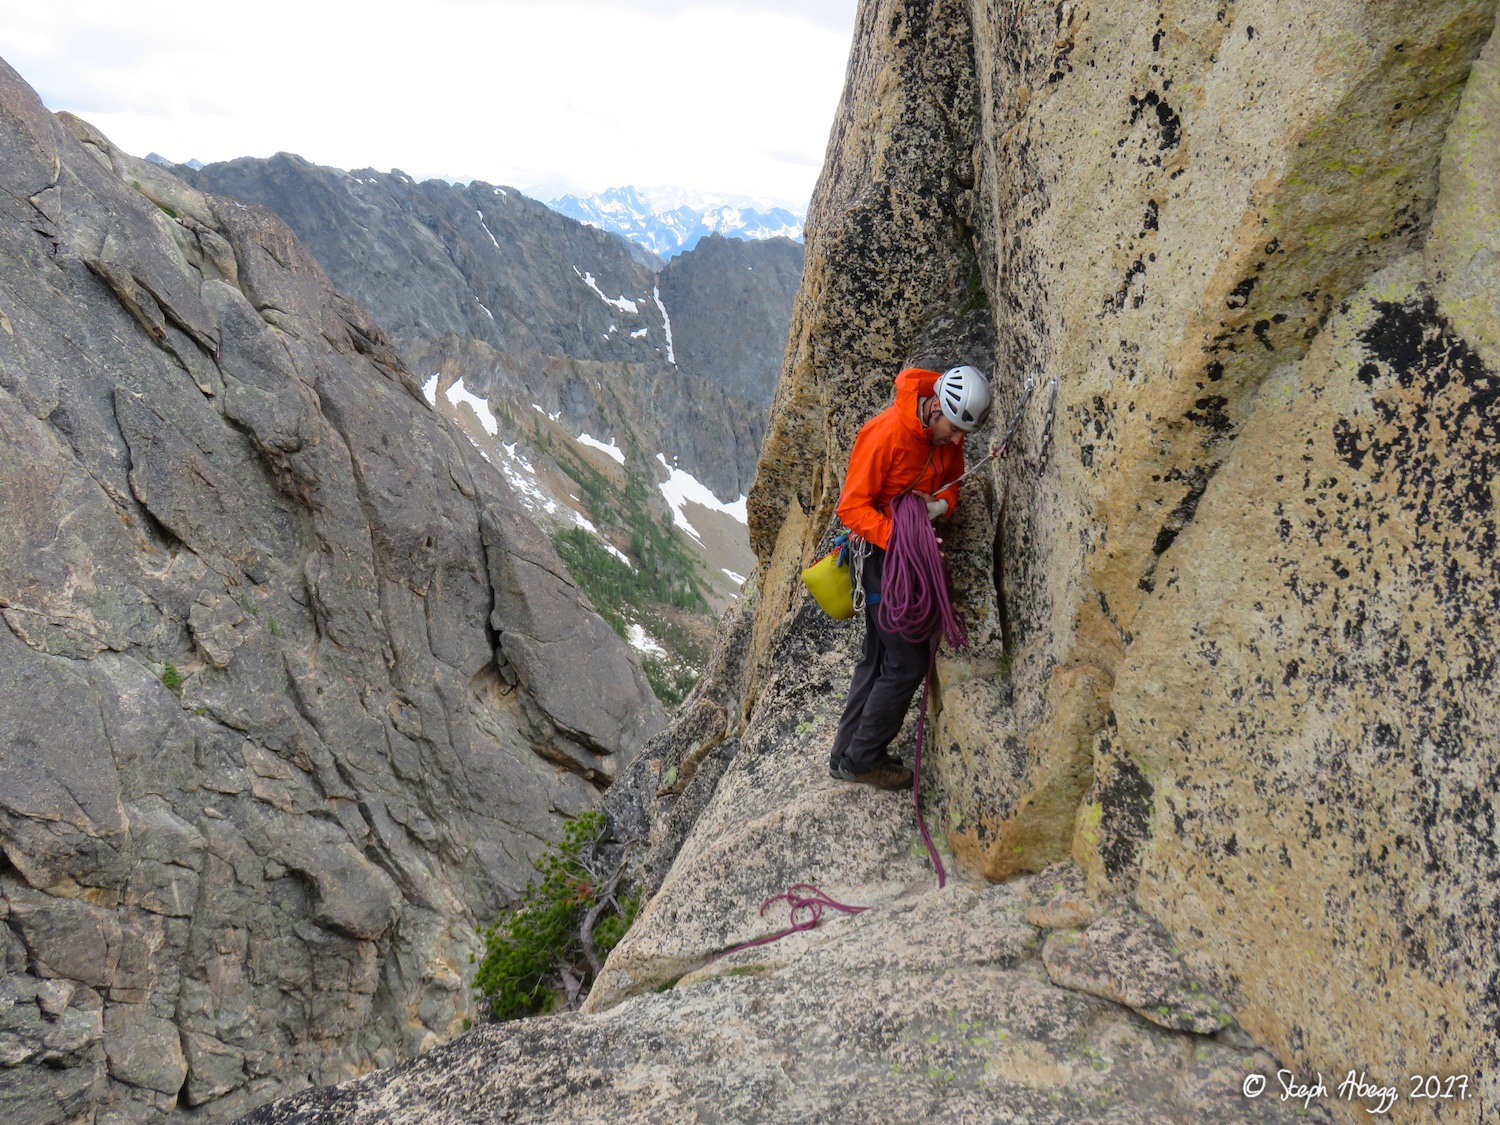
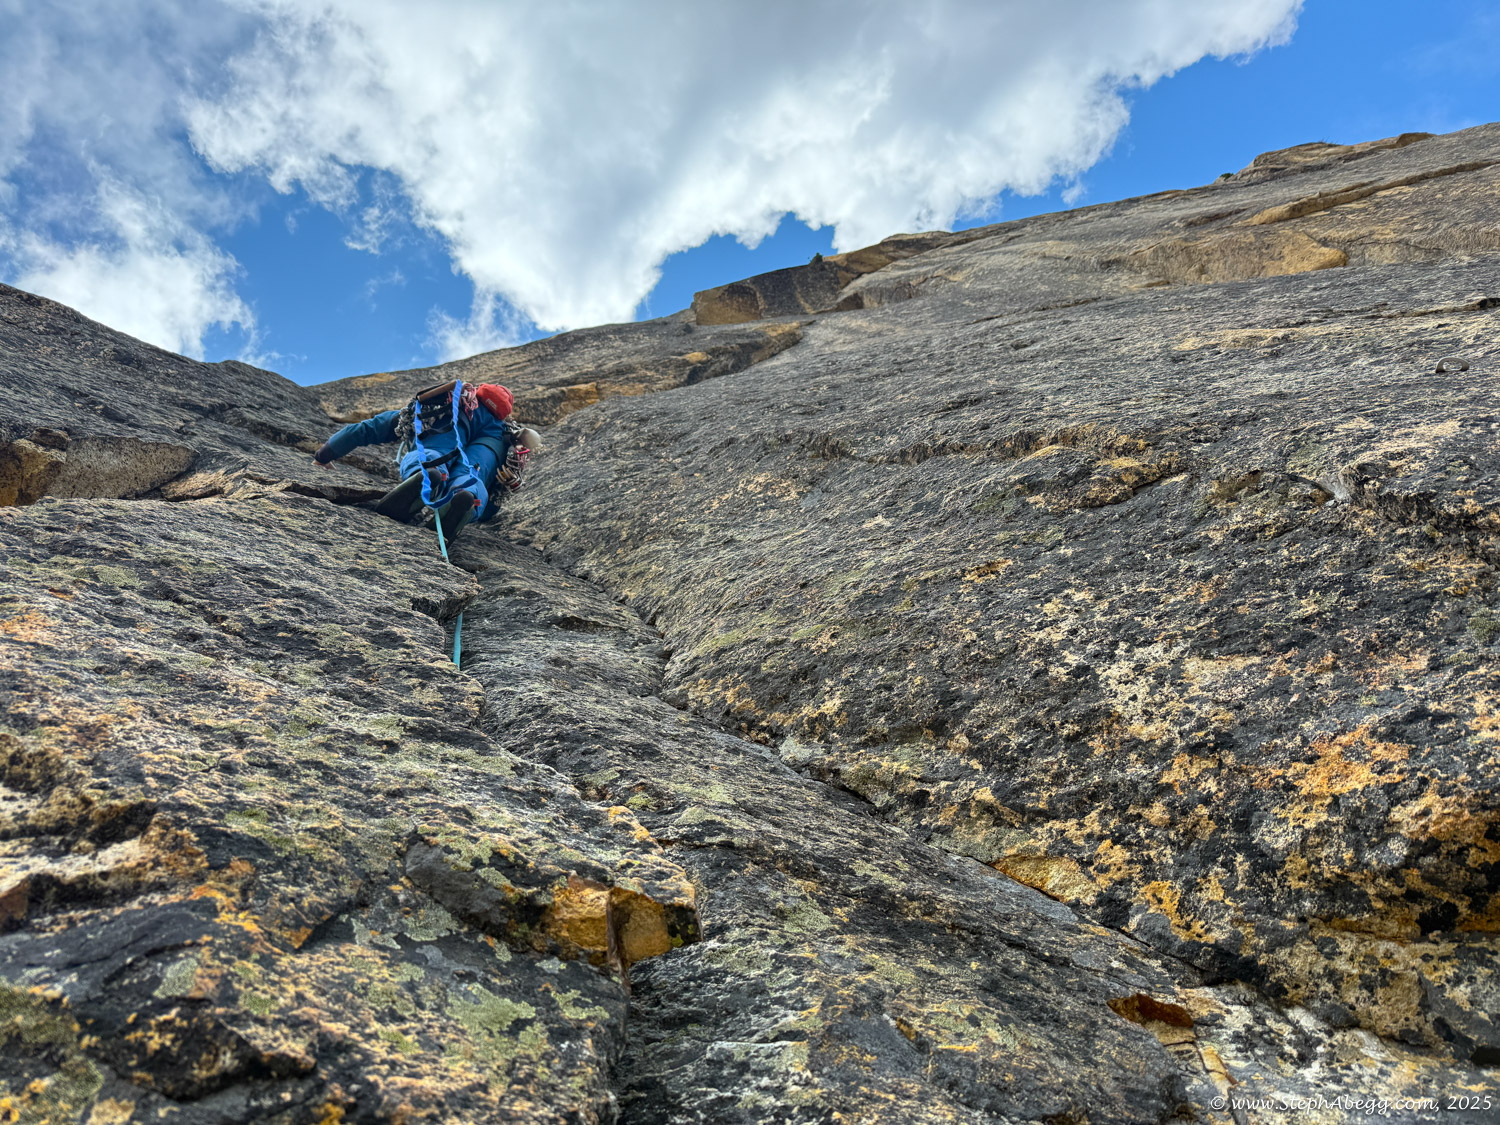
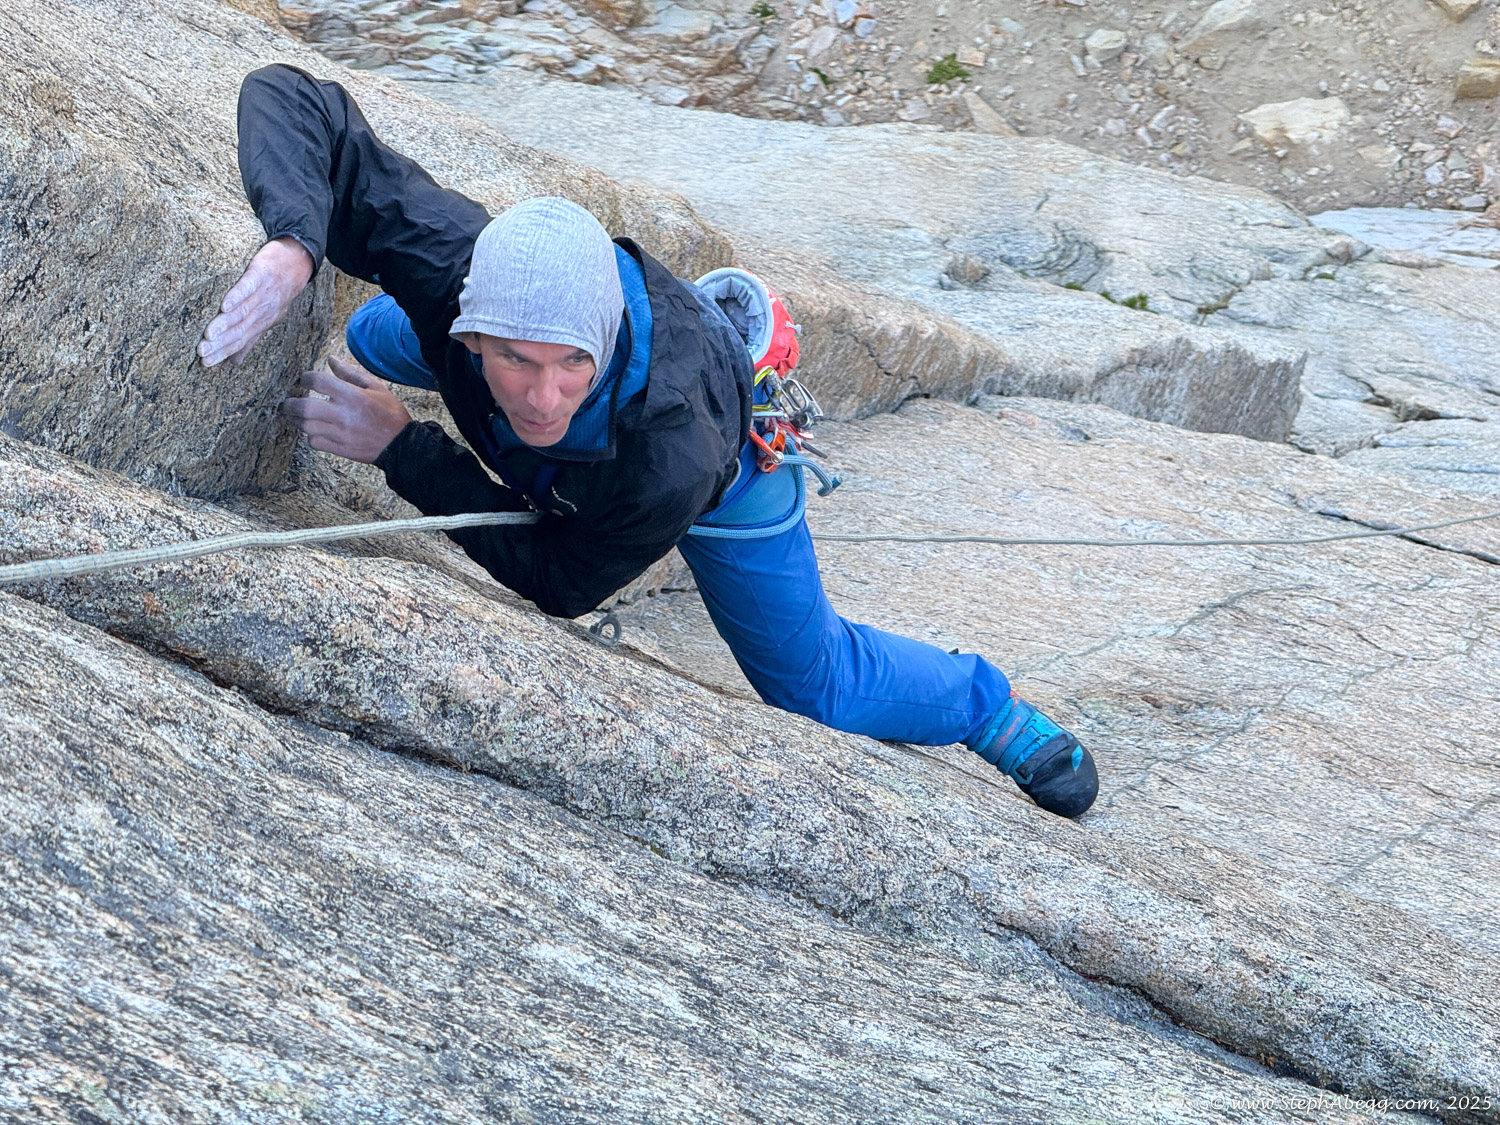
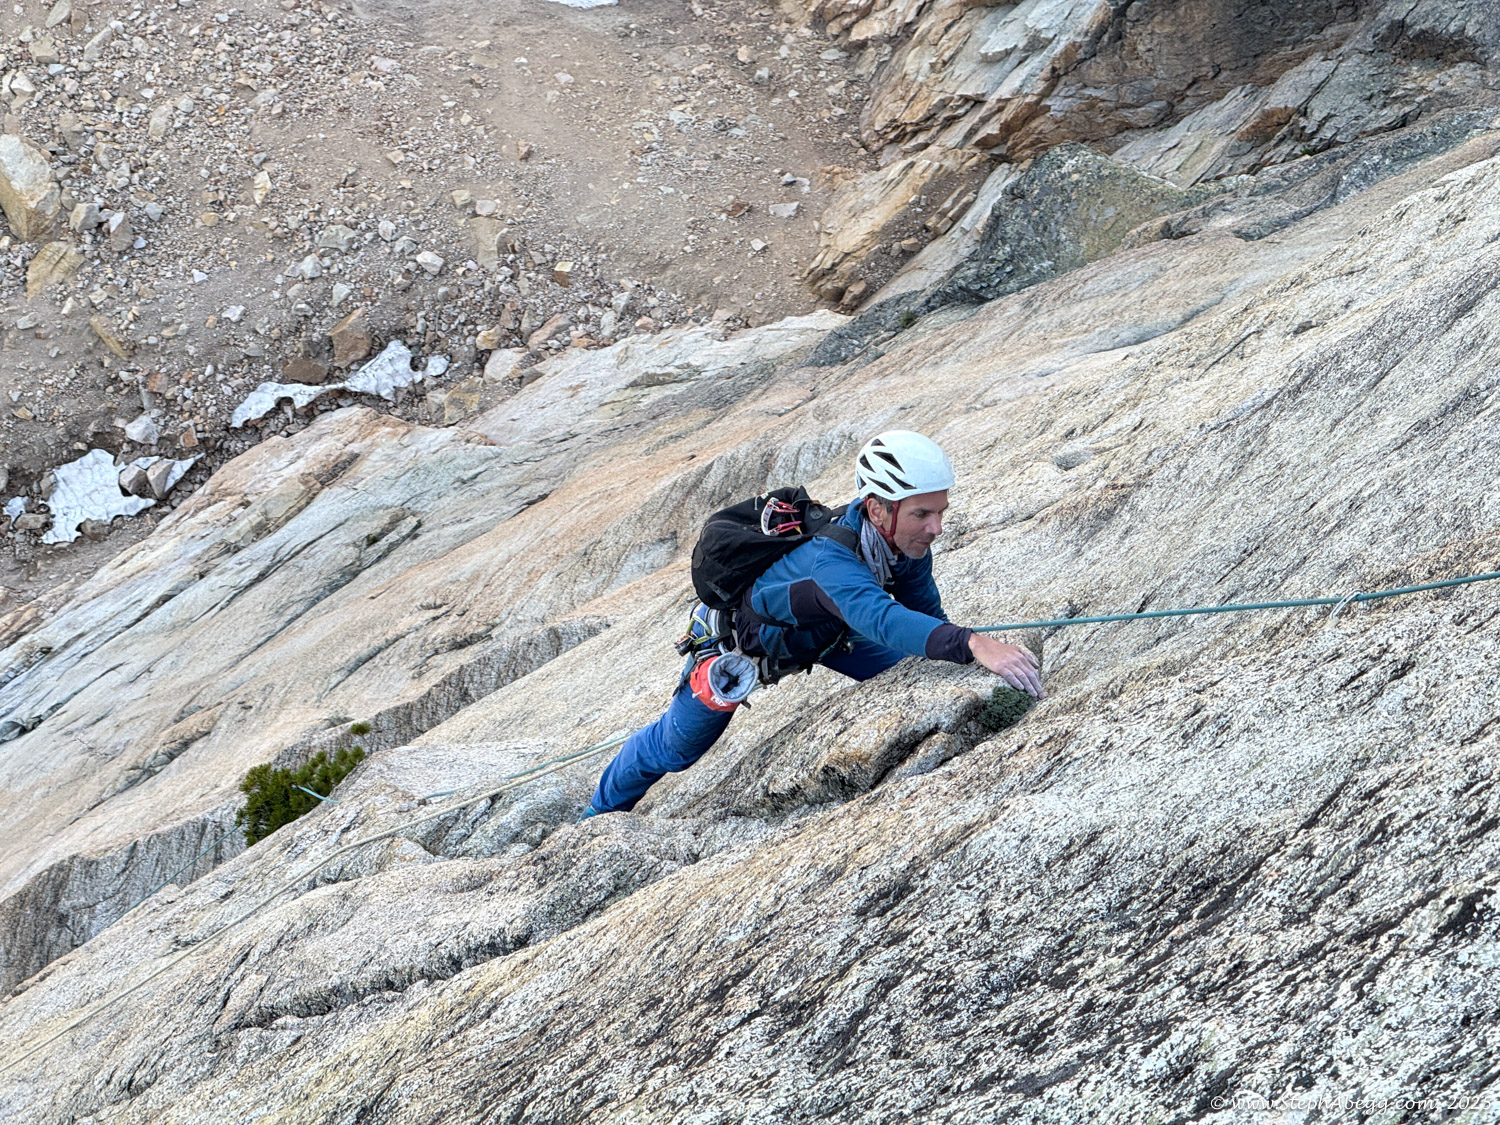
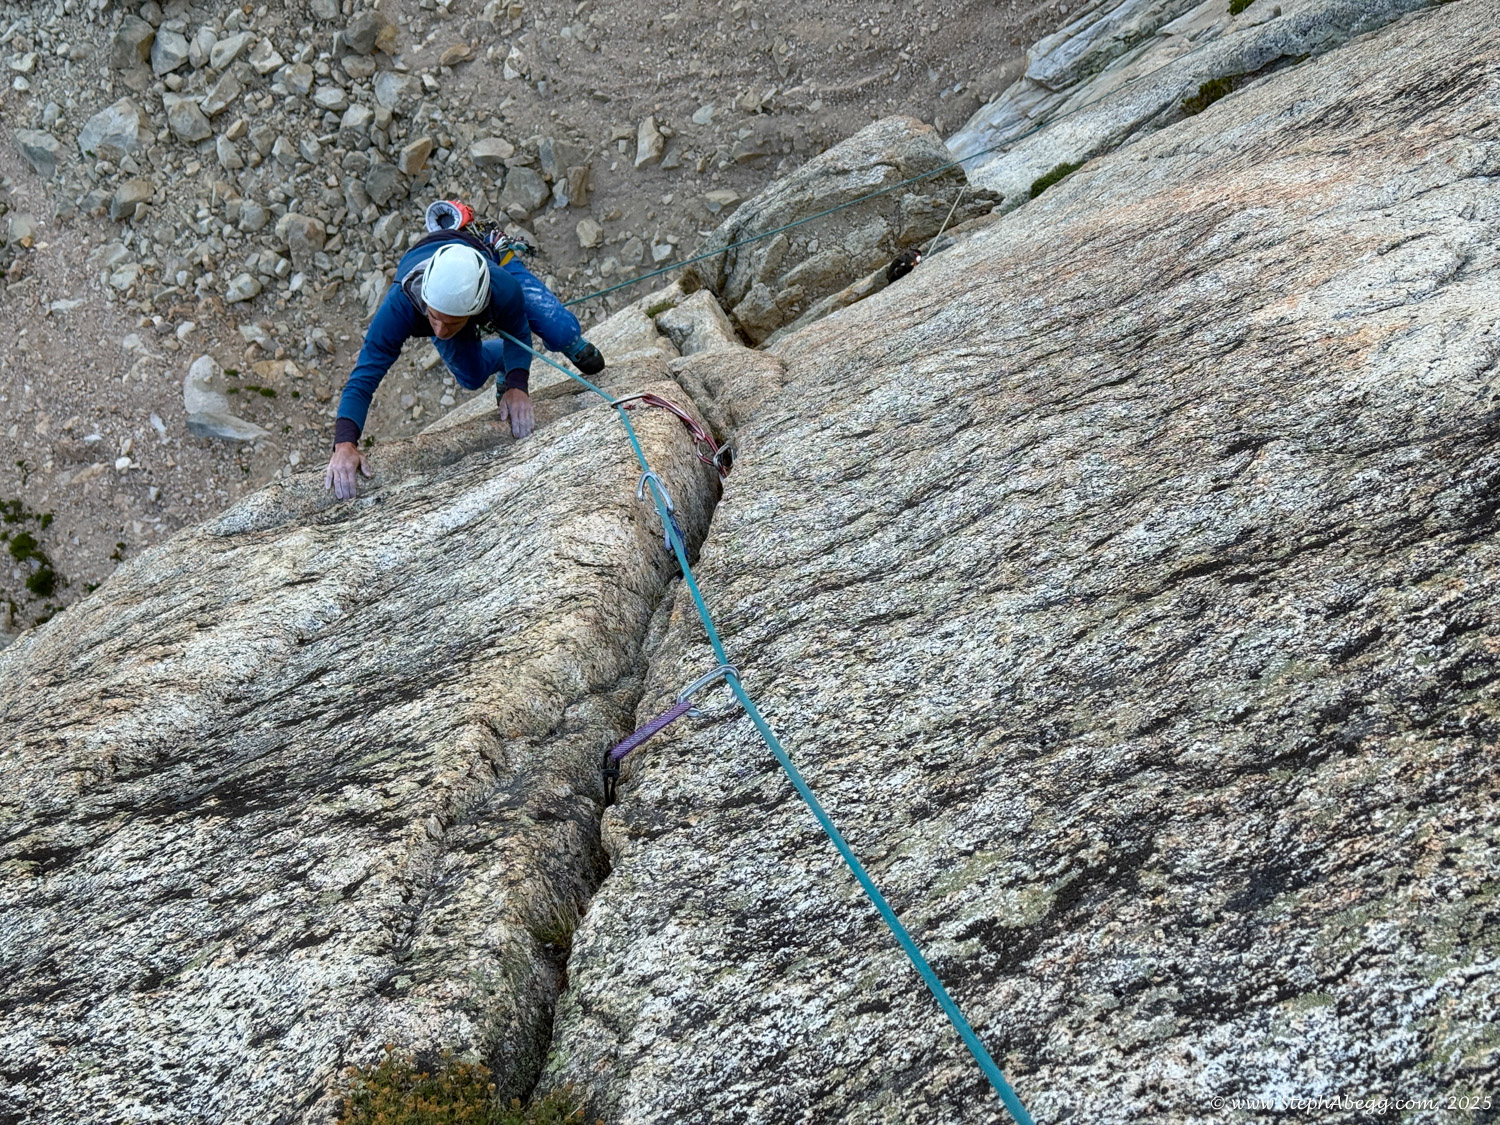
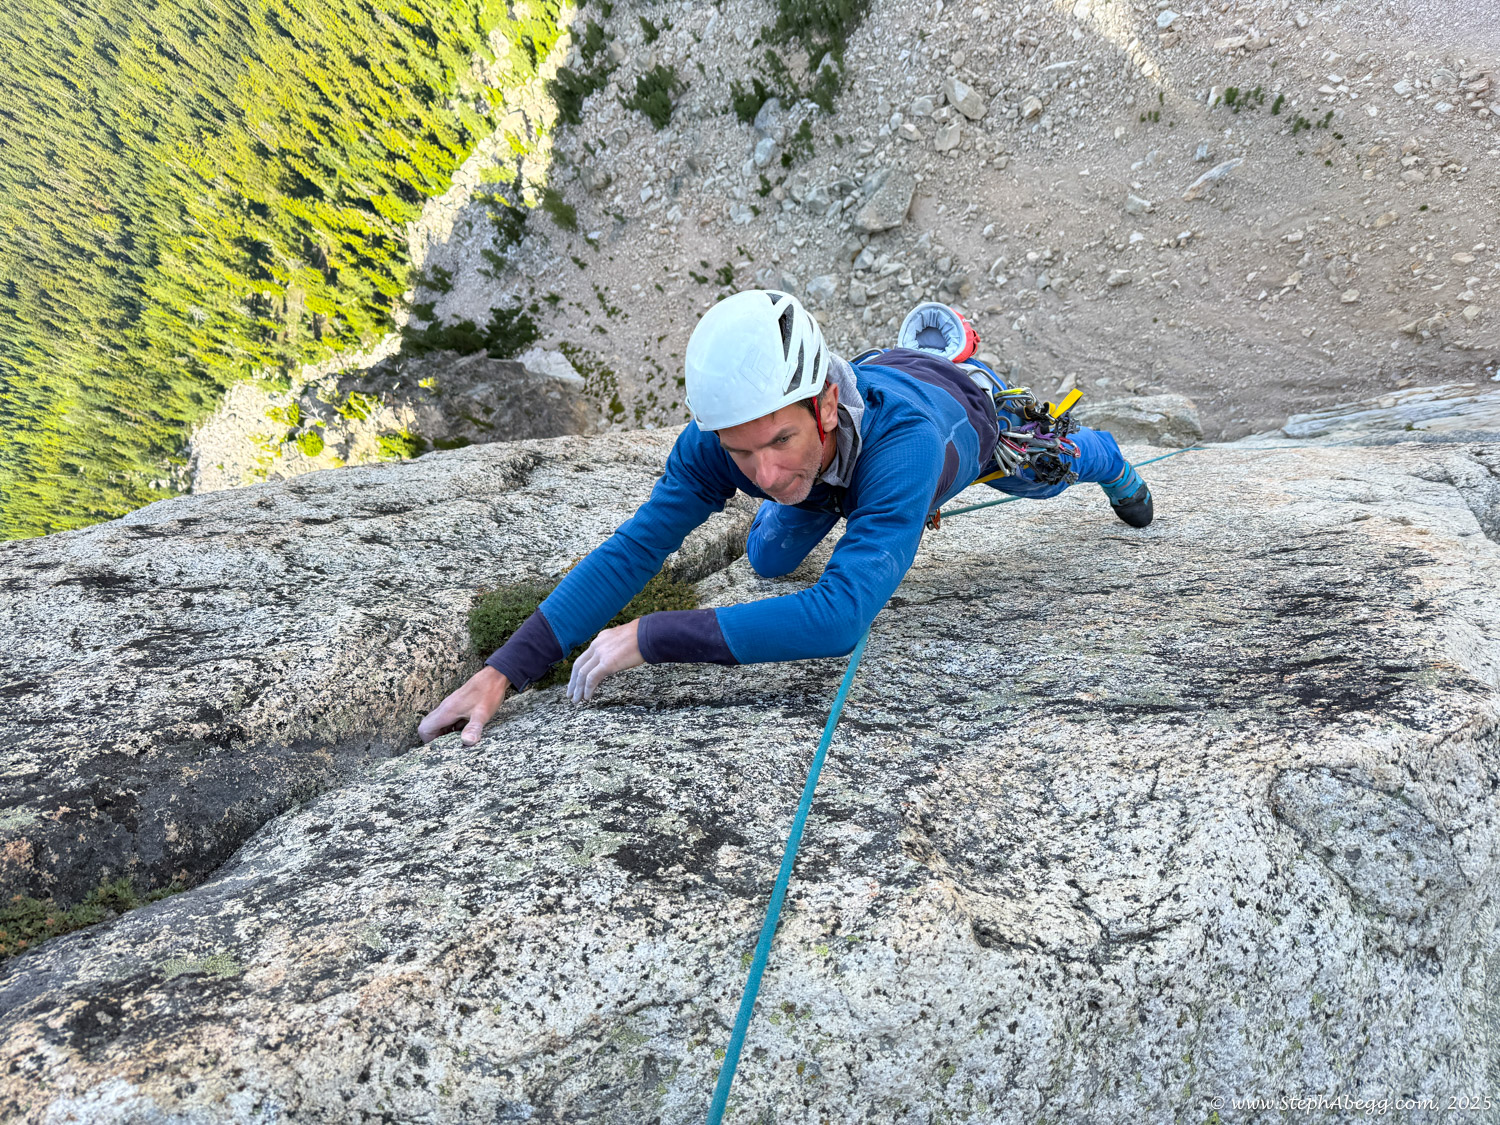
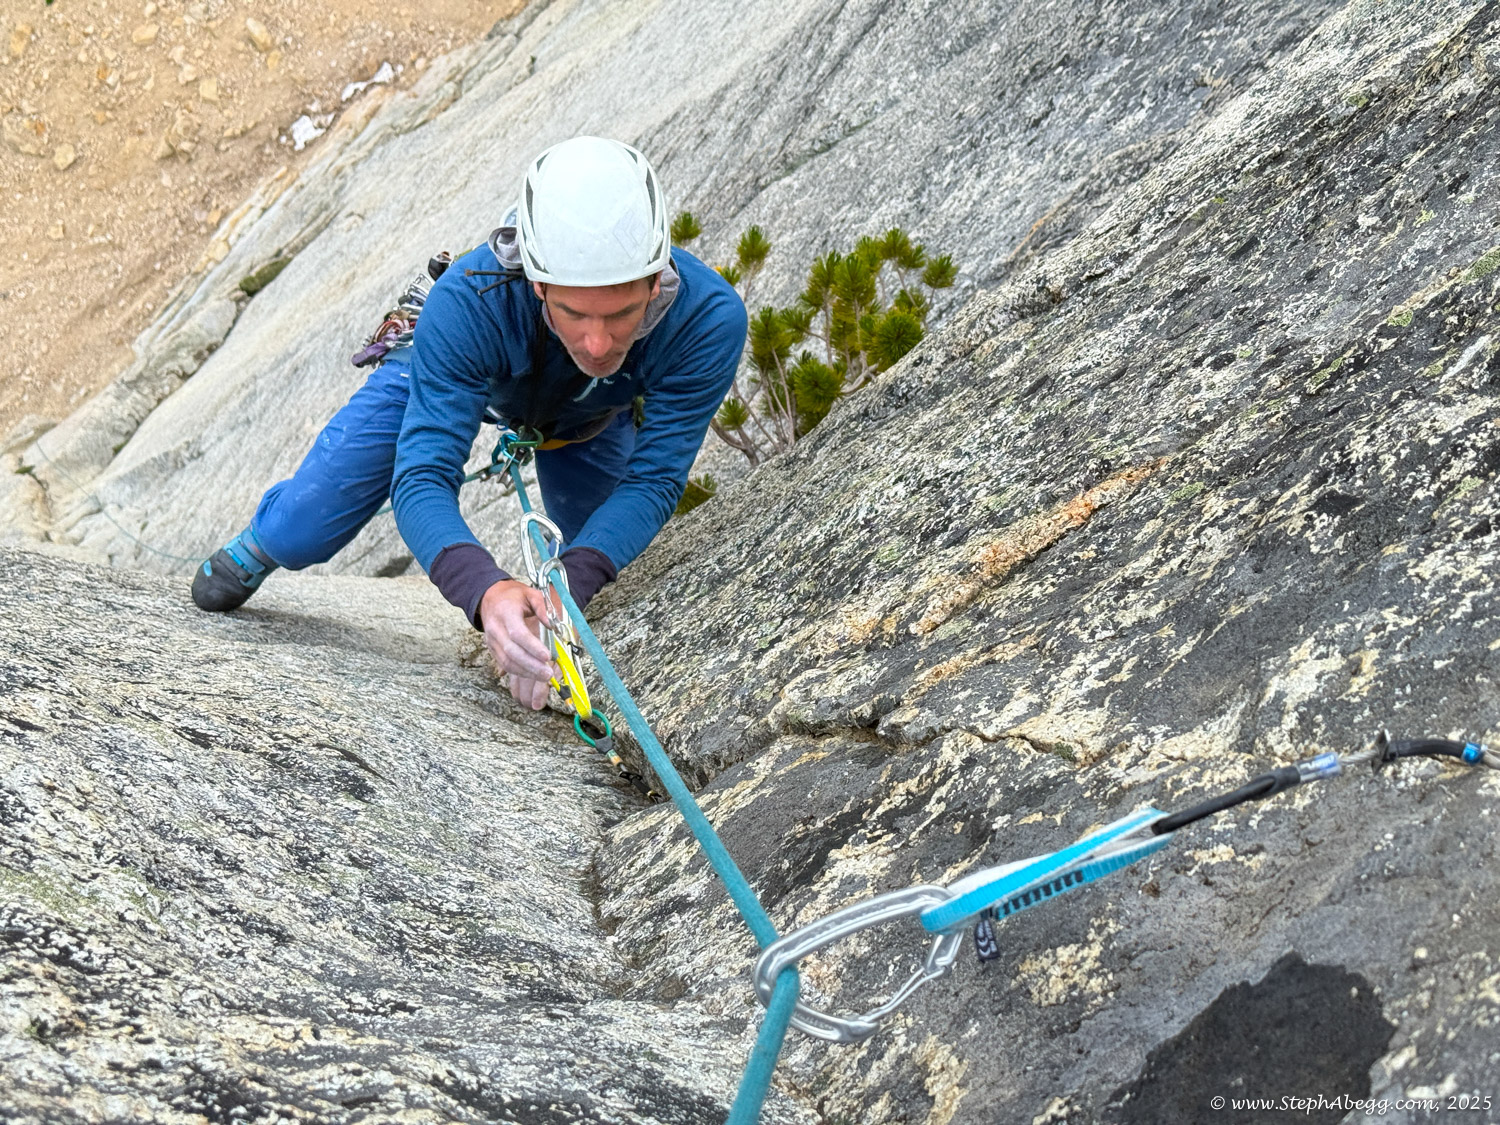
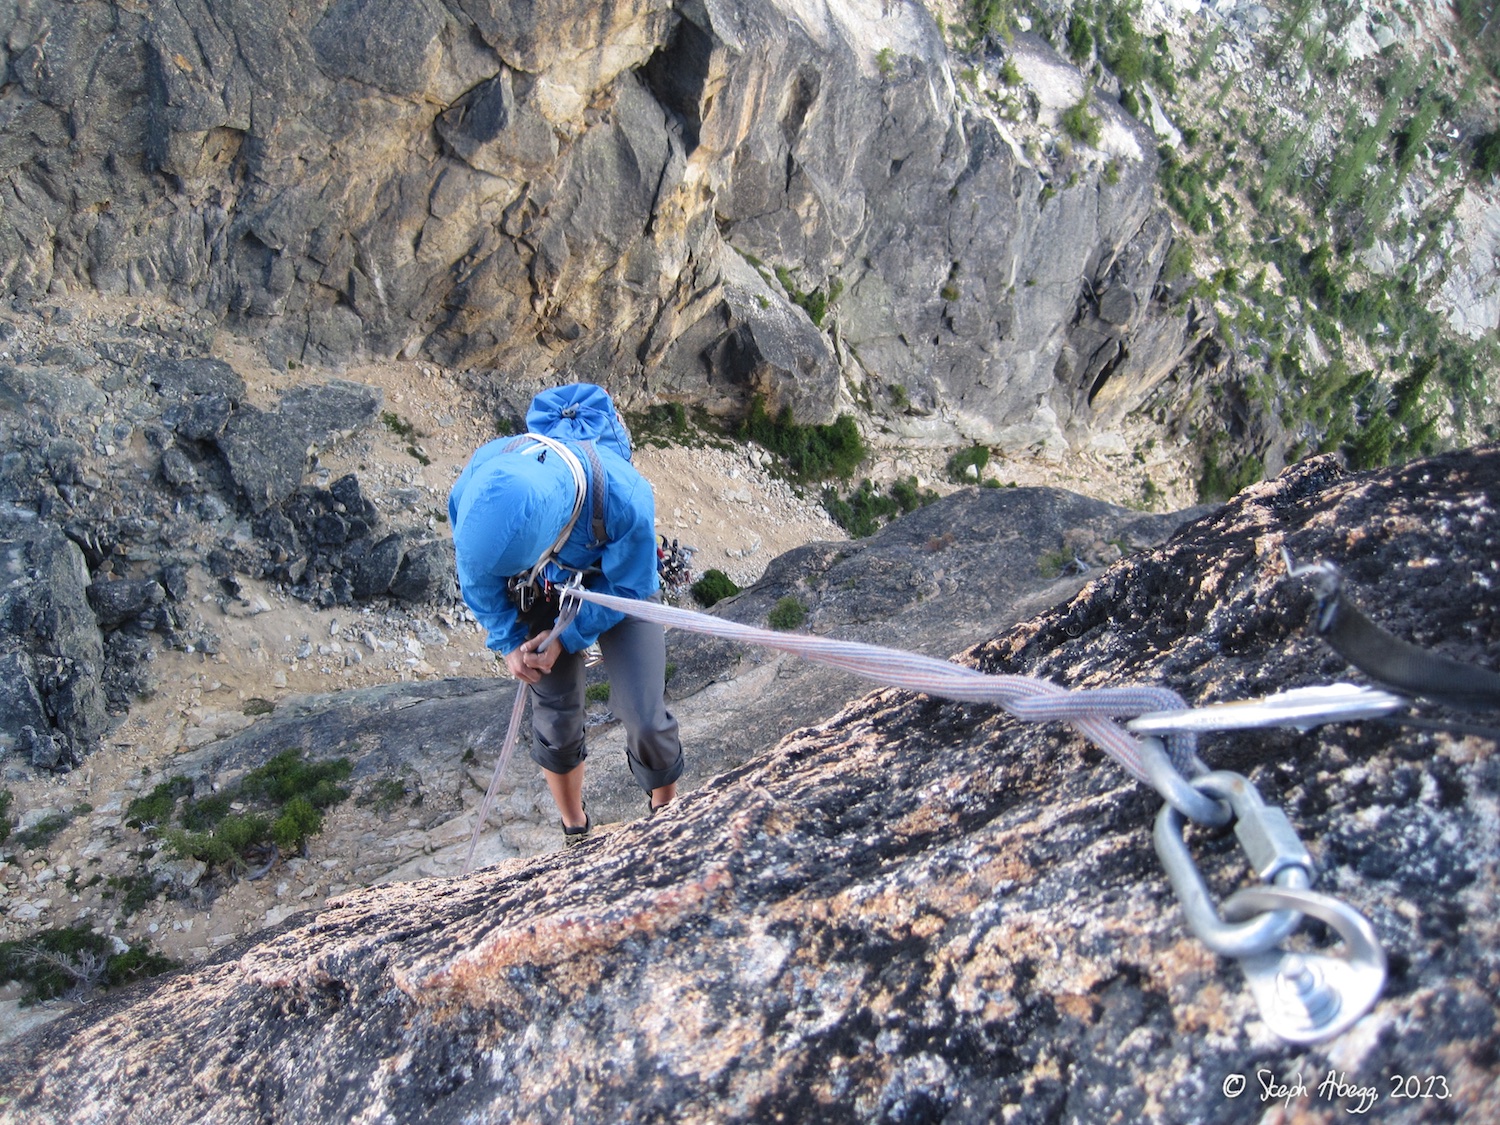
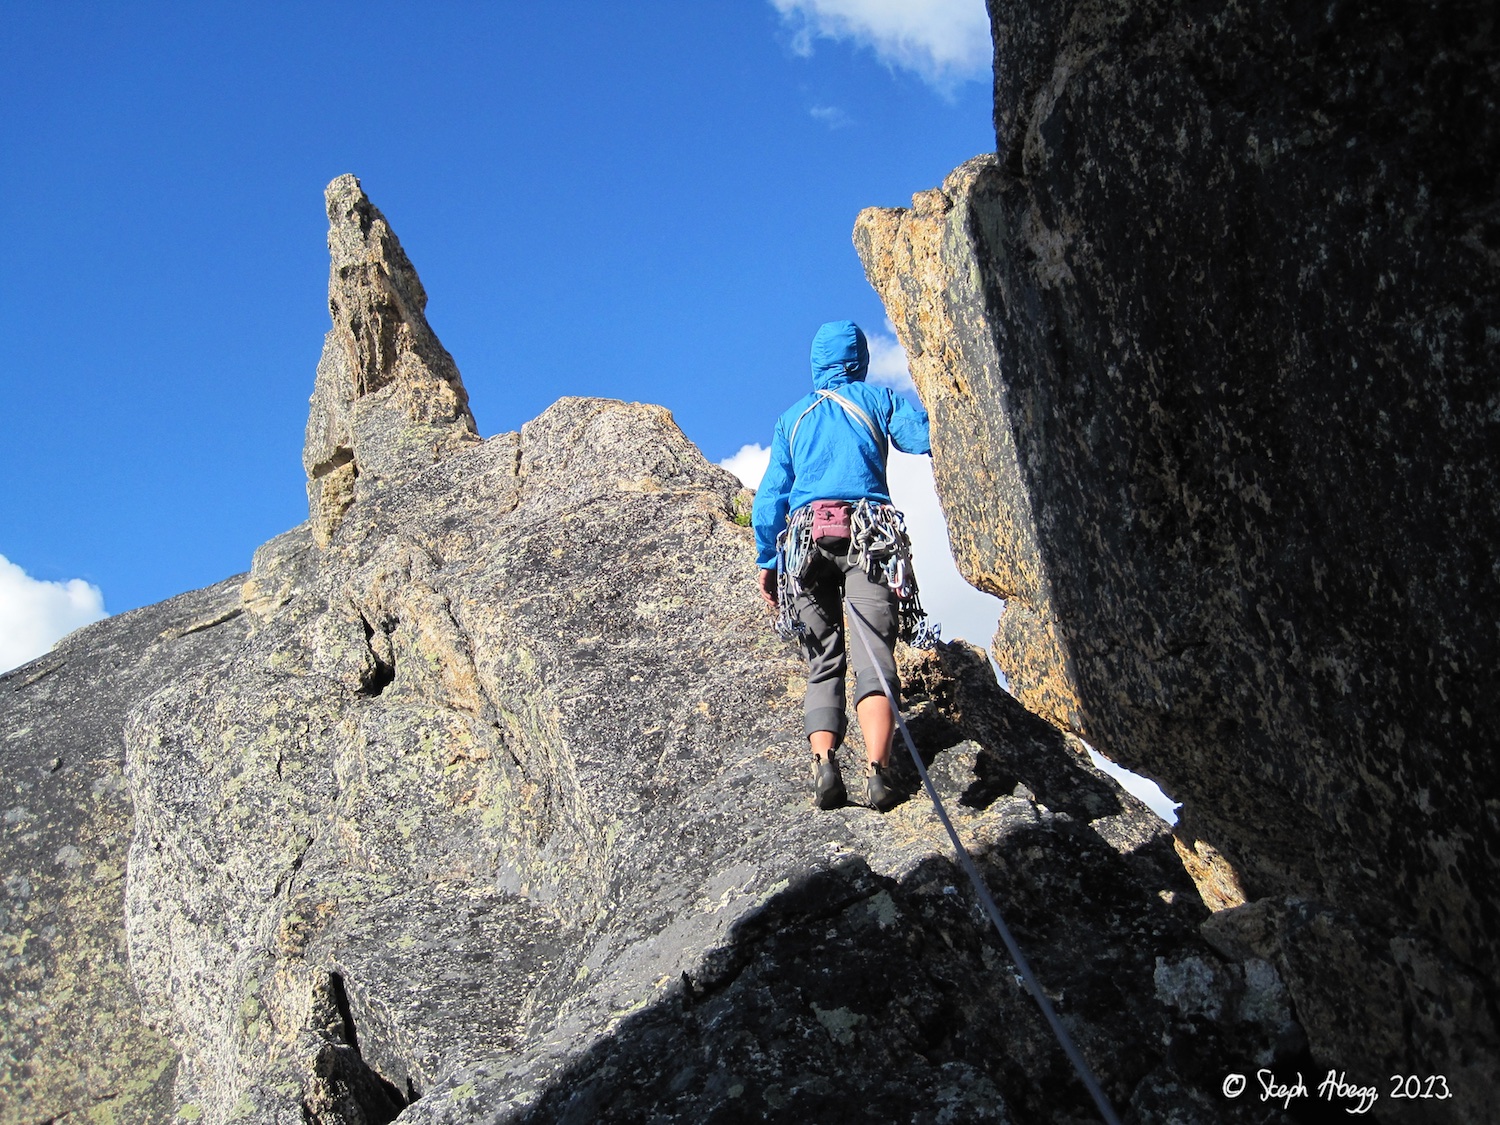
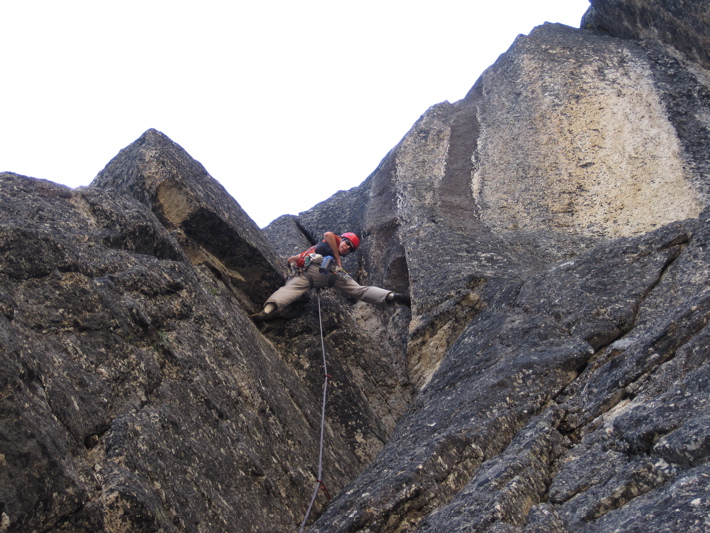
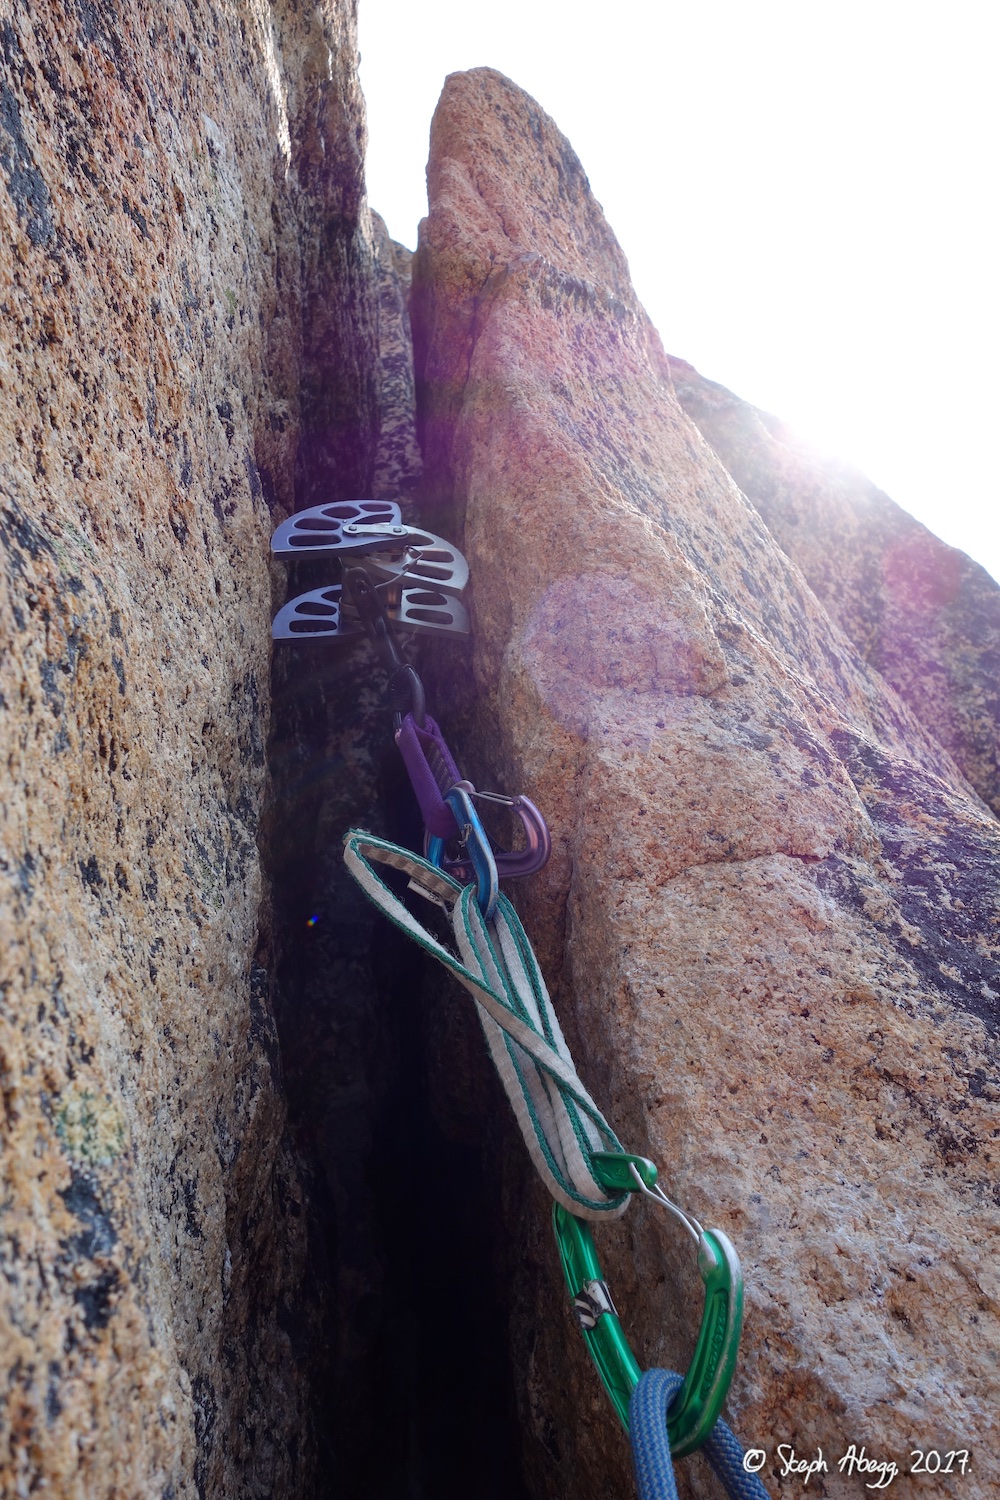
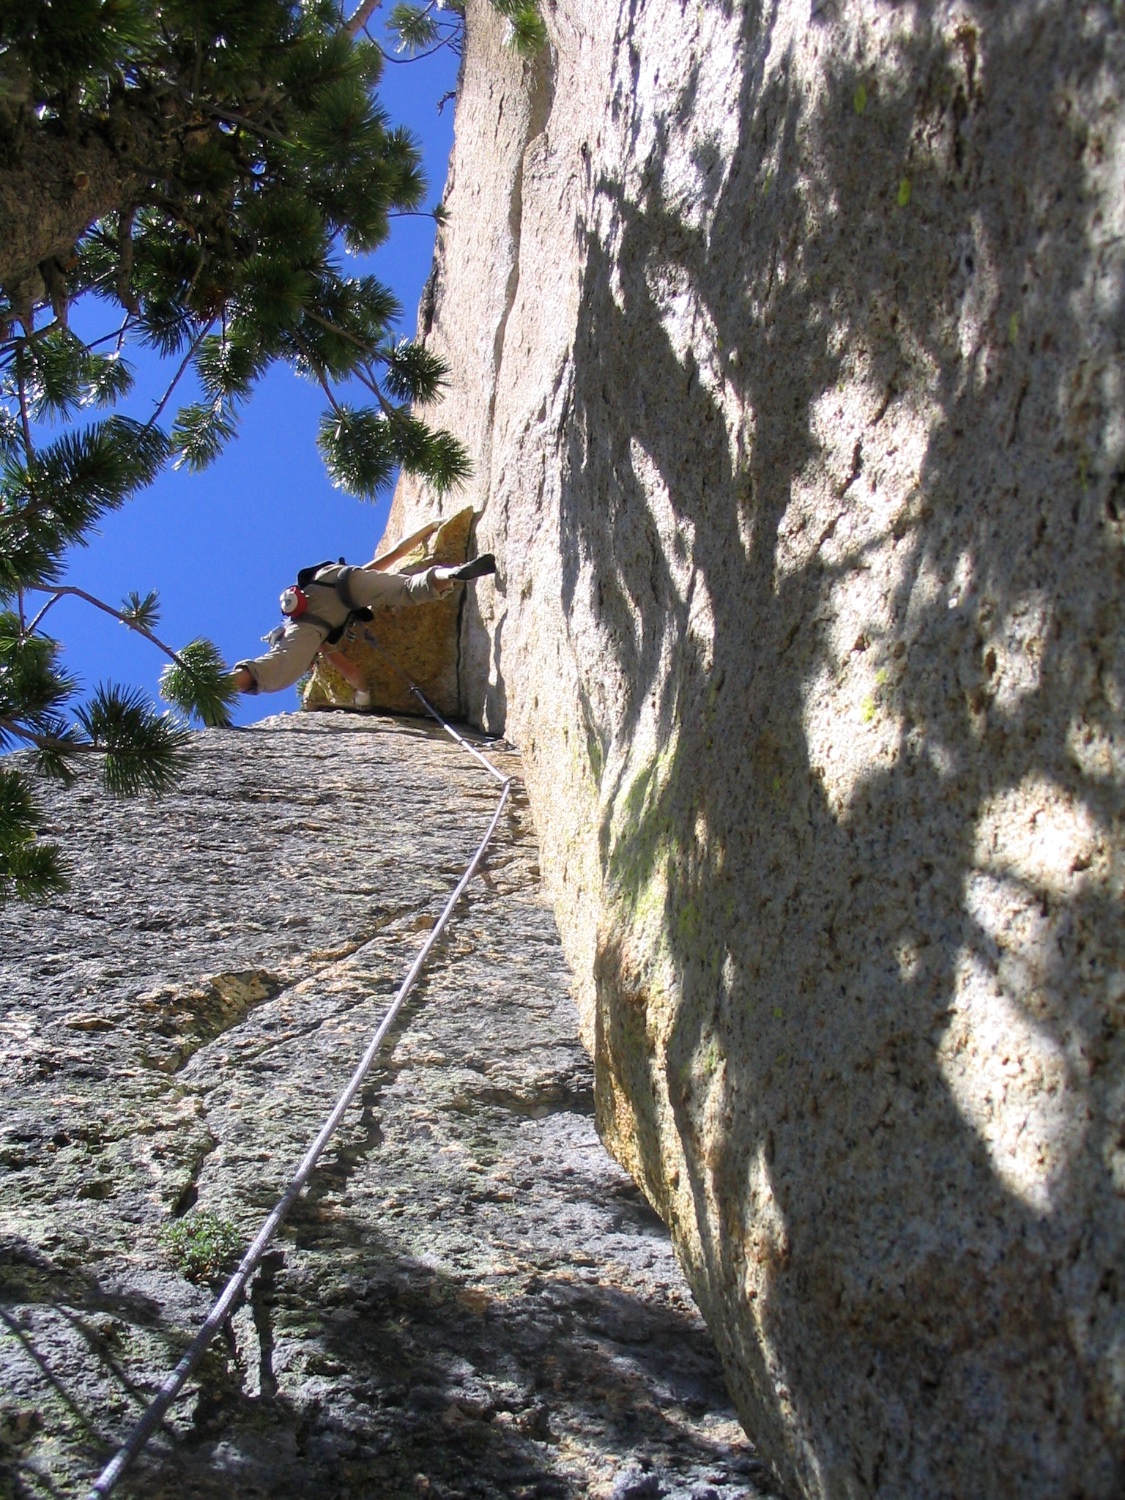
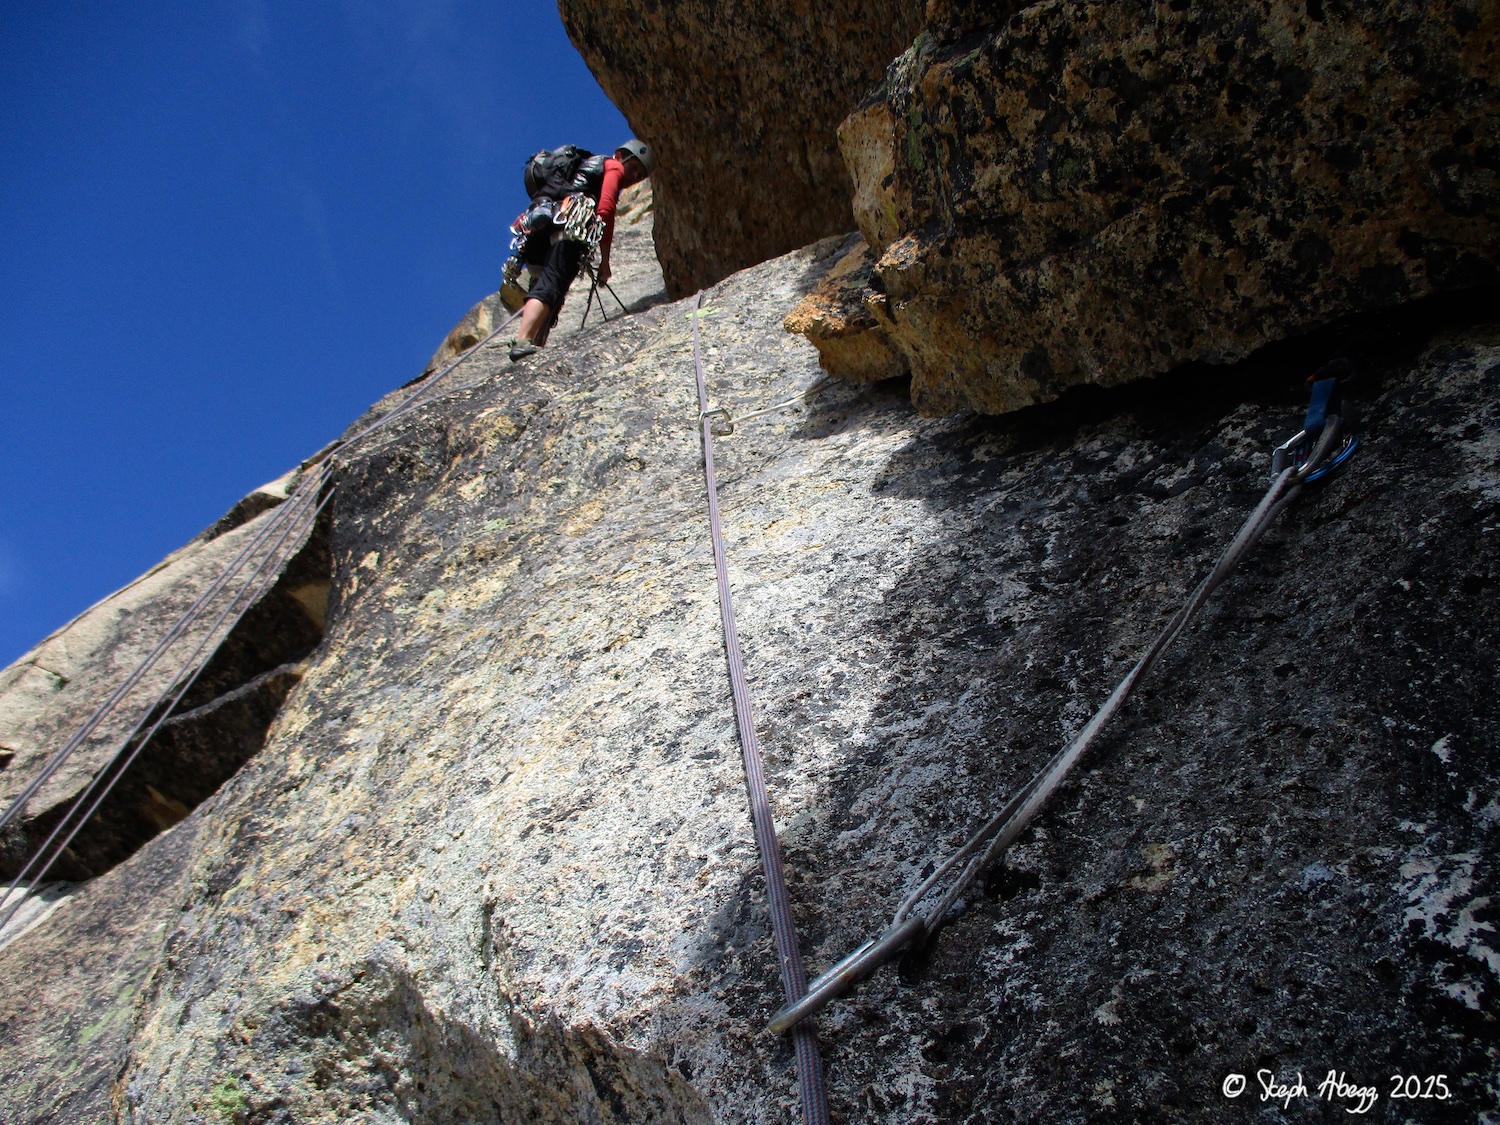
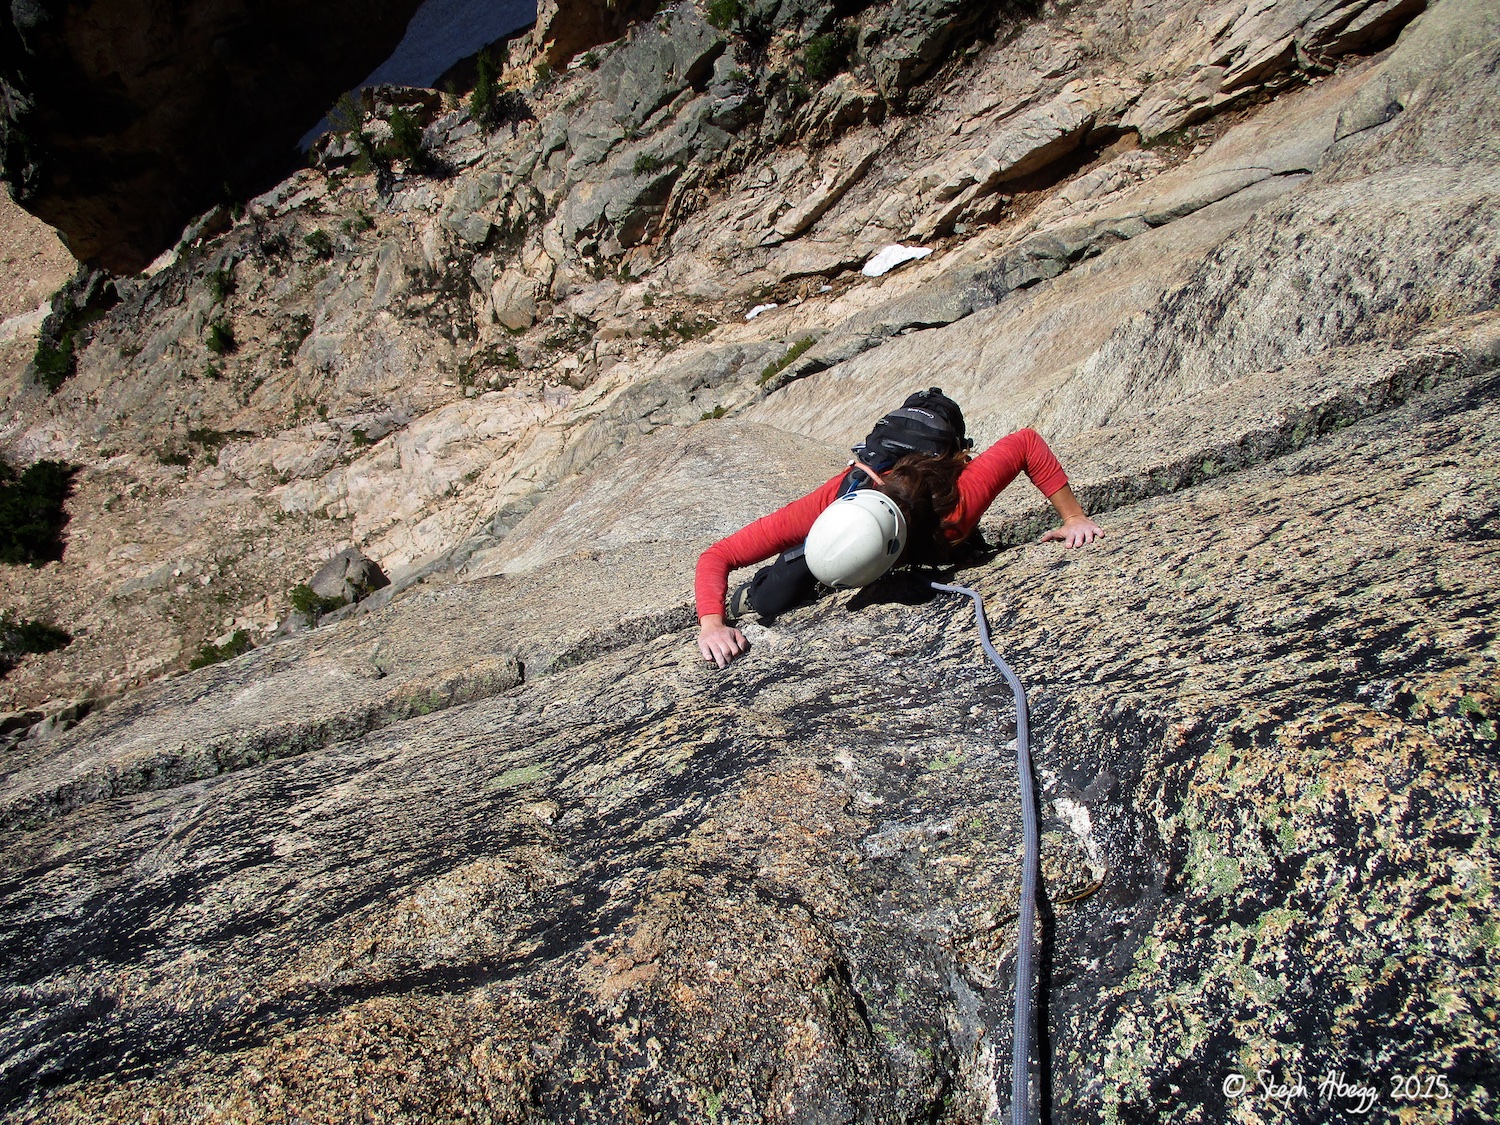
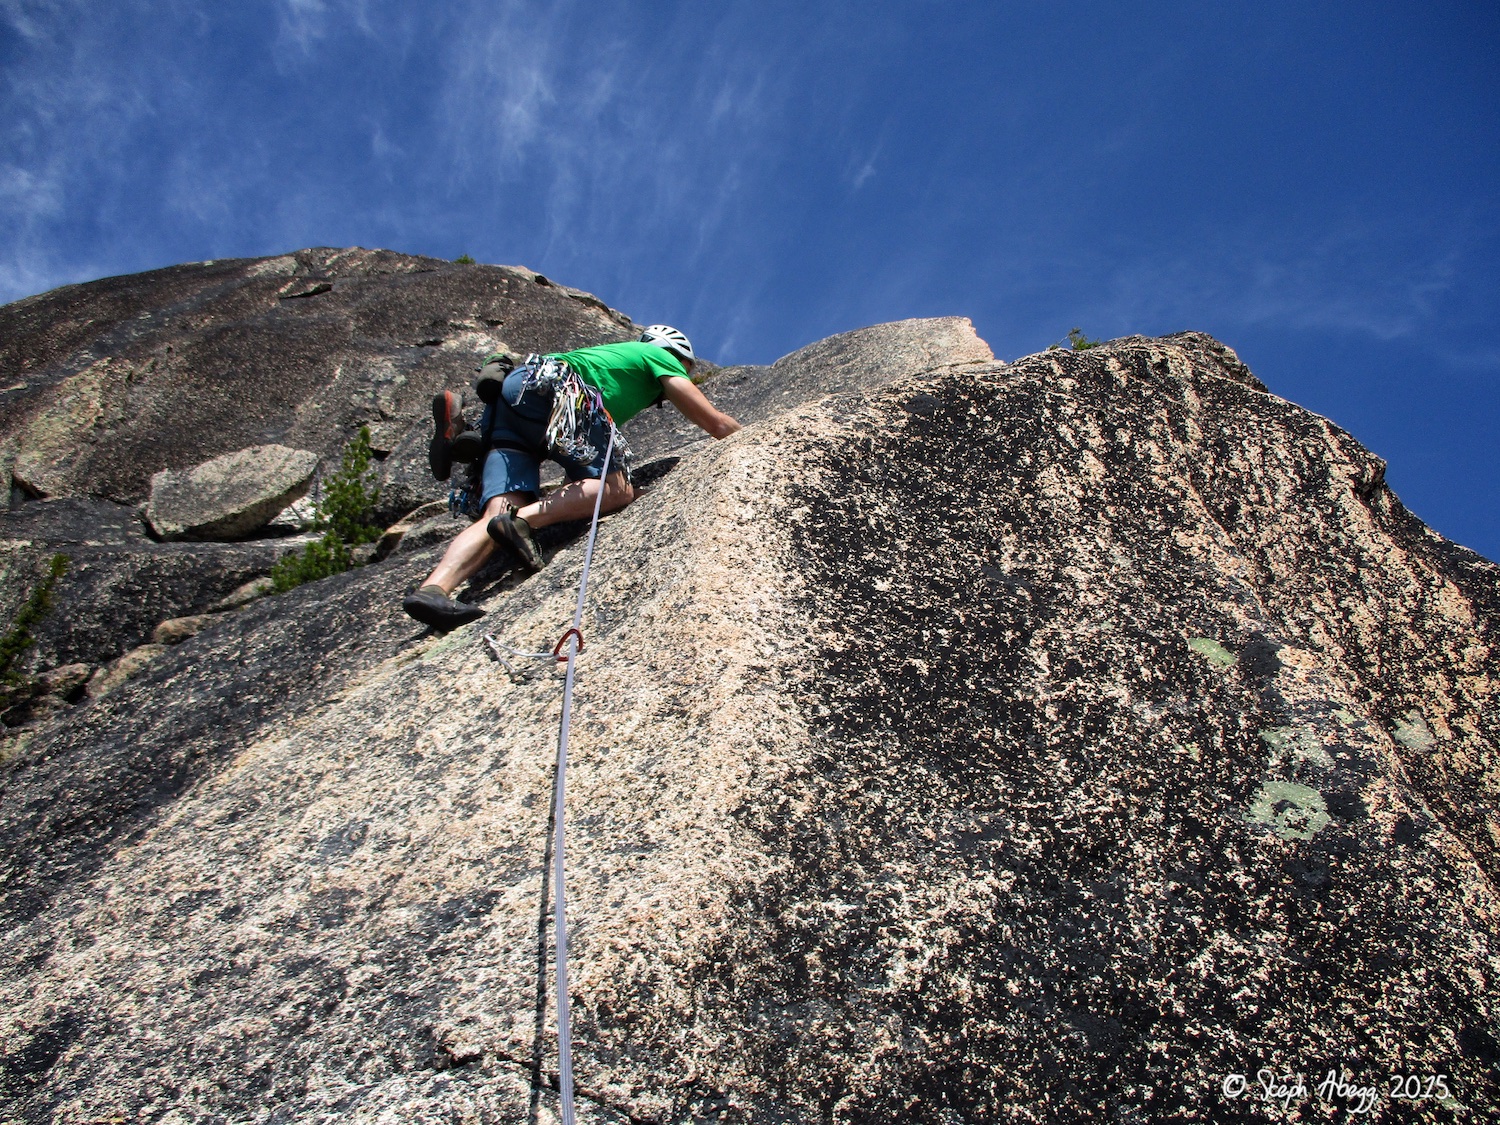
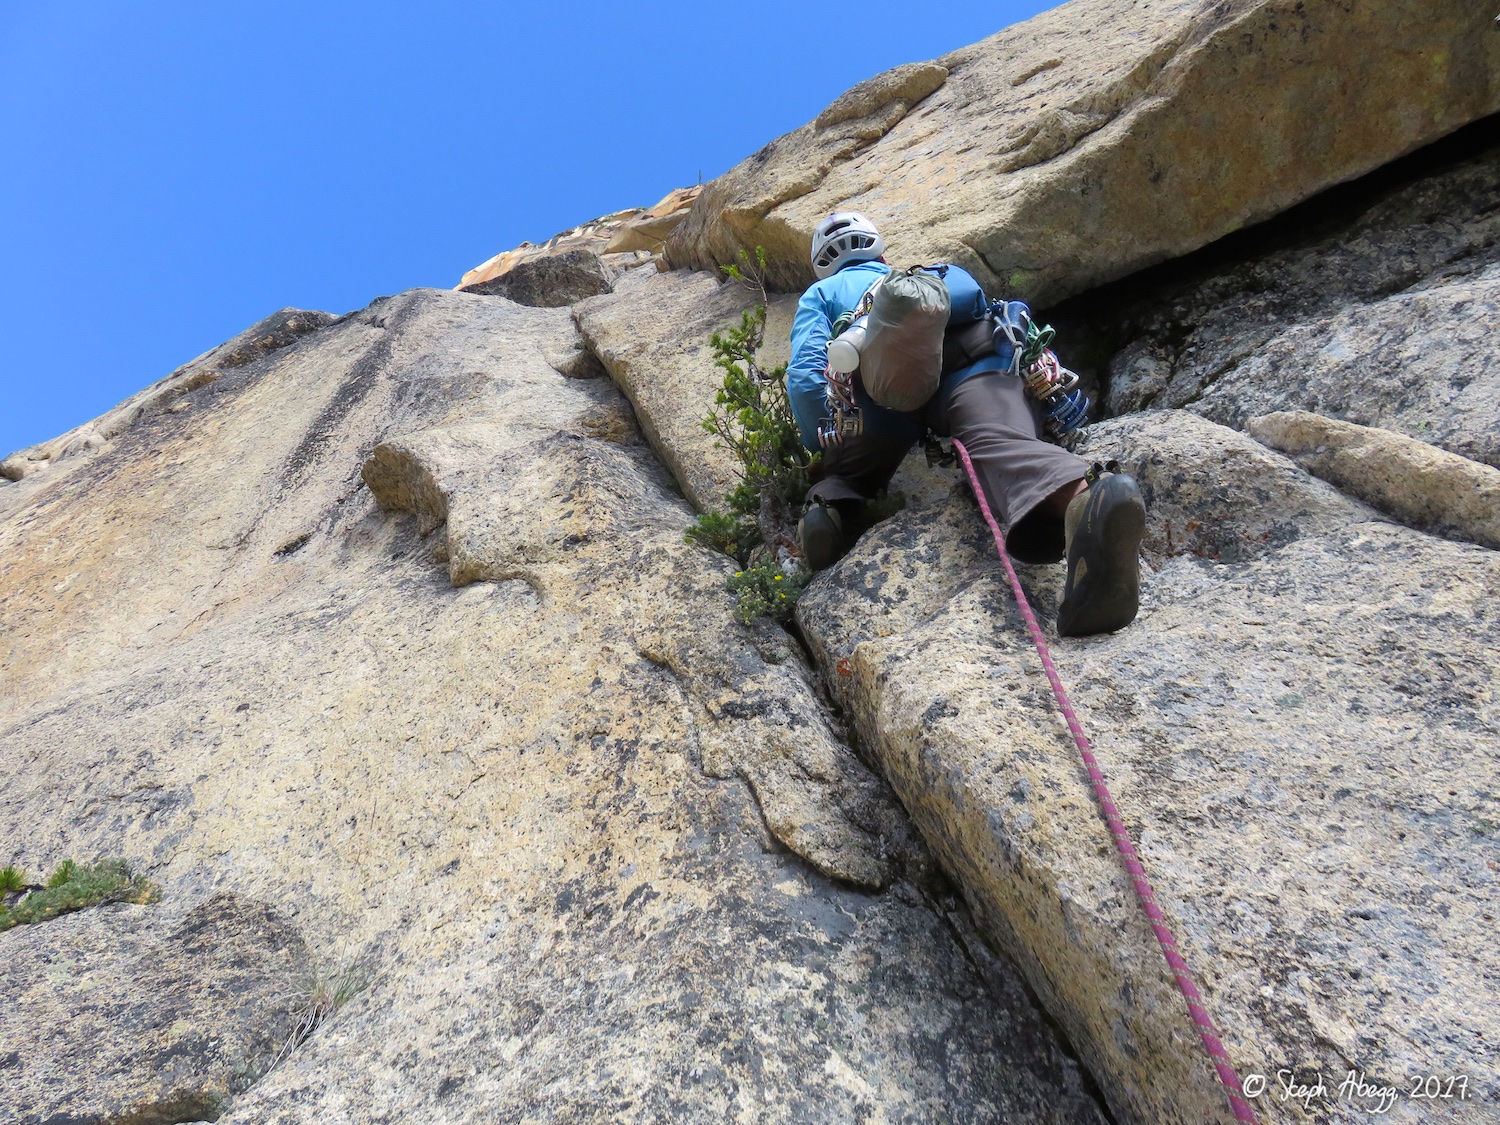
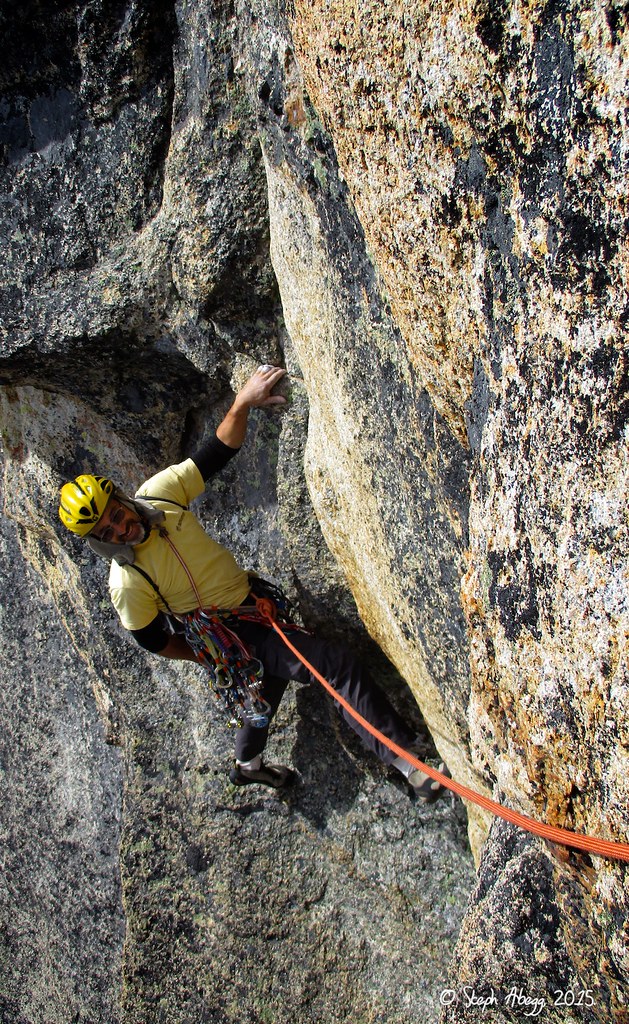
East Buttress, then Wayne led the first four headwall pitches, and I led the final headwall pitch to the top of the spire. On the second headwall pitch, which had the crux of the route, Wayne stepped in an aider on the crux 5.12a section and a couple of the steeper 11b sections, while I attempted to completely free this pitch and resorted to pulling on a piece of gear for two moves; we both freed all of the other portions of the route cleanly. Wayne strung together the third and fourth headwall pitches into a single 185-ft lead, which was a pretty impressive bit of climbing given the strenuous and sustained 5.11 nature of the third pitch. The headwall pitches had some great climbing. Wayne and I both enjoyed the route, with our main complaint being that we wished the route had more pitches of headwall and less of
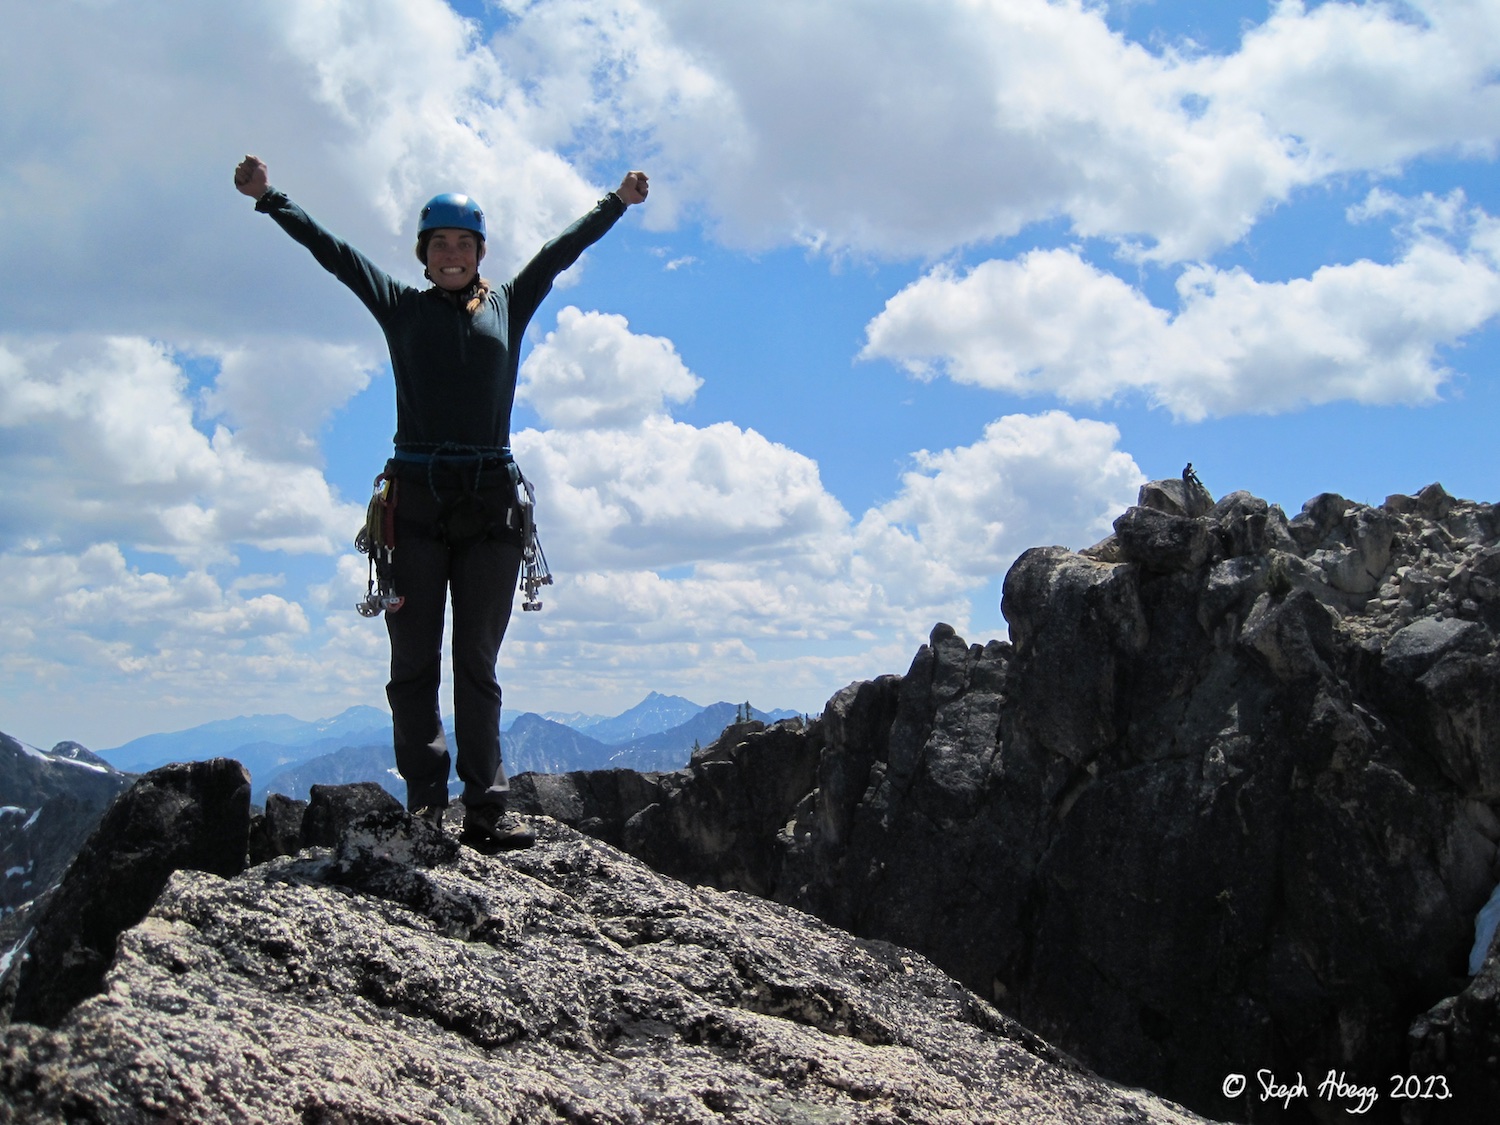
East Buttress. The climb from the base of the
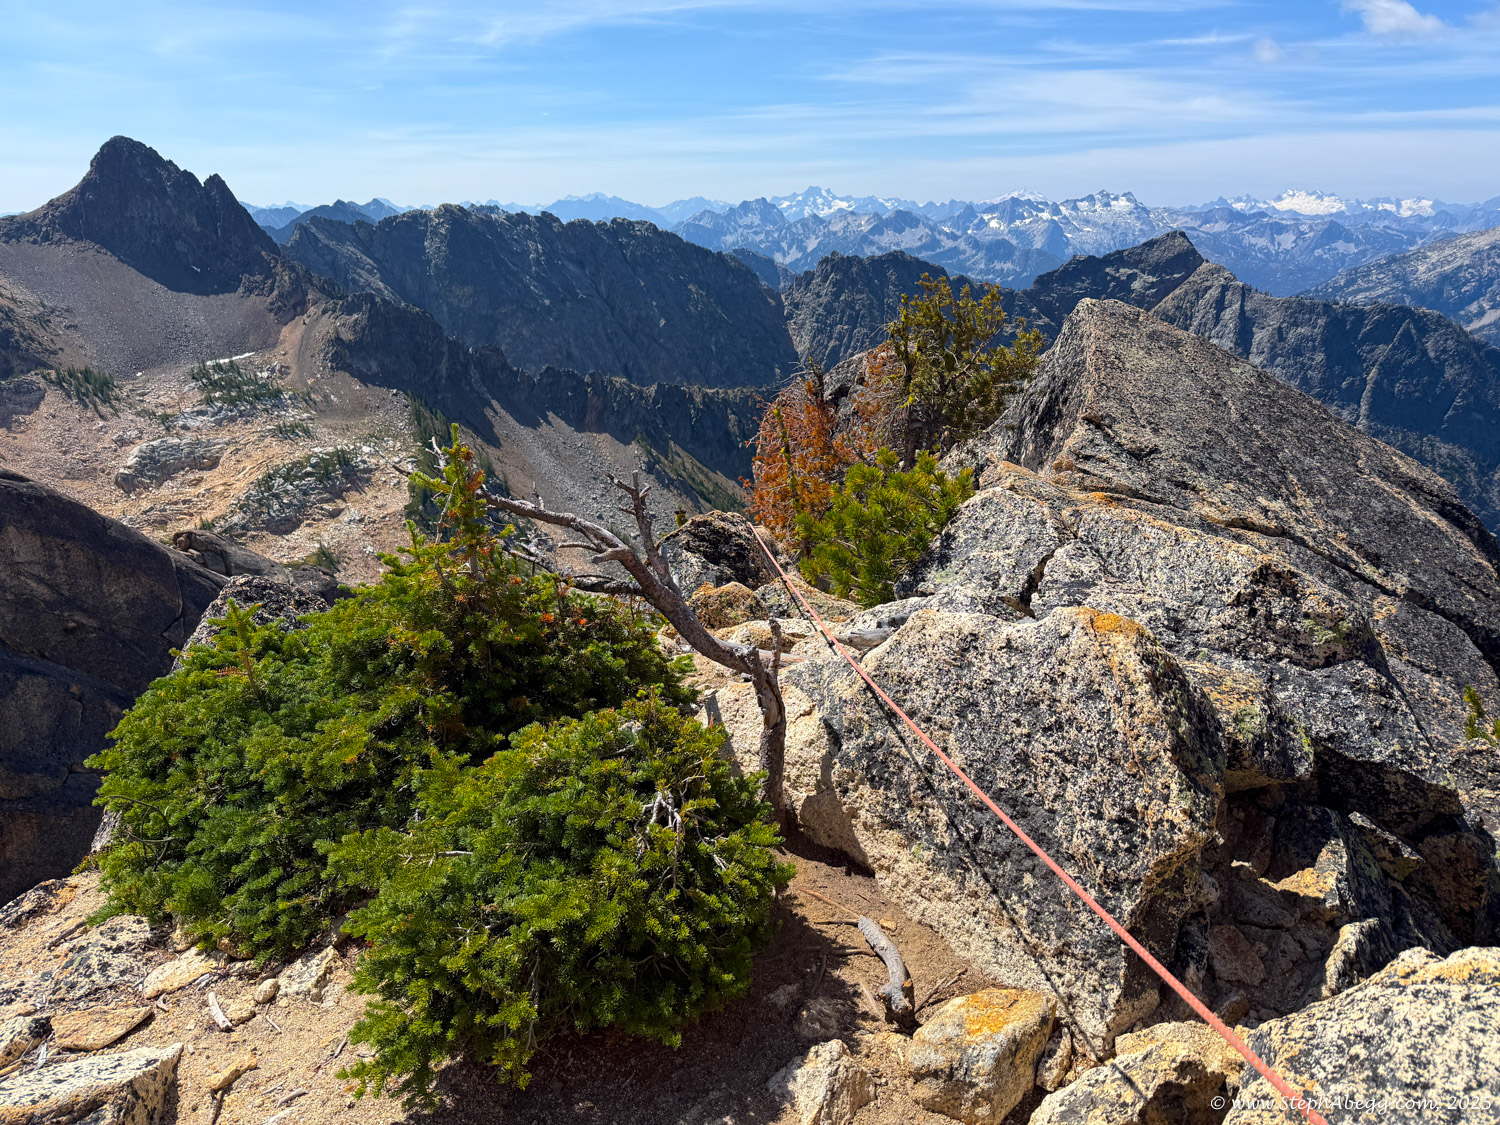
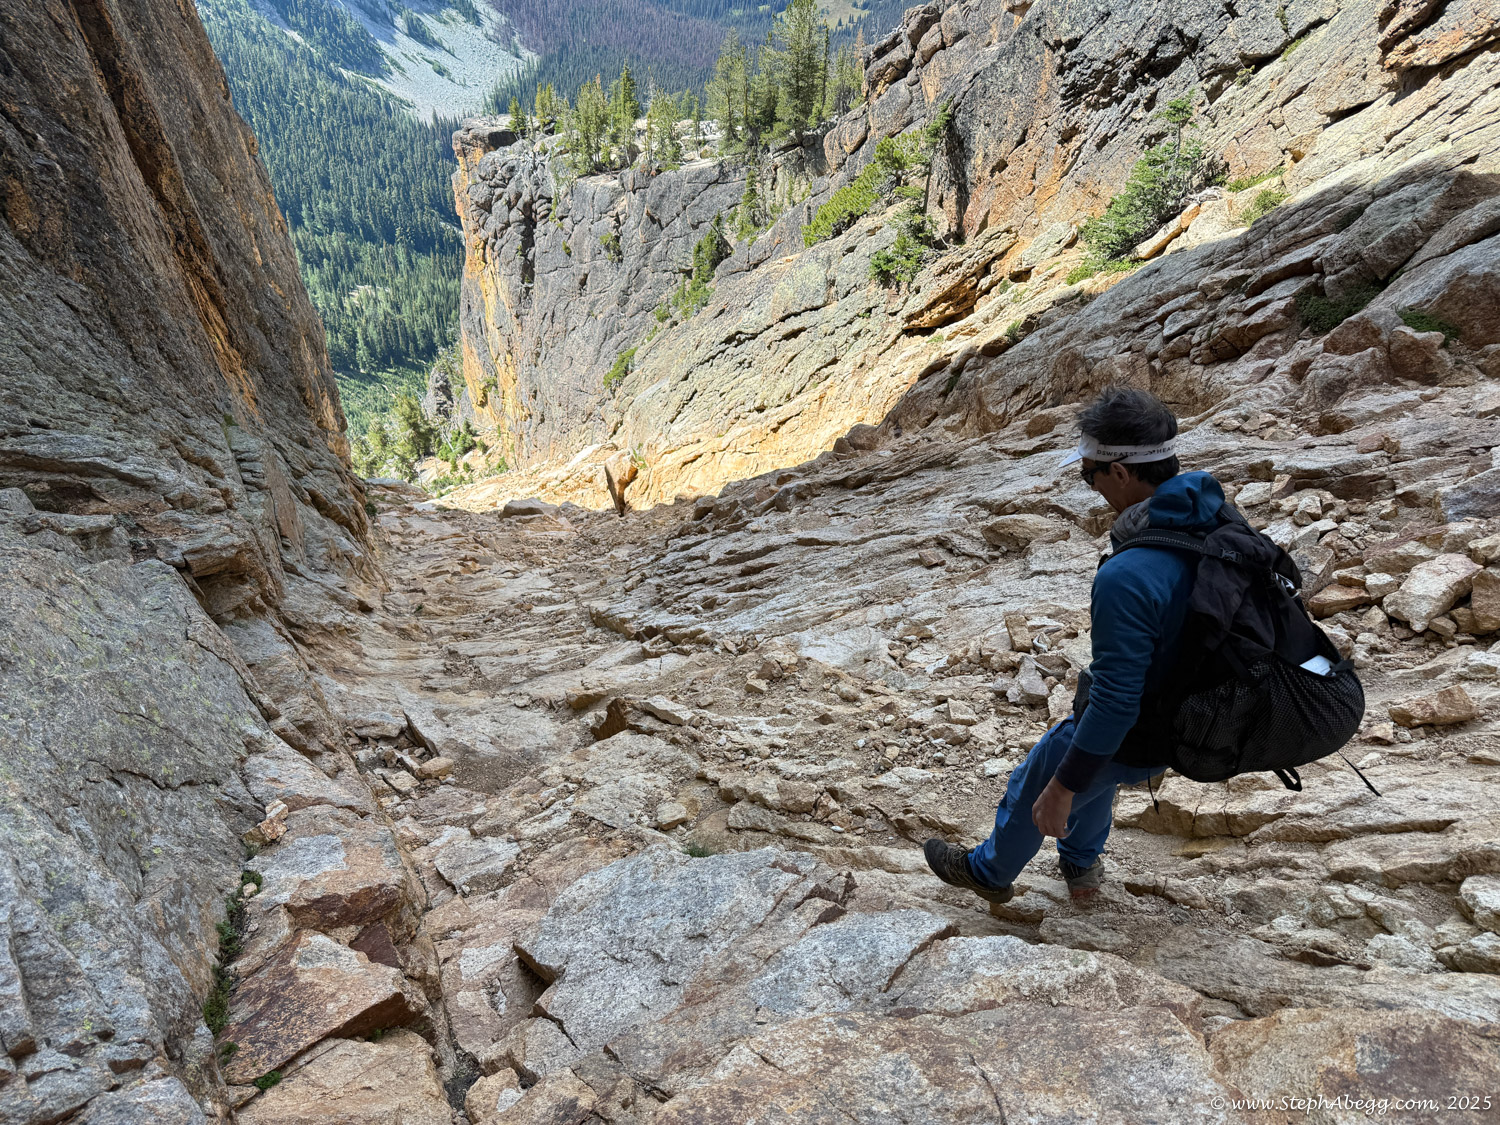
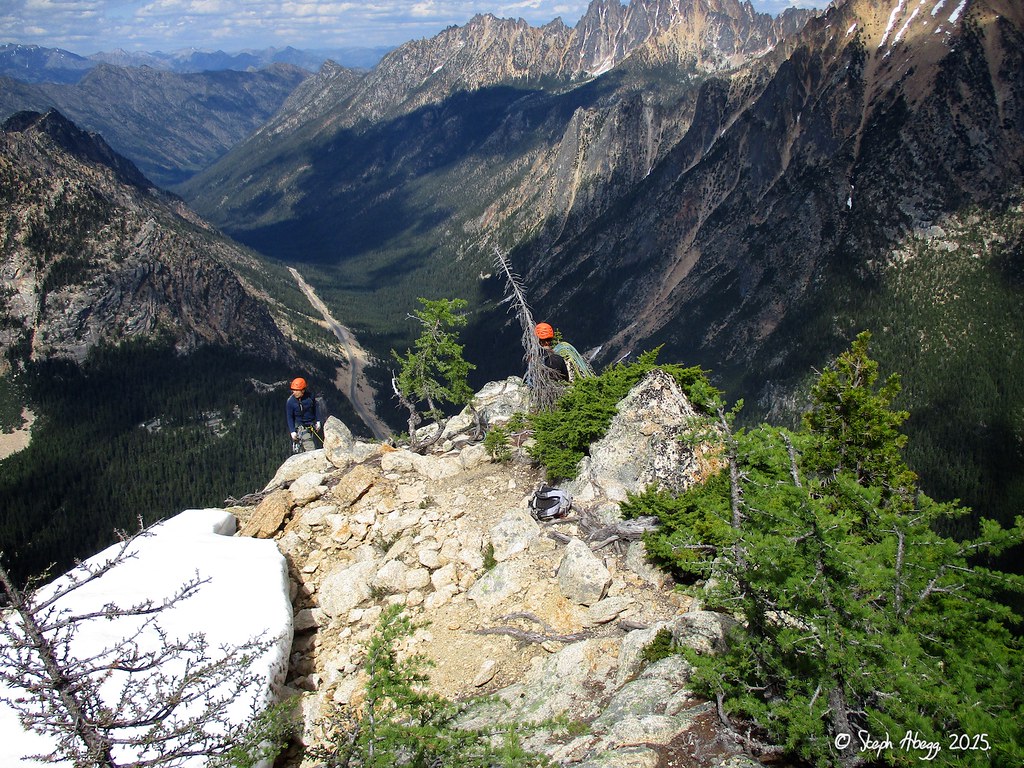
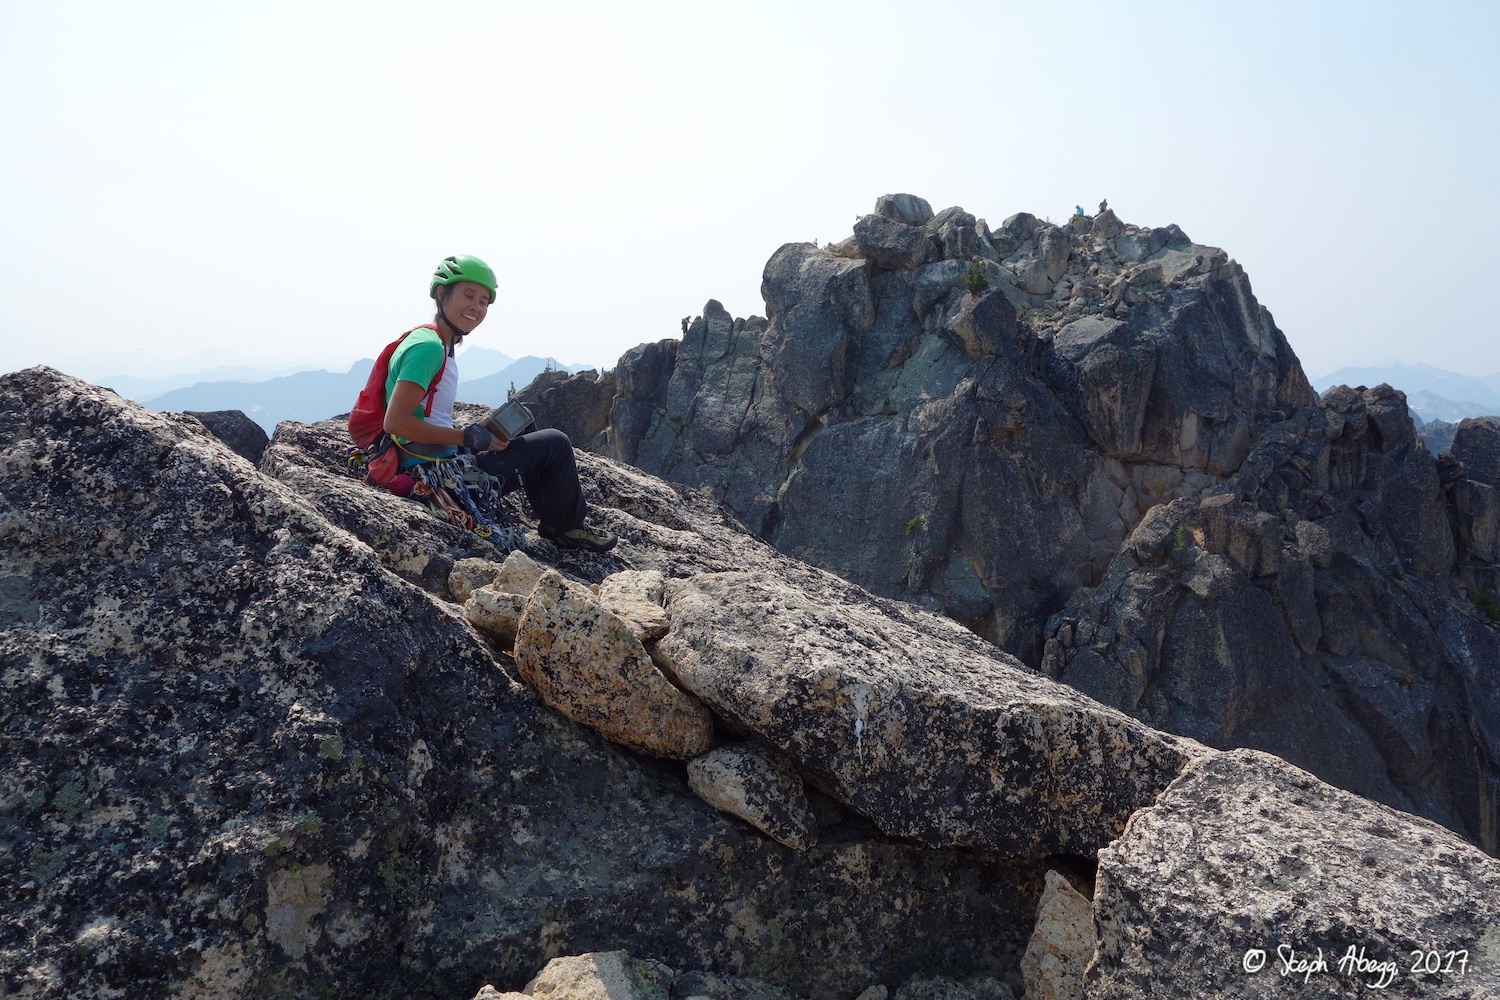
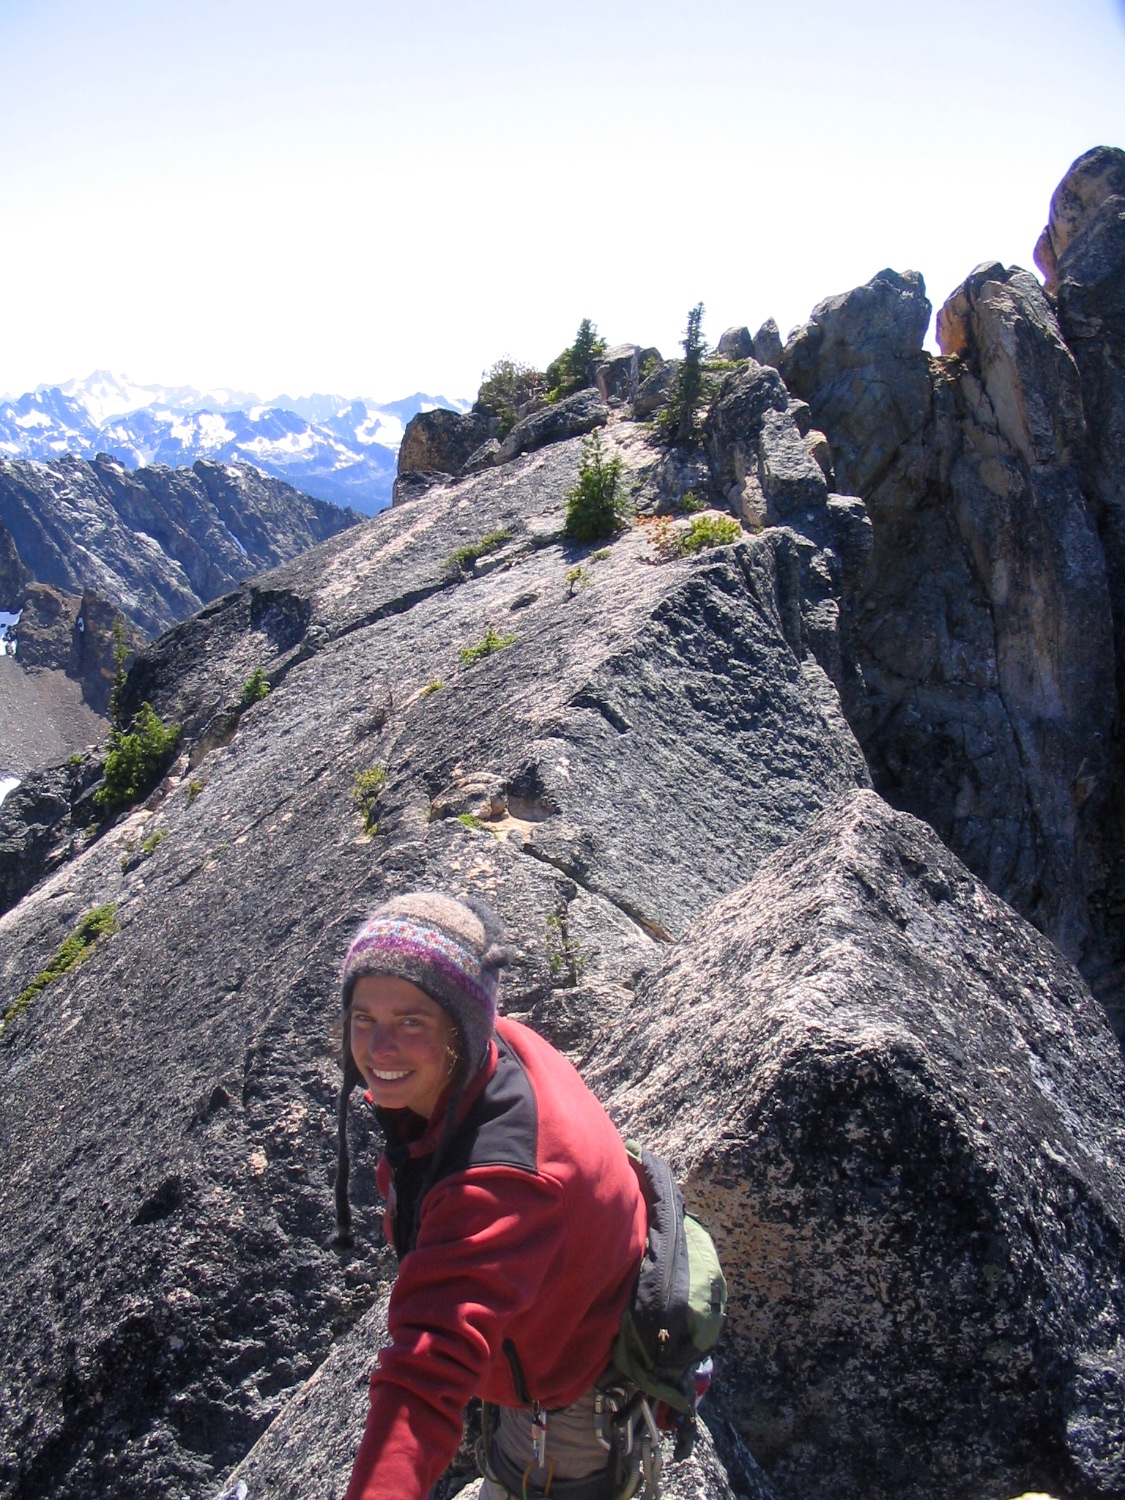
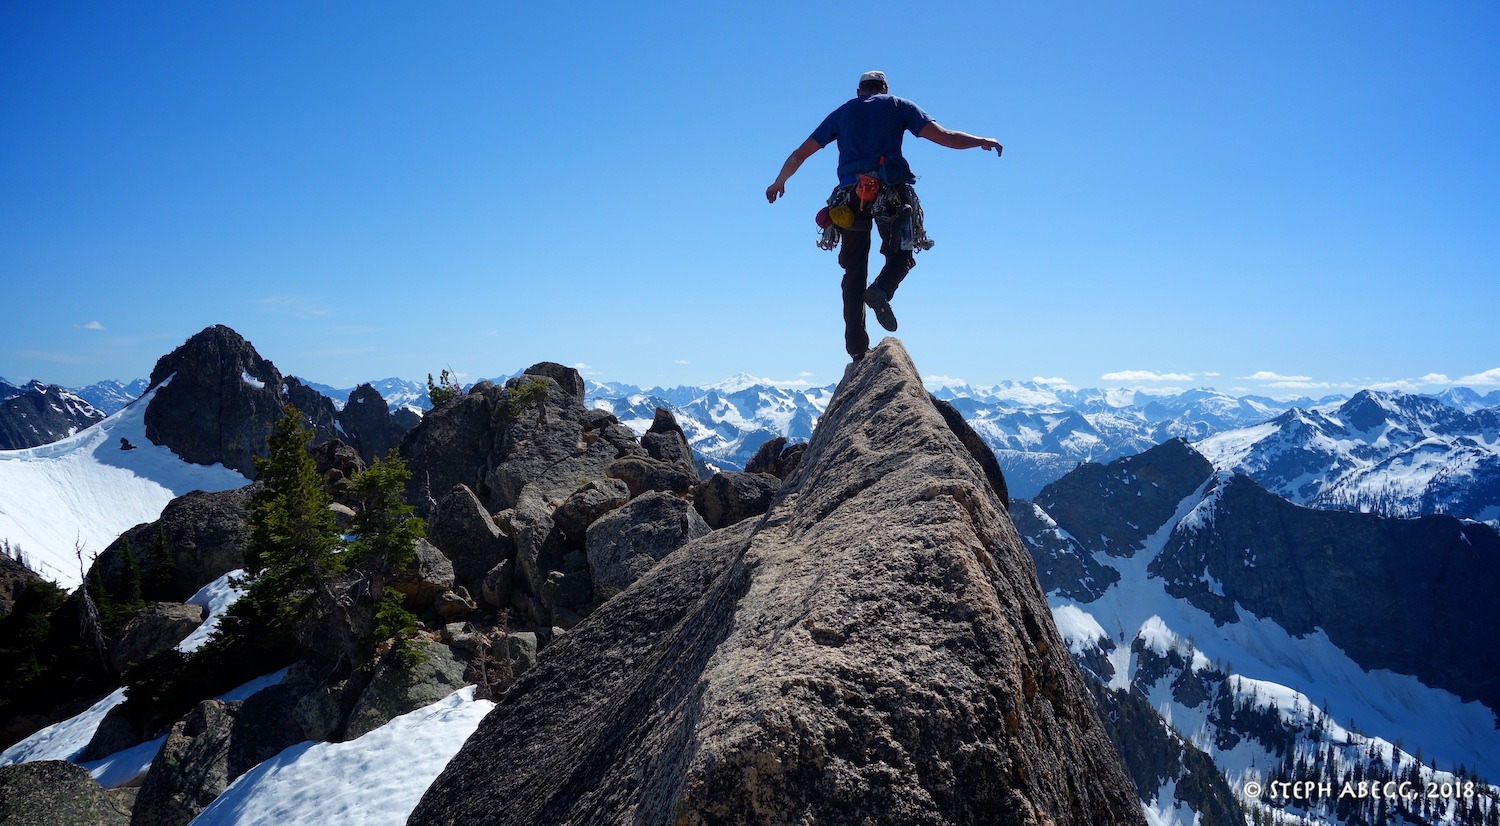
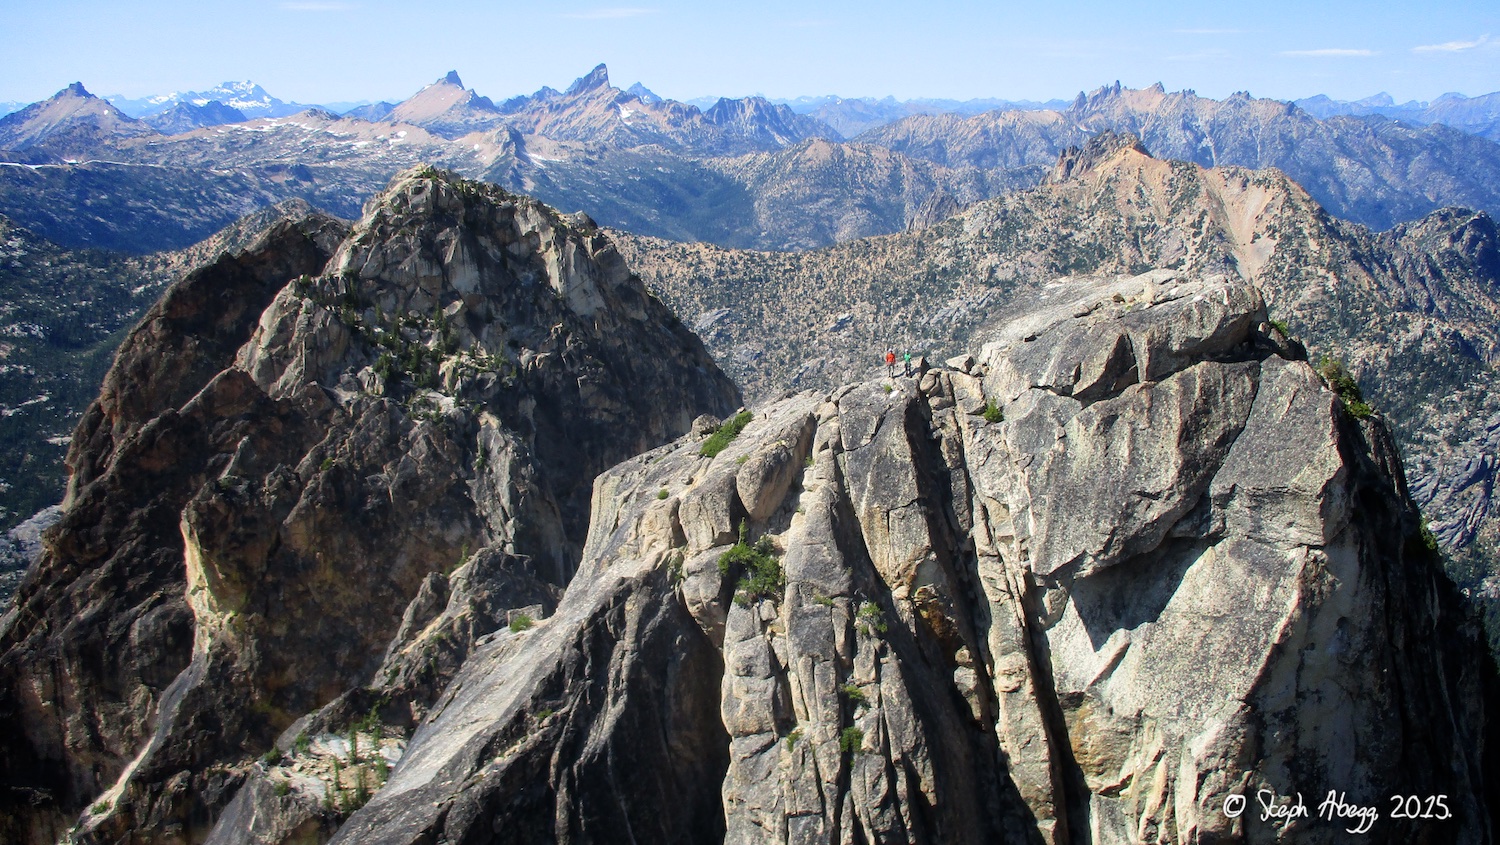
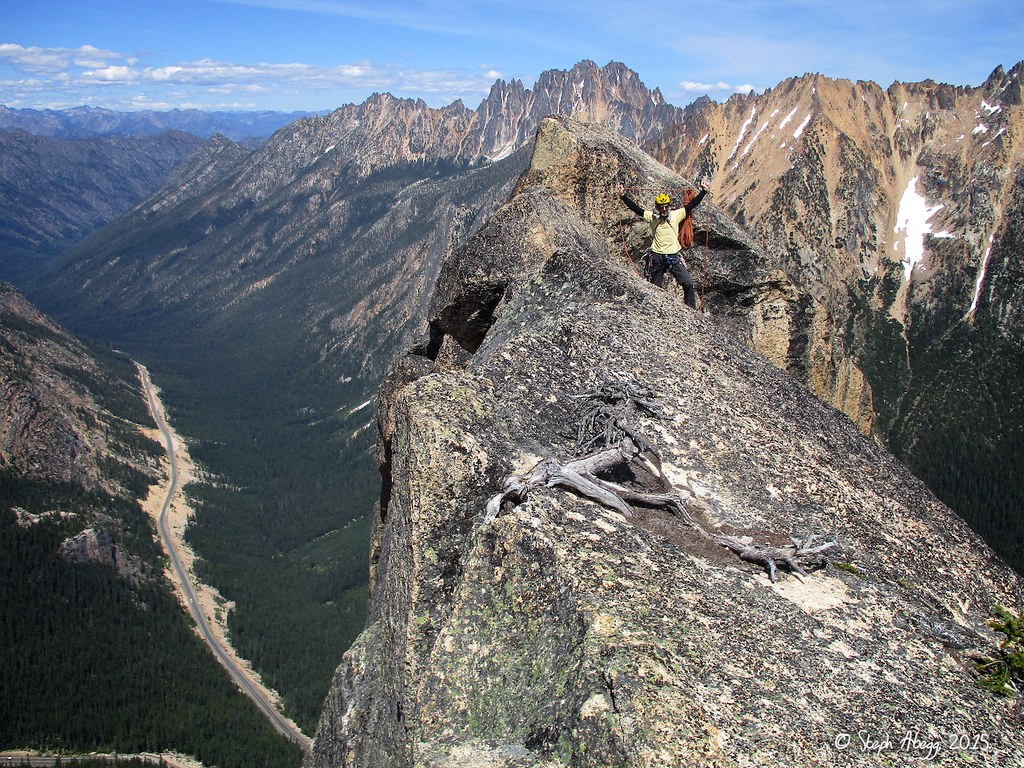
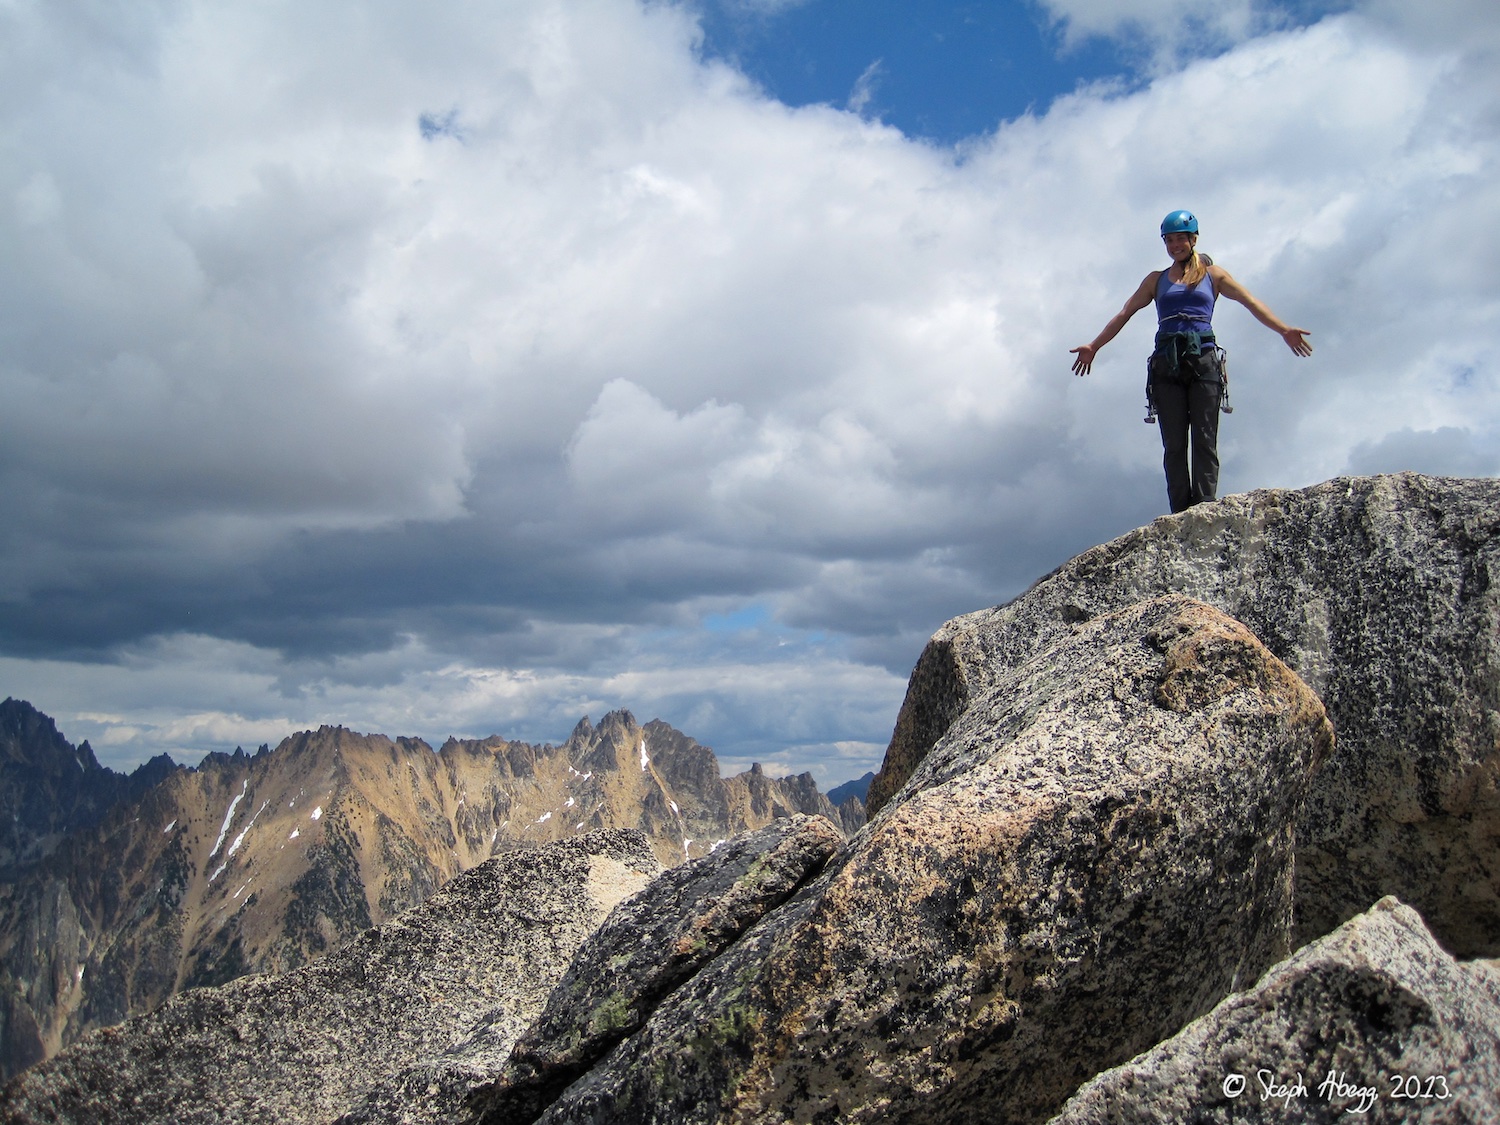
East Buttress to the top took us 5 hours. The scramble down the
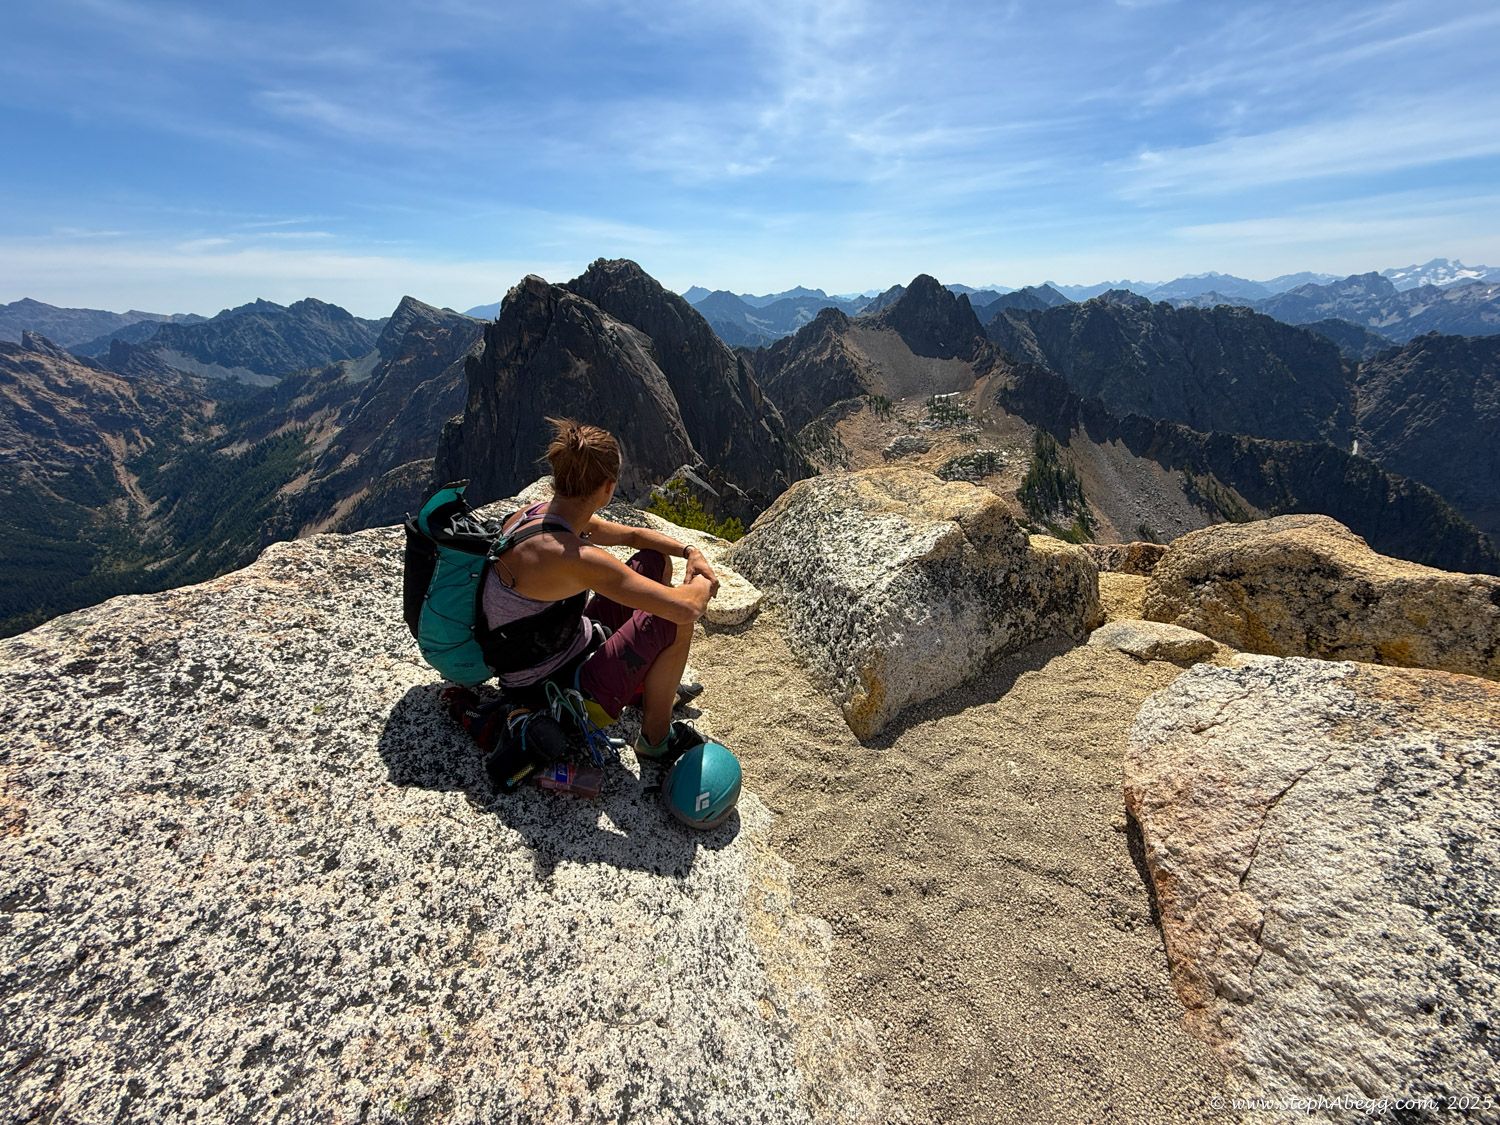
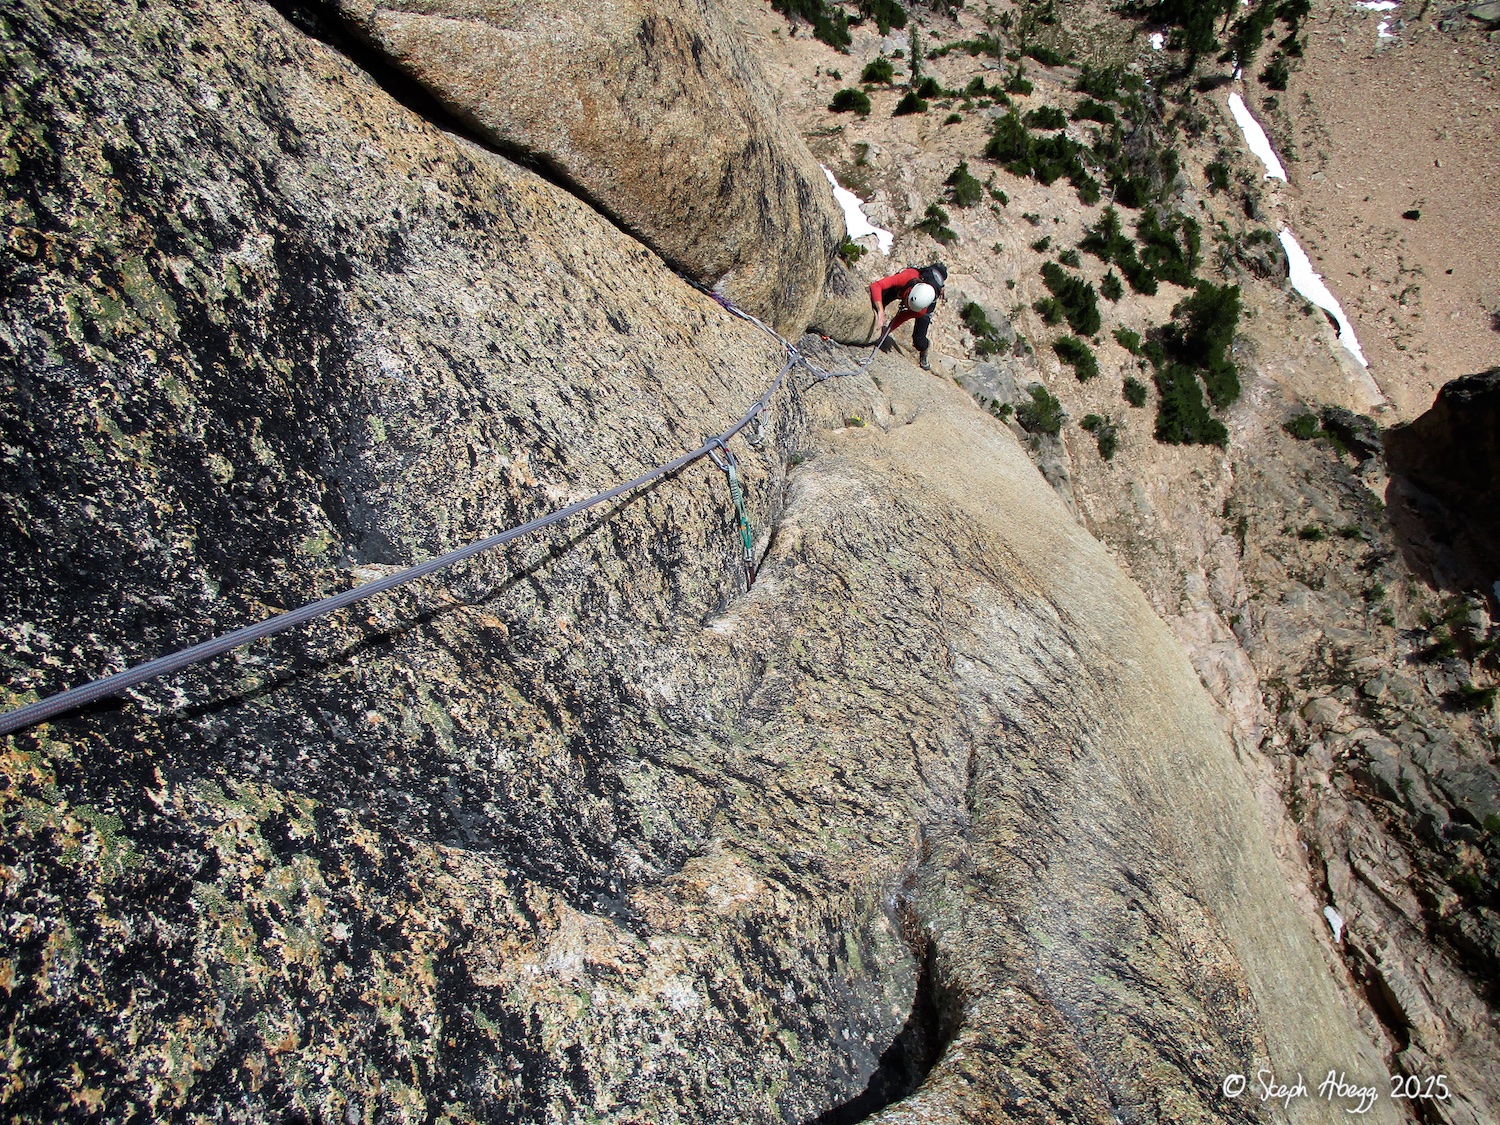
South Arete took us just under 30 minutes.
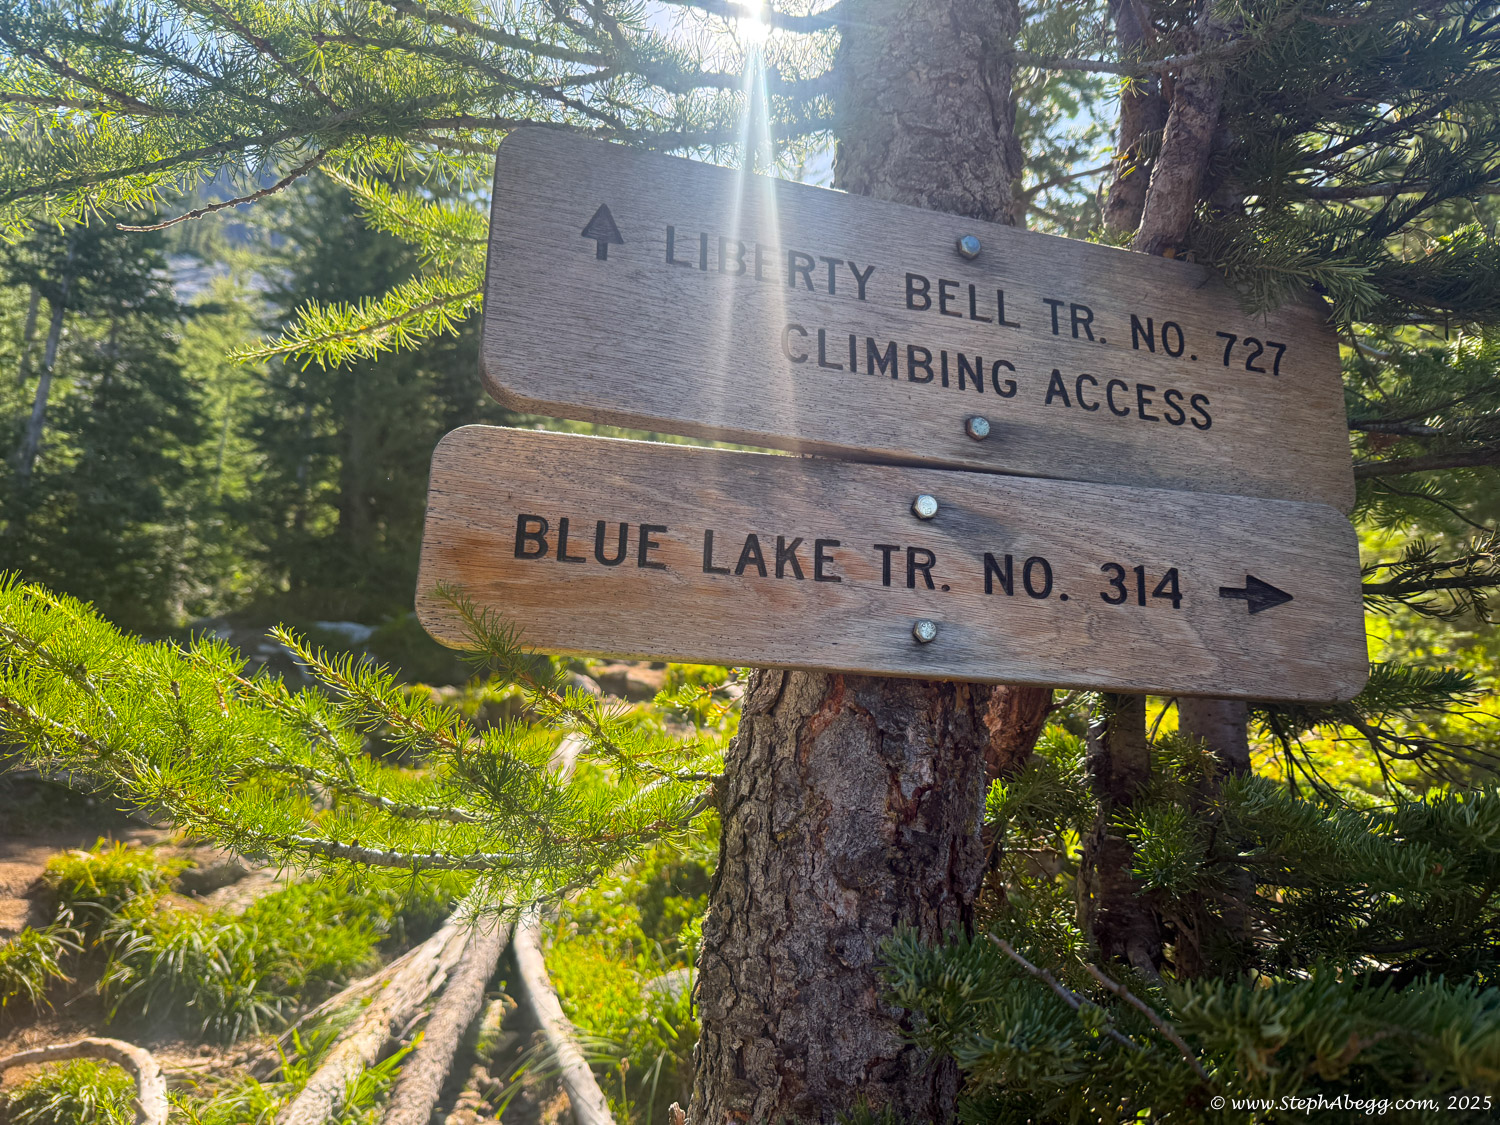
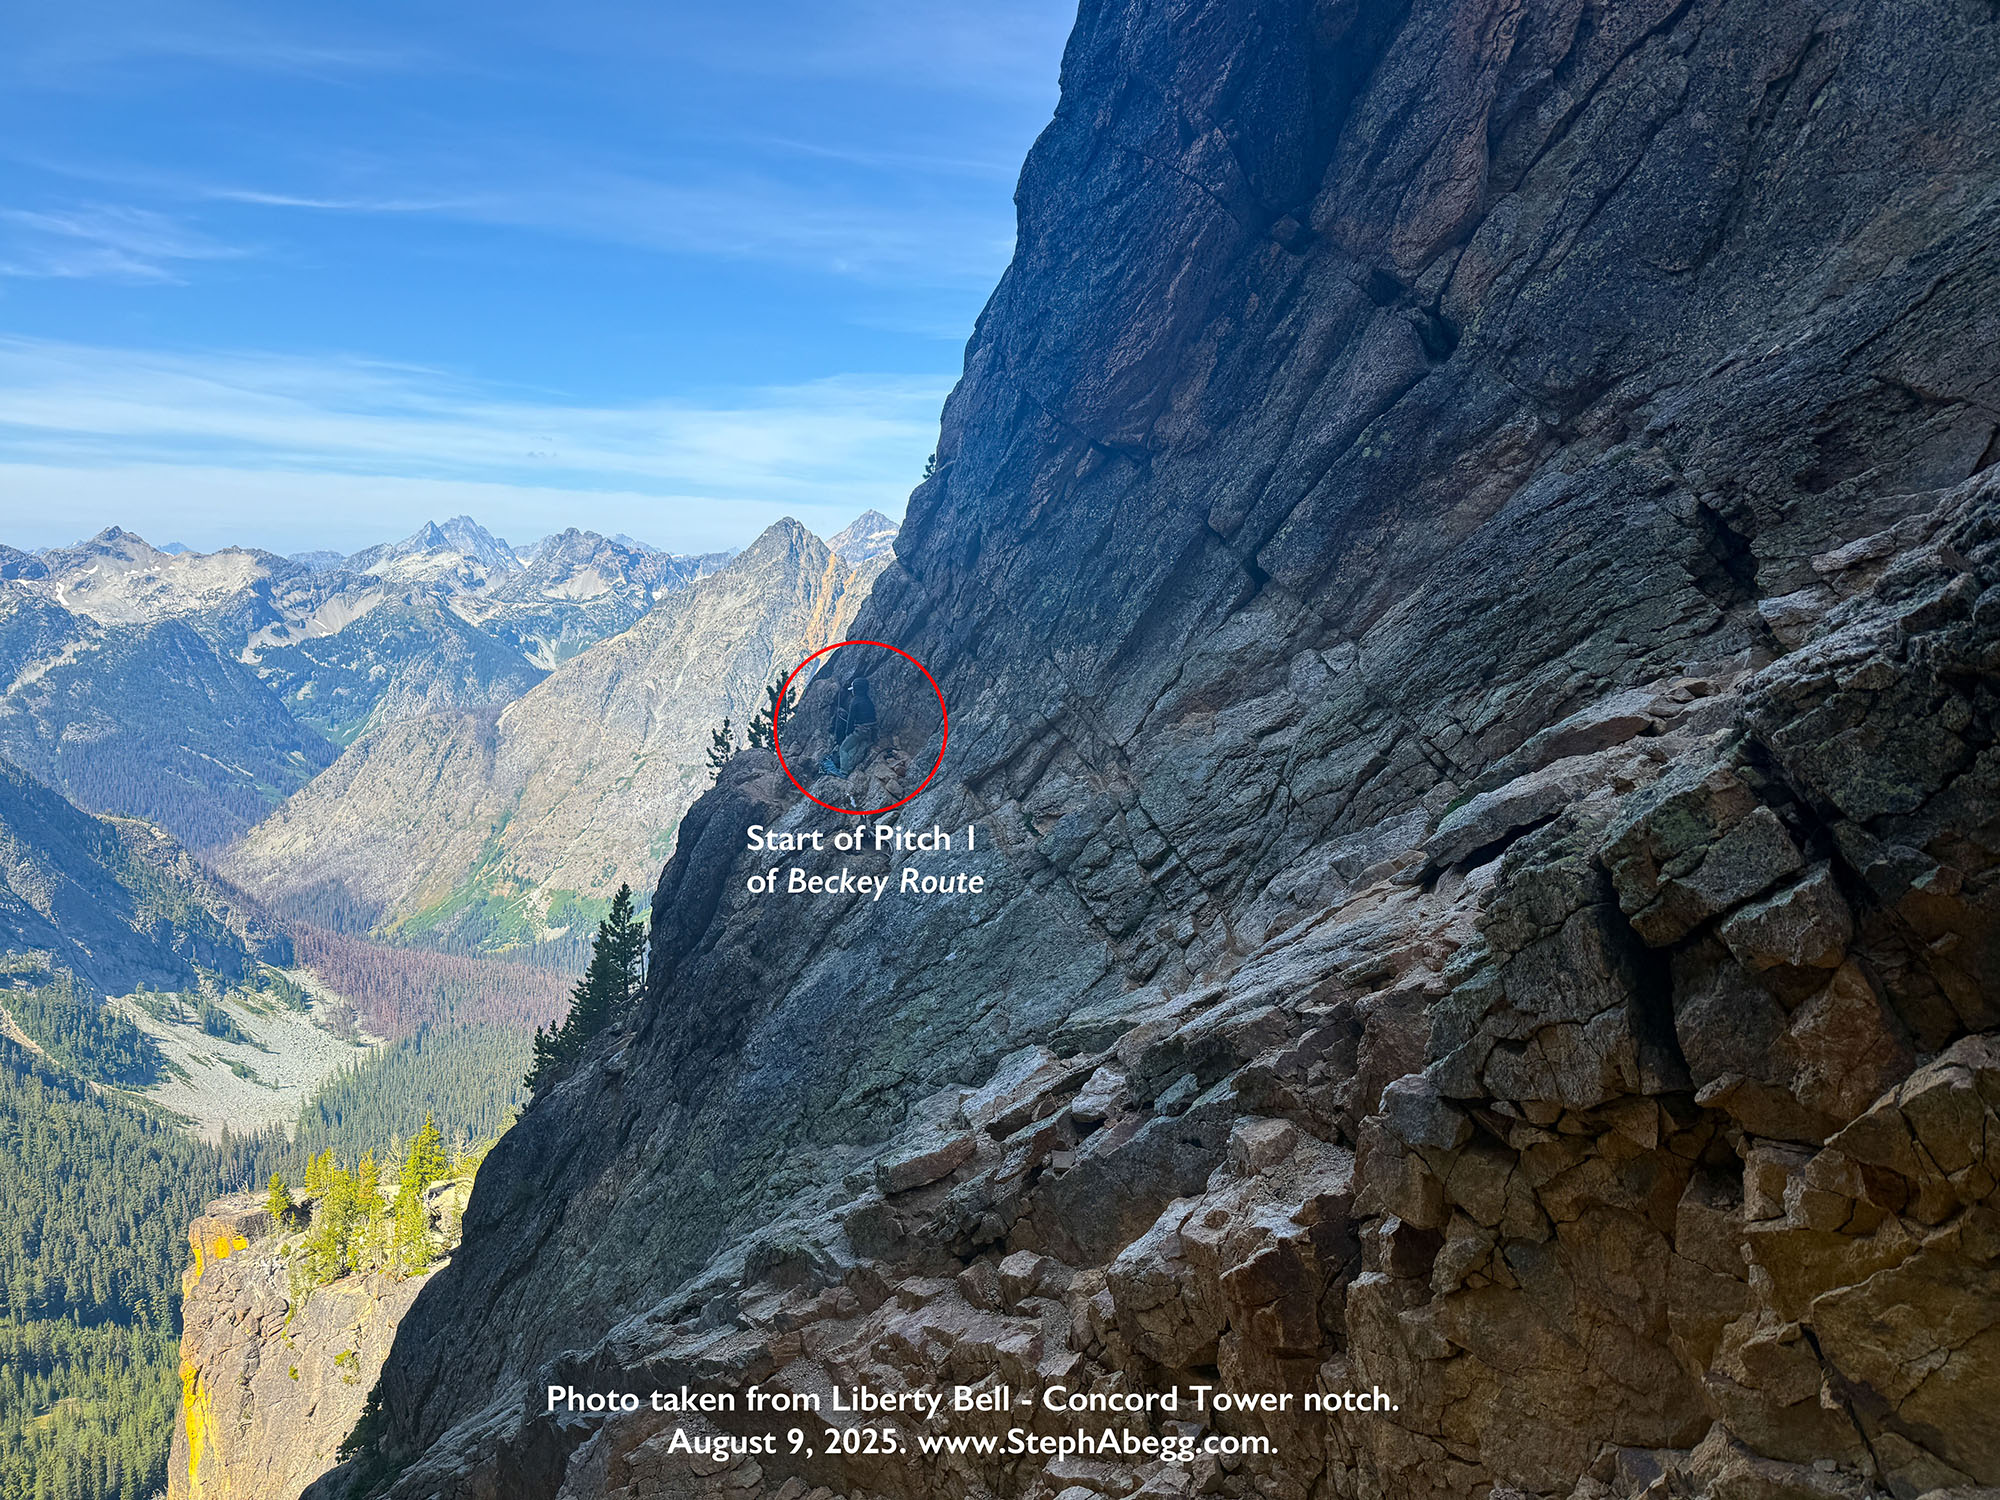
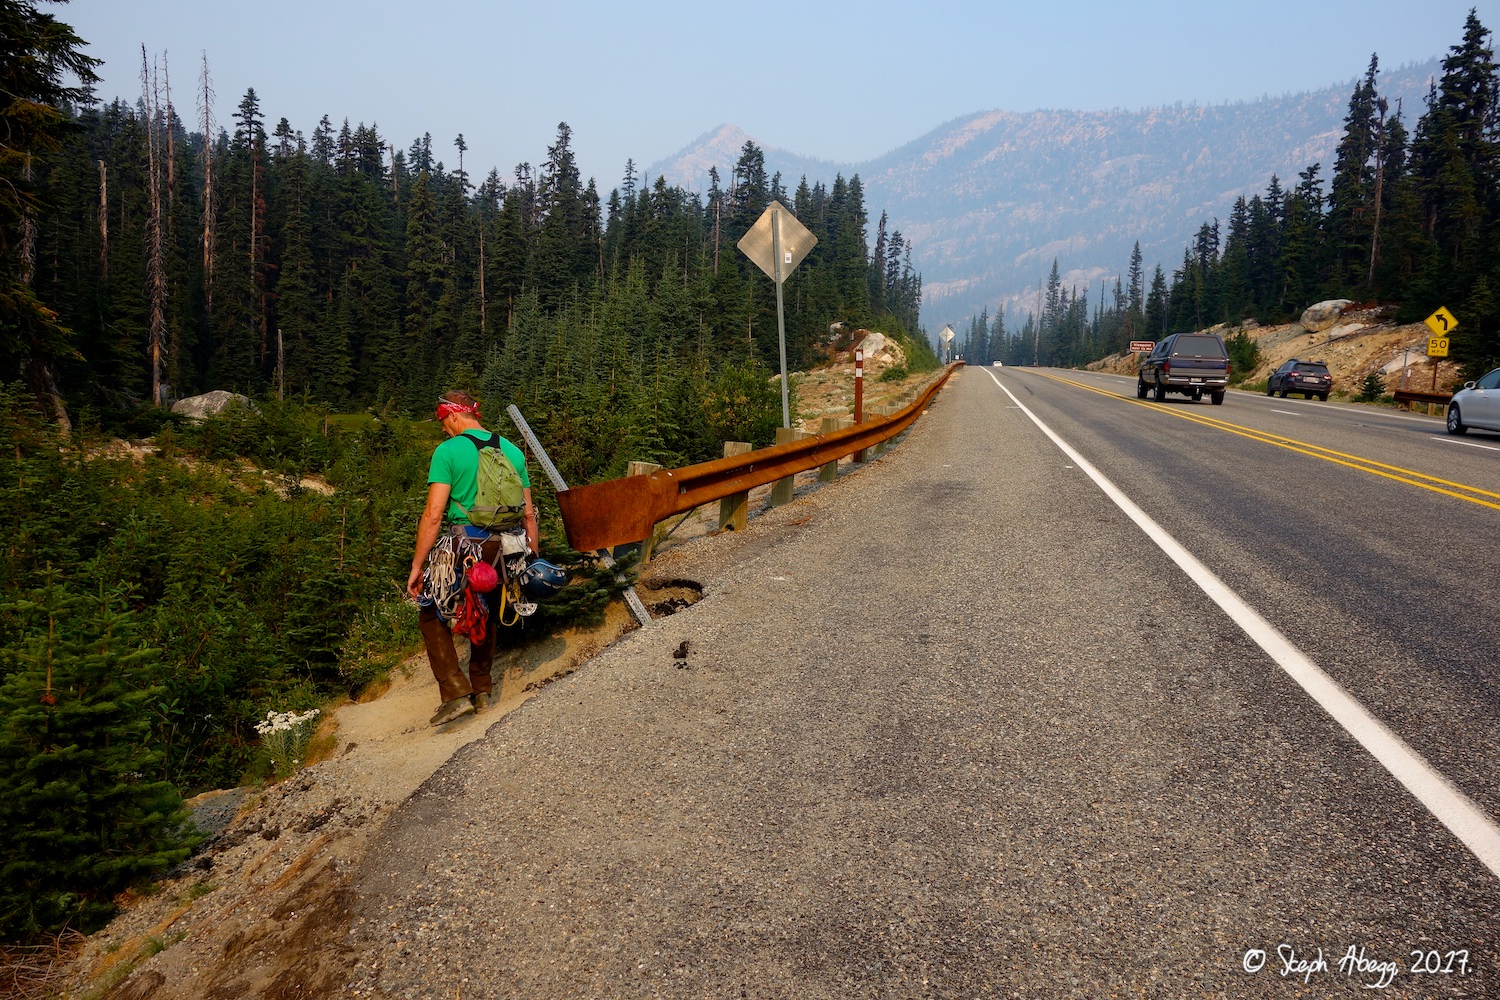
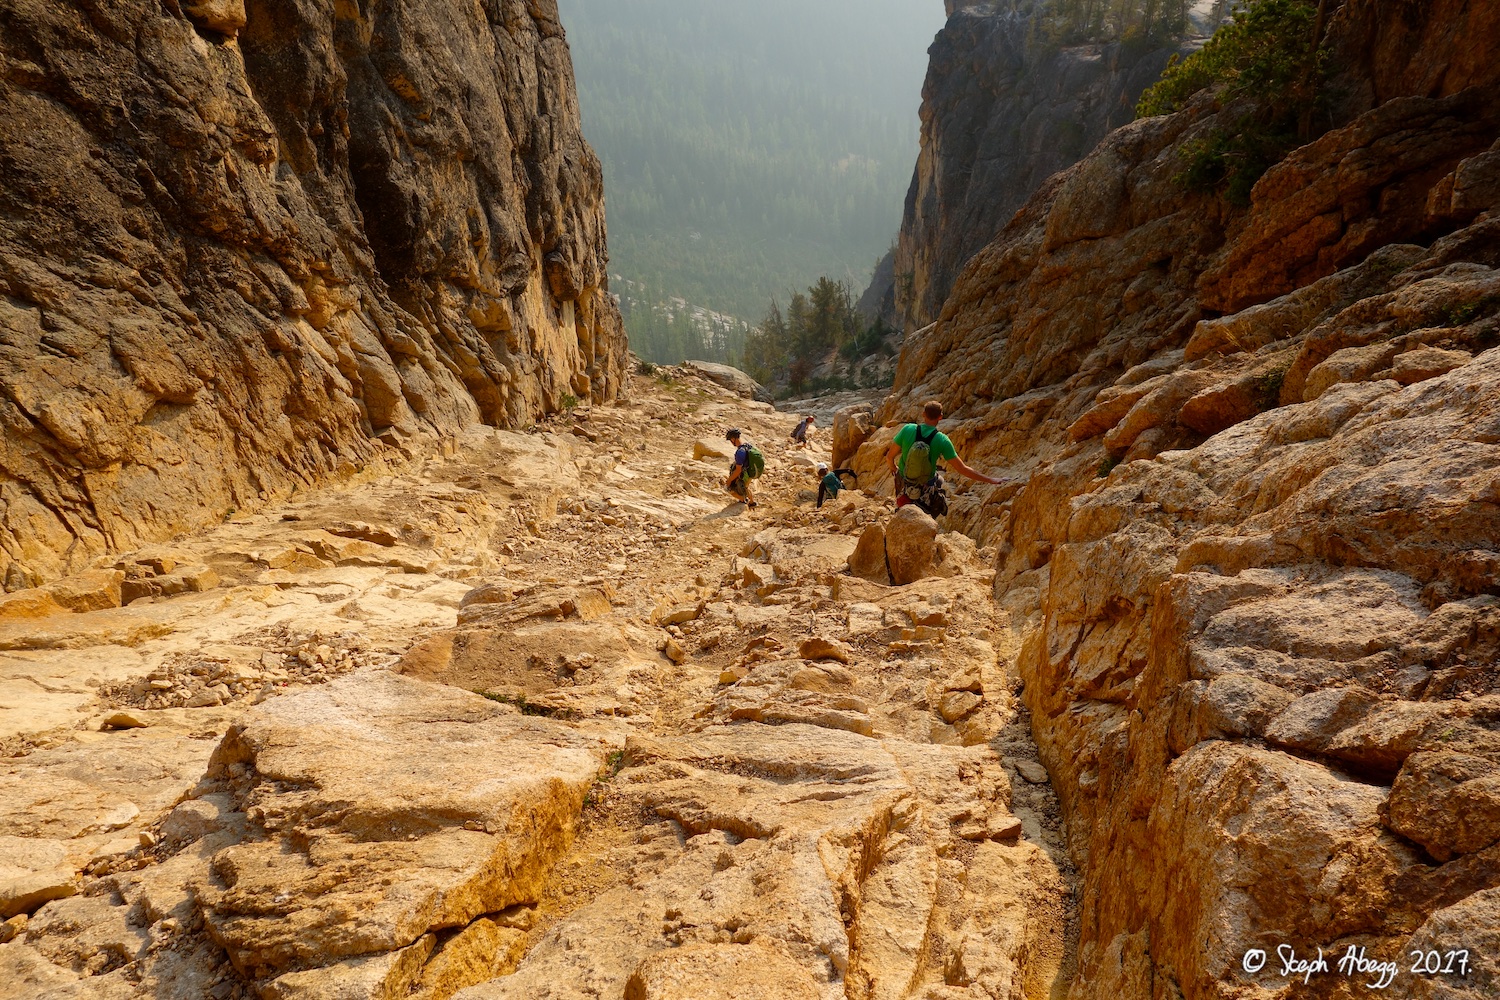
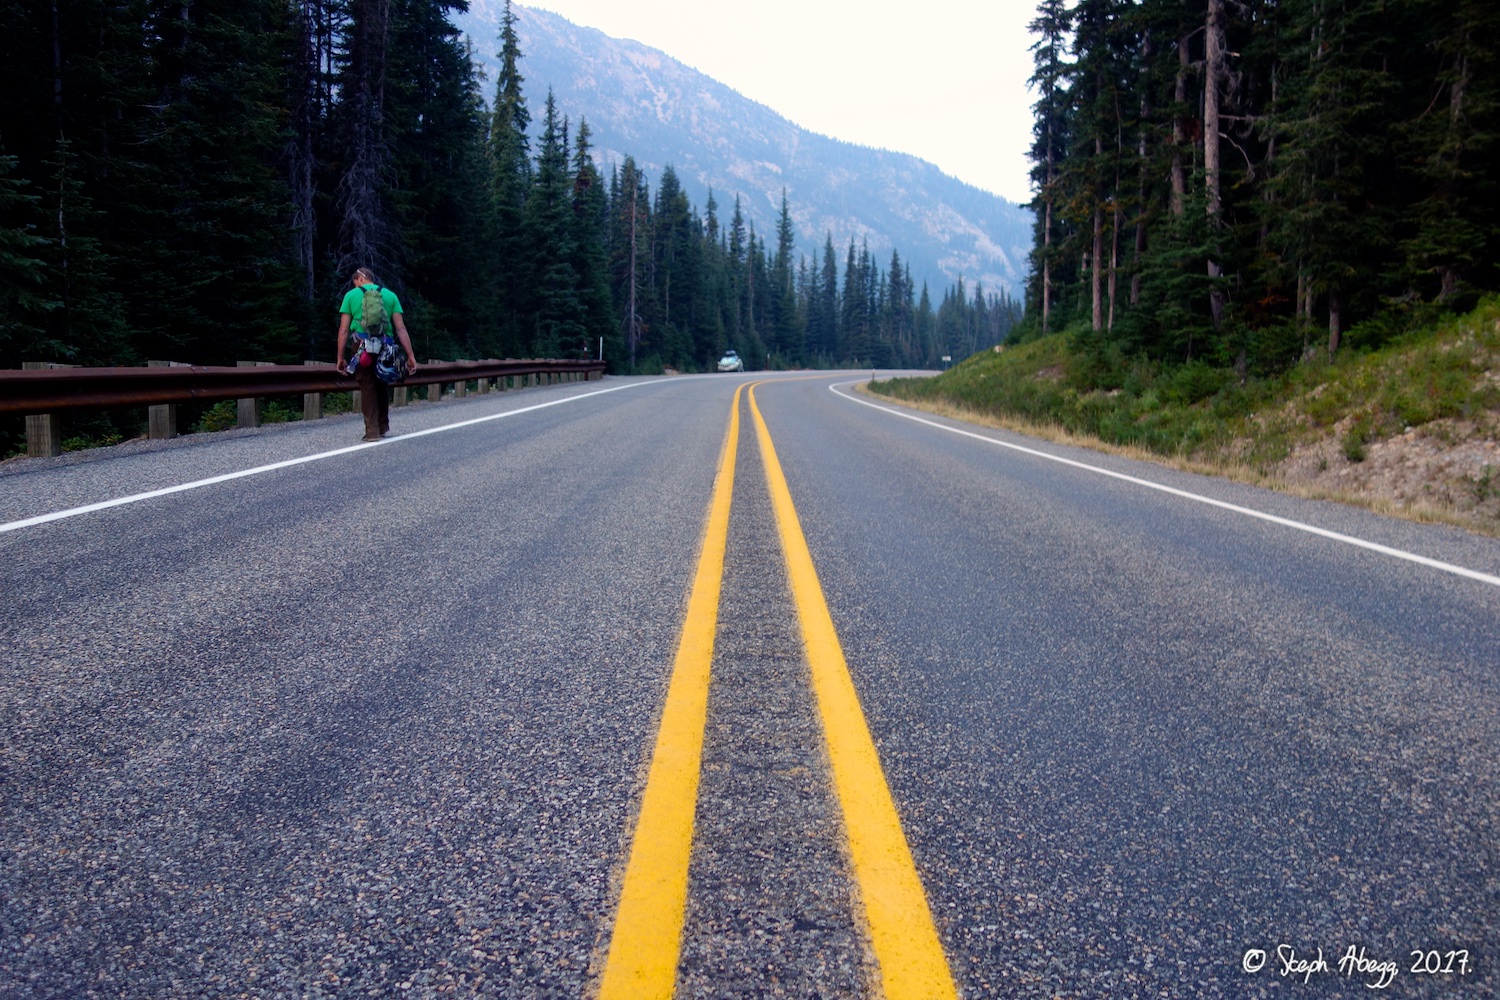
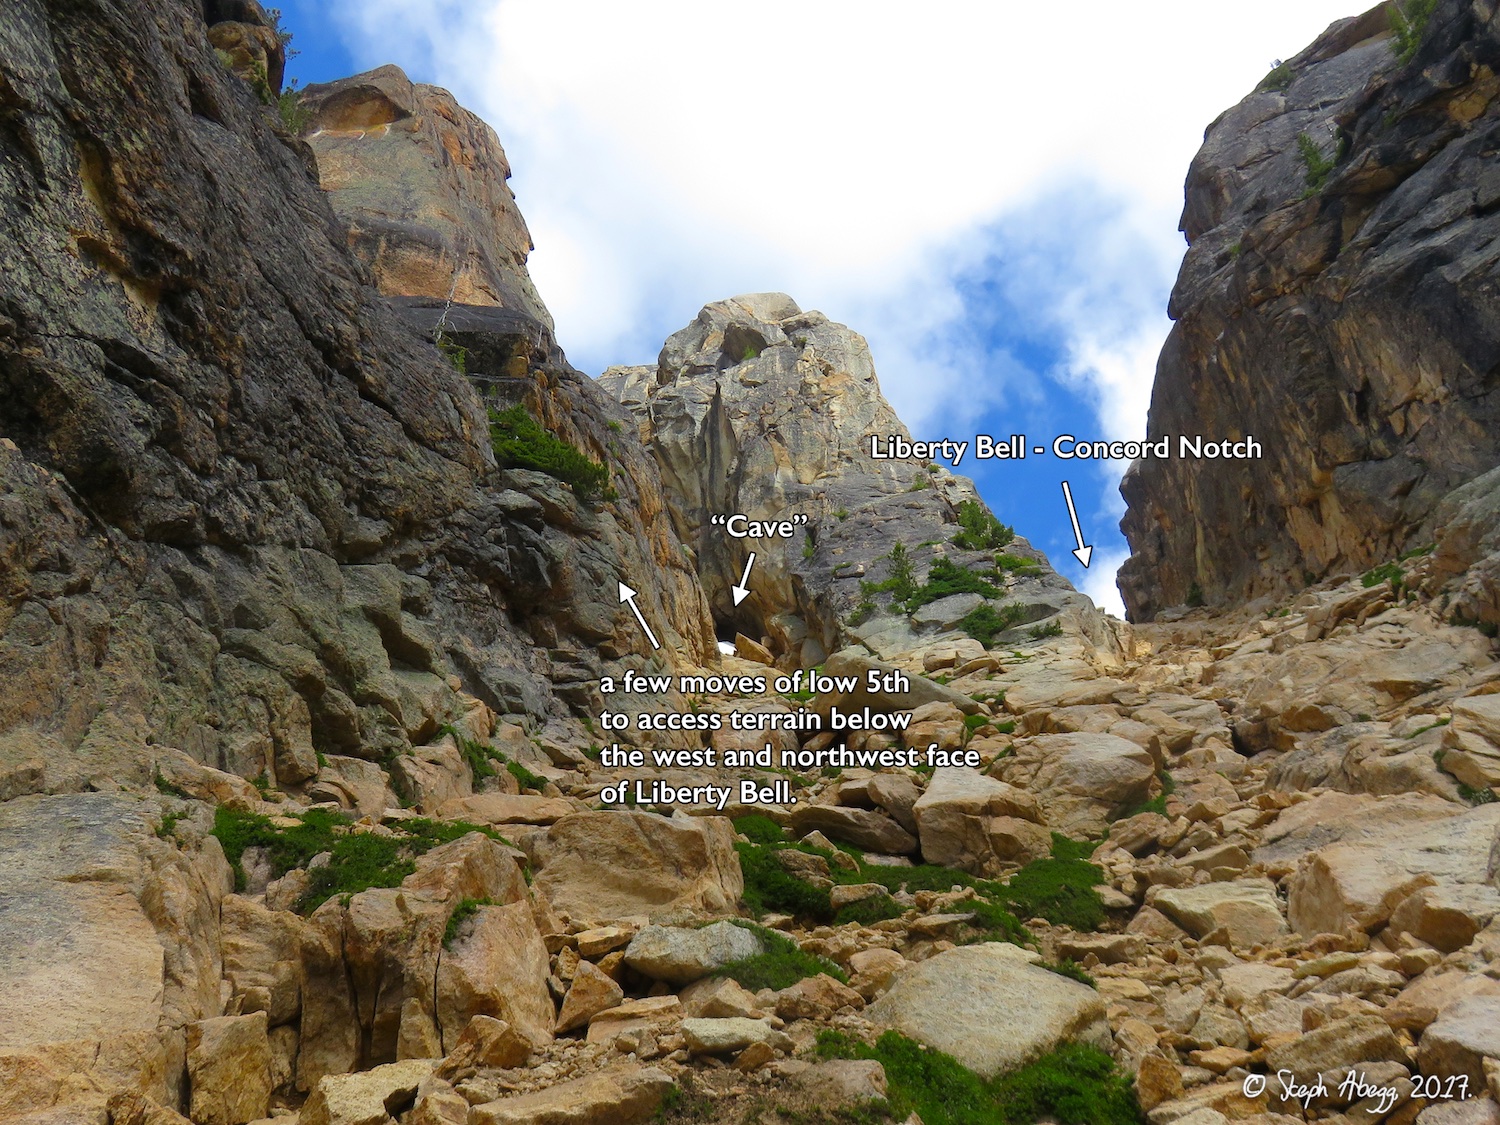
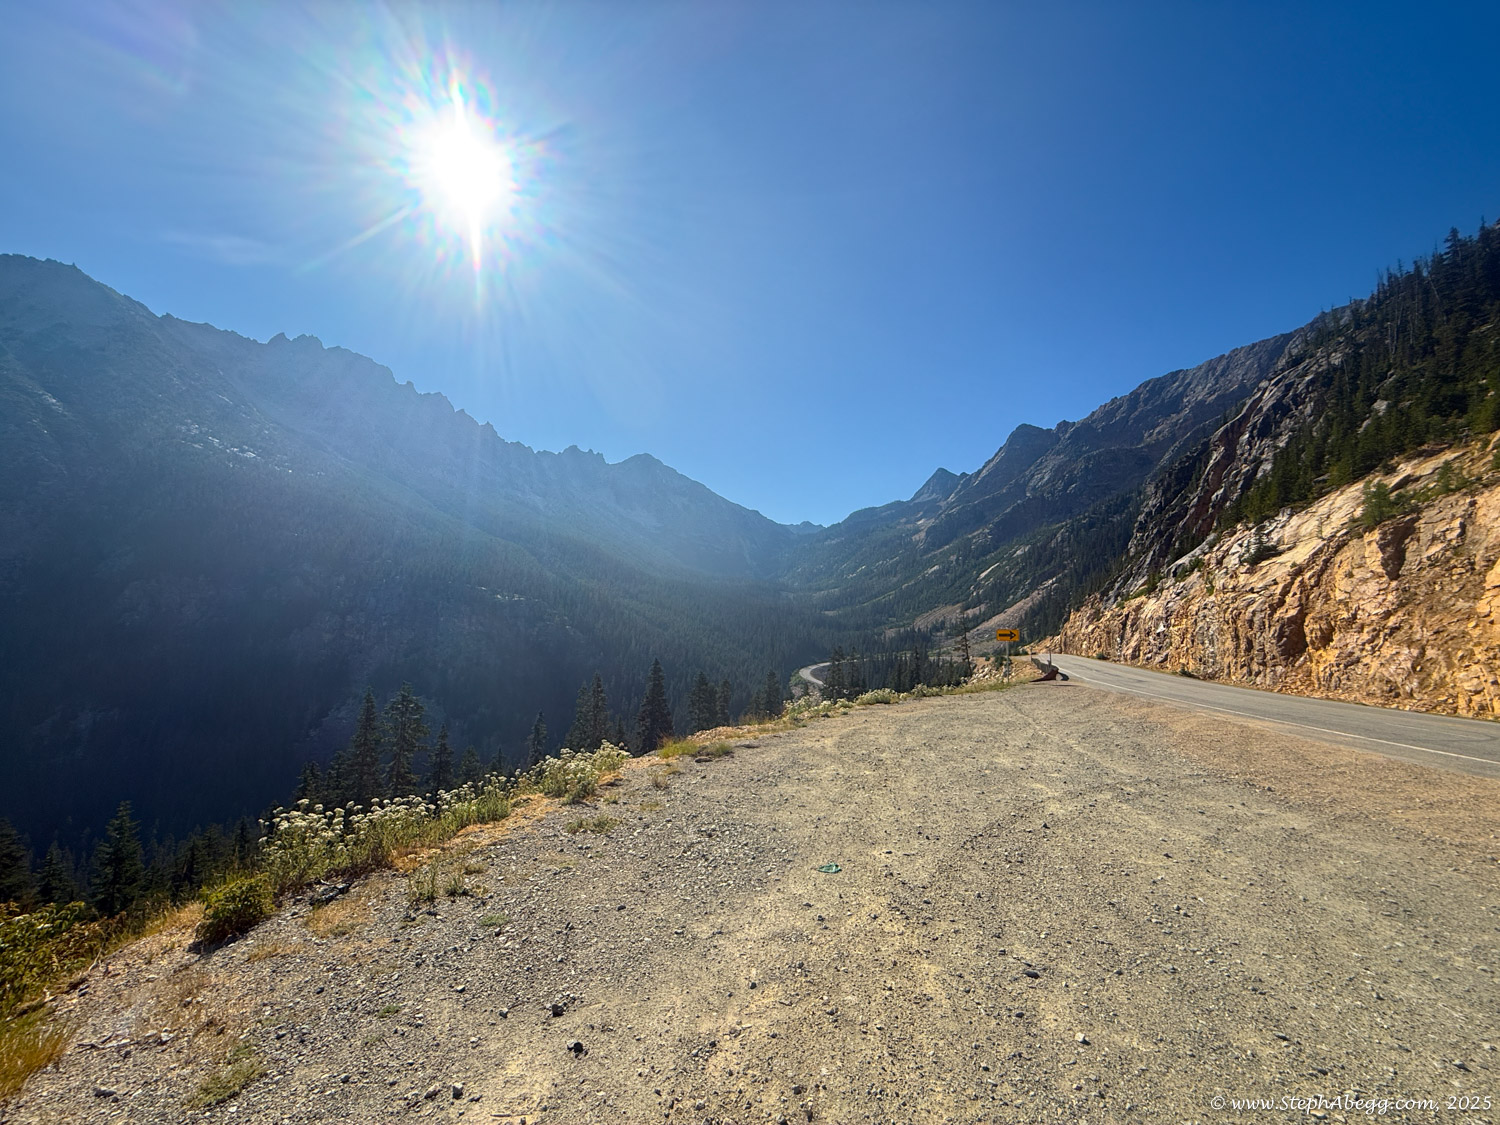
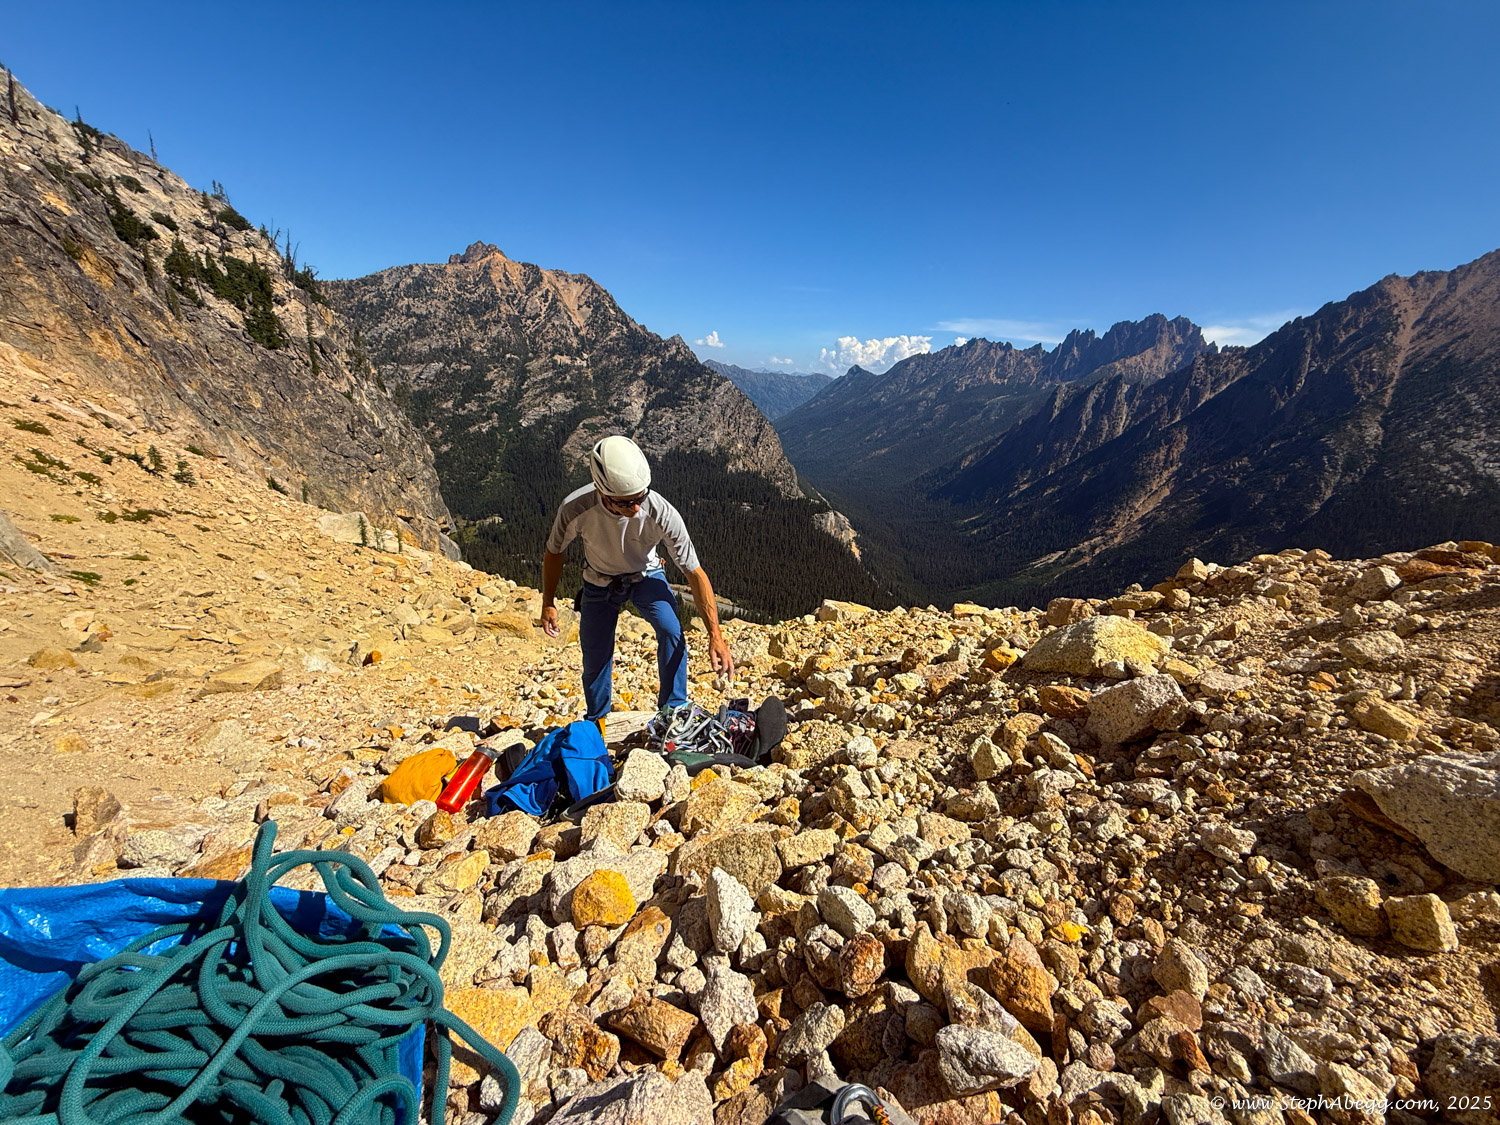
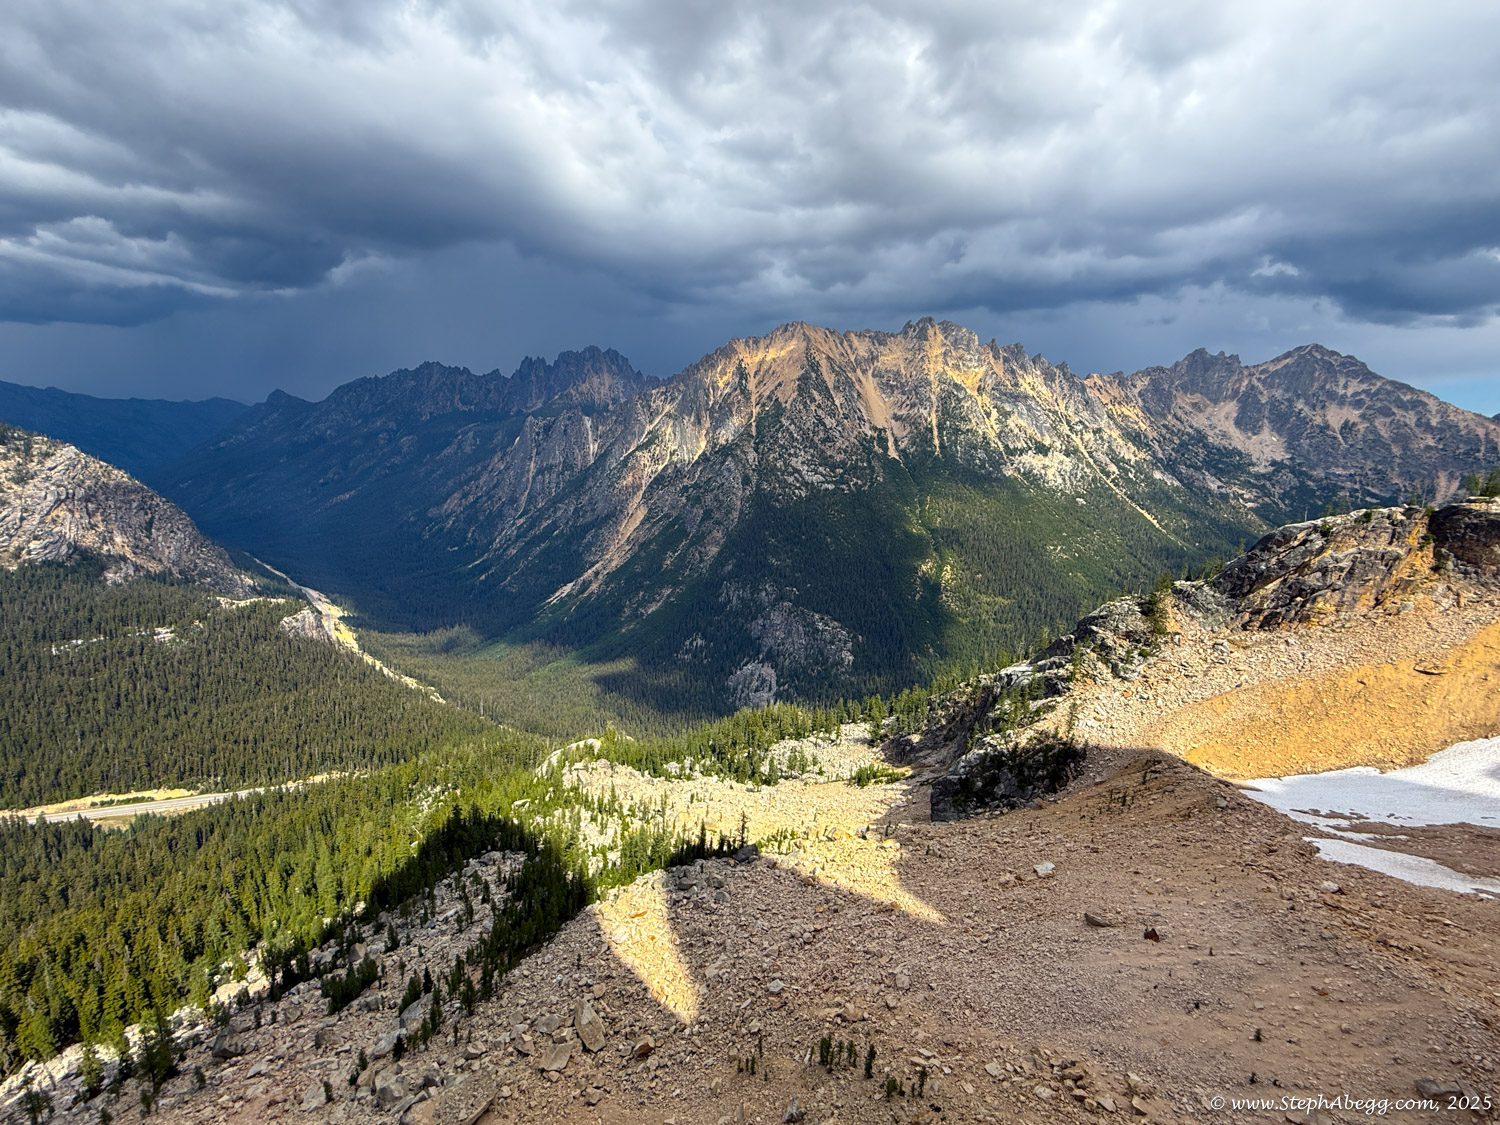
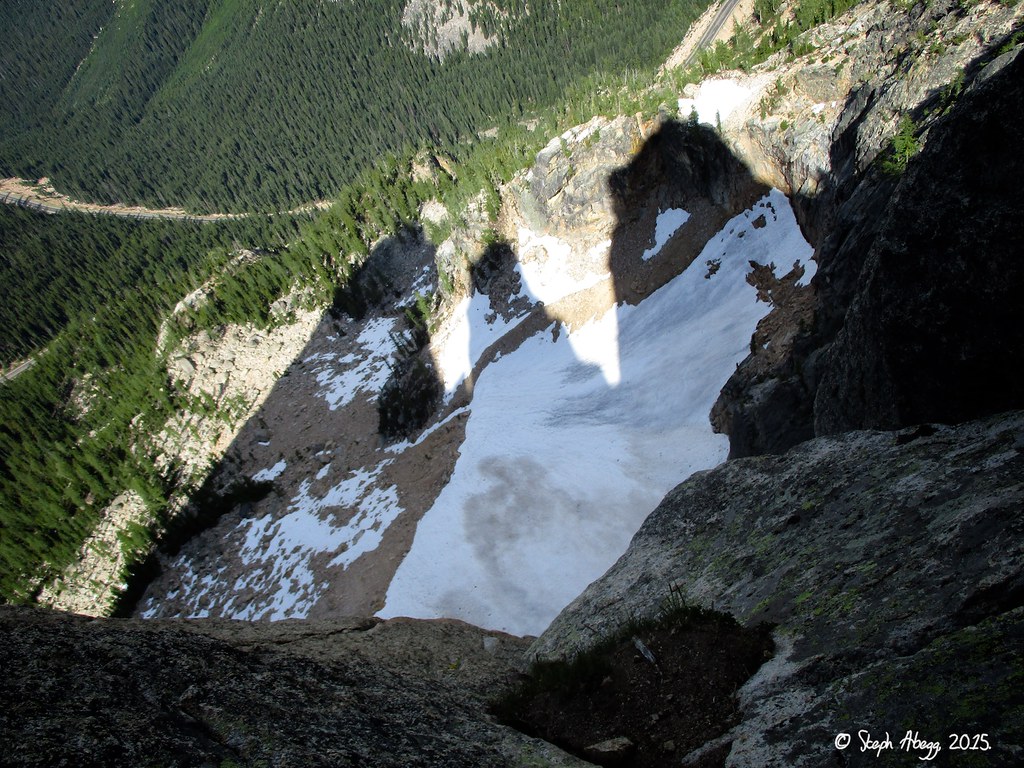
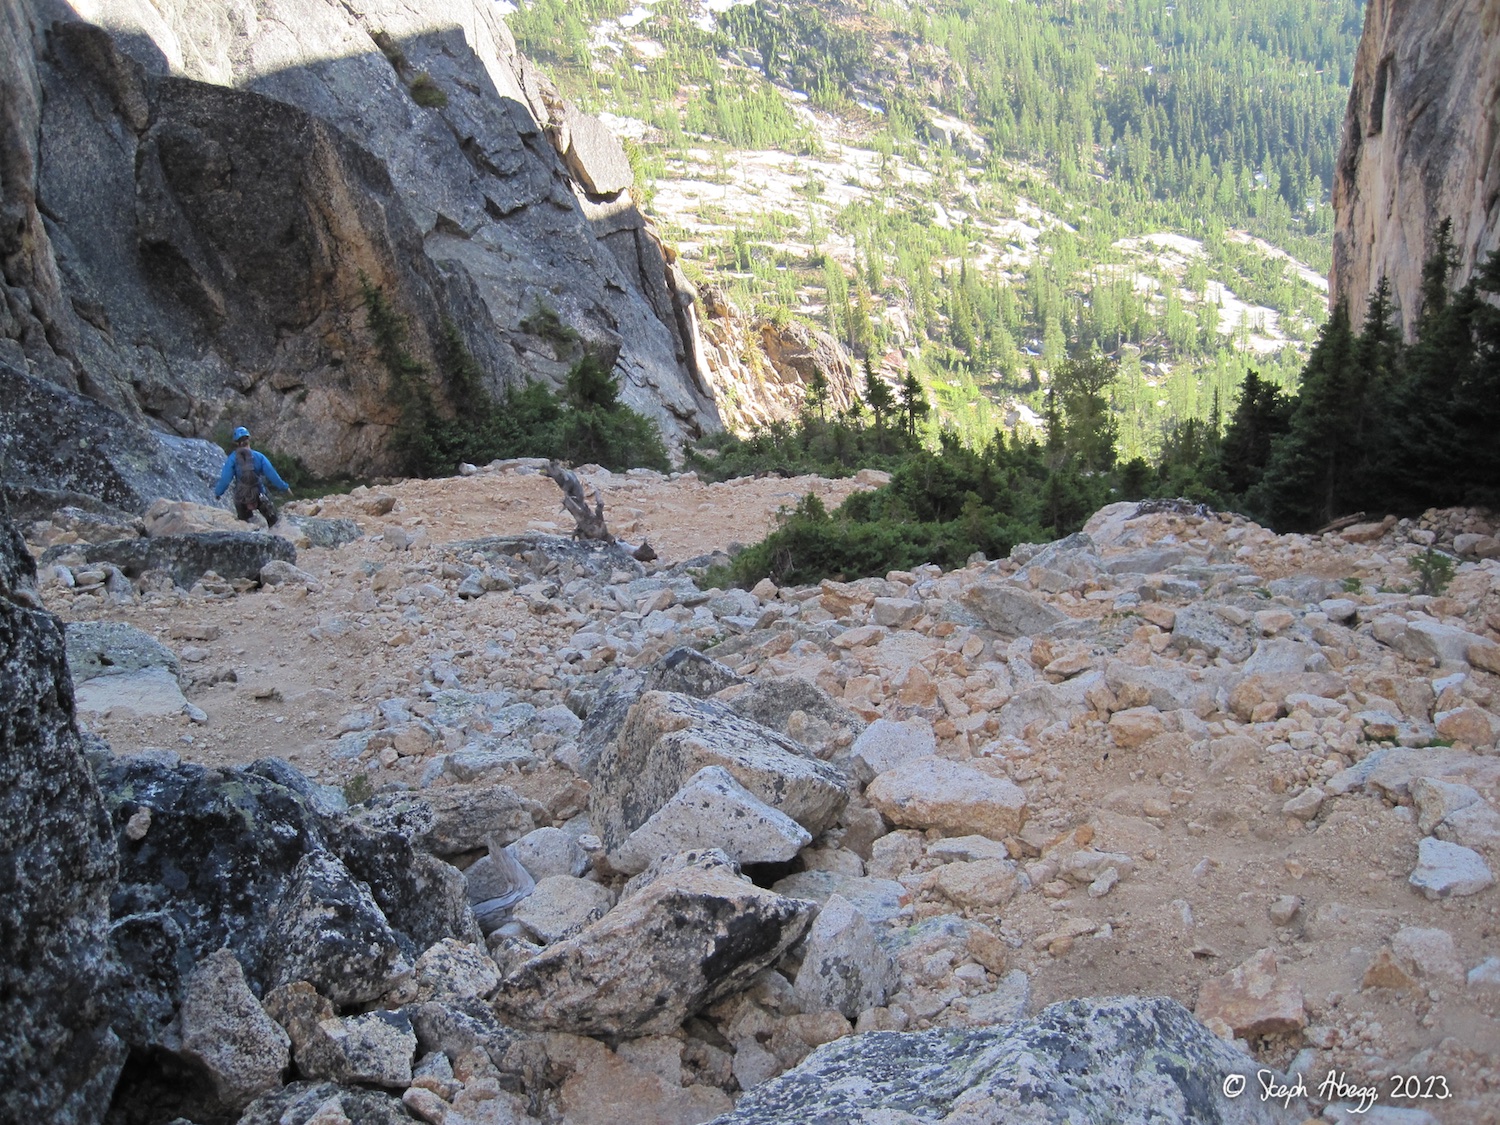
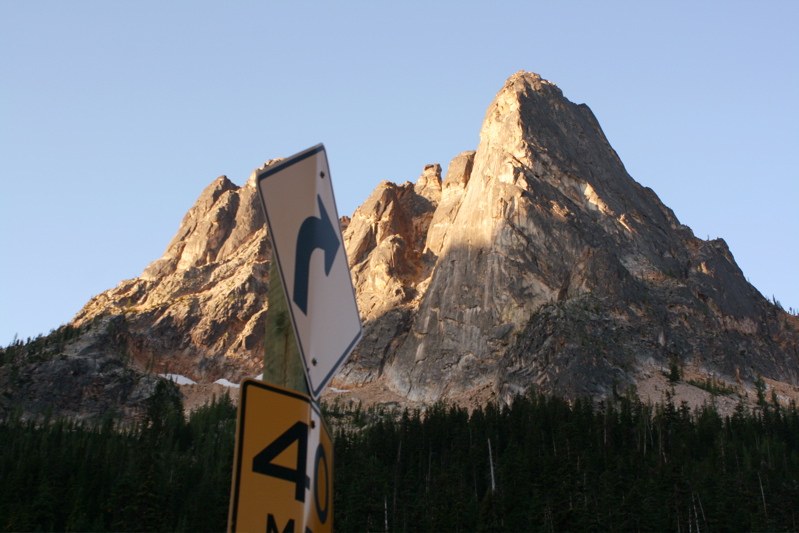
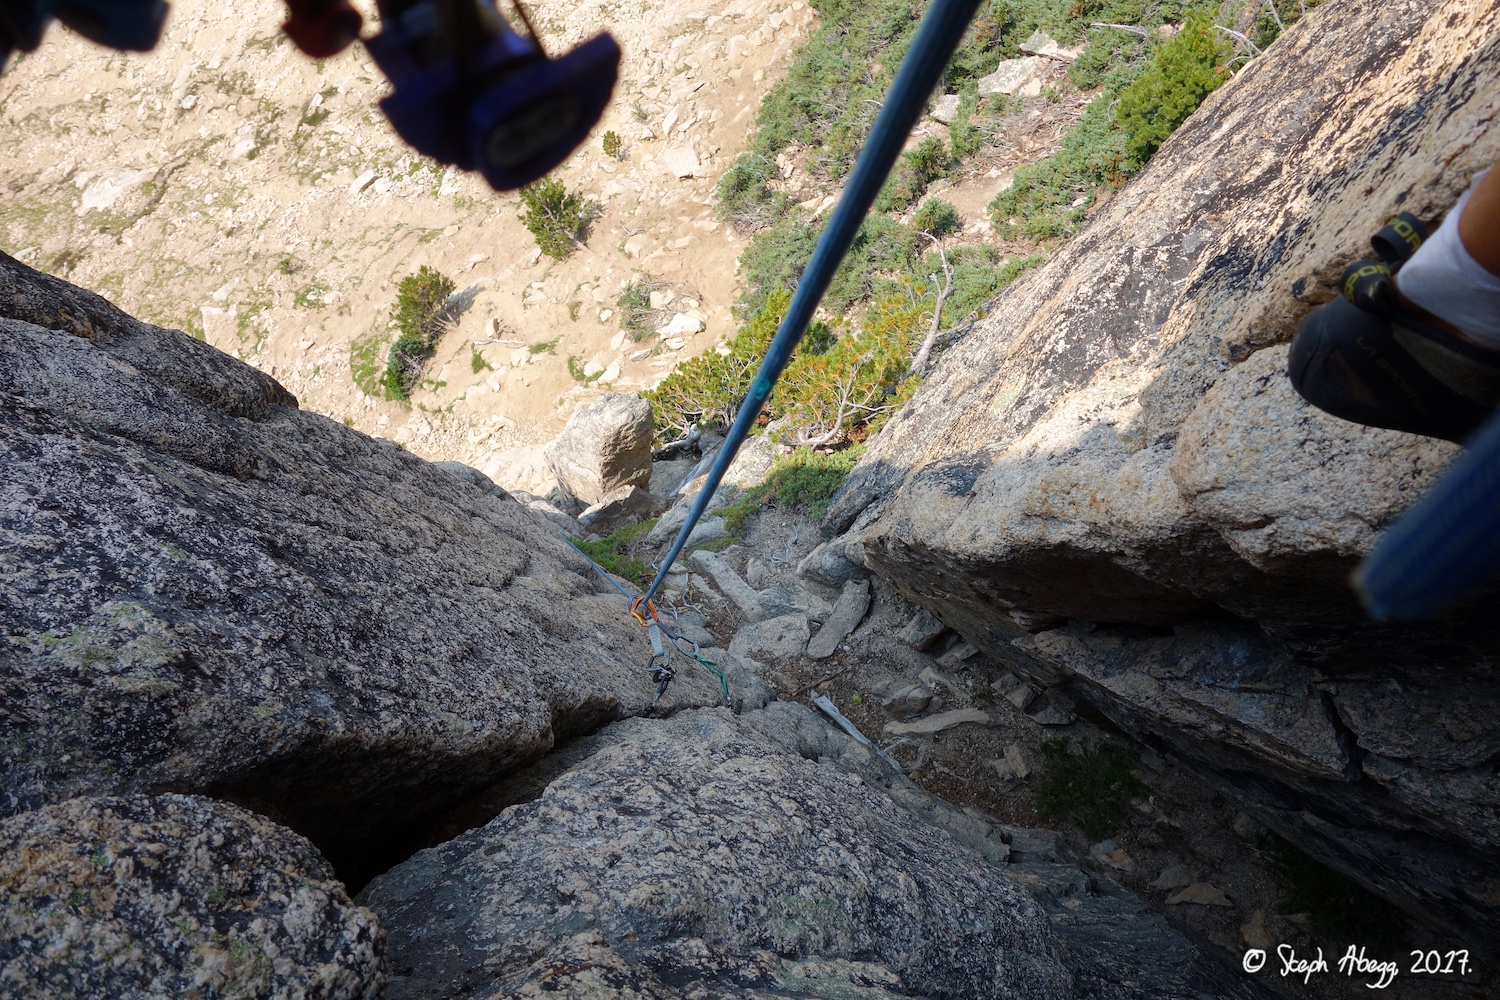
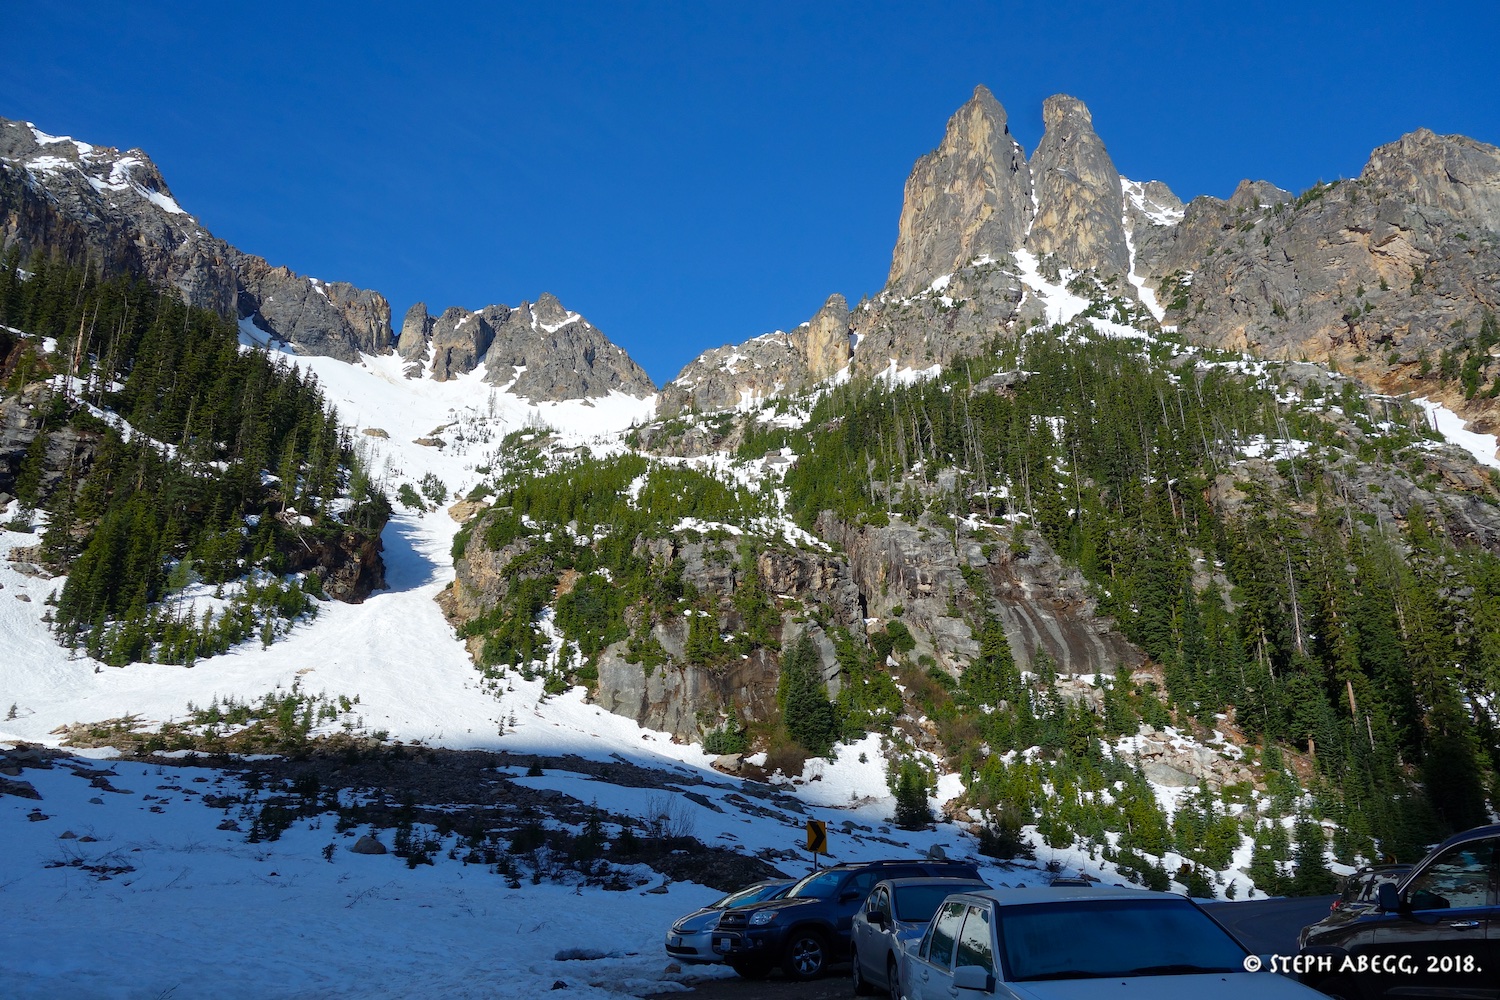
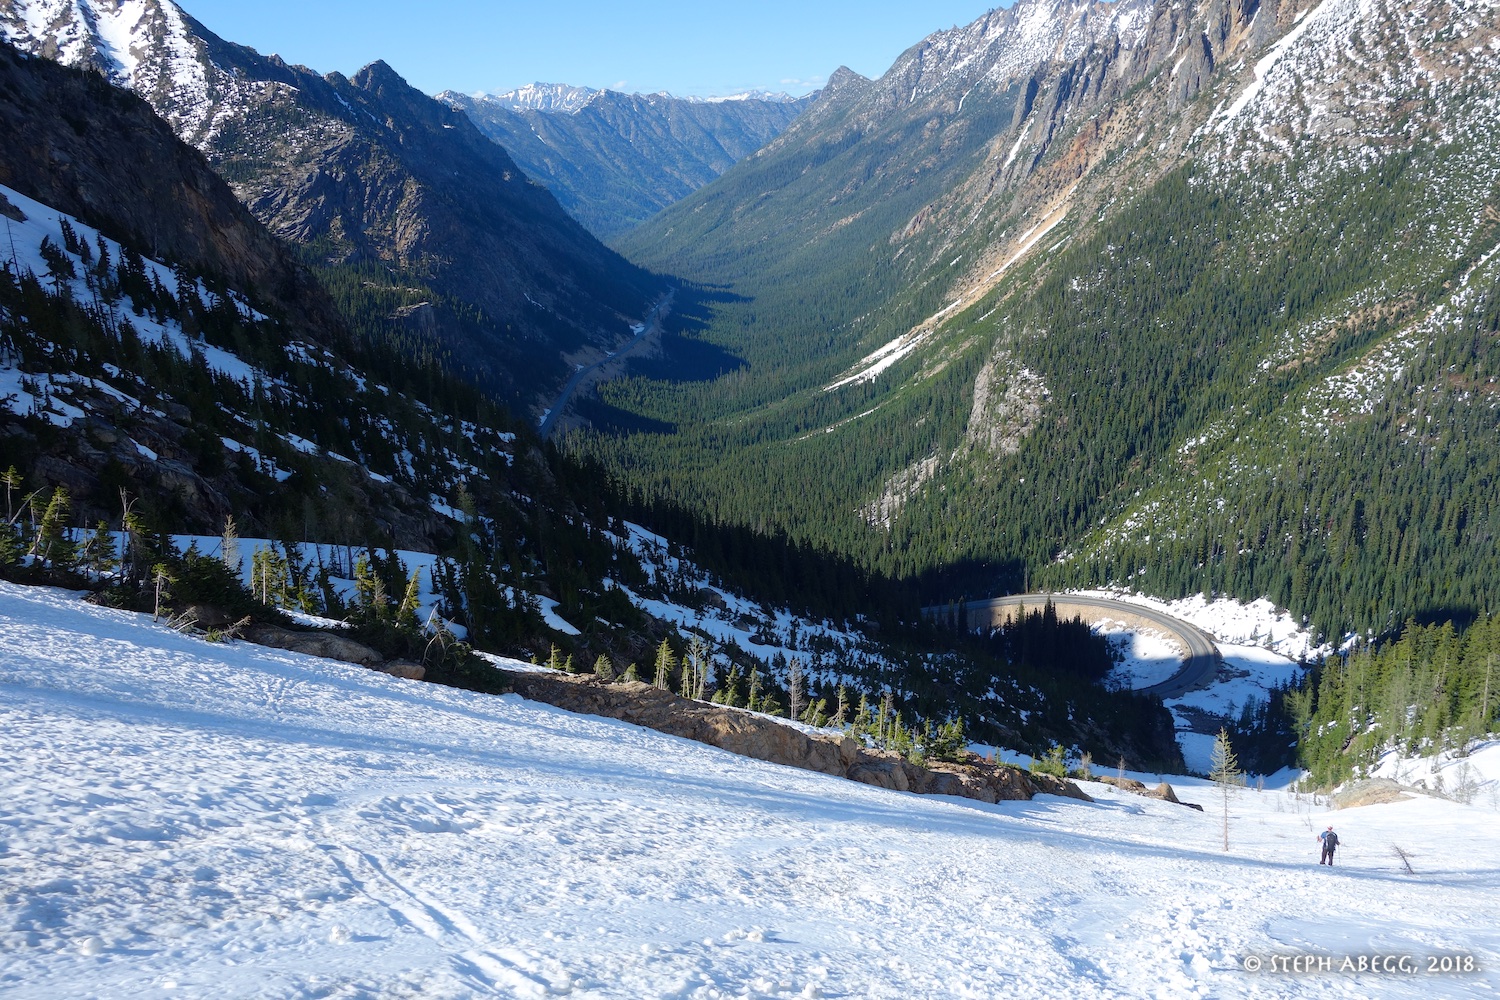
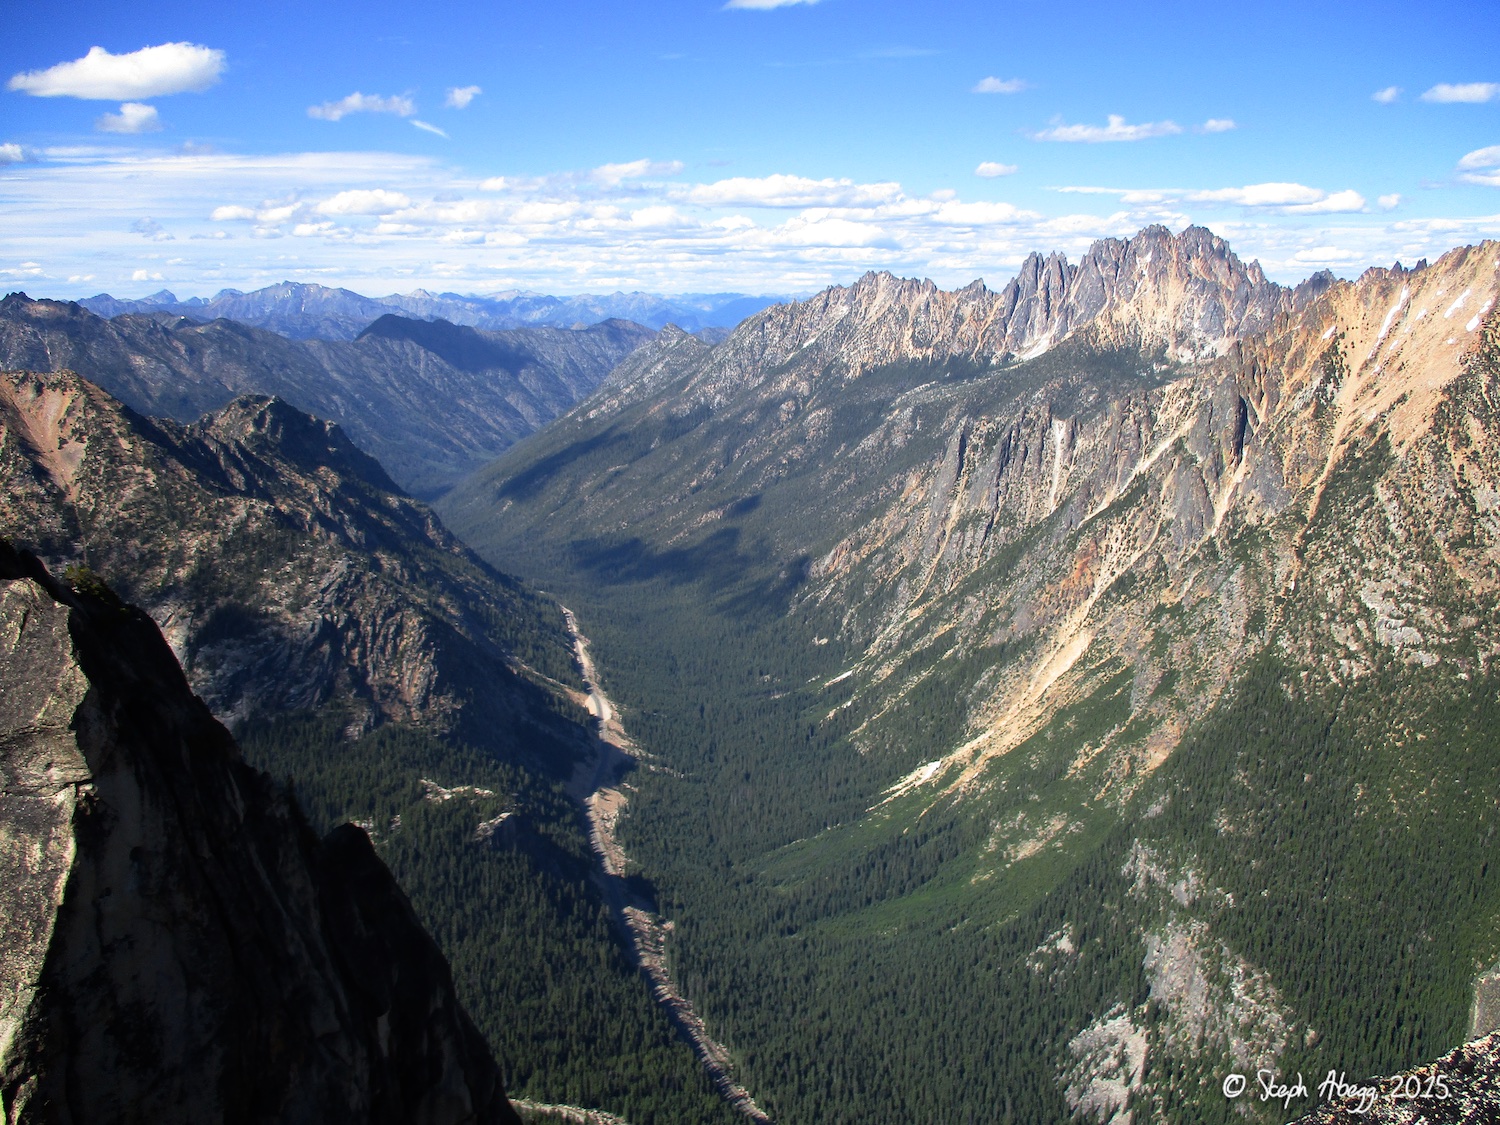
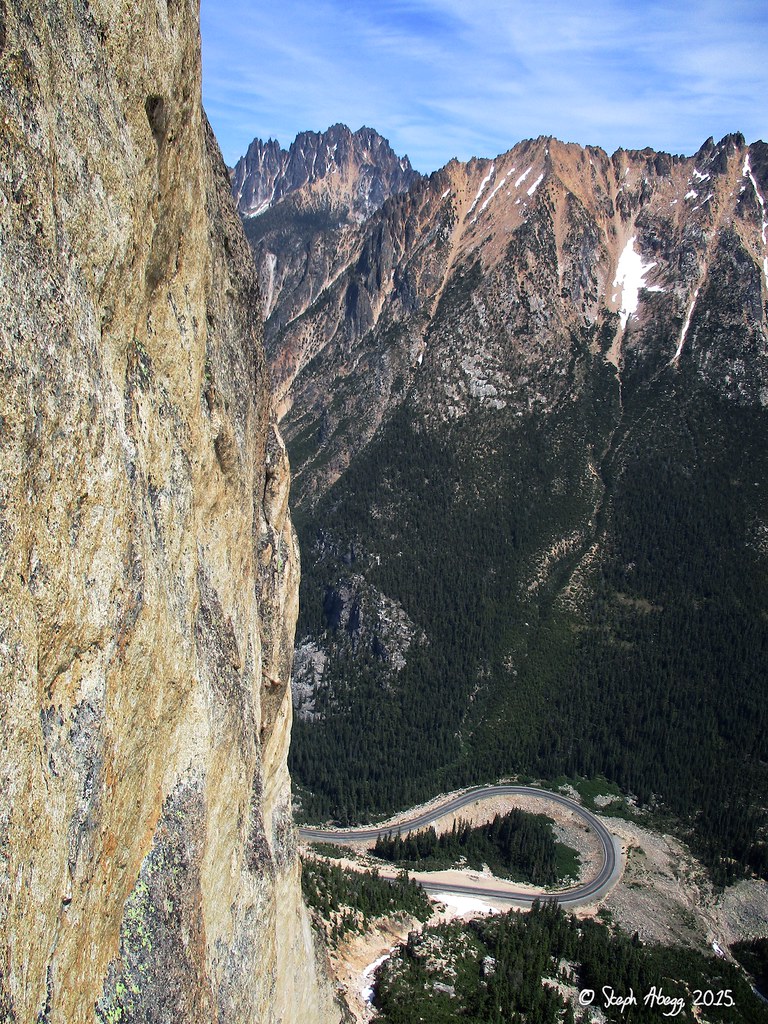
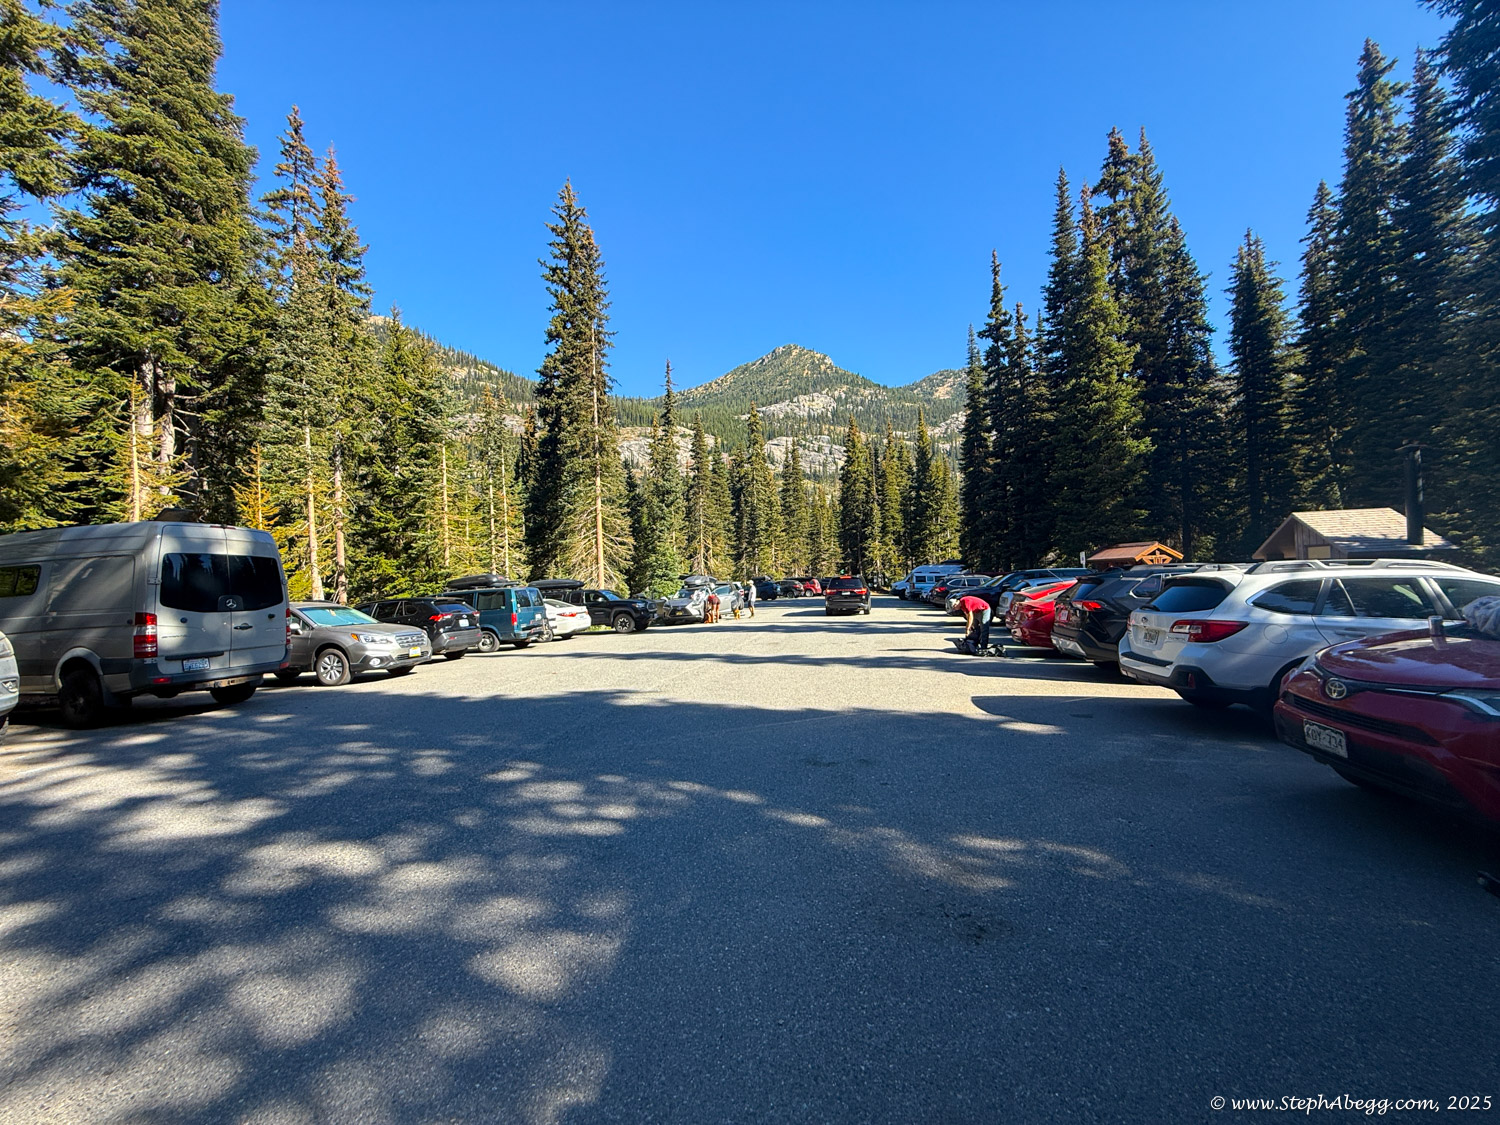
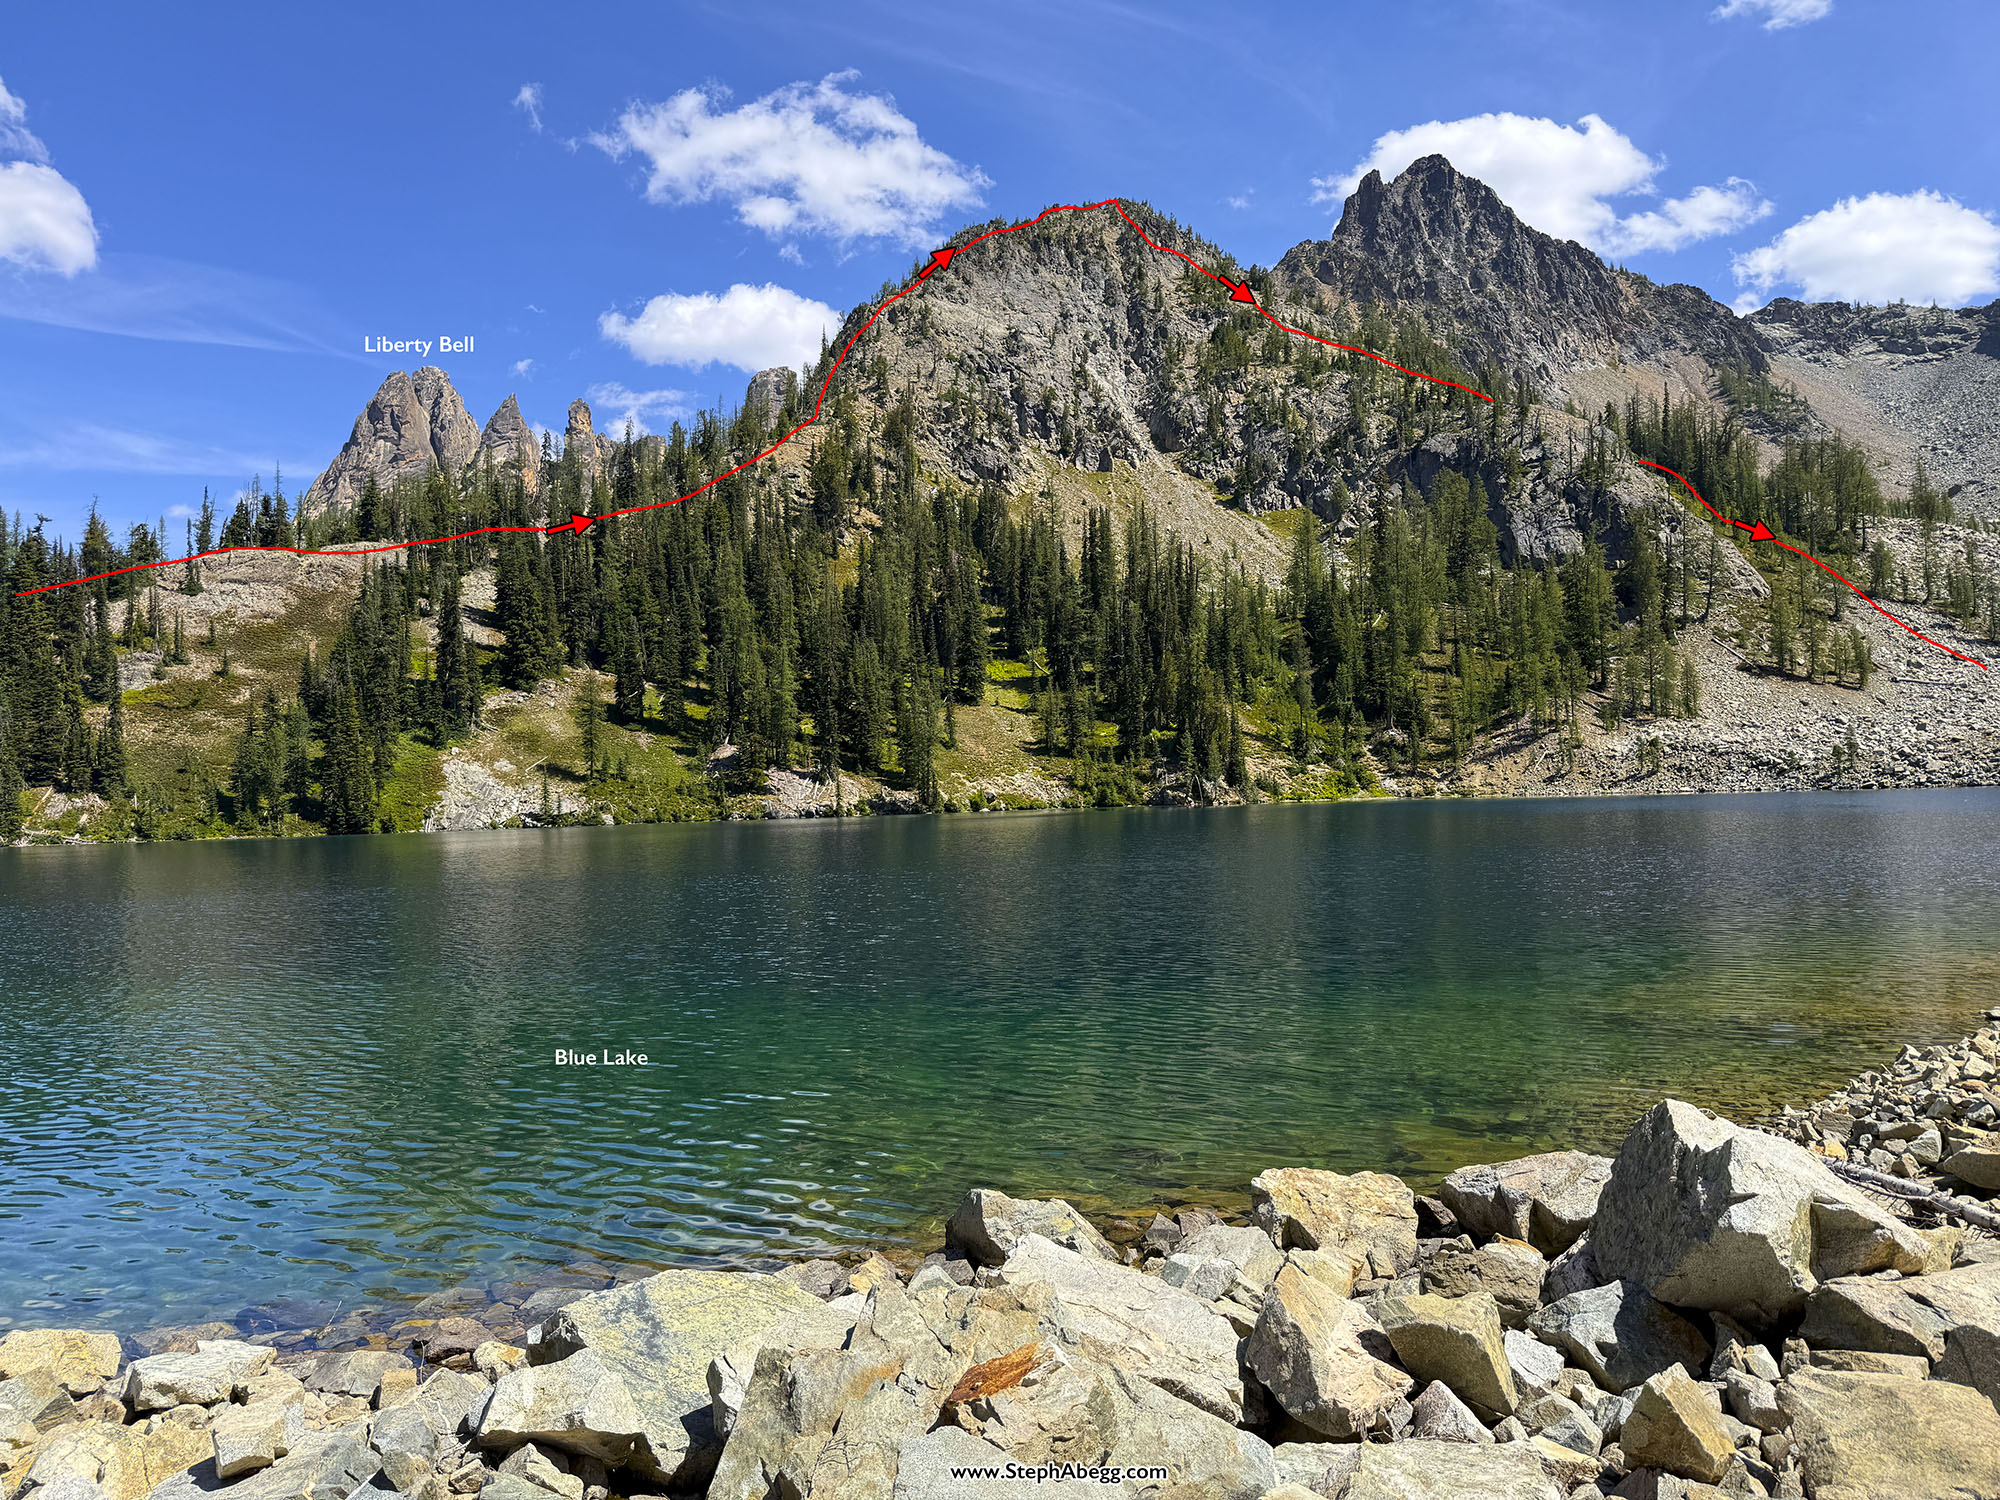
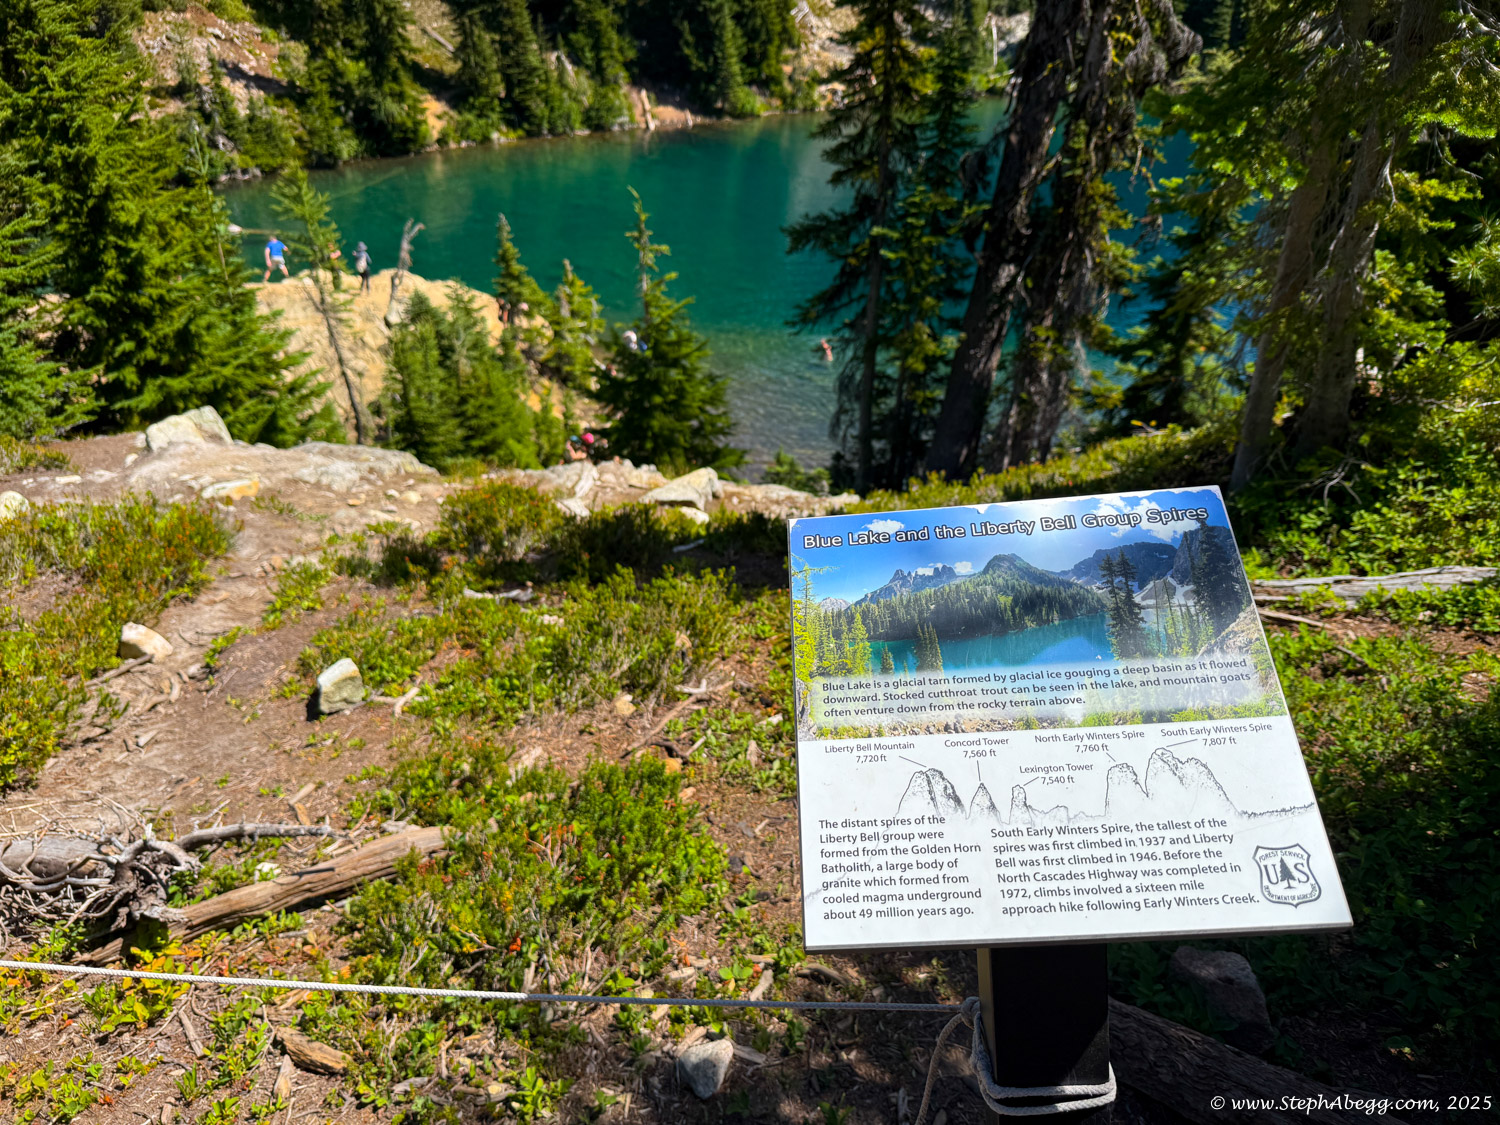
Note on approach/deapproach logistics: There are two options: (1) Park at the hairpin turn, clip all your gear on your harnesses and backpack the rope, scramble up gullies directly to the
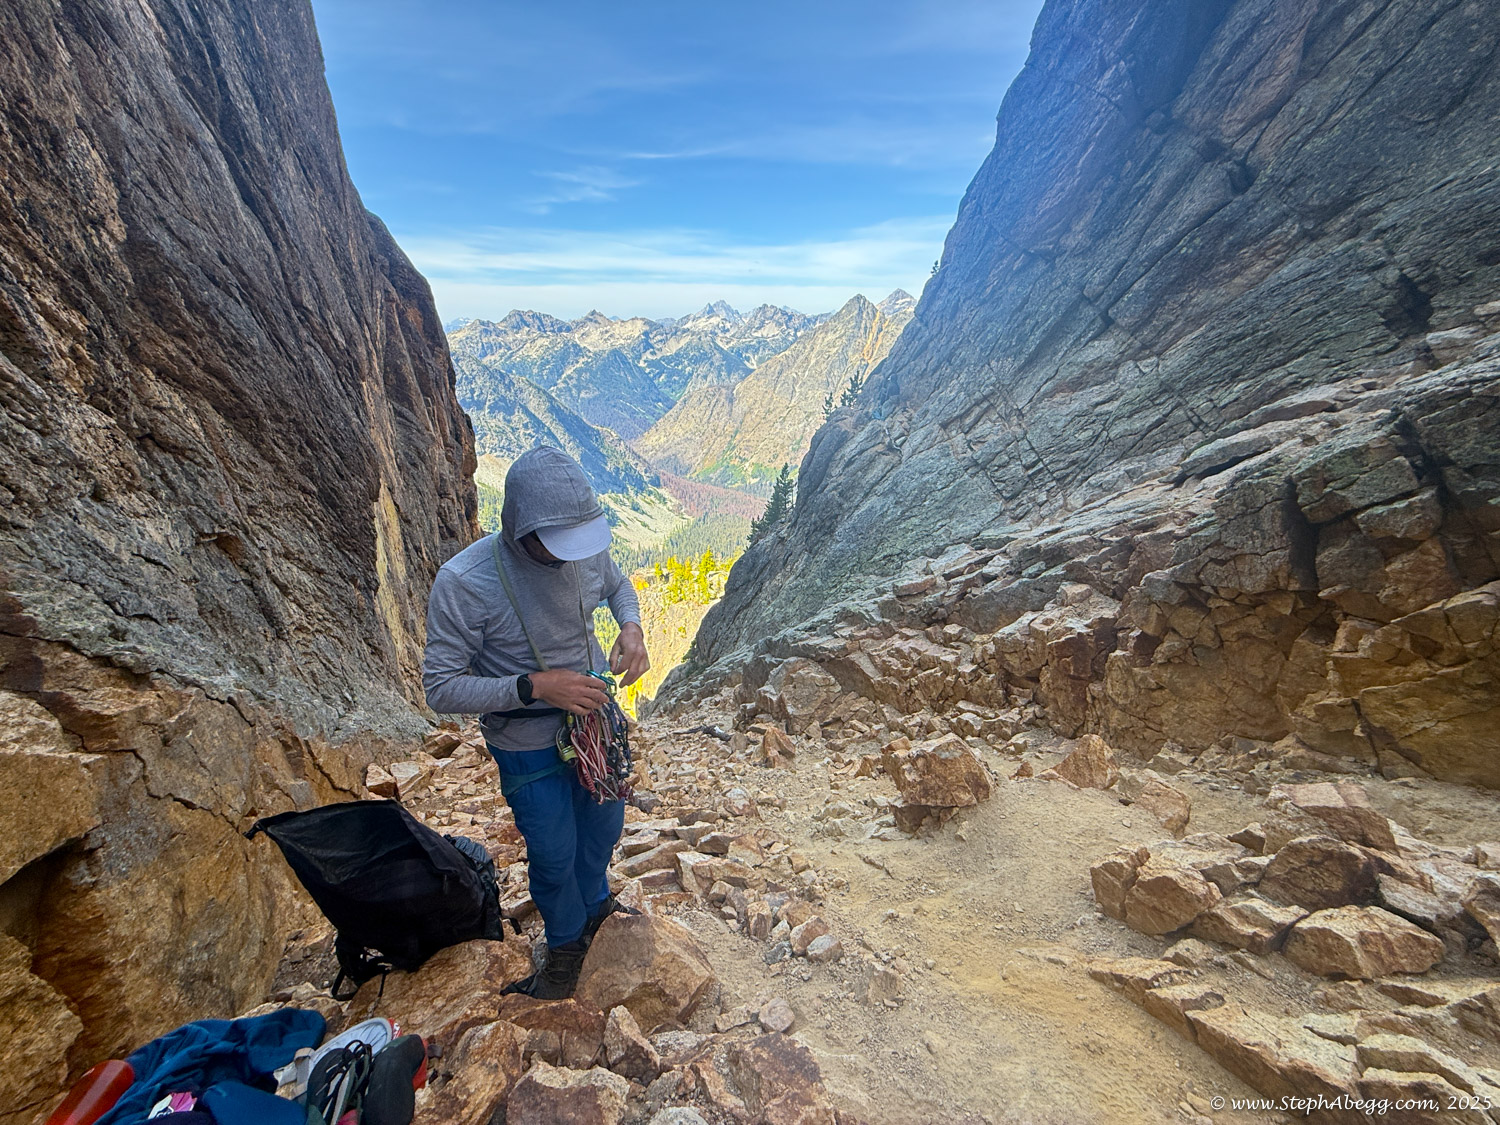
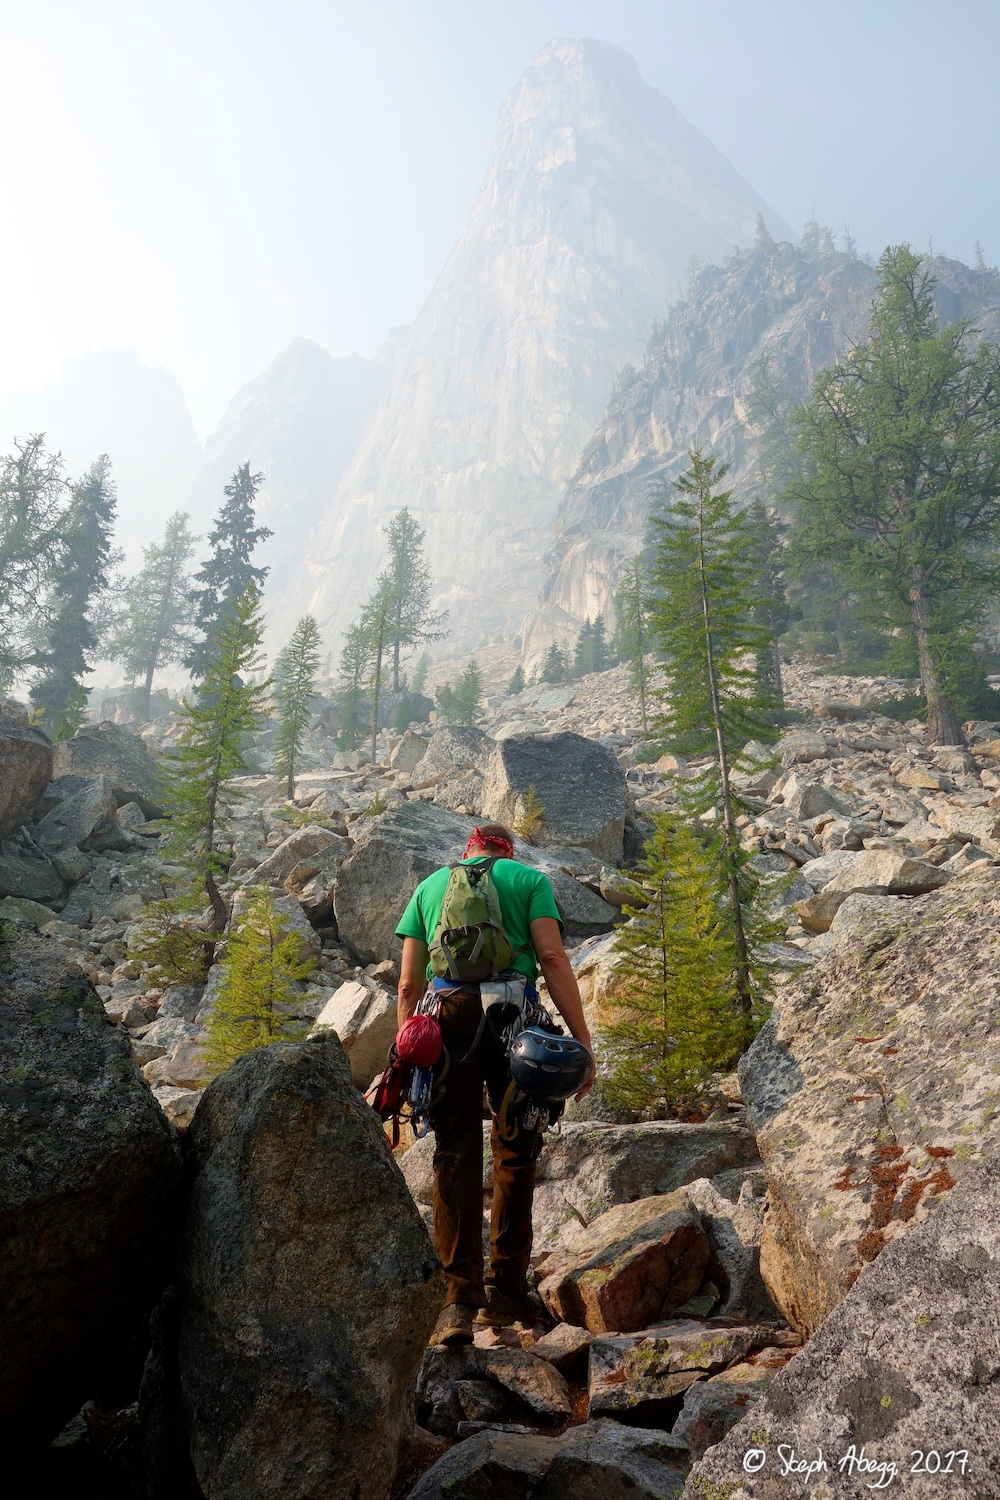
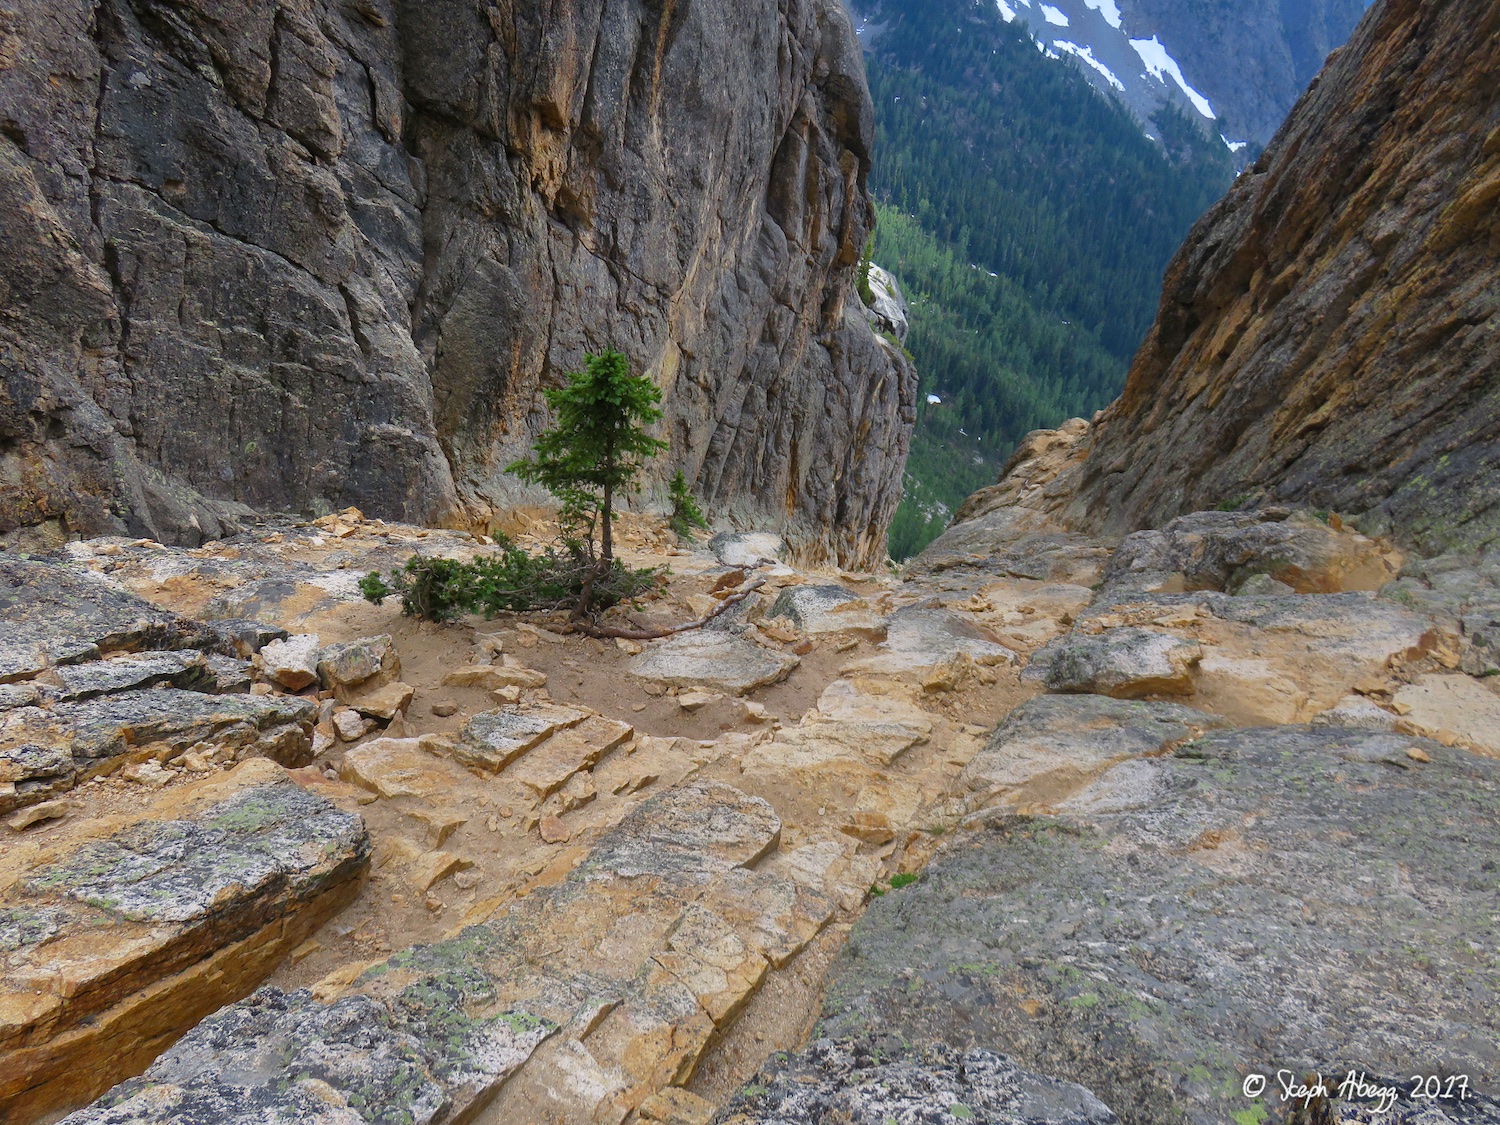
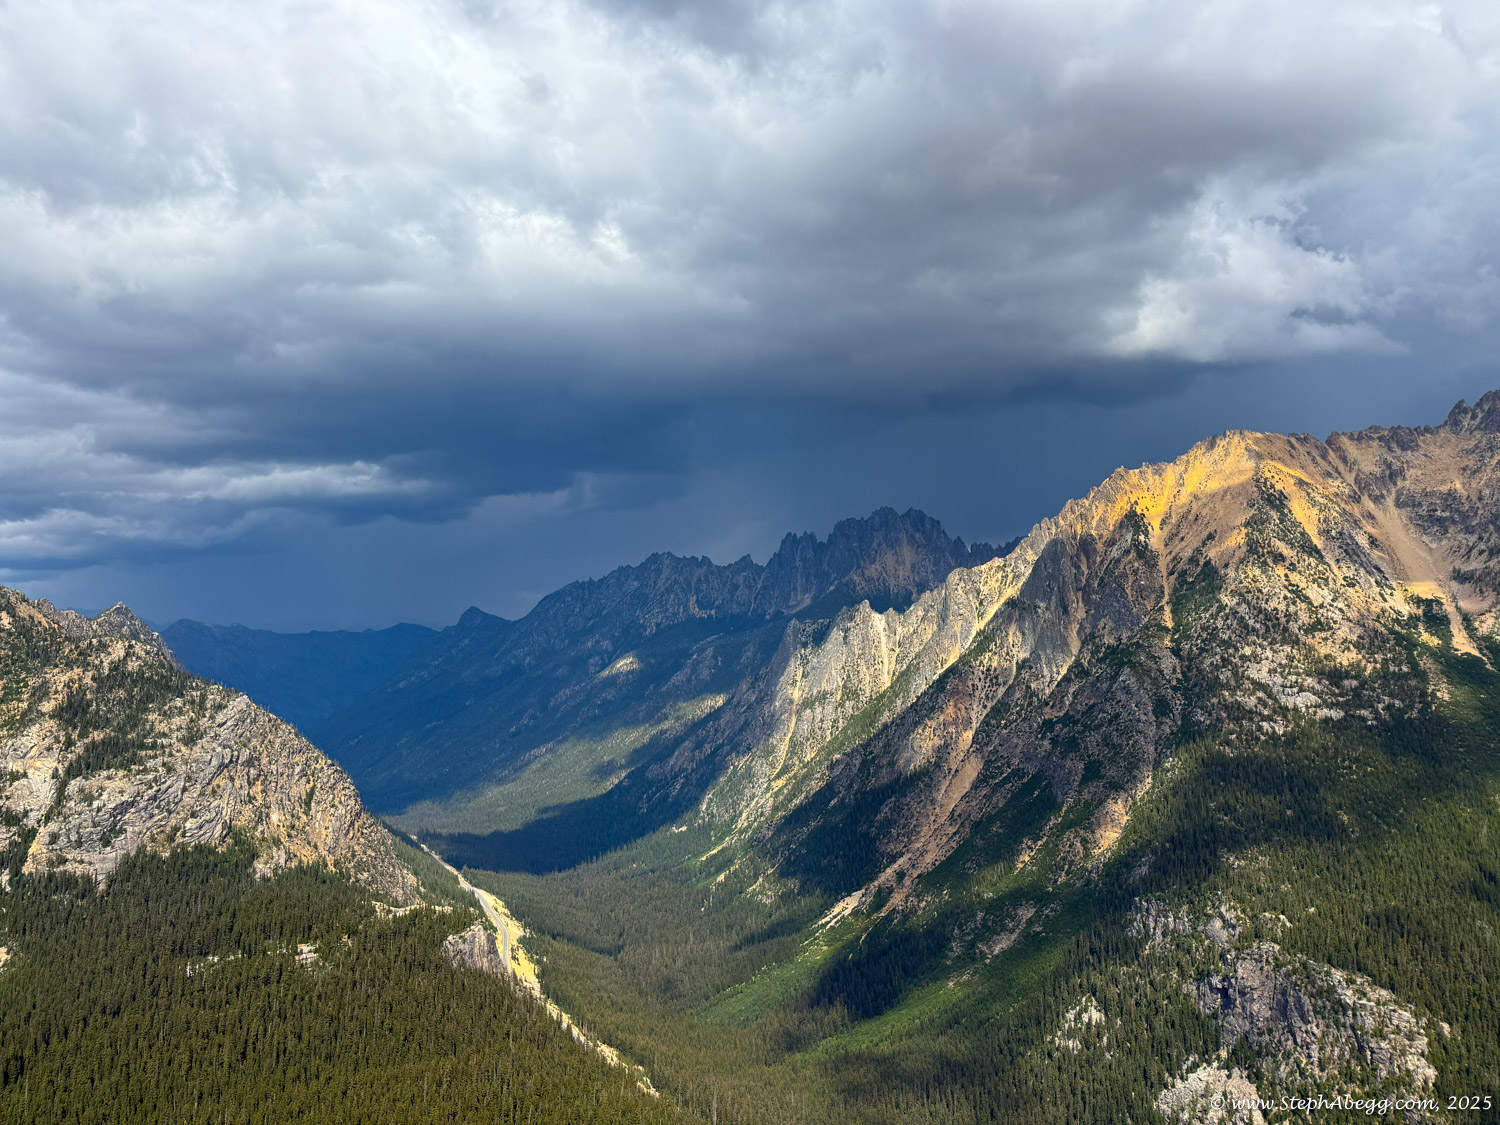
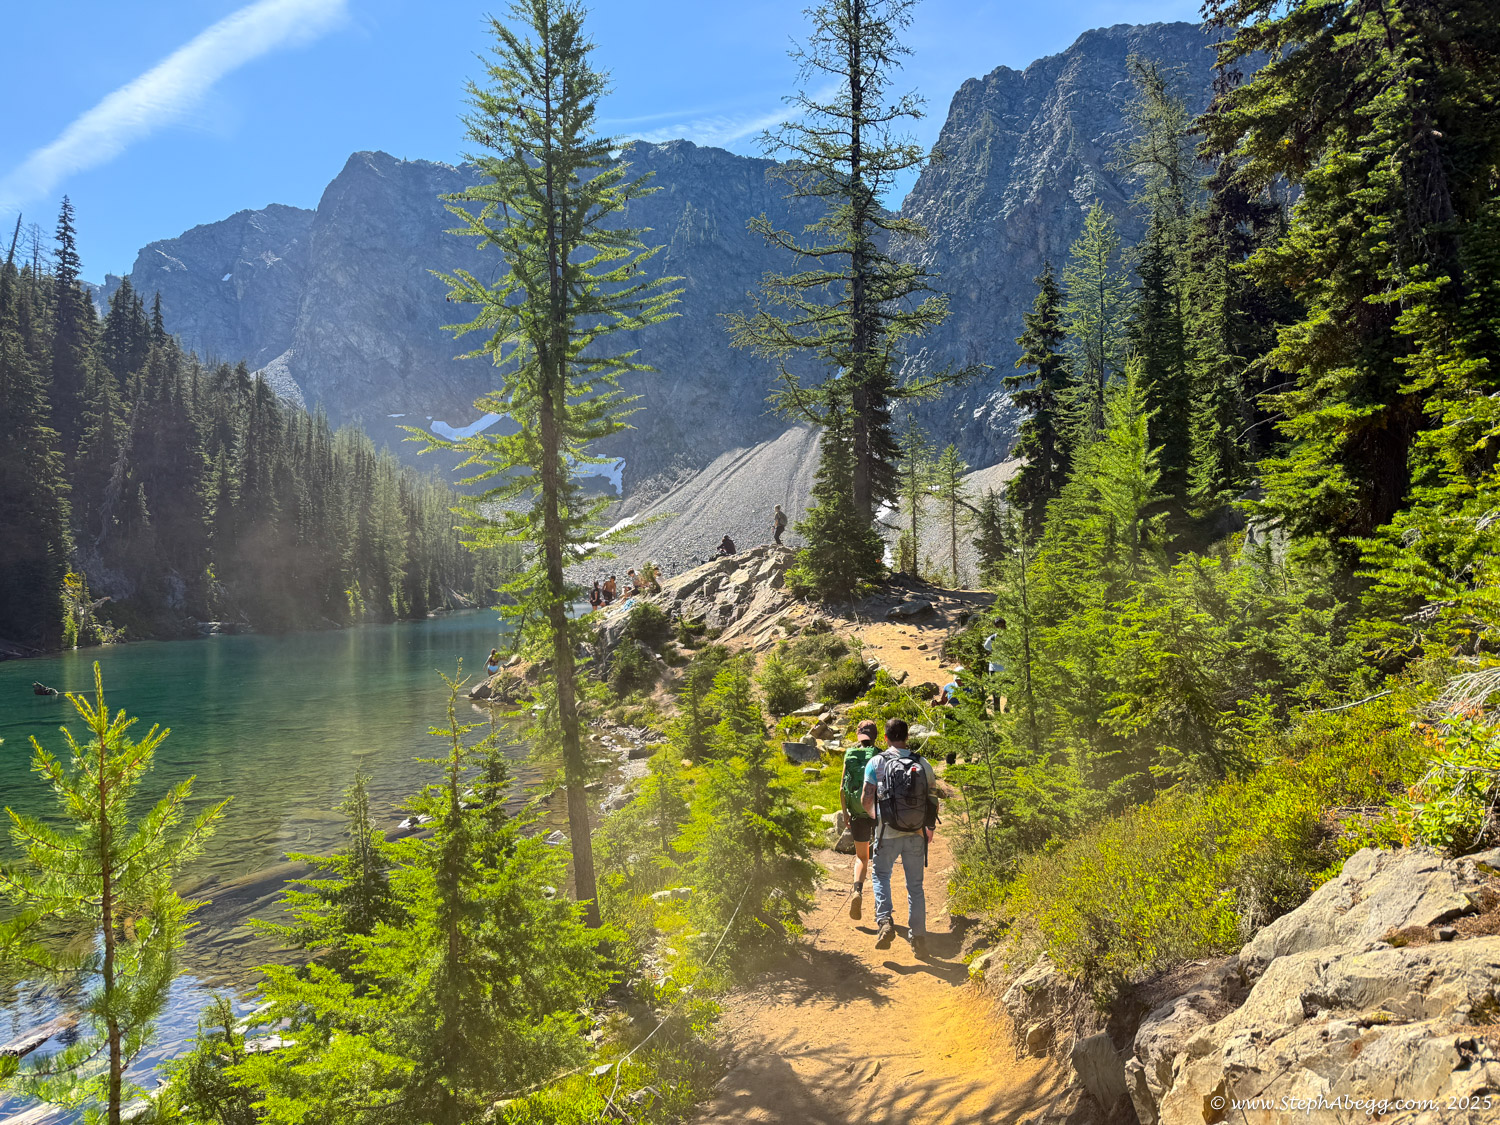
East Buttress, climb the route with everything you brought with you, descend the South Arete, hike out the Blue Lake Trail with your gear clanking on your harnesses, and hitch-hike/walk/pick-up your car at the hairpin turn; or (2) Park at the Blue Lake Trailhead, put your gear in comfortable backpacks, hike up the Blue Lake Trail to the notch below the
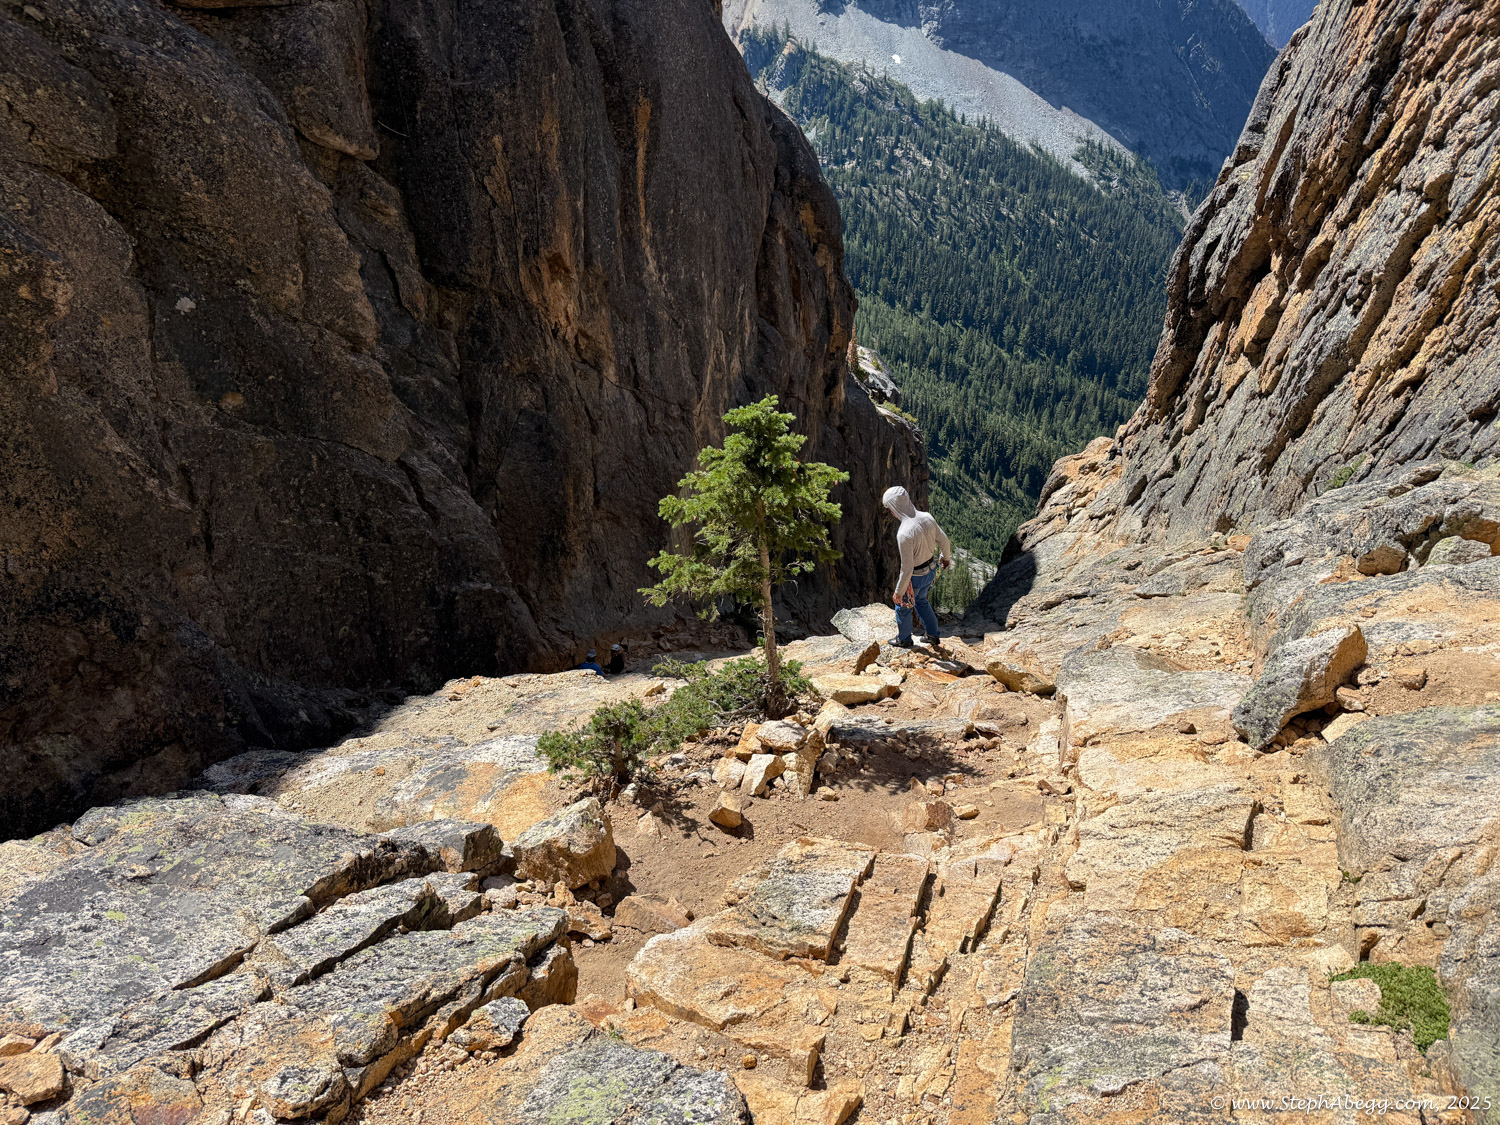
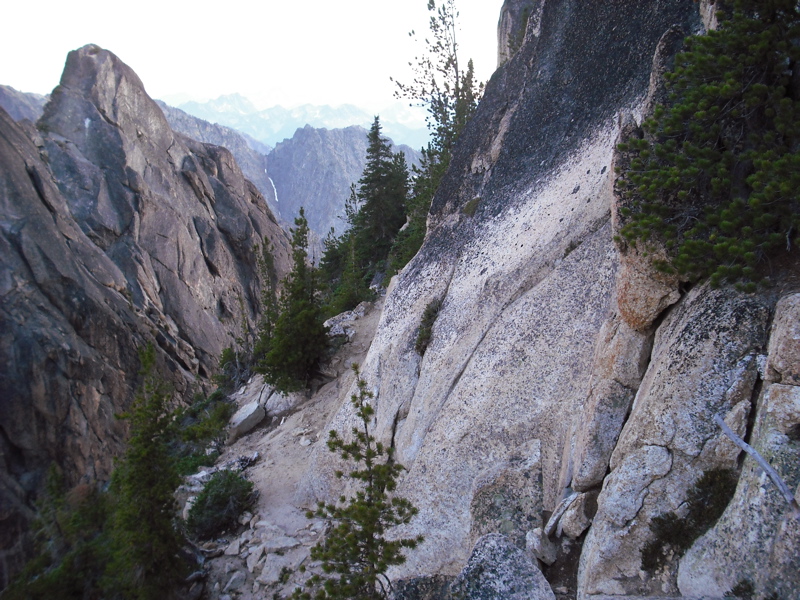
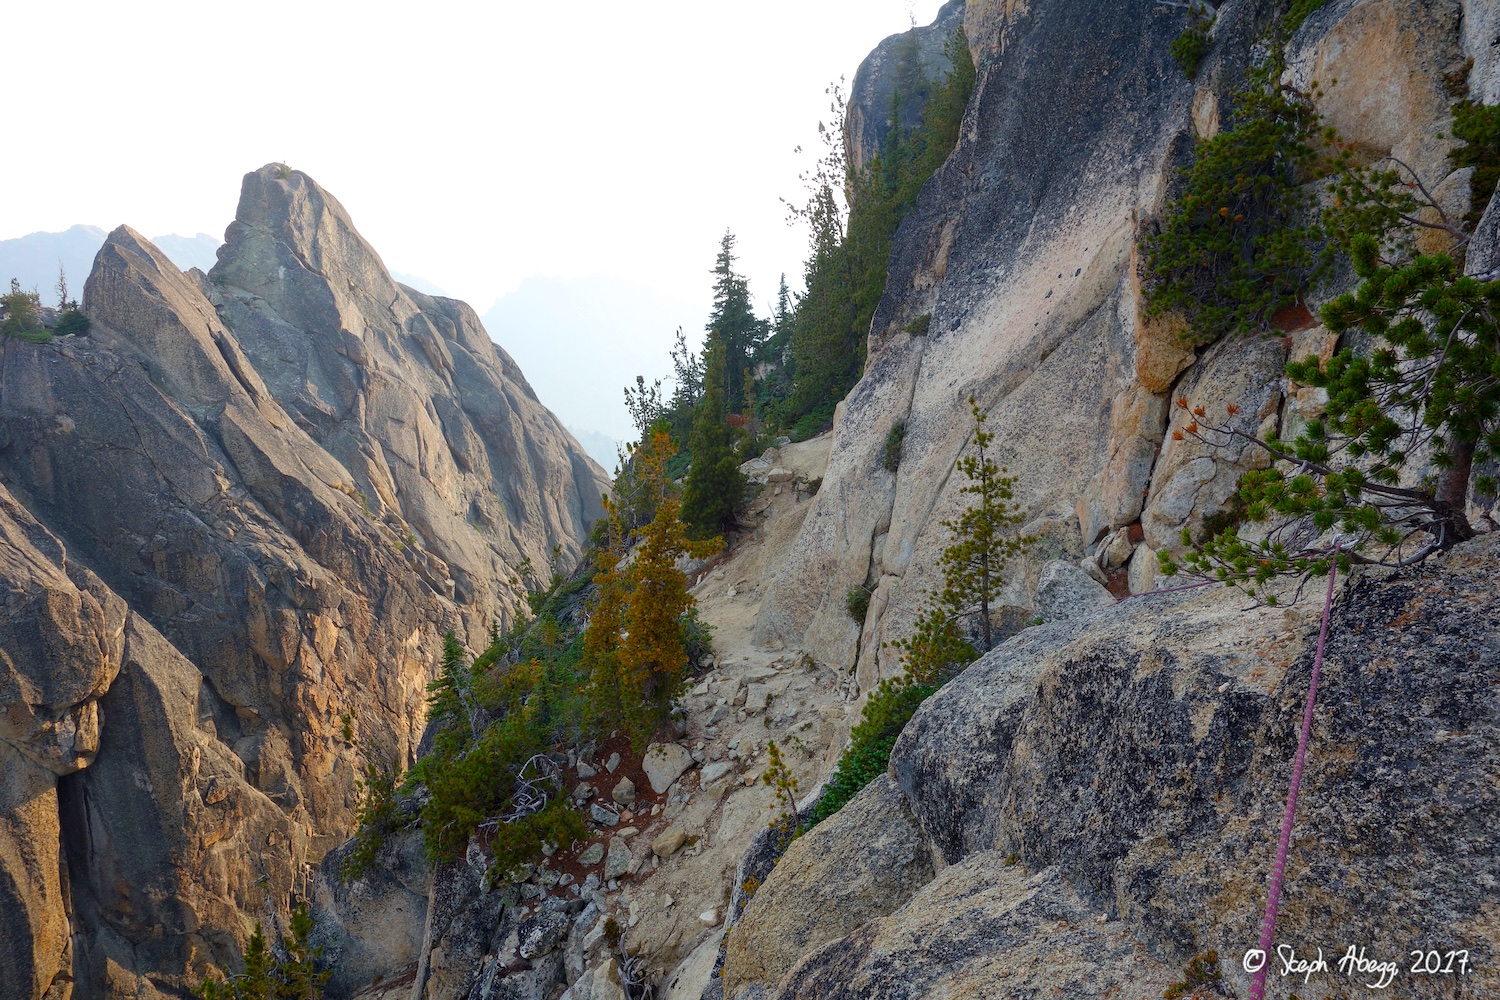
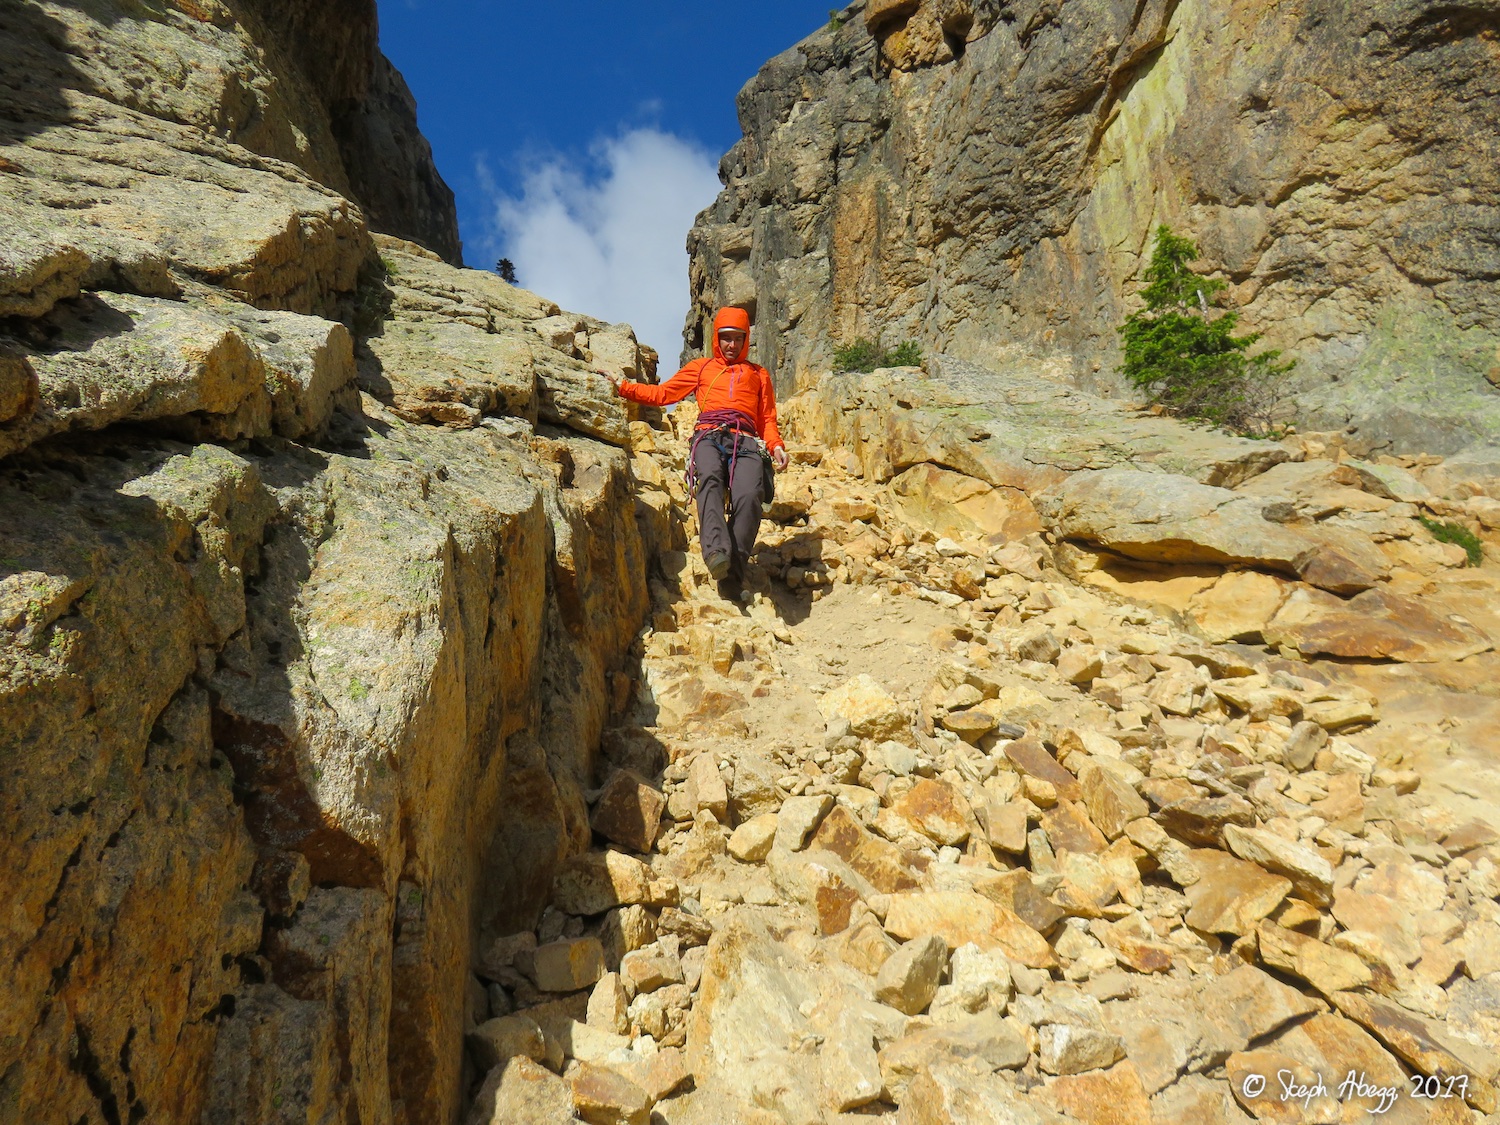
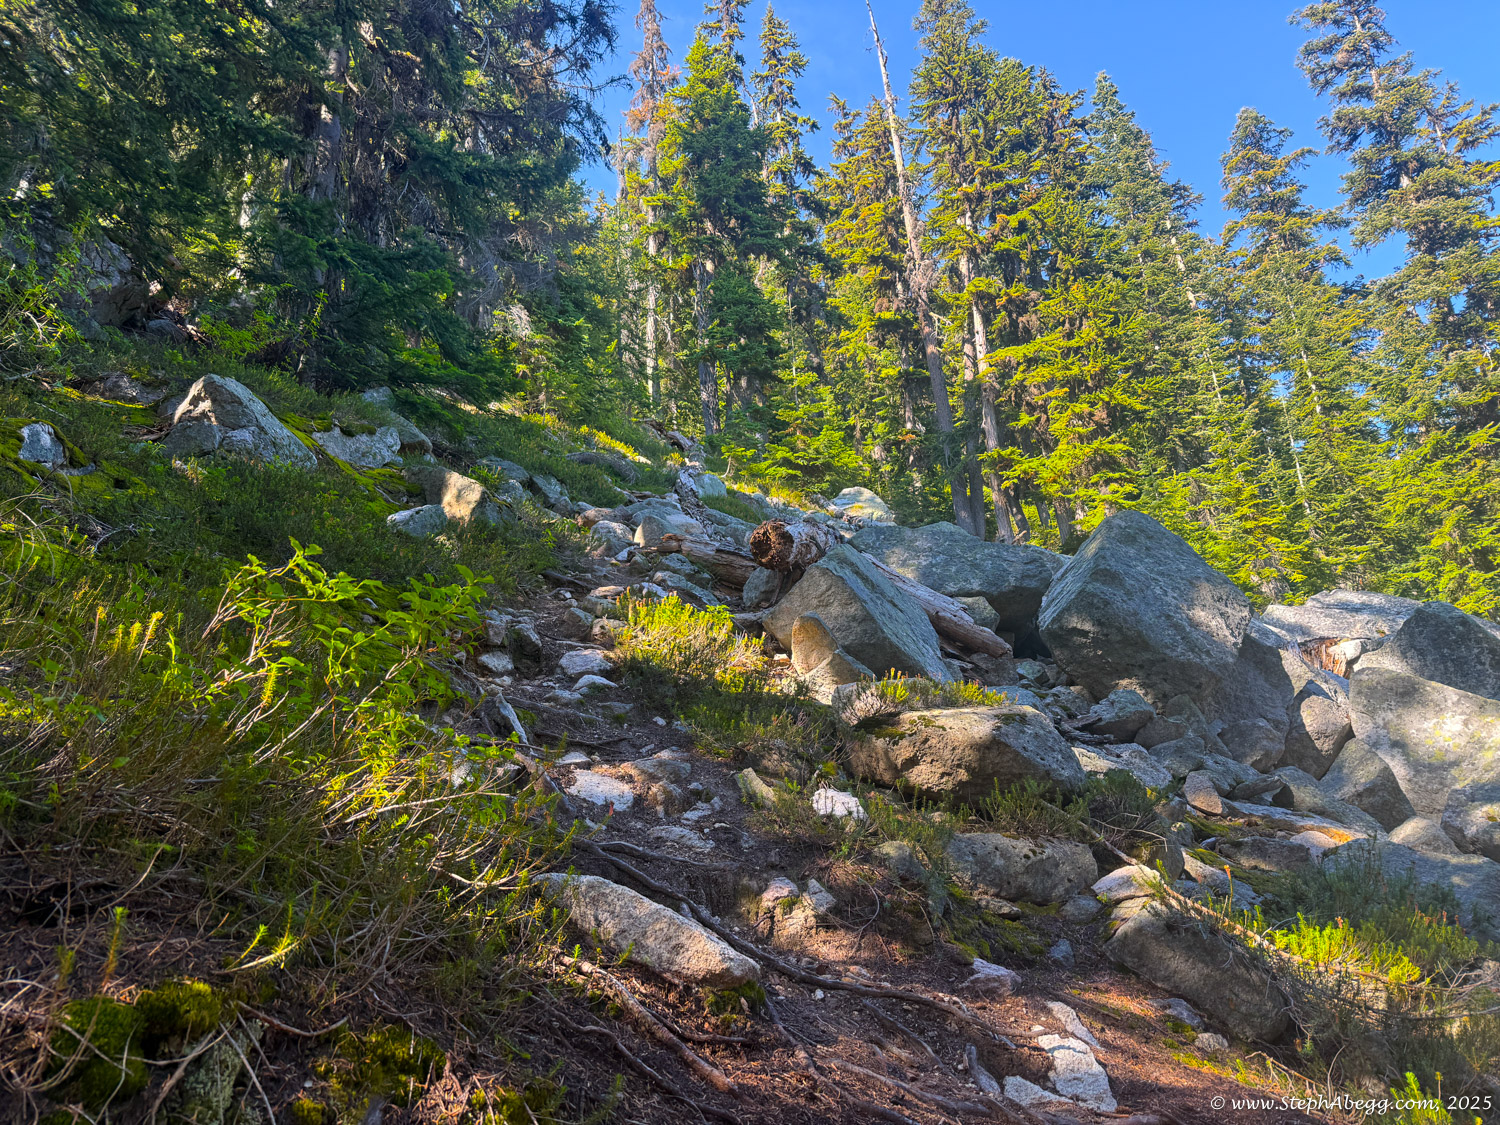
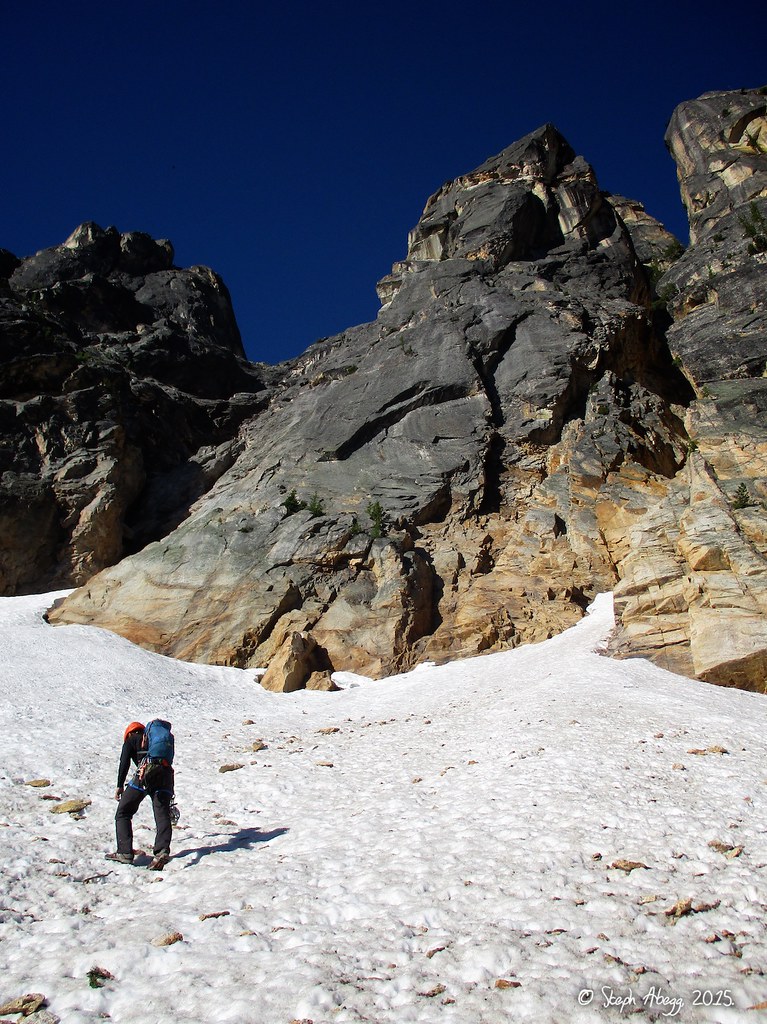
South Arete (took us 60-70 min), drop your heavier backpacks and approach shoes here, scramble around the south face to the base of the
East Buttress (took us 30-35 min), climb the route, descend the
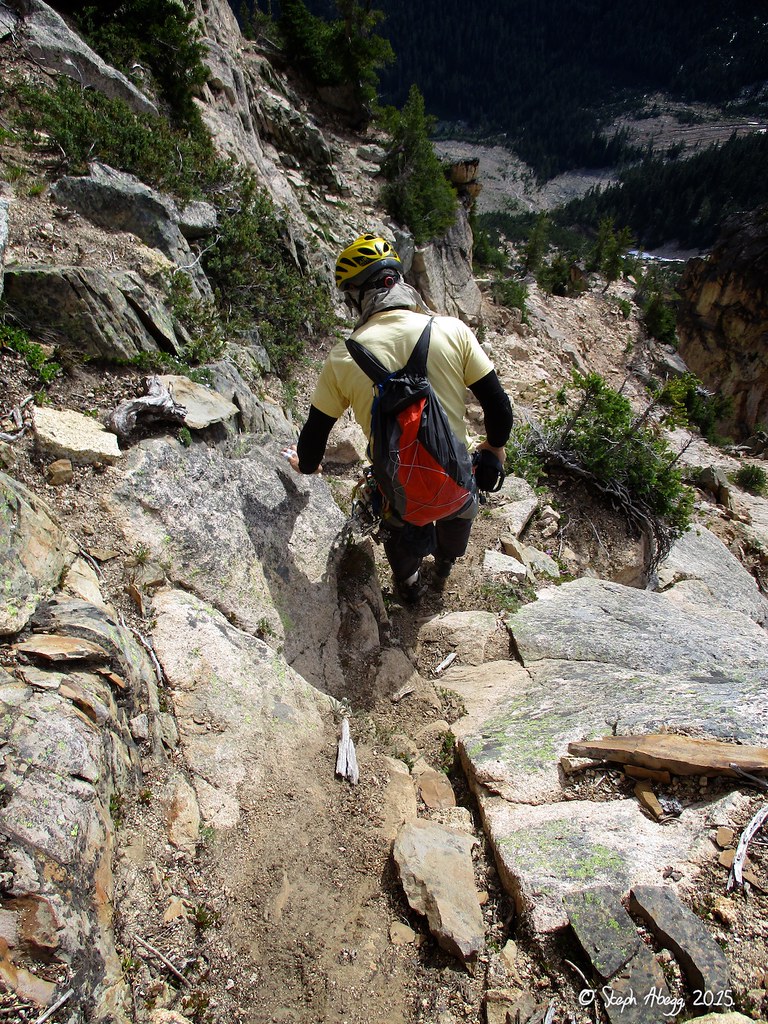
South Arete, hike out the Blue Lake trail with your gear in a backpack, and arrive back at your car that is already at the parking lot.
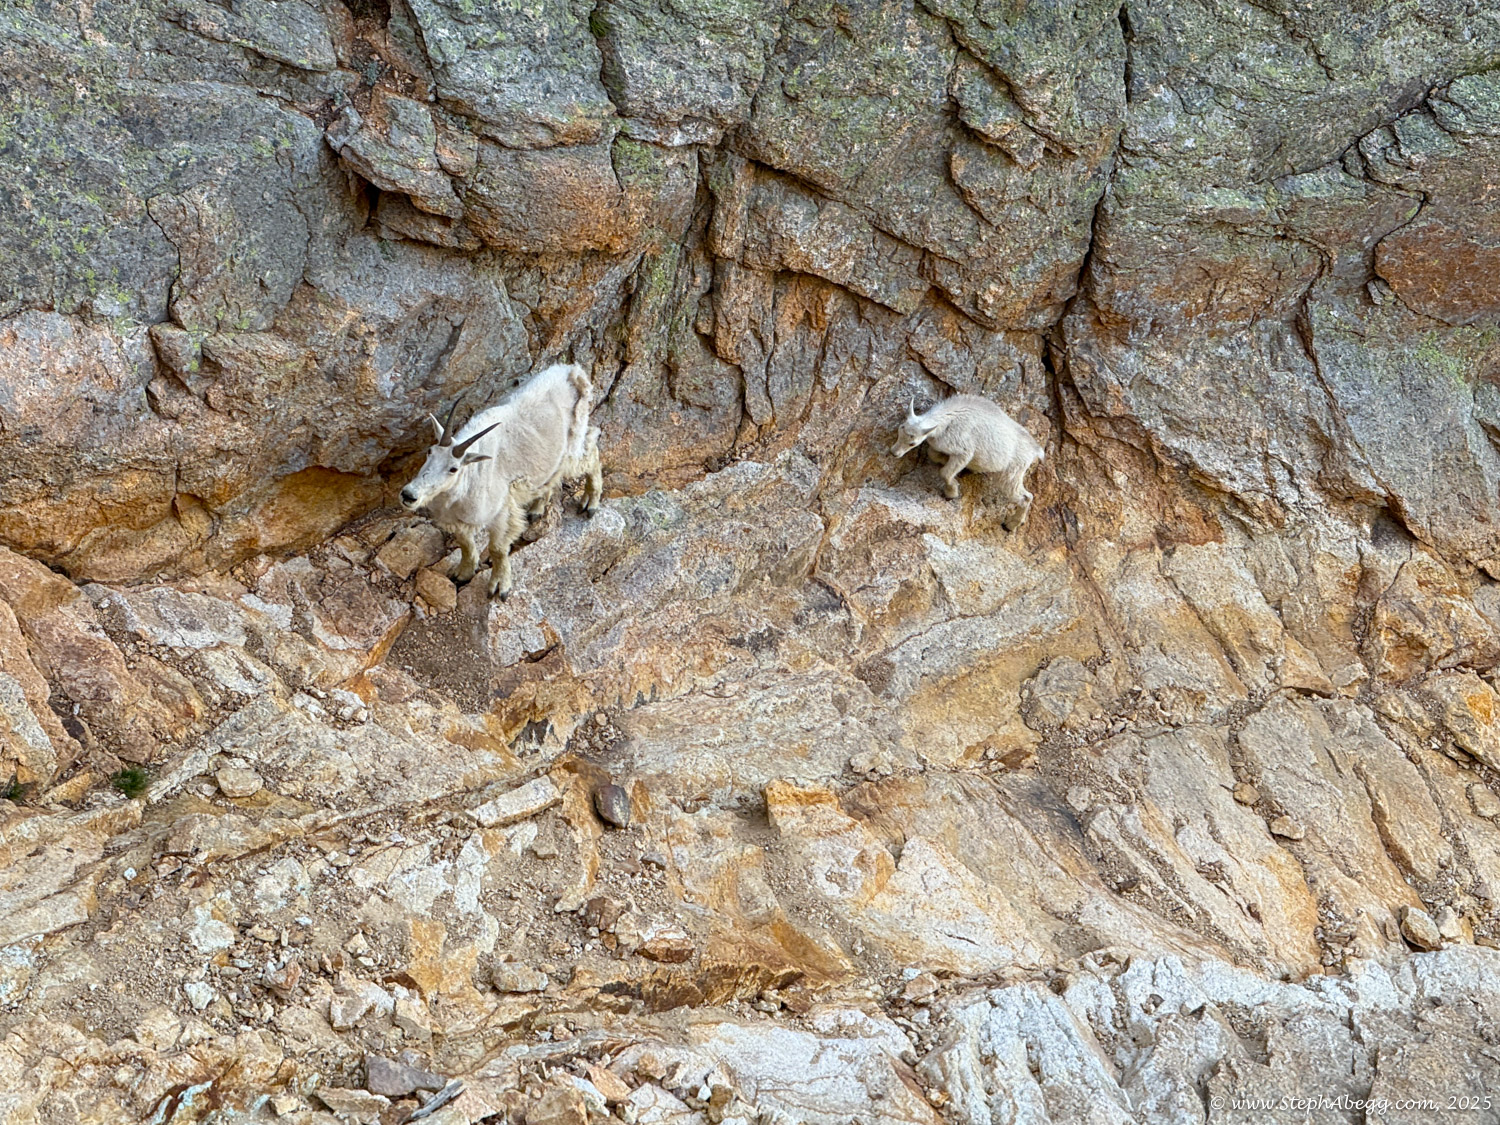
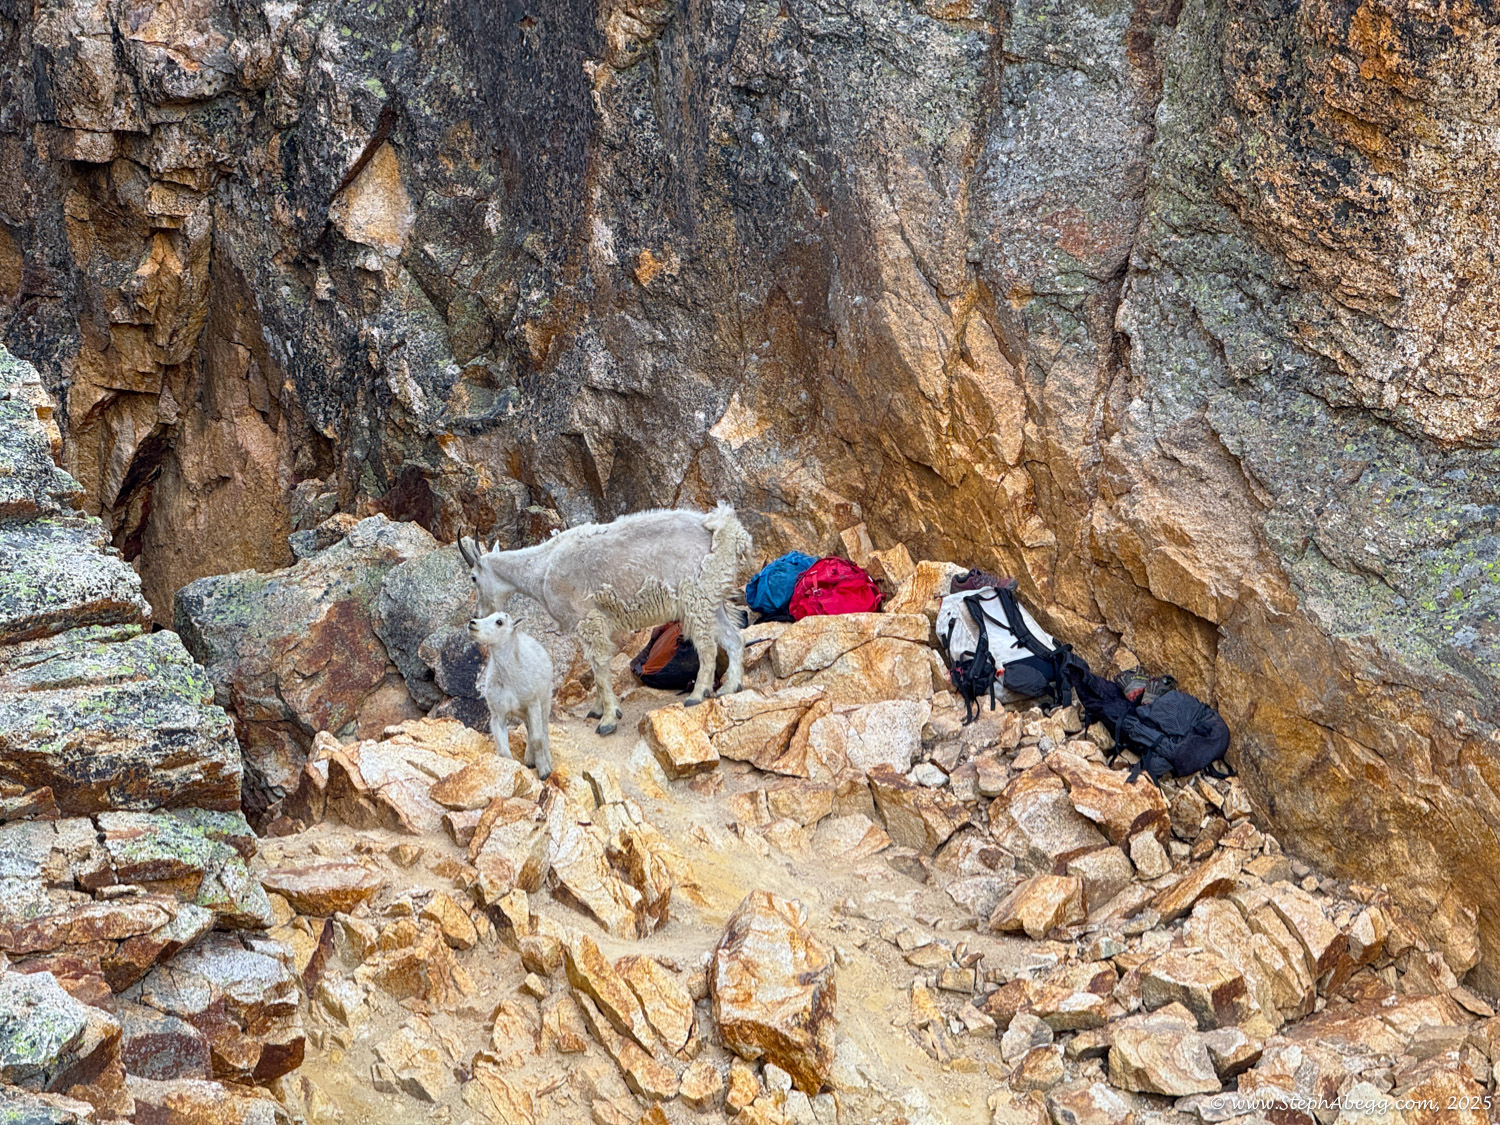
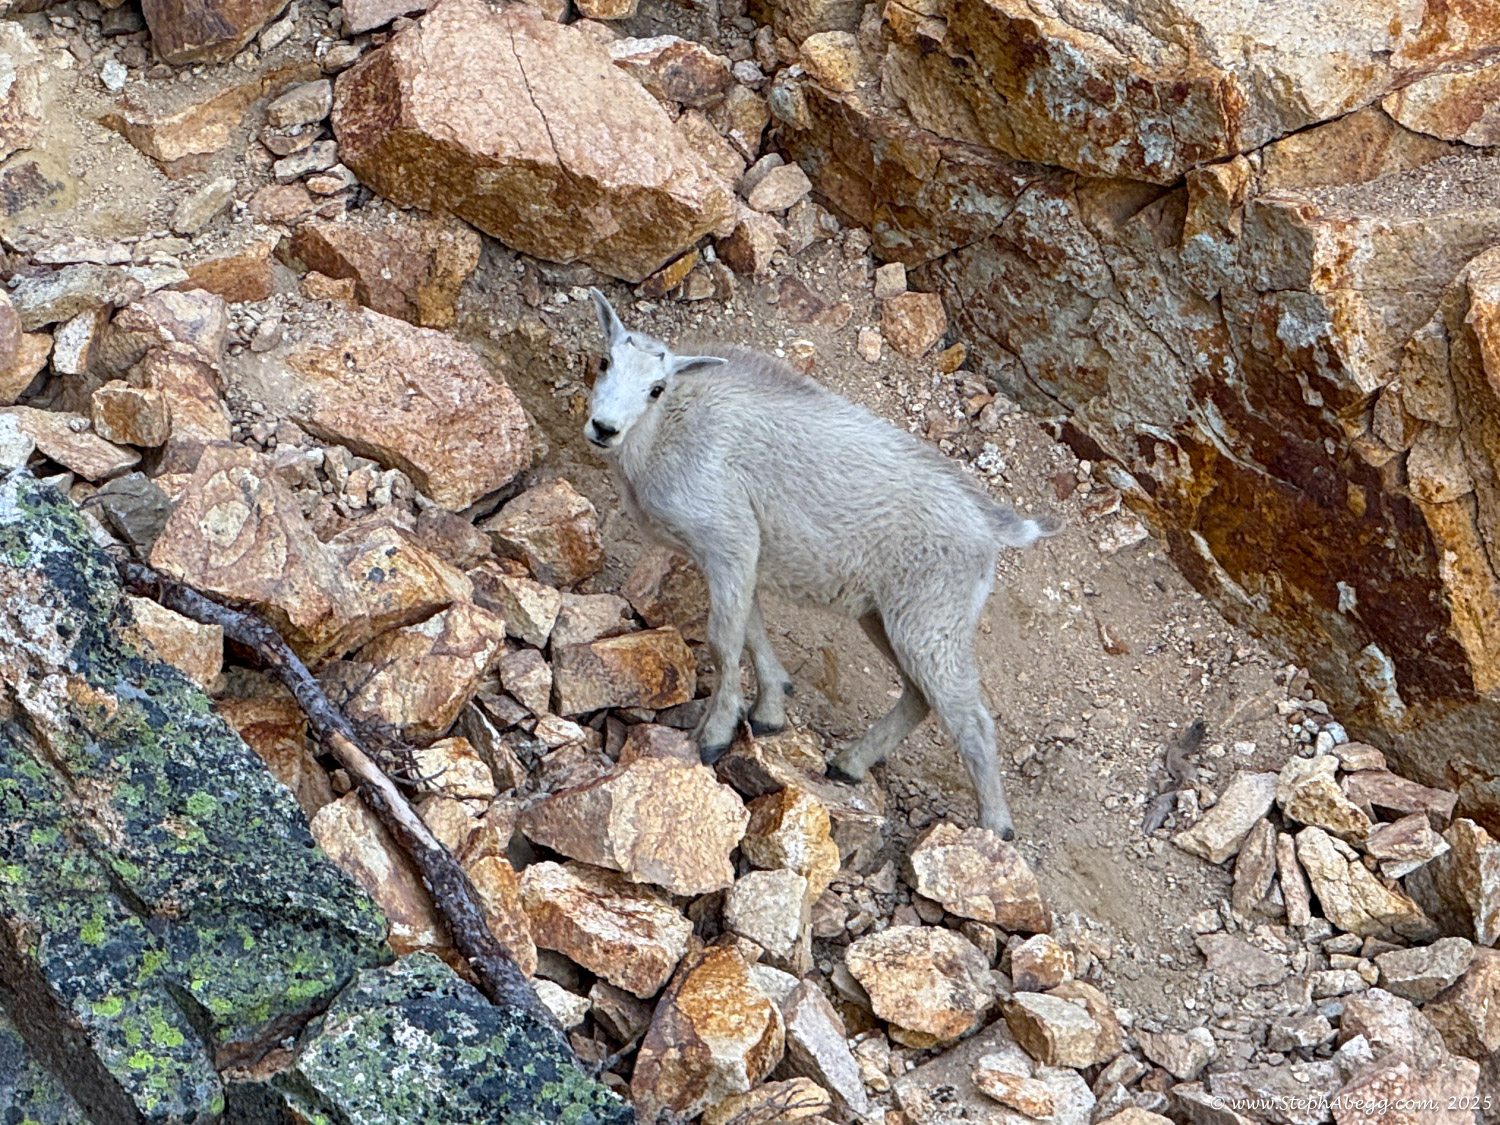
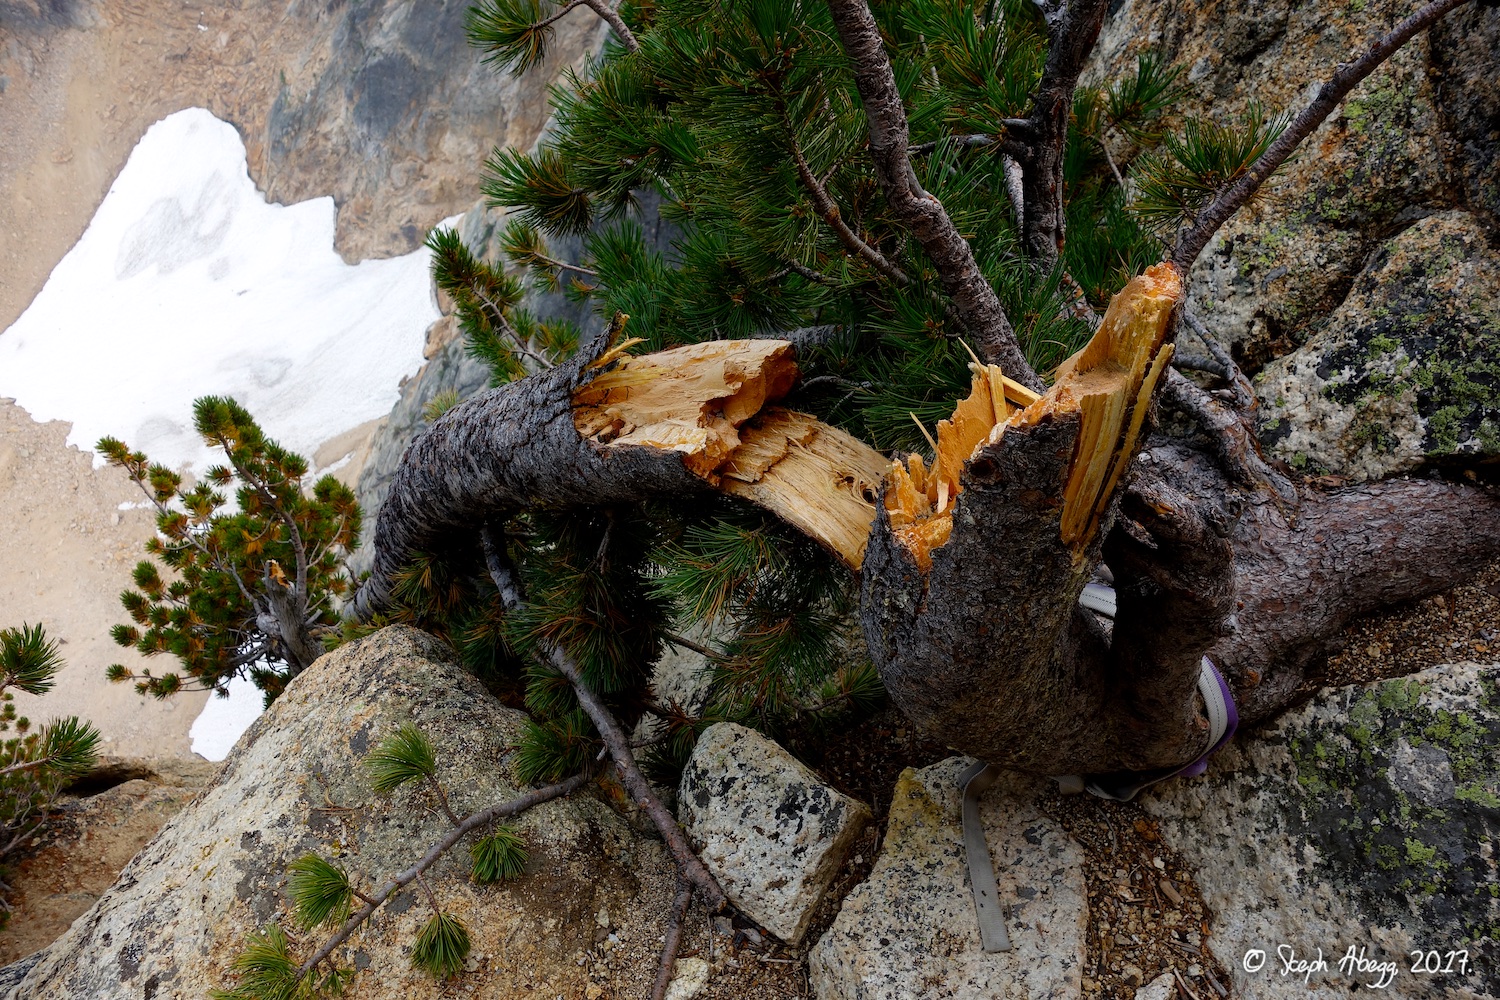
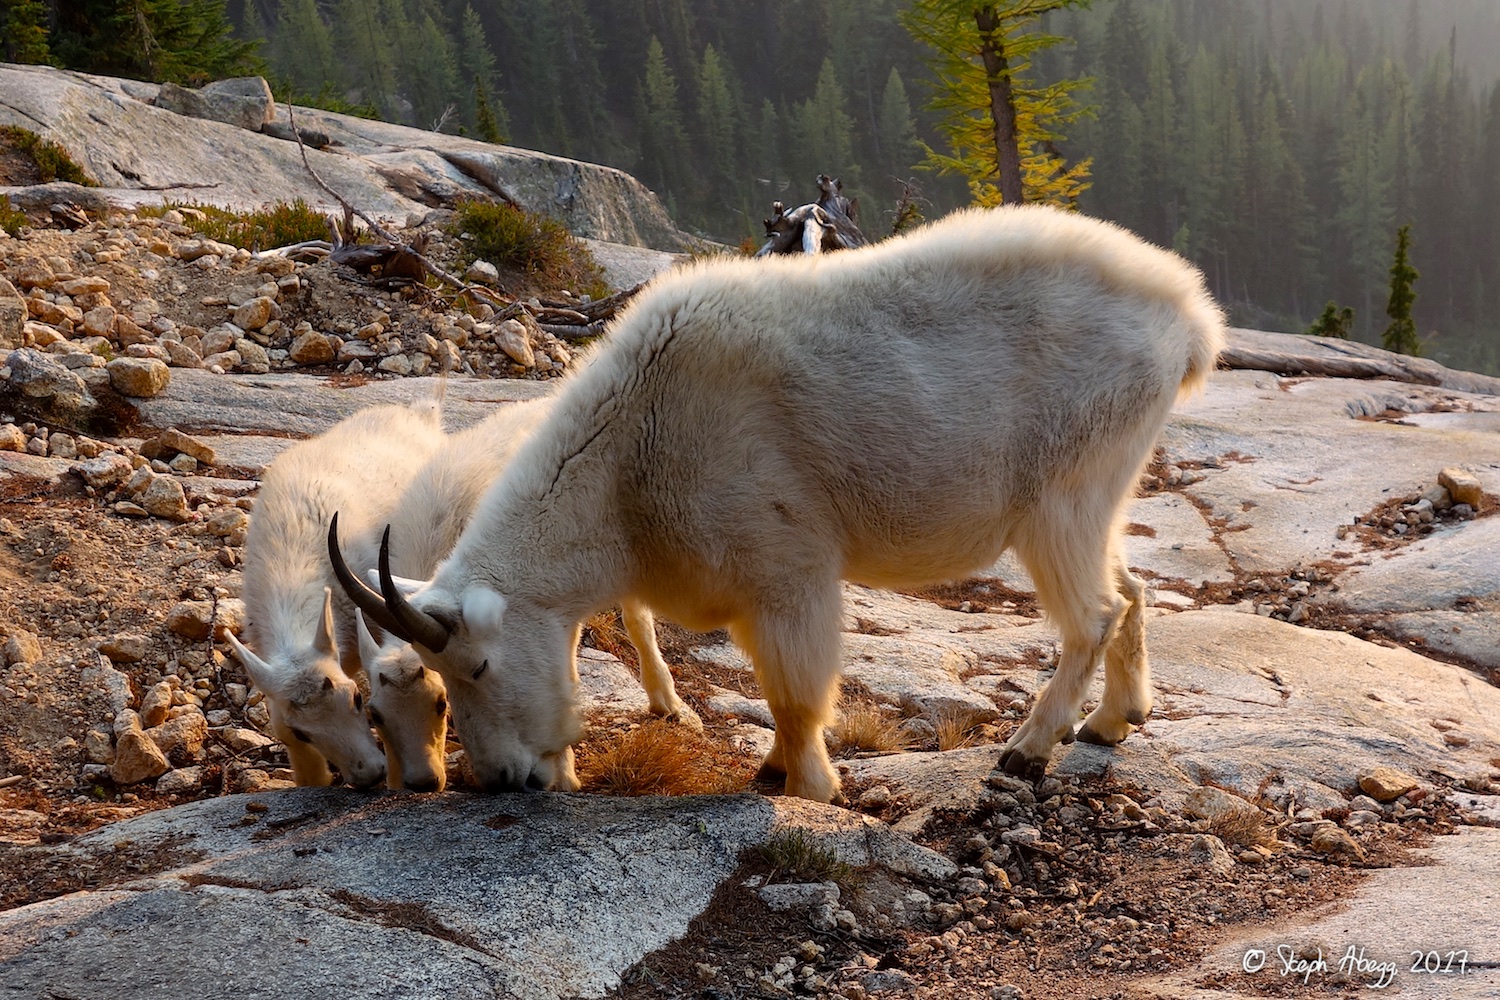
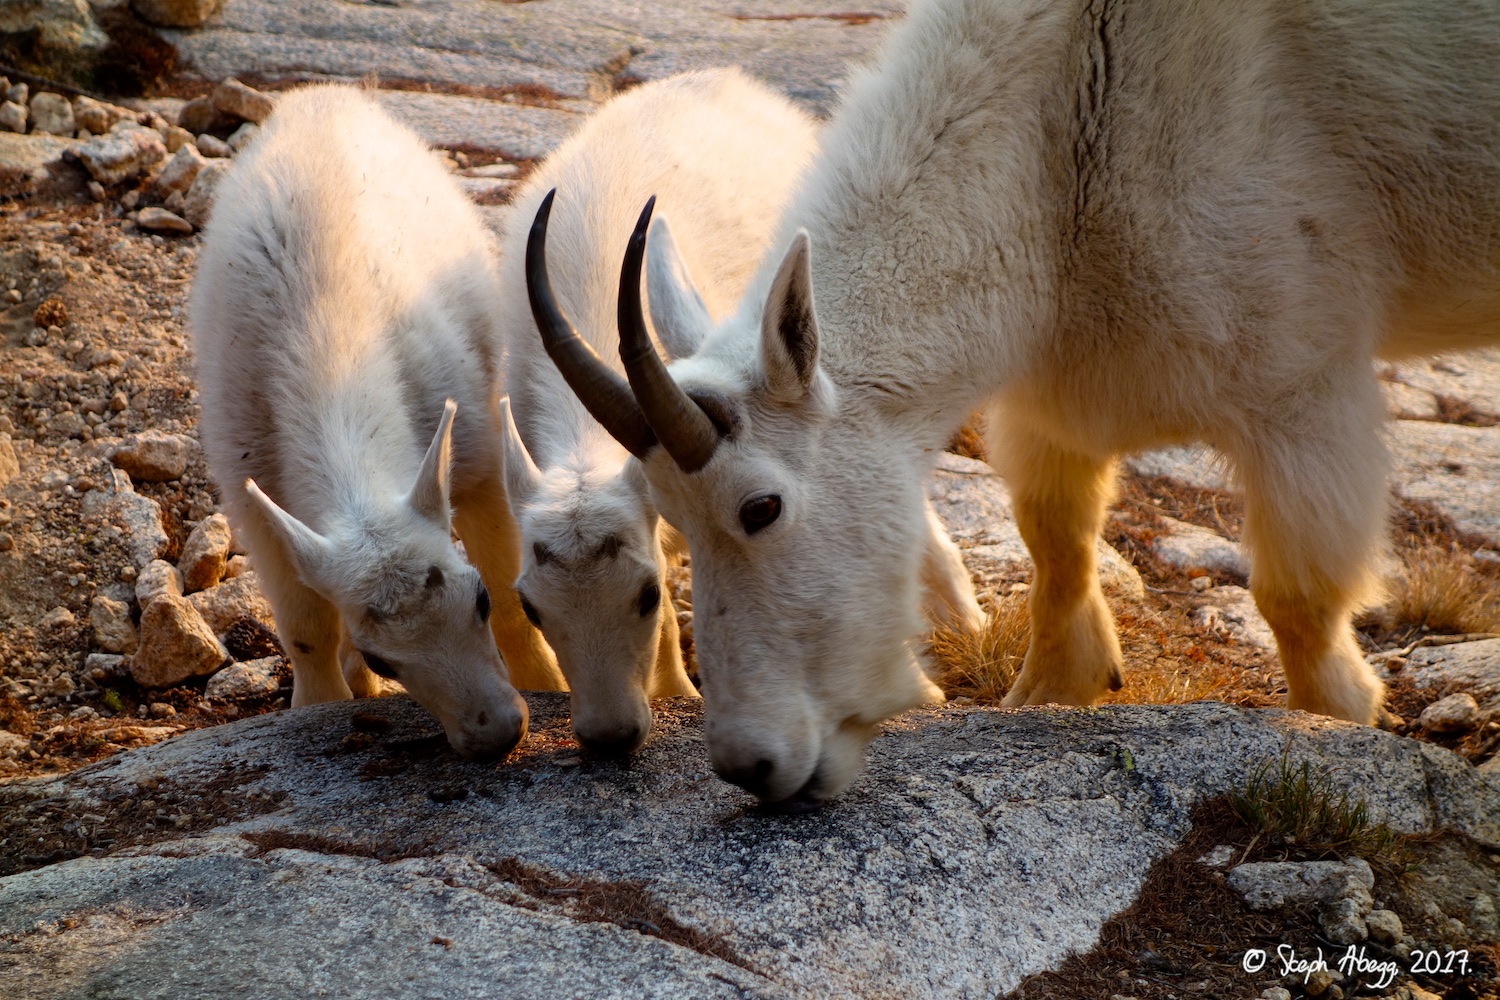
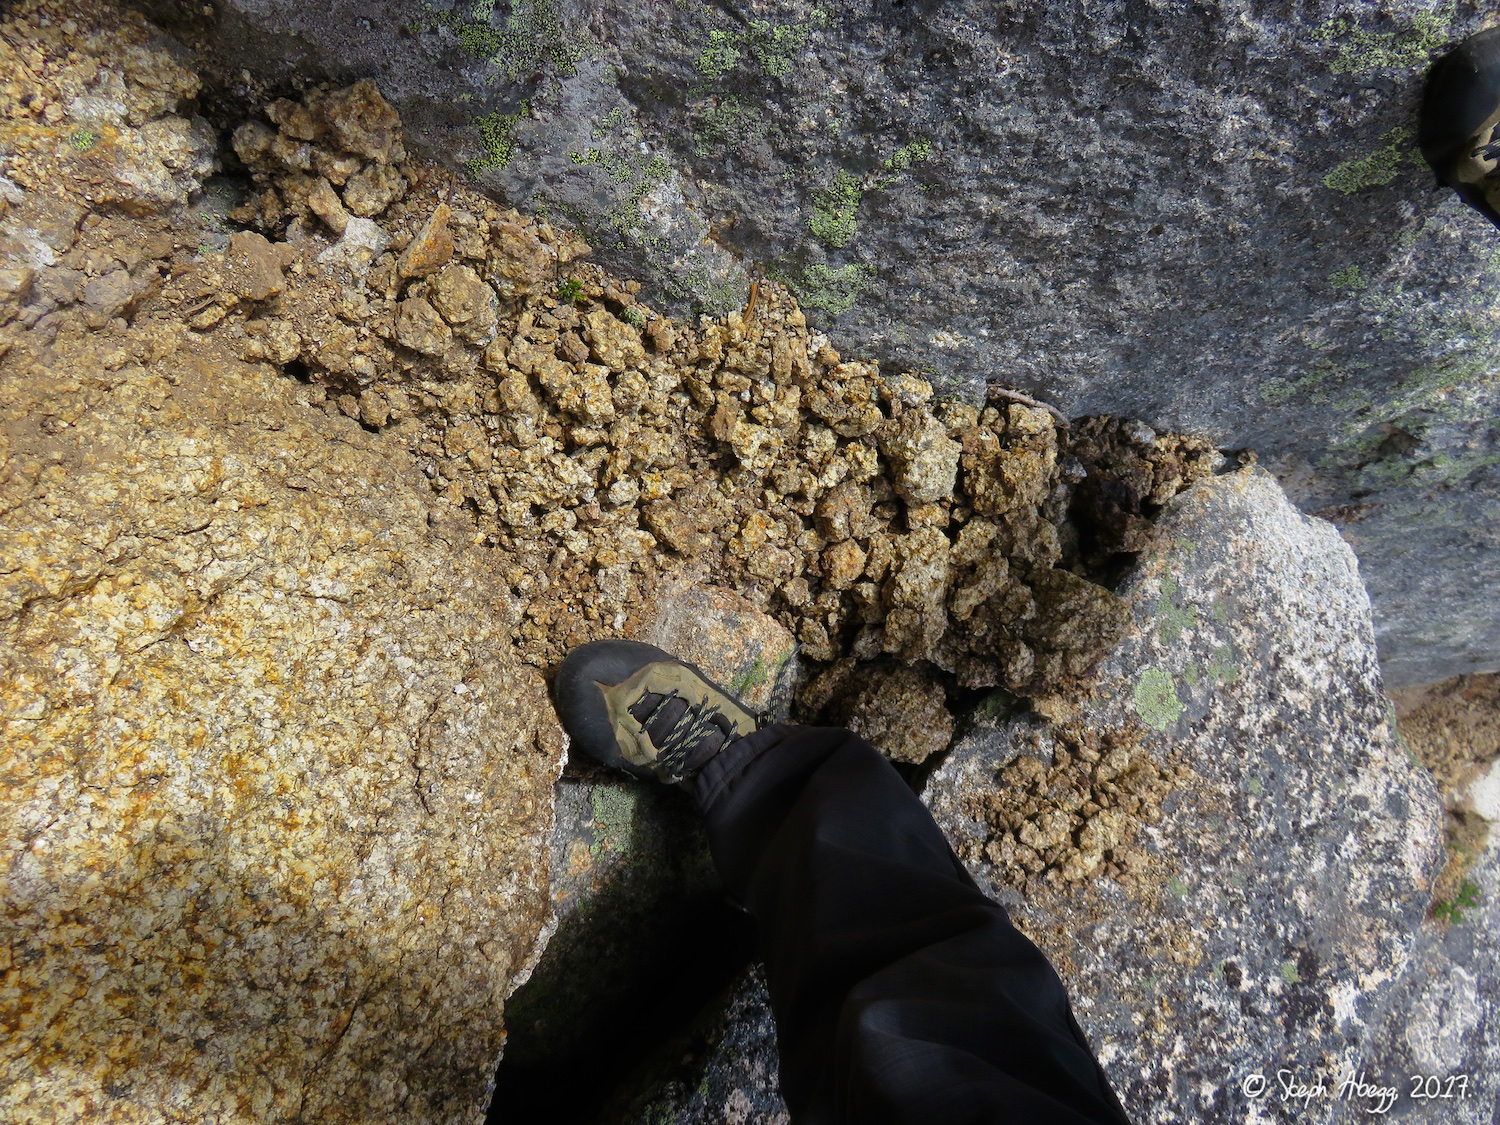
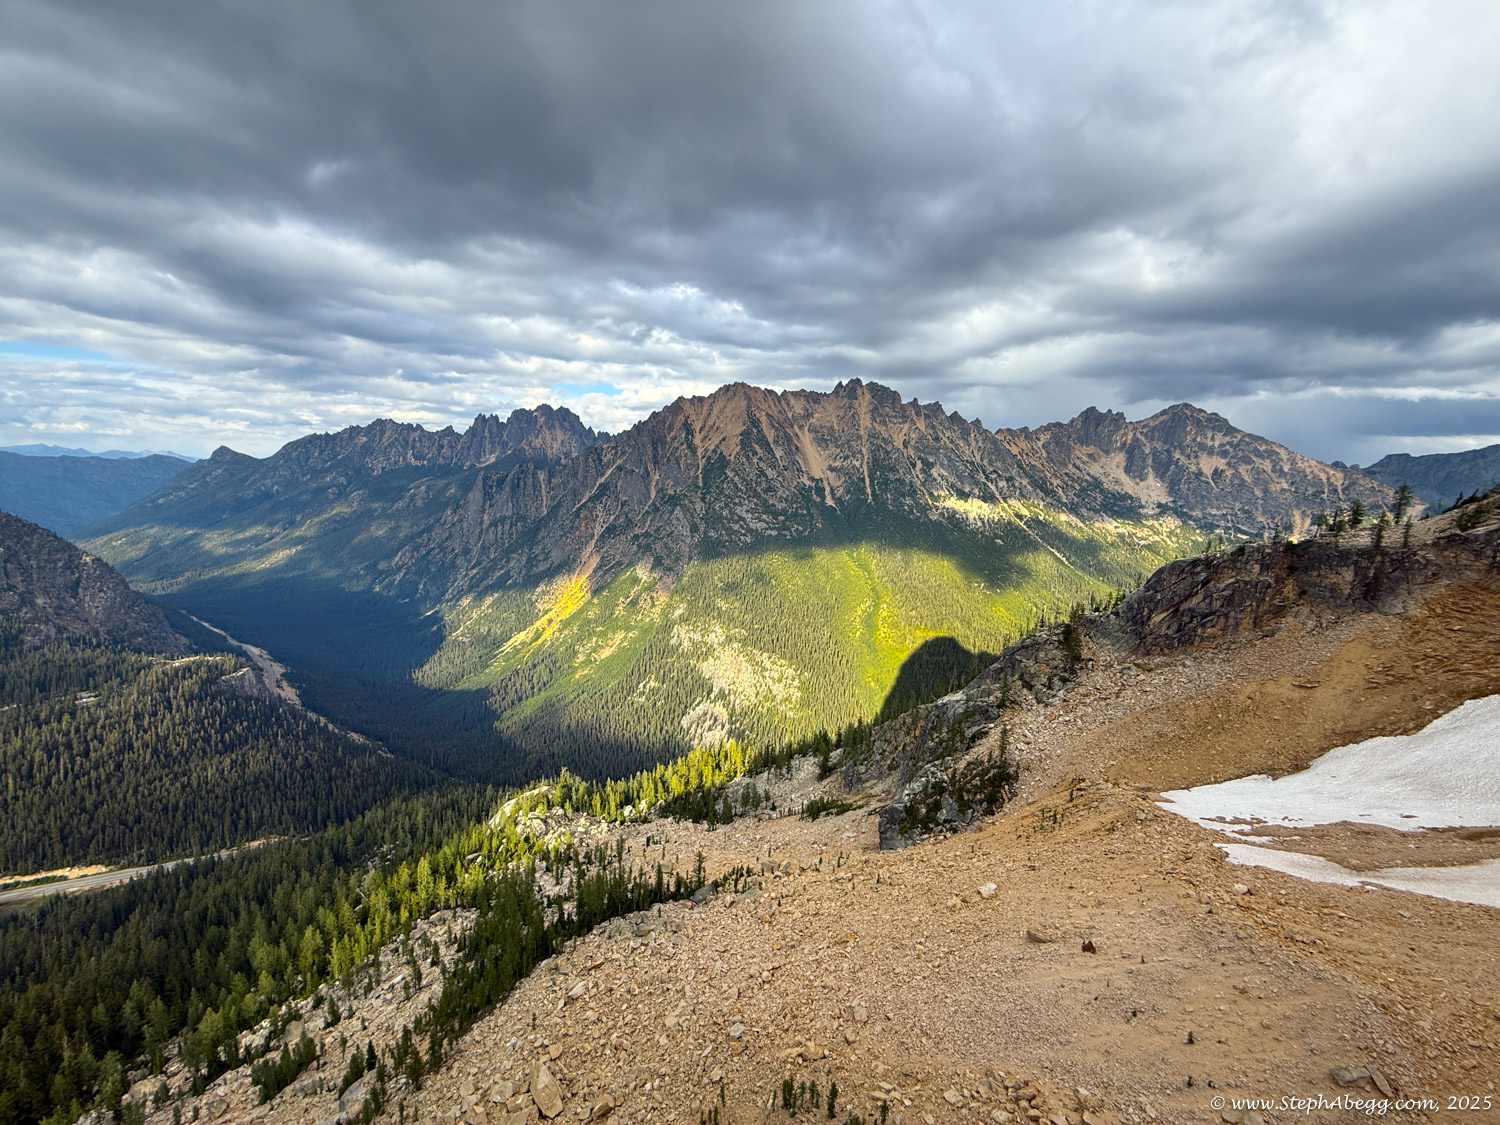
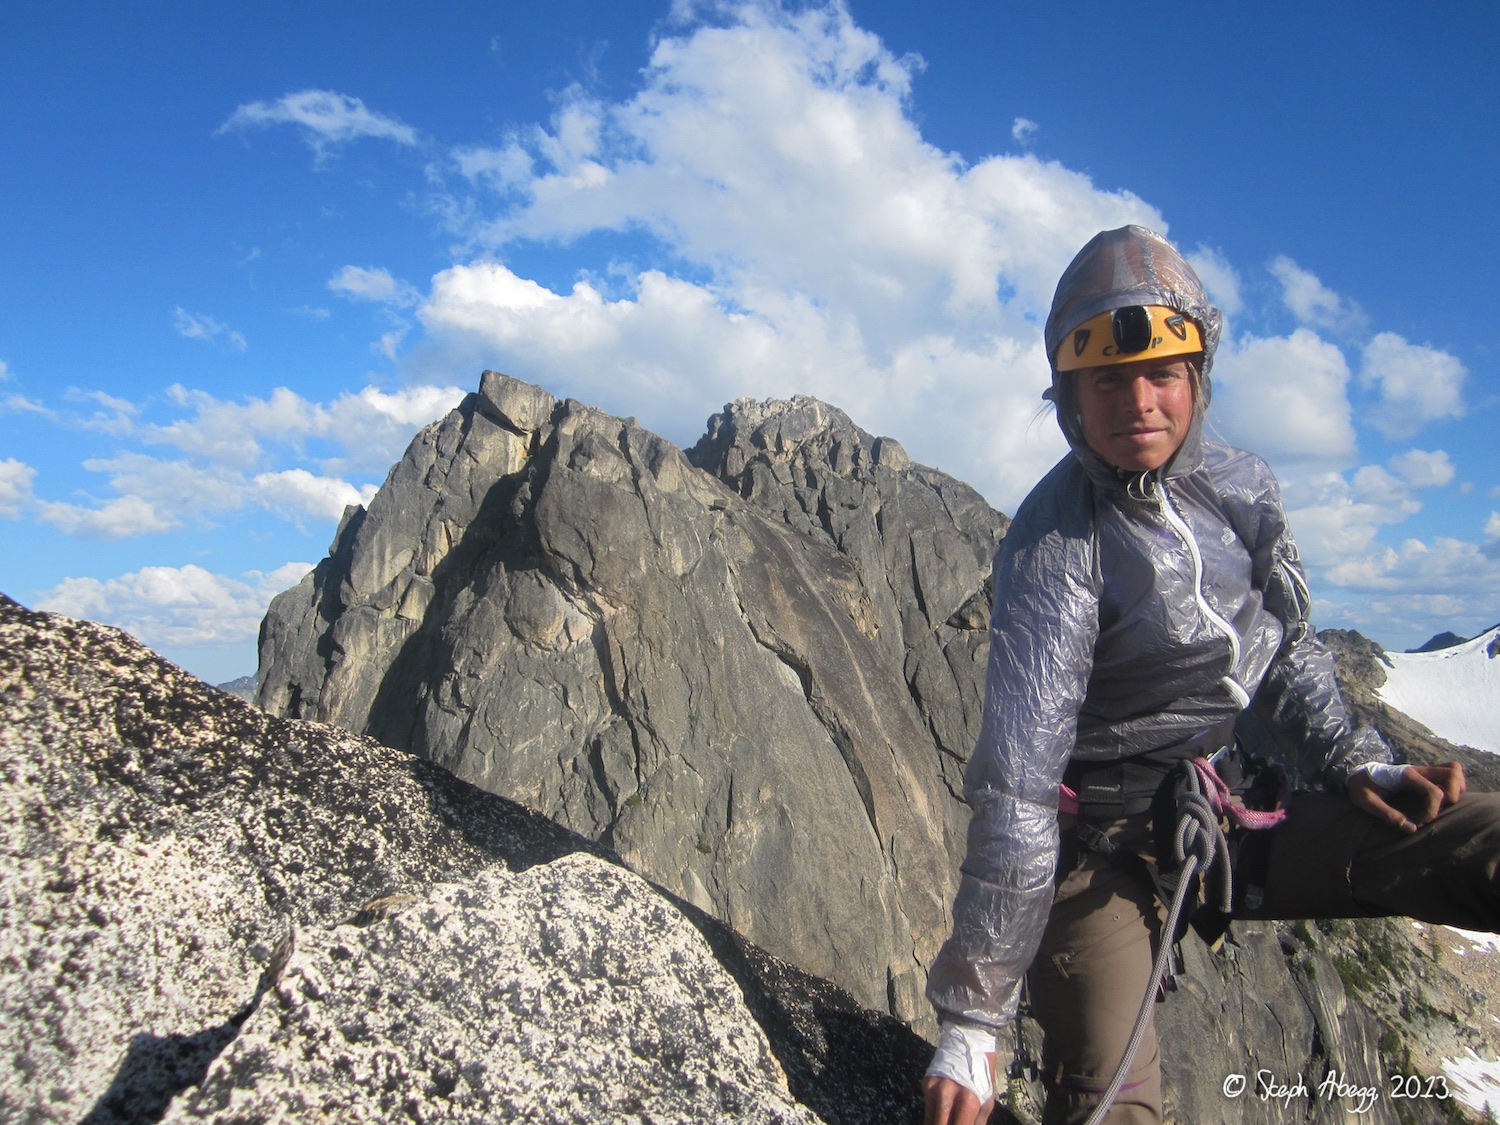
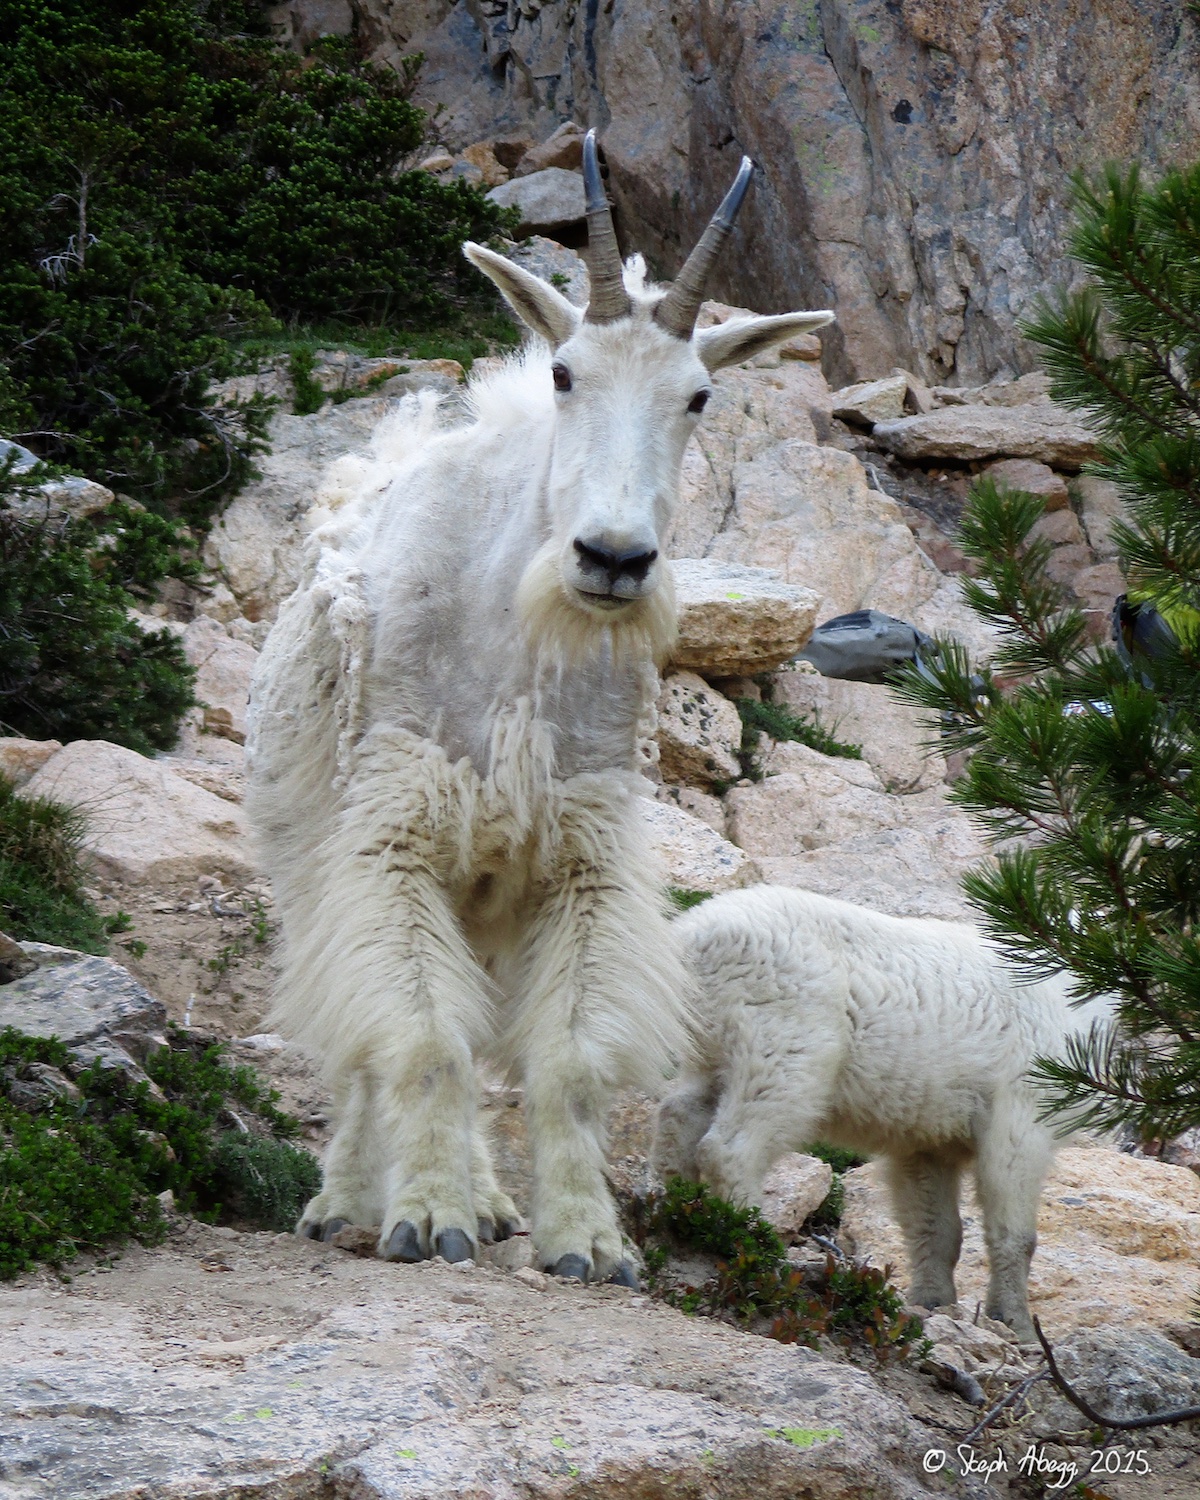
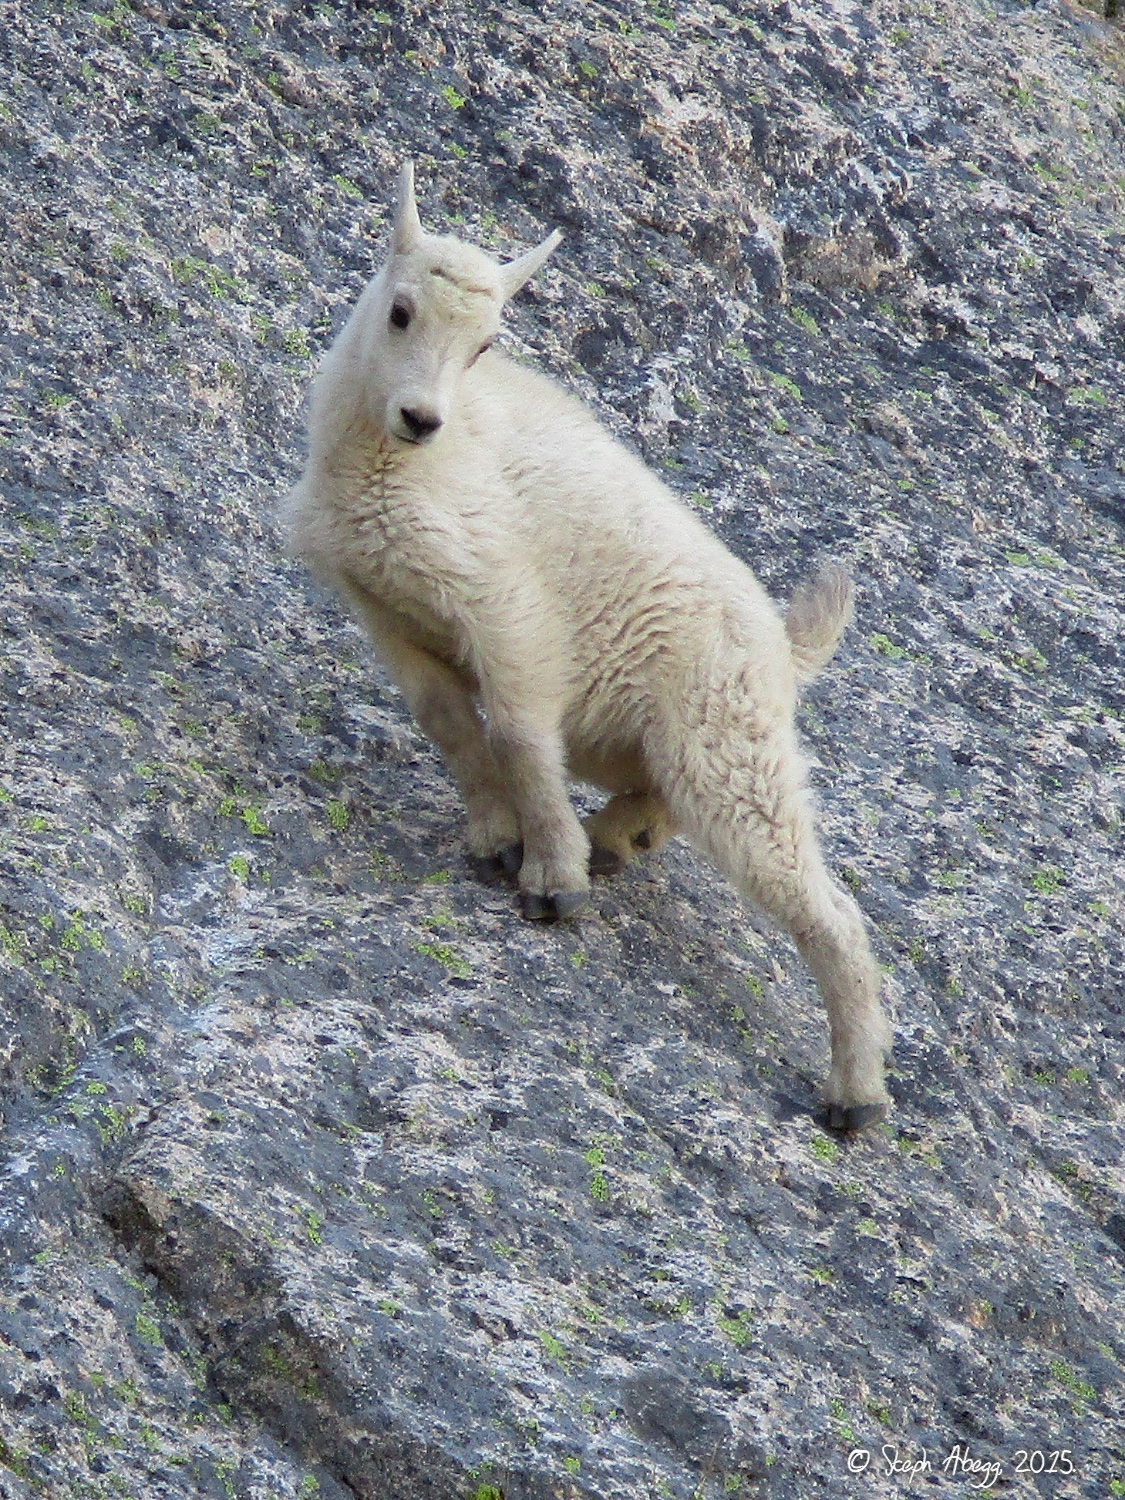
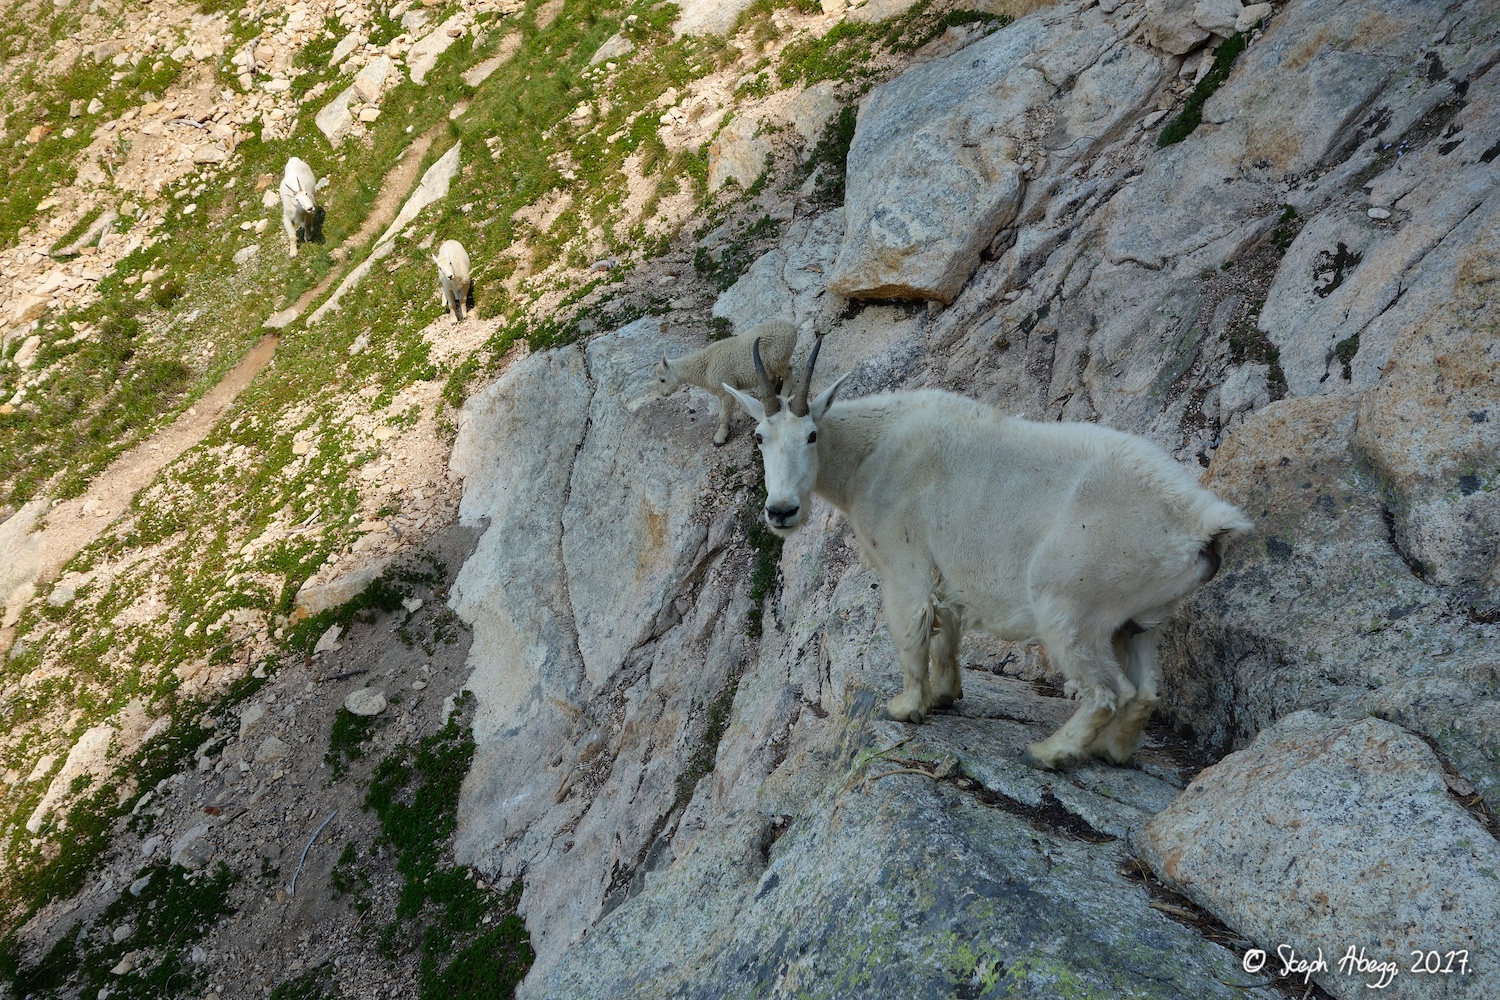
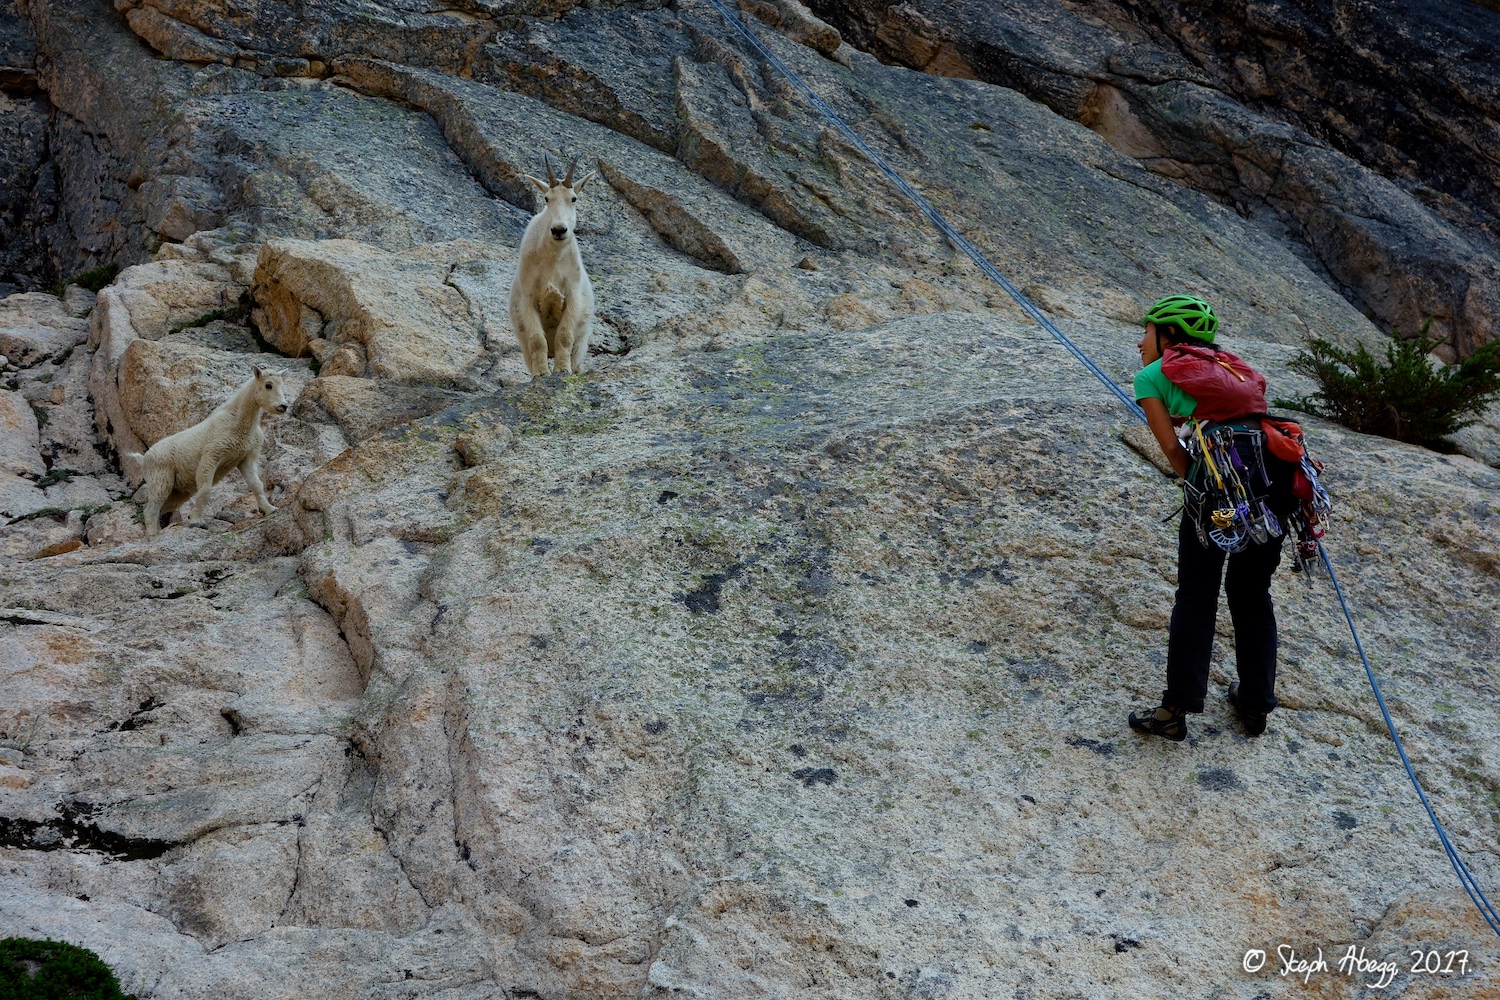
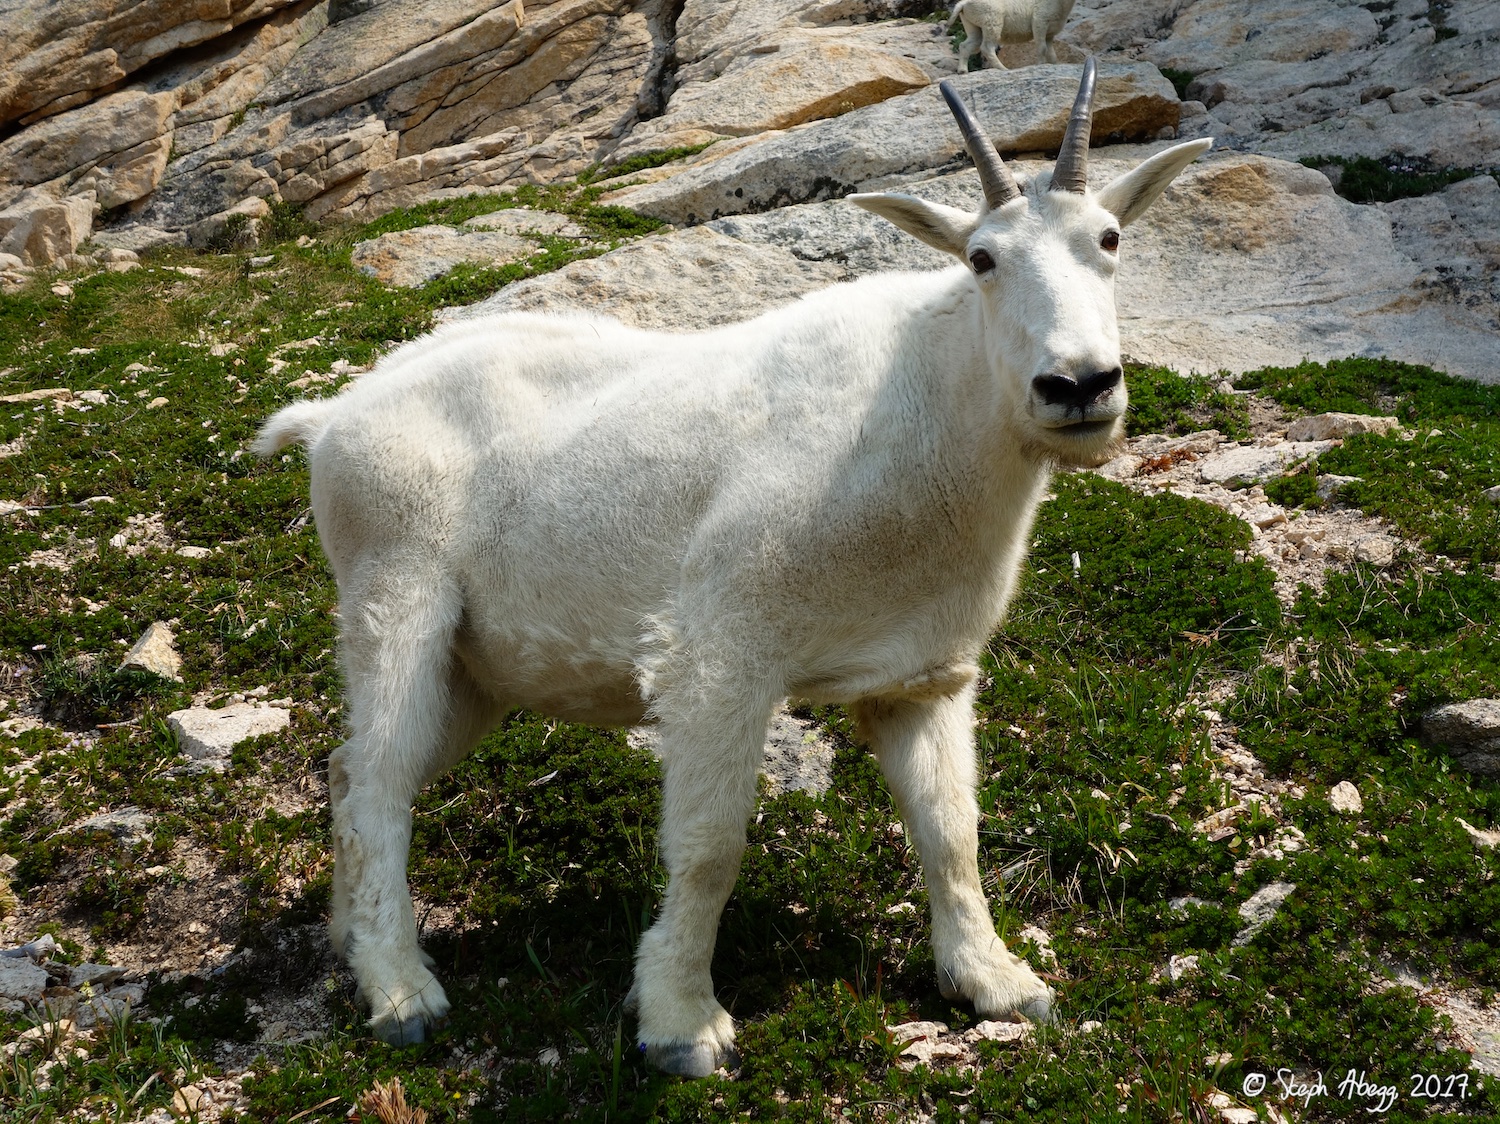
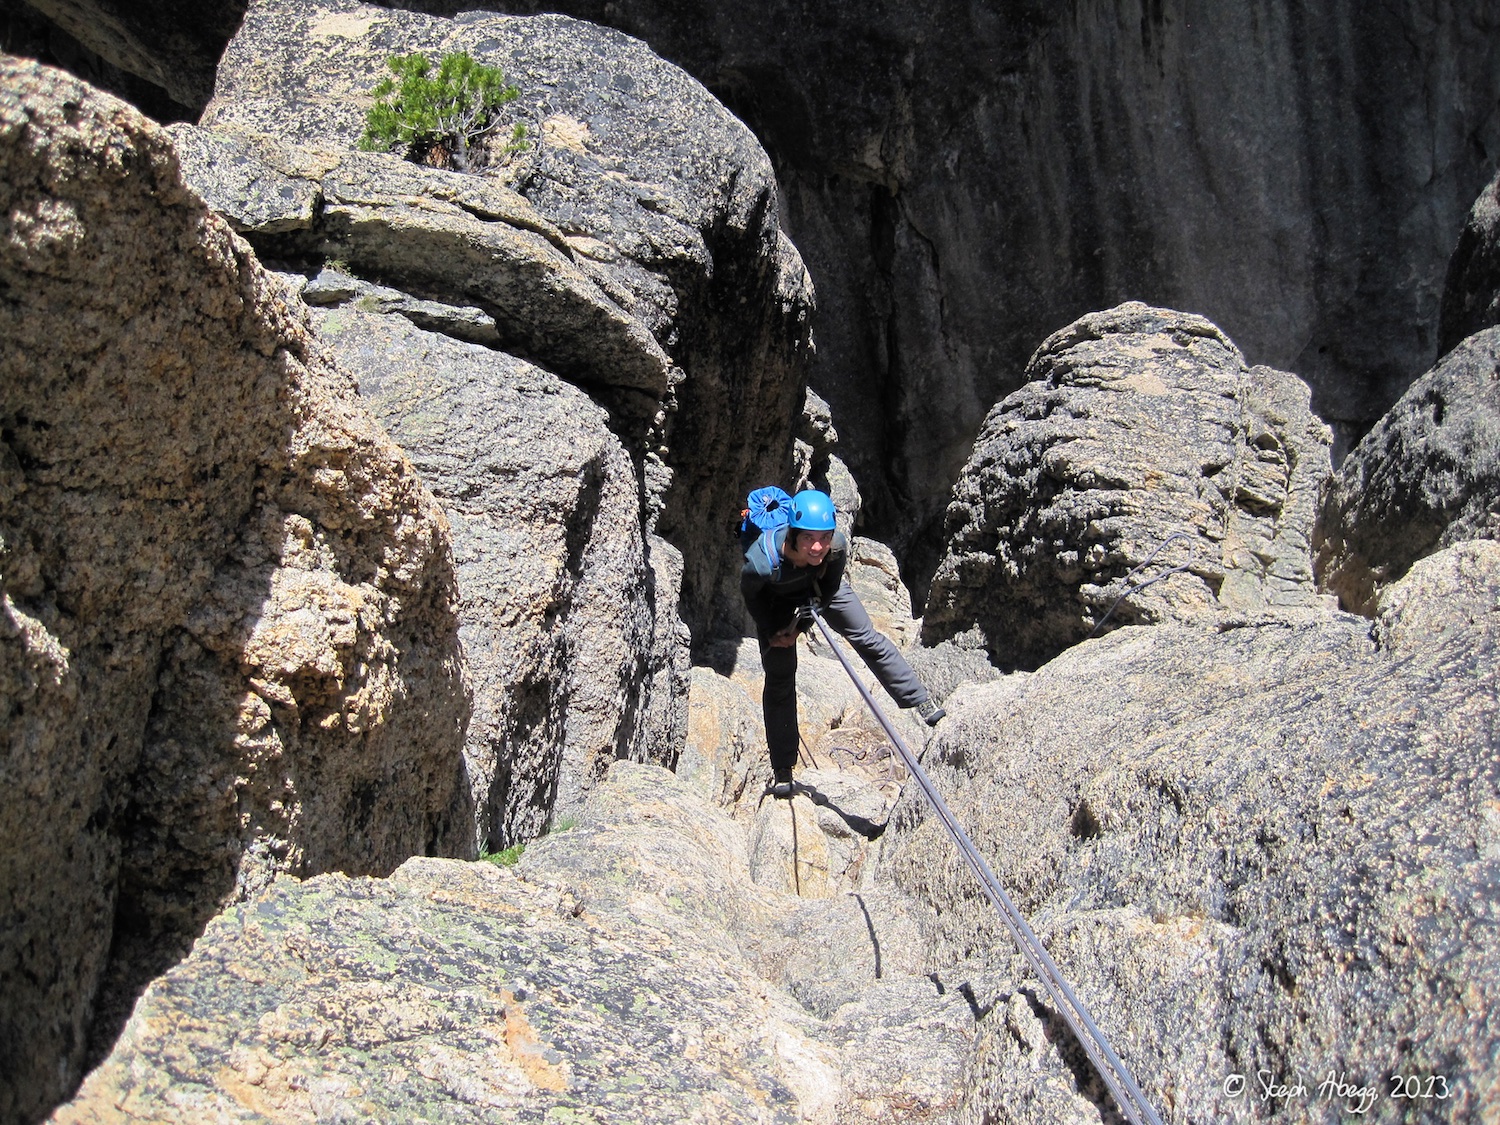
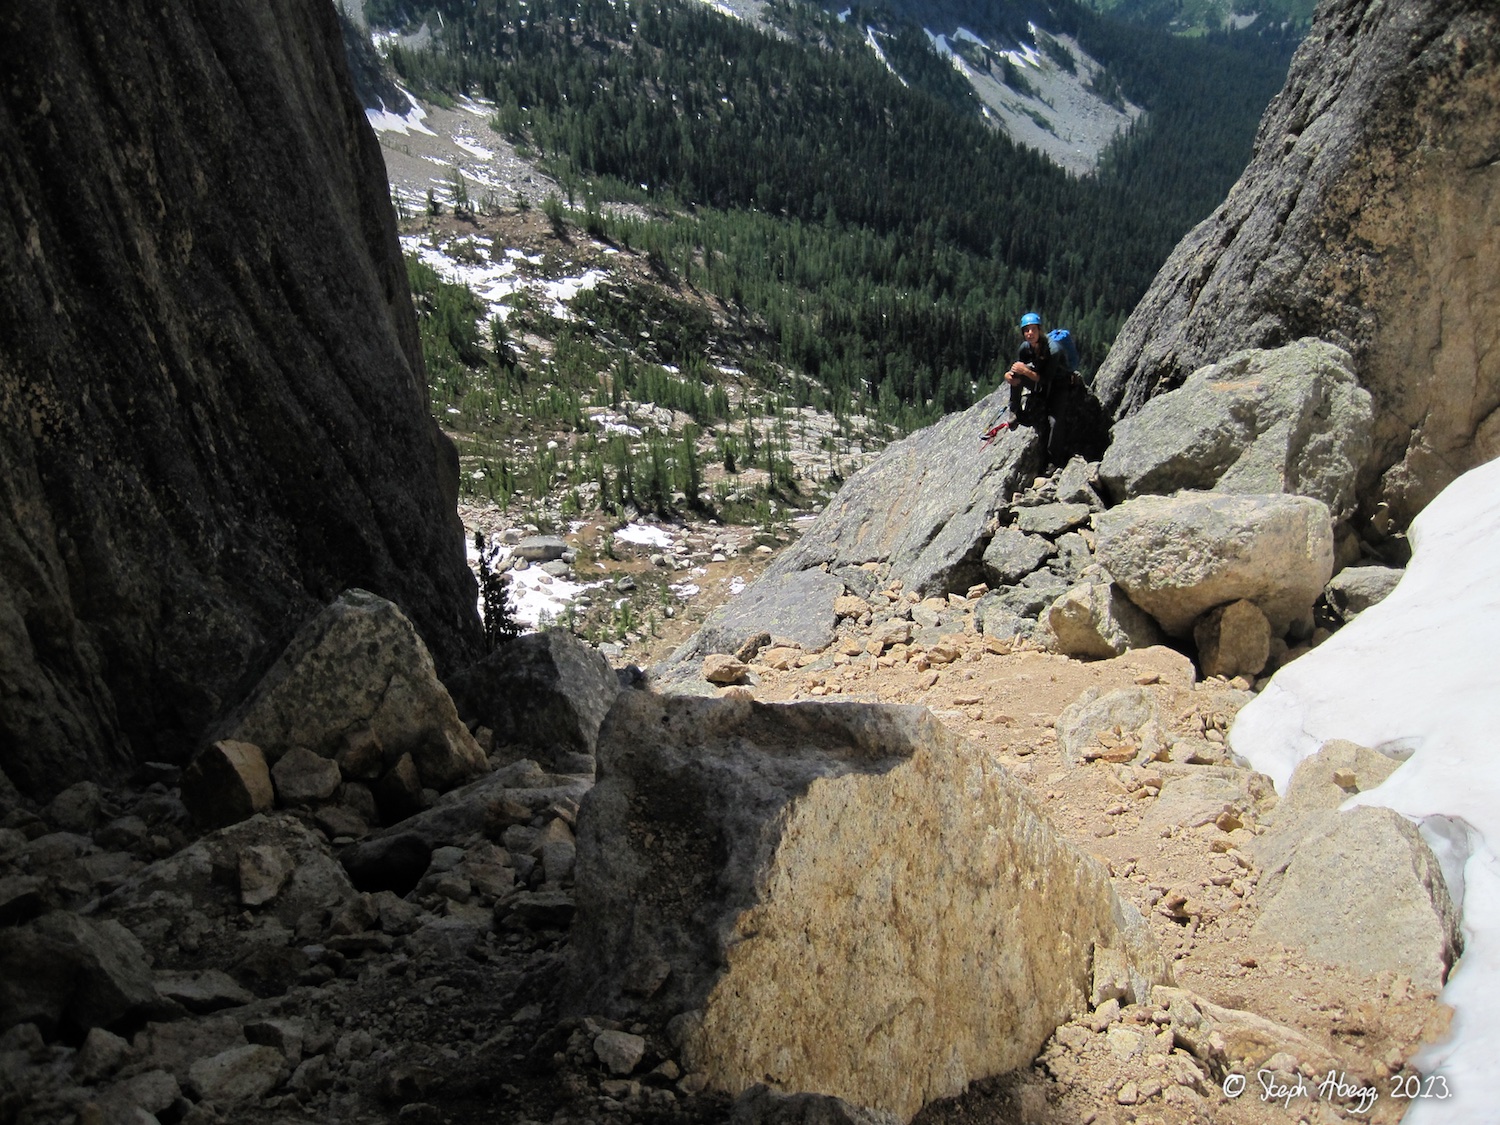
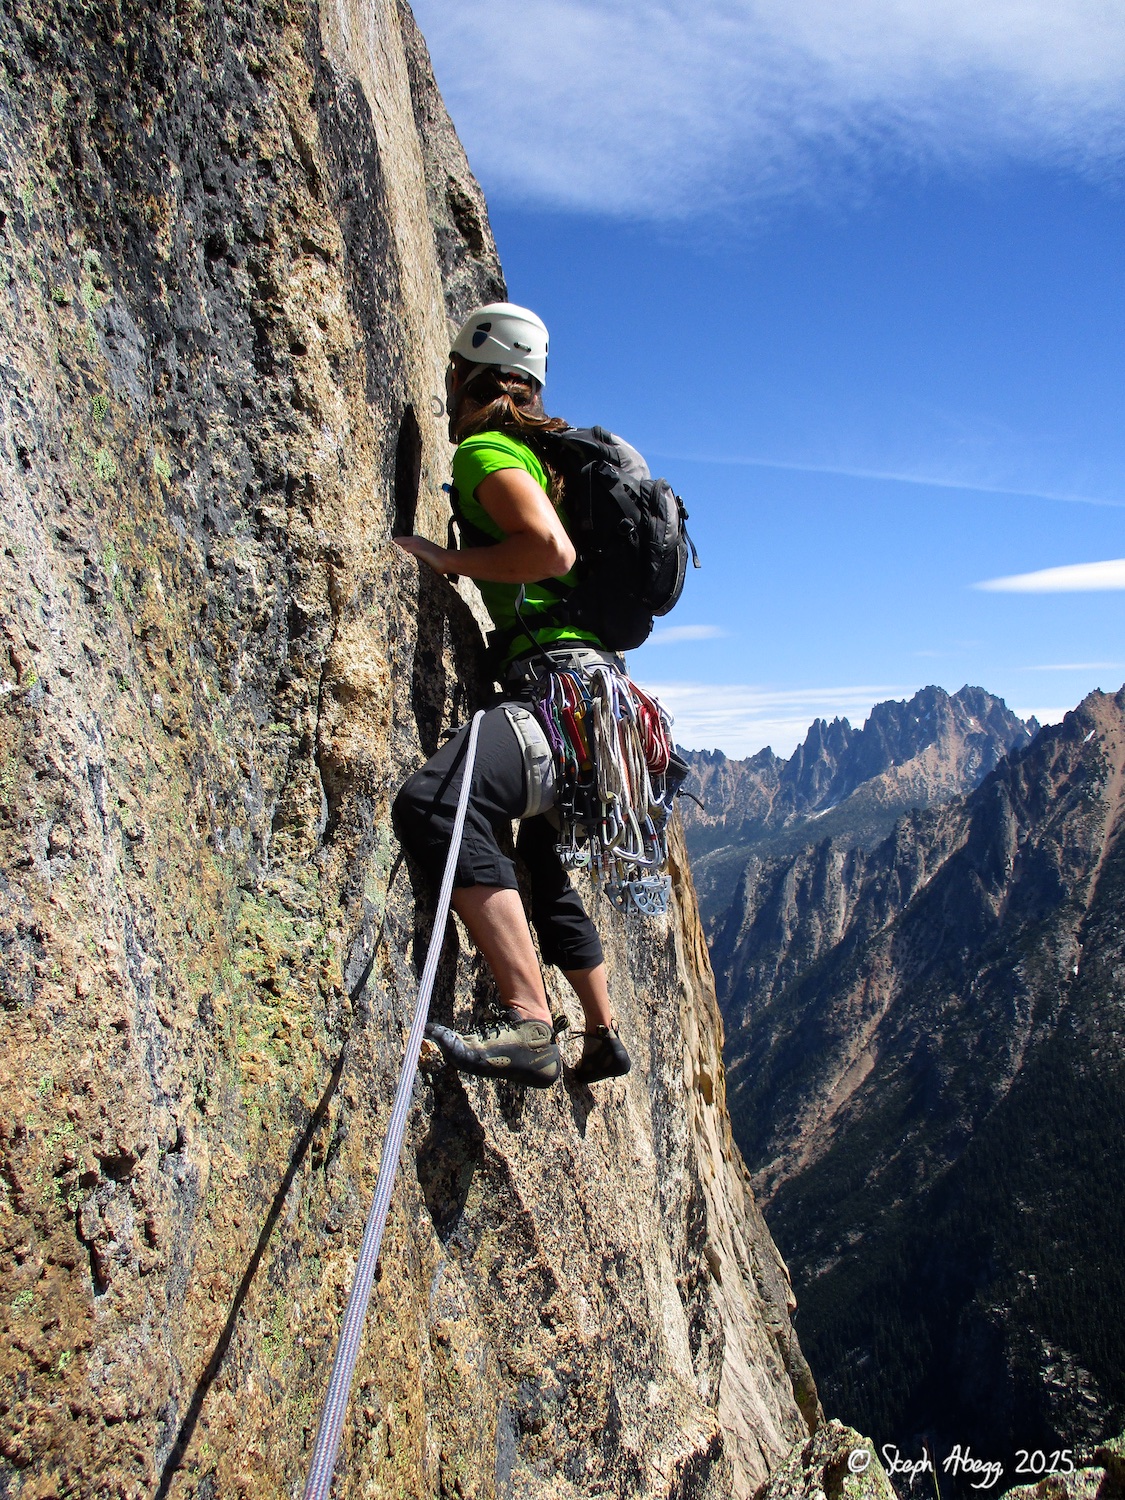
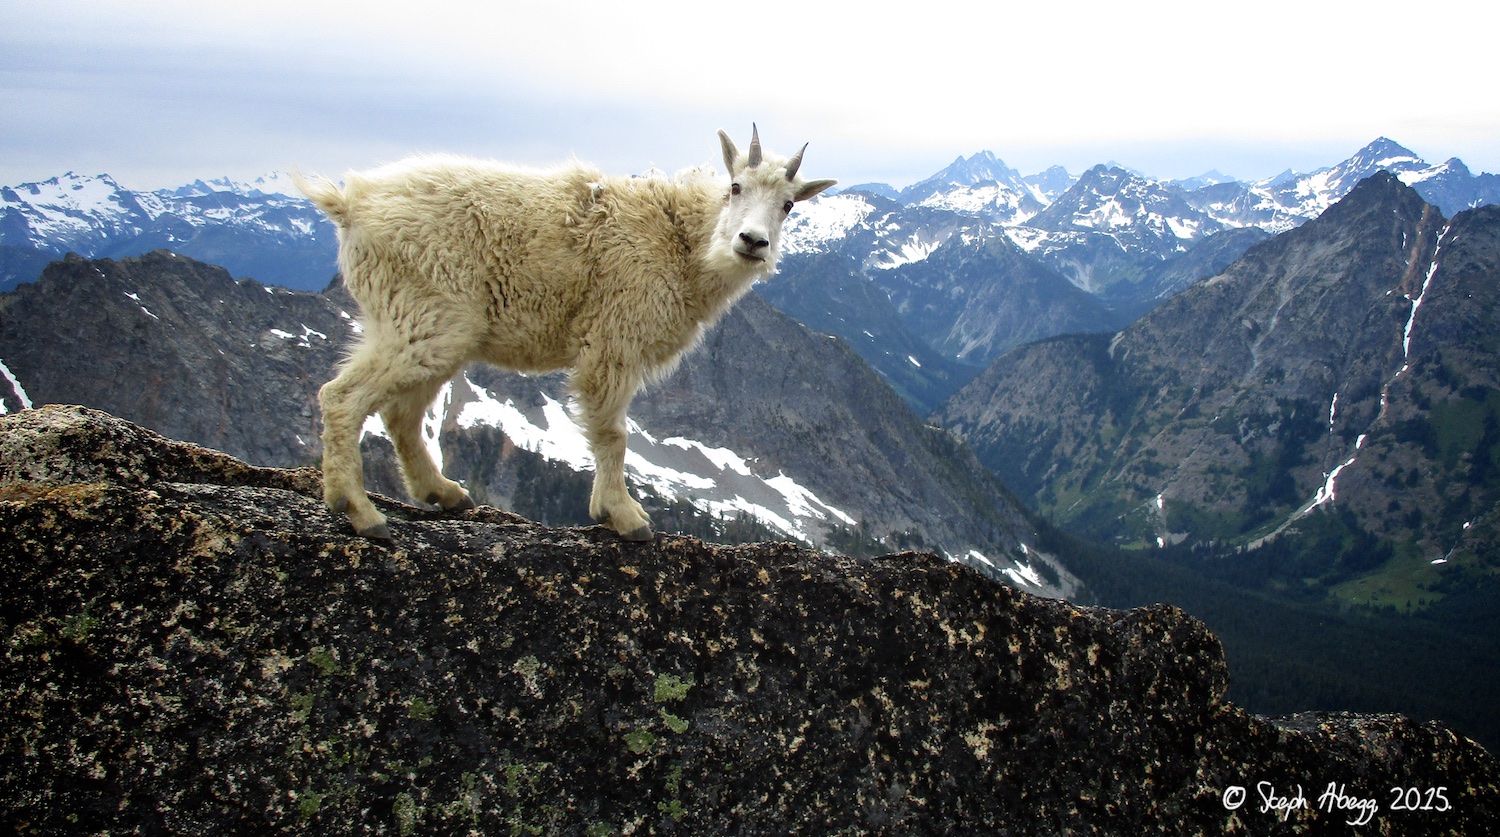
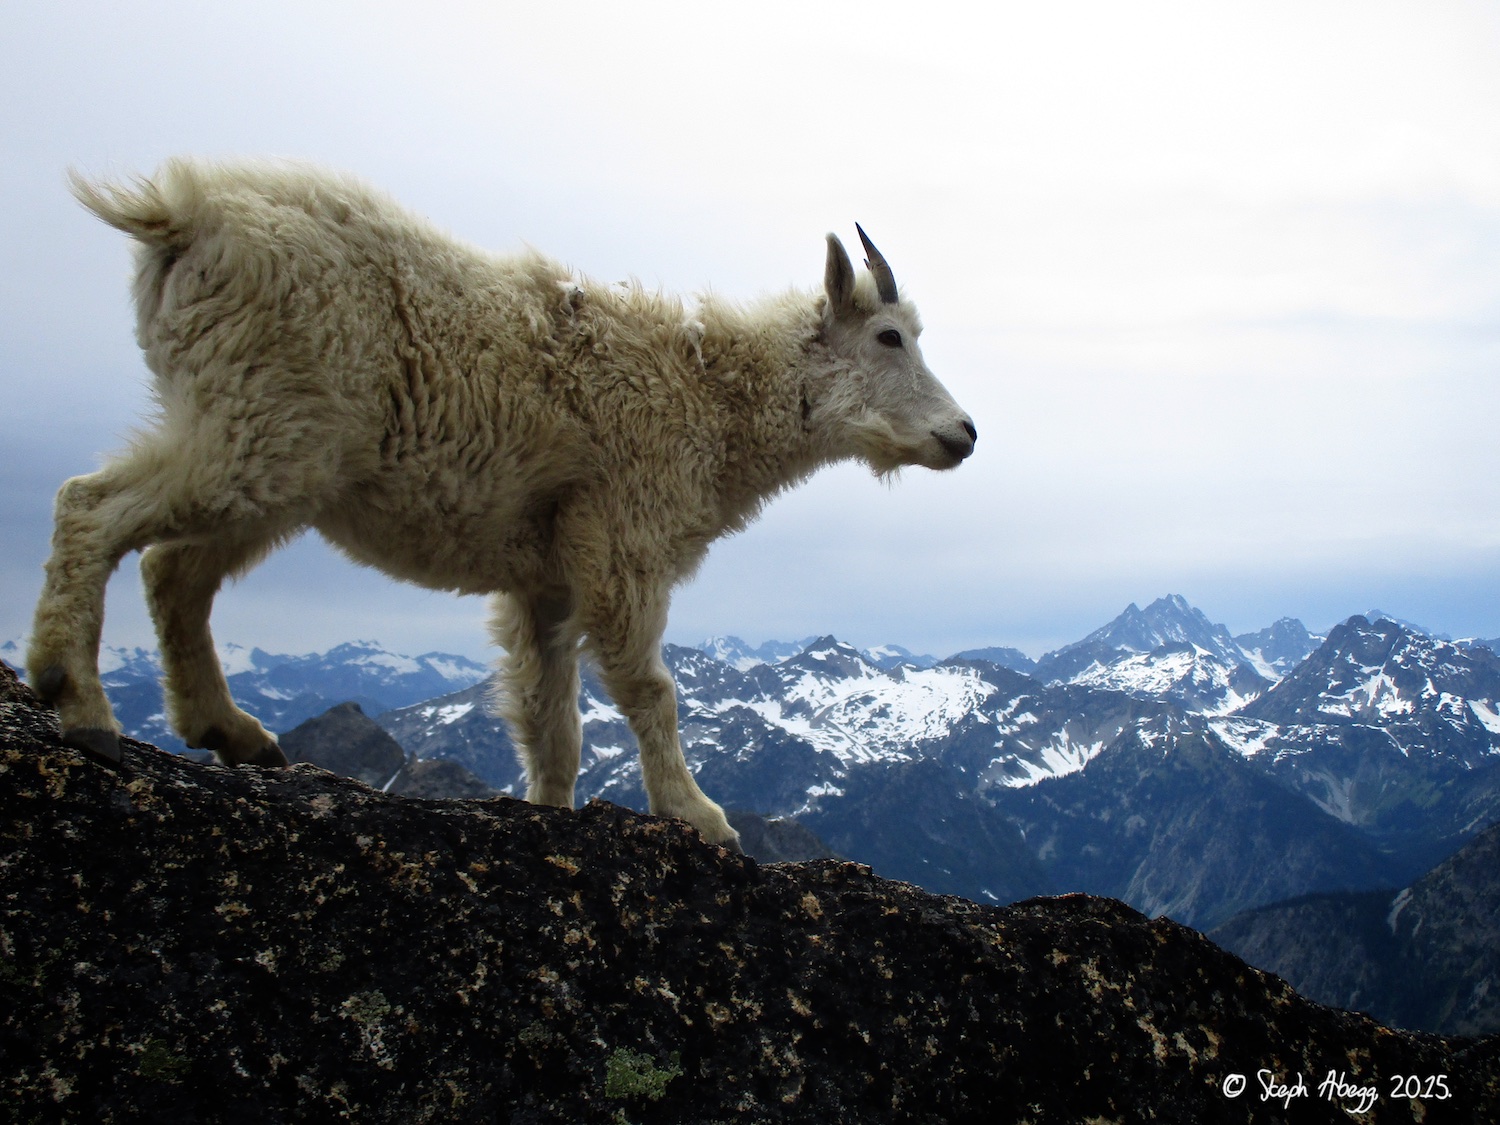
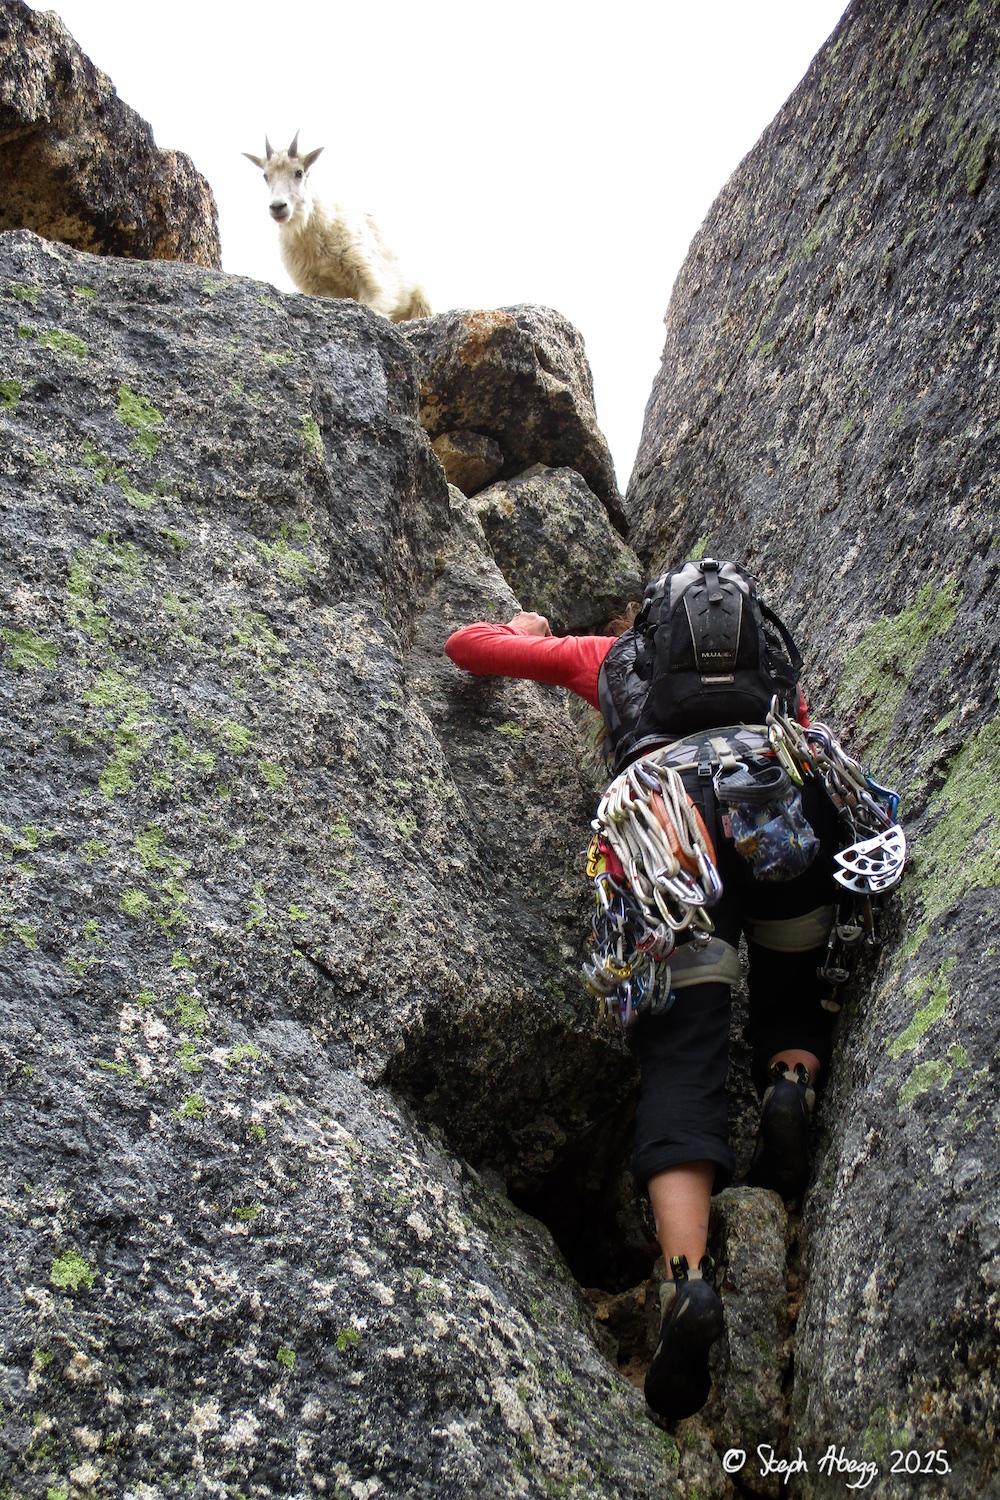
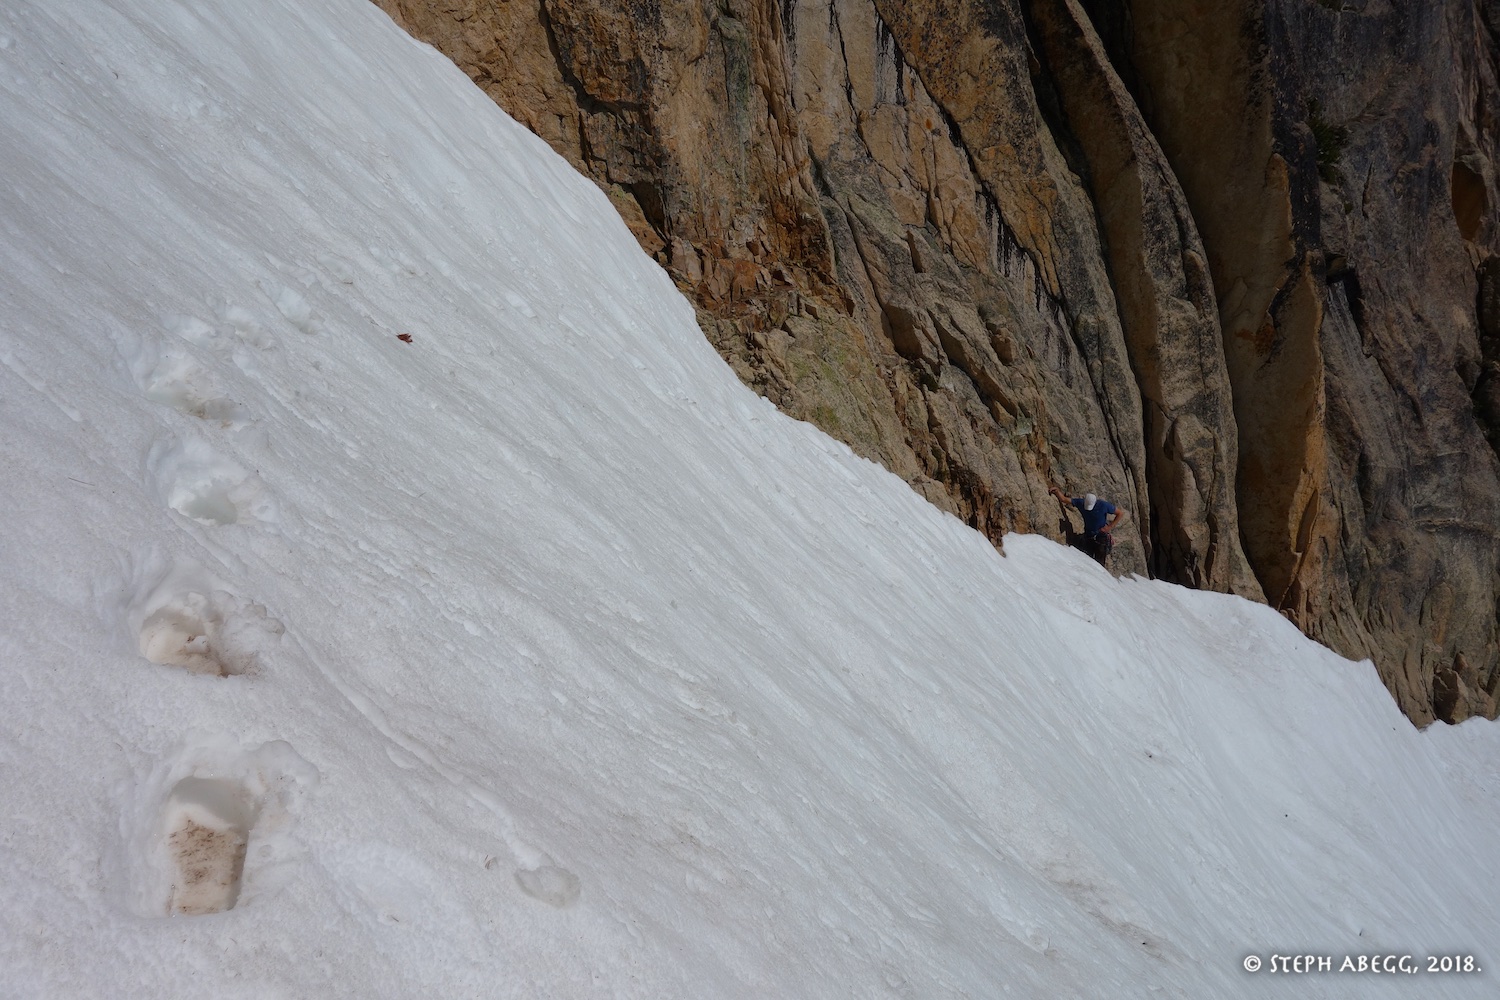
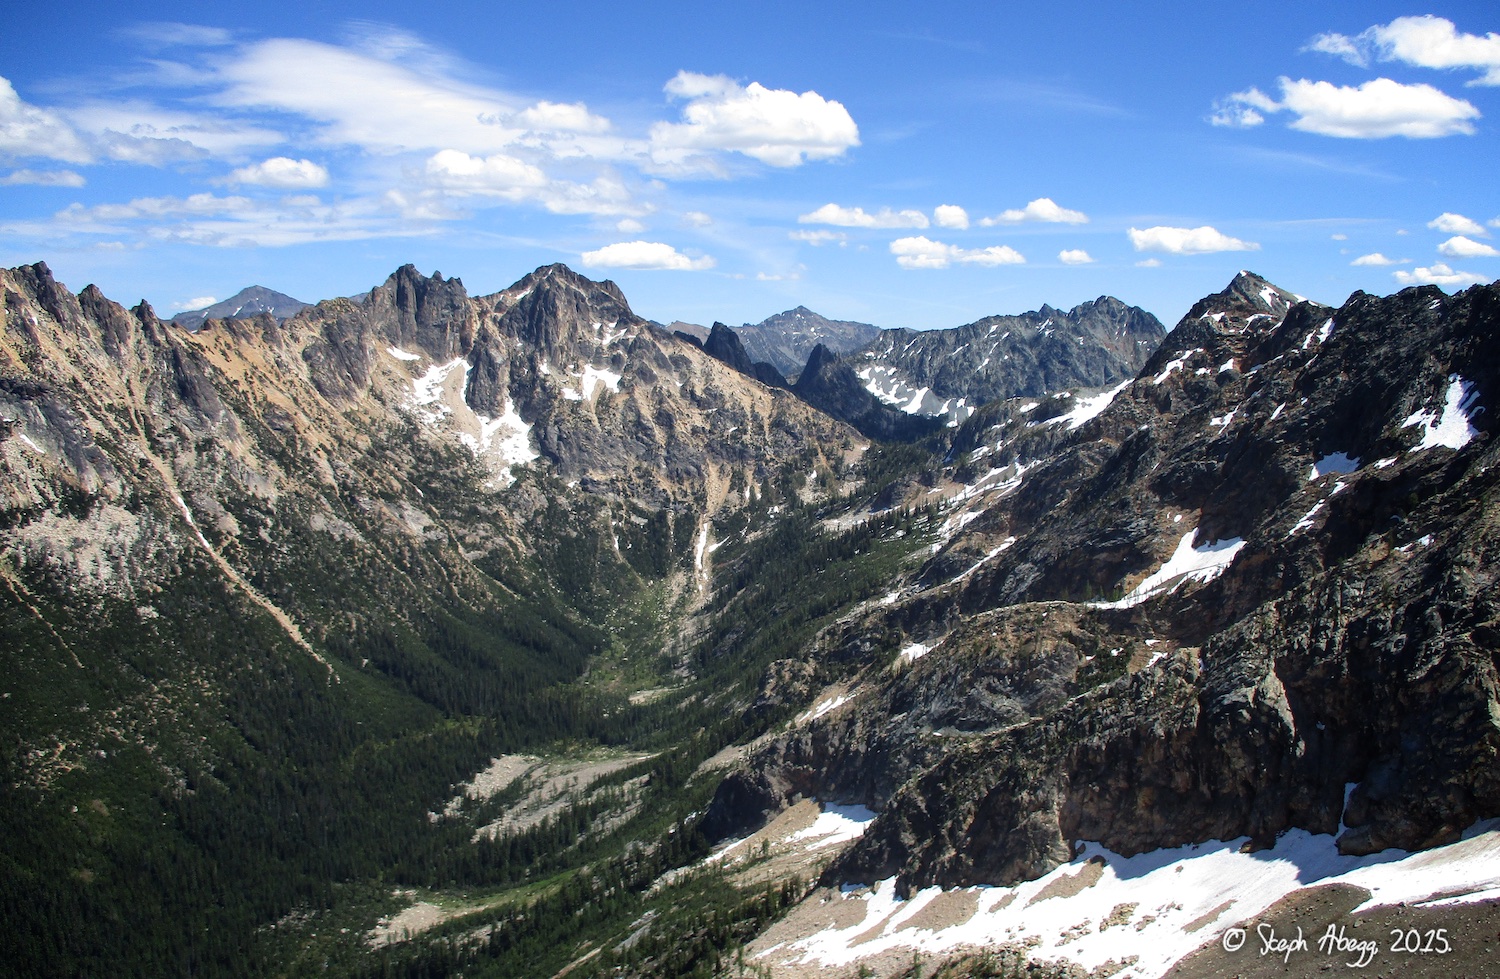
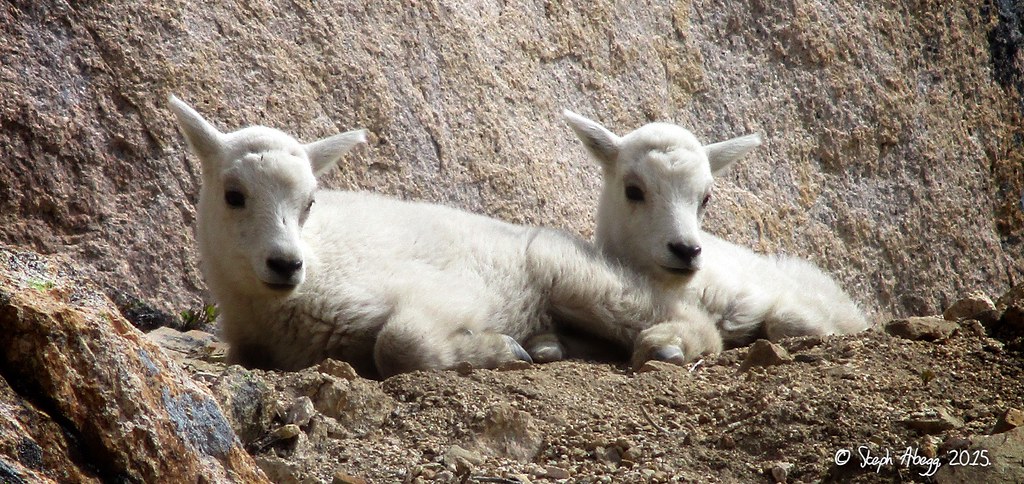
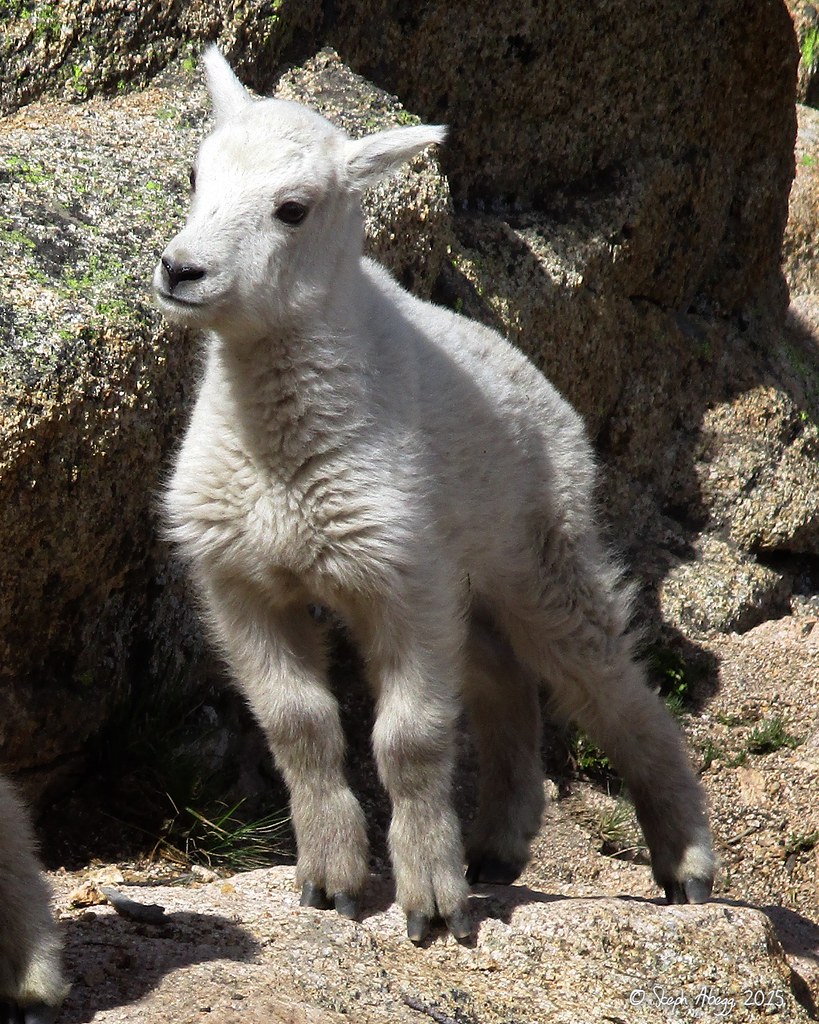
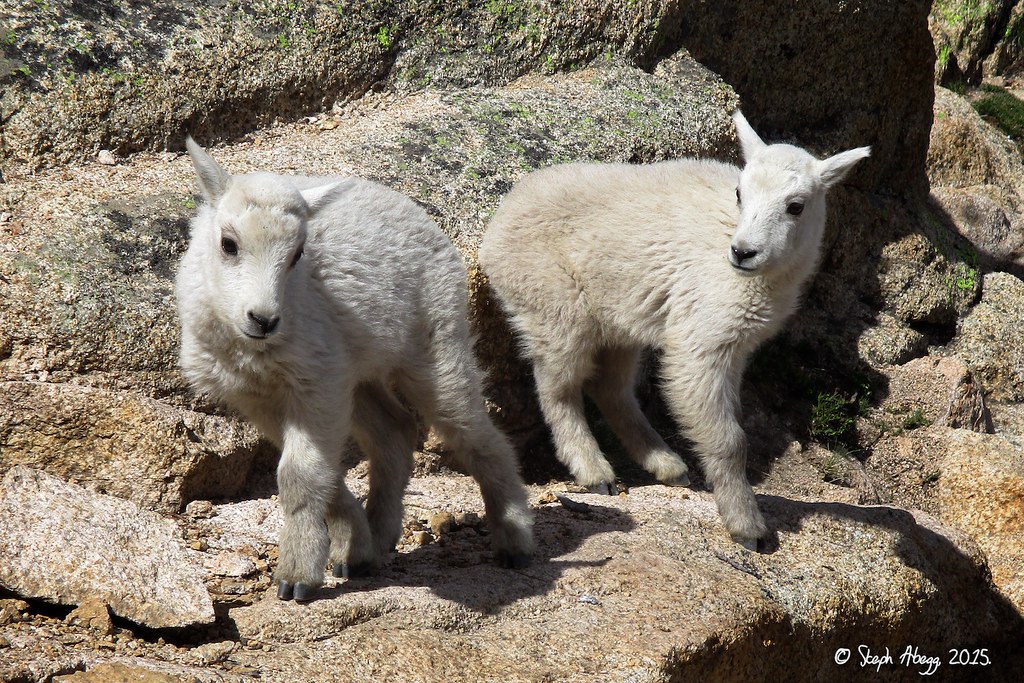
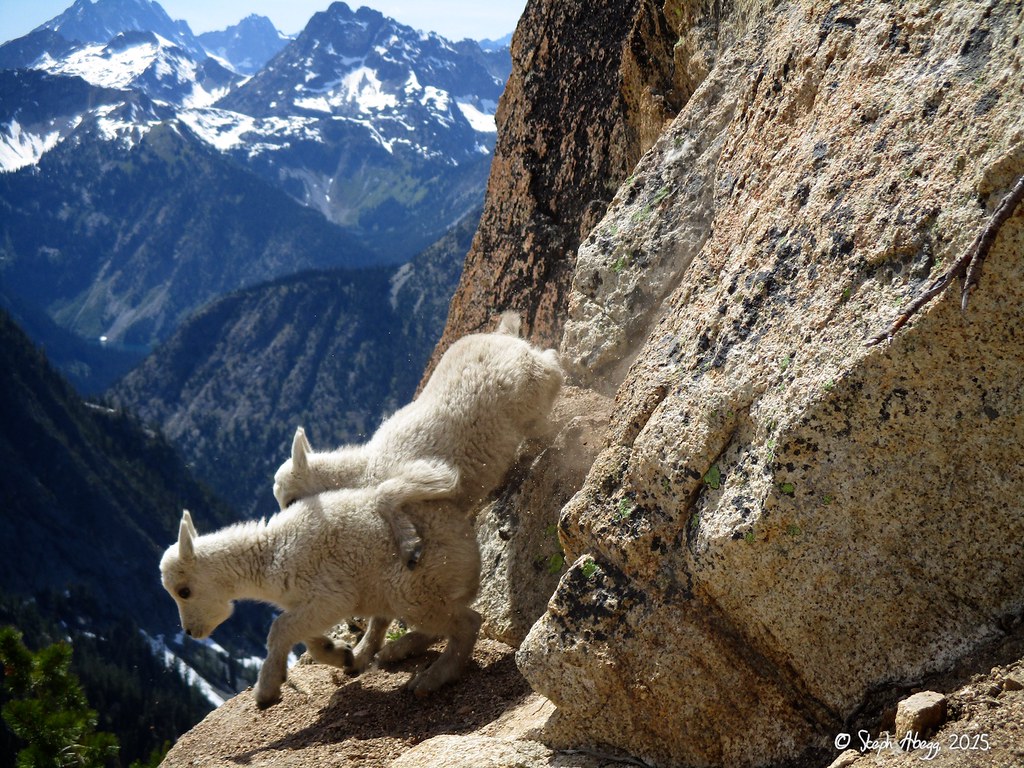
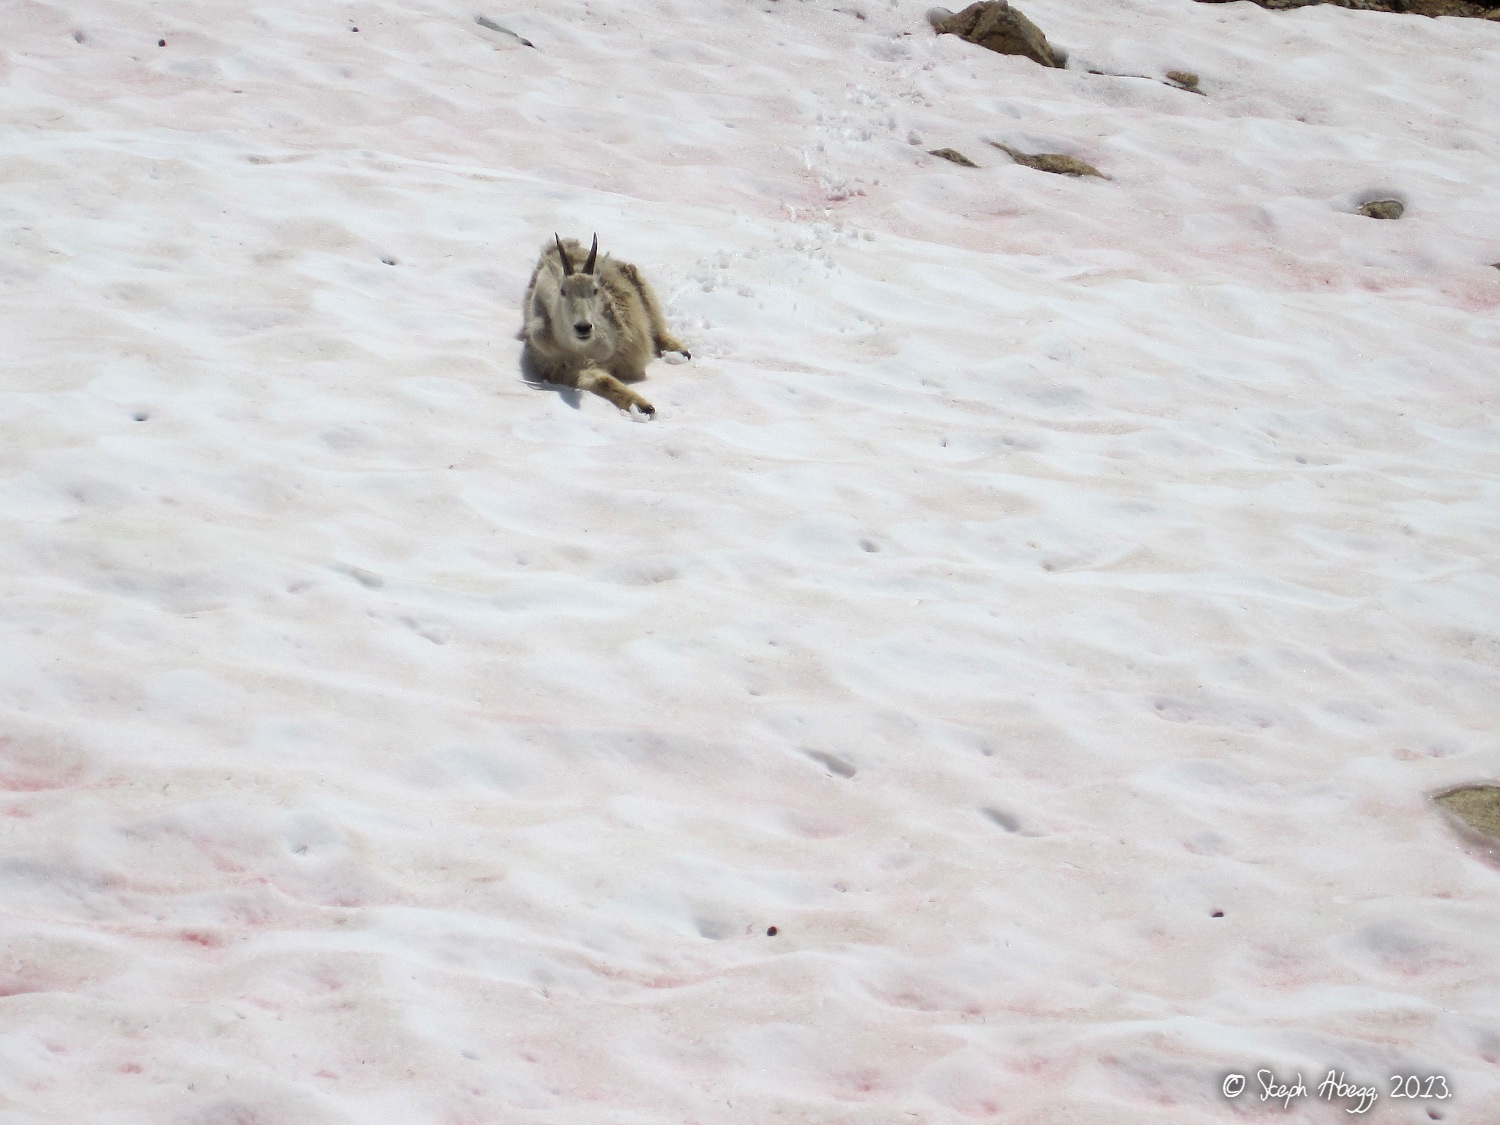
We chose Option 2. I think it takes perhaps an hour longer to get to the route via this option, but we were not pressed for time on this climb, so overall we were glad for expending an extra hour for comfort. However, the 30 minute scramble along the south side in climbing shoes is not exactly a walk in the park. On the south side of SEWS, we came across some mountain goats with some very young babies; at first I thought "oh, cute, let me get some photos!" but it quickly became apparent that the mother goats were particularly anxious and threatened by our presence, and having a 200-lb beast topped with a pair of sharp horns slowly approaching you with a somewhat menacing glare in her eyes on terrain that she can bound across at about 10x the speed you can is a bit nerve-racking....but in the end we made it to the base of the
East Buttress without a goring incident....
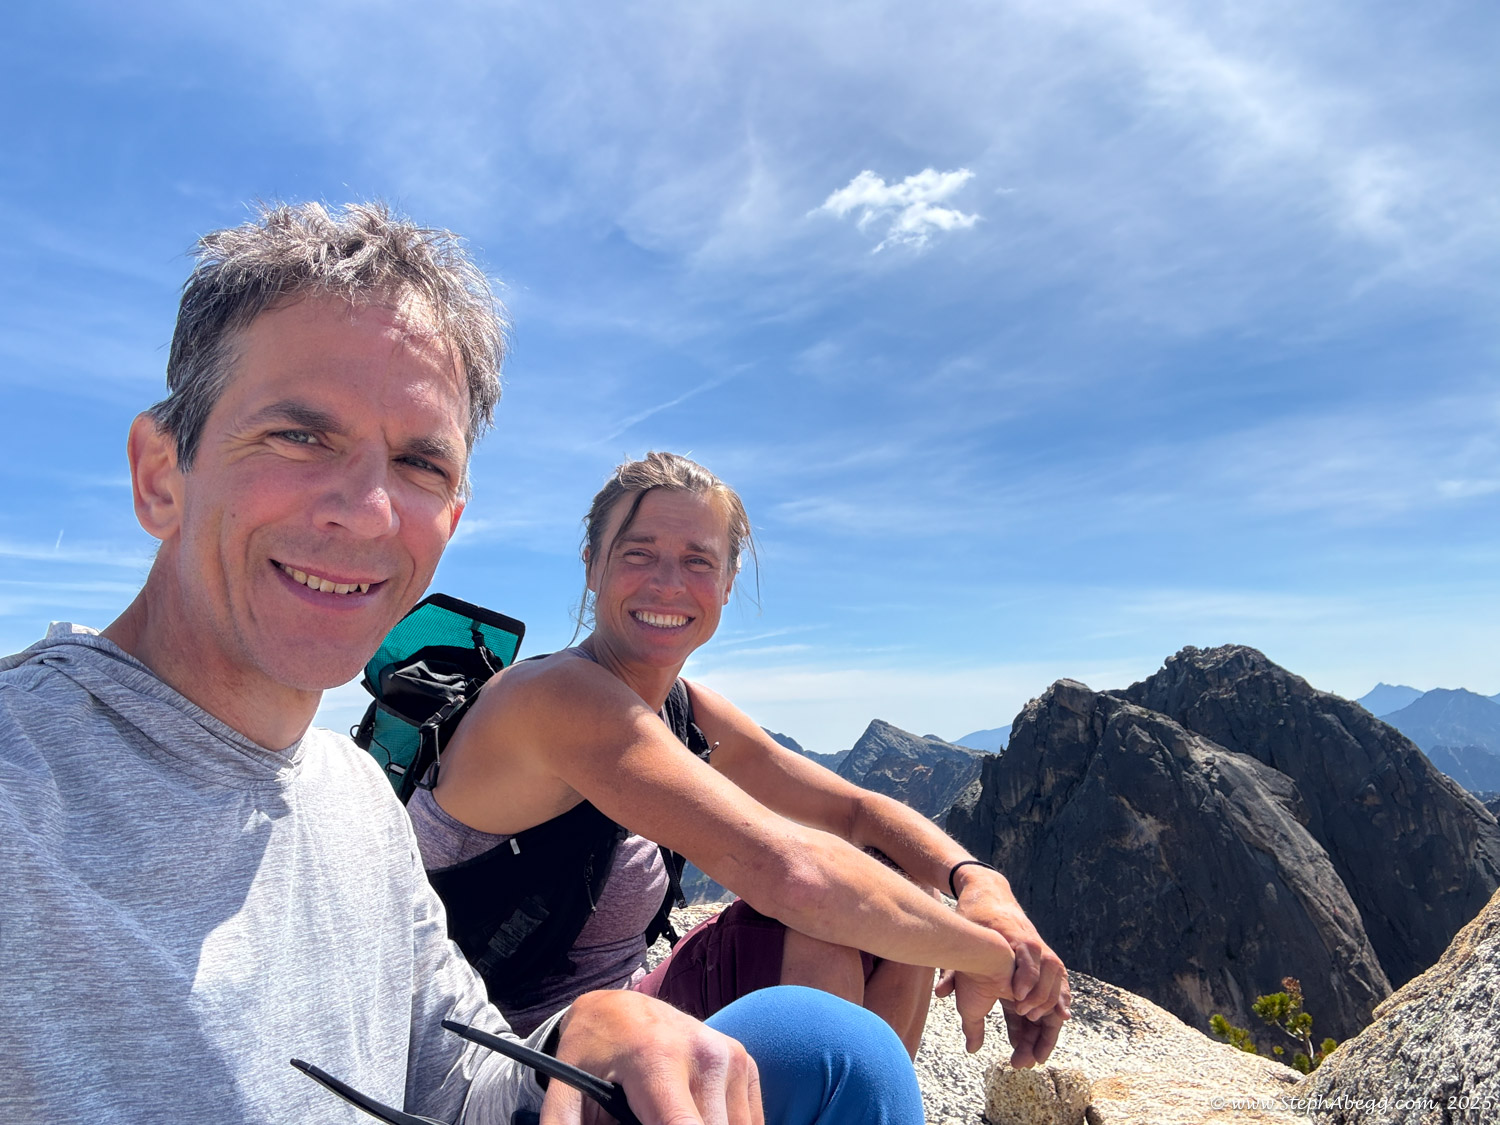
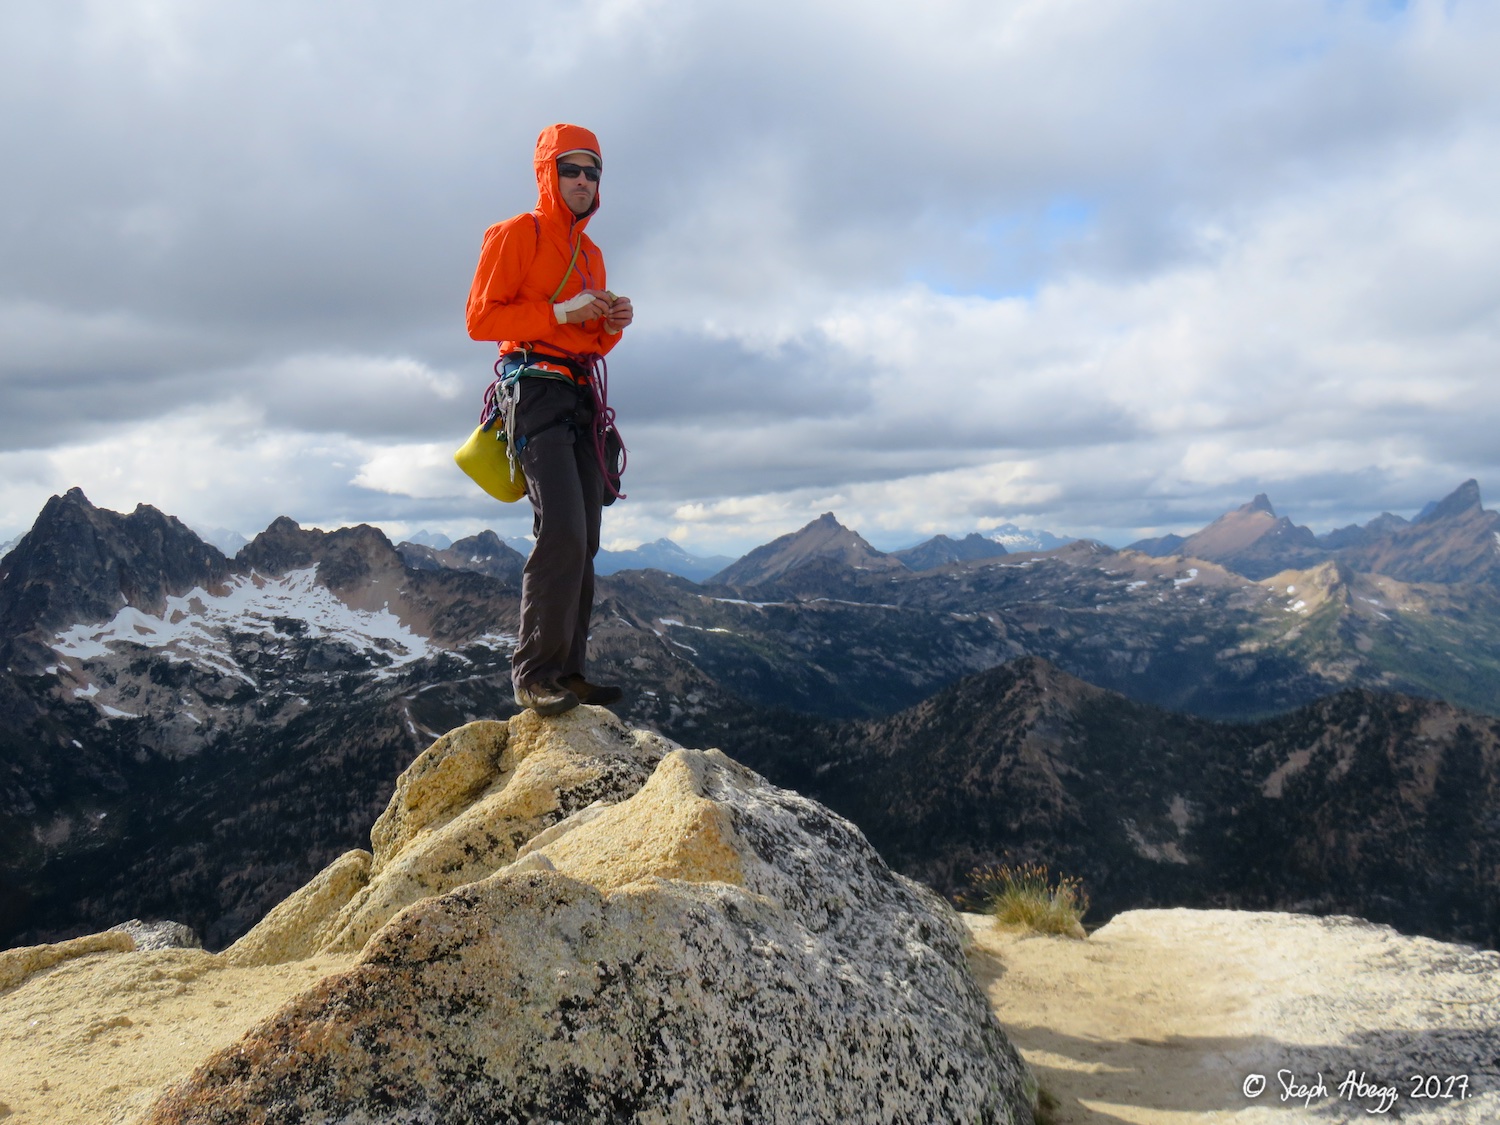
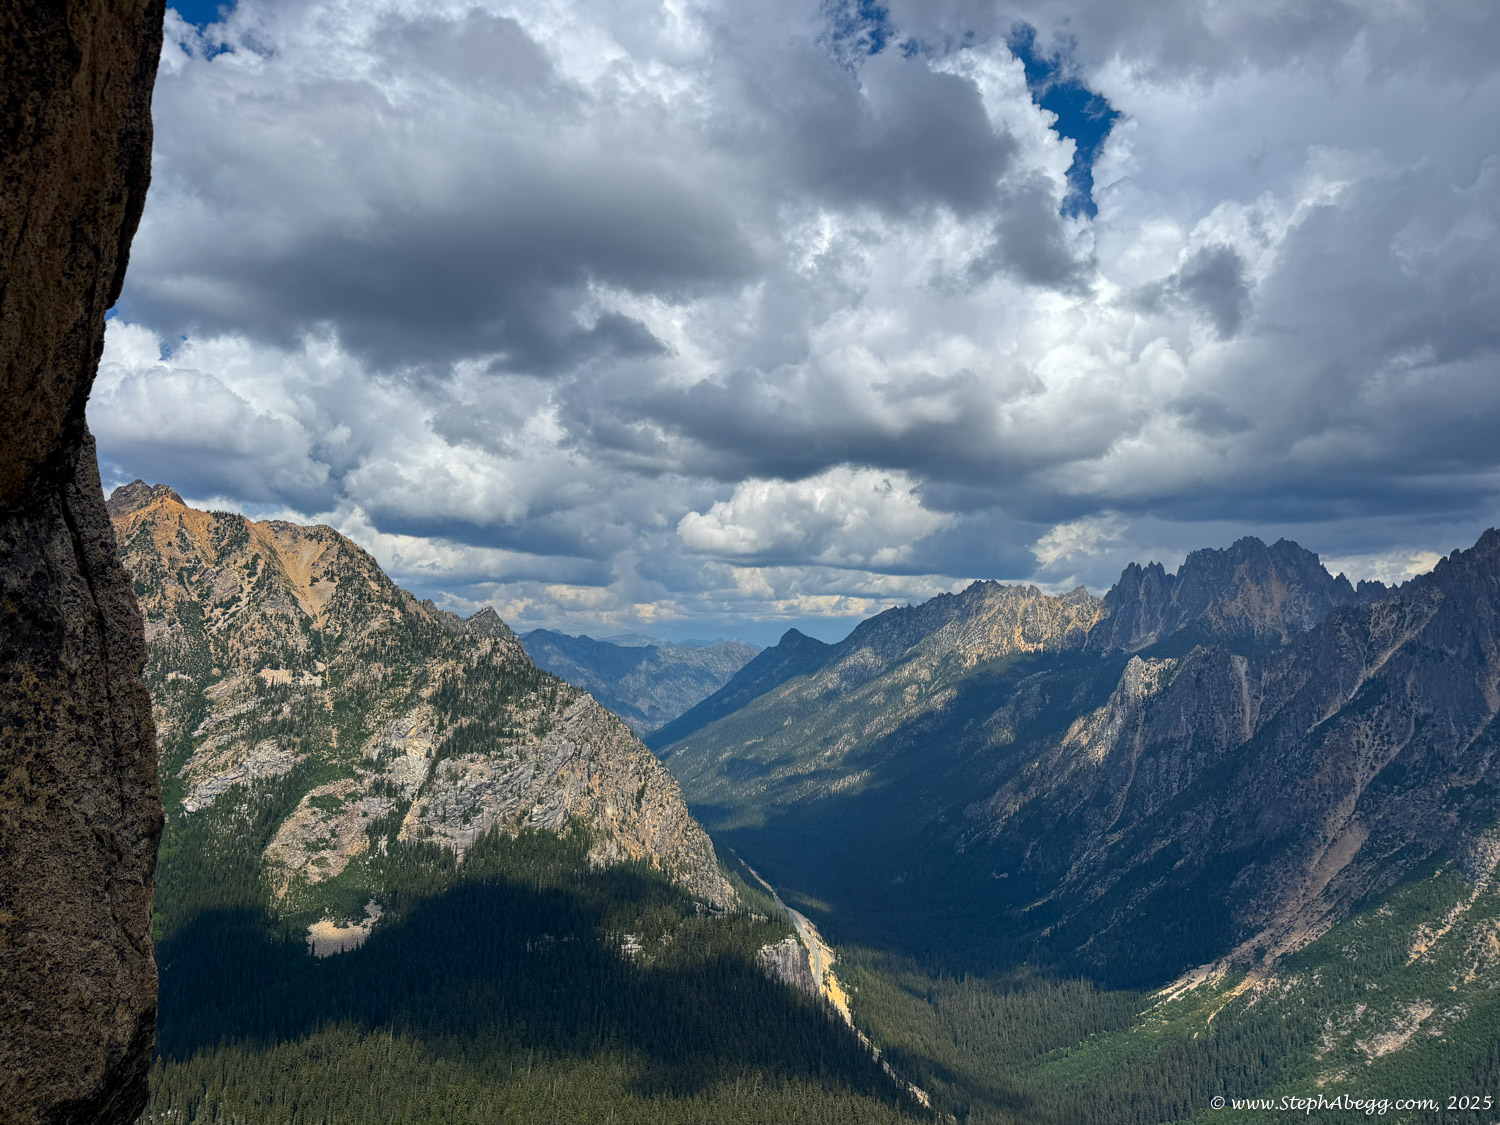
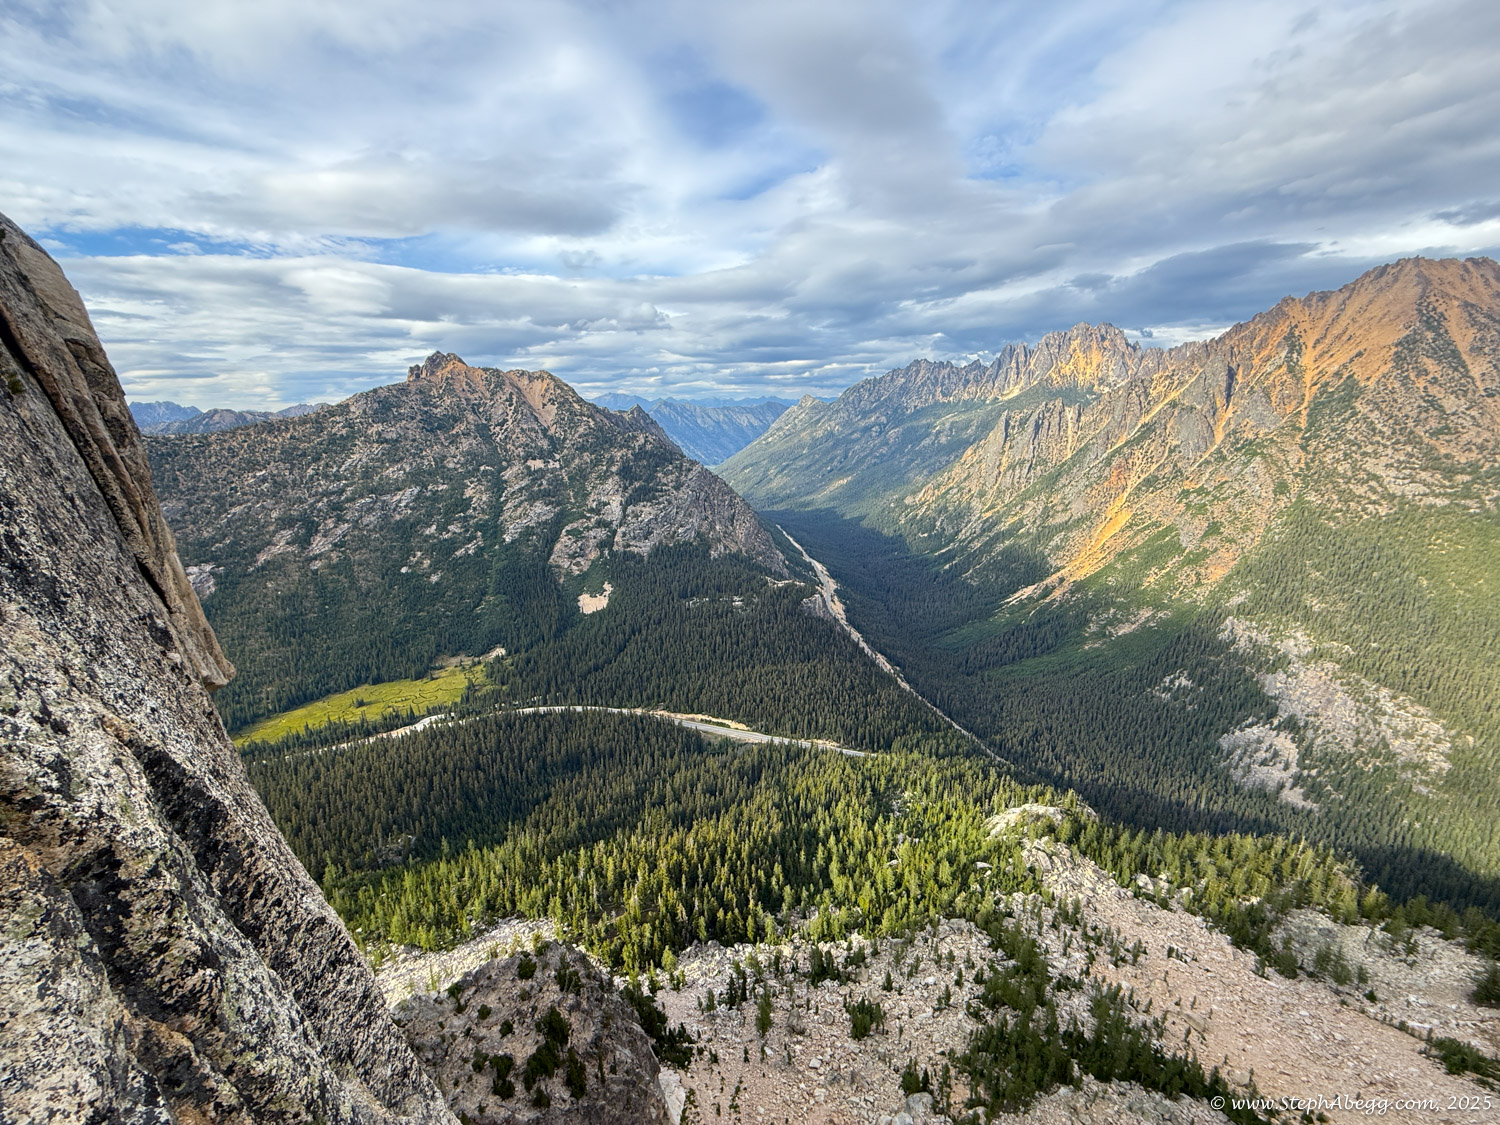
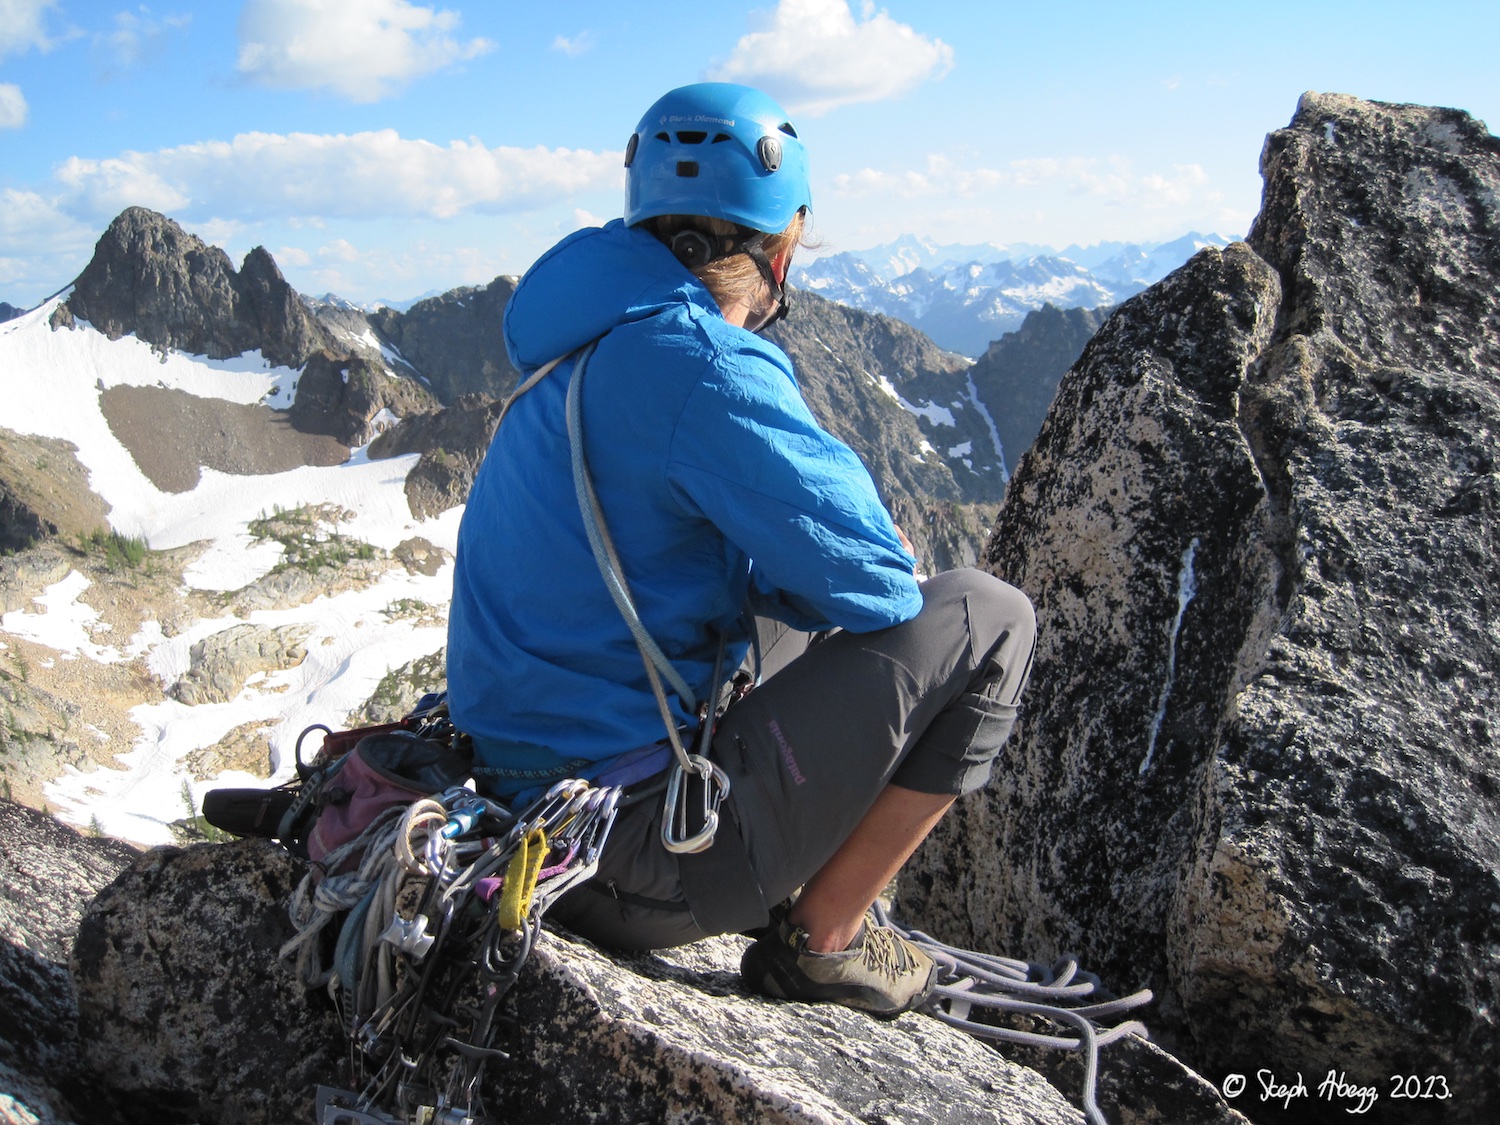
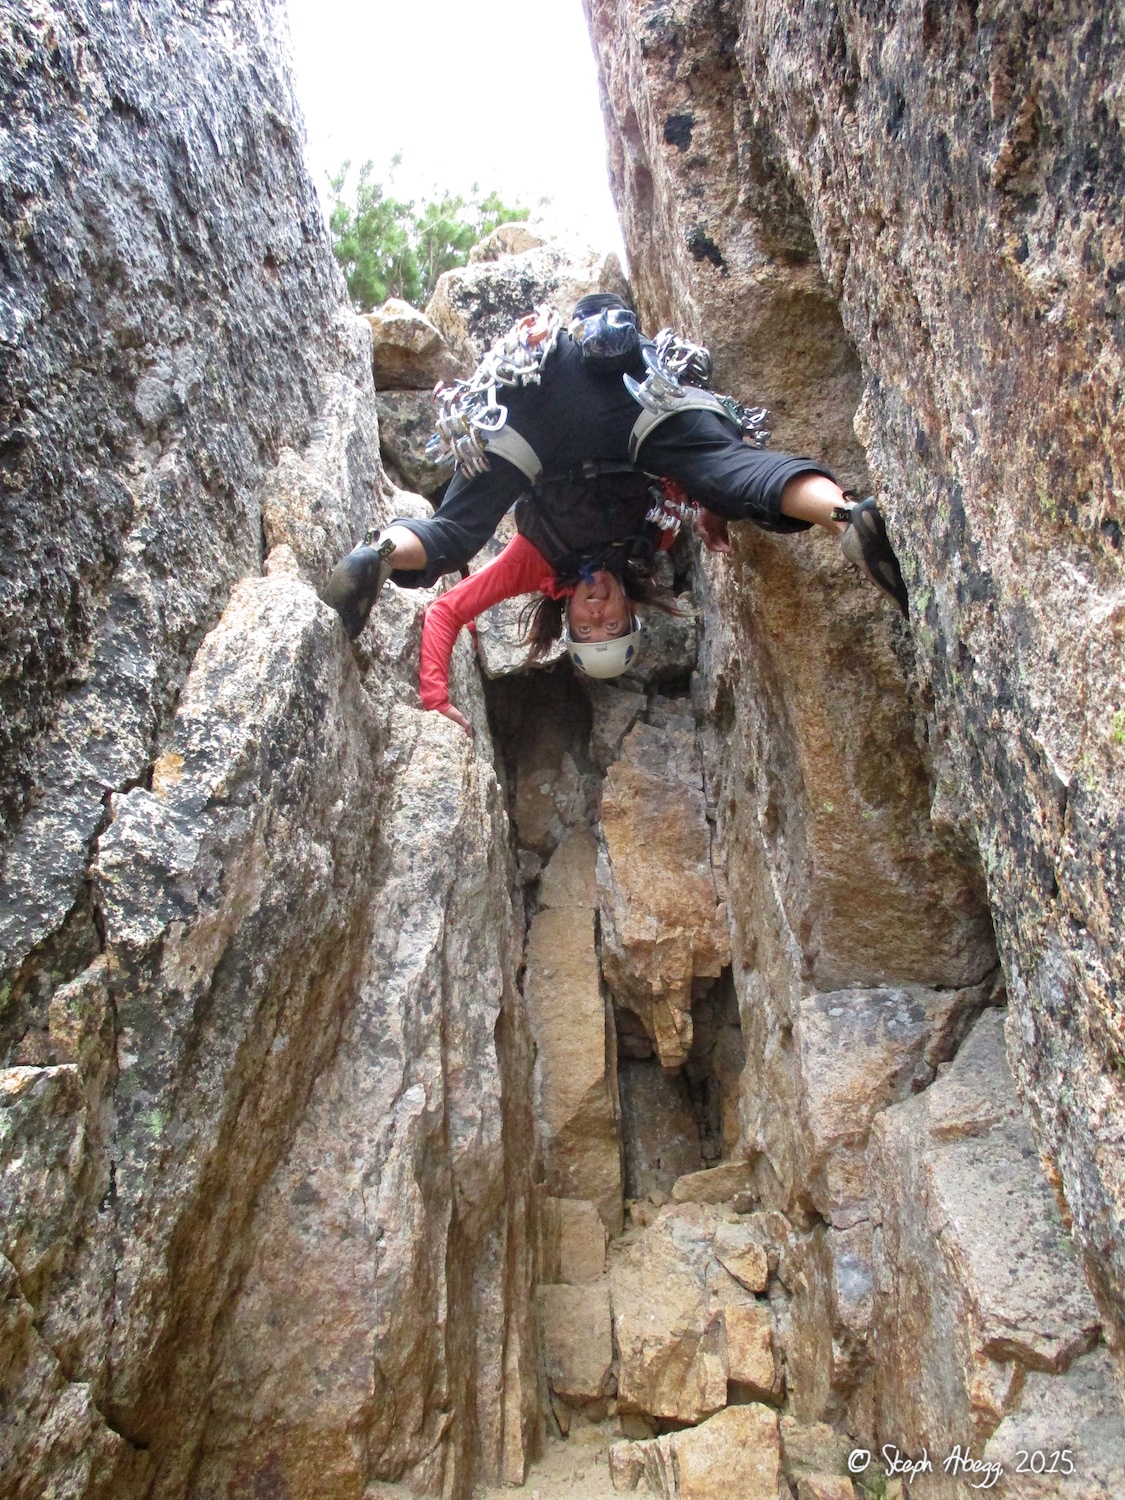
All in all, a great day at WA Pass. I really enjoy climbing with Wayne. With Wayne, I always feel we can get up just about anything. And quickly too.
Wayne's brief report:
https://waynewallace.wordpress.com/2015/06/23/southern-man-sews/.
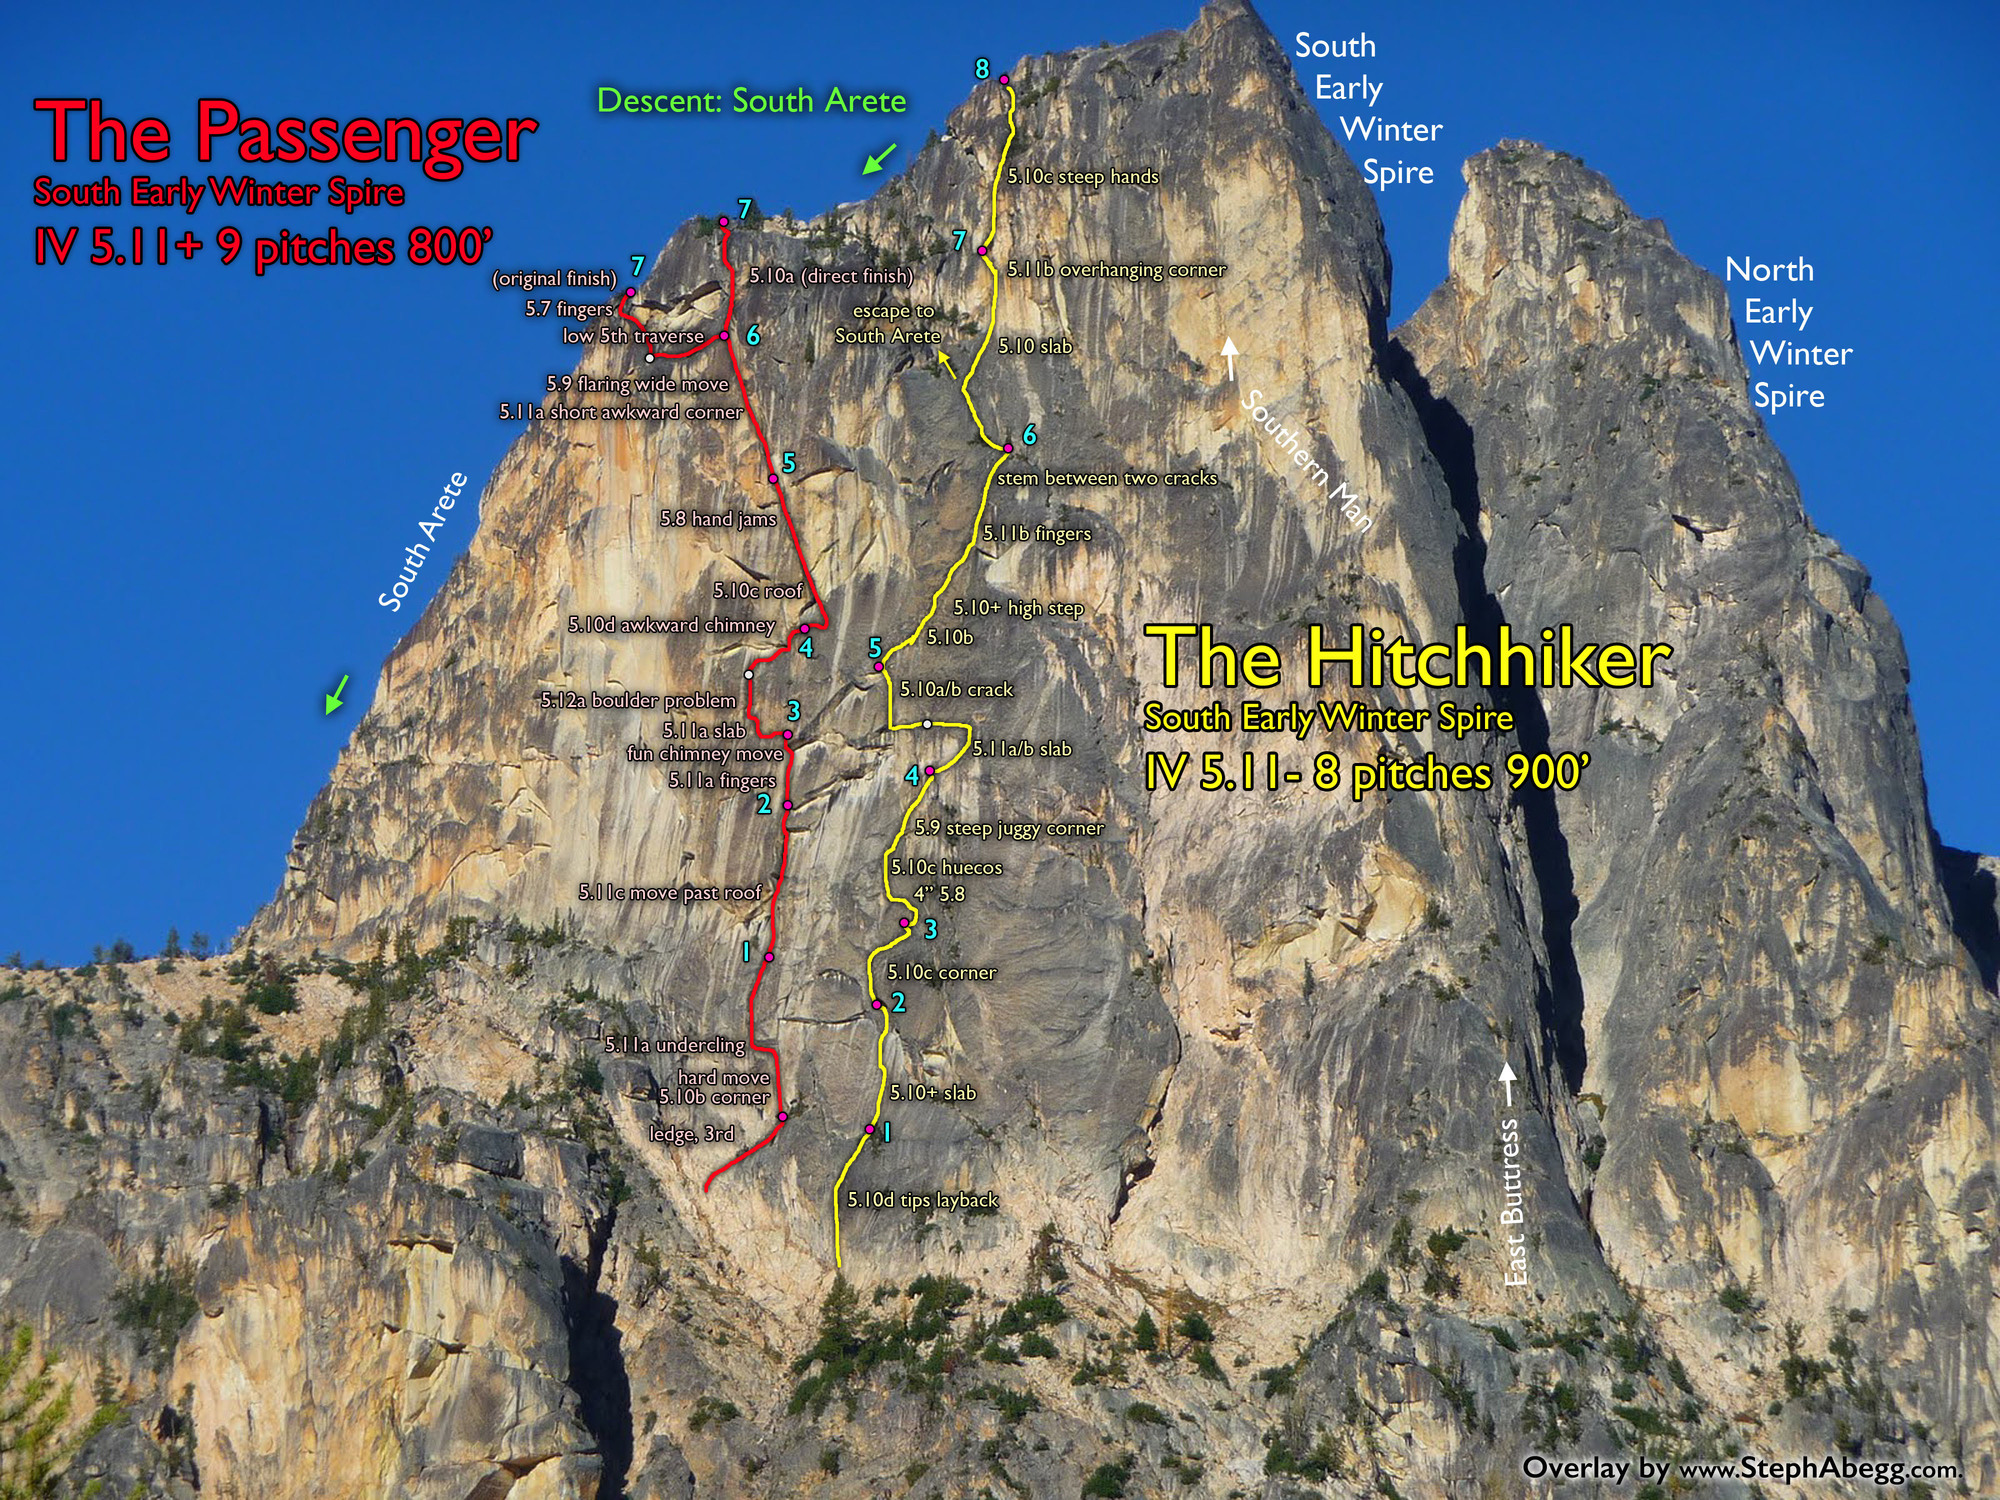
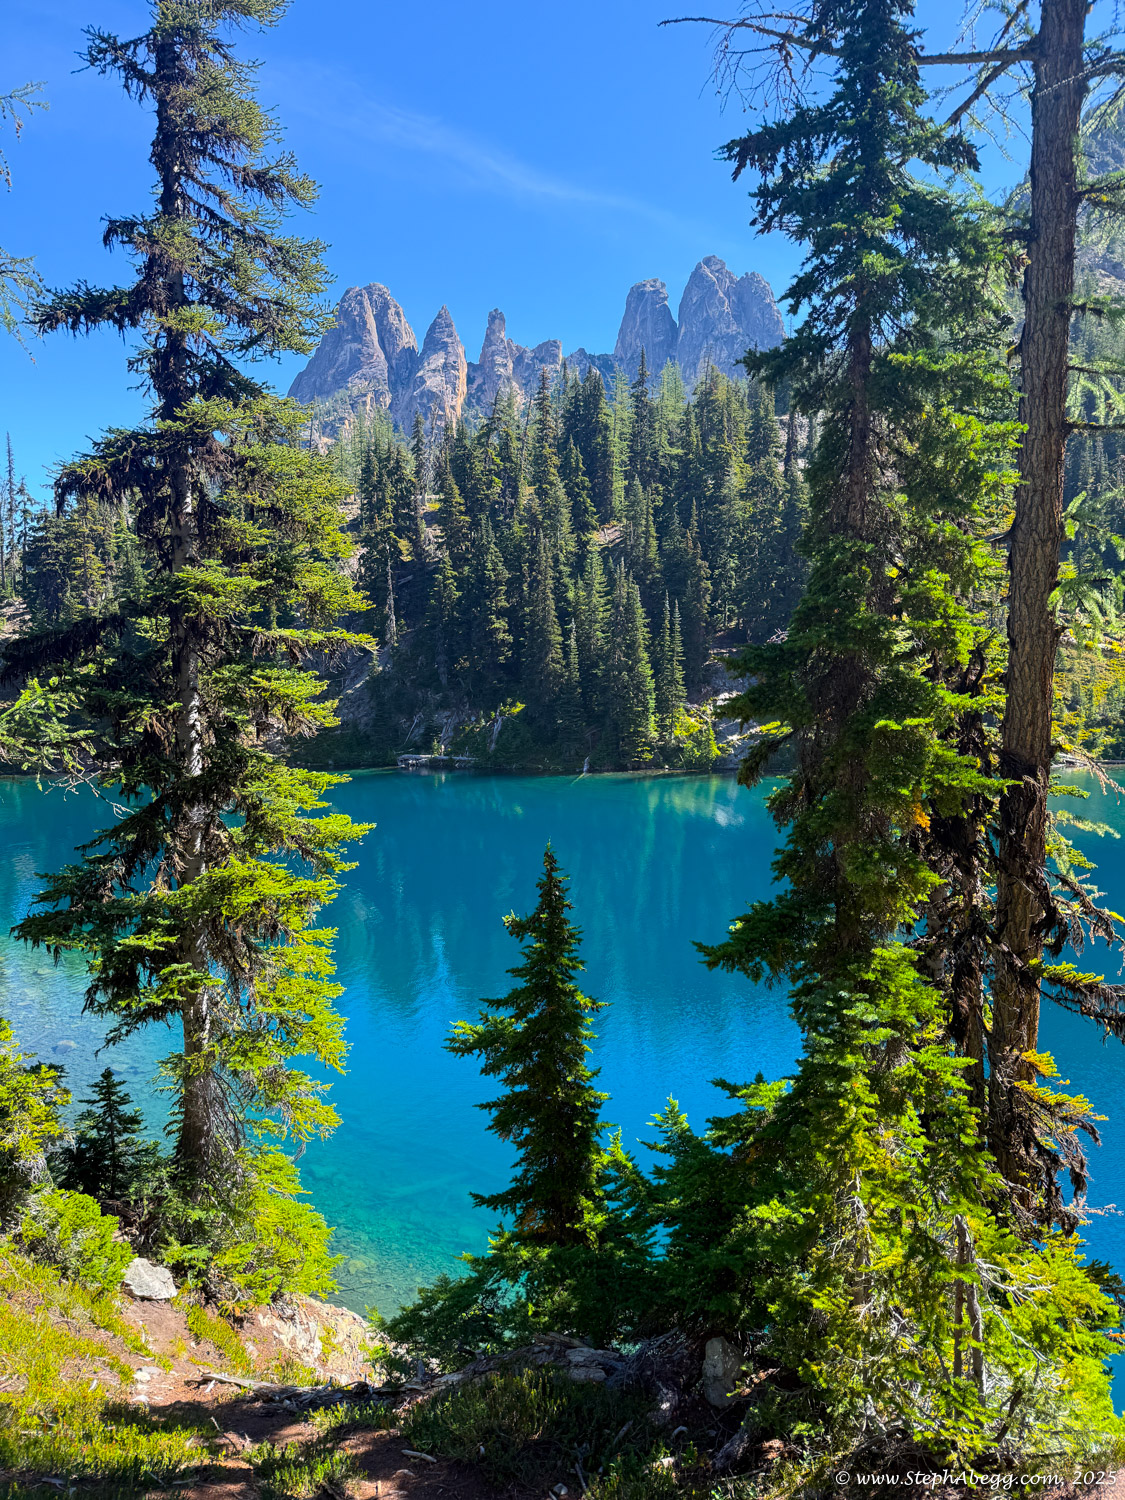
This route inspired an obsession with the south side of SEWS, and a couple of days later was back to climb
The Hitchhiker and
The Passenger, which many consider to be a couple of the best routes at WA Pass.