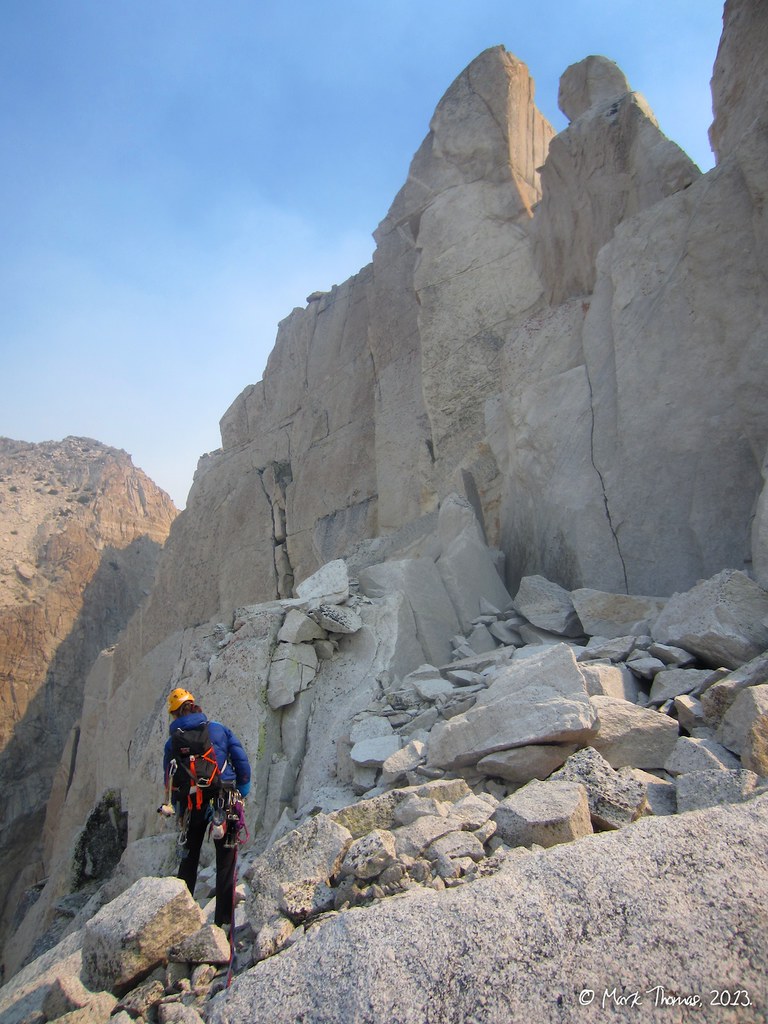
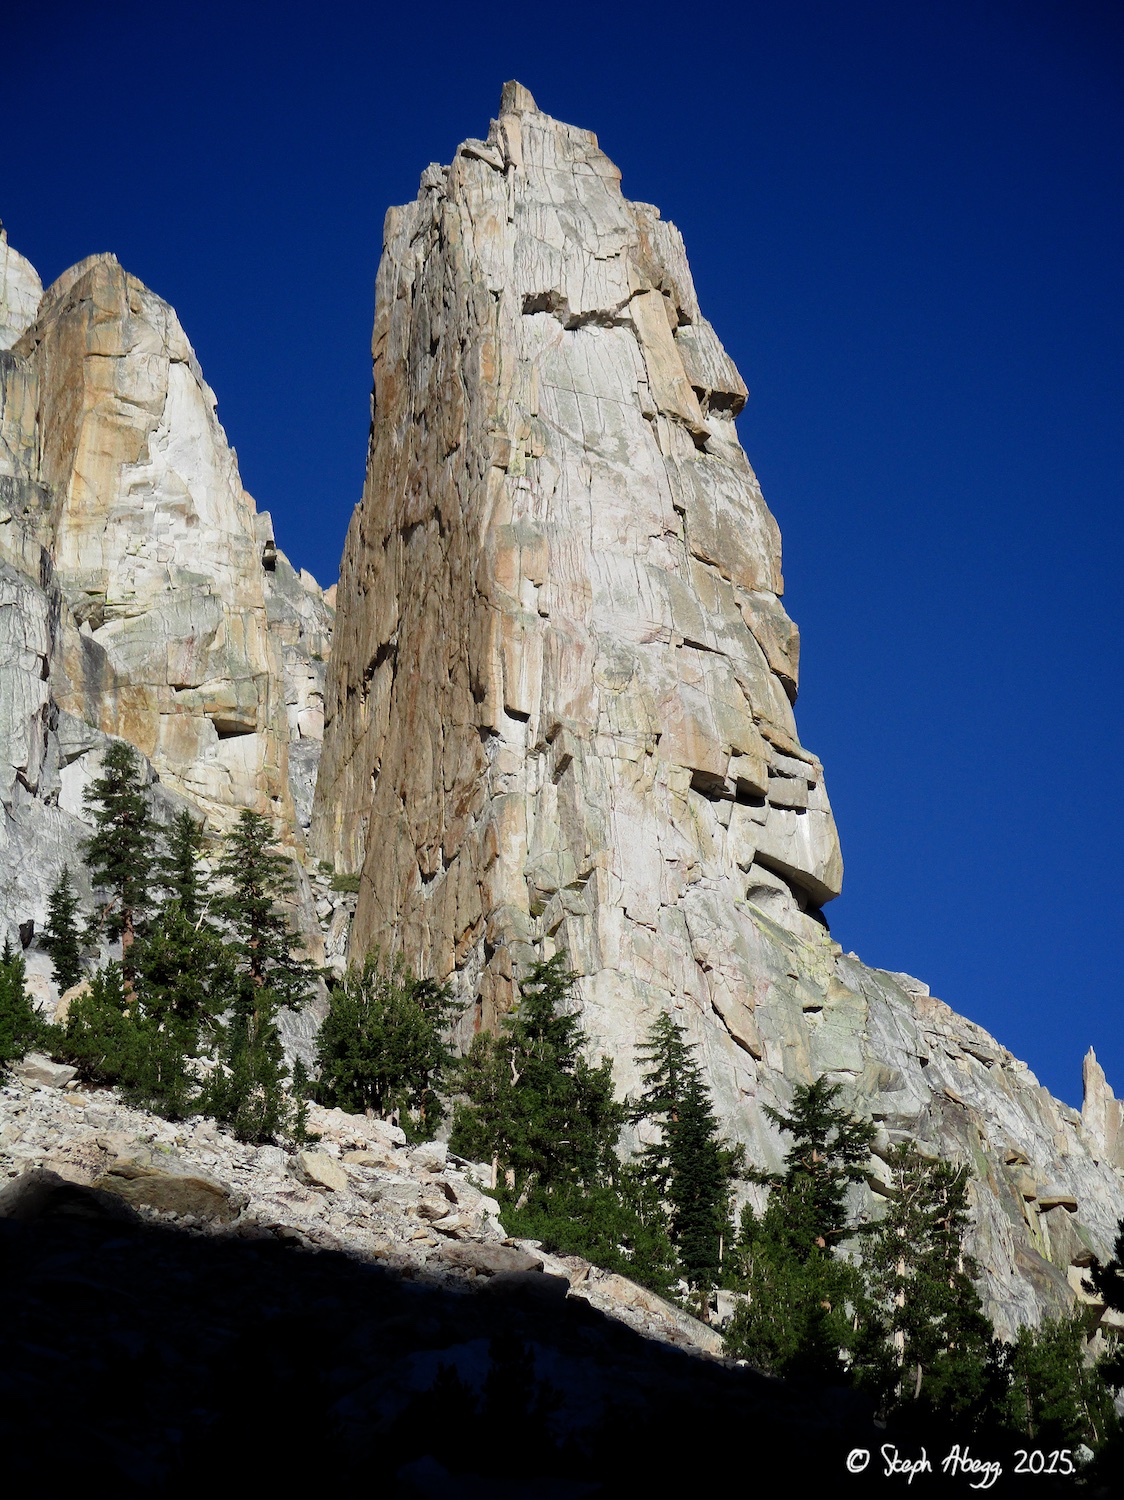
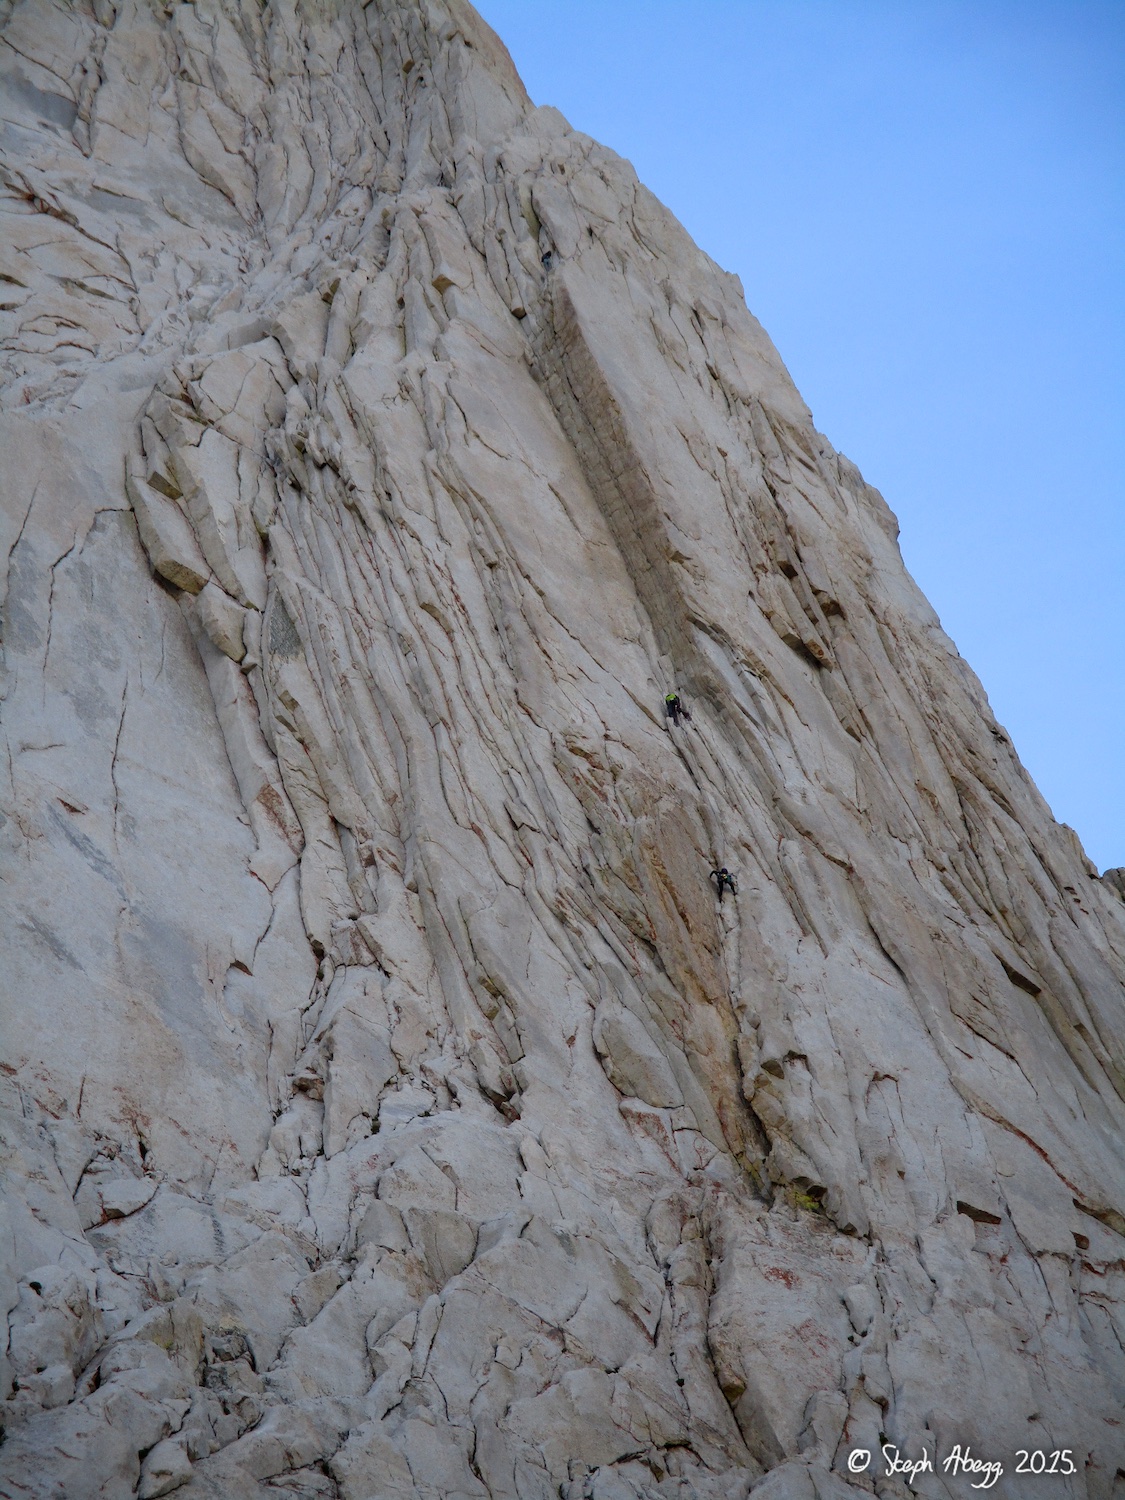
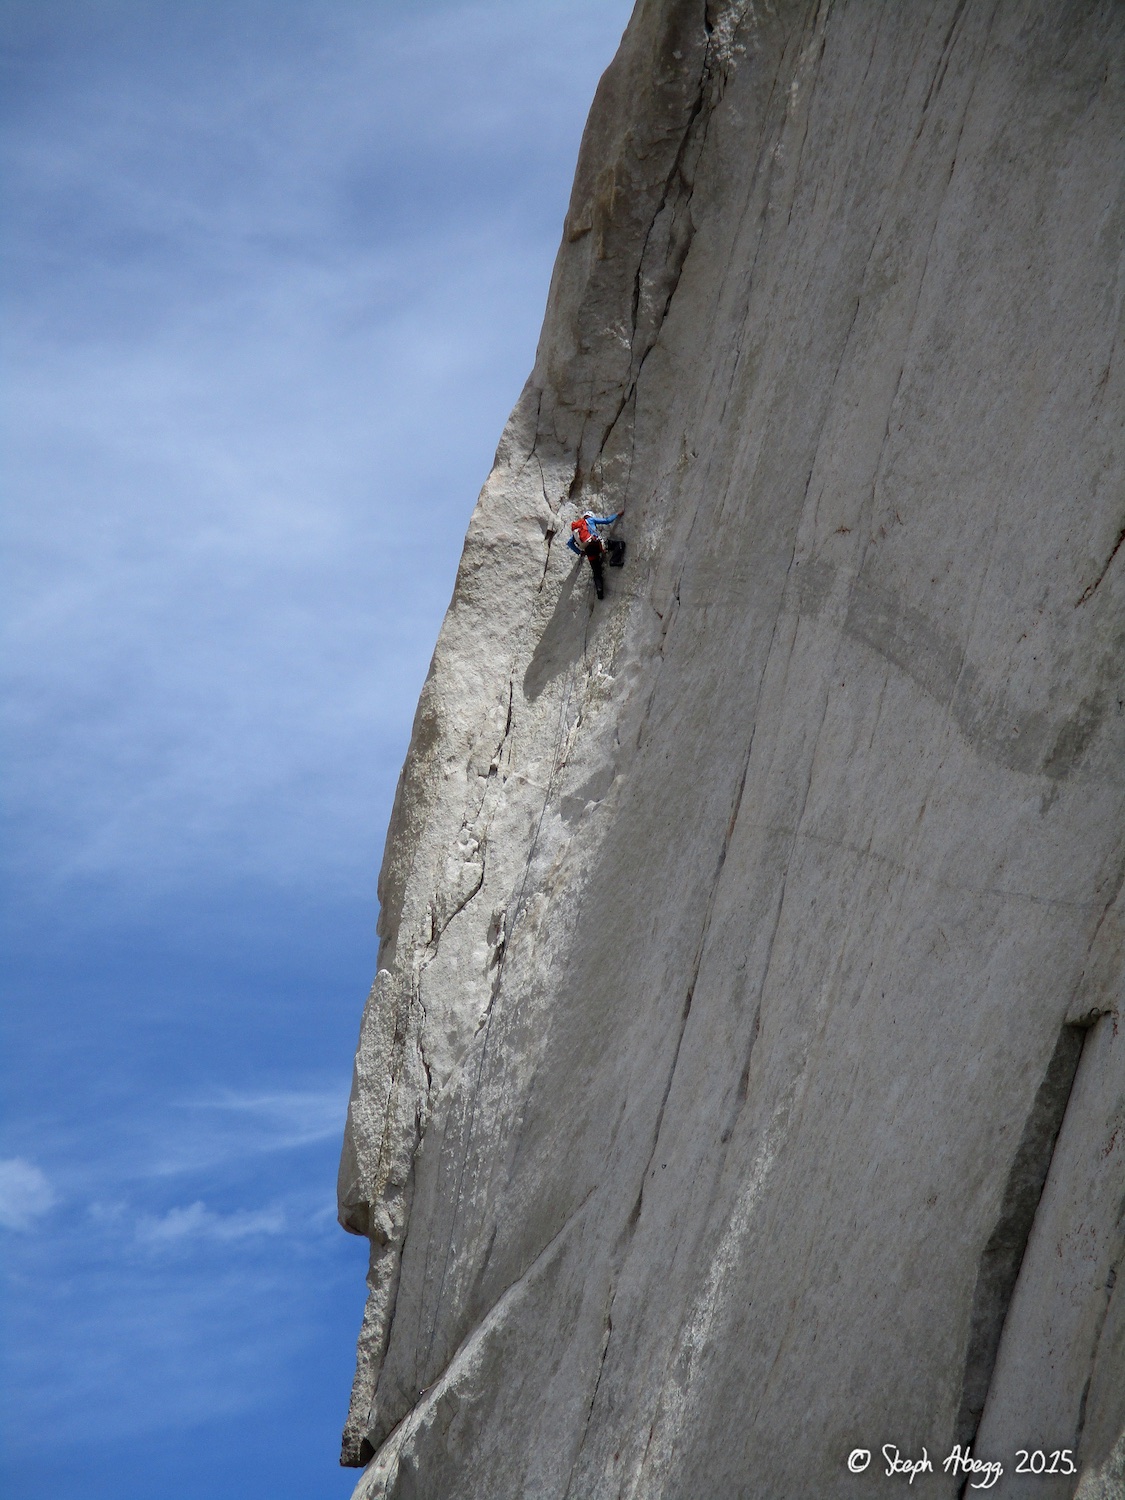
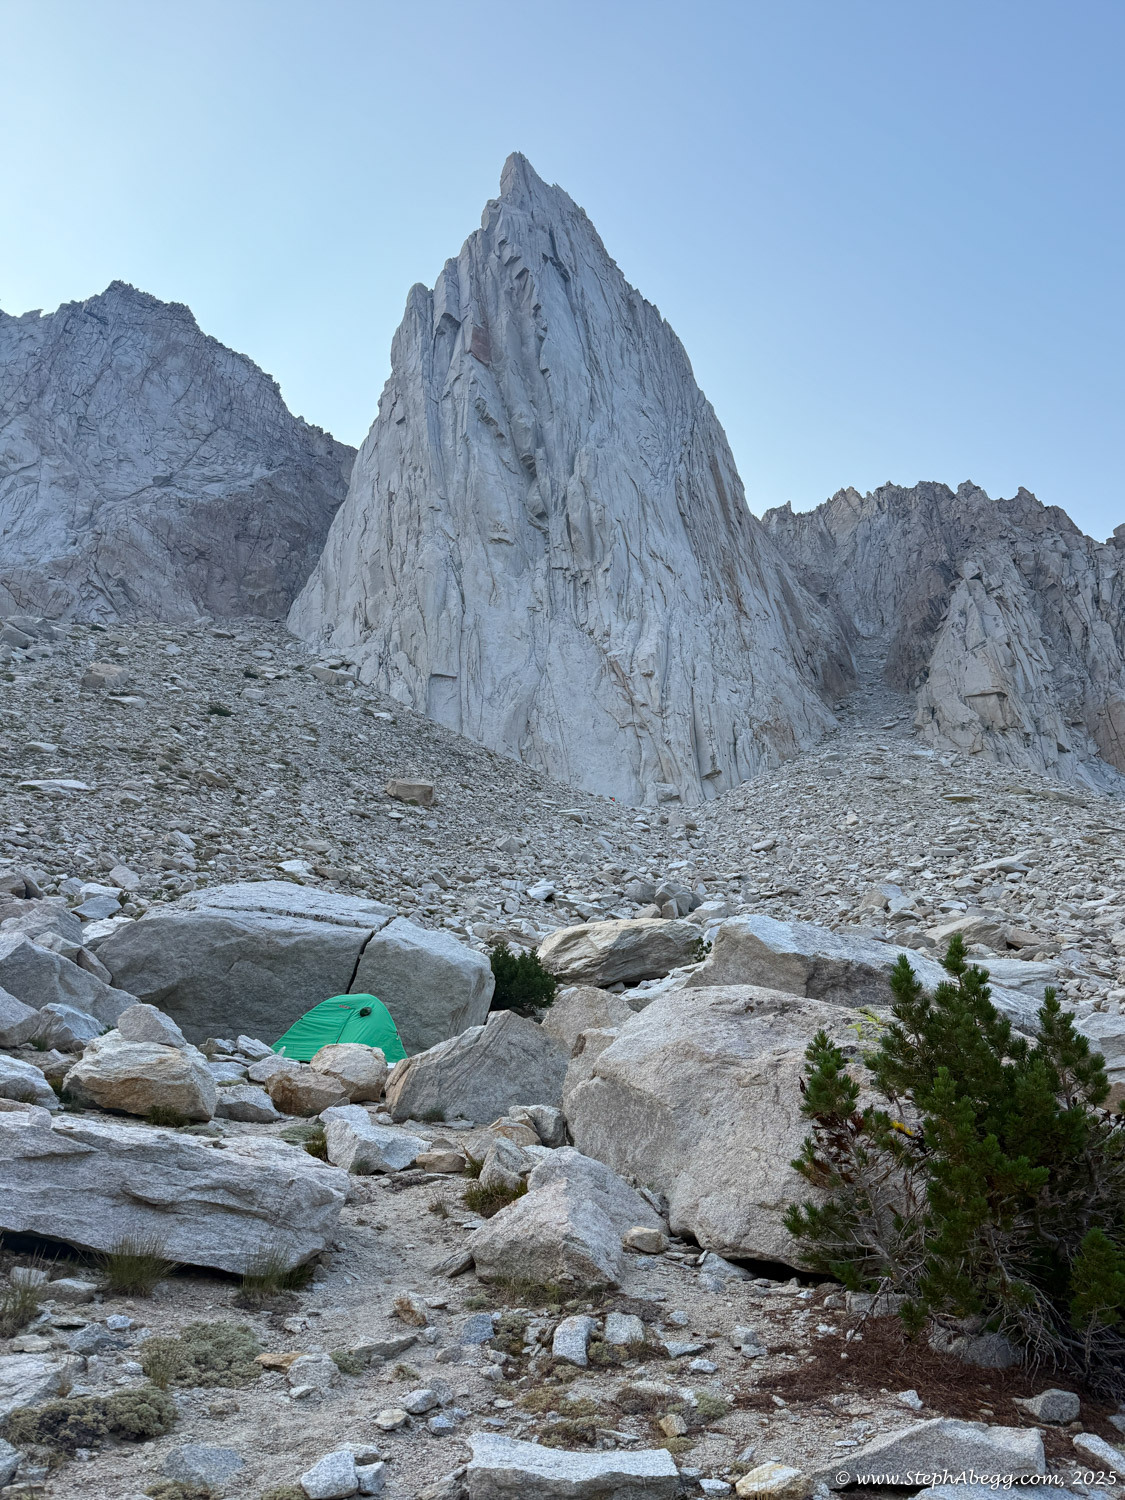
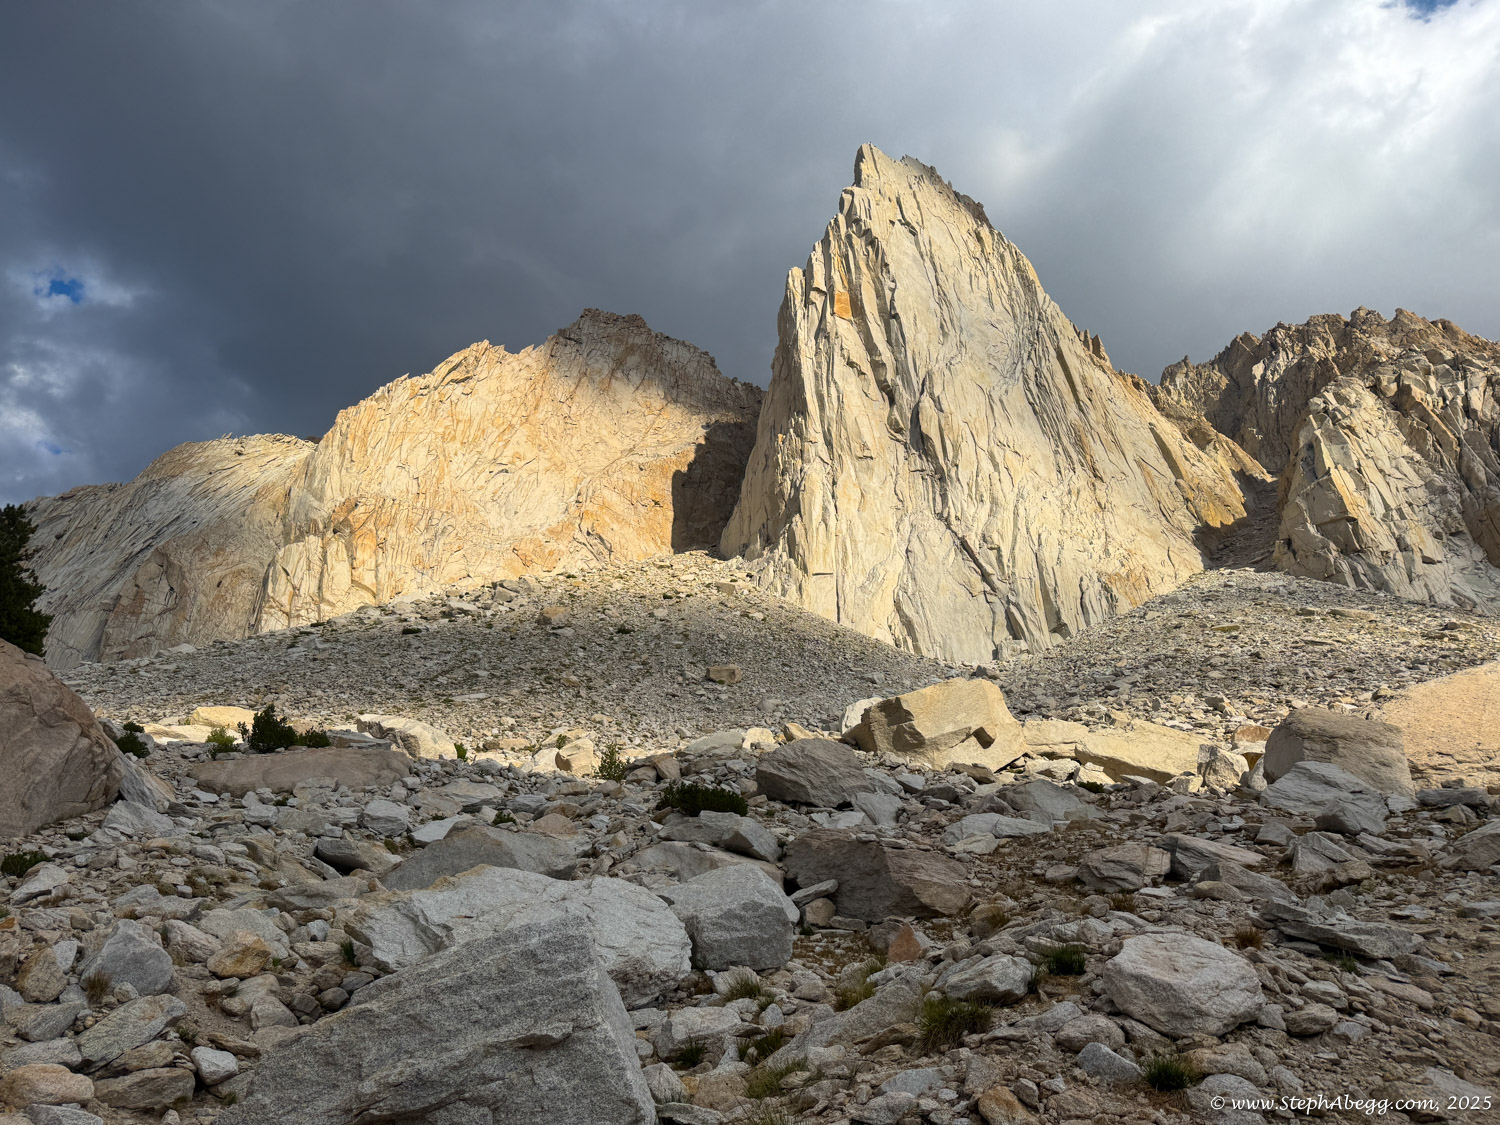
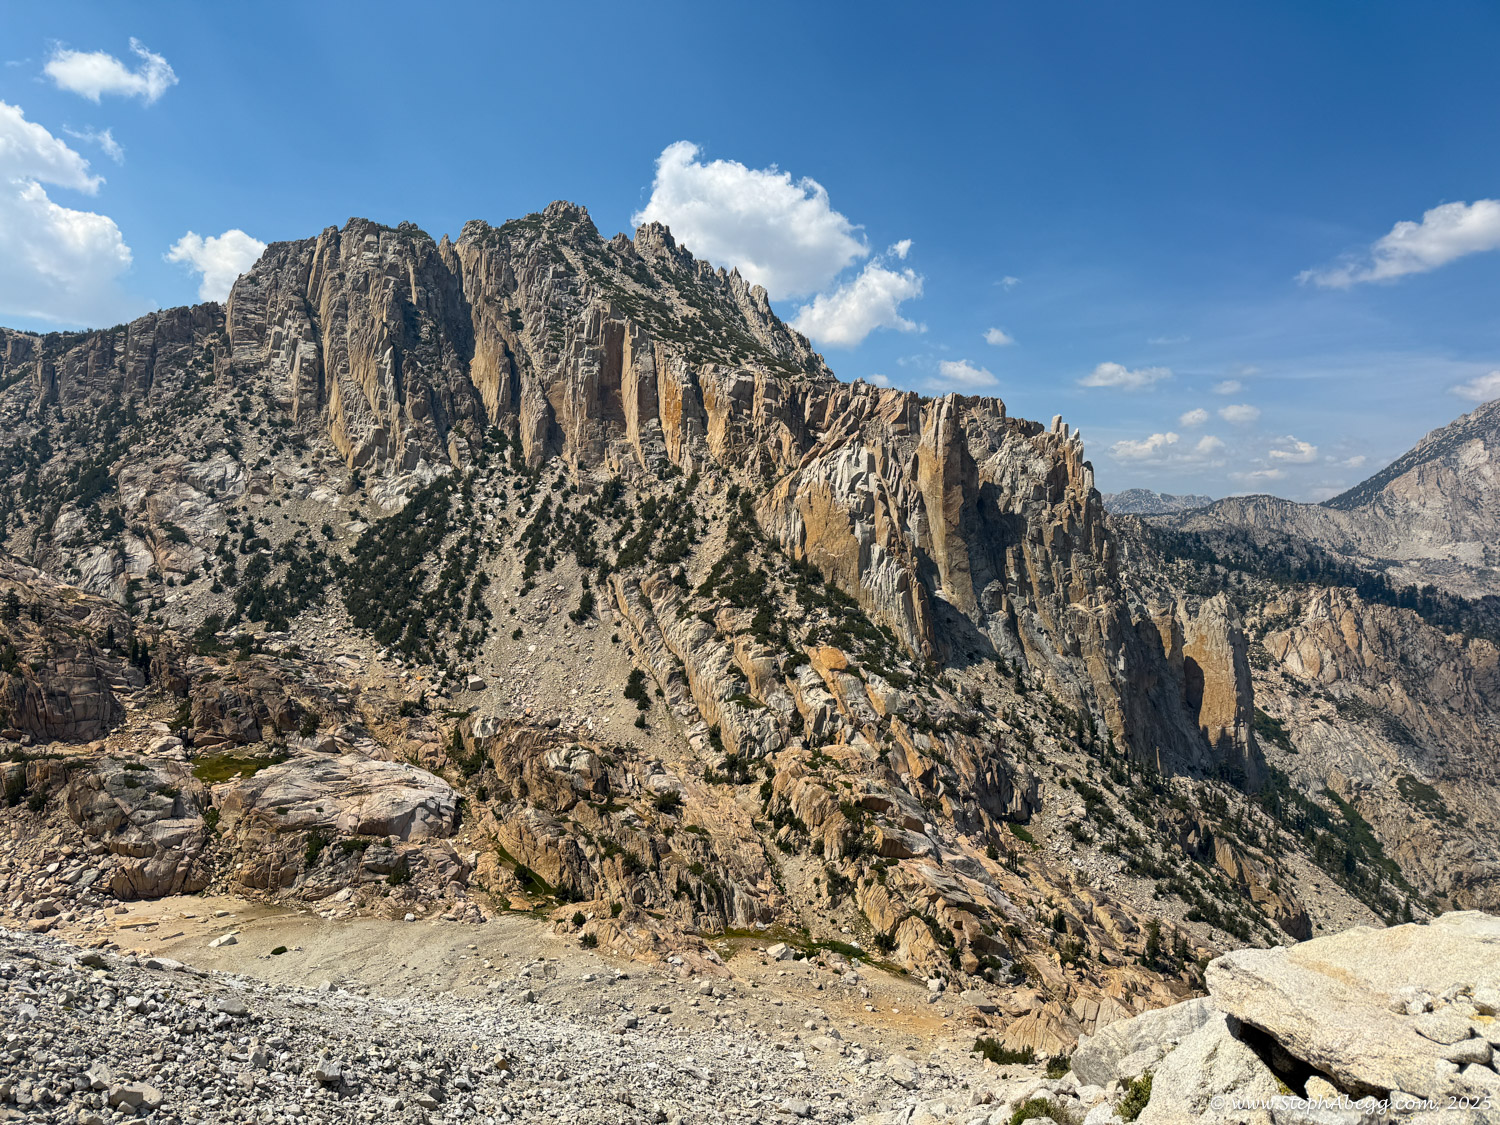
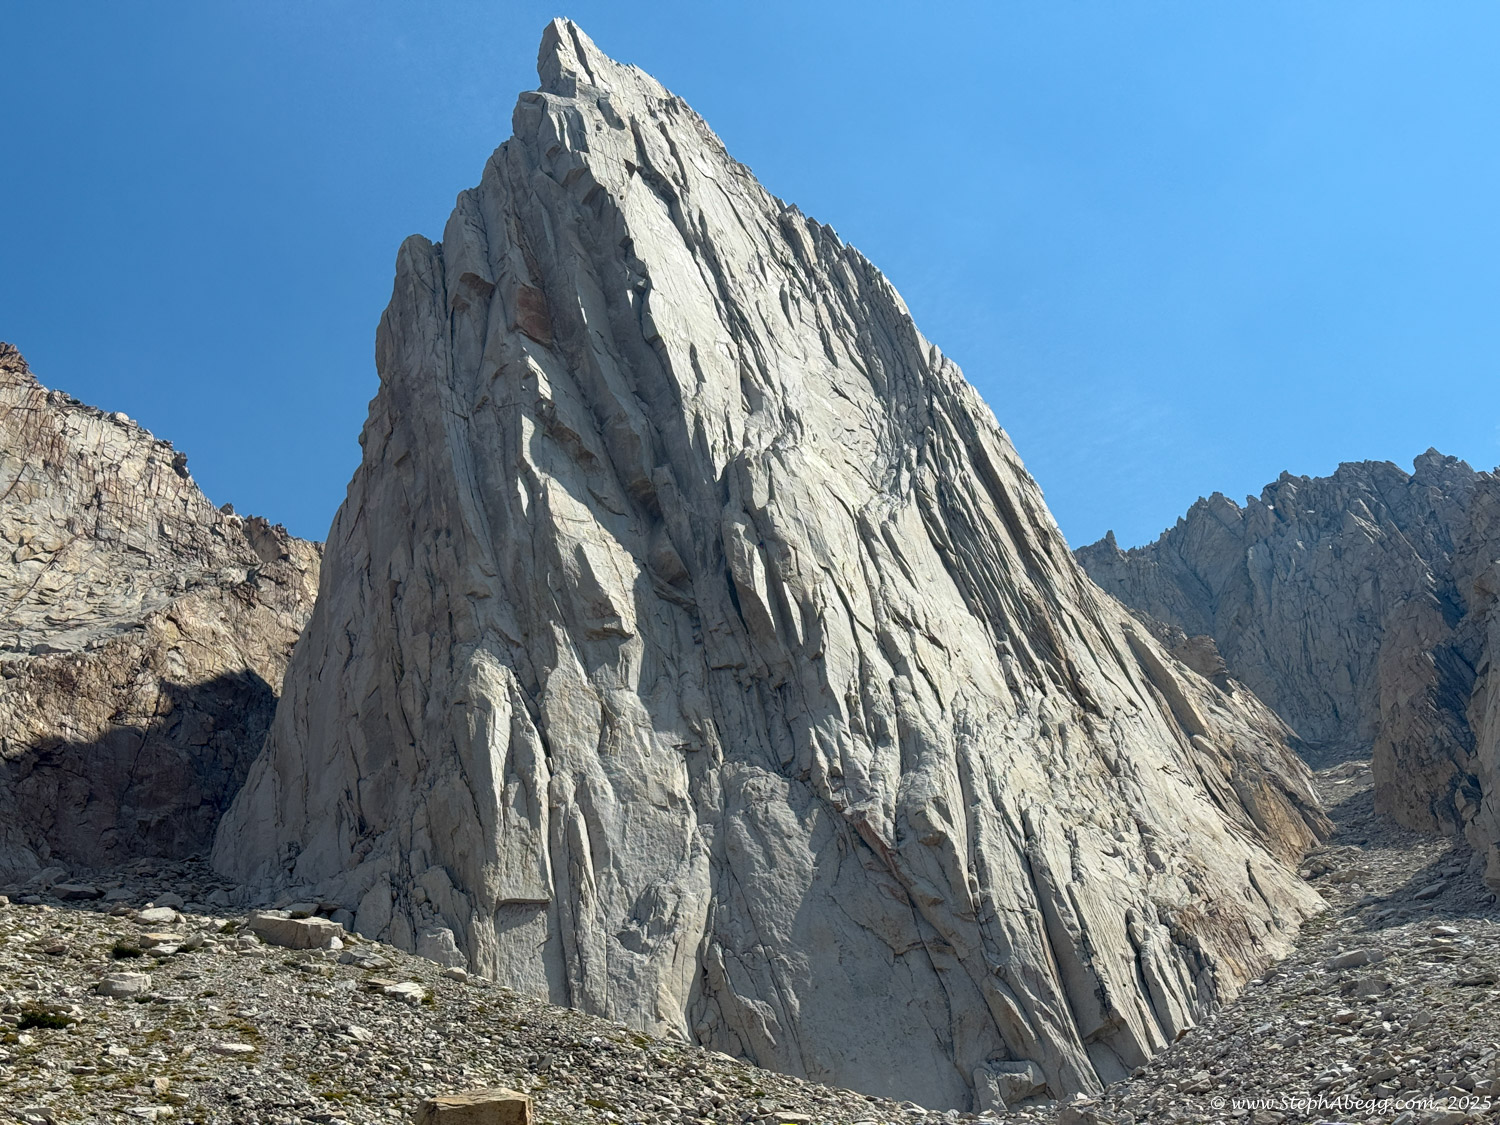
Incredible Hulk
Routes:
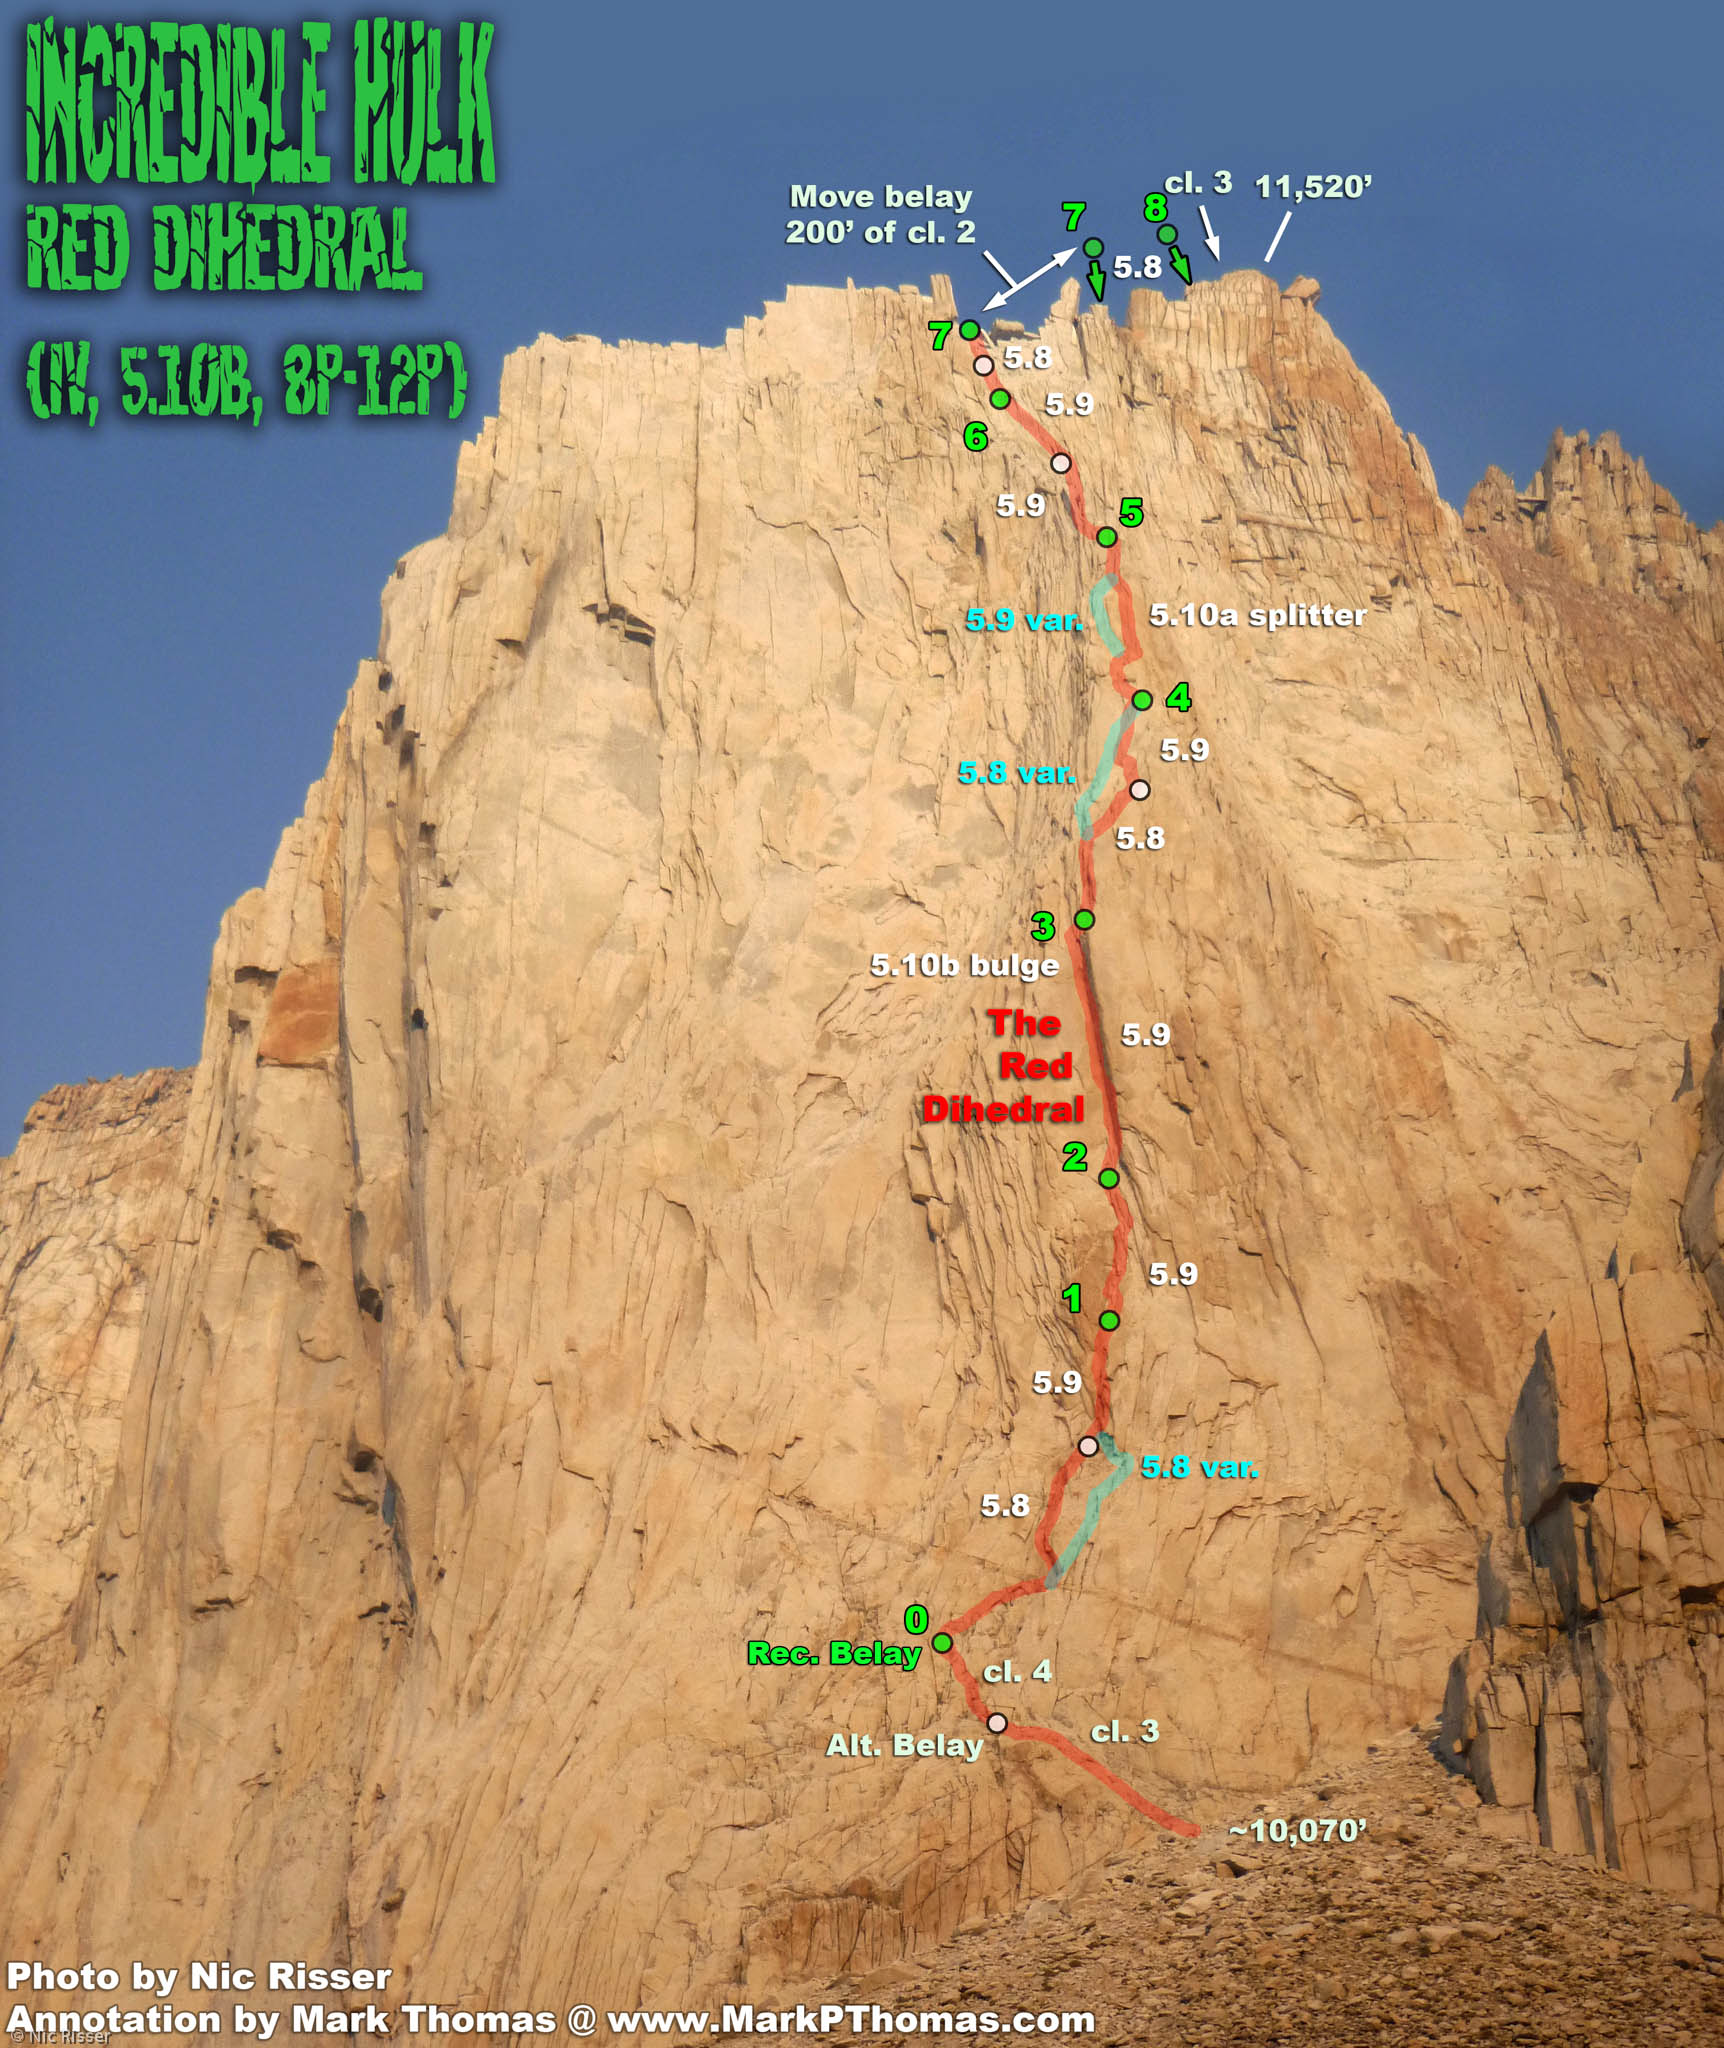
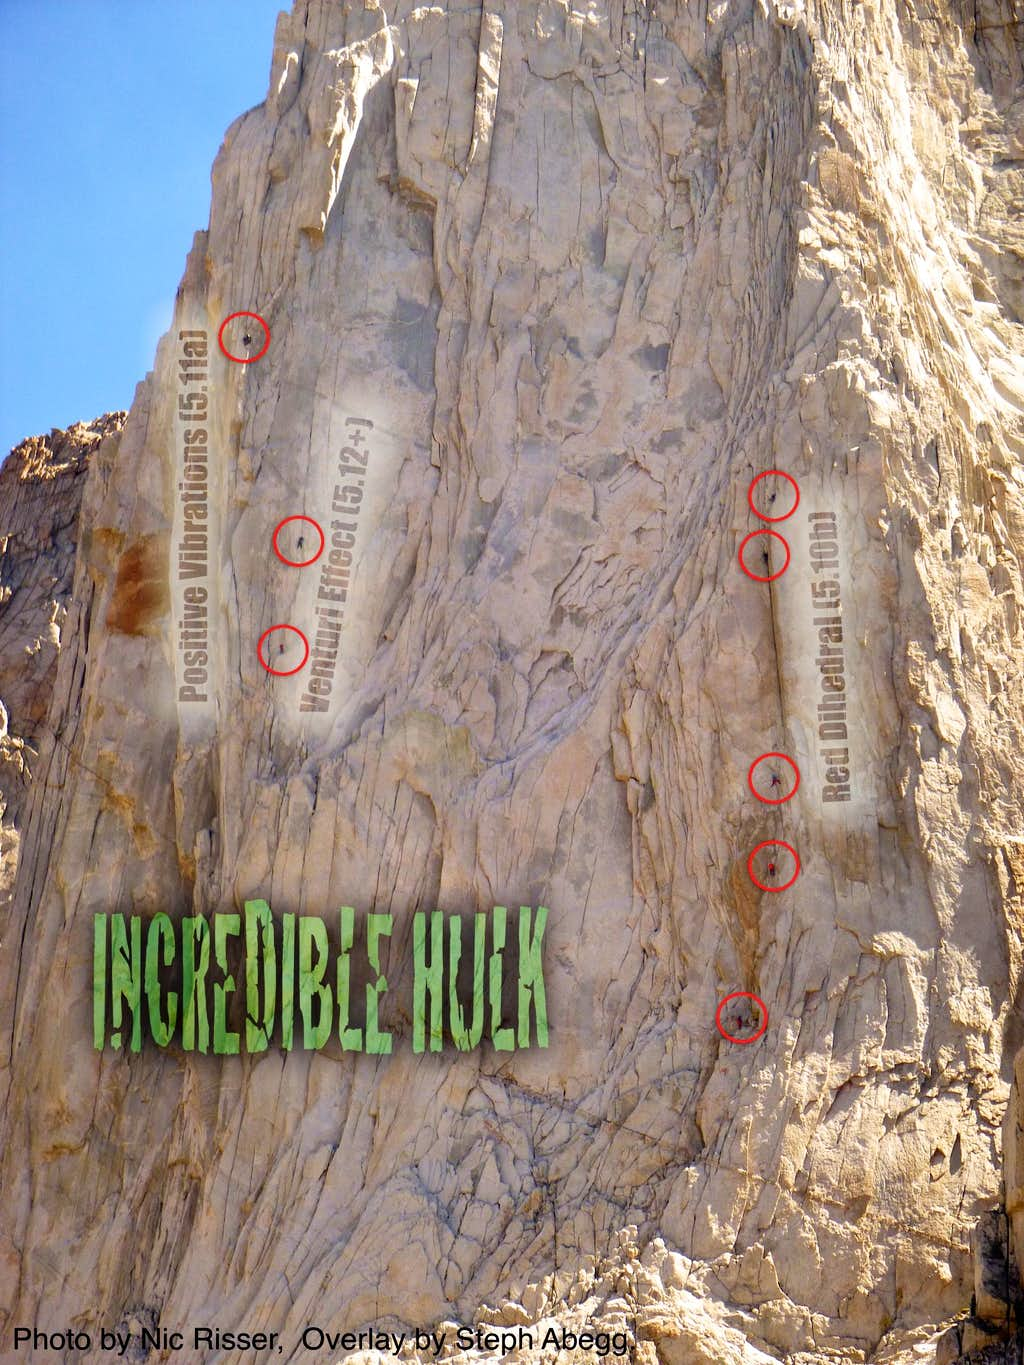
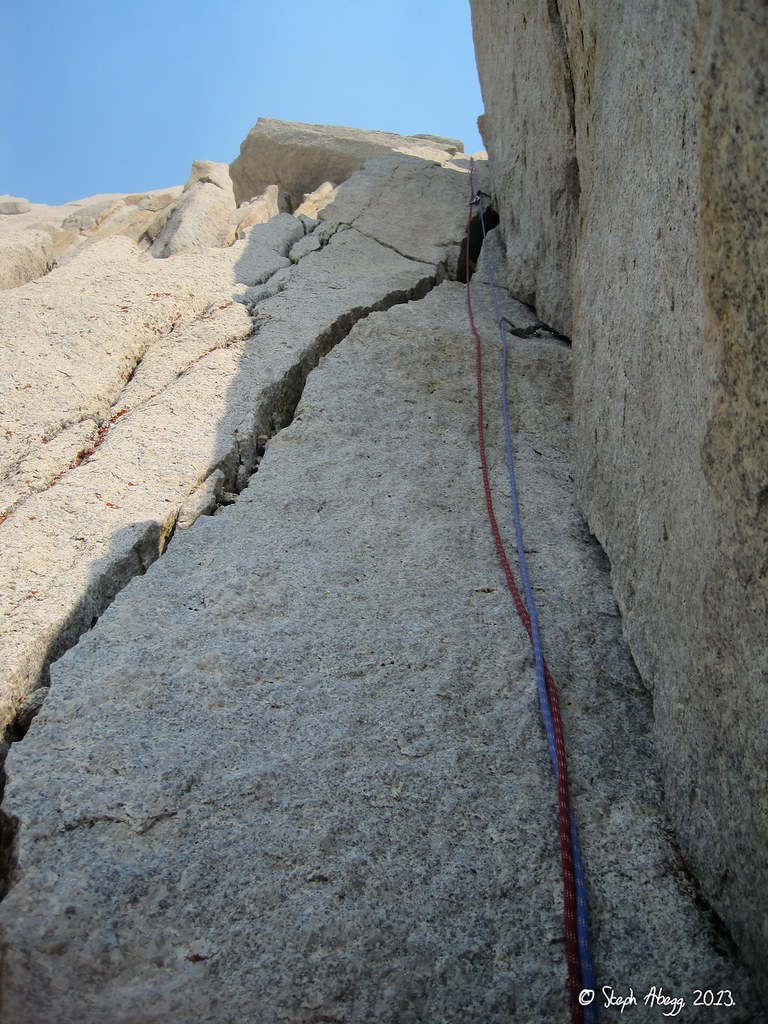
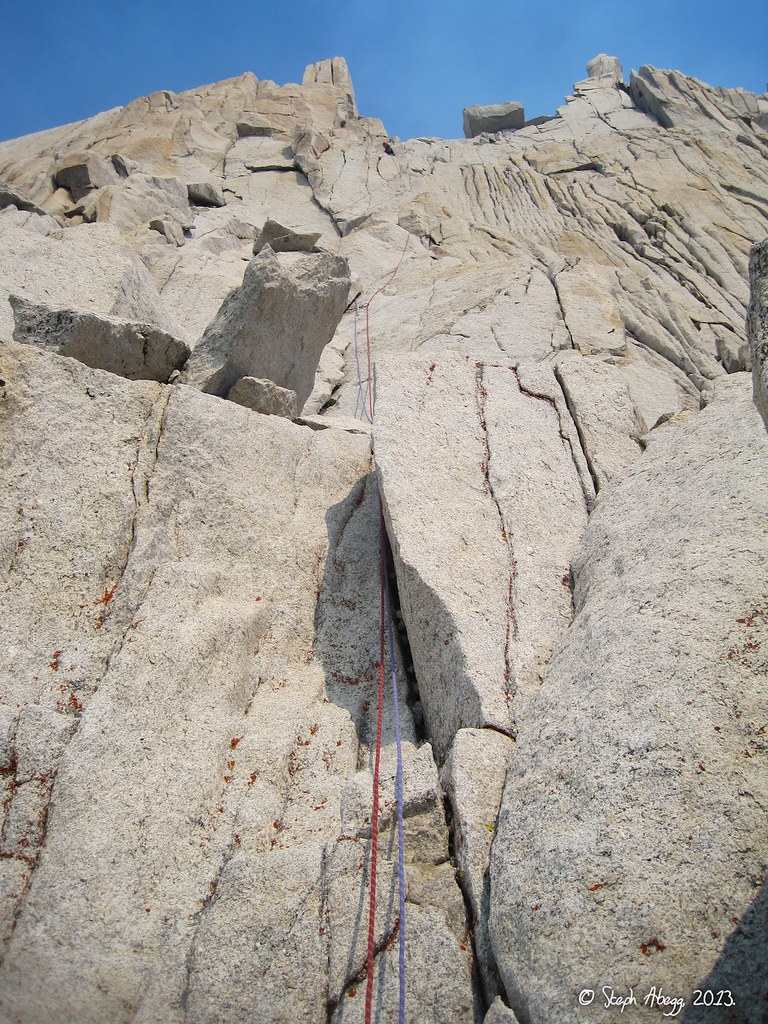
- Red Dihedral (5.10b, 8p)
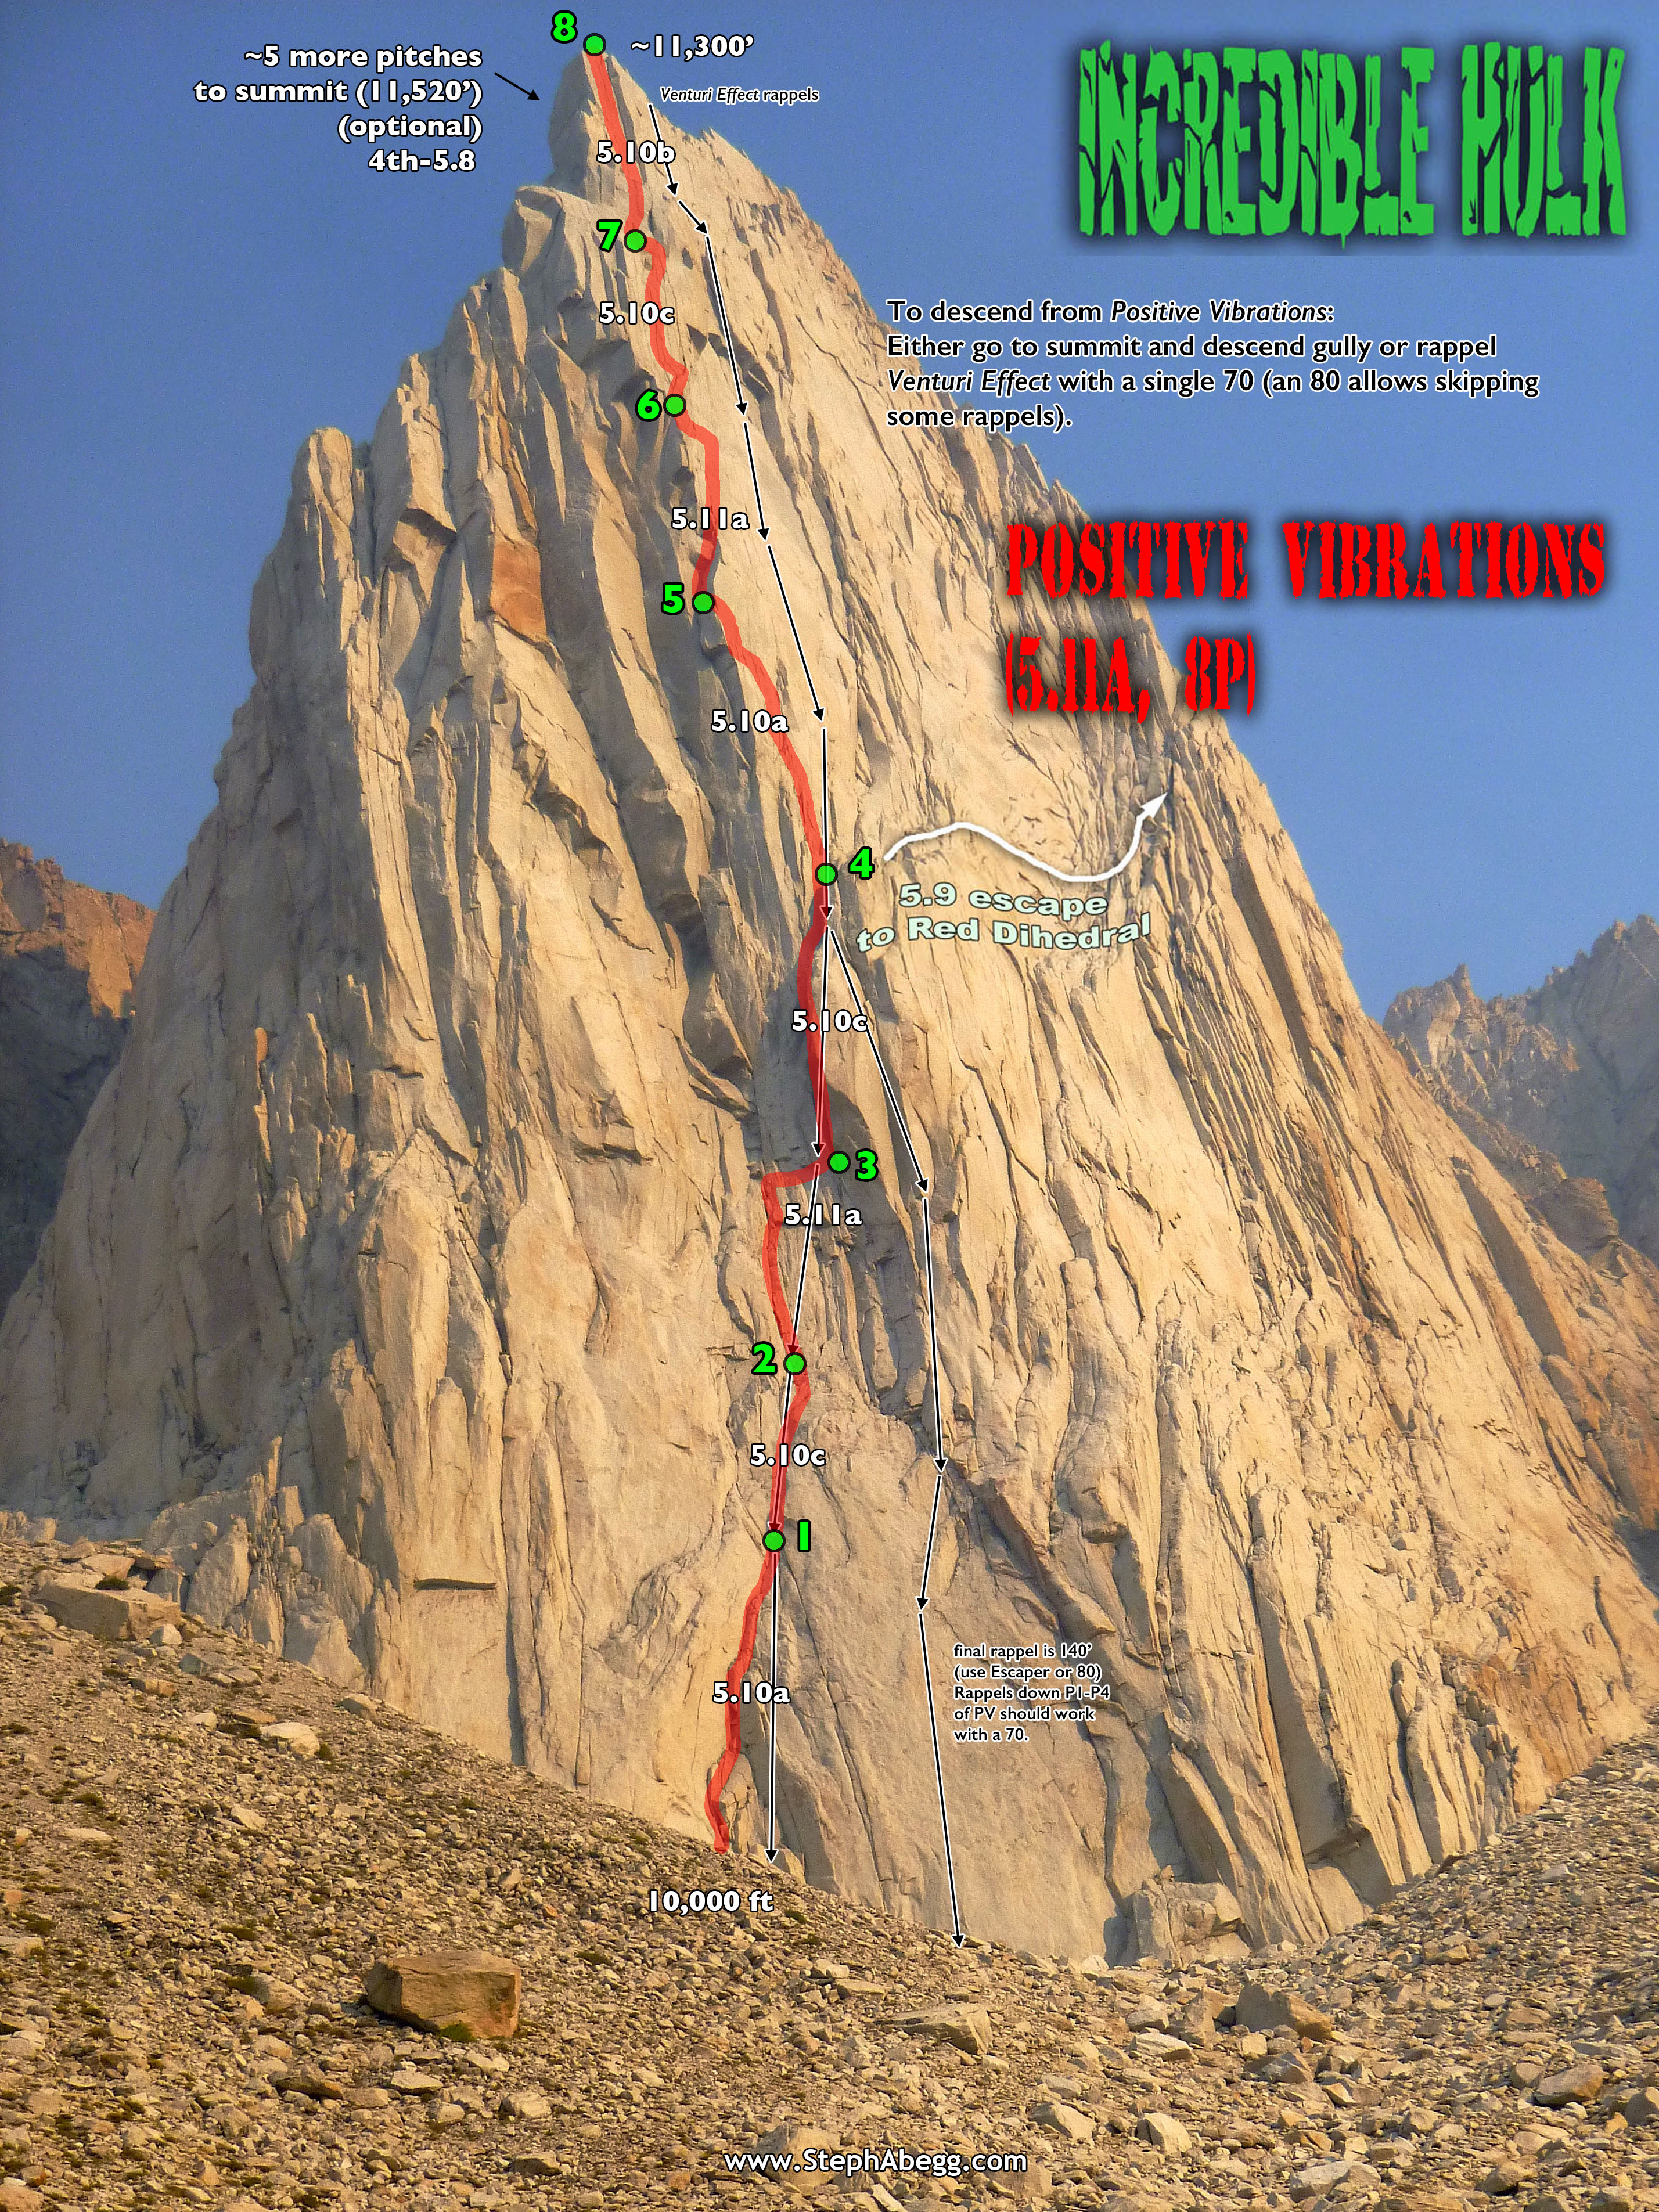
- Positive Vibrations (5.11a, 8p)
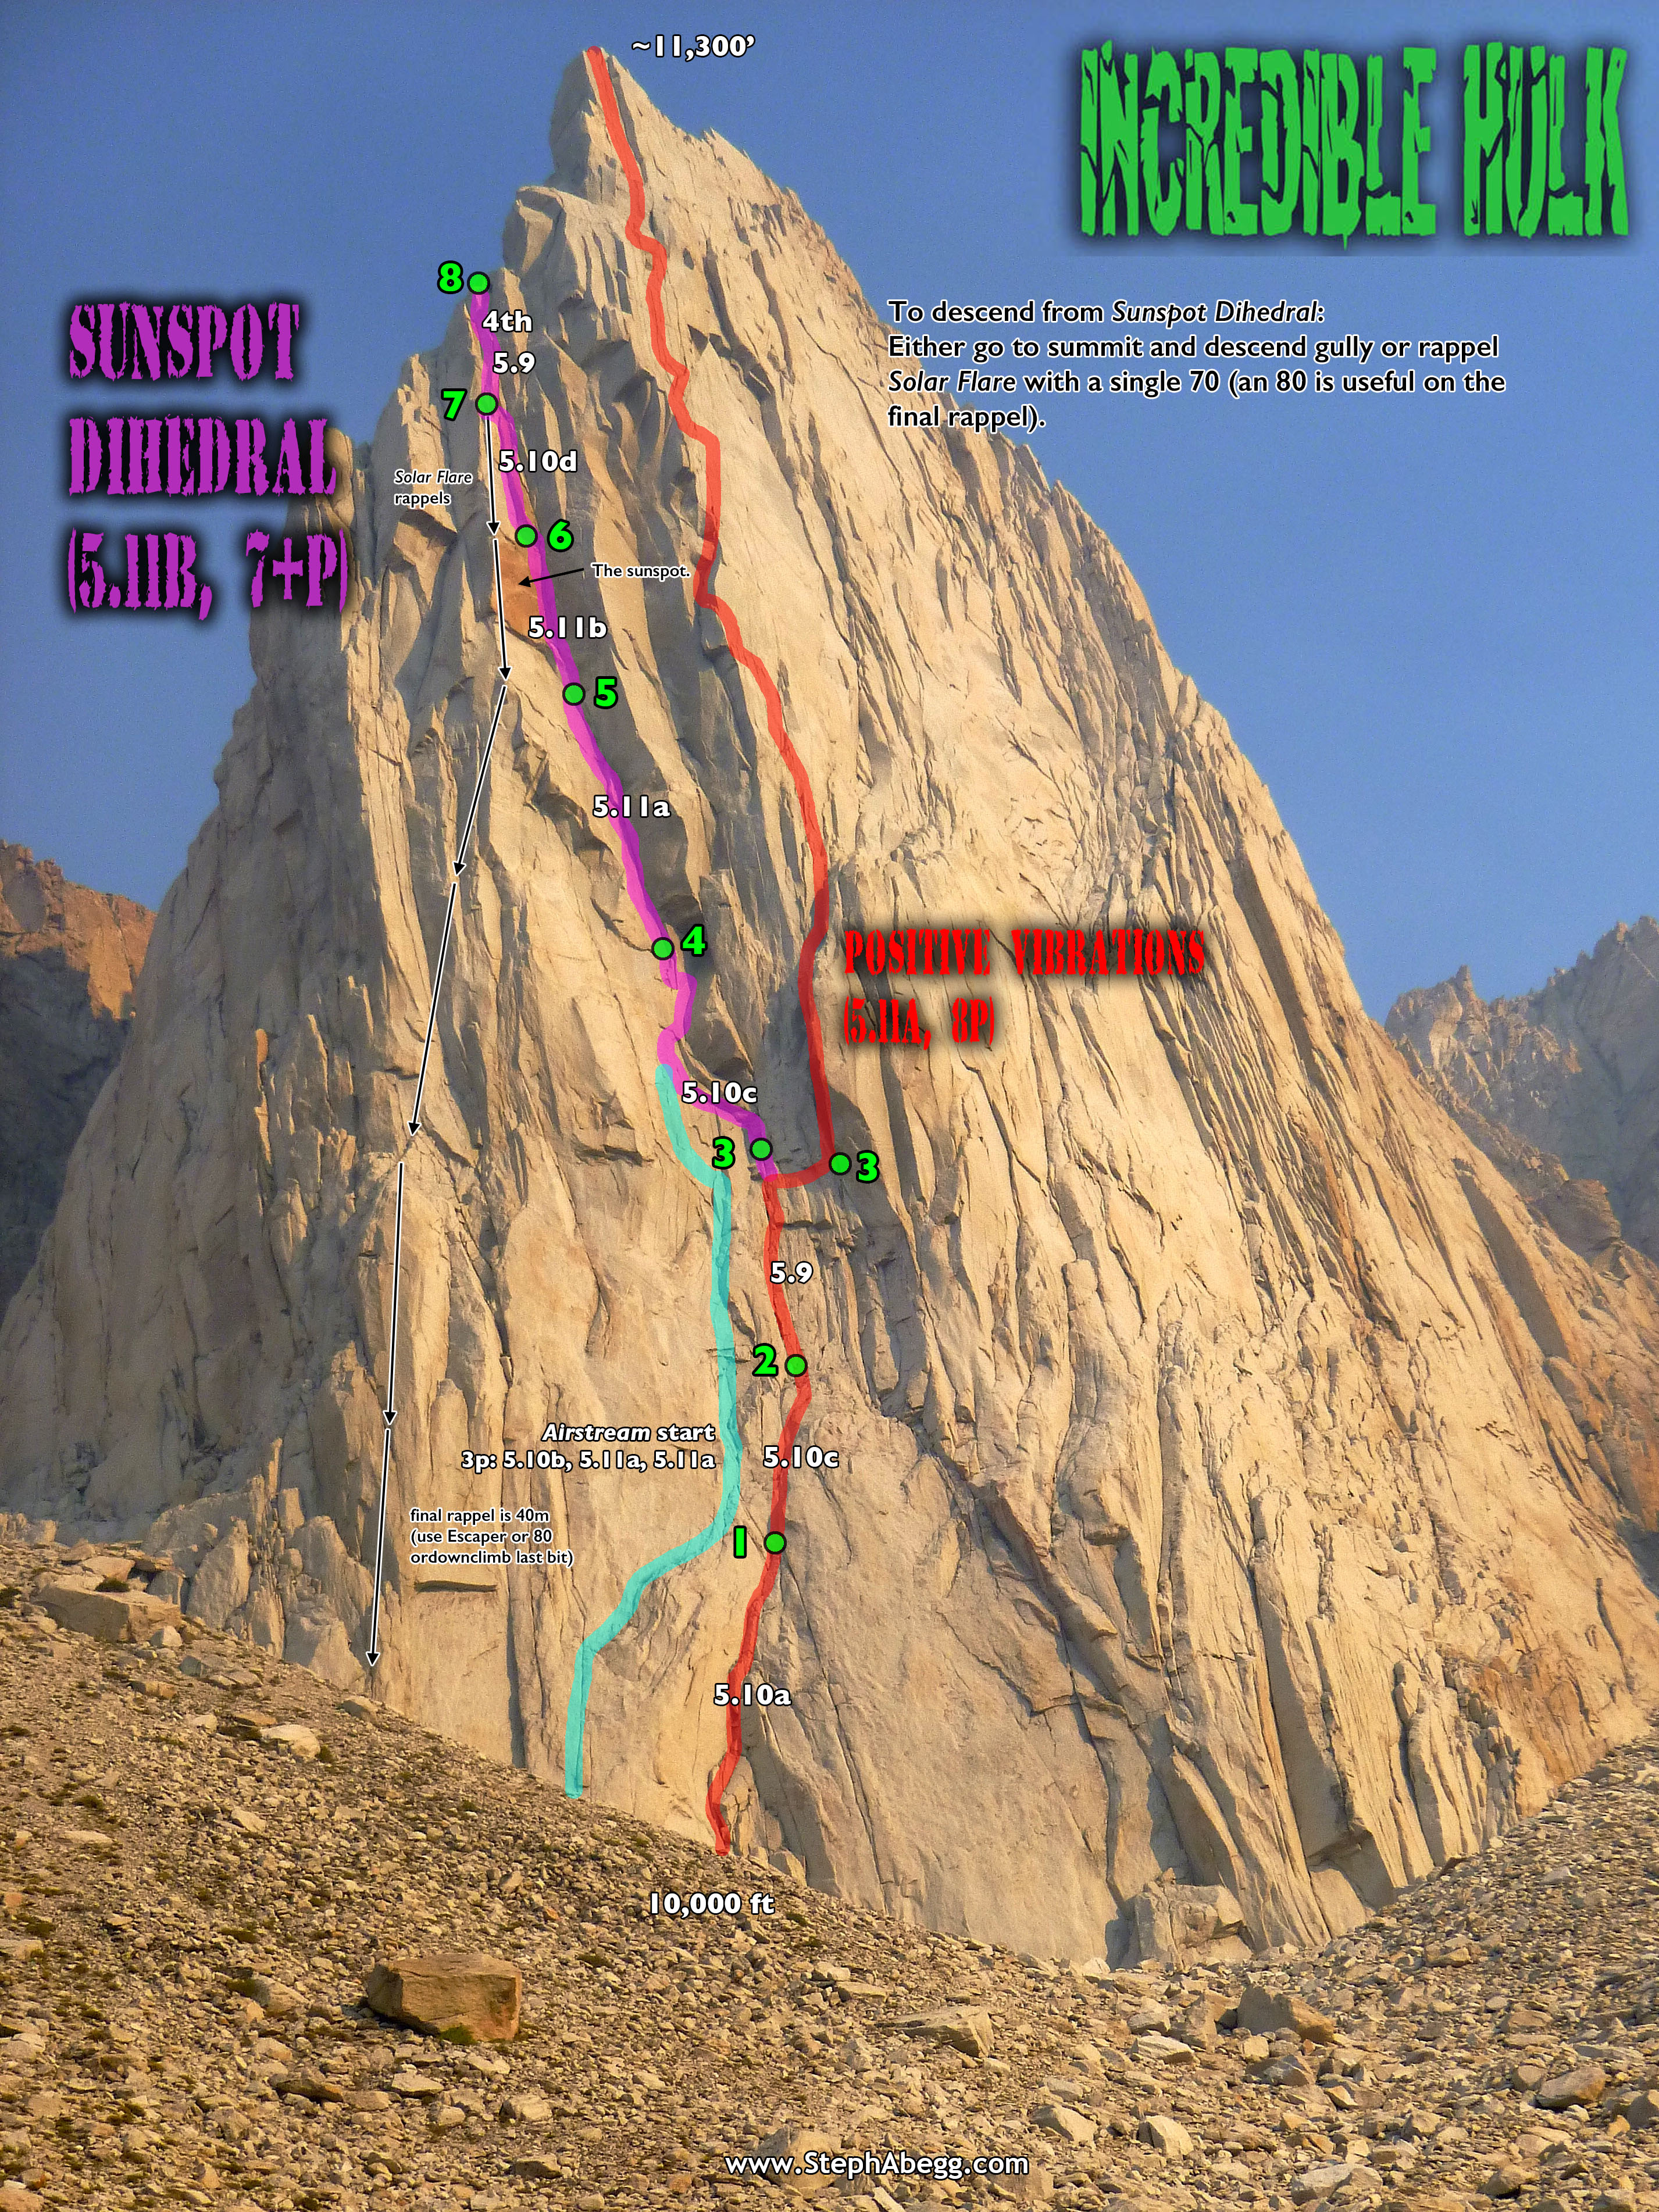
- Sunspot Dihedral (5.11b, 7p)
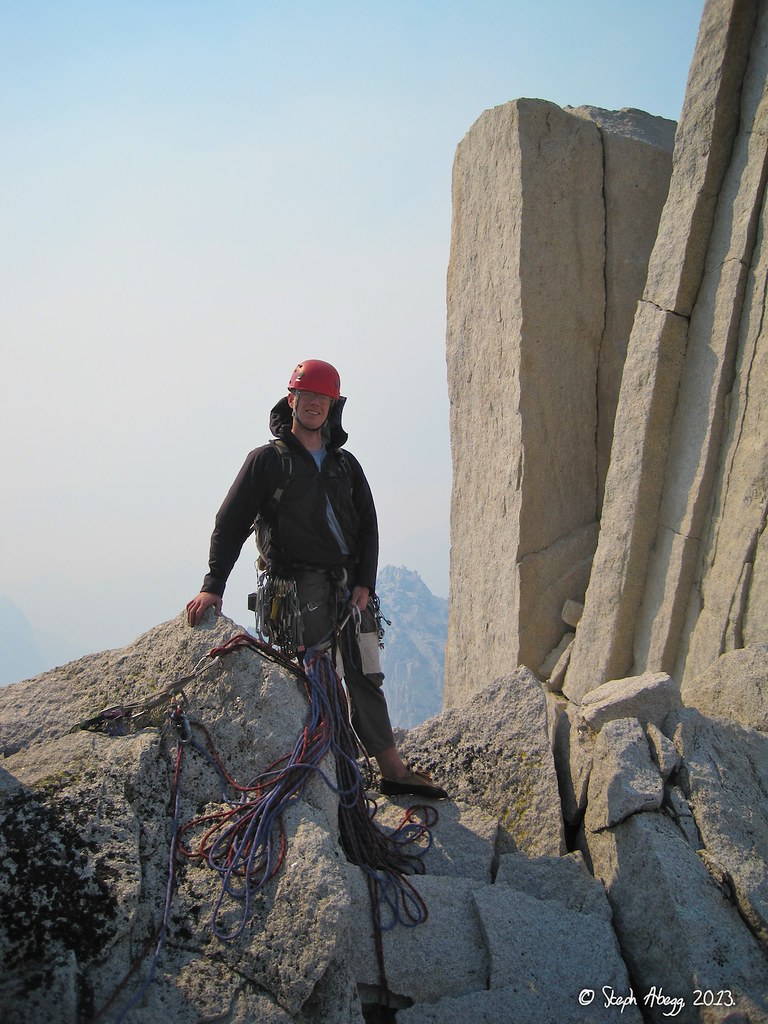
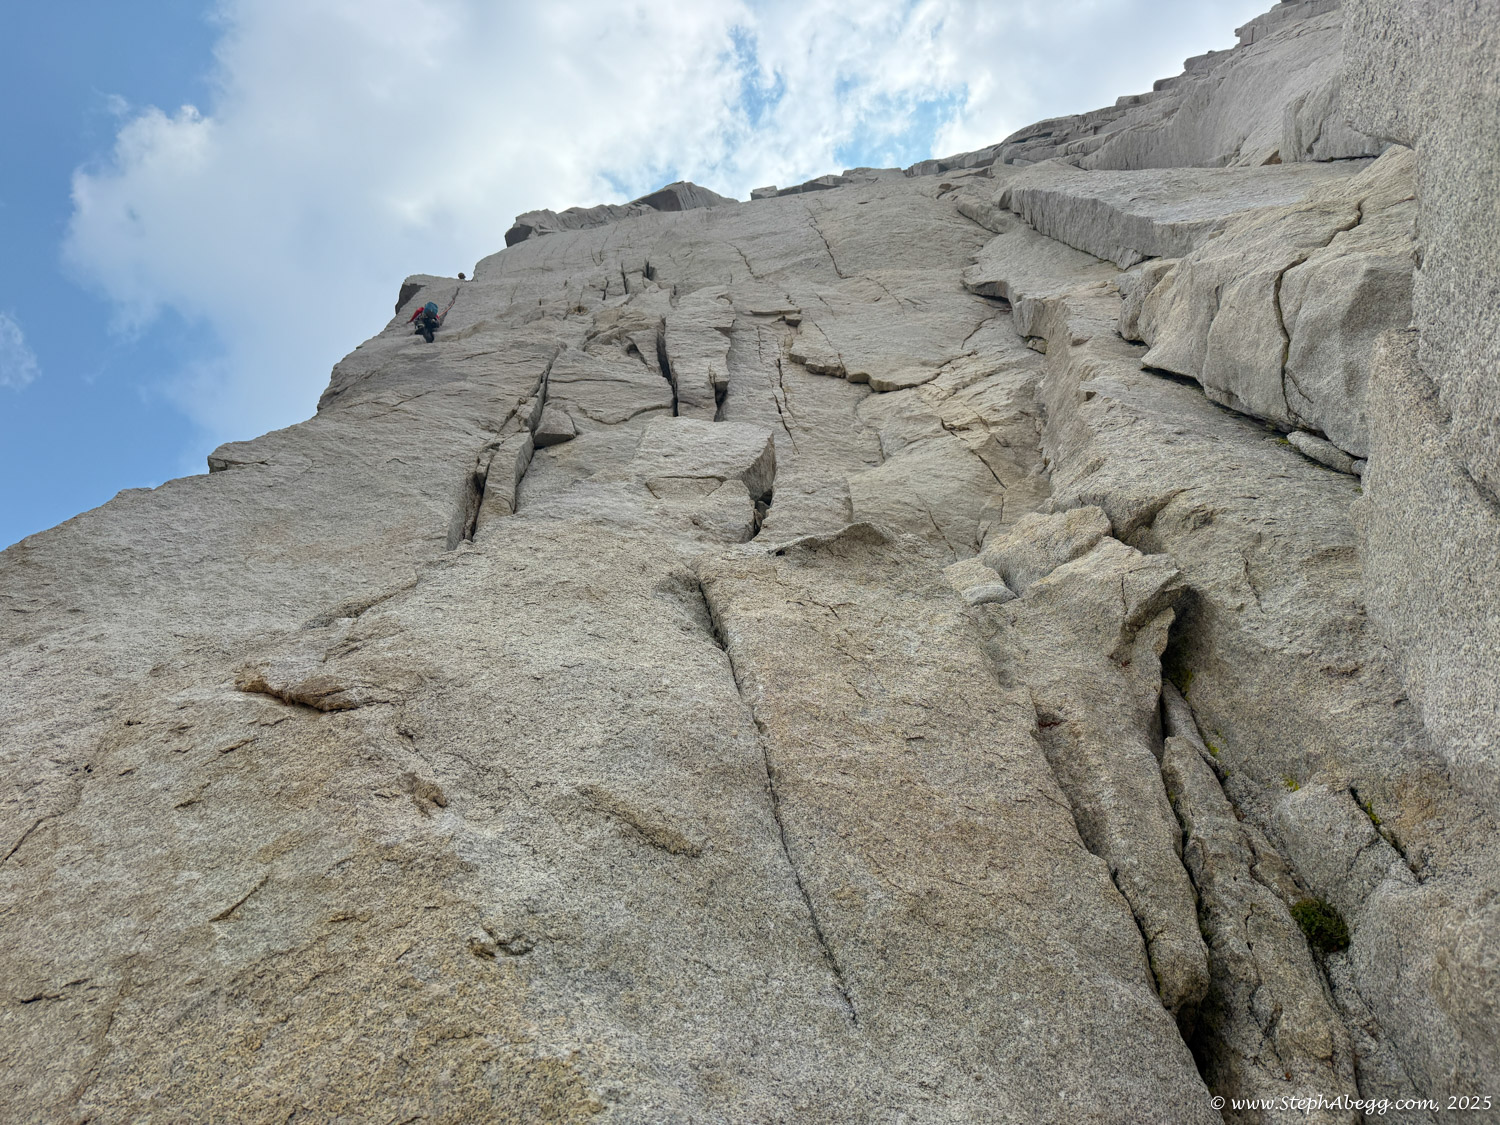
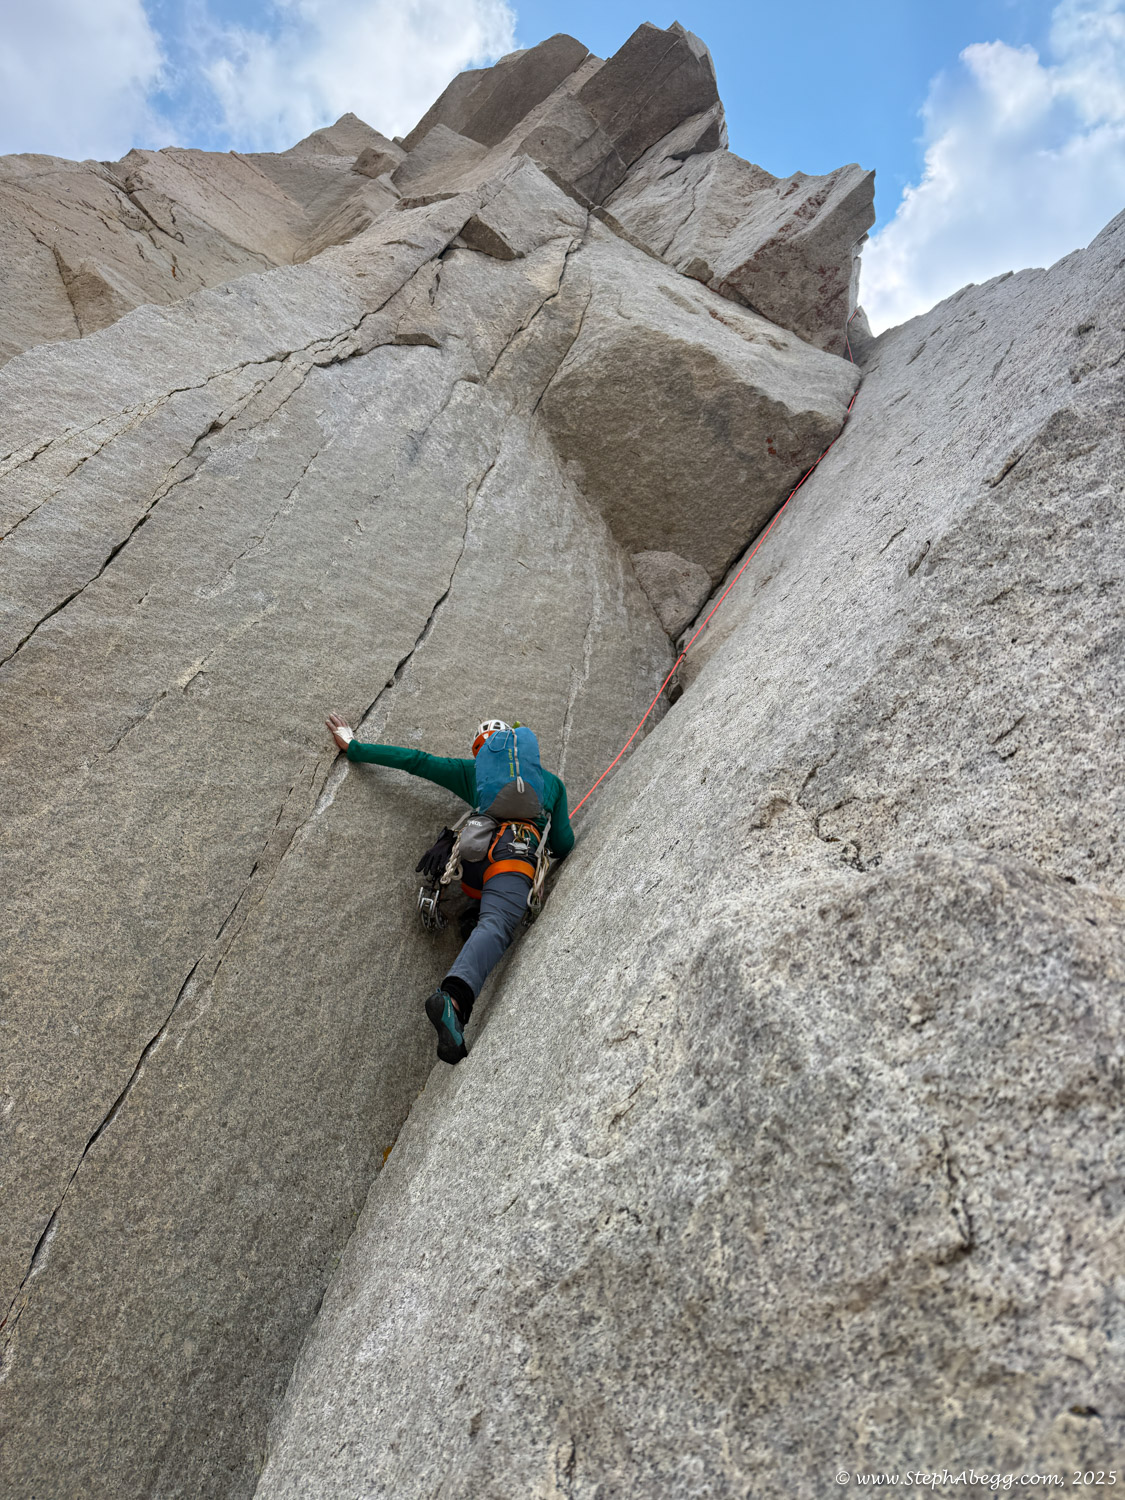
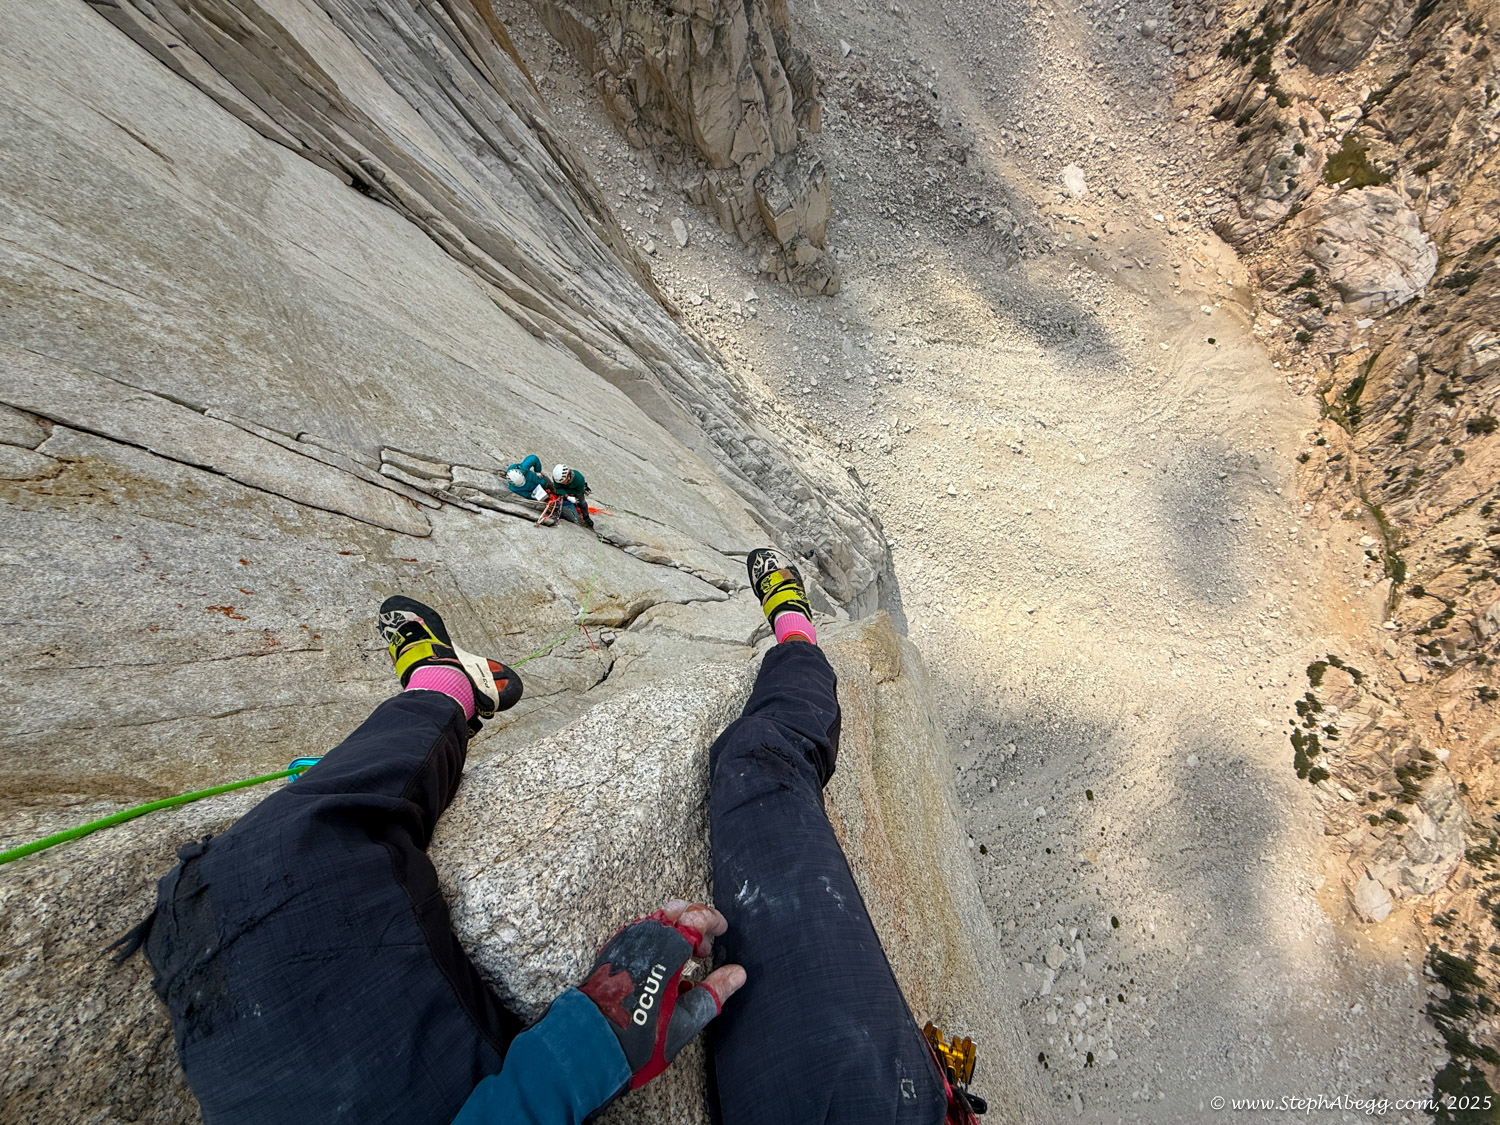
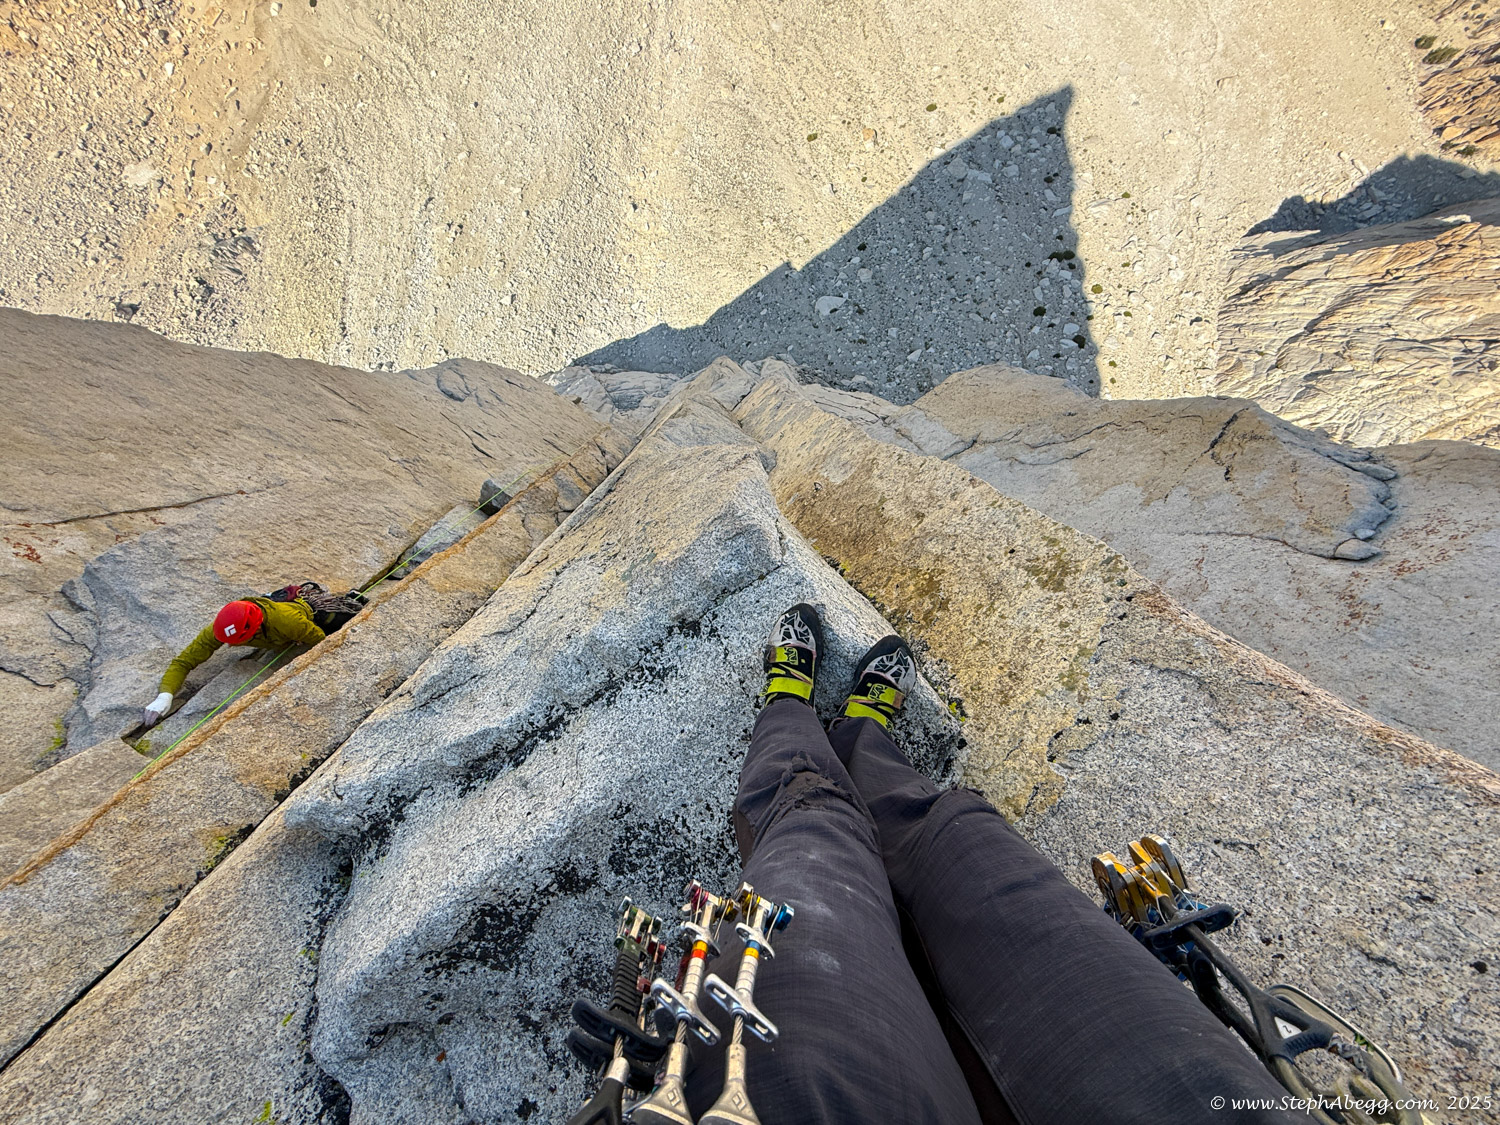
Three incredible rock climbs on some of the most incredible rock in the High Sierra.
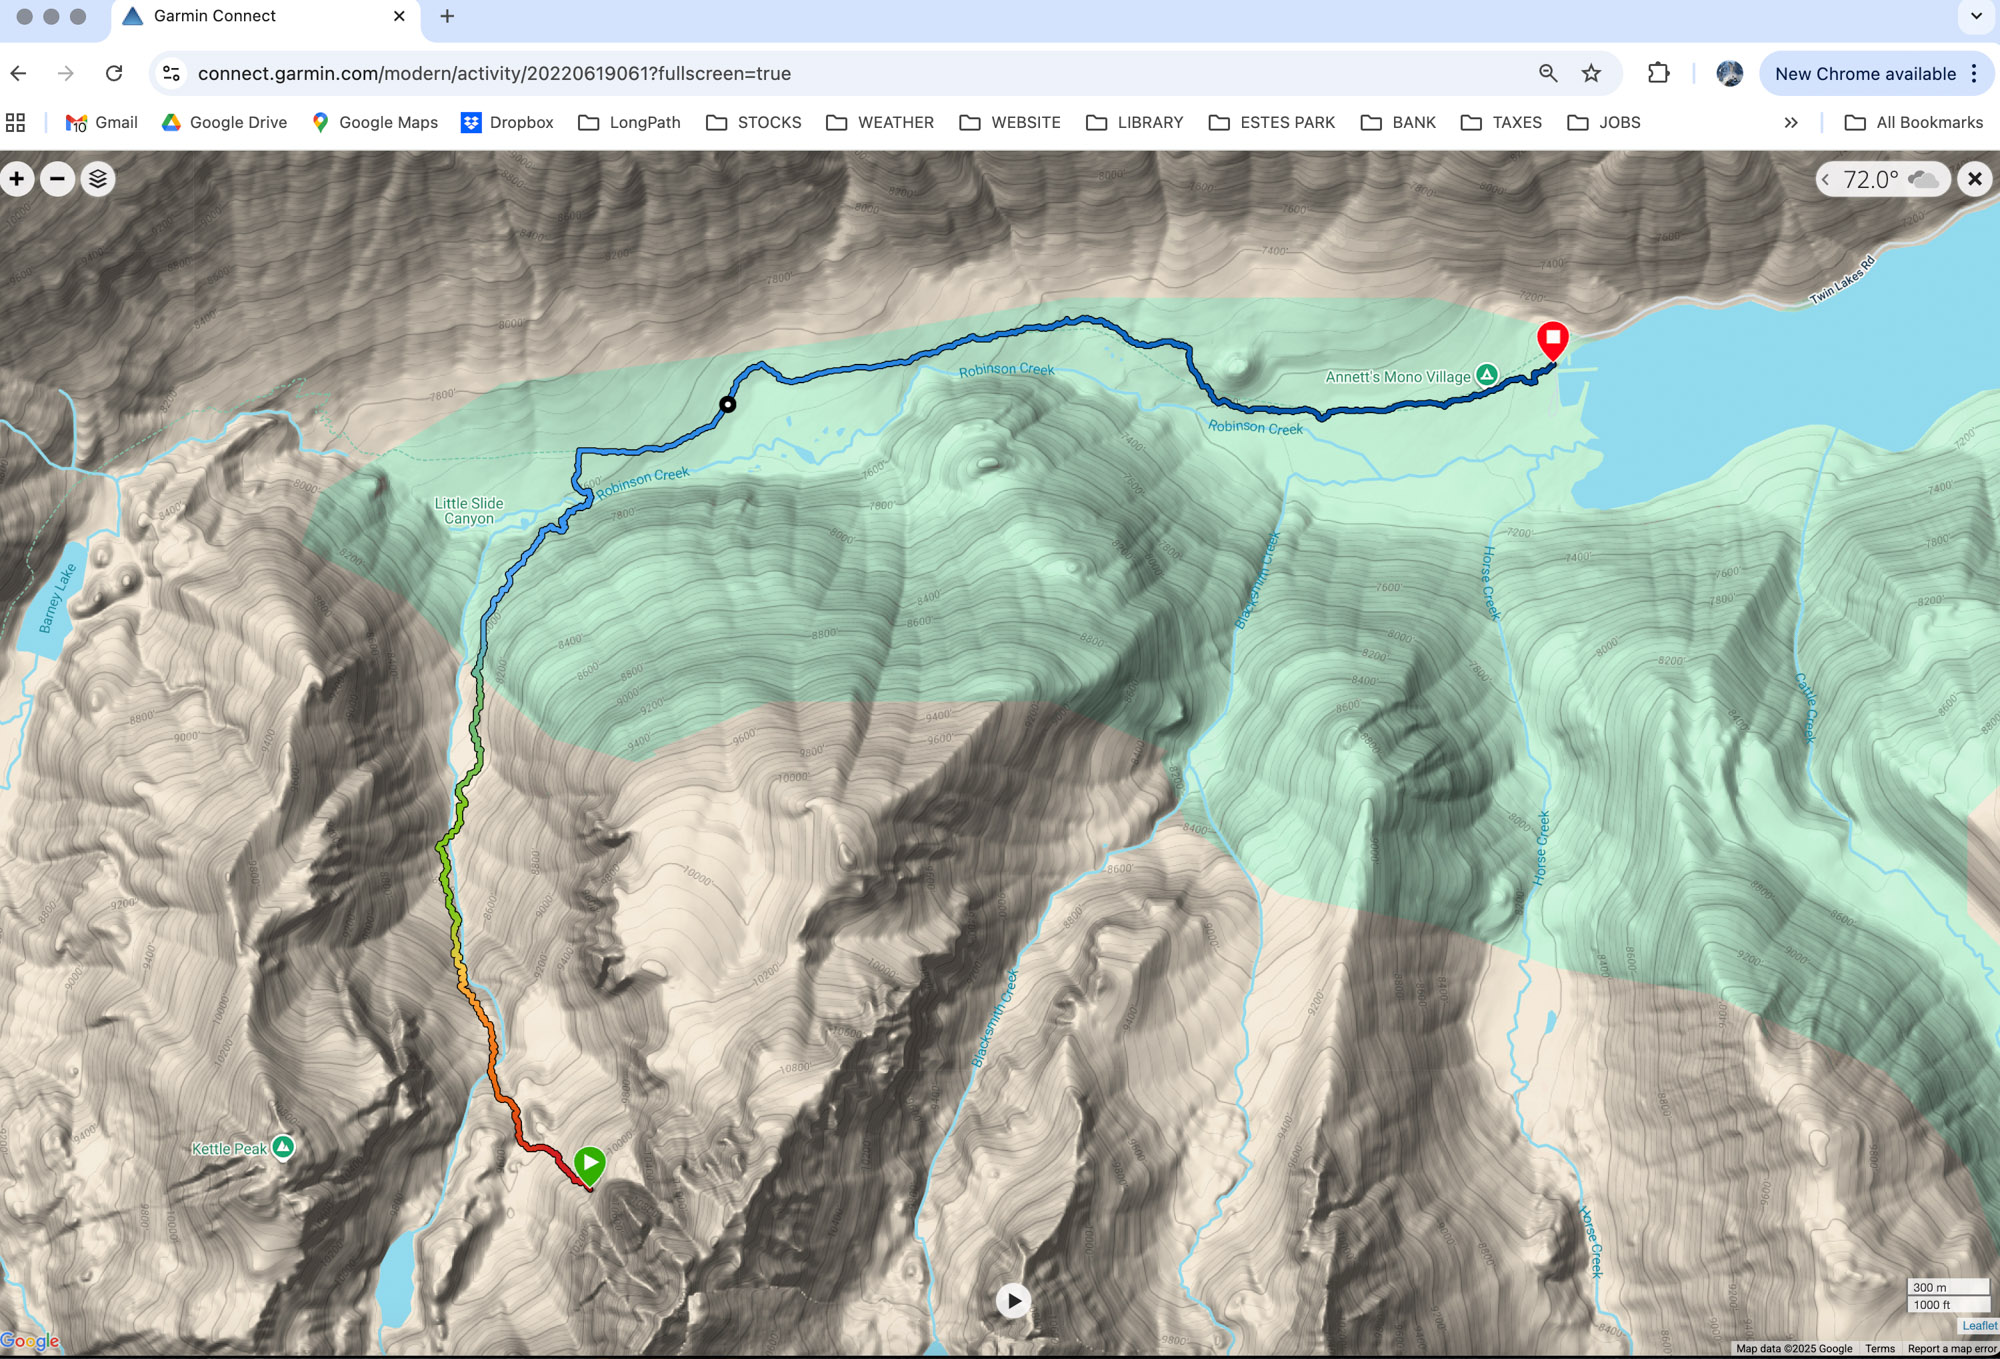
Region: California
Elev: 11,120 ft
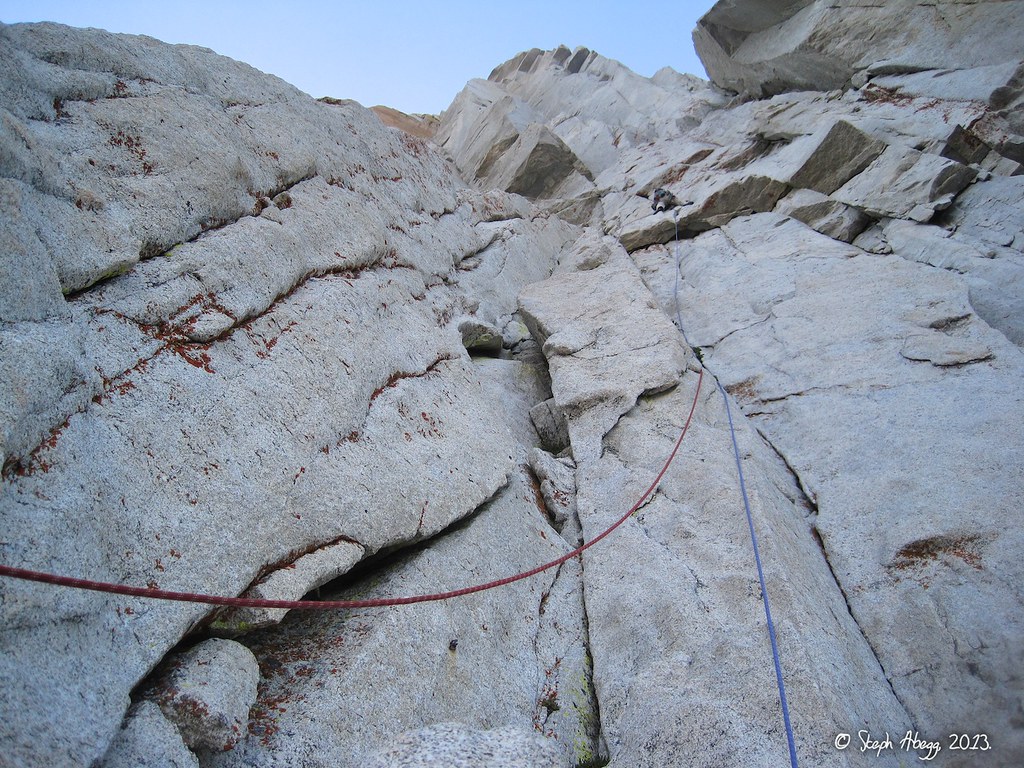
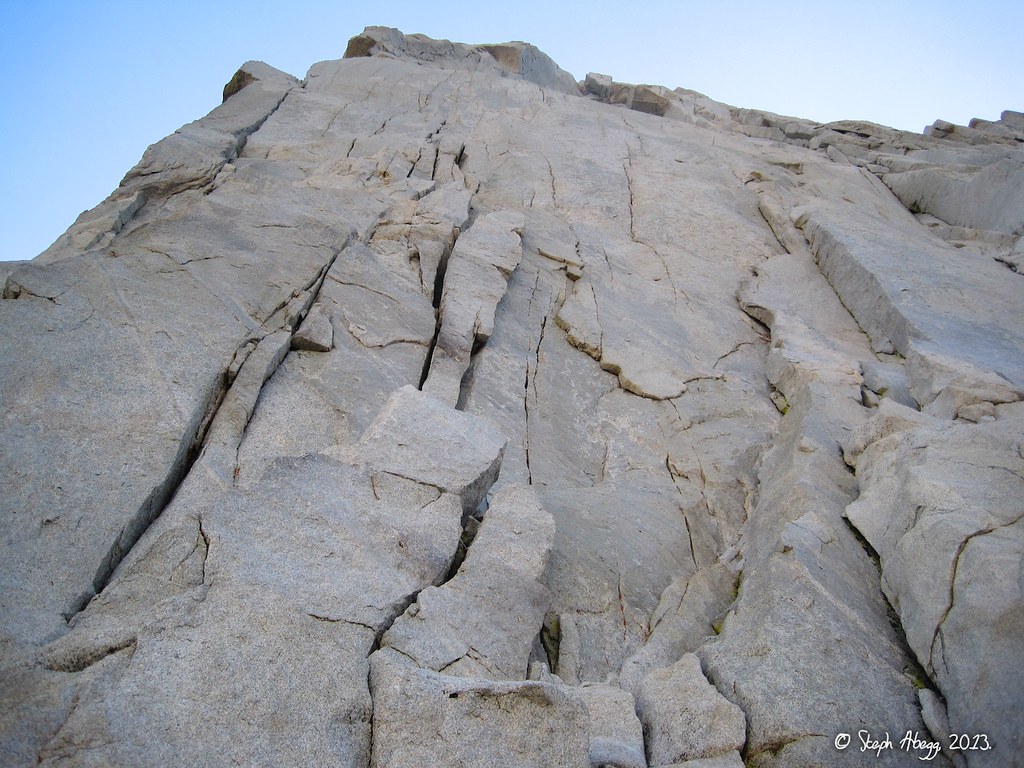
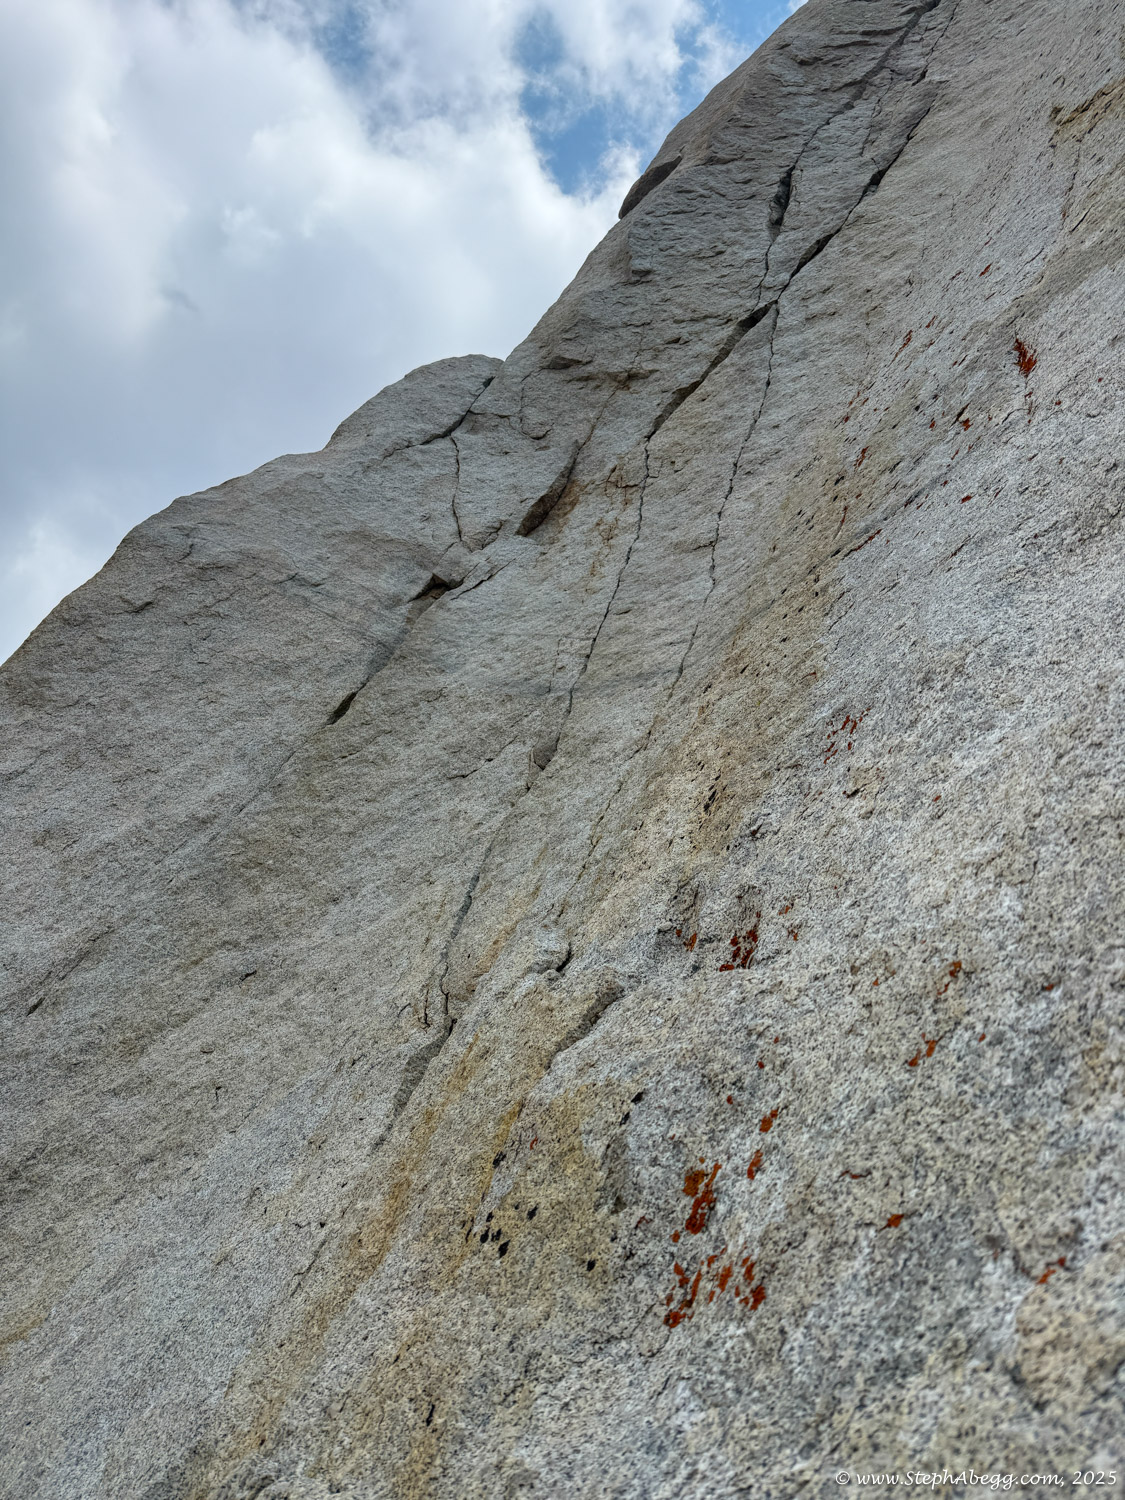
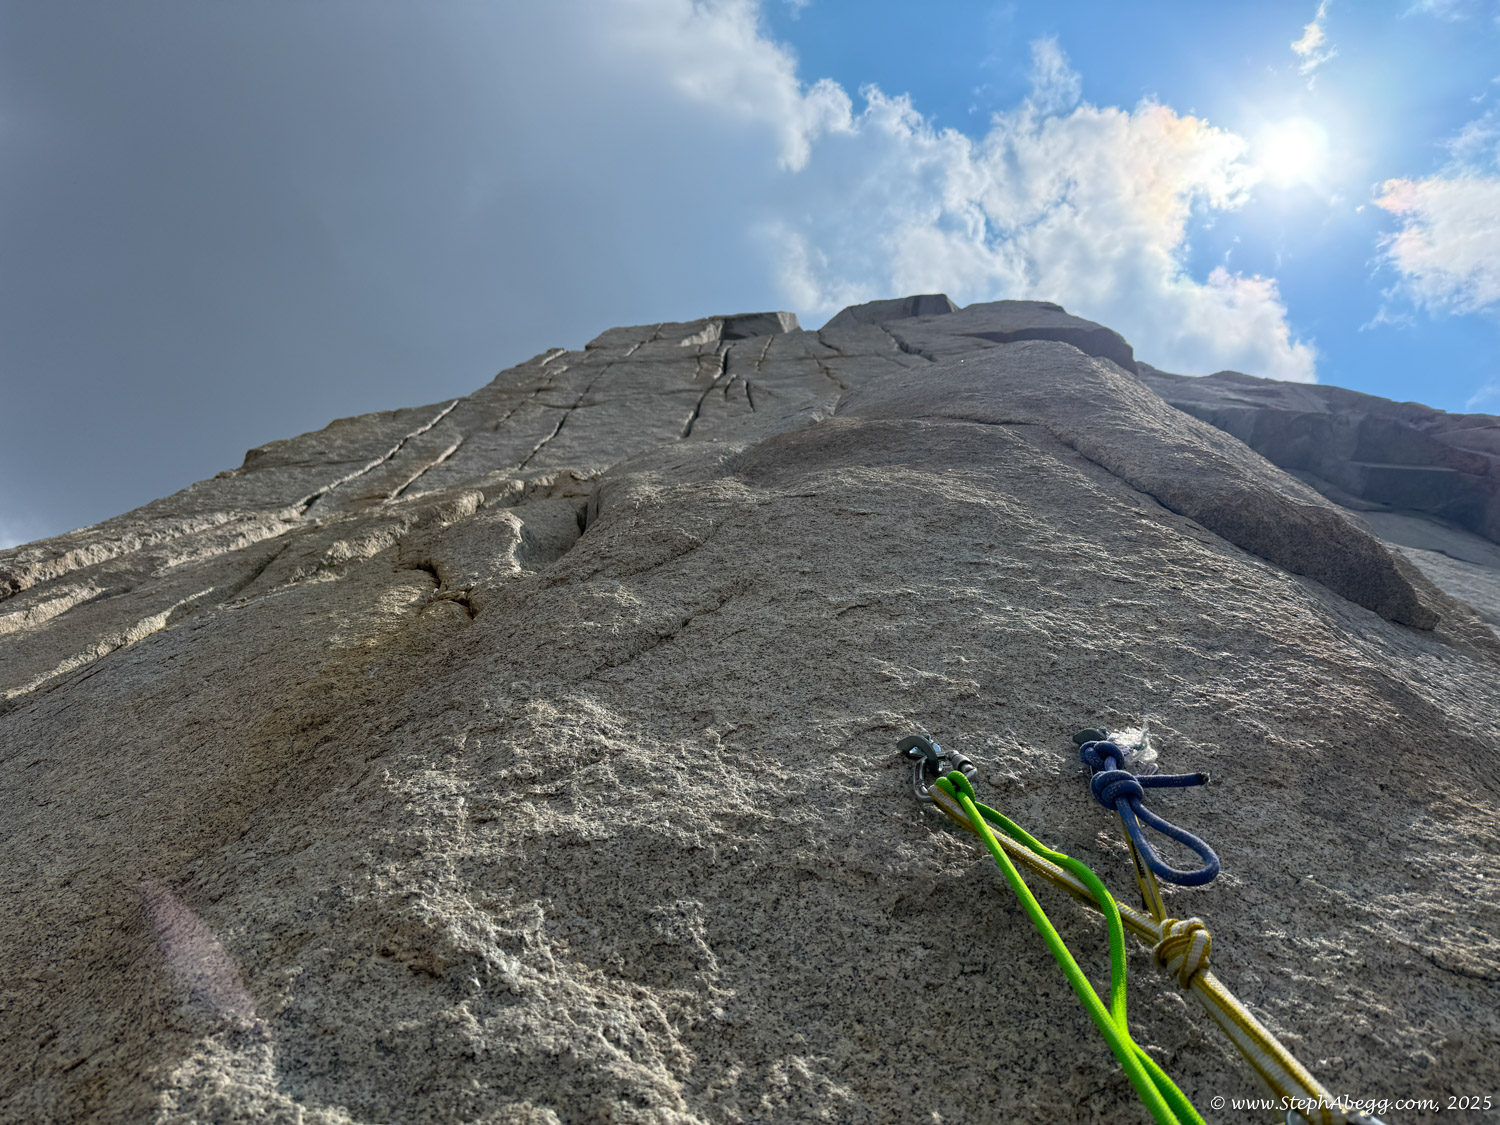
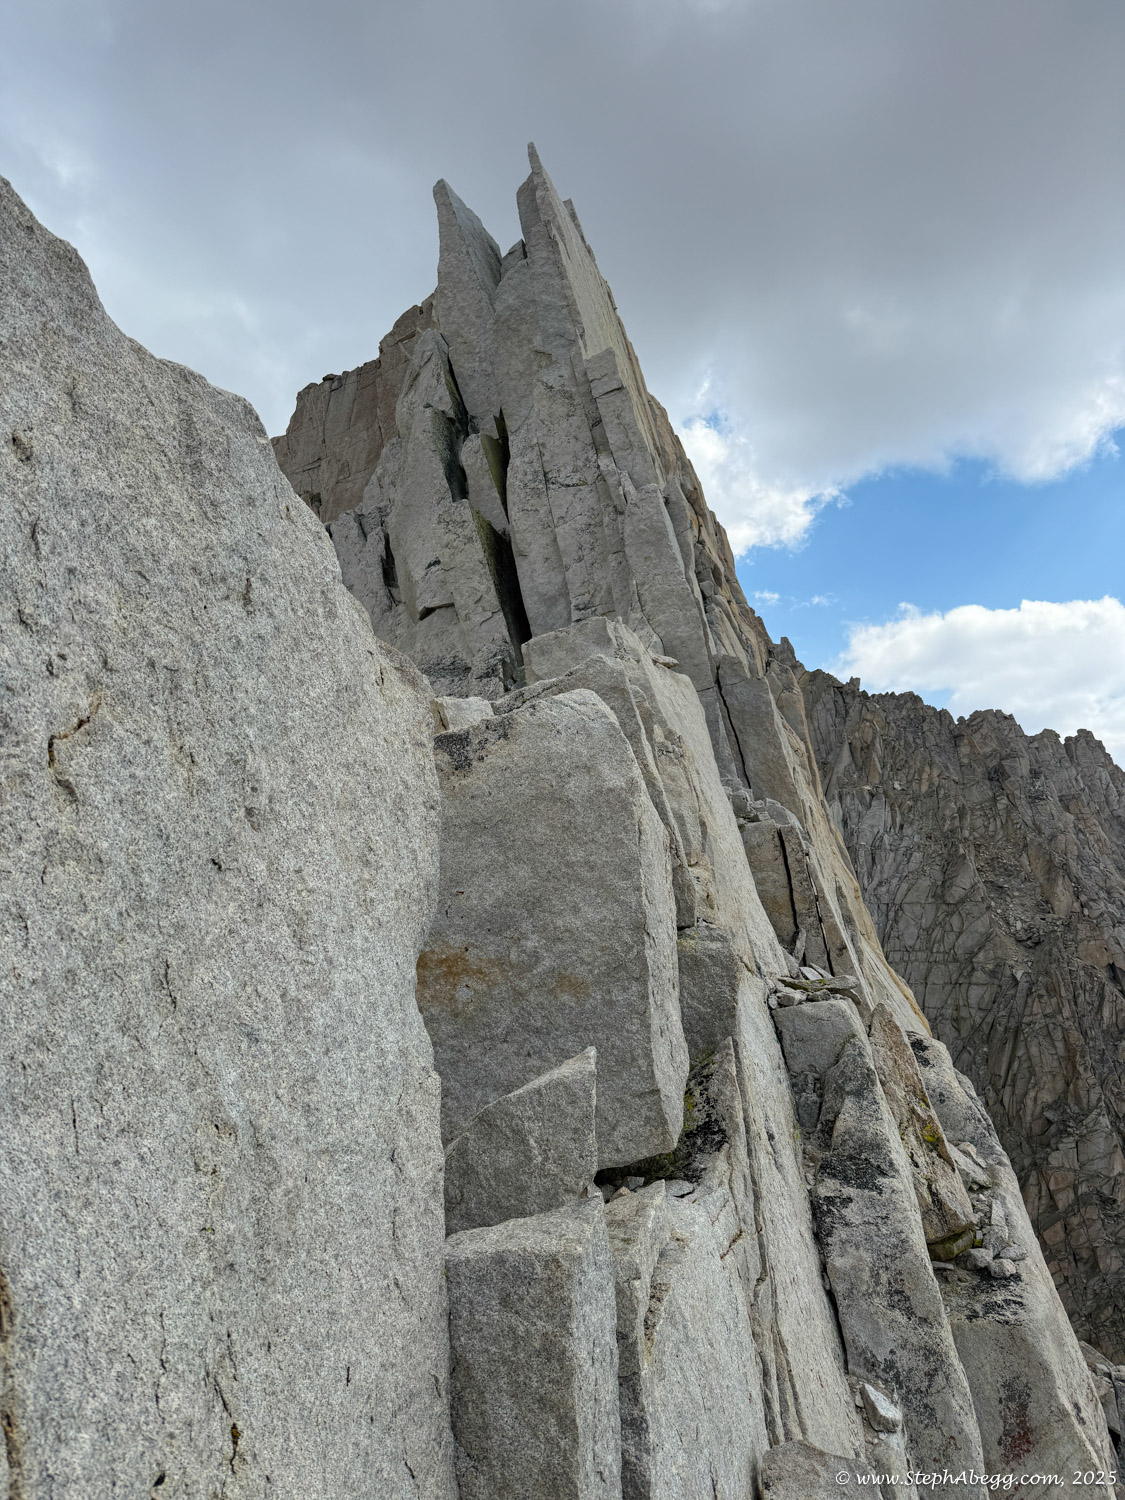
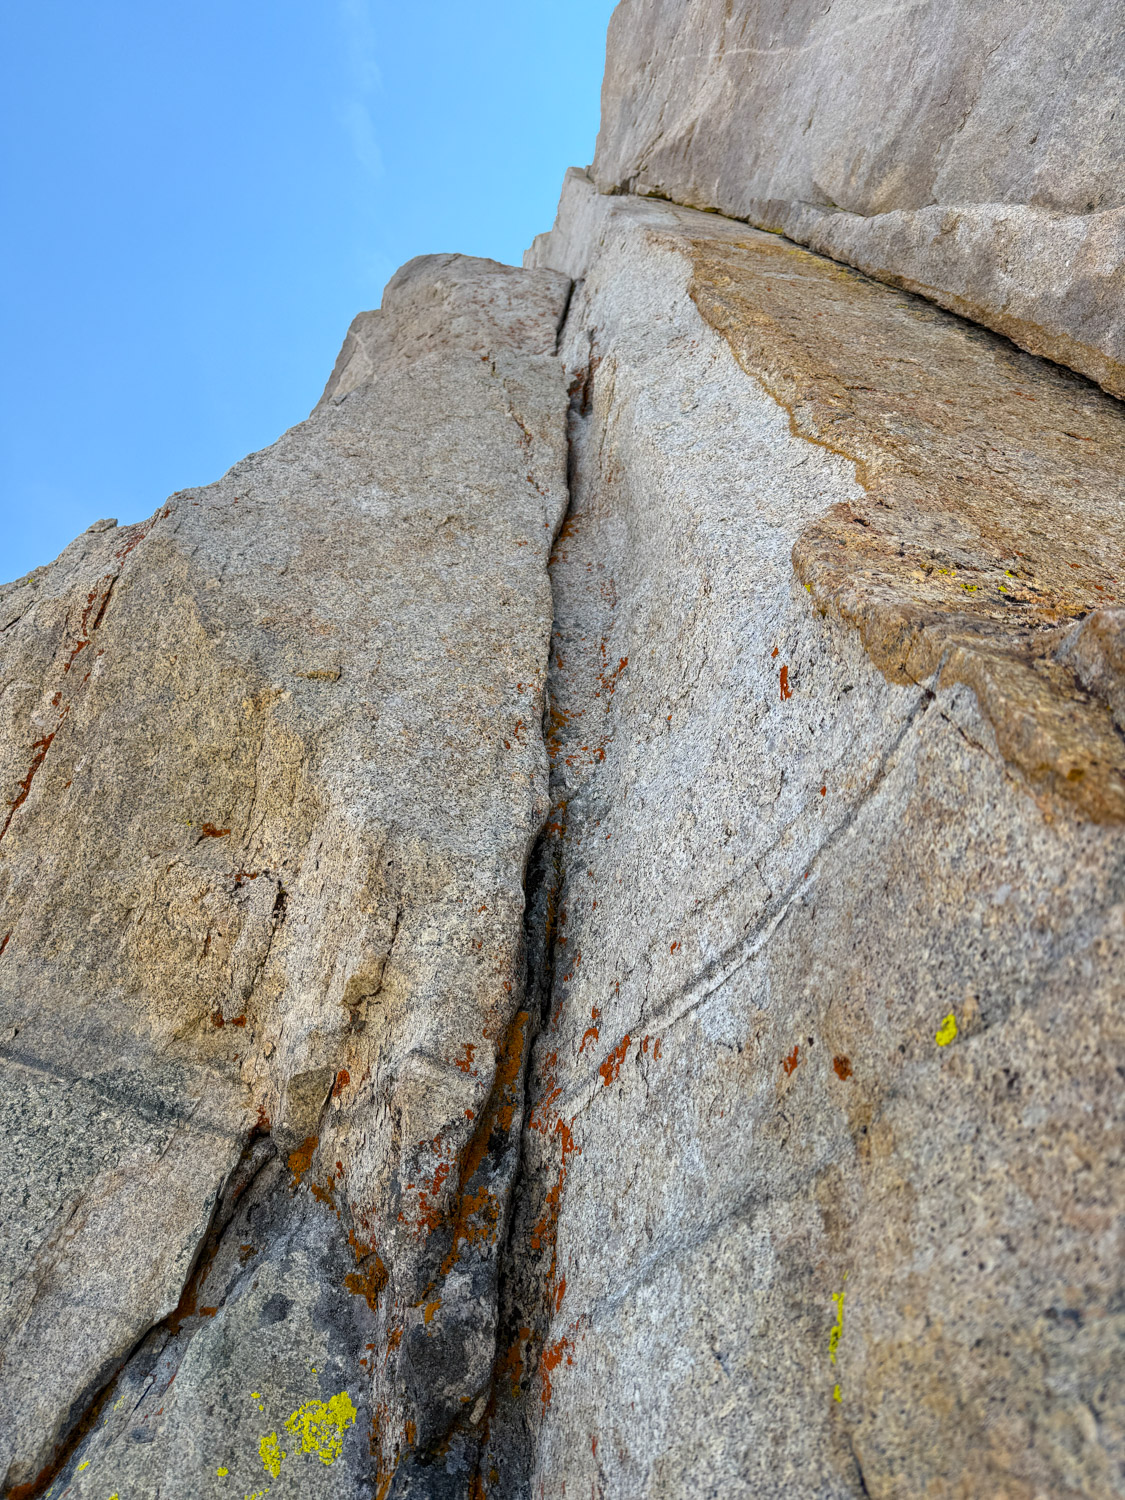
Rock: Granite
Mode:

Trip Report 1:
Red Dihedral
Date(s): September 7, 2013 (Sat)
Partner(s): Mark Thomas
Trip Report 2:
Positive Vibrations
Date(s): September 8, 2013 (Sun)
Partner(s): Nic Risser
Trip Report 3:
Red Dihedral
Date(s): August 4, 2015 (Tue)
Partner(s): Sarah Inwood
Trip Report 4:
Positive Vibrations
Date(s): August 29, 2025 (Fri)
Partner(s): Christian Hesch
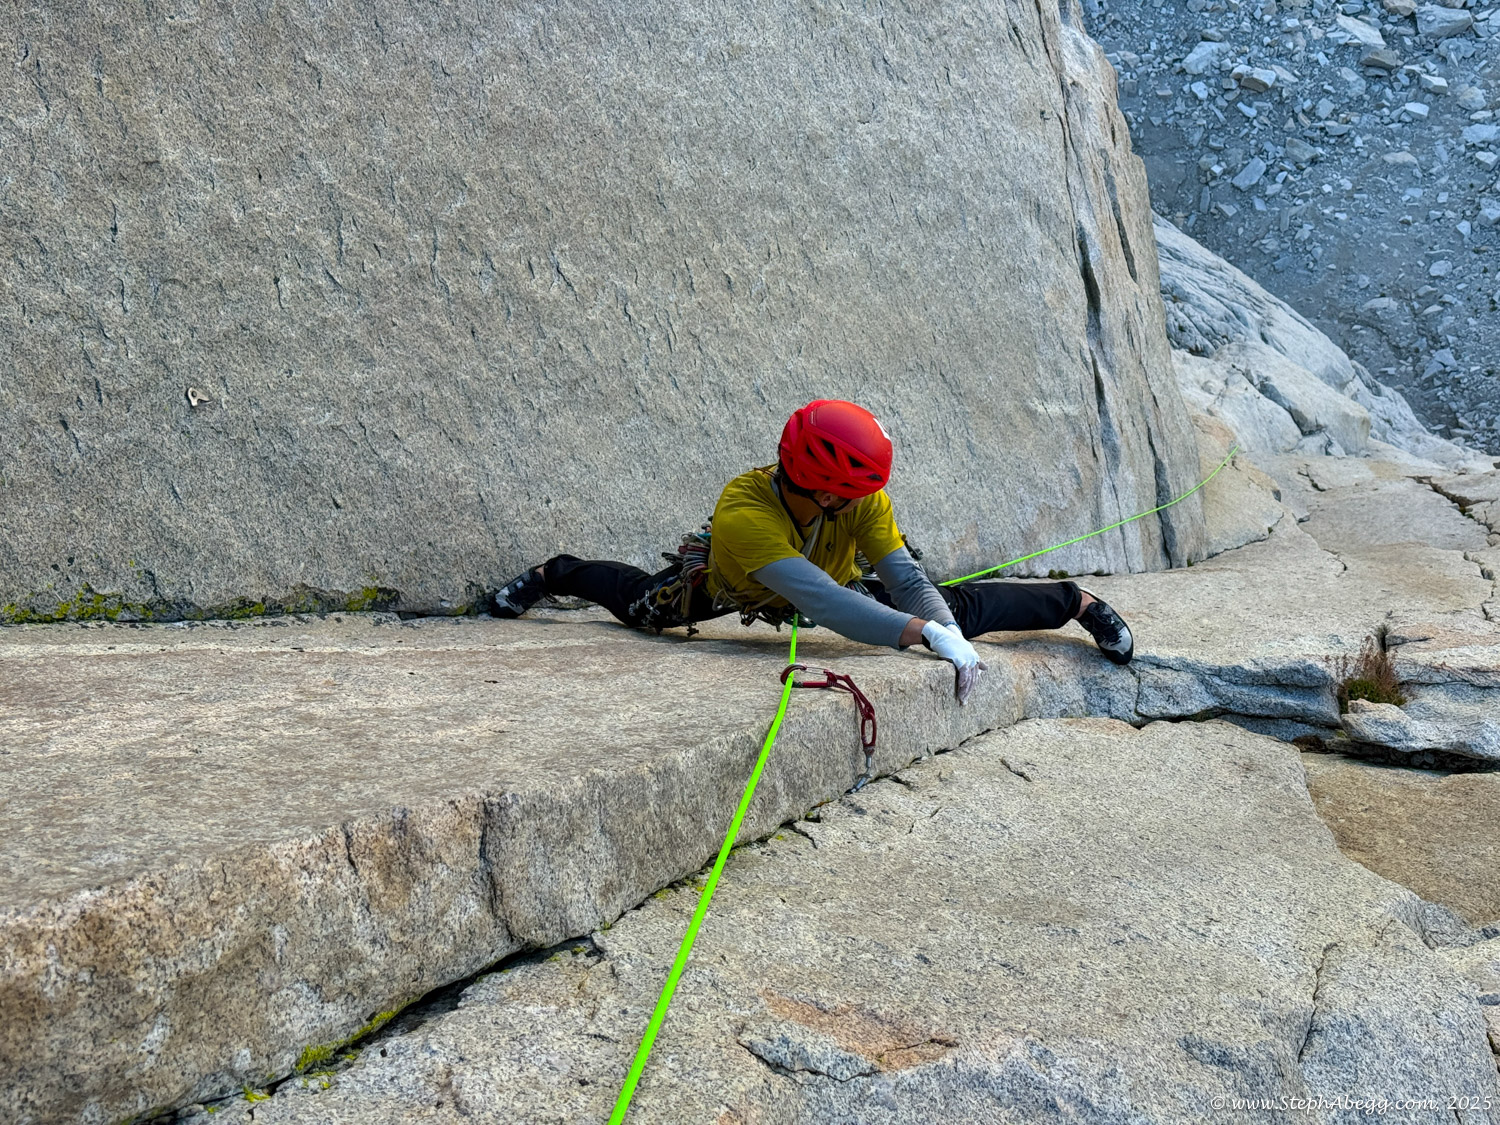
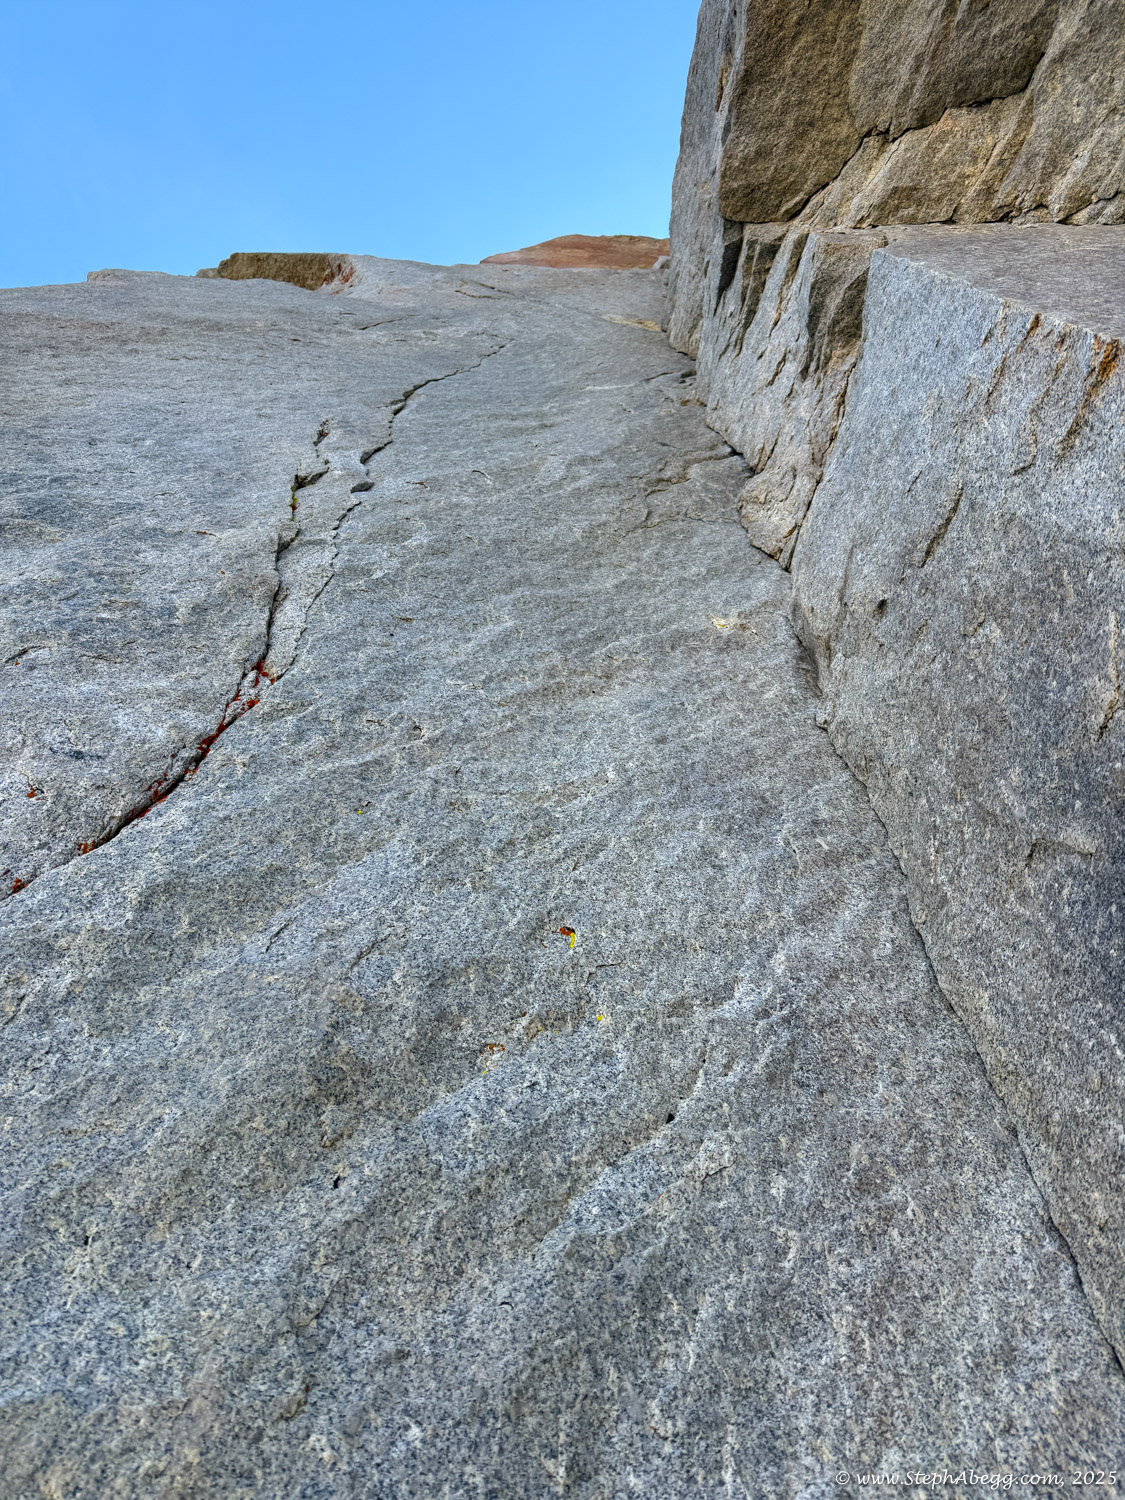
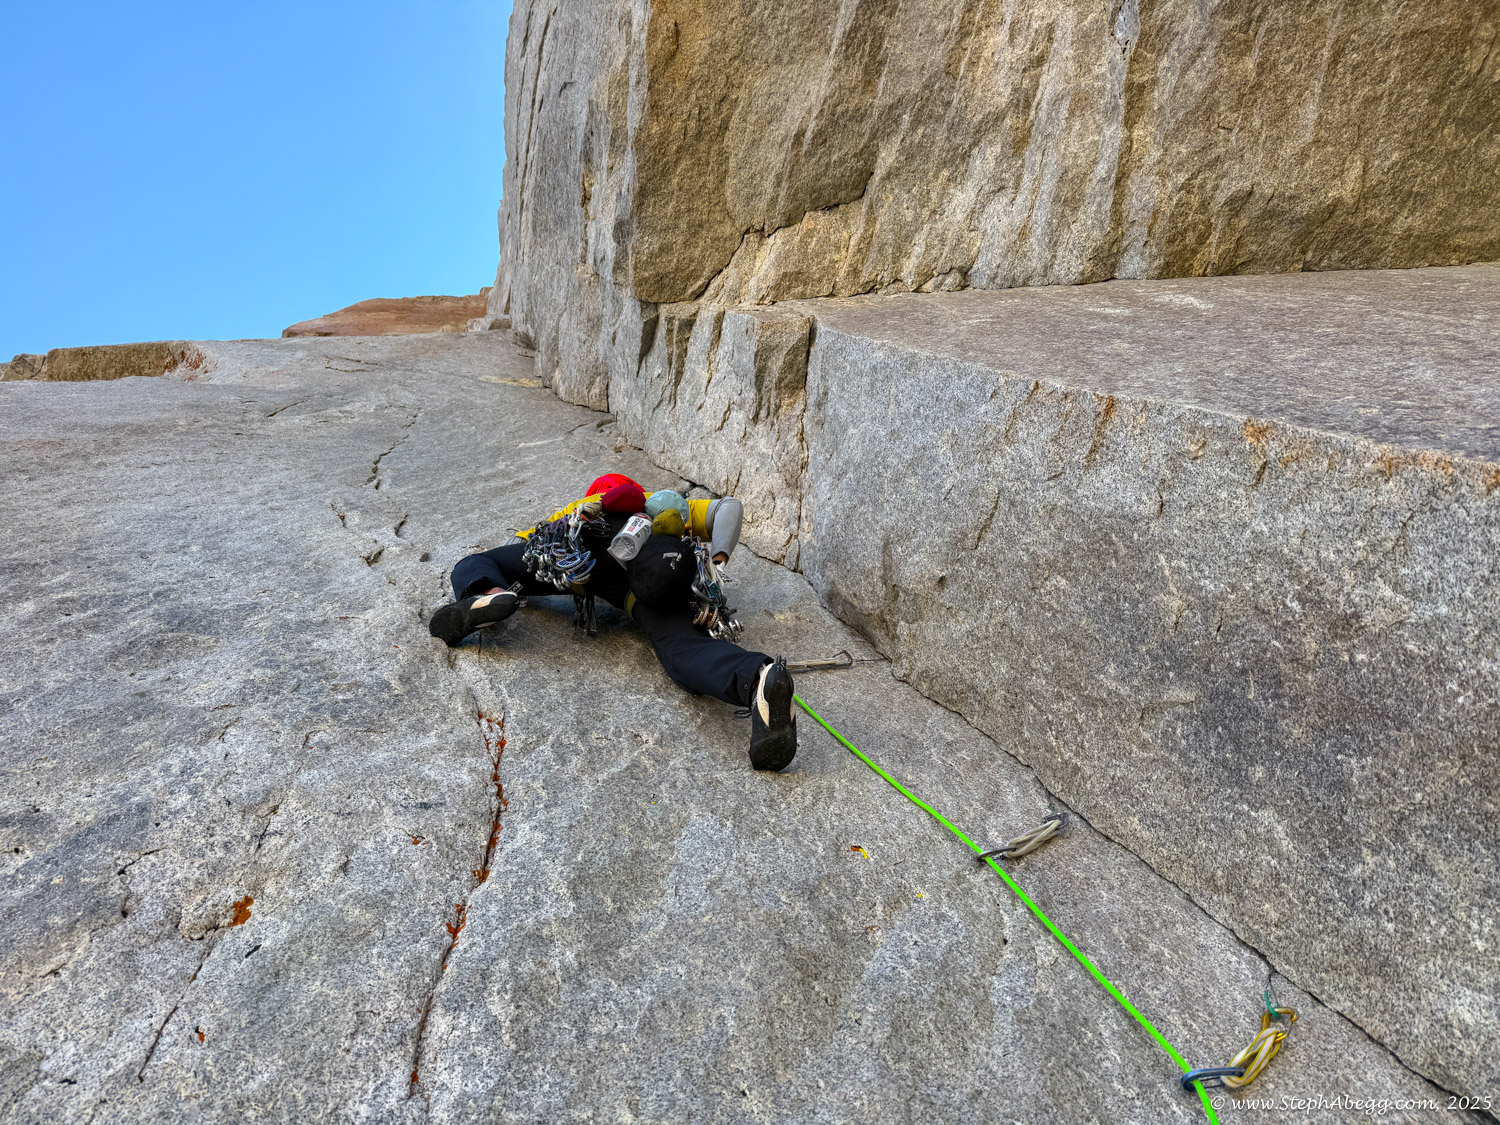
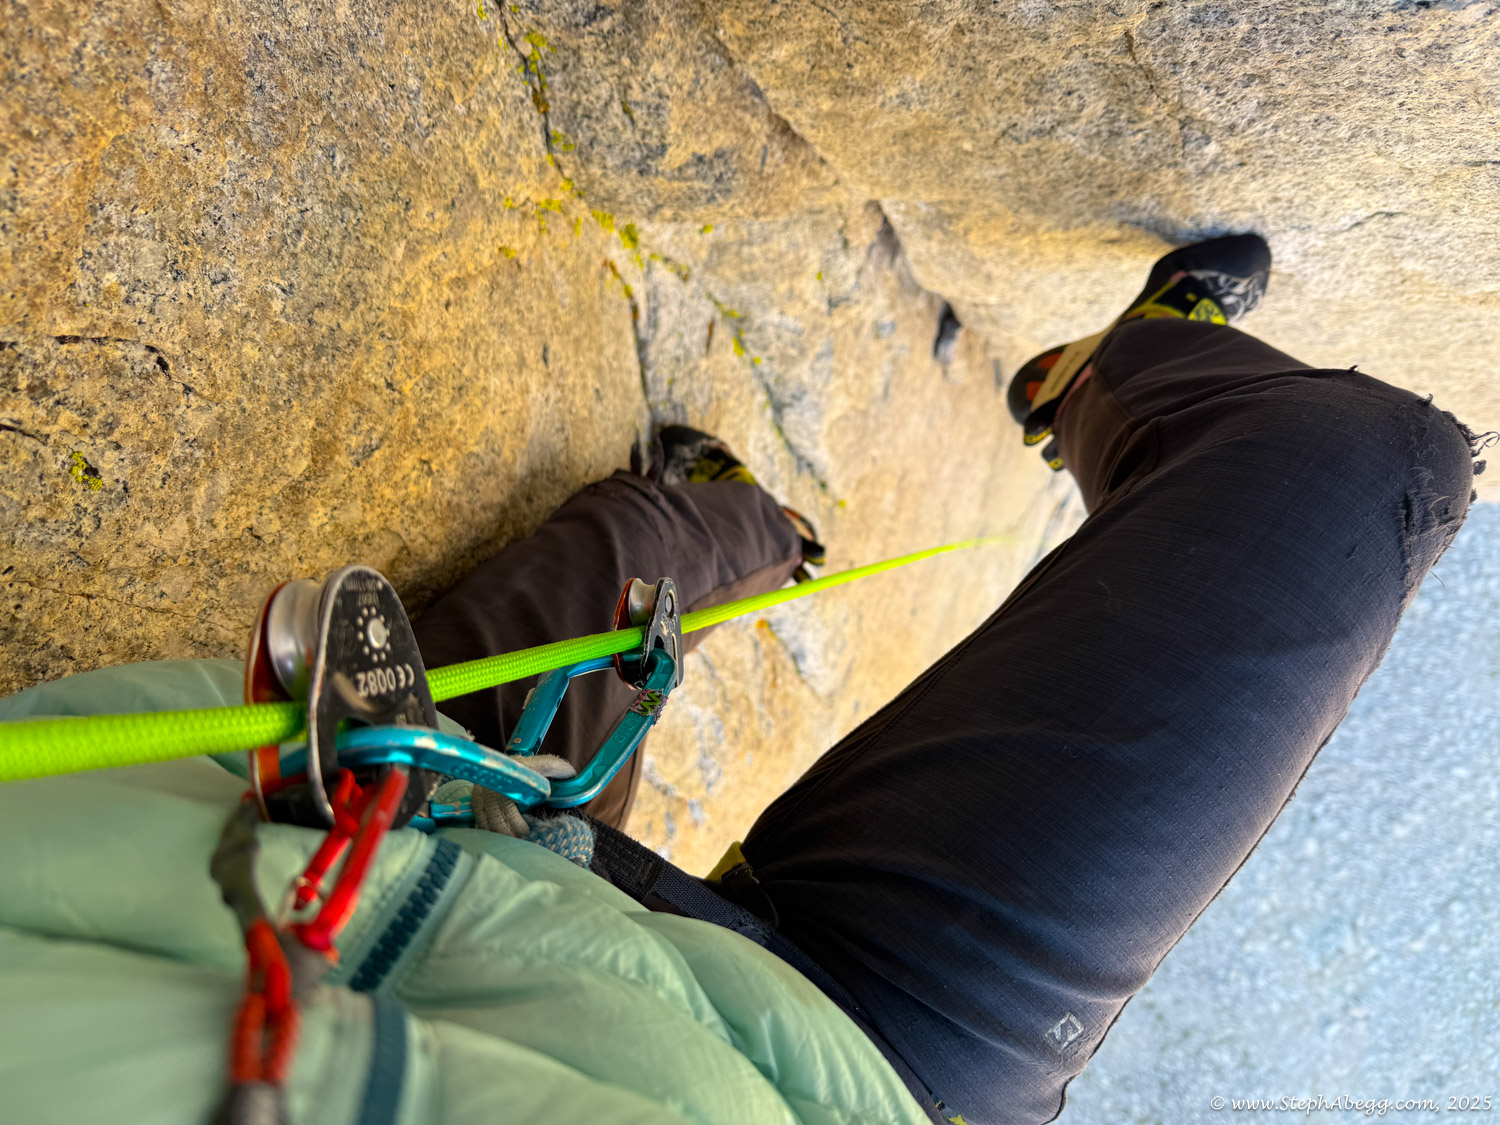
Trip Report 5:
Sunspot Dihedral
Date(s): September 4, 2025 (Thu)
Partner(s): Lane Baldridge