The previous week as we (Dan, Chad, Sarah, and I) drove south to do some climbing in California's High Sierra, unstable weather caused us to take a detour to Tuolume, where we enjoyed a climb up the
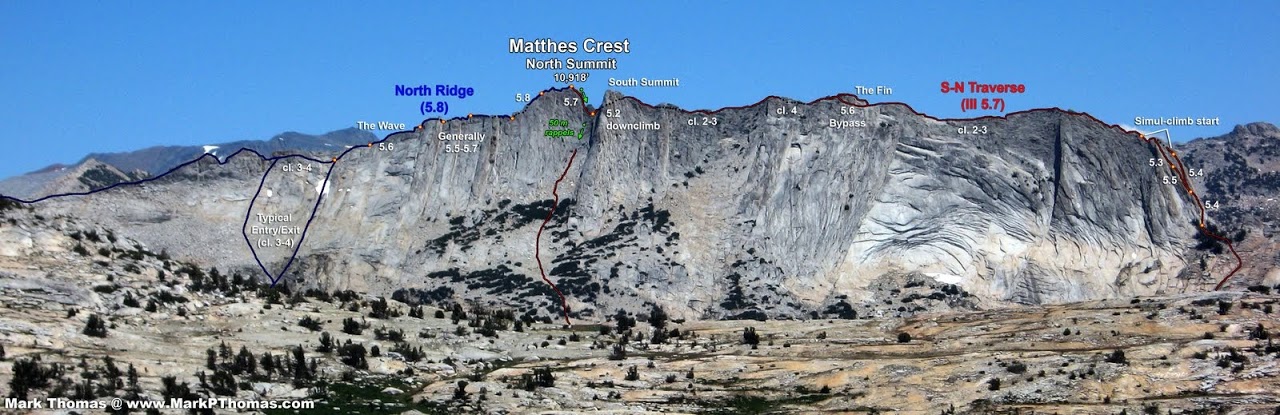
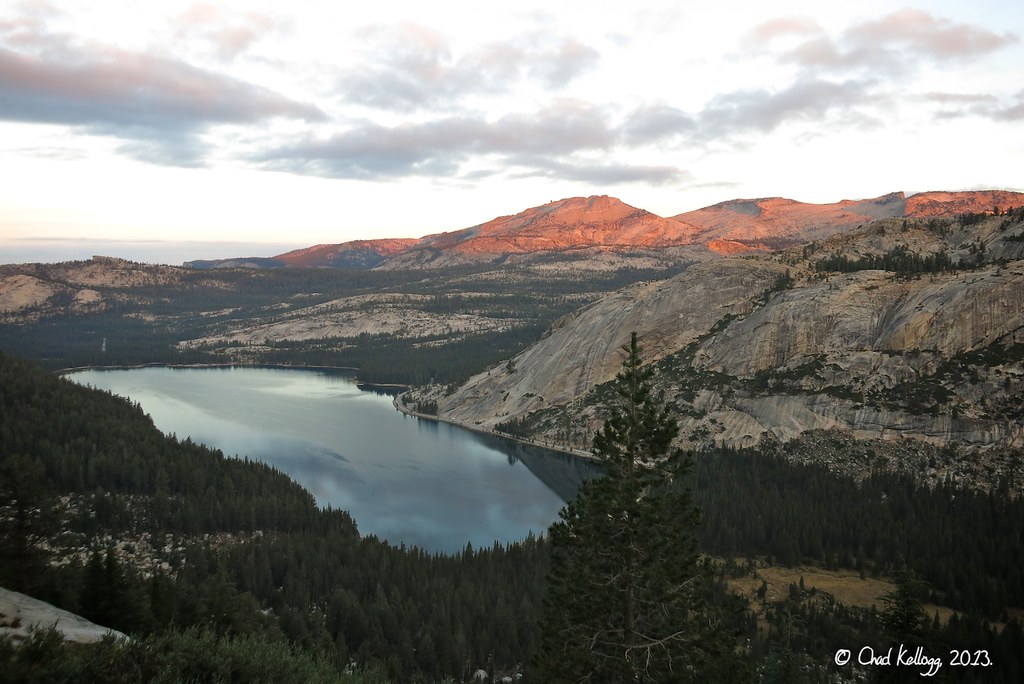
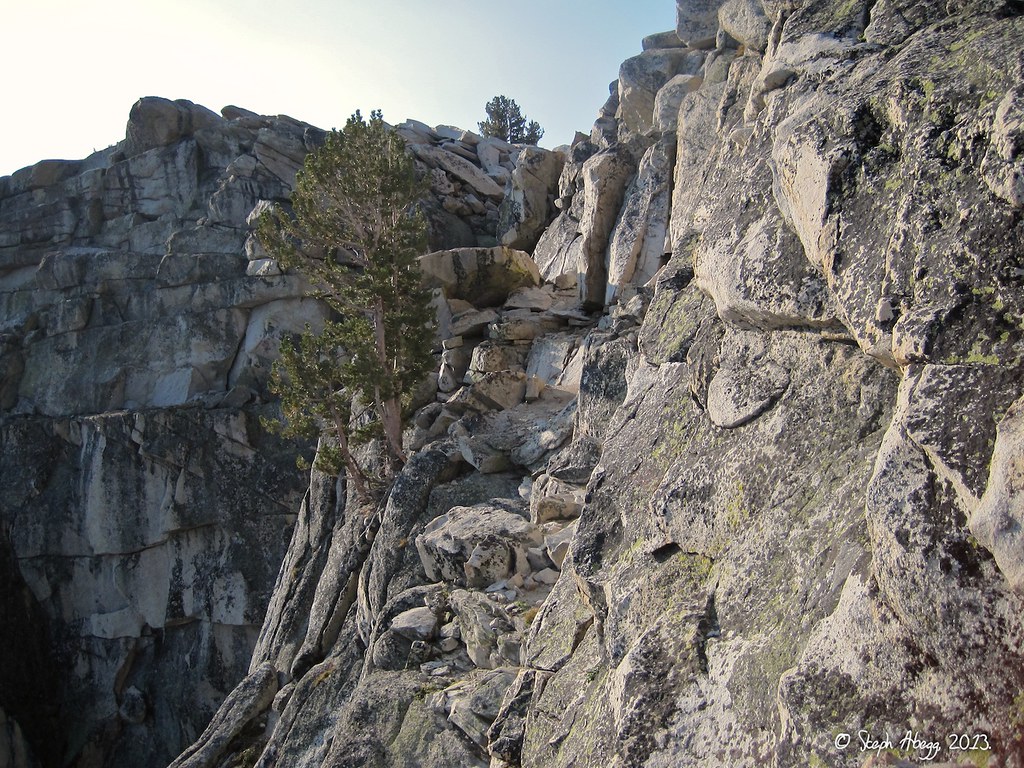
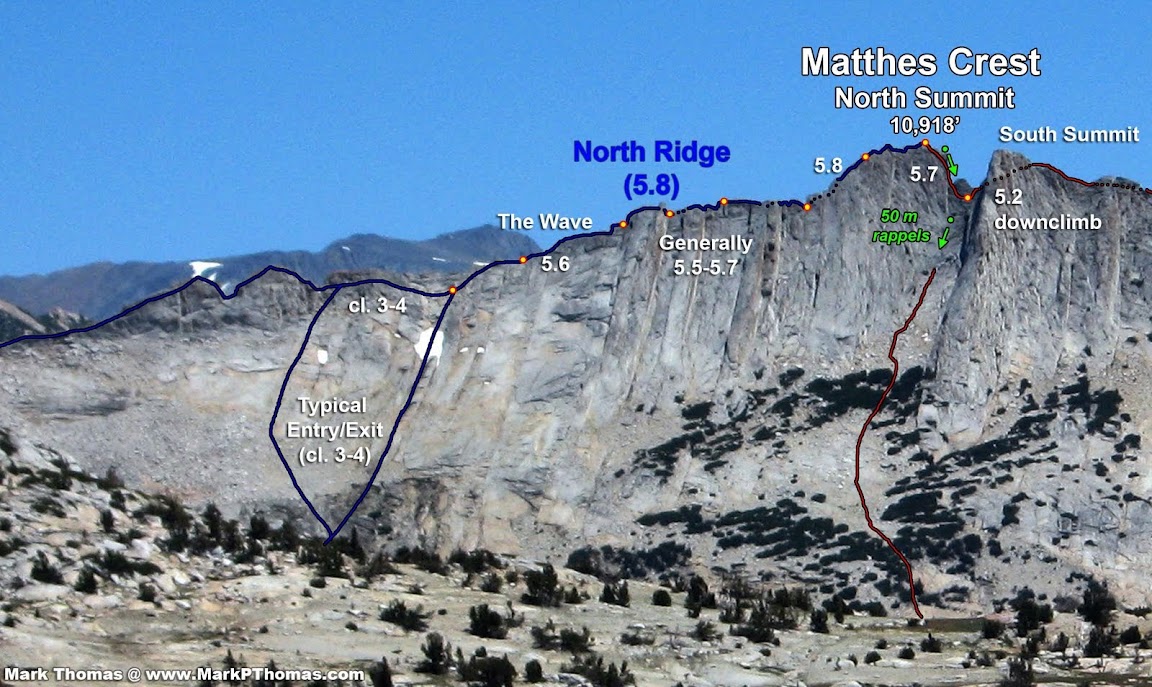
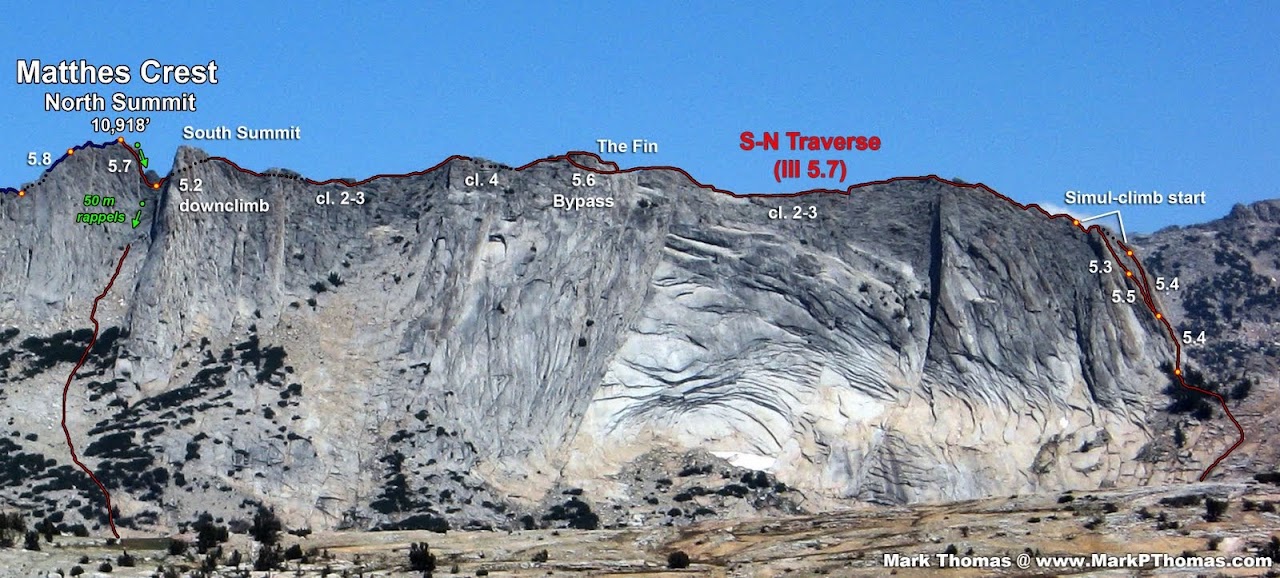
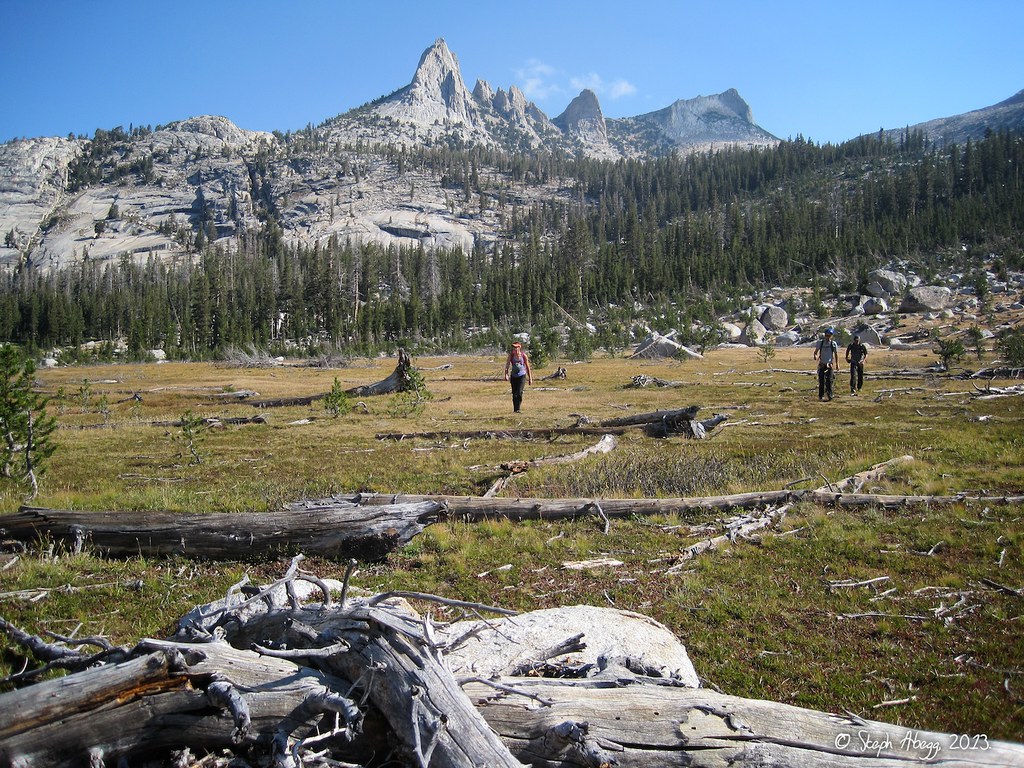
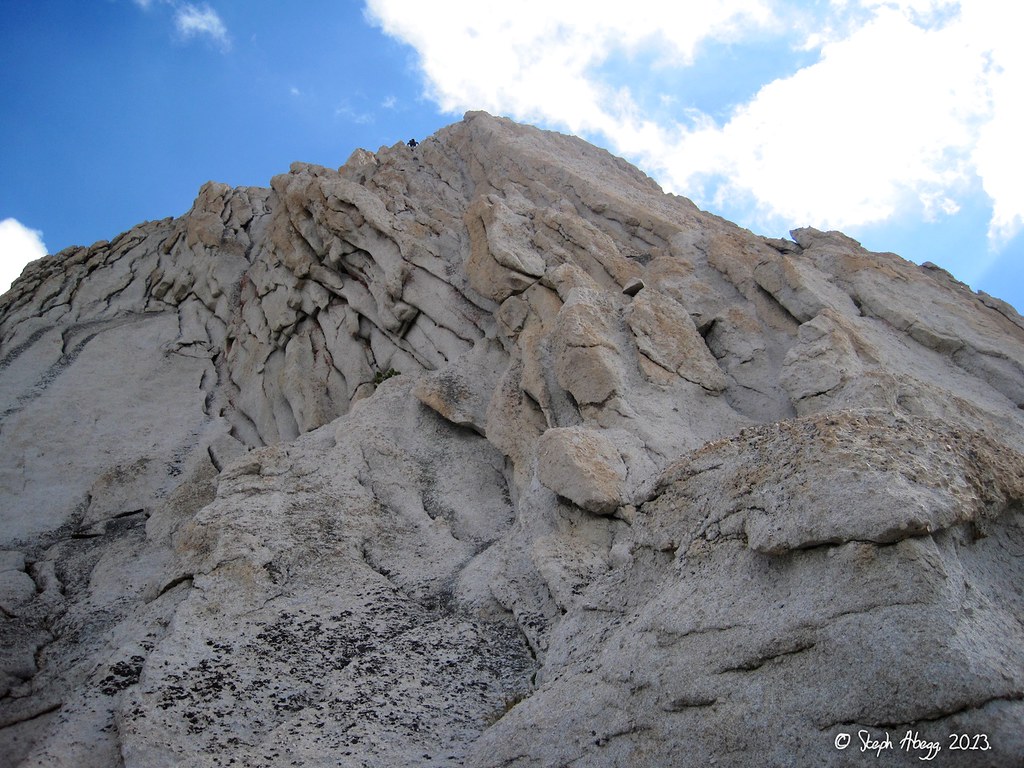
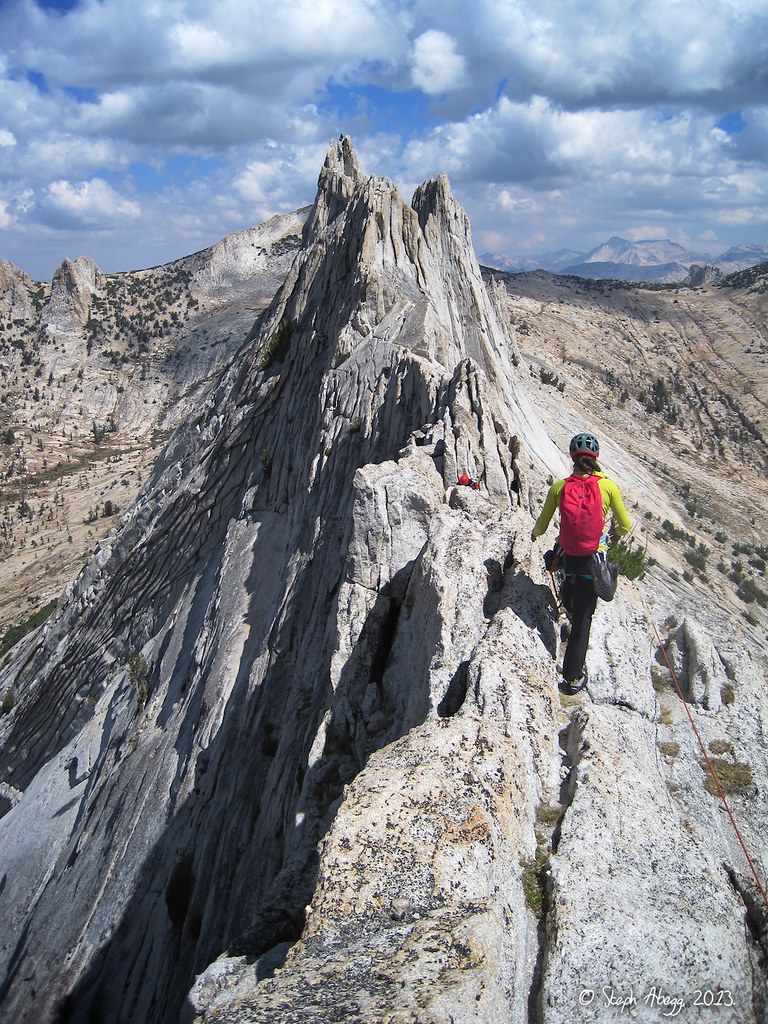
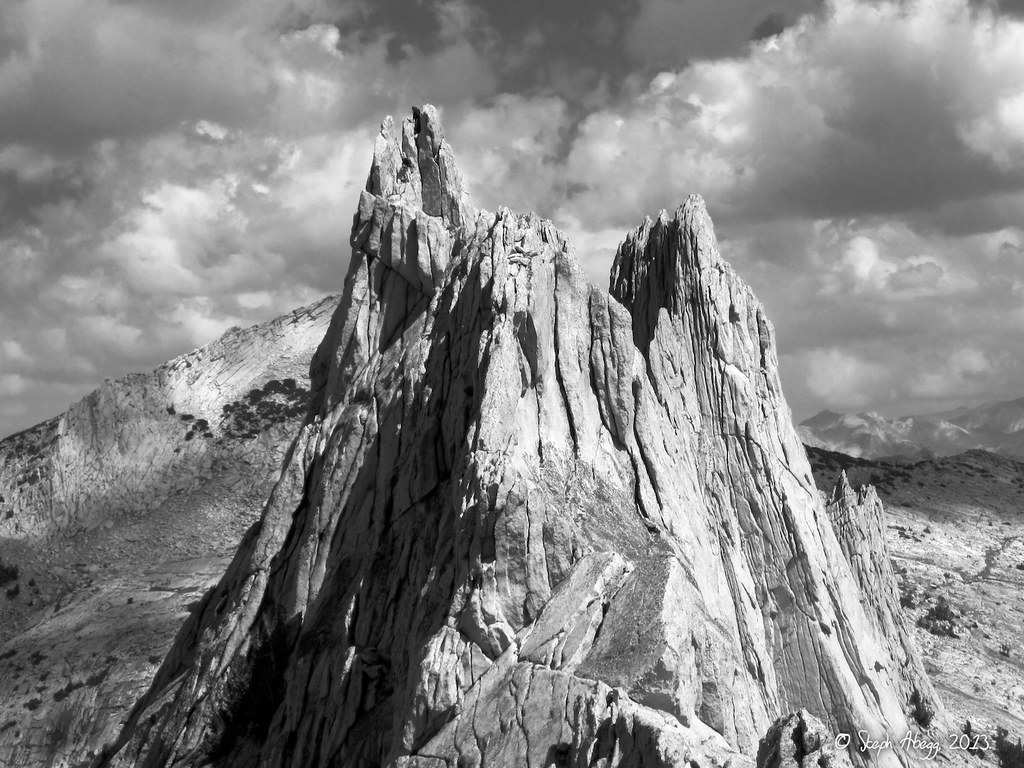
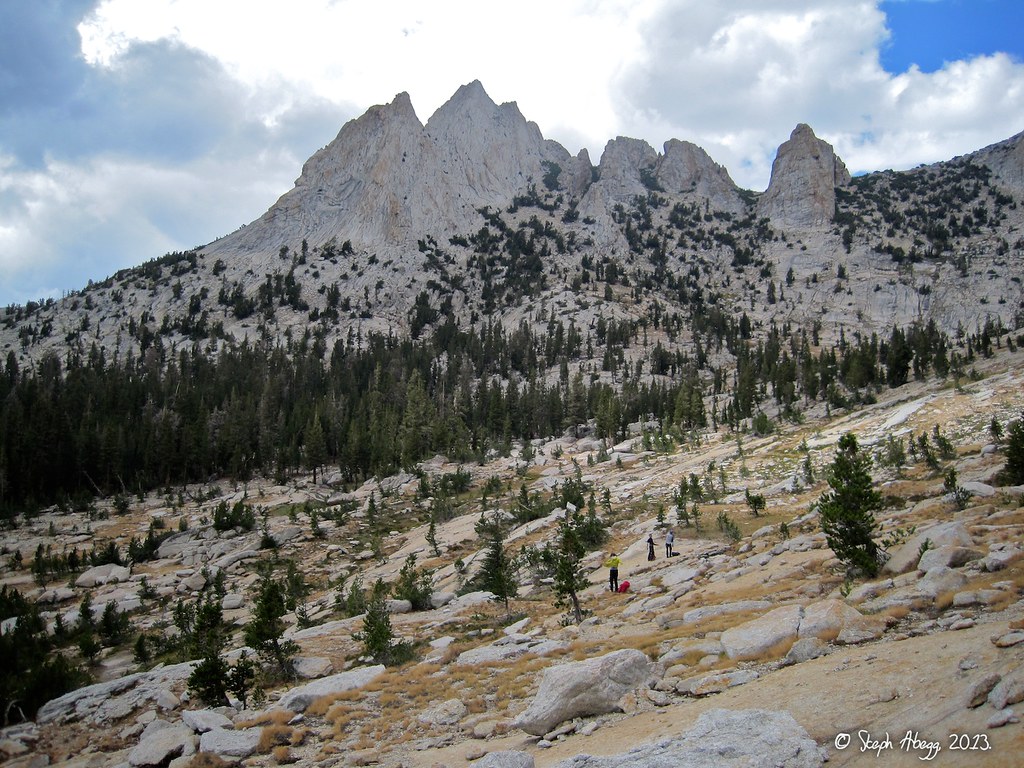
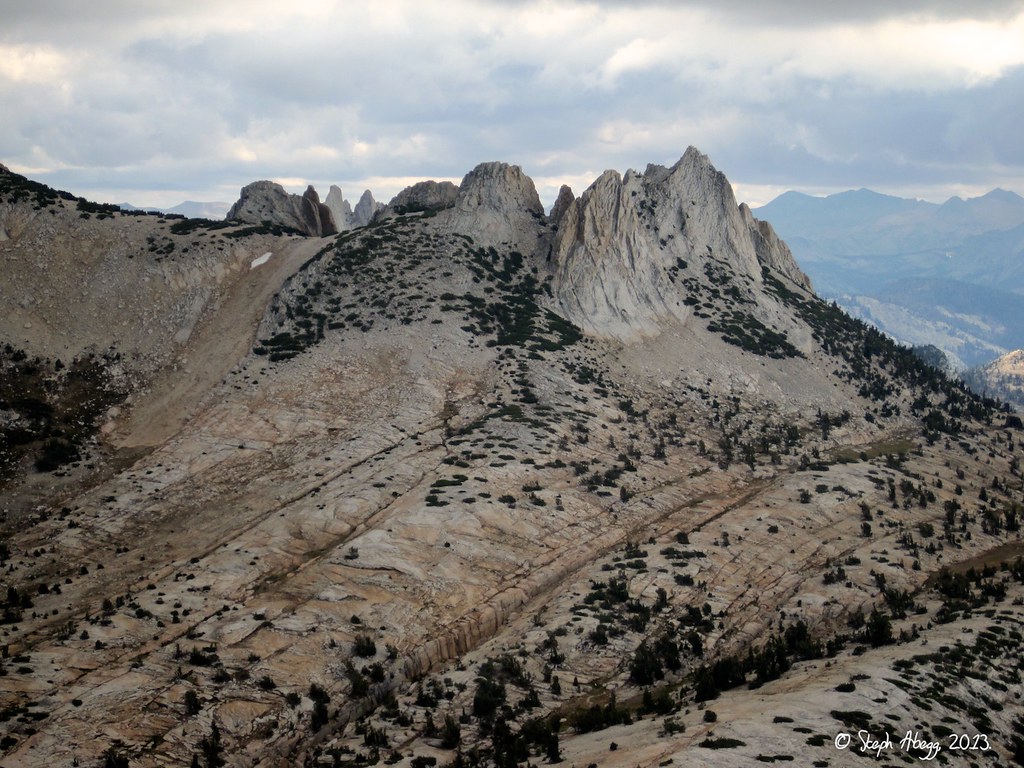
North Face (5.9) of Fairview Dome. Passing through this area, we couldn't help but be impressed by the mile-long knife-edge fin of Matthes Crest we saw in the distance. I had been fantasizing about traversing Matthes Crest ever since I had seen this fin of glacier-sculpted granite while doing the
Cathedral Traverse earlier that summer.
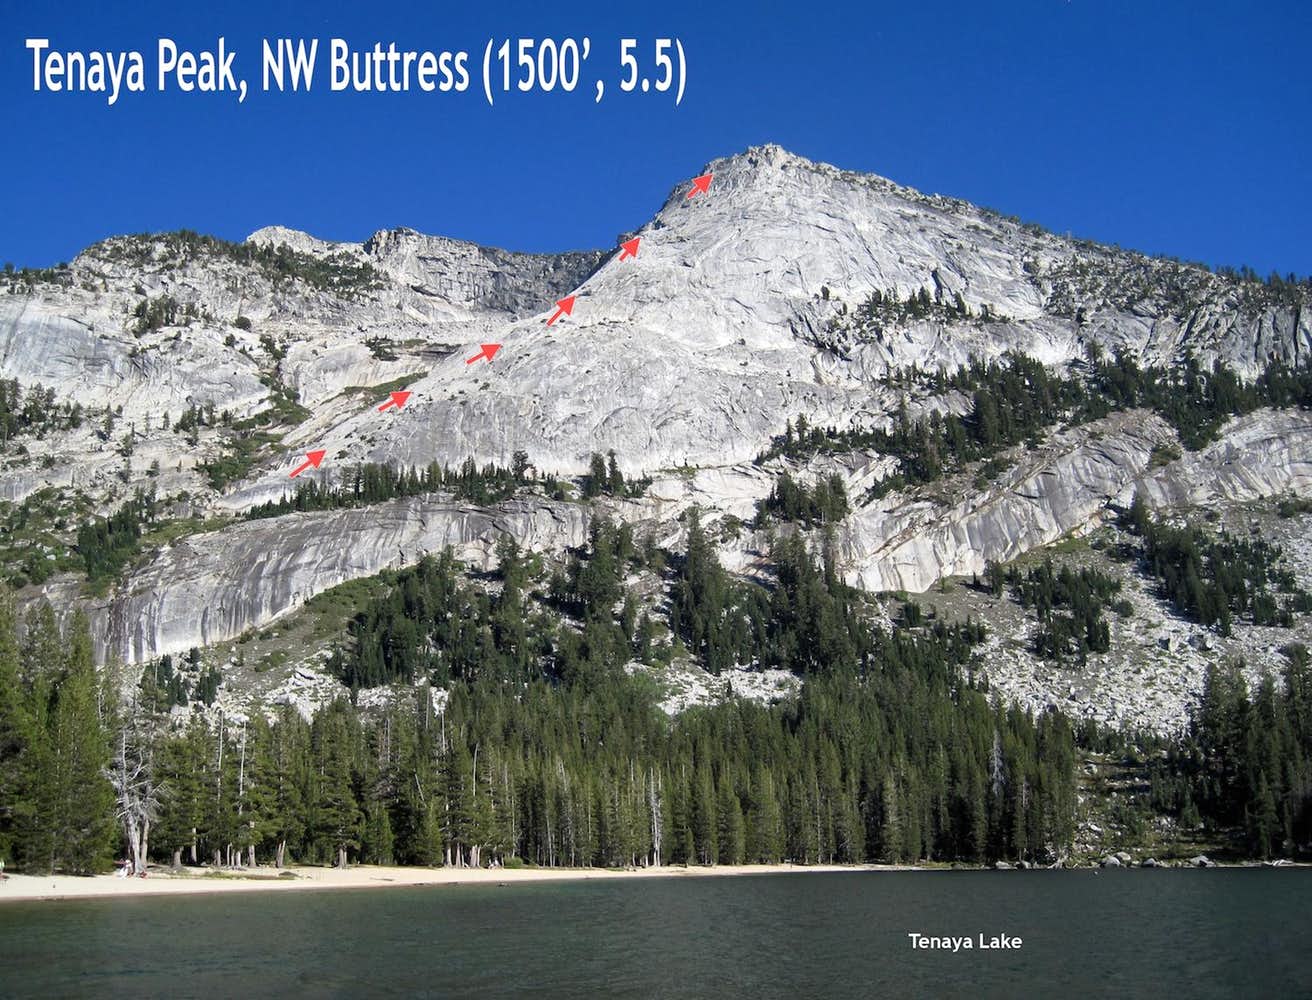
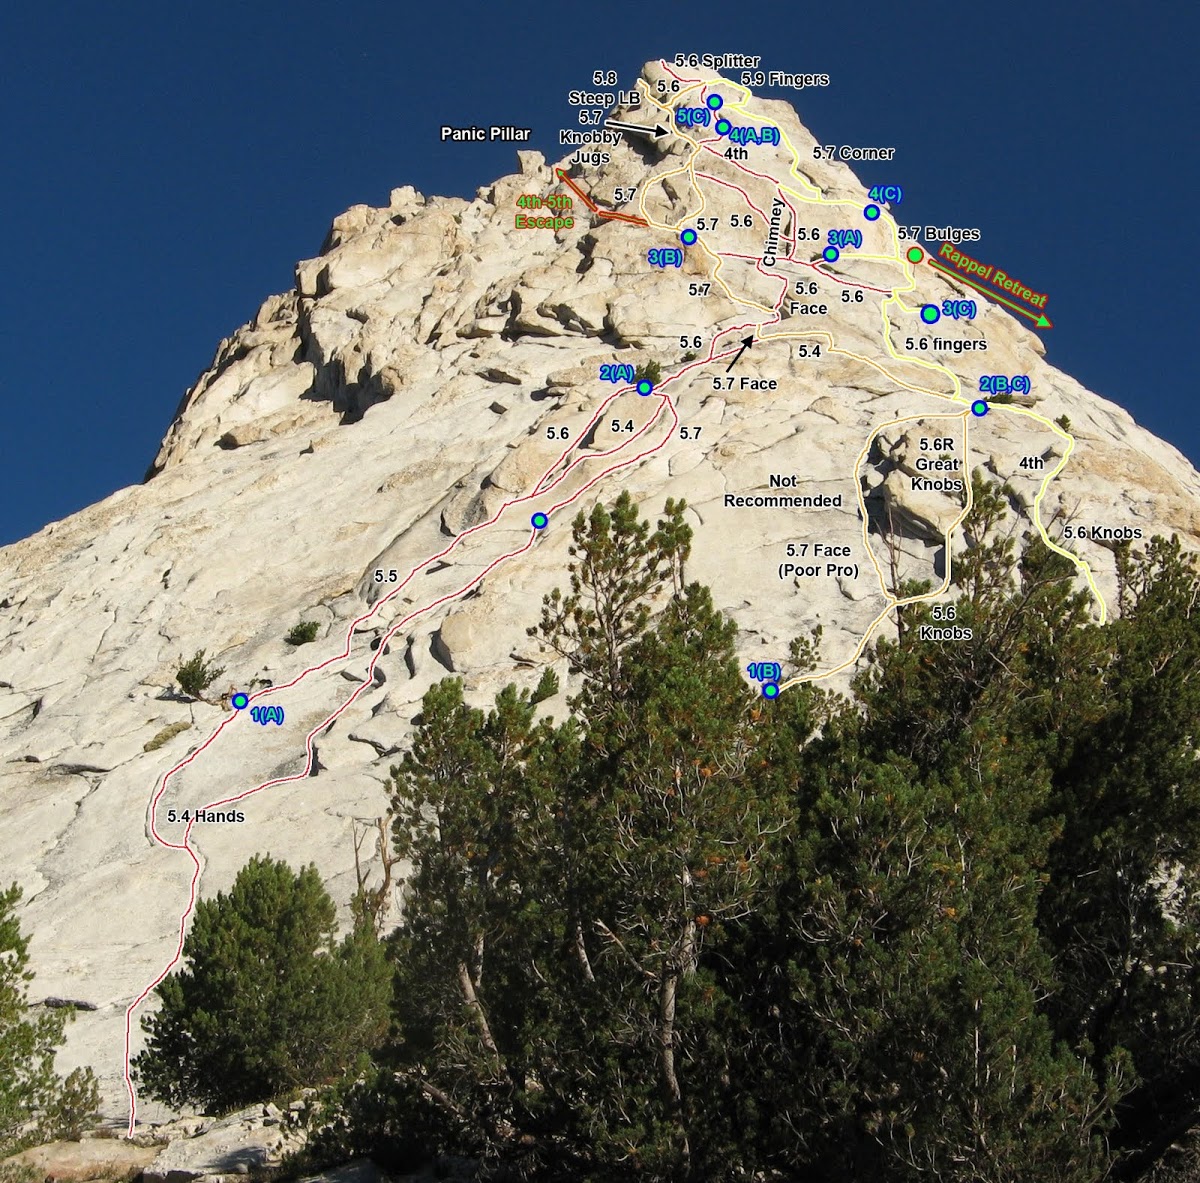
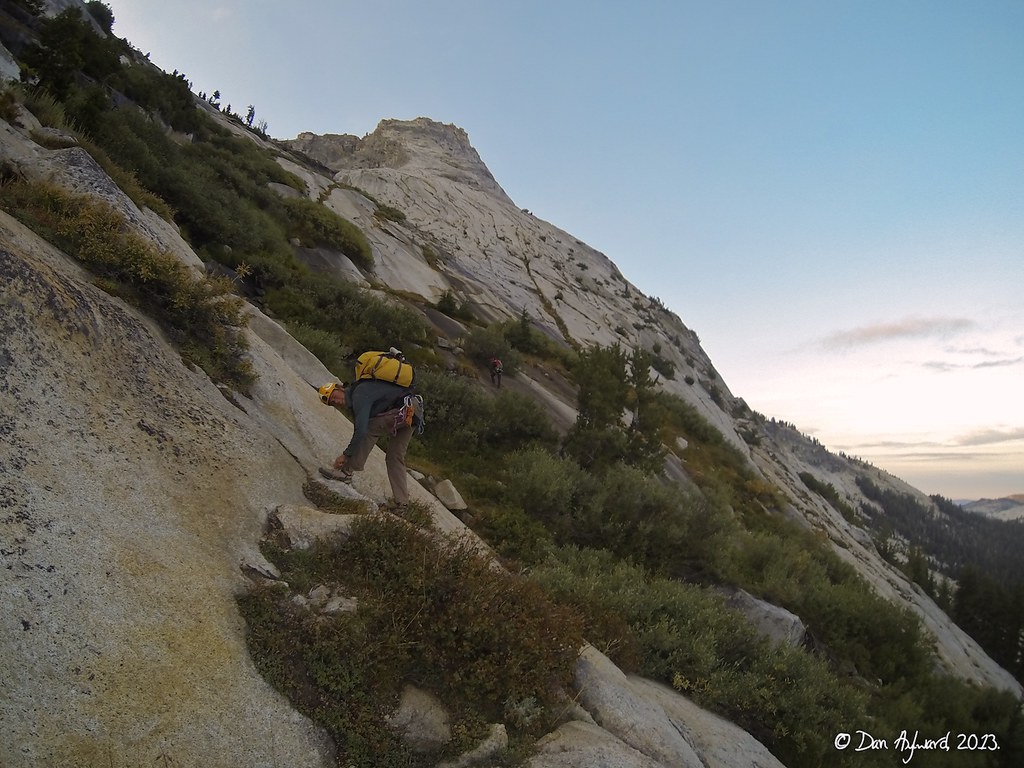
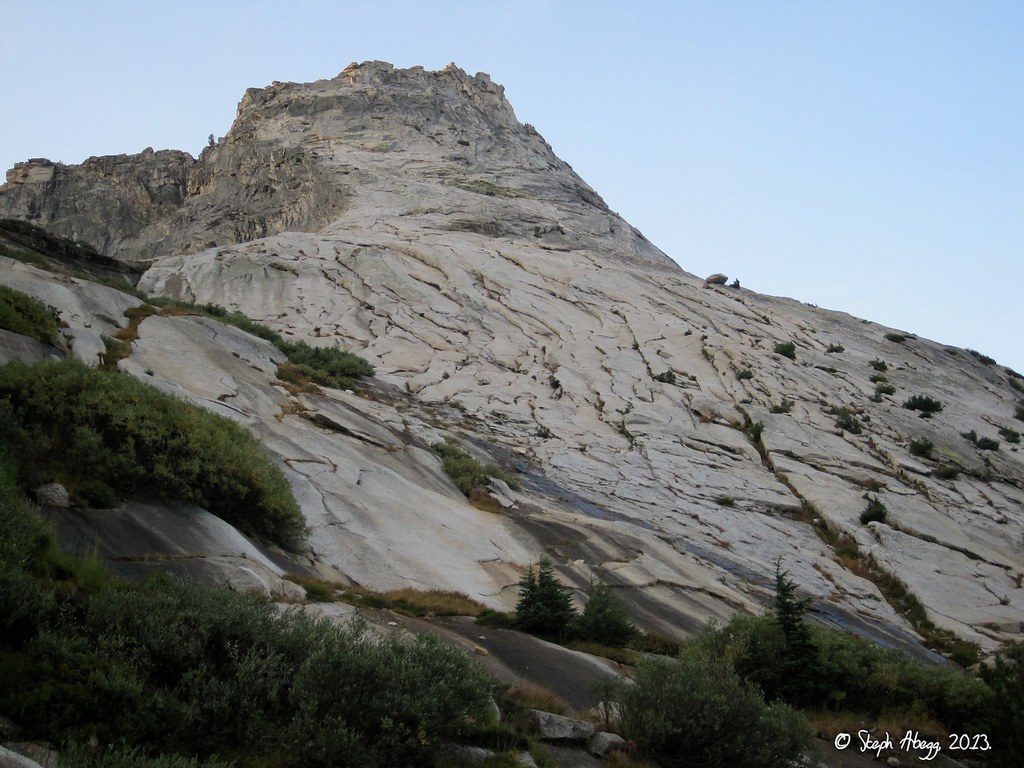
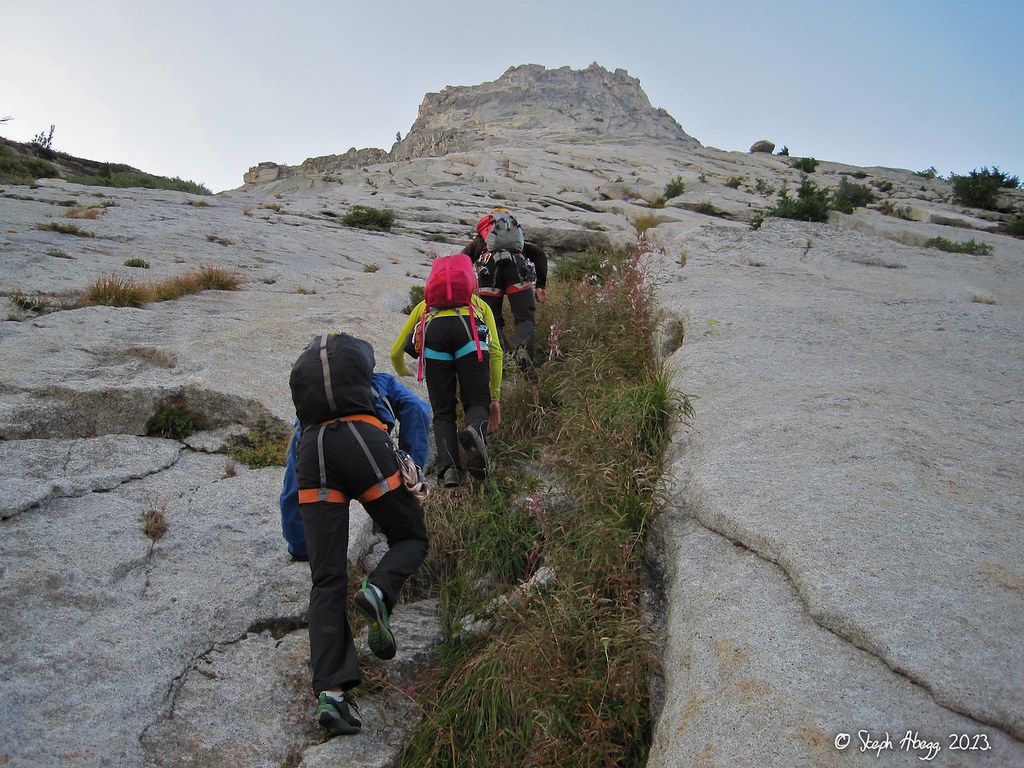
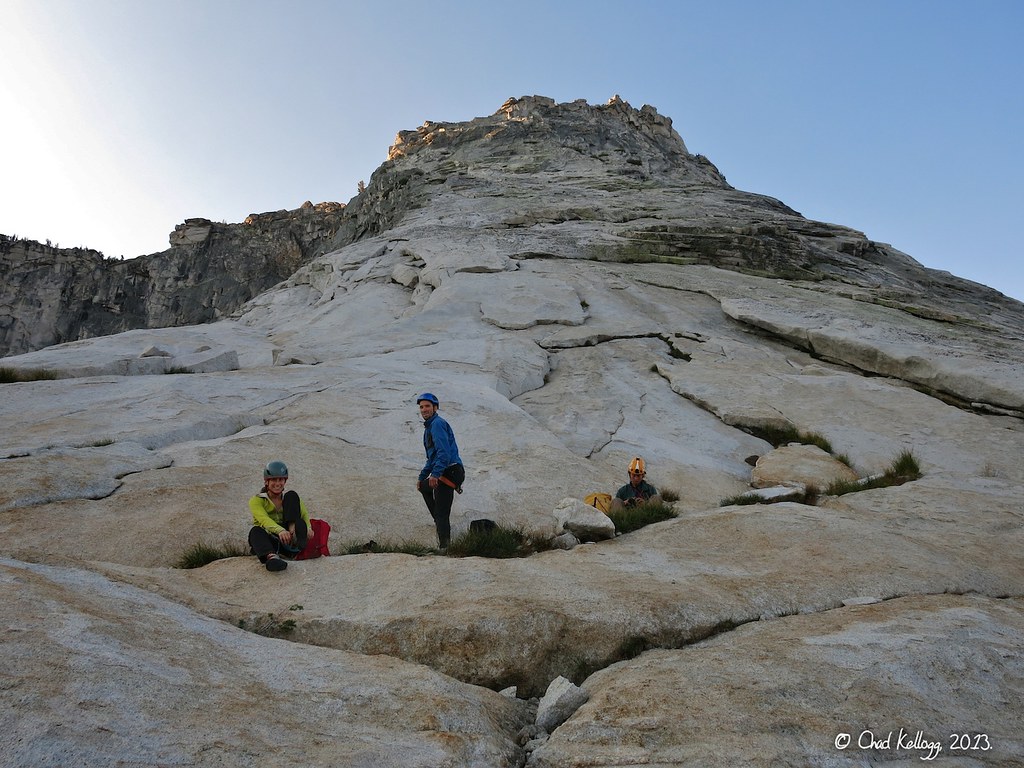
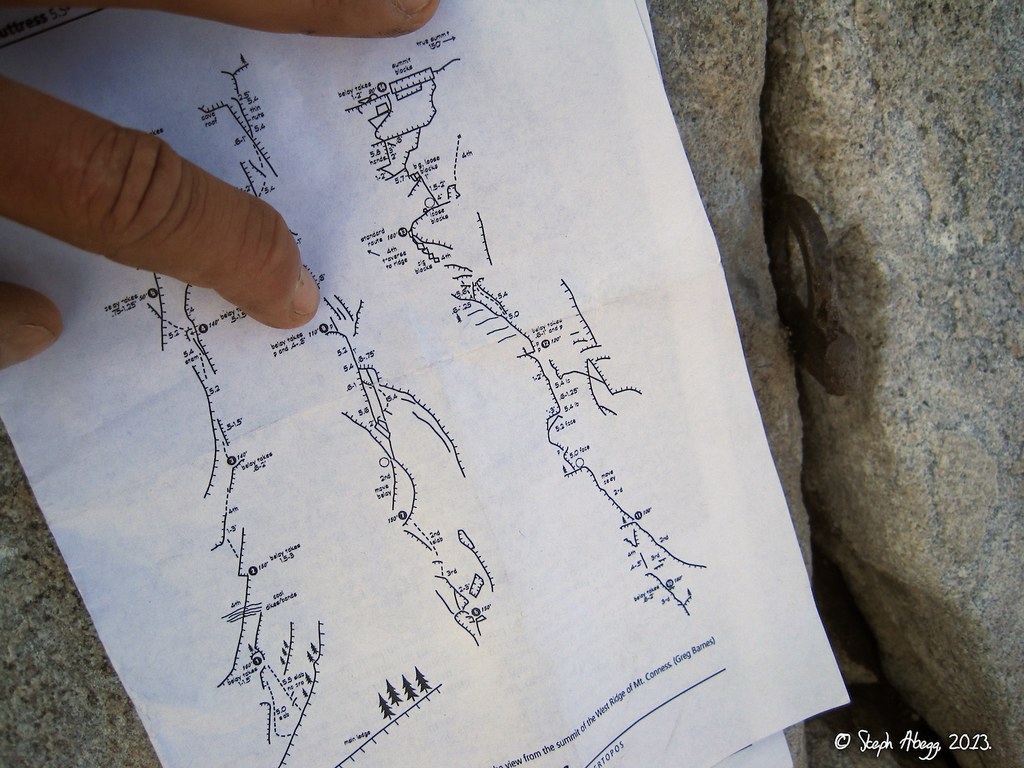
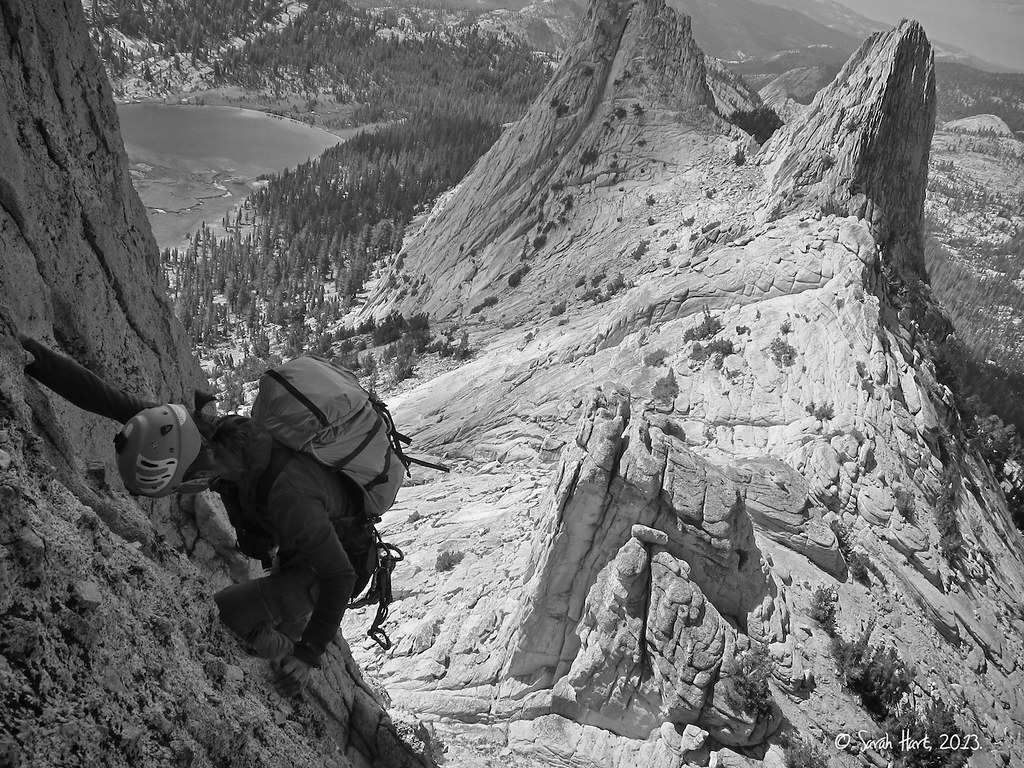
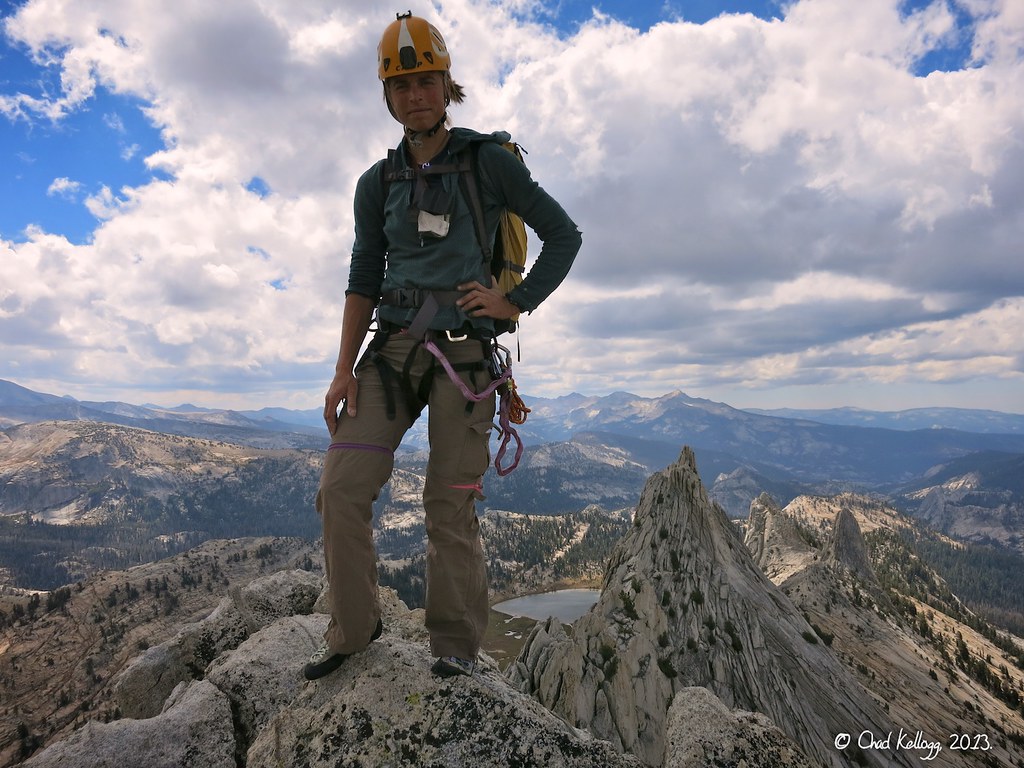
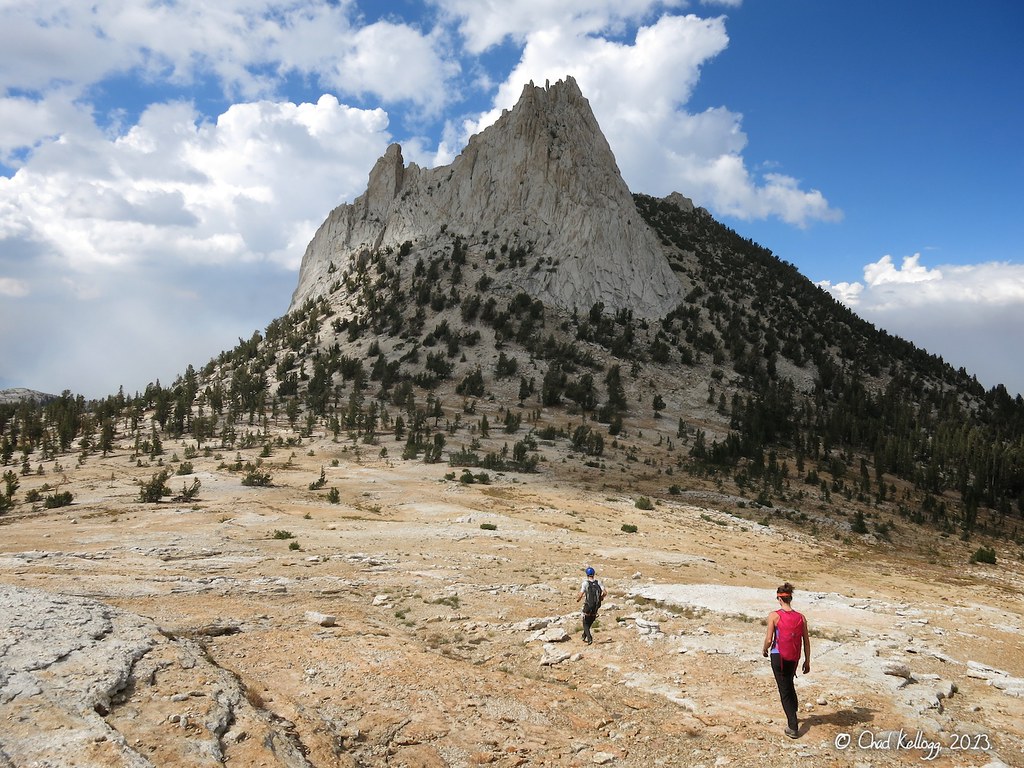
We thought a cool way to approach a climb along Matthes Crest would be via the slabby Northwest Buttress (5.5) of Tenaya Peak. Then, after traversing Matthes Crest, on the hike out one could climb up the Southeast Buttress (5.6) of Cathedral Peak, a Tuolumne icon. We decided to try to fit this so-called "TMC Linkup" into our trip when we drove back north after climbing in the Sierra.
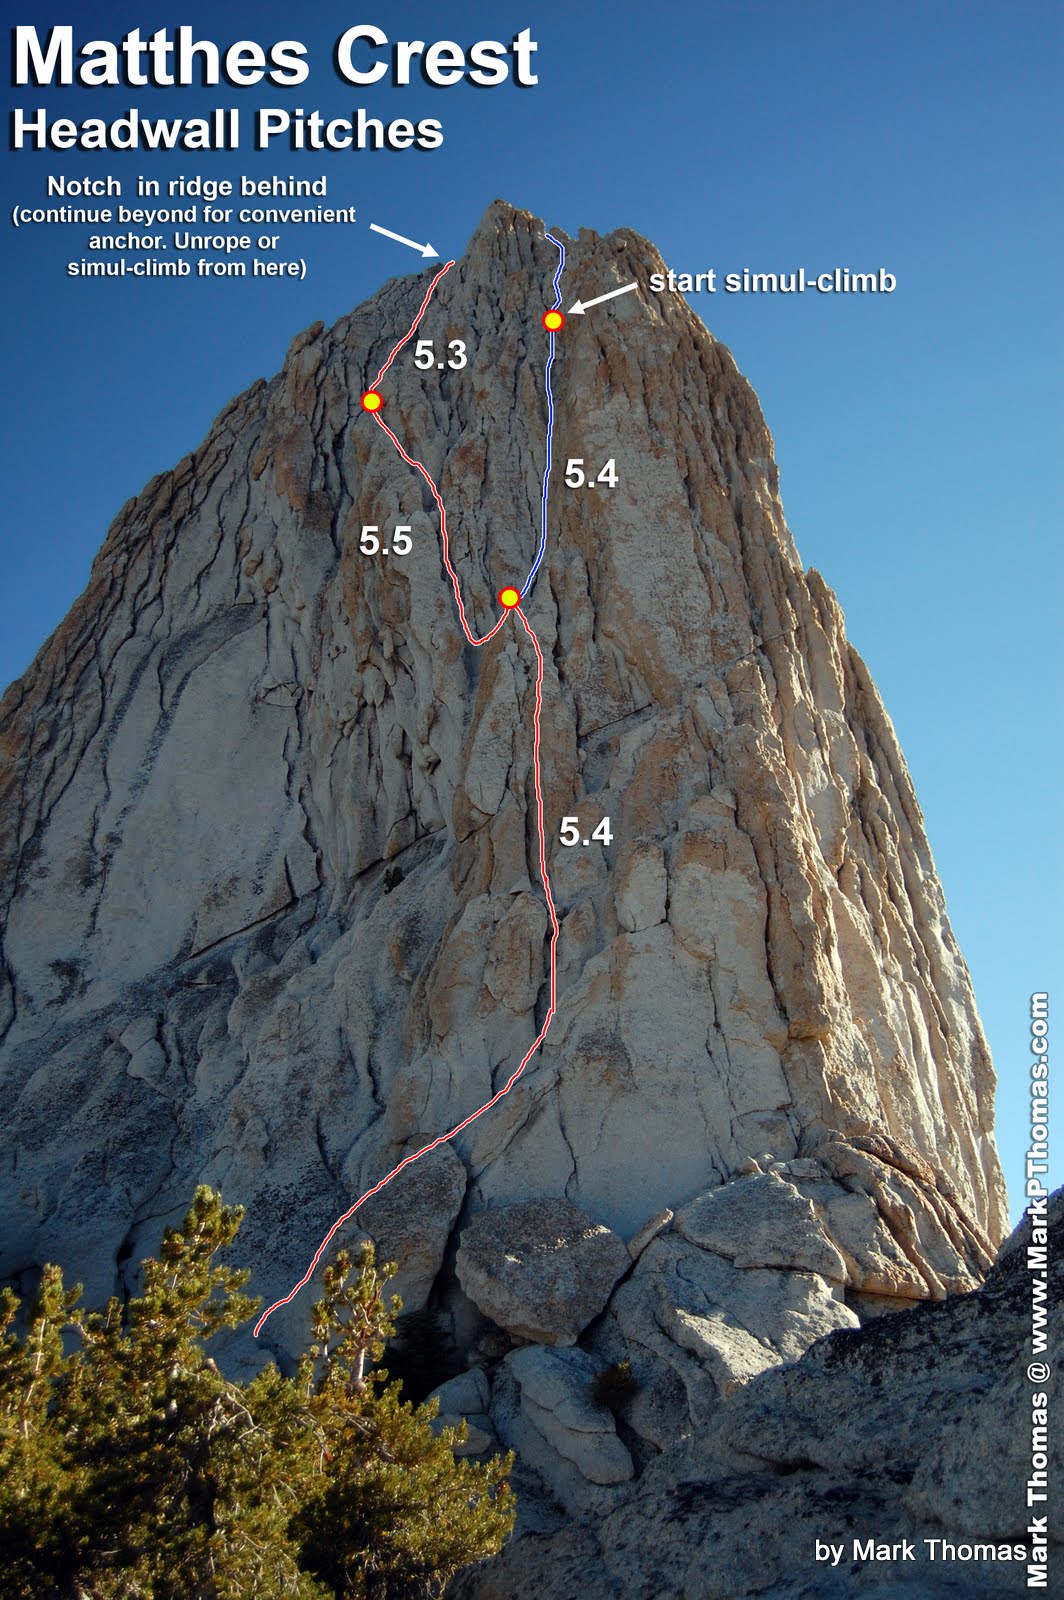
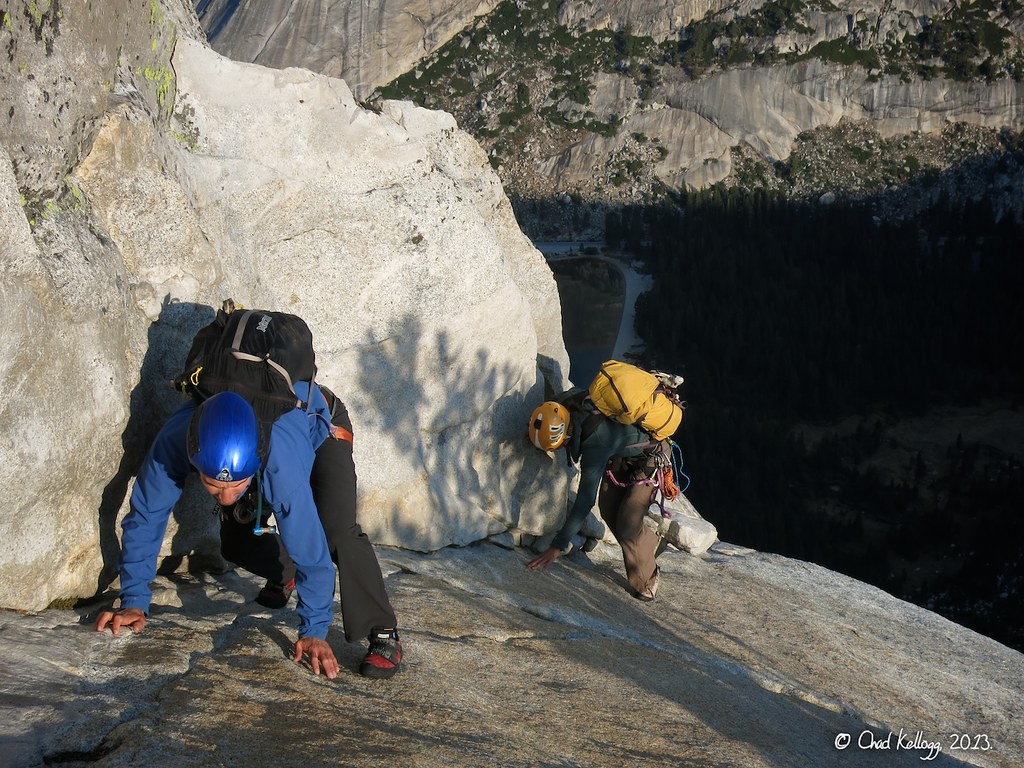
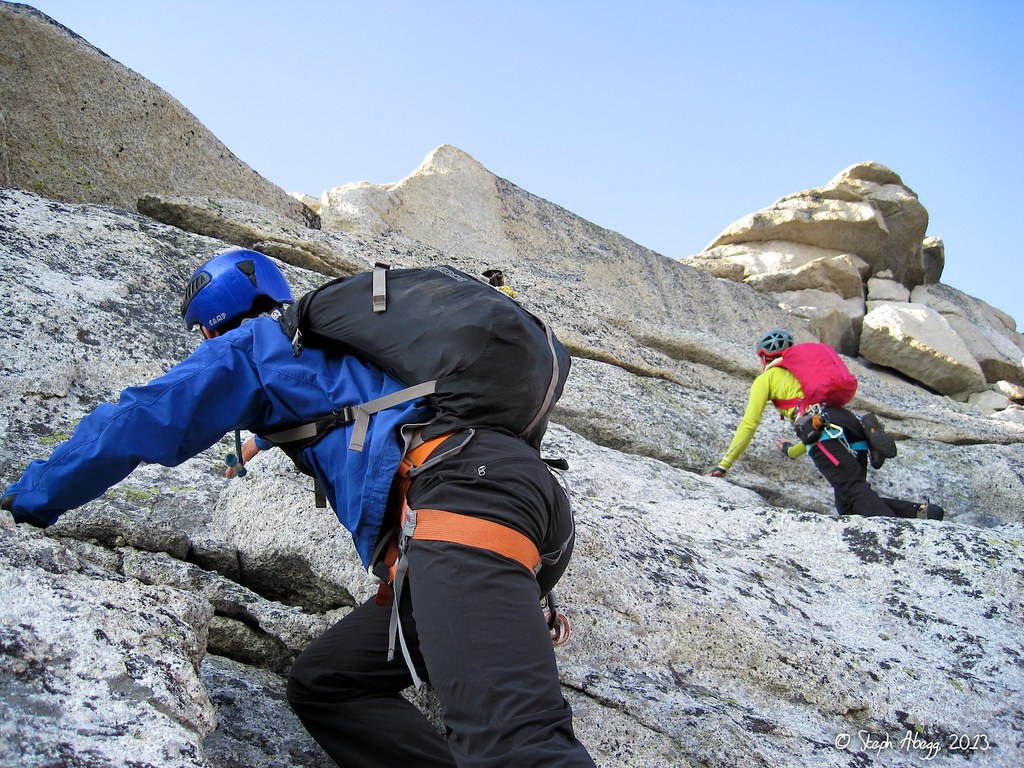
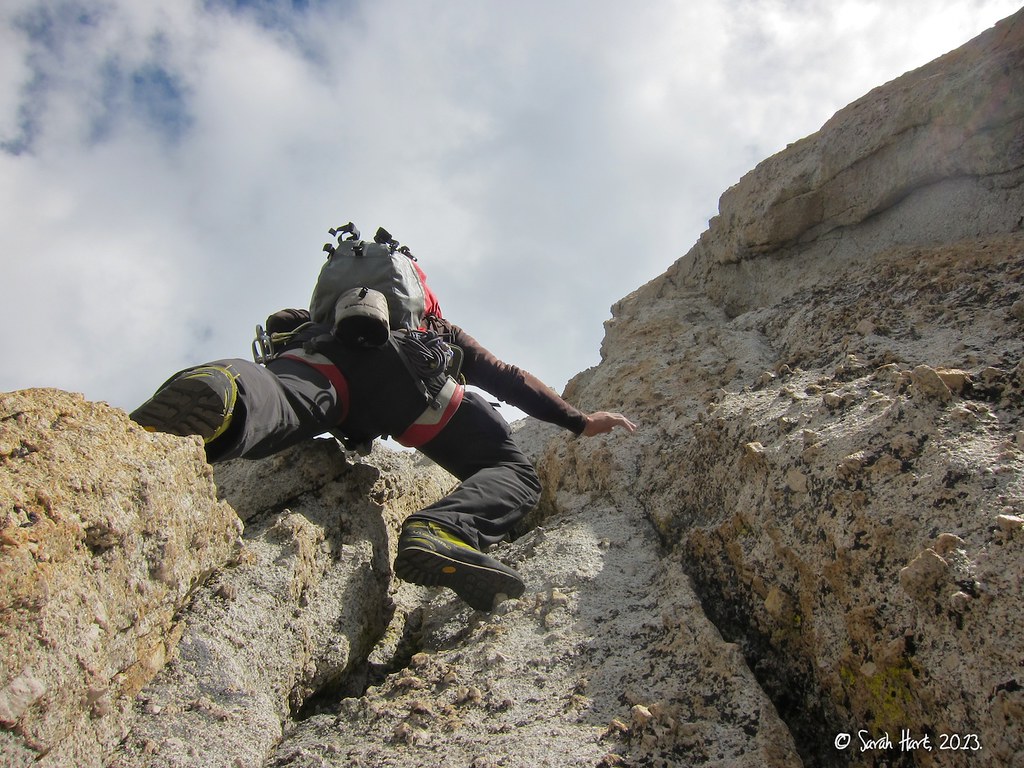
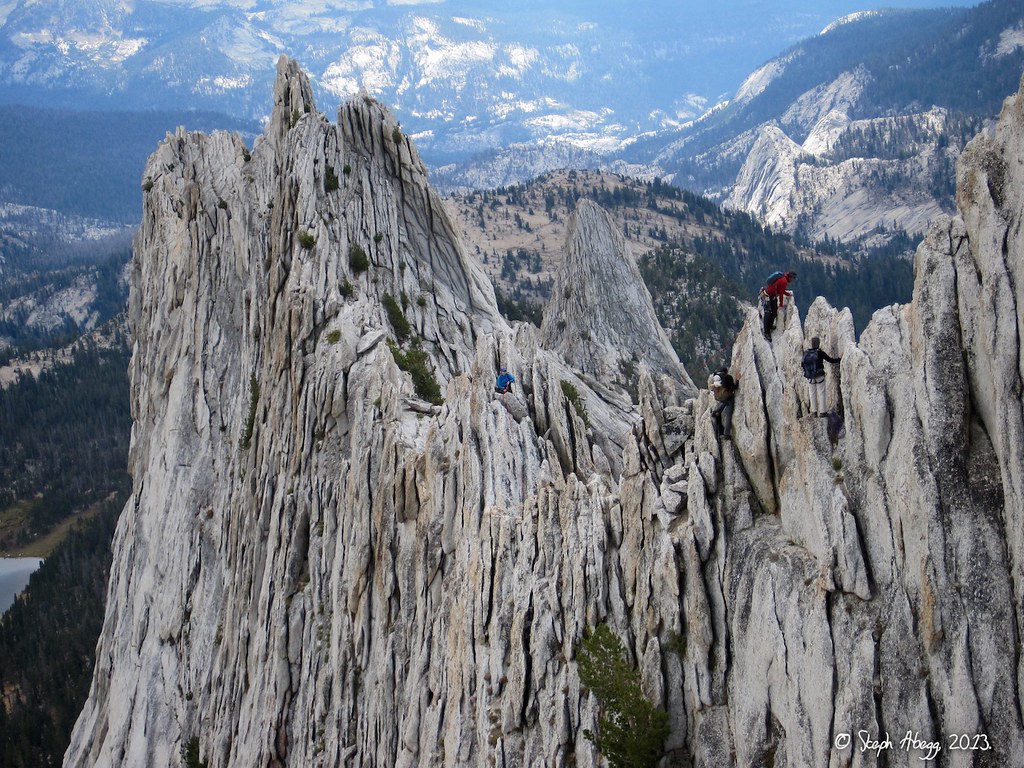
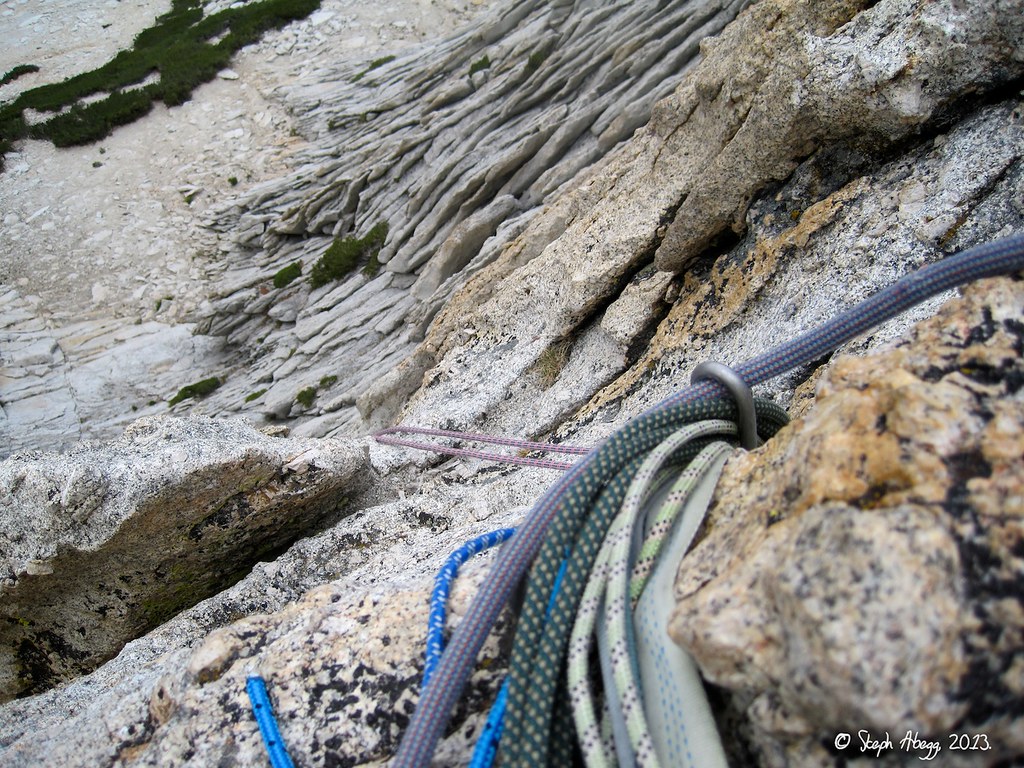
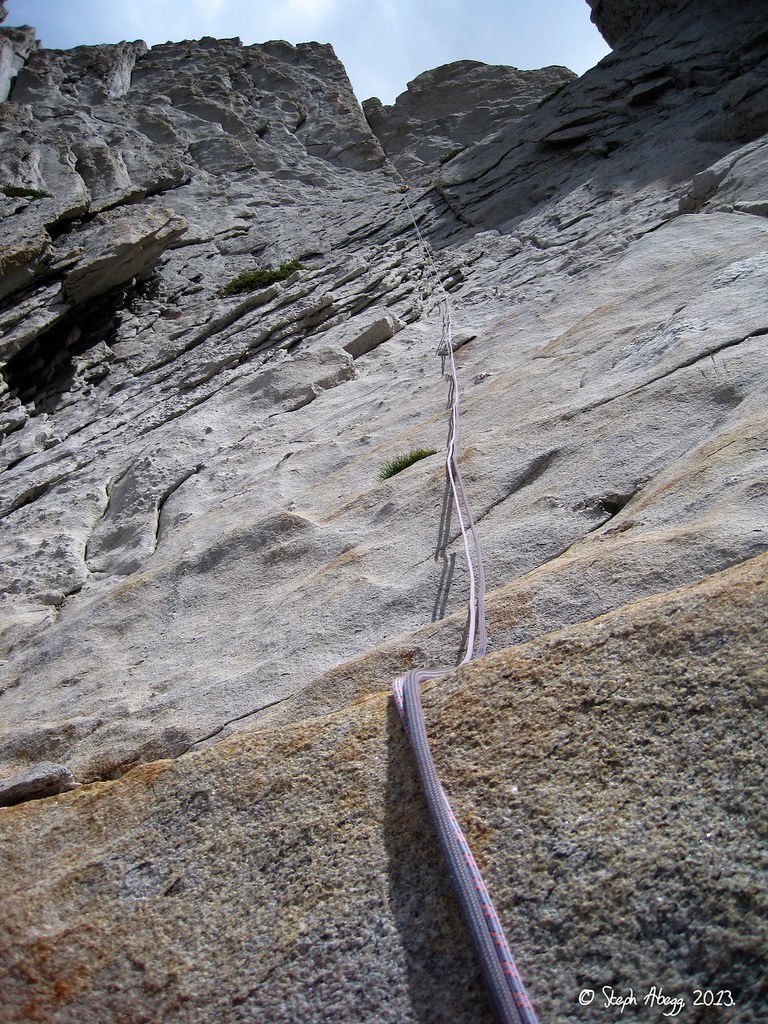
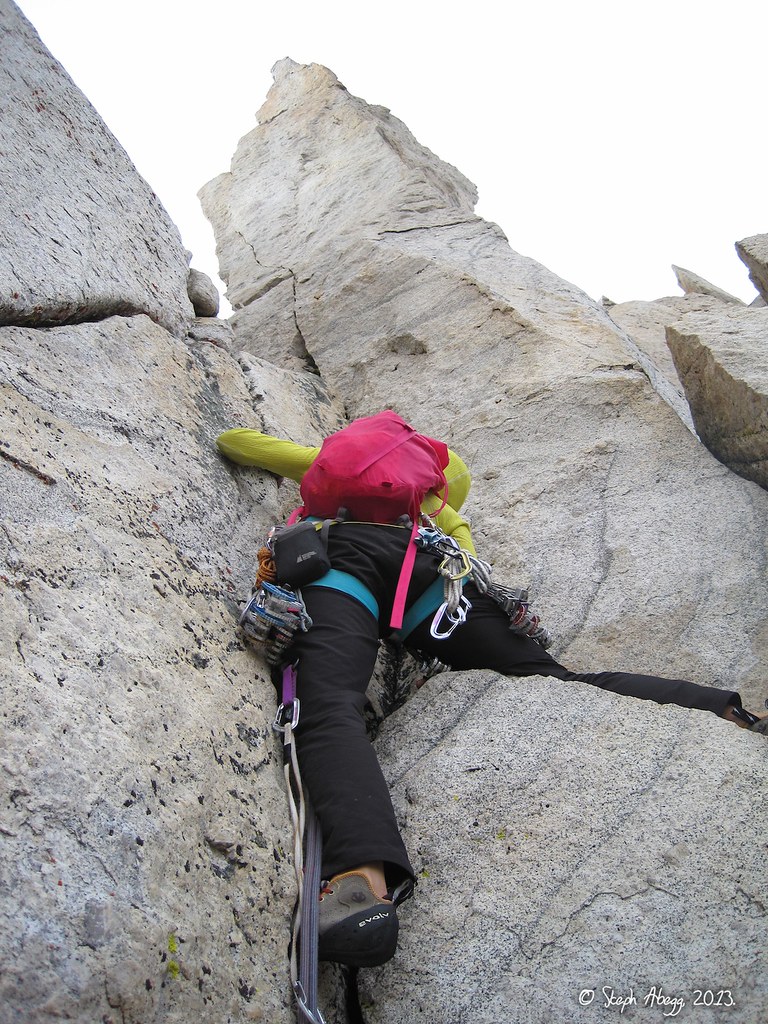
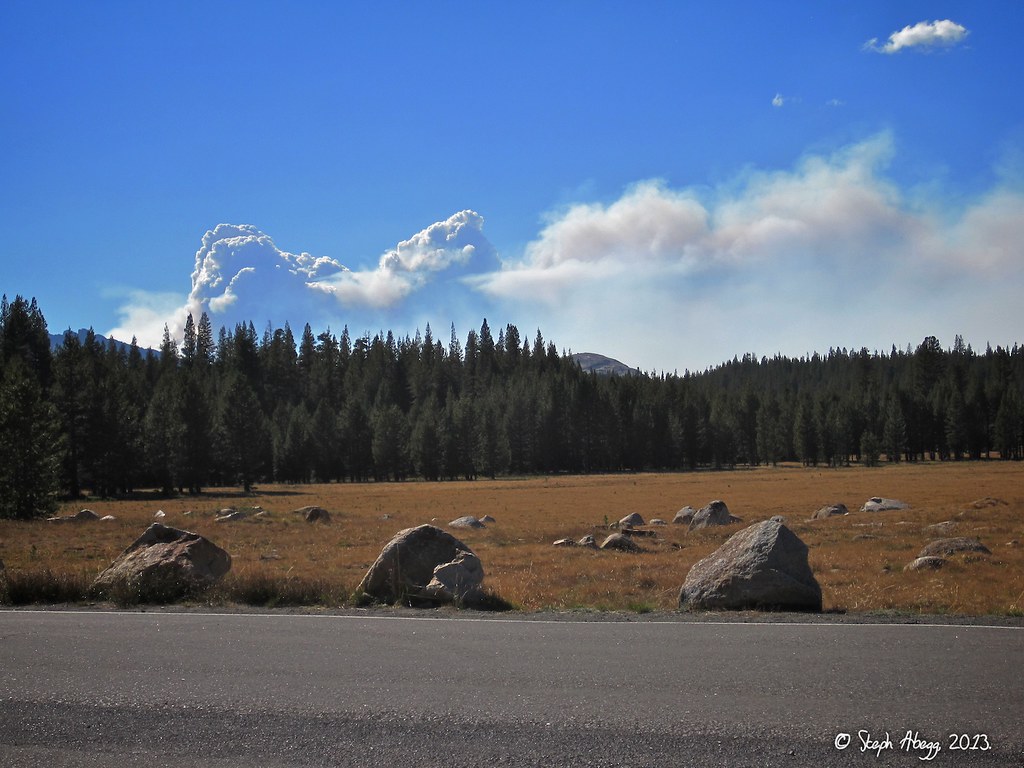
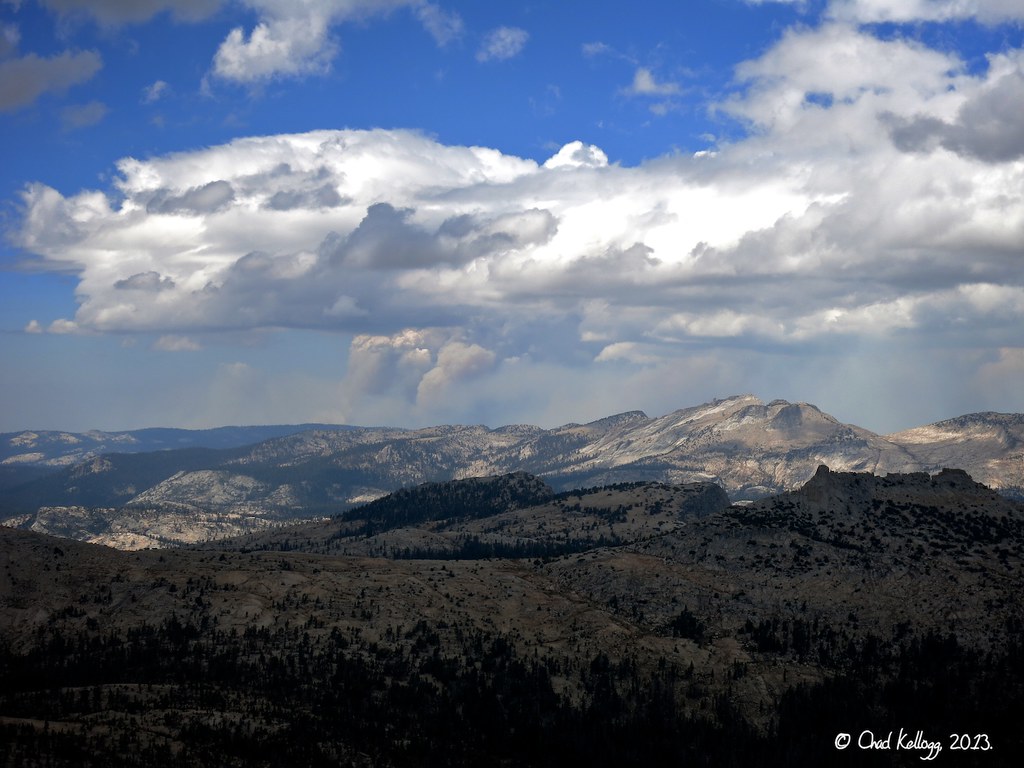
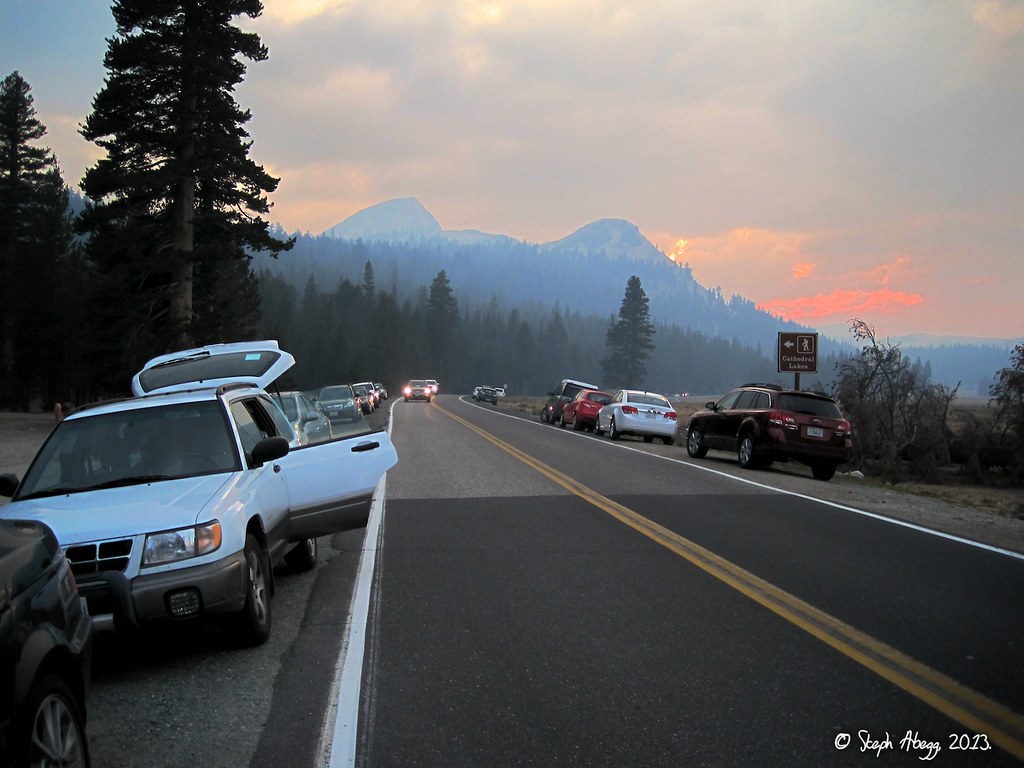
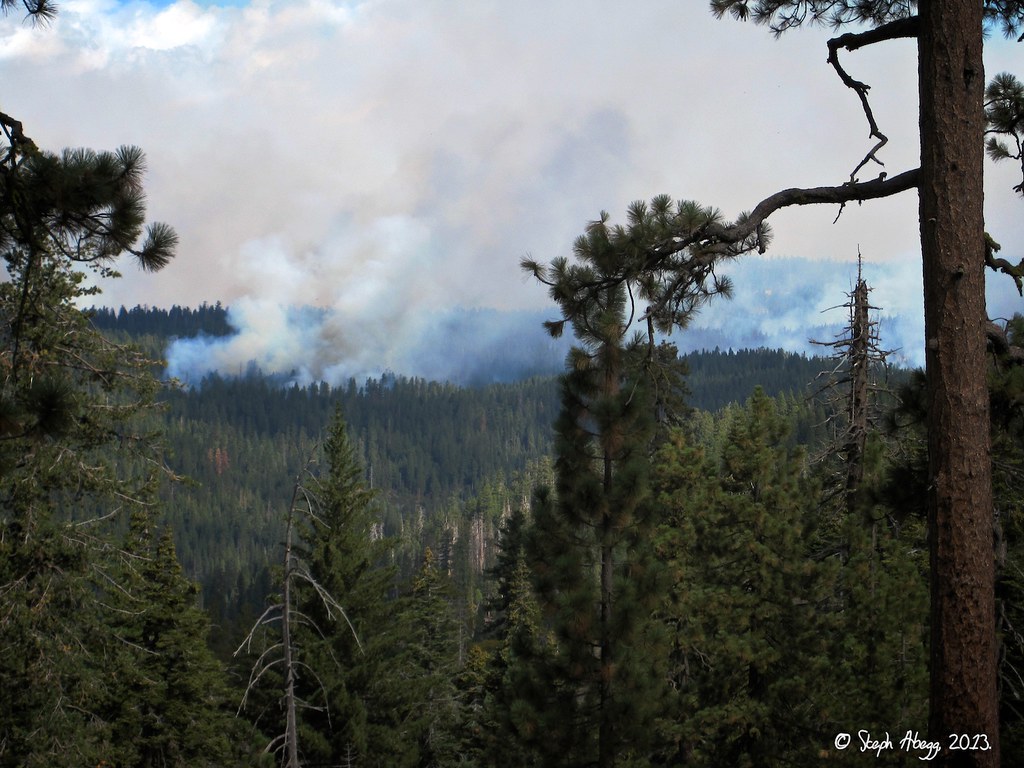
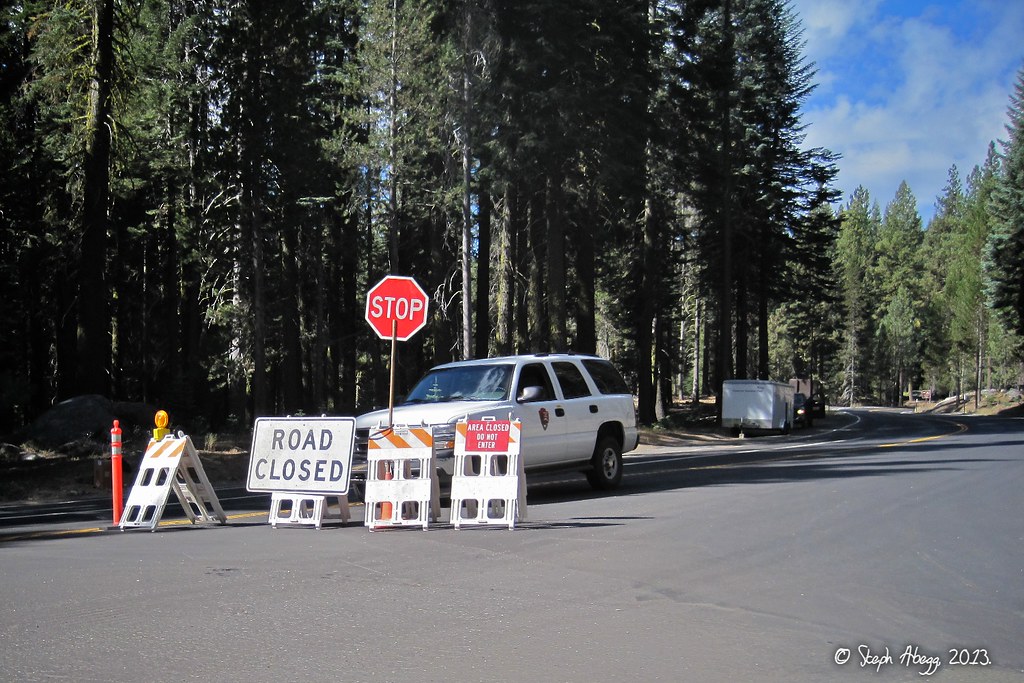
So on our drive back north a week later, we re-entered the park. We were a bit concerned by a major forest fire—the "Rim Fire"—that had been growing near Tuolumne over the course of the week and was only about 20% contained by this time. But most of the smoke was blowing to the north and settling in valleys (in fact, we had to forego our plans to climb the Incredible Hulk because of smoke that settled into that valley), so we headed for the TMC Linkup. As the climbing sections would be mostly low 5th class up to 5.7 in a couple of spots, the plan was to solo and simulclimb as we felt comfortable.
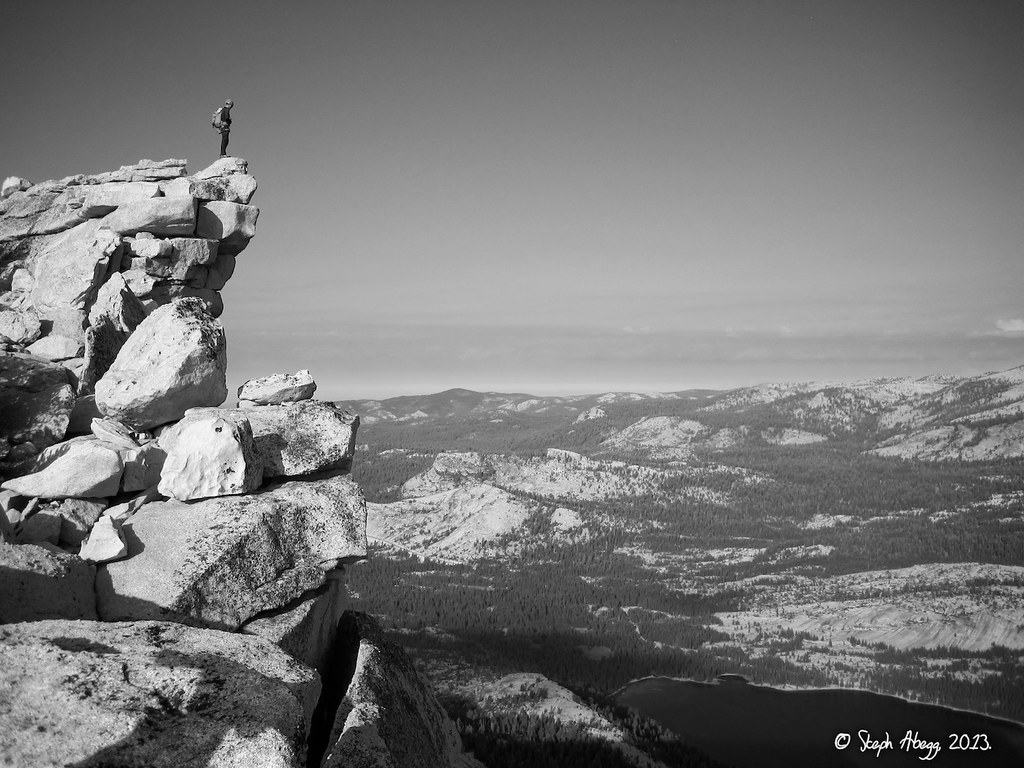
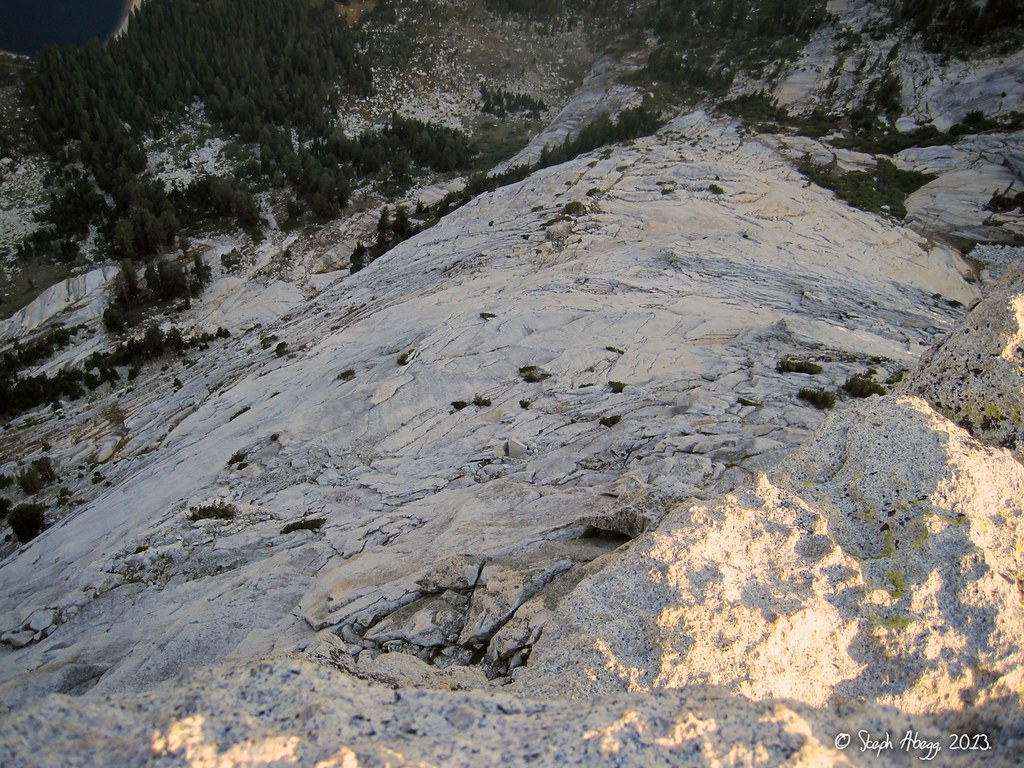
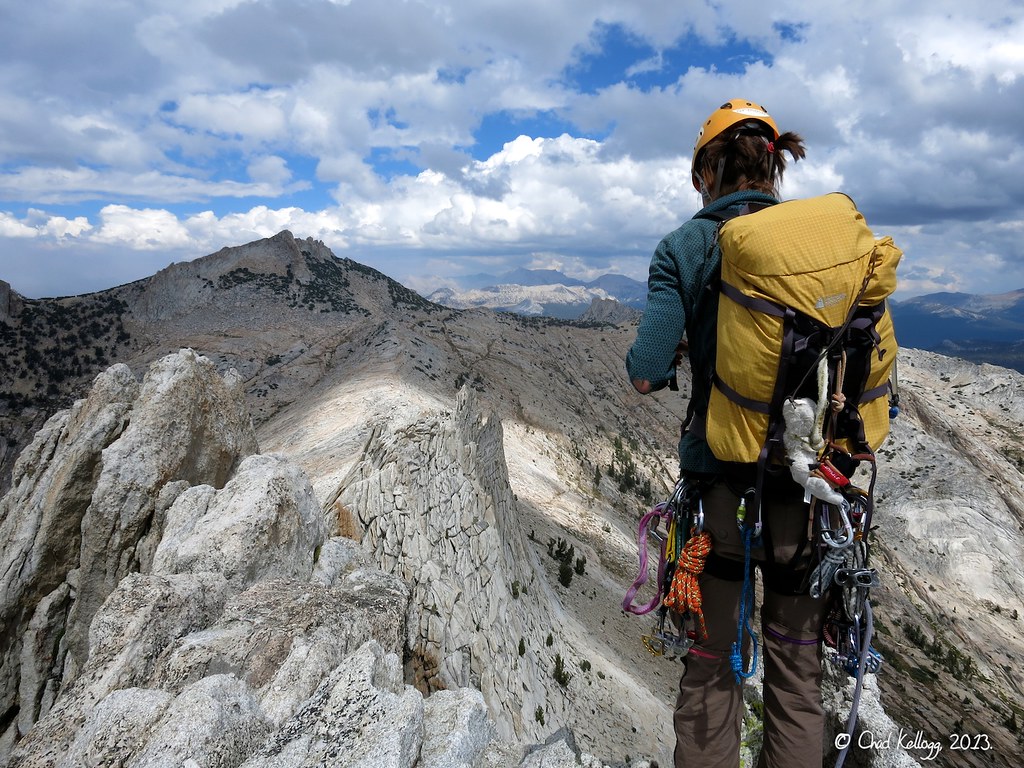
The following page gives a trip report for our TMC Linkup. Needless to say, it was quite a spectacular day of alpine climbing.