Nate and I had been waiting for a break in the weather to head up into the alpine. So when this break finally came, we decided to head to Spearhead for a couple of days. We spent two nights up there, and climbed two awesome routes: All Two Obvious (5.11d) and Scimitar + Stone Monkey (5.12a).
The following page provides a trip report for the climbs. Enjoy!
Climbs We Did
CLICK ON ROUTE TO DROP DOWN CONTENT
THIS TRIP REPORT IS STILL MOSTLY IN THE EMBEDDED HTML FORMAT OF MY OLD WEBSITE. MOBILE Tip: Try Landscape mode. It is generally more mobile friendly.
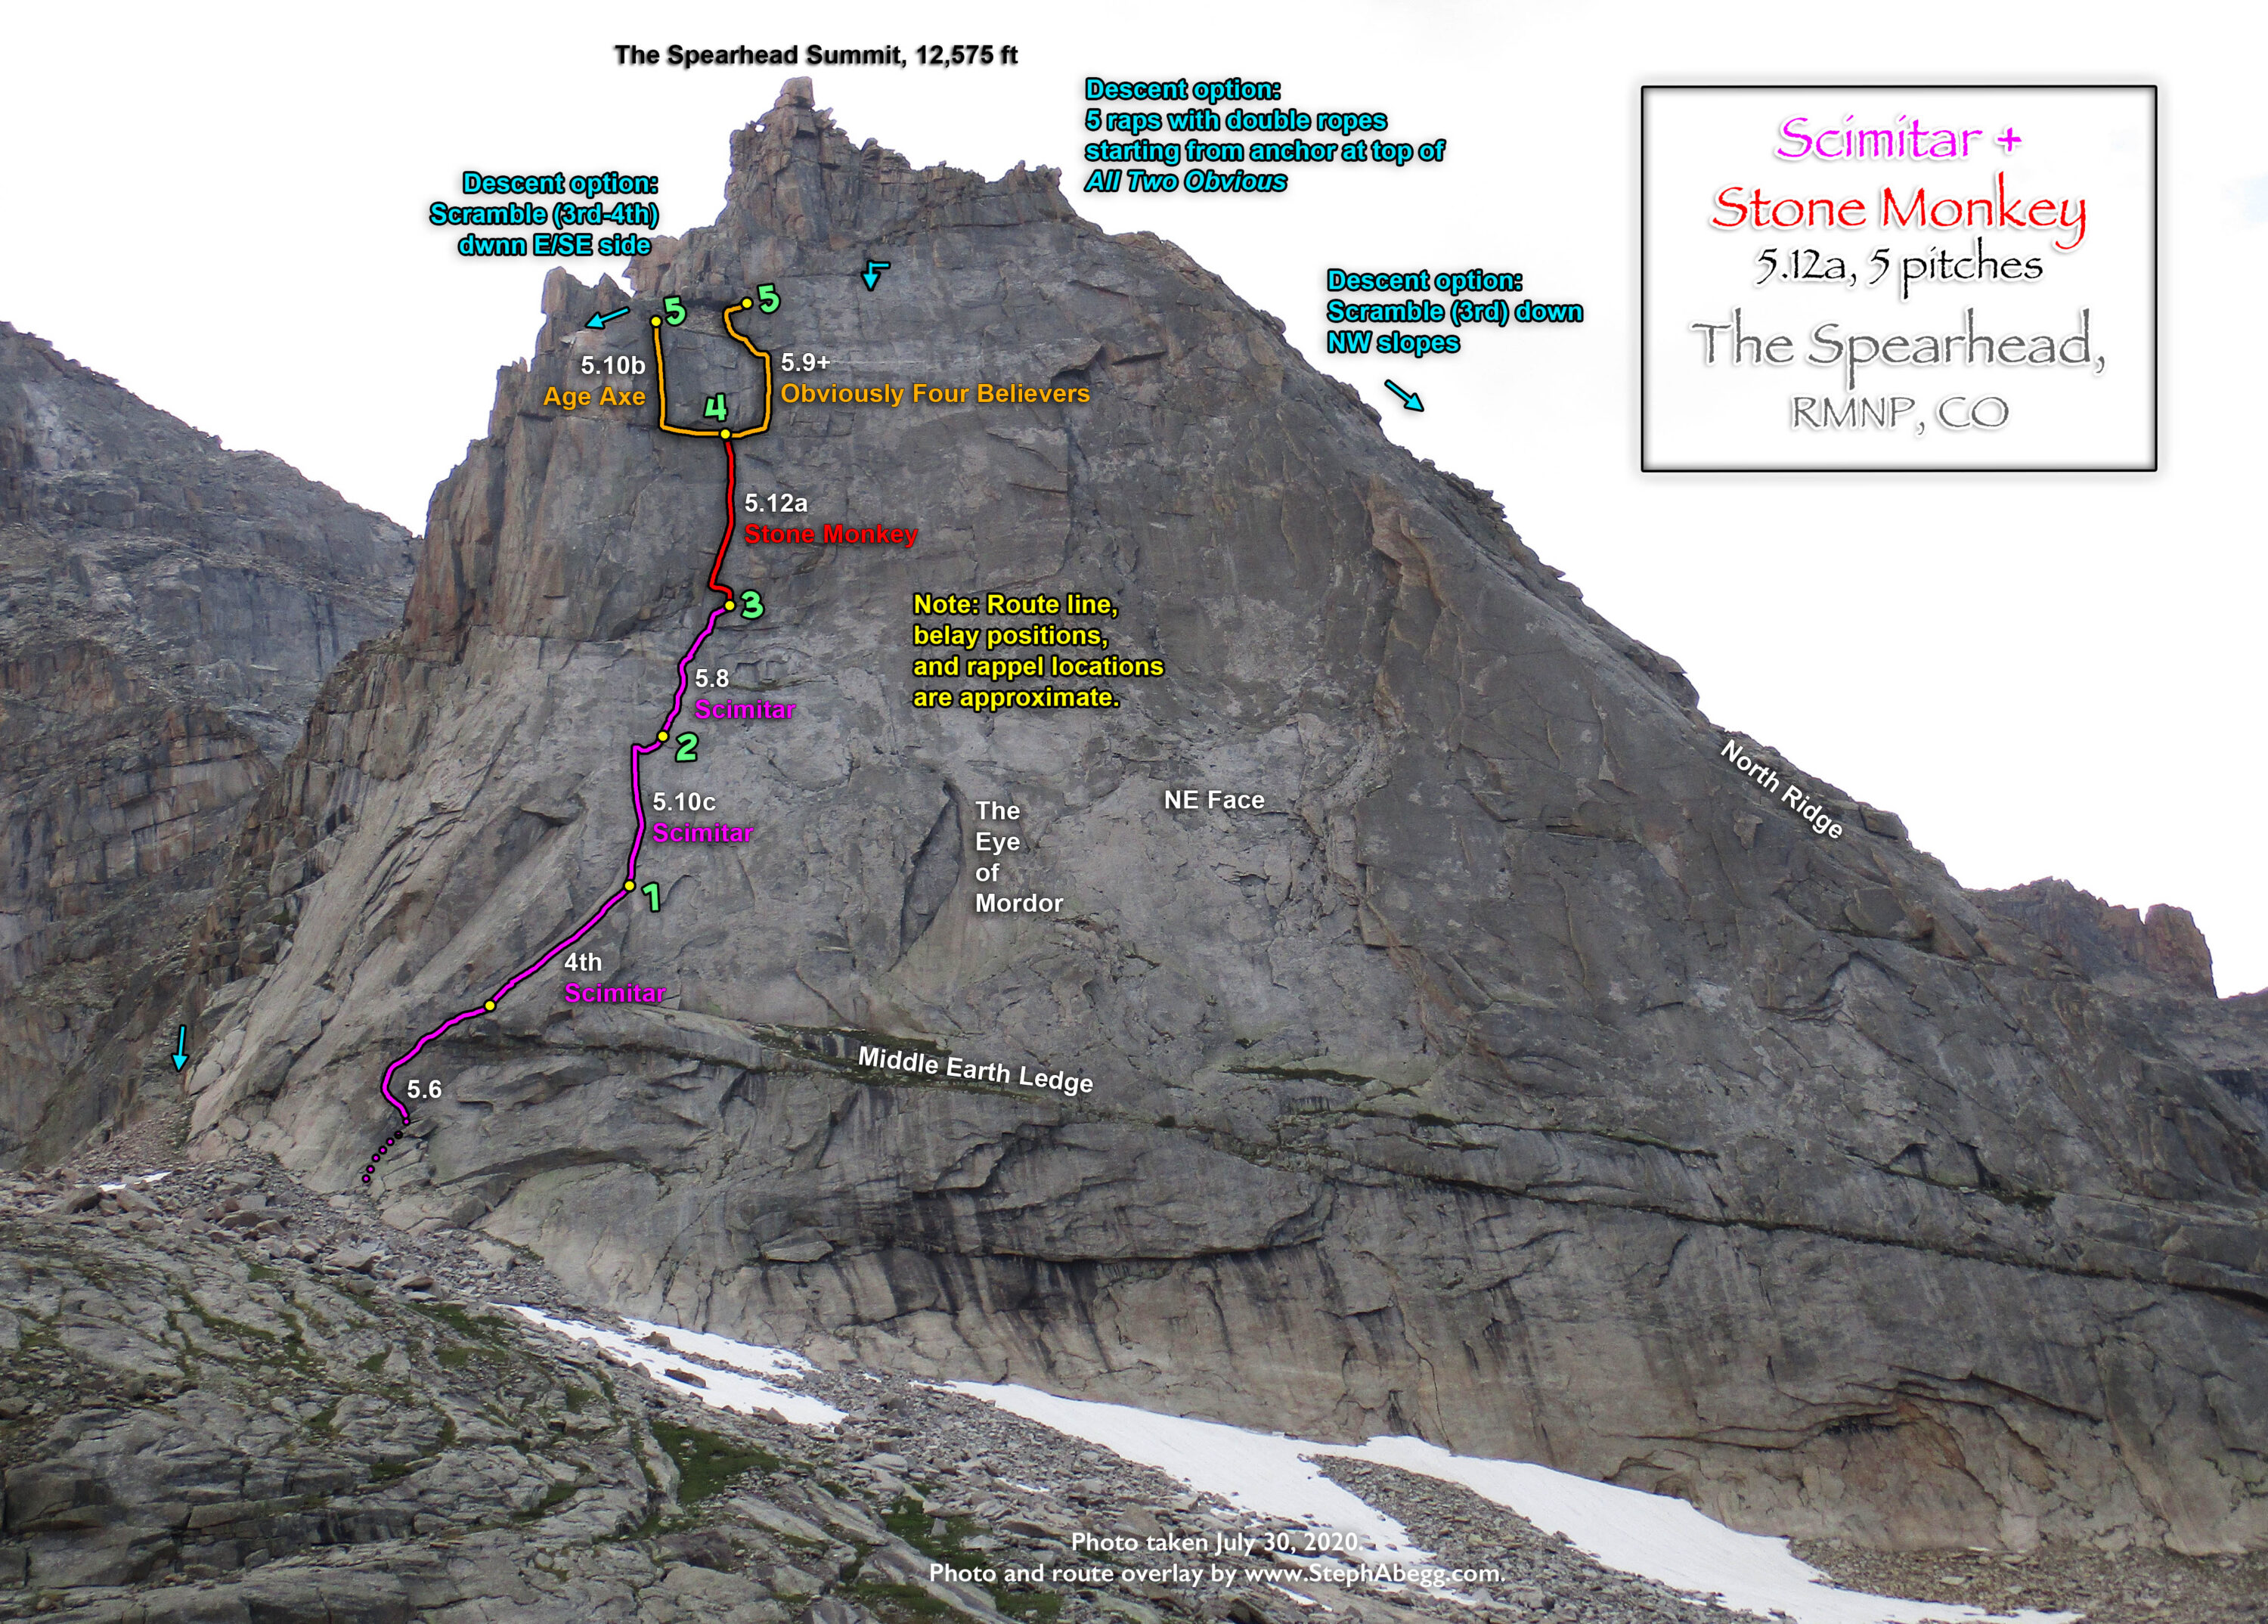
This beautiful route climbs the steep wall just left and then above the Eye of Mordor. The two upper pitches are the crux pitches of the route, and follow shallow left-facing dihedrals on excellent rock and are primarily protected by bolts.
Time Stats
Glacier Gorge Trailhead to bivy: 2 hours 30 minutes Bivy to base of route: 22 minutes Climb route: 4 hours 40 minutes Rappel to base of route: 35 minutes Base of route to bivy: 20 minutes
Pitch-by-Pitch Photos
Photos:
Photo descriptions:
Approach
Hike Glacier Gorge trail to Black Lake and continue up into basin below base of Spearhead. The approach is short enough that the route can easily be done car to car, but the basin below Spearhead is a beautiful spot and there are some awesome bivy caves, so it is worth an overnight if you have the time.
1.
2.
3.
4.
5.
6.
7.
8.
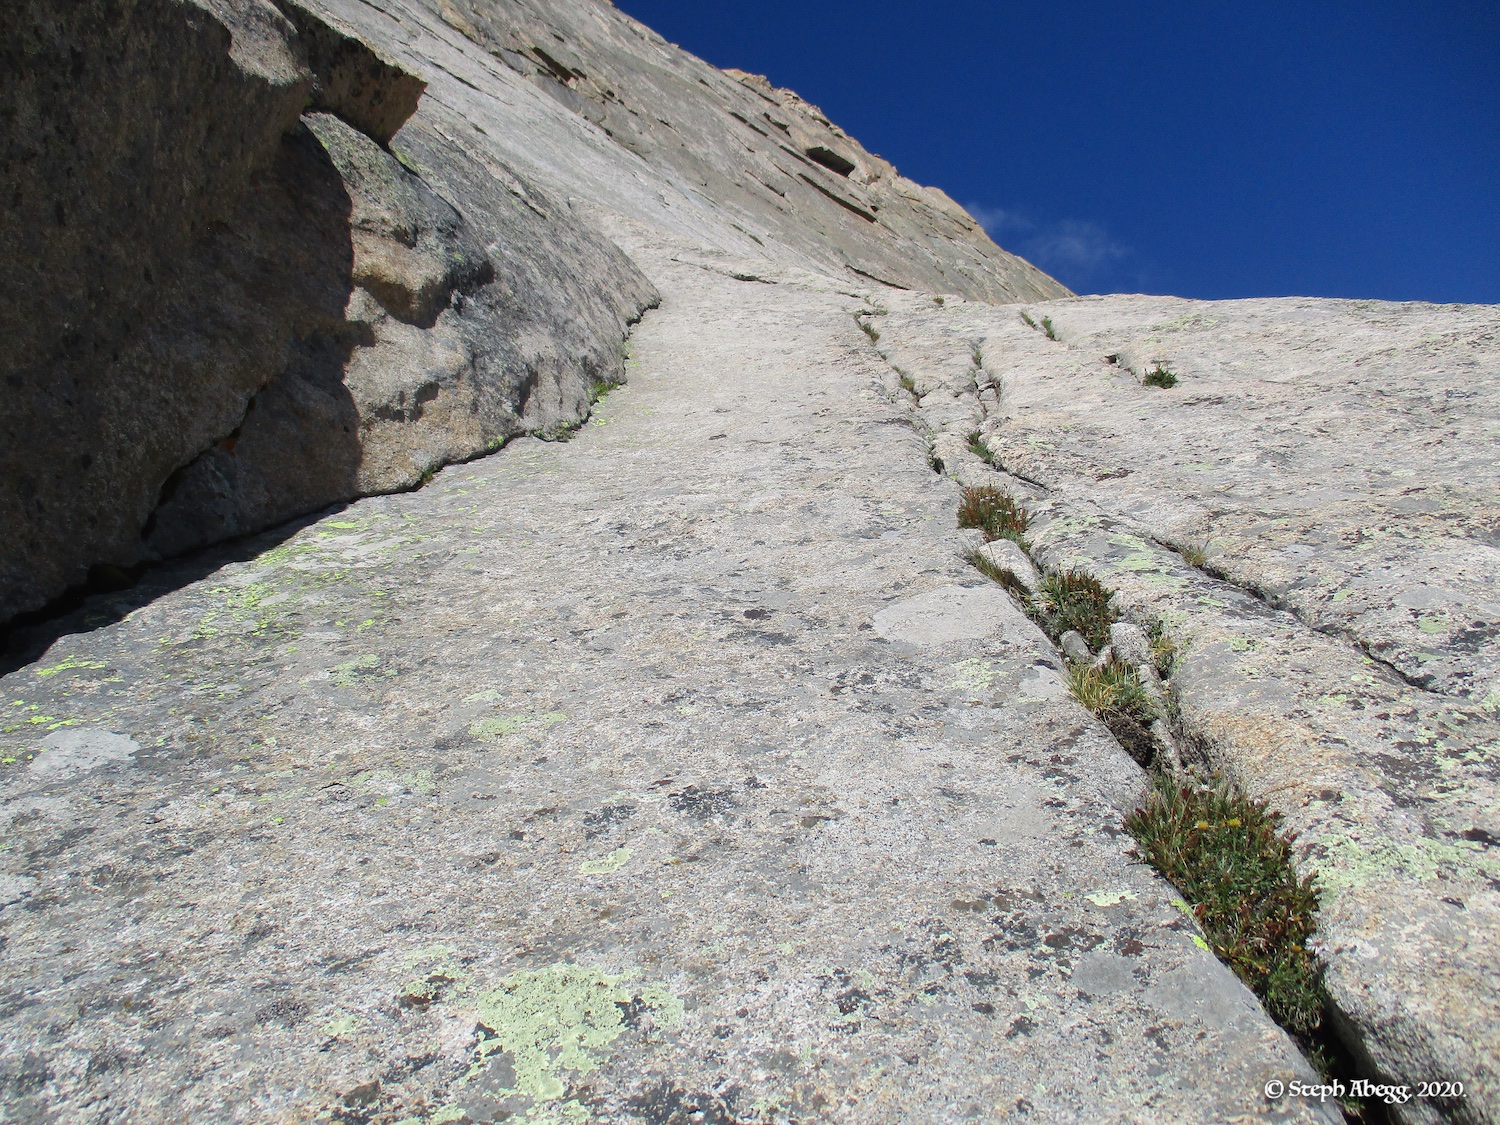
9.
10.
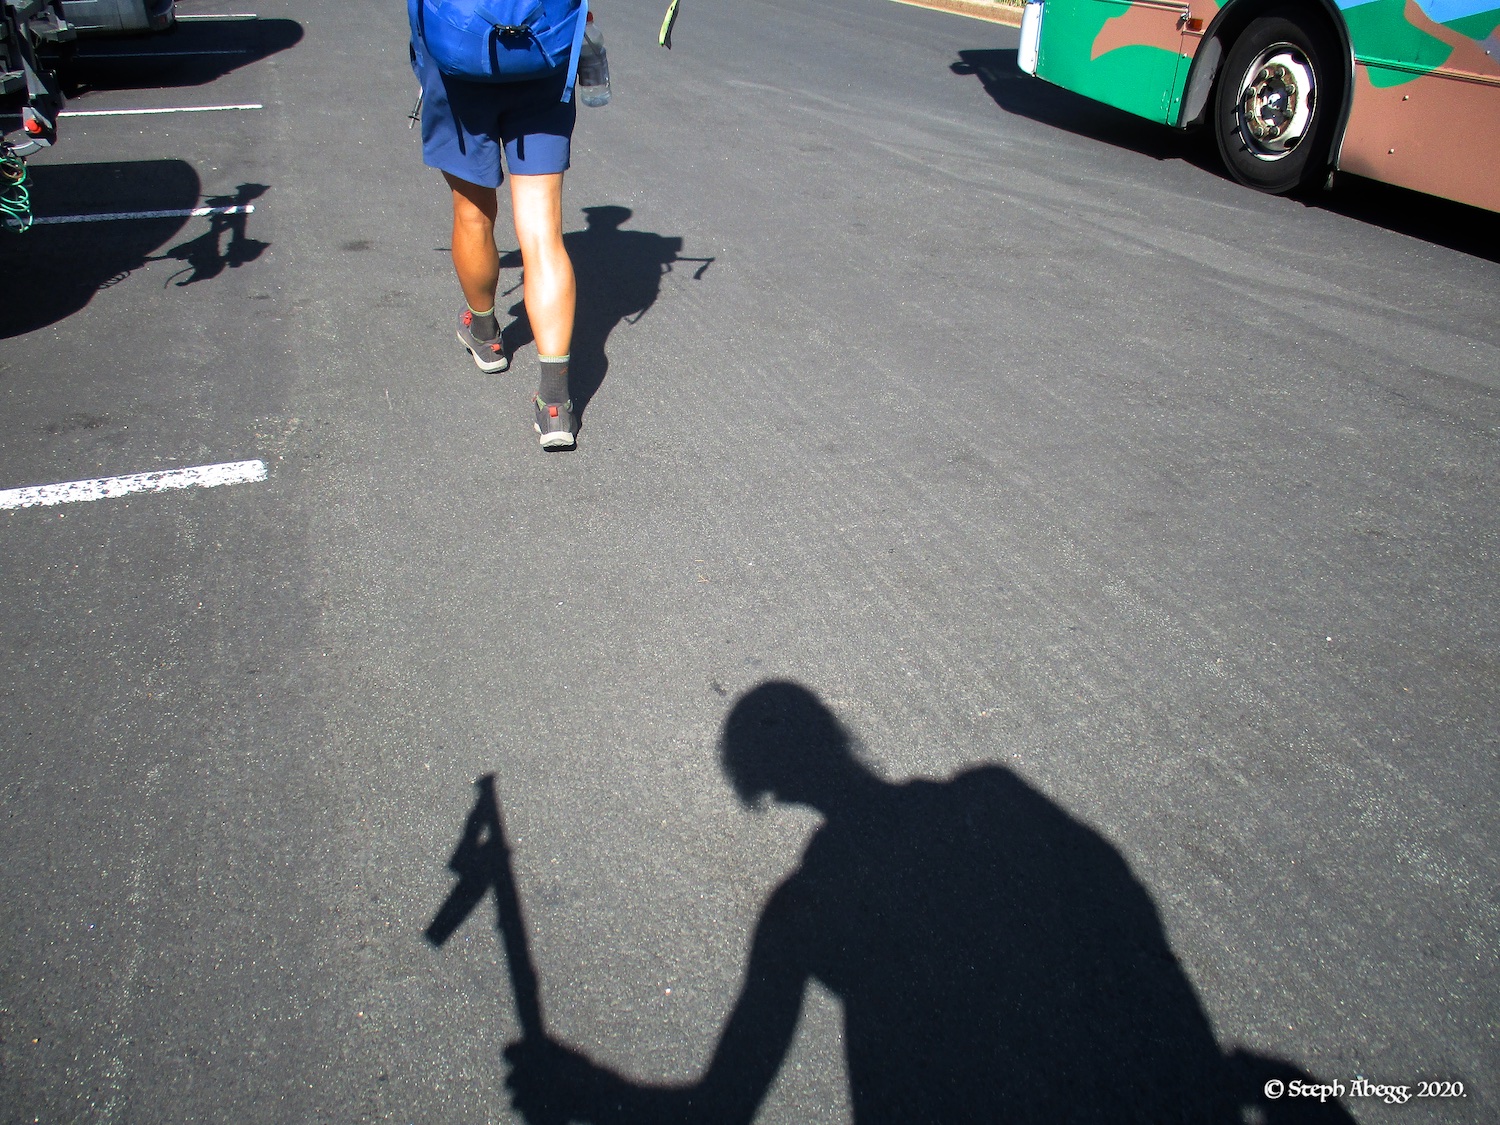
1.Leaving the Glacier Gorge Trailhead.
2. Some elk on the trail.
3. Entering upper Glacier Gorge.
4. Spearhead.
5. Elephant's Head flowers.
6. Morning sun moving down Spearhead the next morning.
7. Spearhead basking in the sun as we approach the route.
8. Some odd sandstone which machine tooling marks. Very out of place in a sea of granite.
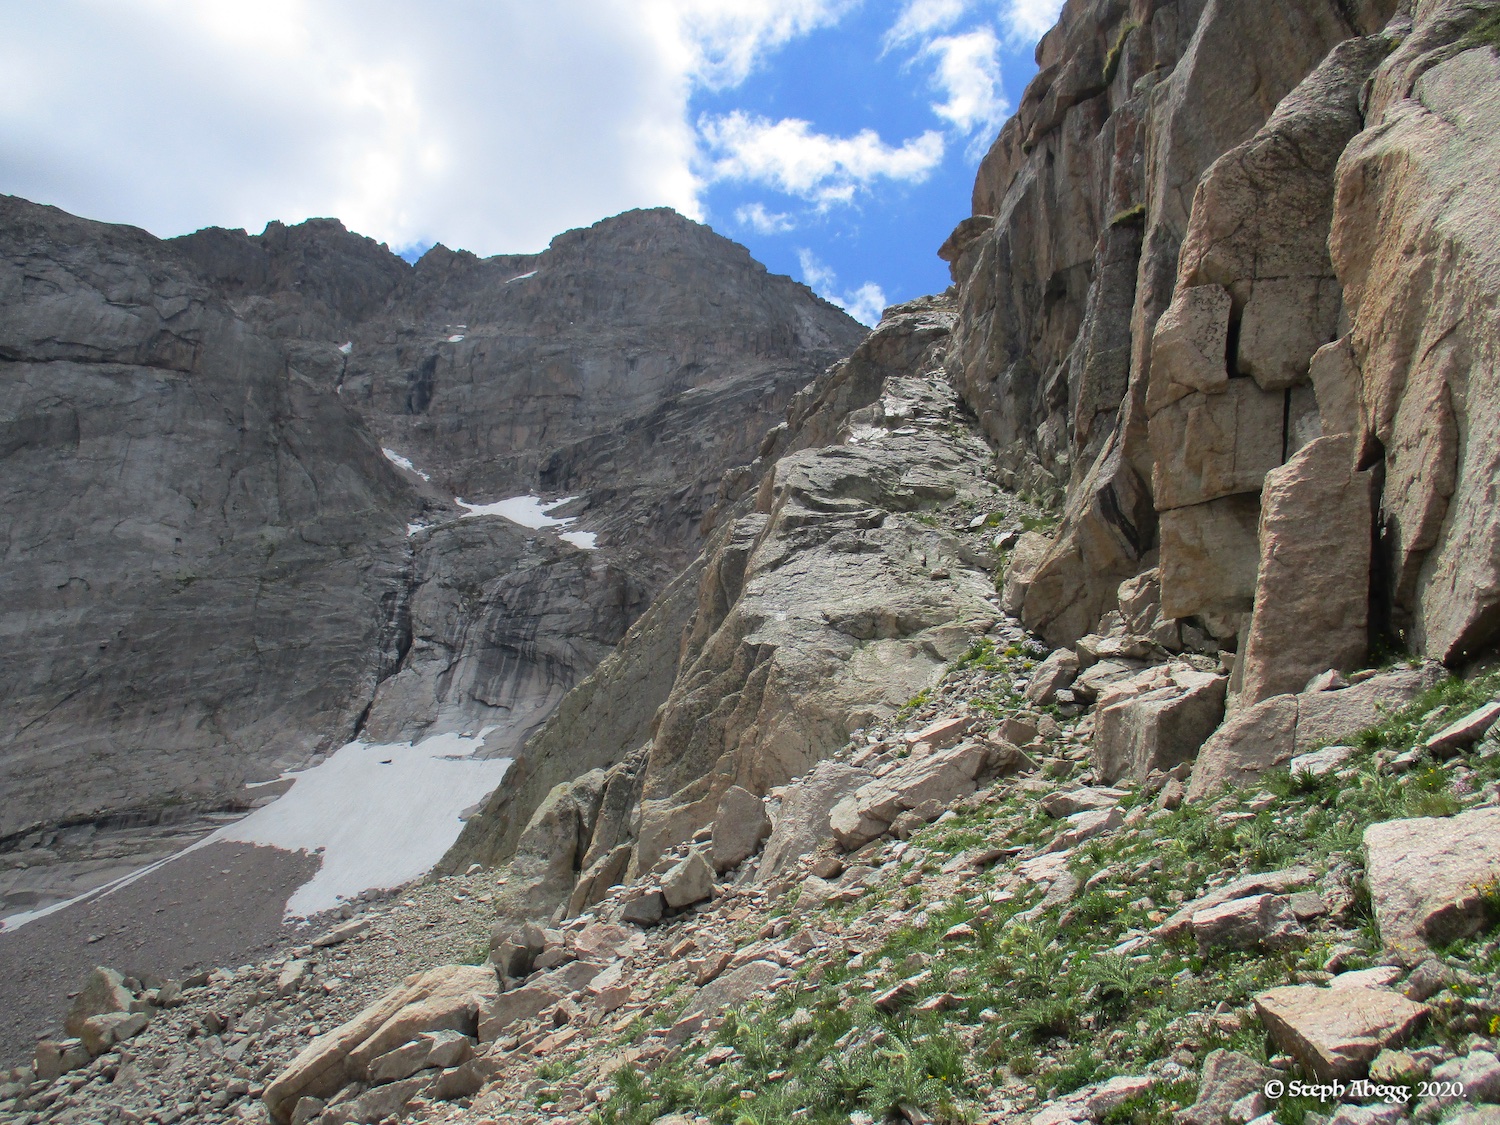
9. Approaching the base of the route. 10. Approaching the base of the route. Pitch 1 starts on Middle Earth Ledge just left of the Eye of Mordor. We climbed a single approach pitch to get to Middle Earth Ledge.
Pitch
0
(Pitch count starts at Middle Earth Ledge as per guidebook description of the route)
APPROACH PITCH 5.7. There is more than one way to get to Middle Earth Ledge. We climbed up and through the left of two big dihedrals.
11.
12.
13.
11. This is where we started the approach pitch.
12. The dihedral we climbed.
13. On Middle Earth Ledge.
Pitch
1
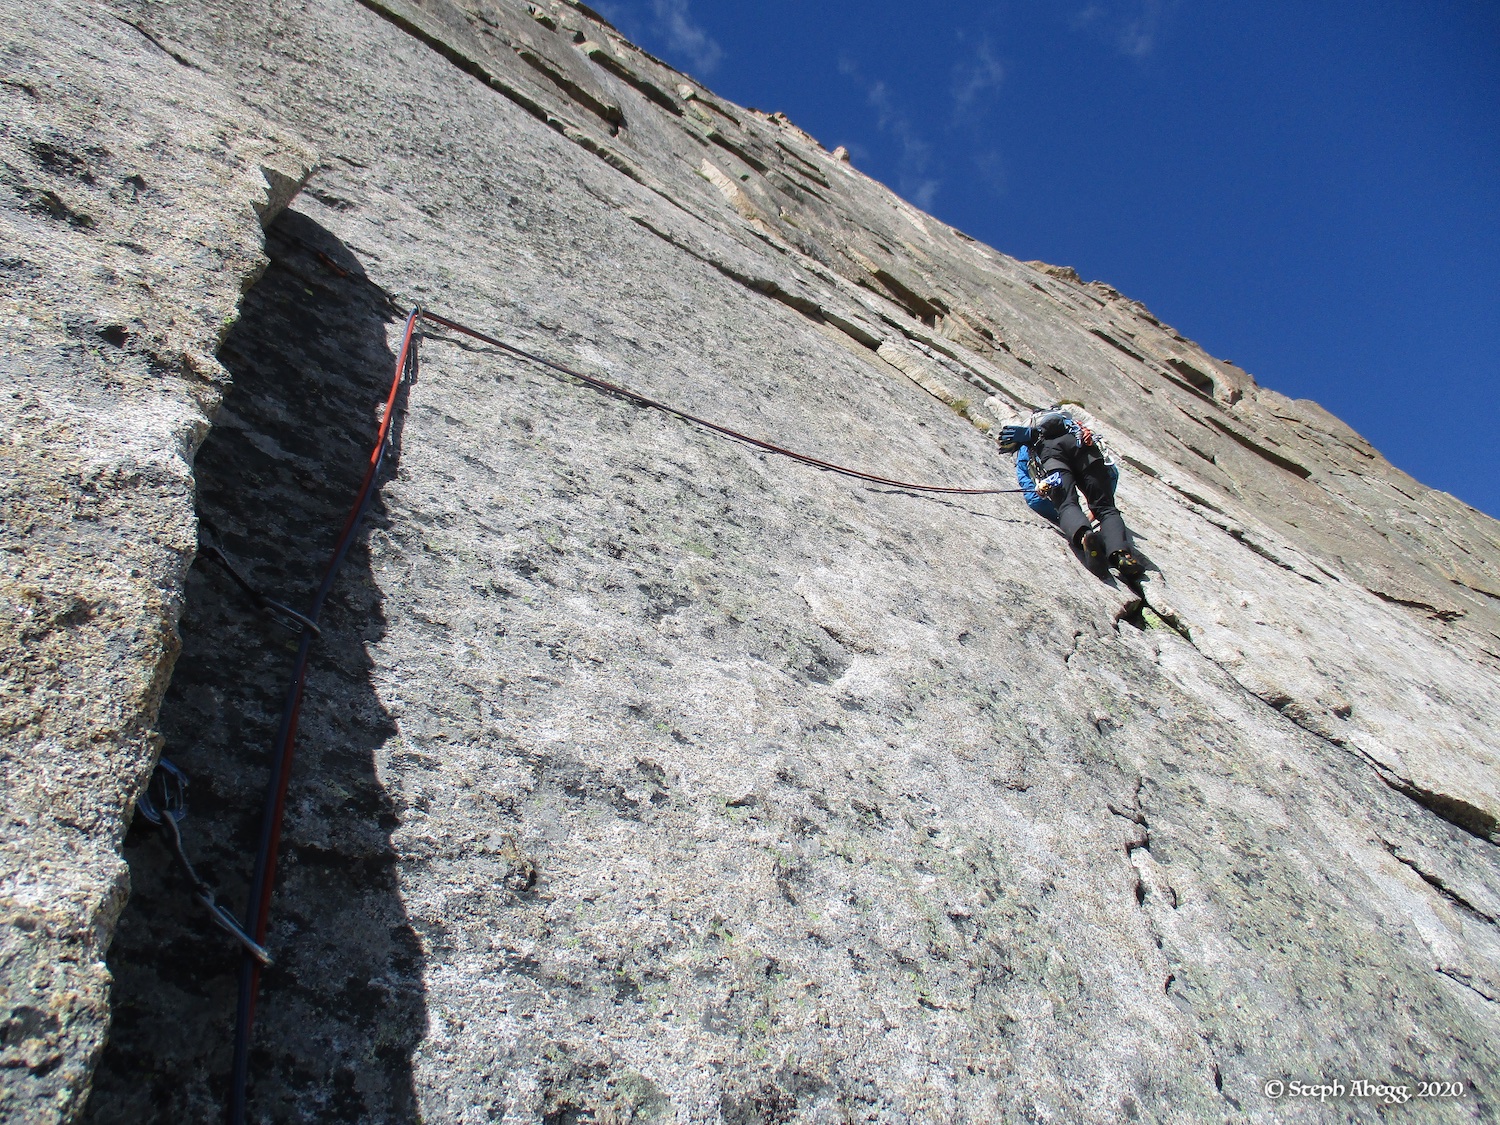
5.9. The guidebook descriptions says to begin the pitch at a left-facing flake just right of the Three Stoners finger splitter. I'm not sure this is where we started, but we started on a face not far right of said splitter, and continued up along left facing flakes and belay ledge. Our pitch was about 200 feet, and I think we went a bit higher than the belay spot described in the guidebook.
14.
15.
16.
14.This is where we started the pitch. This is a somewhat tricky unprotectable section, so there might be a better place to start, but we did not find it.
15. Nate starting the lead.
16. Higher up on the pitch.
Pitch
2
5.10d PG13. The guidebook description here is to head up and right to an angling seam. Follow this and then step right at the end of the seam to a fixed pin belay. I somehow ended up on Obviously Four Believers (which was fun but more like 5.9 than 10d) and led a long pitch that reconnected with All Two Obvious at the top Pitch 4 of All Two Obvious. I suppose it's not all too obvious where the route goes here....
17.
18.
17.Looking up above the belay. I think the Pitch 2 of All Two Obvious goes off to the right a bit. I went more up and right and ended up on Obviously Four Believers.
18. Nate climbing the pitch. This is Obviously Four Believers. The photo is taken from the belay location for the top of Pitch 3 of All Two Obvious, which I regained at this location.
Pitch
3
5.9 R. The guidebook description is to climb up and left, then undercling right along a prominent right-facing flake system. Climb halfway up the flake system and belay at a stance to the right. I ended up belaying at this stance coming in from the left via Obviously Four Believers (which was fun but more like 5.9 than 5.9 R).
(no photos)
Pitch
4
5.9+. Continue climbing up the right-facing flake system. There are two fixed pins along the way. Belay at a half-circle feature.
19.
20.
19.Nate starting up the flake system.
20. One of the two fixed pins along the way.
Pitch
5
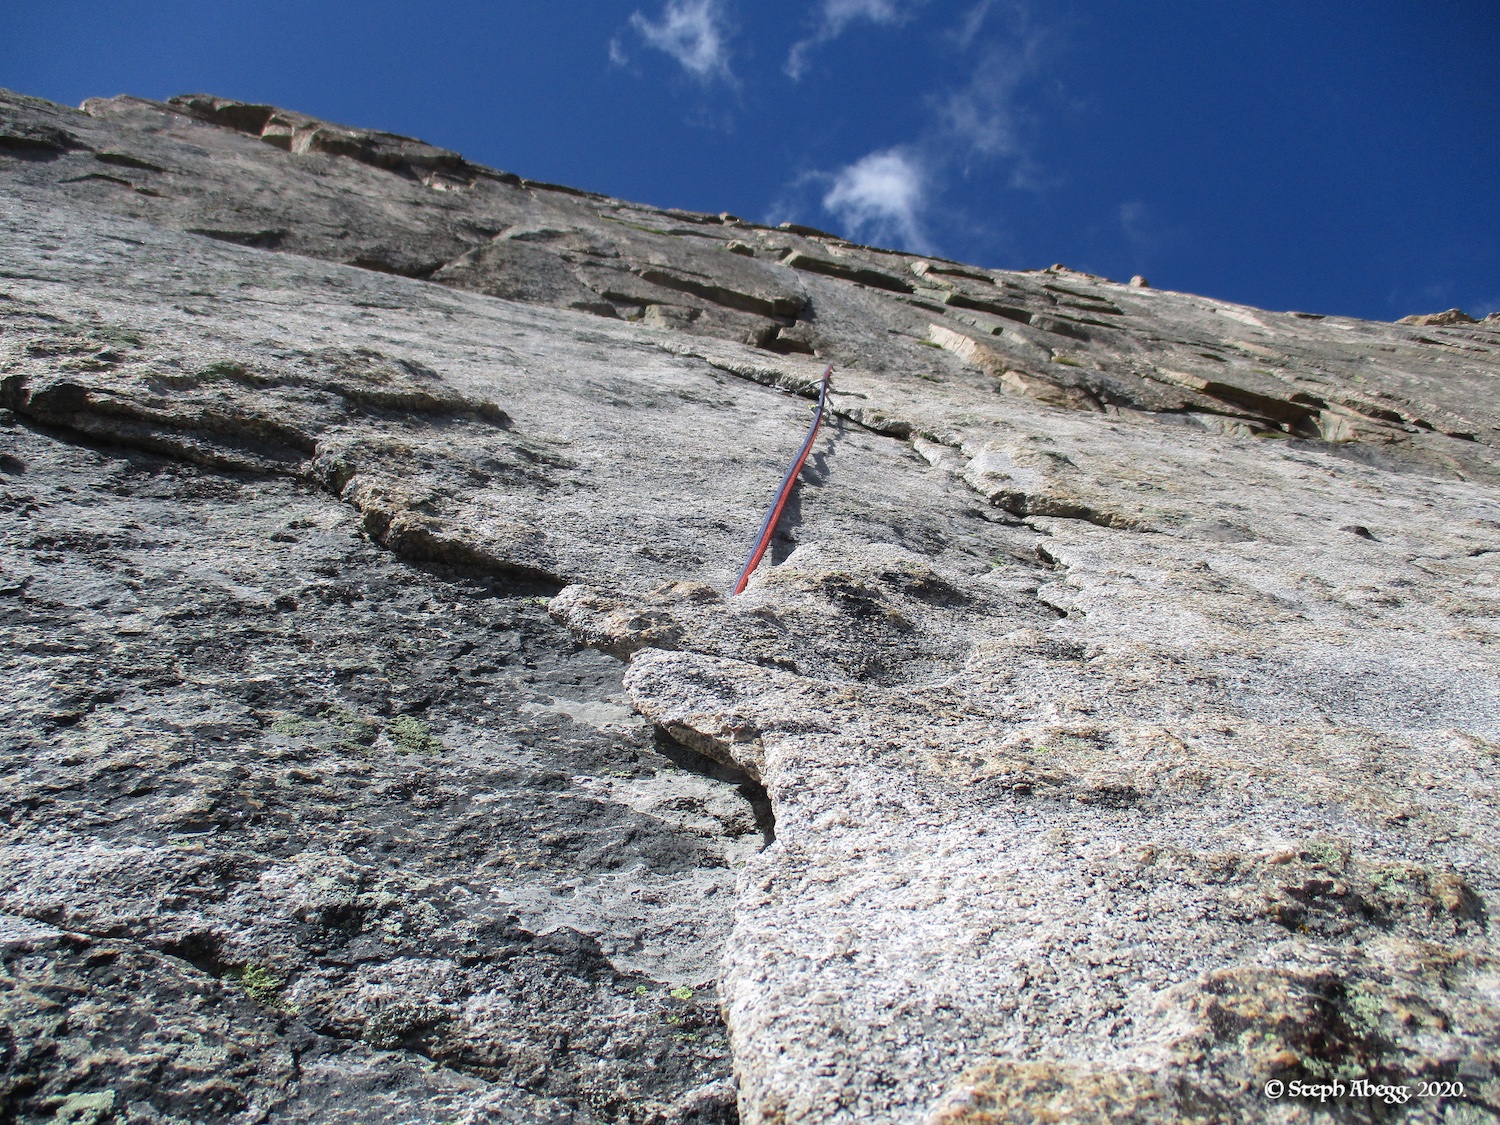
5.10a. Climb the finger crack above the half circle, which leads to a left facing corner which you climb to a bolted anchor.
21.
22.
23.
21. Looking up the finger splitter at the start of the pitch.
22. Corner higher un on the pitch.
23. Looking down from the top of the pitch.
Pitch
6
5.11d. Climb rightwards and upwards up the bolted slab (three bolts, crux of the route). Then climb the shallow left-facing flakes, passing three more bolts, ending at another bolted anchor.
24.
25.
26.
24.The crux of the route is the bolted slab between the belay and the corner.
25. Nice lead Nate!
26. The upper portion of the pitch.
Pitch
7
5.11a. Climb up the steep face past four bolts. Then climb a crack to a bolted anchor just below the walk-off ledge.
27.
27.The start of Pitch 7.
Top!
Scramble to the top, or begin the descent.
(no photos)
Descent
There are three descent options I know of: (1) Rappel back to the base in 5 raps with double ropes, starting at the anchor at the top of the final pitch. (2) Descend the E/SE side (3rd-4th) back down to the NE Side of Spearhead. (3) Scramble down 3rd class slopes on the SW side. We chose to rappel the route.
28.
29.
30.
31.
28.Rappeling.
29. Rappelling.
30. One of the rap anchors.
31. Another rap anchor. The way the sling is configured seems to places too much strain on the bolts - it would be better if the bolts were weighted separately to spread out the load.
THIS TRIP REPORT IS STILL MOSTLY IN THE EMBEDDED HTML FORMAT OF MY OLD WEBSITE. MOBILE Tip: Try Landscape mode. It is generally more mobile friendly.
Stone Monkey refers to a single pitch high on the route. This pitch is one of the best single pitches on Spearhead. And also hard, at 12a. The route we took started with Scimitar (a 3-pitch route to the base of StoneMonkey), then climbed up the amazing one-pitch winder of Stone Monkey, and then finished with the last pitch of Obviously Four Believers. It is also possible to get to Stone Monkey via the first few pitches of Three Stoners and finish the climb via the last pitch of Age Axe.
Time Stats
Bivy to base of route: 14 minutes Climb route: 4 hours 25 minutes Descent down SE Ramp to bivy: 50 minutes Hike back to trailhead: 2 hours
Pitch-by-Pitch Photos
Photos:
Photo descriptions:
Approach
Hike Glacier Gorge trail to Black Lake and continue up into basin below base of Spearhead. The approach is short enough that the route can easily be done car to car, but the basin below Spearhead is a beautiful spot and there are some awesome bivy caves, so it is worth an overnight if you have the time.
1.
2.
3.
4.
1.Morning sun moving down Spearhead.
2. Spearhead basking in the morning light.
3. Approaching the base of the route.
4. We scrambled up to where Nate is in the photo. Here we roped up and climbed out of the left side of this inset.
Pitch
1
Scimitar
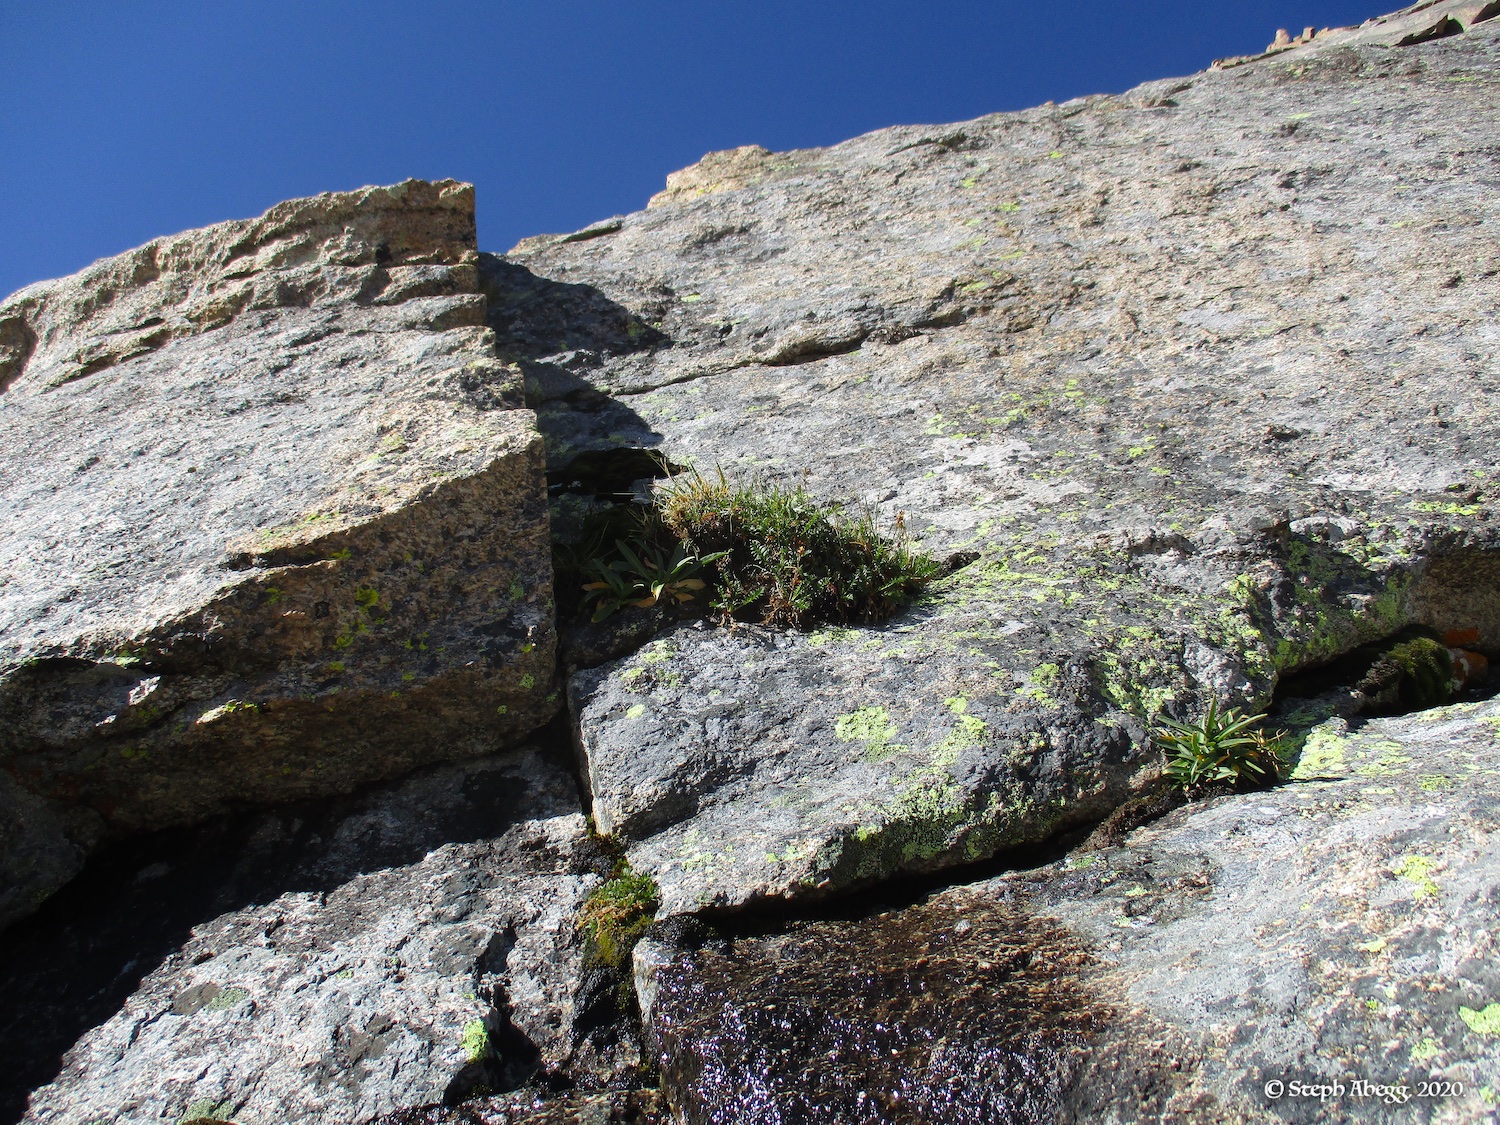
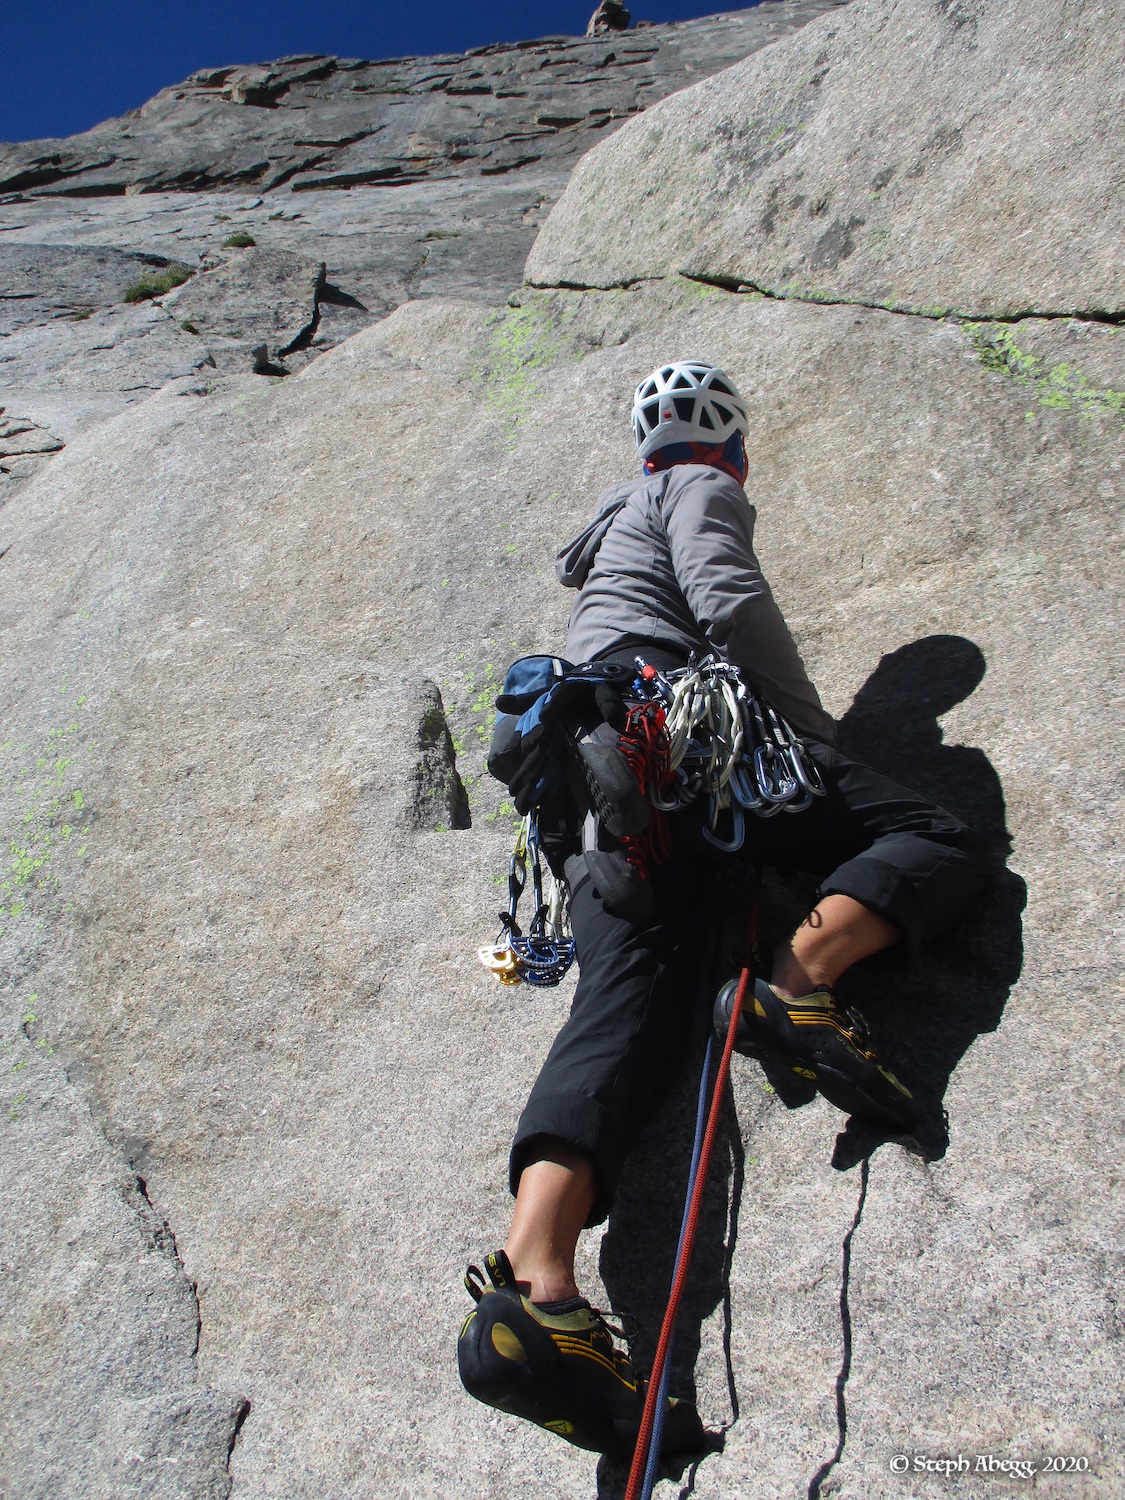
SCIMITAR 5.6. Climb up (a few options) to the base of the giant dihedral that composes the first pitch of Scimitar. Continue up the 4th class ramp formed by its right side, and belay where the ramp steepens. This pitch involves some simulclimbing if you go all the way from the base to the top of the ramp as we did.
5.
6.
7.
5.This is where we started the roped climbing.
6. The ramp.
7. Nate nearing the top of the pitch.
Pitch
2
Scimitar
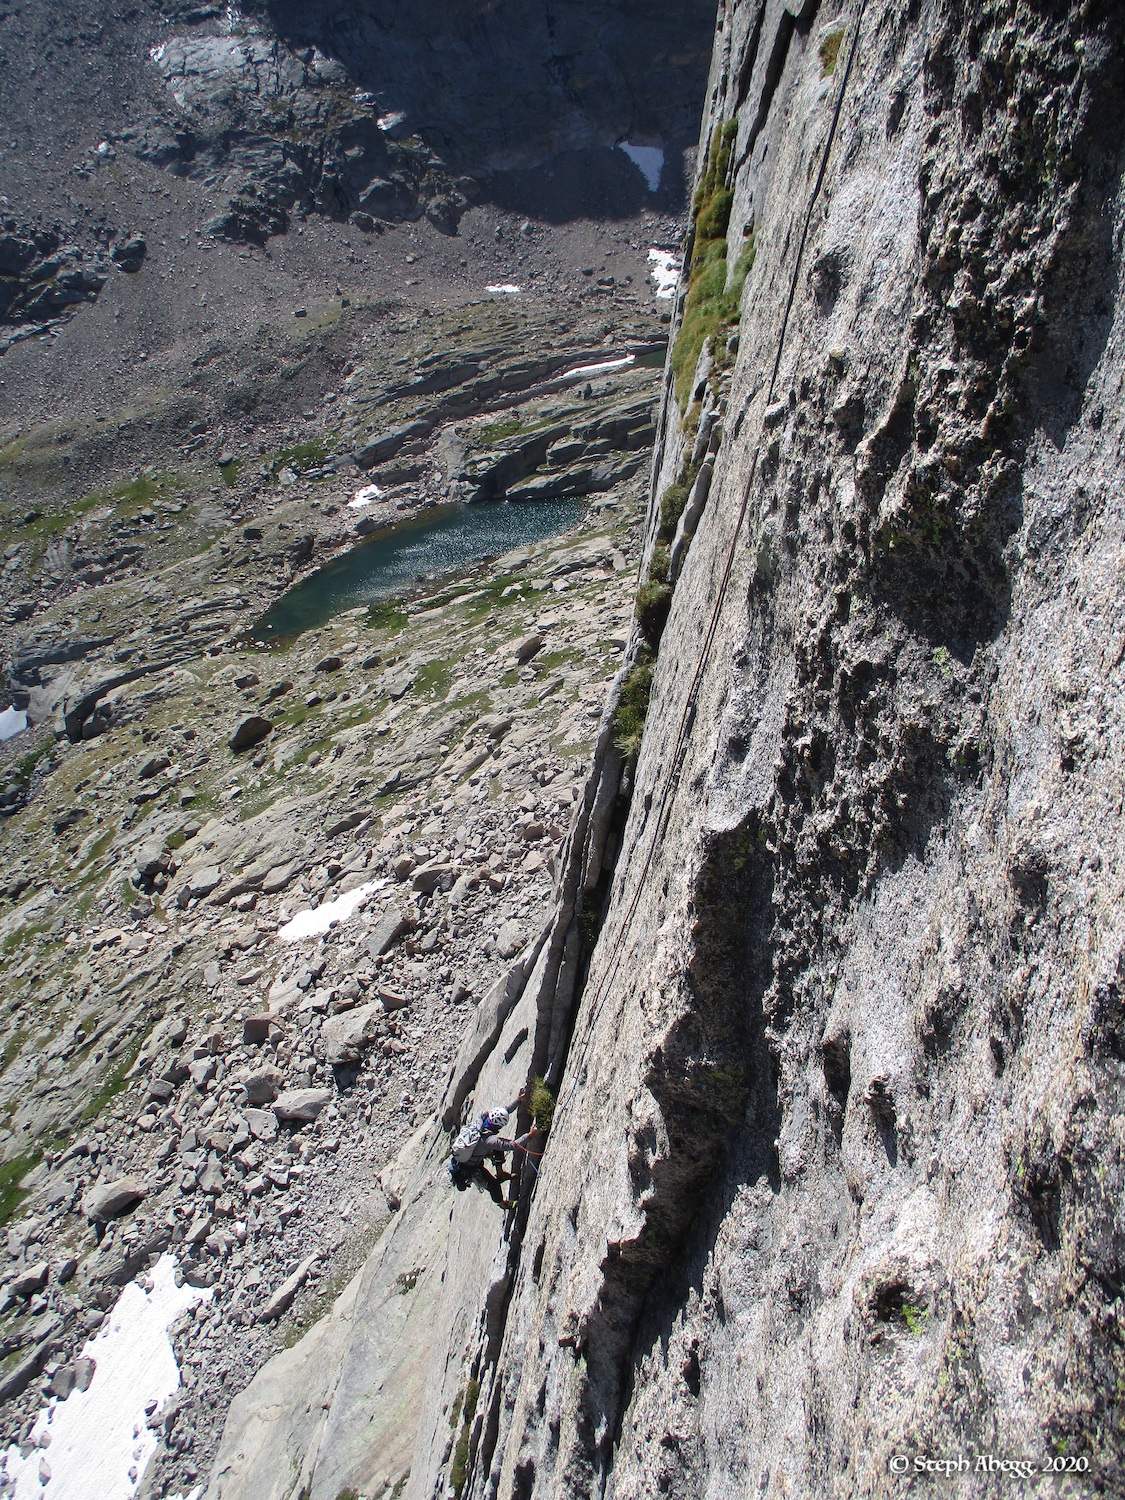
SCIMITAR 5.10c. Head up and left into a shallow right-facing corner and follow it to a point short of its top, then traverse right with marginal pro to a stance beside a left-facing flake. Tricky gear on this pitch.
8.
9.
10.
11.
12.
8.Looking up the pitch.
9. Looking down the pitch. 10. Nate nearing the top of the pitch.
11. This is the final portion of Pitch 2 as per the guidebook break down of the route, but we climbed it as the start of Pitch 3. The crux 10c bit is getting from where Nate is to the crack system about 20 feet to the right.
12. Nice lead Nate!
Pitch
3
Scimitar
SCIMITAR 5.8. Climb up and right over flakes to a grassy ledge below the Stone Monkey pitch.
13.
14.
15.
13.Flakes.
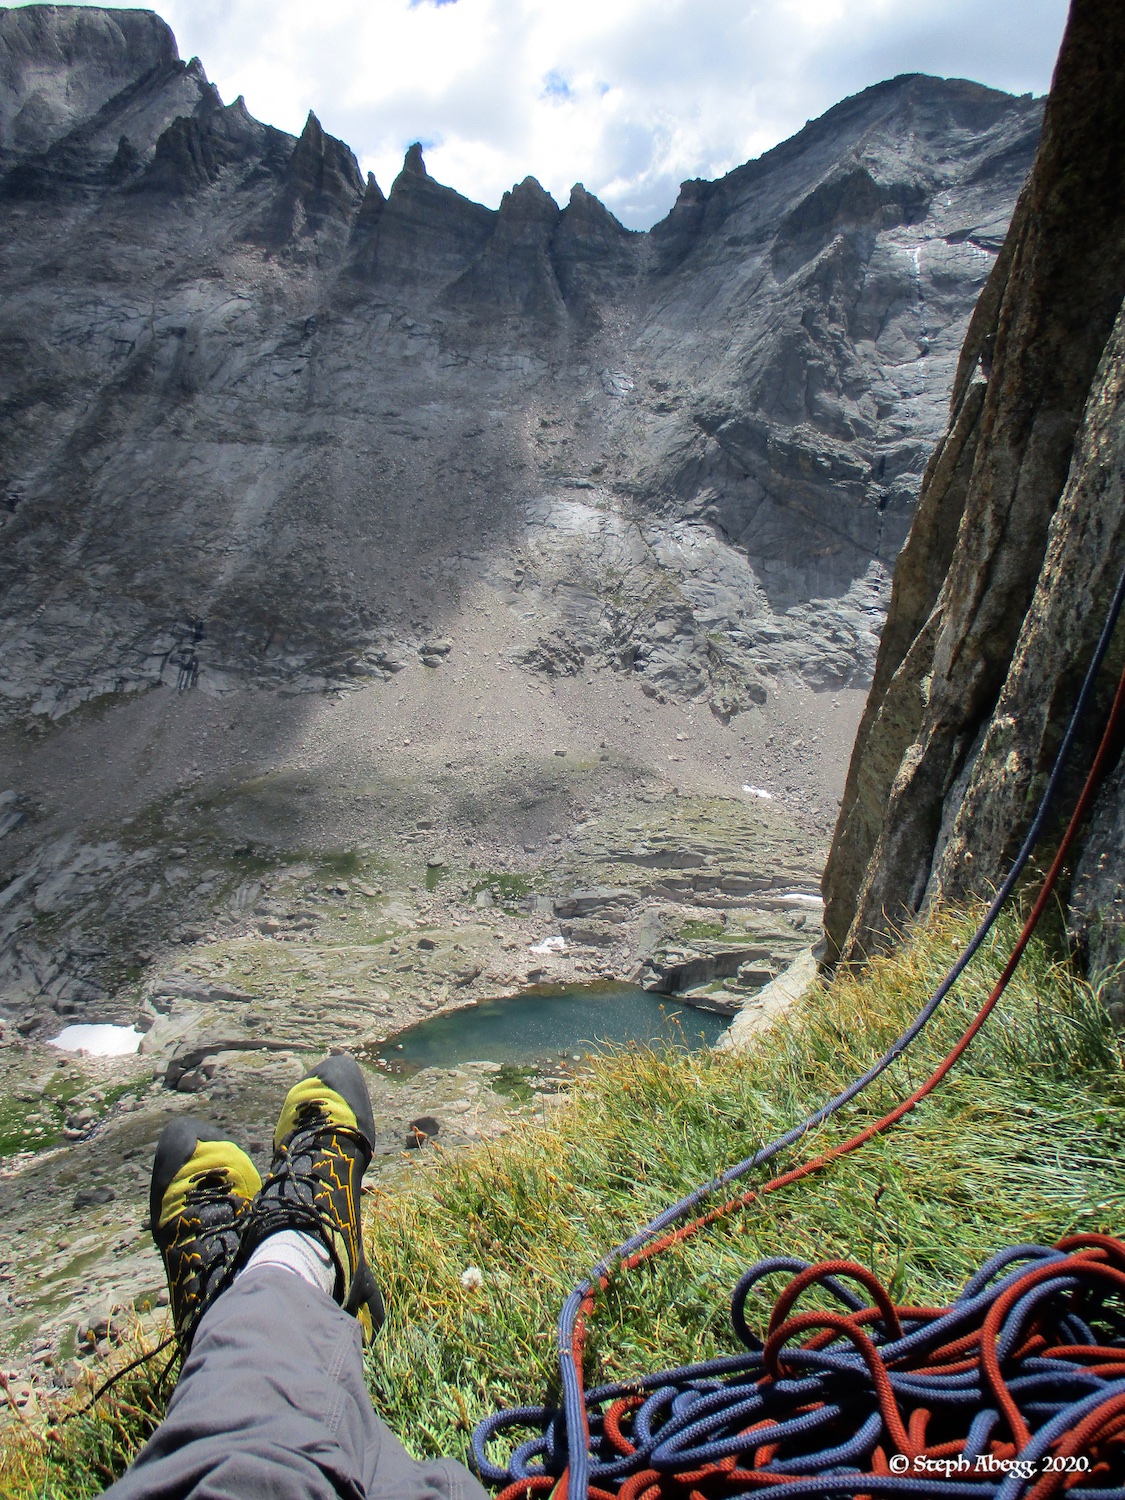
14. The awesome grassy ledge at the top of the pitch.
15. Enjoying the view.
Pitch
4
Stone Monkey
STONE MONKEY 5.12a. Undercling up and left into a hand crack that tapers to a seam which presents the crux of the route. RPs and small cams help protect the seam. Finish at a long grassy ledge.
16.
17.
16.Nate climbing the undercling at the start of the pitch.
17. Looking up the hand crack section. The crux of the pitch is the upper half, out of view.
Pitch
5
Obviously Four Believers
Move the belay to the left to climb the last pitch of Age Axe orto the right to climb the last pitch of Obviously Four Believers. We chose Obviously Four Believers. OBVIOUSLY FOUR BELIEVERS 5.9+. Climb a slot to a hand crack, then up and left around a roof, and up some more to the walk-off ledge.
18.
18.The slot at the start of the pitch.
Top!
Scramble to the top, or begin the descent.
19.
(see my other trip reports for Spearhead for summit photos)
19.Looking up towards the summit. We had both been to the summit more than once before, so we decided to just begin the descent.
Descent
There are three descent options I know of: (1) Head right to the anchors at the top of All Two Obvious and rappel to the base in 5 raps with double ropes. (2) Descend the E/SE side (3rd-4th) back down to the NE Side of Spearhead. (3) Scramble down 3rd class slopes on the SW side. We chose to descend the E/SE side, which seems to make the most sense for this route.
20.
21.
22.
23.
24.
25.
26.
27.
28.
20.Start of the descent down the E/SE side.
21. Descent down the E/SE side.
22.Looking back at the descent ramp that dumped us off at the NE side of Spearhead. The NE Face of Chiefs Head is behind. Nate and I had climbed Cowboys and Indians on the NE Face of Chiefs Head the previous summer.
23. A pretty garden of alpine columbine.
24. Another photo of the alpine columbine.
25. A lone alpine columbine.
26. A giant boulder on the NE side of Spearhead.
27. A waterfall.
28. Back at the Glacier Gorge Trailhead, less than 48 hours since we departed.
Other Photos
CLICK TO TO DROP DOWN CONTENT
We bivied two nights in upper Glacier Gorge. What a spectacular place to spend a couple of days.
Photos:
Photo descriptions:
1.
2.
3.
4.
5.
6.
7.
8.
9.
10.
11.
12.
13.
14.
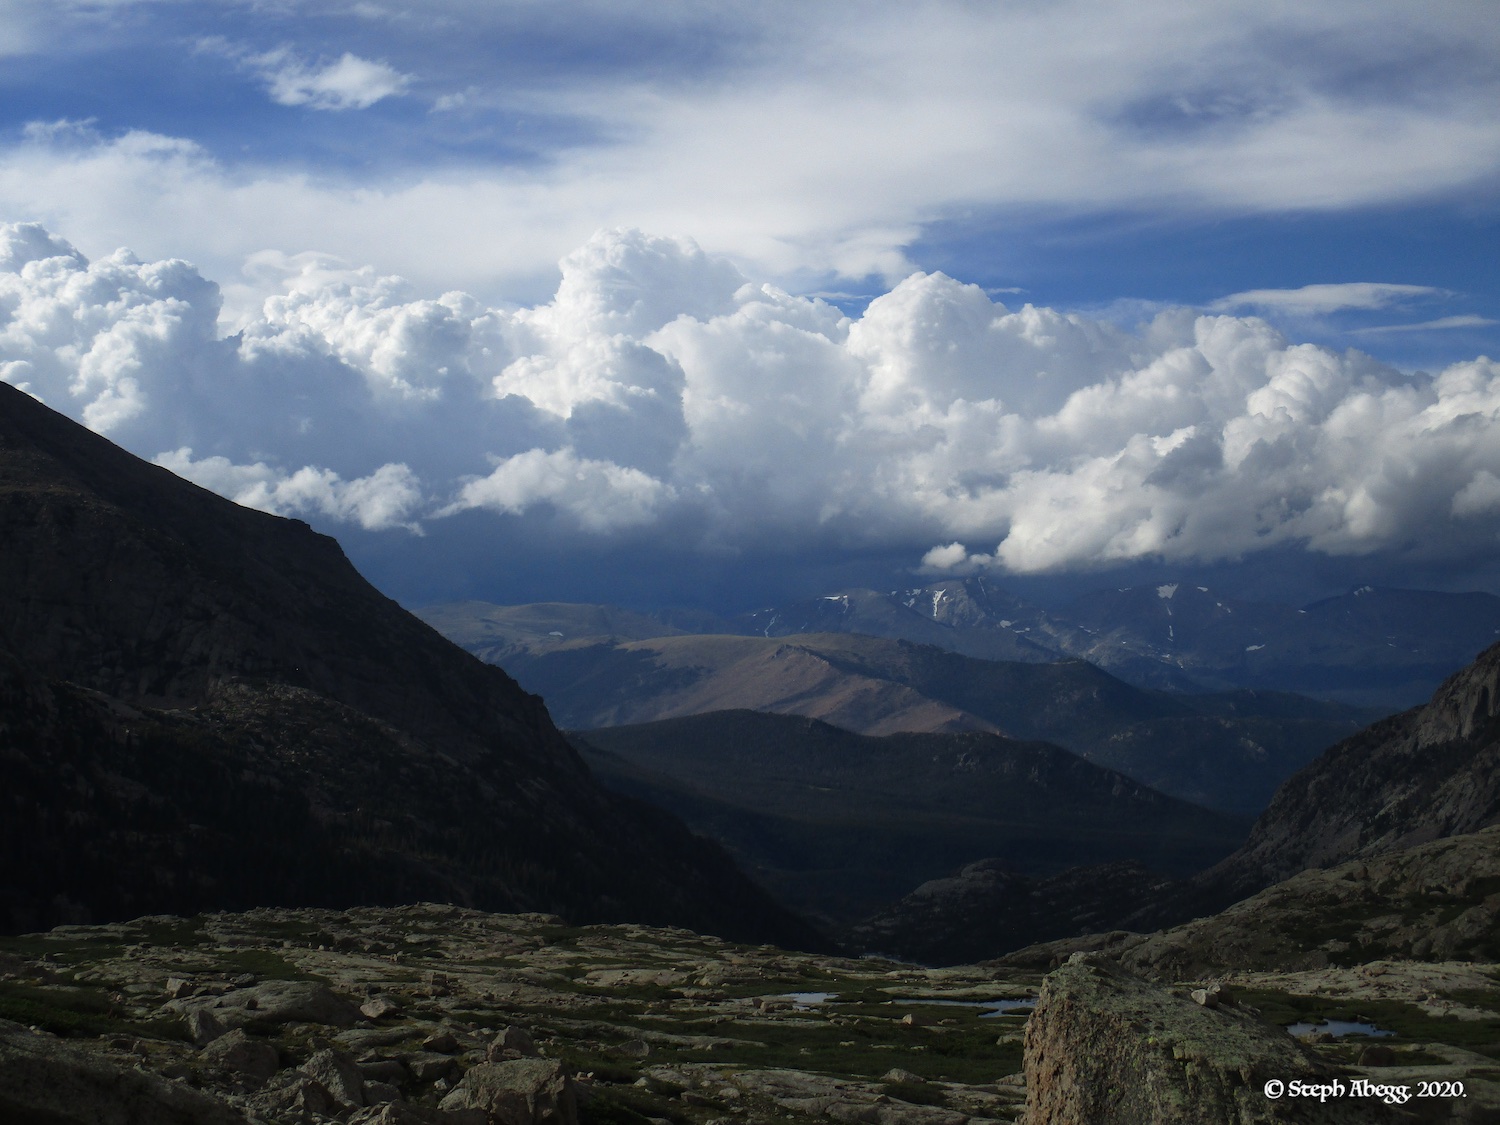
1. Late afternoon weather system moving in as we approached in evening before the first climb. Need to find shelter...
2. This cave would make an awesome bivy shelter if the snow would melt!
3. My usual go-to dinner of mashed potatoes and cheese, with some tomatoes that were well worth their weight.
4. Pudding for desert.
5. An evening light show over McHenrys and Arrowhead.
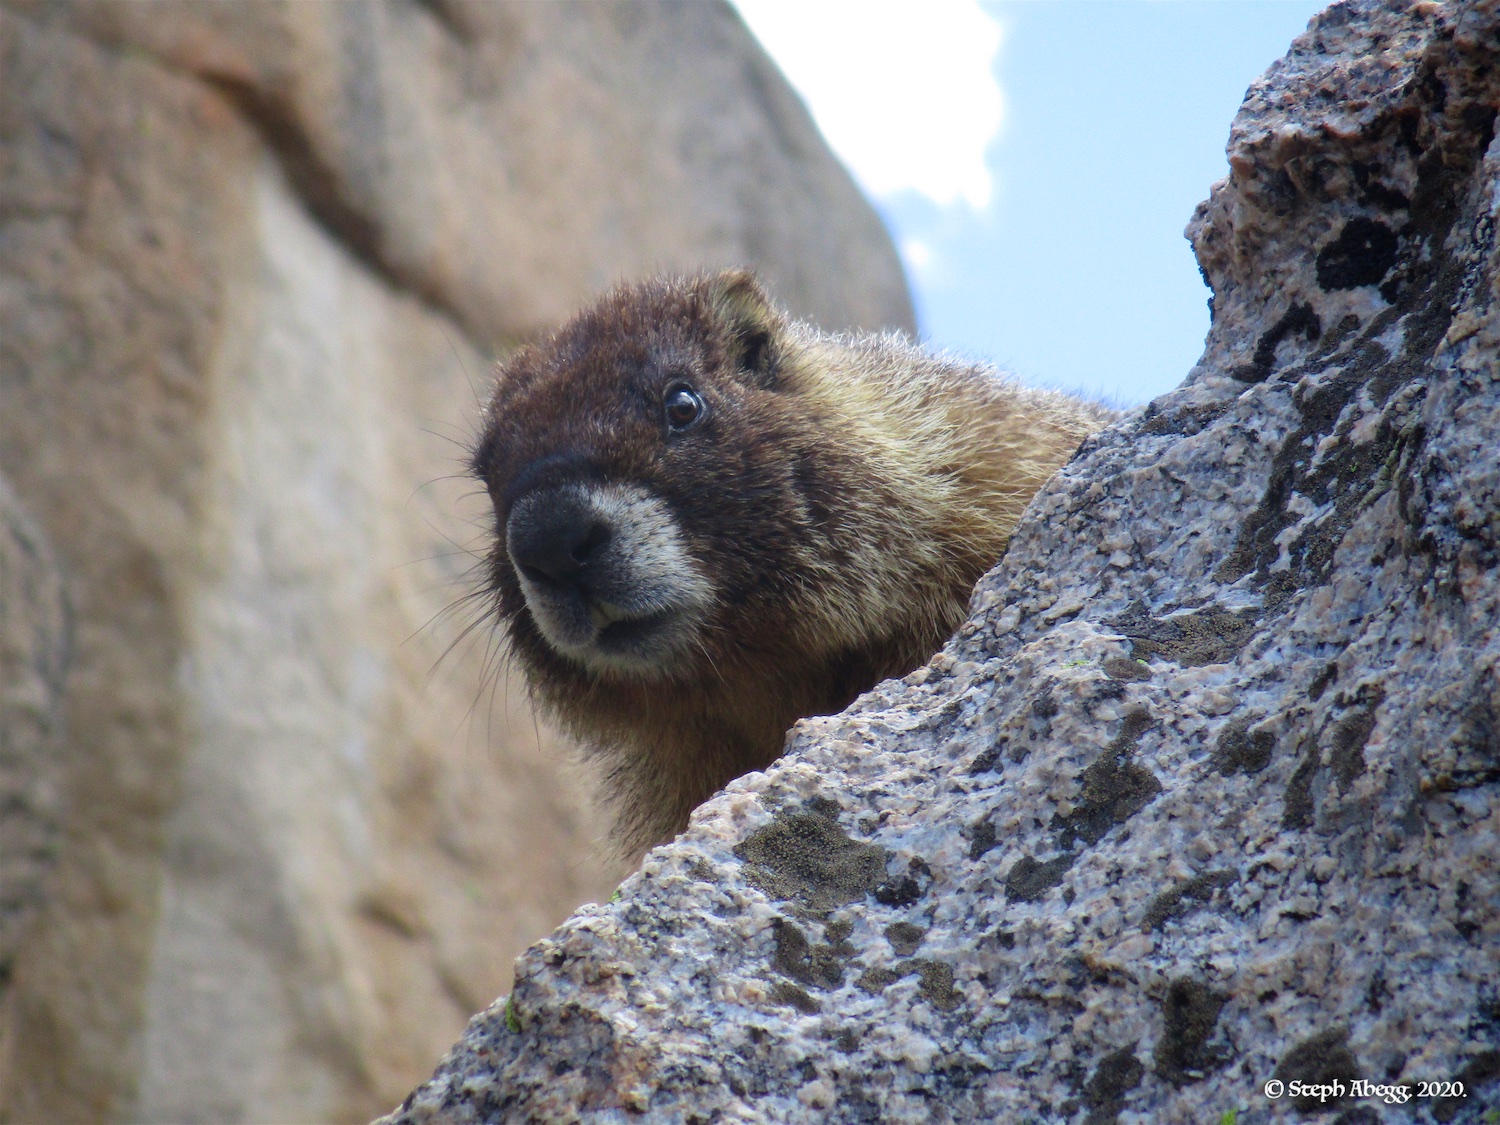
6. A cute marmot near camp.
7. But that cute marmot chewed Nate's packstrap during our first climb. Tomorrow we will have to find a place the marmot cannot get to. 8. We finished the climb with plenty of afternoon and evening left to relax. We hung out in a sunny wind-sheltered area beneath Rain Delay Crag.
9. Afternoon relaxing in upper Glacier Gorge.
10. My reading material this summer is statistics and numerical analysis. 11. A bubbling brook near our bivy spot. Spearhead behind.
12. I added some sardines on the second night.
13. No chewed pack straps today!
14. Indian paintbrush.
Useful beta. Updated route information. Corrections. Historical notes. Interesting facts. No fluff please. Please do not put links in your comment, as my spam filter will filter those comments out.