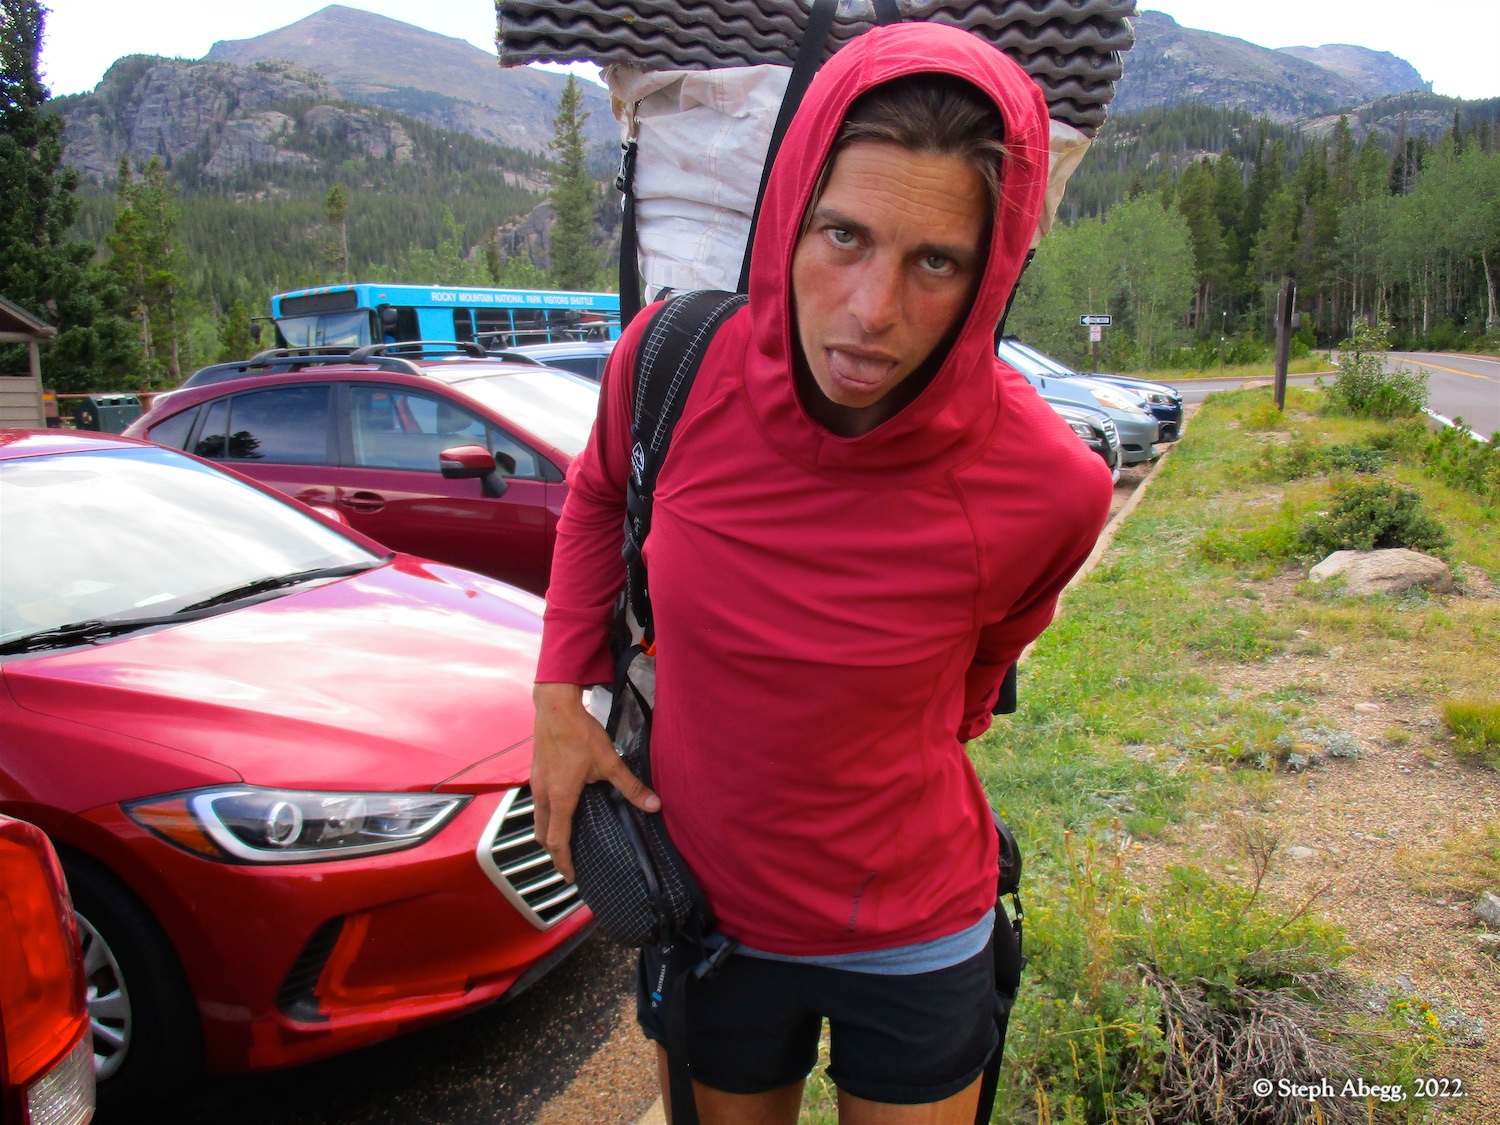
After a rather wet summer, September had arrived with a splitter forecast—warmer and sunnier than it had been for weeks. For Labor Day weekend, Nate and I snatched this late-season opportunity to spend a few days in the alpine. I secured a bivy permit for Upper Glacier Gorge (need to be climbing a route that is at least four pitches to qualify for a bivy permit), and Nate and I bivied up there for three nights (Friday, Saturday, and Sunday nights) below The Spearhead. (As a sidenote, after this Labor Day weekend trip, I realized that Nate and I had spent a total of 20 nights bivying in RMNP in Summer 2022.) Nate and I climbed three routes:
Bequeathed (5.10d, 6p) on Arrowhead,
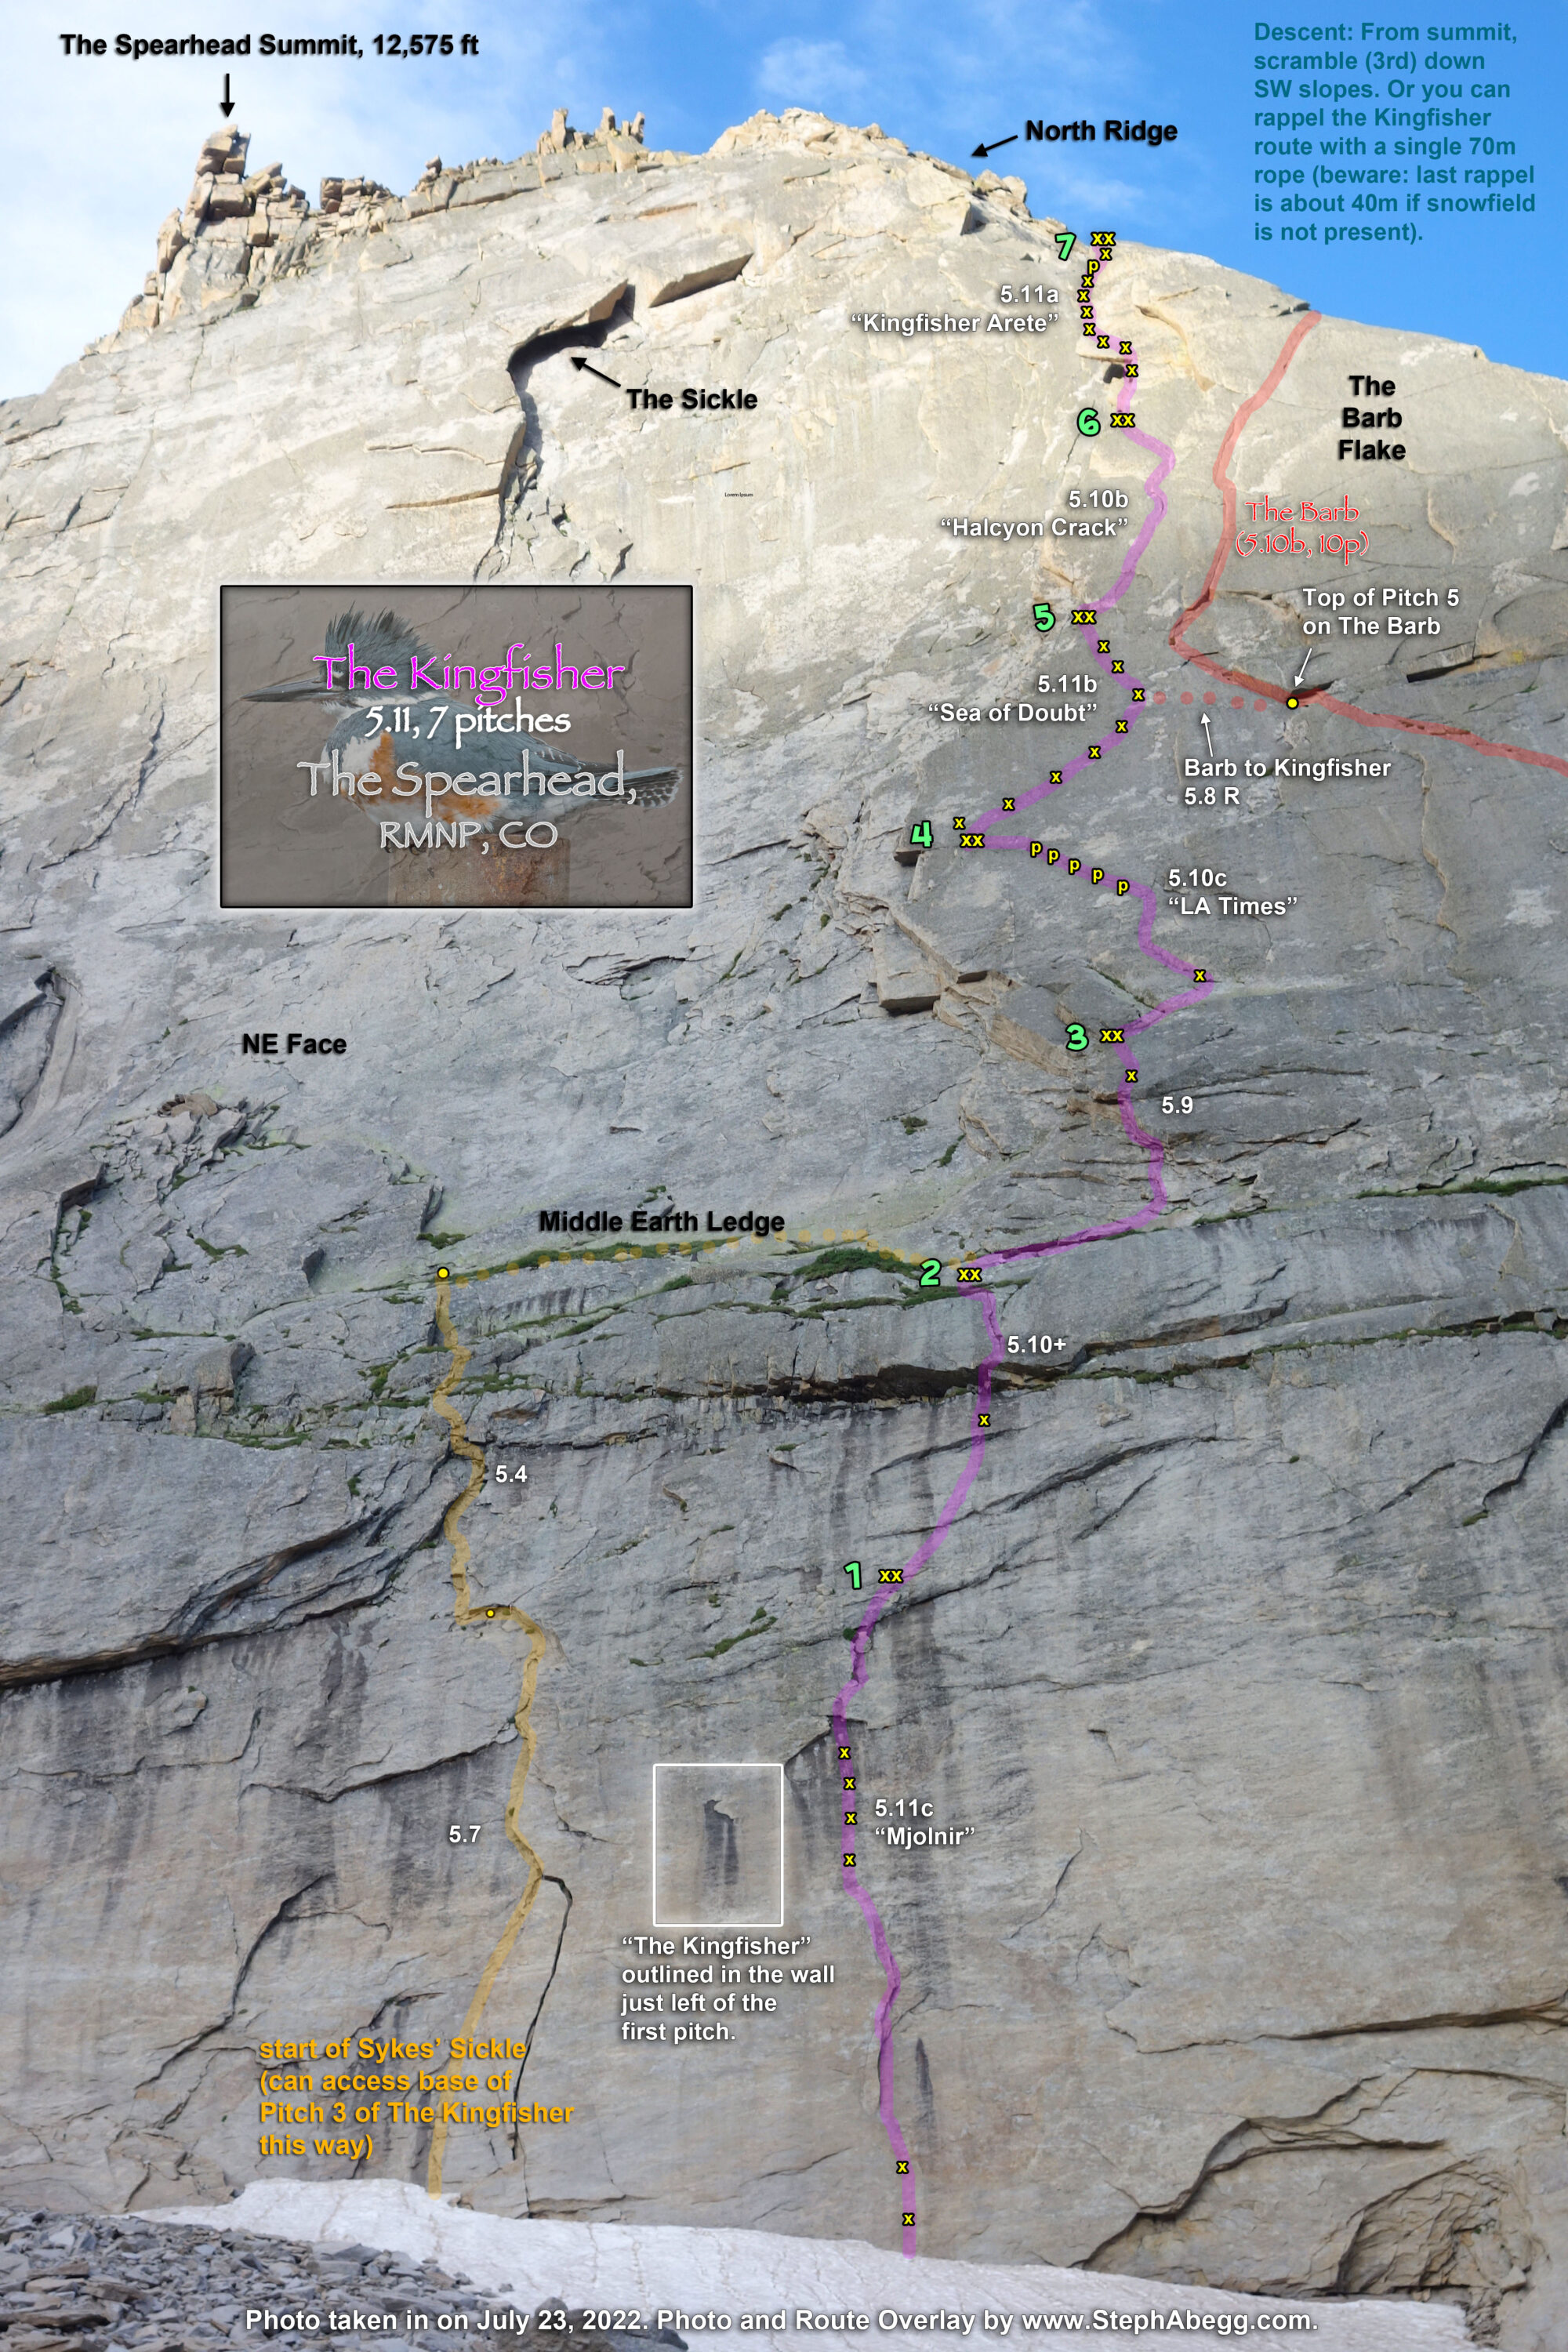
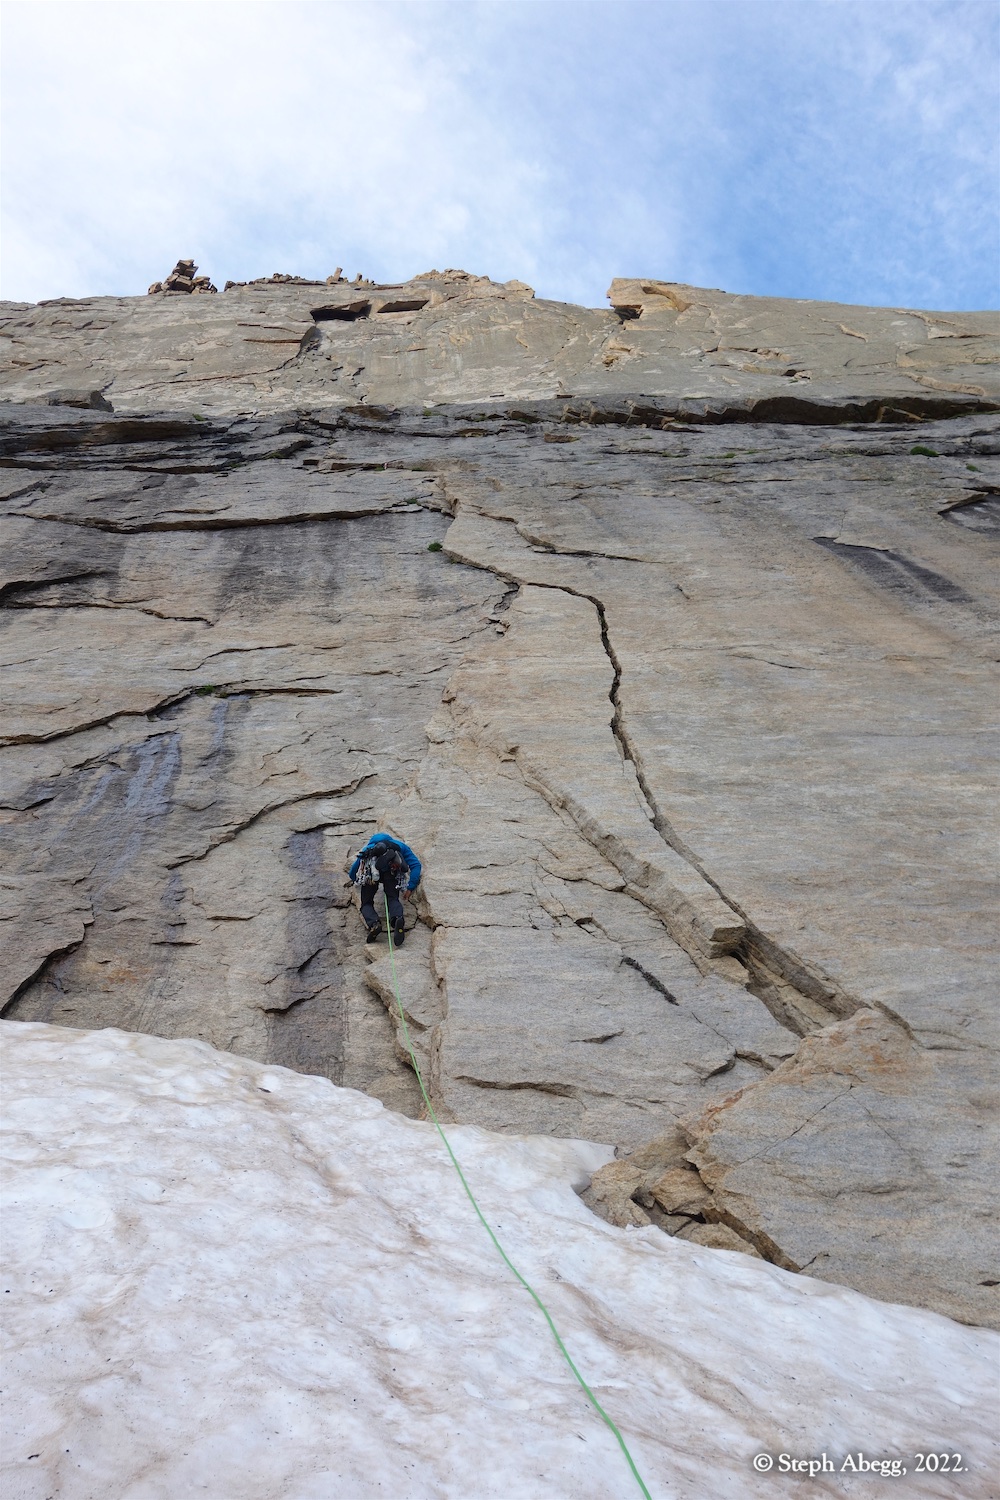
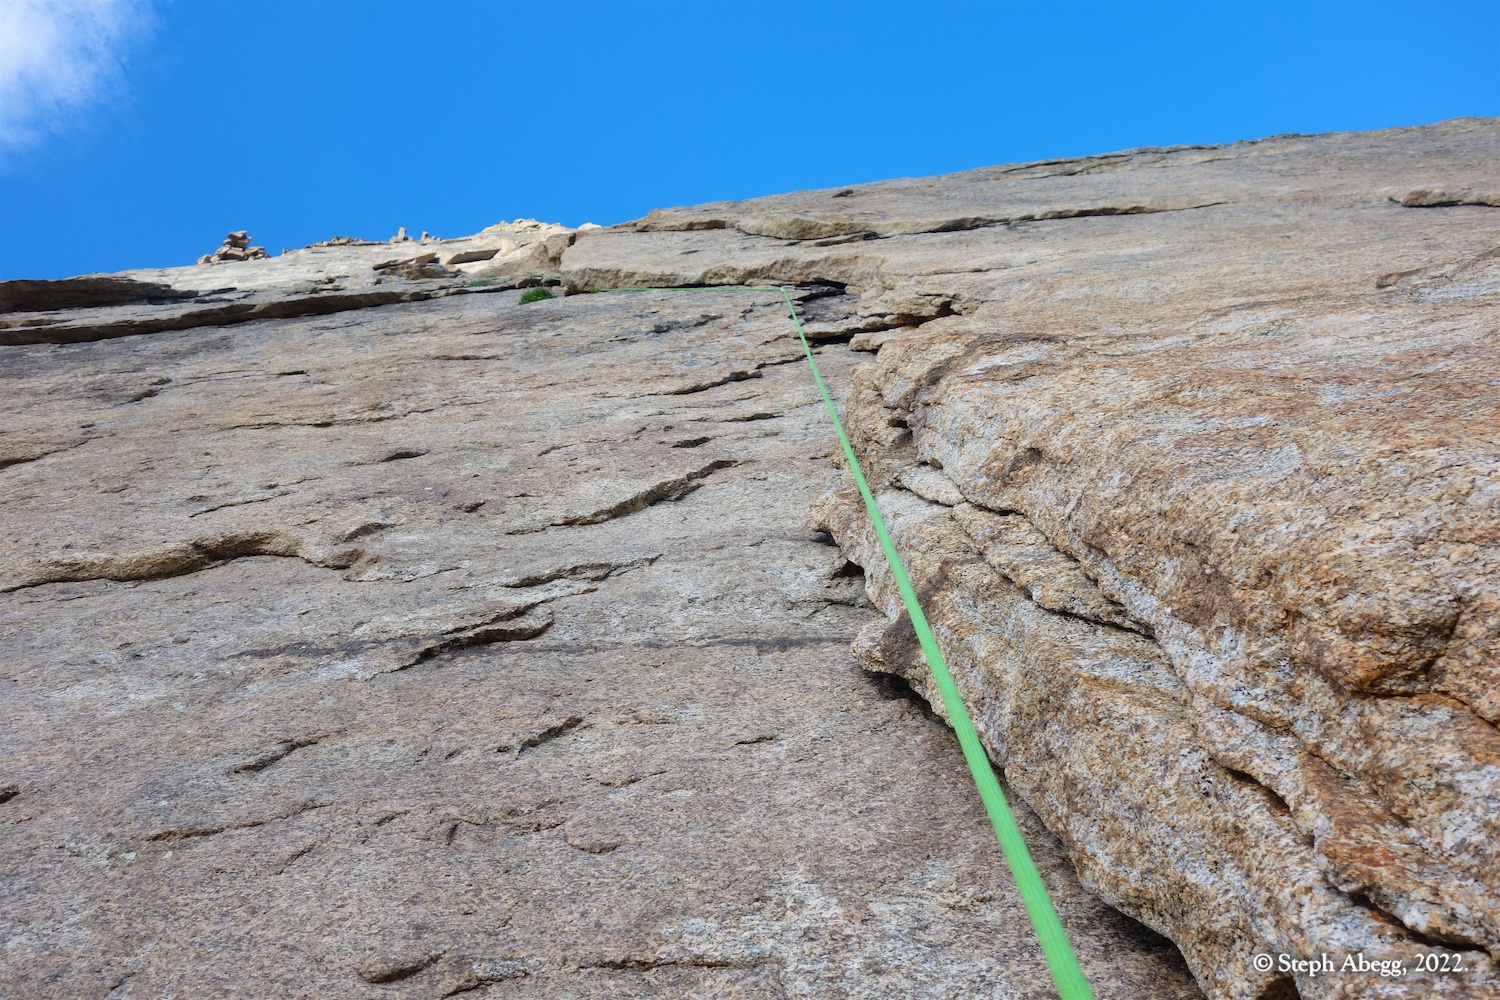
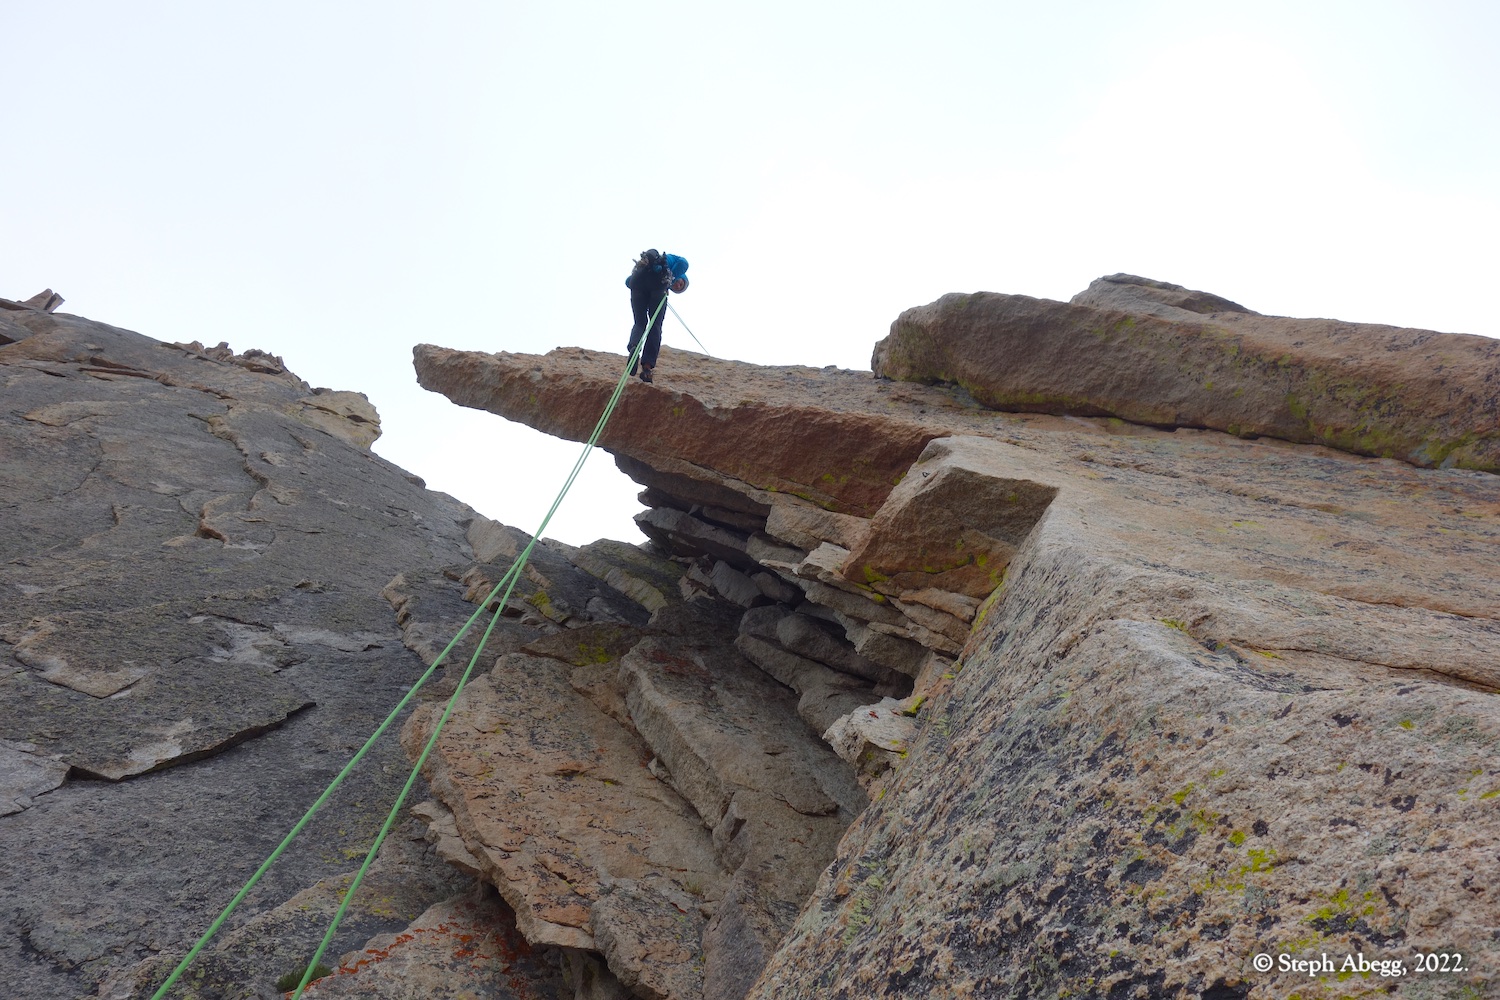
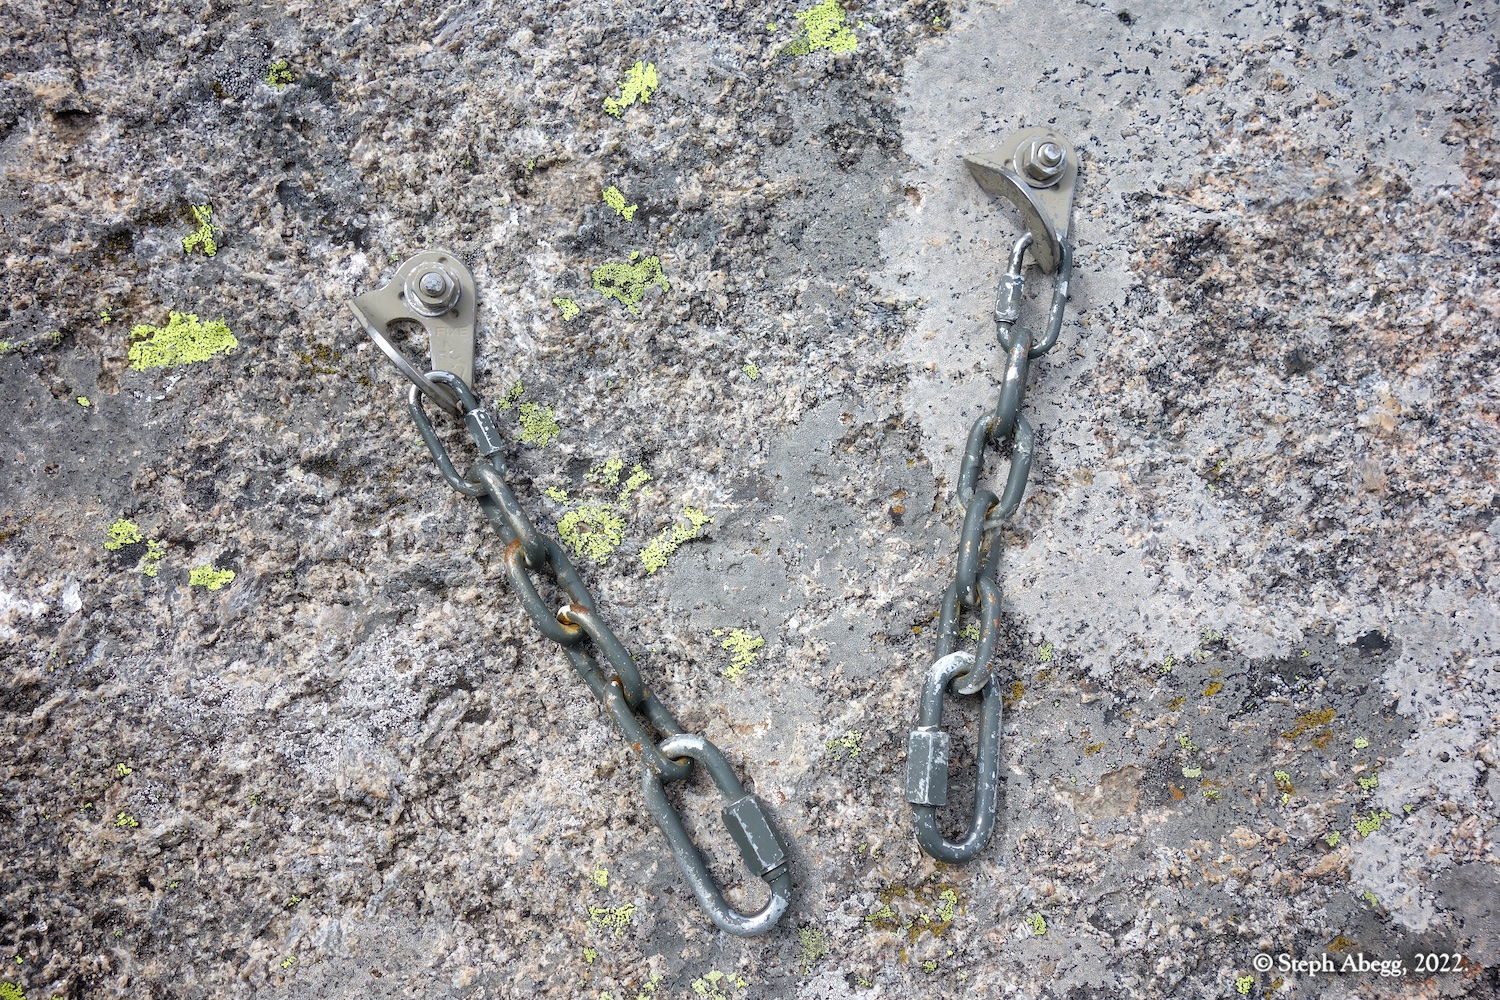
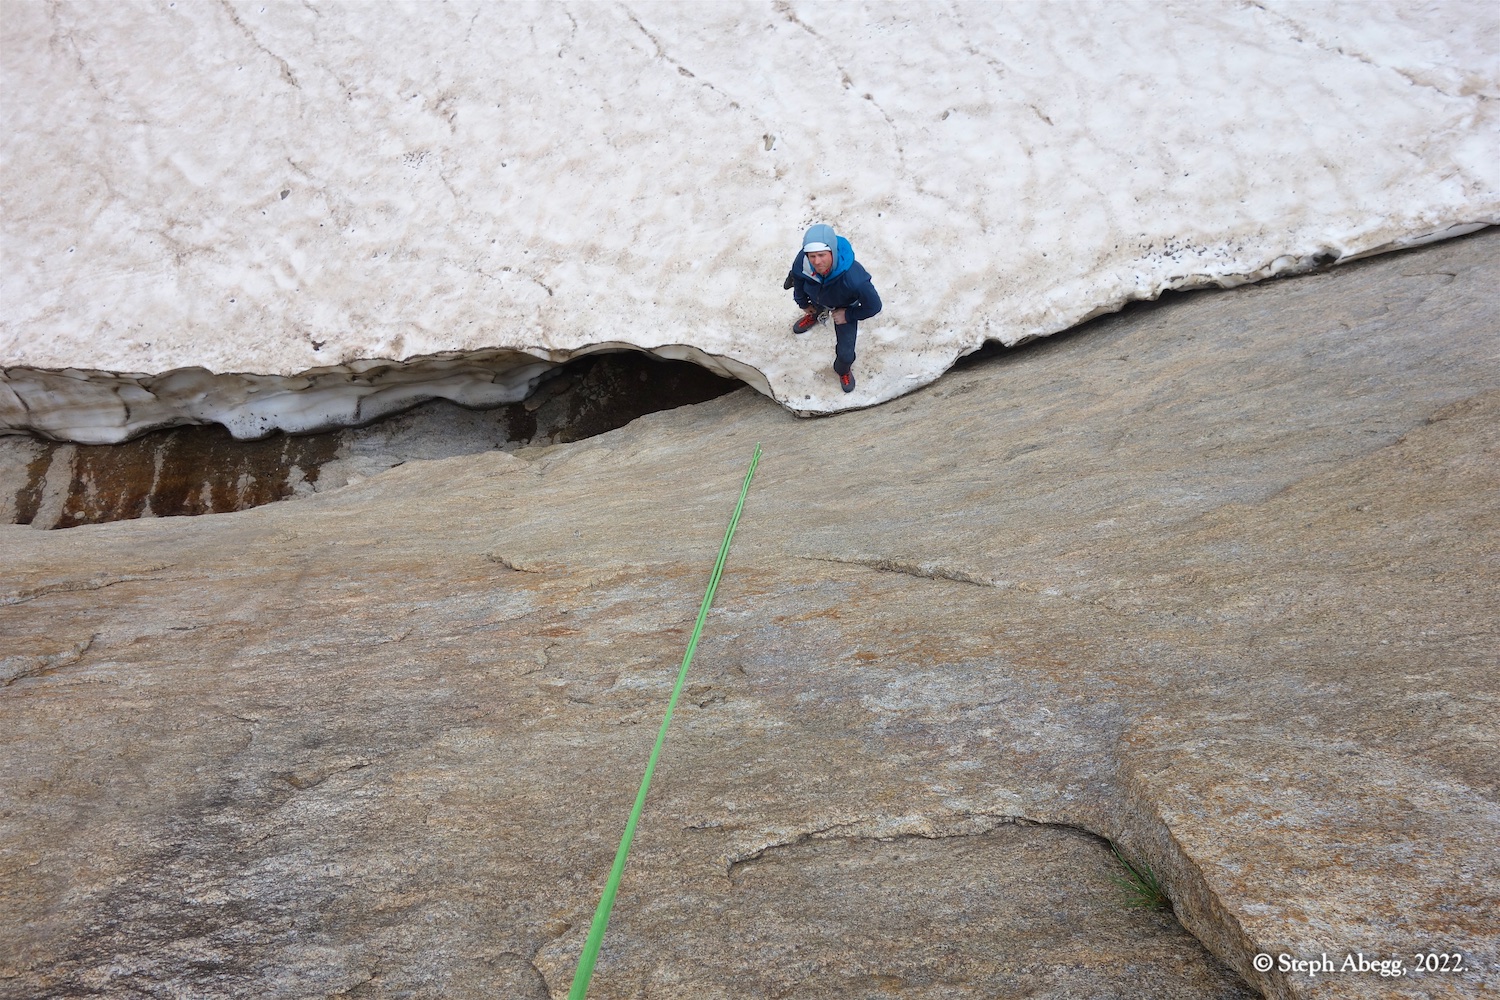
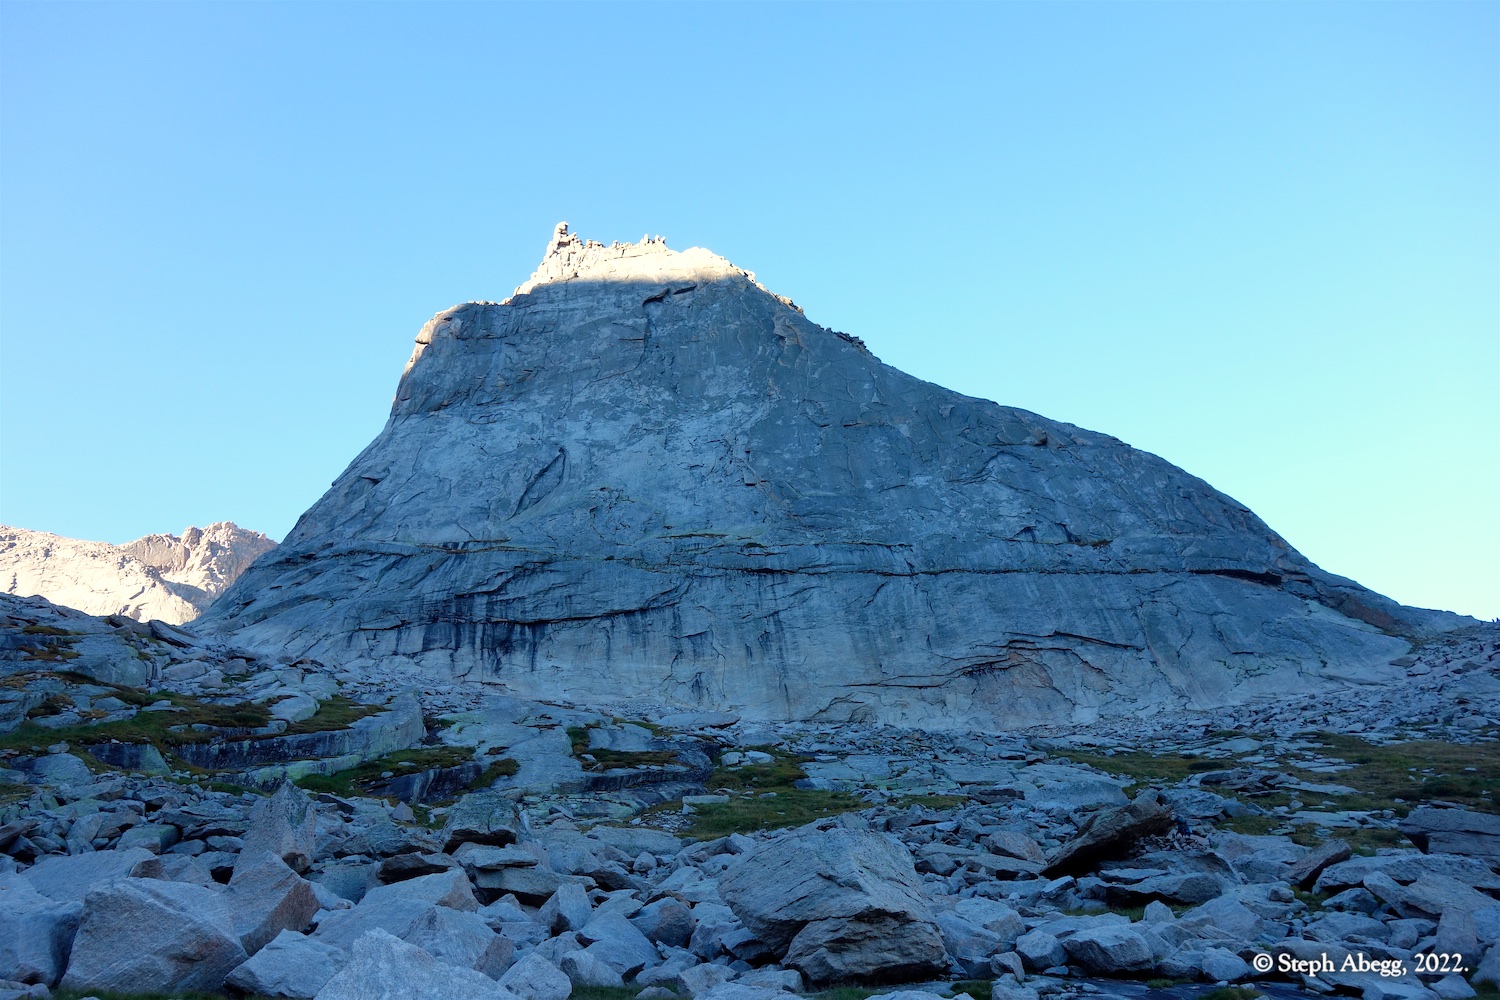
The Kingfisher (5.11, 7p) on The Spearhead, and
The Barb (5.10b, 10p) on The Spearhead. We also enjoyed a couple of sunny afternoons hanging out in this spectacular area.
This page gives a trip report for
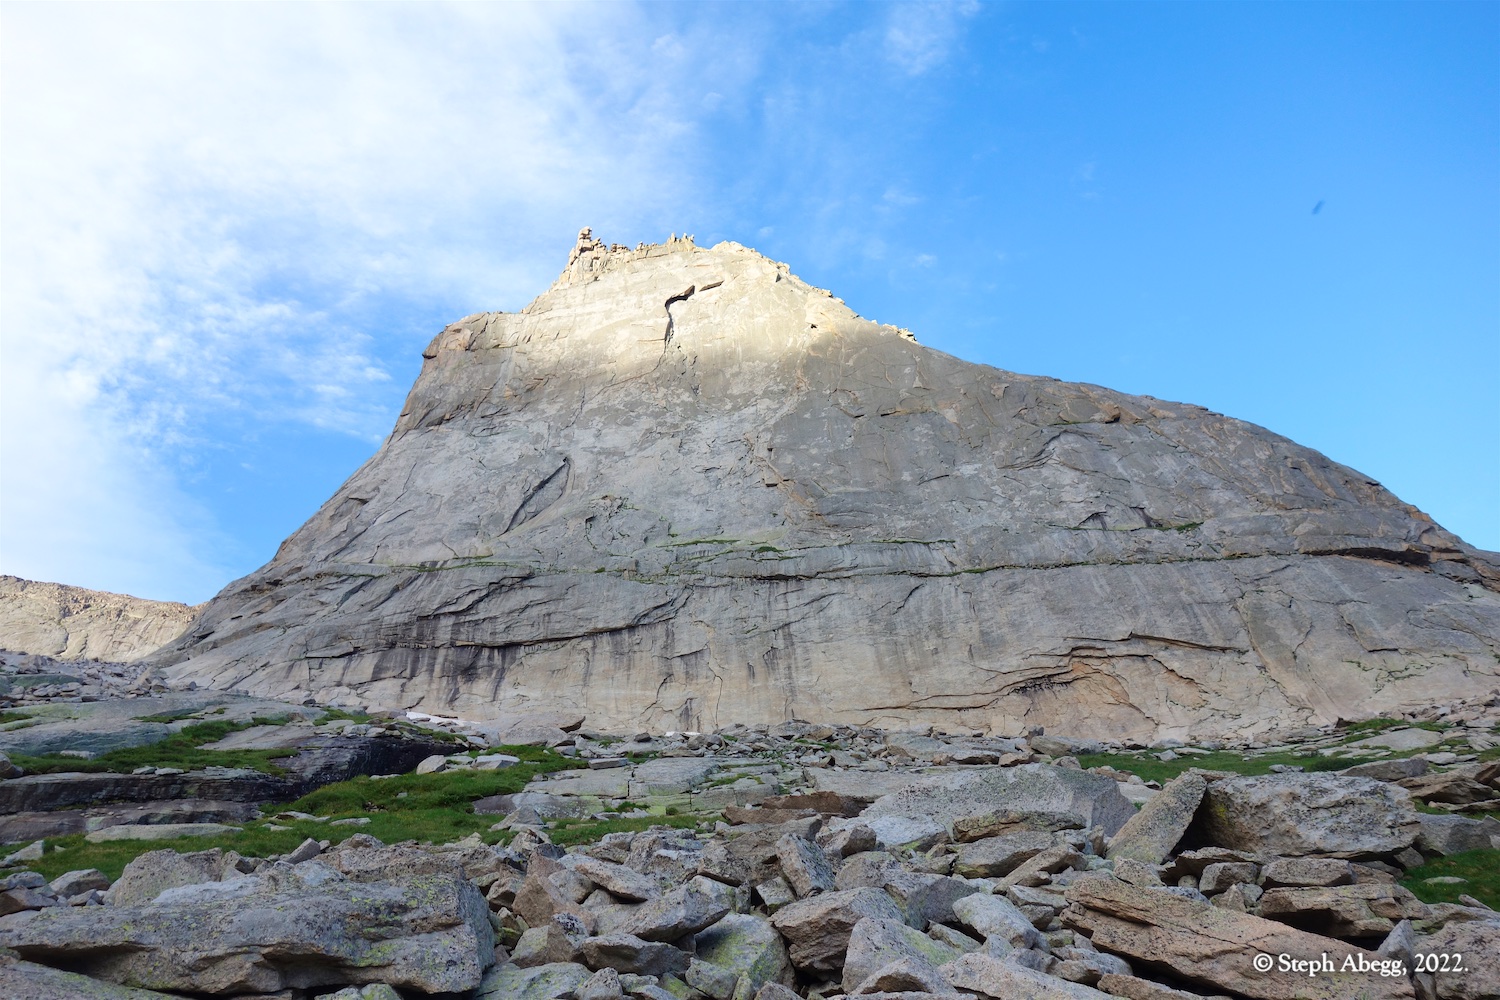
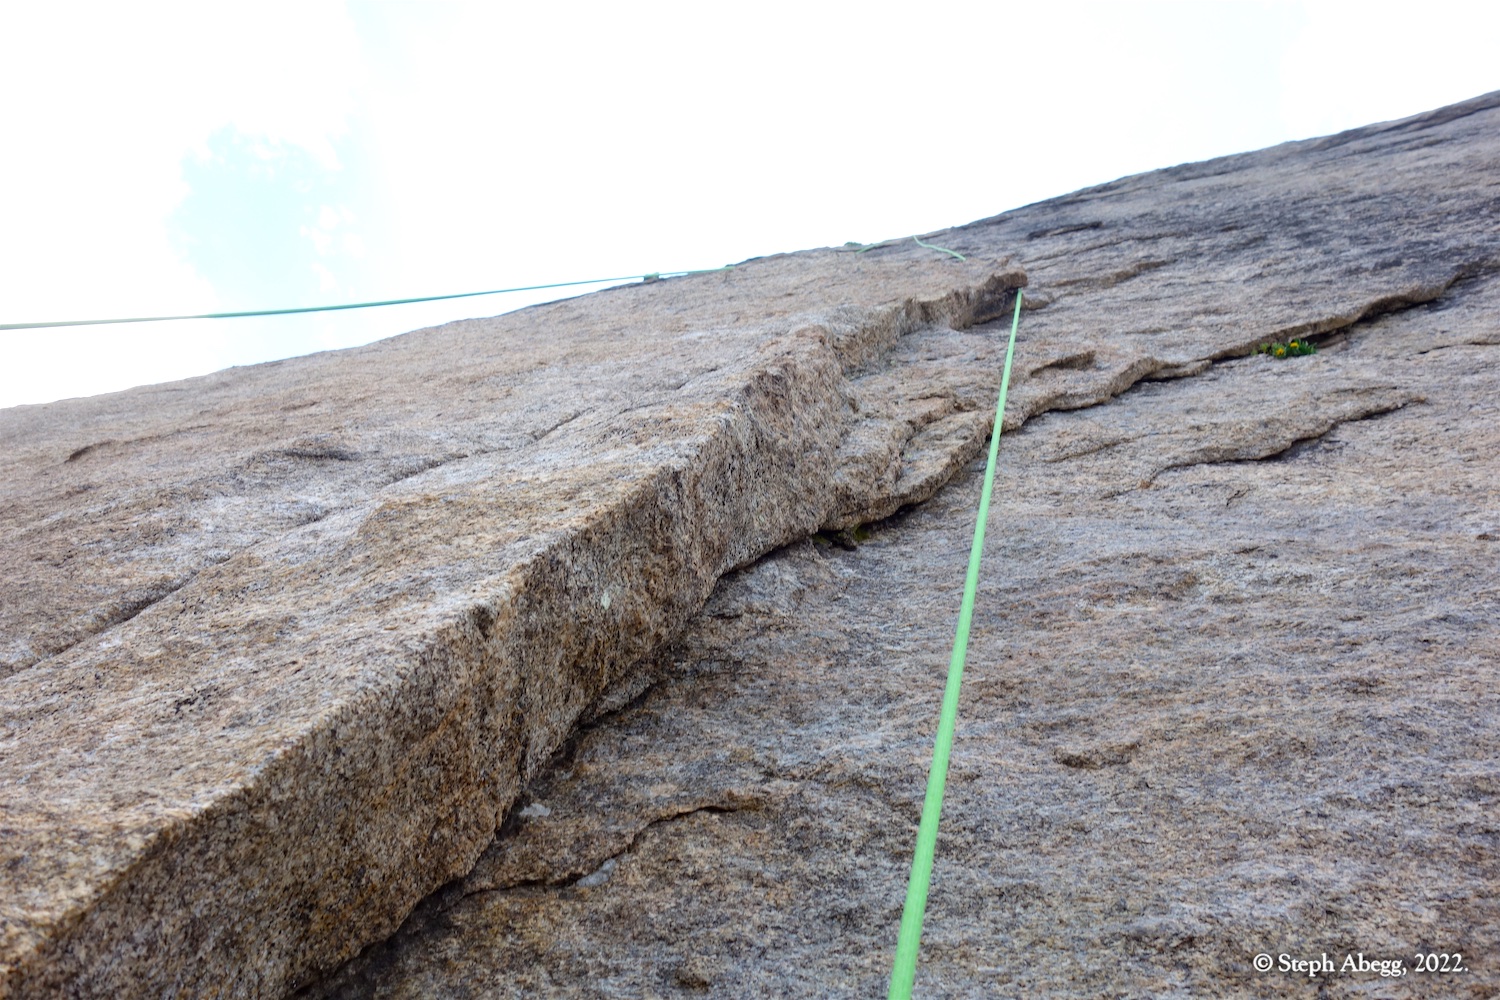
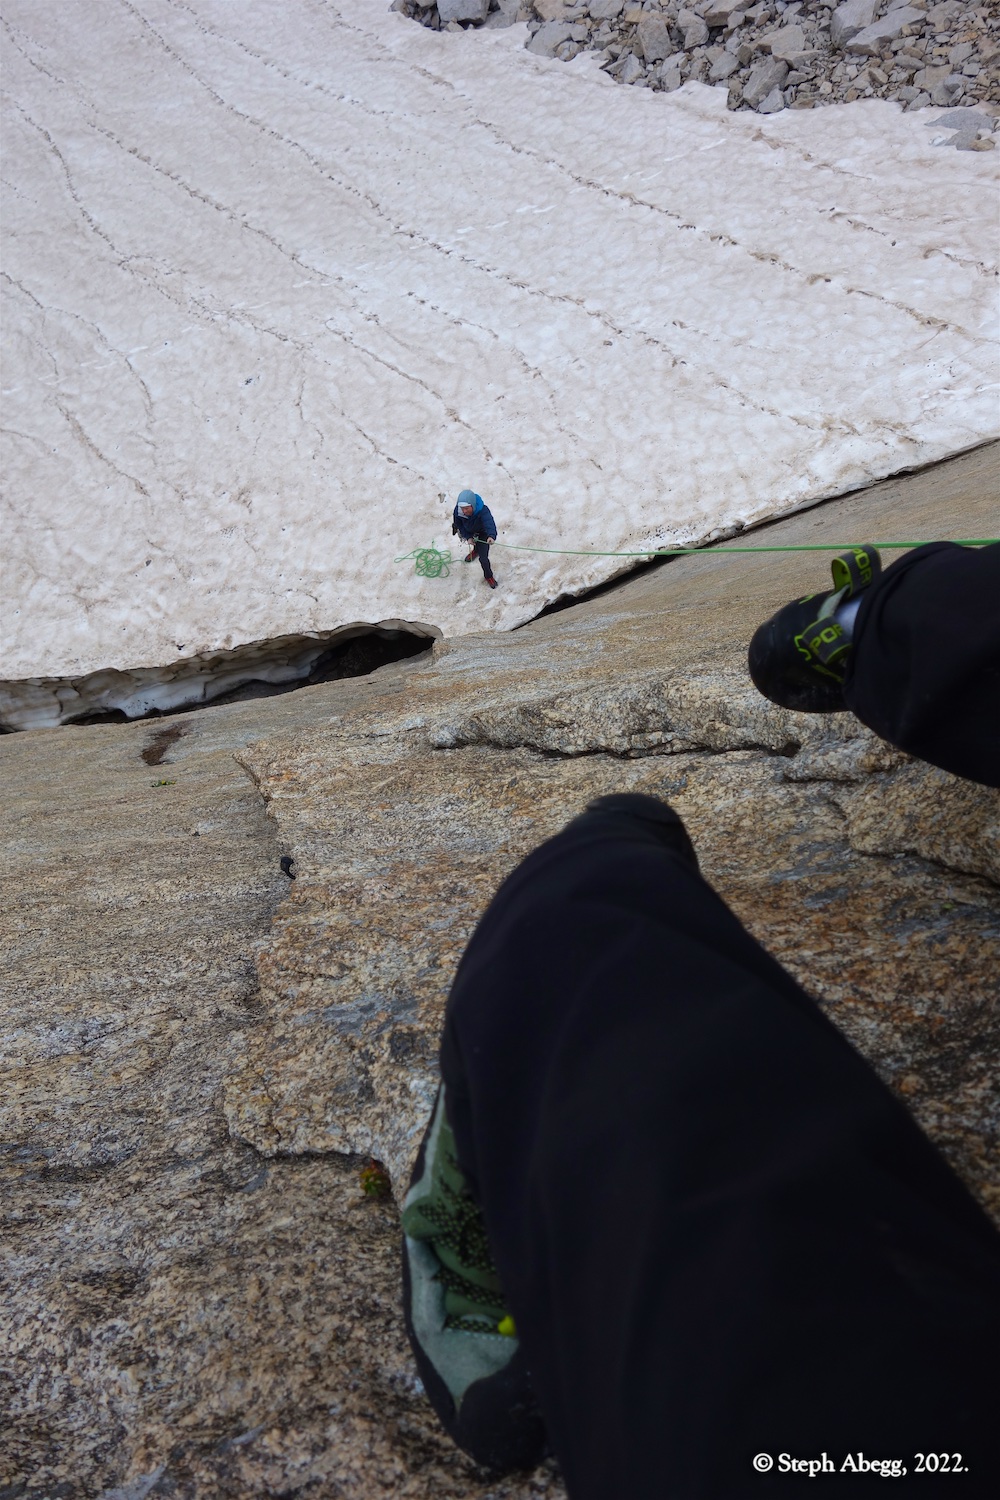
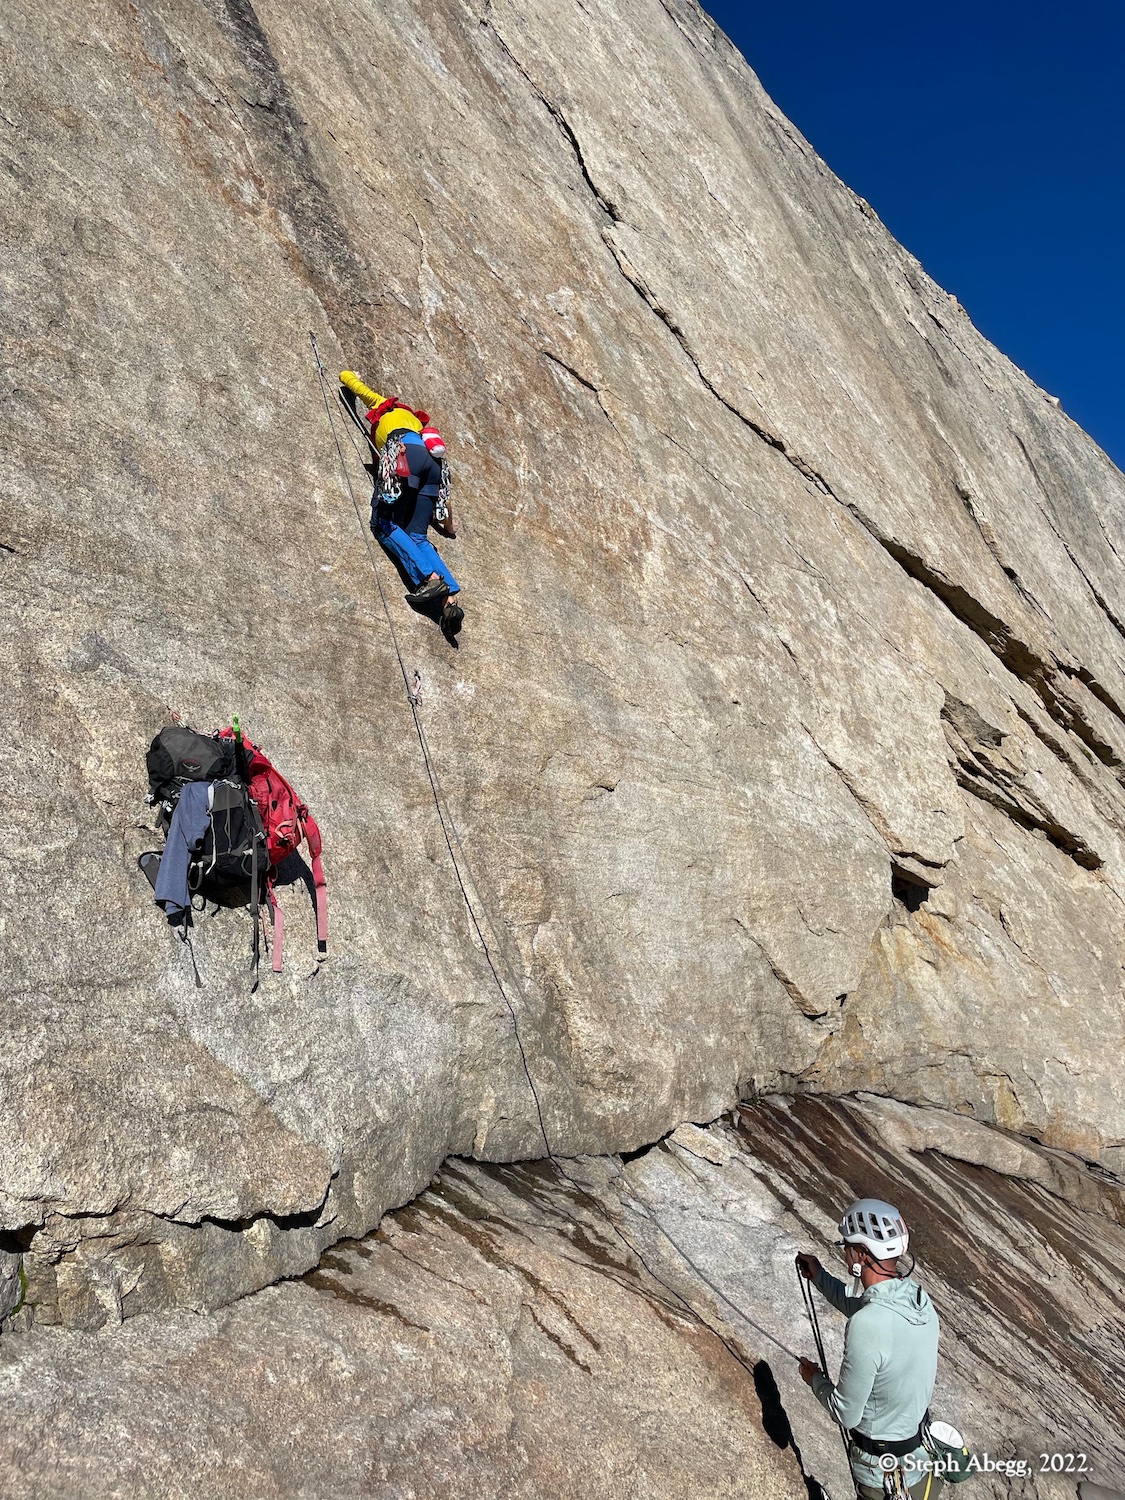
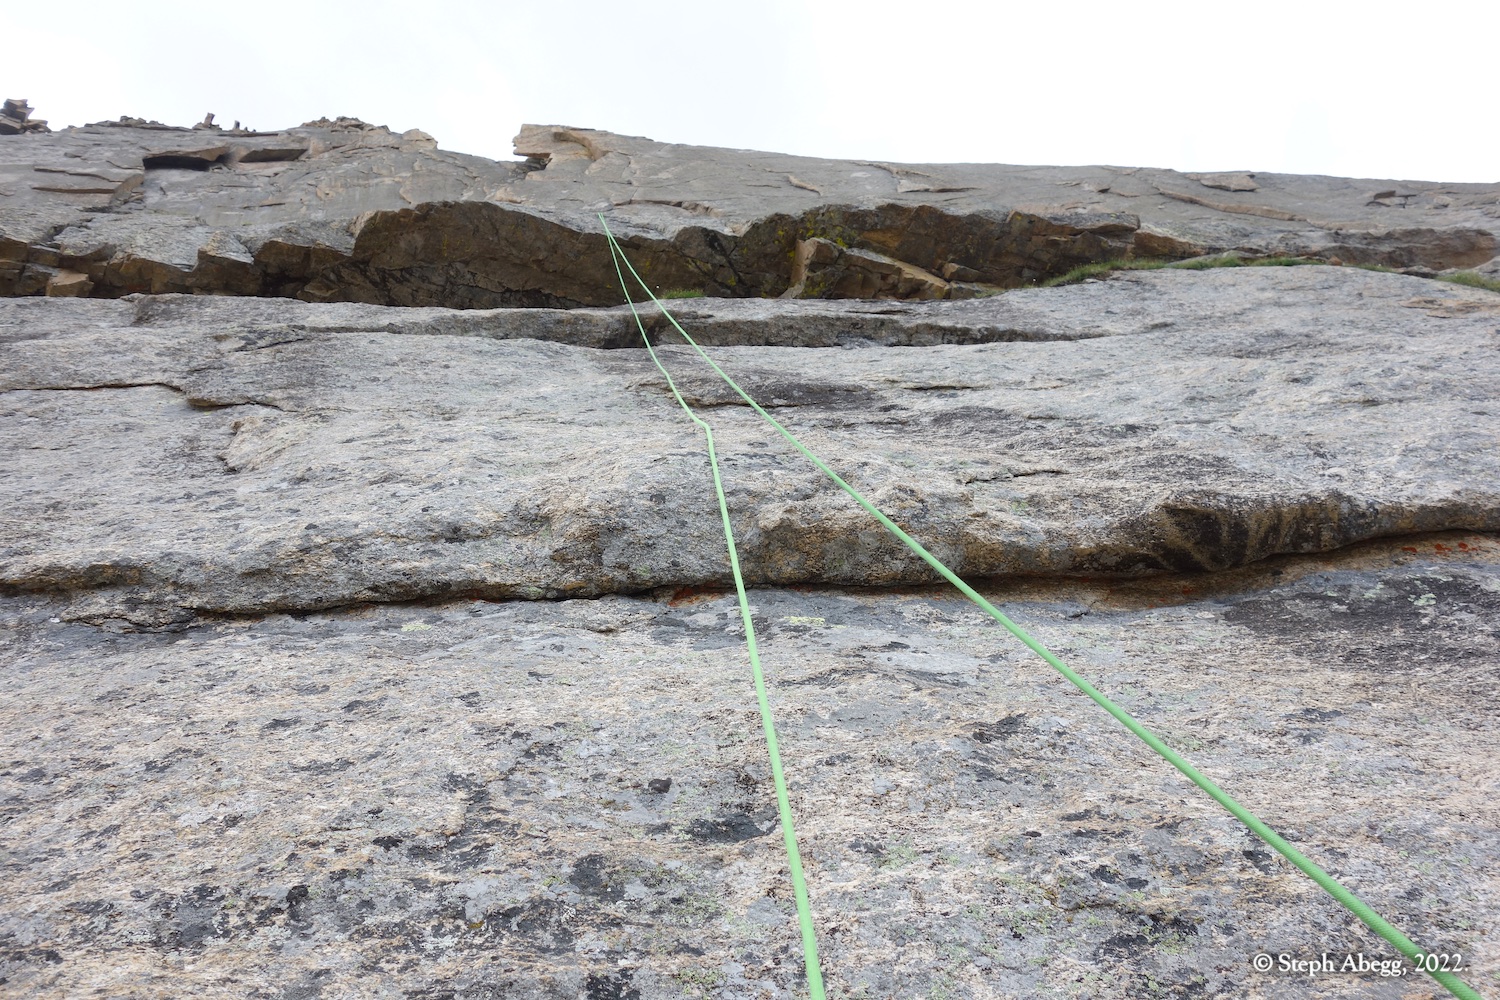
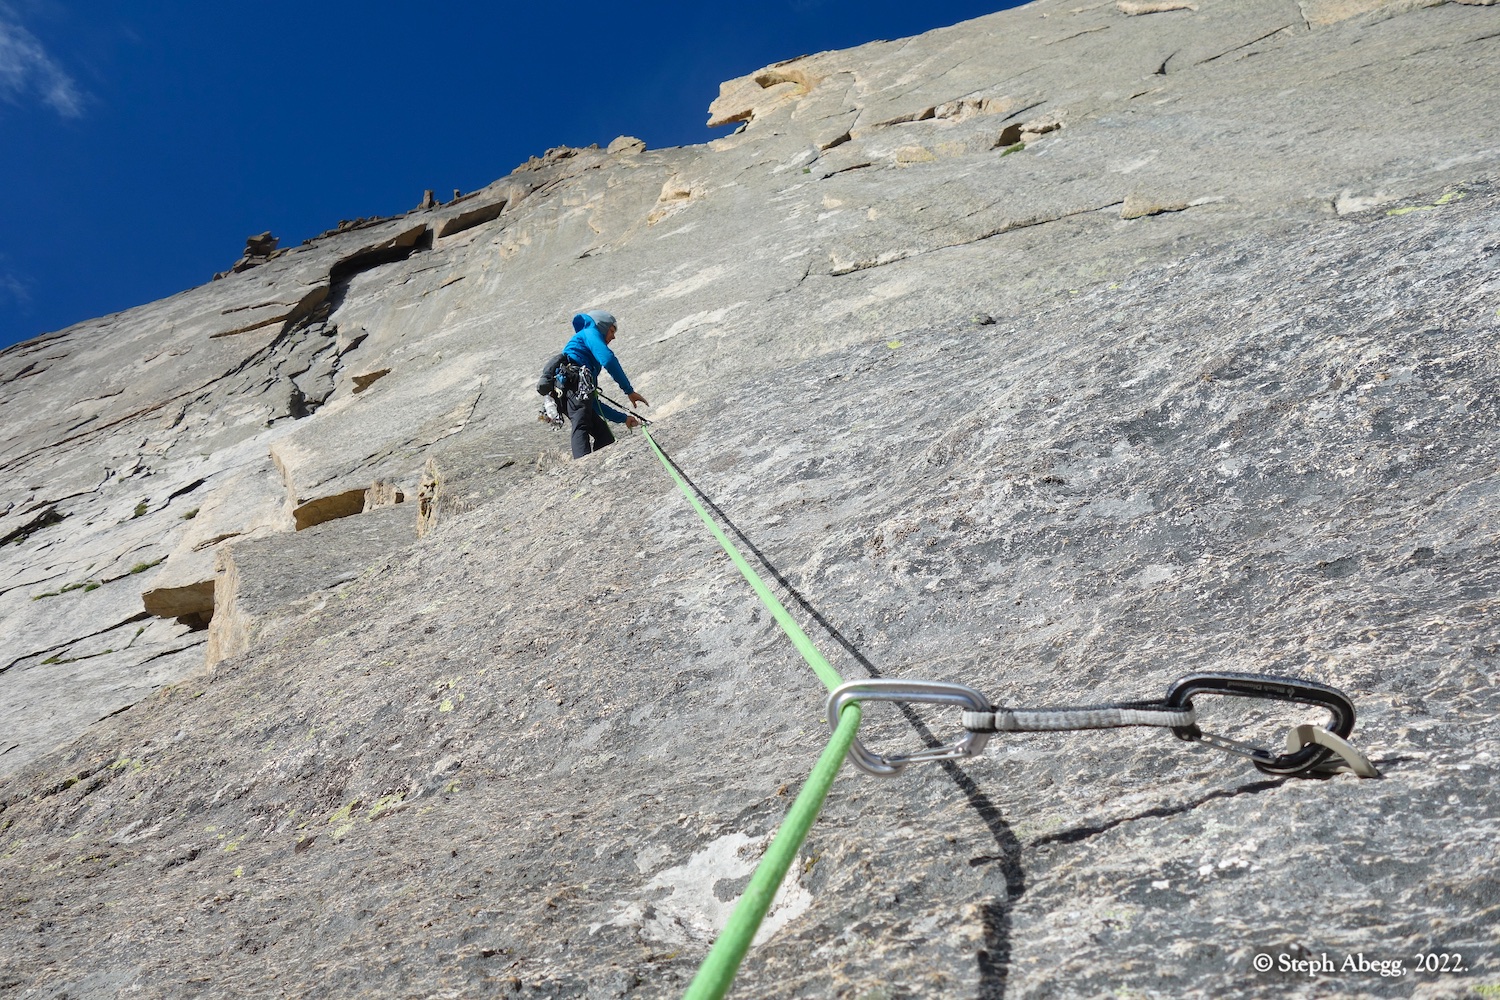
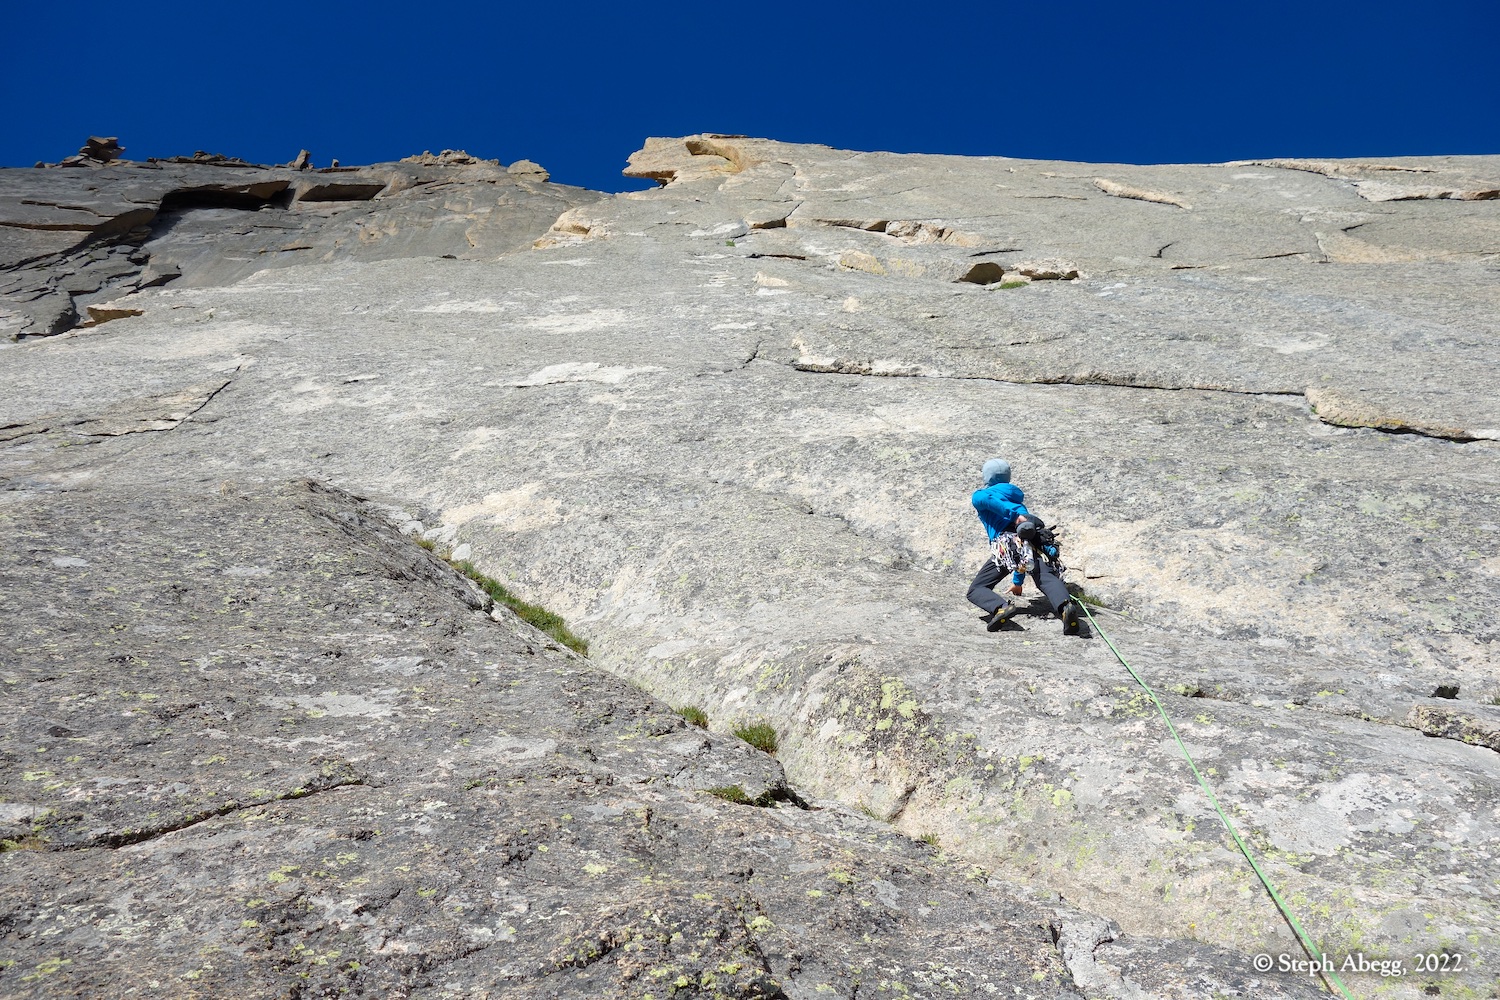
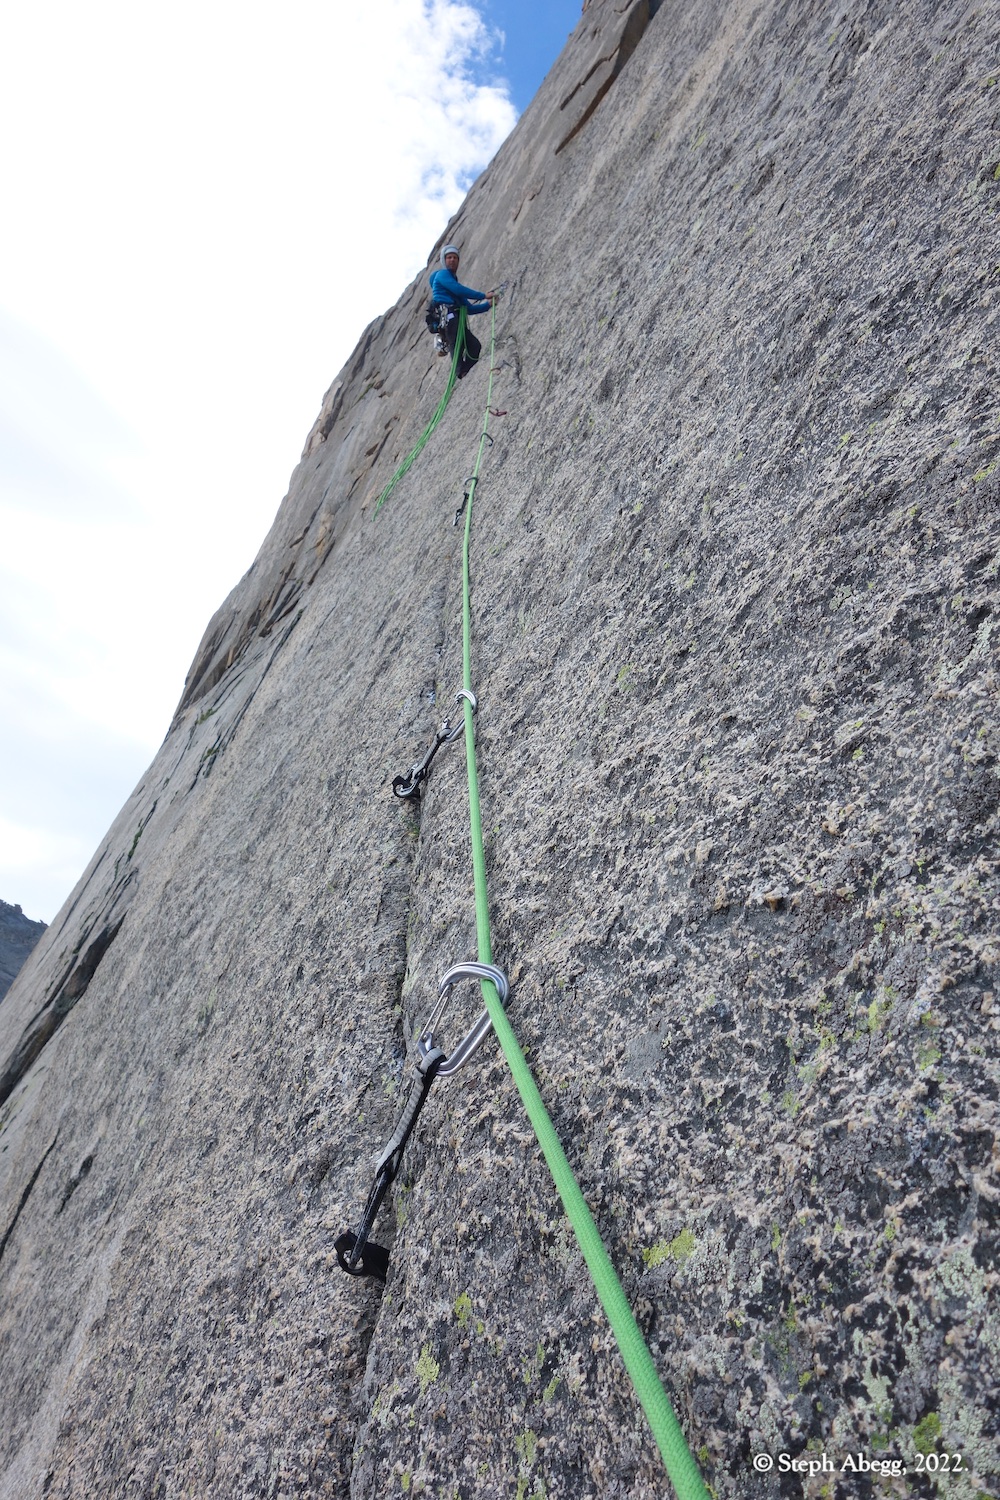
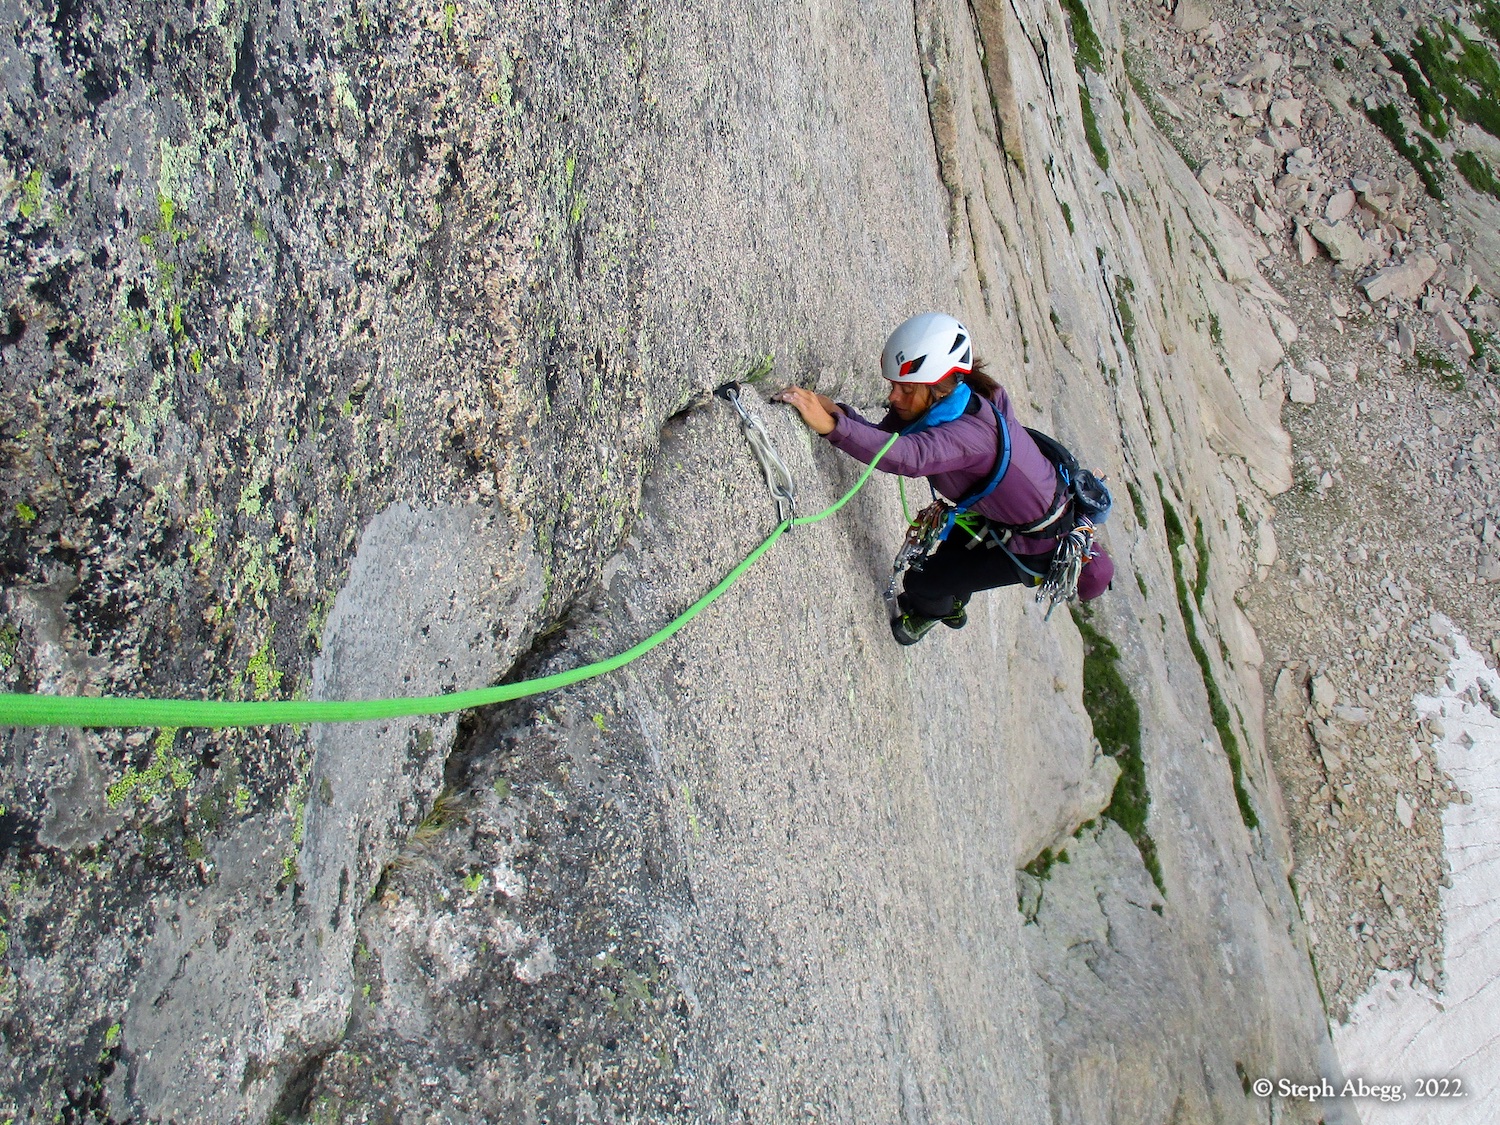
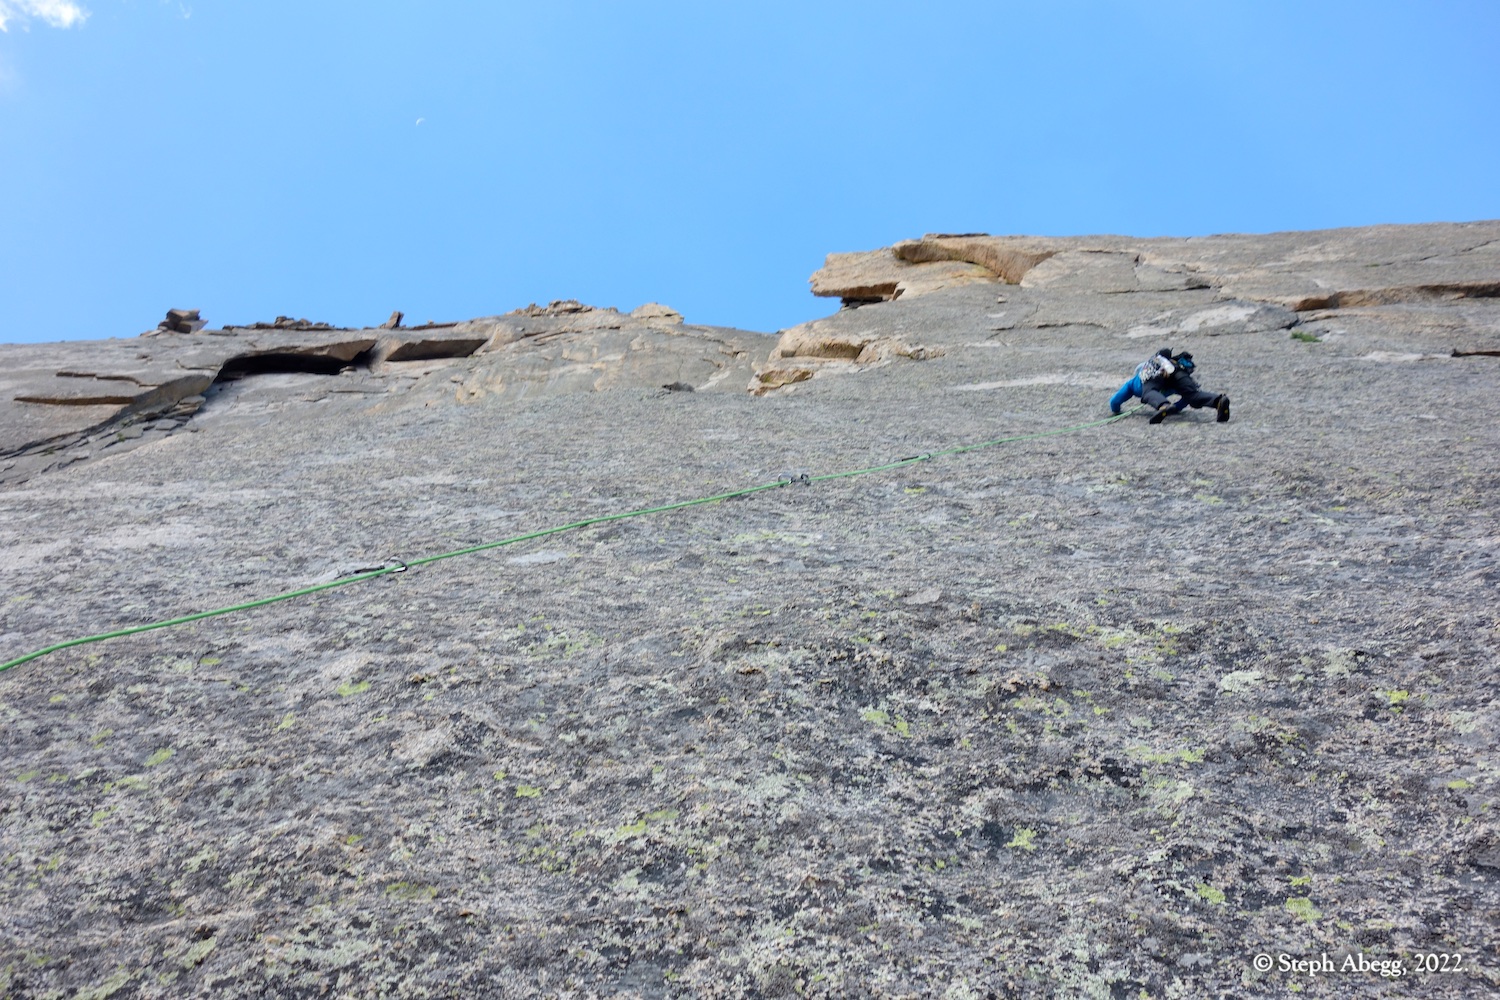
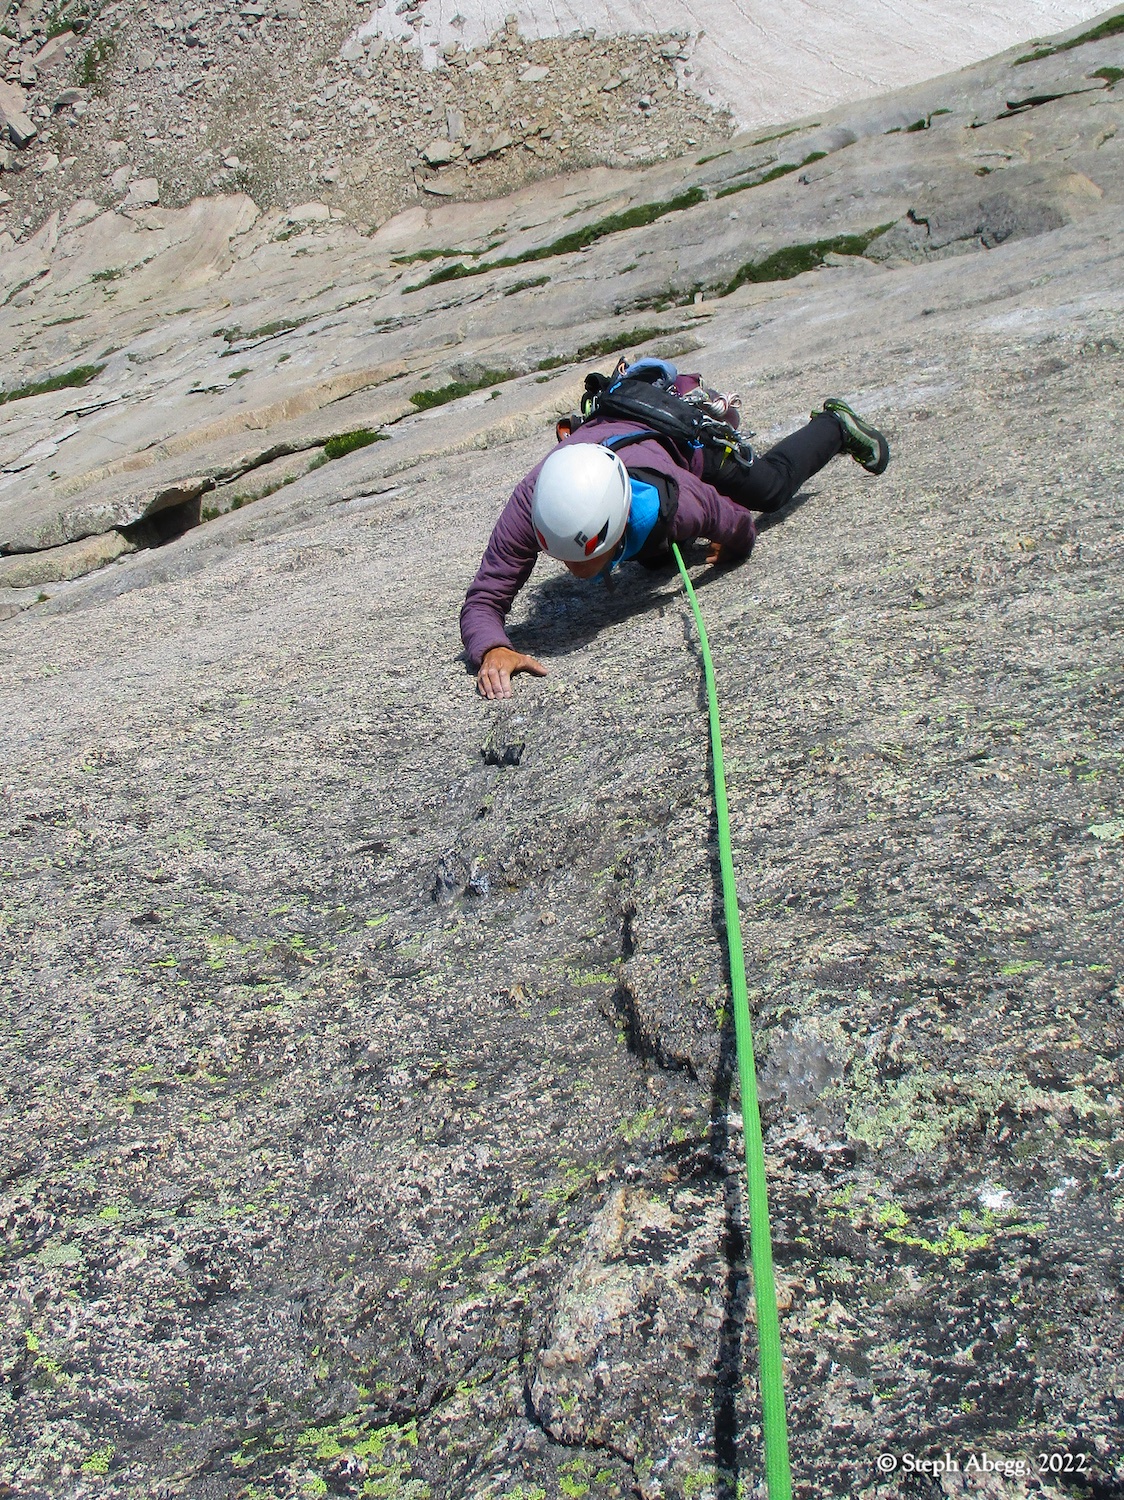
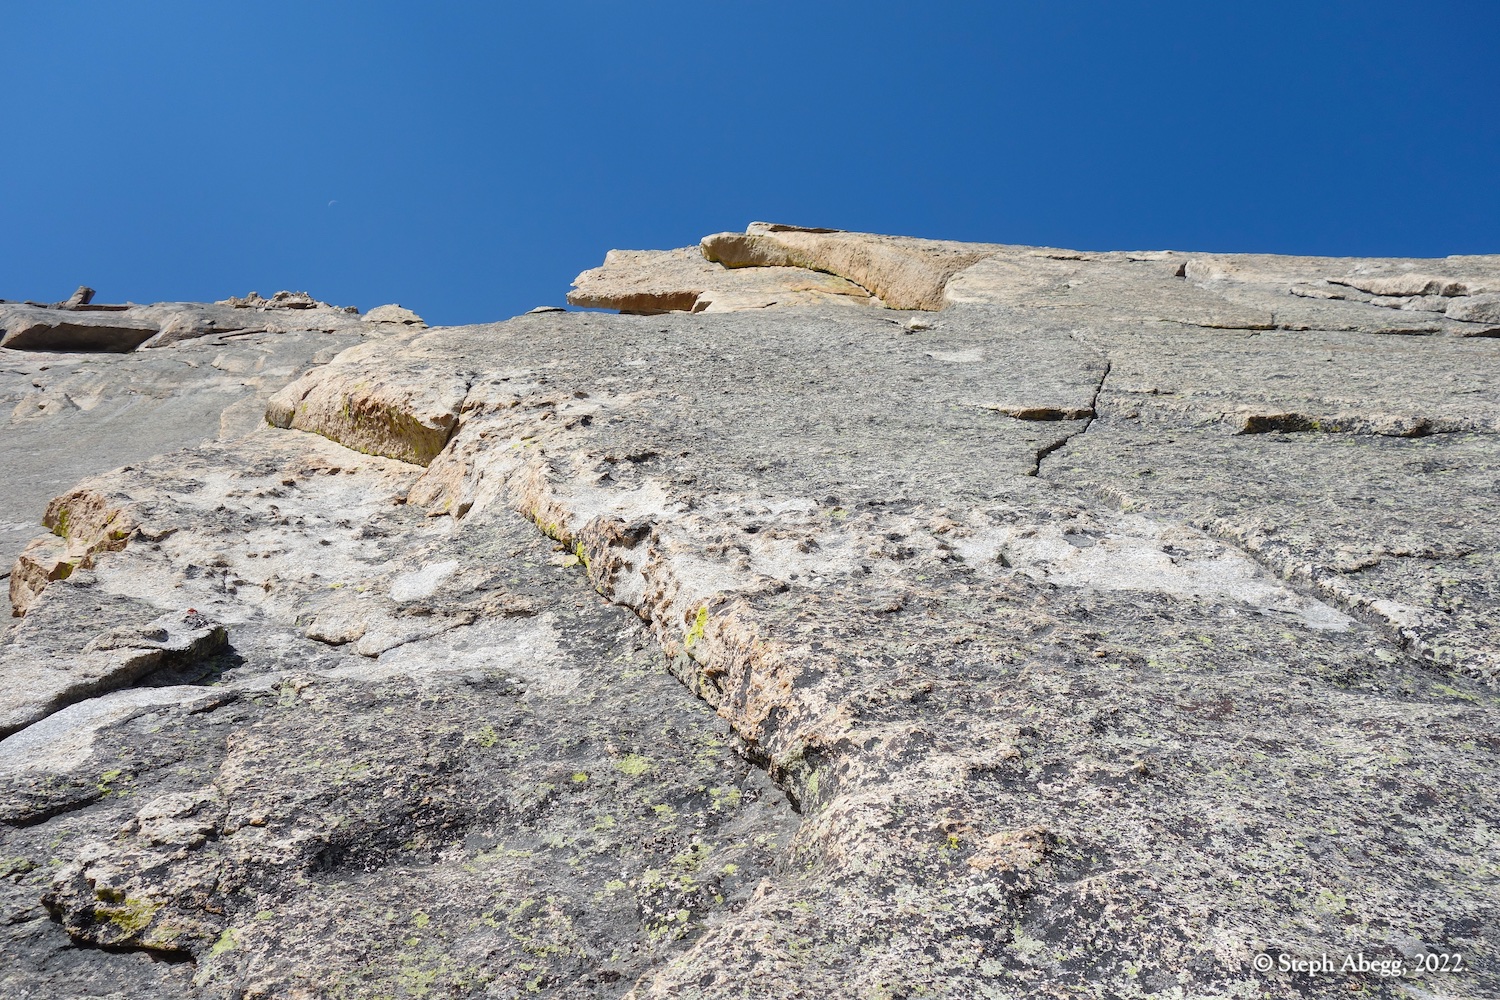
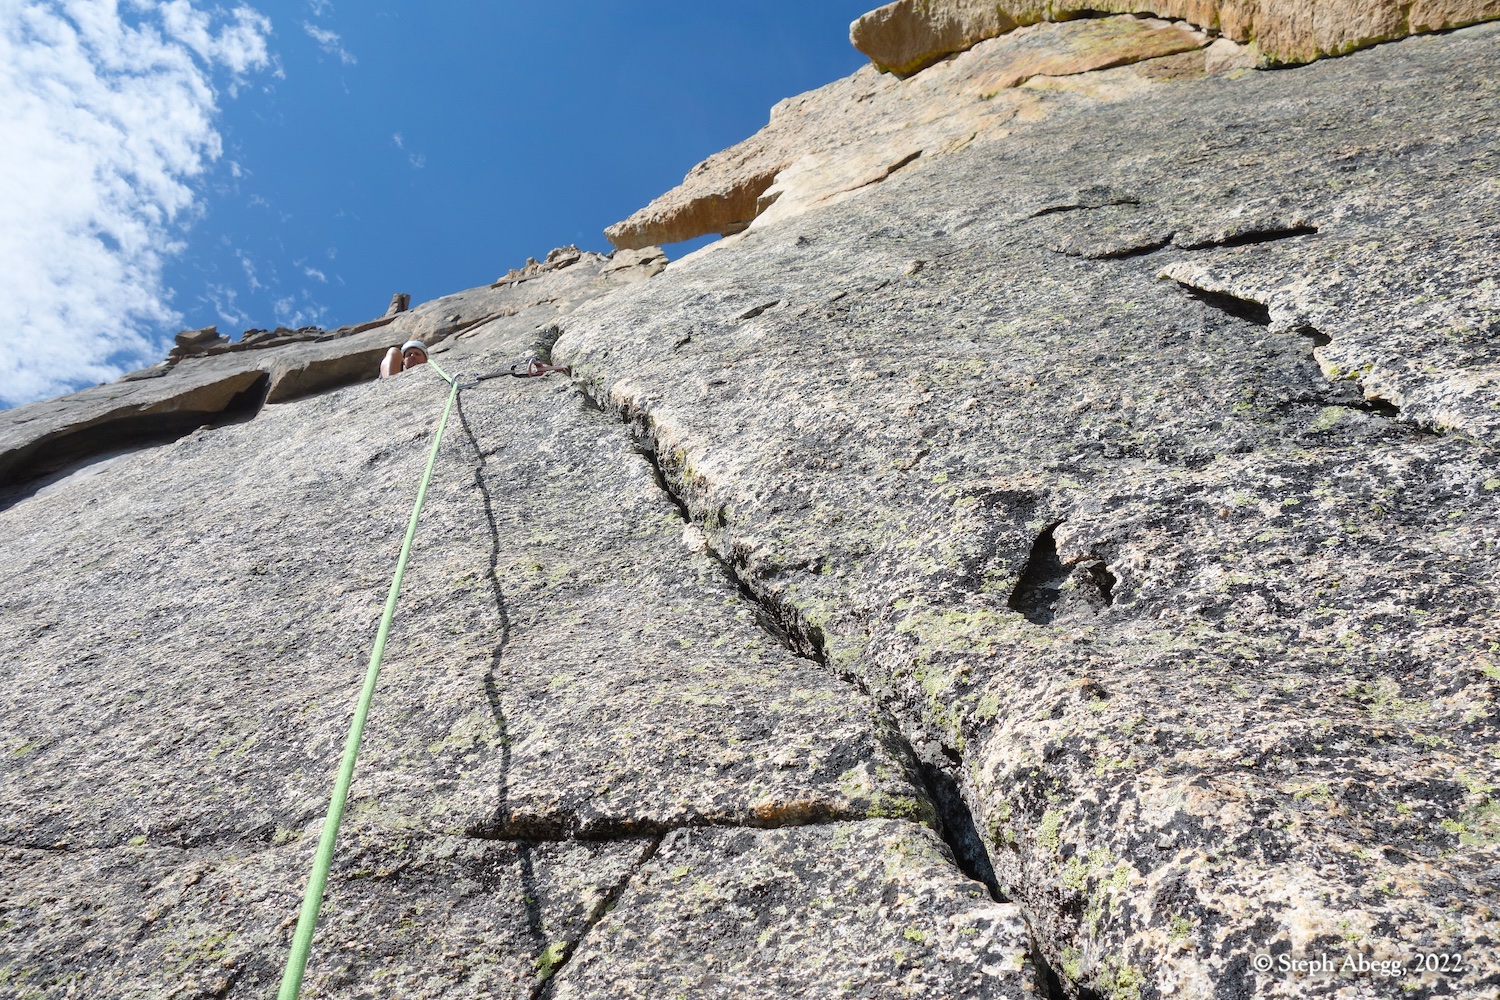
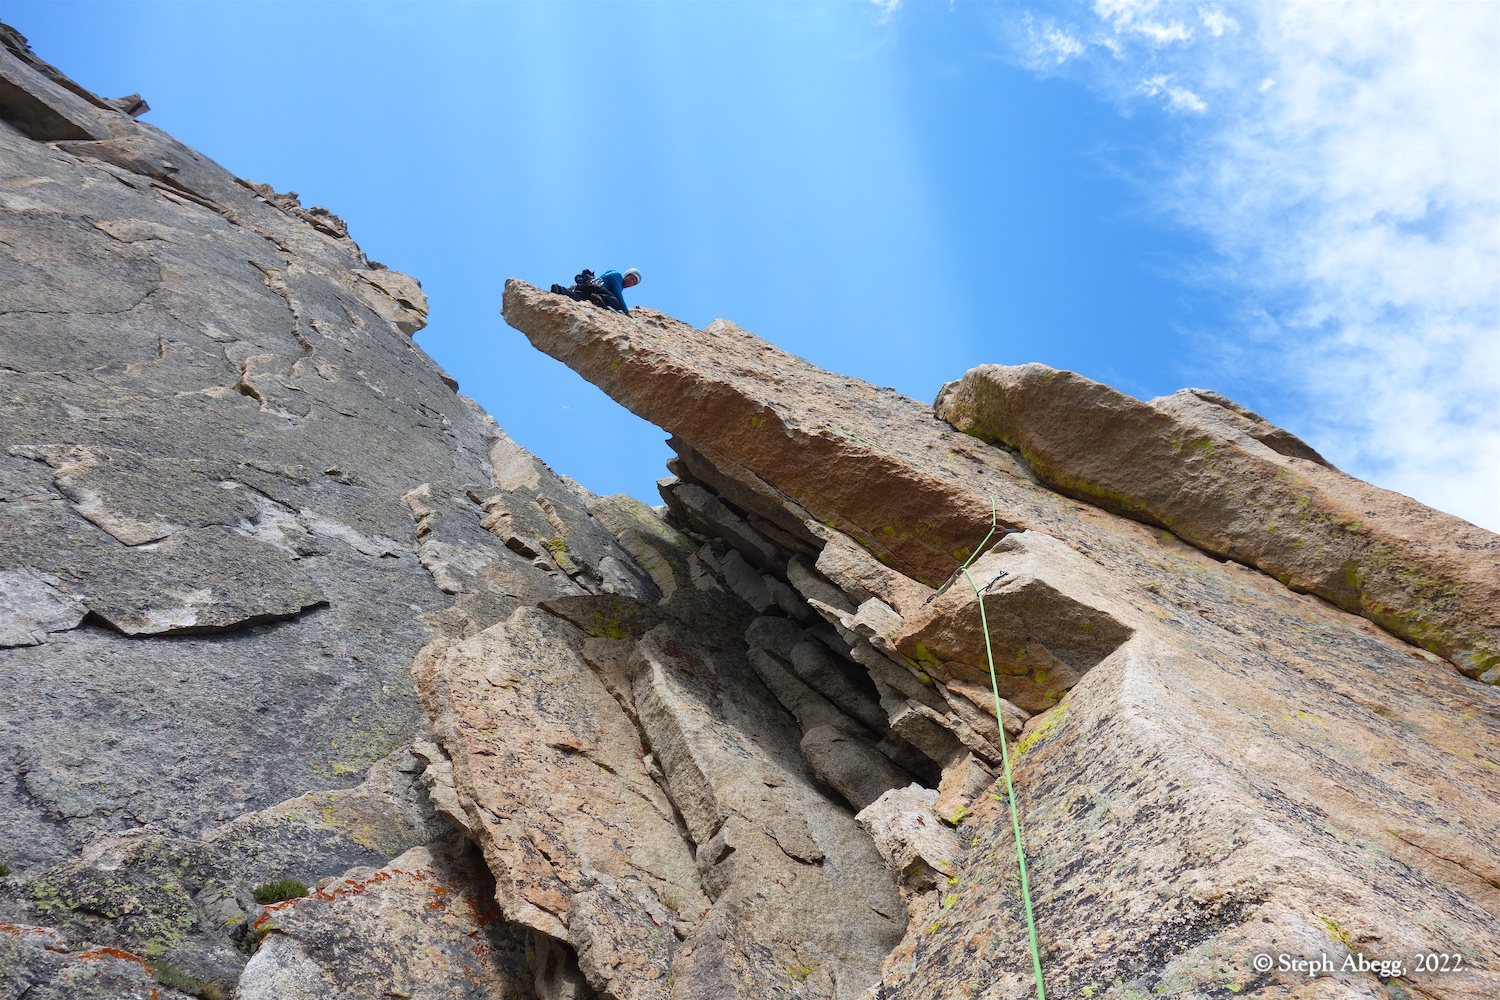
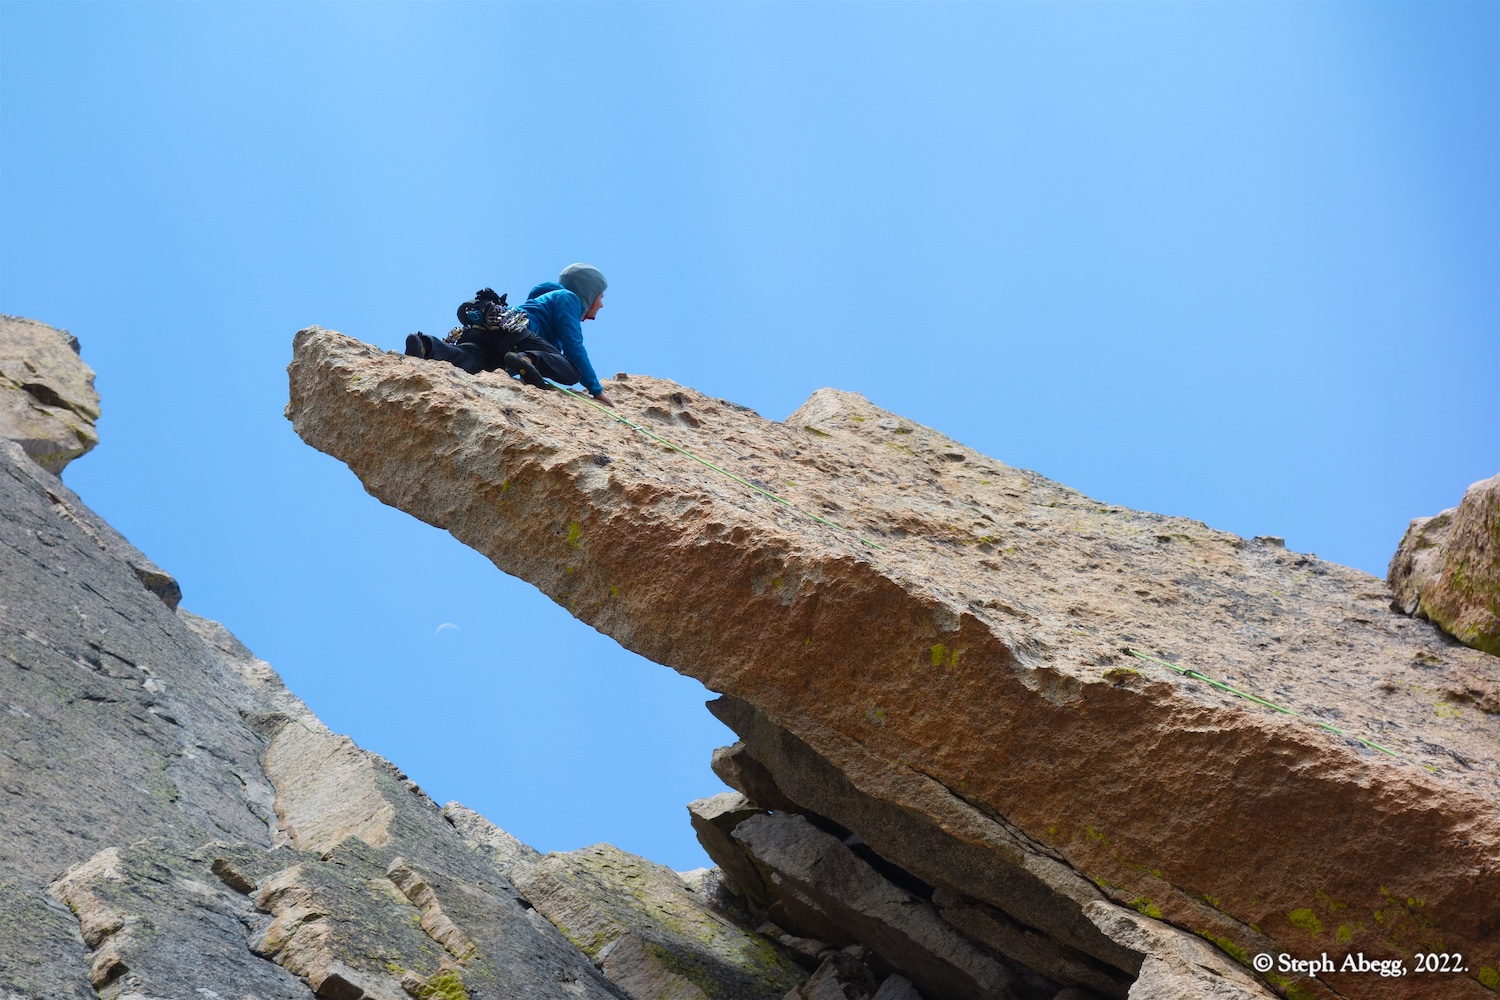
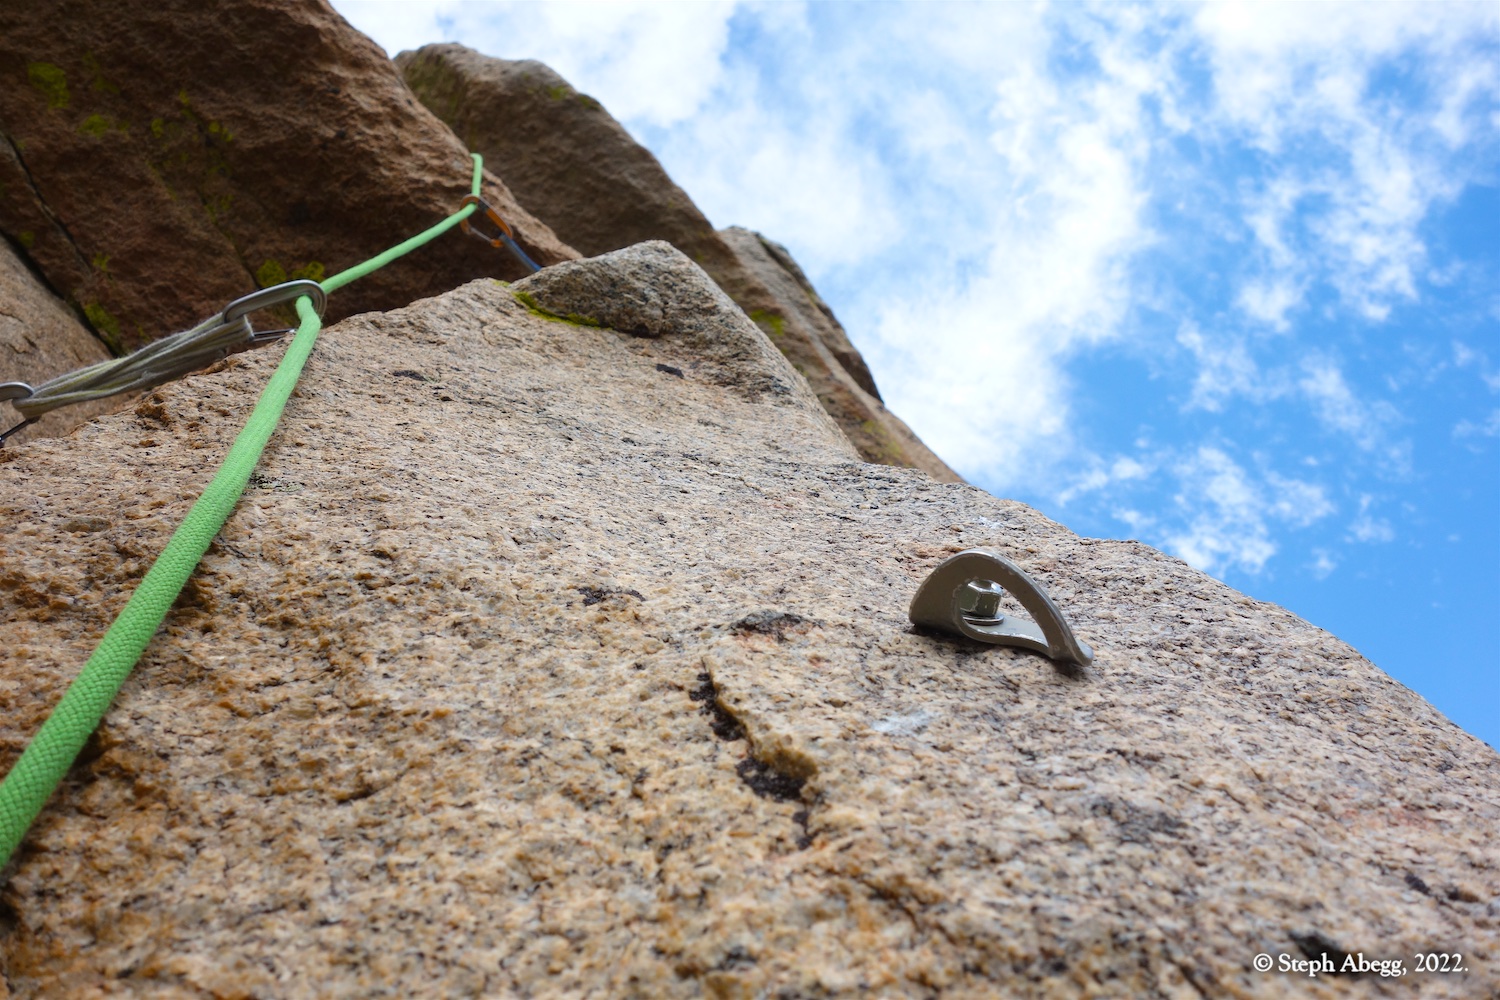
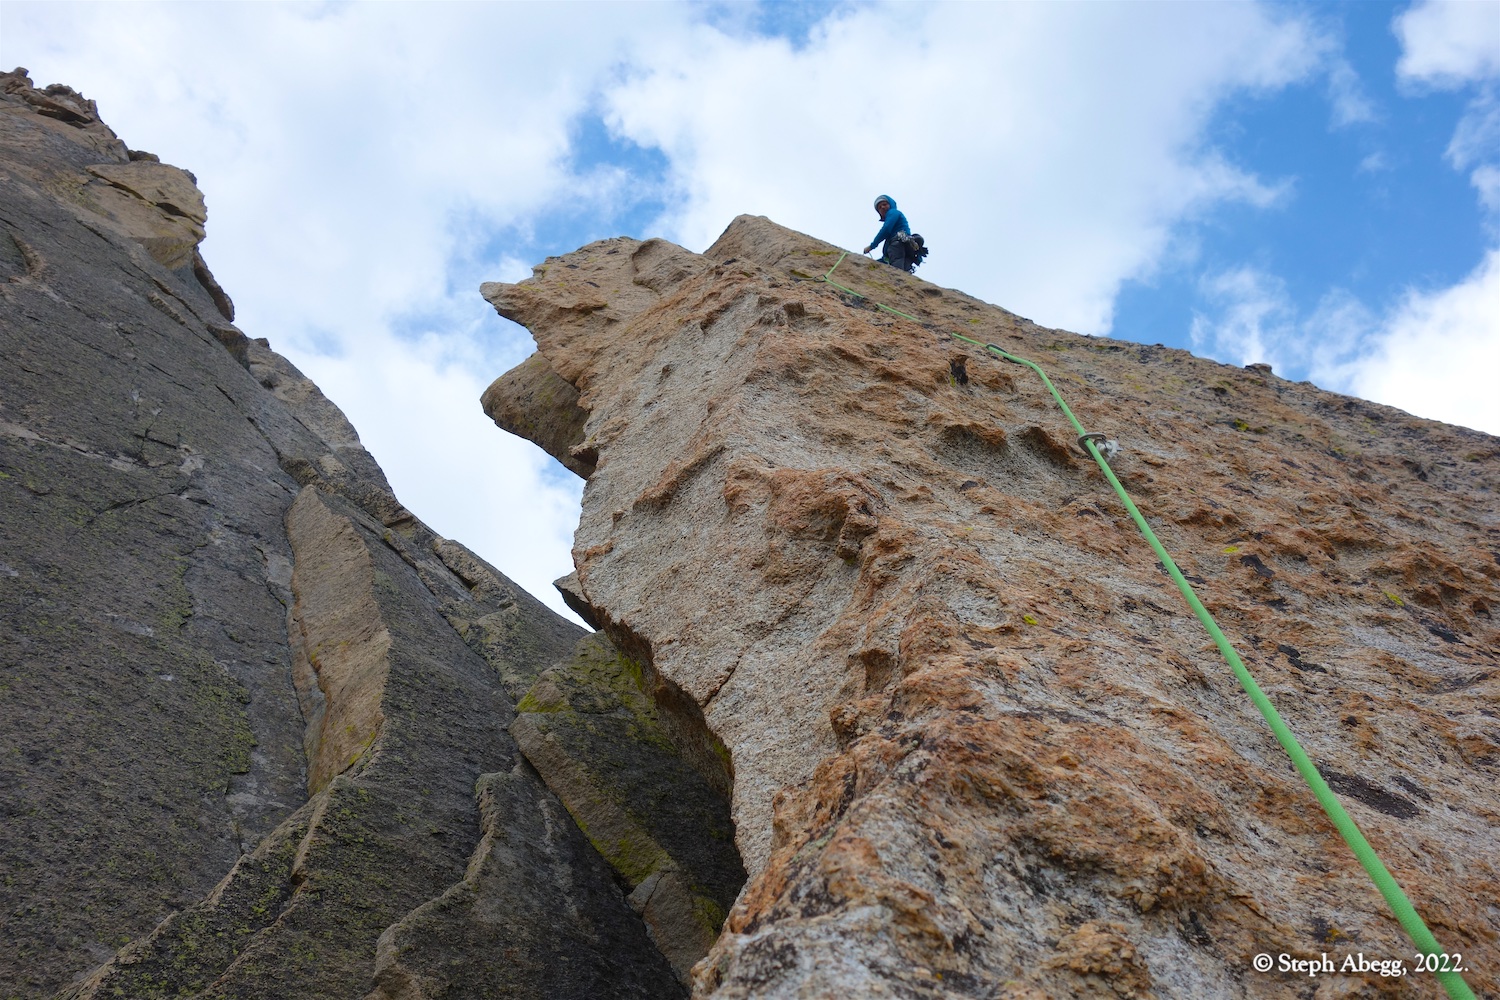
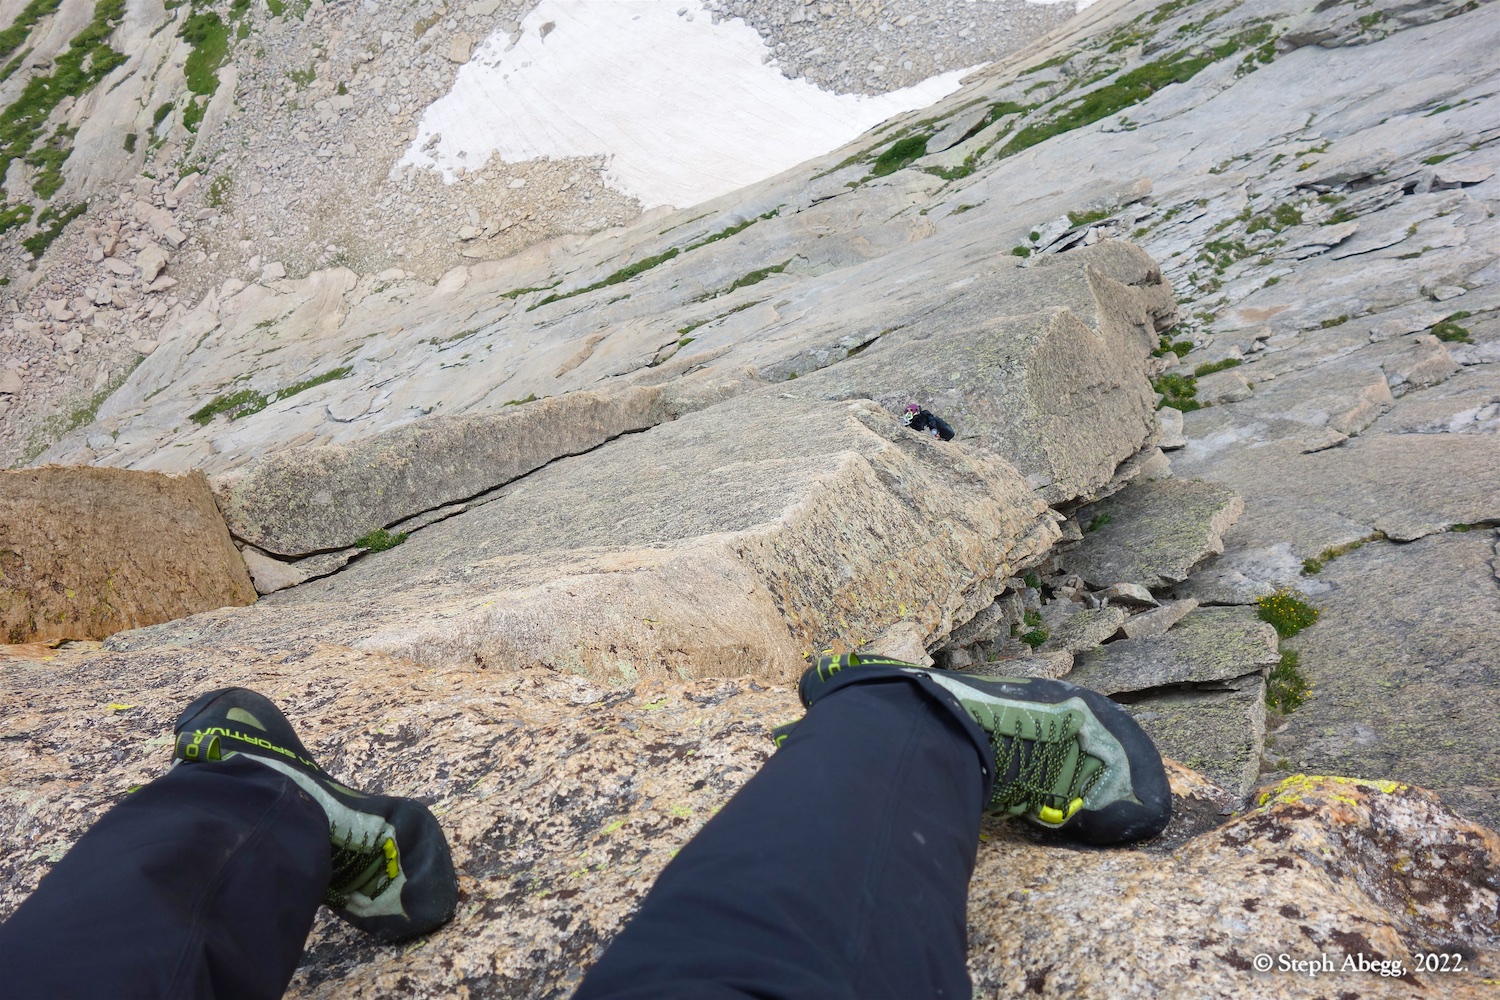
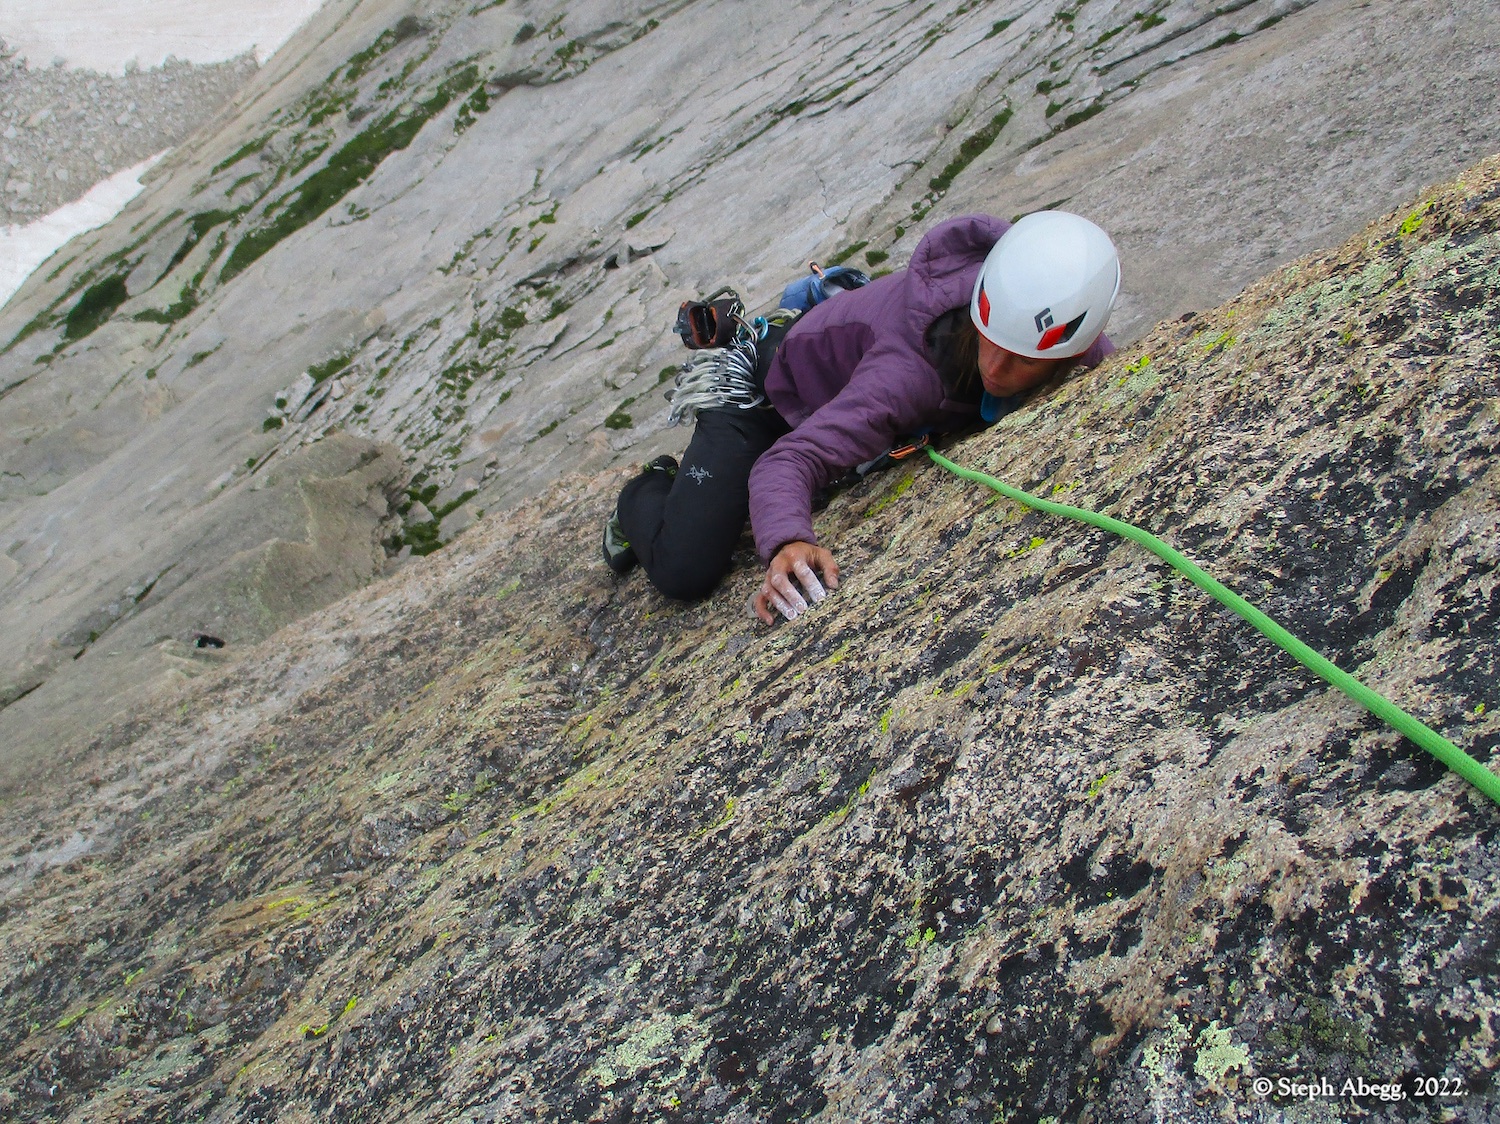
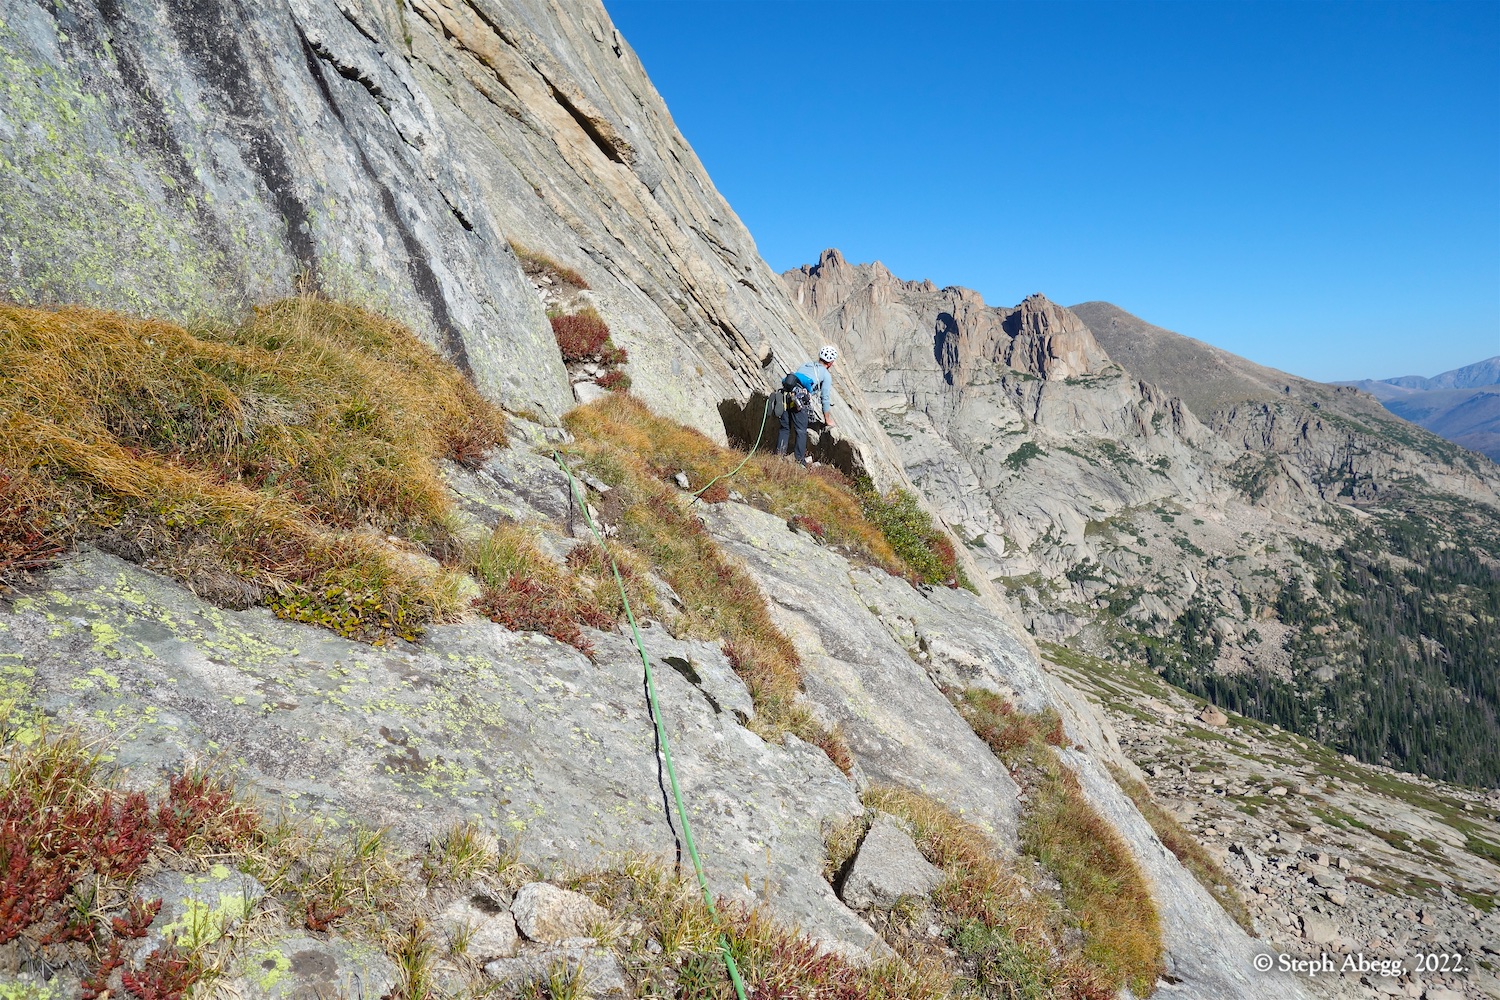
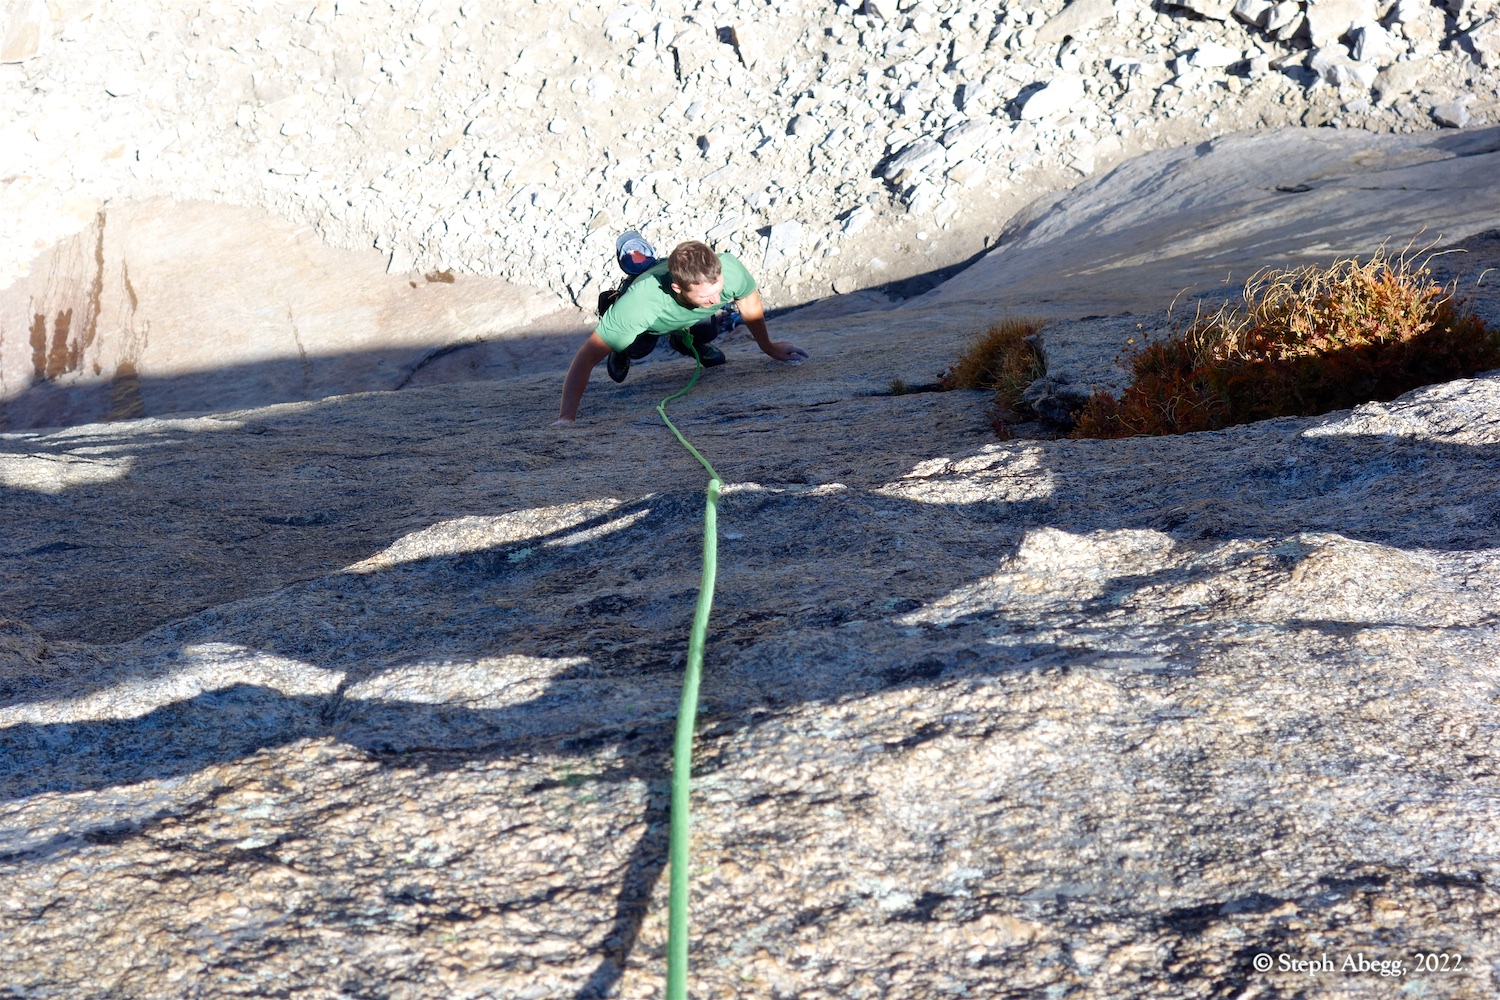
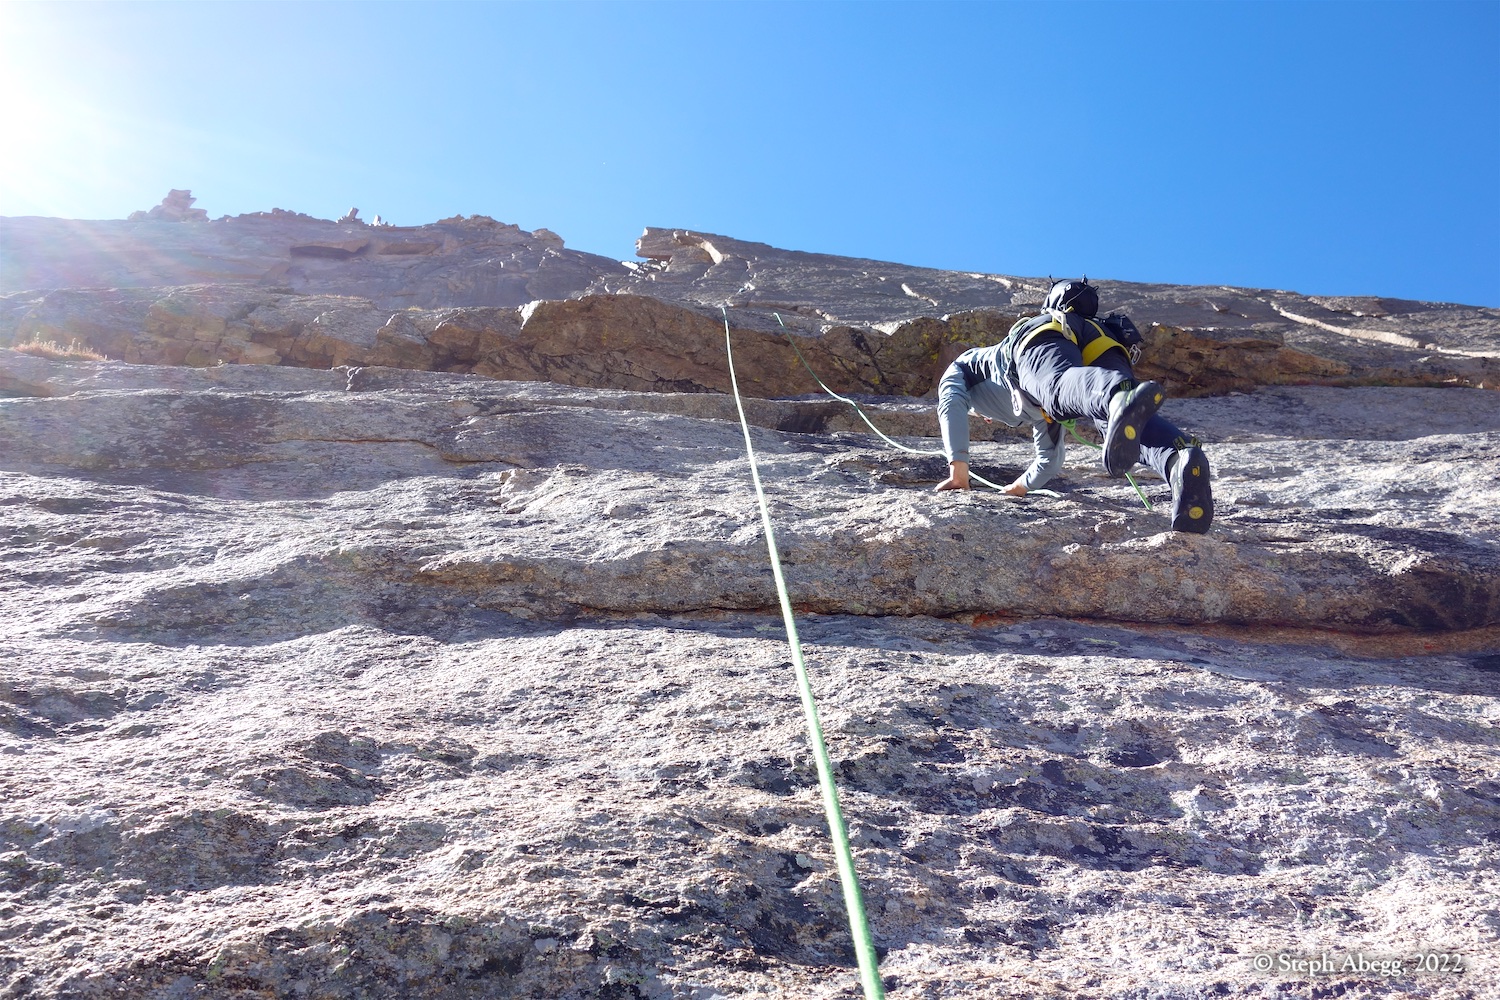
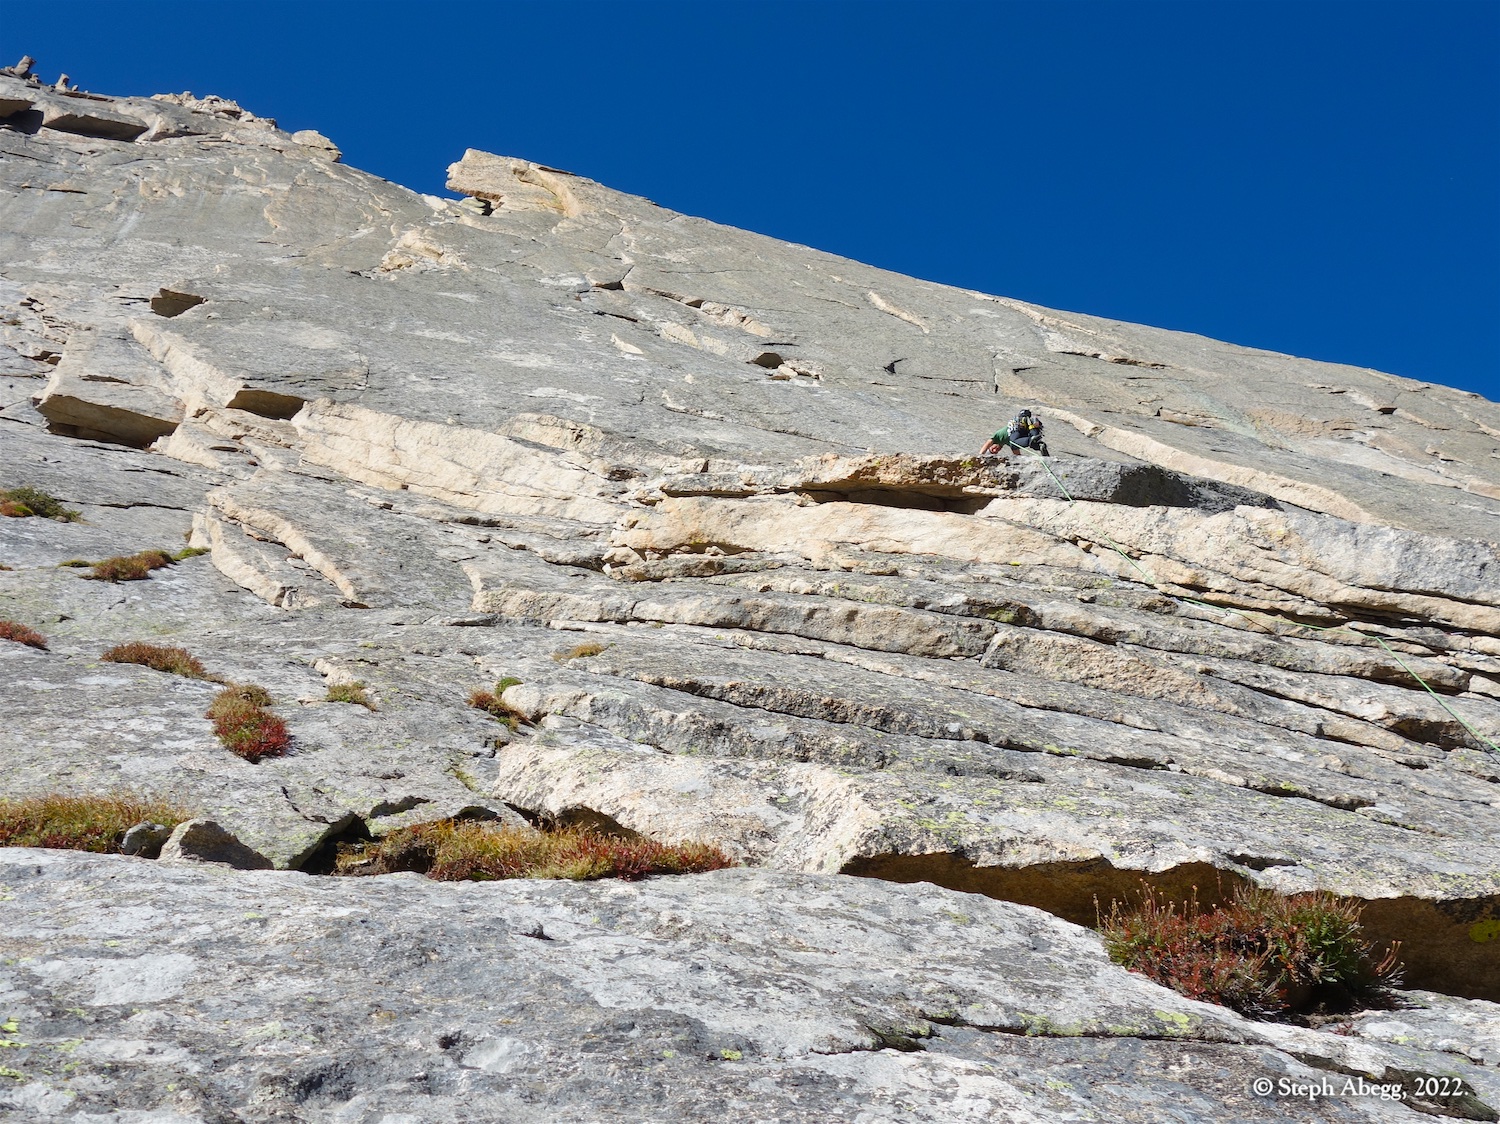
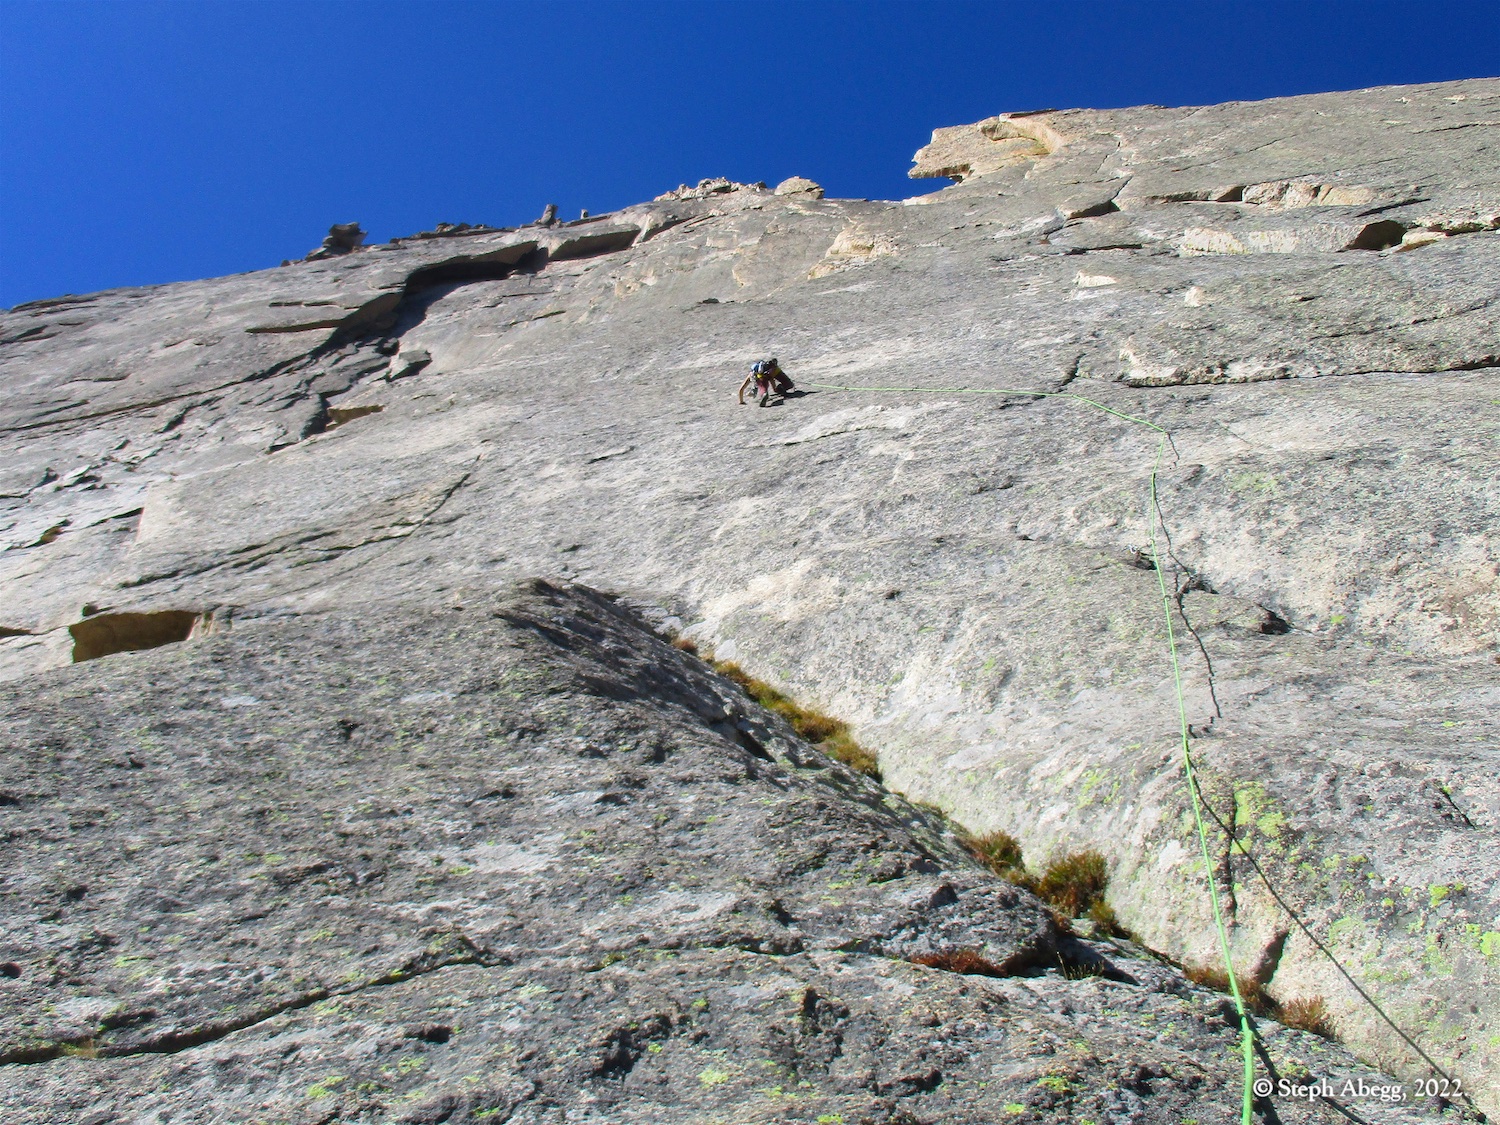
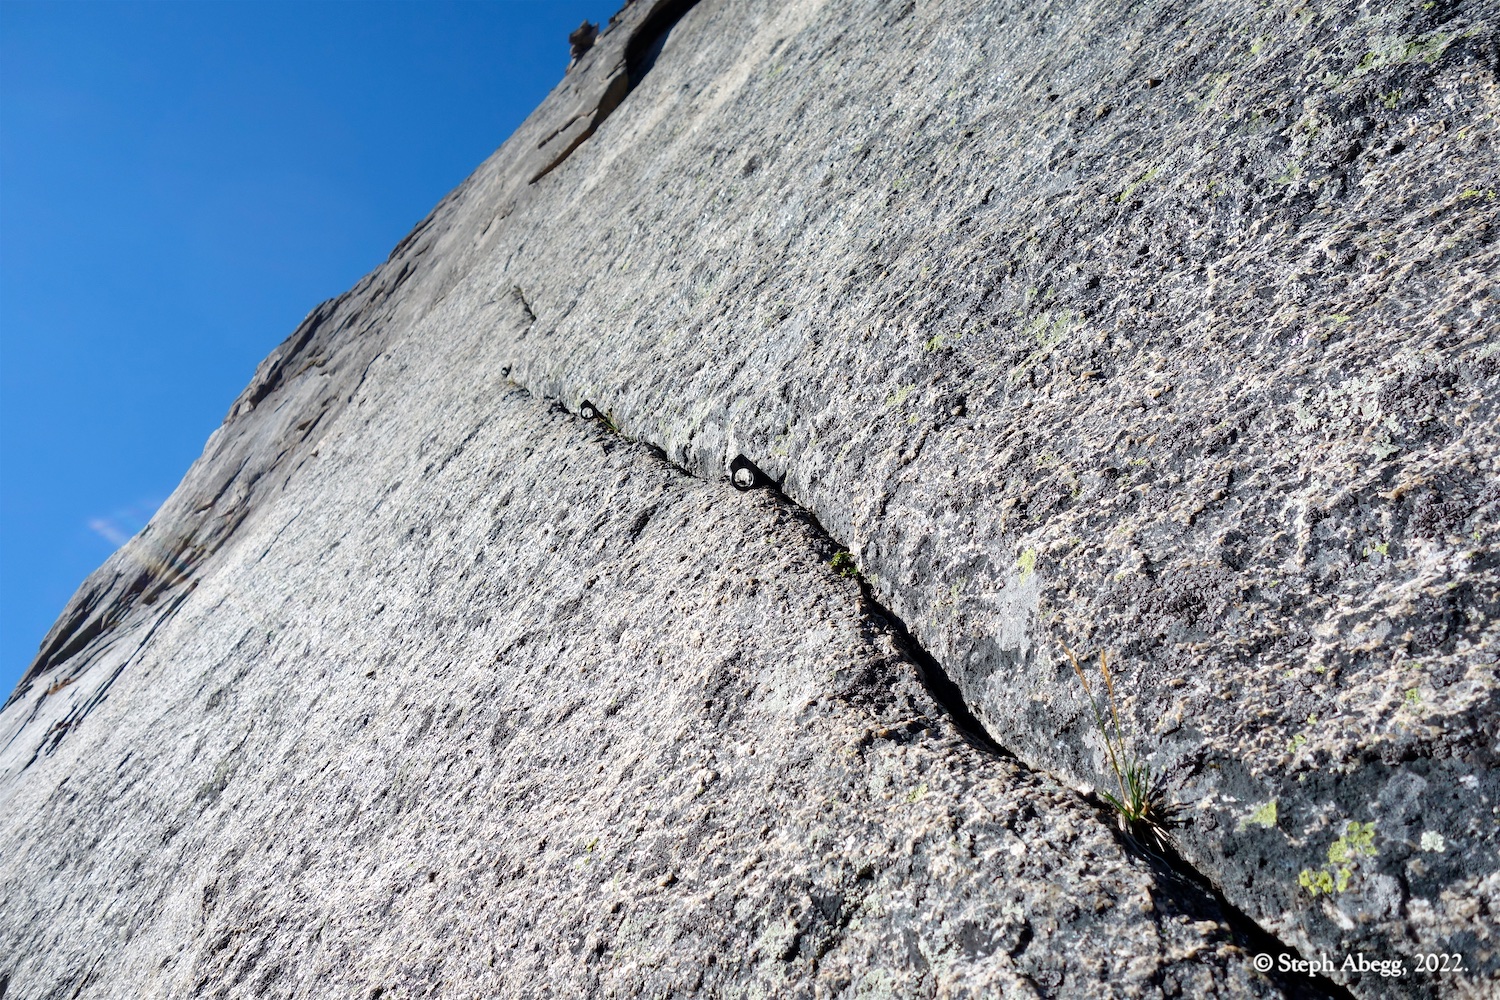
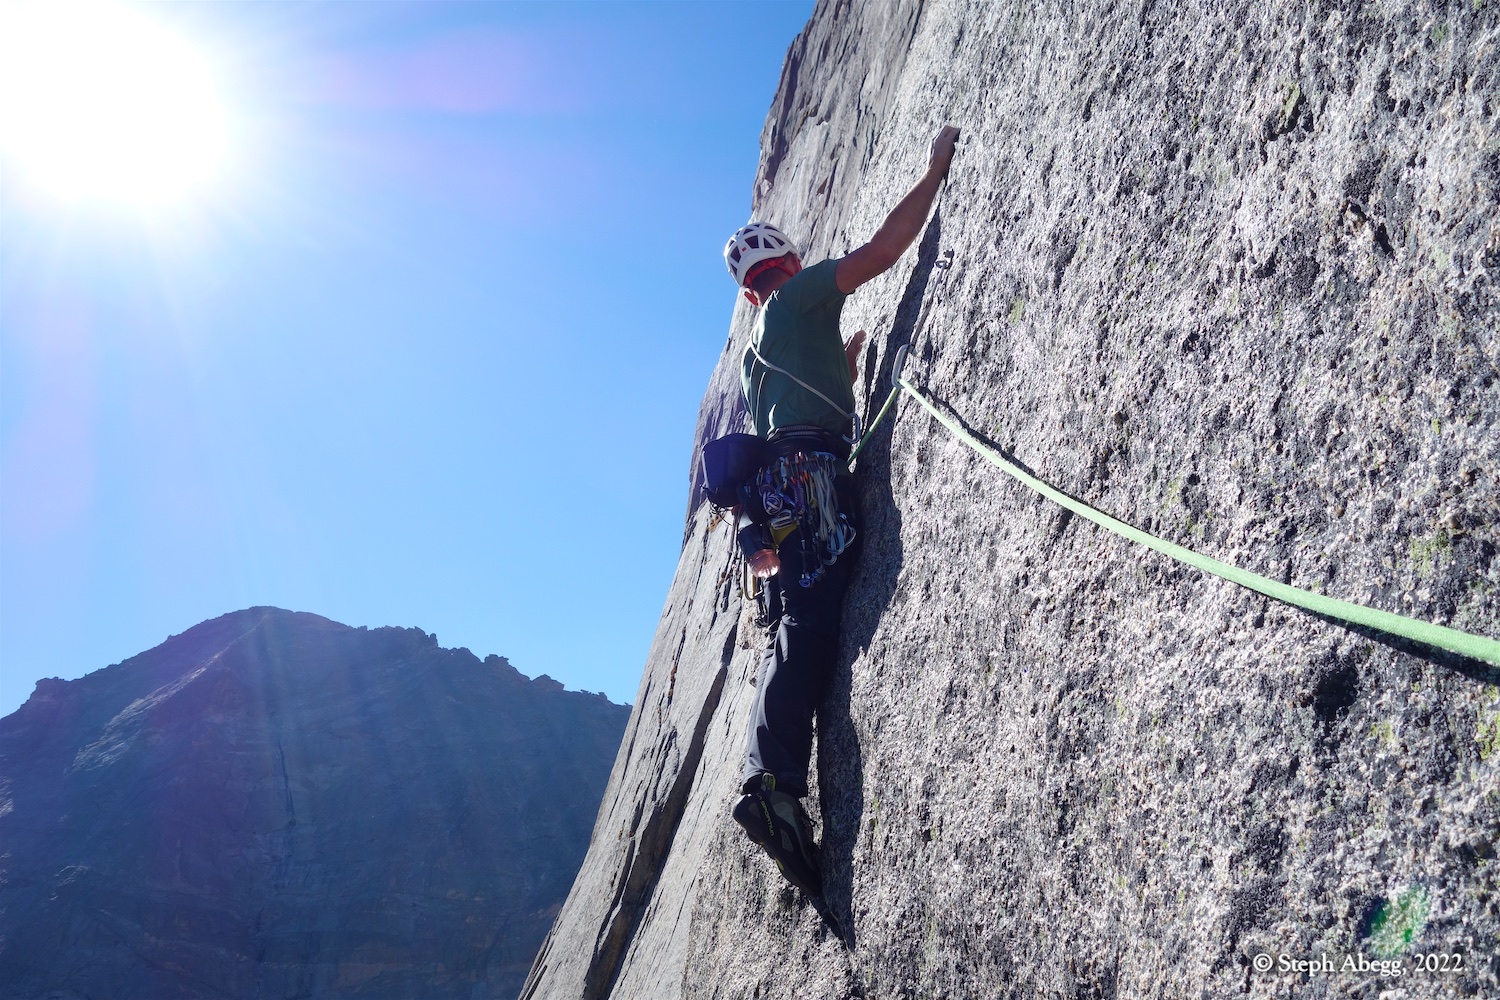
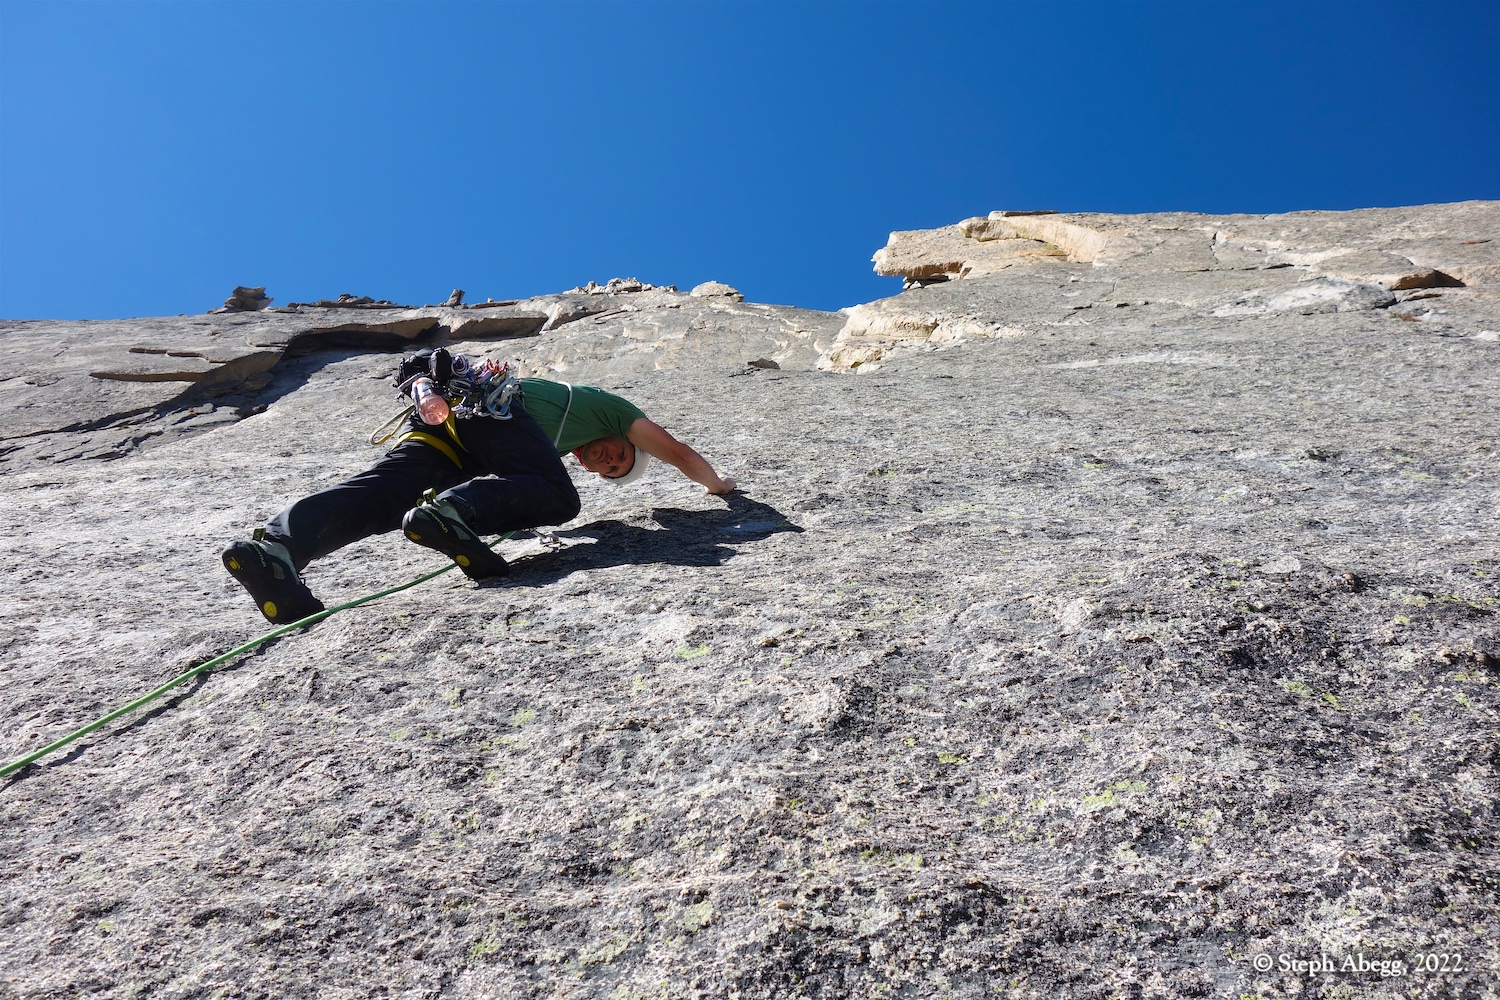
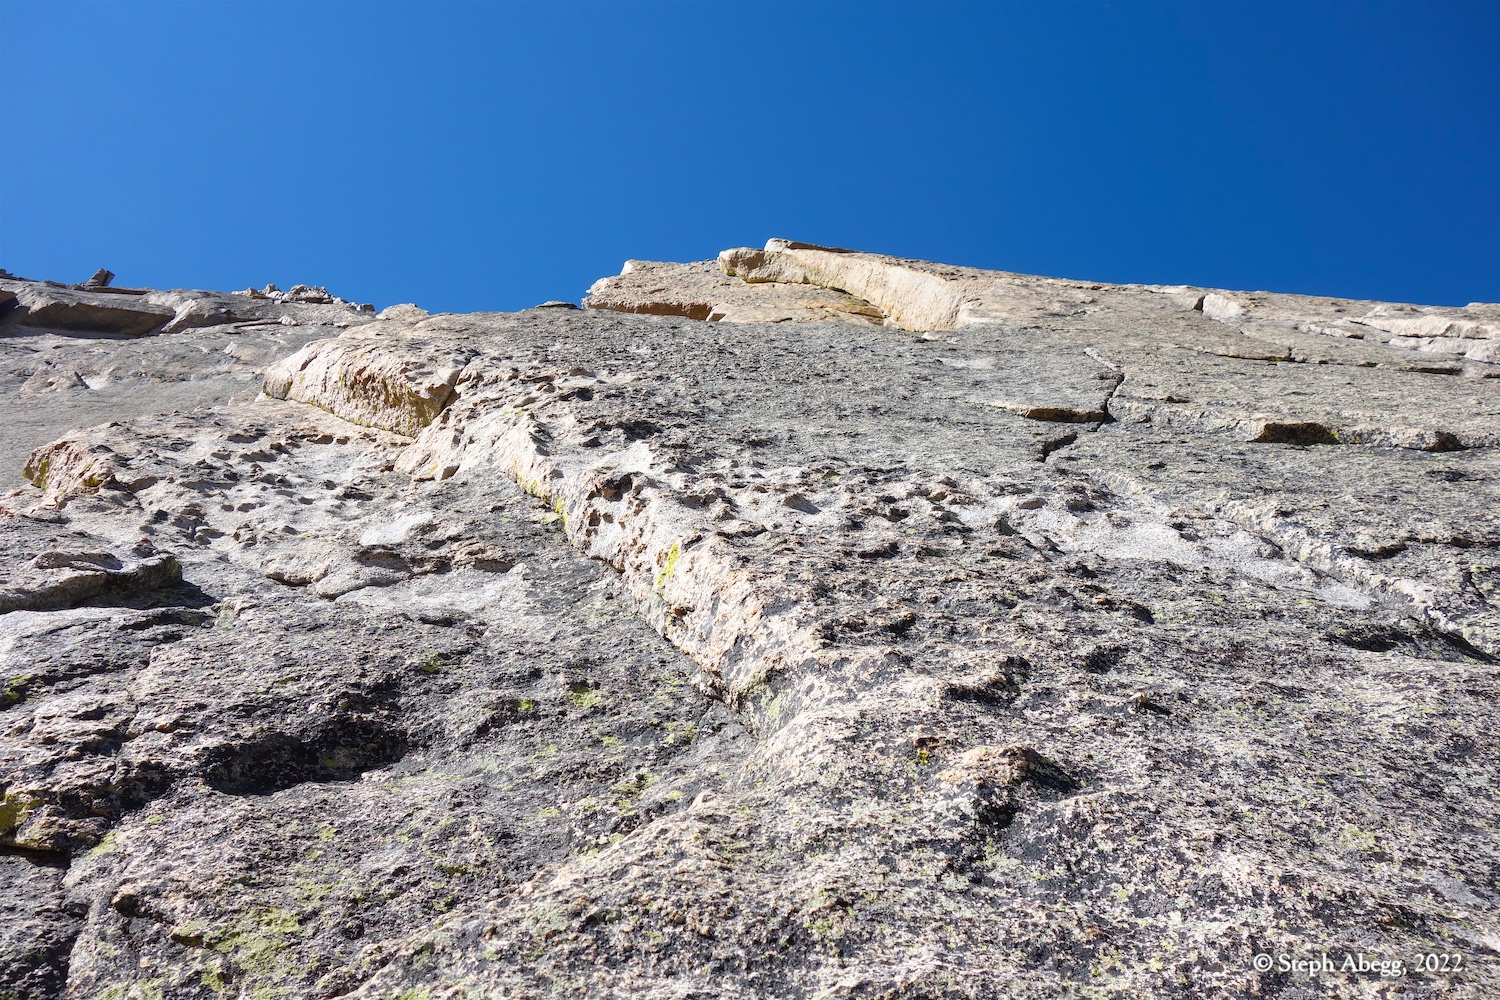
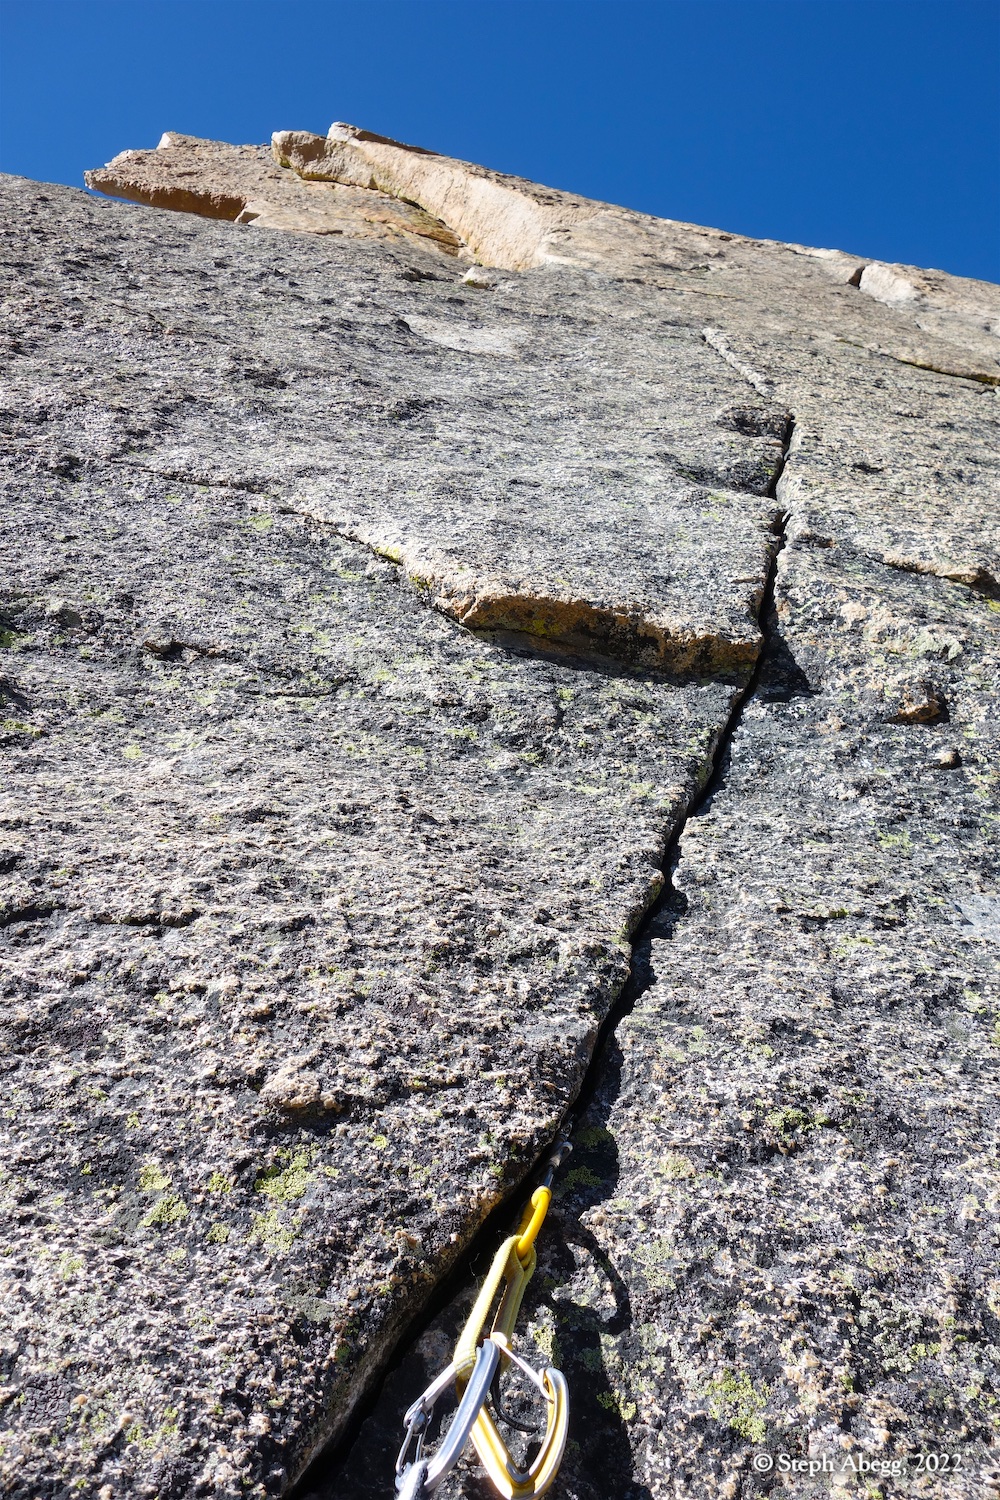
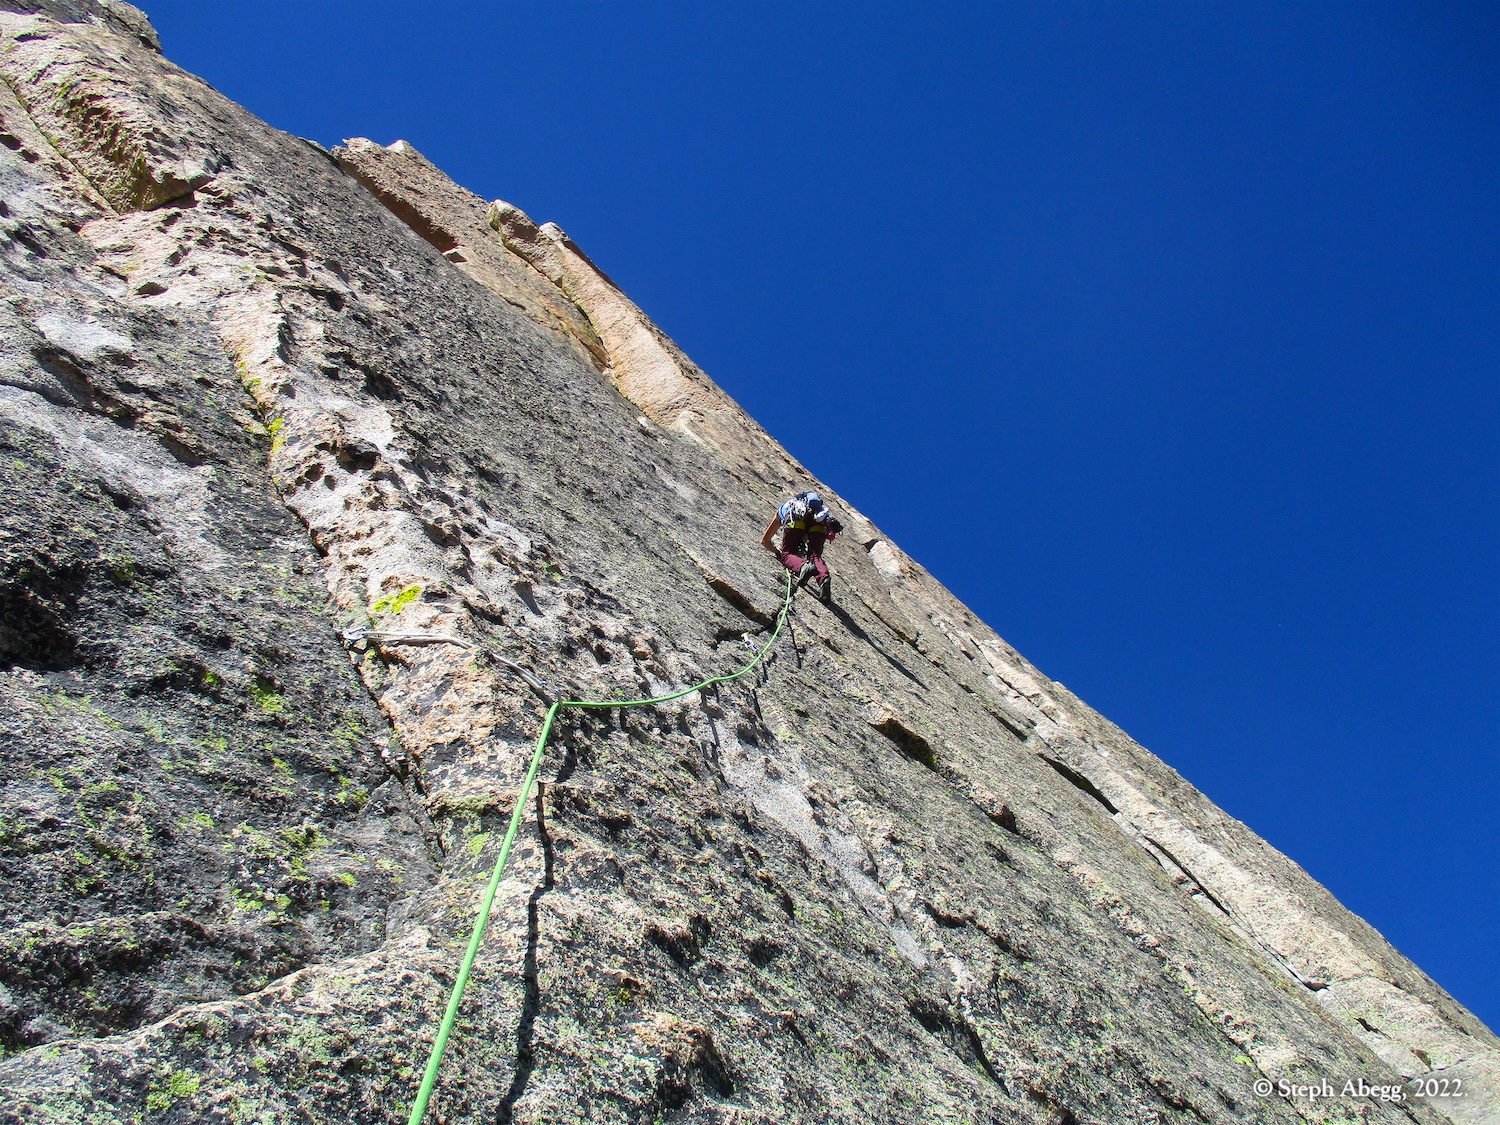
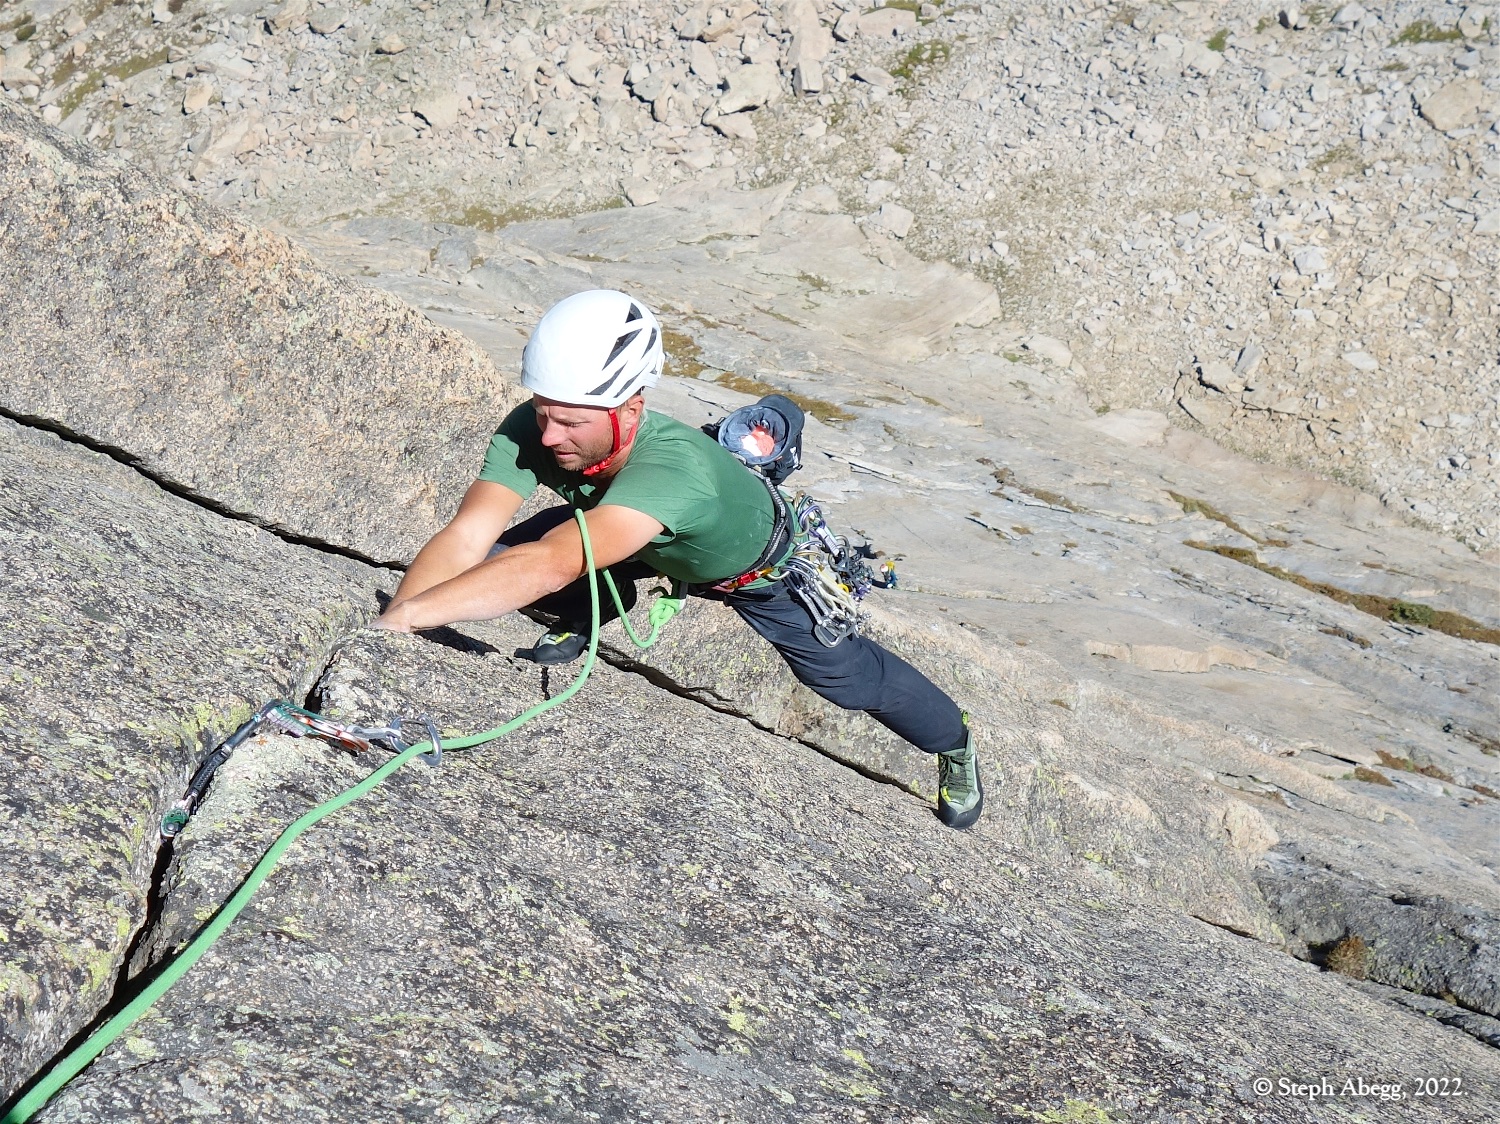
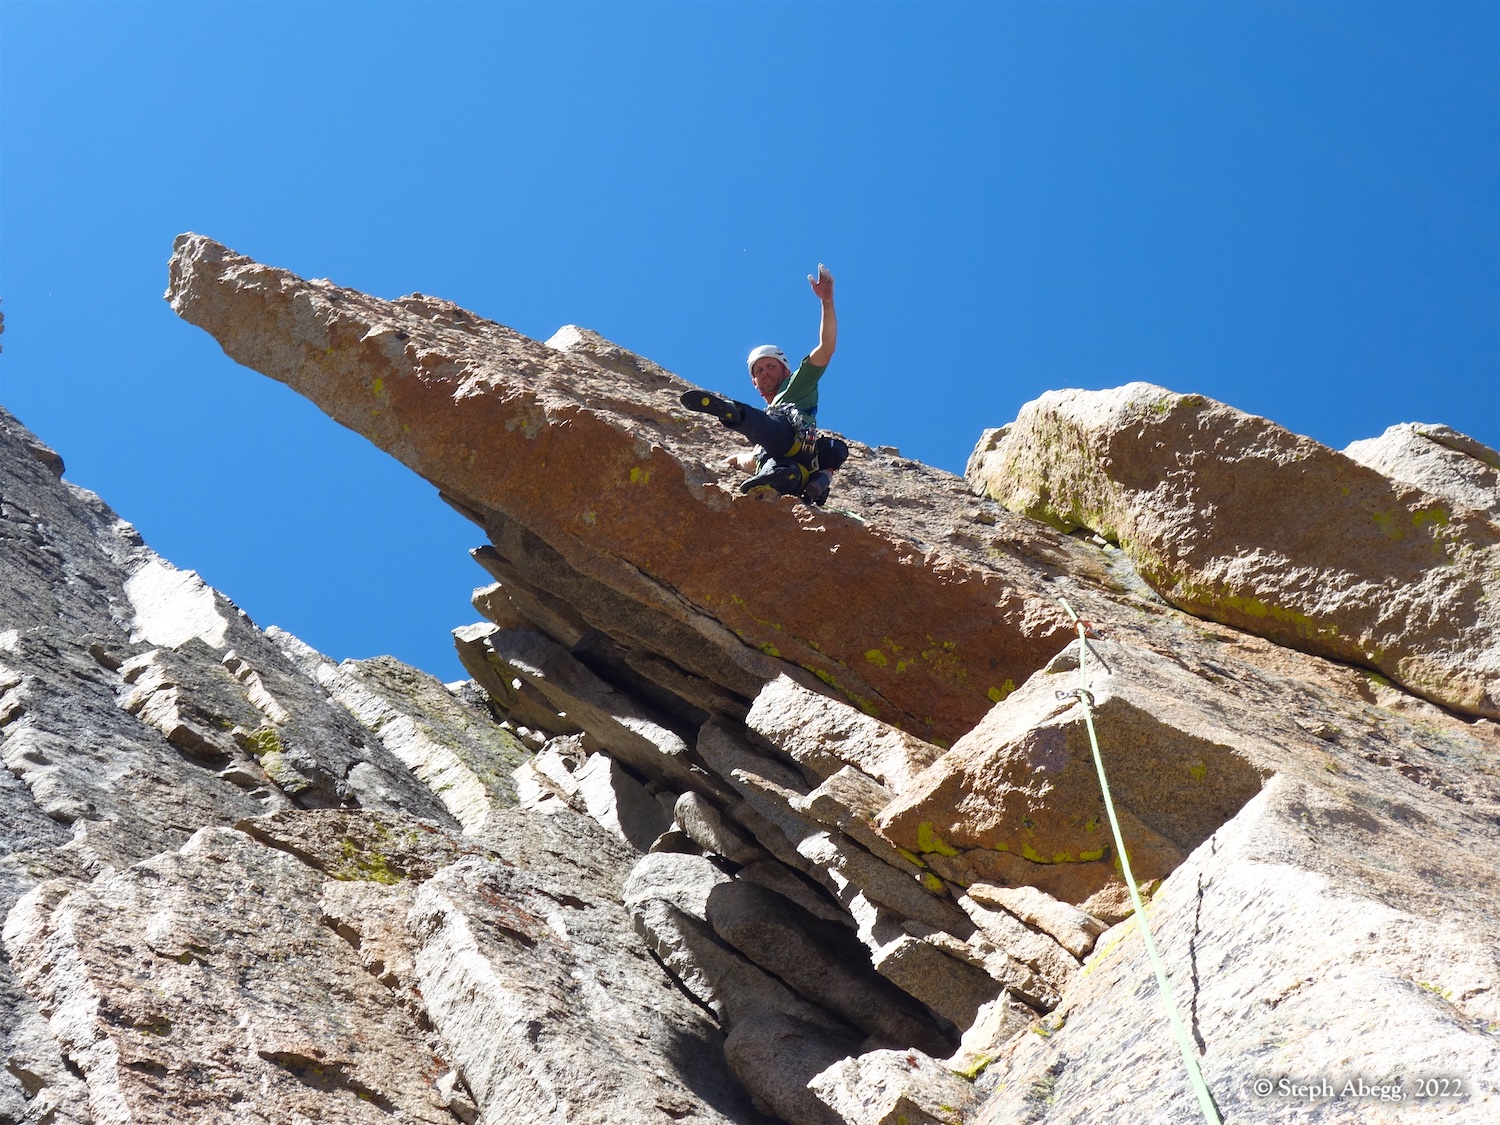
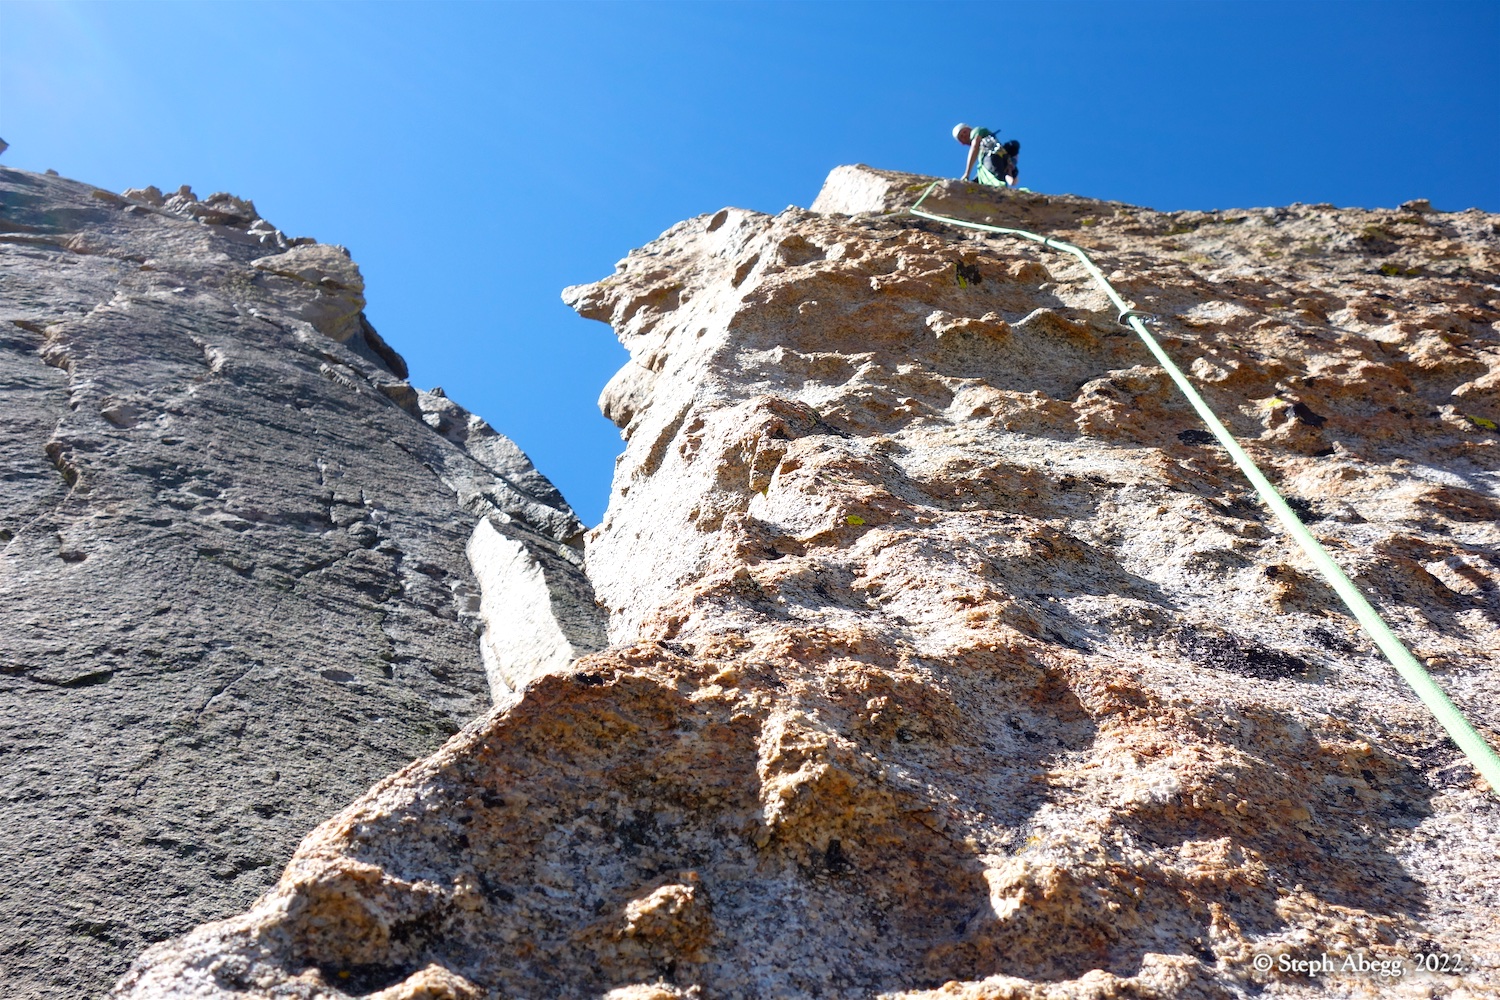
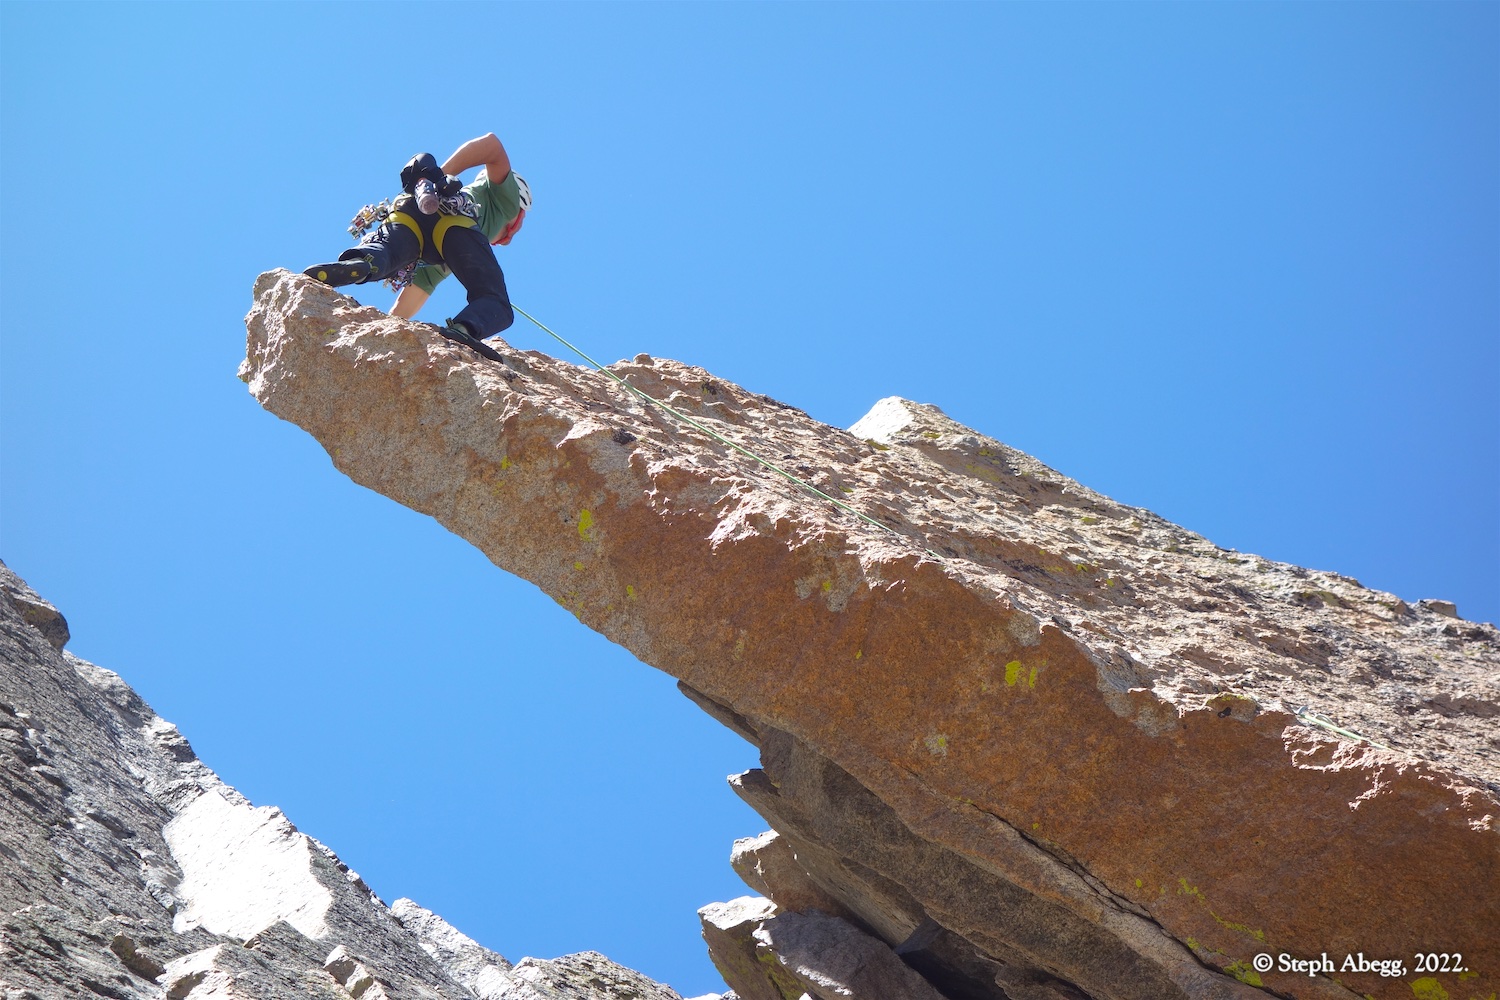
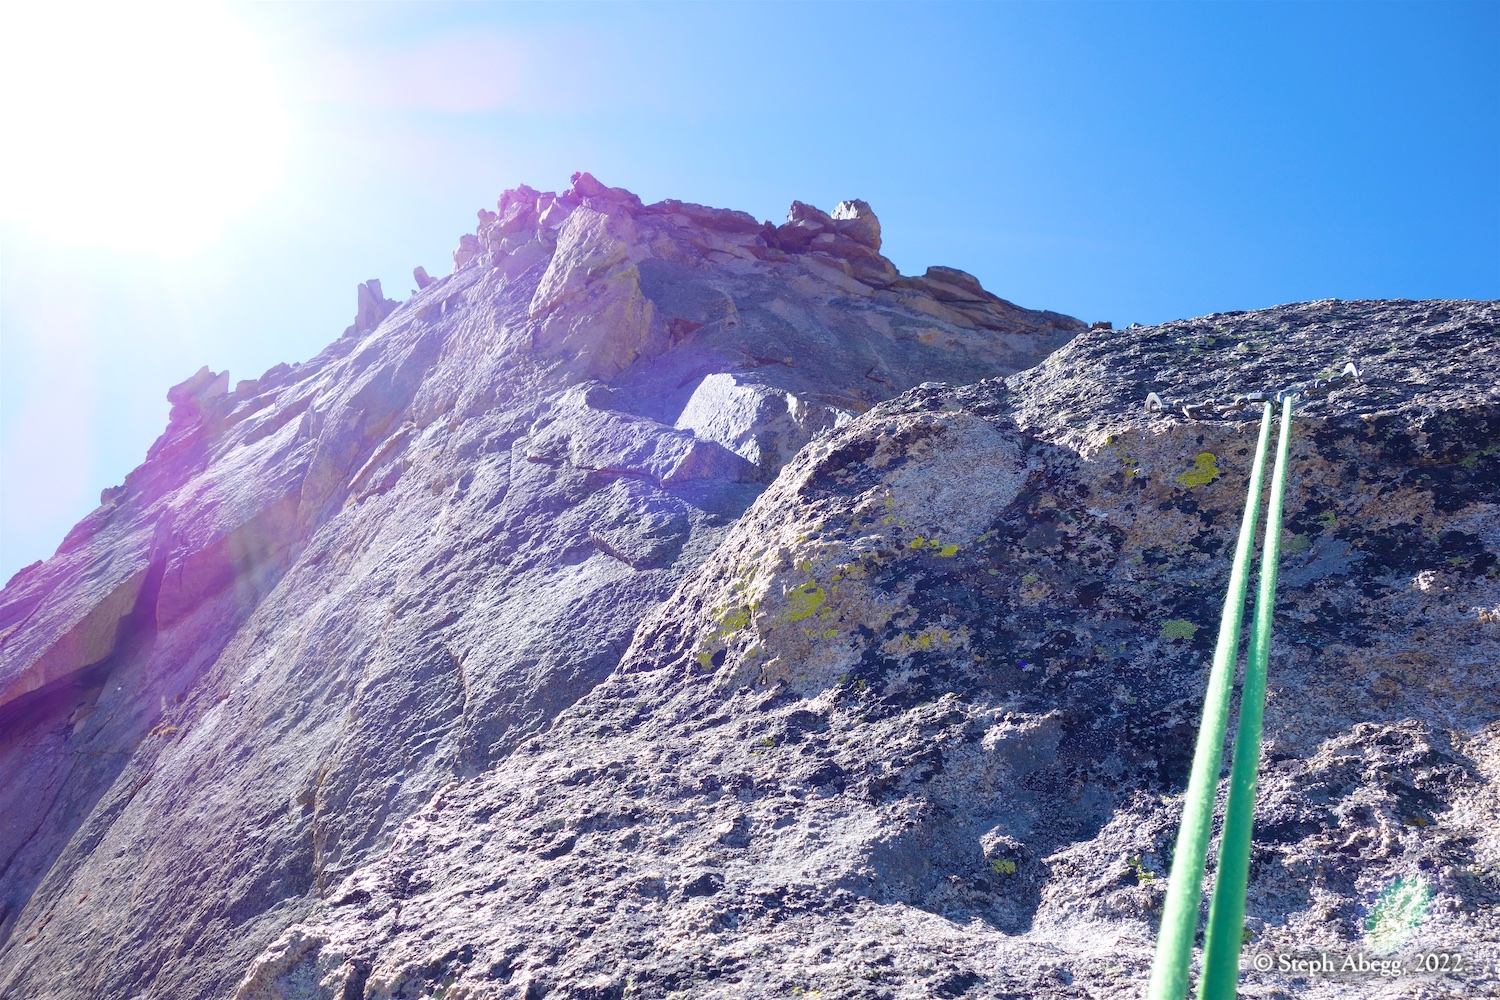
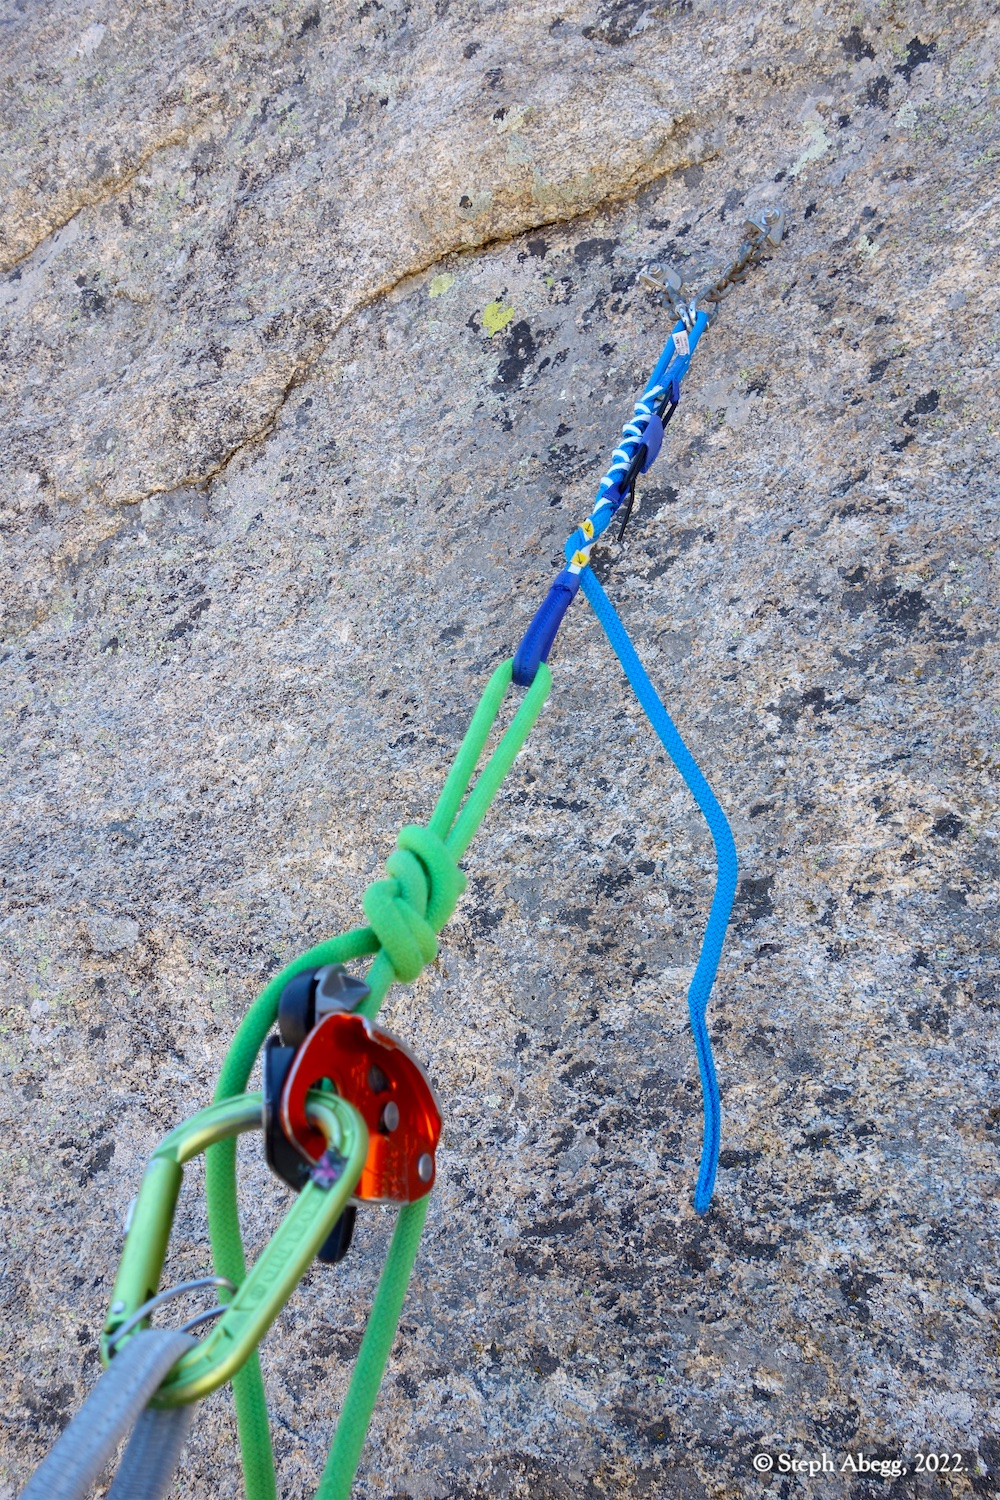
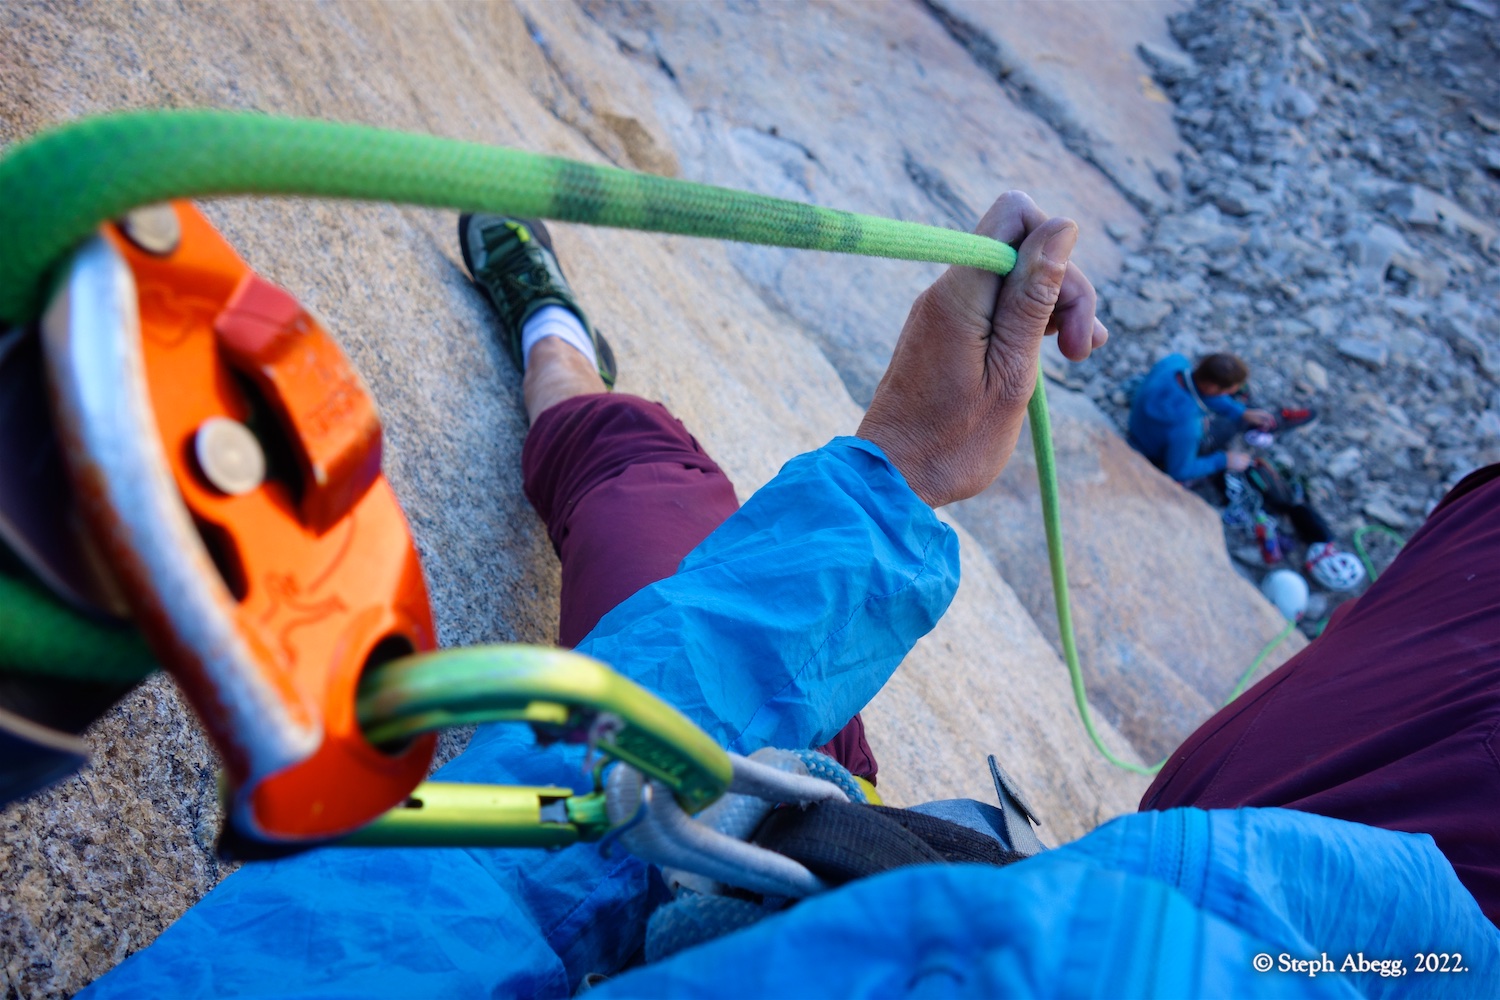
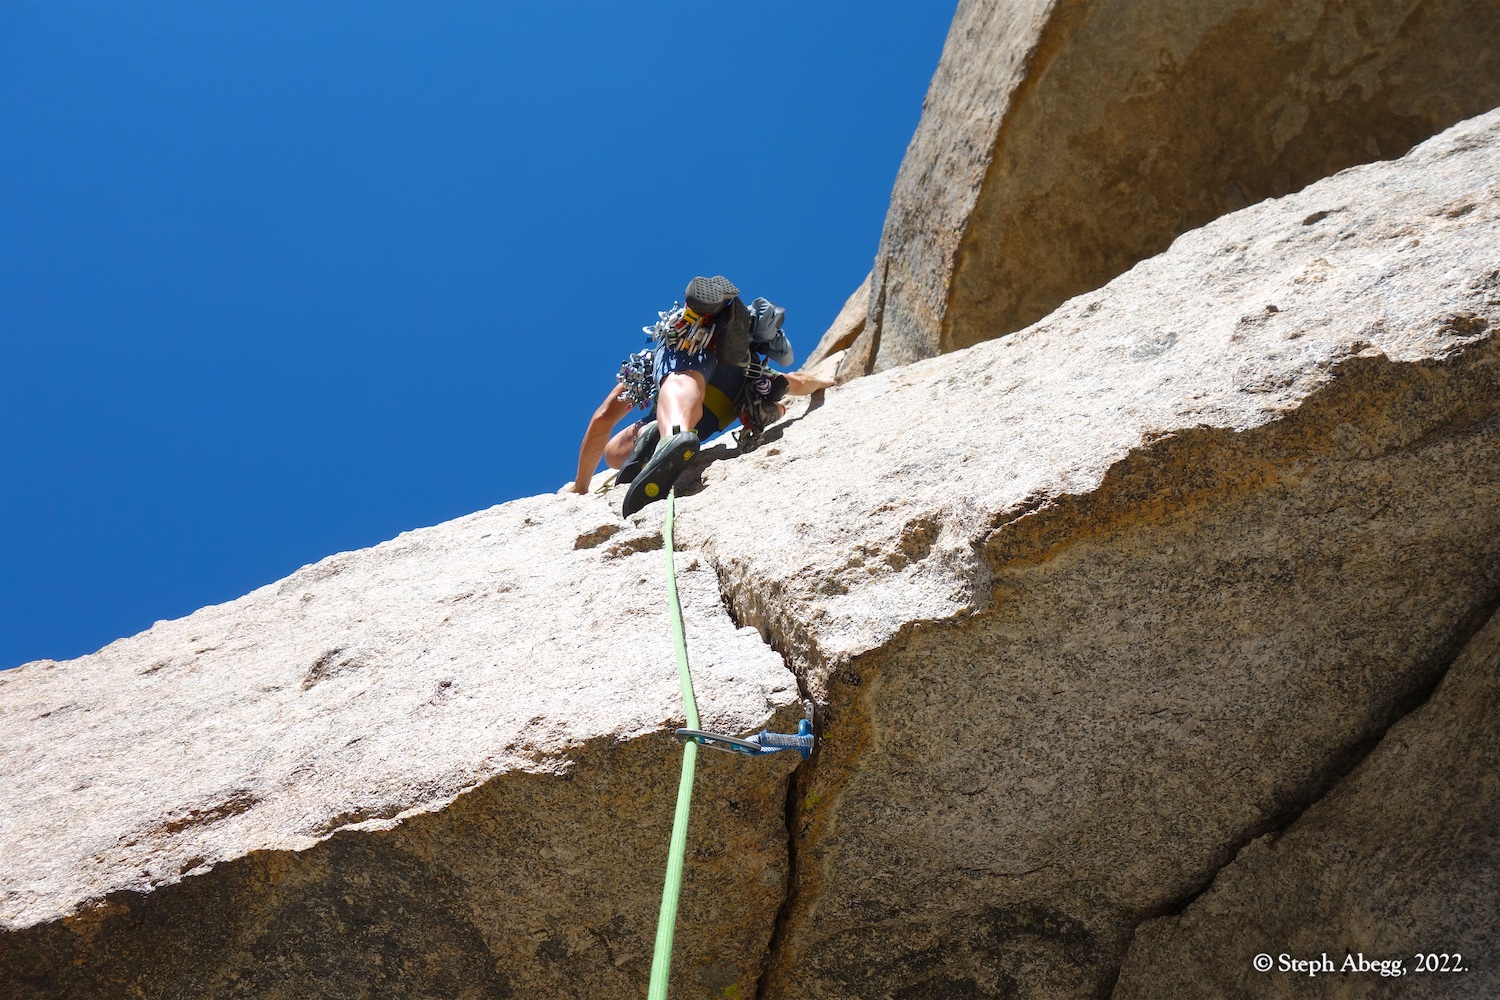
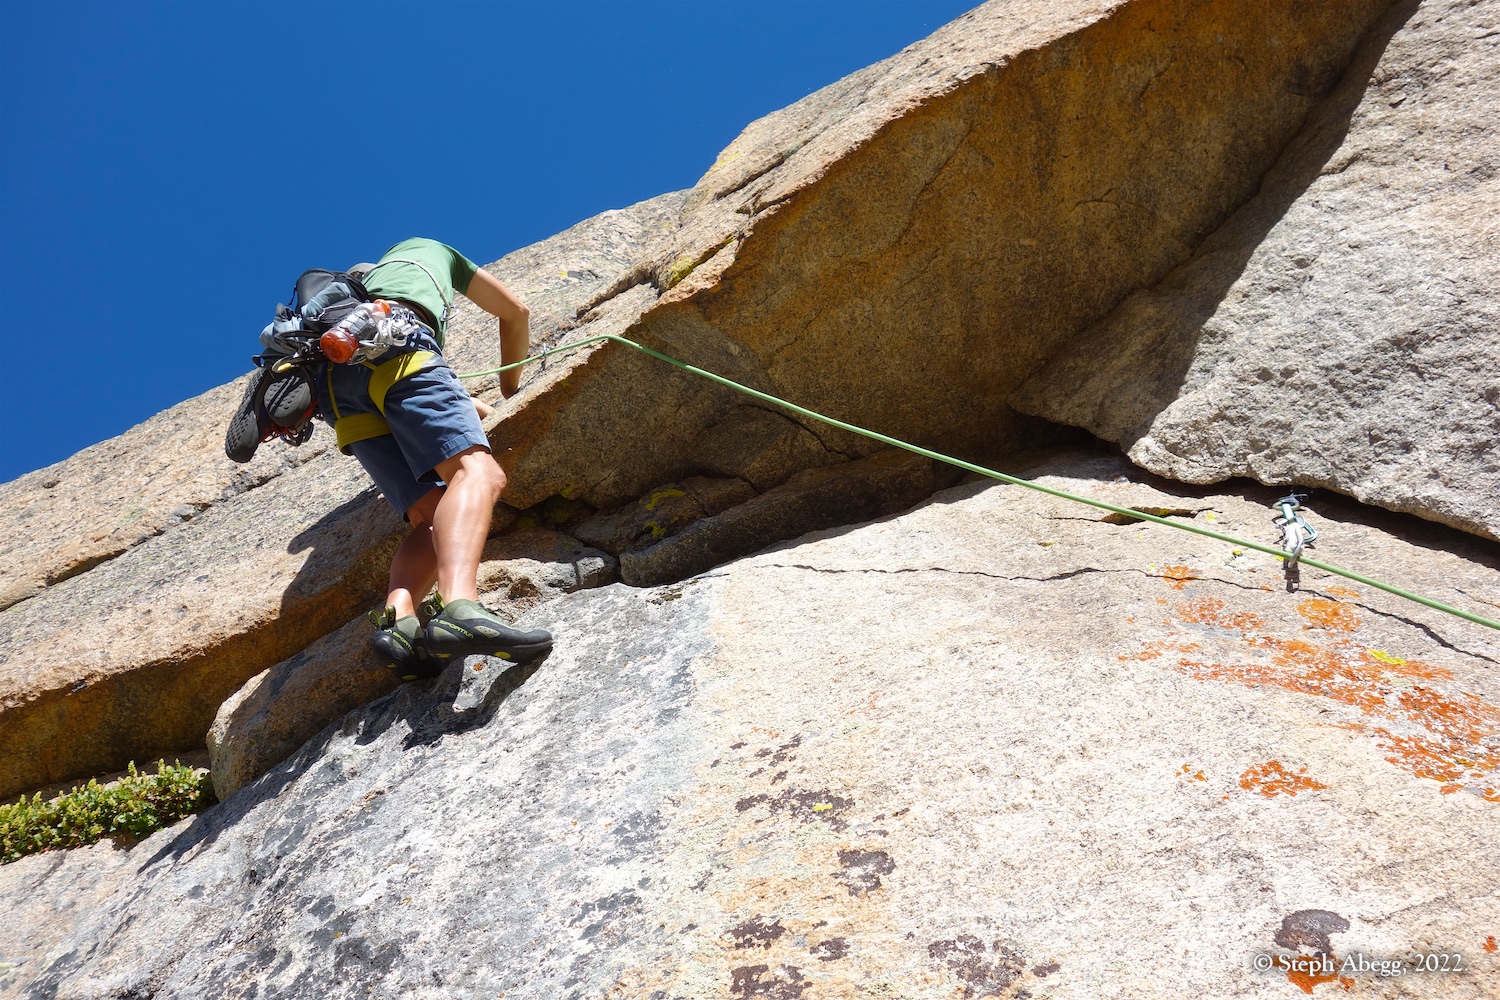
The Kingfisher on The Spearhead, the second of three climbs during our Labor Day weekend in Upper Glacier Gorge. Nate and I had climbed this route only 6 weeks previous, but we had perhaps even more fun climbing this route for a second time. One of my favorite routes on The Spearhead!
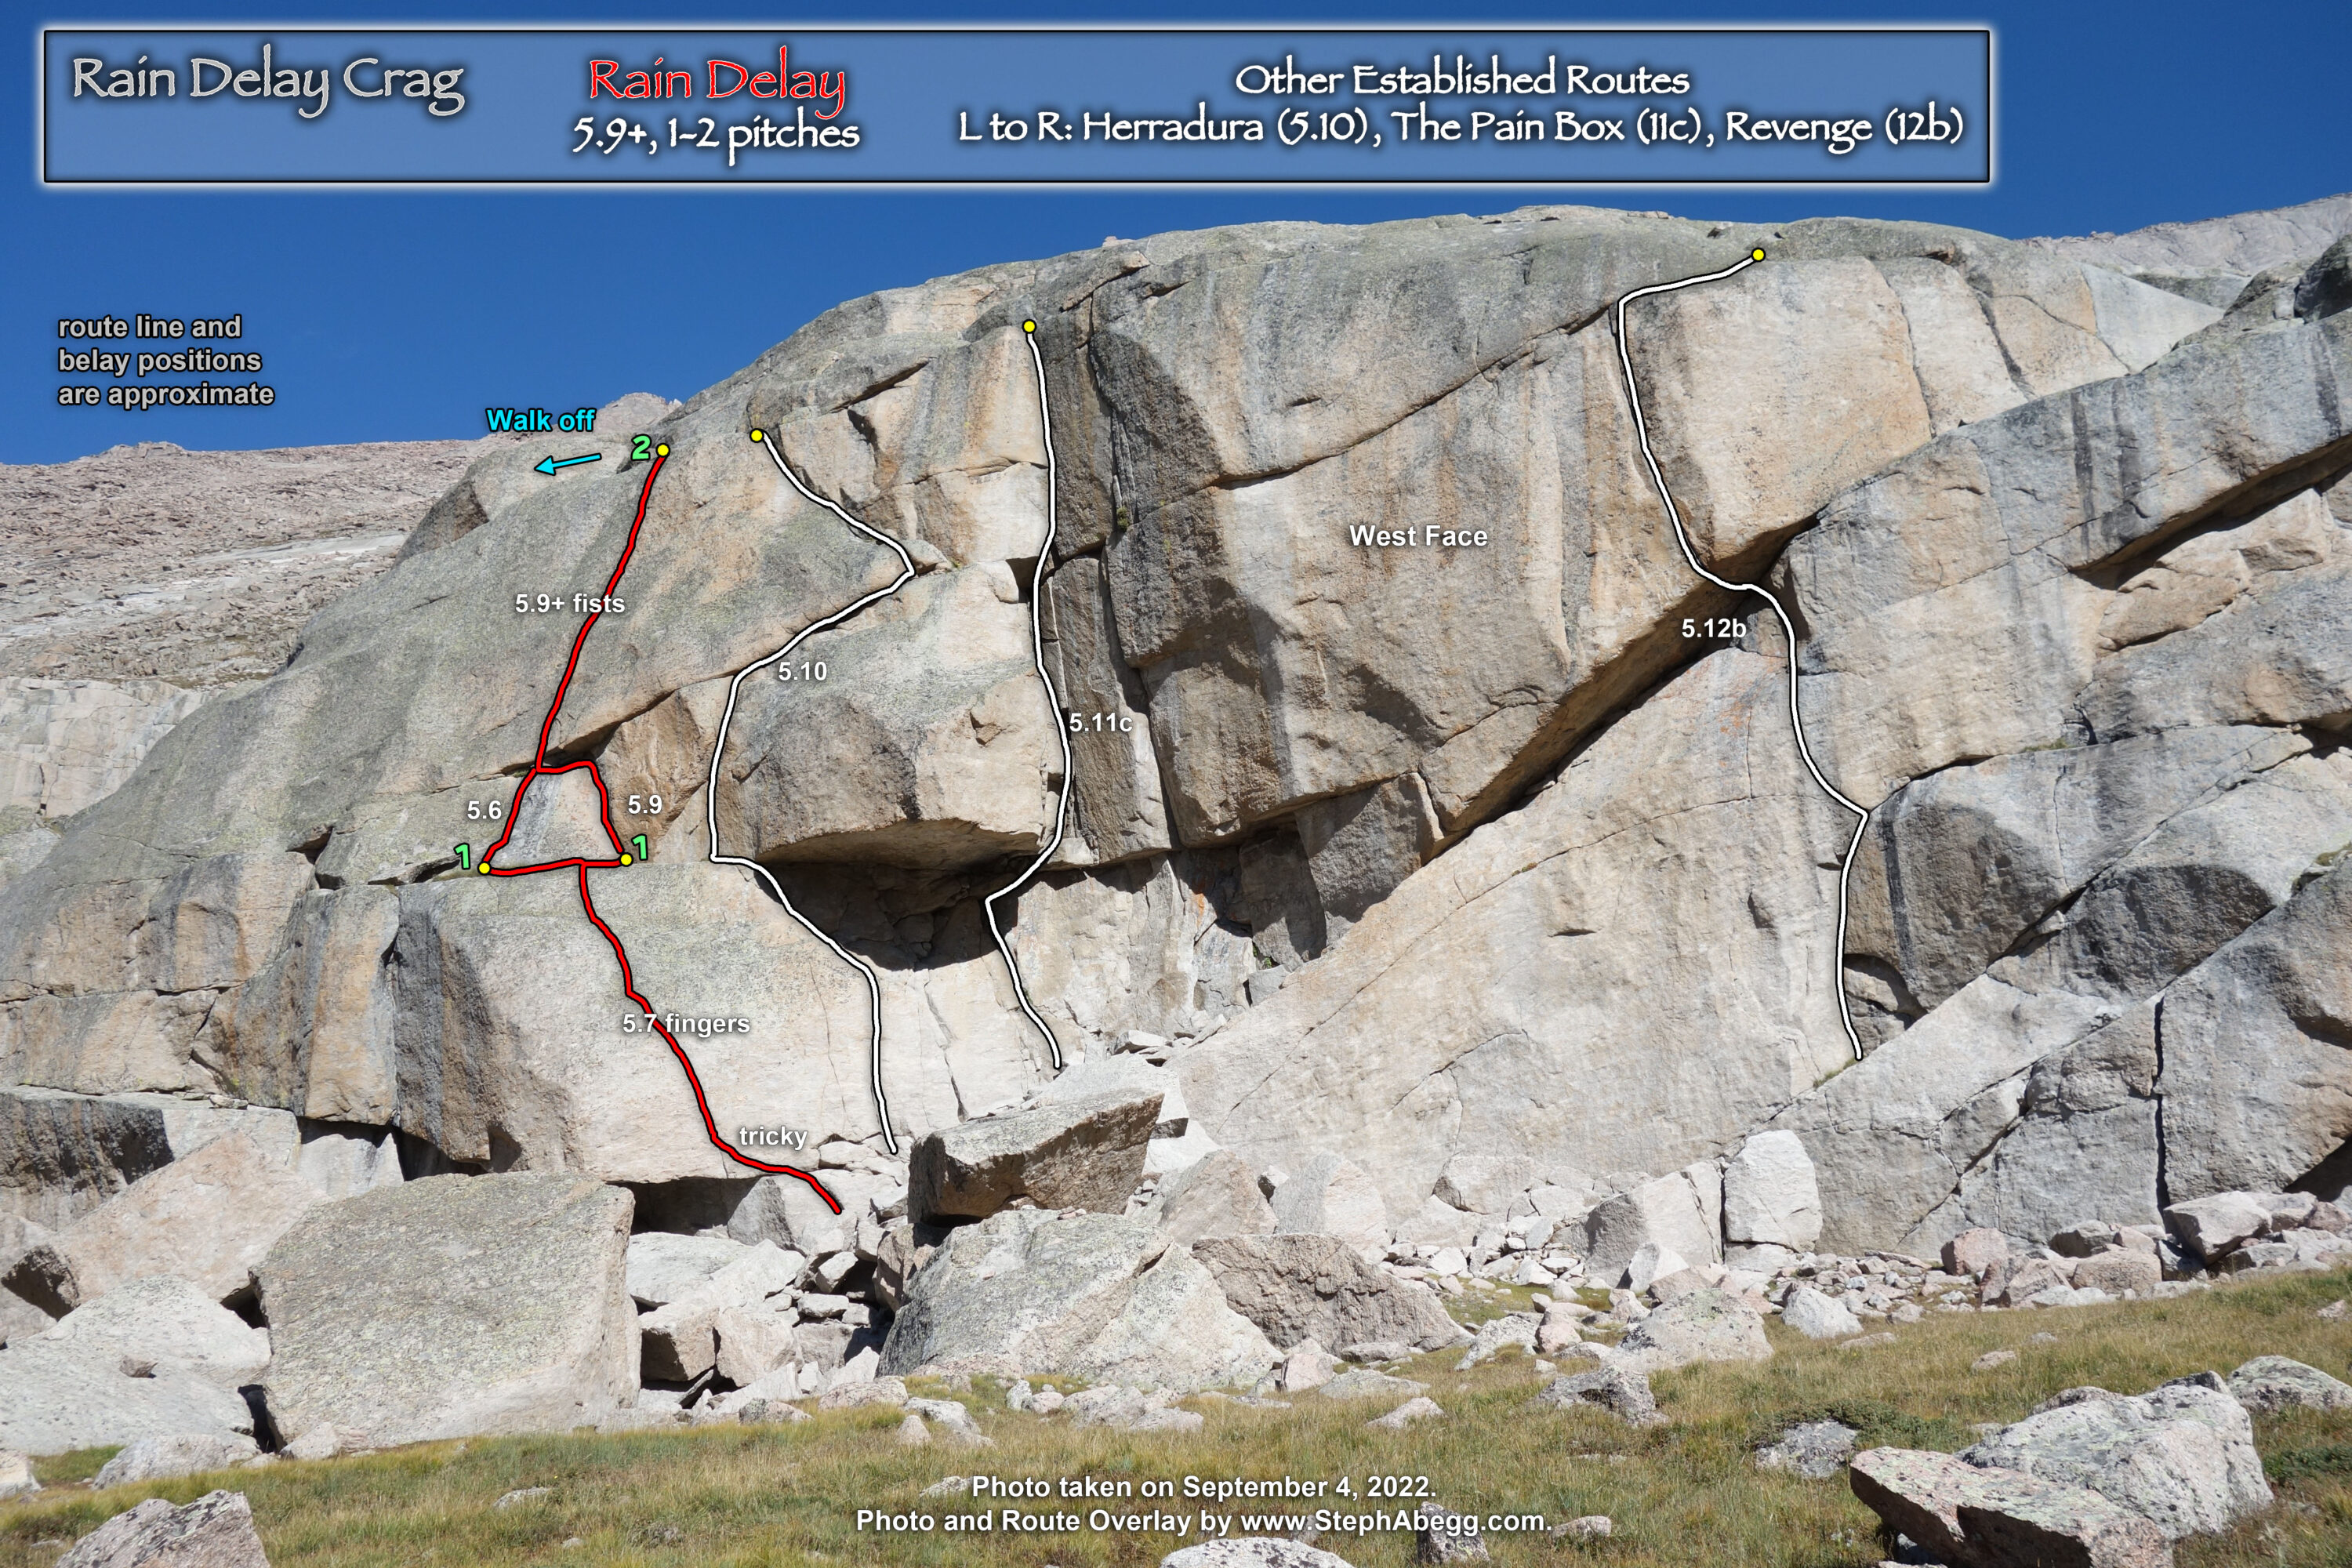
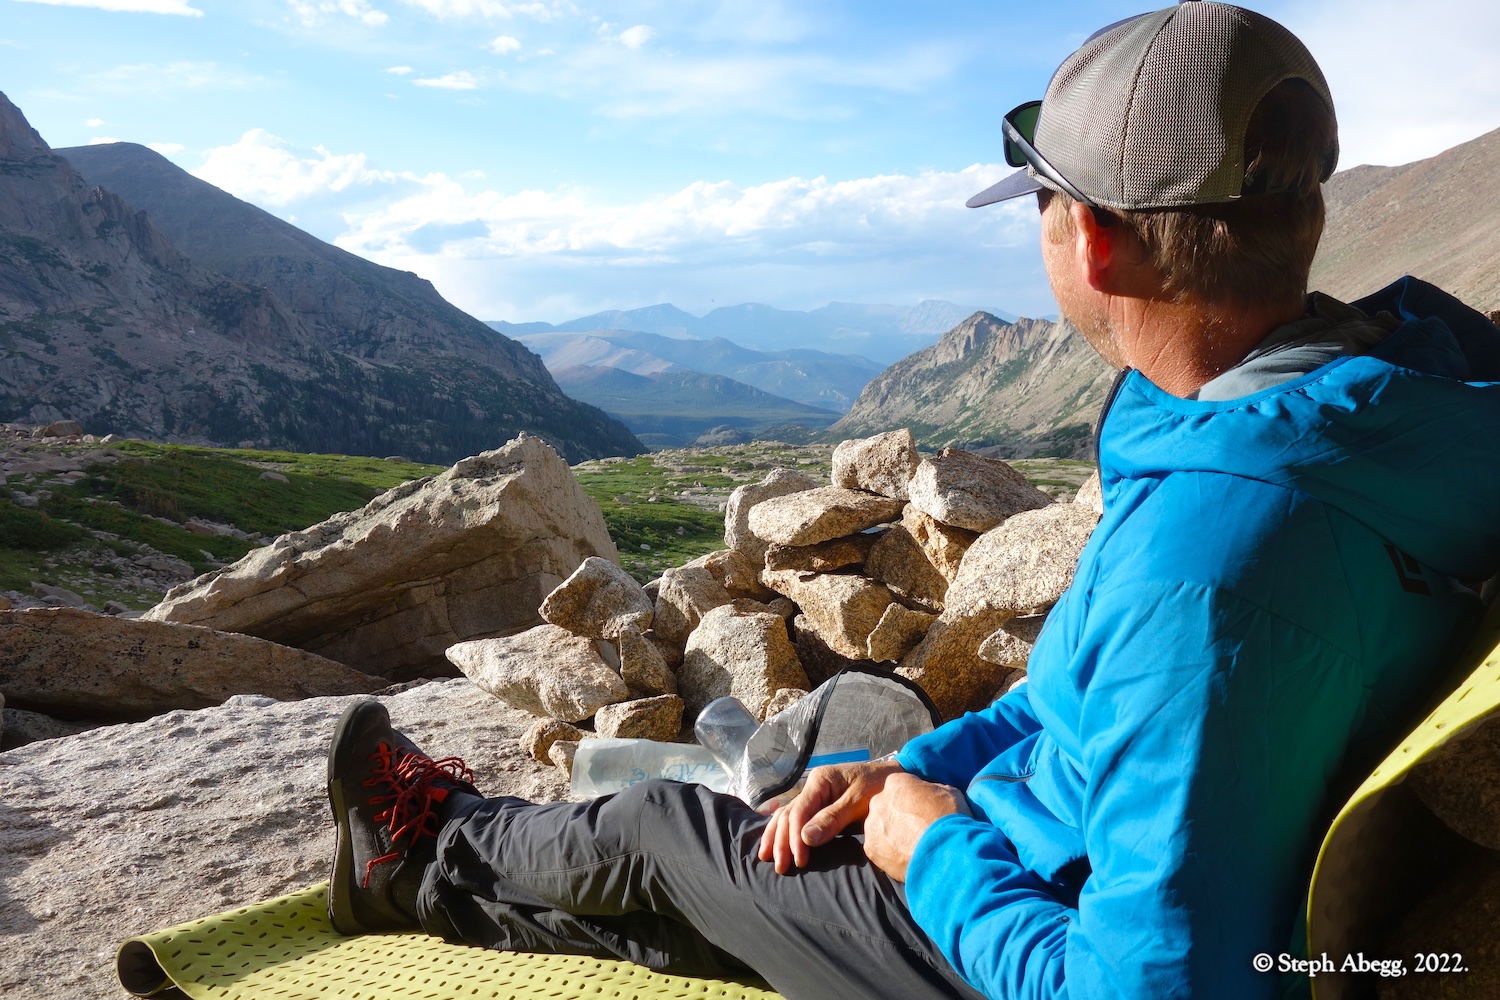
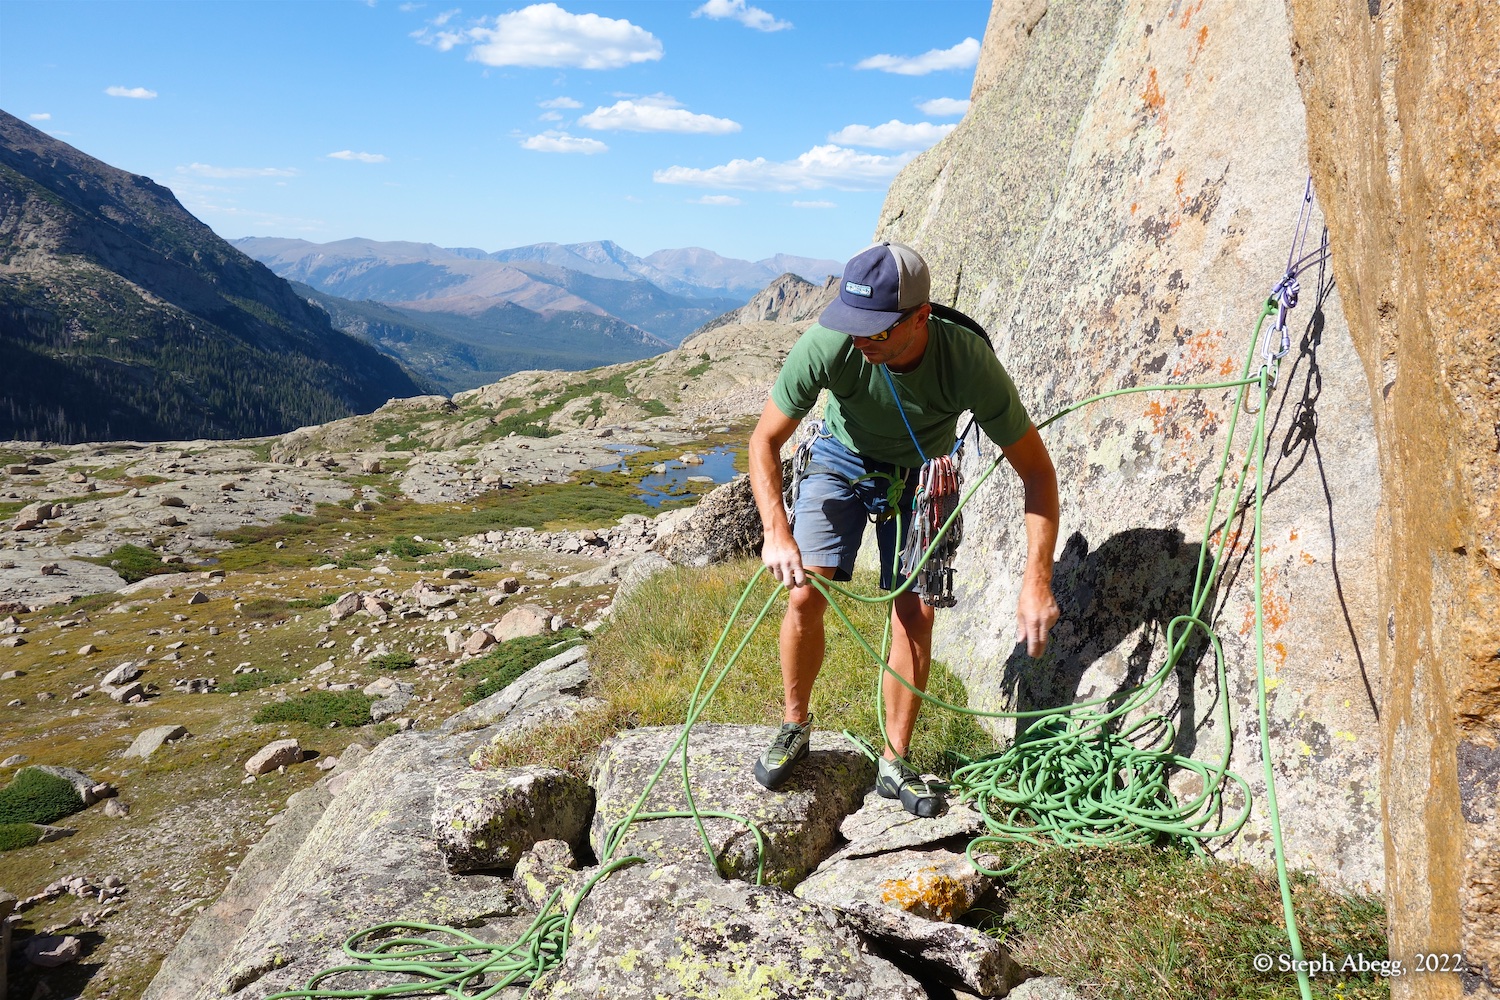
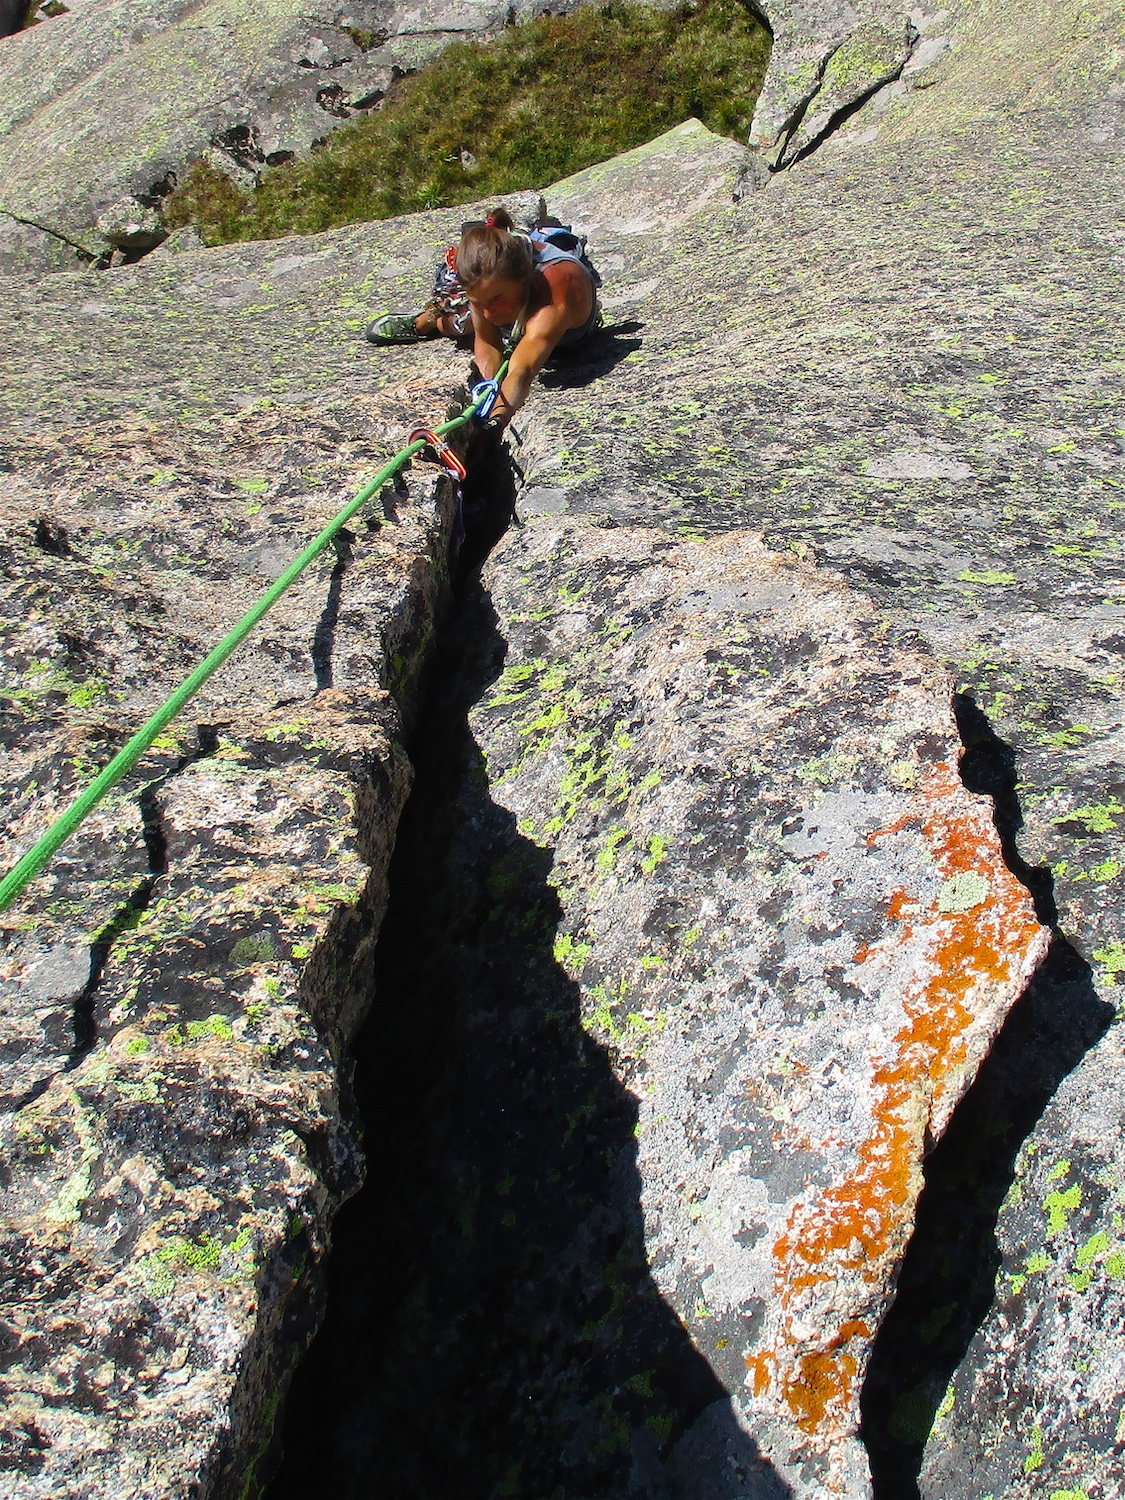
Nate and I arrived back at our bivy in the early afternoon, and after relaxing a bit we decided to check out the nearby Rain Delay Crag, which has at least four established one- to two-pitch routes on excellent granite. We climbed
Rain Delay (5.9+, 1-2), an excellent climb featuring a splitter finger crack to a splitter fist crack.
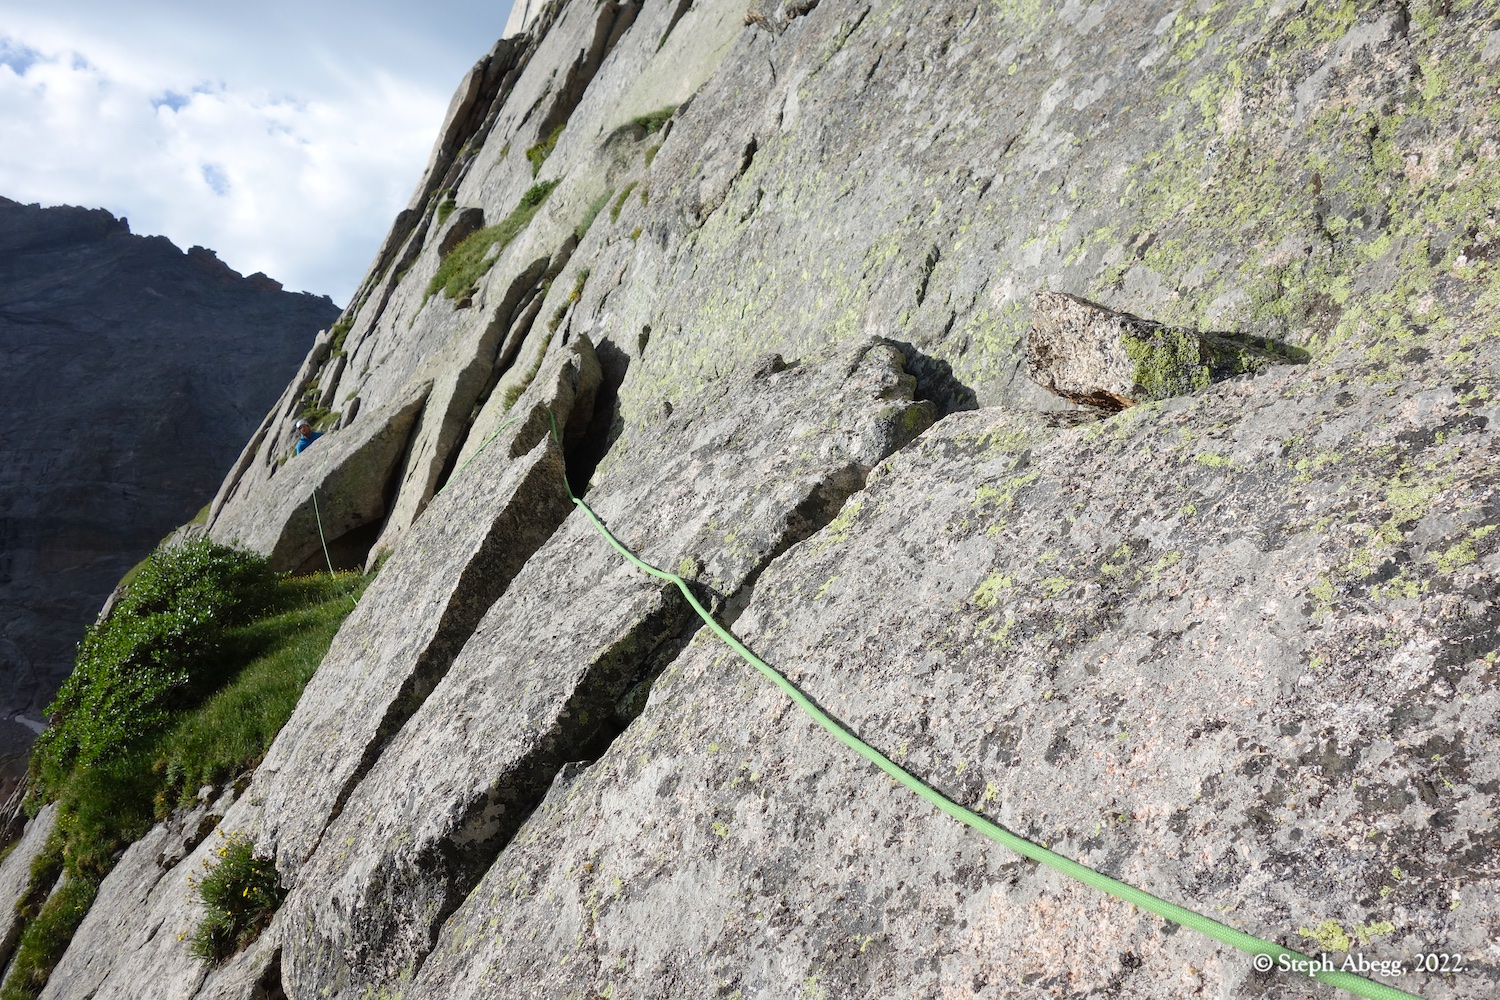
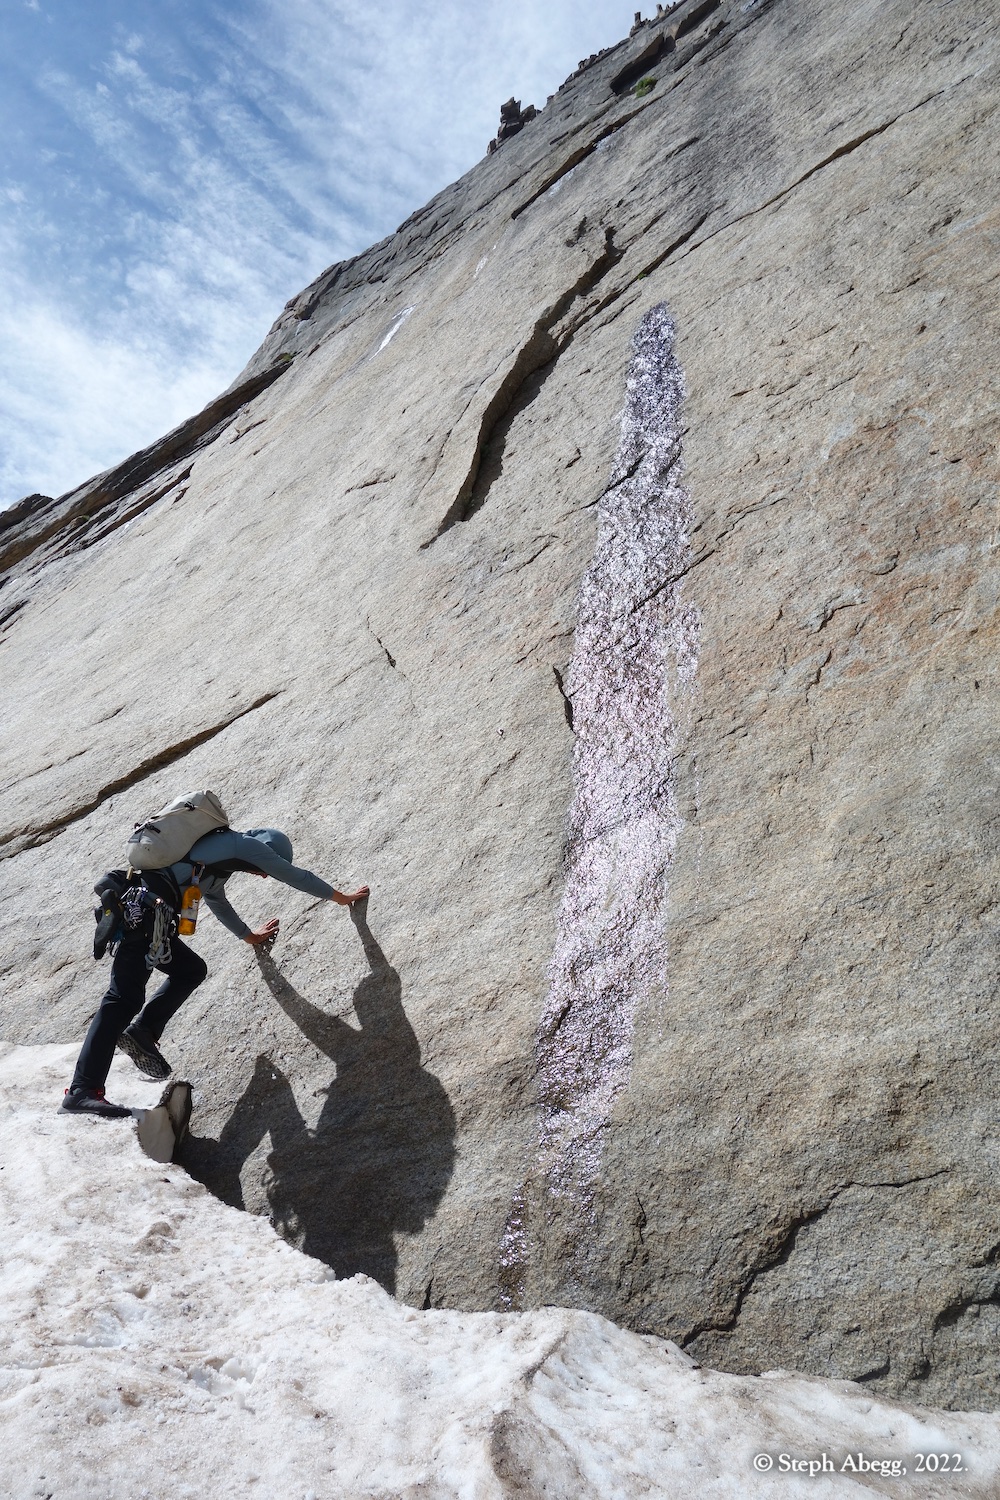
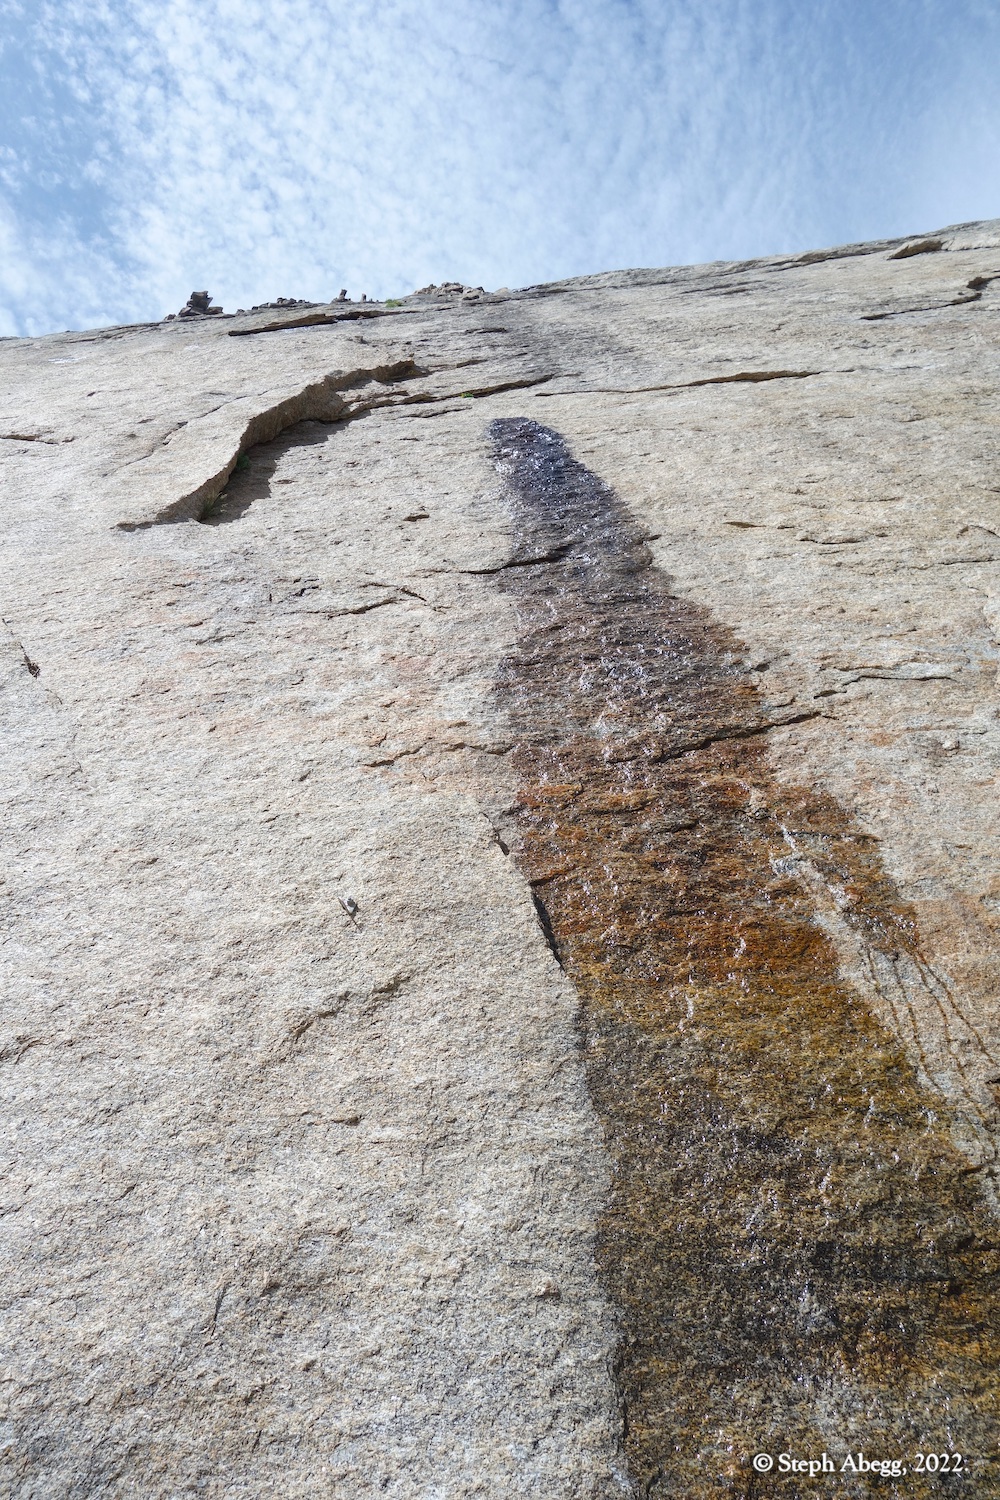
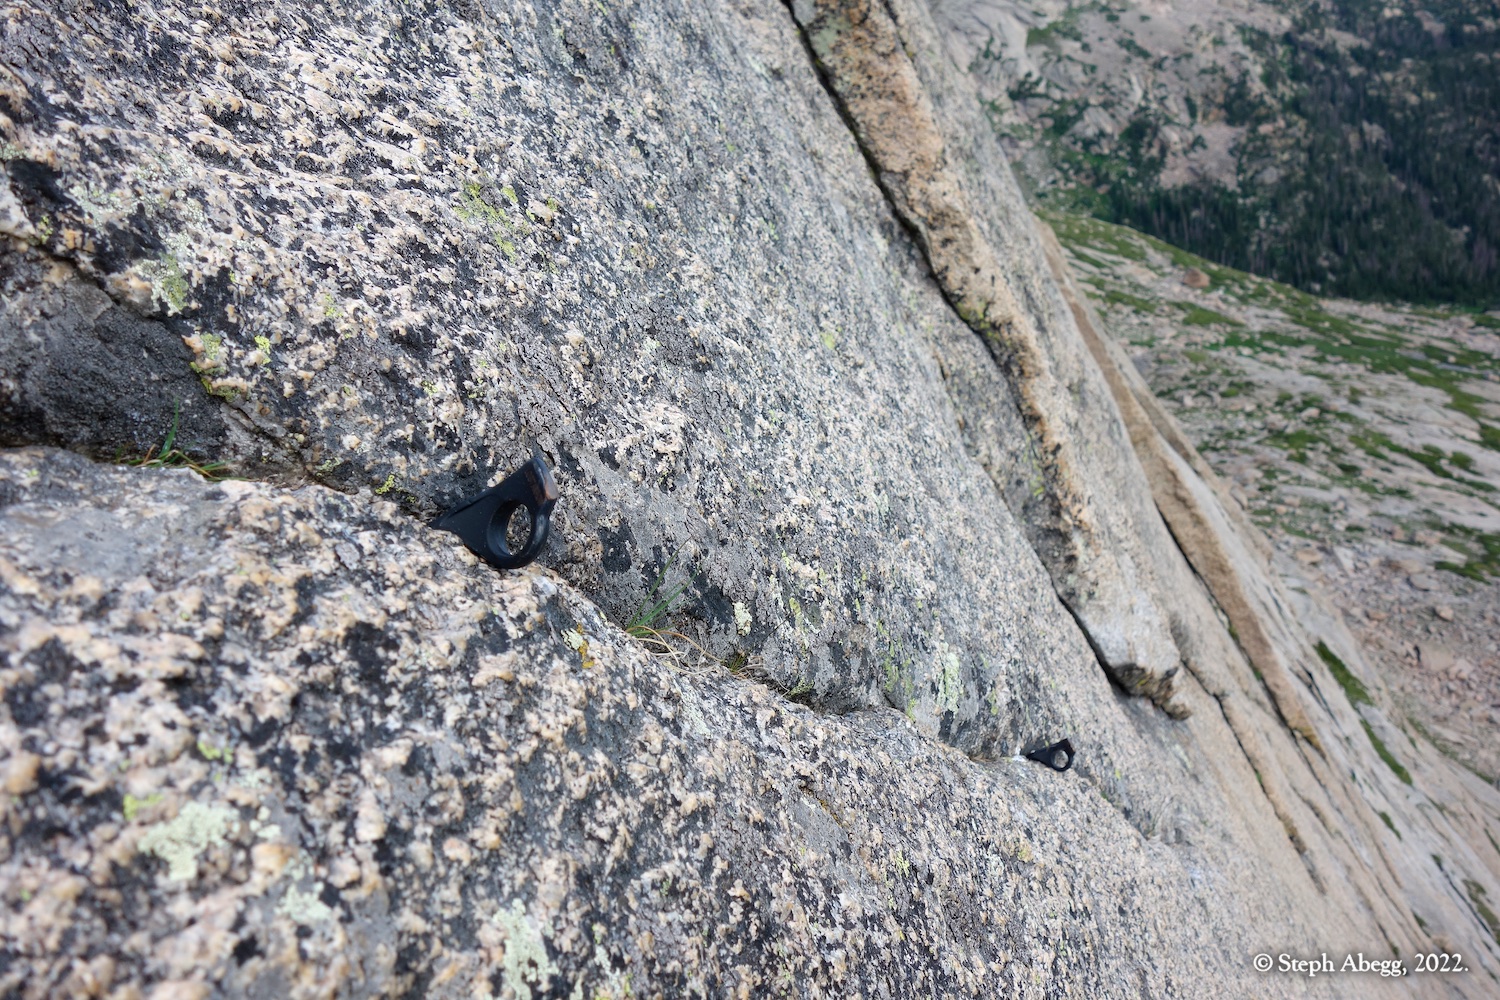
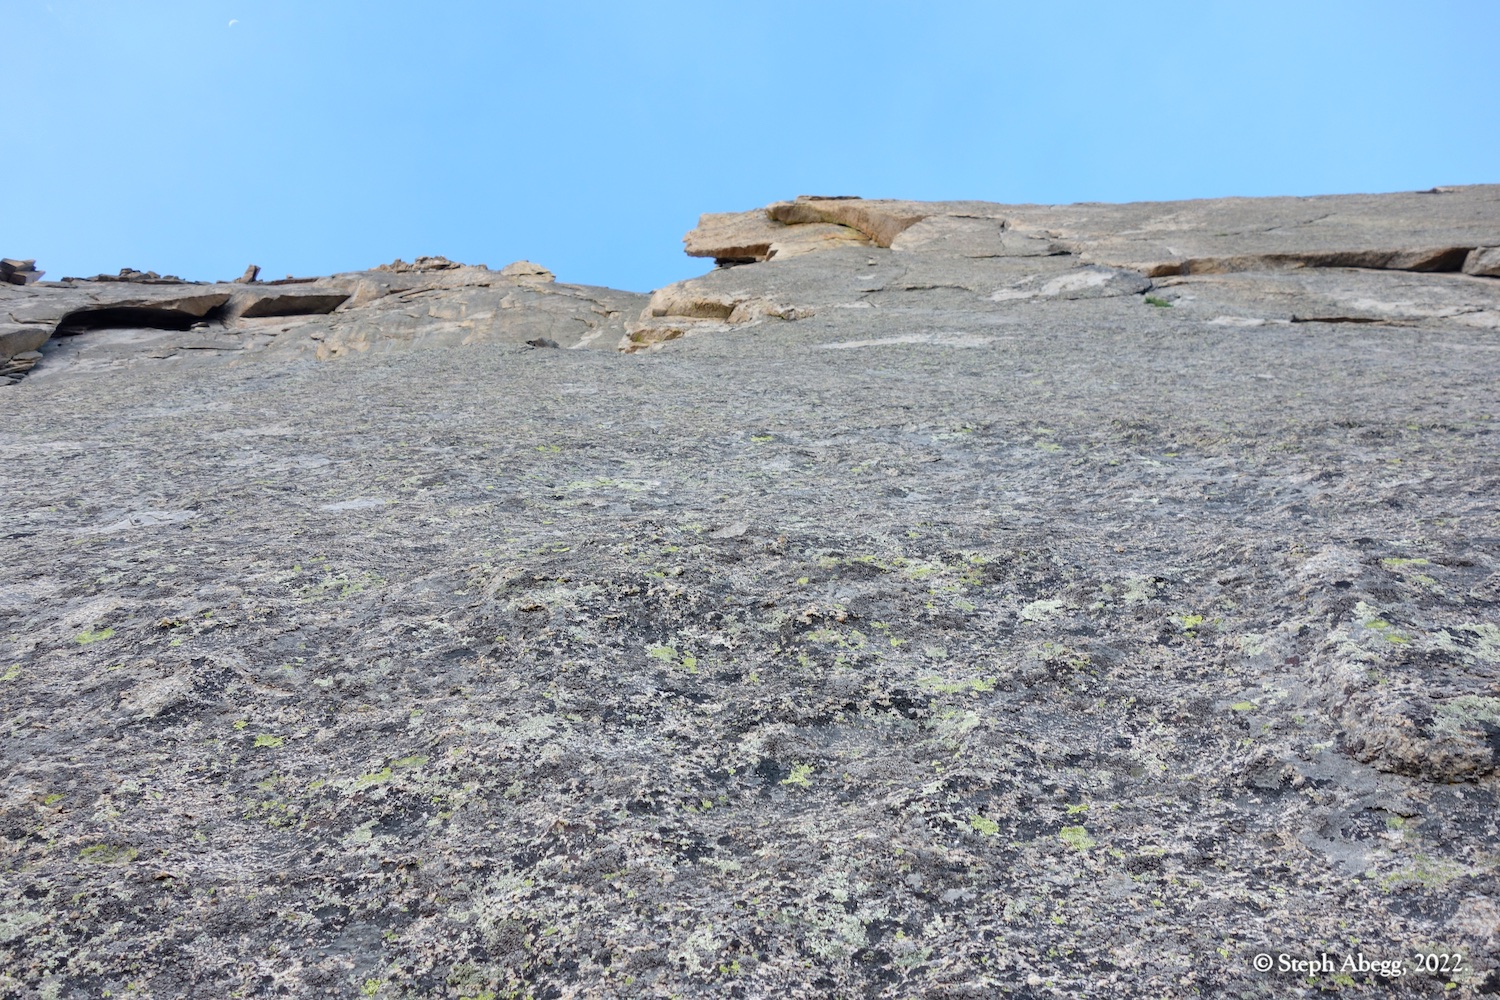
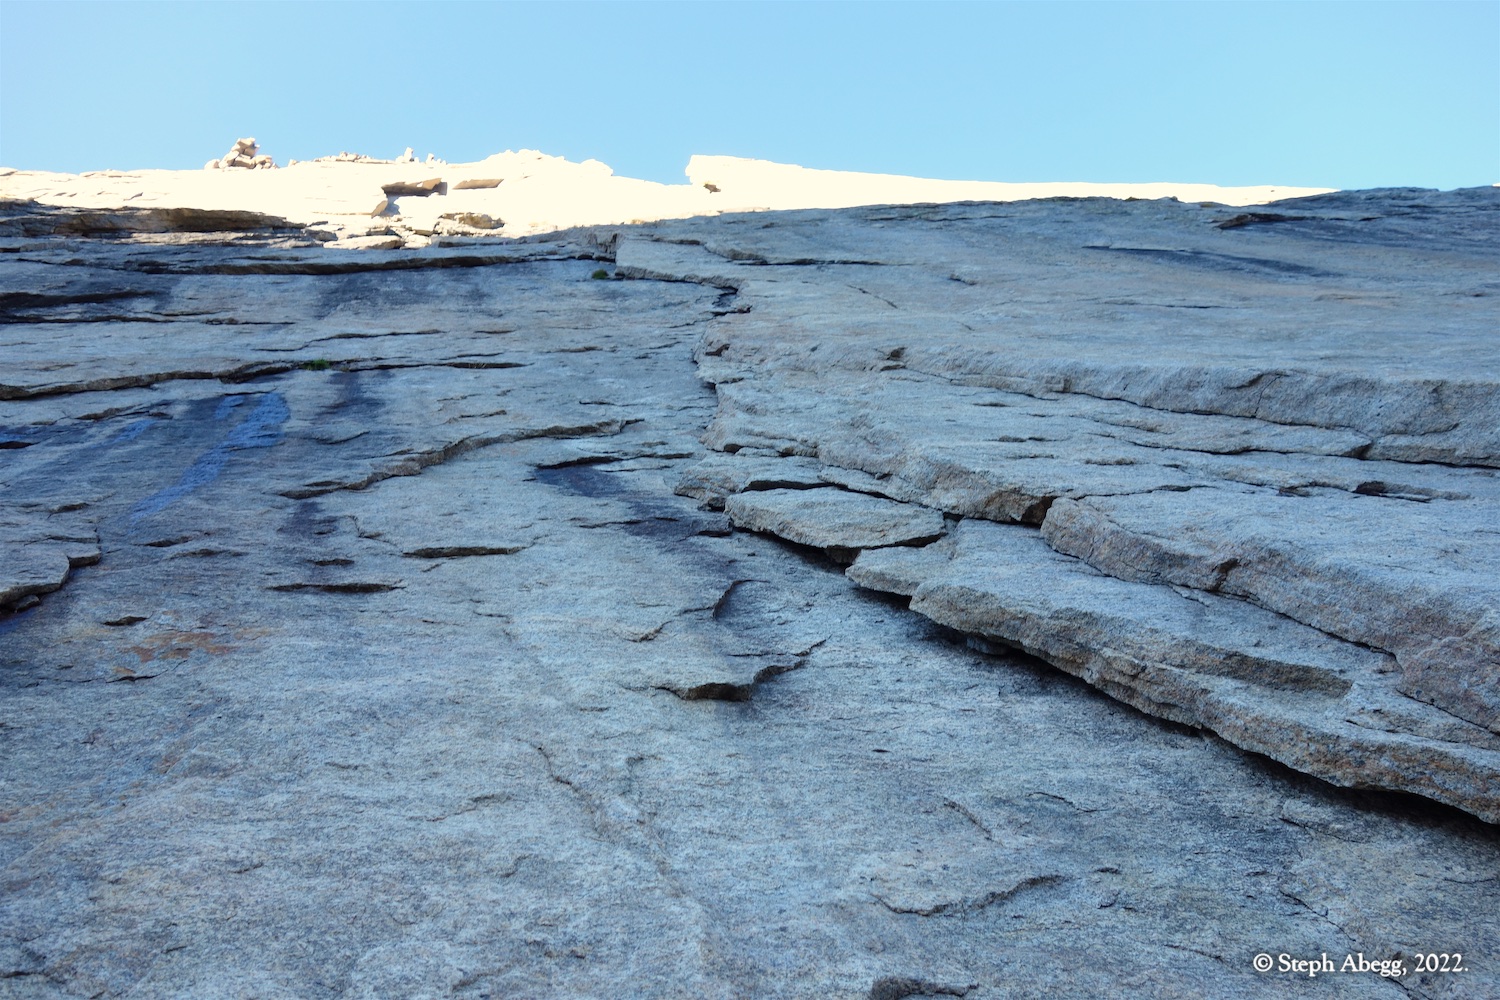
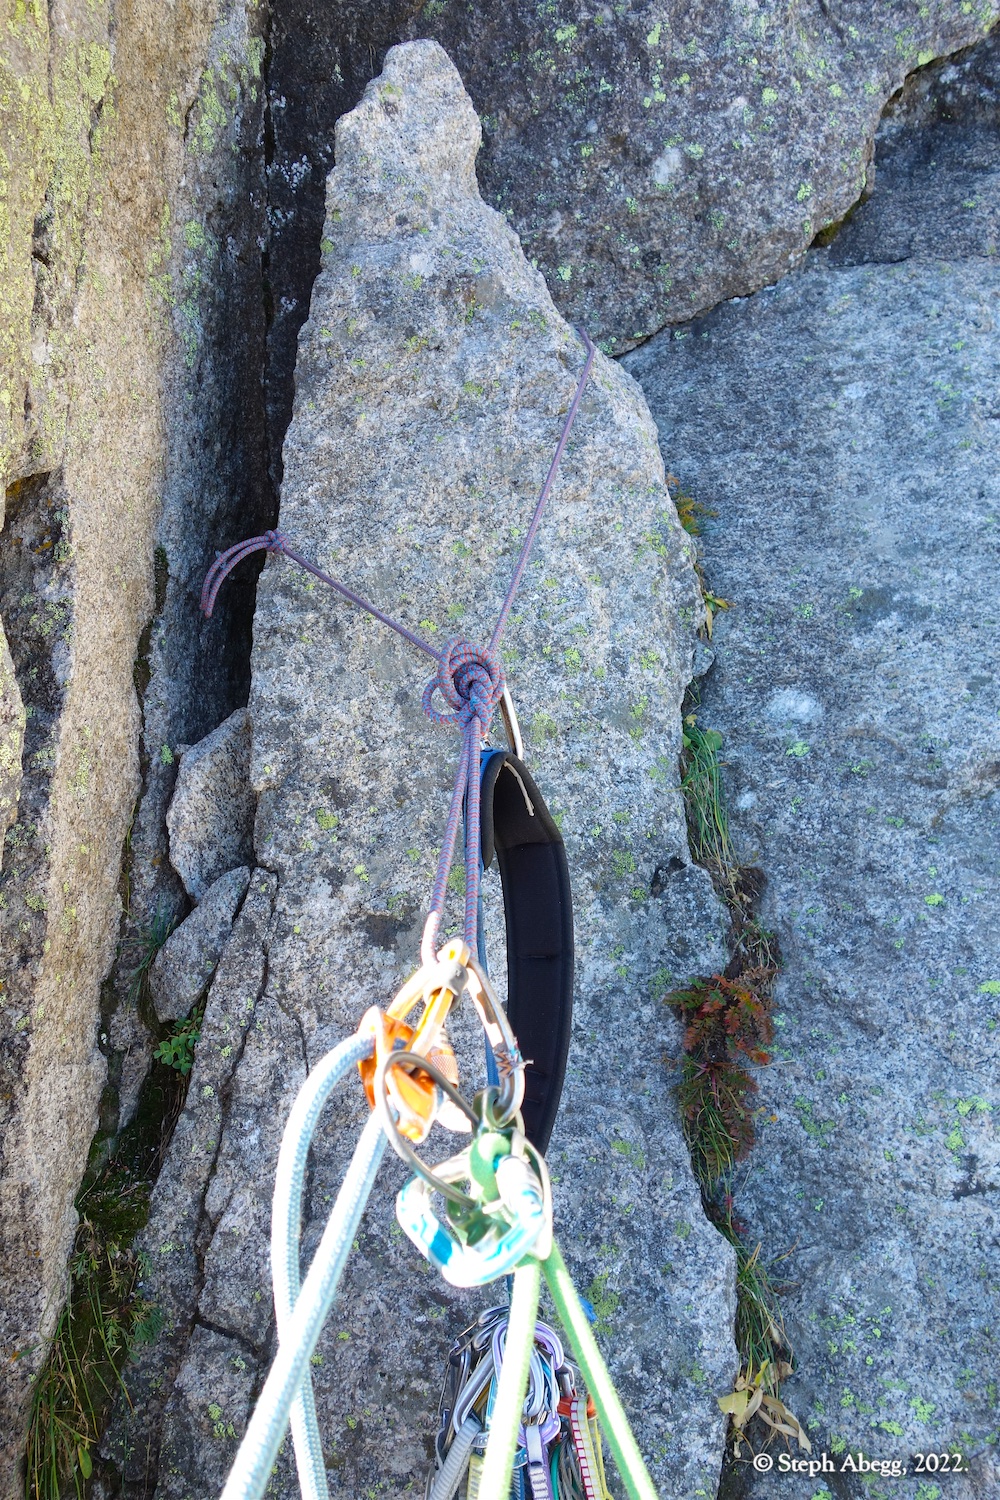
The following gives pitch-by-pitch photos of our second time climbing
The Kingfisher, an overlay and photos from Rain Delay, and below that a photo smorgasbord from our three-day, three-night Labor Day weekend hanging out in Upper Glacier Gorge. Enjoy!
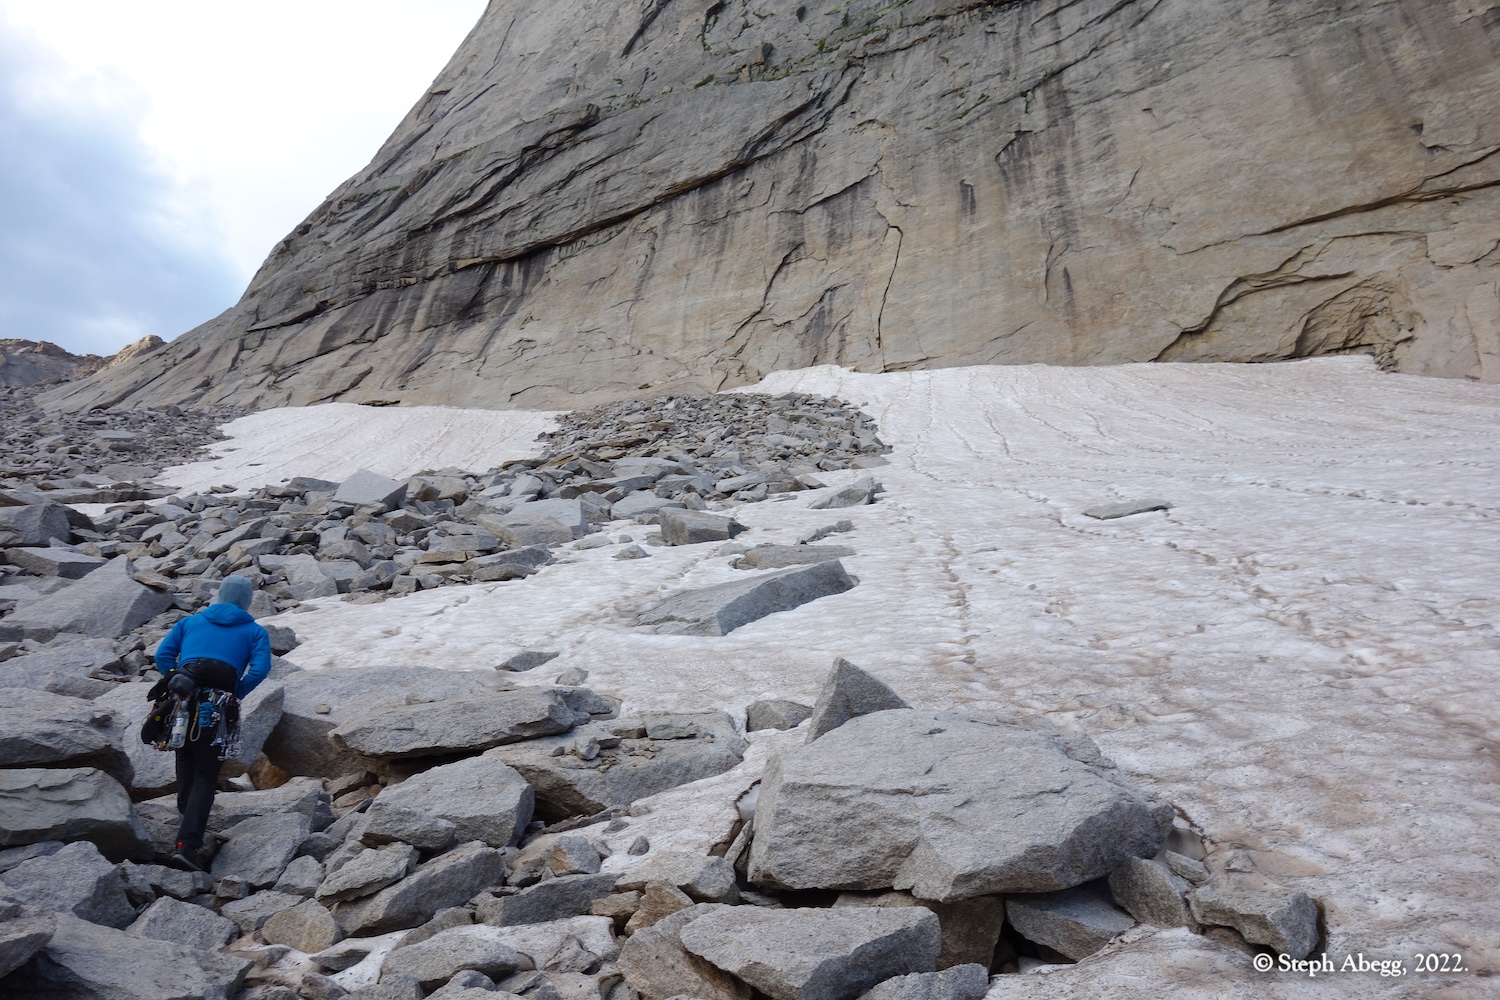
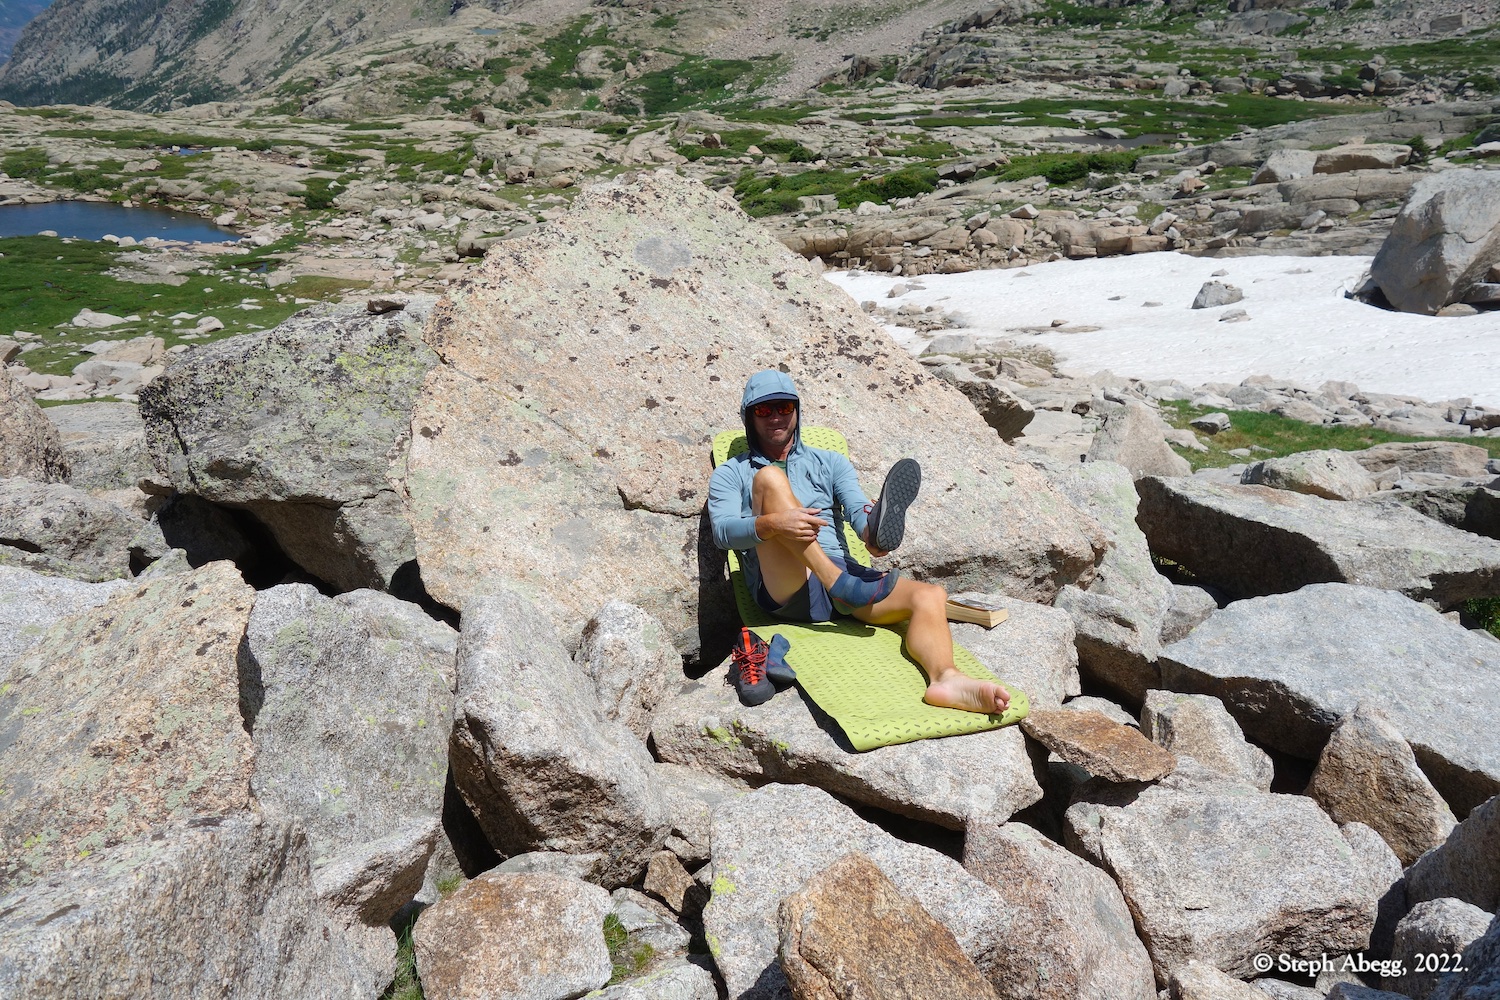
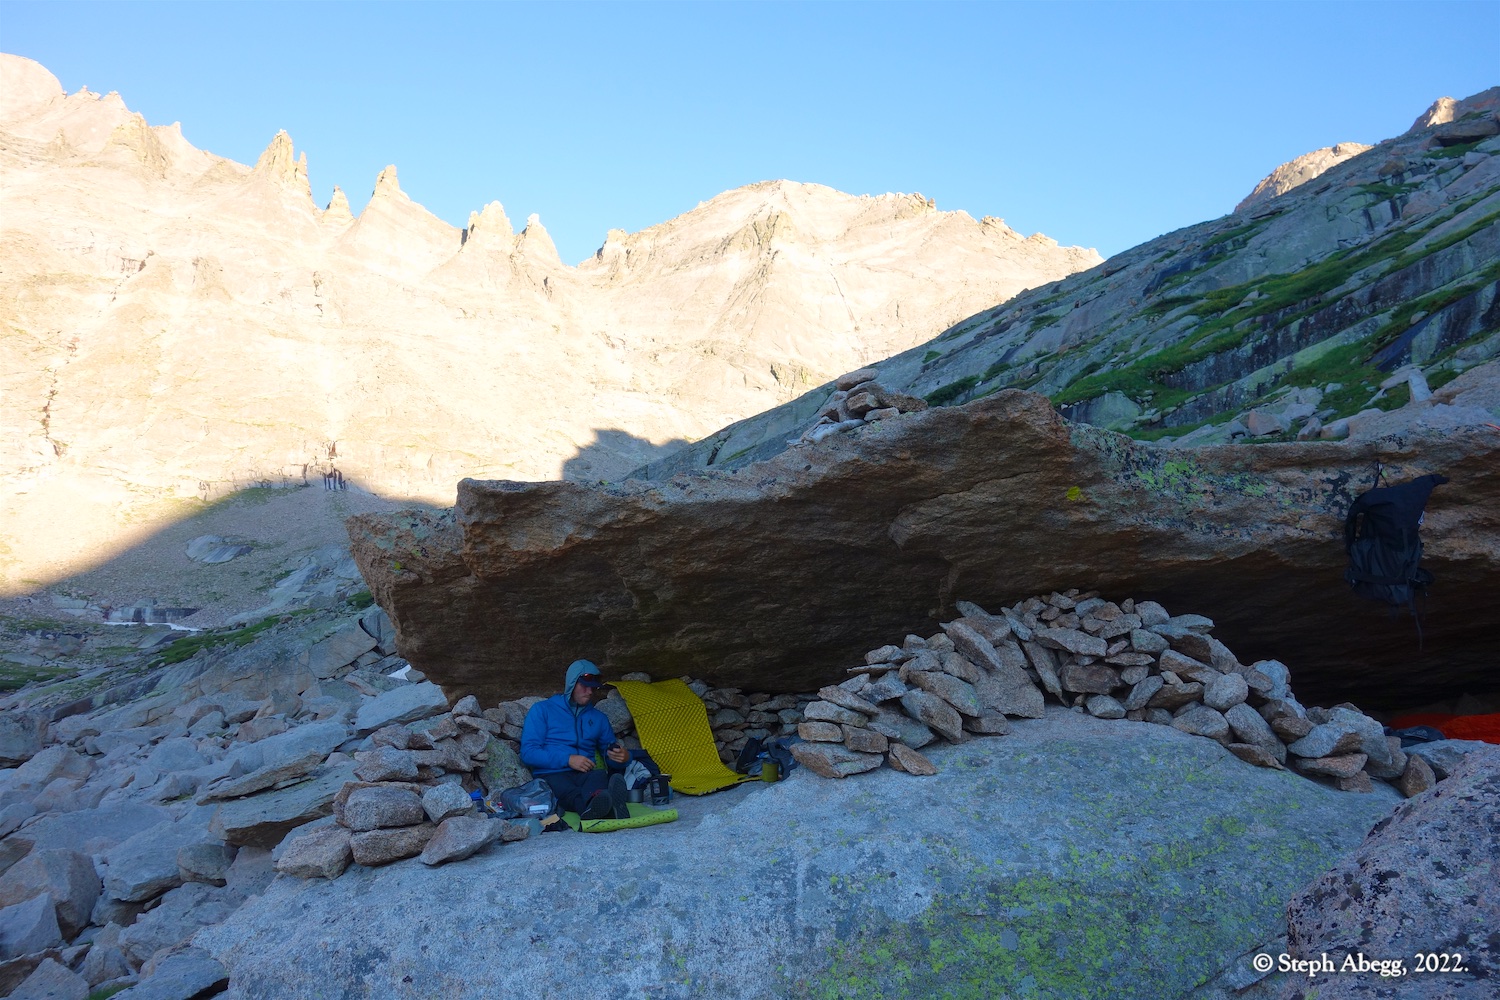
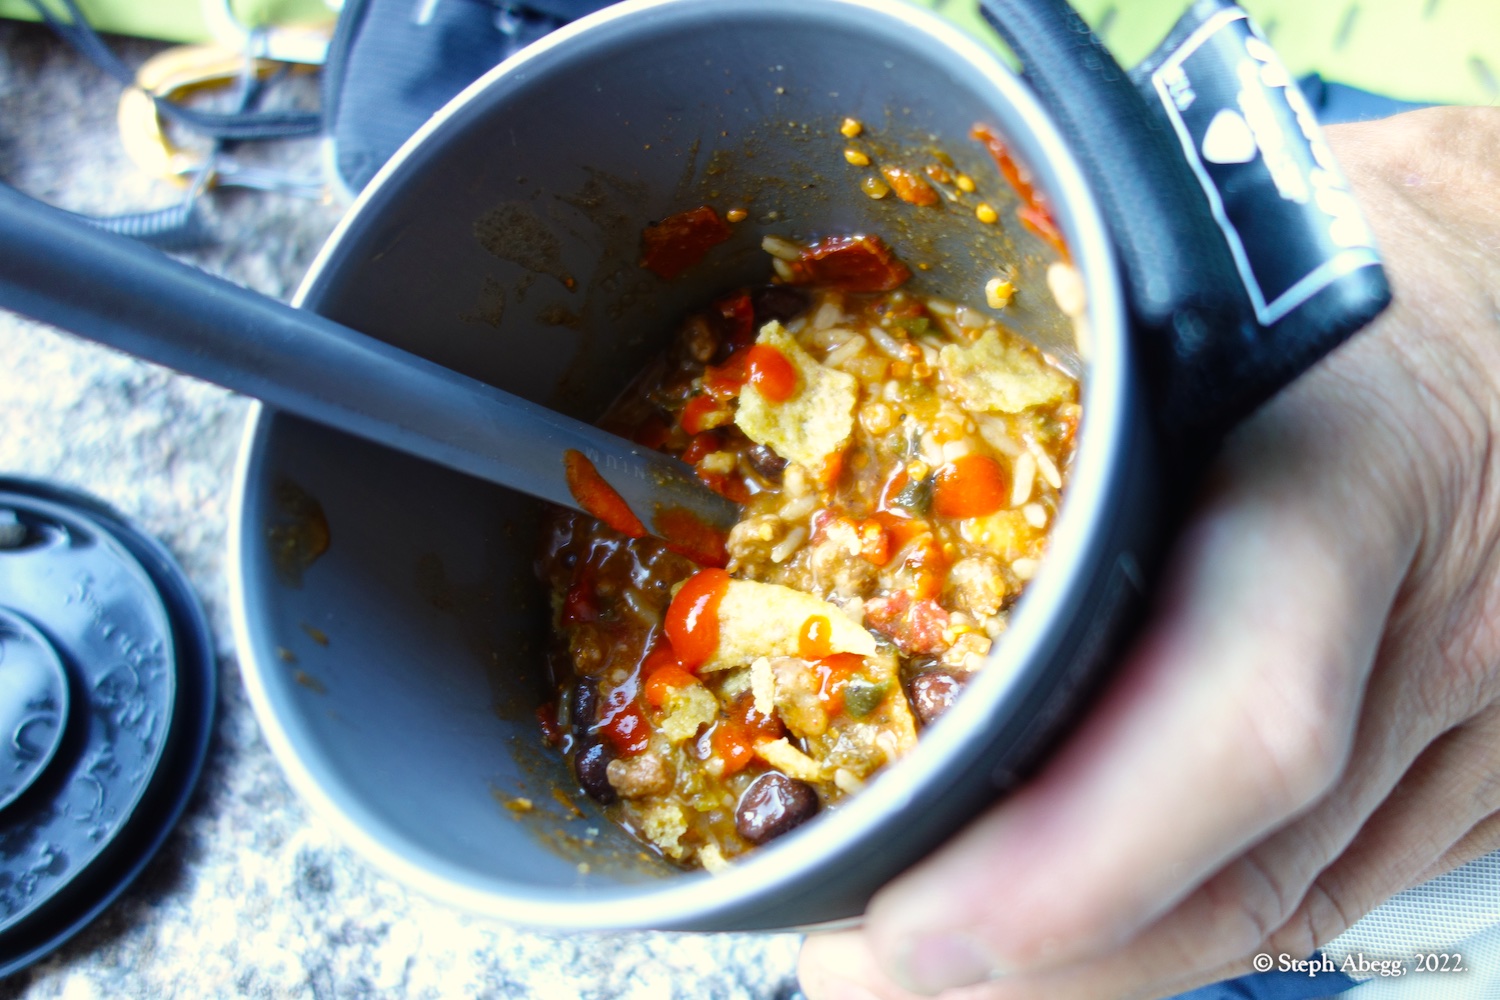
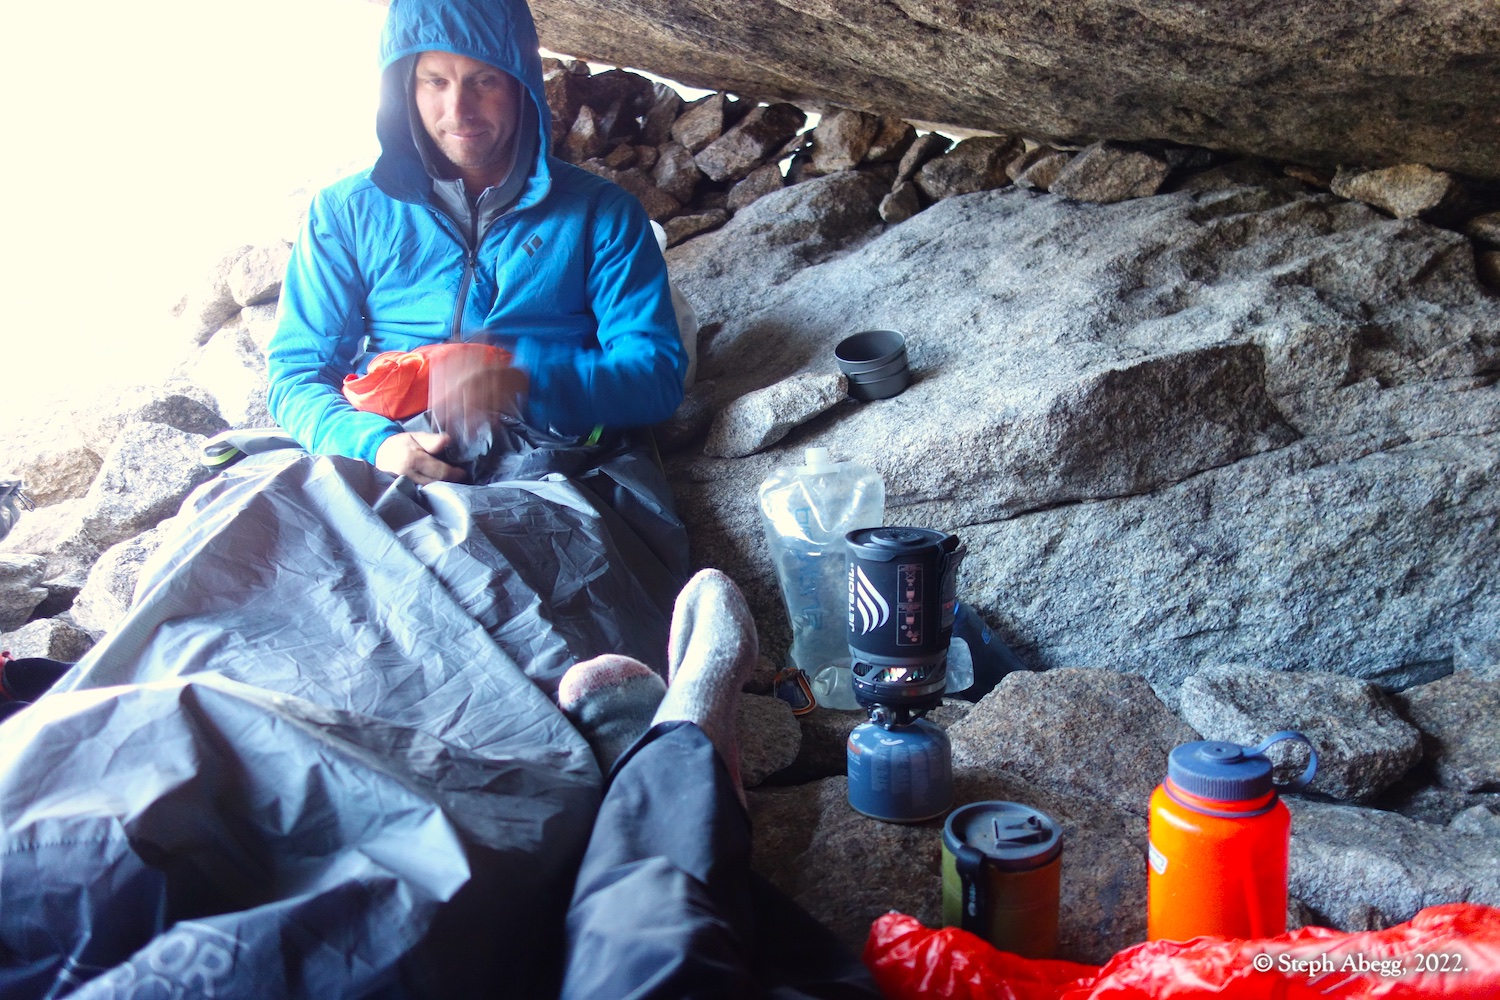
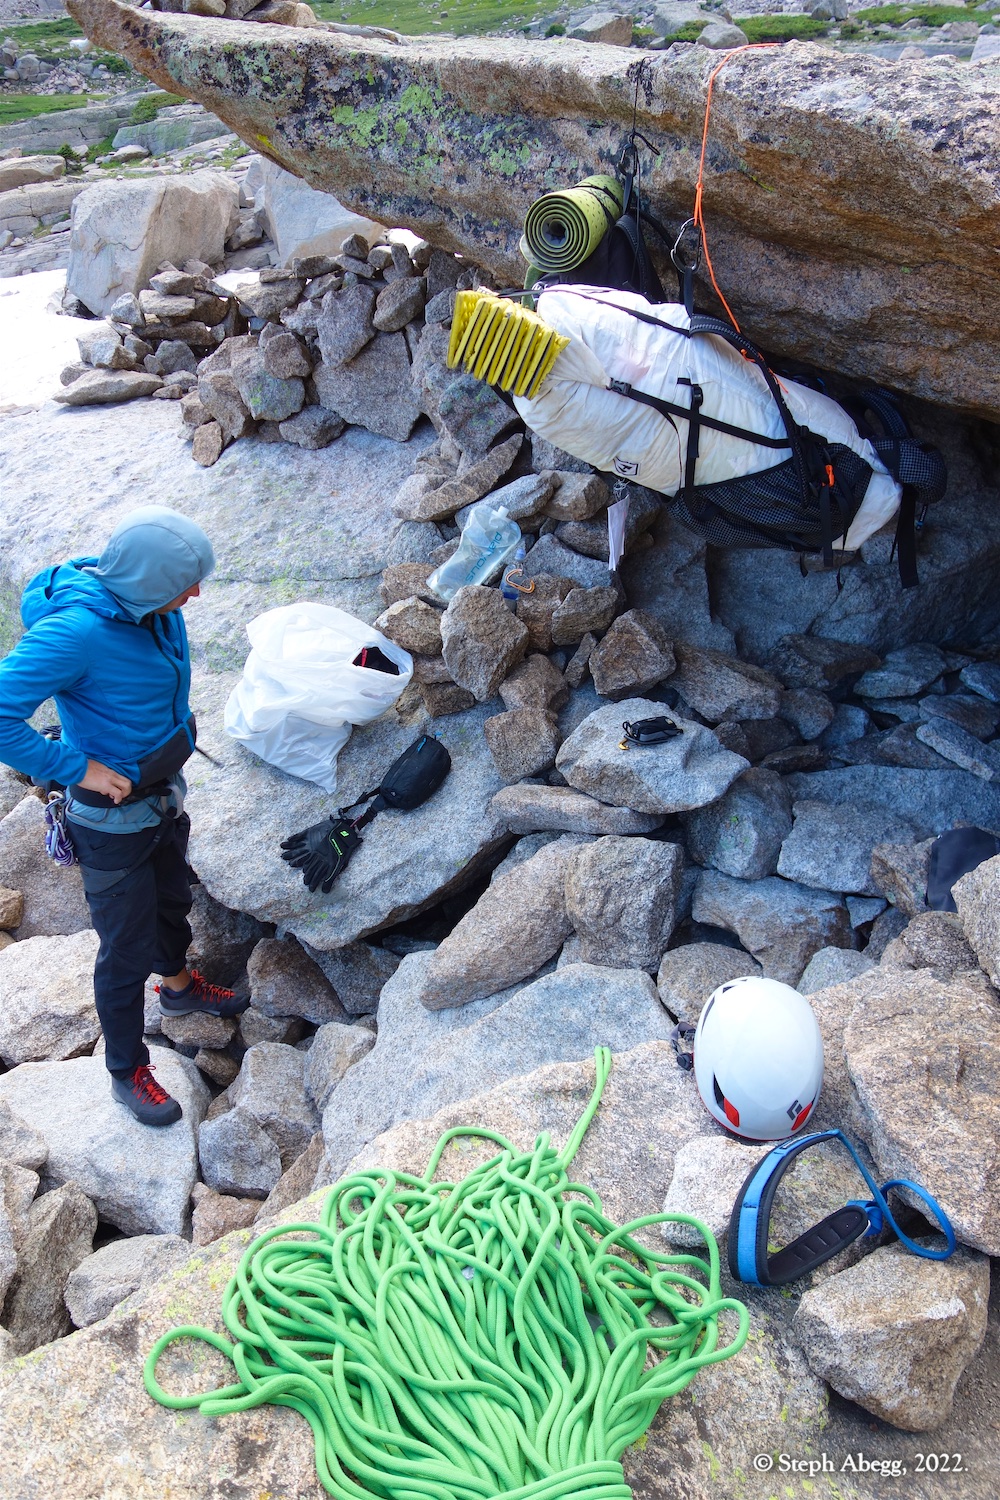
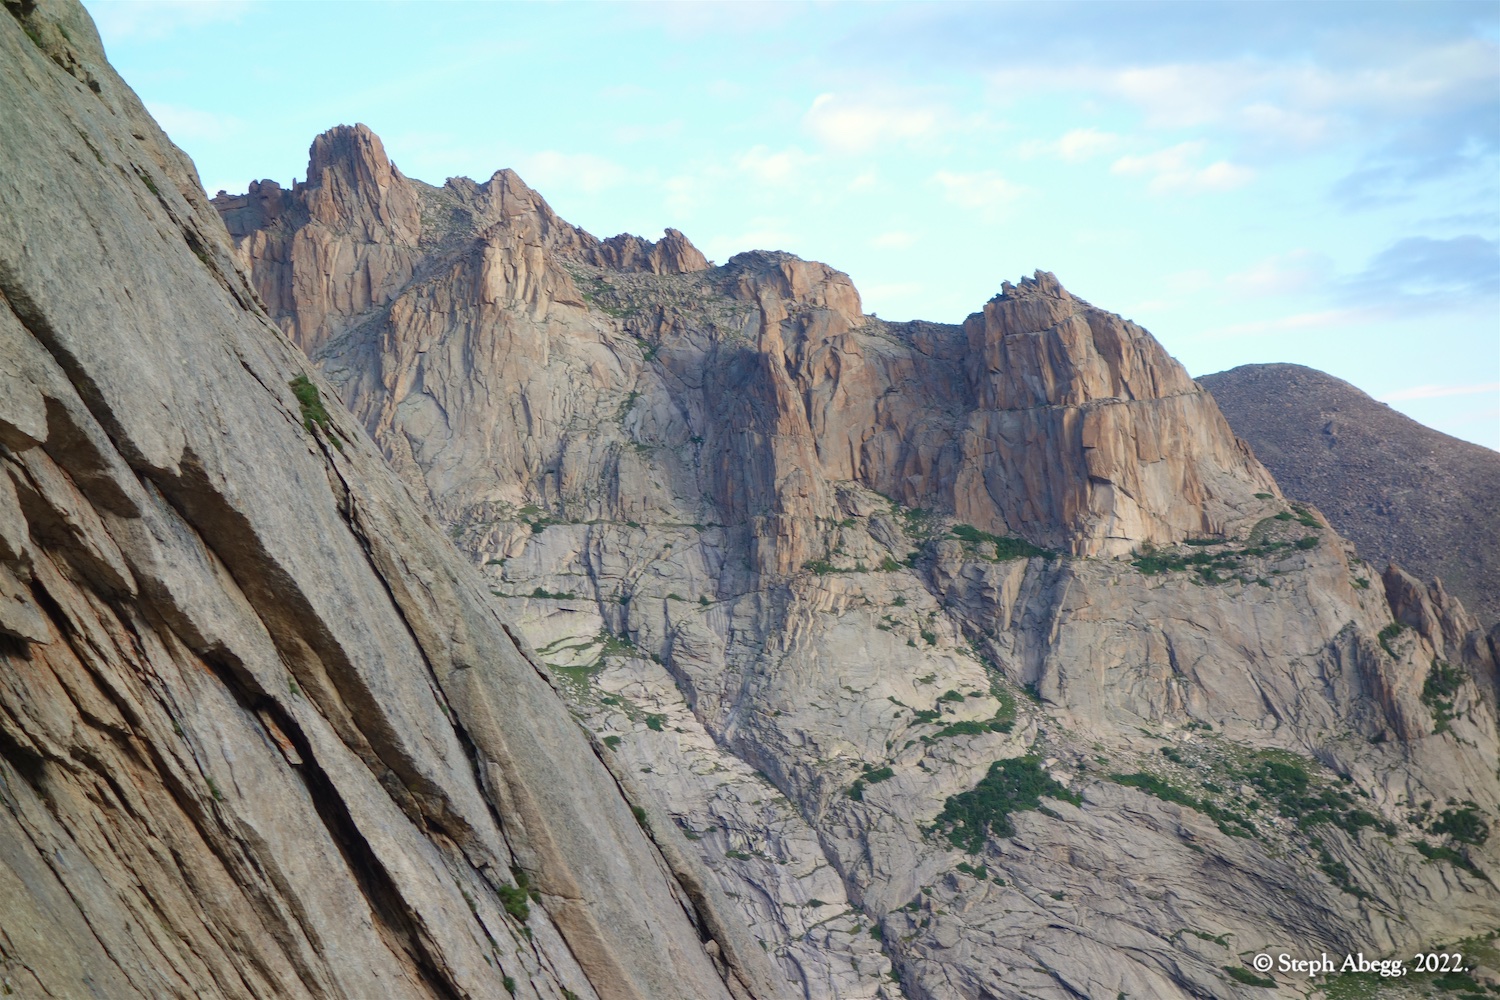
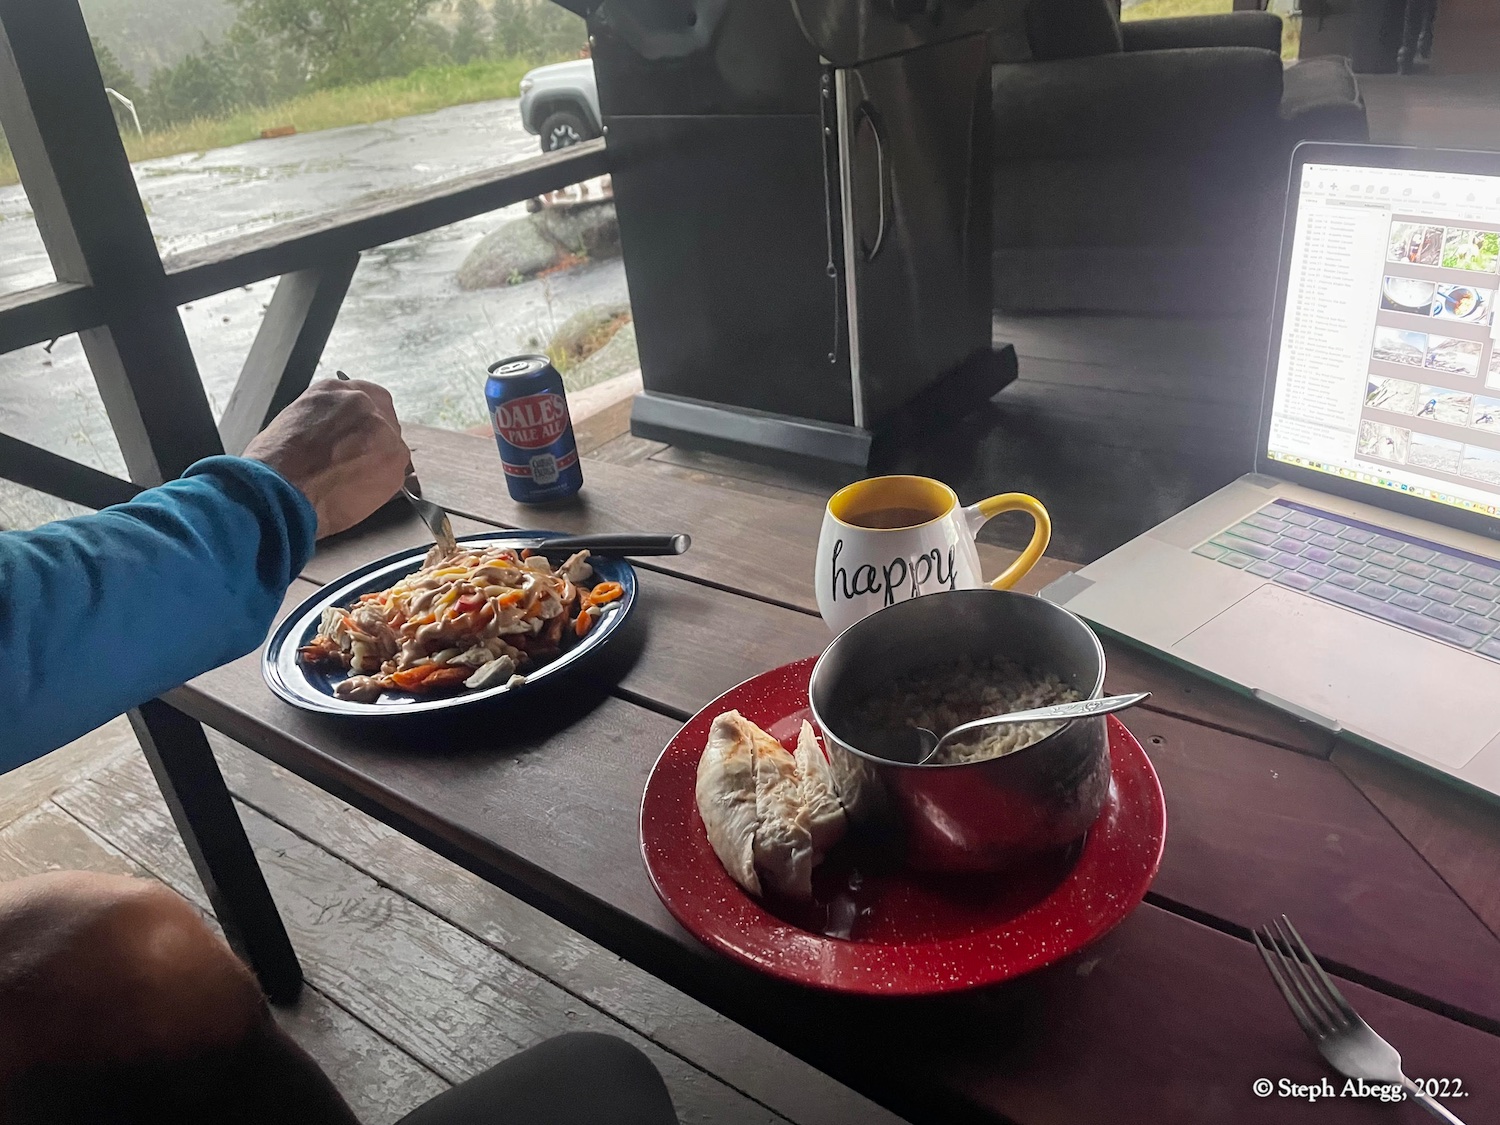
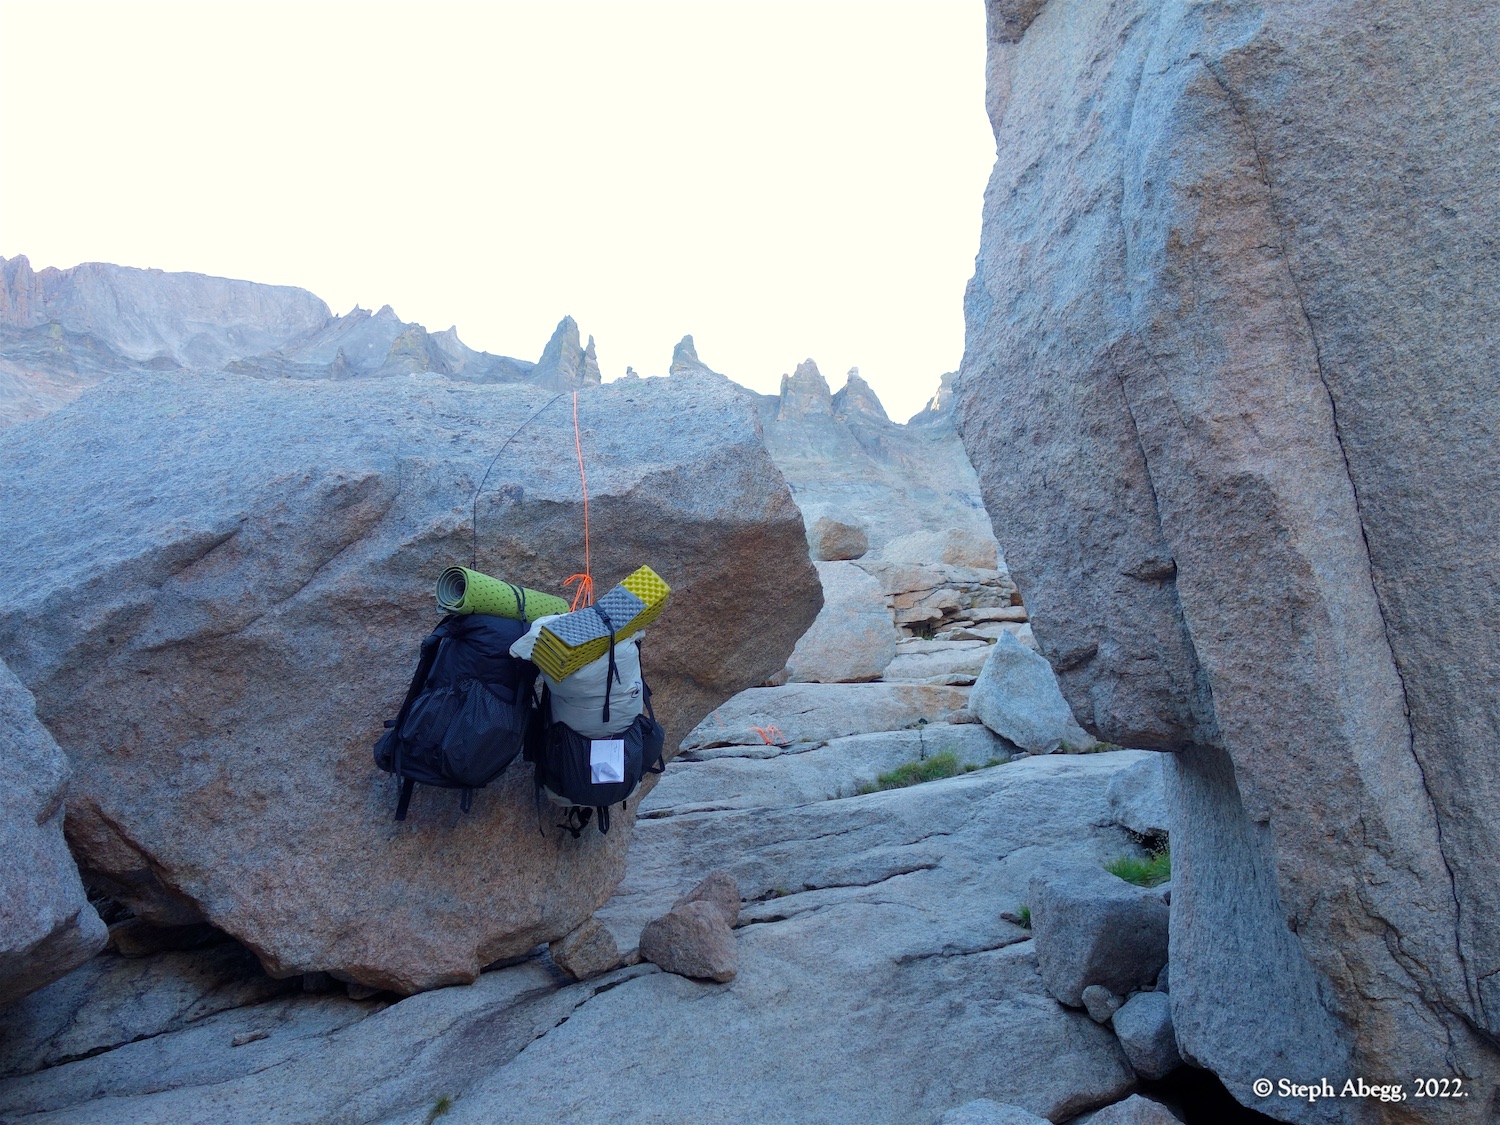
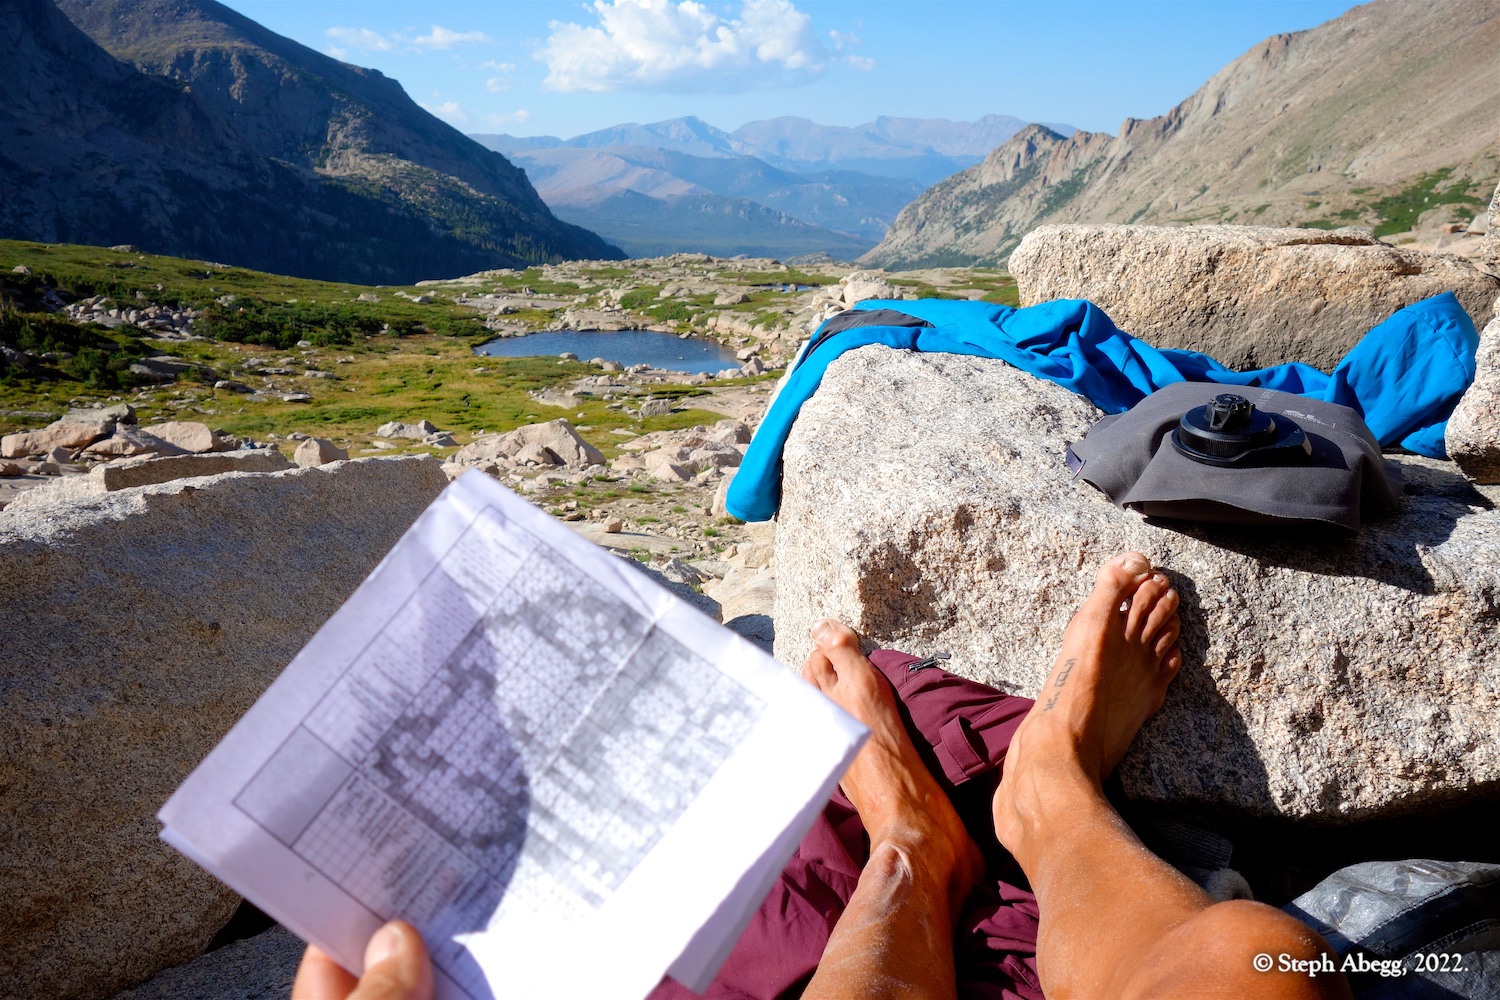
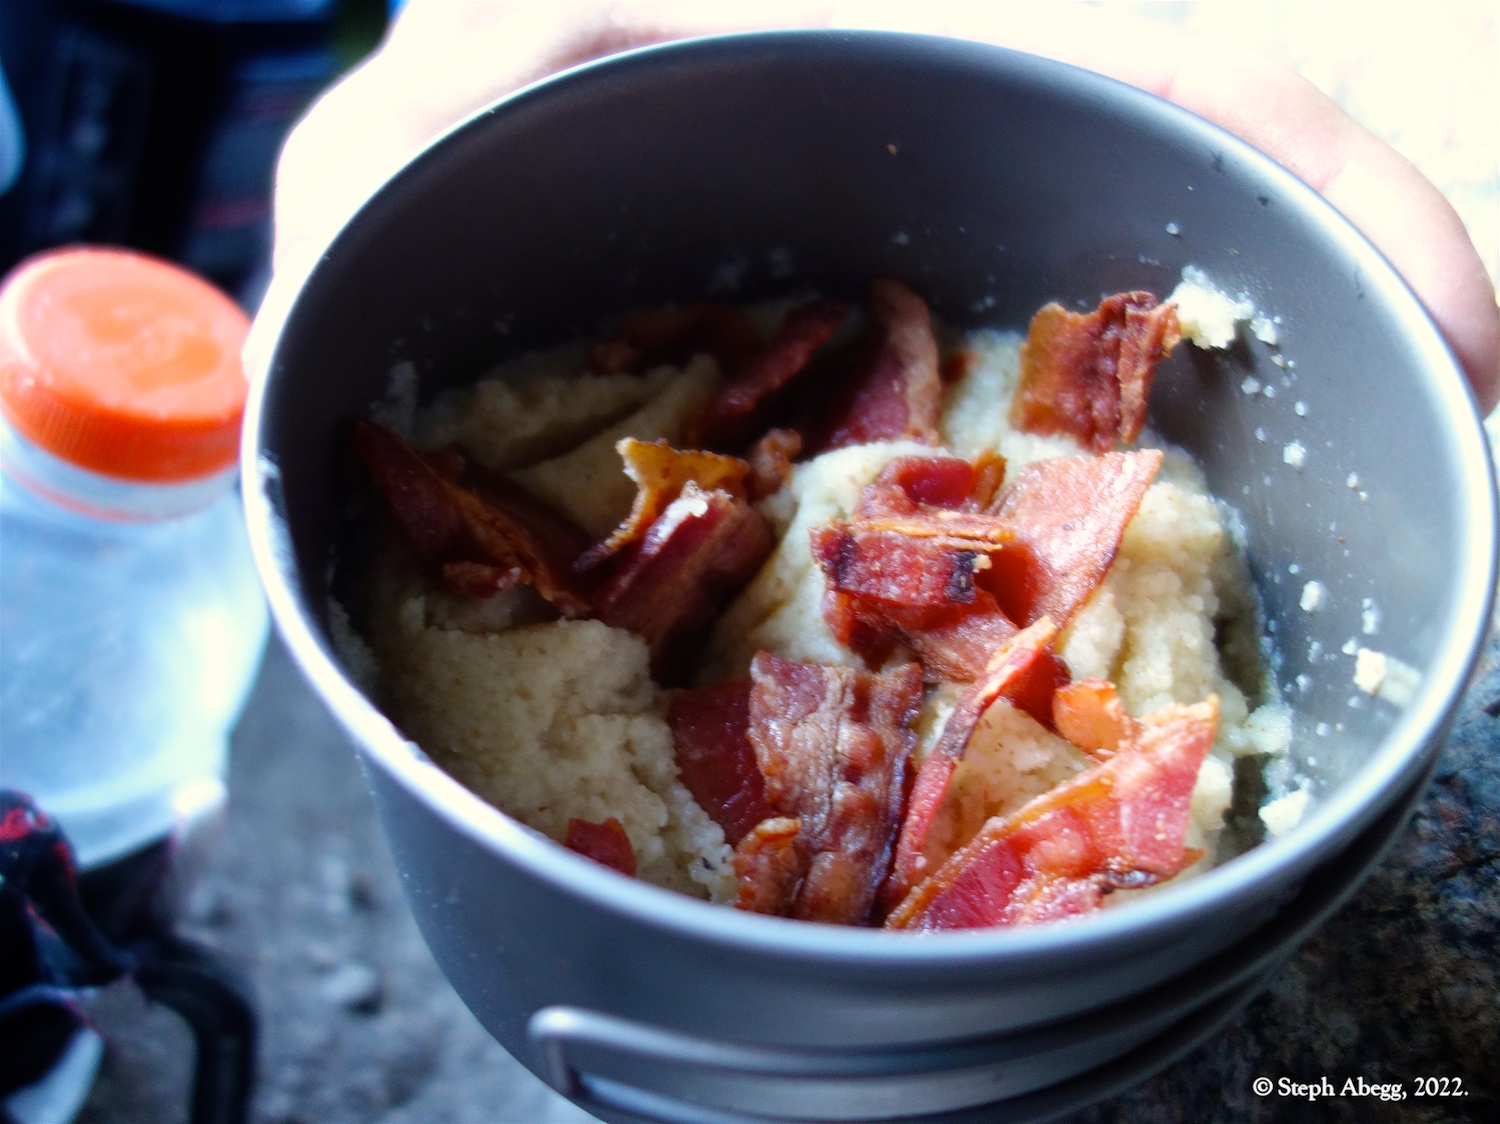
It was Labor Day weekend and the forecast was for splitter weather, so Nate and I snatched the opportunity to spend three days and three nights in the spectacular Upper Glacier Gorge. We had secured a bivy permit for Upper Glacier Gorge (need to be climbing a route that is at least 4 pitches to qualify for a bivy permit), and we bivied up there for three nights (Friday, Saturday, and Sunday nights) below The Spearhead. What a spectacular place to hang out for the long weekend.
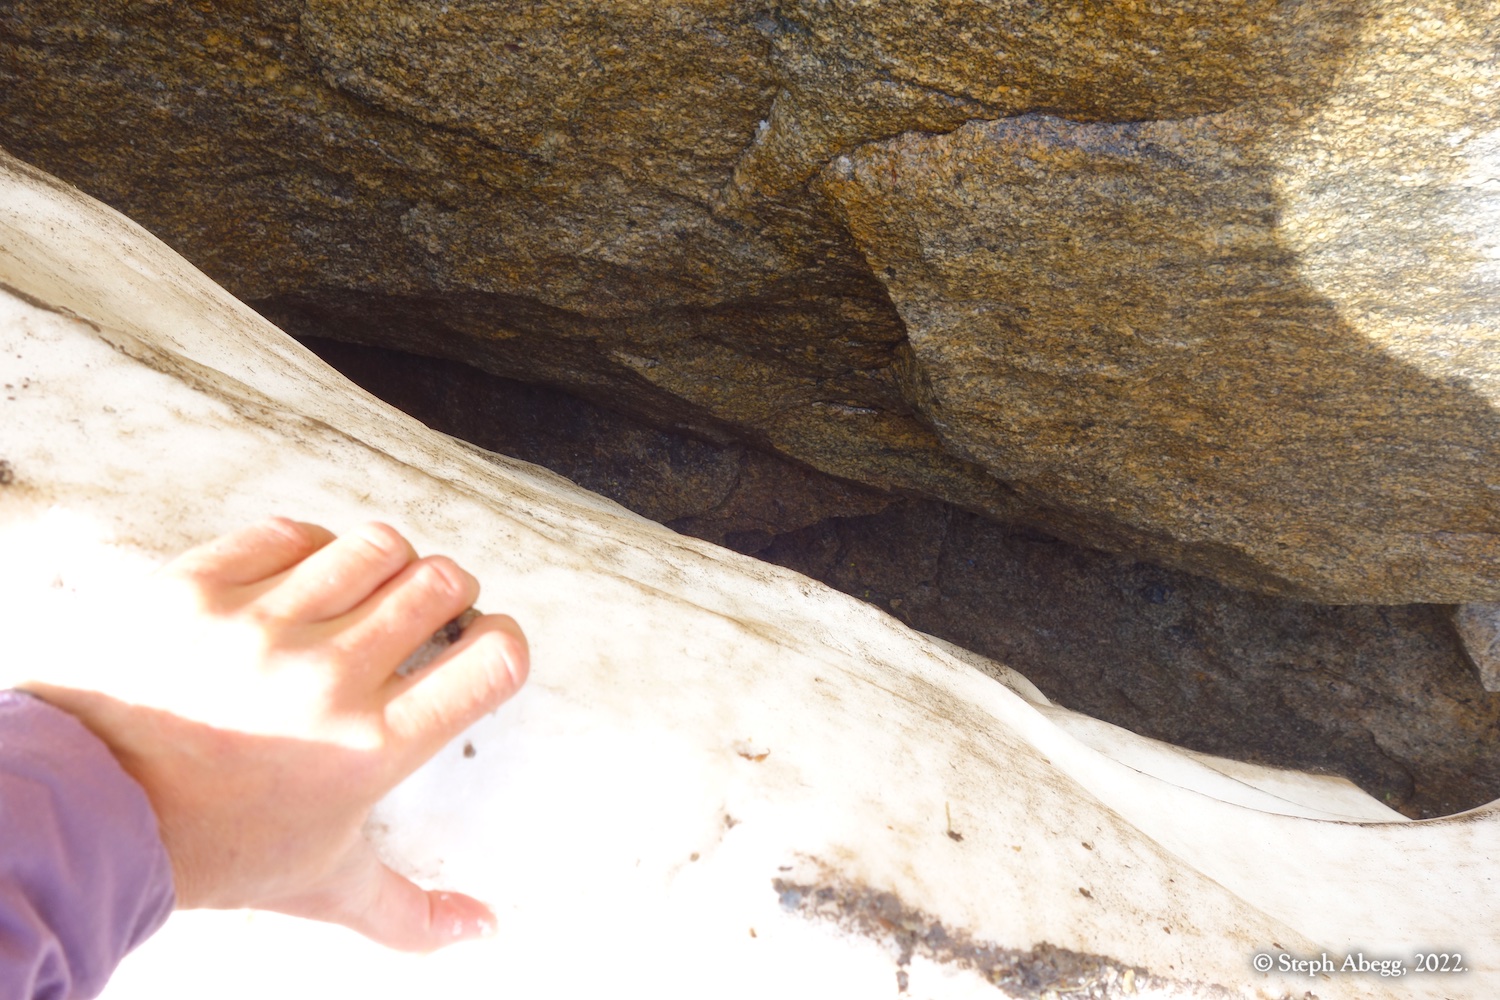
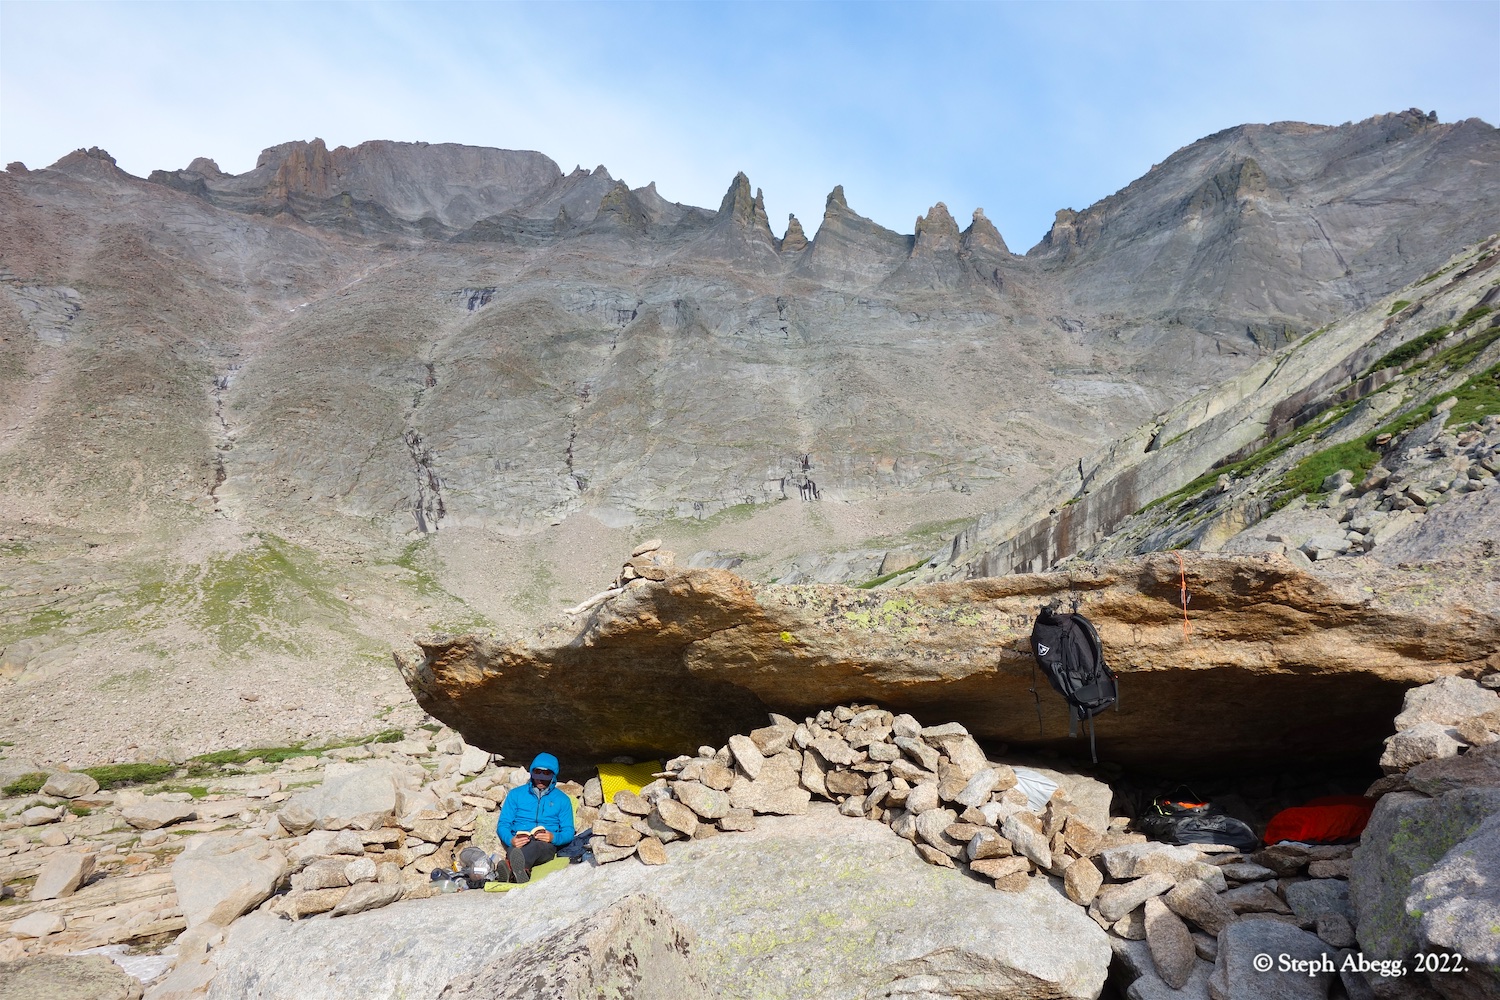
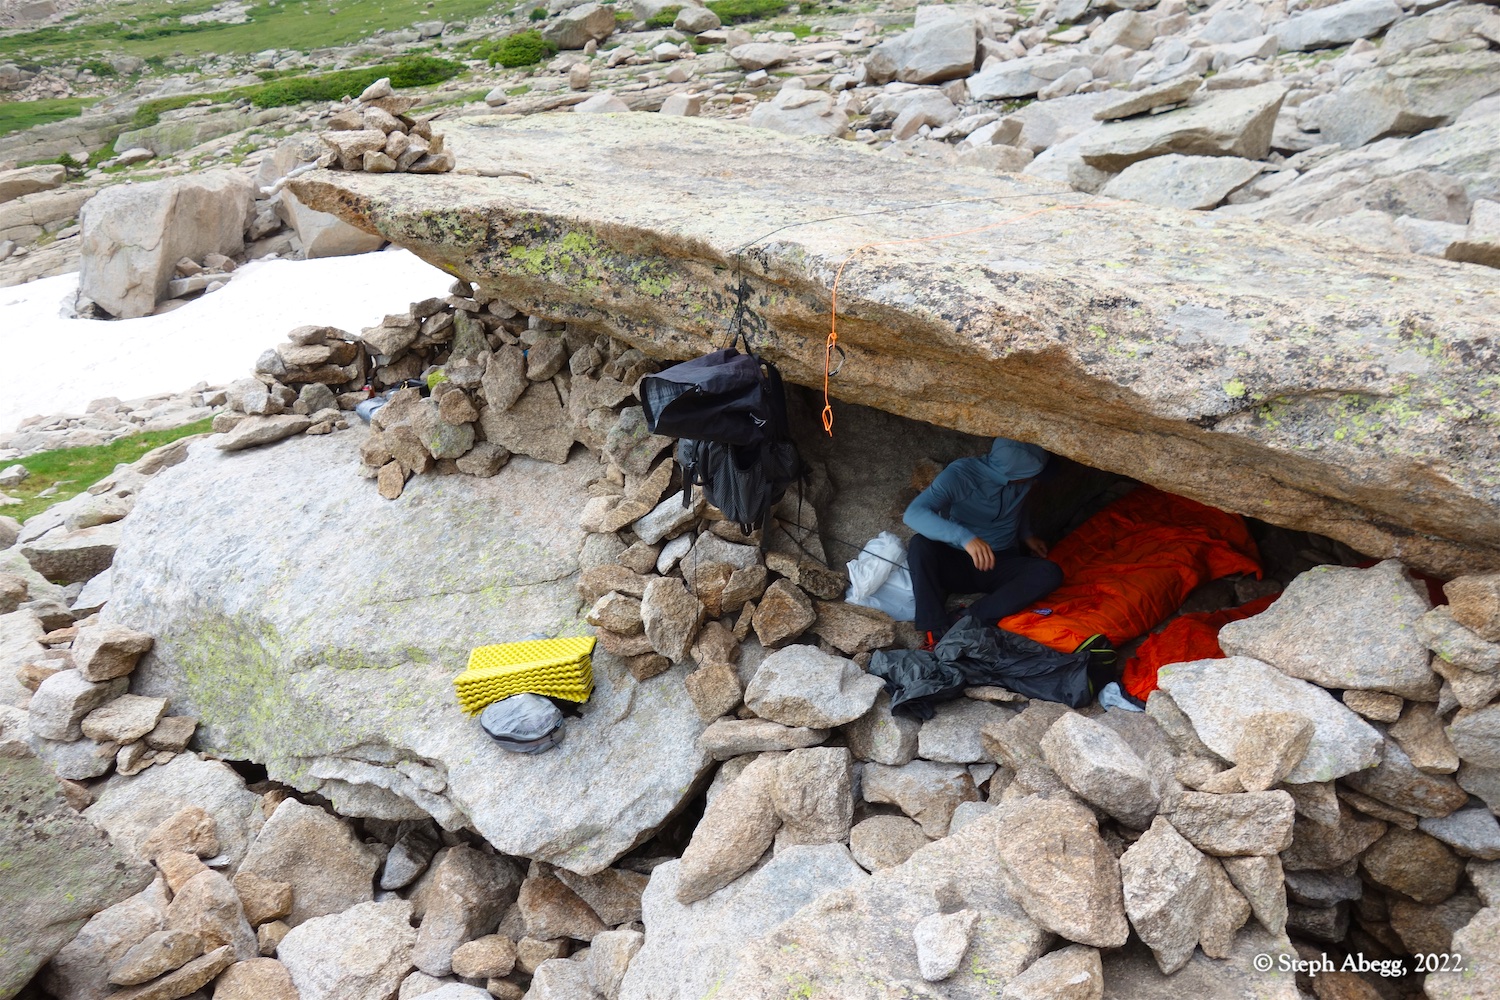
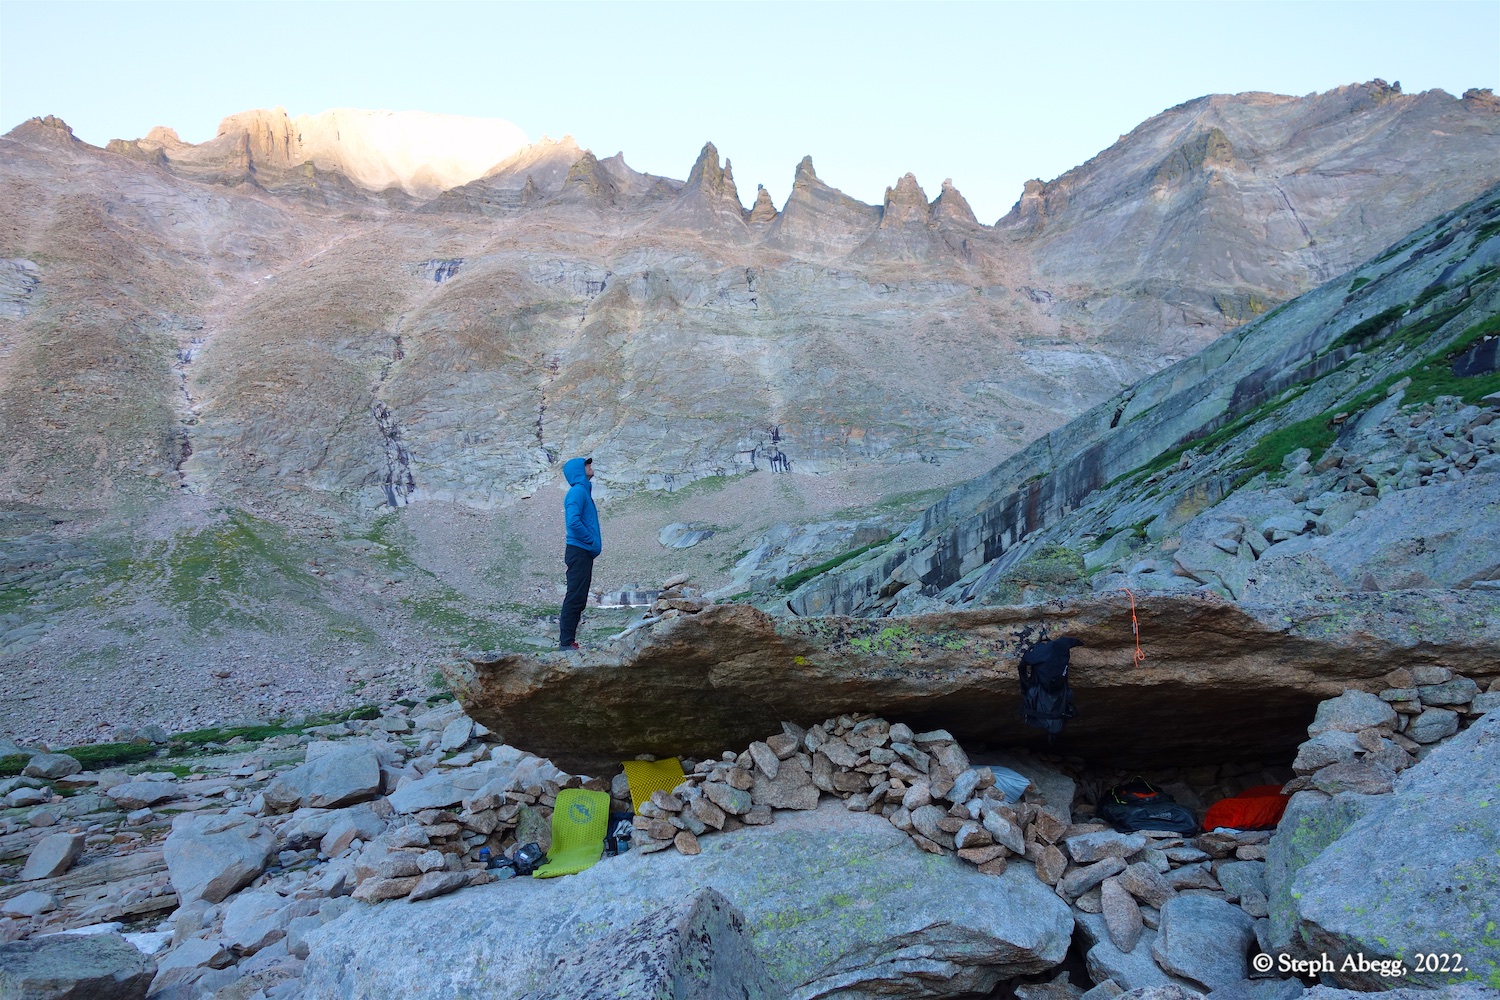
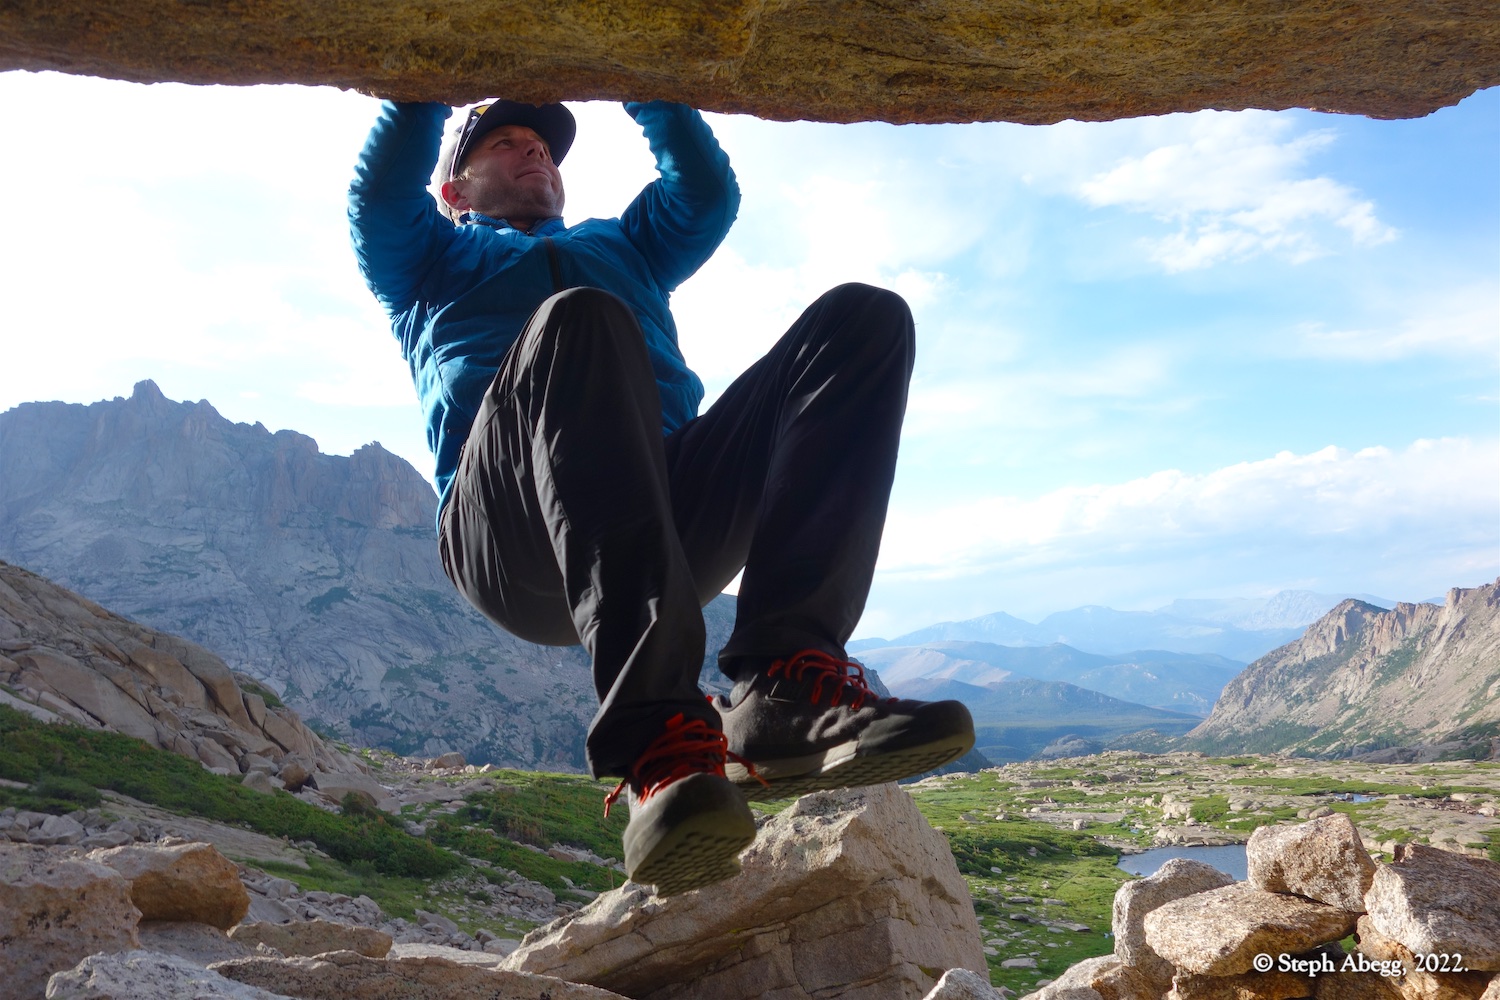
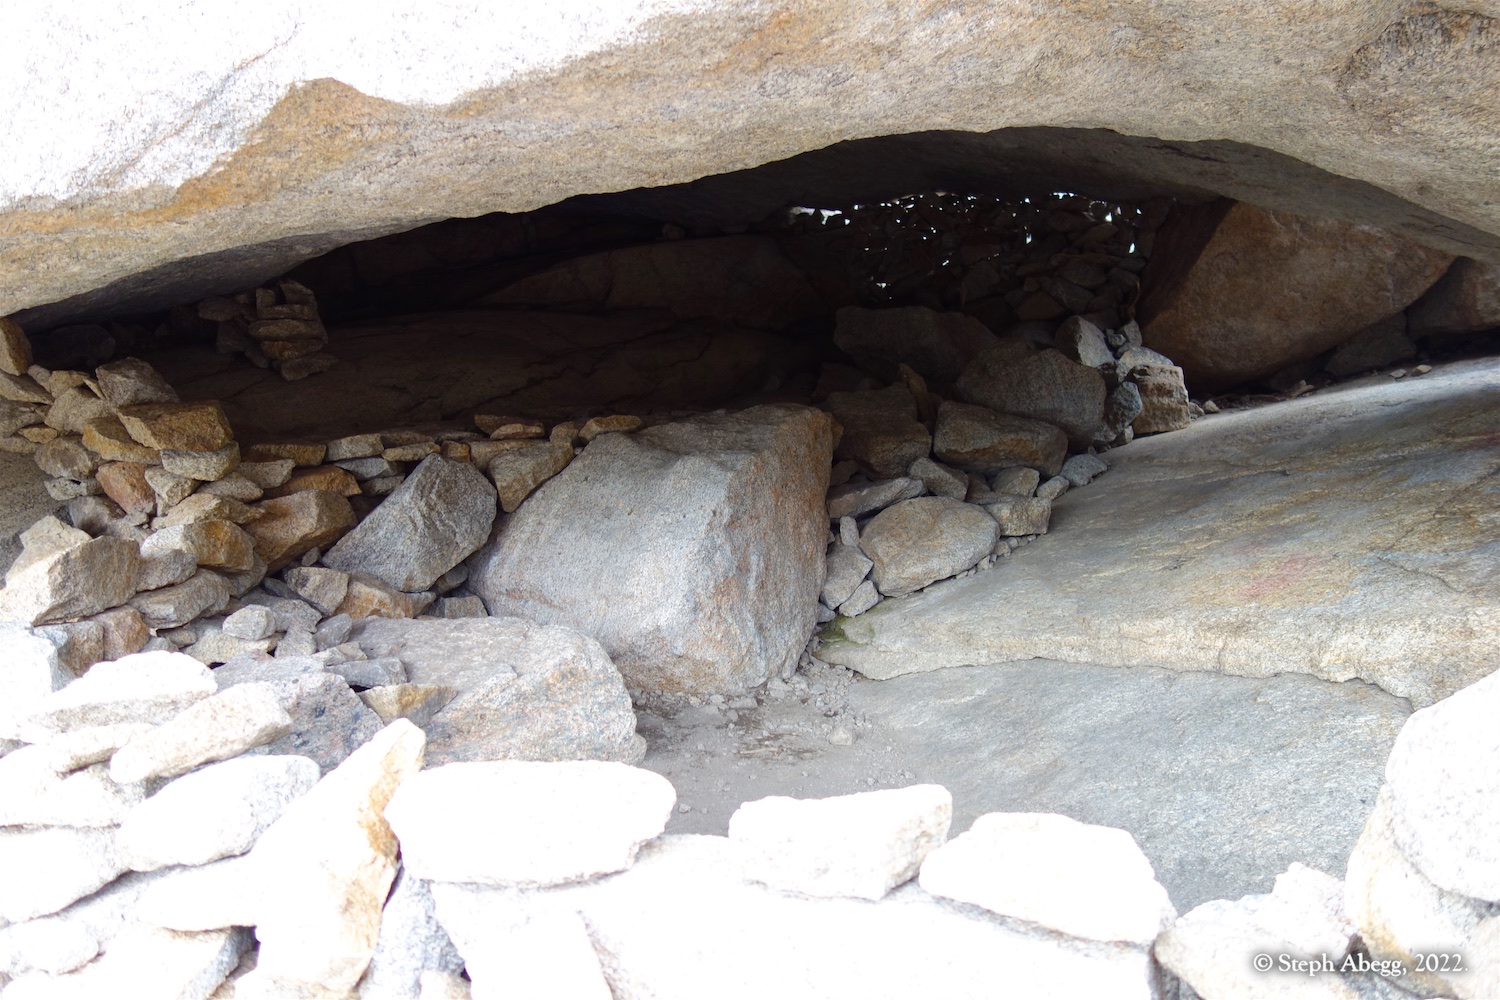
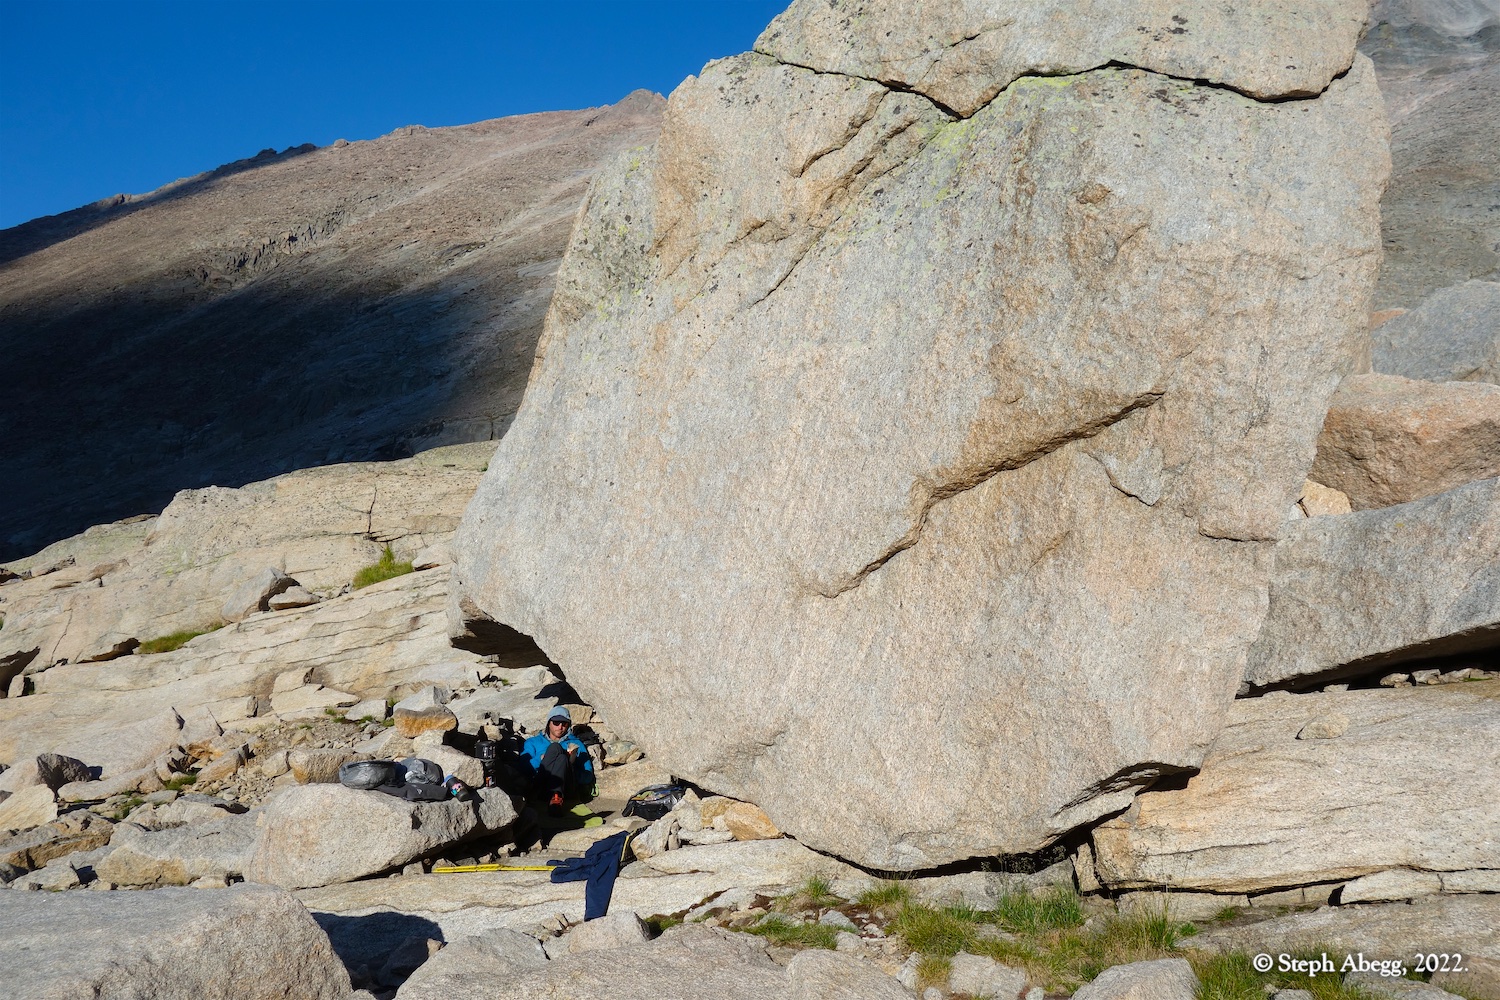
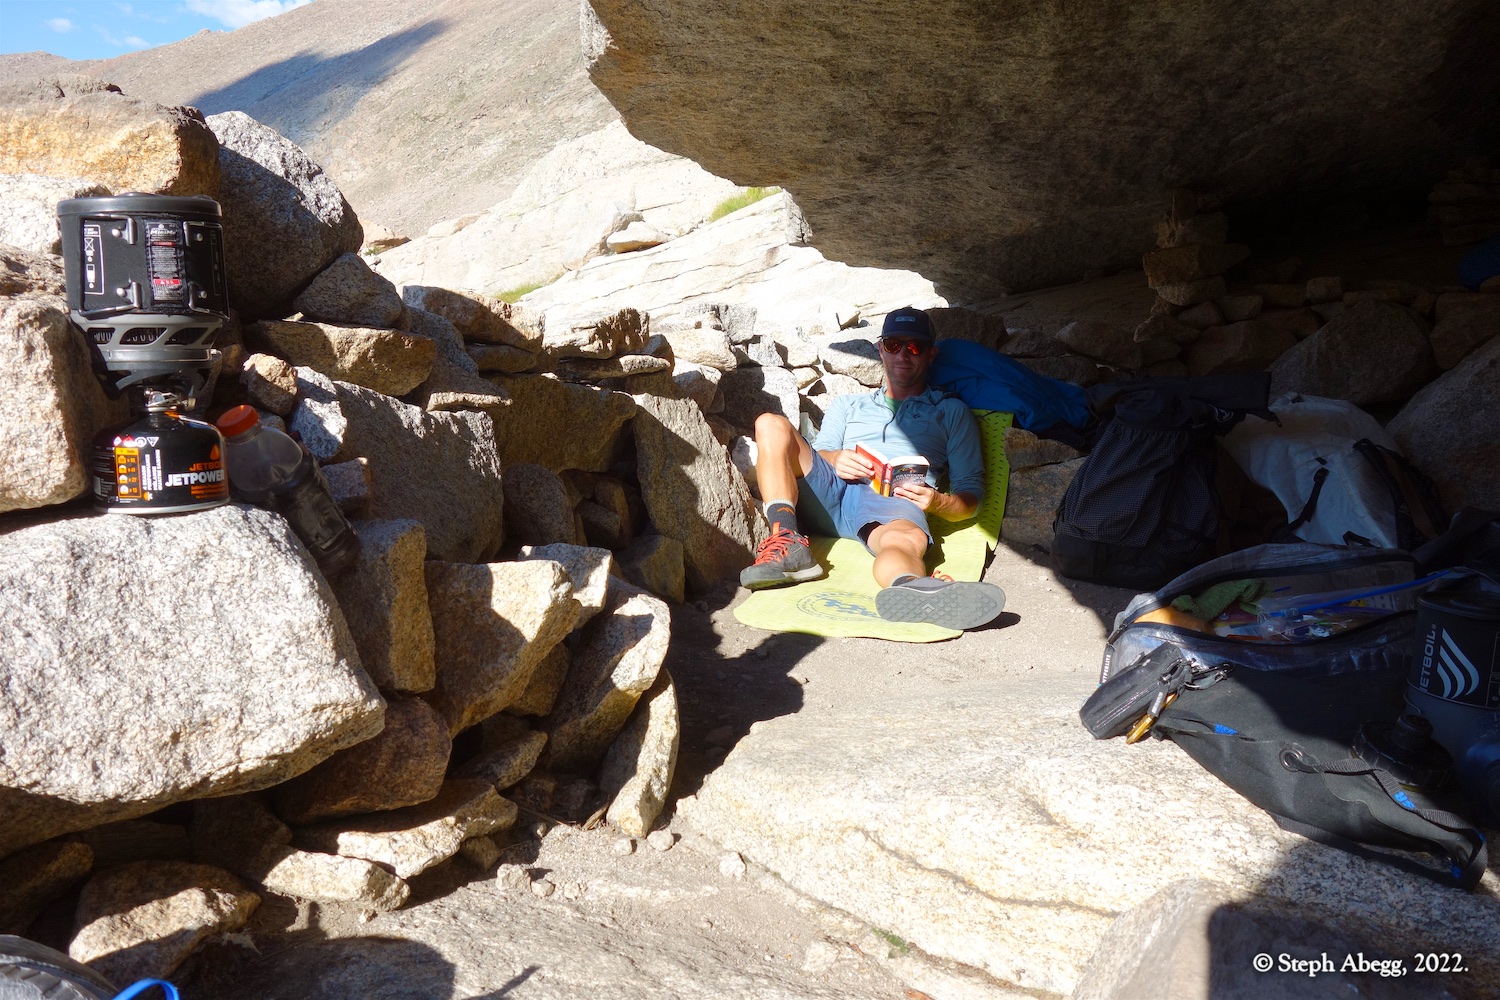
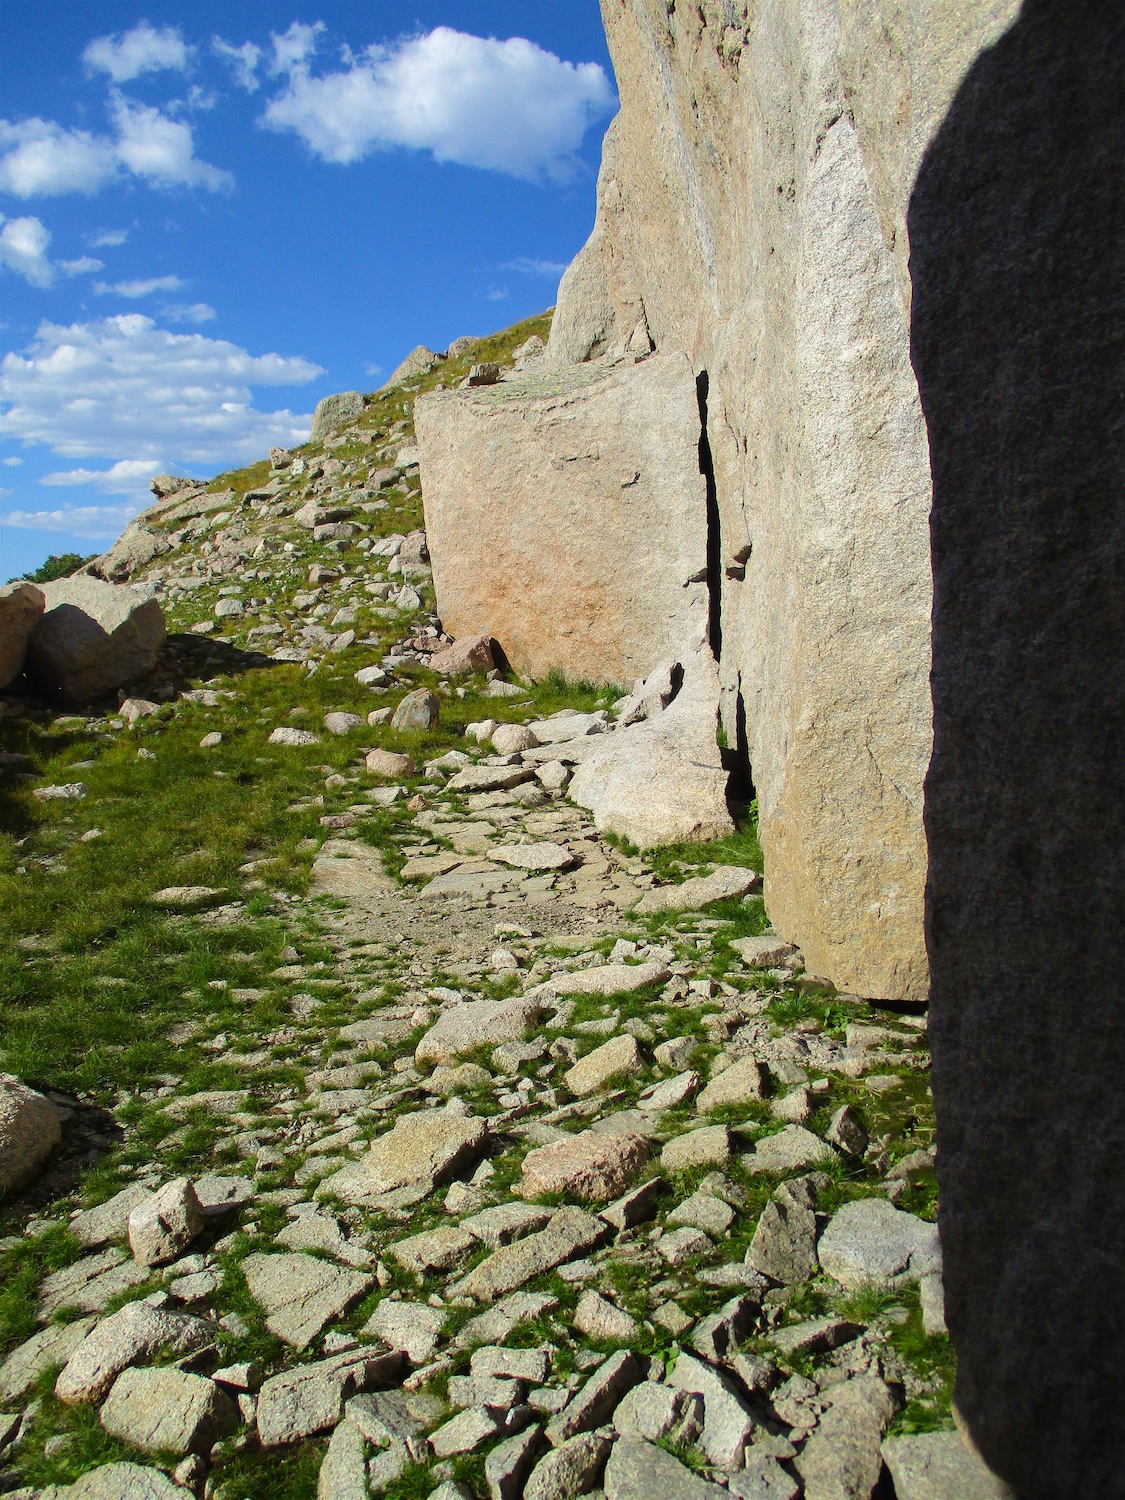
Upper Glacier Gorge has some of the best bivy locations in RMNP. We stayed at what I decided to call the "Under the Dome" bivy, which is a roomy cavern under a giant boulder. This is one of the coolest spots to bivy in the area, but it is usually filled with snow or ice until late in the summer. Earlier in the summer, Nate and I had made a note to try to return to Glacier Gorge in the late summer and stay at this bivy once the snow inside had melted. We were glad we got the opportunity to do so!
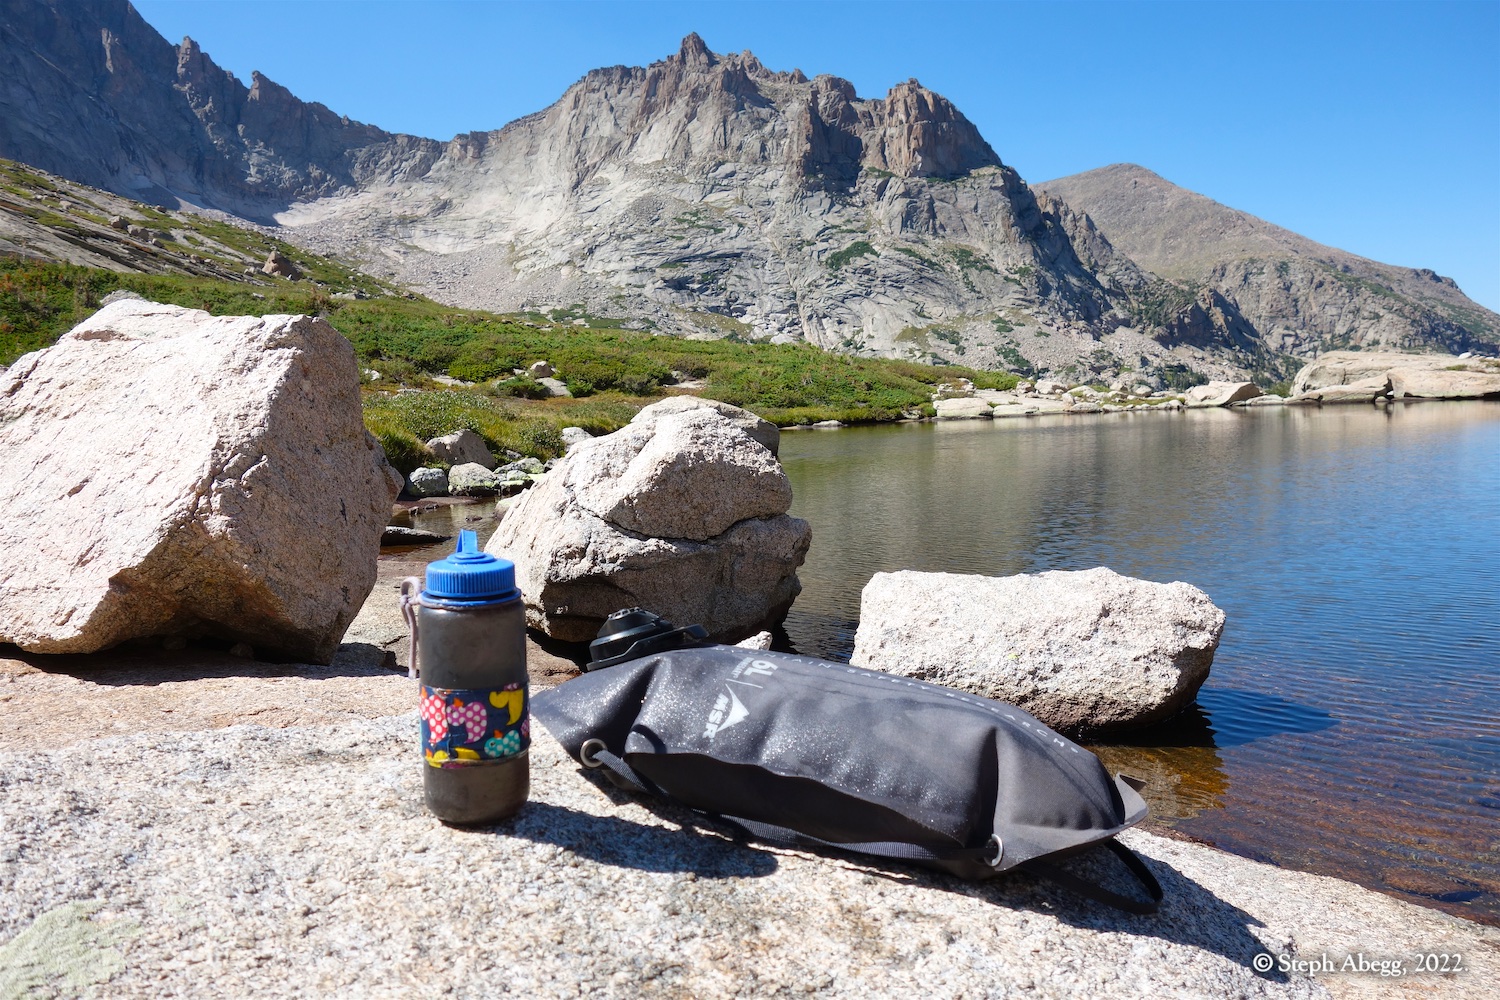
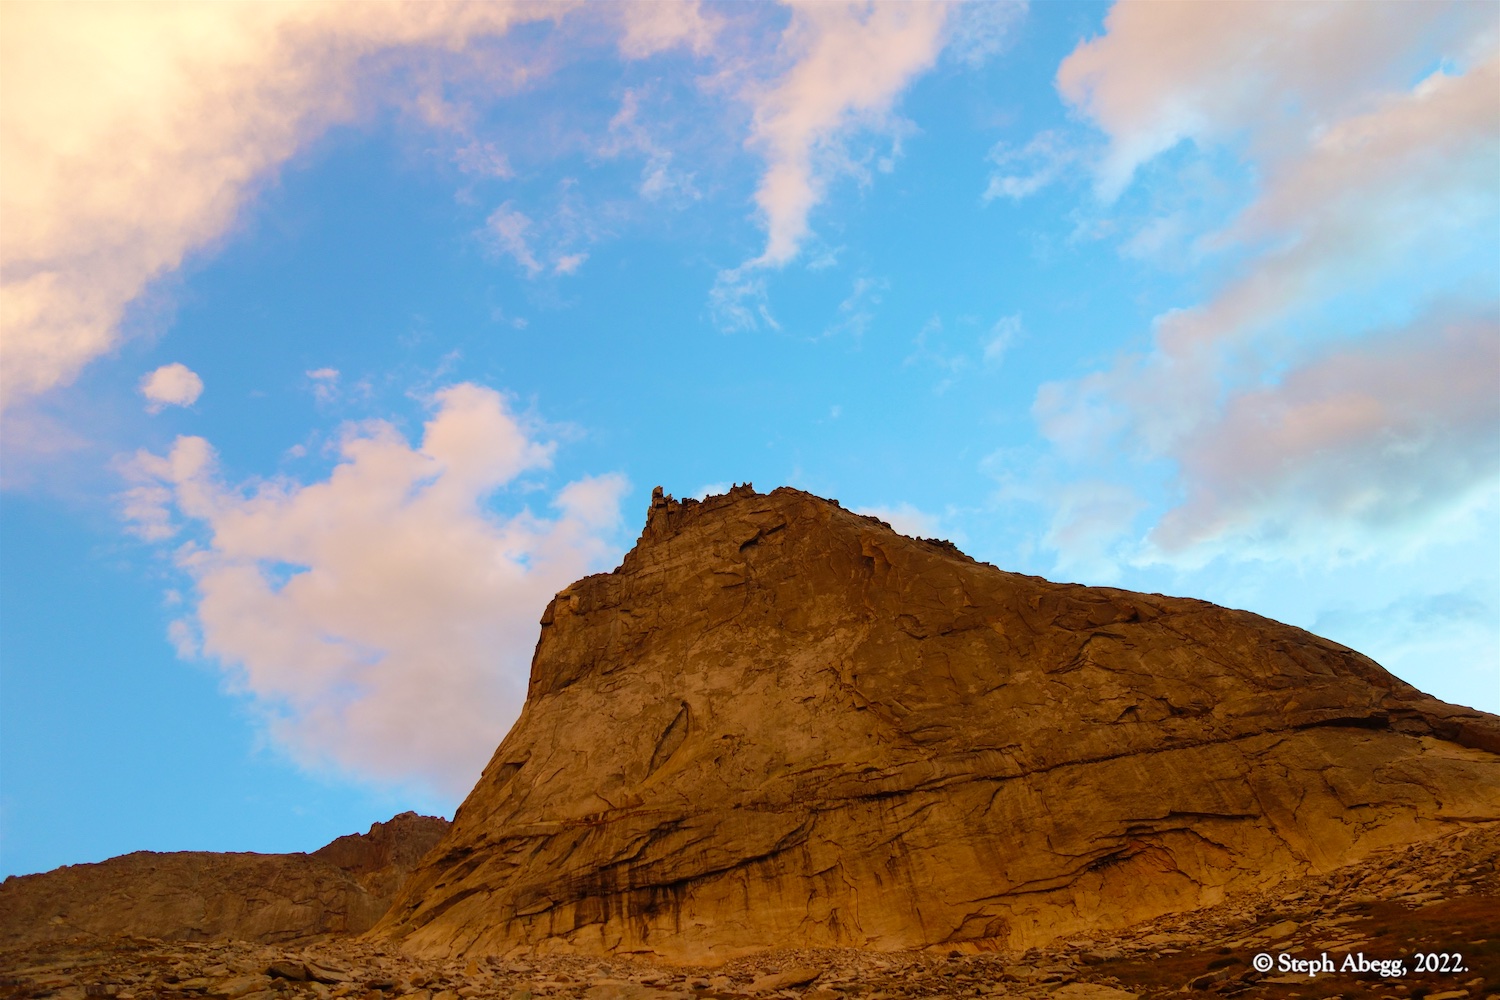
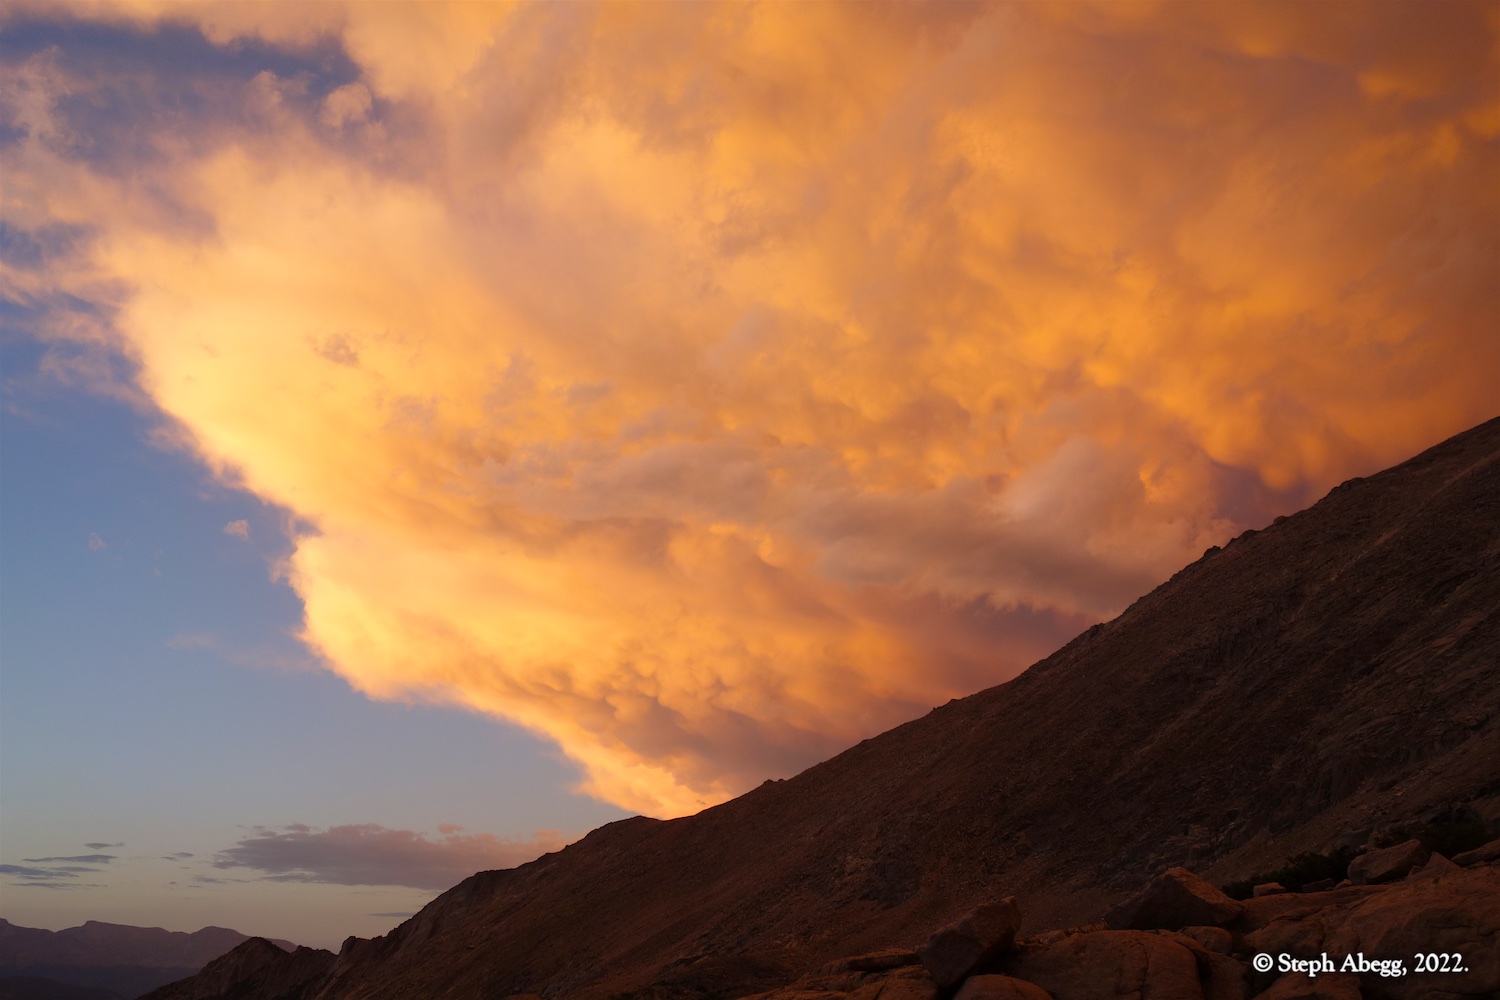
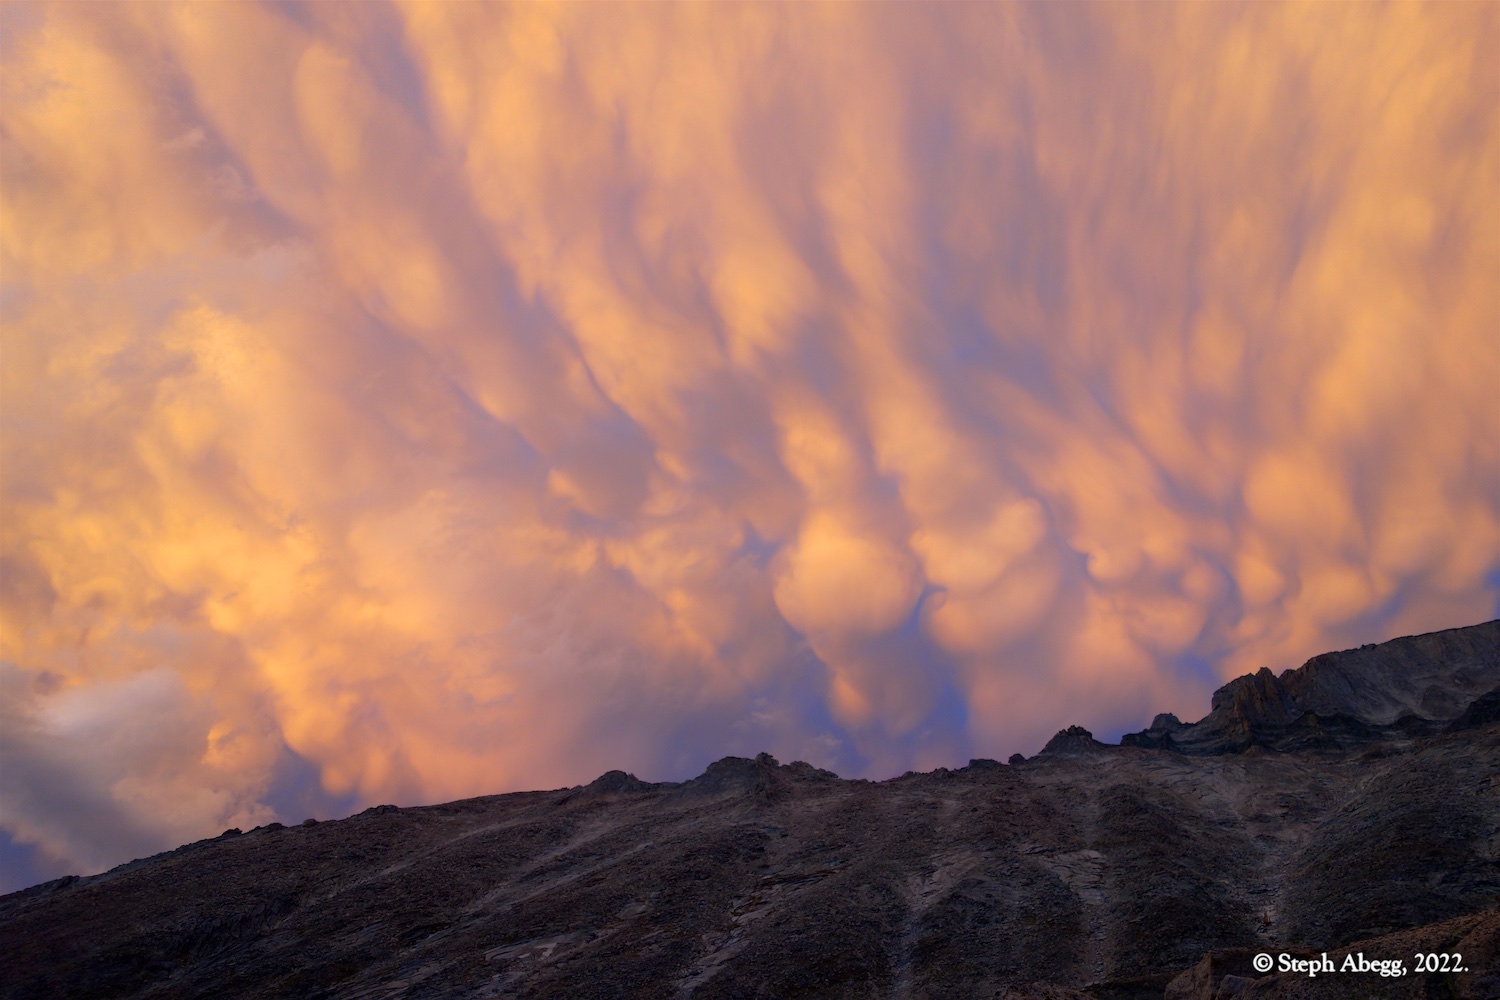
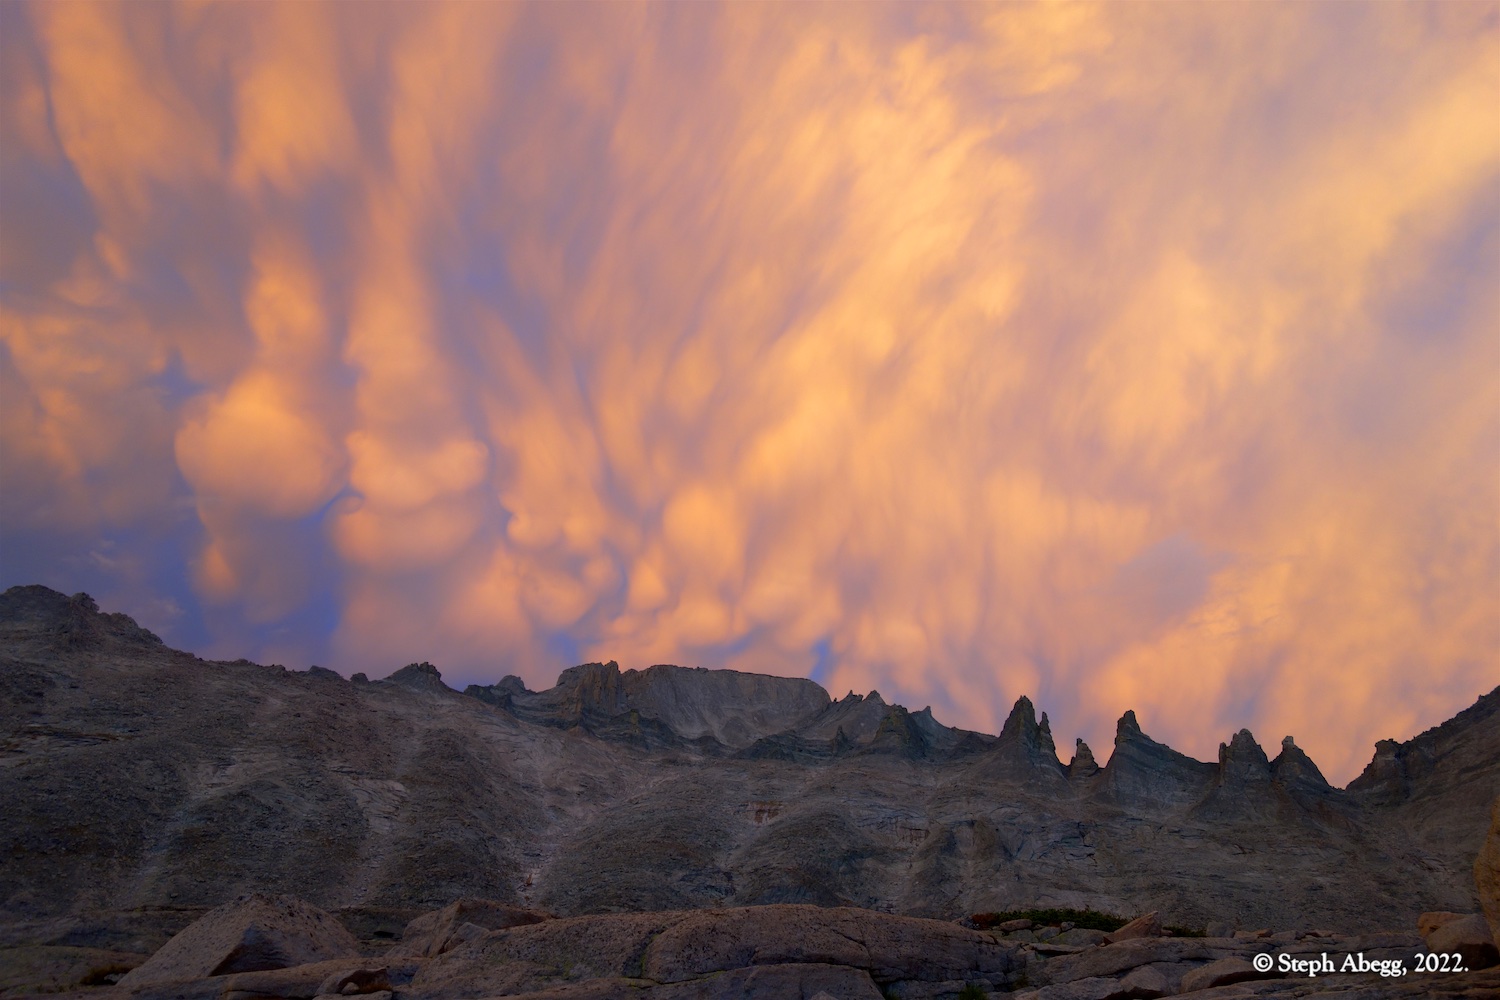
Upper Glacier Gorge is a picturesque place.
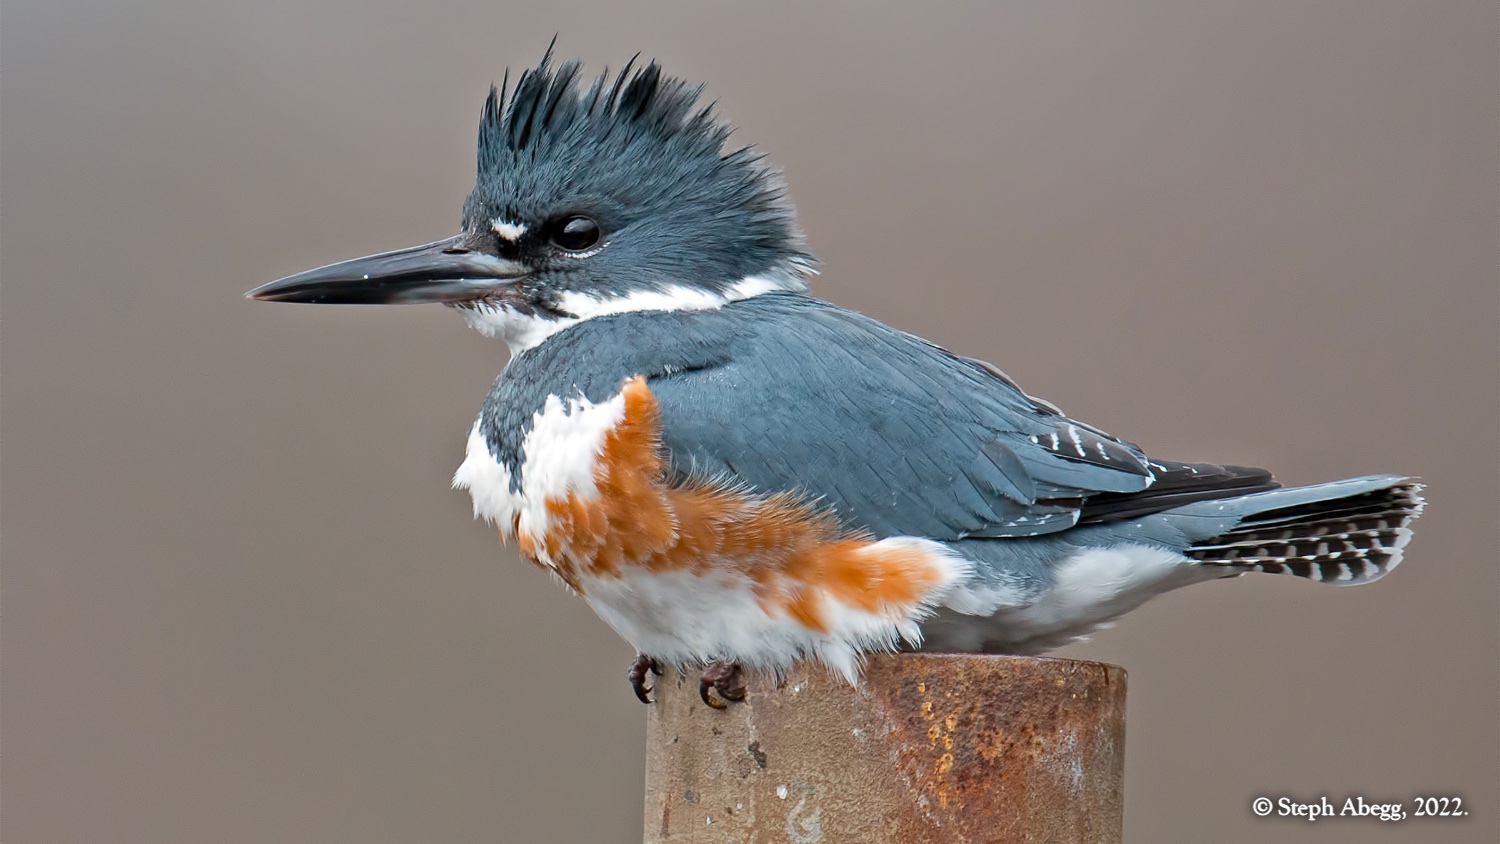
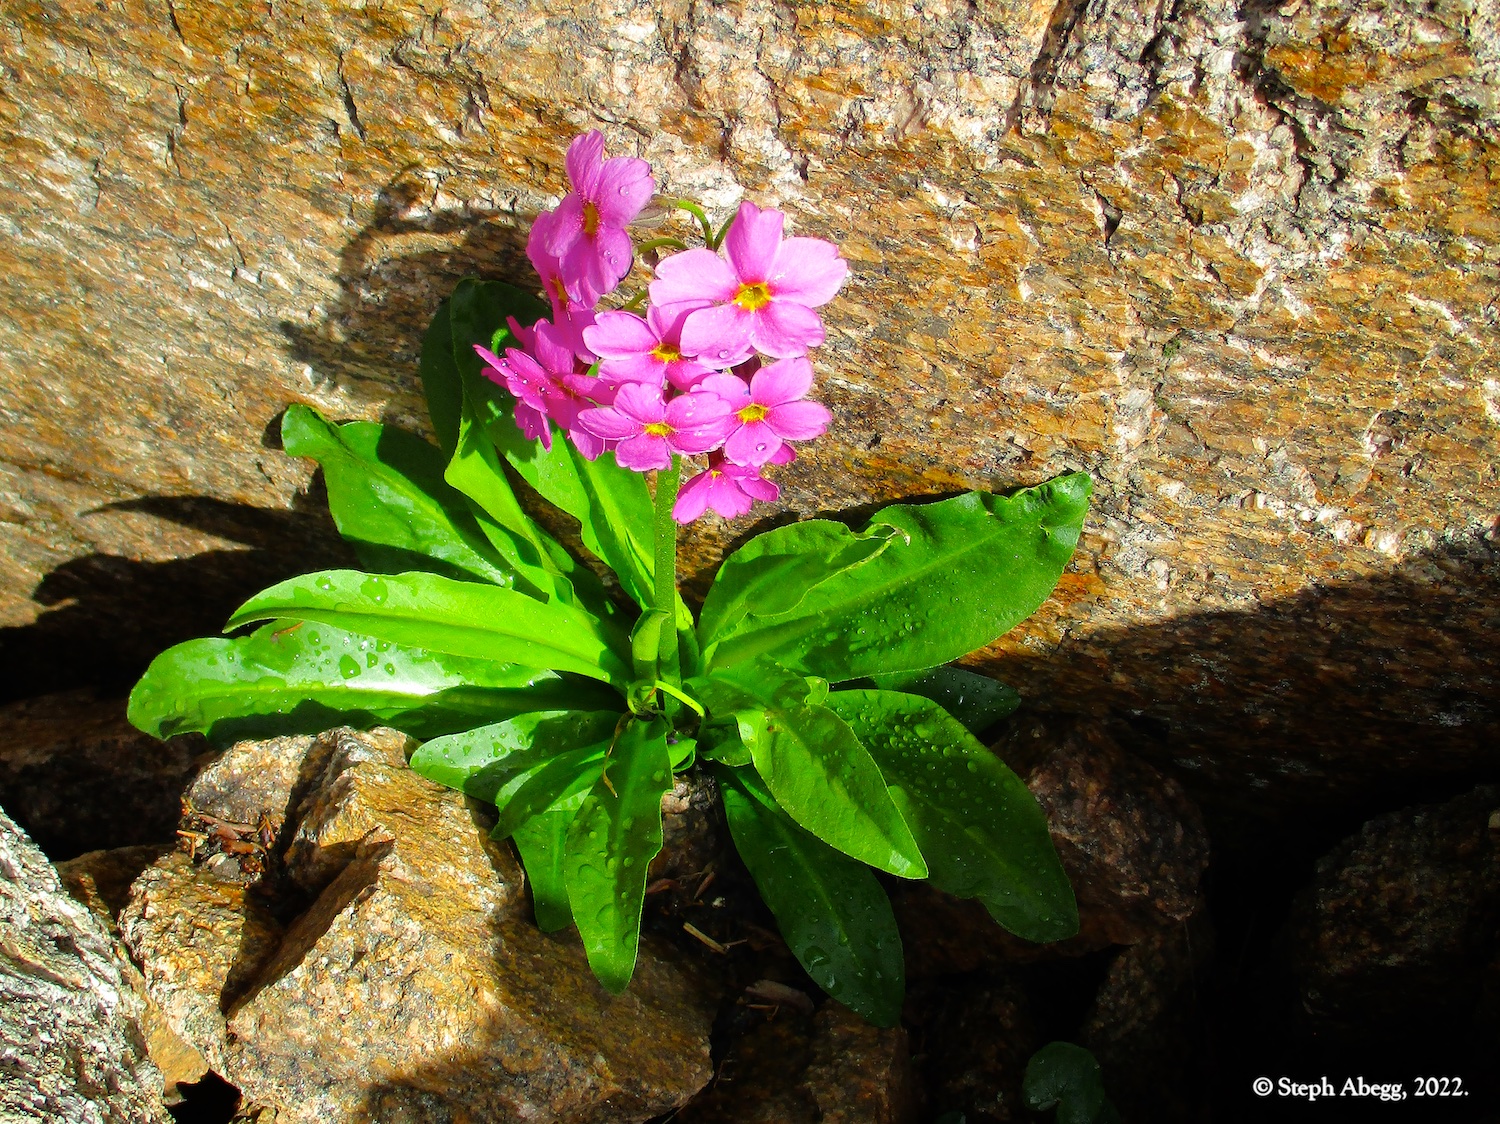
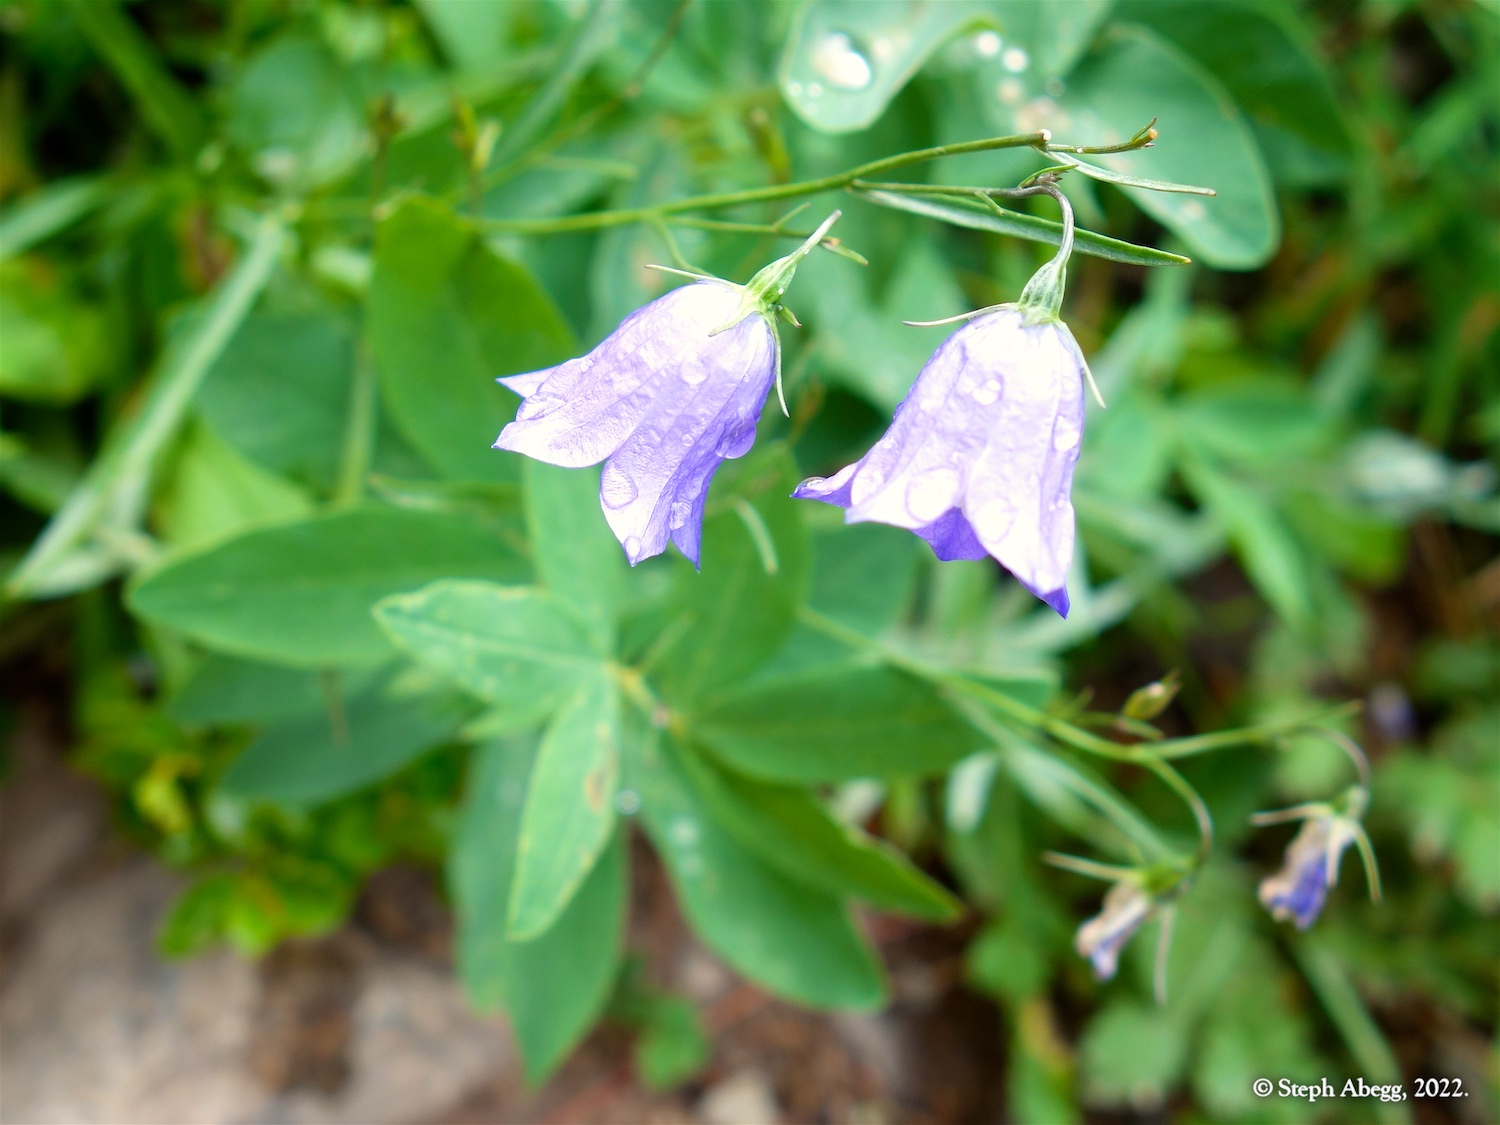
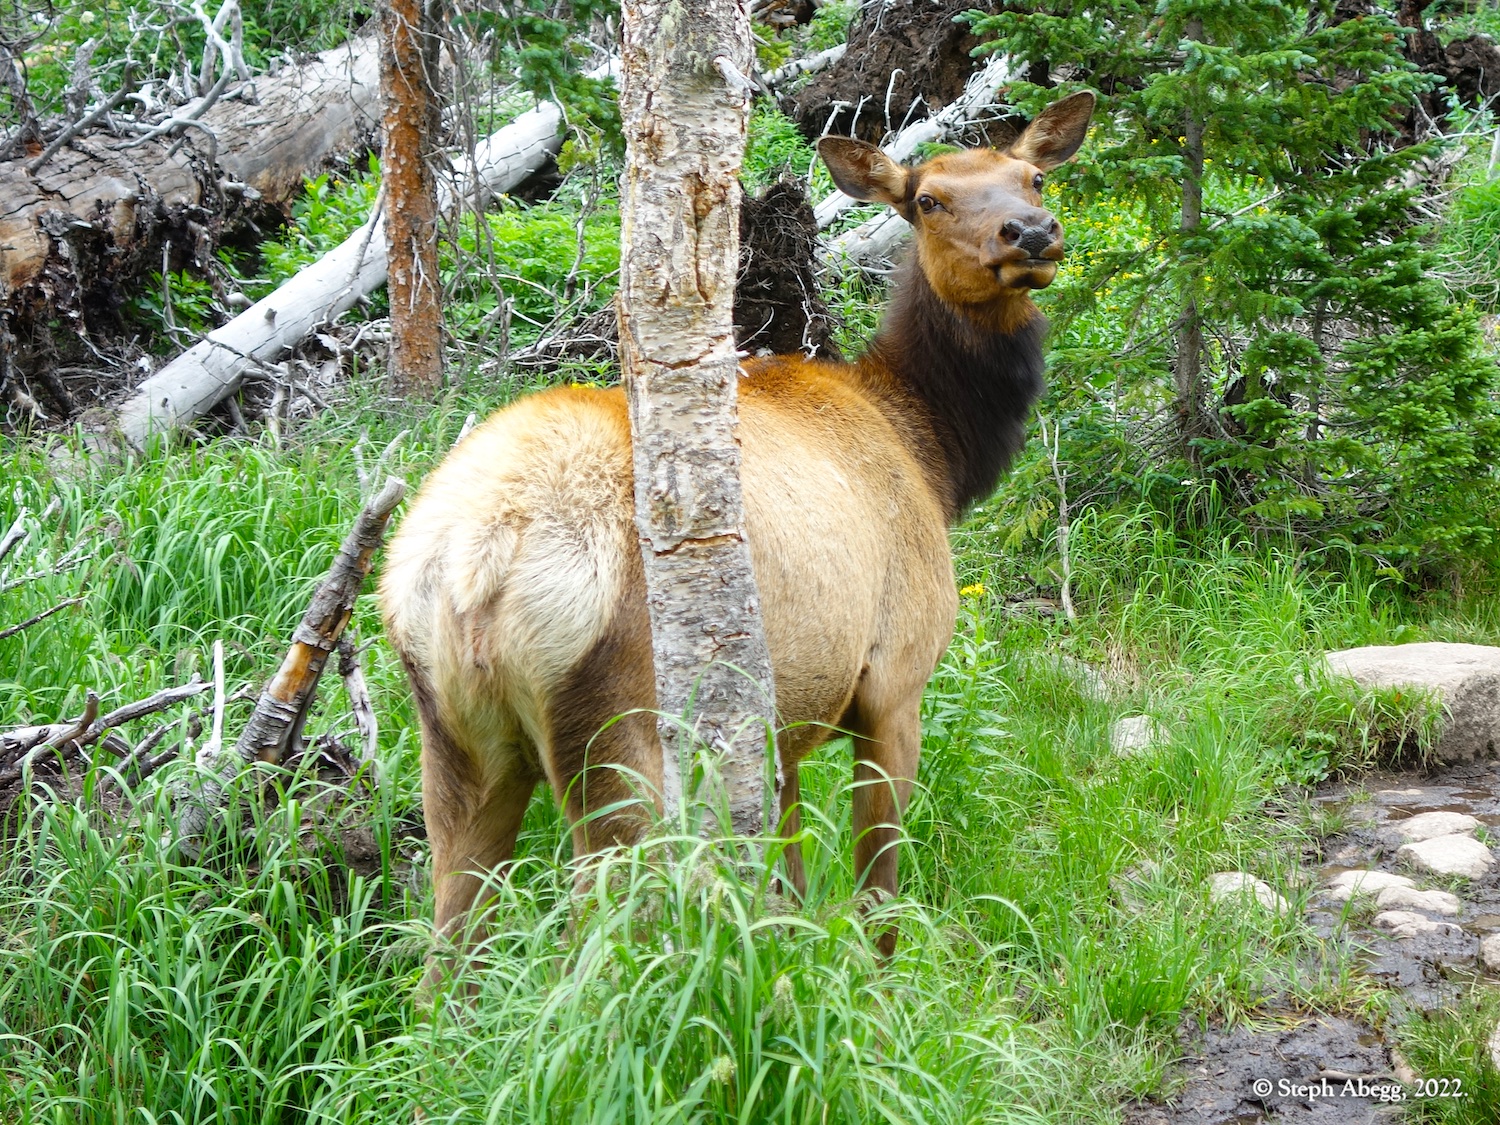
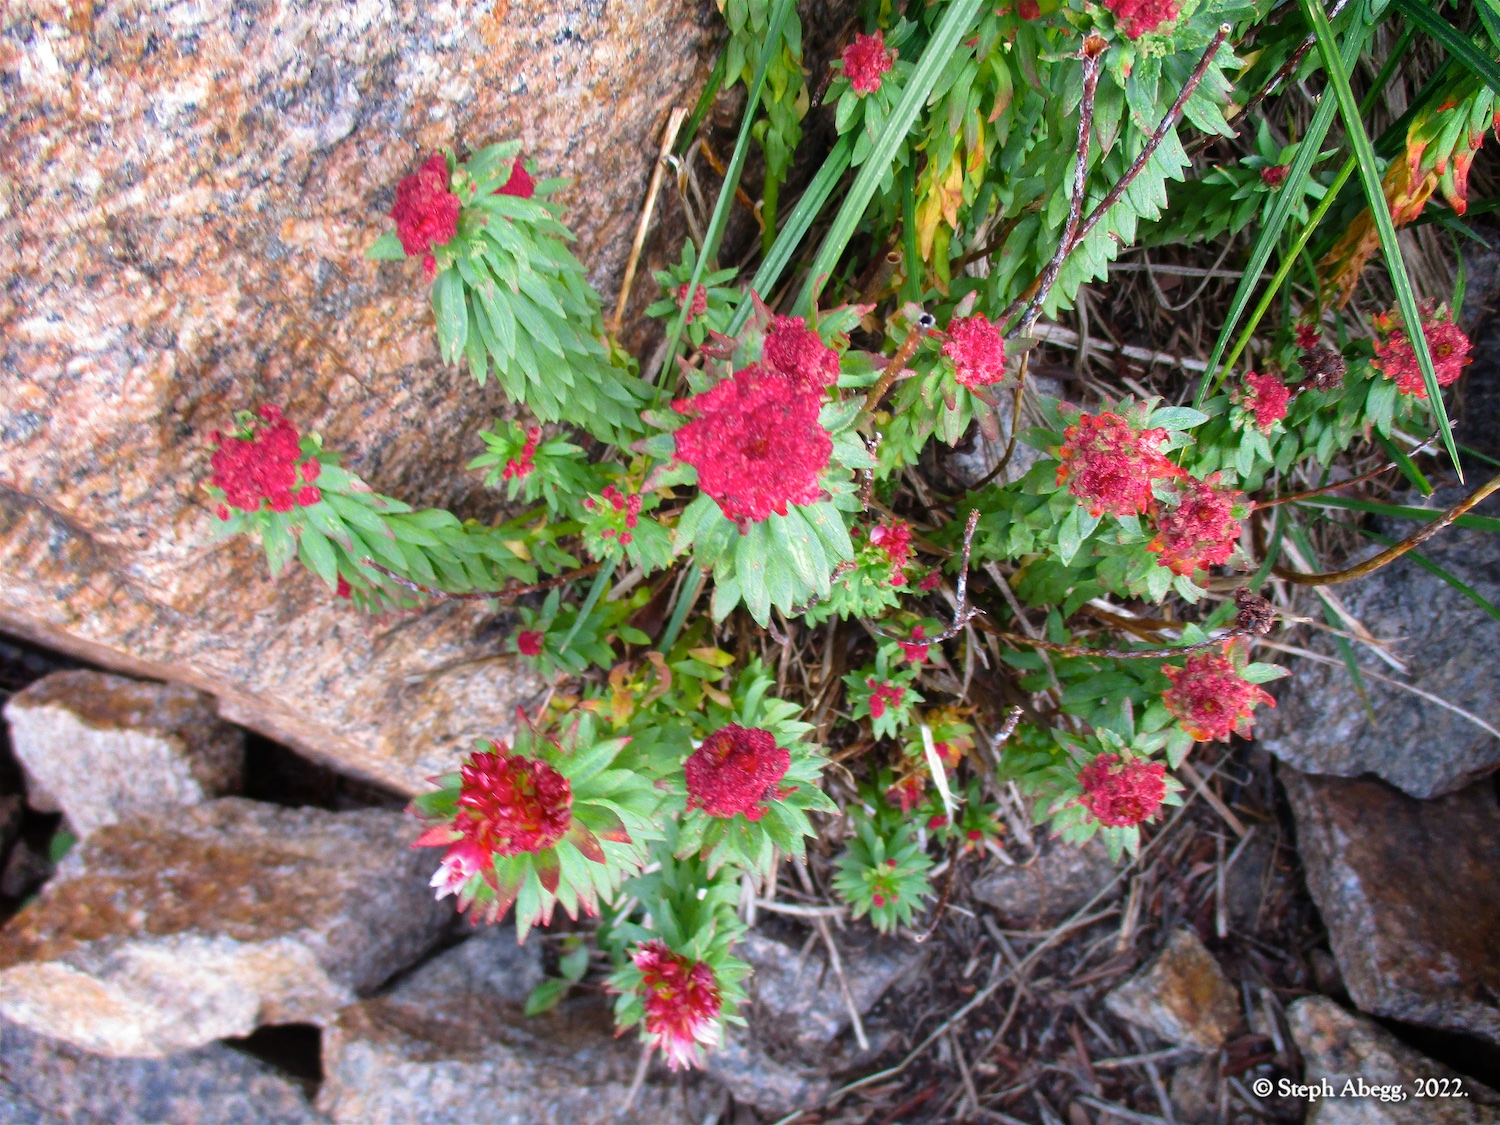
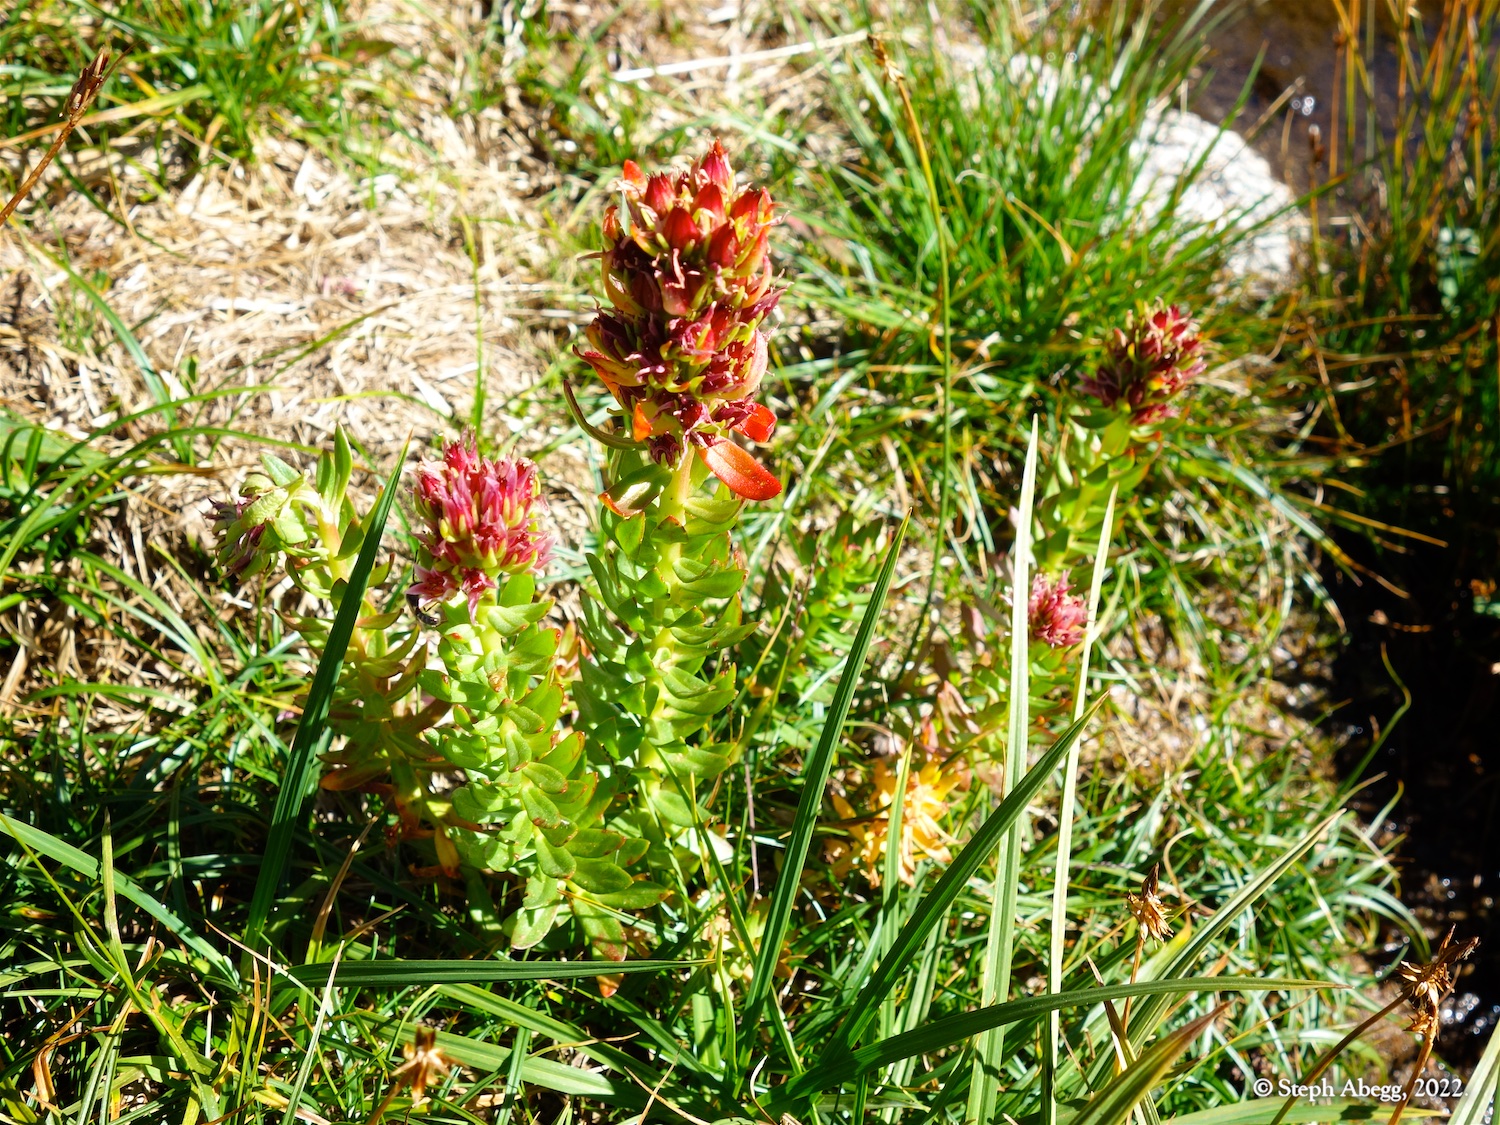
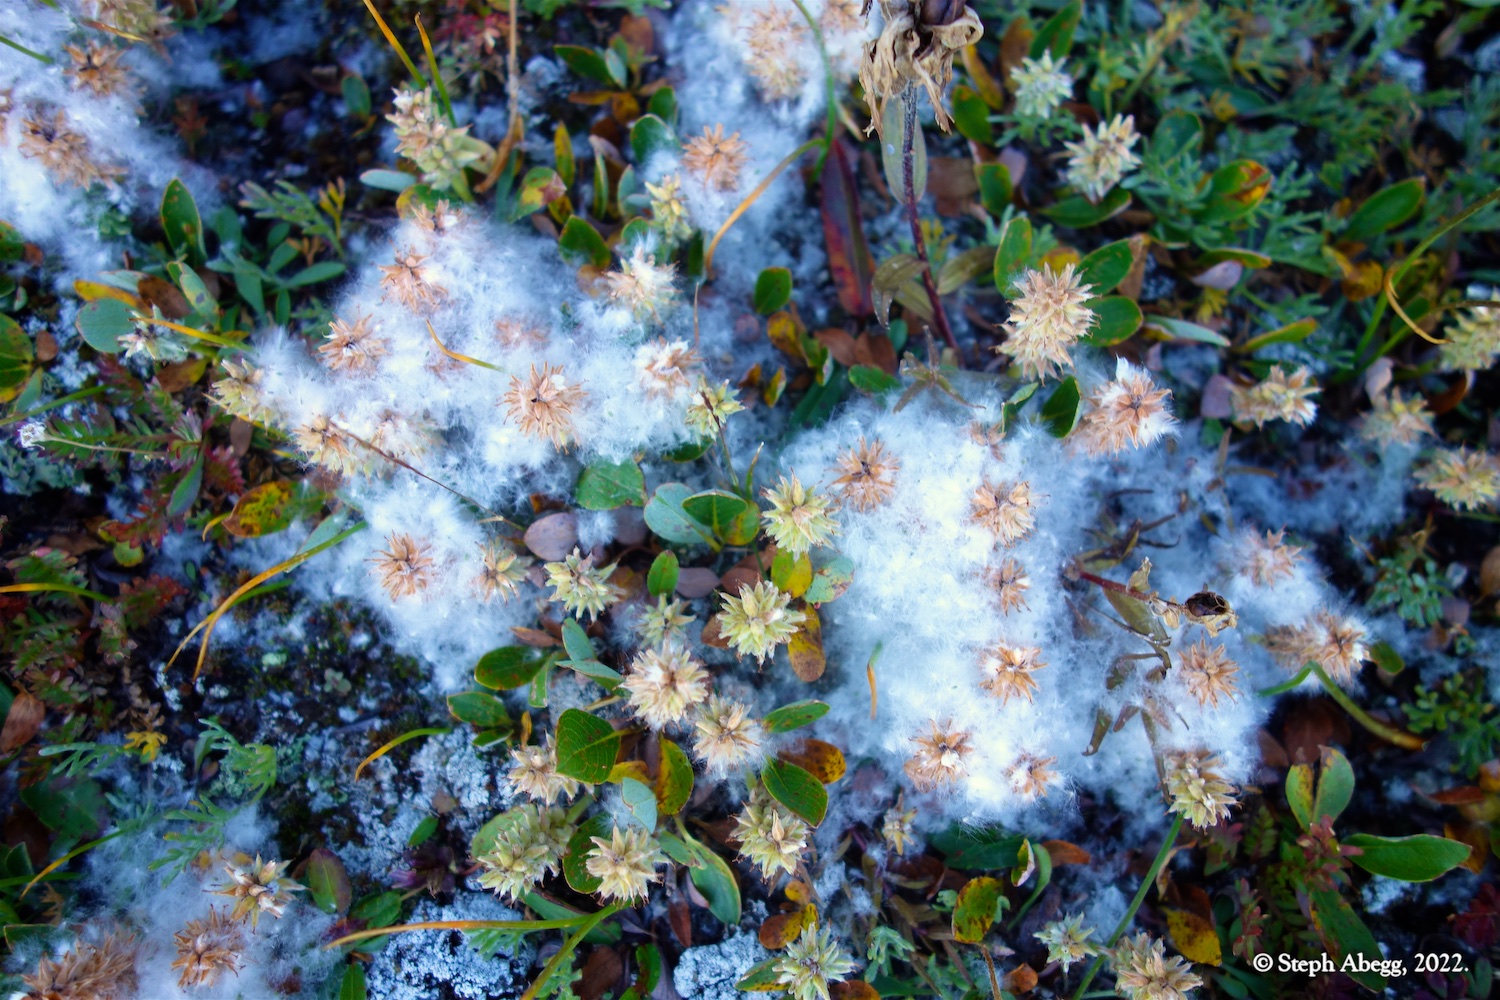
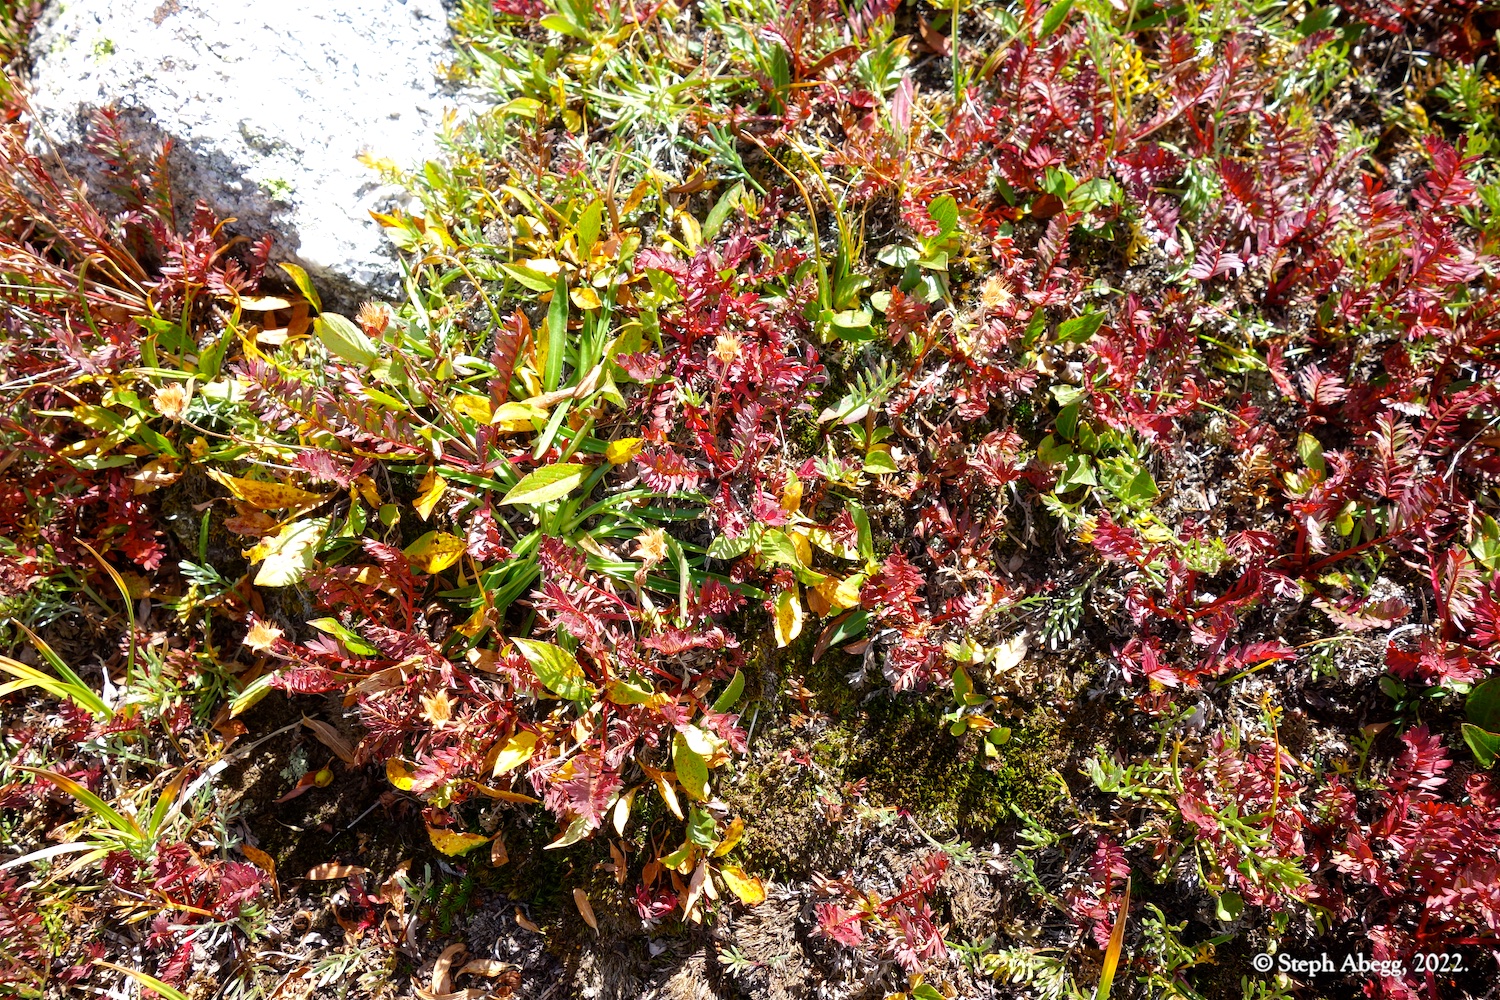
Early September is usually when the mountains start to display the transition between summer and fall. We enjoyed late-summer wildflowers and early fall colors.
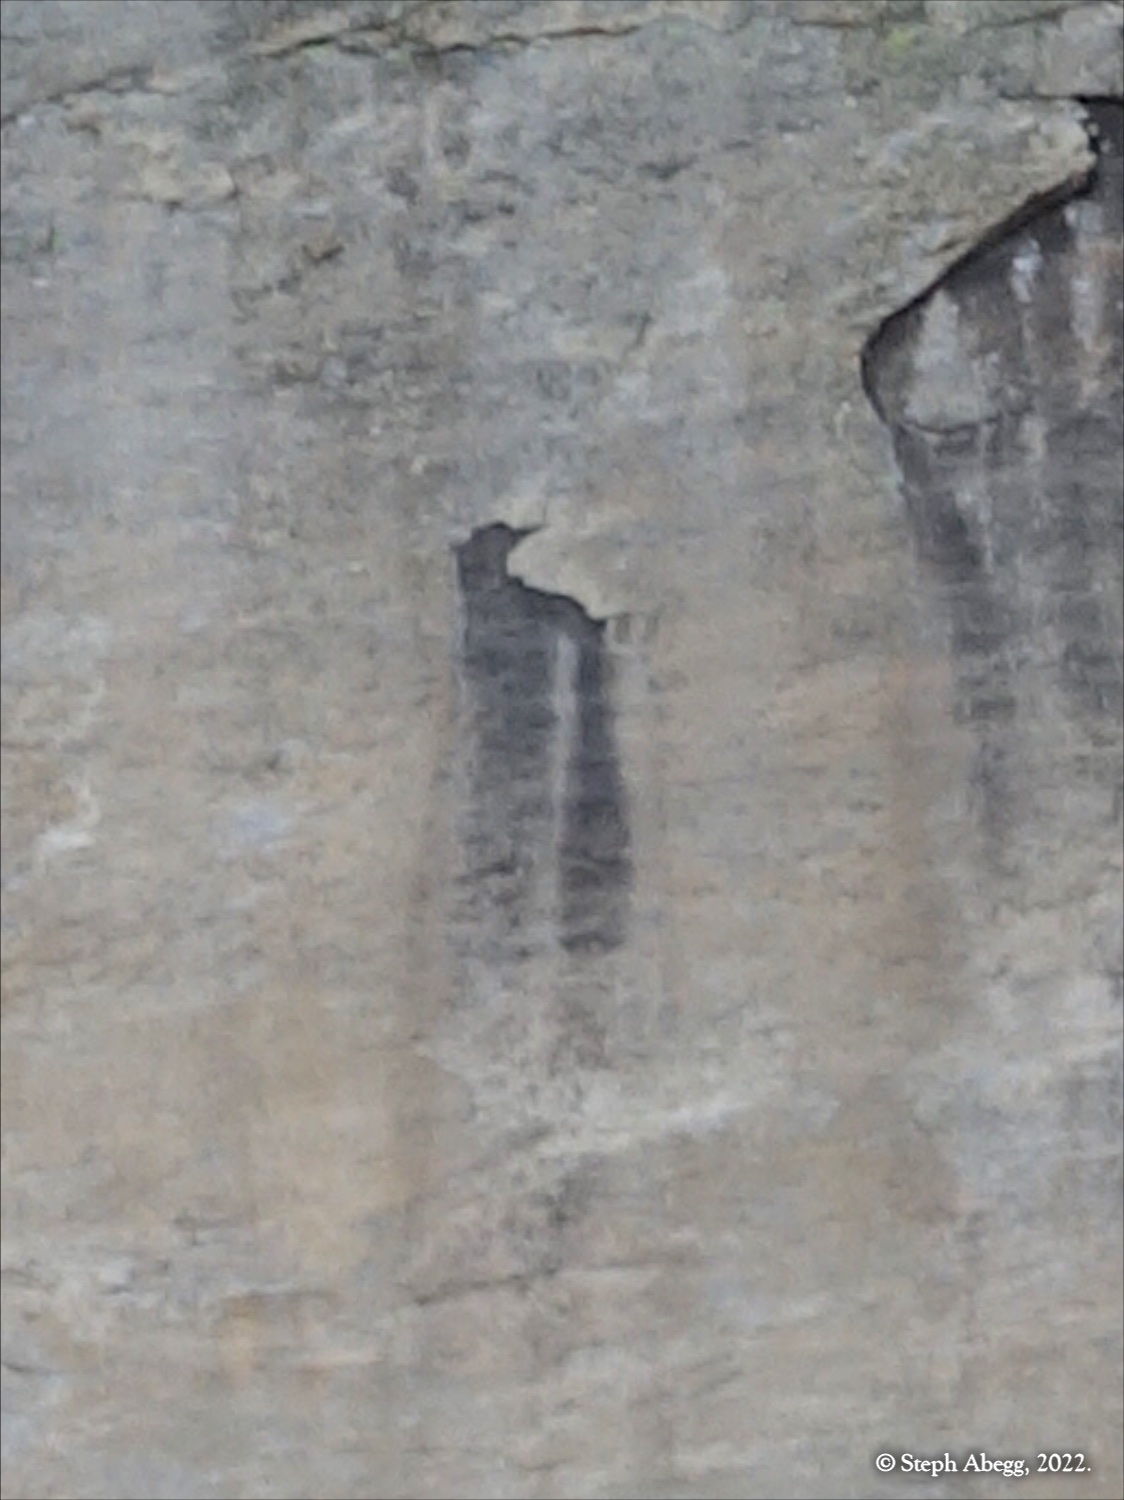
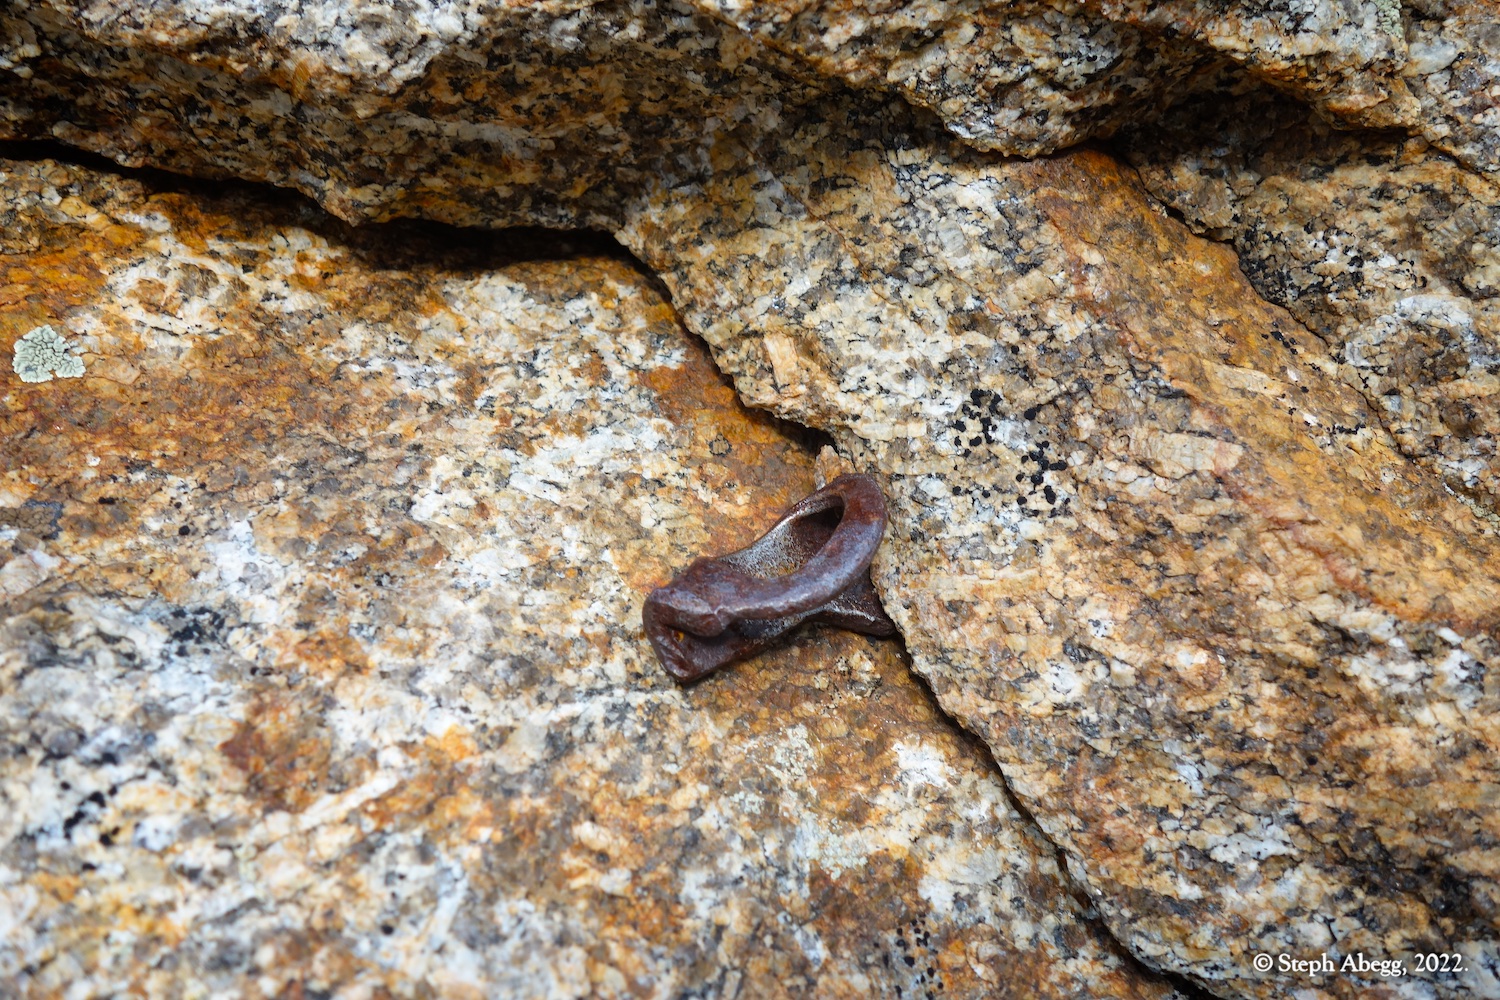
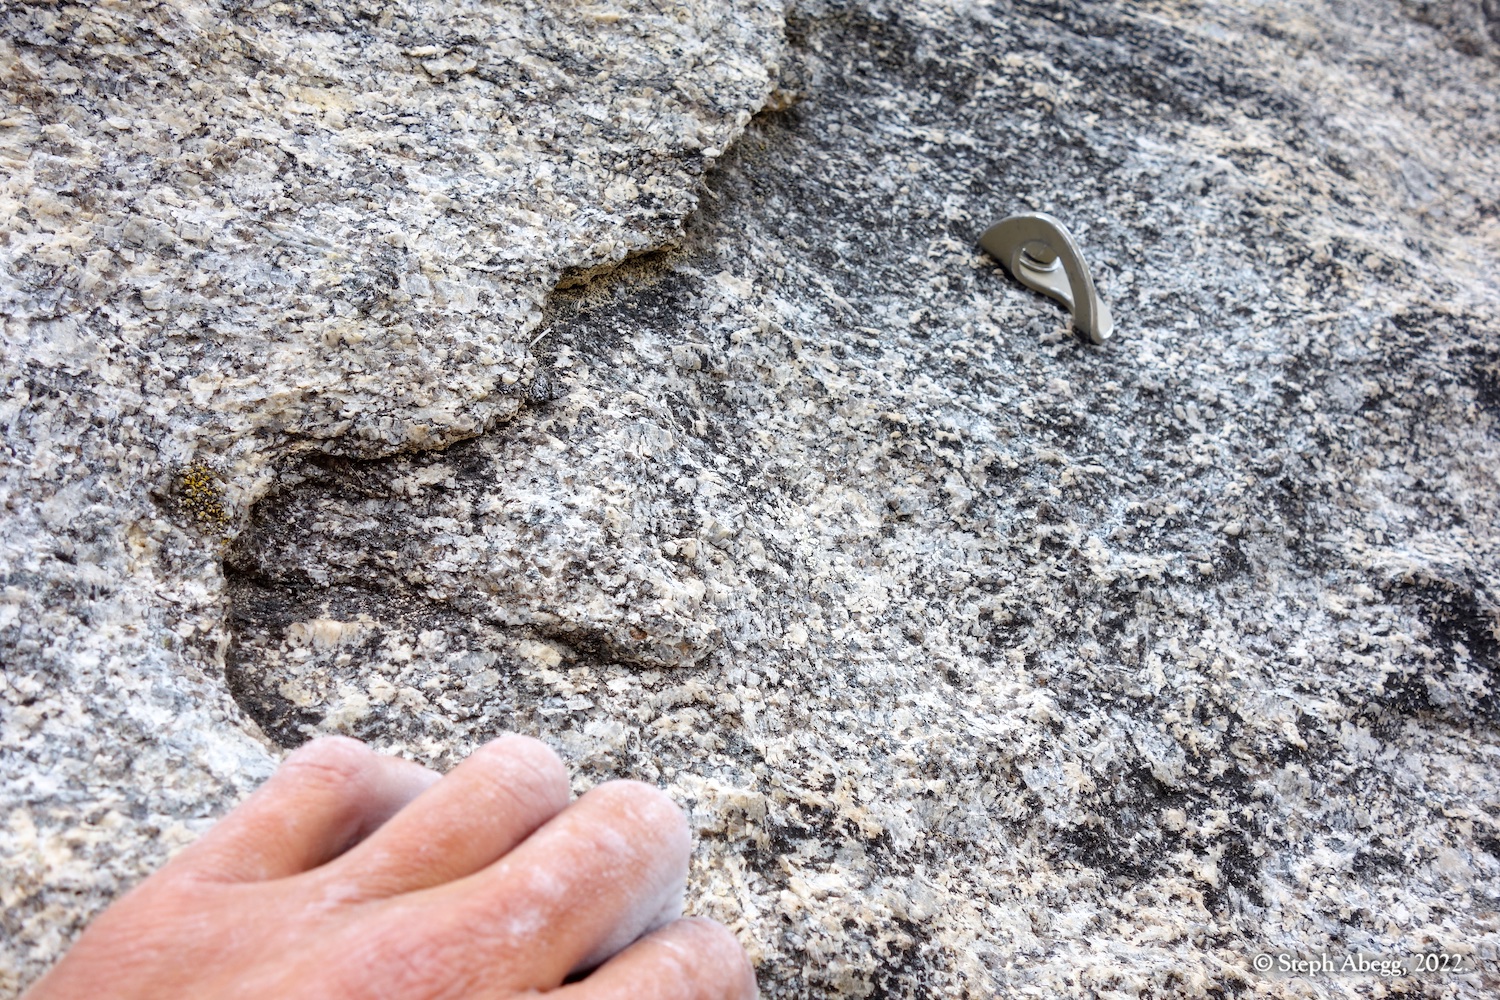
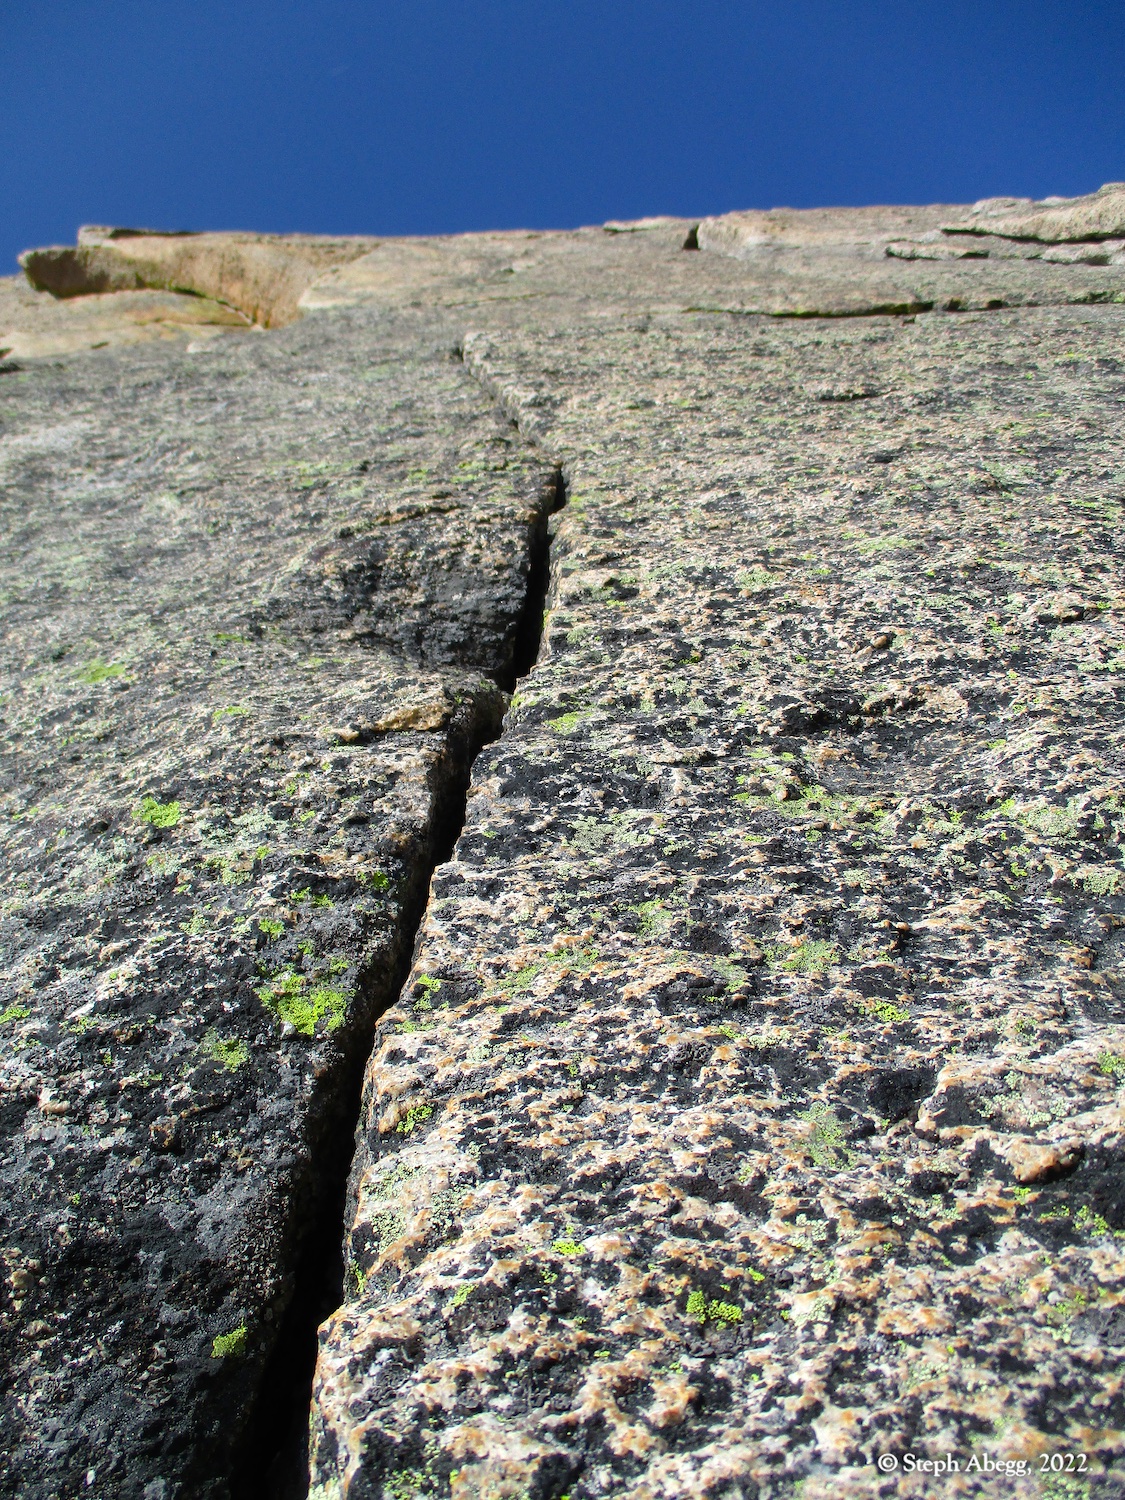
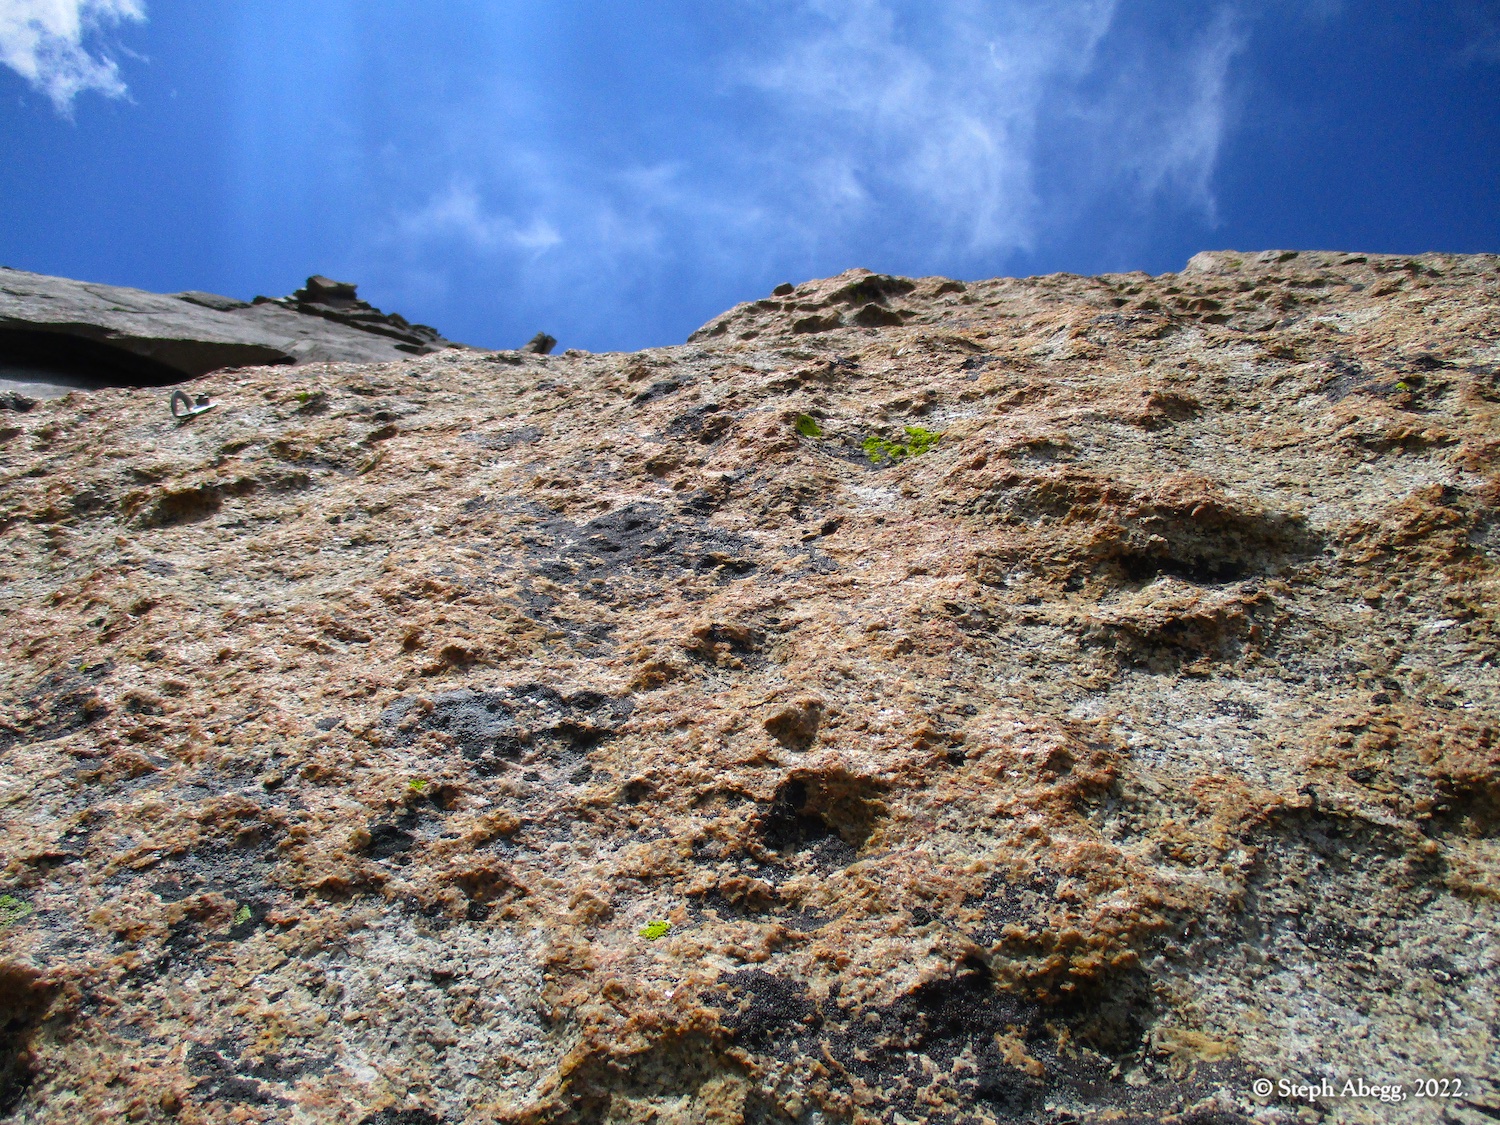
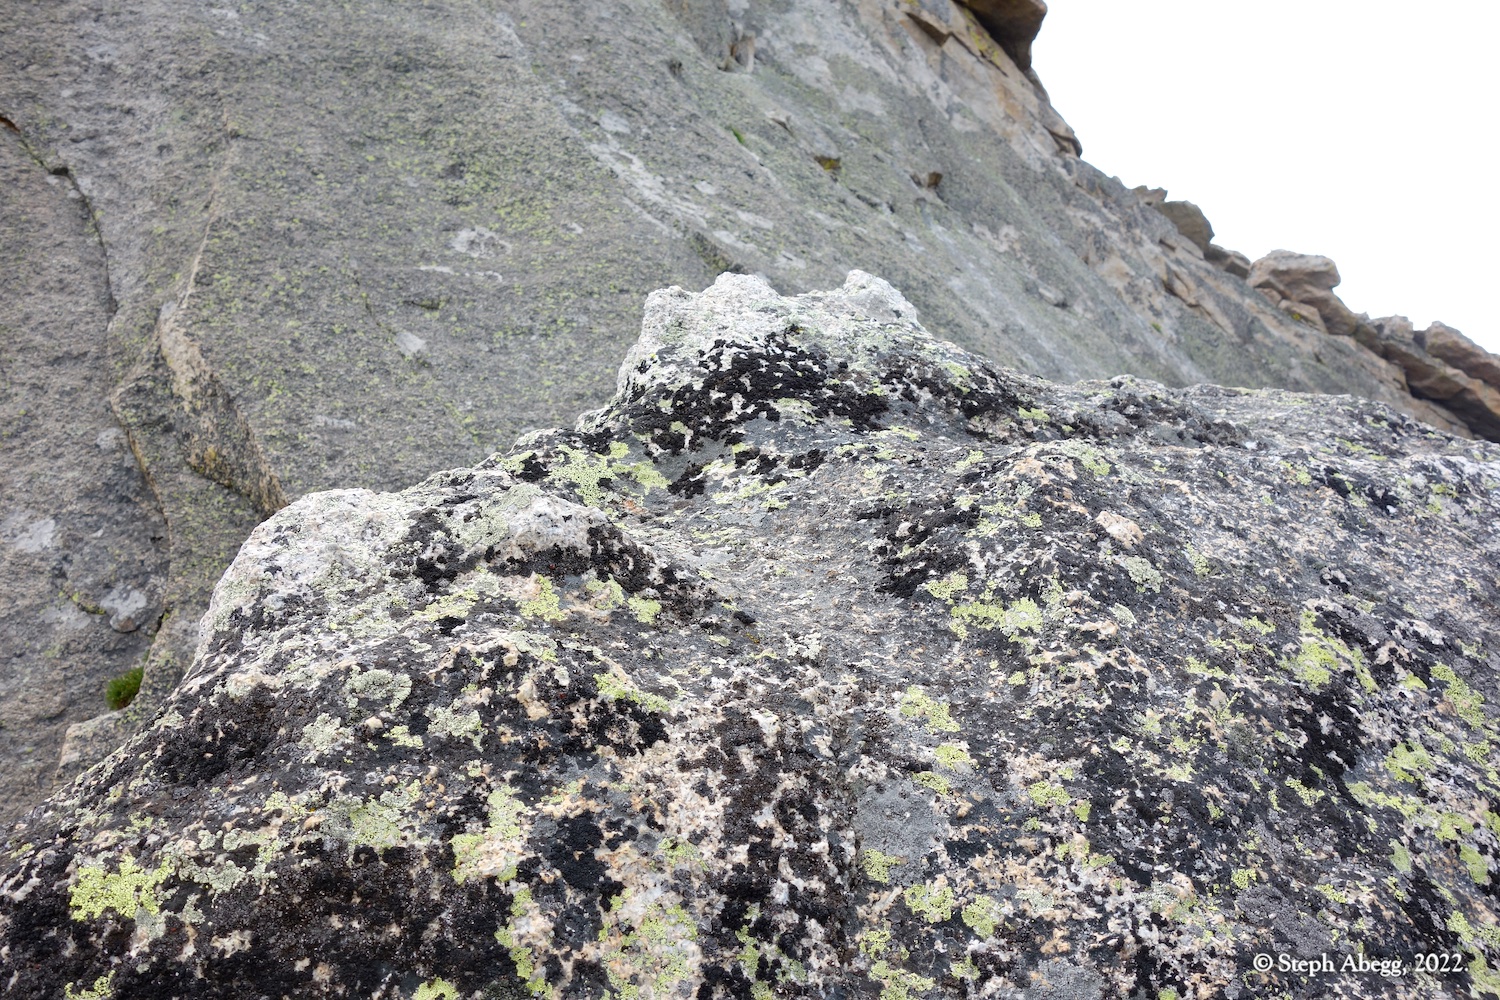
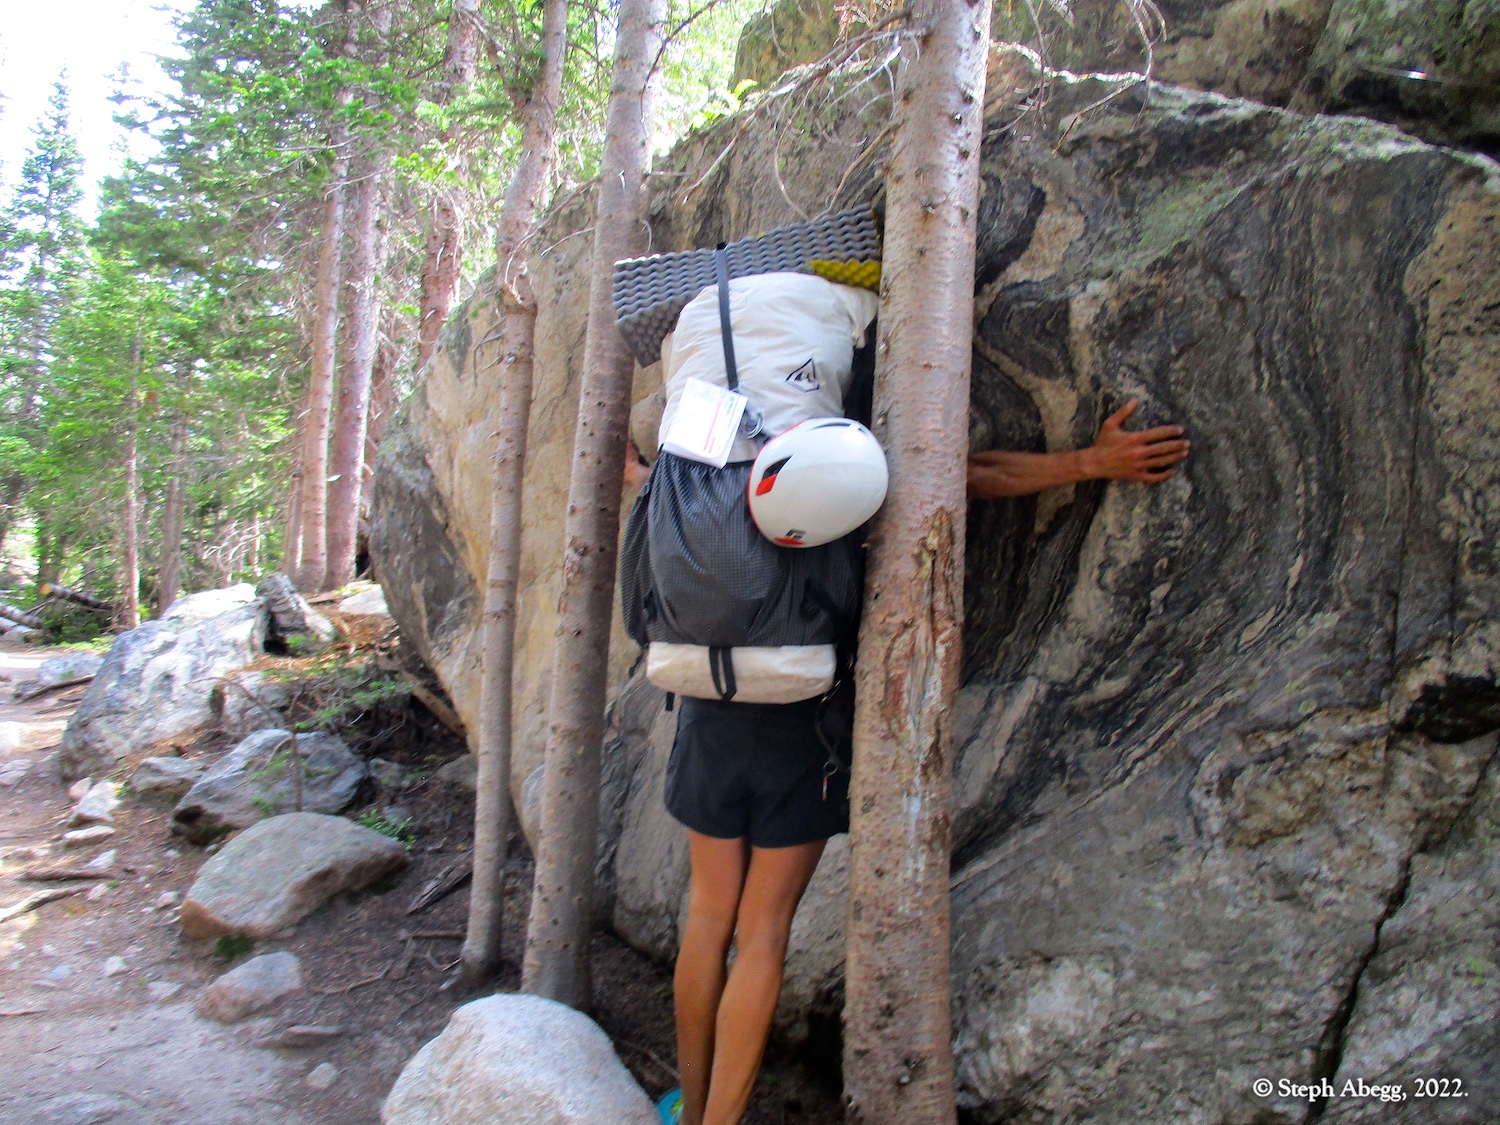
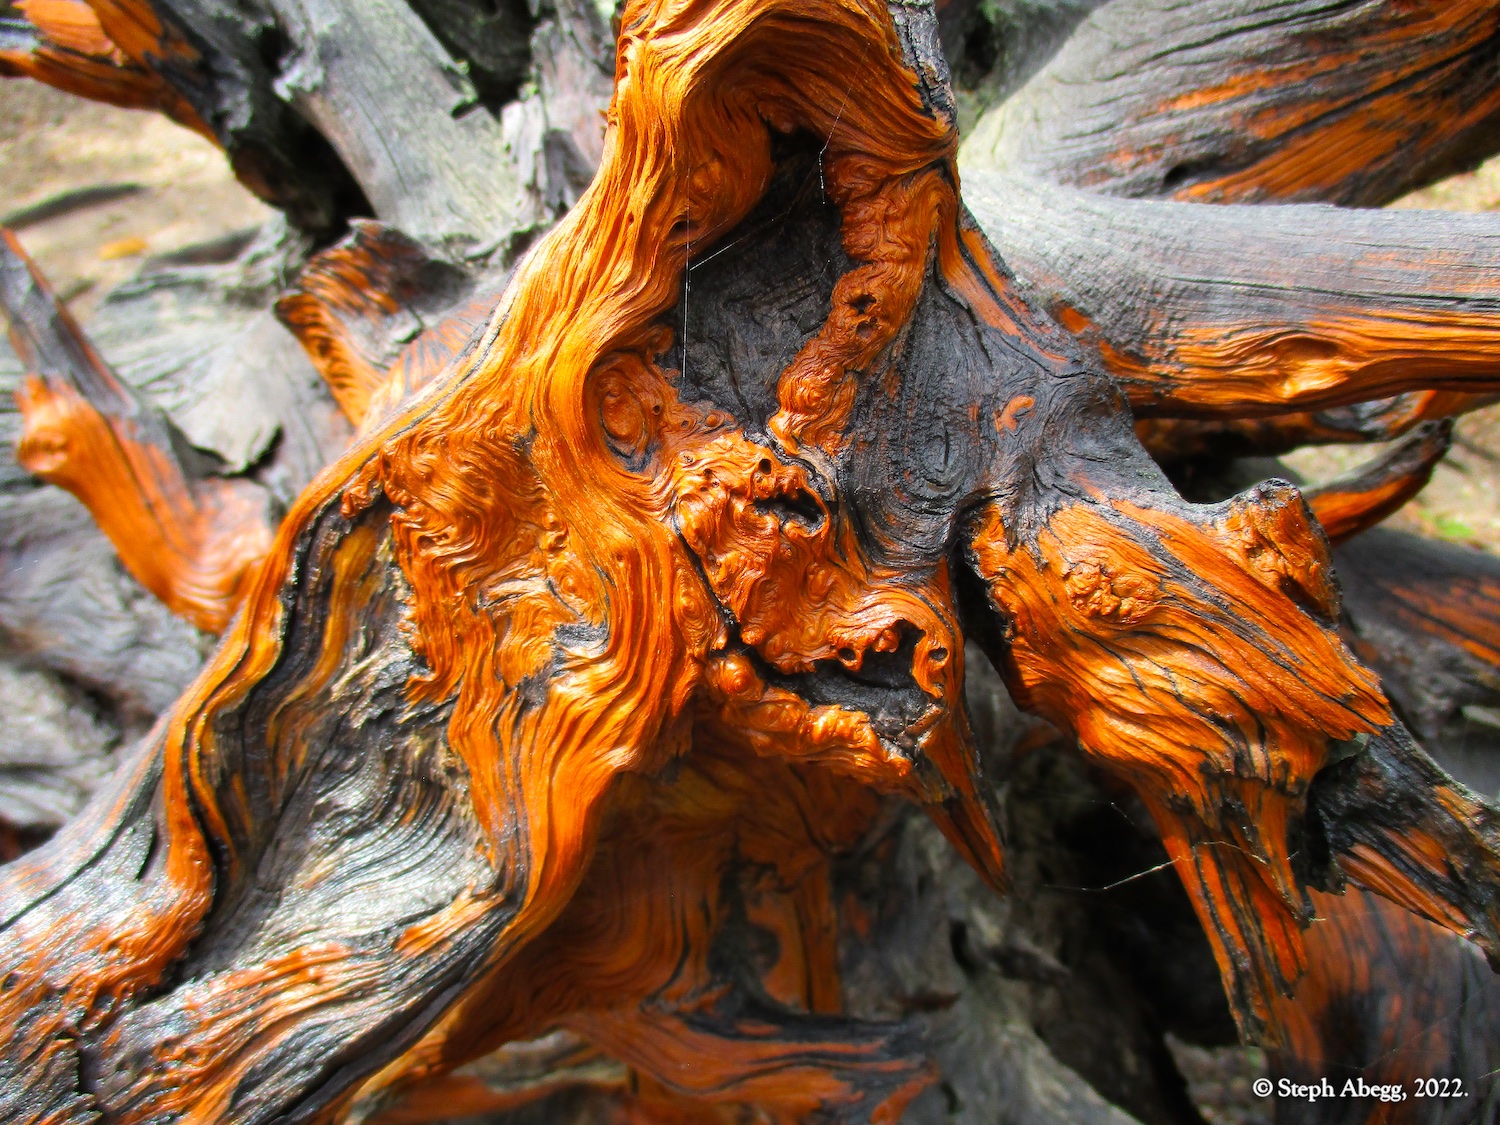
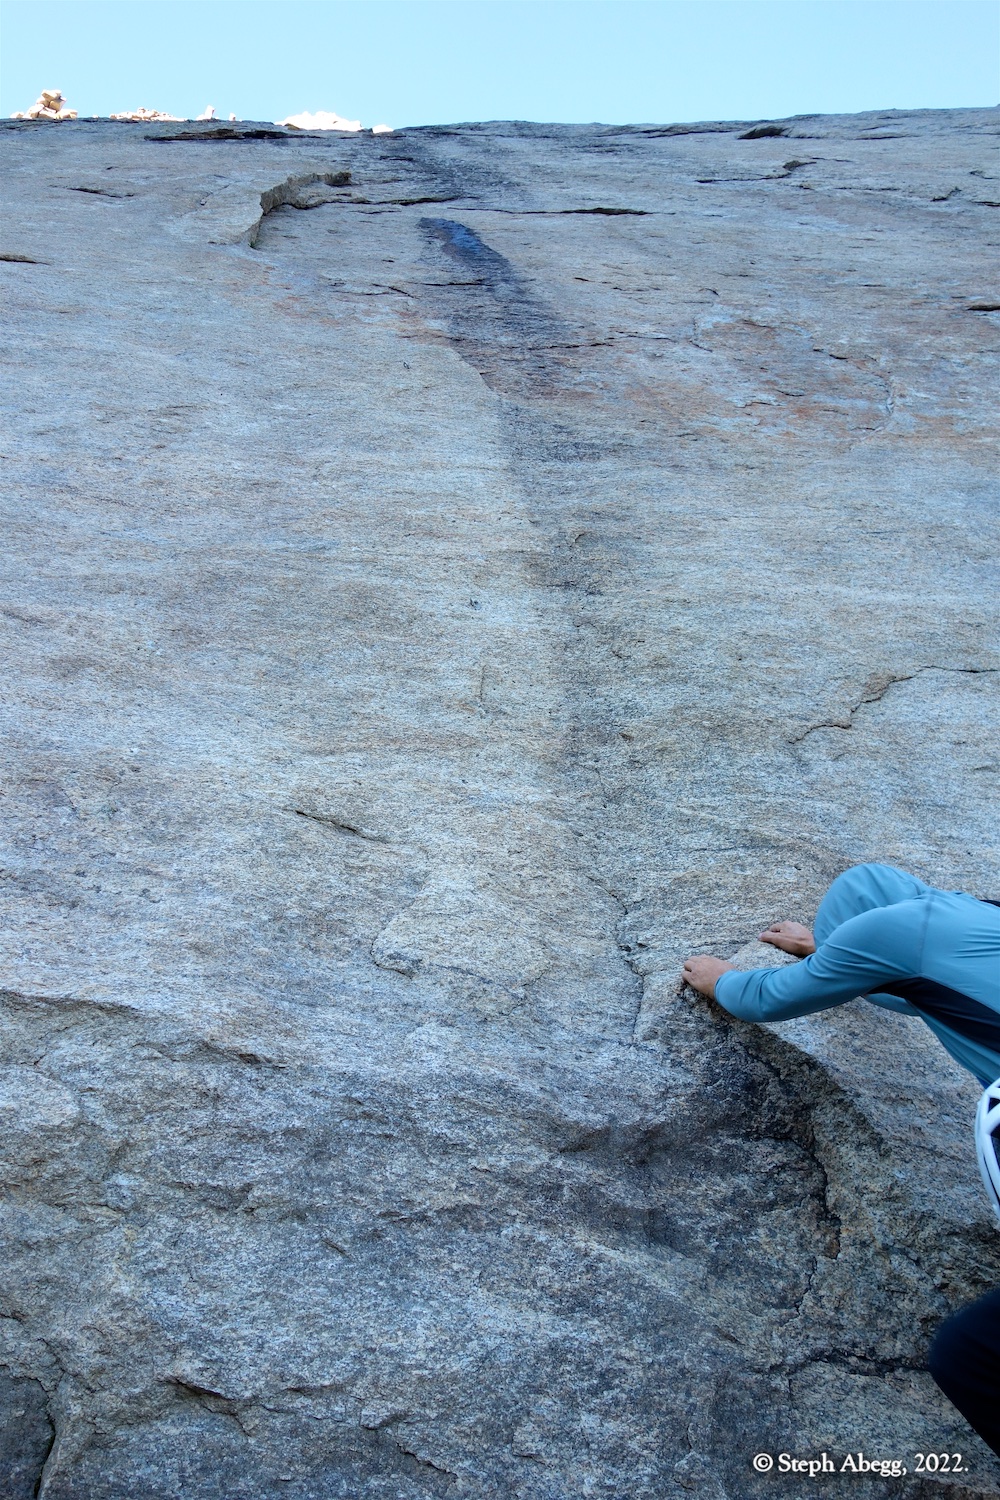
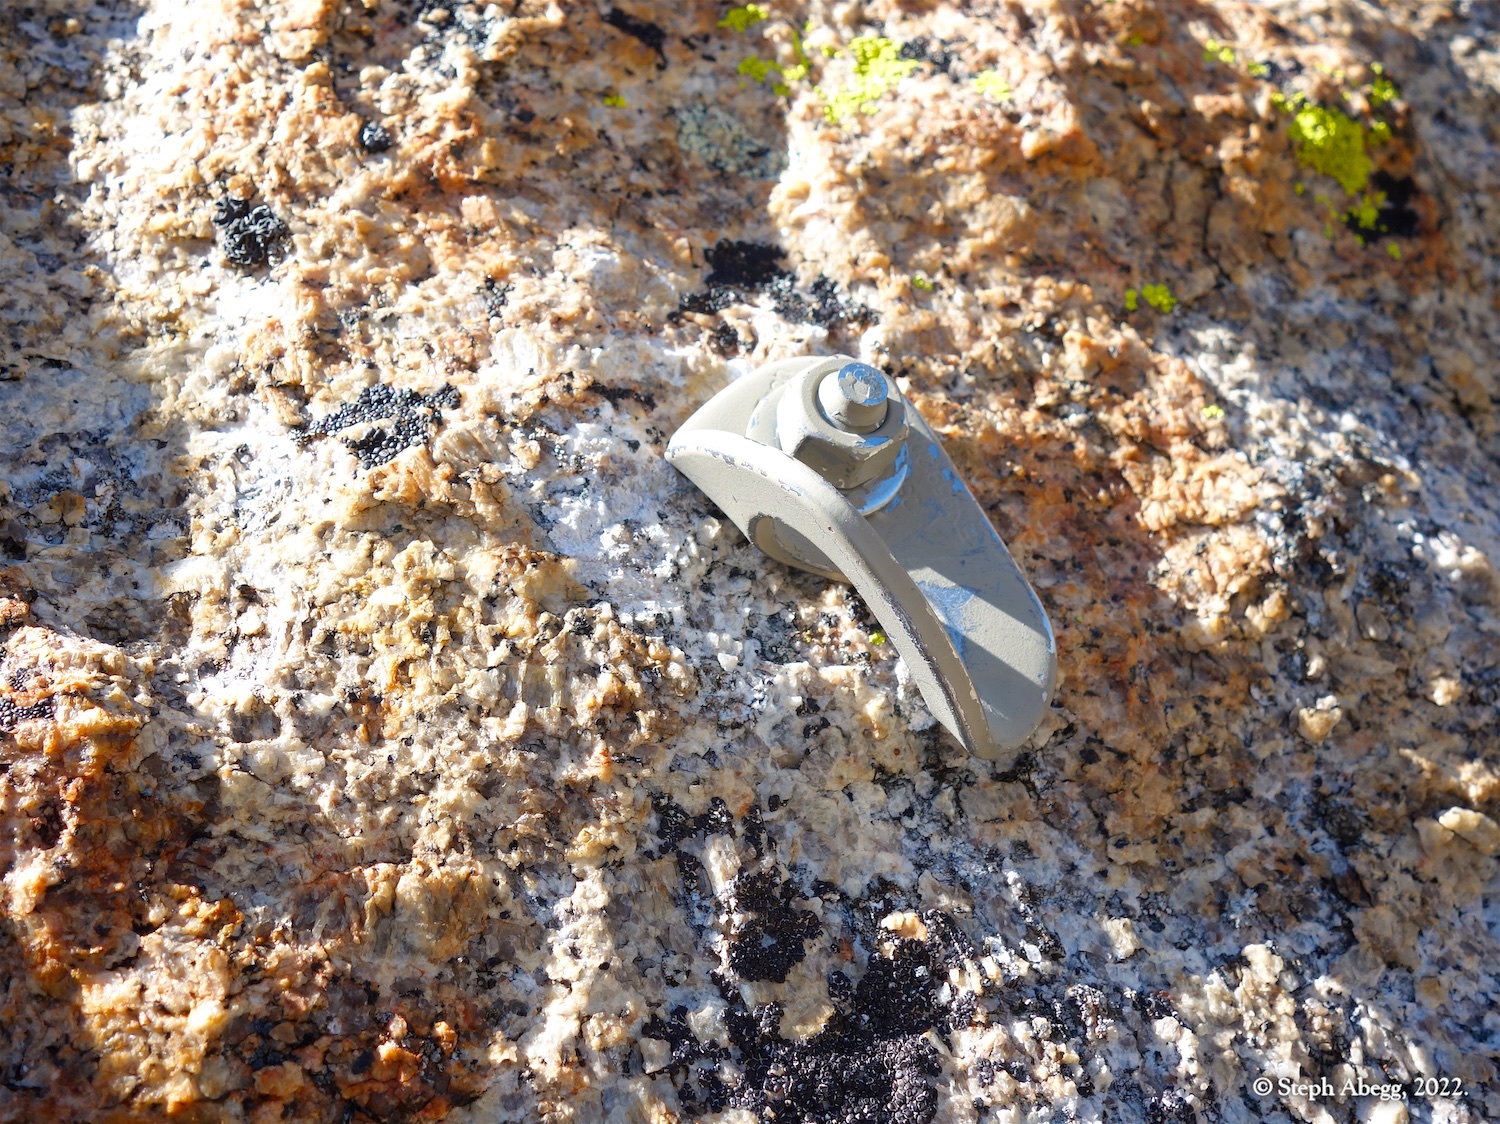
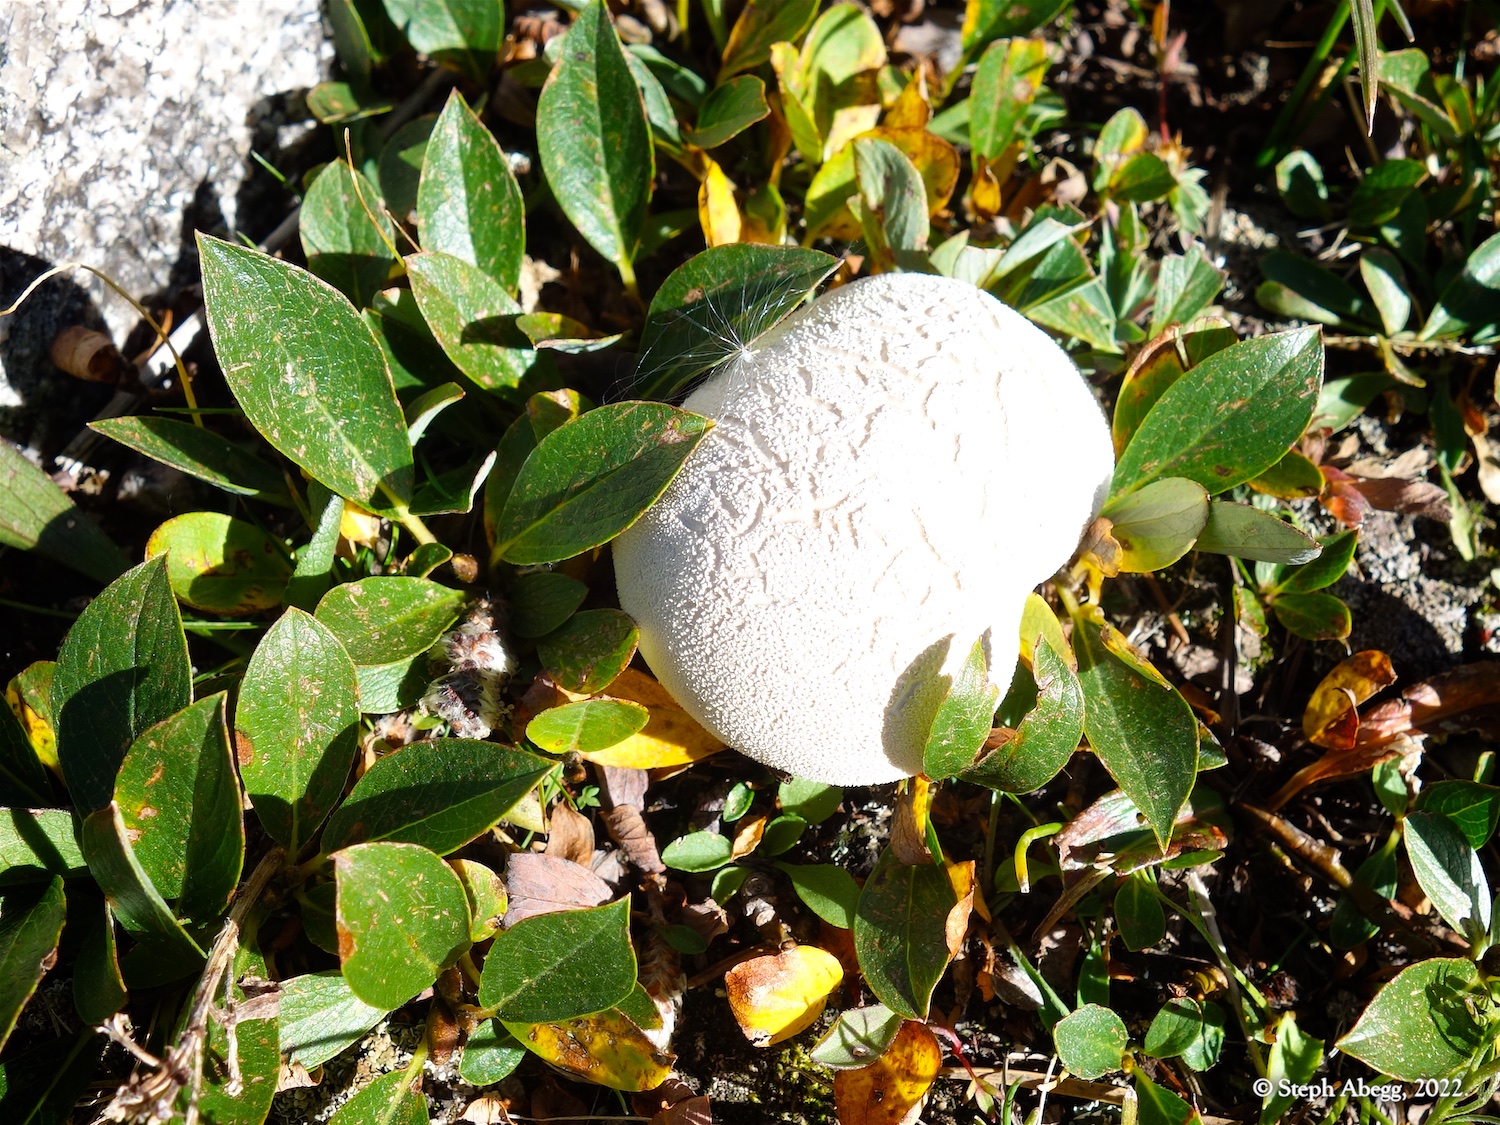
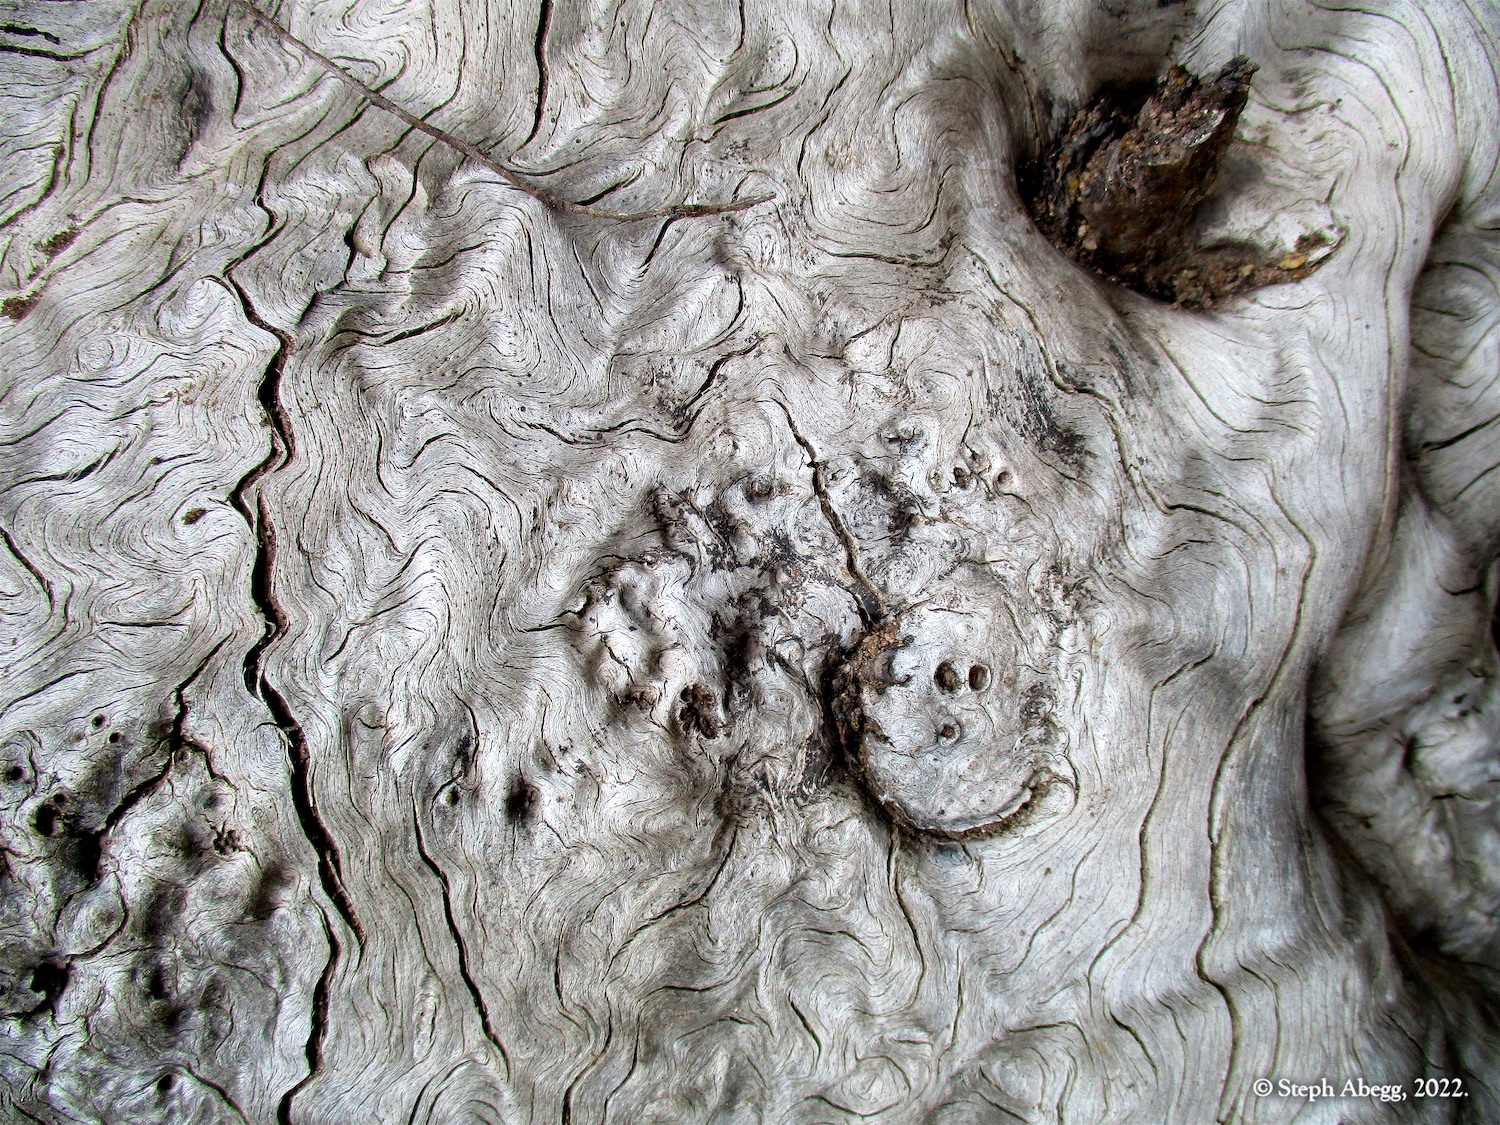
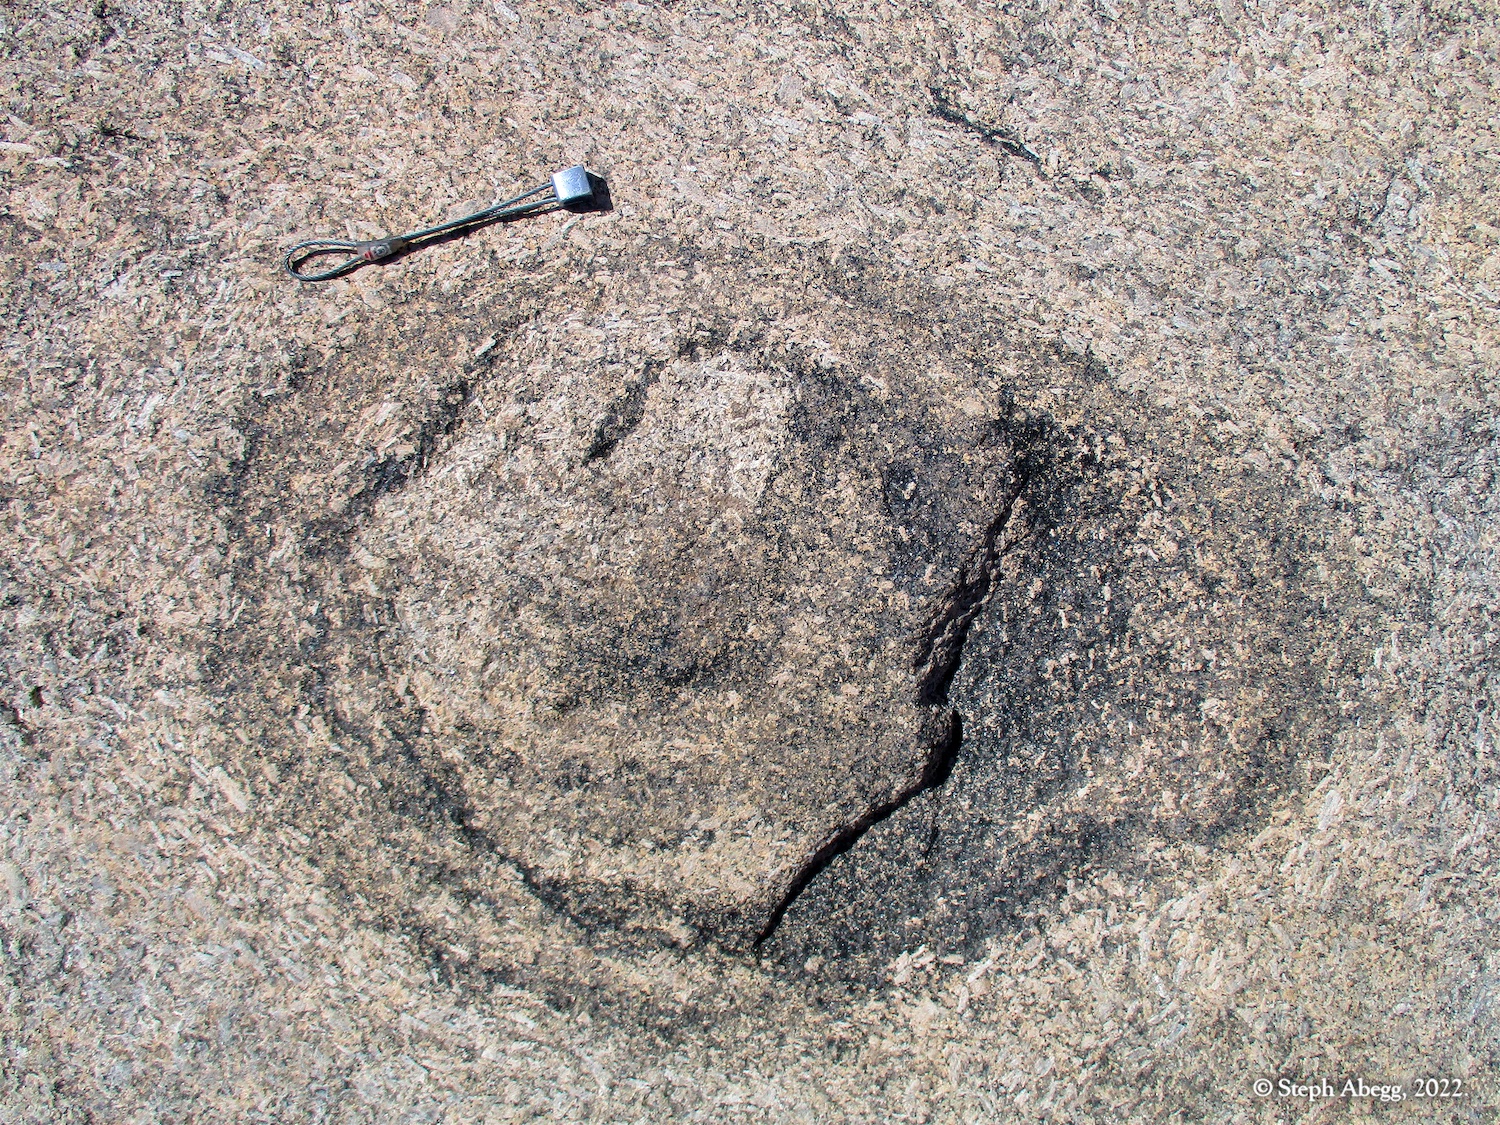
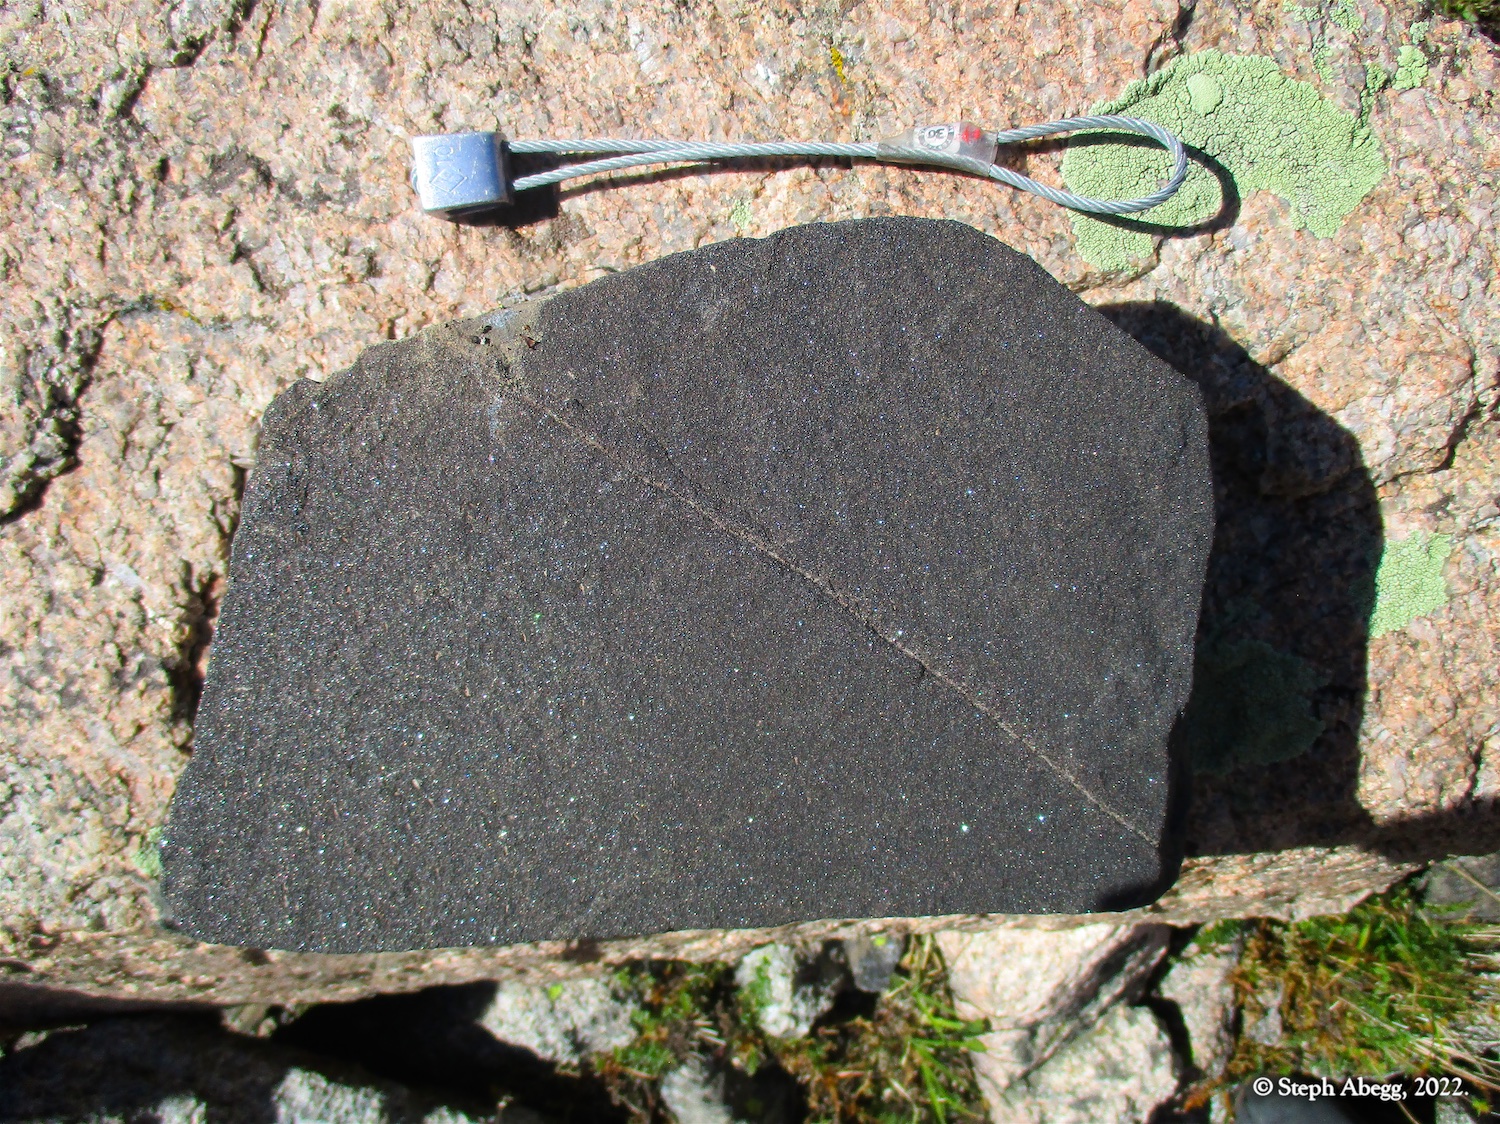
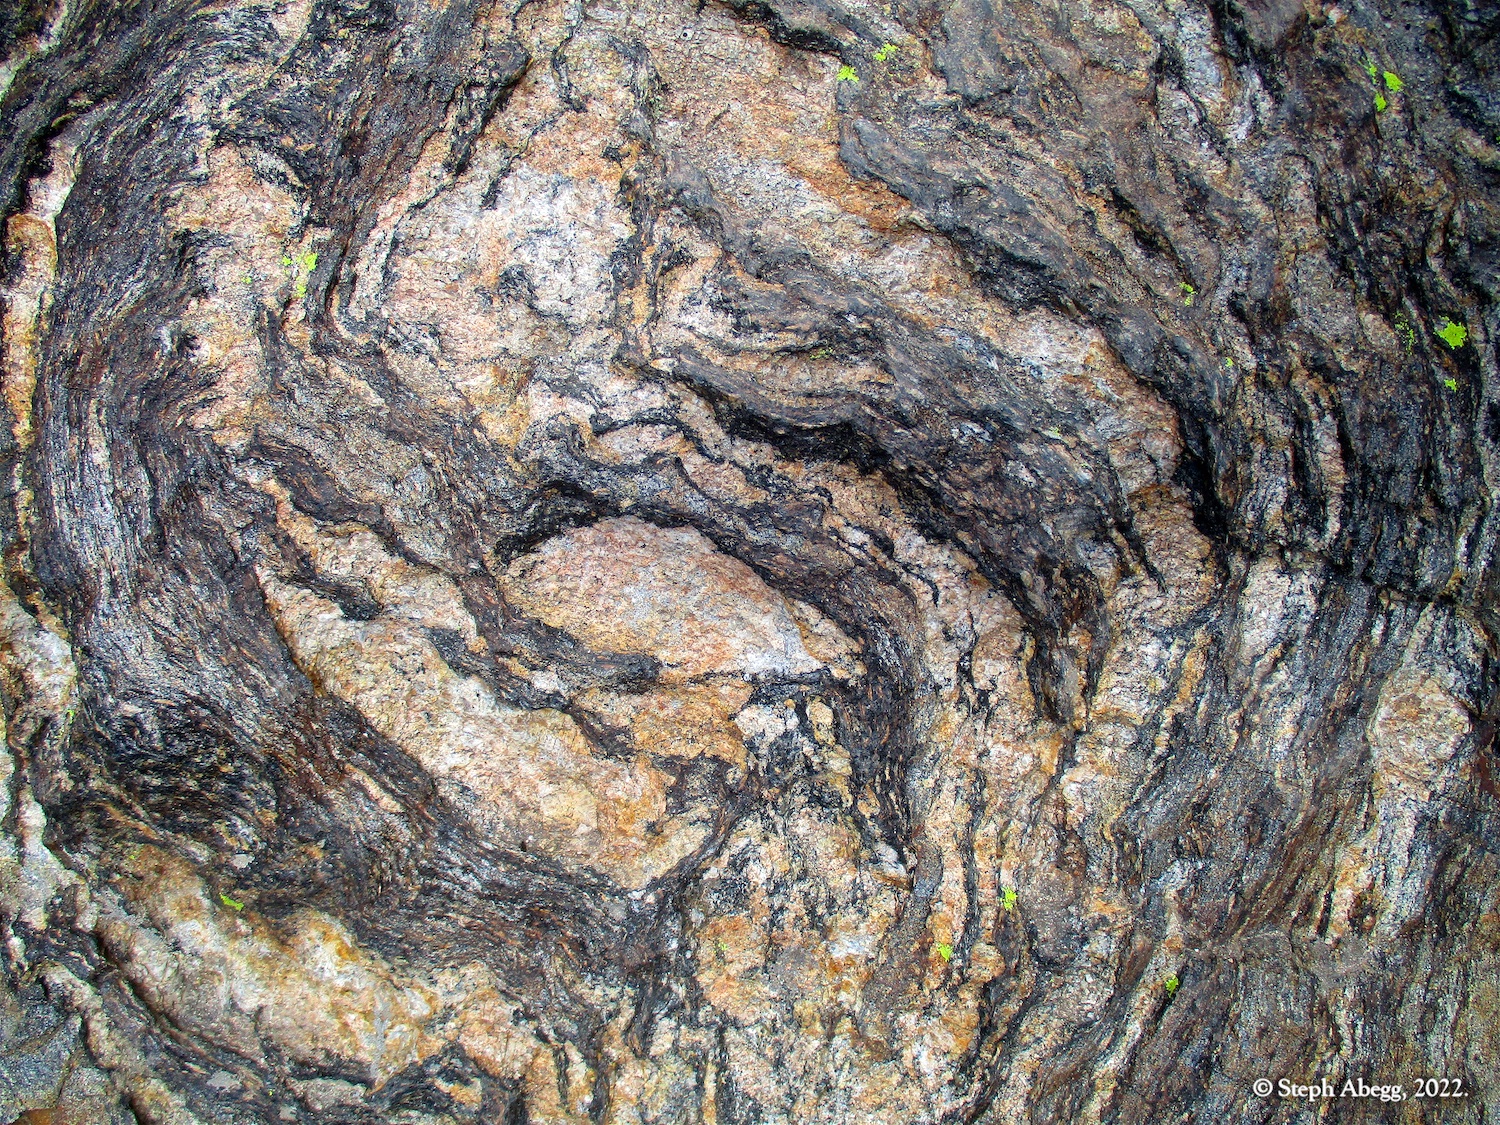
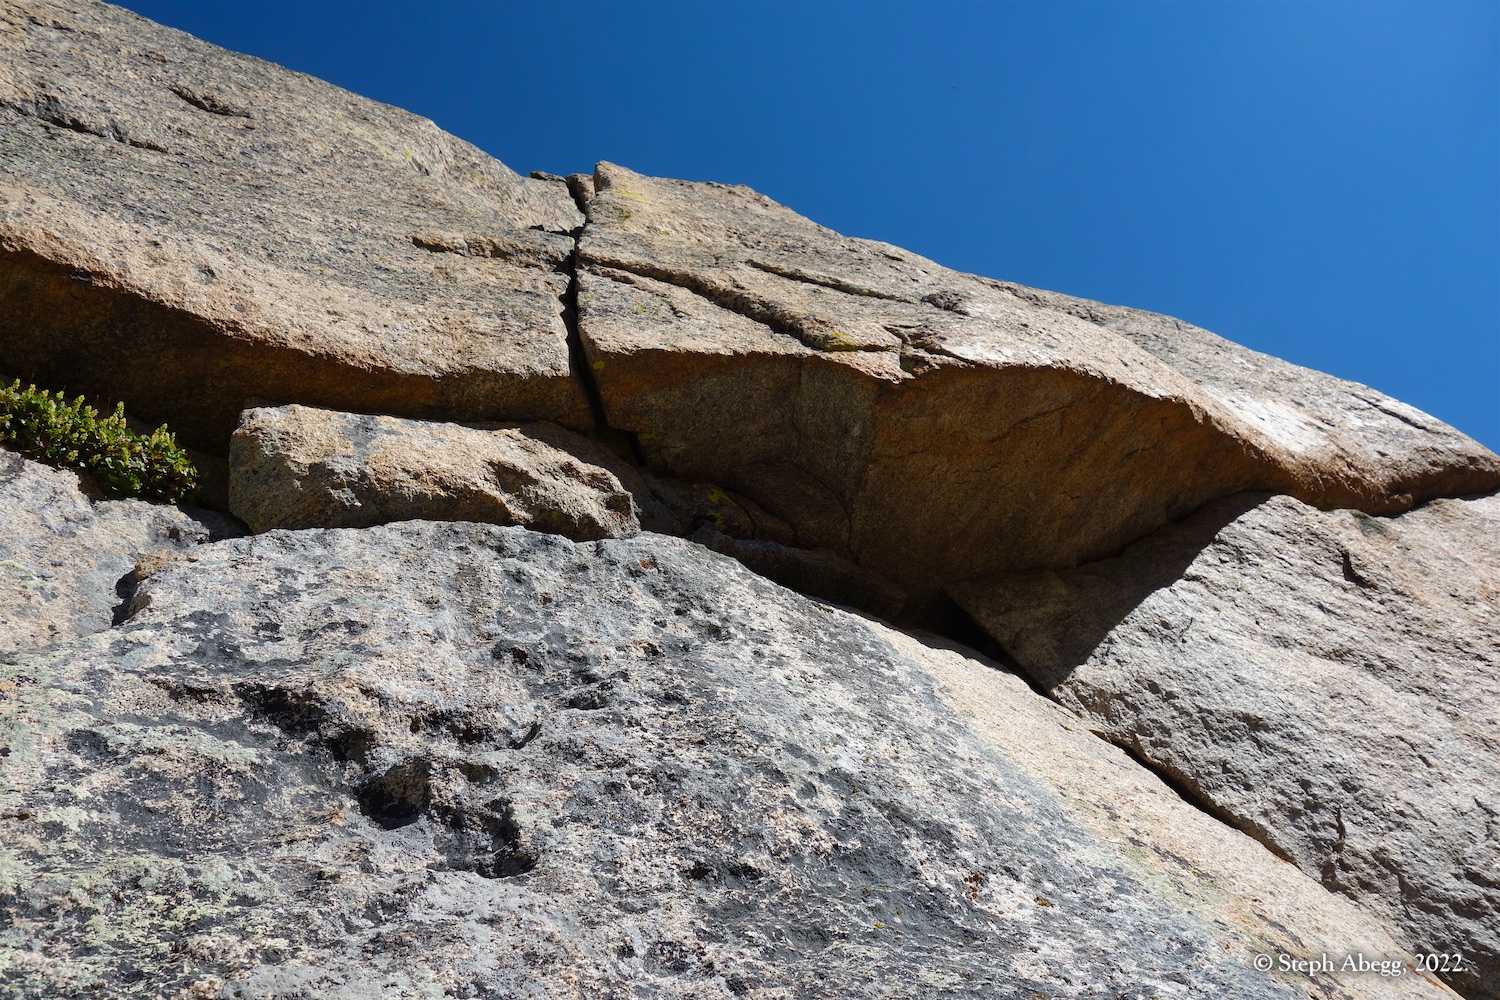
I've always been fascinated by rocks (my undergraduate degree is in geology, in fact). Nate took several rock photos too.
I've always been fascinated by rocks (my undergraduate degree is in geology, in fact). Nate took several rock photos too.