Ten months since a serious
climbing accident in September 2010, I had hoped I would be hiking and climbing again. But I was hardly walking, thanks to a dangerous bone infection I had dealt with. Hungry for adventure, I decided to do an overnight kayak trip (wonder if "kayakpacking" is a term?) in the San Juan Islands. I invited my mom along for the adventure.
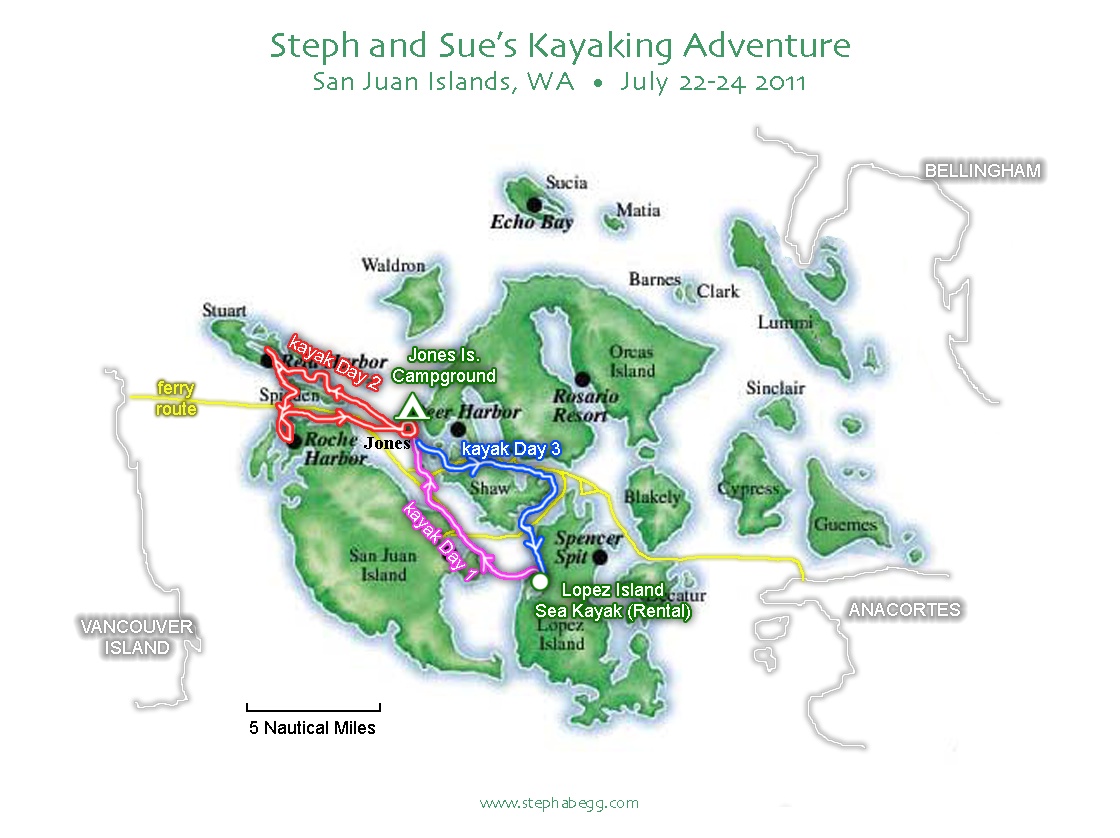
Our 3-day itinerary—illustrated on the above map—was:
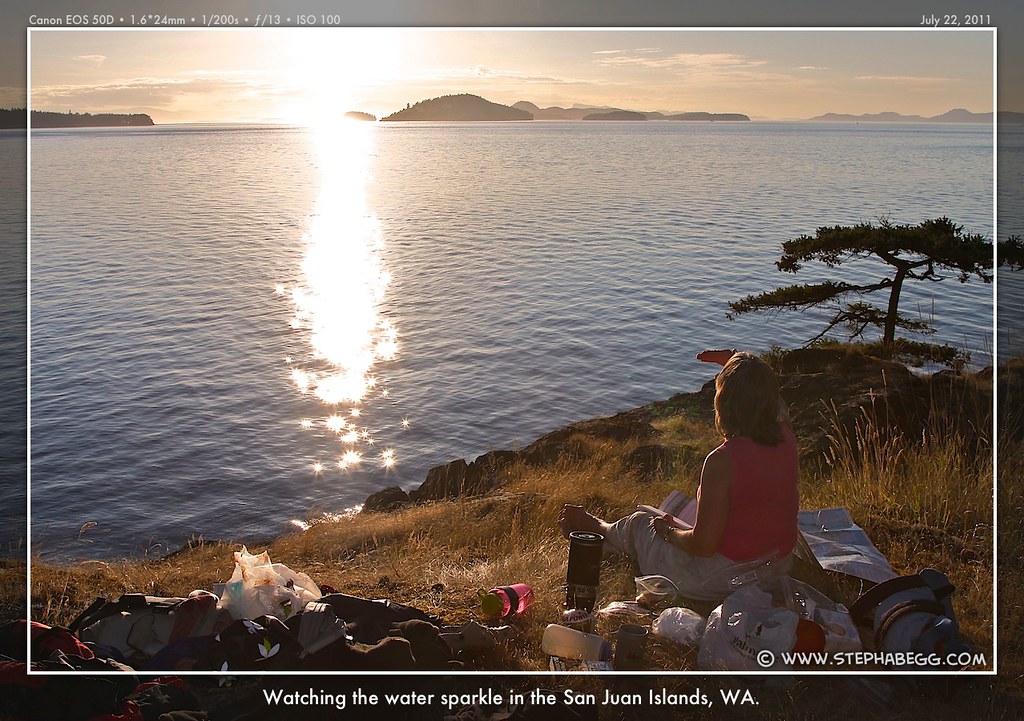
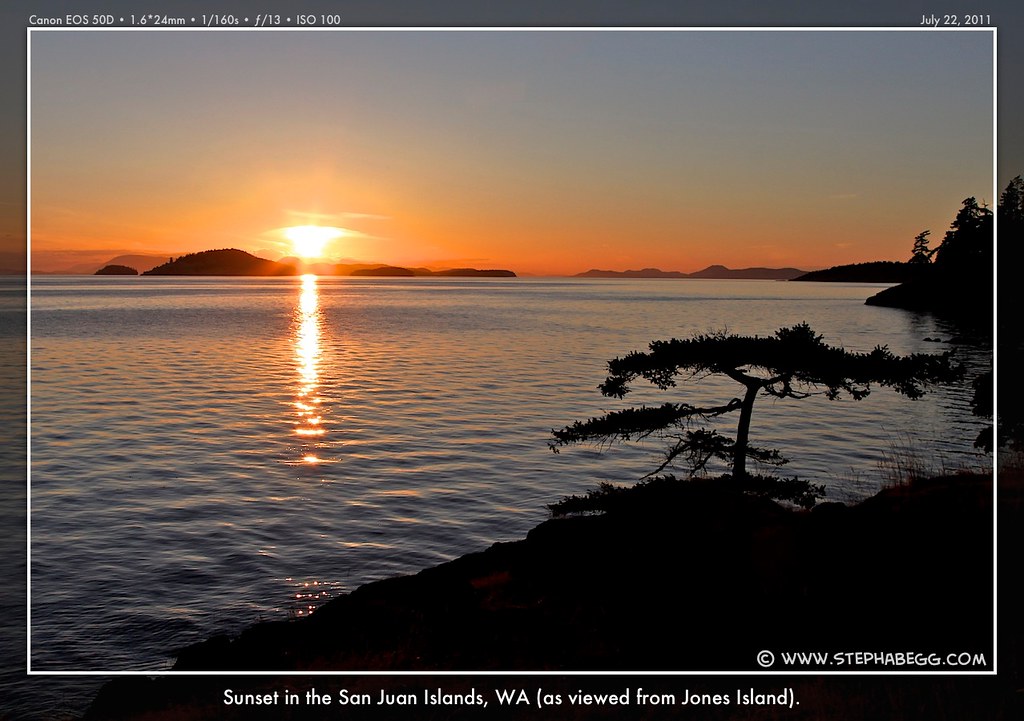
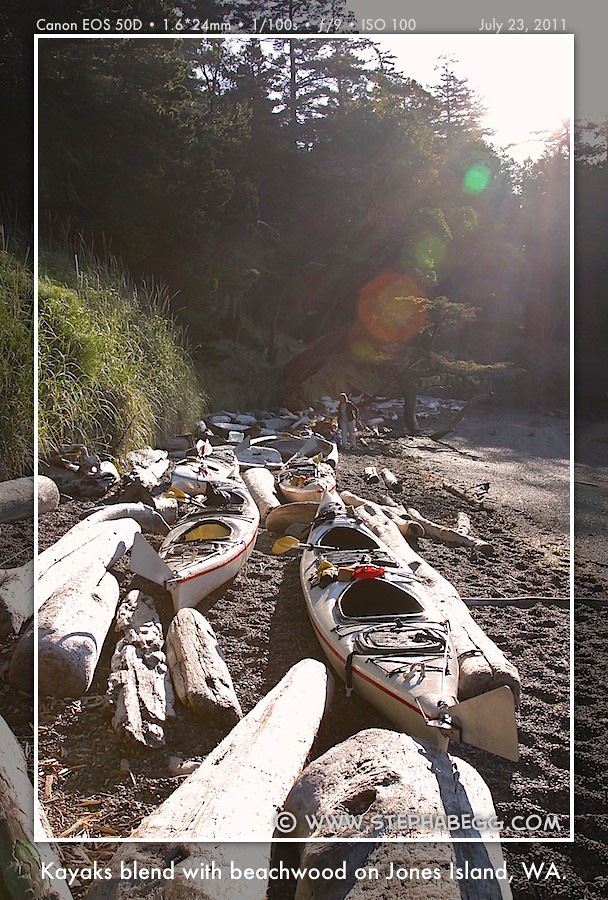
Day 1 - Rented a double kayak at Lopez Island Sea Kayak on Lopez Island and paddled from Fisherman Bay on Lopez Island to Jones Island, where there is a water-access only State Park and campground. We arrived with plenty of time to read books and watch a spectacular sunset. (about 4 hours of paddling)
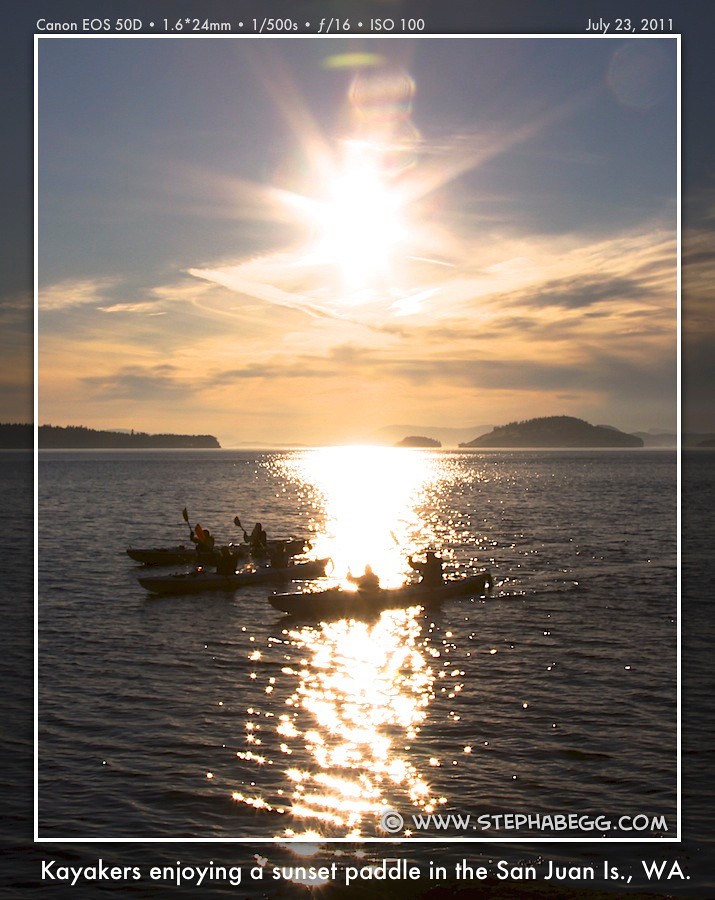
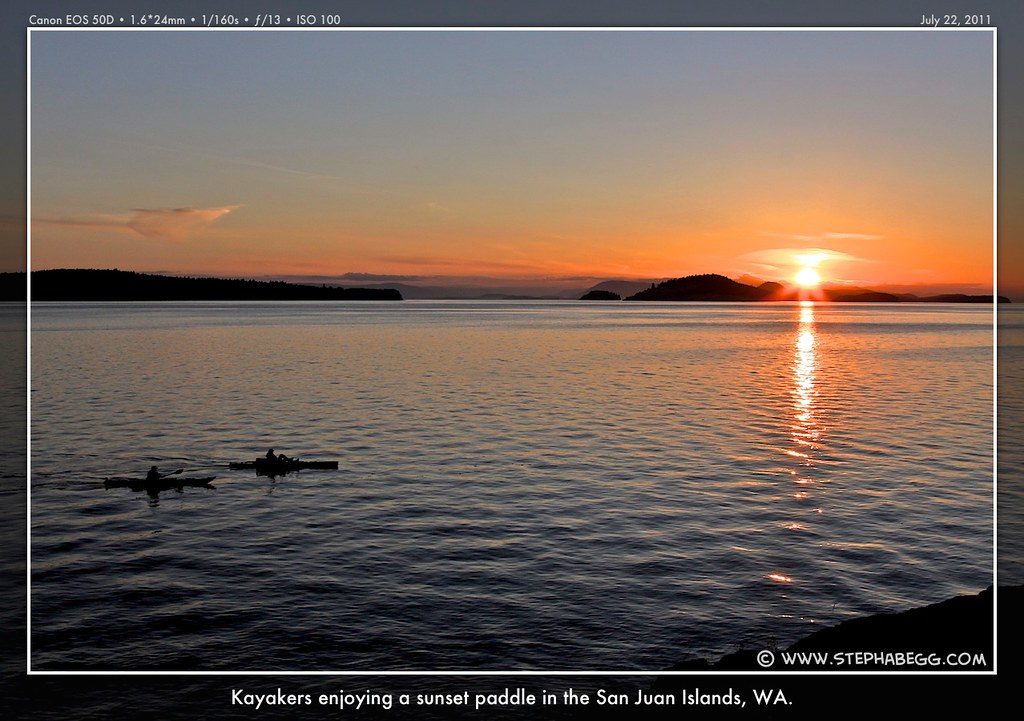
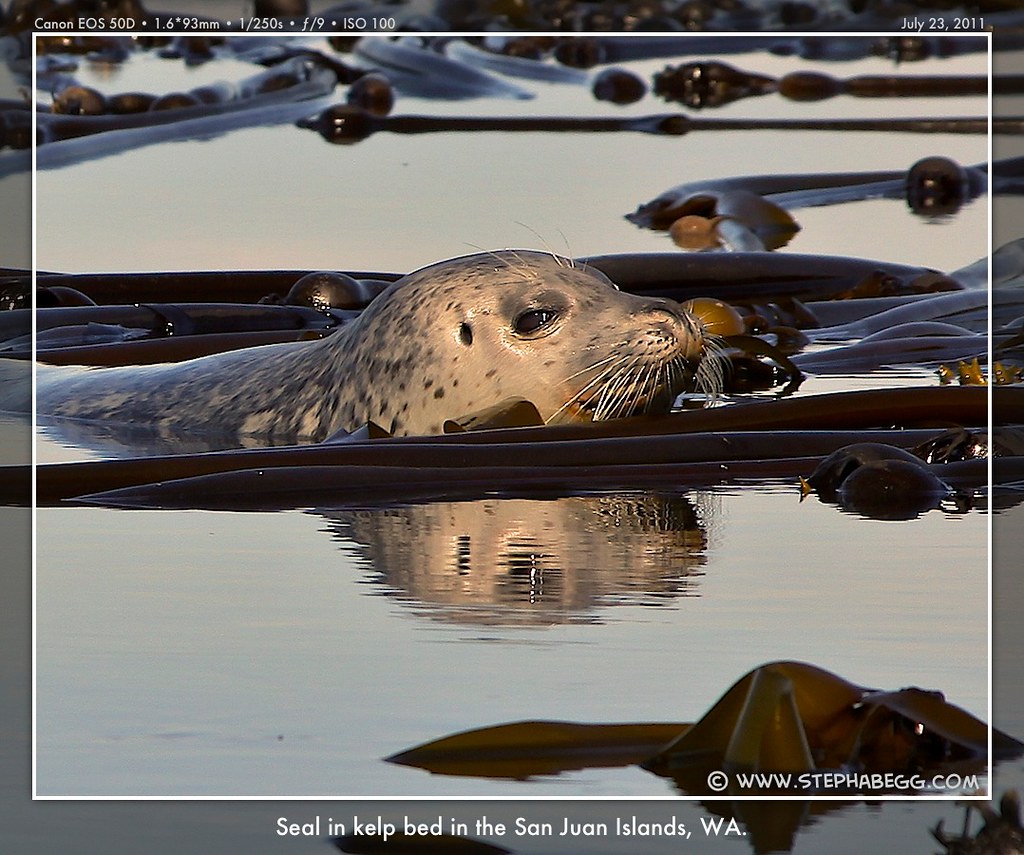
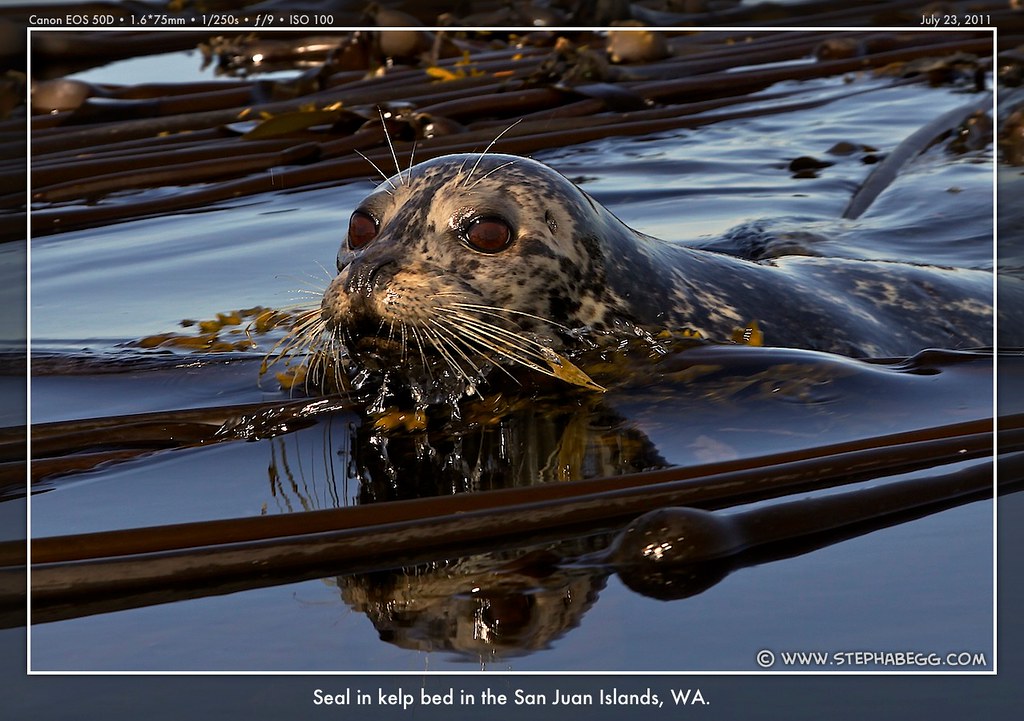
Day 2 - Paddled to the nearby island group of Spieden and Stuart Islands. We explored the area, particularly the several small islands designated as wildlife refuges; seals were everywhere. Next we paddled to Roche Harbor on San Juan Island, where we stretched our legs and enjoyed coffee and ice cream. Then we headed back to our camp on Jones Island for the night. We were treated to another spectacular sunset. (about 7 hours of paddling + lots of breaks)
Day 3 - Paddled around the north side of Shaw Island on the way back to where we started at Fisherman Bay on Lopez Island. (about 4 hours of paddling)
Although I am a climber at heart, I found this "kayakpack" trip in the San Juans to be a lot of fun. It reminded me of how lucky I am to live in this part of the world where there are glaciated mountains on one side and wild coastline and island chains on the other. Truly a spectacular place to live.
A note on photography from a kayak:
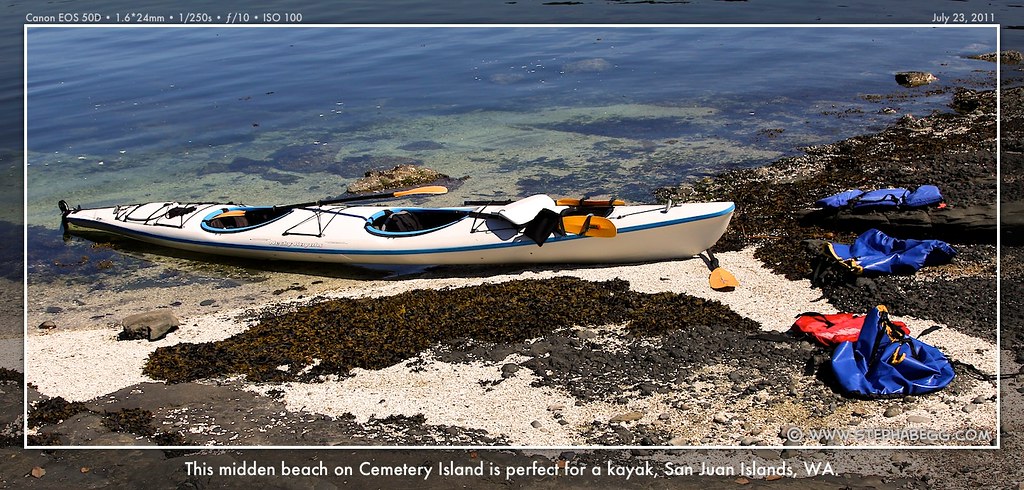
Photography from a kayak is a challenge. I started off with a point-and-shoot camera inside in a waterproof Pelican Case tied around my neck, leaving my SLR safely stowed away and only to be used at camp and rest stops. However, some water splashed into the Pelican case when I wasn't looking, and I discovered that salt water immersion is a good way to find yourself needing to buy a new camera. (At least it was my $300 point-and-shoot that was ruined, and not my $2000 SLR; but still, it's a frustrating thing.) So much for the photography from the kayak. But a few hours without a camera, and seals galore, and I was slowly starting to die off in the back of the kayak. So I chanced pulling out my SLR. I found it was reasonably safe to keep the SLR in a securely fastened dry bag on my lap underneath the skirt, and pull it out only on occasion when the kayak was still and the water was calm.
After this experience, my preferred approach to kayaking photography would be to use a point and shoot camera (it's pretty risky having an expensive SLR so close to splashing salt water) and the dry bag under the skirt technique.
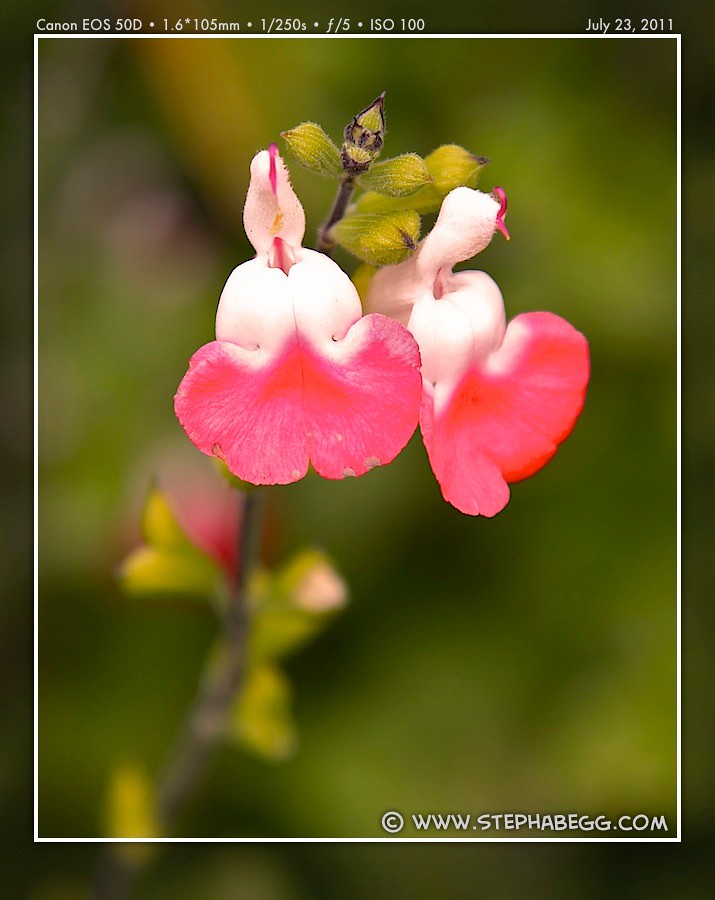
Some of my favorite photos from the trip are given below.