Green Giant Buttress, Dreamer Direct/Urban Bypass (5.10b, 1000′)
Green Giant Buttress
Route:
Dreamer Direct/Urban Bypass
5.10b, 1000'
A fun full day adventure with 1000' of varied slab, crack, and face climbing.
Region: Washington
Elev: 4,000 ft
Rock type: Granite
Type:
Date(s): July 14, 2016 (Thu)
Partner(s): Janet Arendall
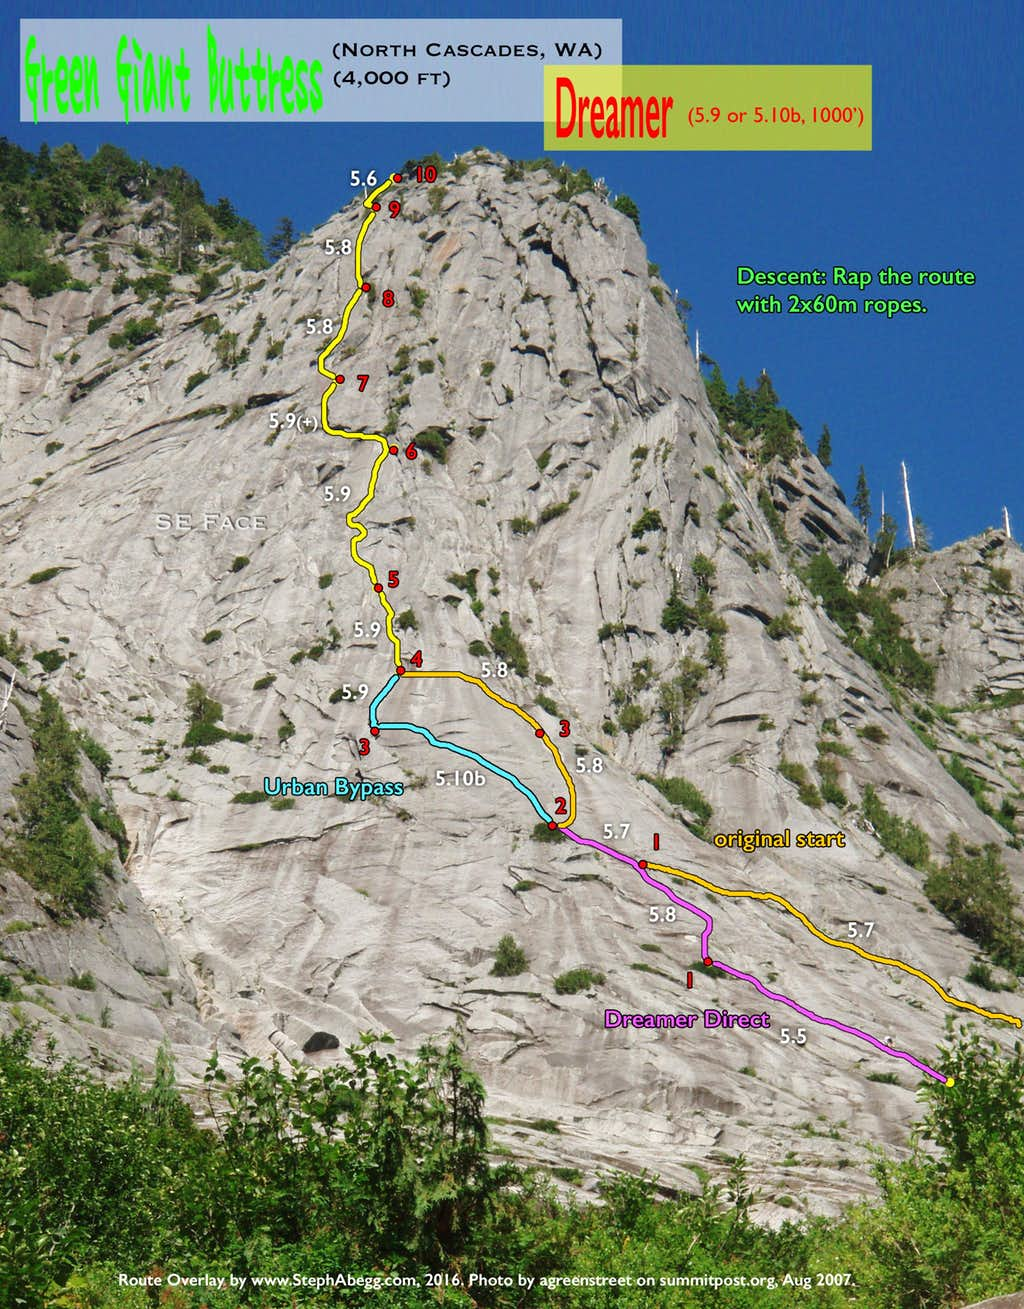
Route Overlay
CLICK TO ENLARGE
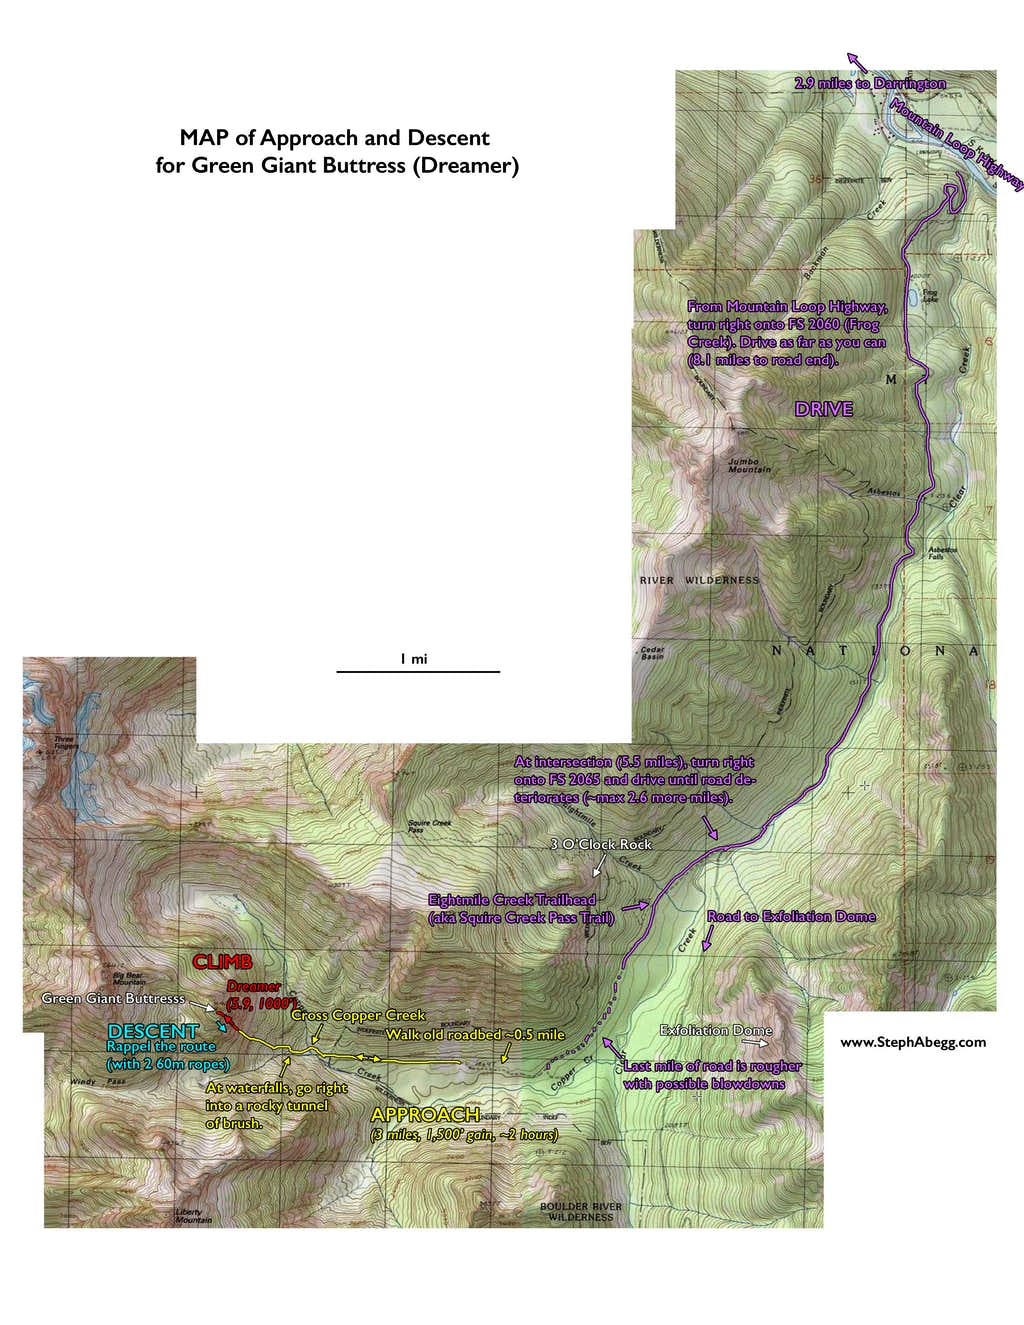
Map and Approach
CLICK TO ENLARGE
Intro
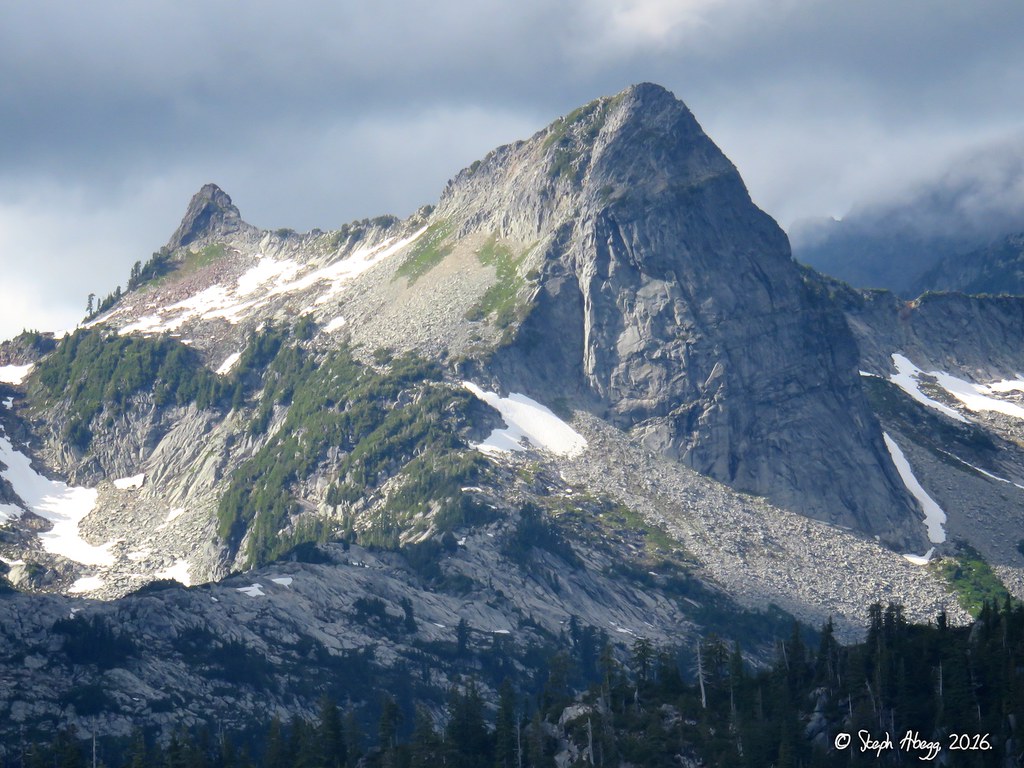
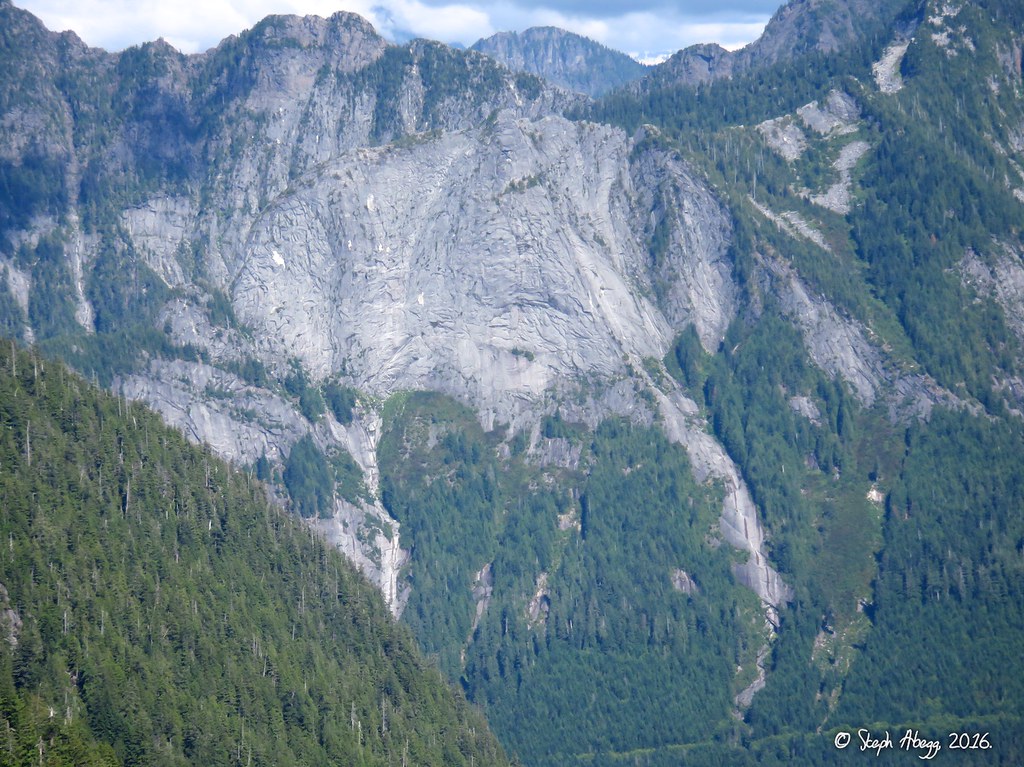
Dreamer is the most popular long route in Darrington. The climb offers 1000' of varied climbing—a mix of runout friction slabs, steep knobby face climbing, a couple of wild underclings, a splitter flake, and a few nice sections of cracks—all at a sustained yet moderate grade. The route is located on the southeast-facing Green Giant Buttress, which has a remote feel with some nice mountain views from the top.
I've wanted to climb this must-do multipitch route for awhile. But I've been a bit dissuaded by two things: slab climbing and tales of climbers getting lost on the approach. But then one day the dissuasions became attractions—I had badly strained an intercostal muscle on Mt. Stuart a couple of weeks previous and slab sounded like a good way to ease it back into climbing; and I wanted to solve the mystery of why it was so difficult to find a 1000' tall wall or rock located only 3 miles from the car.
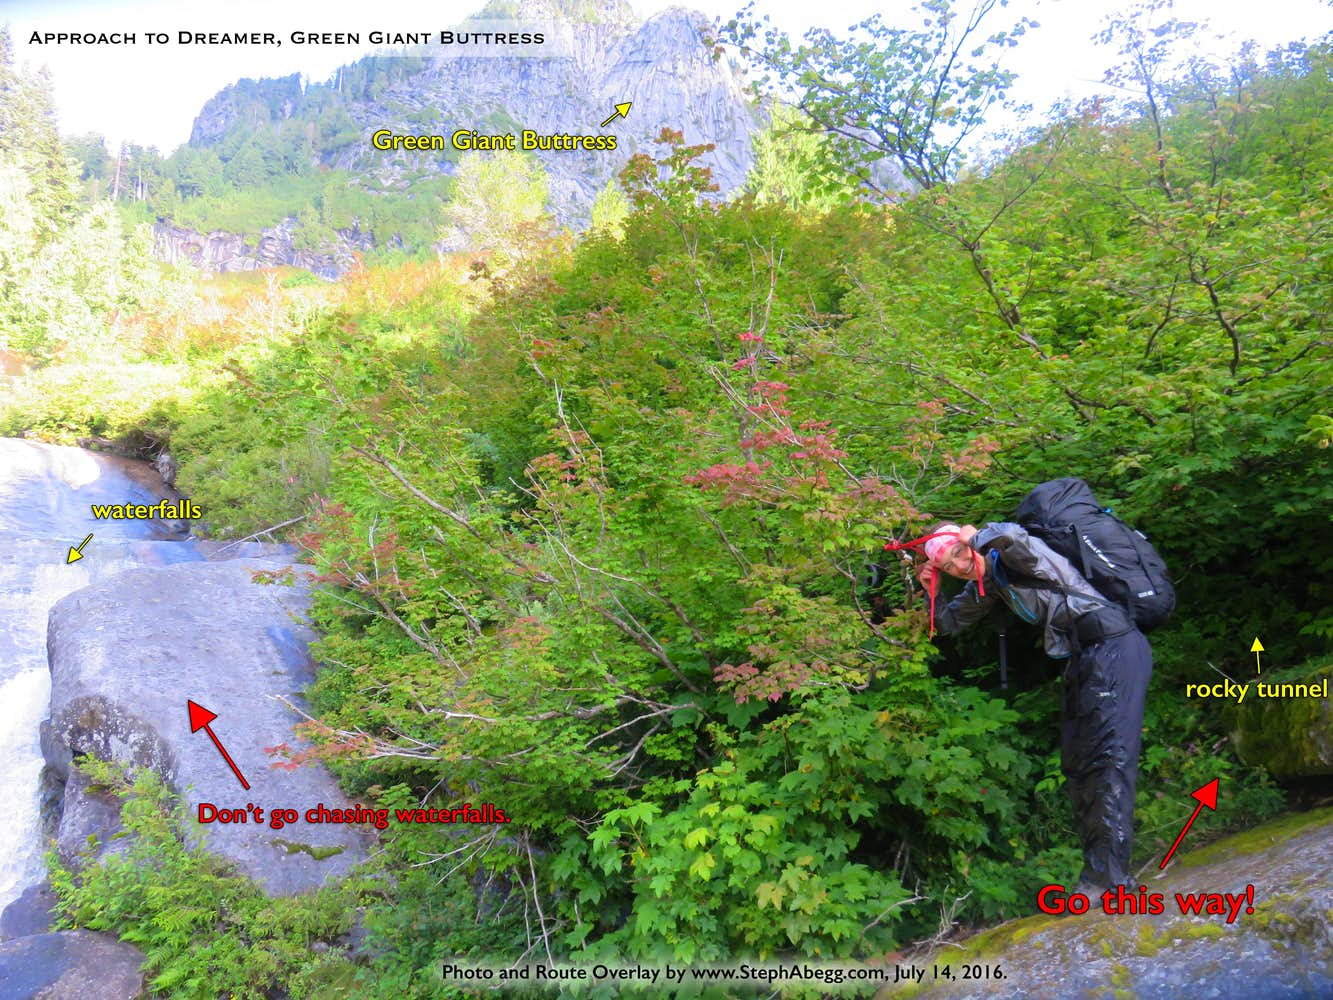
Instead of the original start of the route, we followed DreamerDirect to UrbanBypass, which leads to the top of the 4th pitch of Dreamer in a more direct line than the original start. DreamerDirect starts the route with a couple of moderate (5.5 and 5.8) pitches of slab and Urban Bypass continues onward with a pitch of even steeper and slightly runnout slab (5.10b) and then a pitch of knobby face (5.9). To me (a crack climber), all of these pitches seemed hard for the grade and the bolts were a bit too generously spaced for my comfort level. While the climbing style was gentle on my pec muscle, the slab and runnout got to my head a bit; fortunately, Janet graciously stepped up to leading the slabs (thanks Janet!) and did an awesome job. From the top of Pitch 4, we found the climbing to be surprisingly varied with a mix of good cracks, flakes, spicy underclings, wild knobs, and some slabs. This part of the route has a different character from the first 4 pitches (and from other climbs I've done in Darrington for that matter) due to the variety and the fair bit of natural protection in addition to a few bolts. I really enjoyed the second half of the route. The route officially ends at the top of Pitch 9, even though a 100-ft pitch of grungy difficult-to-protect 5.6 climbing will take you to the top (where there are rap anchors). Wanting the satisfaction of topping out, we climbed this final pitch to the top, and were rewarded with great views of Three Fingers and Salish Peak to the northwest (you cannot get these views from the route). From the top, ten double rope raps back down the route got us down. We had a couple close calls with rope eating trees and flakes, but we managed to get down without any major problems. There was no one else on the route that day. And as for the mystery of why it is so difficult to find the route, I am not sure. We just followed the route approach description and got from the end of the road to the base of the route in 1 hour and 45 minutes (on the way out it took 1 hour and 18 minutes). I think the key is to make sure you head into the brushy rocky tunnel at the base of the waterfalls, i.e. just follow TLC's advice and don't go chasing waterfalls.
The following page gives some photos and route overlays from the climb. Thanks Janet for joining me on this fun day of climbing!
Pitch-by-Pitch Photos
THIS TRIP REPORT IS STILL MOSTLY IN THE EMBEDDED HTML FORMAT OF MY OLD WEBSITE.
Photos:
Photo descriptions:
Approach
~3 miles, 1500 ft gain, ~2 hours
1.
2.
3.
4.
5.
6.
7.
8.
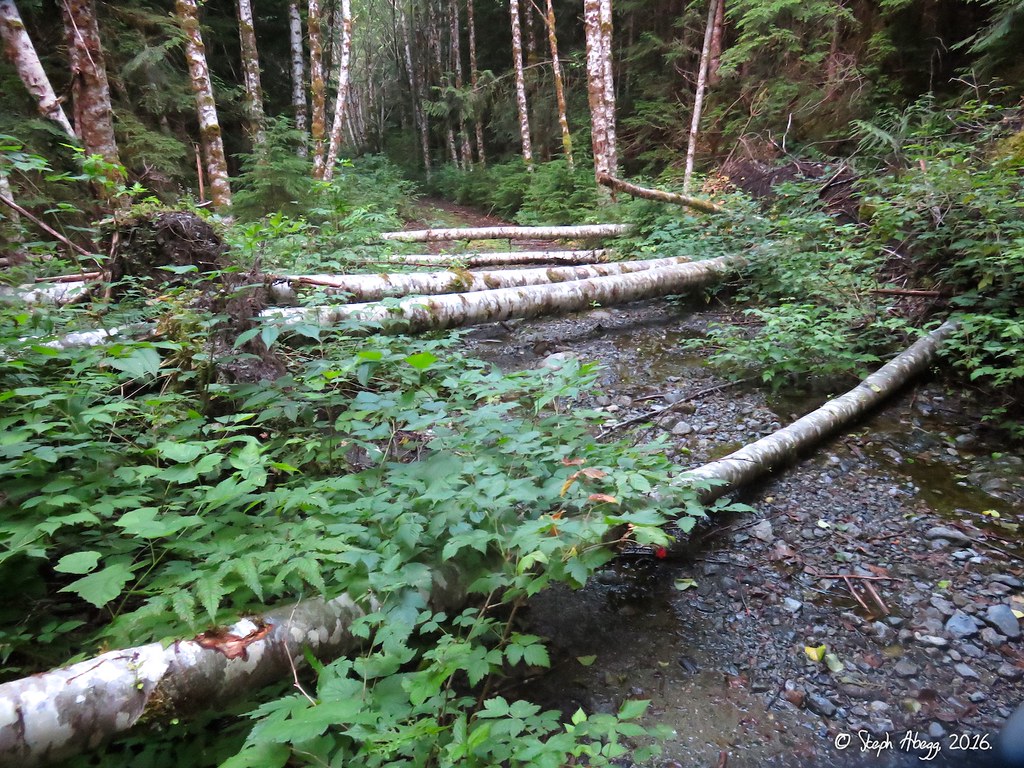
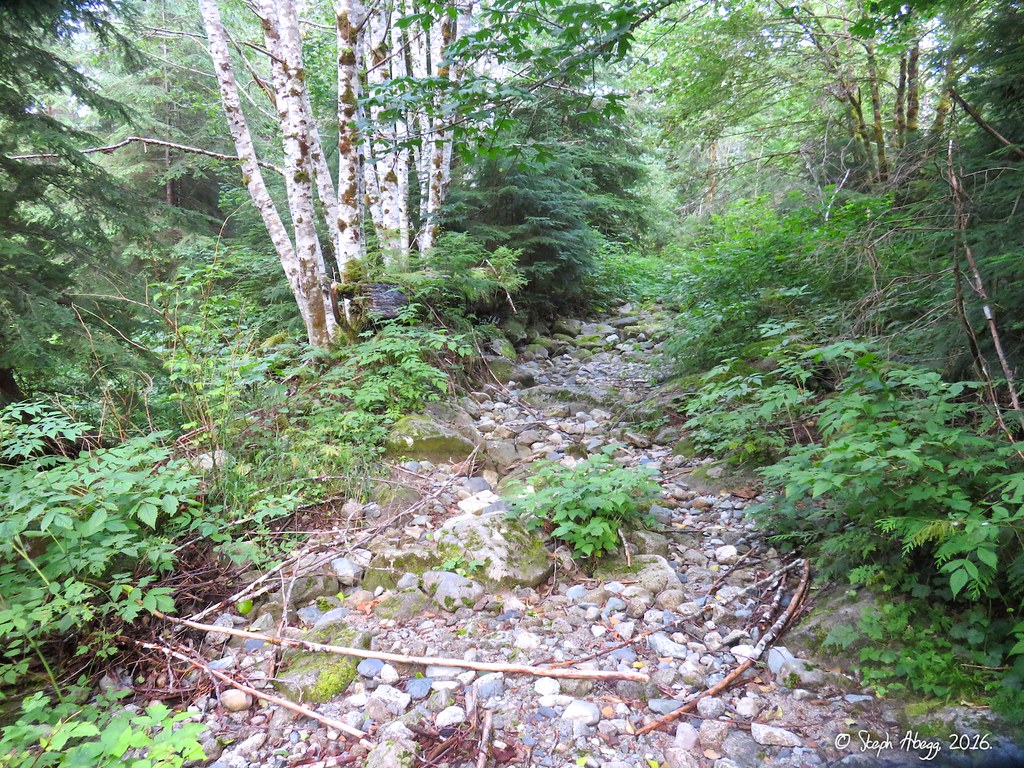
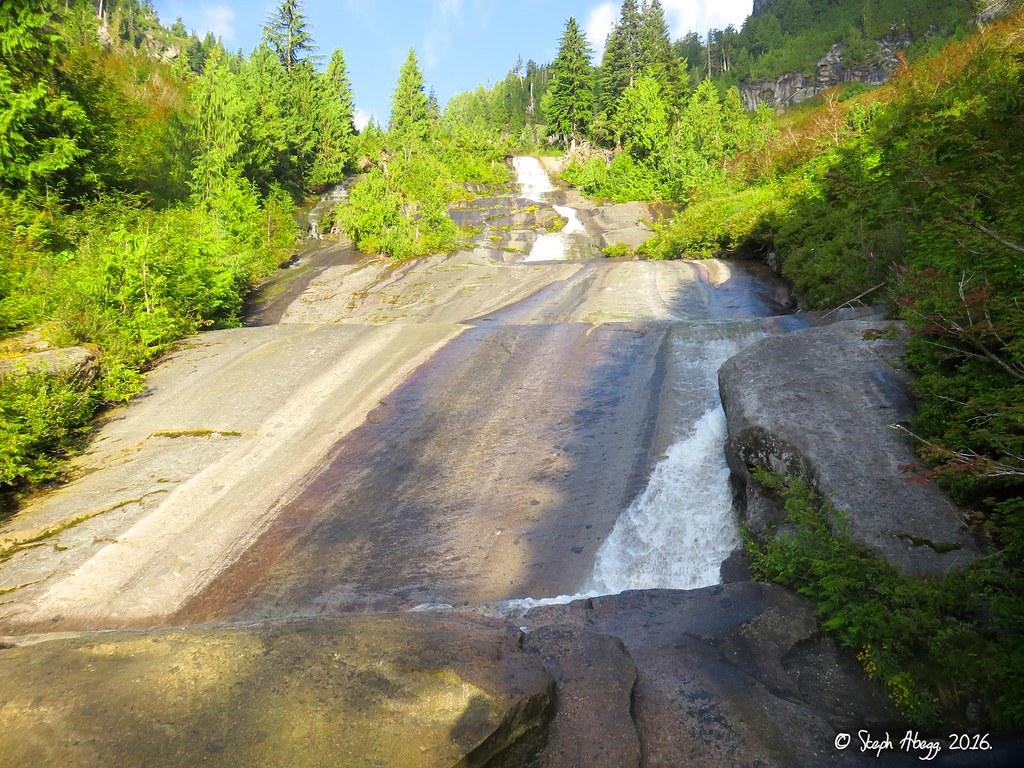
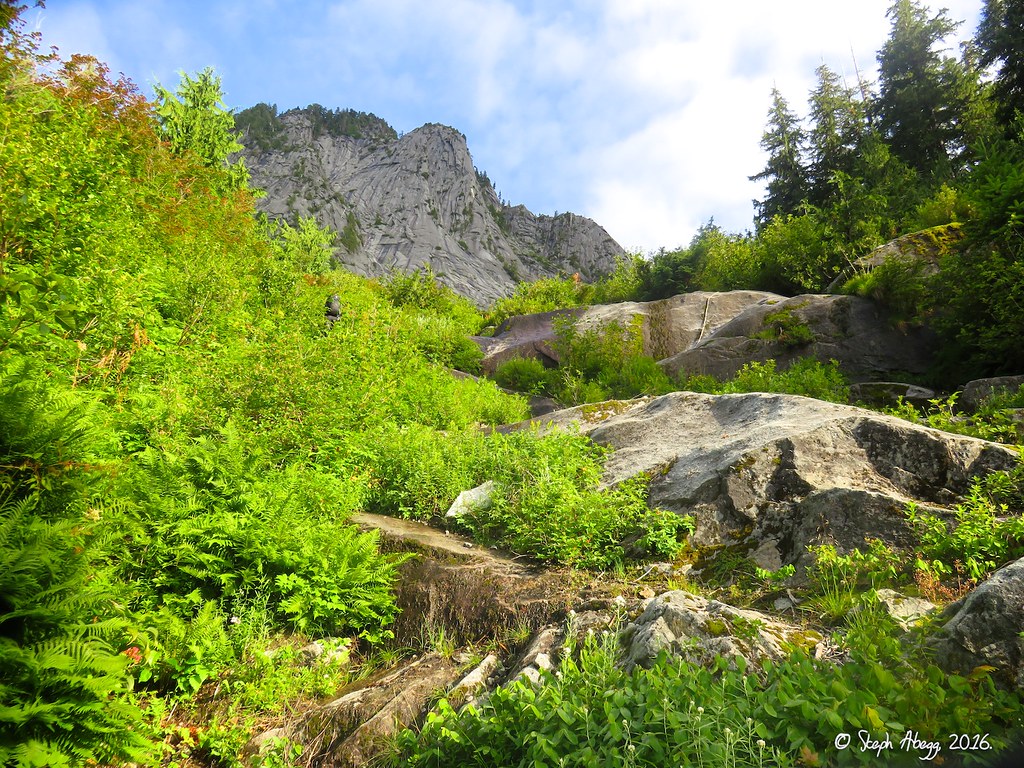
1. There was a blowdown about 1.5 miles from the end of the road so we had to hike from here (added 30 minutes to the approach each way directions). Apart from this blowdown the road would have been driveable with my Subaru to the end (8.1 miles from Mtn Loop HWY). 2. The beginning of the old road bed from the end of the drivable road. It took us 1:45 from here to the base of the route (2:15 from the car because of the blowdowns). 3. Some old mining equipment on the trail. 4. Crossing the creek near the bead of the basin. Just after this Green Giant Buttress comes into view. 5. The waterfalls. From here, take a sharp right into a brushy rocky tunnel. Don't miss the tunnel and keep heading upwards as this will get you into trouble.... 6. Annotated photo showing the waterfalls and the entrance to the rocky tunnel. Don't go chasing waterfalls. 7. The brushy rocky tunnel. There may or may not be flagging. Also, beware of flagging leading up the waterfalls as this could have been put there by a non-climber. 8. After the brushy rocky tunnel, continue up a gritty slab gully towards the base of Green Giant Buttress. The route starts on the right side of the buttress.
Pitch
1
Dir: 5.5
Orig: 5.7
9.
9. Pitch 1 of Dreamer Direct. The first part of this pitch shown in the photo is "Pitch 0" in the topo (low 5th), so we ended up doing a bit of simulclimbing to get to the anchors at the top of Pitch 1 from here. The anchors at the top of Pitch 0 are about 50 feet above where I took the photo.
Pitch
2
Dir: 5.8
Orig: 5.7
10.
11.
10. Janet on the 5.8 slabs of Pitch 2 of Dreamer Direct. 11. The upper half of Pitch 2 of Dreamer Direct. This section is the slab-crack climbing so characteristic of the Darrington area.
Pitch
3
Dir: .10b
Orig: 5.8
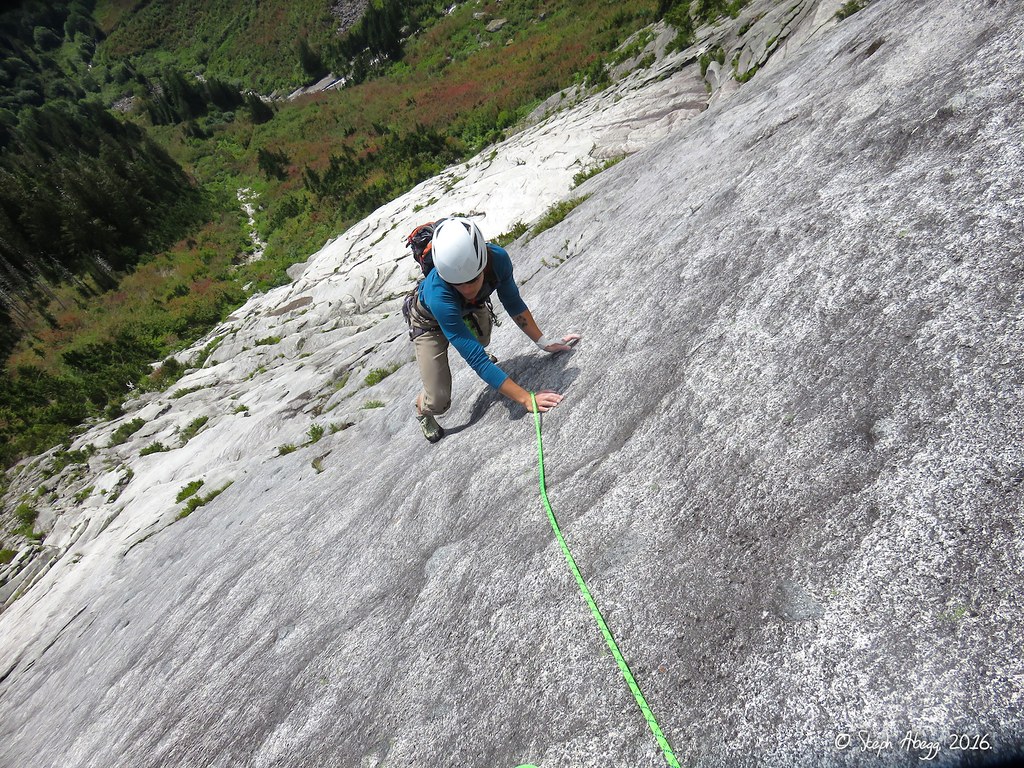
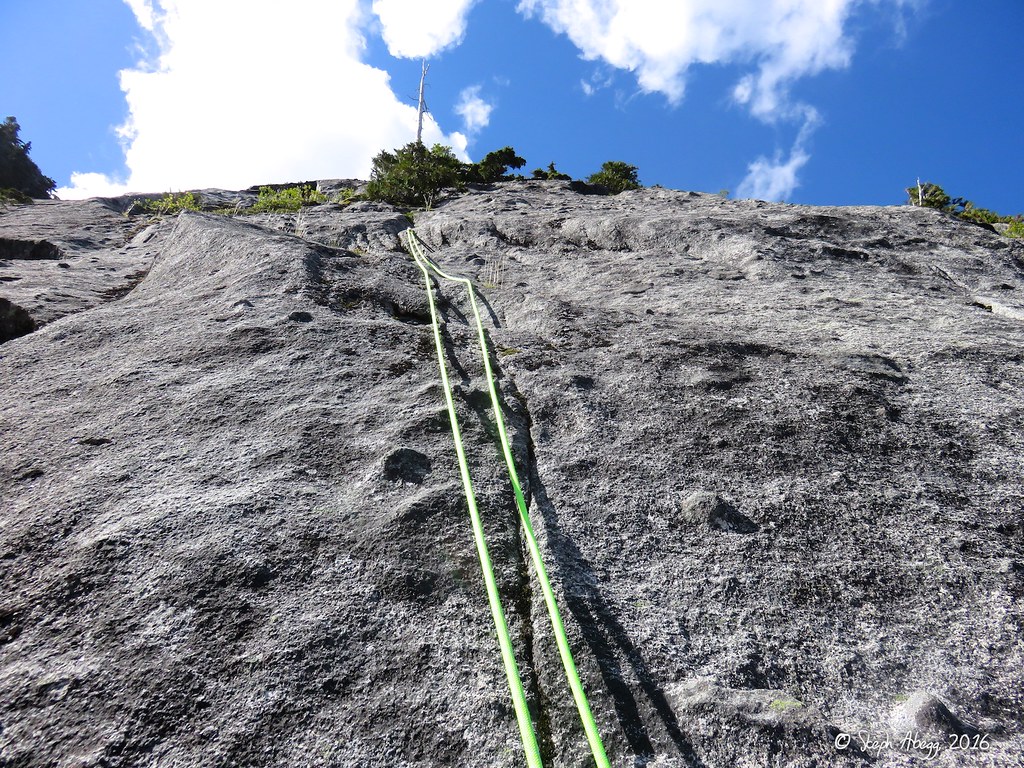
12.
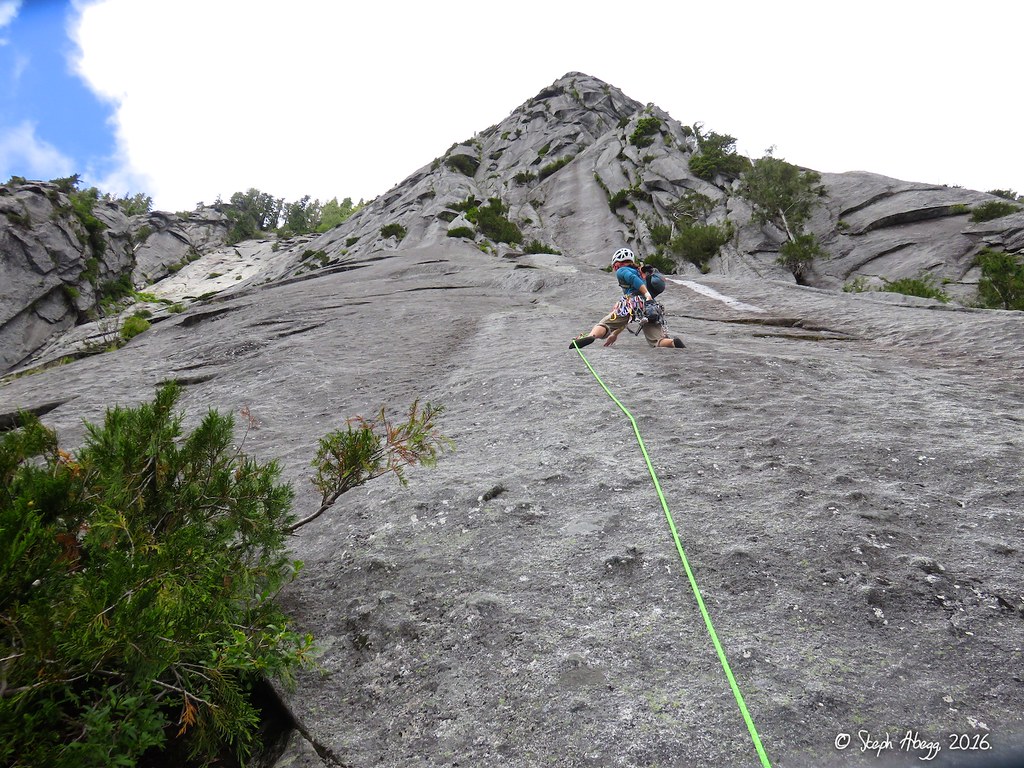
12. Janet leading Pitch 3 of Dreamer Direct, which follows a route called Urban Bypass. This pitch is pretty featureless slab that gets even steeper near the top. At 10b, it is the crux of the route. The description says "well-bolted" but the bolts seemed pretty well-spaced to me. Awesome lead by Janet!
Pitch
4
Dir: 5.9
Orig: 5.8
13.
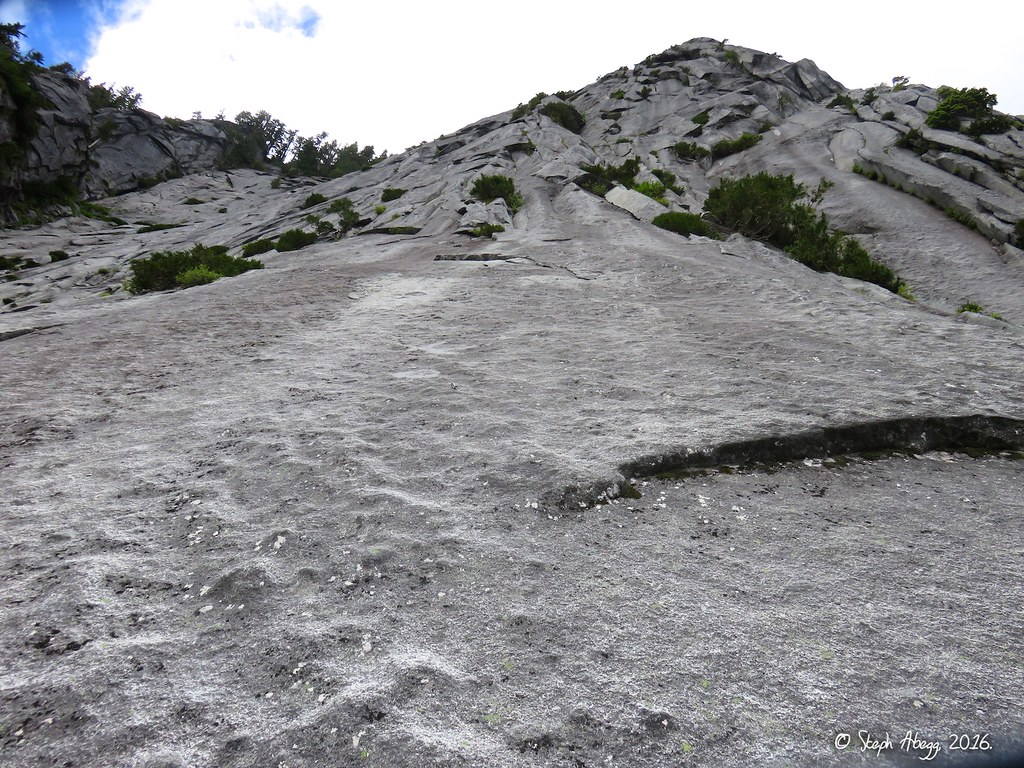
13. More sustained steep slab climbing ahead on Pitch 4 of Dreamer Direct.
Pitch
5
5.9
14.
15.
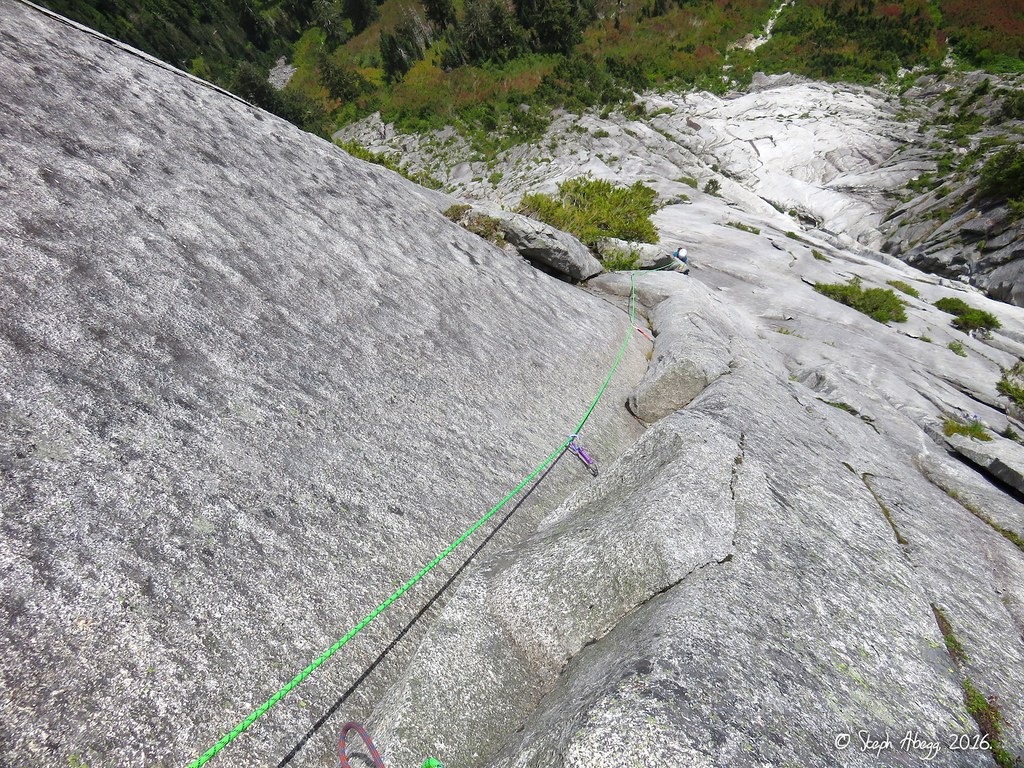
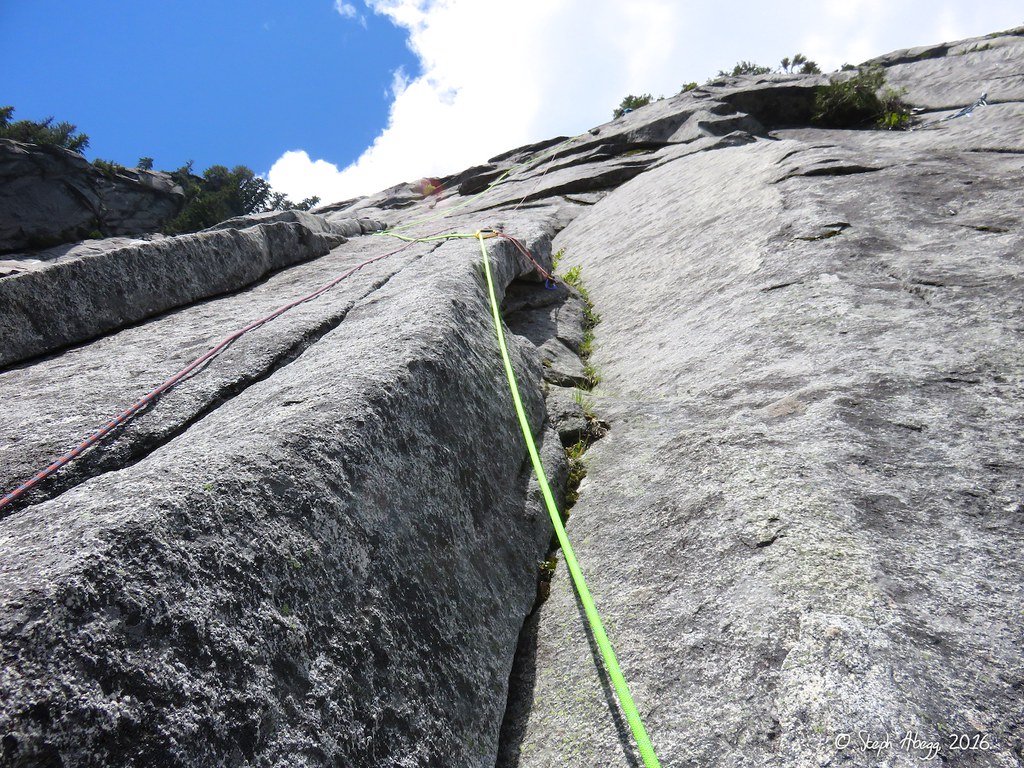
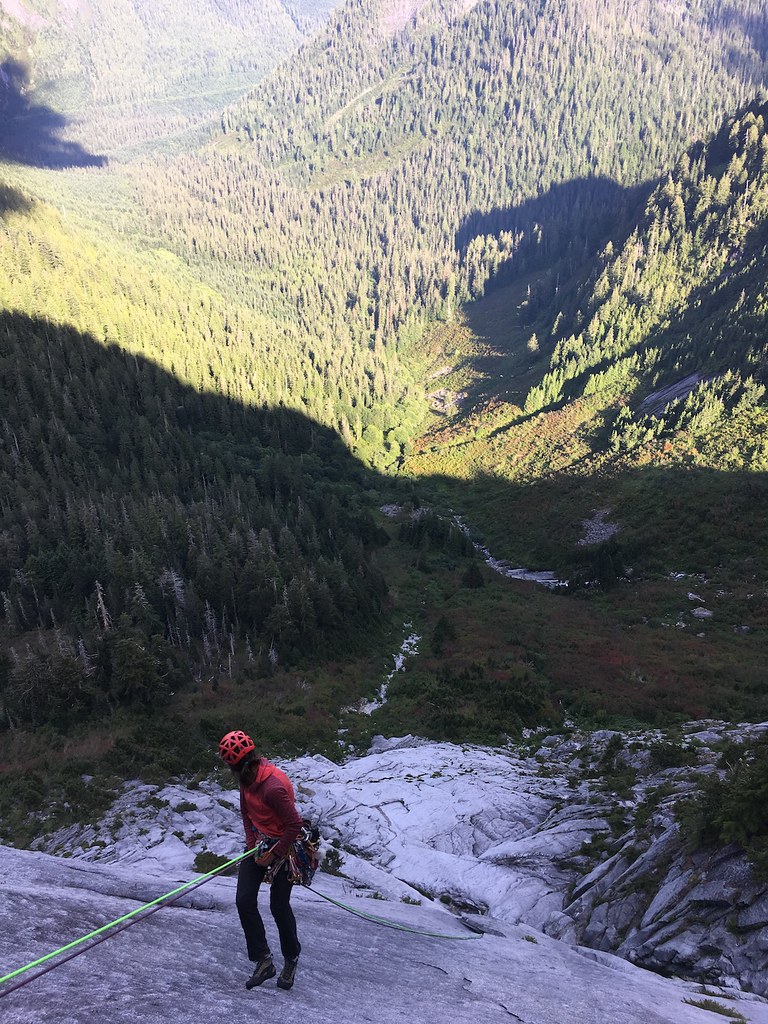
14. Looking up Pitch 5. I was happy to see some crack climbing! 15. Looking down from the belay at the top of Pitch 5. I enjoyed this pitch.
Pitch
6
5.9
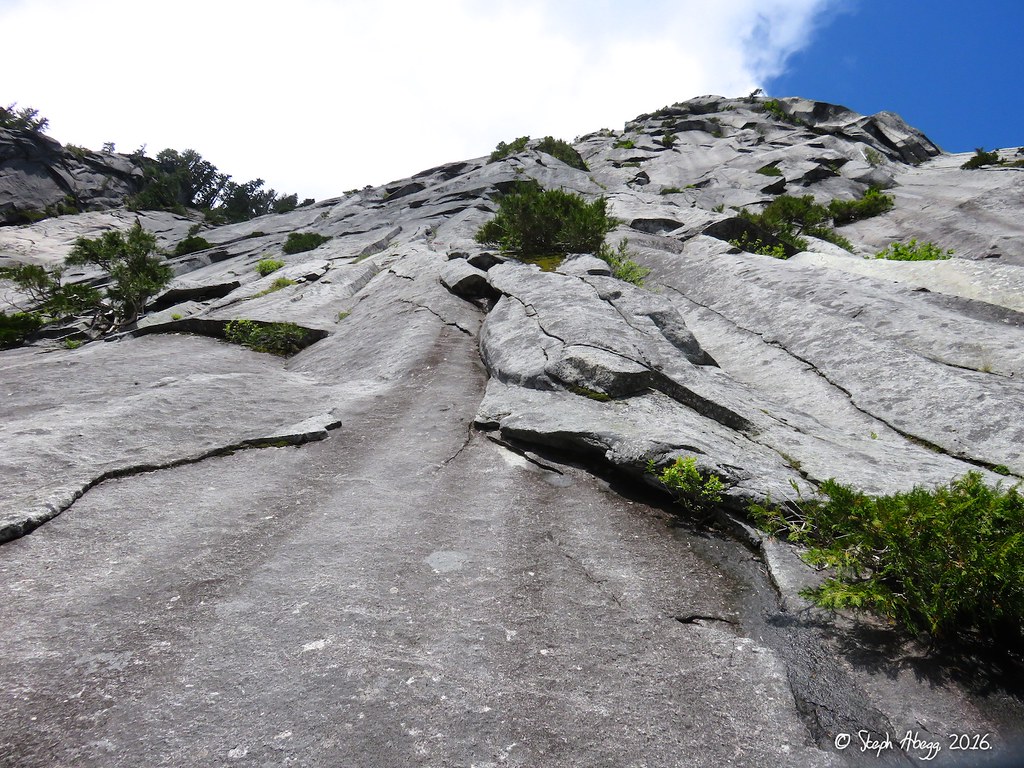
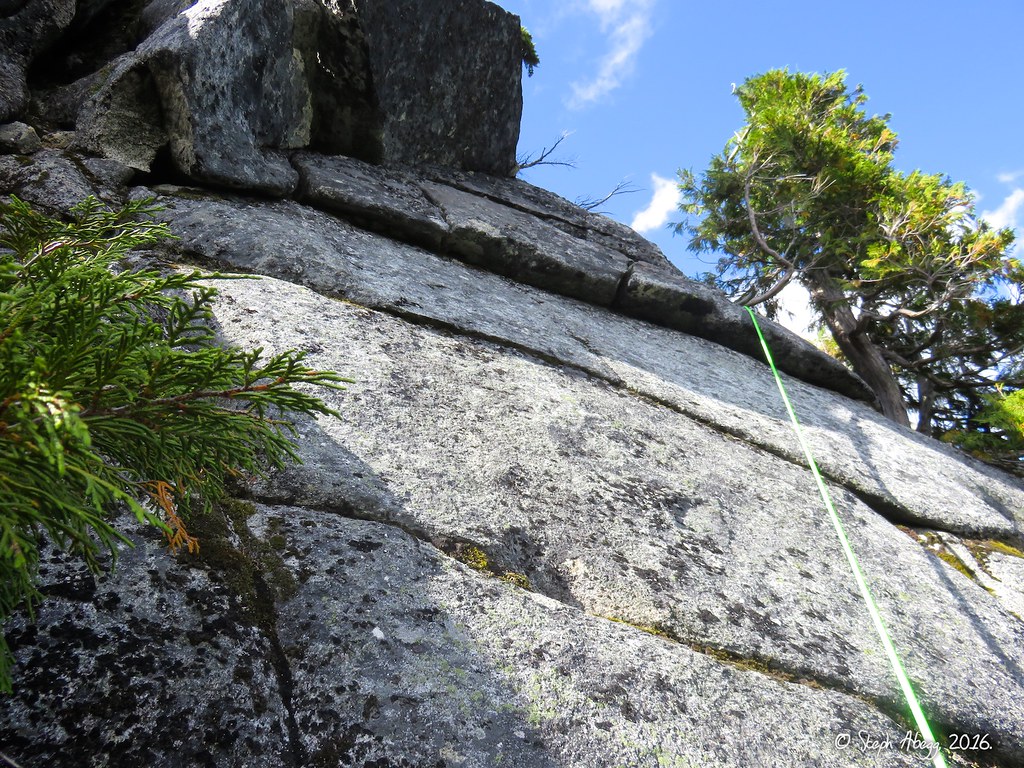
16.
17.
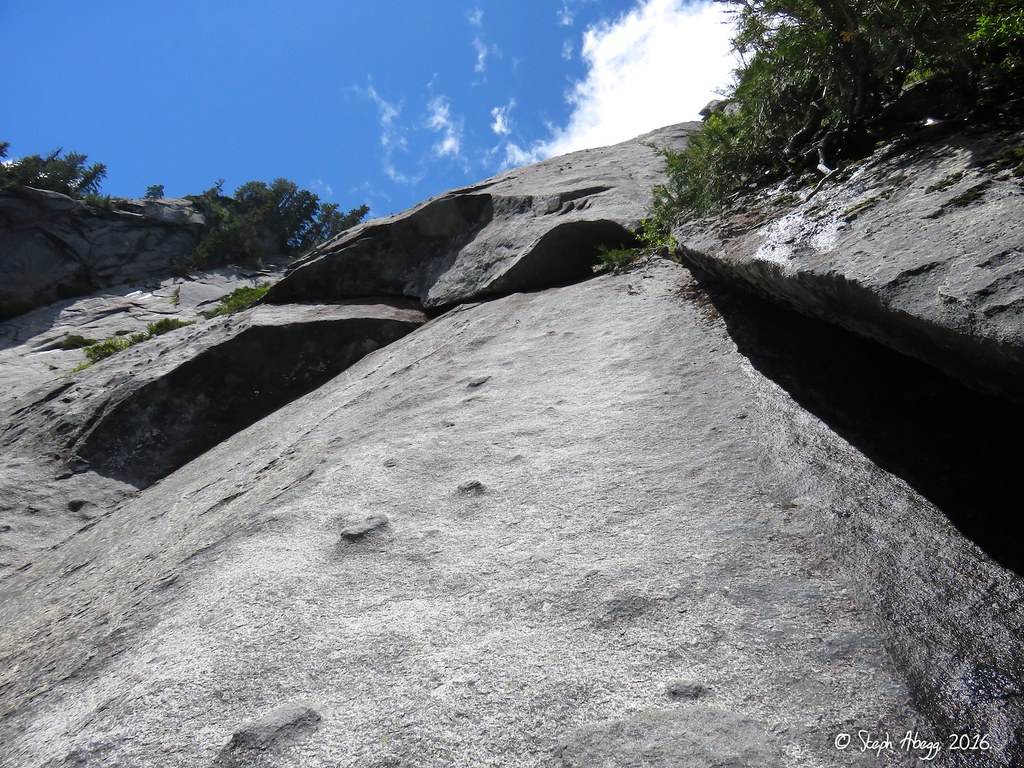
16. Looking up Pitch 6. This was my favorite pitch on the route, featuring a nice undercling followed by the aesthetic "Blue Flake/Crack". 17. Looking down the awesome "Blue Flake/Crack".
Pitch
7
5.9(+)
18.
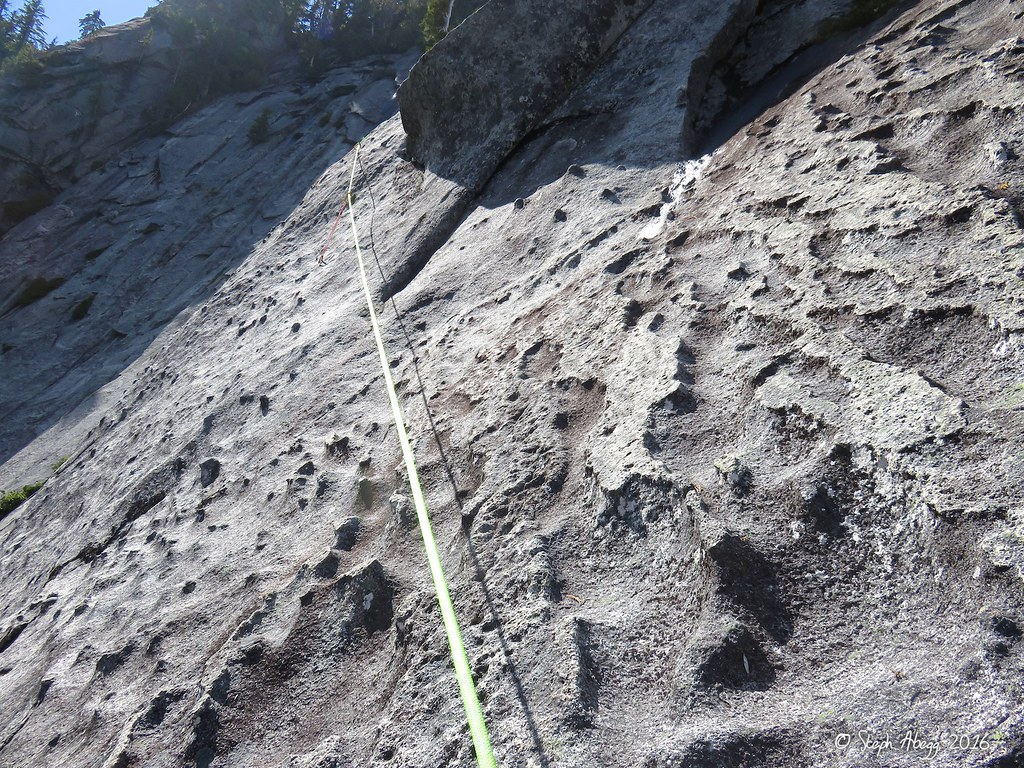
18. Looking up Pitch 7, which goes up and then underclings out left and then goes up a bit, then out onto some knobby face to the anchor. Watch your rope drag on this pitch, as it is easy to get the rope pinched on the outside corner of the undercling which makes the final section on the exposed face quite difficult. I would agree with the + rating that some topos give to this pitch.
Pitch
8
5.8
19.
19. Knobby face climbing on Pitch 8.
Pitch
9
5.8
20.
21.
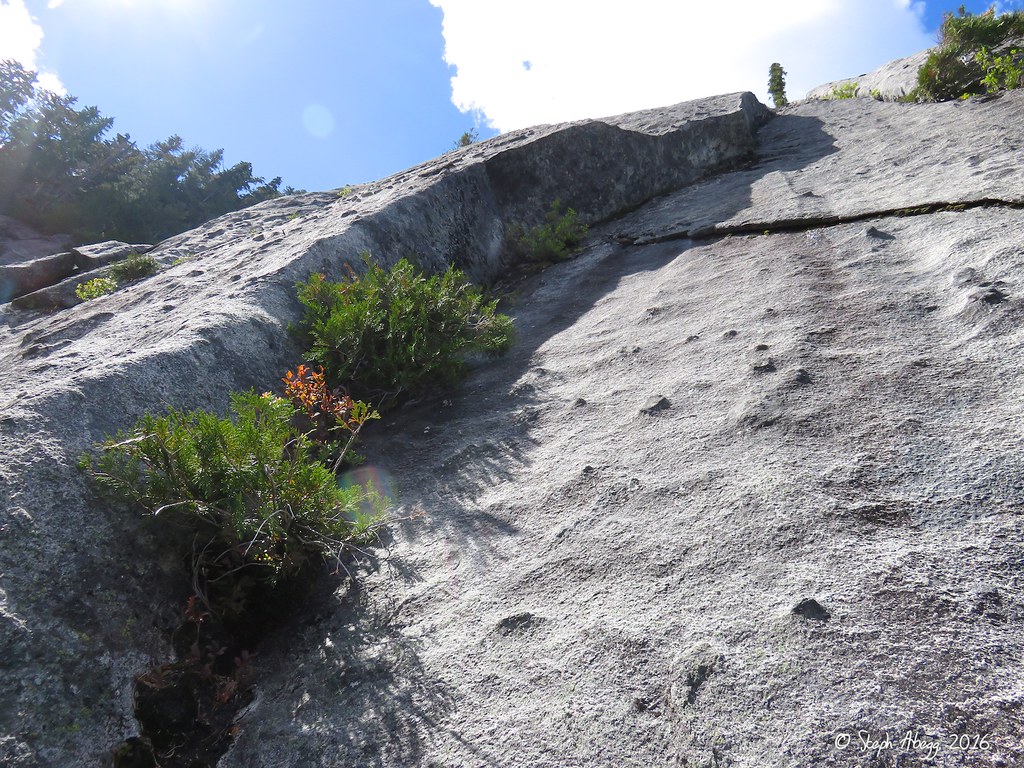
20. Pitch 9 goes up a knobby face on the left (left and above the corner in the photo). 21. Looking up the upper half of Pitch 9. I got sketched out by the marginal gear and spacing between bolts, couldn't reason my way out of my fears, so I downclimbed from a marginal piece and and set an anchor at a bolt. The bolted anchor at the top of the pitch is just right of the dead tree in the photo. The climbing was actually pretty easy between my piece and the anchor, but I can be a real wuss when it comes to runnout face and slab. Sorry Janet! Thanks for stepping in to finish the lead!
Pitch
10
5.6
22.
23.
24.
25.
26.
27.
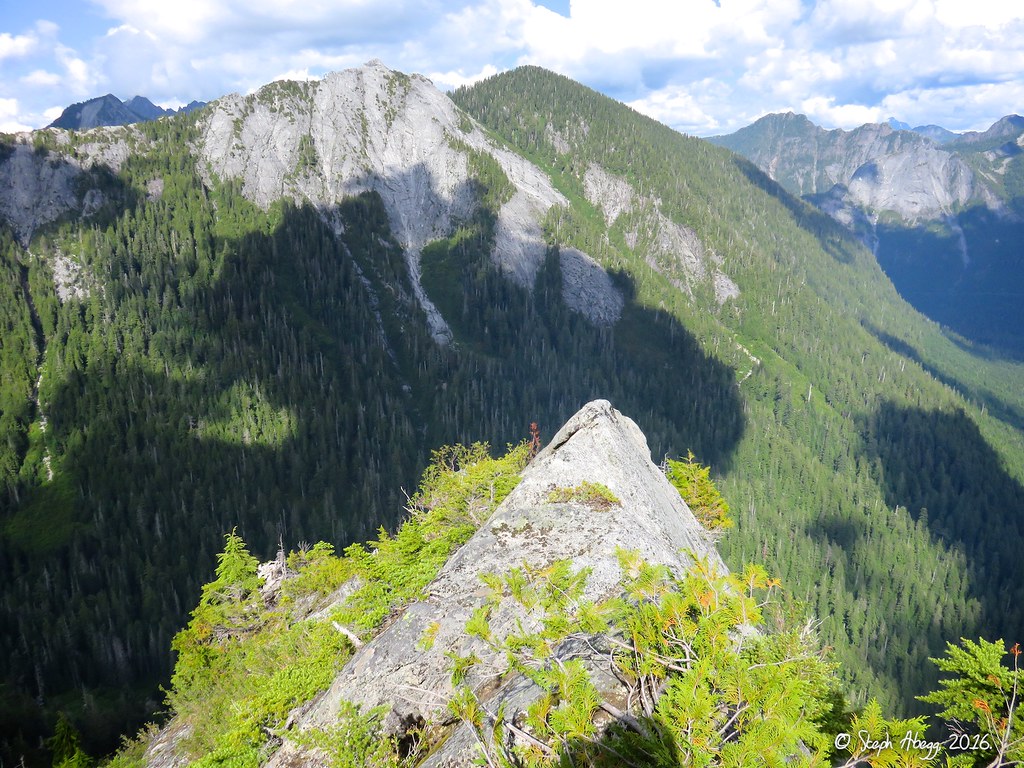
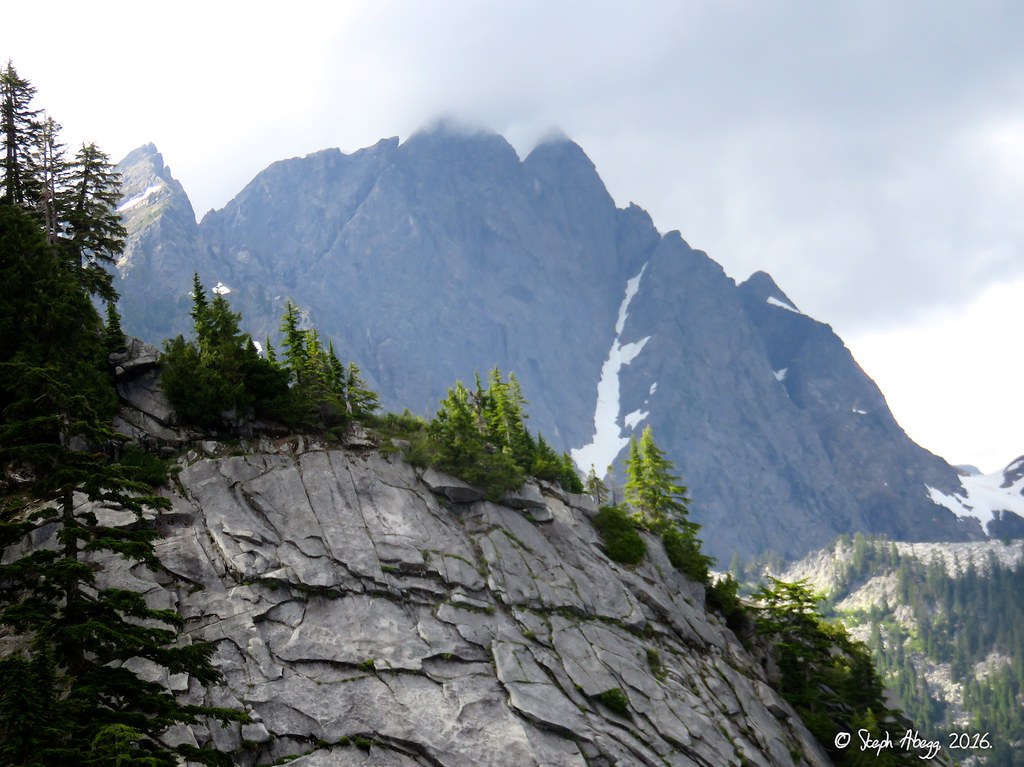
22. Many parties rap from the top of Pitch 9 but we continued on one more pitch to the top. This pitch features some grungy 5.6ish climbing. We went right but perhaps the better way was to go left. Going to the top was well worth it — you get a unique view of Three Fingers and Salish Peak that you otherwise wouldn't get, plus it just feels more rewarding to reach the top of the feature rather than stop at a pair of bolts on a wall. 23. On top of Green Giant Buttress. I wonder if that wall to the northeast has been developed for climbing? 24. Janet on top of Green Giant Buttress. 25. Three Fingers to the northwest. 26. Salish Peak to the north. 27. Exfoliation Dome to the east.
Descent
rap route with 2x60m ropes (9-10 raps)
28.
29.
28-29. To descend, rap the route with 2 ropes. Almost all pitches are over 35m, so this requires 10 double-rope rappels from the top. There are a lot of rope eating flakes and trees. Even though we were being incredibly careful with our ropes, we still did have a few close calls with nearly getting a rope stuck above or below us. (second photo taken by Janet)
It took us about 2 hours to rap the route. From the base, it took 1:18 to get to the end of the road and 30 more minutes to our car at the blowdown. We made it back to the car before needing to pull out headlights.
Useful beta. Updated route information. Corrections. Historical notes. Interesting facts. No fluff please. Please do not put links in your comment, as my spam filter will filter those comments out.