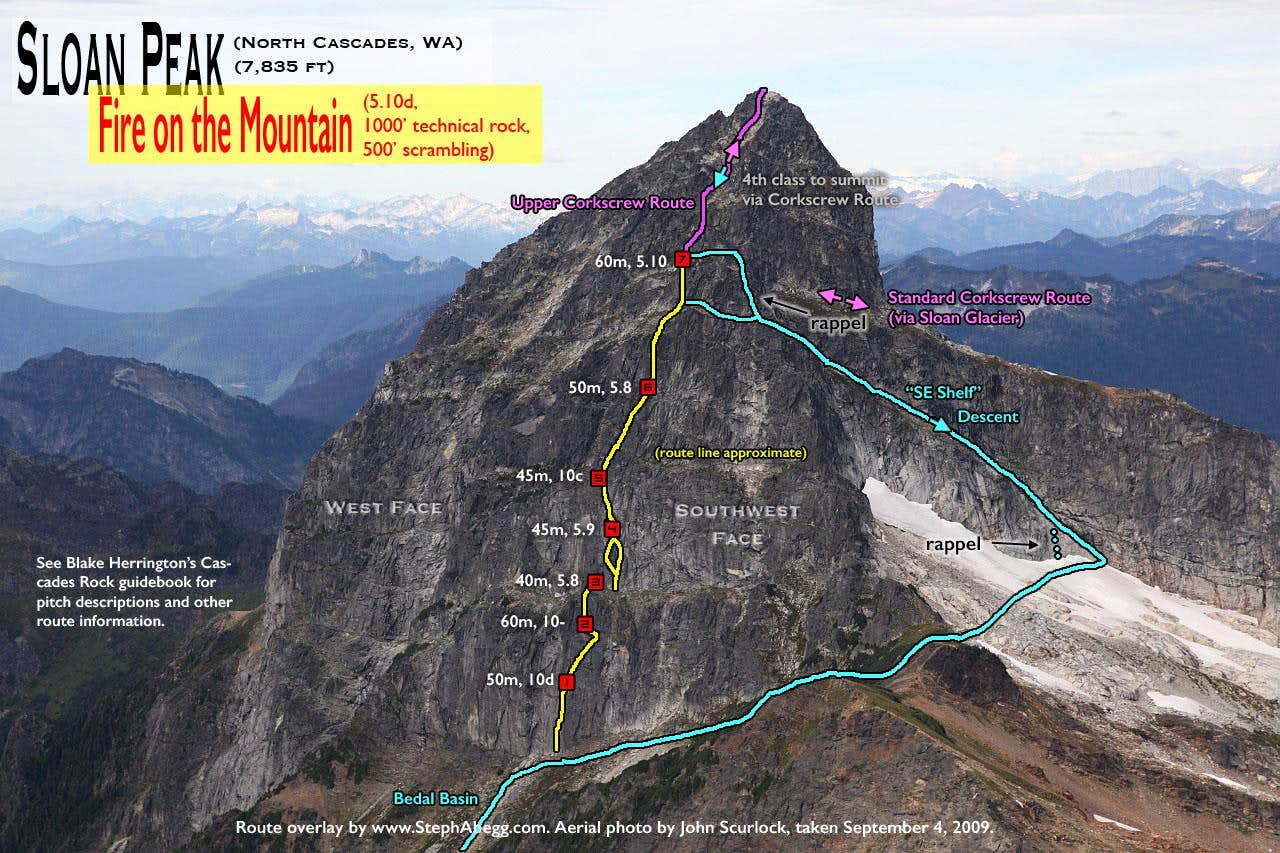
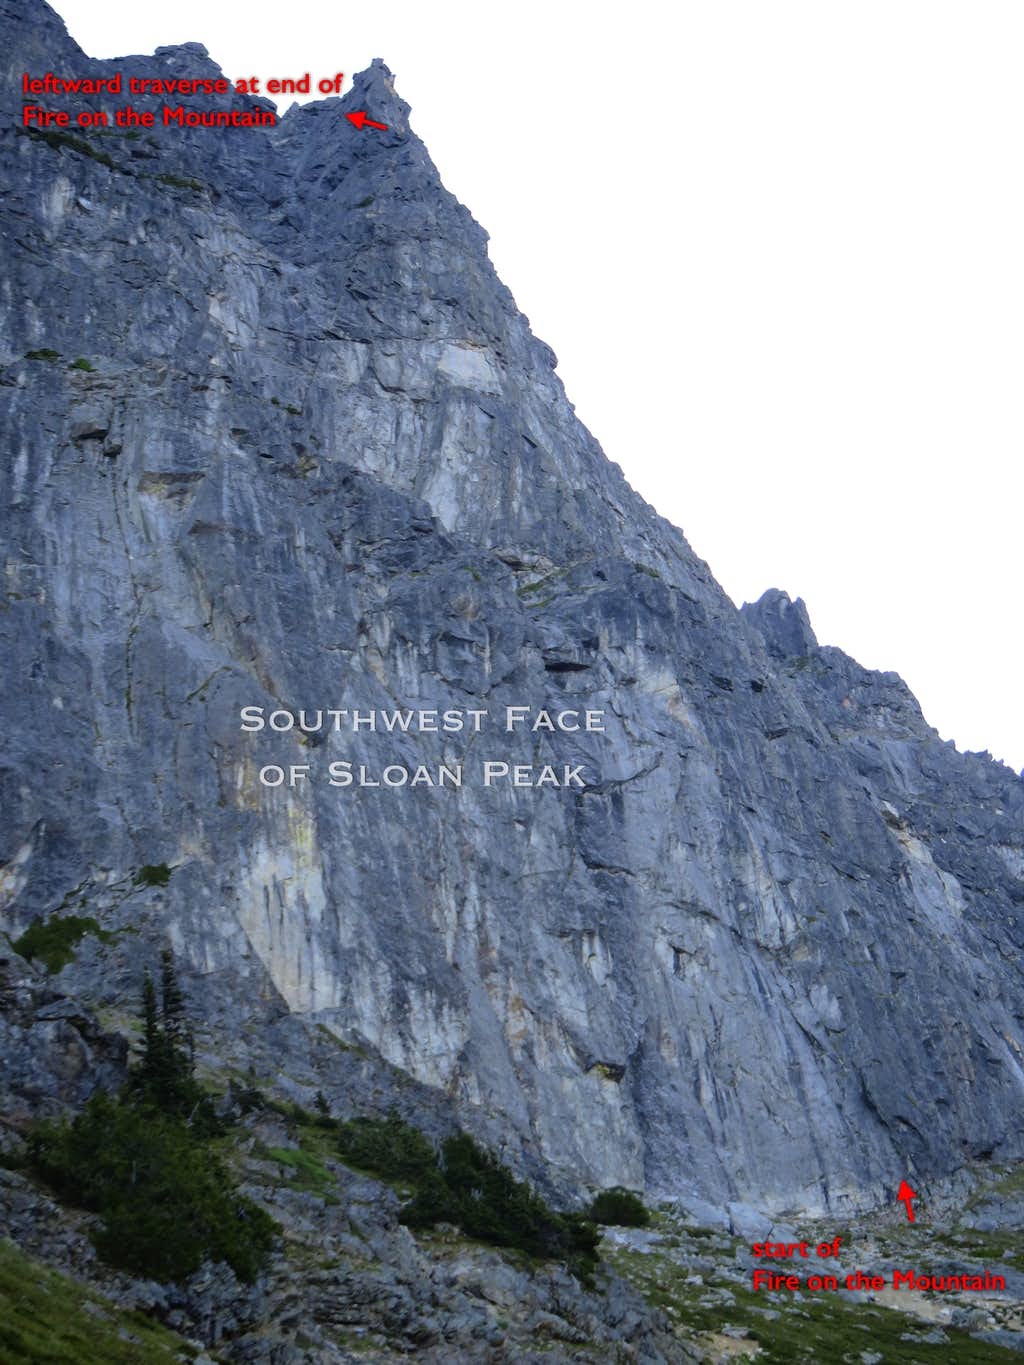
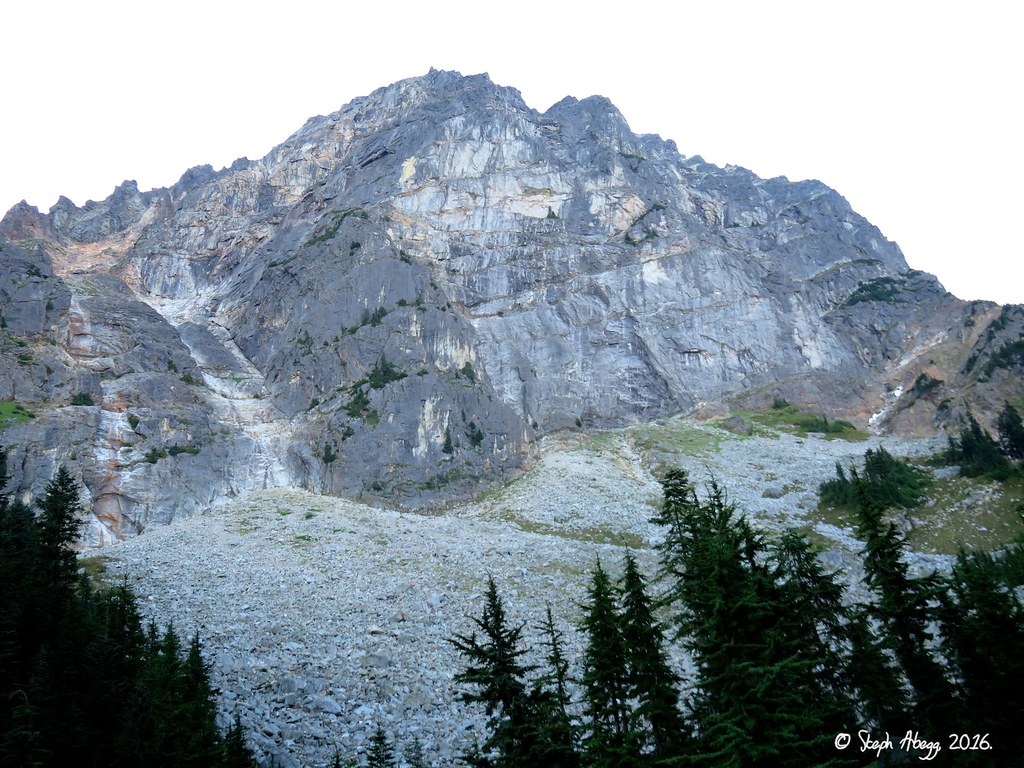
Sloan Peak stands high above the peaks of the Mountain Loop Highway. Because of its distinctive profile, visible from so many locations in the Cascades, I've always thought of it as the "Matterhorn of the Cascades". The most popular route up the mountain is the Corkscrew Route (3rd and some glacier travel), named for its corkscrew-like path around the mountain to the top. I've long had this route on the back-burner, but whenever I've started to make plans to climb it, I've been distracted by a more technical (i.e. more rock climbing) objective. But my interest in Sloan was rekindled when I caught wind of Fire on the Mountain, a 1500' rock route on the steep southwest face of Sloan put up by Rad Roberts and Blake Herrington in 2009. This route involves 1000' of technical rock climbing (up to 5.10d) and 500' of scrambling to the summit.
In their
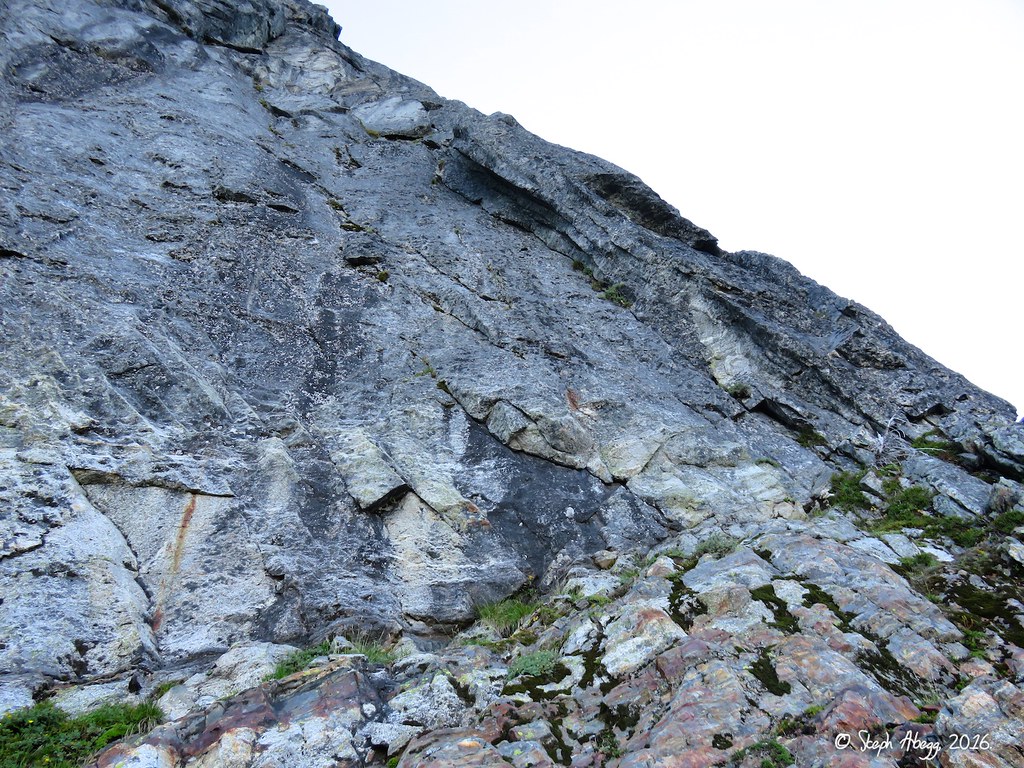
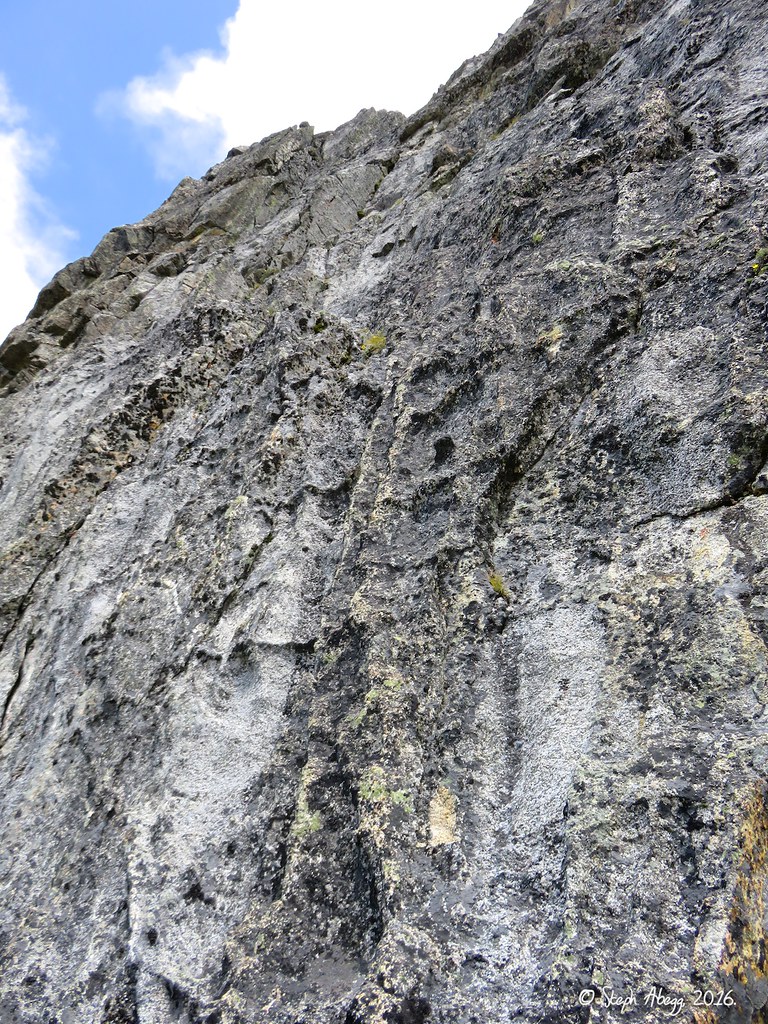
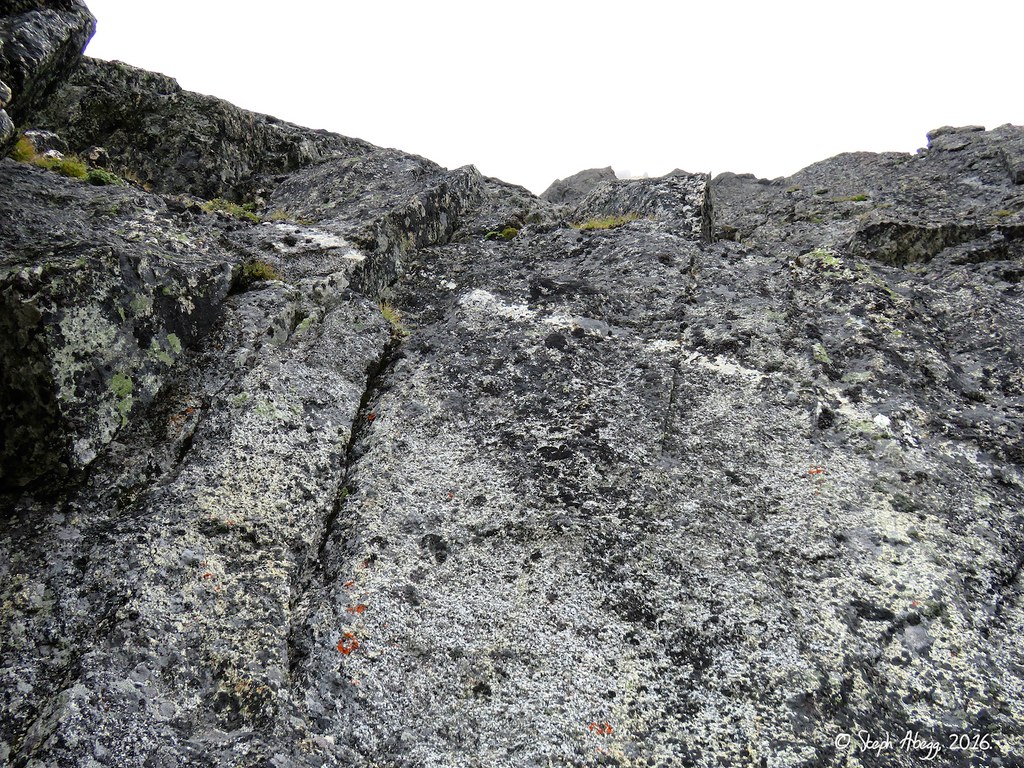
trip report for the first ascent of Fire on the Mountain, Blake and Rad reported that the rock on Sloan's southwest face is excellent, featuring wild knobs and diorite fins, unusual for alpine rock climbing and reminiscent of California's Lover's Leap. The route tackles many sections of face climbing between terraces running horizontally across the face. Although it had been seven years since Blake and Rad's first ascent, I could only find two other reports of it being climbed since (Sol's TR, Ryan's TR); both reports were an adventuours day of climbing in the Cascades on generally good rock. With its inclusion in Blake's Cascades Rock guidebook (2016), the route is bound to see more traffic in the coming years.
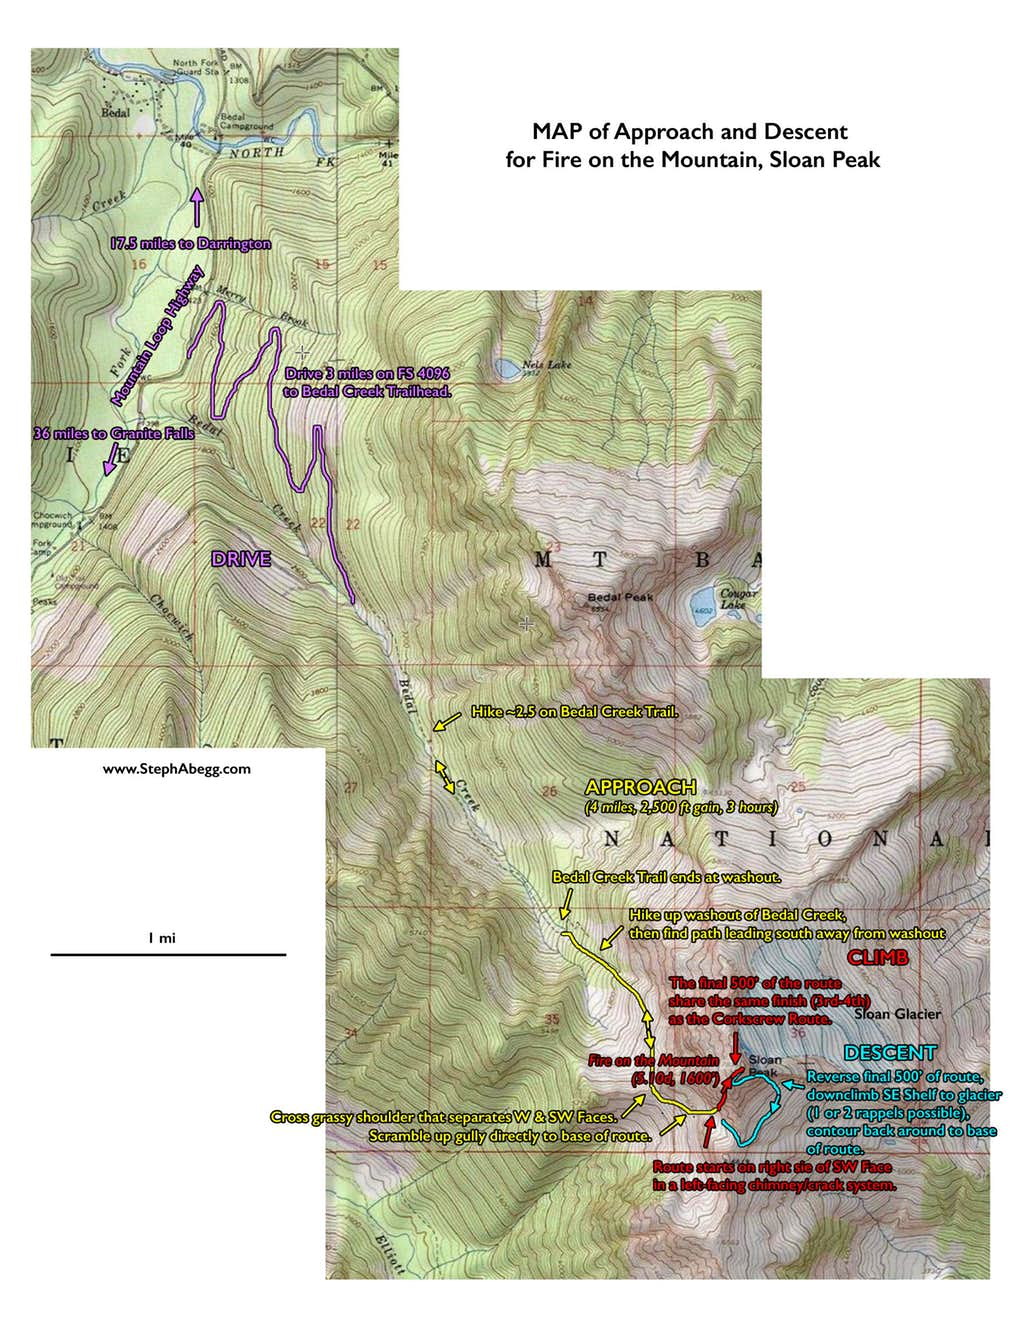
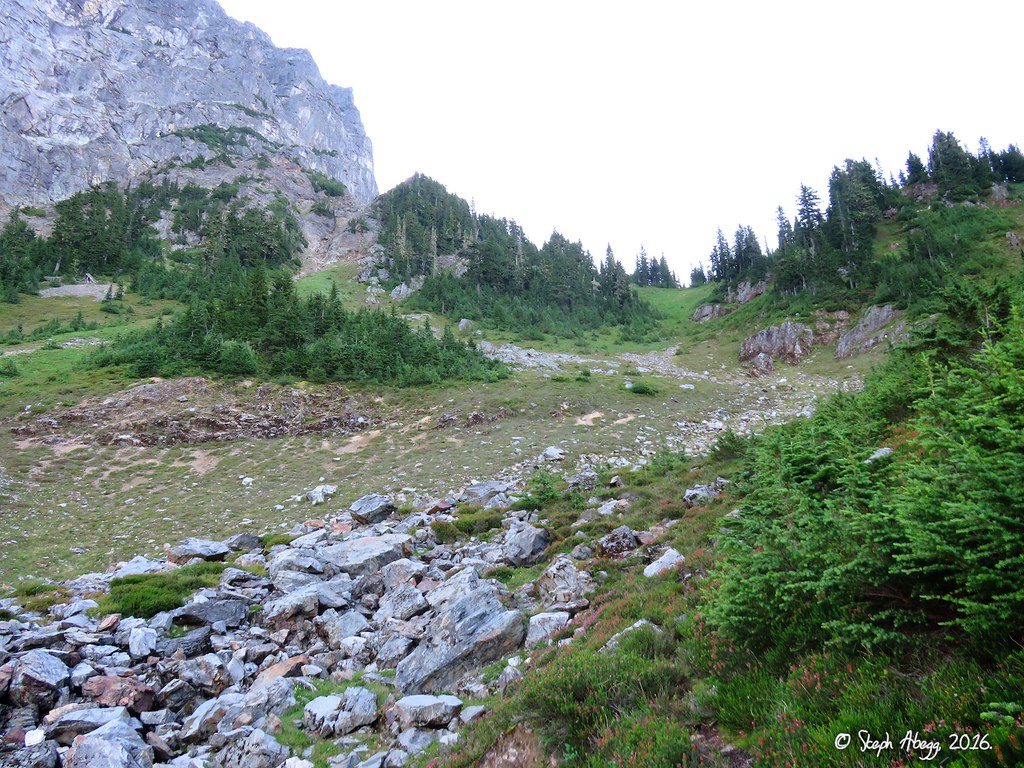
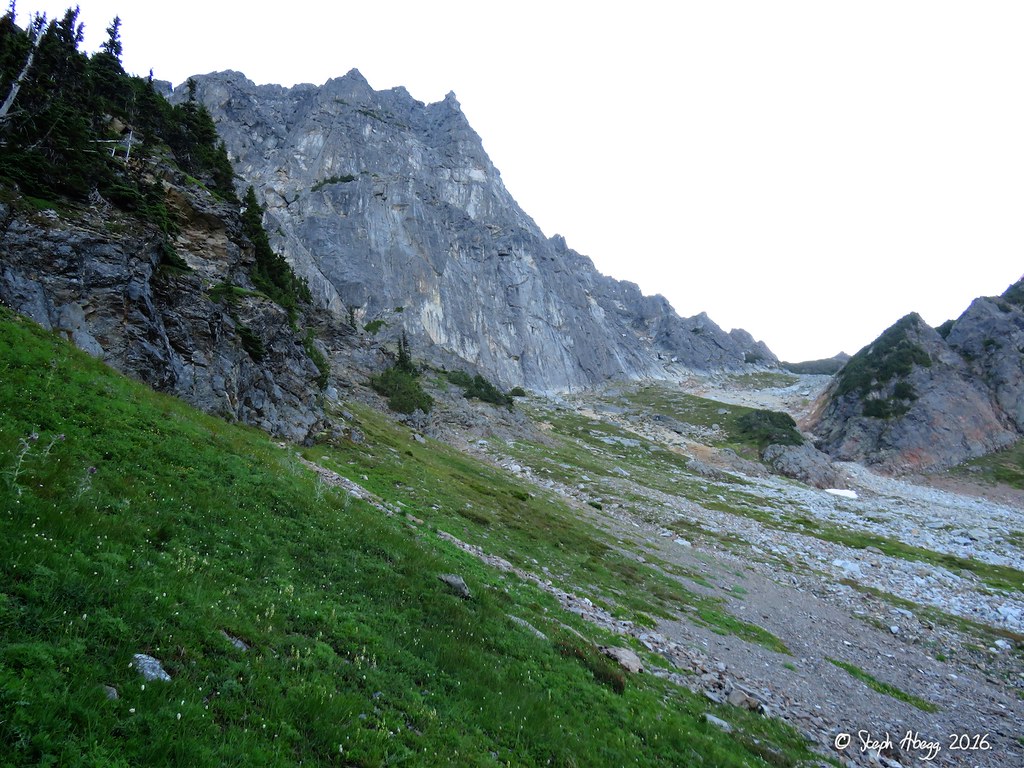
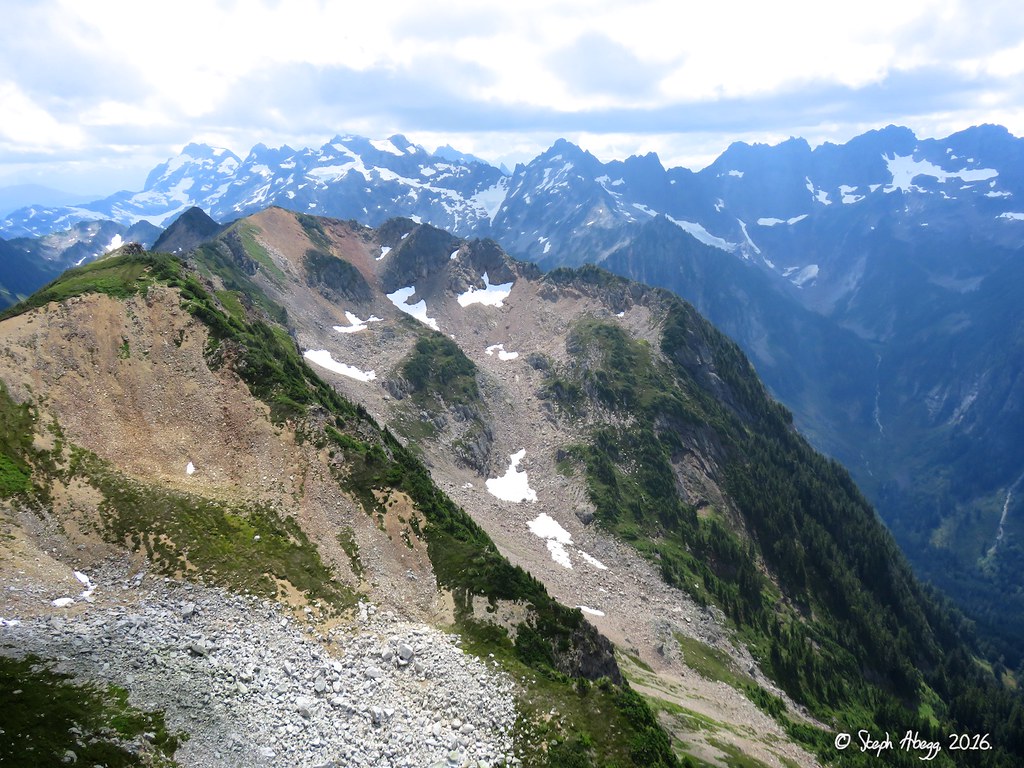
My first attempt of Fire on the Mountain was in July 2016. NOAA forecasted a sunny day, but when Rad and I got to the base low clouds had settled around the mountain. Fire on the Mountain had become Mist on the Mountain. So instead we climbed the descent route to the summit (SE Shelf to Upper Corkscrew Route). We had no views the entire day. Click here to see my trip report for our scramble up the
SE Shelf to Upper Corkscrew Route.
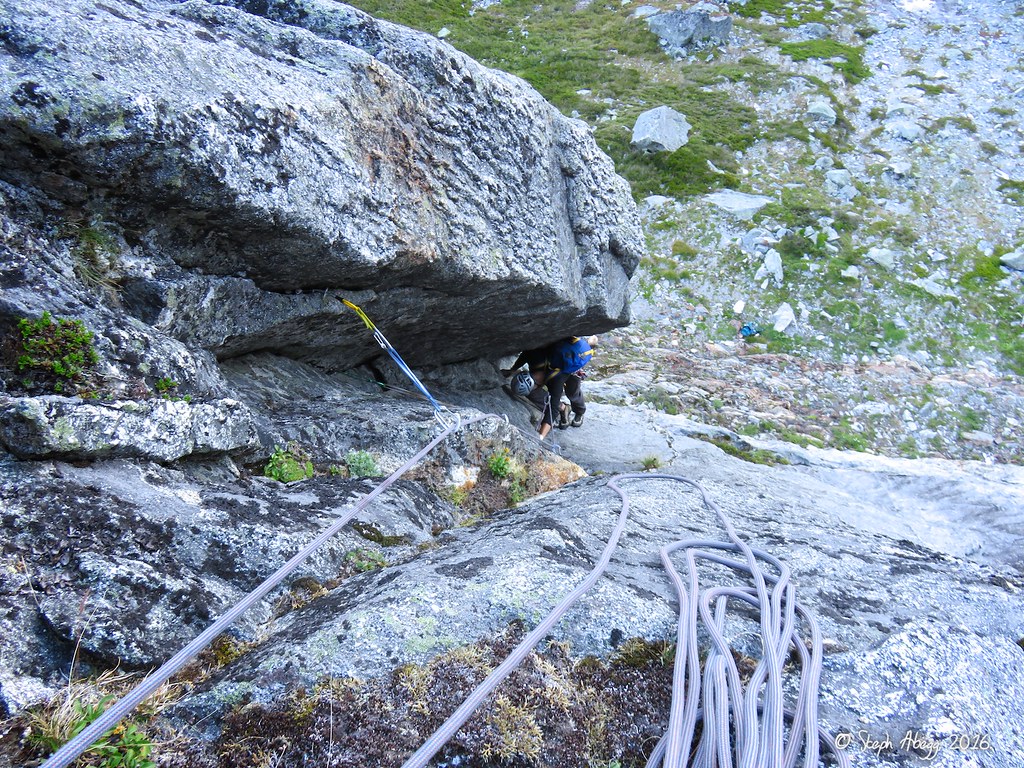
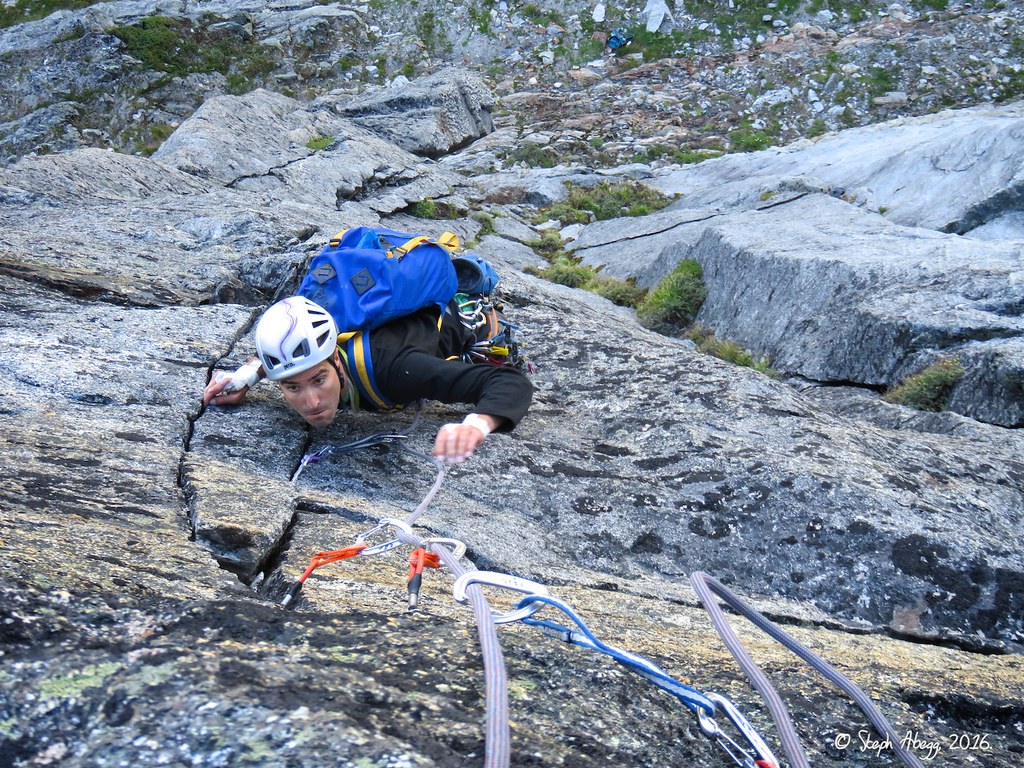
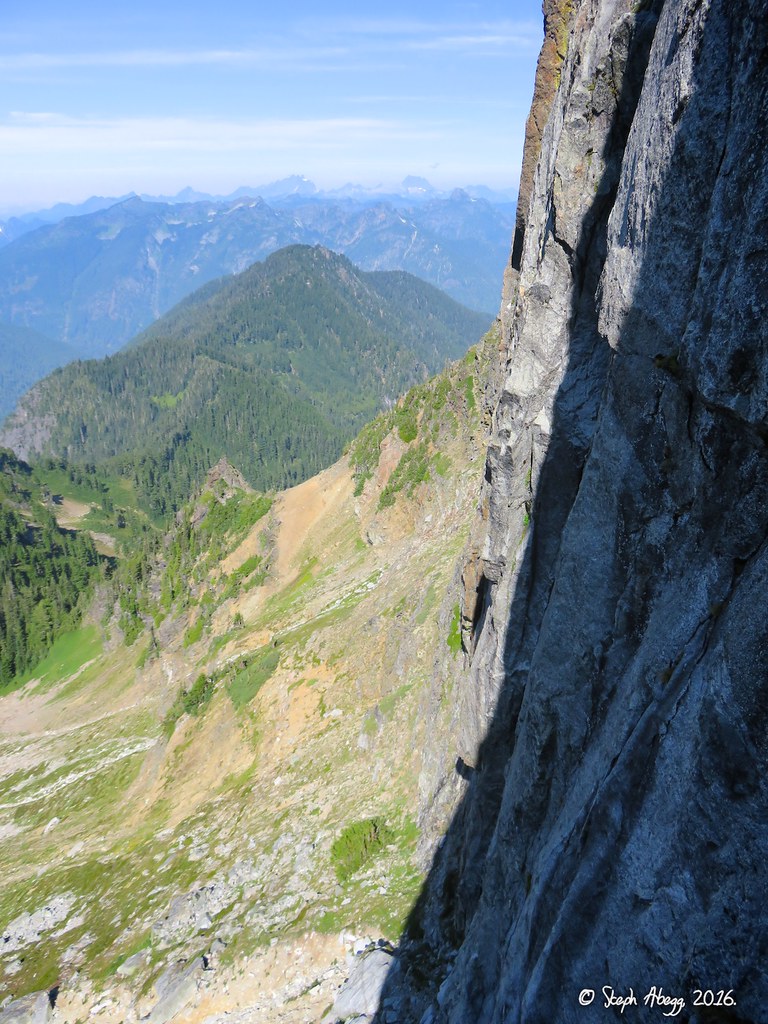
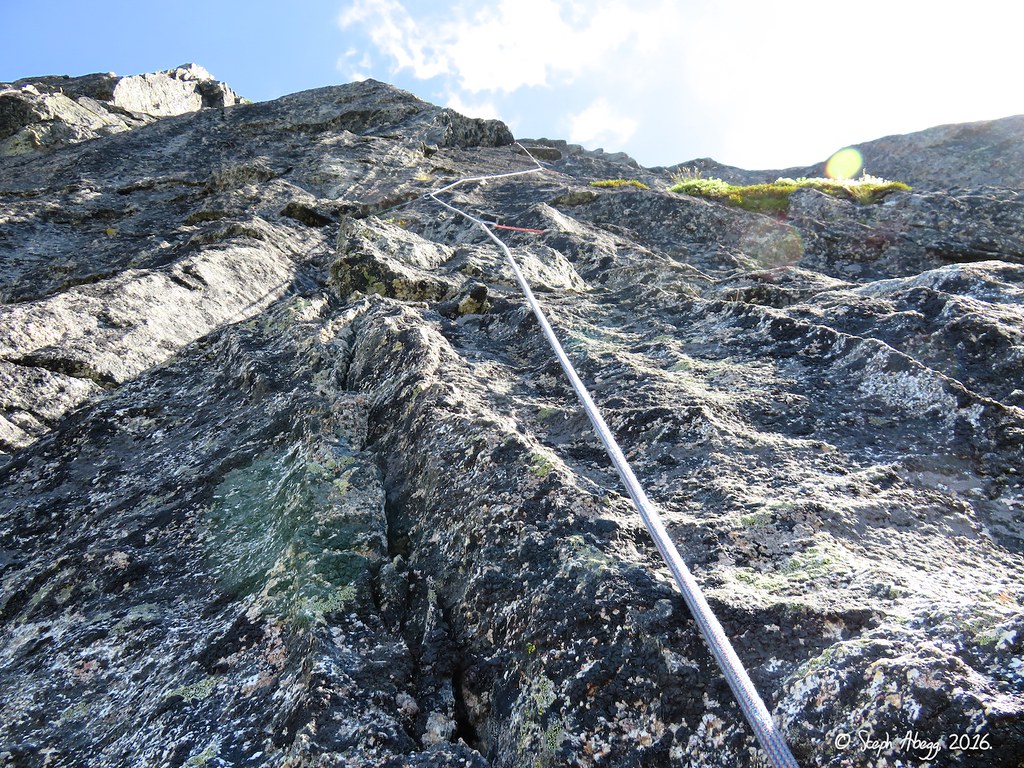
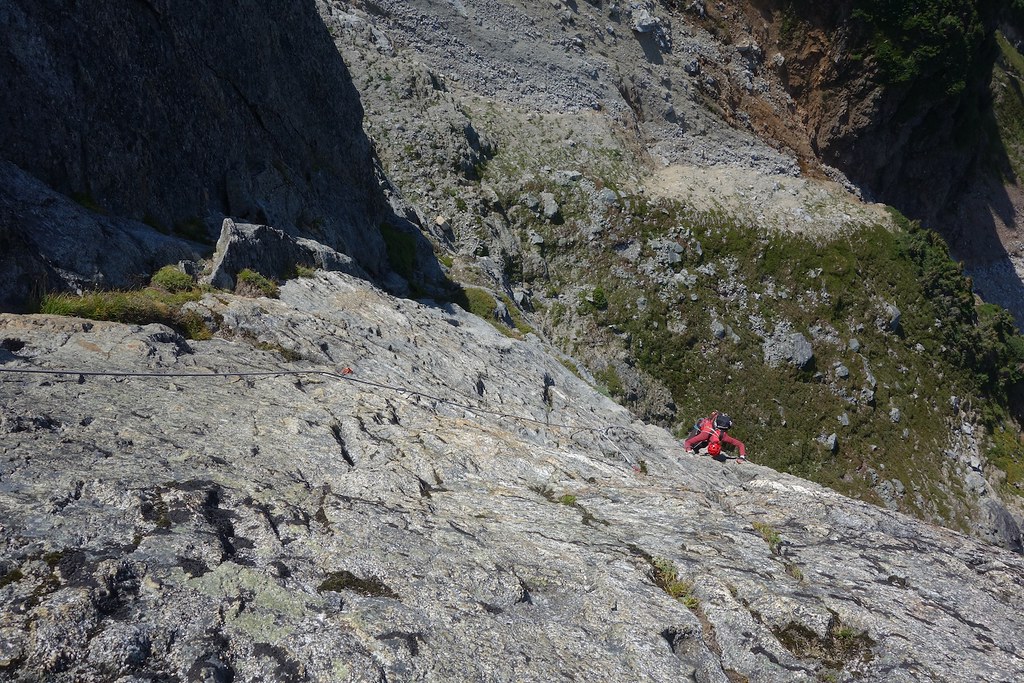
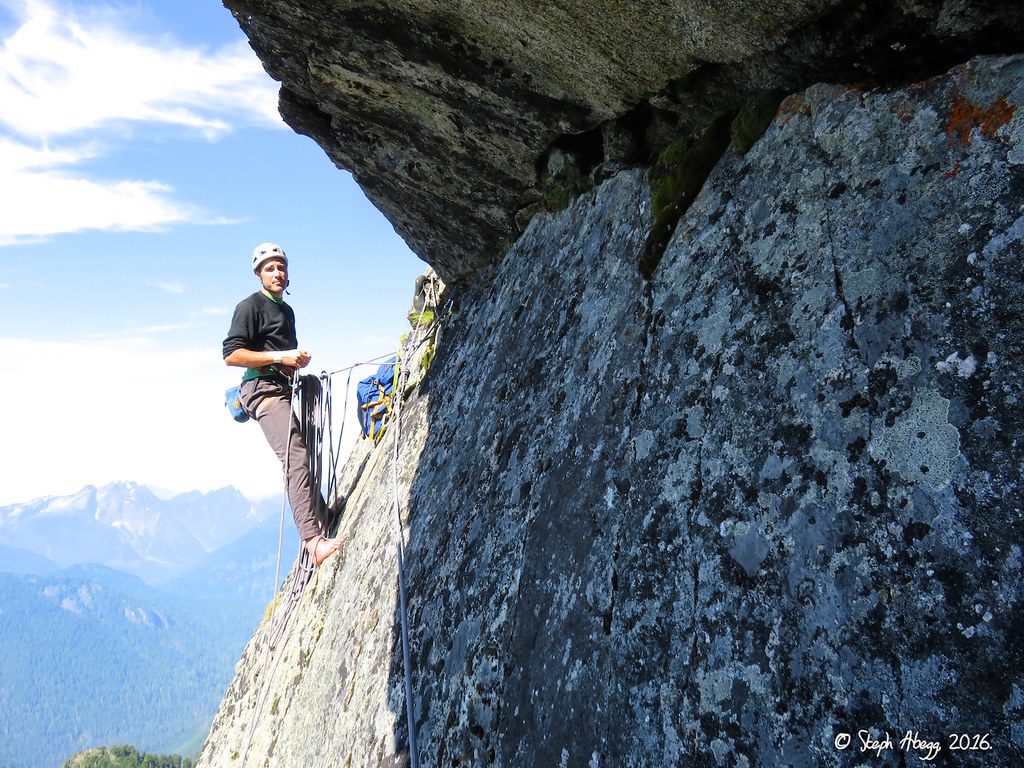
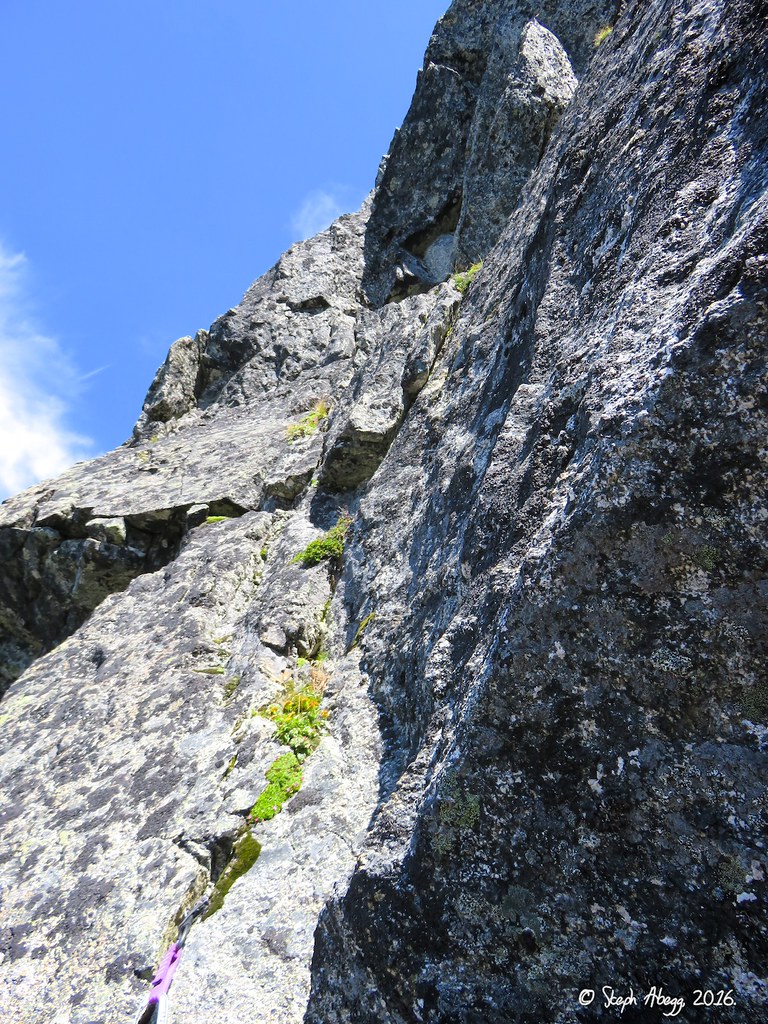
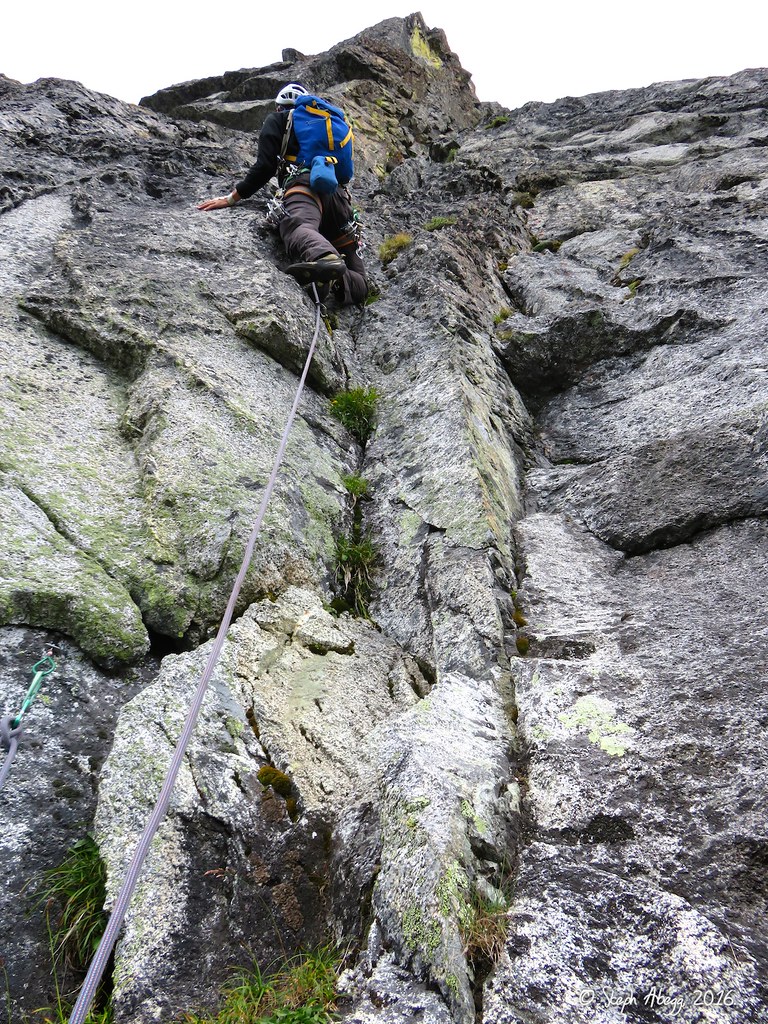
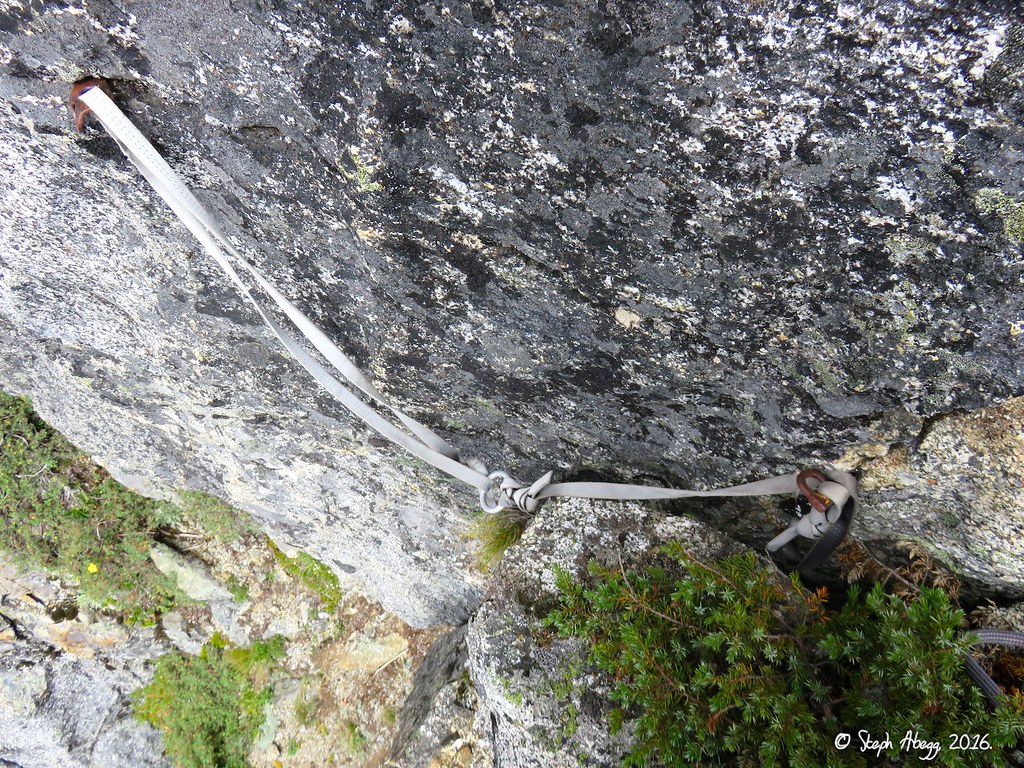
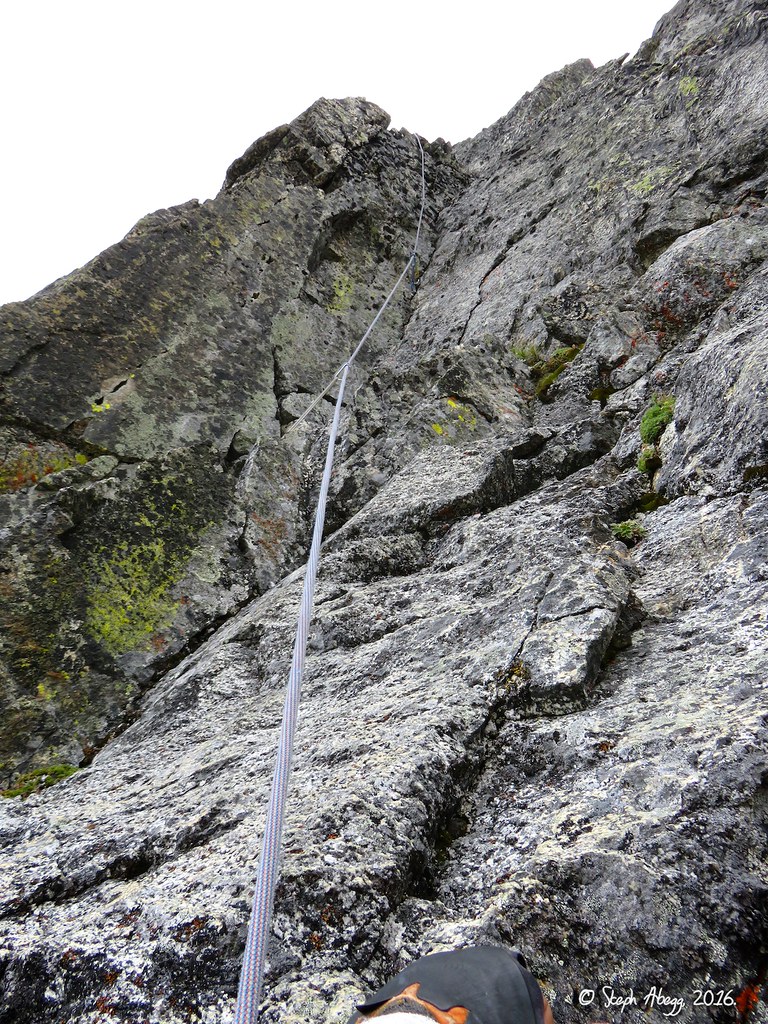
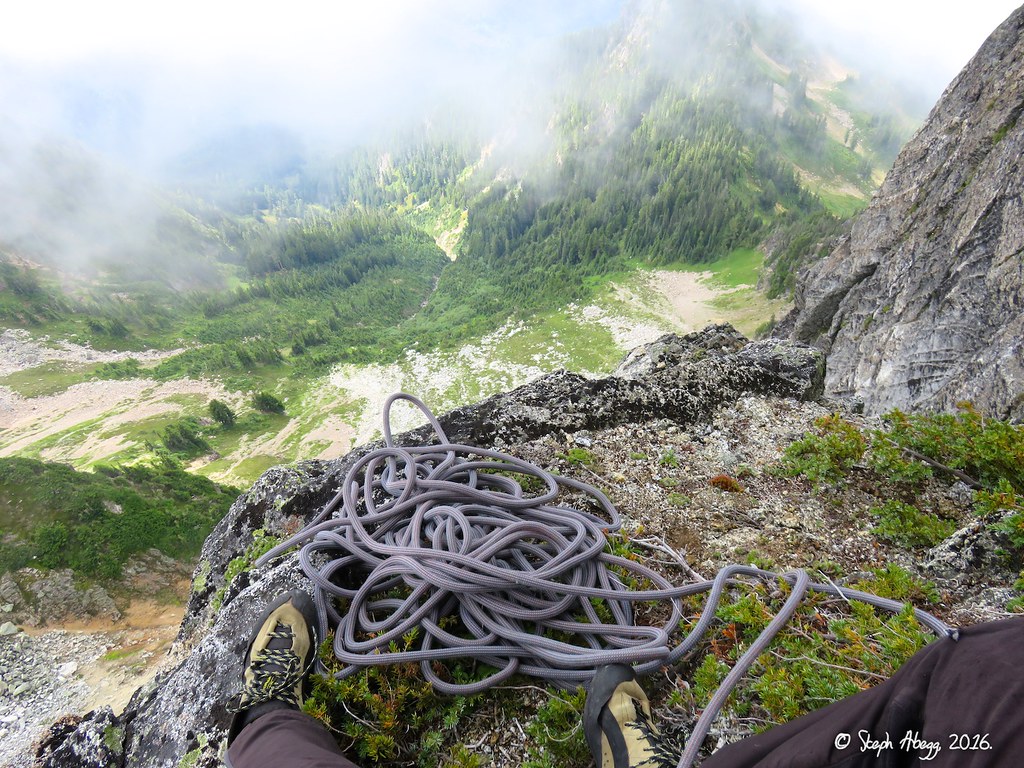
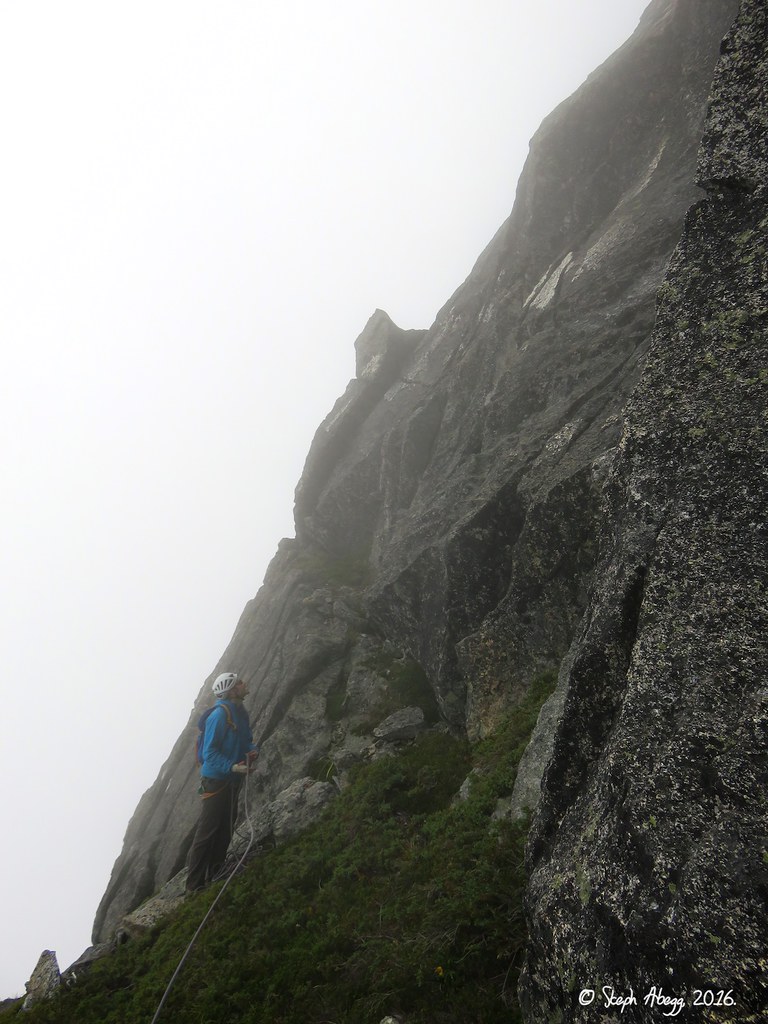
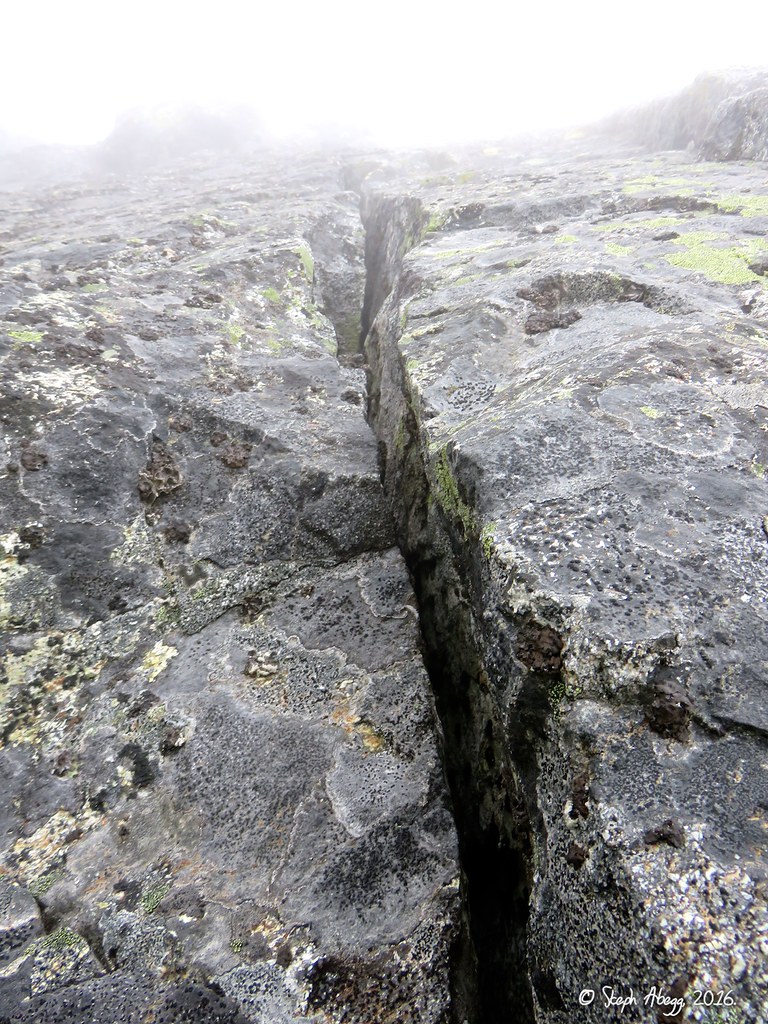
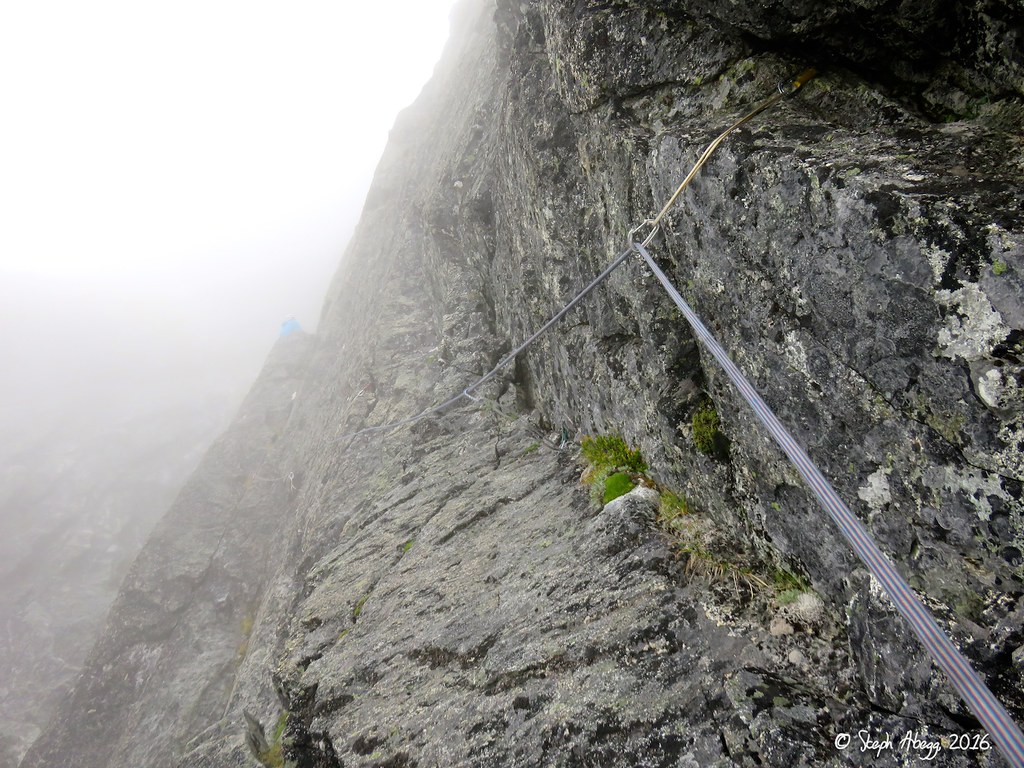
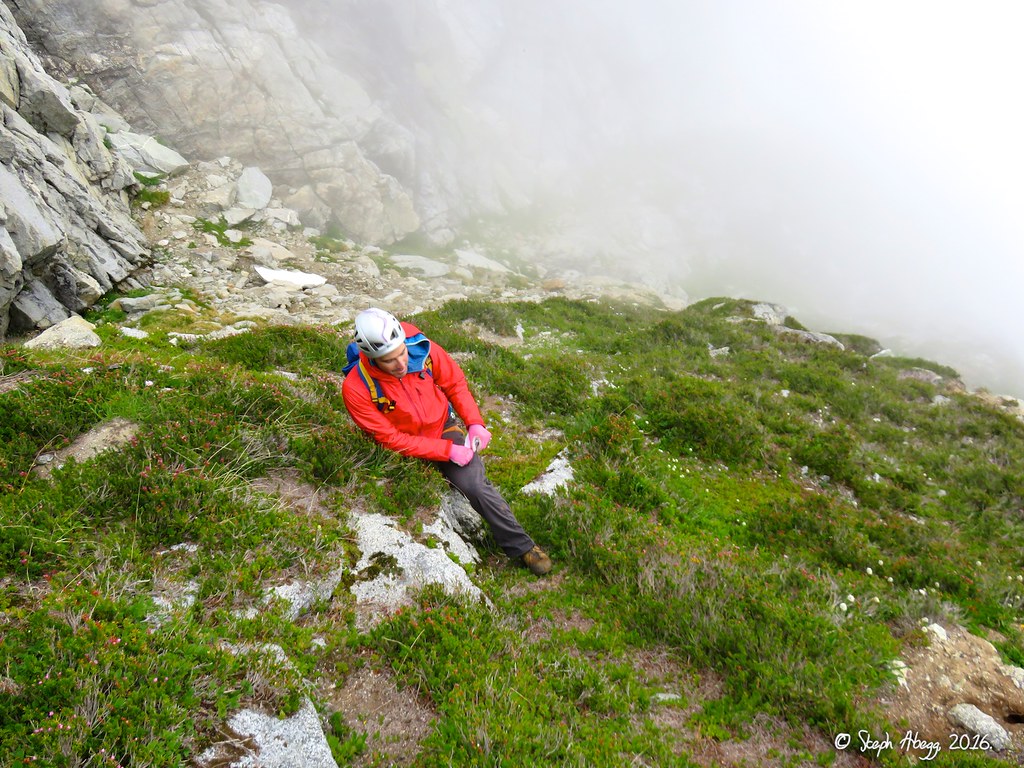
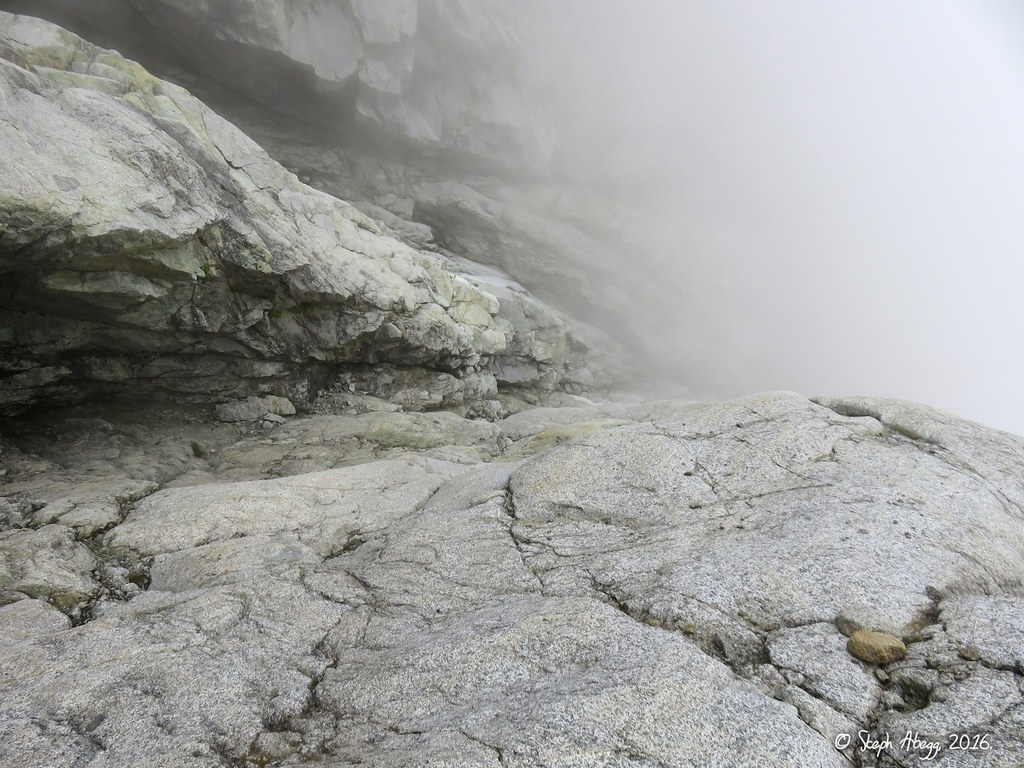
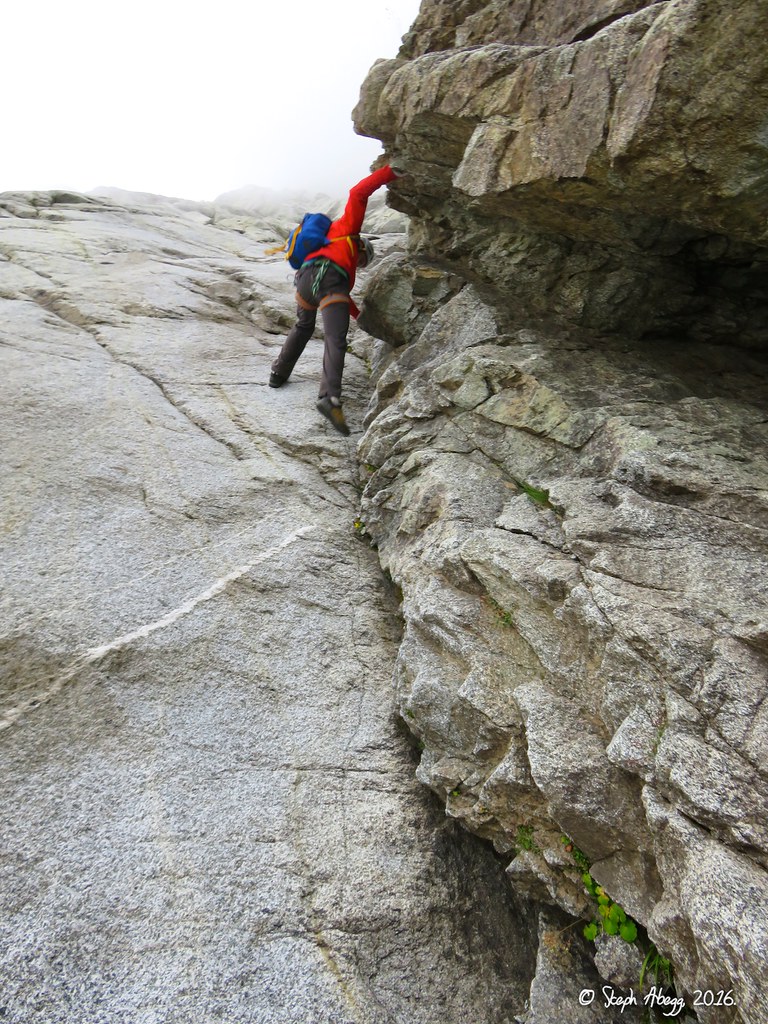
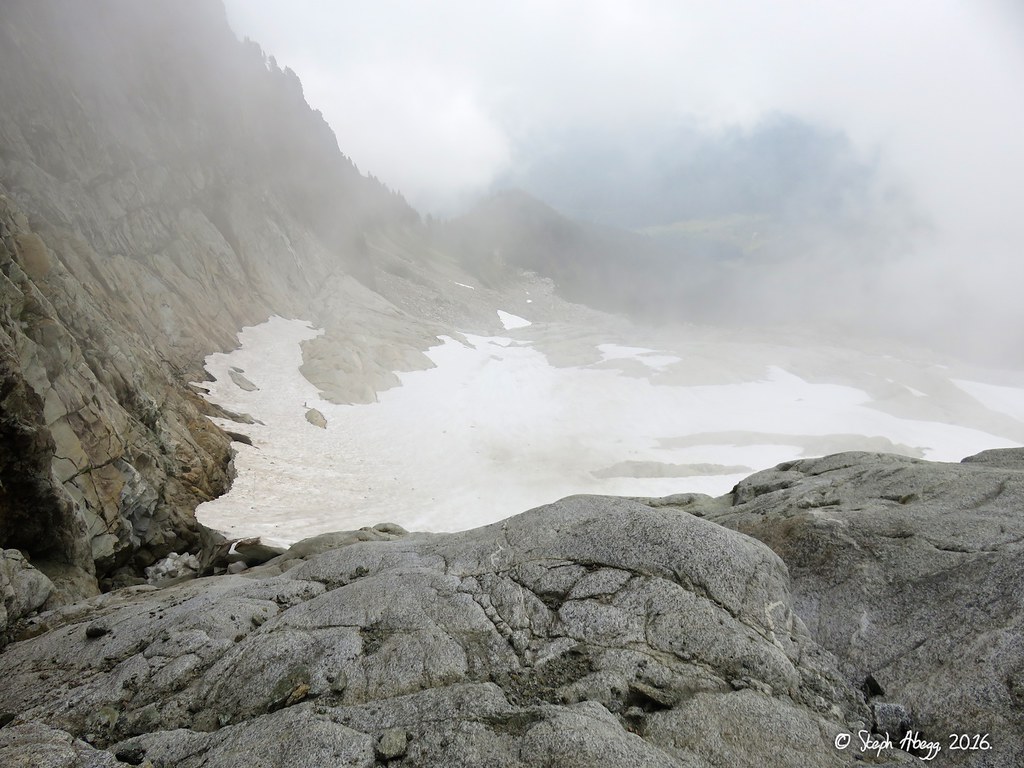
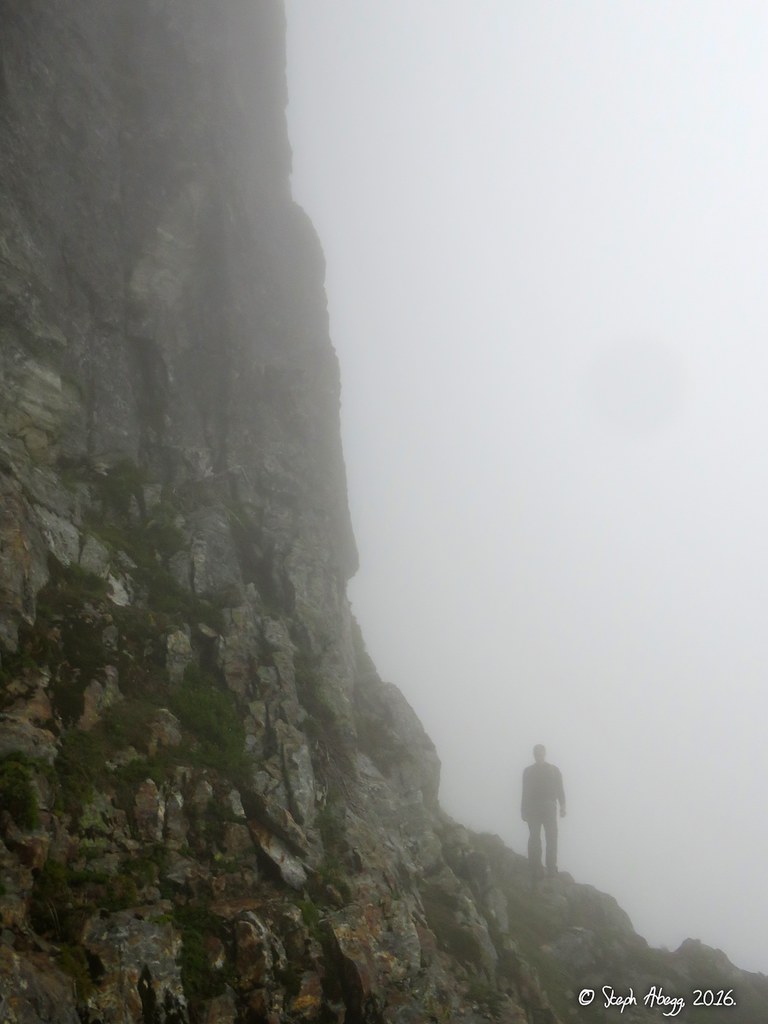
So a month later, in late August, I returned with DR to climb Fire on the Mountain. (Surely NOAA's sunny day forecast cannot be wrong in August!) We started up the route around 8:30am, under blue skies. The first pitch (the technical crux of the route, at 10d) was excellent, featuring challenging 5.9 climbing up a chimney and finishing with splitter 5.10 cracks up a steep face. The second pitch was also excellent, featuring 10- climbing up a handcrack and then a featured face and then a hand traverse under a roof. There was a reasonable amount of lichen, moss, and dirt considering the route had only seen a few ascents, but the rock was surprisingly solid and cool knobs and fins abounded. Pitches 3-5 were not quite as good as Pitches 1-2, but they still offered decent climbing up interesting features. Pitch 6 was back with more great climbing, up a steep face of fins and knobs (5.8R) to a challenging steep corner (10c). Pitch 7 finished with a lot of rambling upward, trying to navigate the route description when several options exist. The white-out conditions (looks like NOAA had it wrong again....) did not help. But we eventually found our way to to a giant heather shelf which looked familiar to me from when I had scrambled up the descent route in July. Given the lack of visibility and the fact that I had tagged the summit a month previous, we descended from here rather than scrambling to the summit. Despite our disappointment in the lack of views (I imagine that the views from Sloan are excellent) and gloomy aura rather than the sunlit meadowy terrain characteristic of the upper mountain, DR and I felt an element of satisfaction for climbing the challenging route we had set off to climb. We agreed that Fire on the Mountain is a worthy route given its position on such a big mountain and its unique climbing on diorite fins and knobs and generally good rock. It's a good 5.10 route to do if you are looking for a little adventure off the beaten path.
The following page contains some photos from the climb. As far as I know, ours was the fourth ascent of the route.